

Pork2: Back in black - tales of the turbo (DIY heavy)
 03-17-2019, 11:57 PM
#1
Three Wheelin'
Thread Starter
Long post(s)/lots of pics alert.
A little while back, I got the itch for a new project so I decided to sell my 08 997.1 C4. The C4 was a great introduction to Porsche and I had a fantastic time learning about the 997 specifically. It treated me well (for the most part), but I was starting to feel bored. I really enjoy working on cars so I was looking for something a little rougher around the edges that I could fix up on my own time and enjoy. I sold the C4 and started looking for the next project.
Enter the turbo.
While browsing the net about a week later, I found a high mileage, clean title 2007 997 turbo a few hours south of me. It needed some love which I was happy to provide. I spoke with the seller and his mechanic and I received confirmation that the engine was in great shape - it had the coolant lines fixed and the camshafts were pinned. I drove down a few days later, inspected it in tandem with a Porsche mechanic and agreed to a deal. I drove it back to HTX that day and have been working on it every since - here's the story in photos. I decided to post this in the 997 thread because a lot of the DIY work will be relevant to most 997 models, and there is more foot traffic here than the turbo forum.
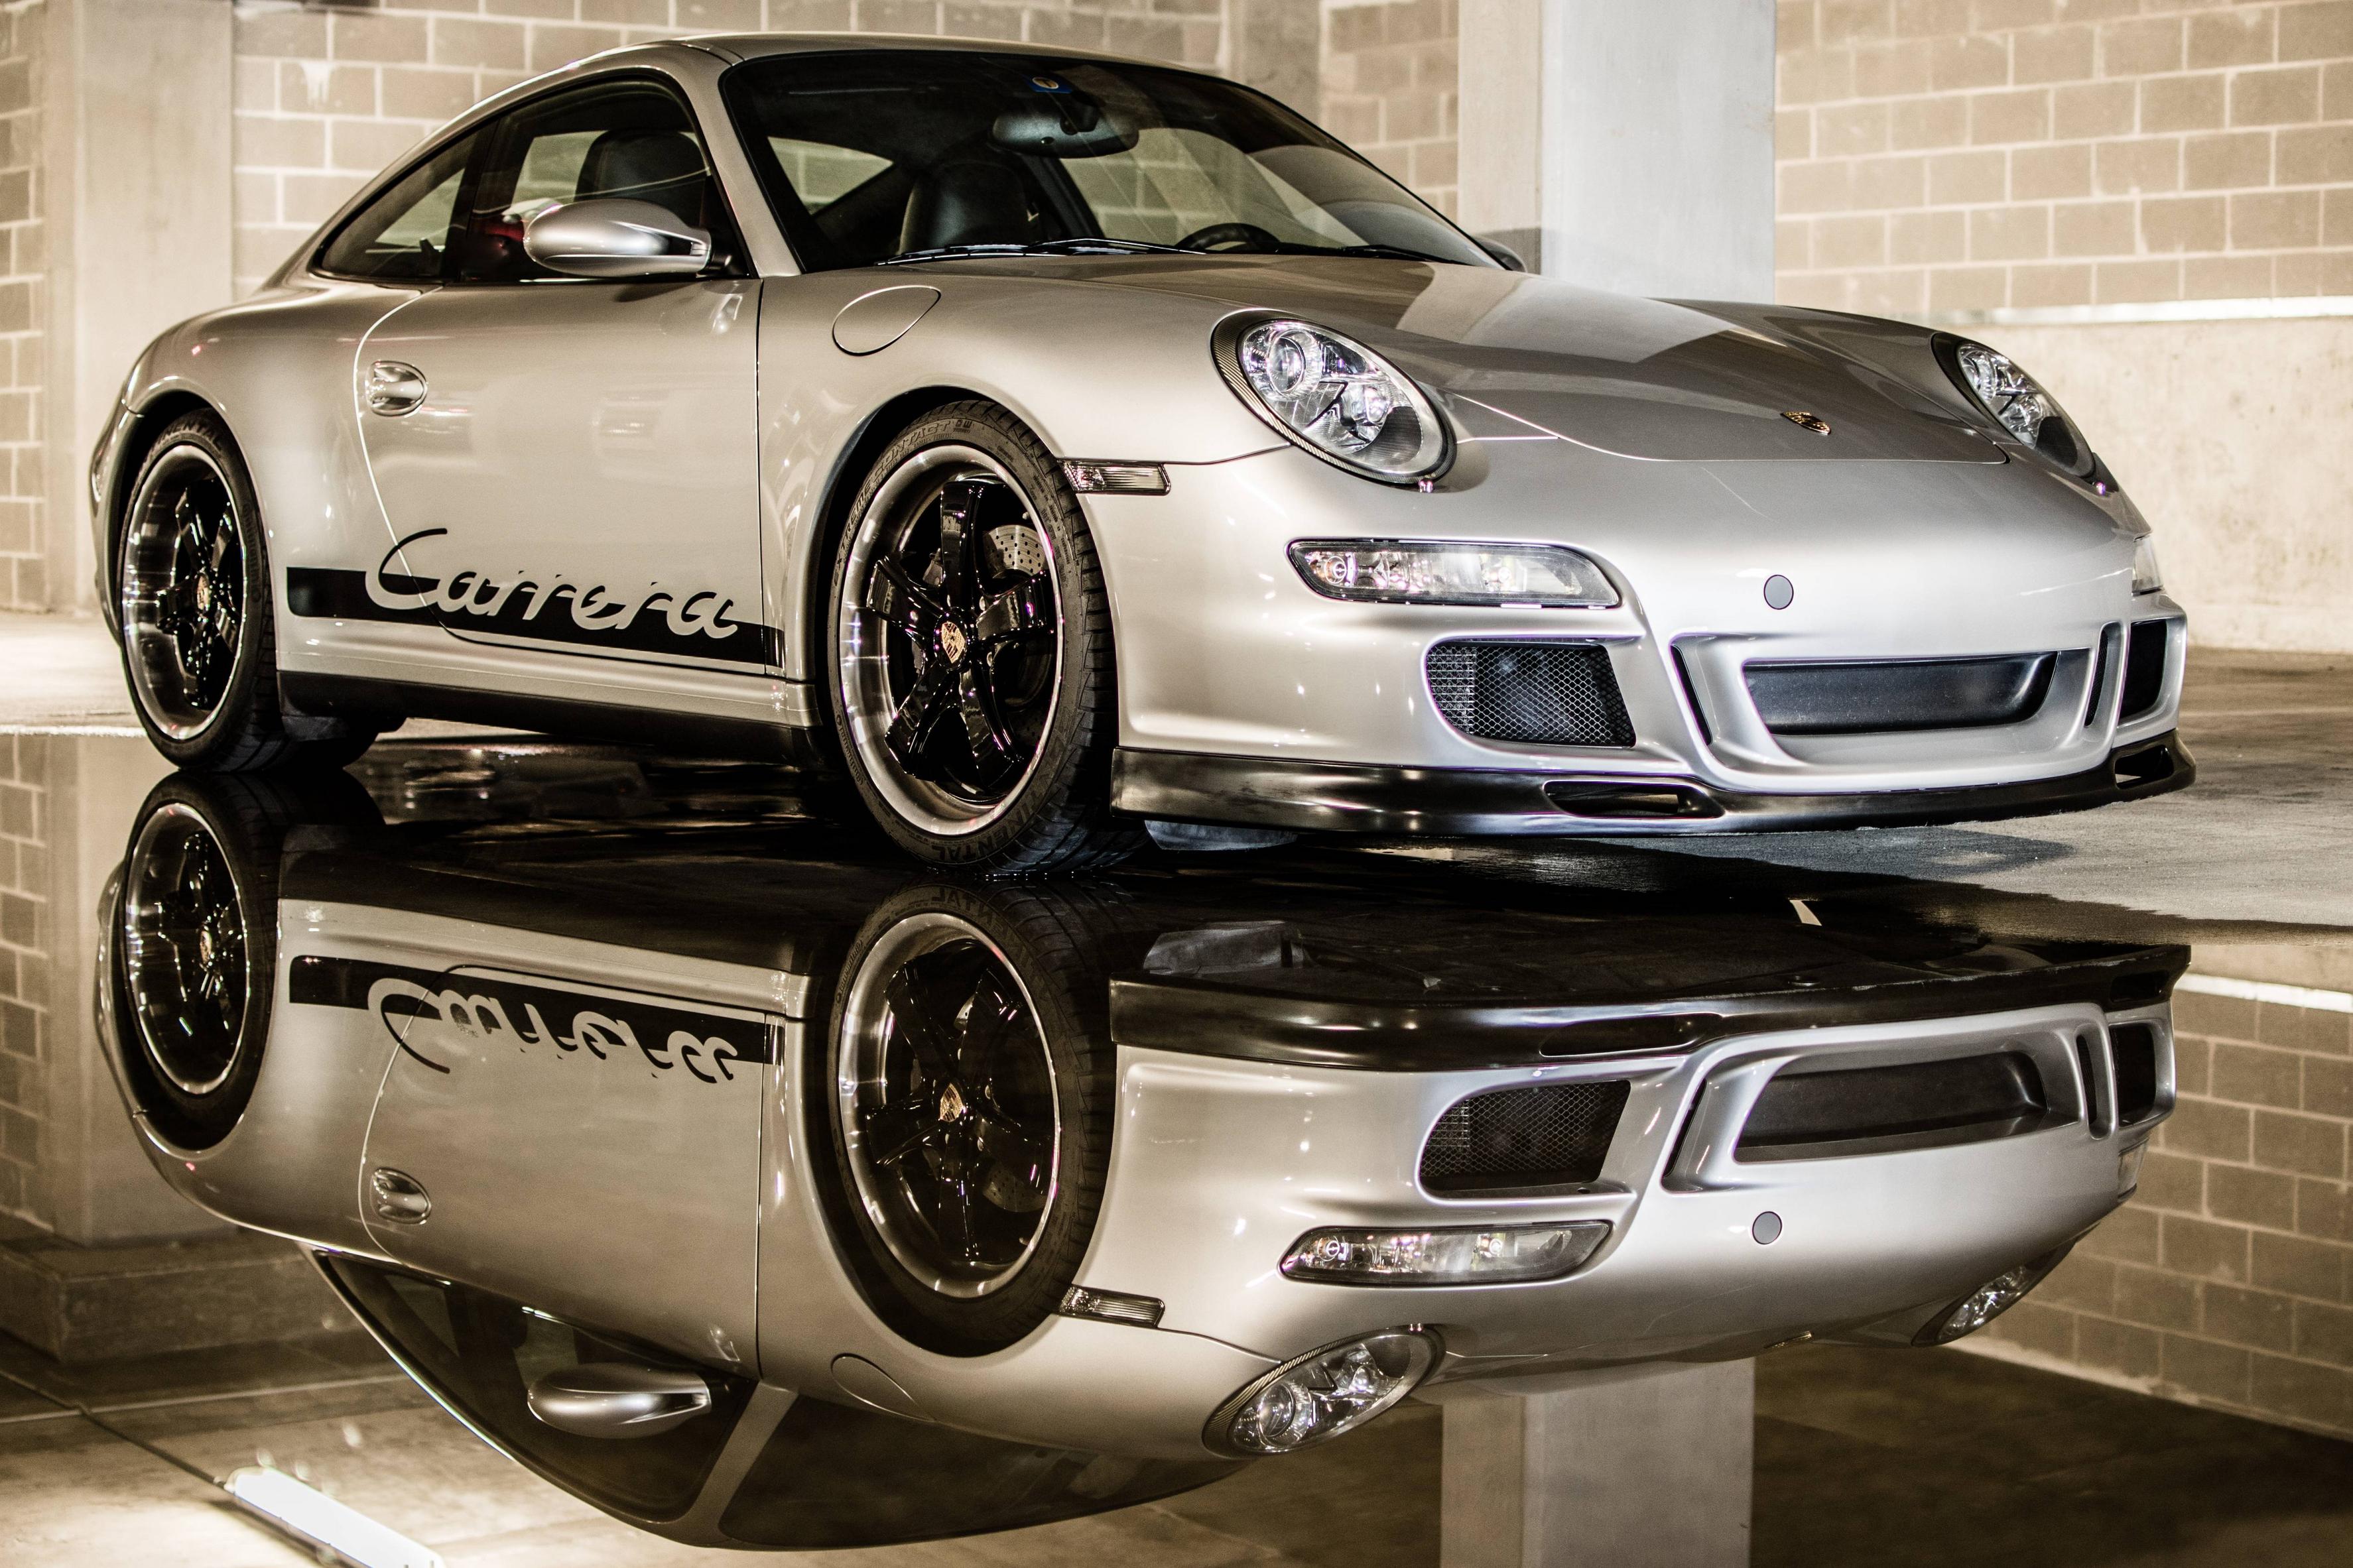
1) My favorite photo of the 08 C4. Still in touch with the buyer who is treating it well. I'm glad it went to a good home.
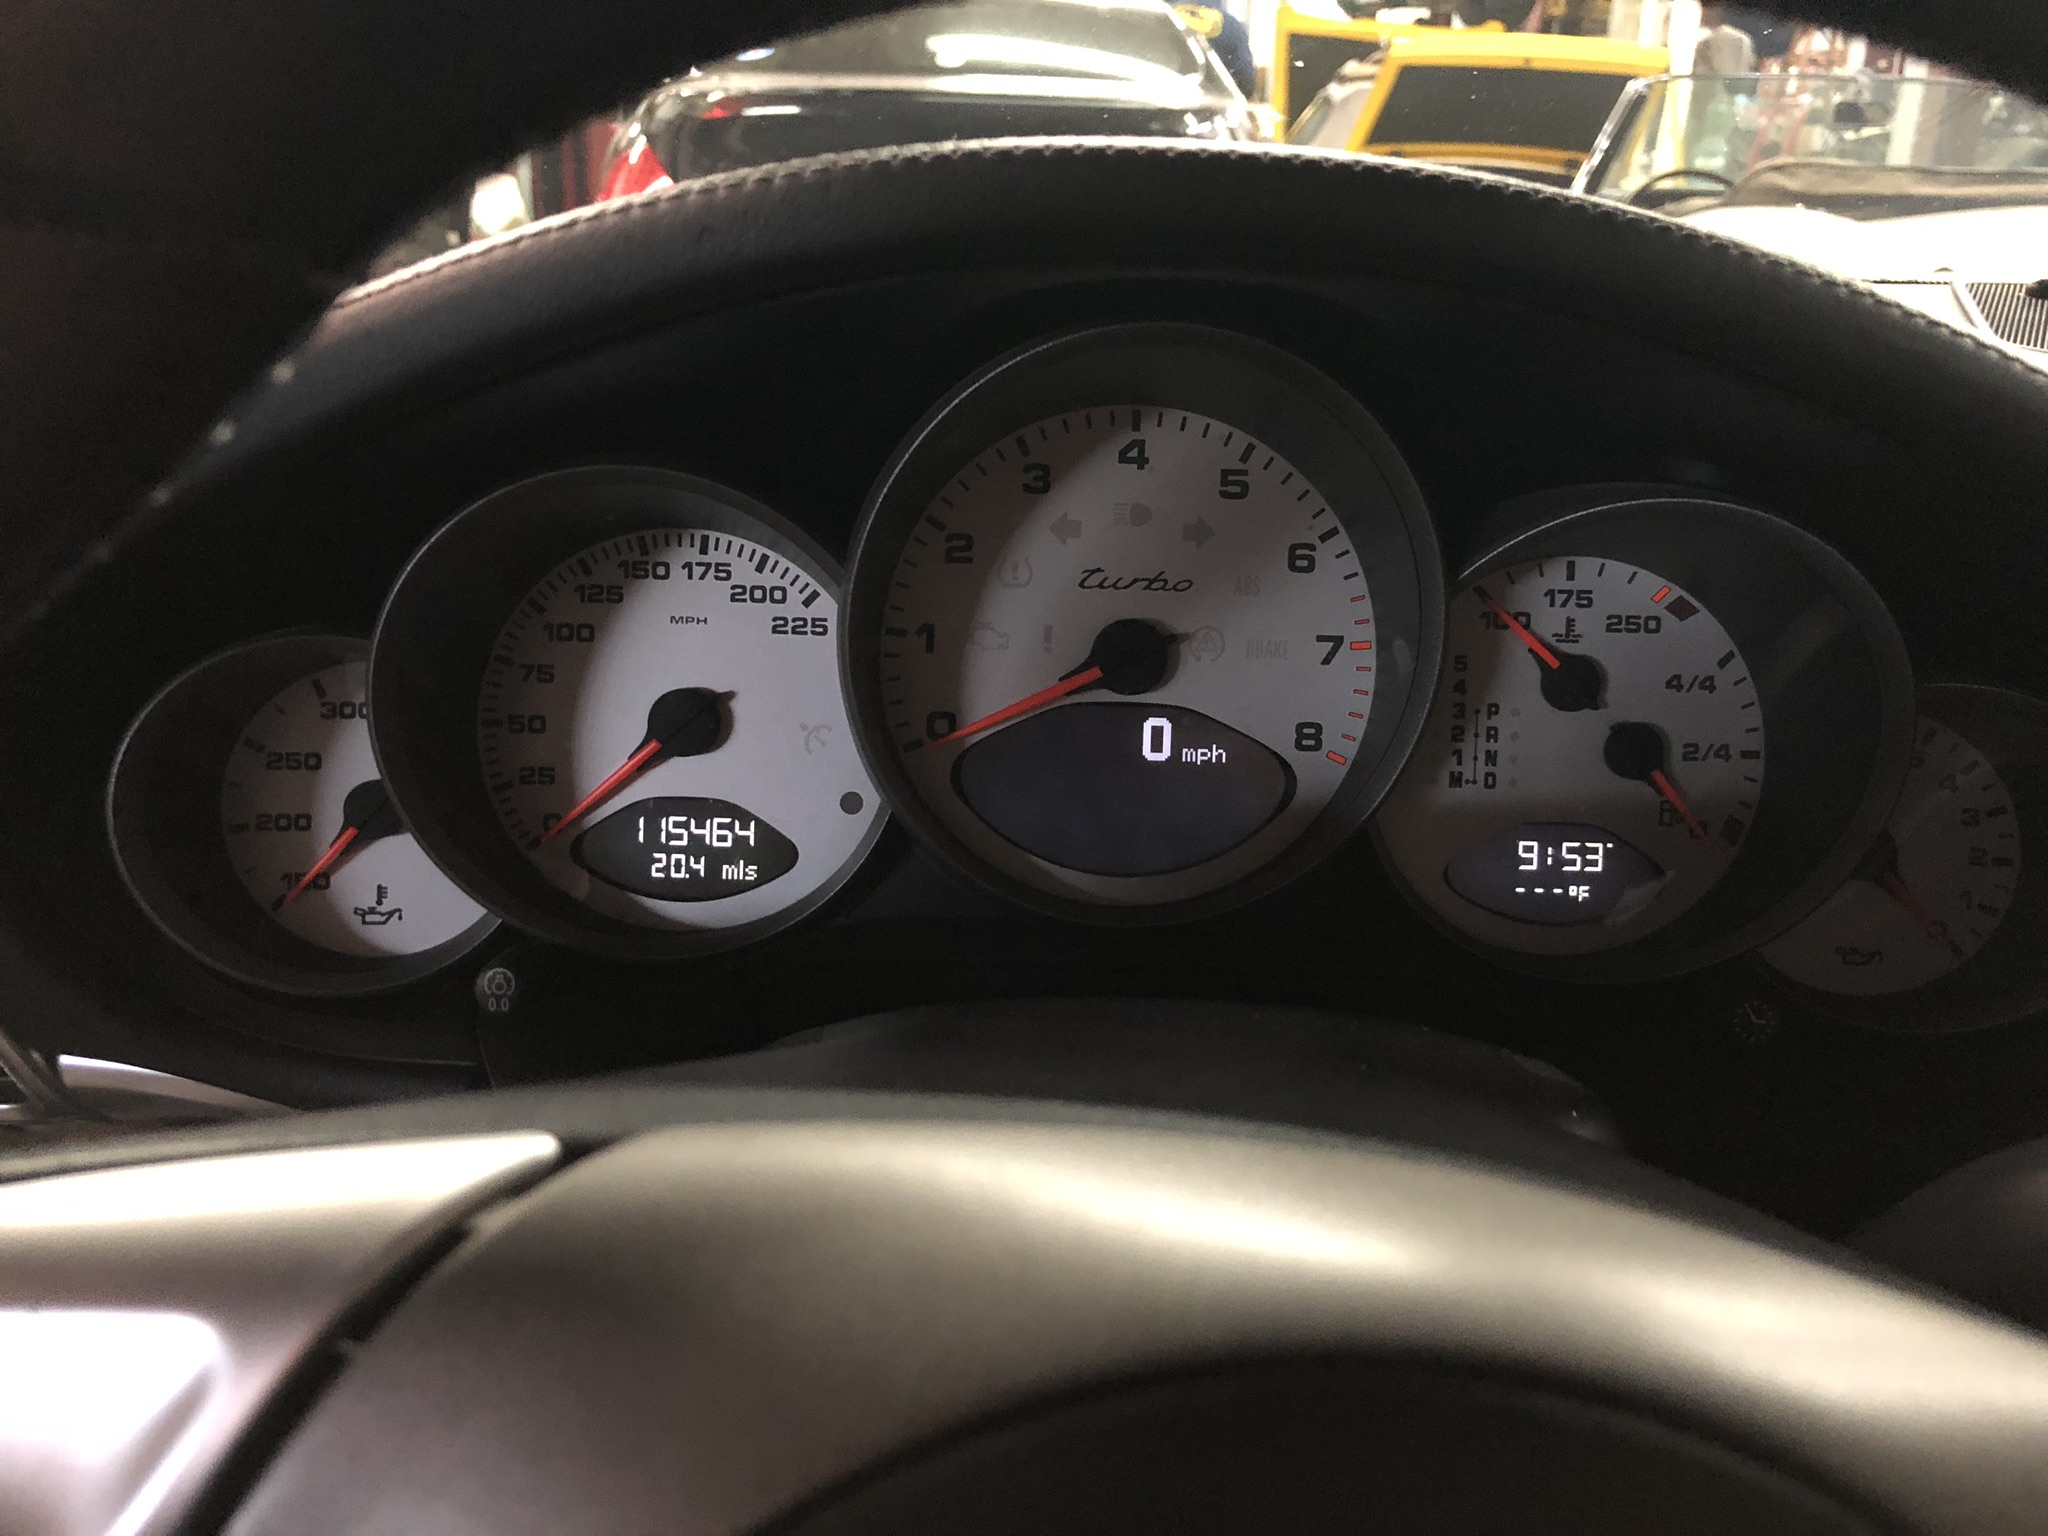
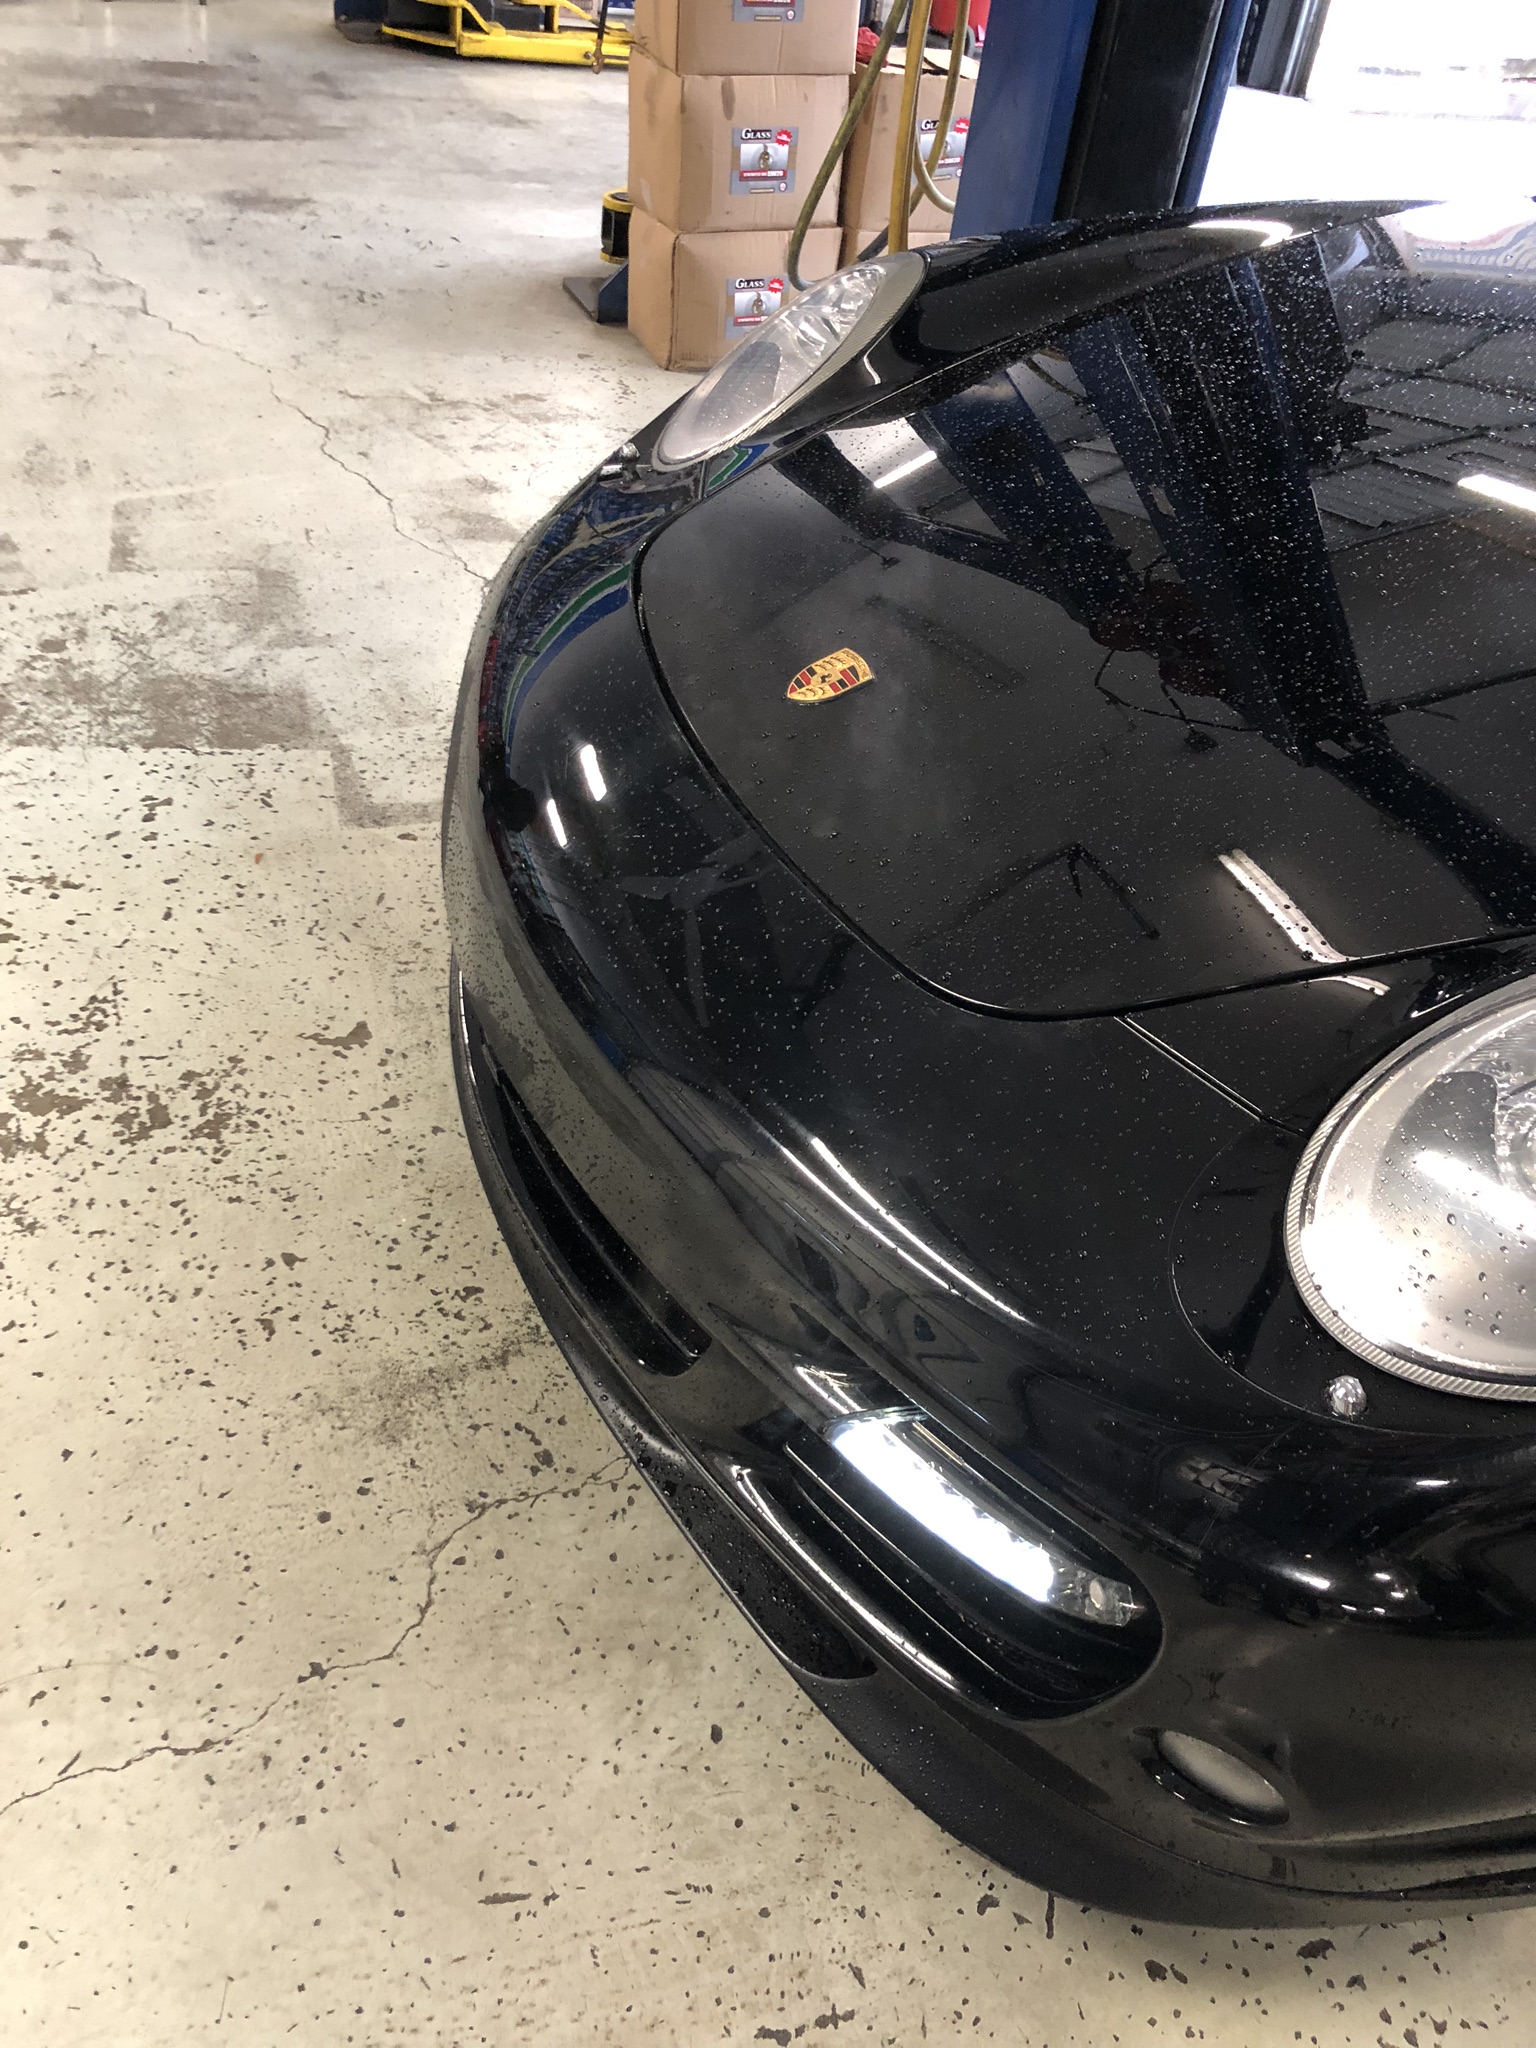
2) The day I picked it up. Tiptronic, 115k miles. Adds up to a very cheap turbo.
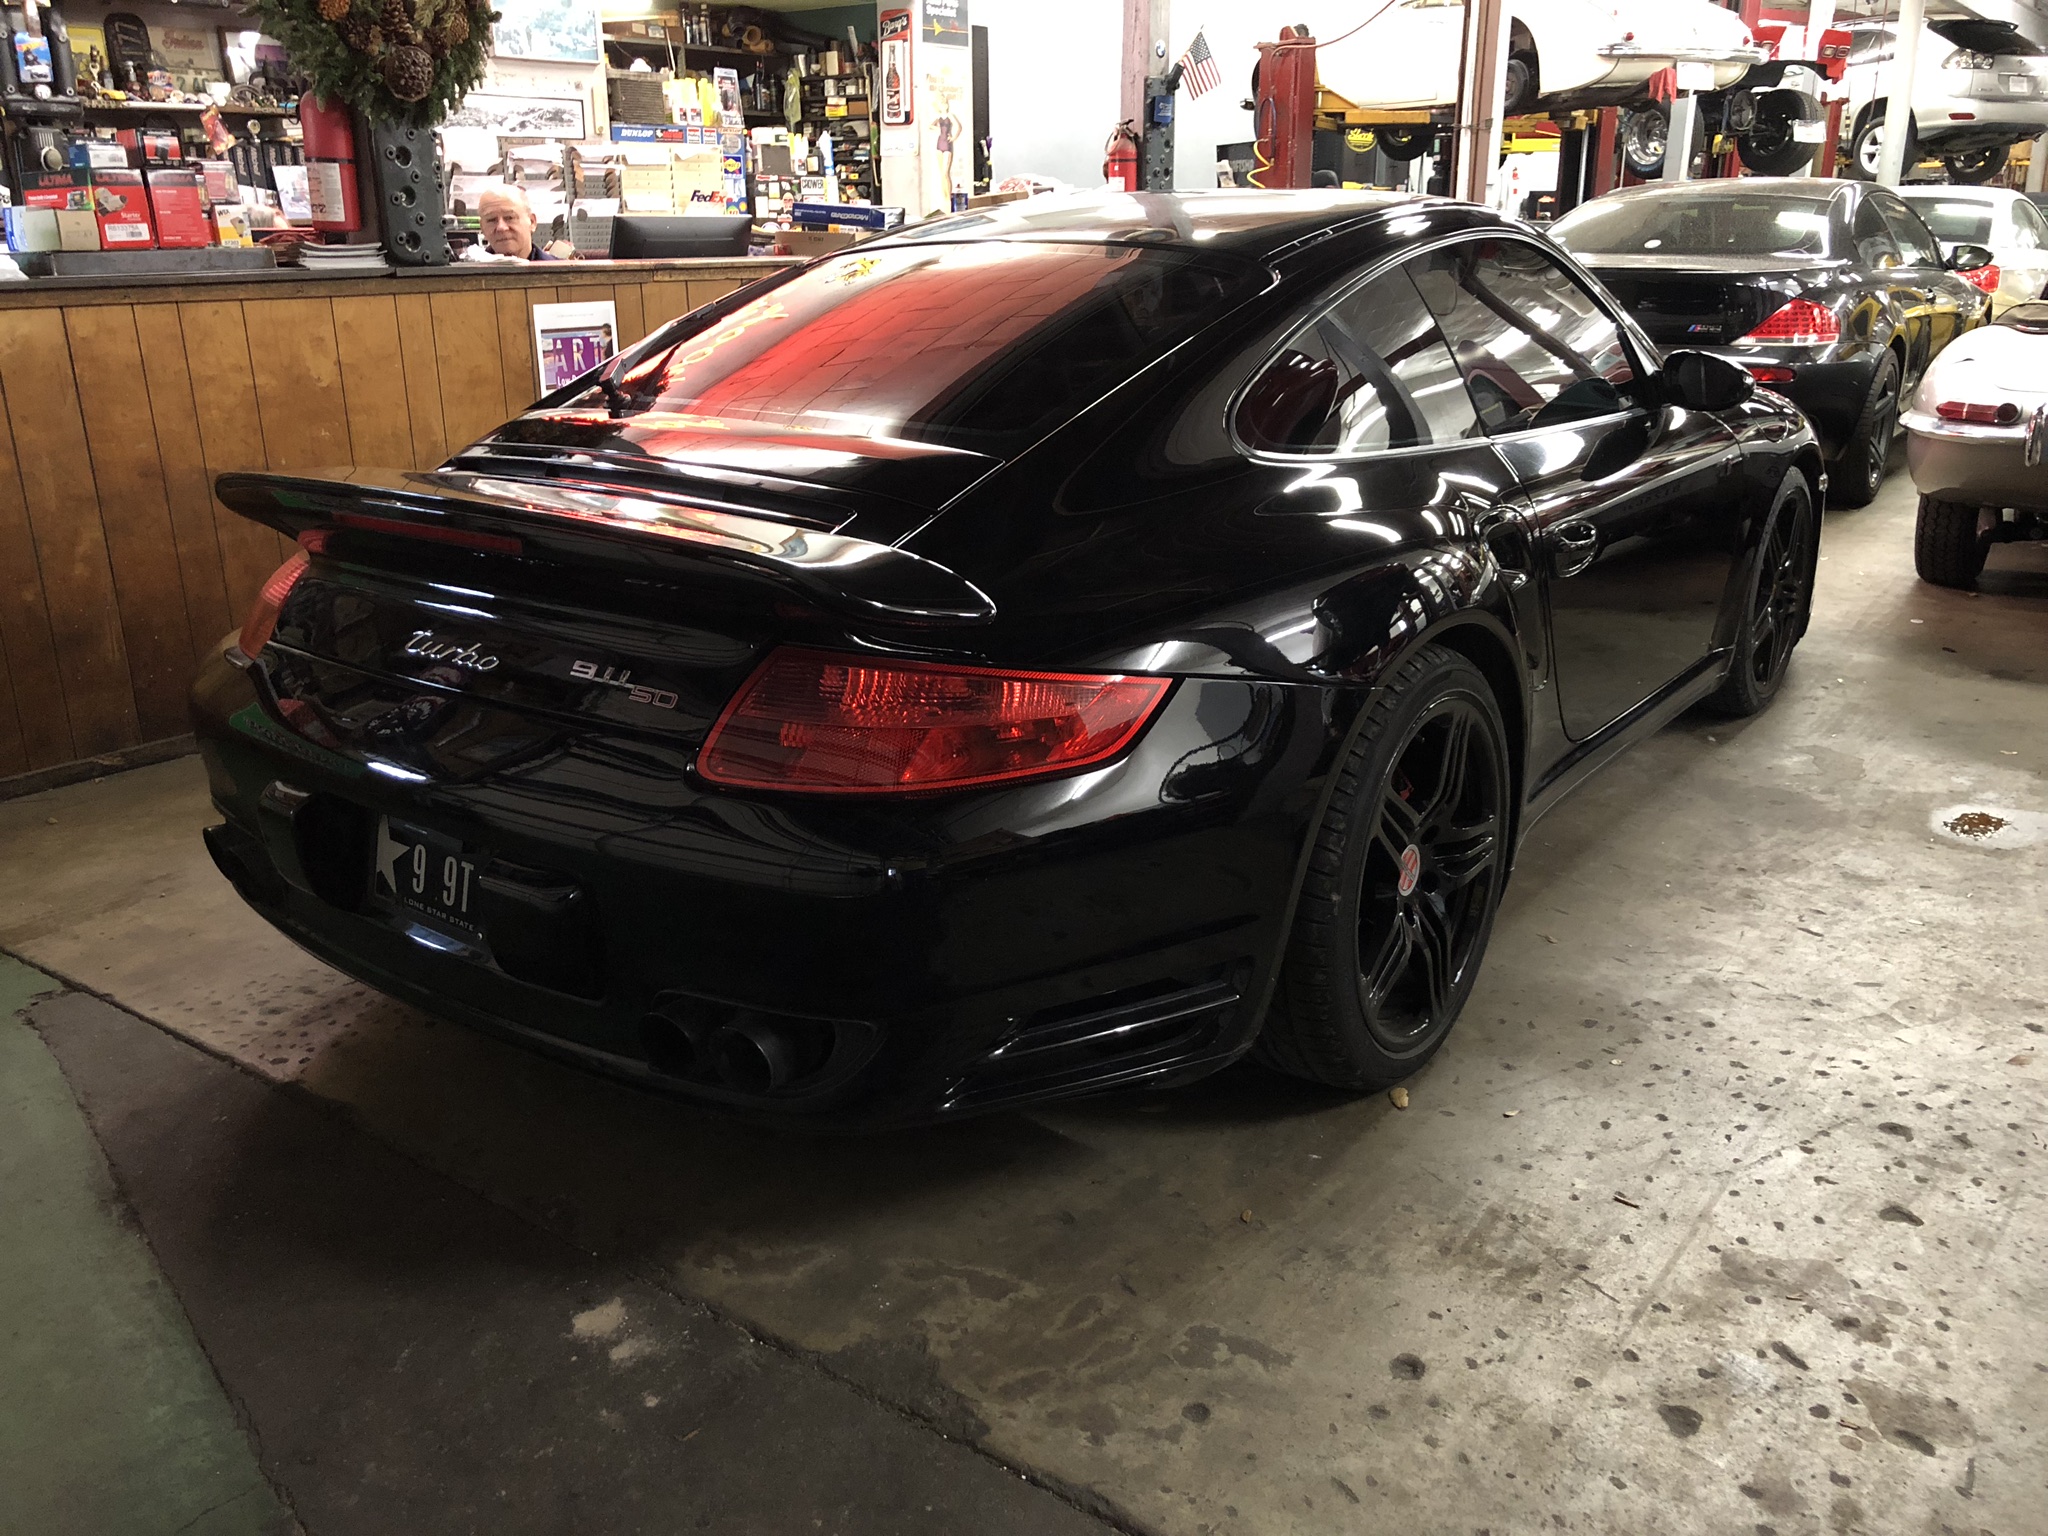
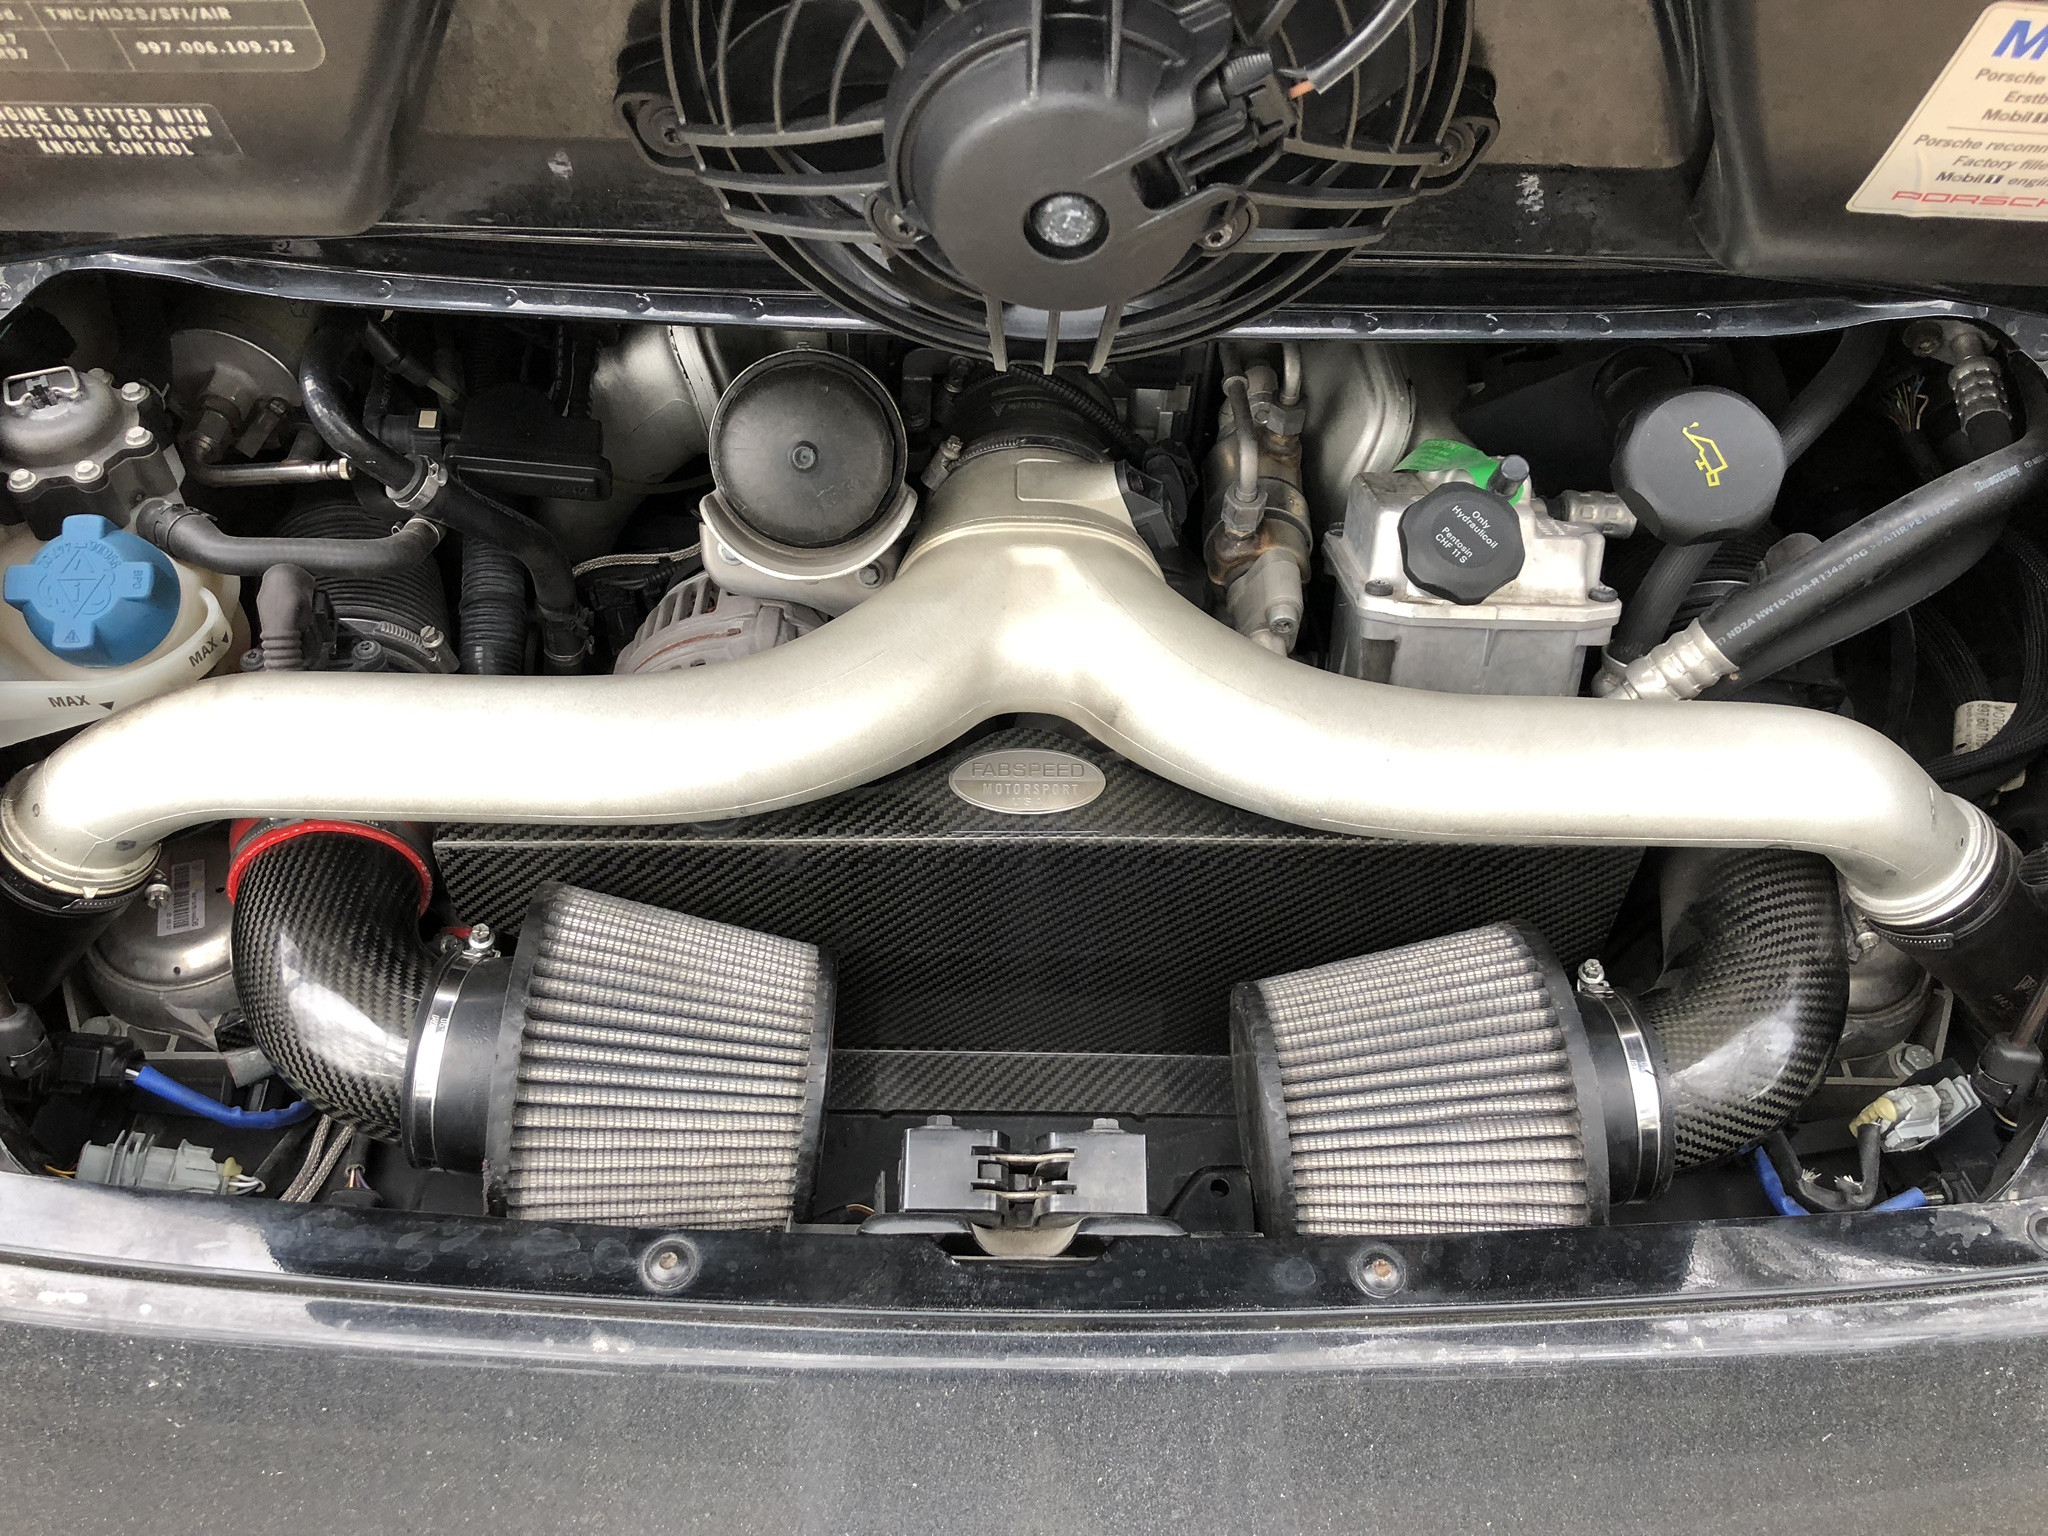
Fabspeed intake, FVD brombacher exhaust and tune - love the extras
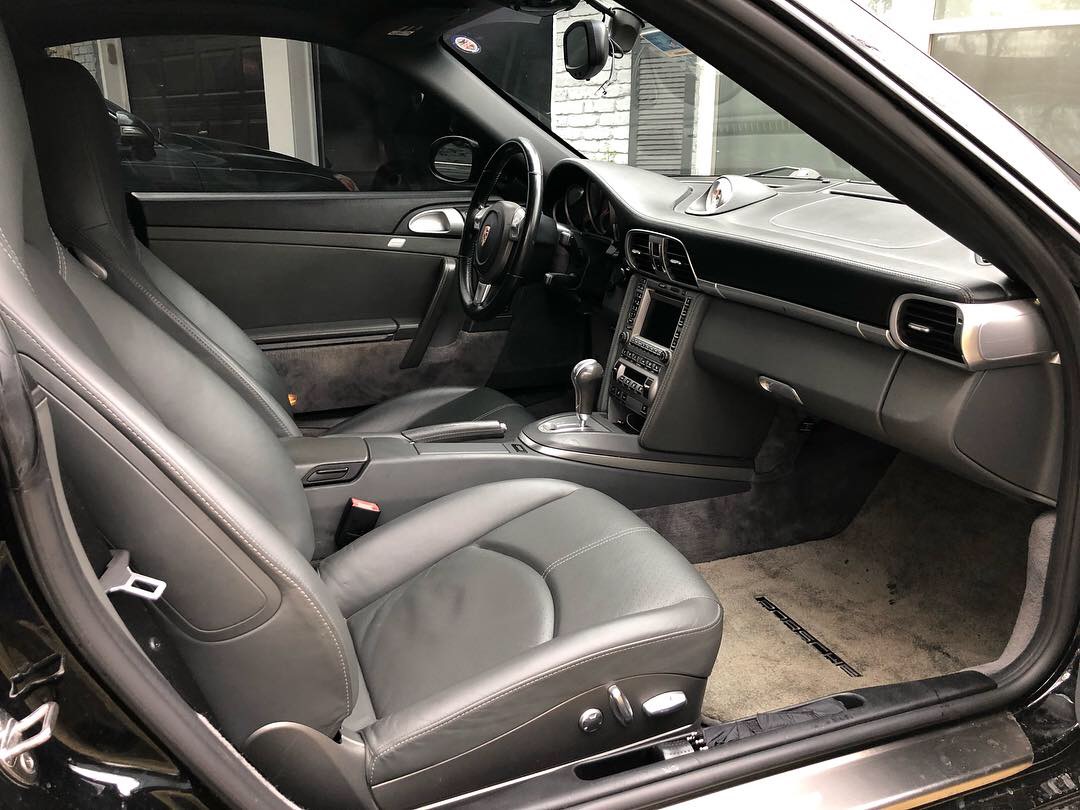
Black/stone grey full leather interior. No bolster wear on the seat as the PO stored the original seats in his garage and used Recaro's instead. Interior was in pretty decent shape for the mileage.
Cold start
A little while back, I got the itch for a new project so I decided to sell my 08 997.1 C4. The C4 was a great introduction to Porsche and I had a fantastic time learning about the 997 specifically. It treated me well (for the most part), but I was starting to feel bored. I really enjoy working on cars so I was looking for something a little rougher around the edges that I could fix up on my own time and enjoy. I sold the C4 and started looking for the next project.
Enter the turbo.
While browsing the net about a week later, I found a high mileage, clean title 2007 997 turbo a few hours south of me. It needed some love which I was happy to provide. I spoke with the seller and his mechanic and I received confirmation that the engine was in great shape - it had the coolant lines fixed and the camshafts were pinned. I drove down a few days later, inspected it in tandem with a Porsche mechanic and agreed to a deal. I drove it back to HTX that day and have been working on it every since - here's the story in photos. I decided to post this in the 997 thread because a lot of the DIY work will be relevant to most 997 models, and there is more foot traffic here than the turbo forum.
1) My favorite photo of the 08 C4. Still in touch with the buyer who is treating it well. I'm glad it went to a good home.
2) The day I picked it up. Tiptronic, 115k miles. Adds up to a very cheap turbo.
Fabspeed intake, FVD brombacher exhaust and tune - love the extras
Black/stone grey full leather interior. No bolster wear on the seat as the PO stored the original seats in his garage and used Recaro's instead. Interior was in pretty decent shape for the mileage.
Cold start
 03-18-2019, 12:03 AM
#2
Three Wheelin'
Thread Starter
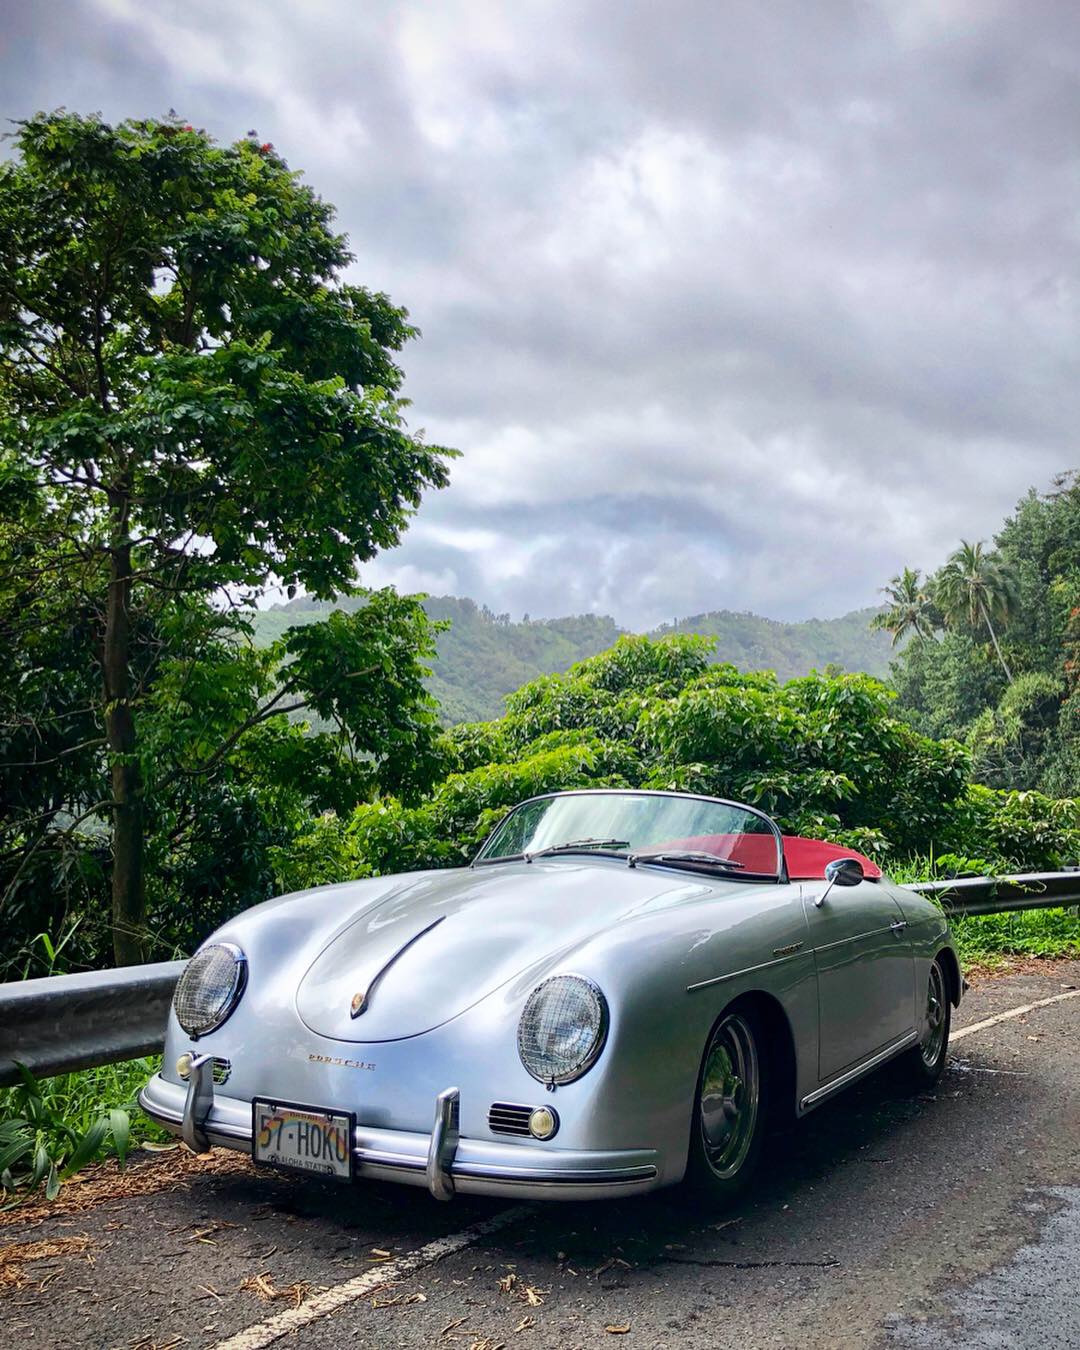
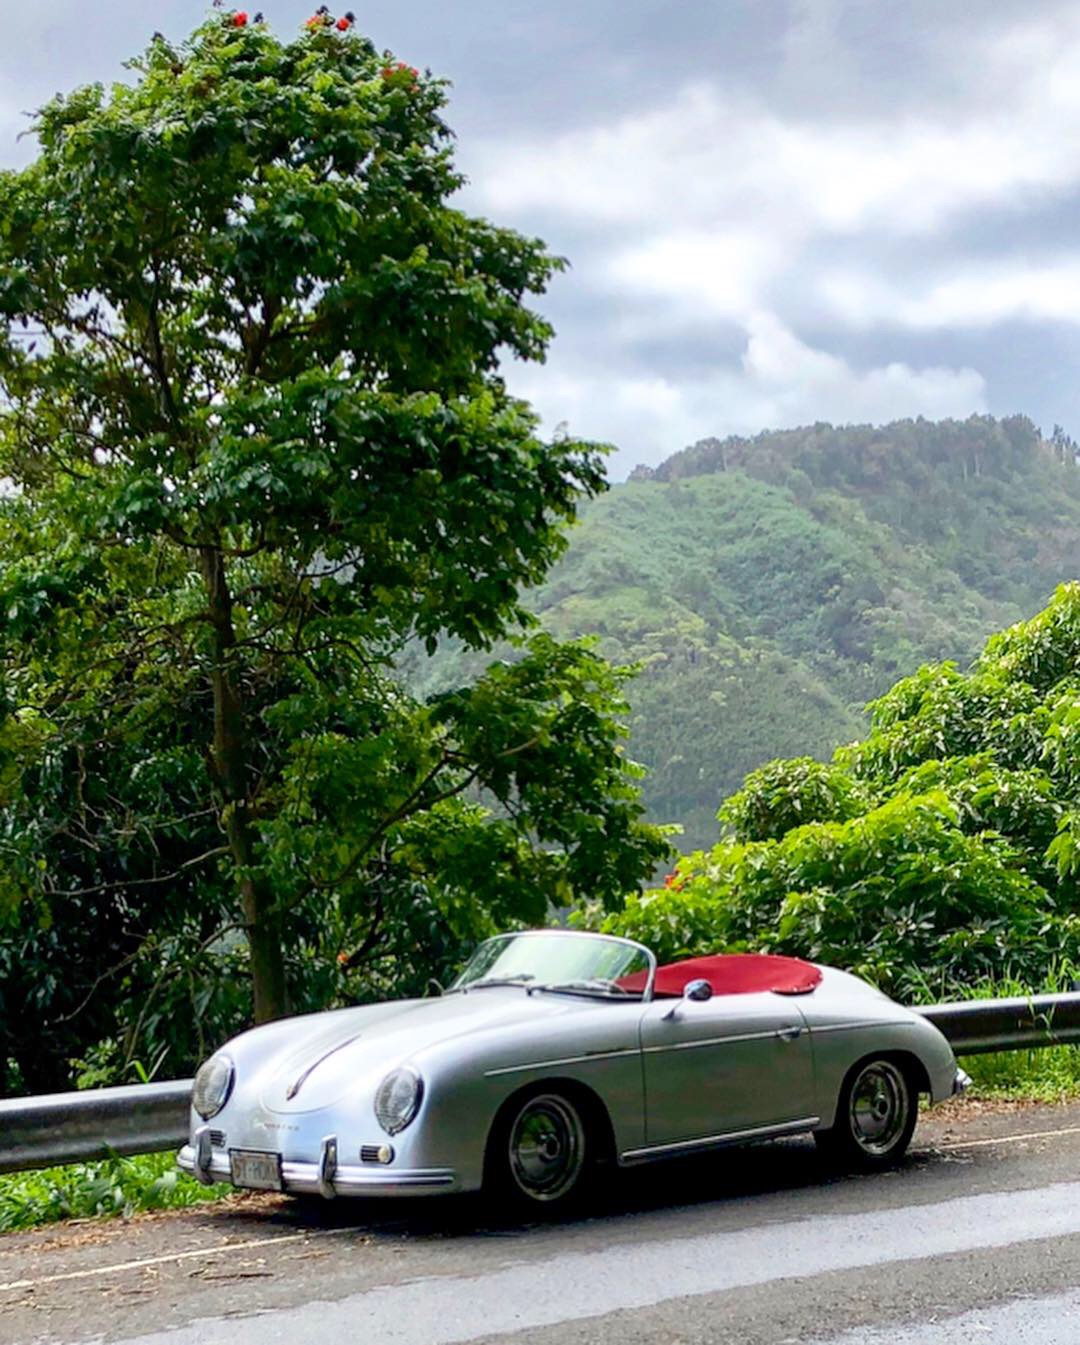
3) First issues - the airbag light was on and I thought it just needed to be reset because of the seats. Unfortunately, it turned out to be the driver's side seatbelt receptacle. I had my indy do this because it needed this done in order to pass inspection. In retrospect, I should have done it myself. I hate overpaying for relatively easy tasks.... ($149 diagnosis fee, $300 parts, $400 labor....). However, I was in Maui driving this baby around, which took some of the sting from the final bill
Wired up LED DRLs
Wired up LED DRLs
03-18-2019, 12:18 AM
#3
Three Wheelin'
Thread Starter
4) Back home and ready to wrench. When I inspected the turbo, I knew it needed new rubber parts all around. The tie rods were shot, making a whining noise especially when turning left, and so were the rear axles. My plan was to do everything here and there over the course of time. But once I got it up on jackstands, the desire to wrench to took over and so I started ordering parts left and right.
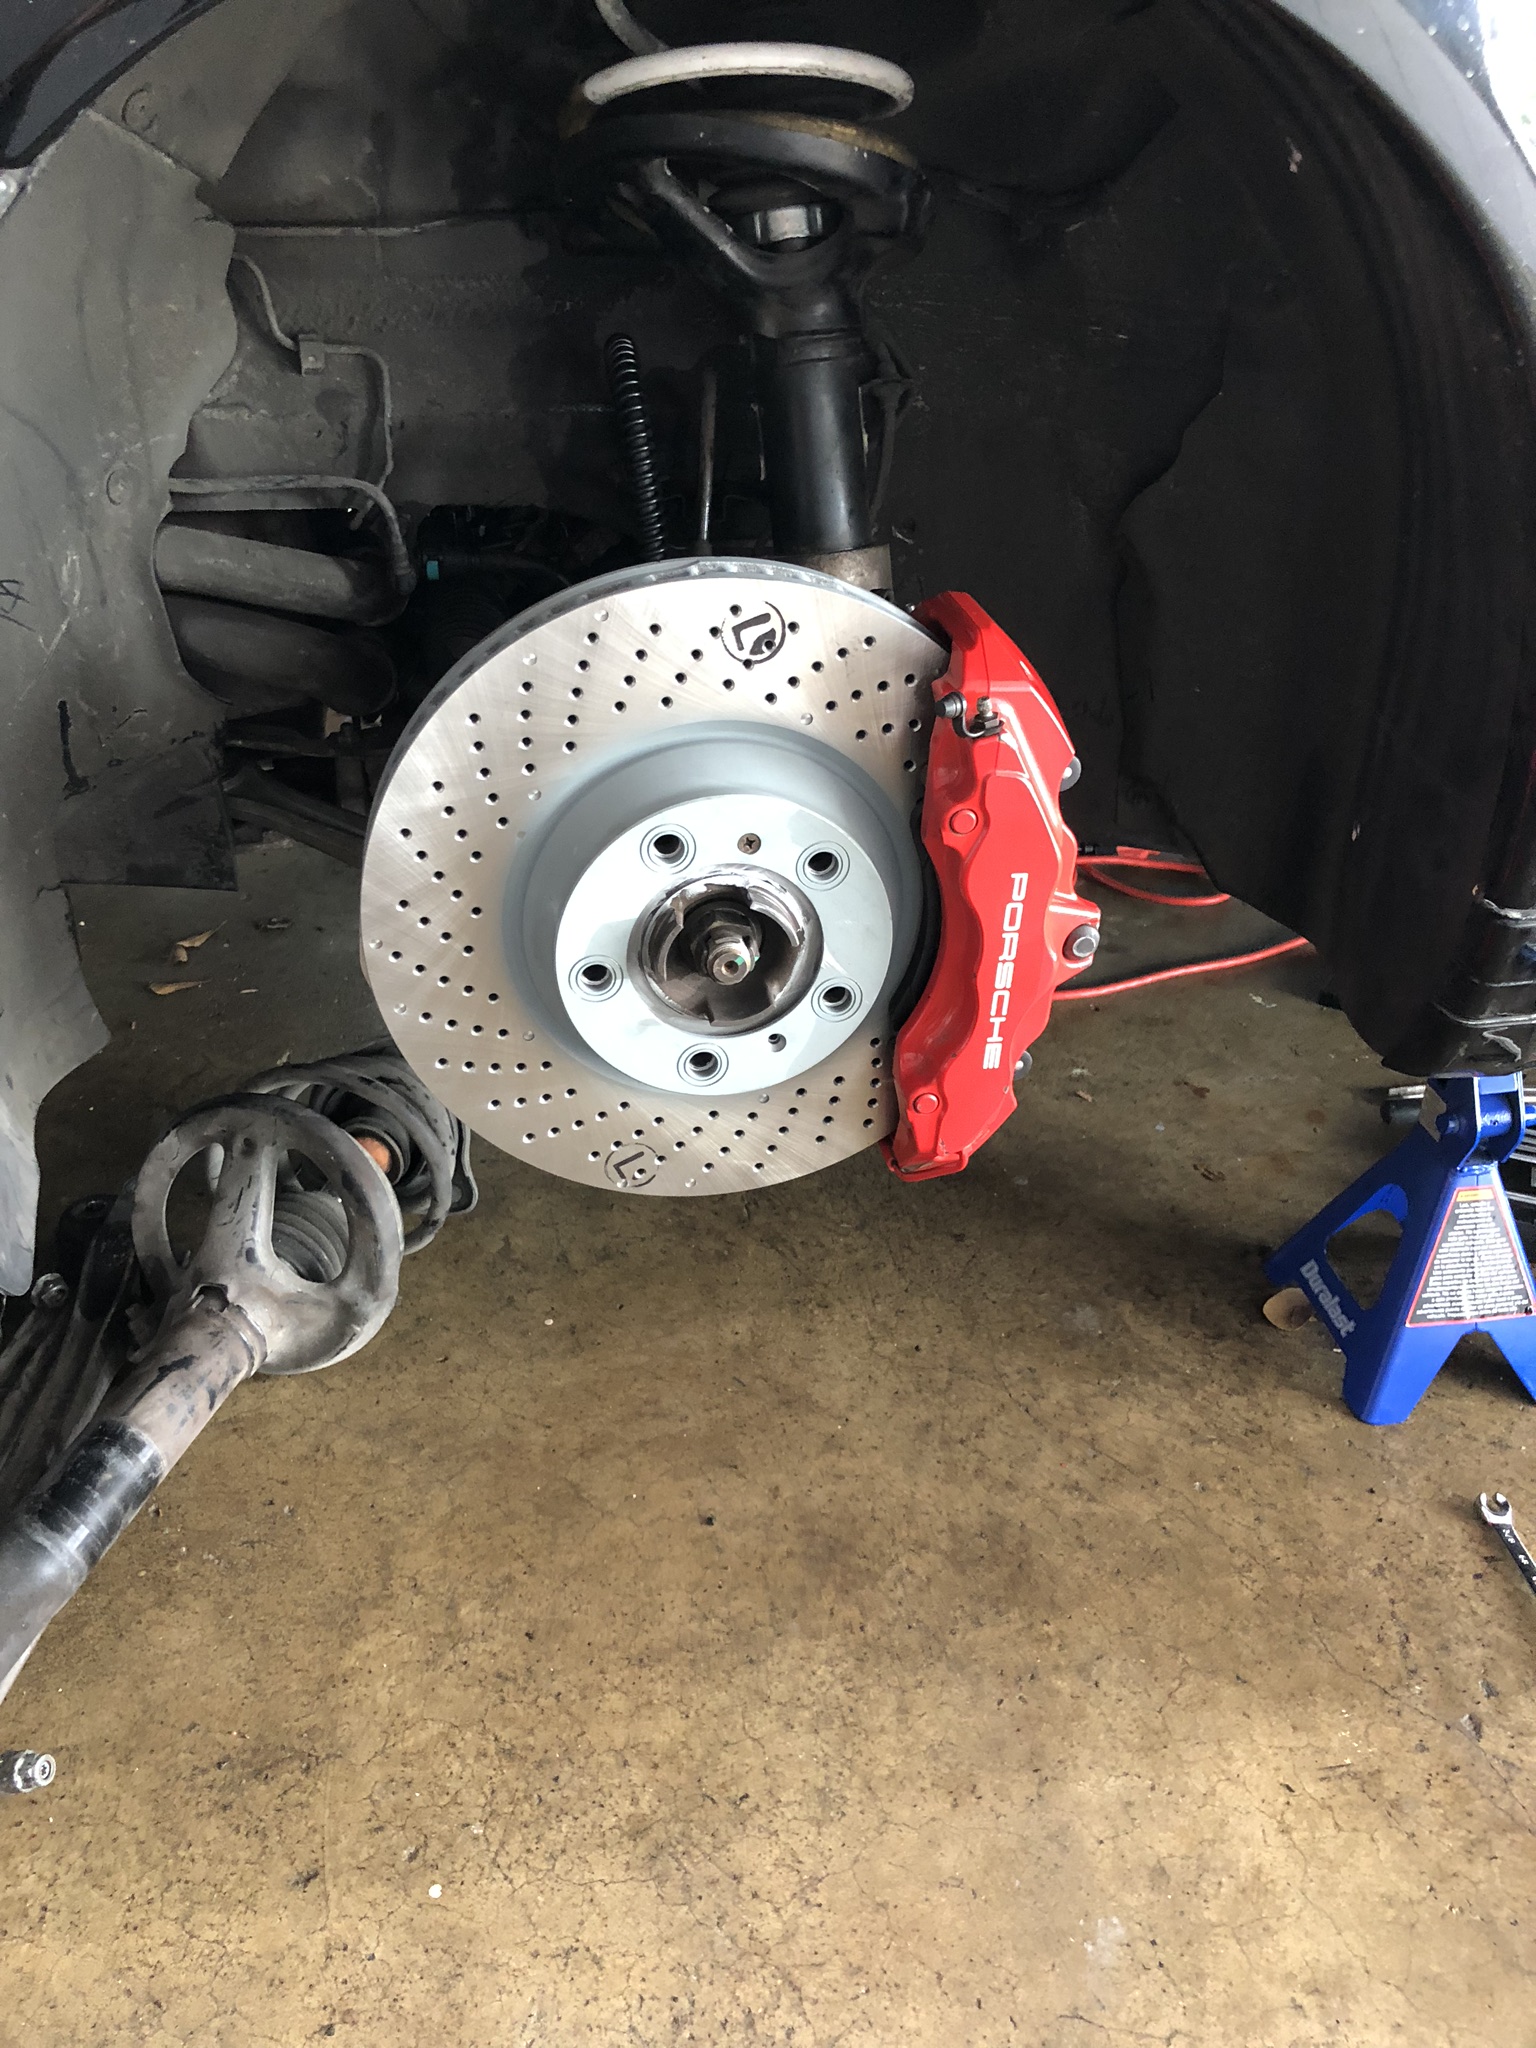
Brake rotors, pads, brake hoses, and inner and outer tie rods
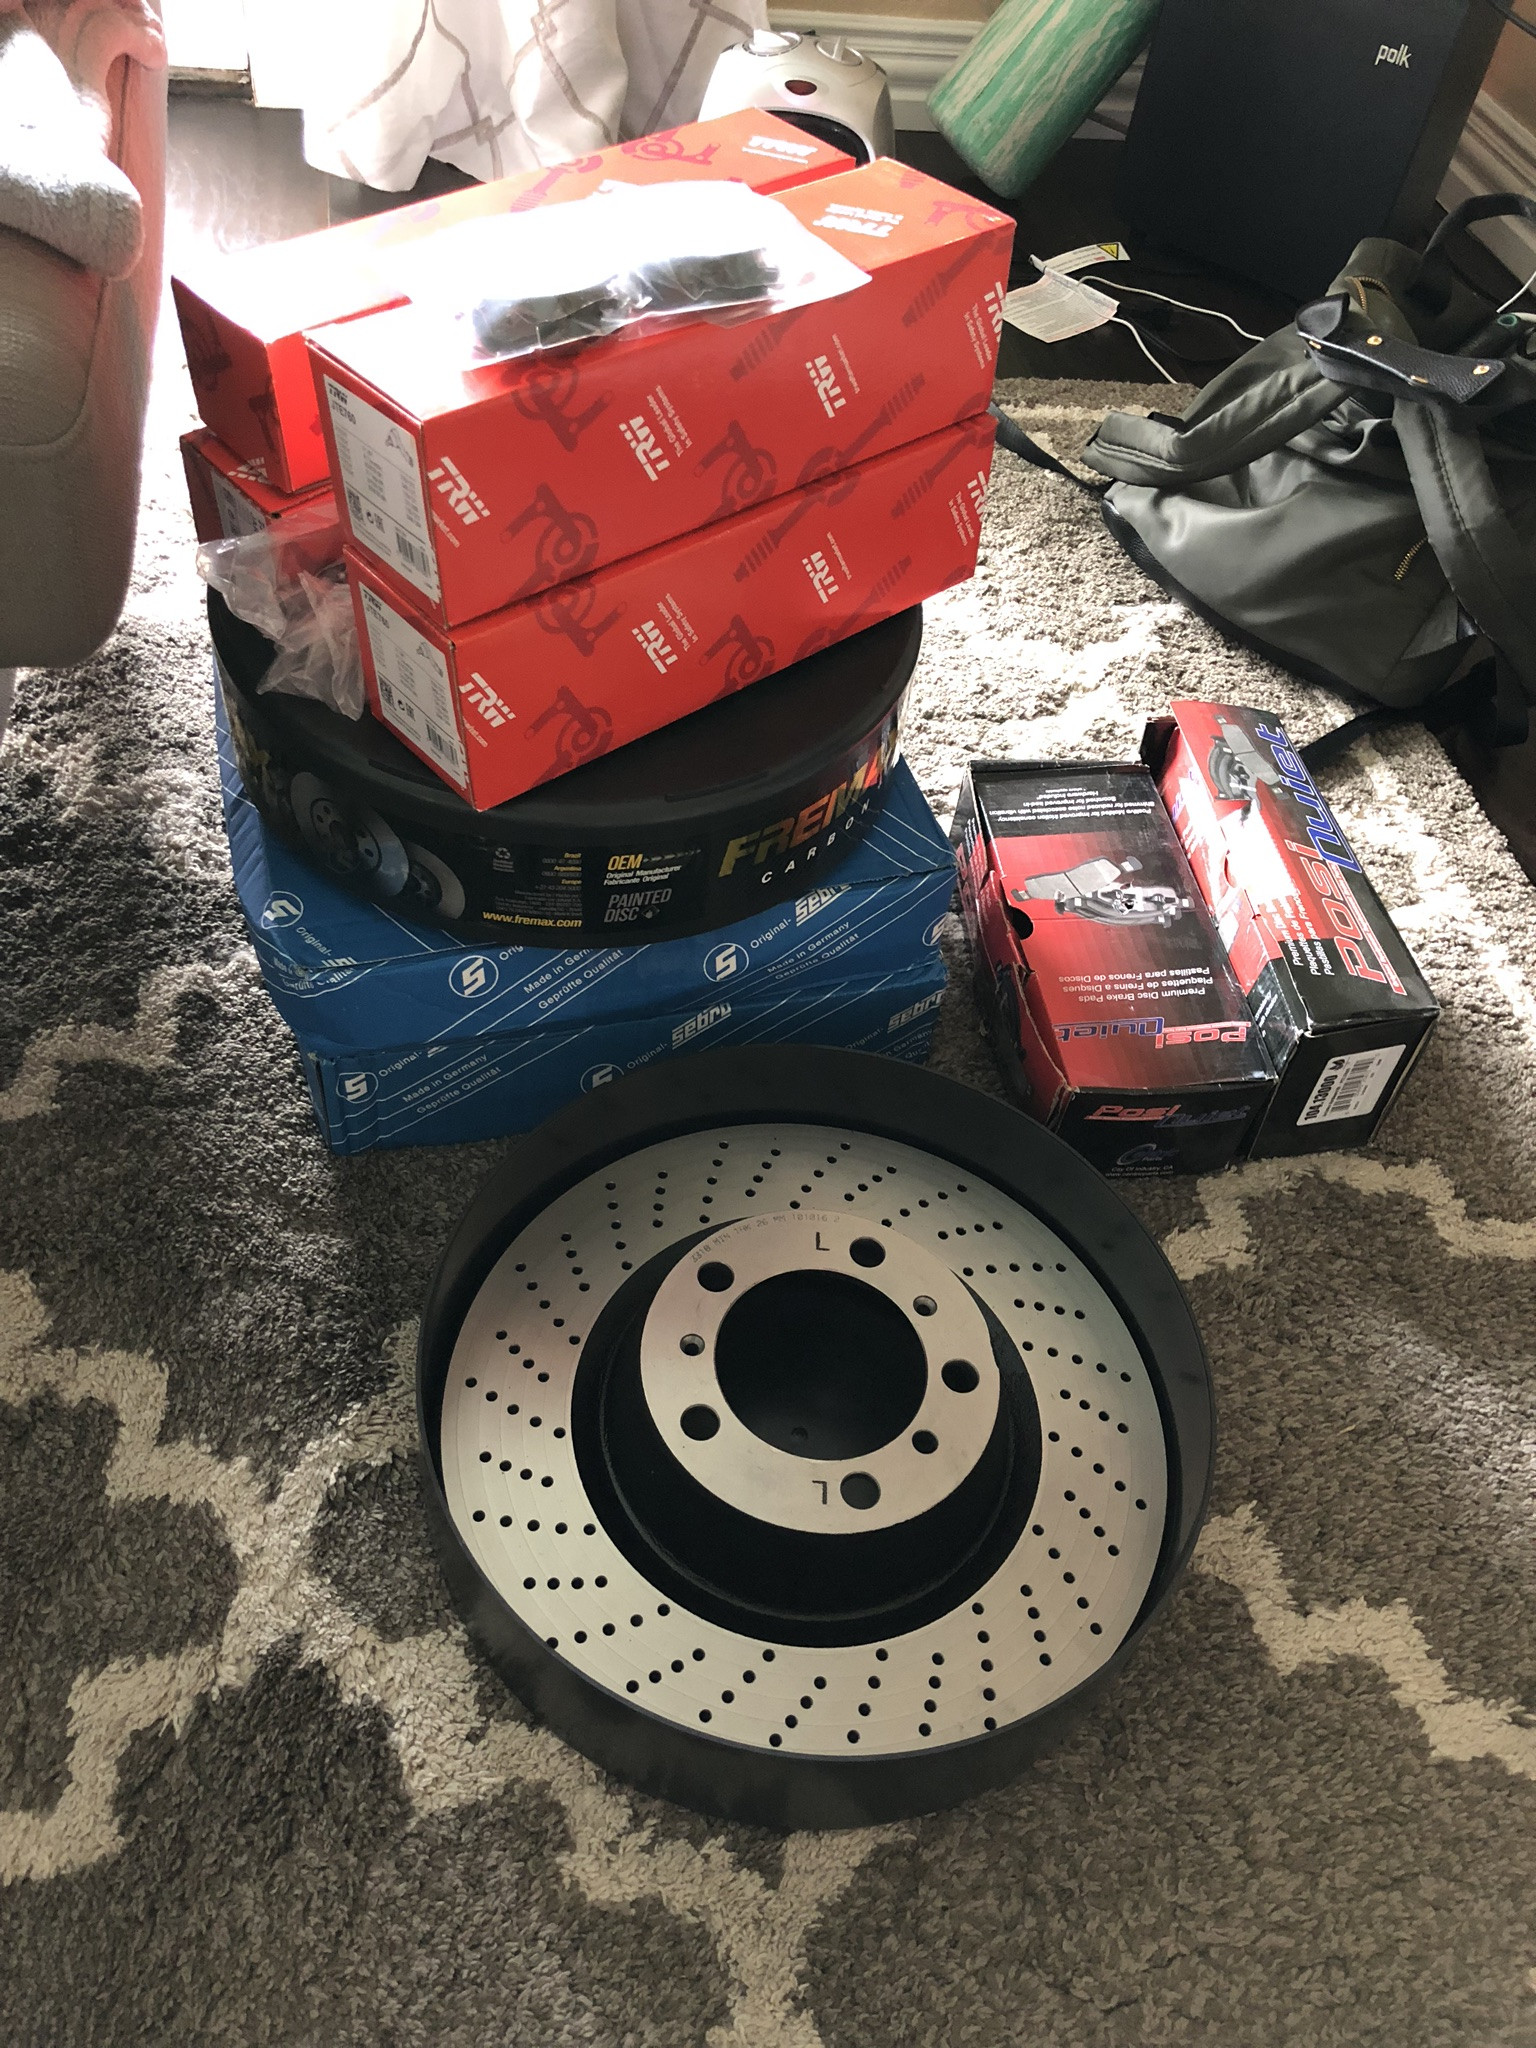
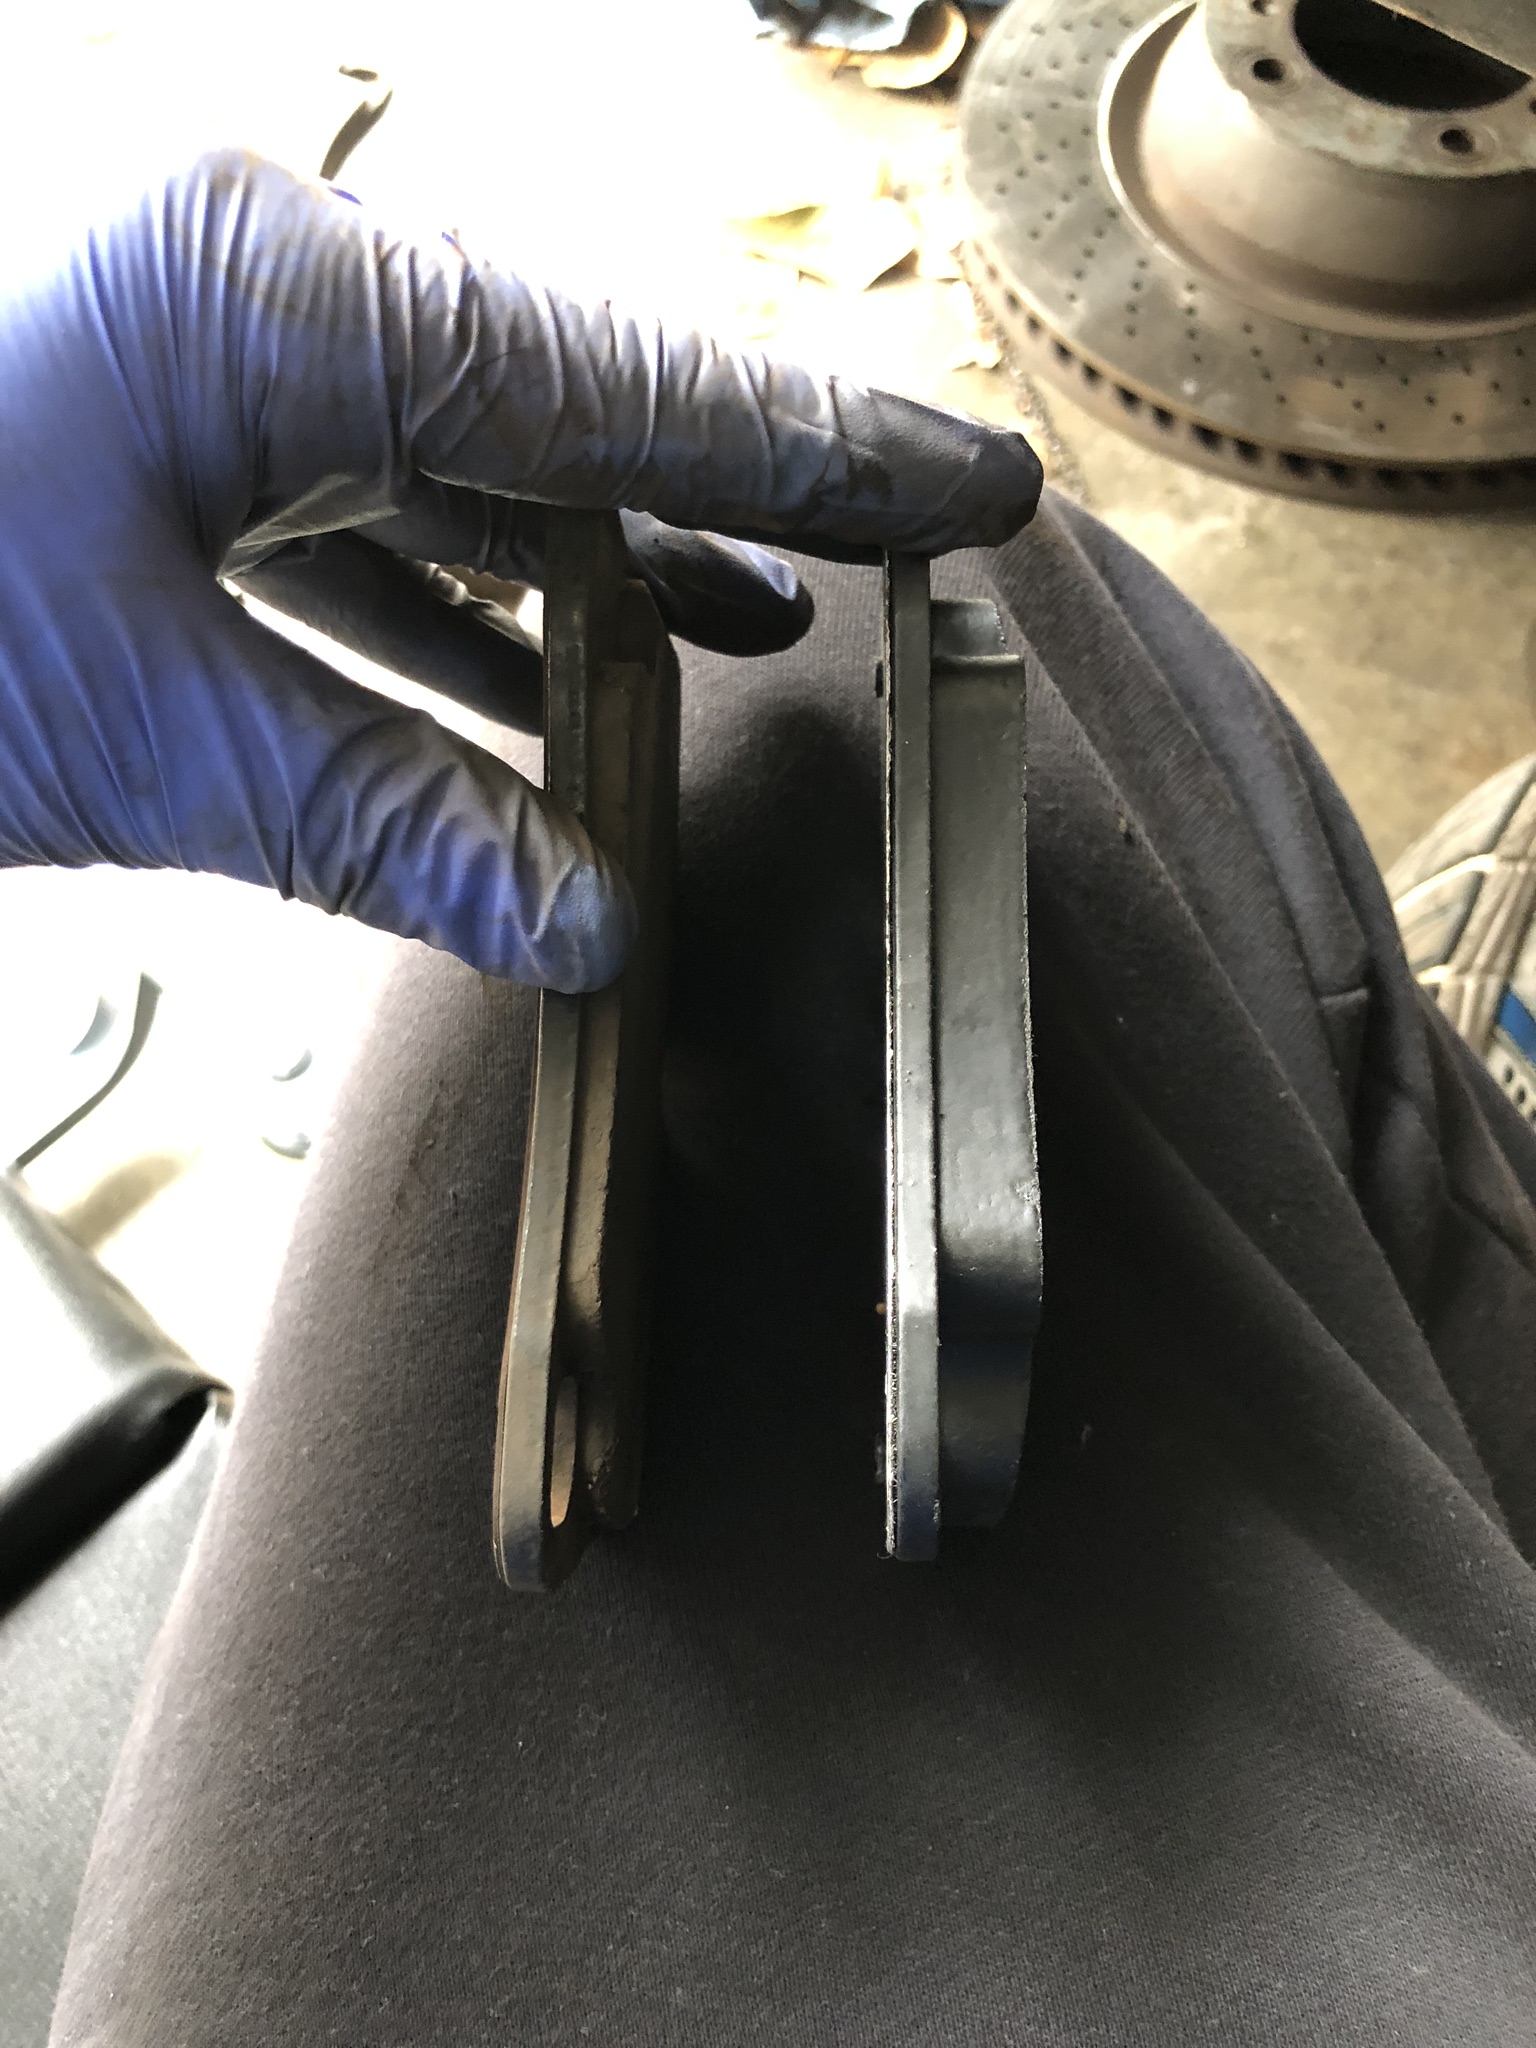
Yep, it needed everything. Old vs. new pads
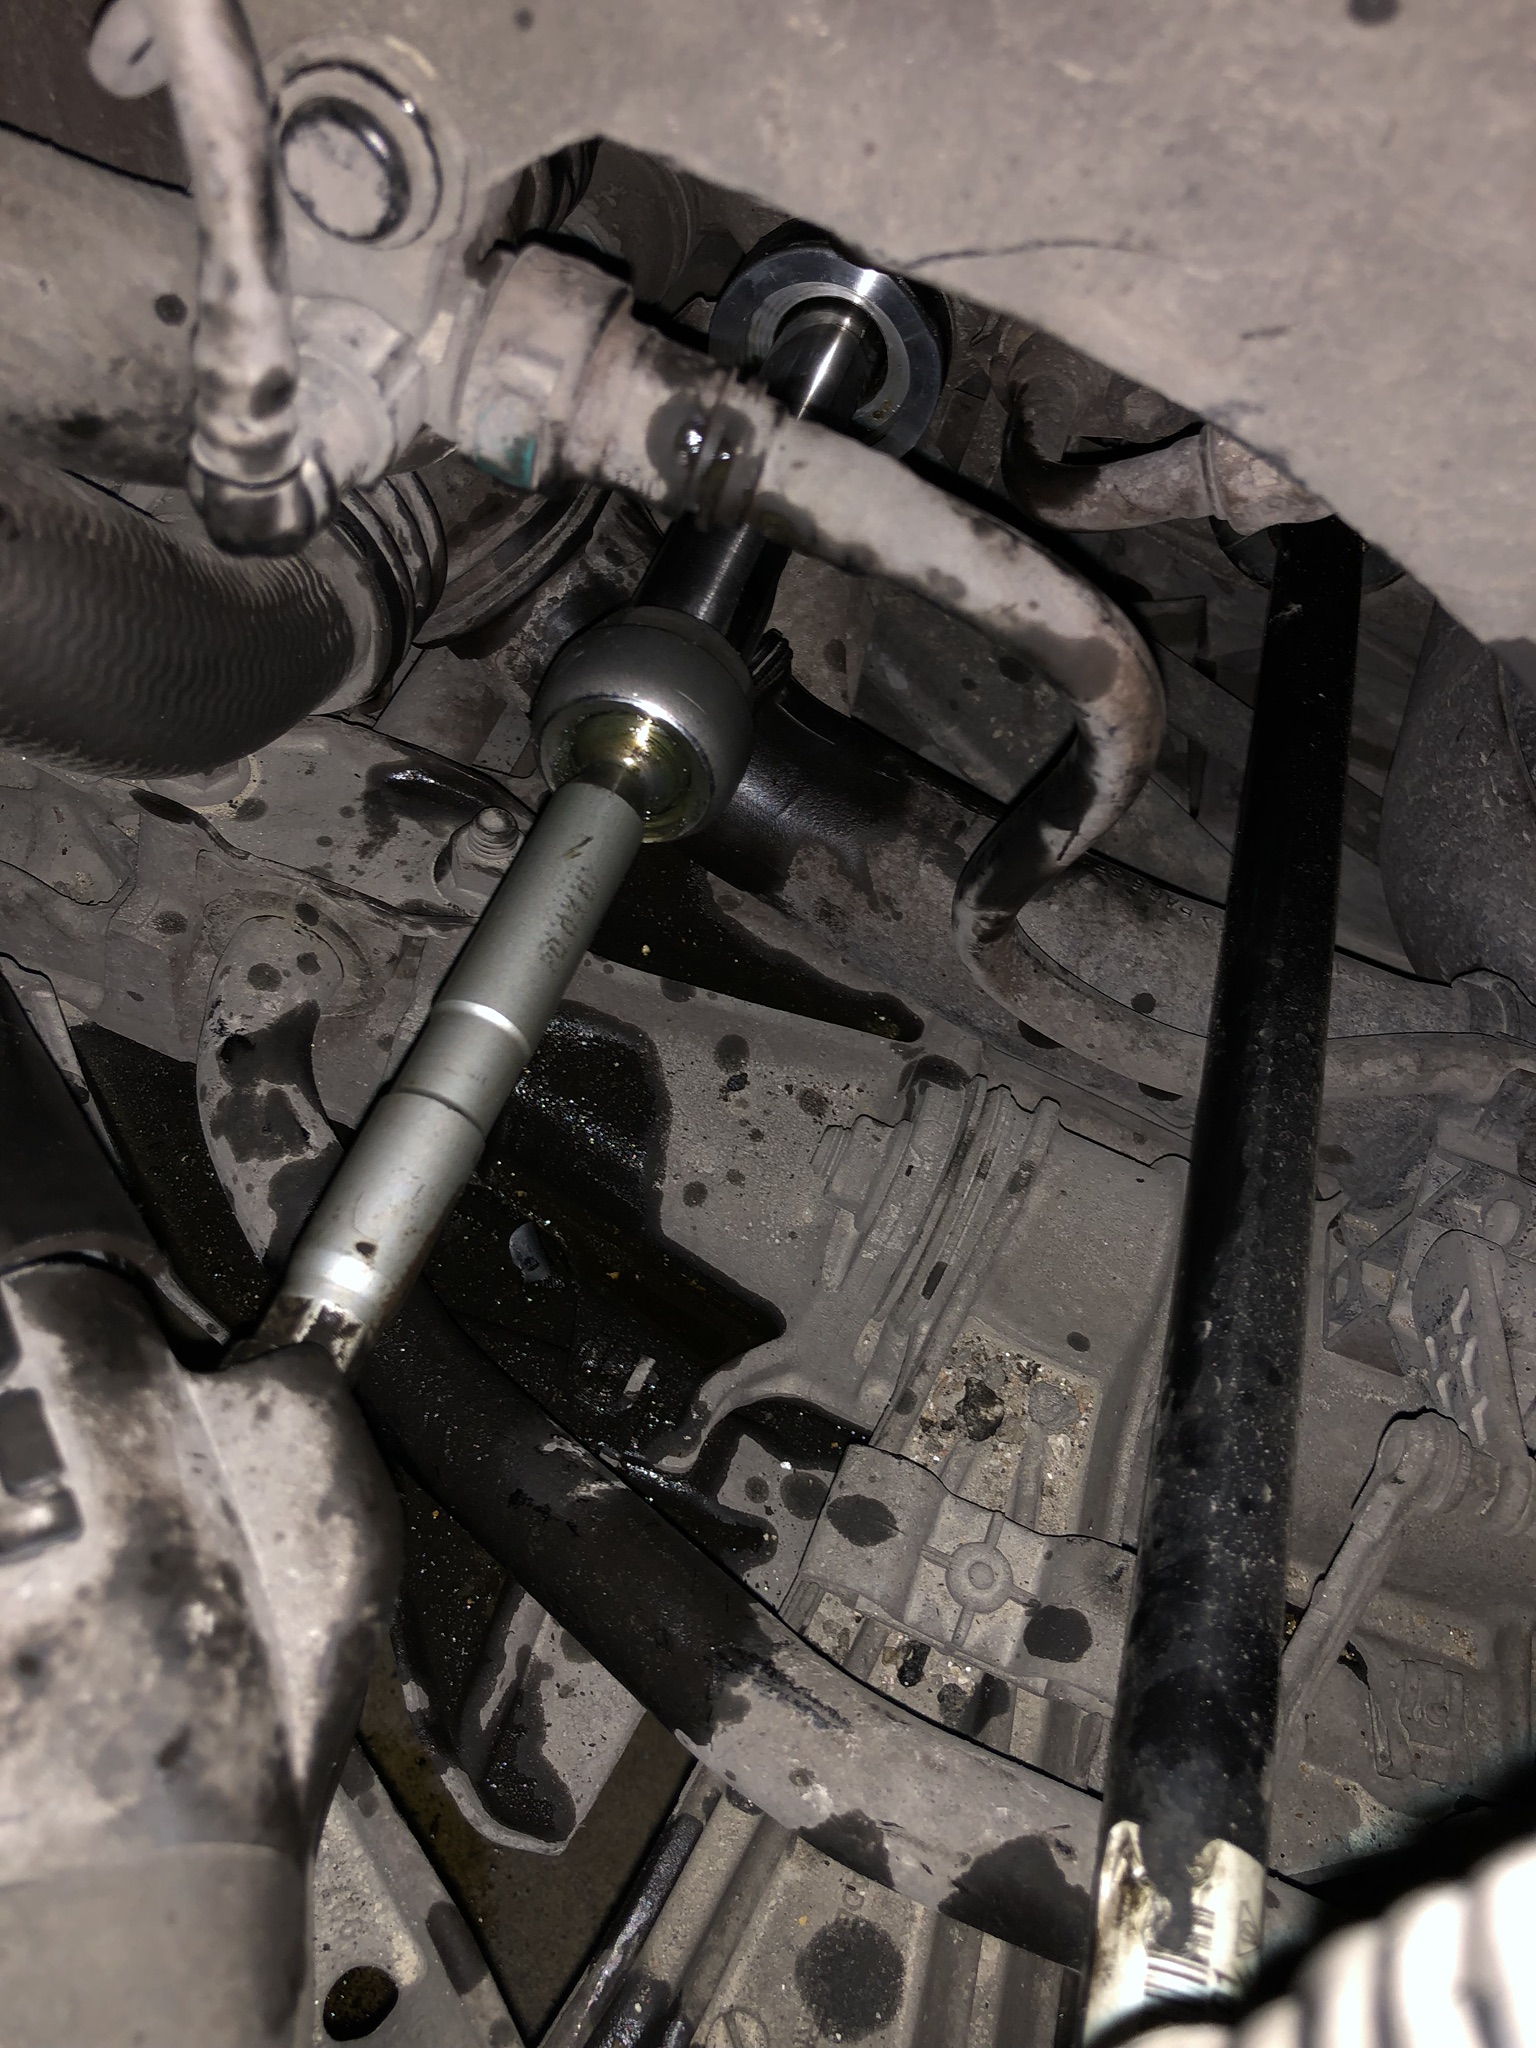
I cleaned the calipers all the way around, installed the rear brake rotors and pads, and then moved my way to the tie rods. My first surprise awaited - what's that leak??
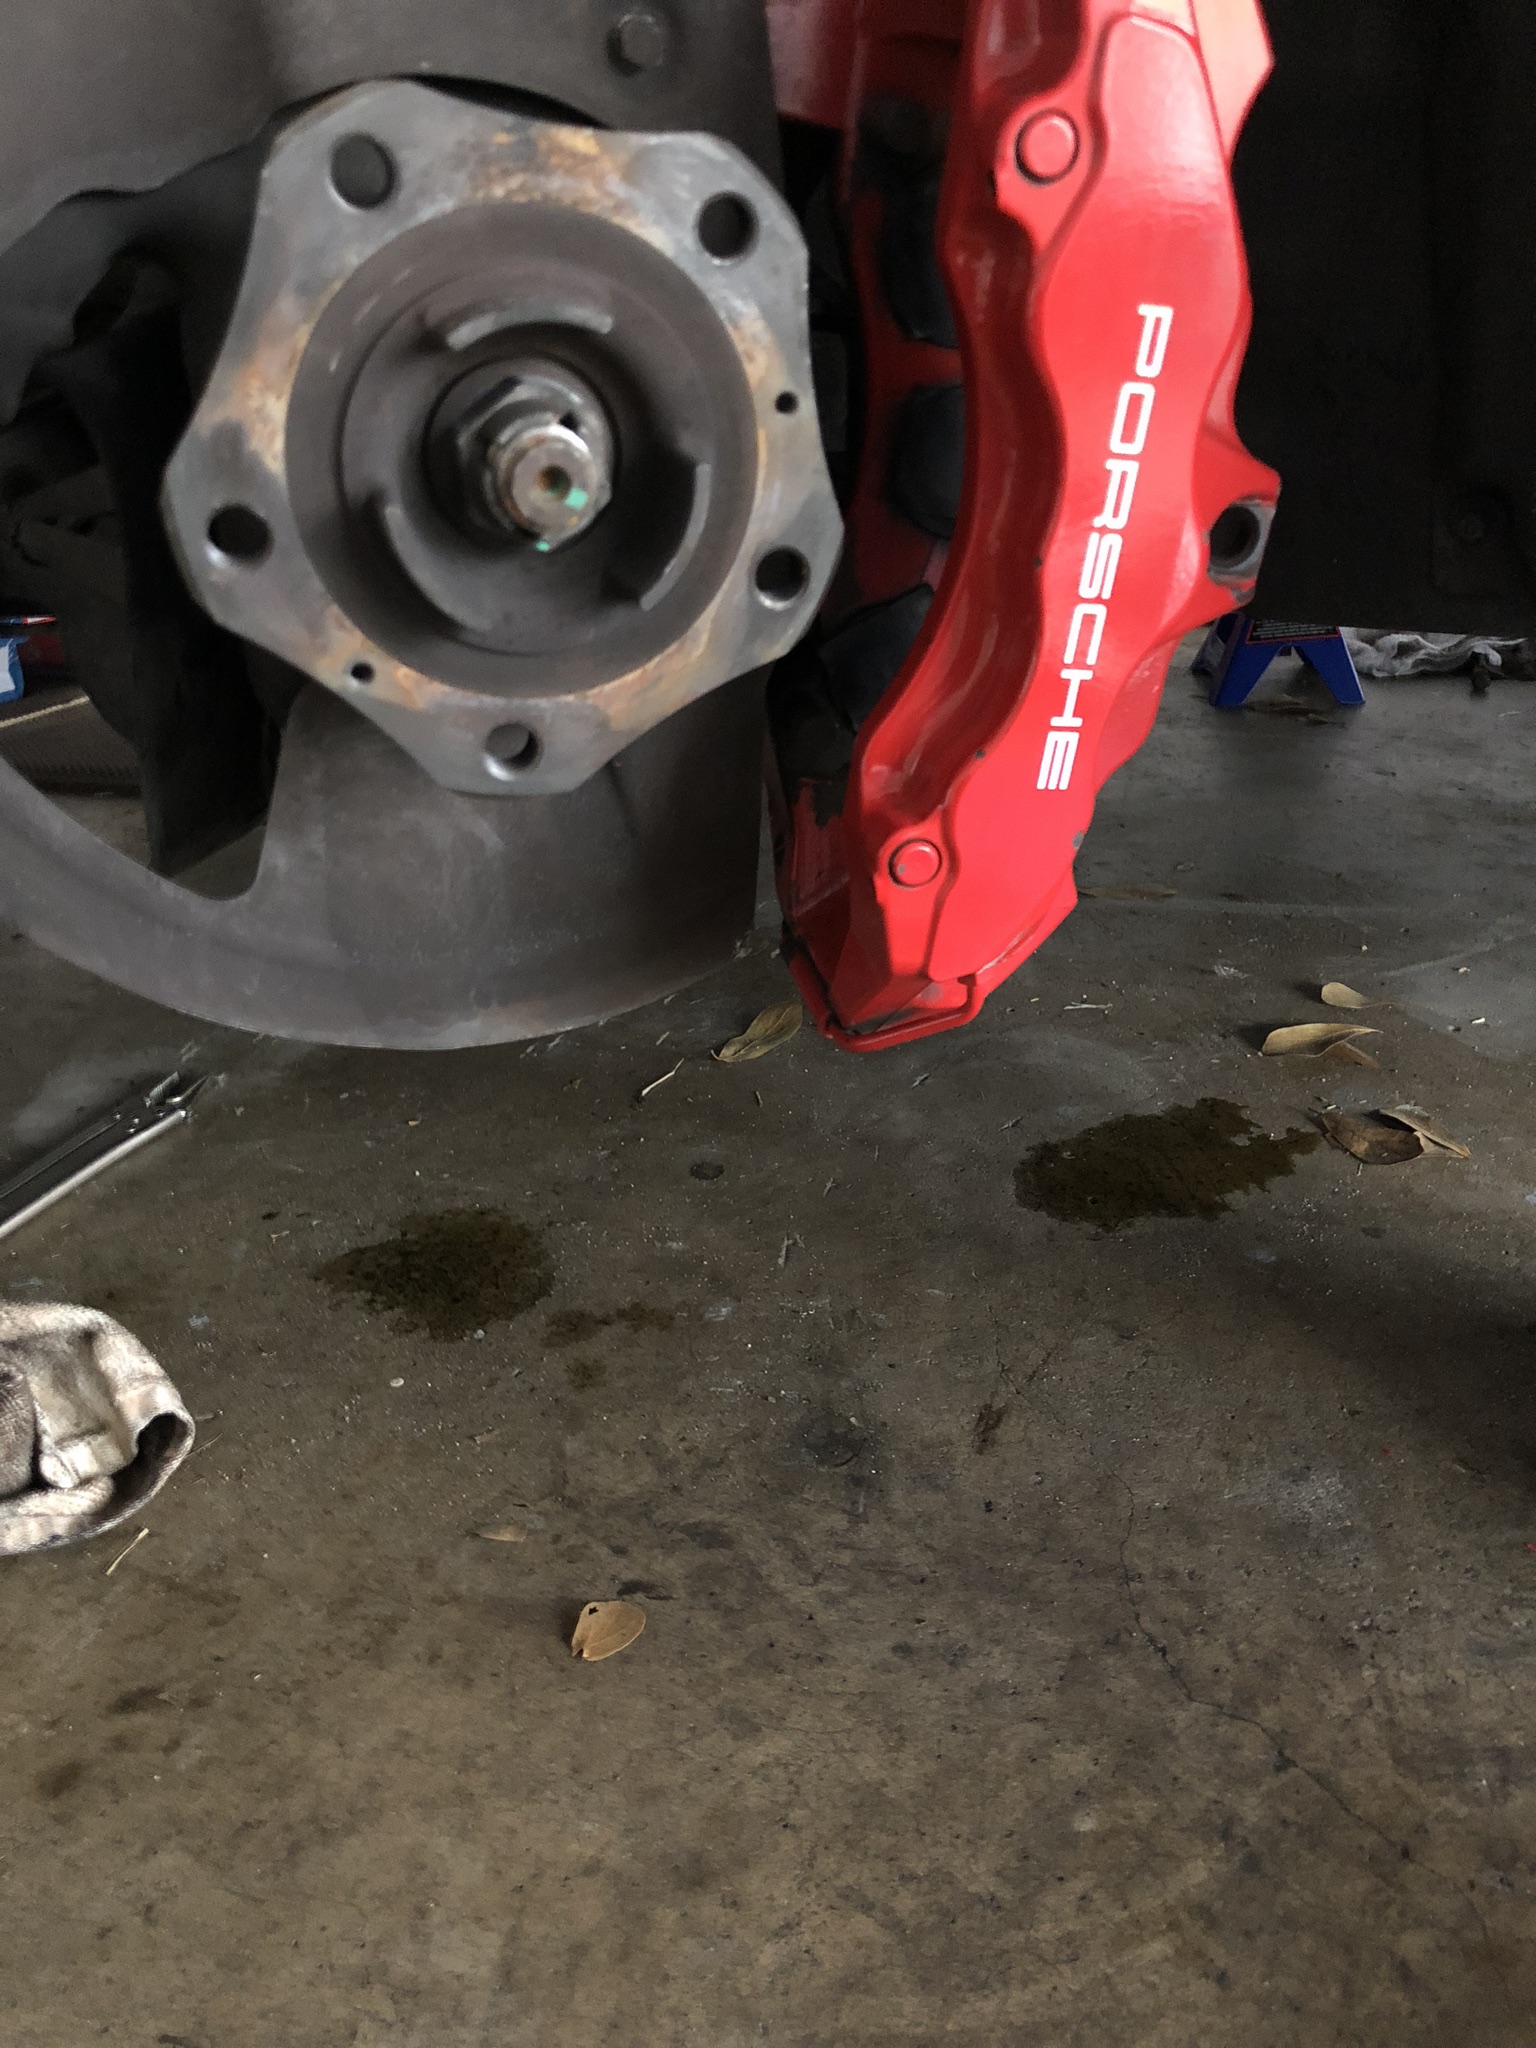
Turned out to be PS fluid from the steering lack, which had leaked into the inner tie rod boots. Here you can see the inner tie rod boot connected to the steering rack with PS fluid spilled on the subframe. Gotta replace the rack
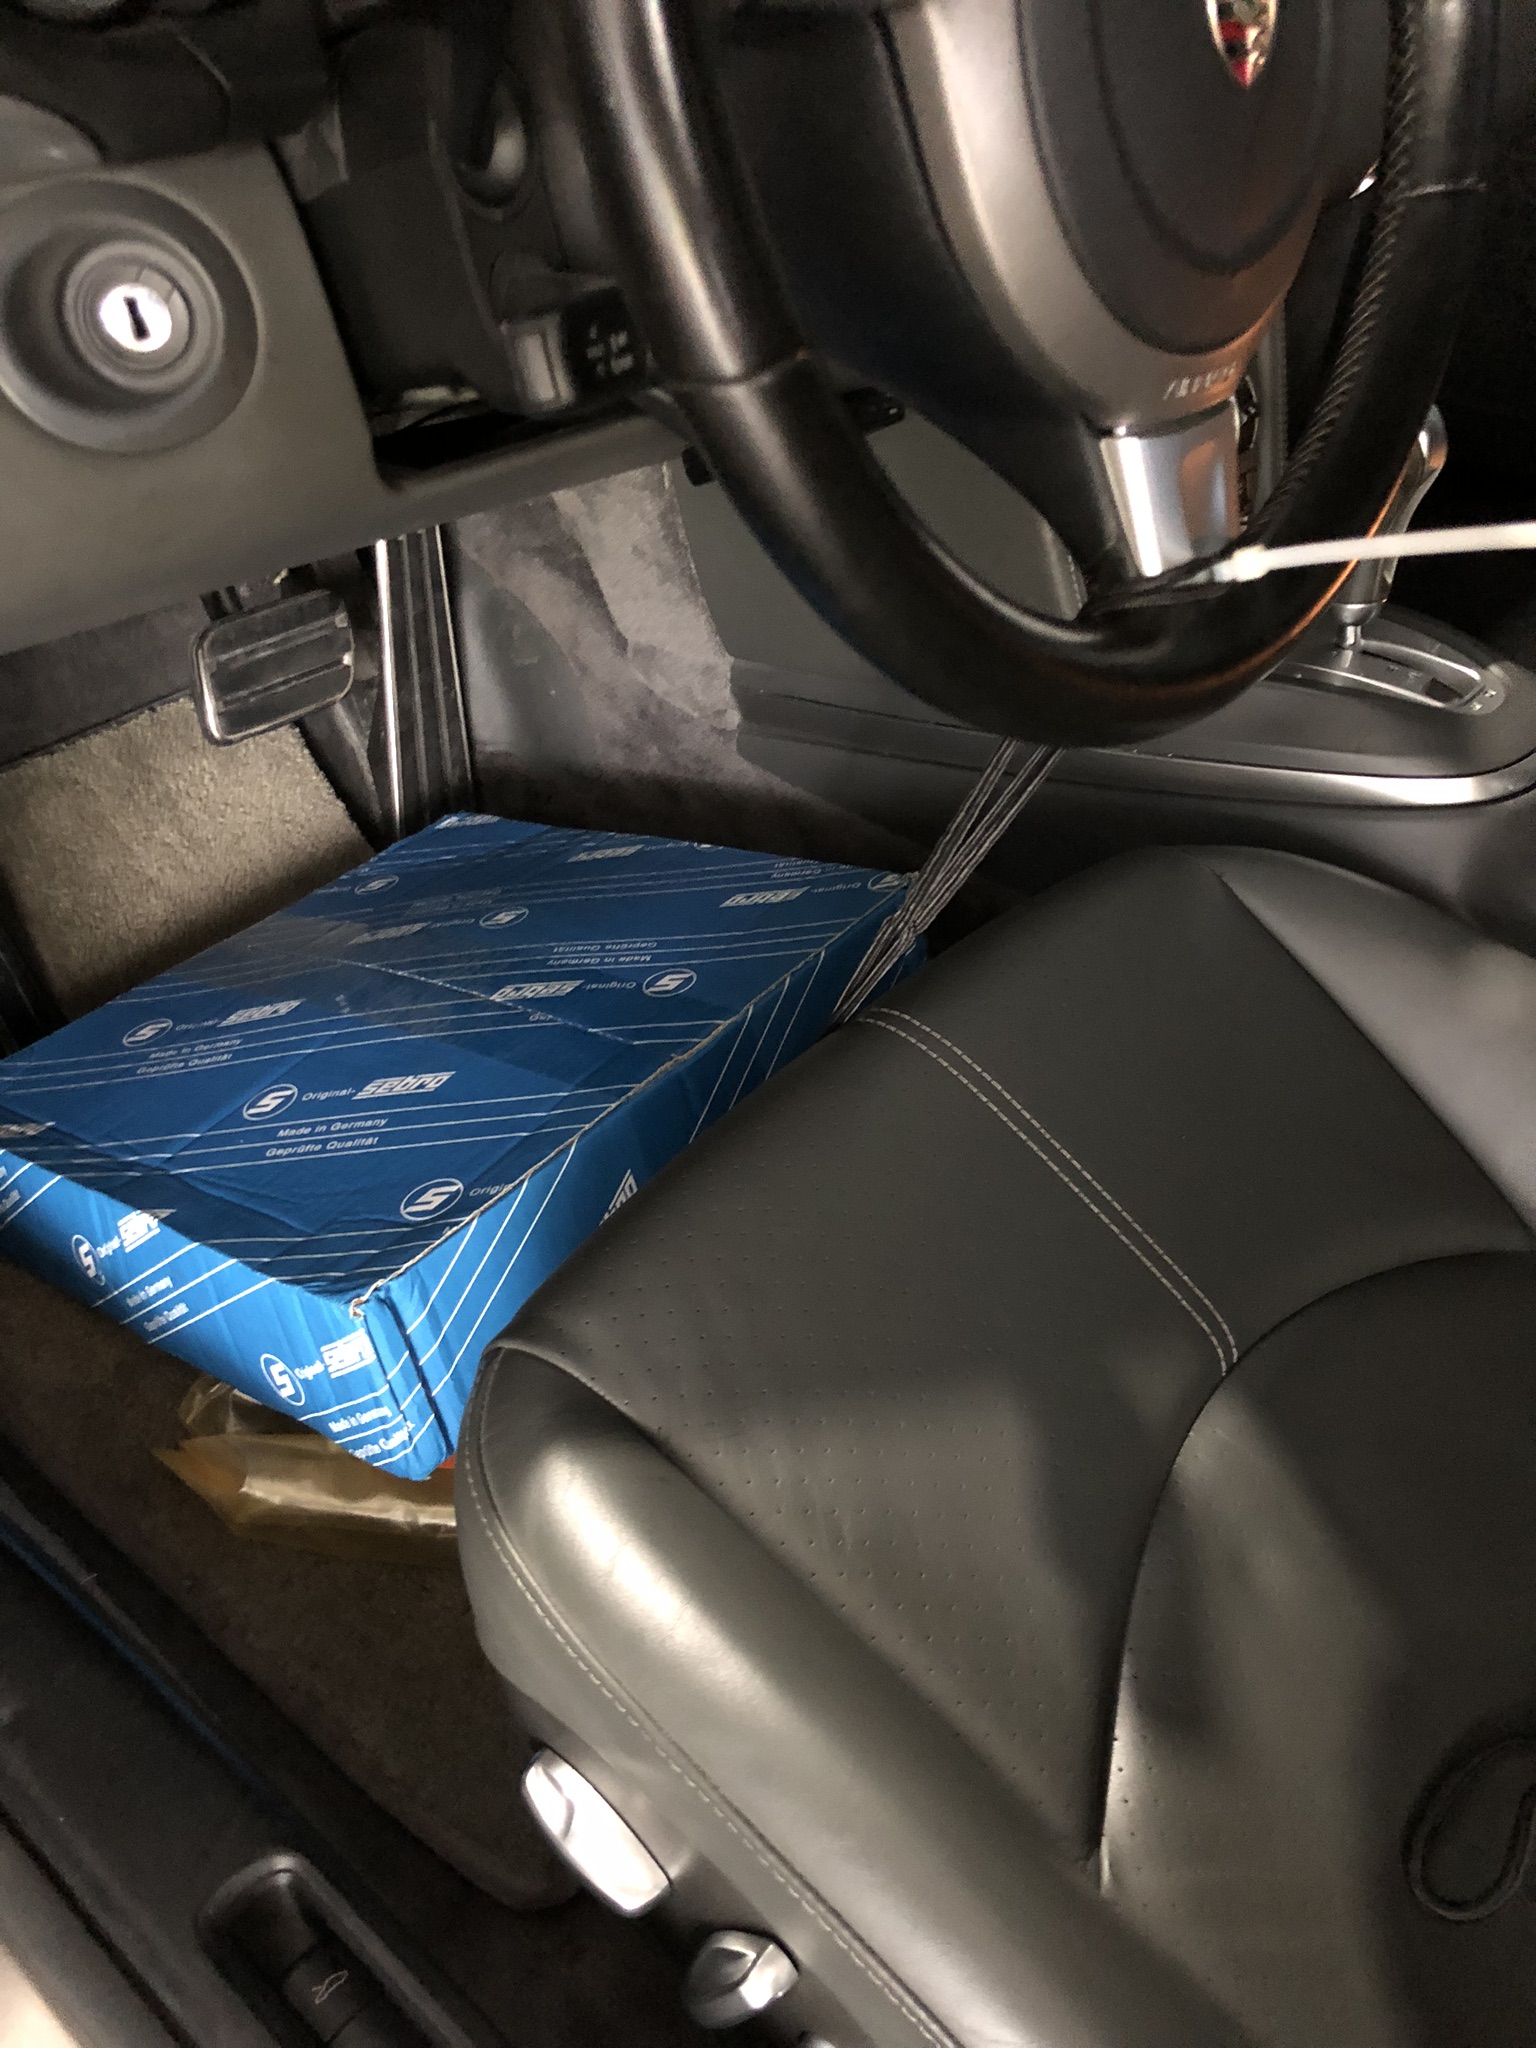
Step 1 is to secure and lock the steering wheel. I used some bungee cords and two front rotors to hold the wheel in place.
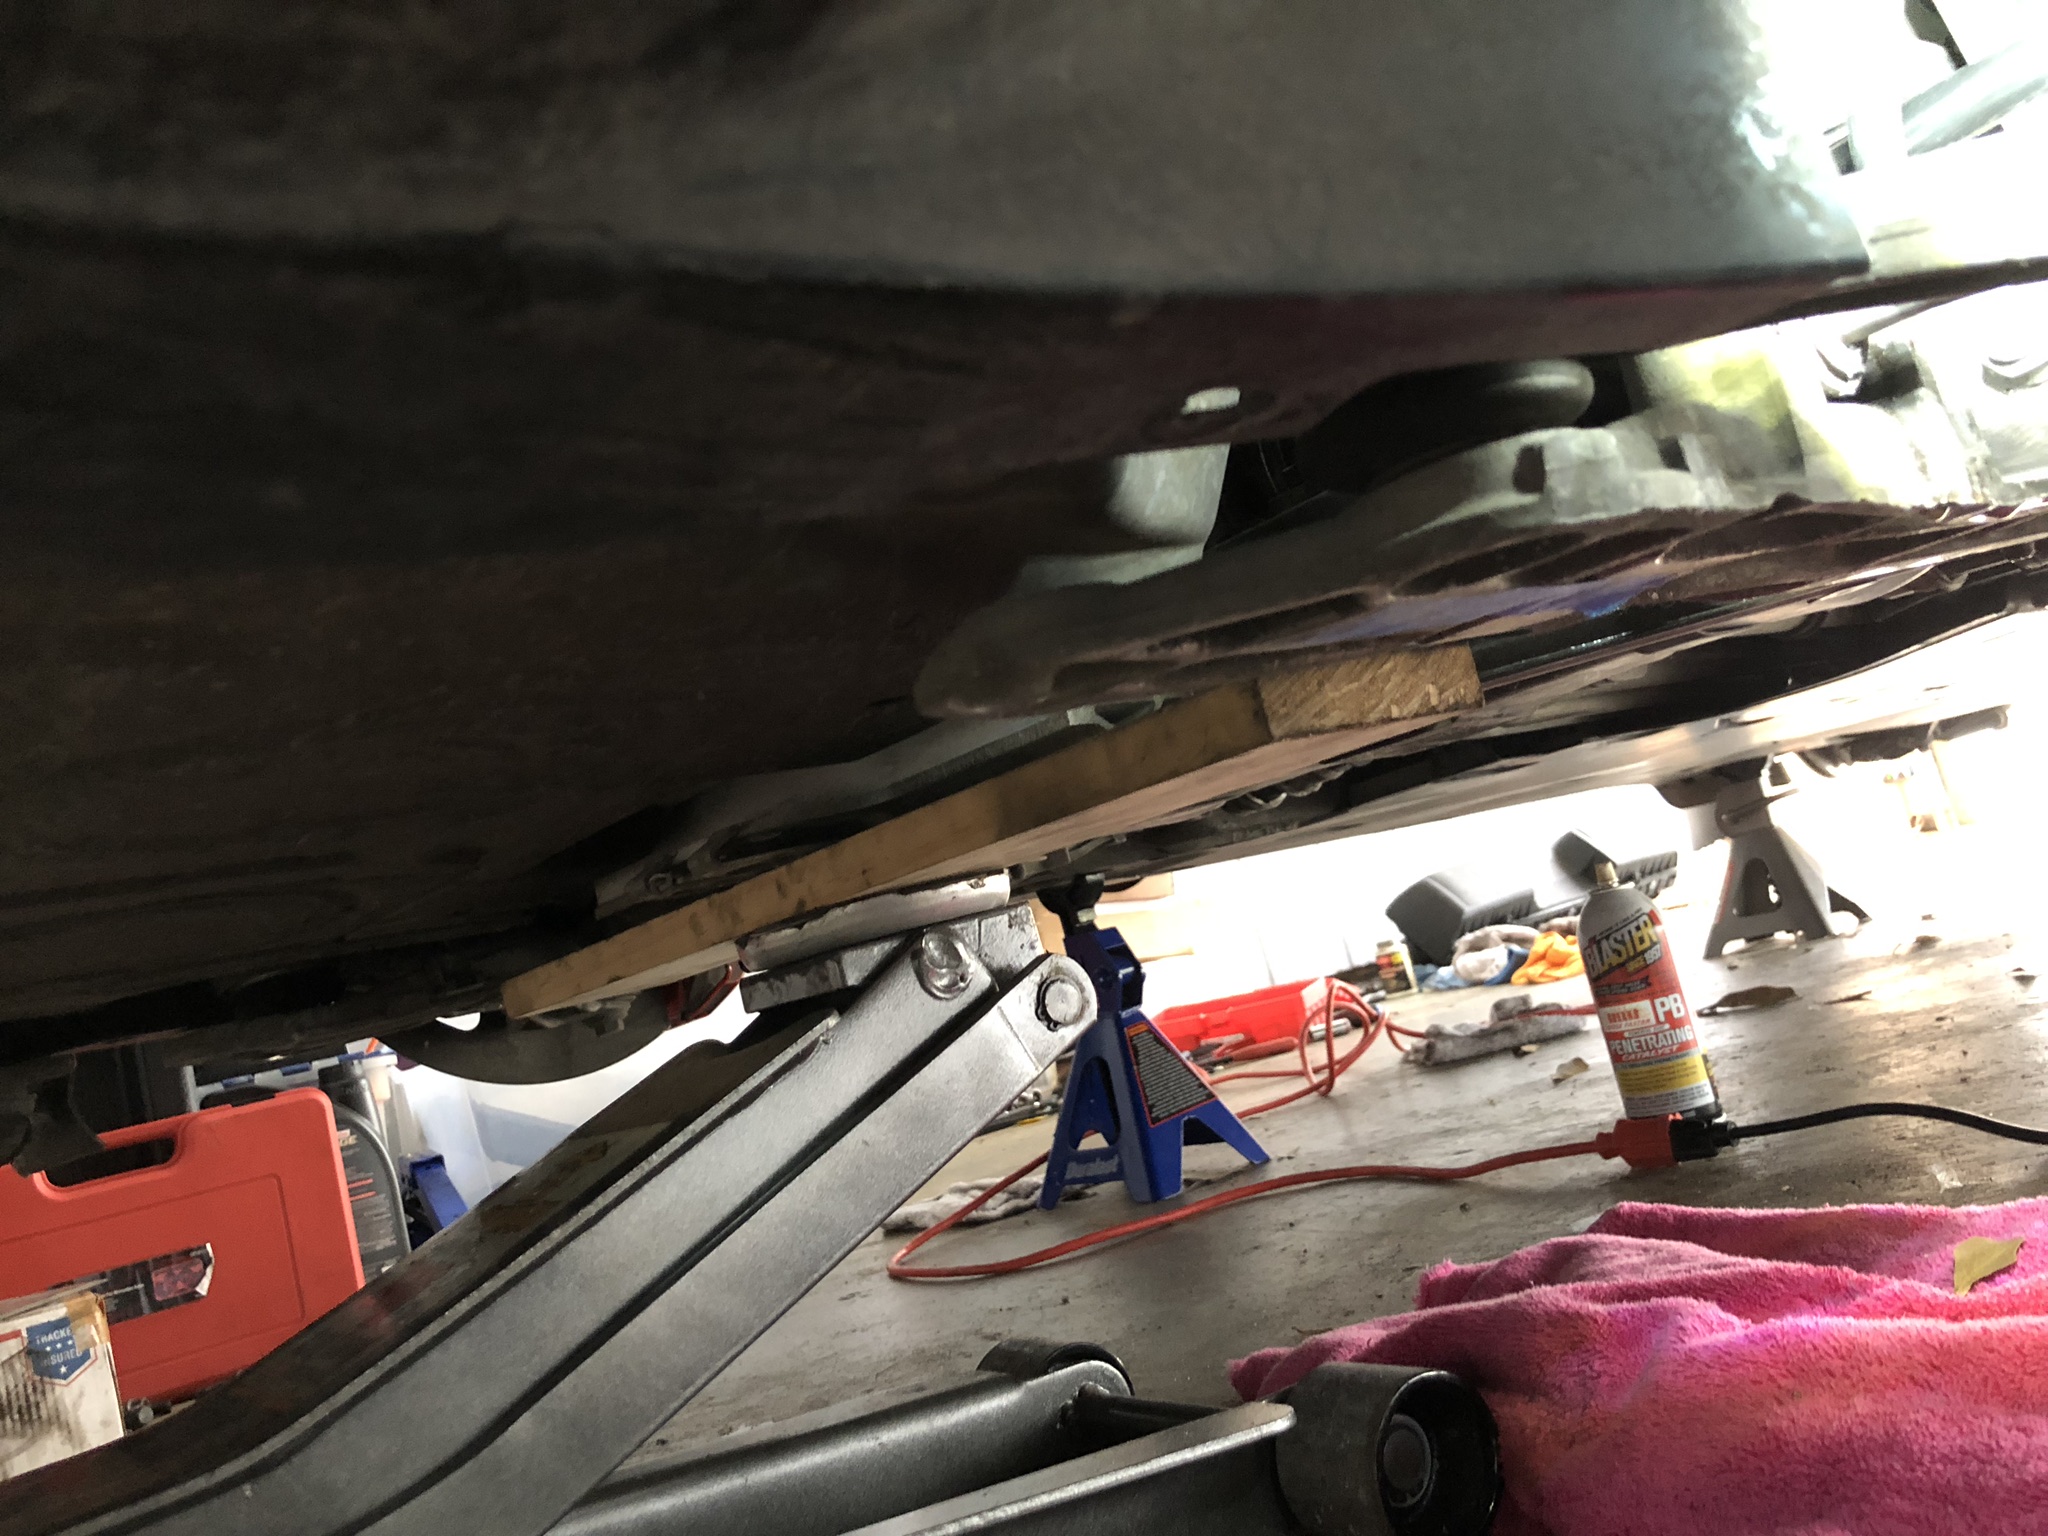
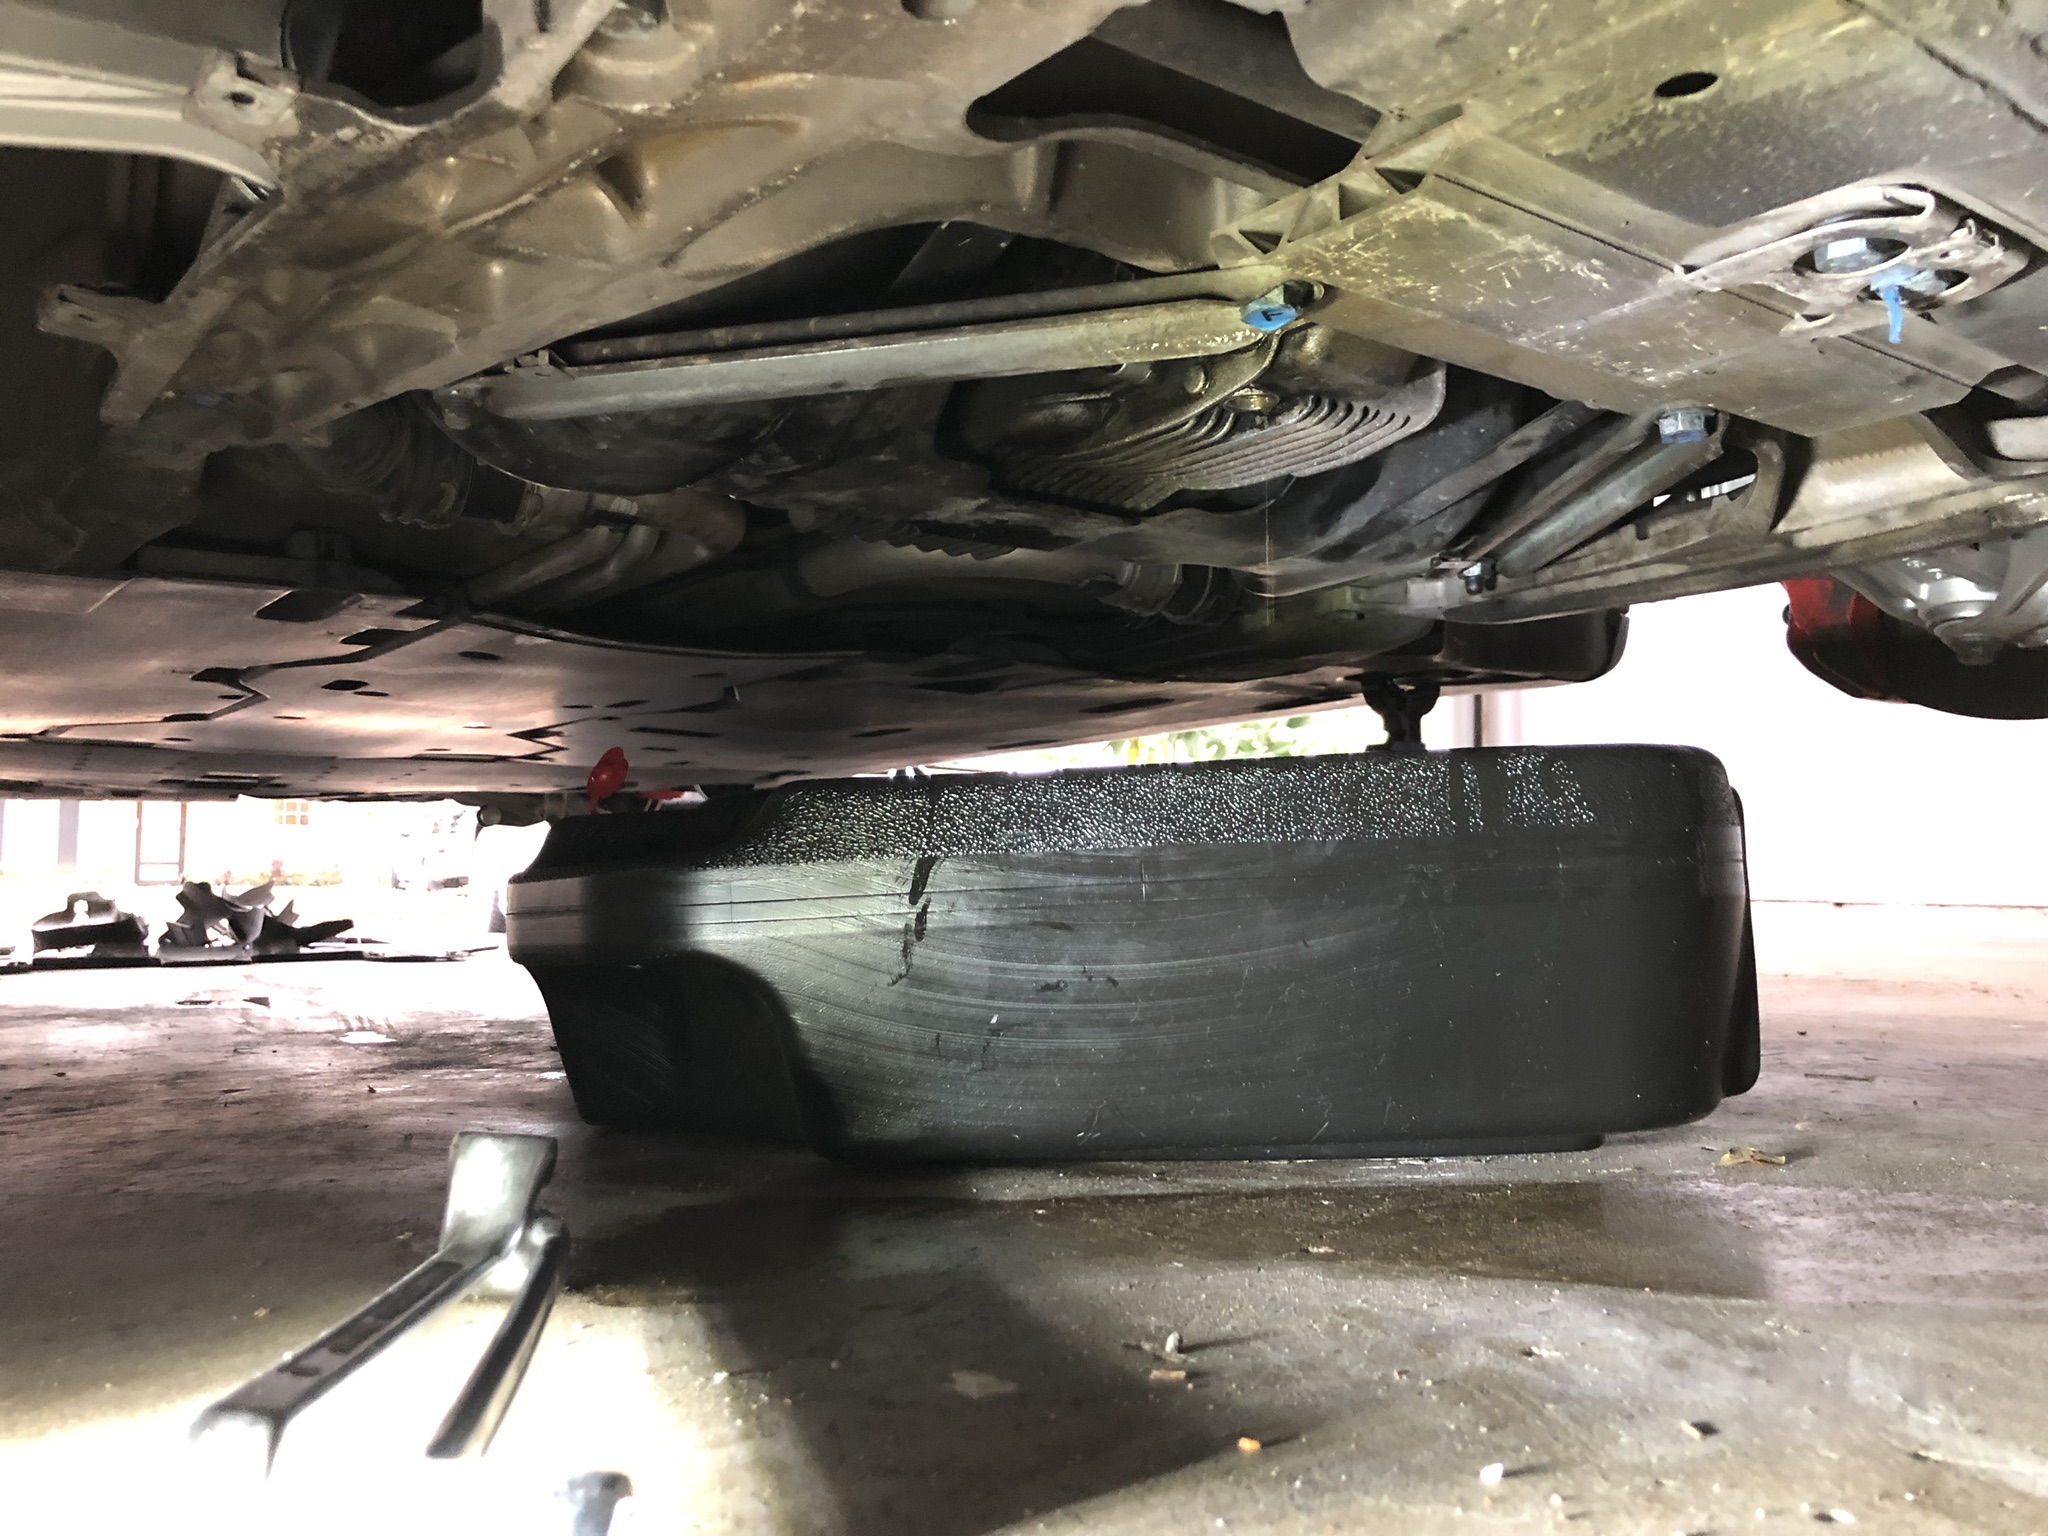
The subframe must be lowered in order to R&R the rack
Using a ball joint tool, and after lowering the subframe and disconnecting the PS hoses, the rack comes out without too much trouble. You can see how chewed up the ball joints were.
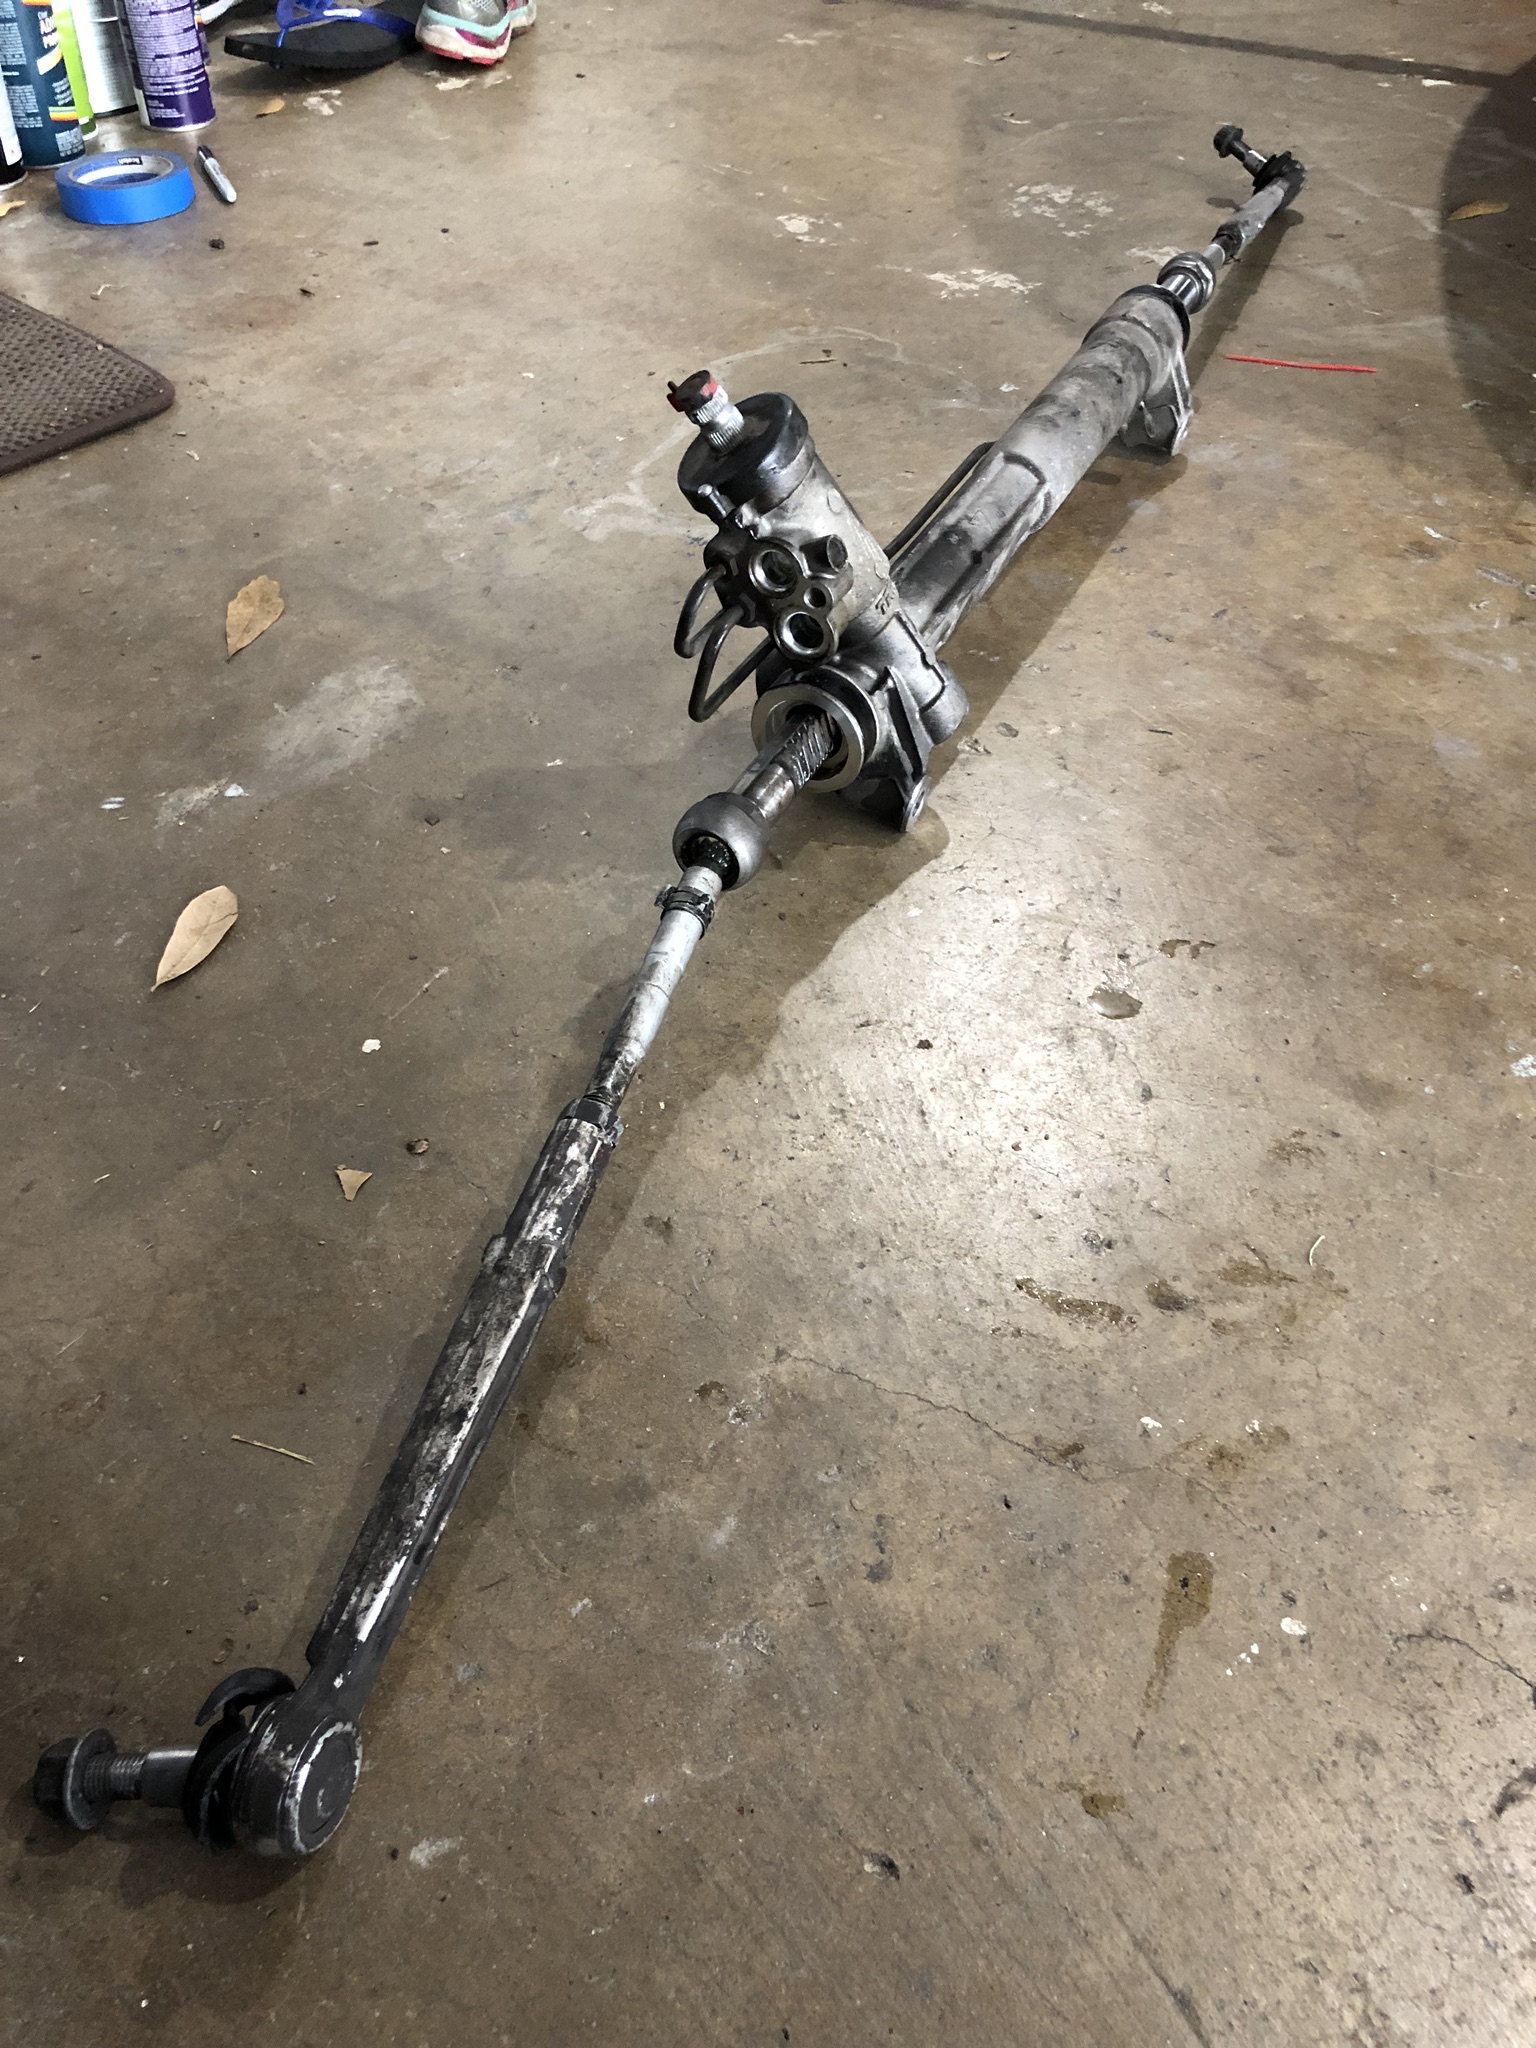
I sourced a low-mileage rack from a breaker for $225. Totally cheap and worth it. It looked brand new. I bolted up the new inner and outer tie rods and boots, and started installing the "new" rack.
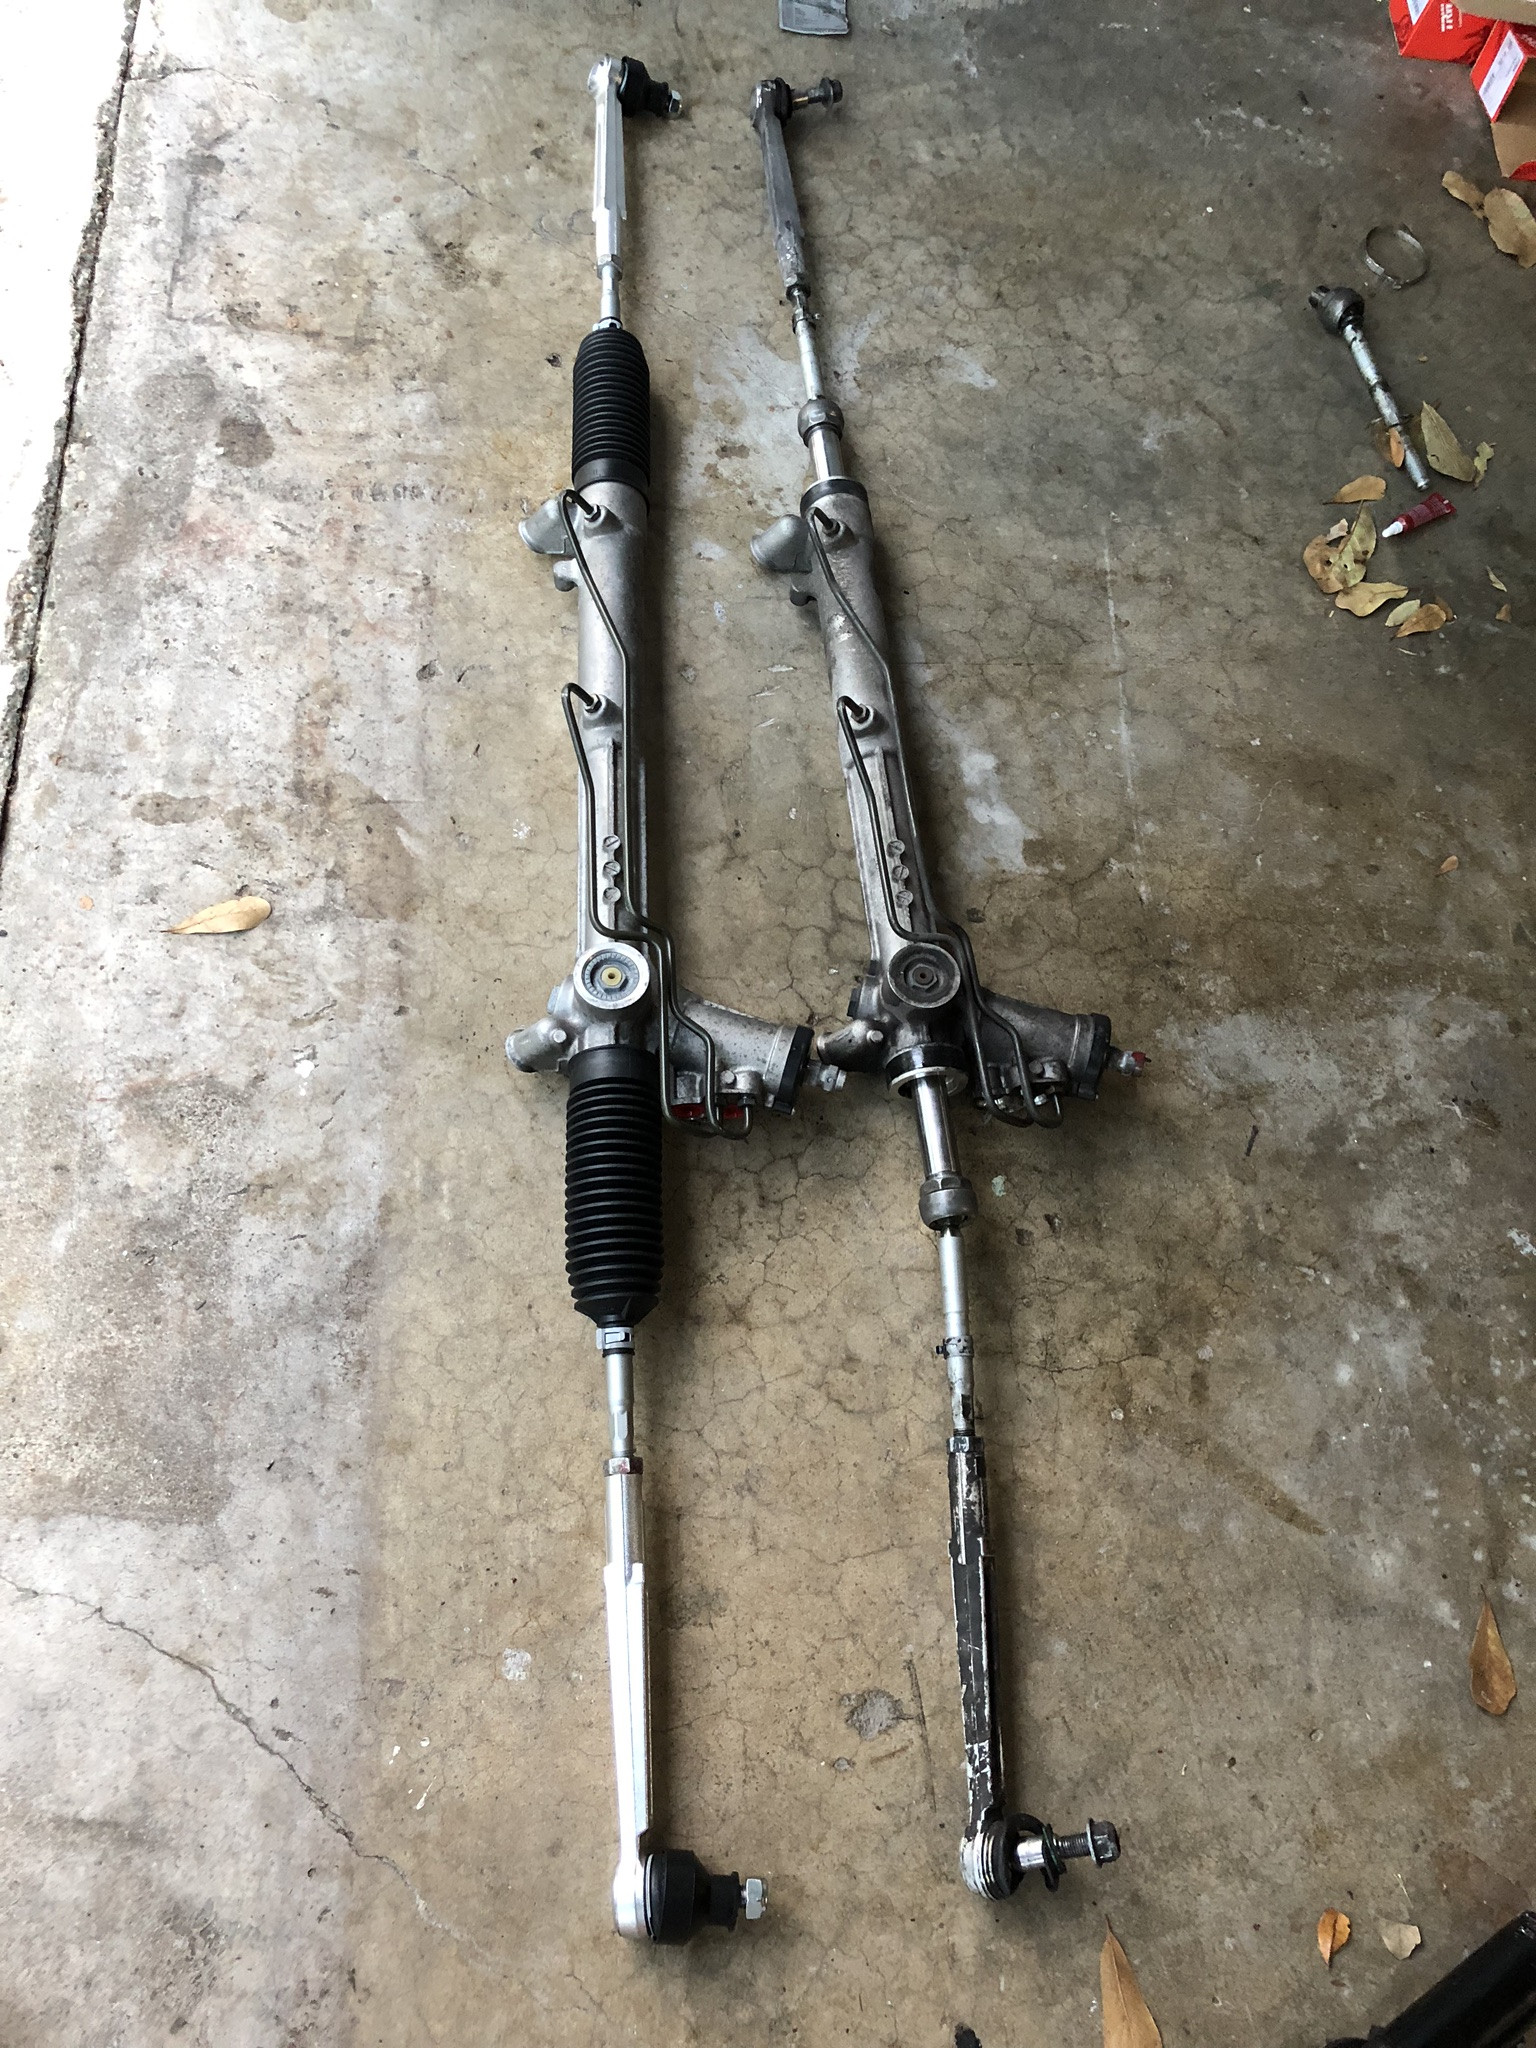
New rack installed.
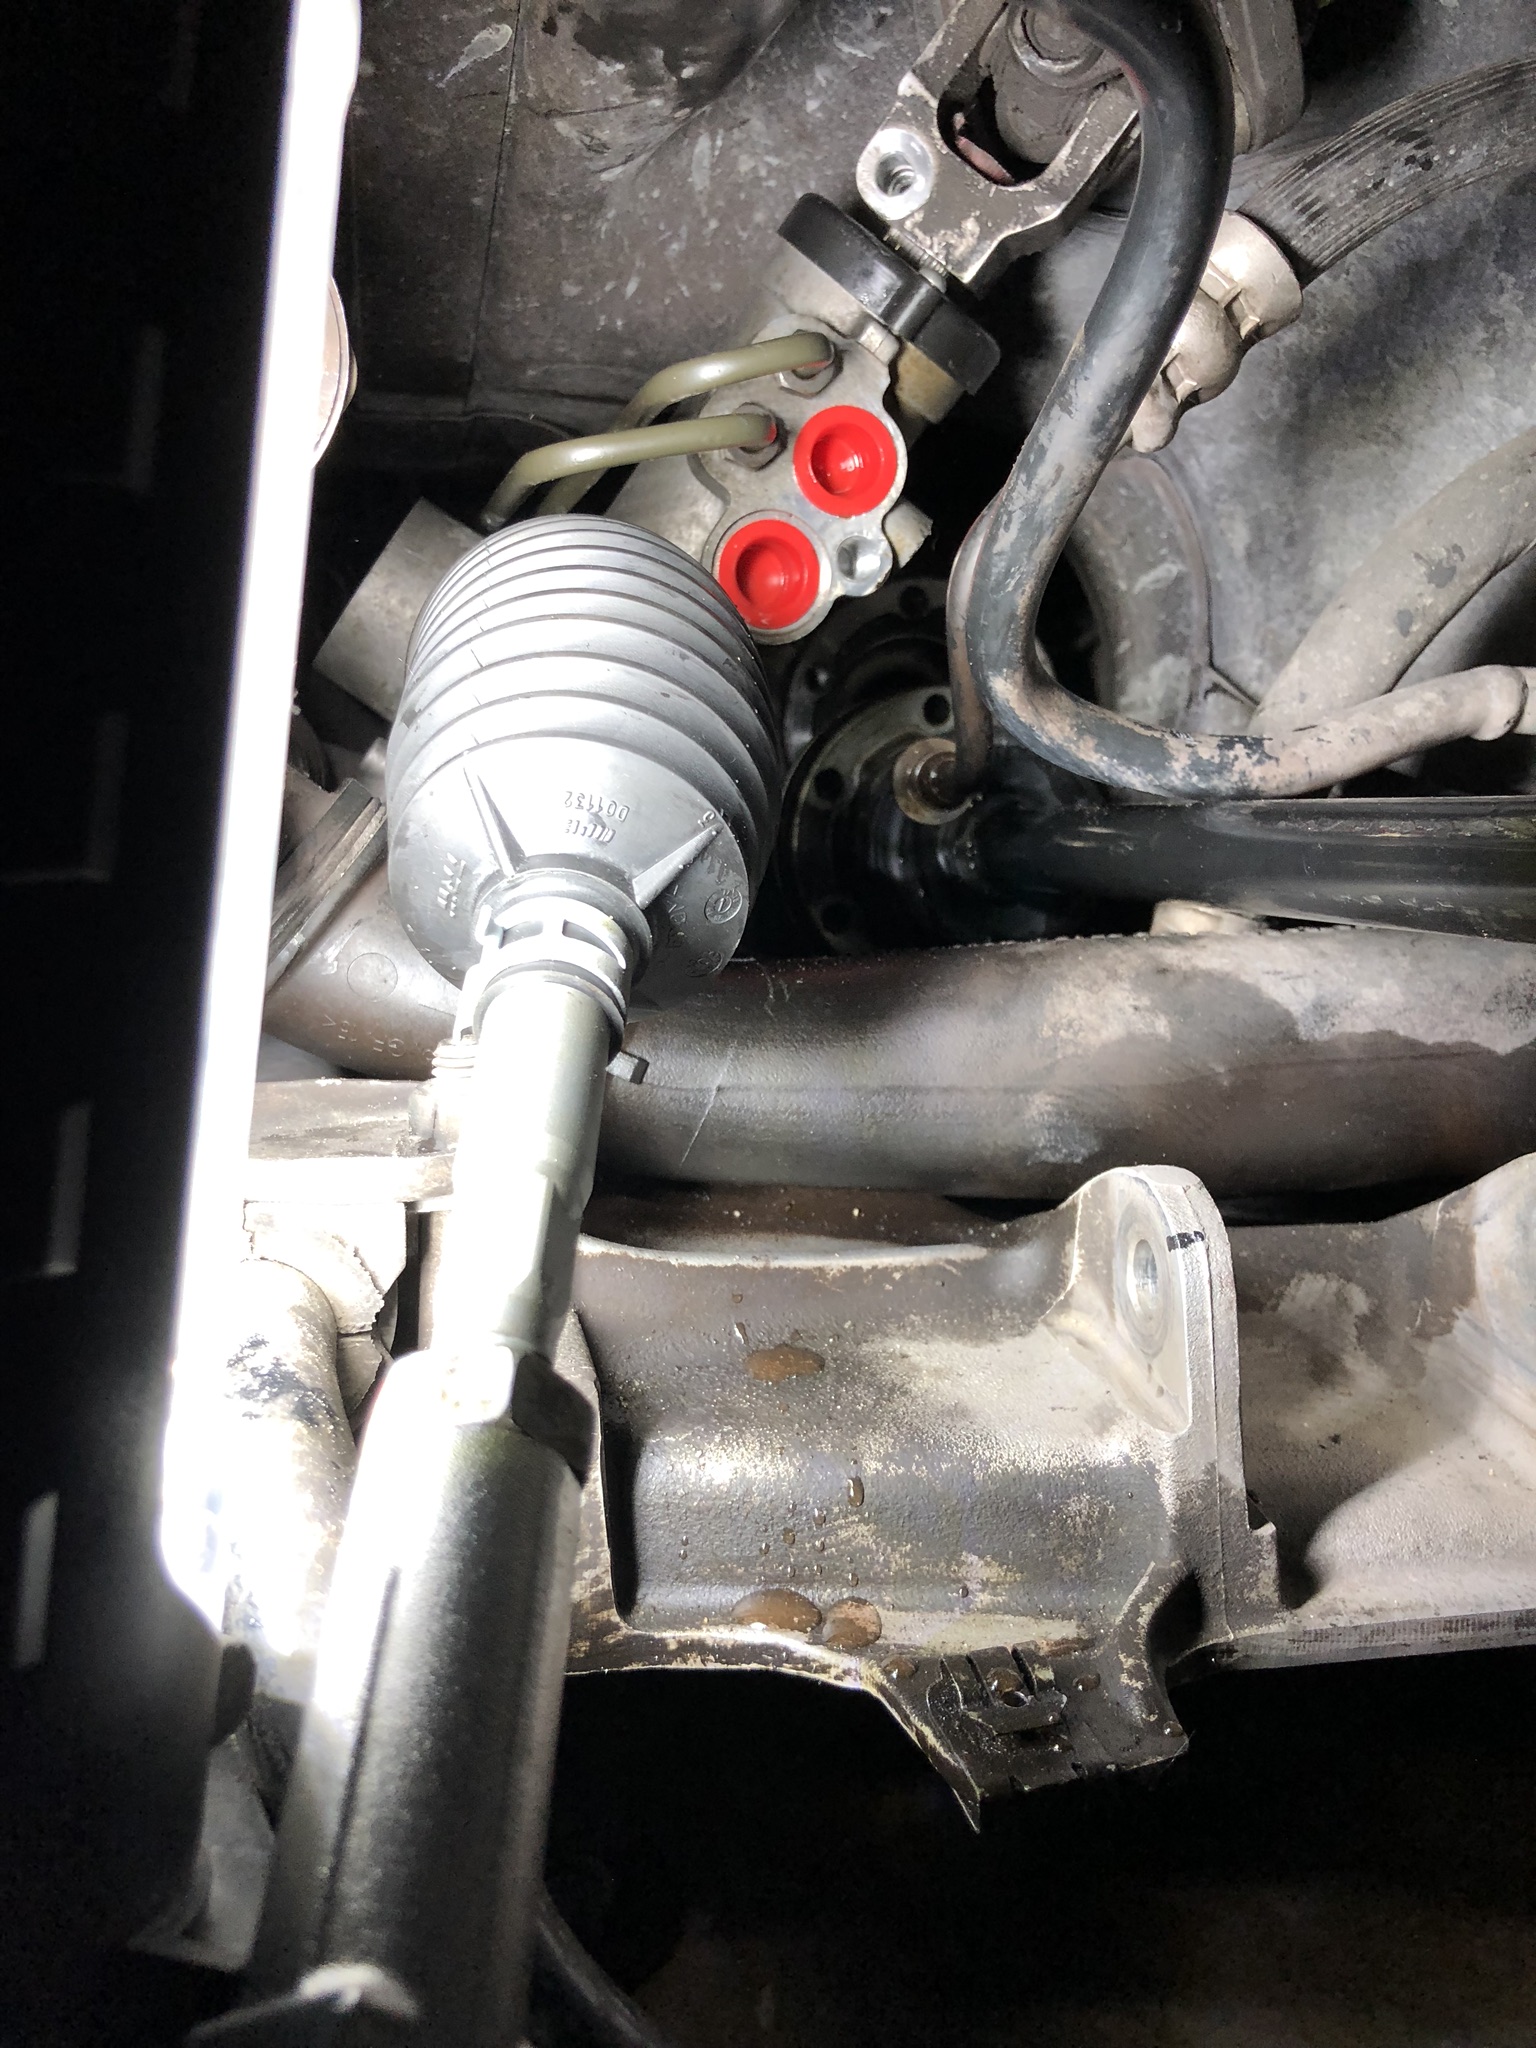
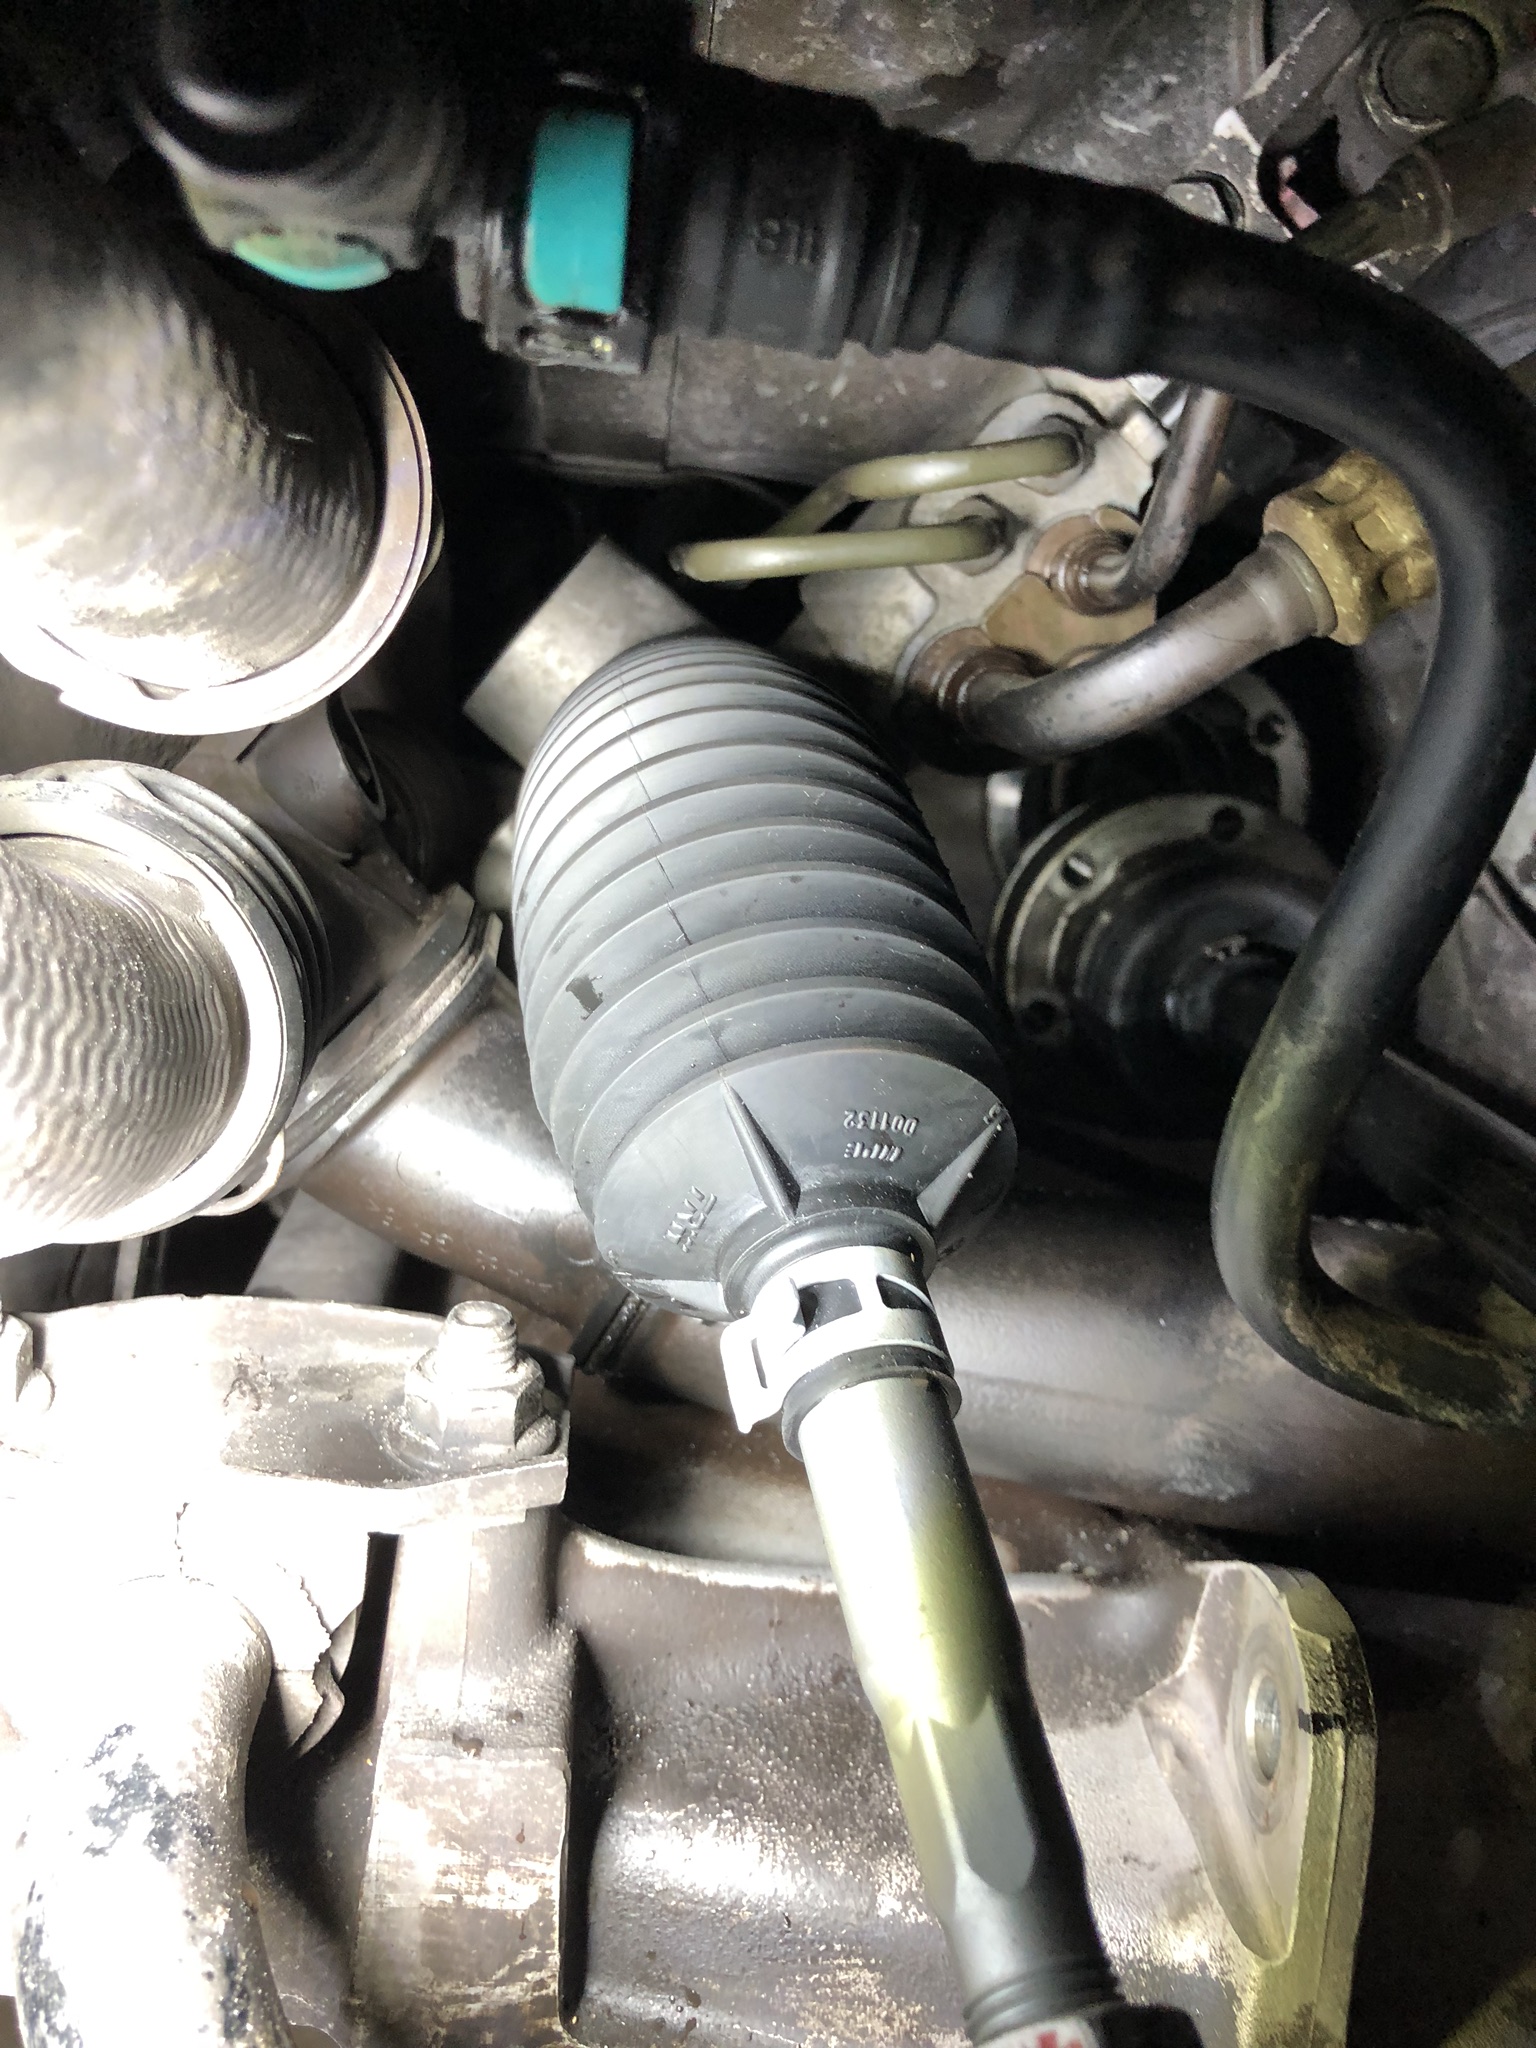
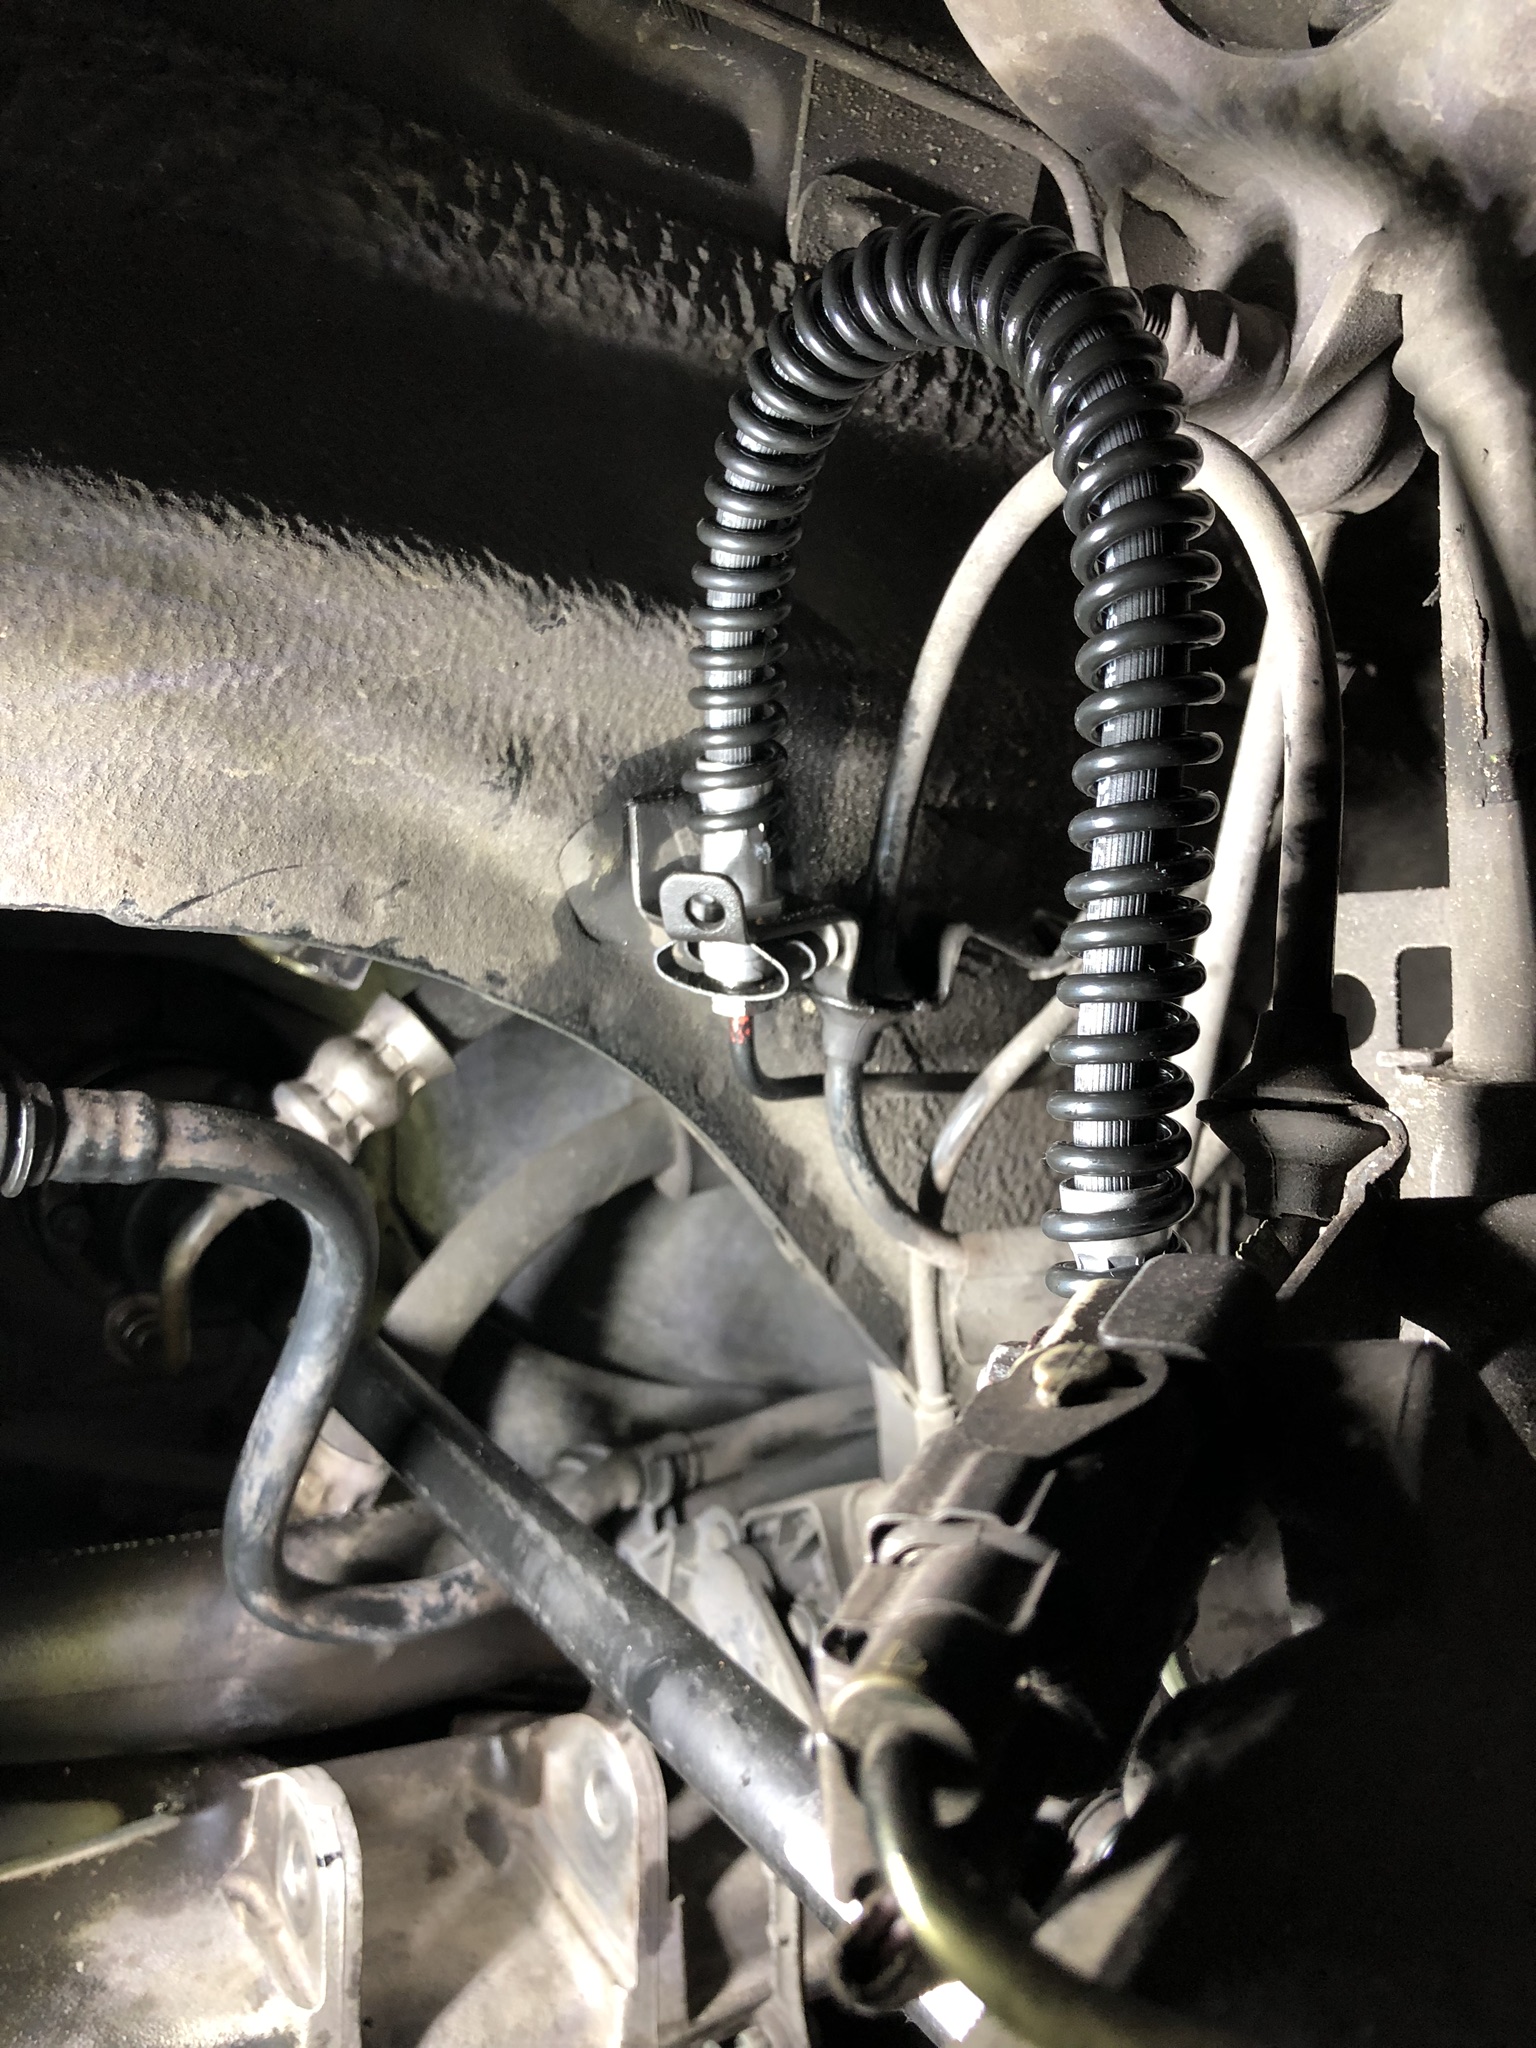
PS hoses connected, and the rack is replaced! The small hose with clip in this photo is a coolant hose that needs to be disconnected in order to provide space to R&R the rack. About 1-2 cups of coolant will spill out.
New brake hoses installed all the way around. 11 and 12 mm lock nut wrenches are absolutely essential so as to not strip the brake hose nuts
Many notes were made
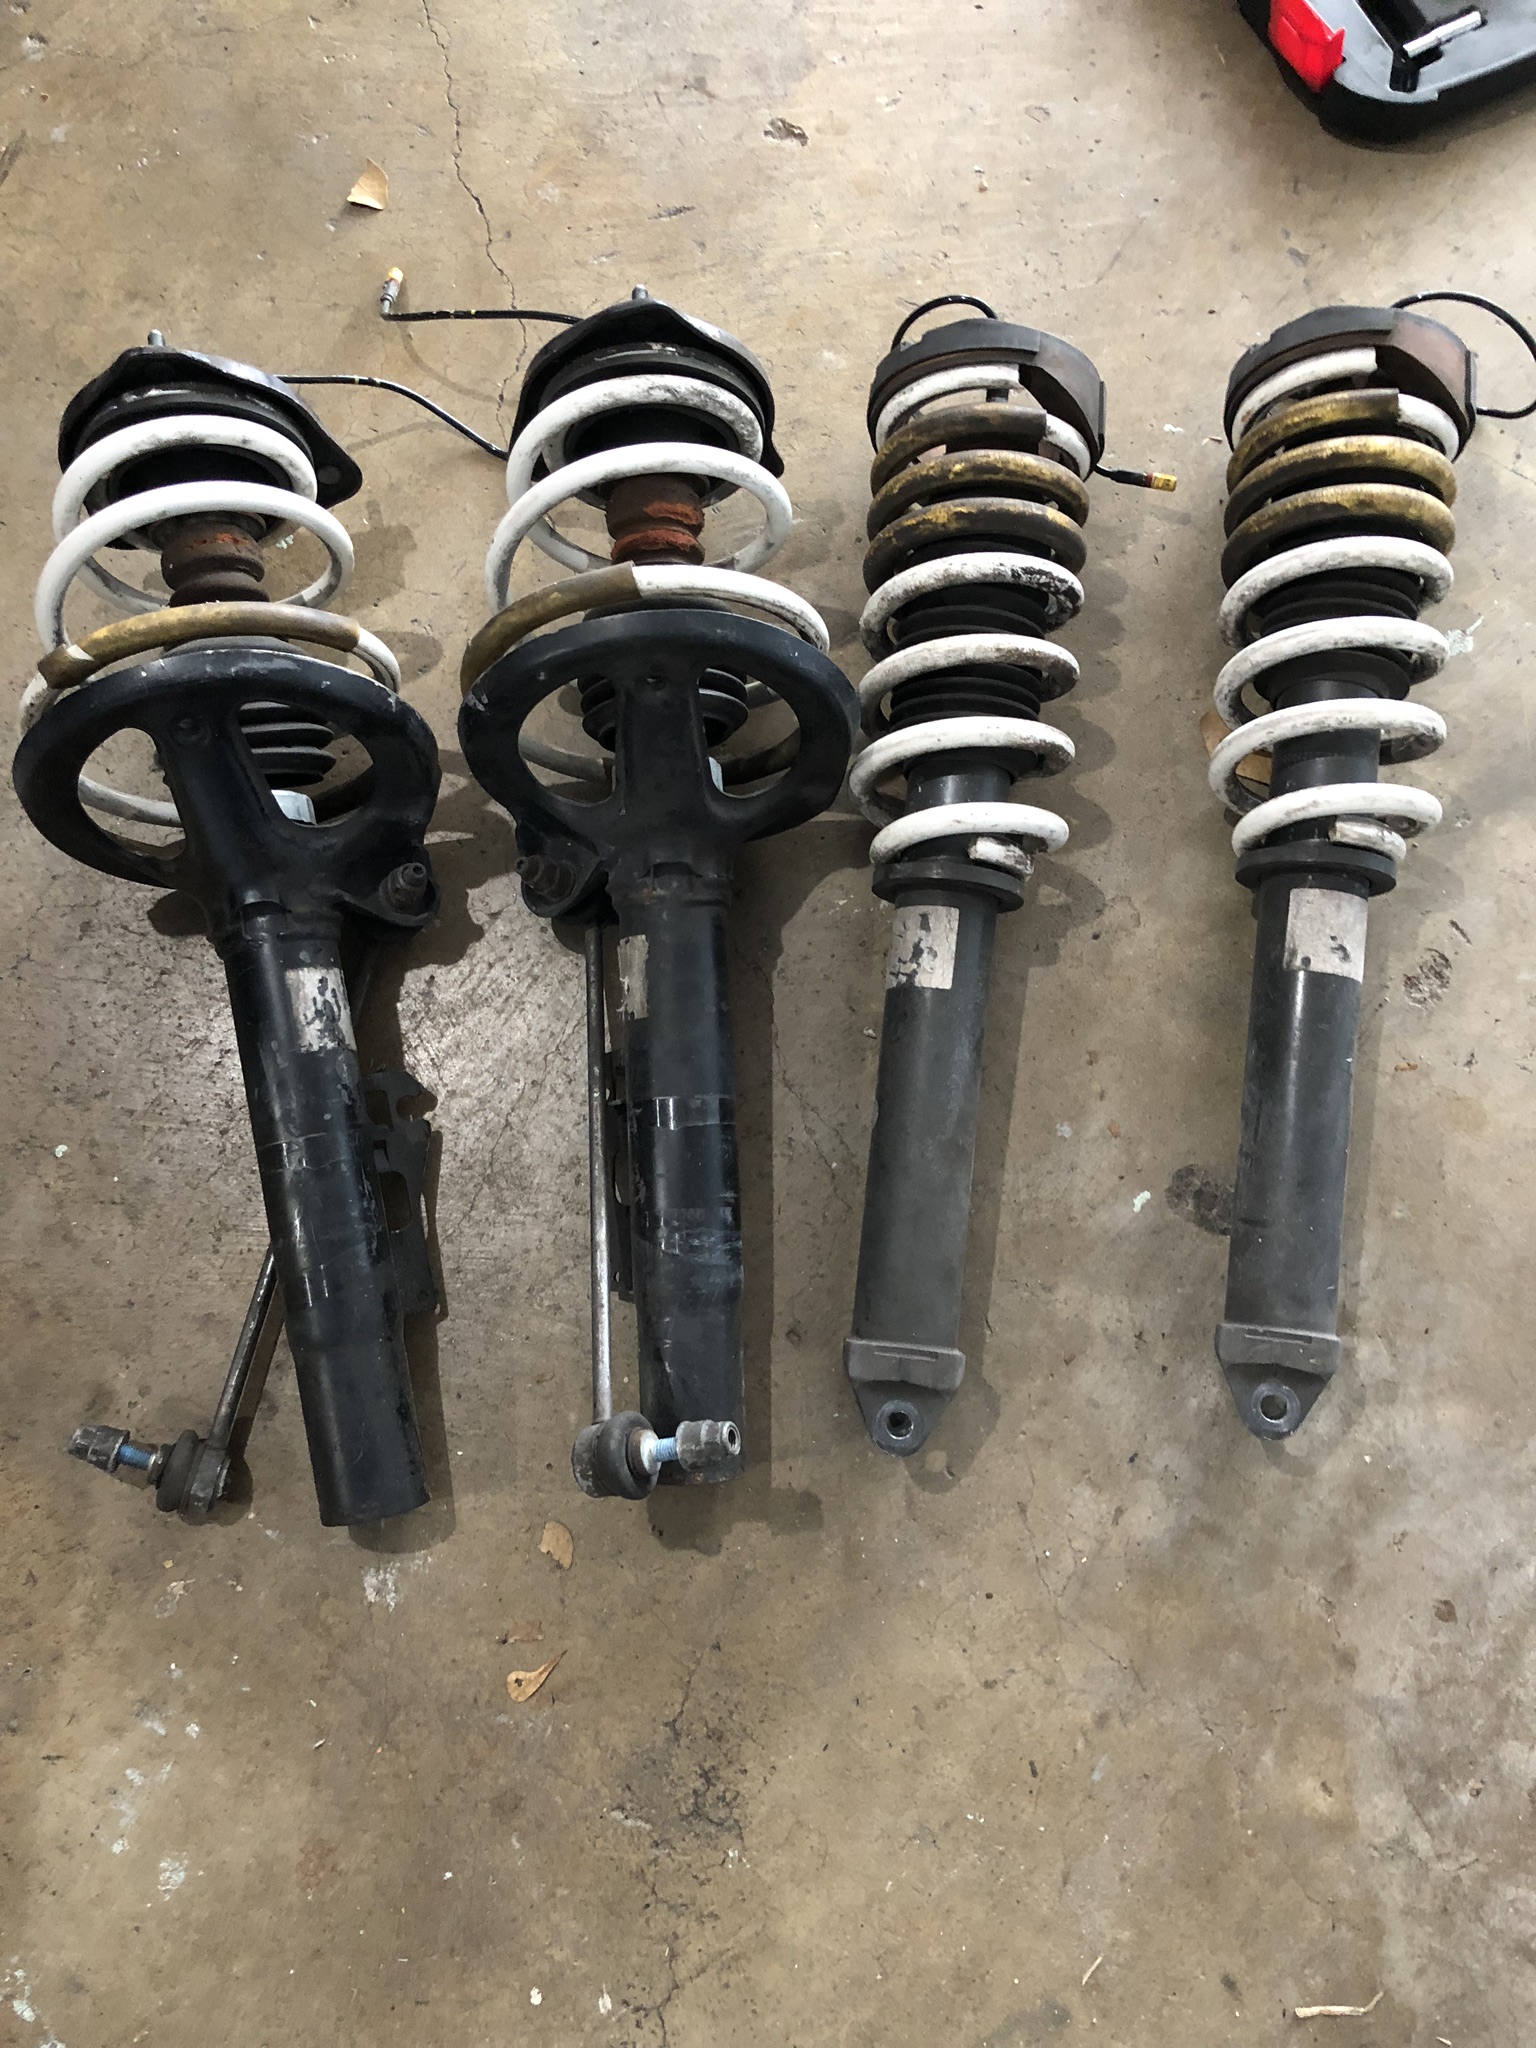
Got a set of 30k mile struts with techart springs cheap from a forum member
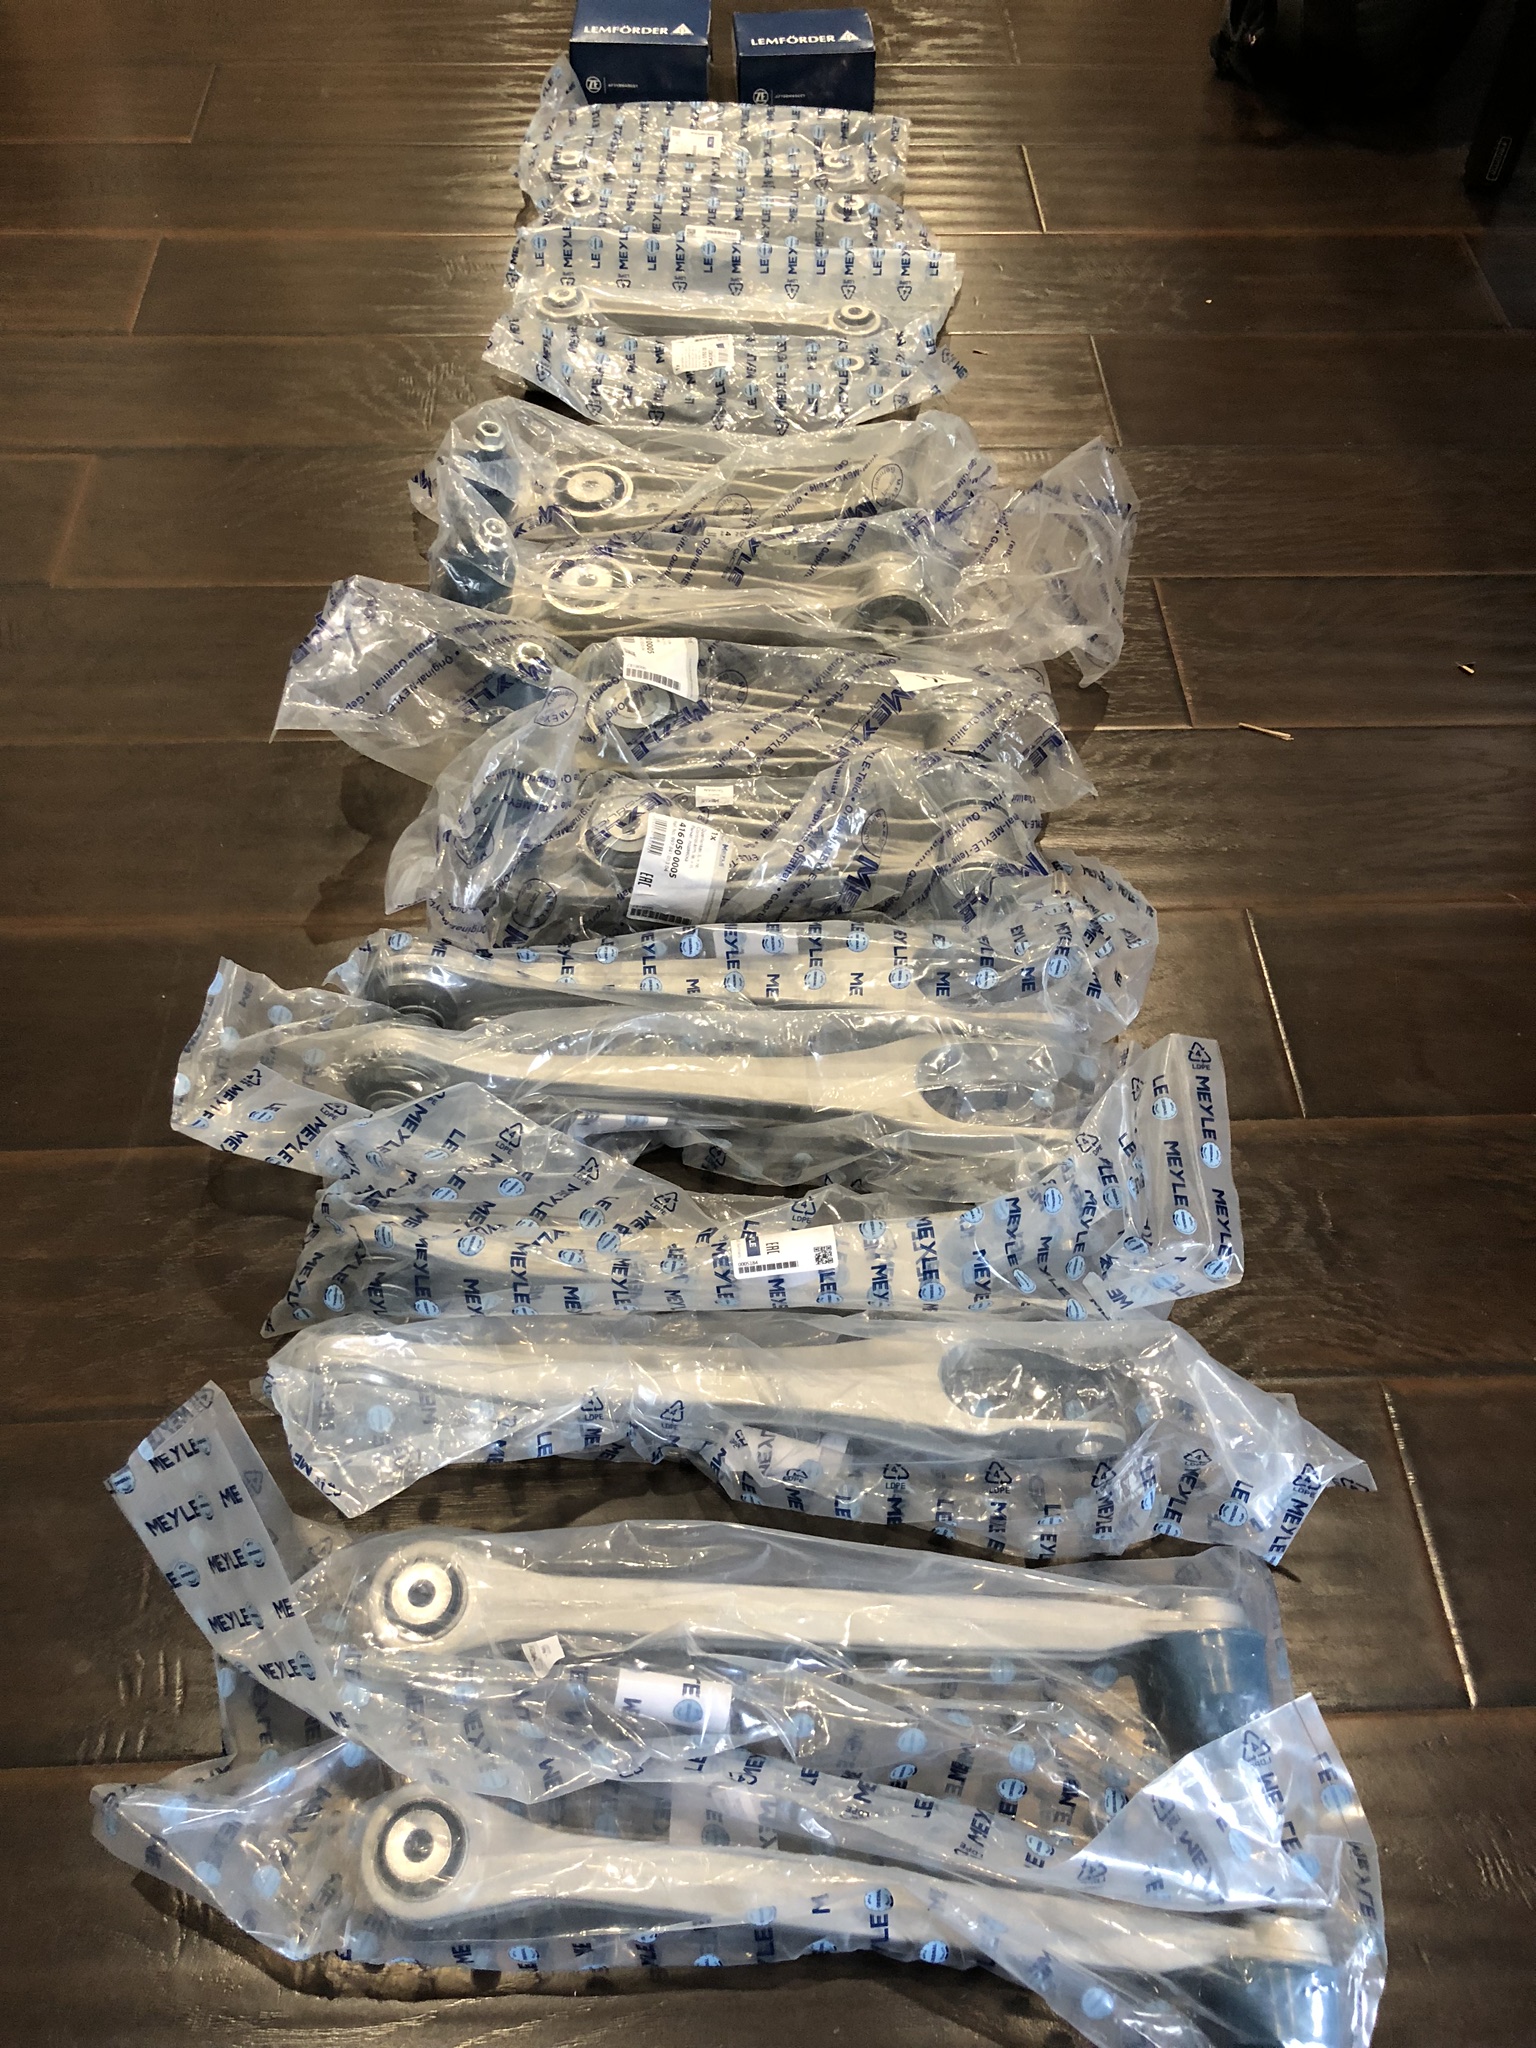
And then I went out and bought brand new suspension arms
Brake rotors, pads, brake hoses, and inner and outer tie rods
Yep, it needed everything. Old vs. new pads
I cleaned the calipers all the way around, installed the rear brake rotors and pads, and then moved my way to the tie rods. My first surprise awaited - what's that leak??
Turned out to be PS fluid from the steering lack, which had leaked into the inner tie rod boots. Here you can see the inner tie rod boot connected to the steering rack with PS fluid spilled on the subframe. Gotta replace the rack
Step 1 is to secure and lock the steering wheel. I used some bungee cords and two front rotors to hold the wheel in place.
The subframe must be lowered in order to R&R the rack
Using a ball joint tool, and after lowering the subframe and disconnecting the PS hoses, the rack comes out without too much trouble. You can see how chewed up the ball joints were.
I sourced a low-mileage rack from a breaker for $225. Totally cheap and worth it. It looked brand new. I bolted up the new inner and outer tie rods and boots, and started installing the "new" rack.
New rack installed.
PS hoses connected, and the rack is replaced! The small hose with clip in this photo is a coolant hose that needs to be disconnected in order to provide space to R&R the rack. About 1-2 cups of coolant will spill out.
New brake hoses installed all the way around. 11 and 12 mm lock nut wrenches are absolutely essential so as to not strip the brake hose nuts
Many notes were made
Got a set of 30k mile struts with techart springs cheap from a forum member
And then I went out and bought brand new suspension arms
The following users liked this post:
jayi836 (03-03-2020)
03-18-2019, 12:25 AM
#4
Three Wheelin'
Thread Starter
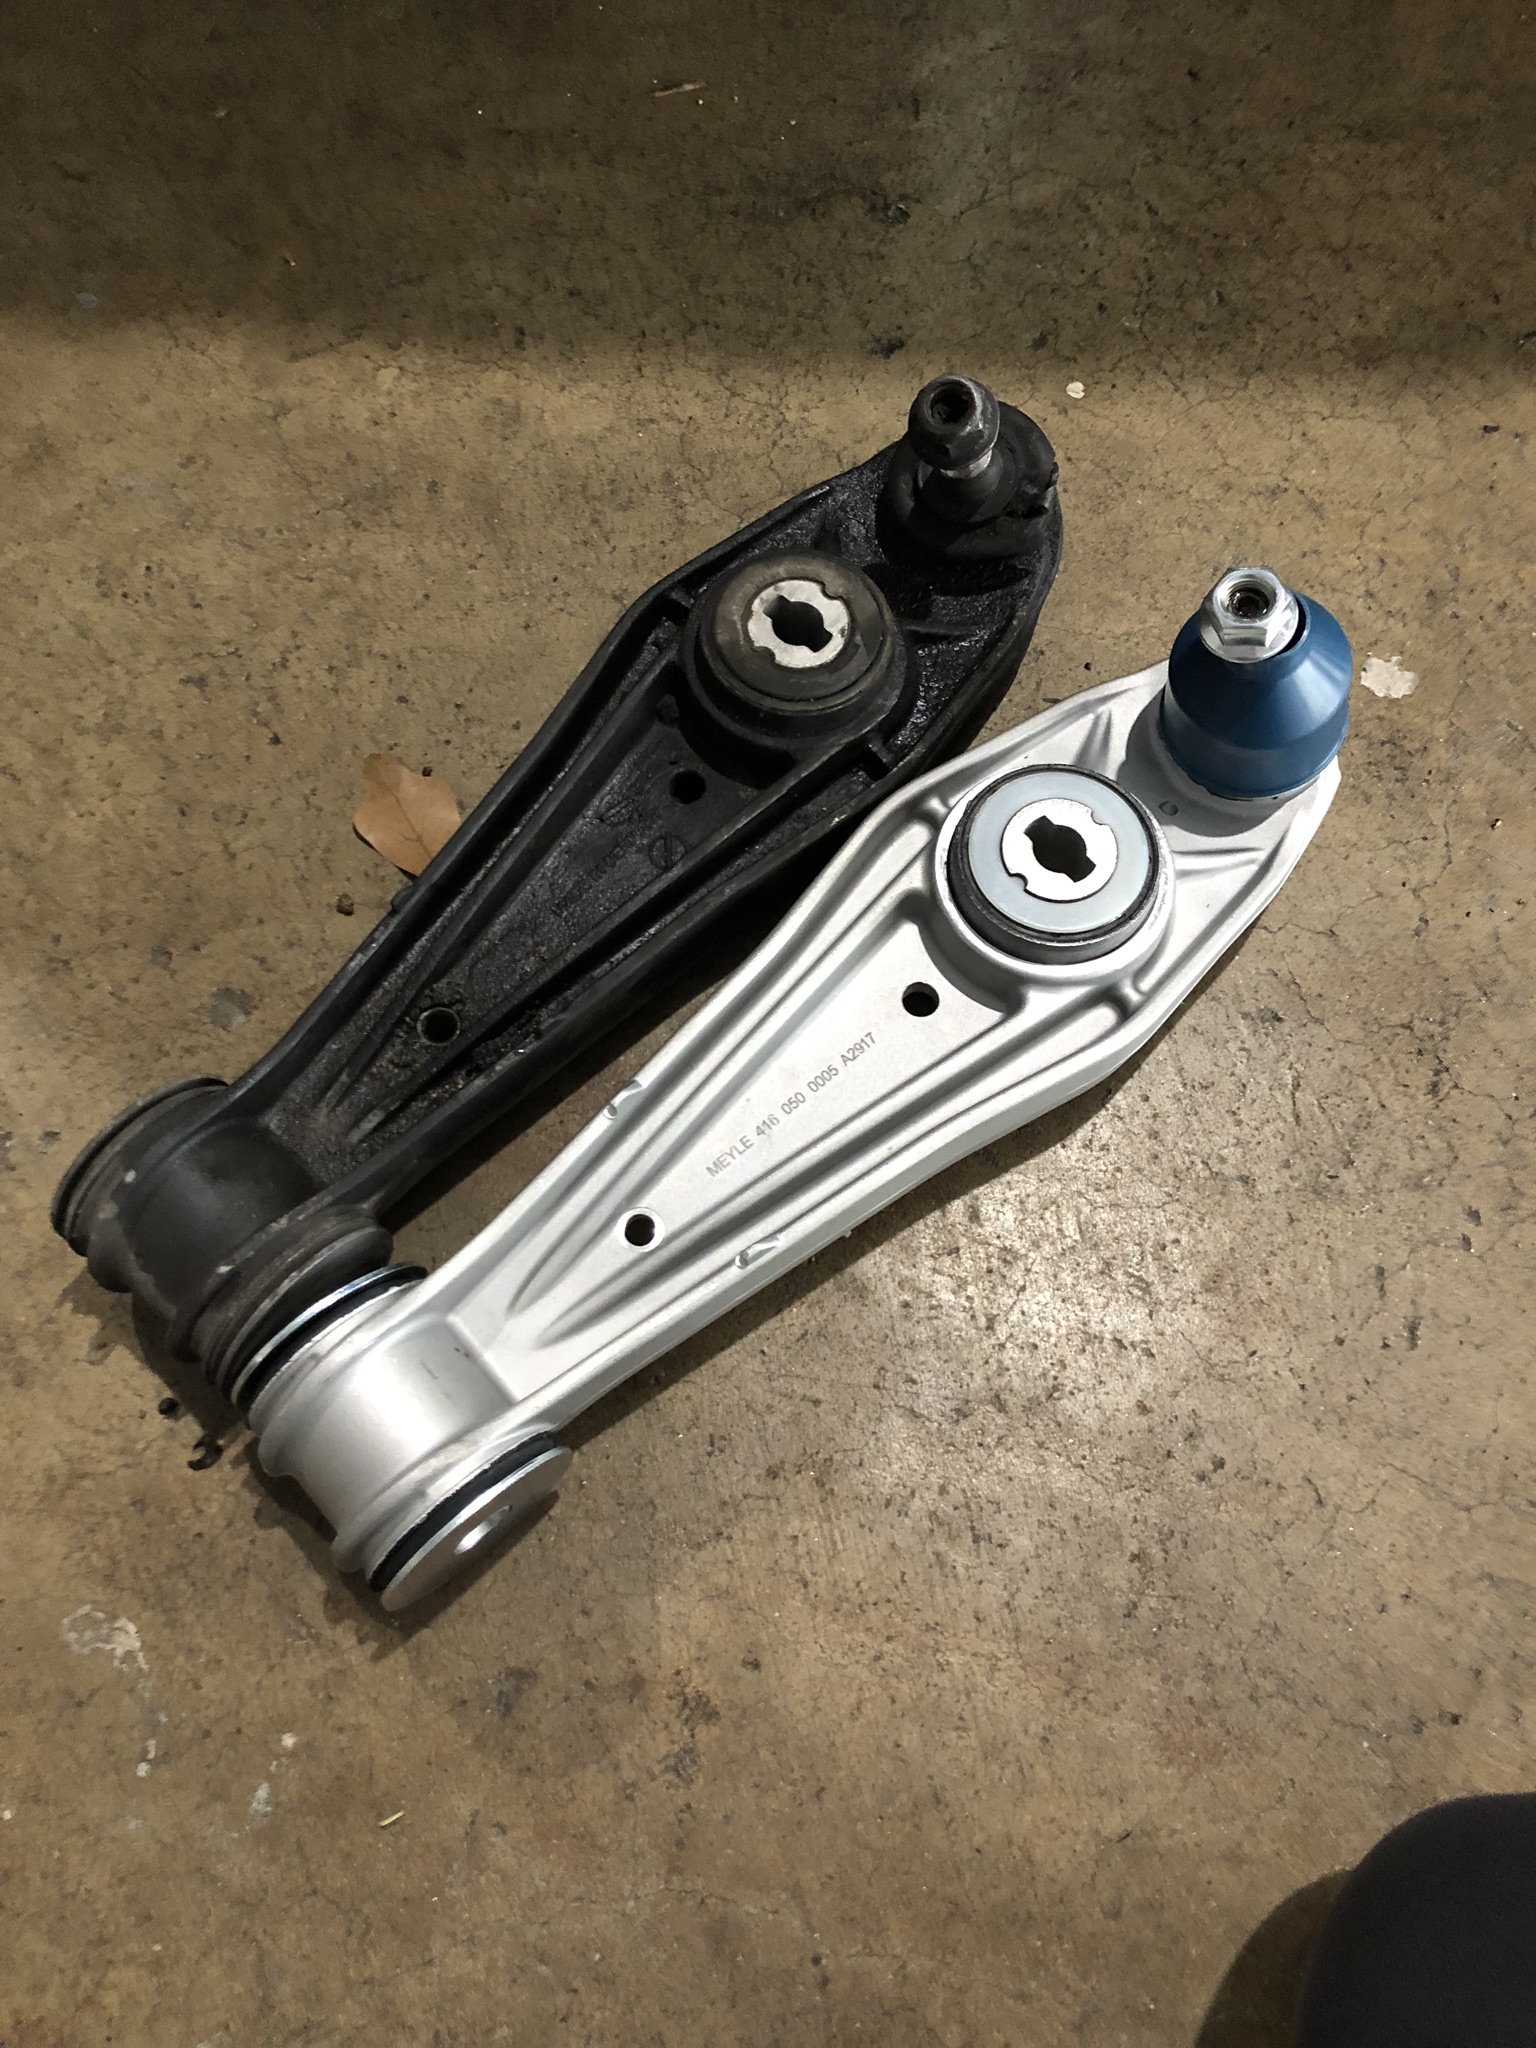
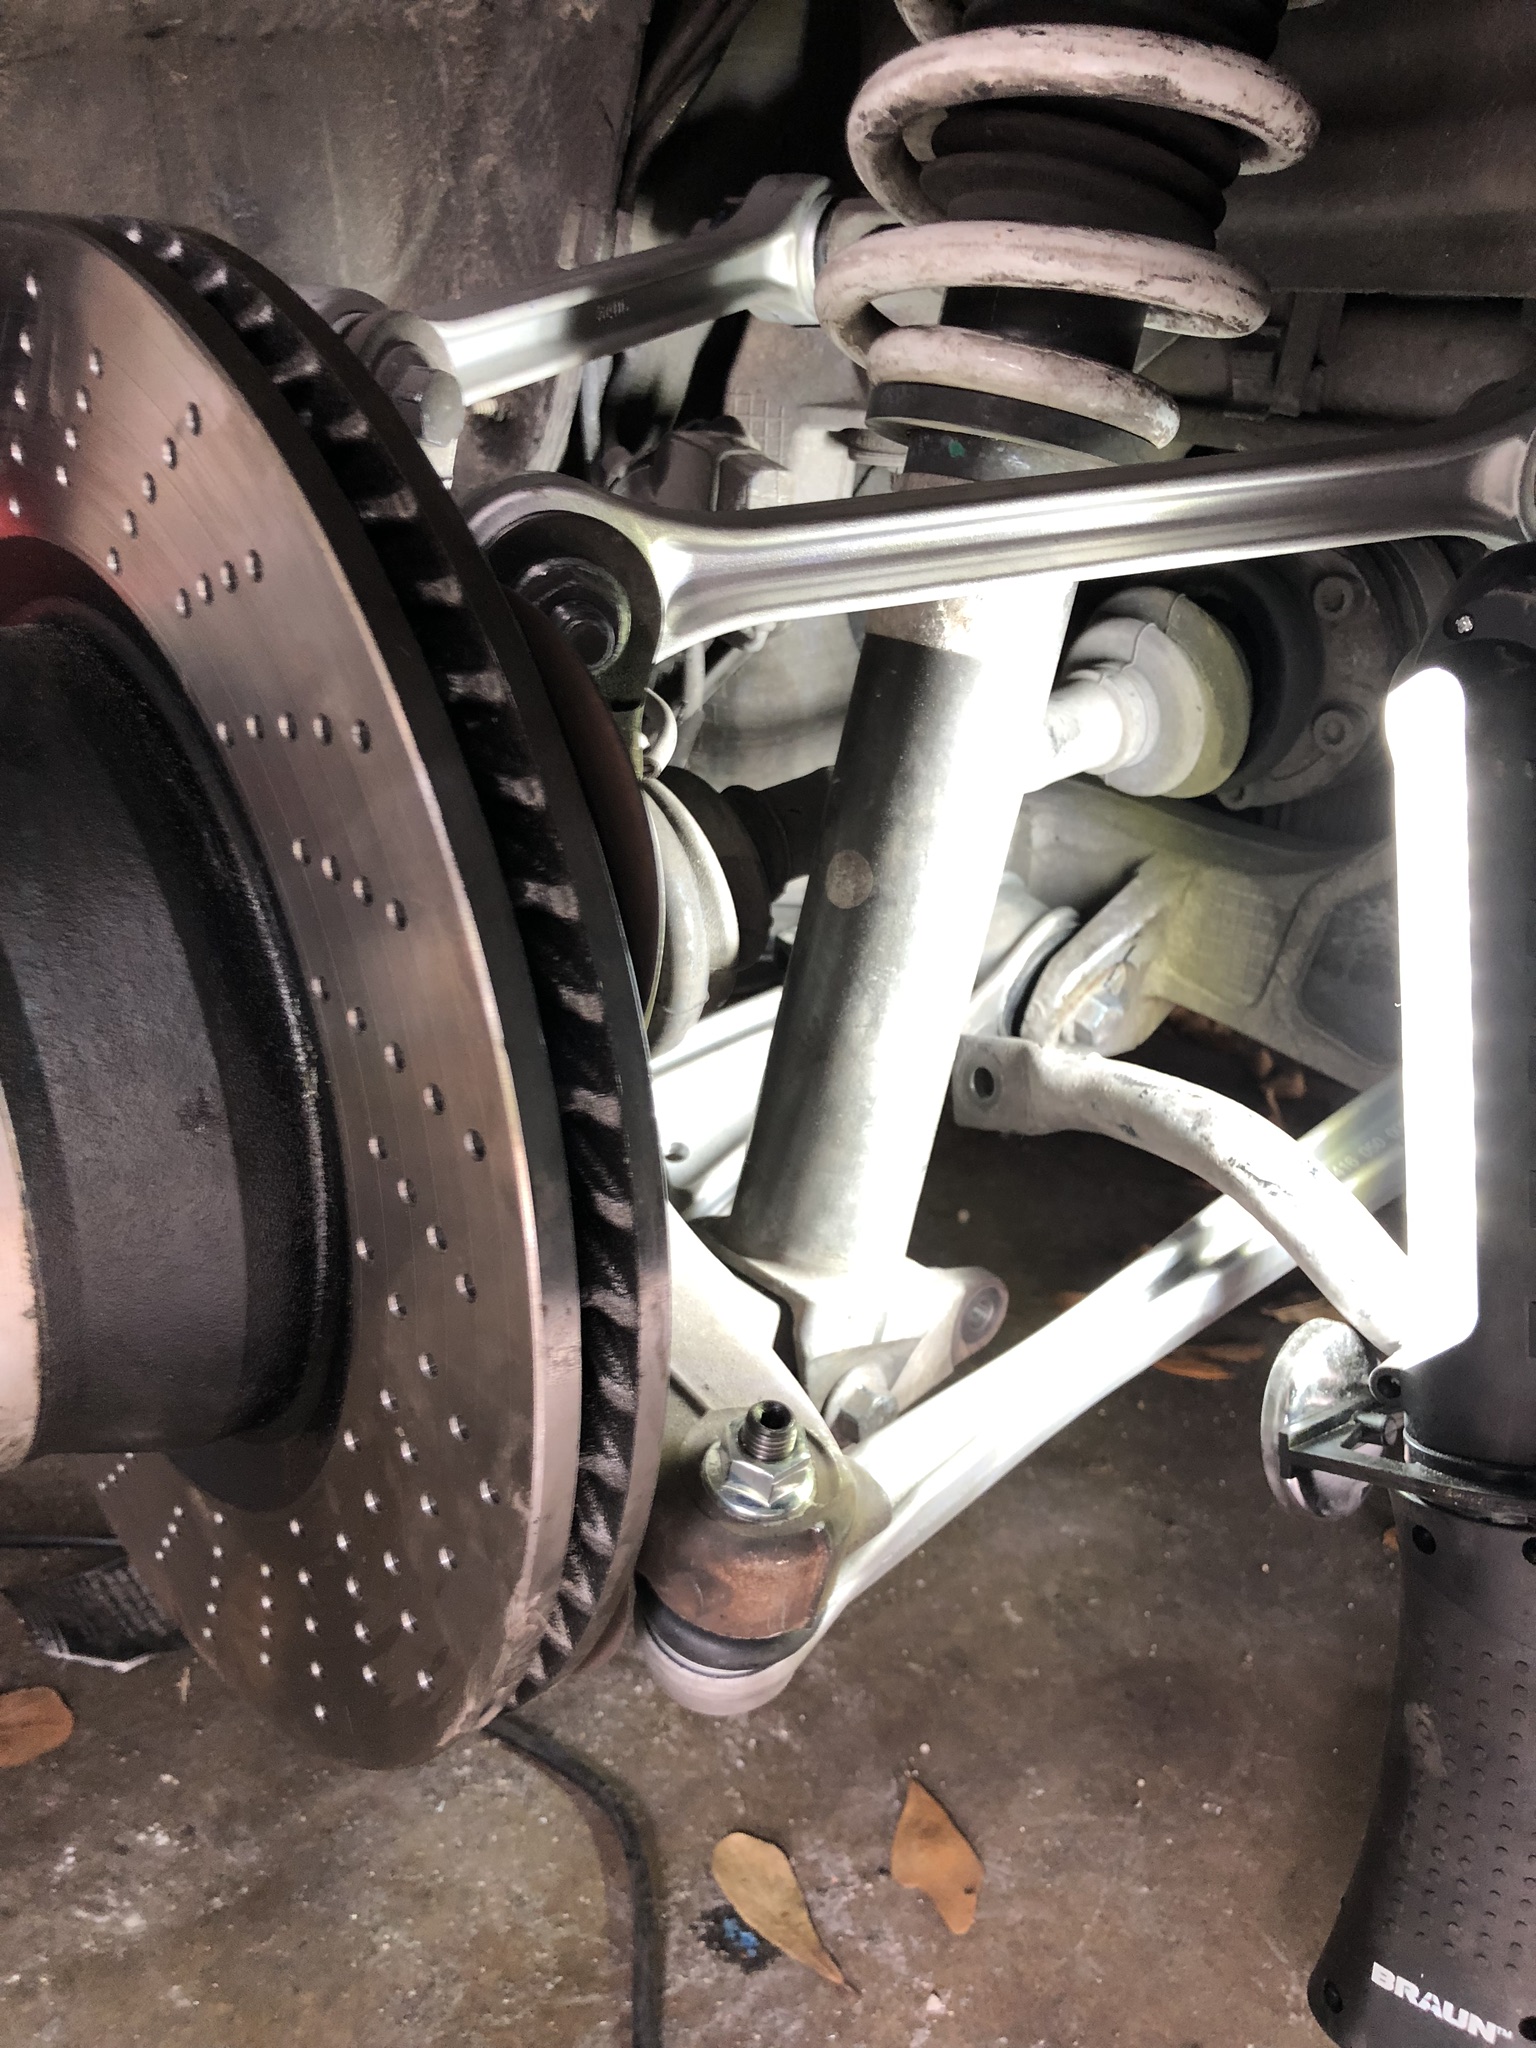
5) Installing the new suspension and starting to button everything up
Old vs. new
Shiny new parts
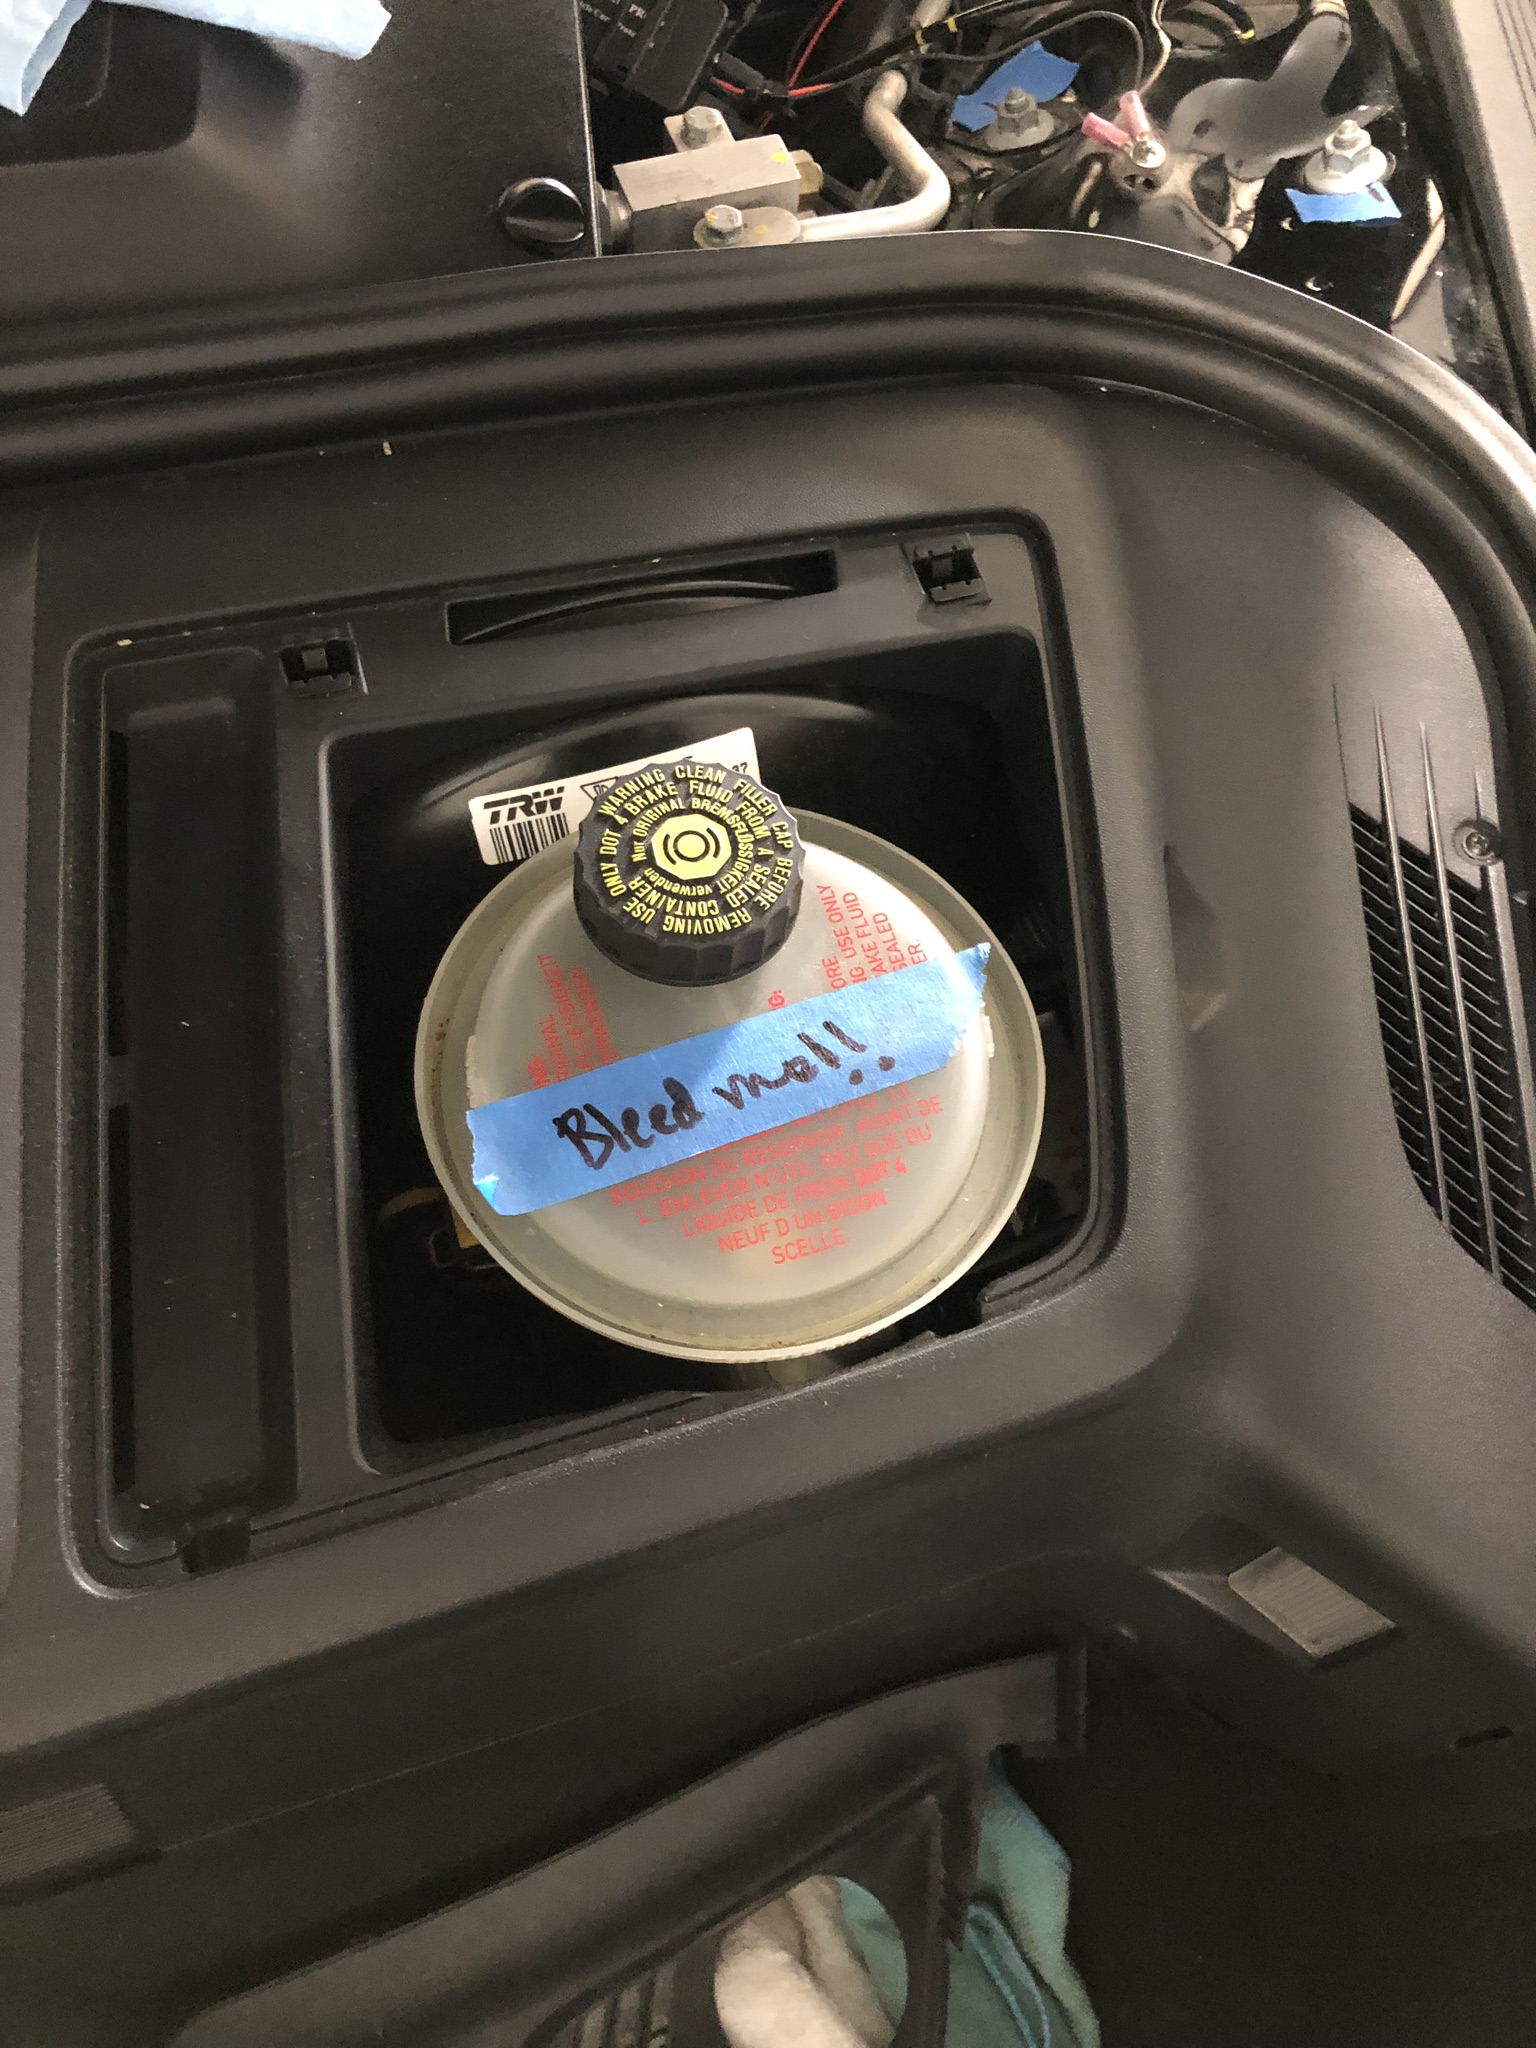
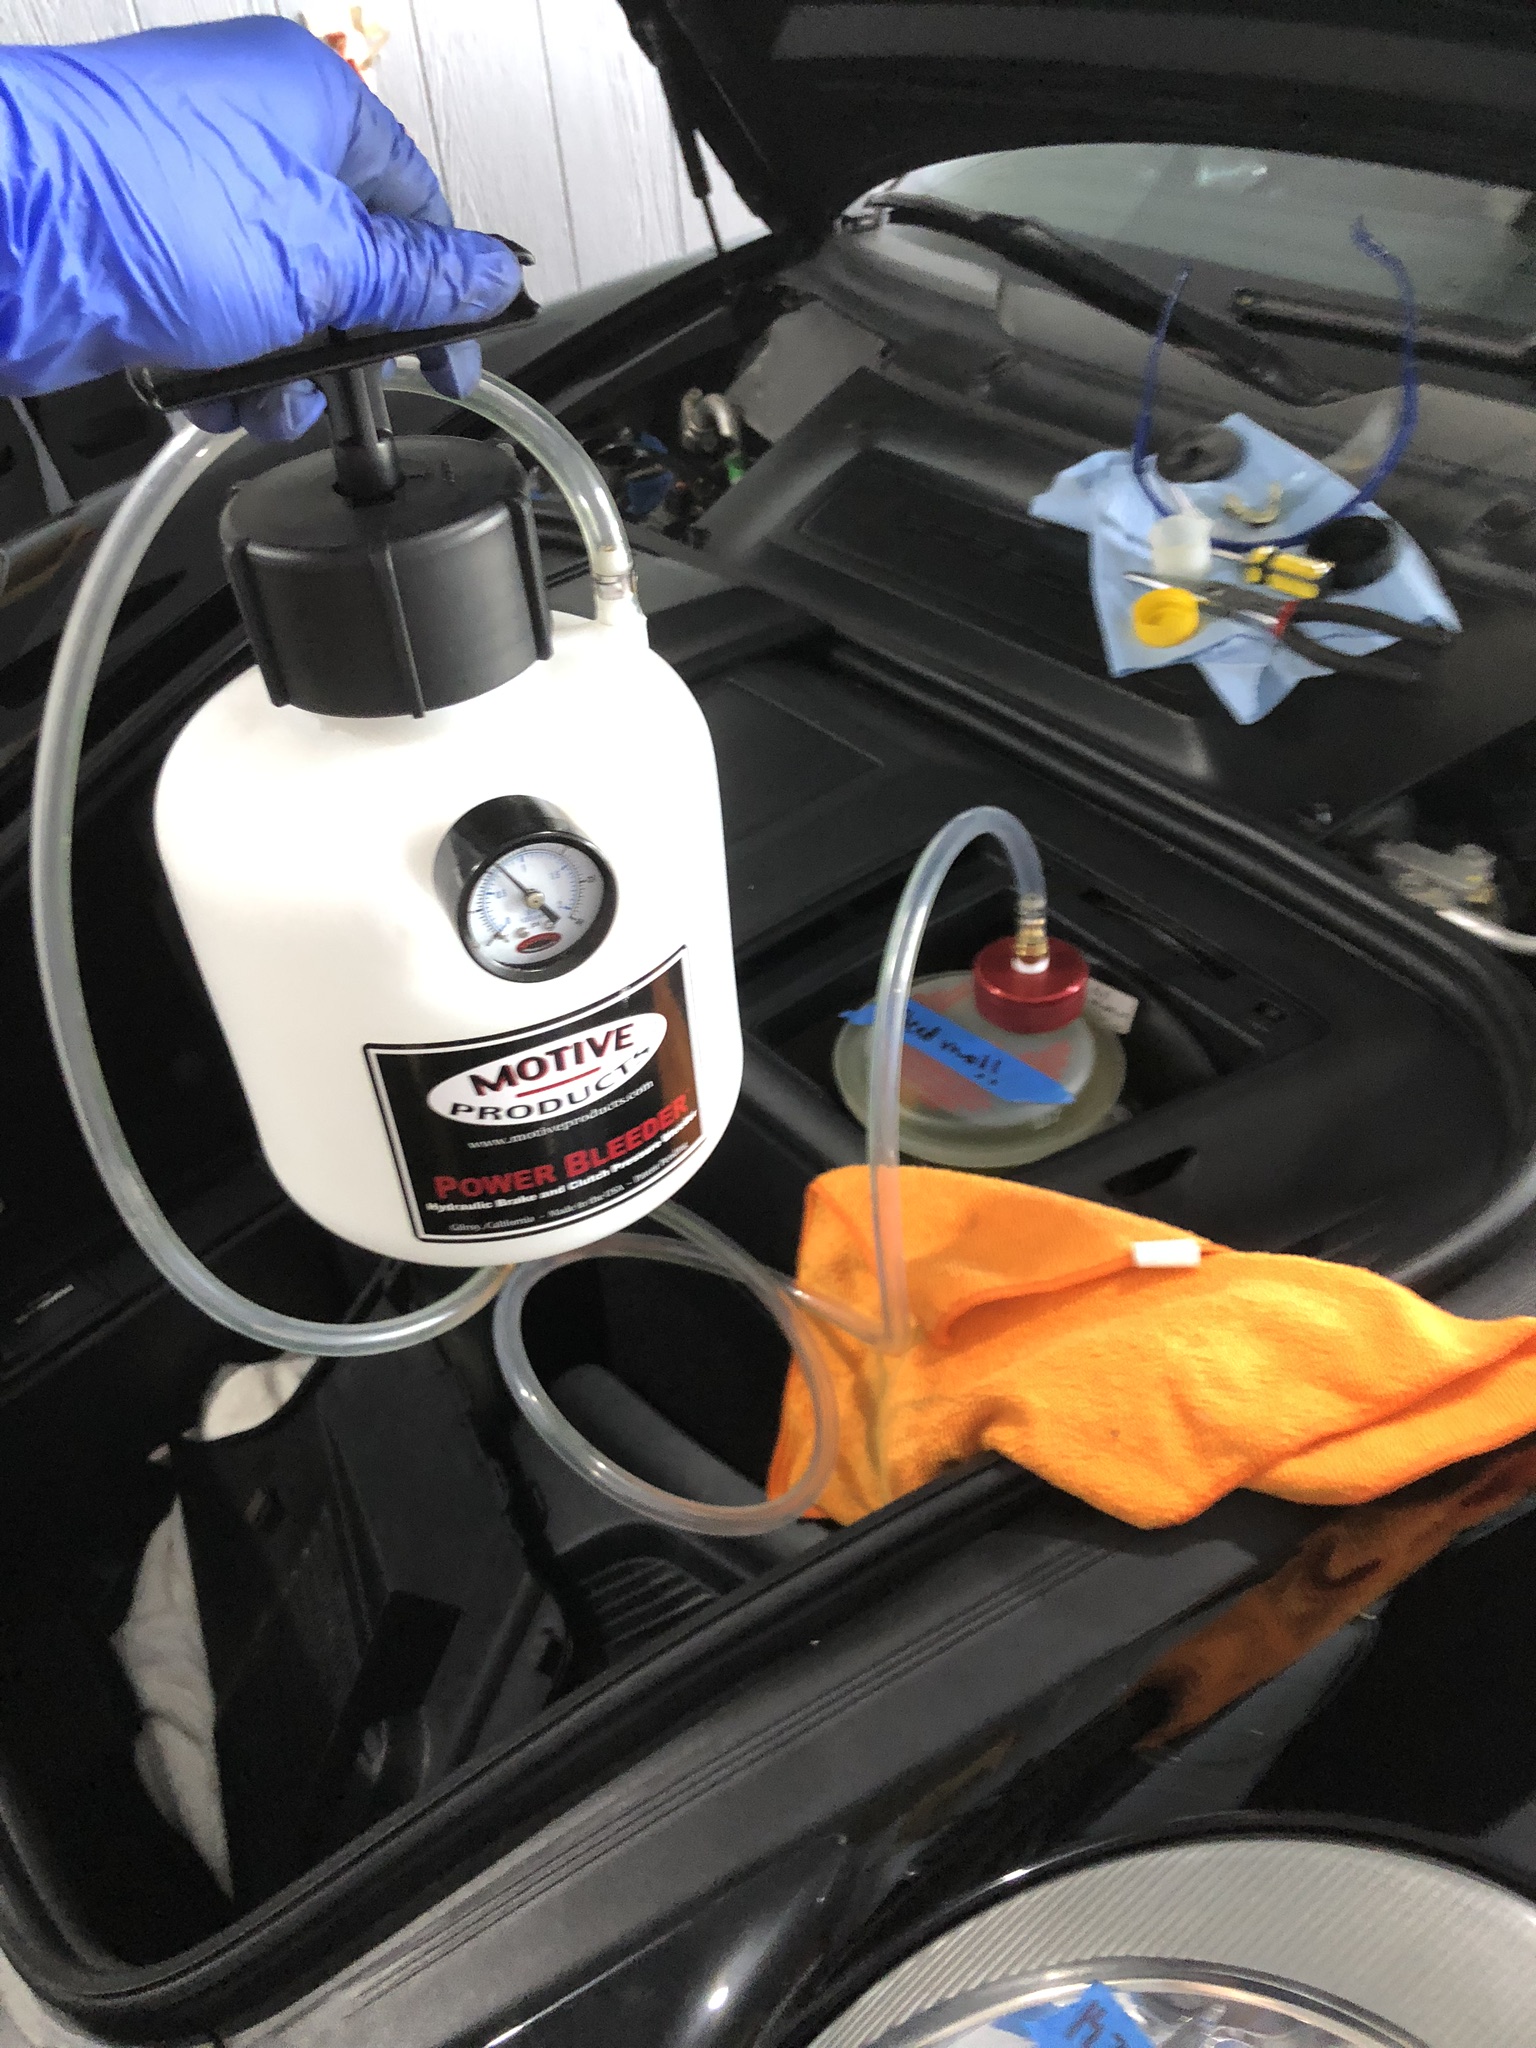
Bleeding with Motiv Power Bleeder
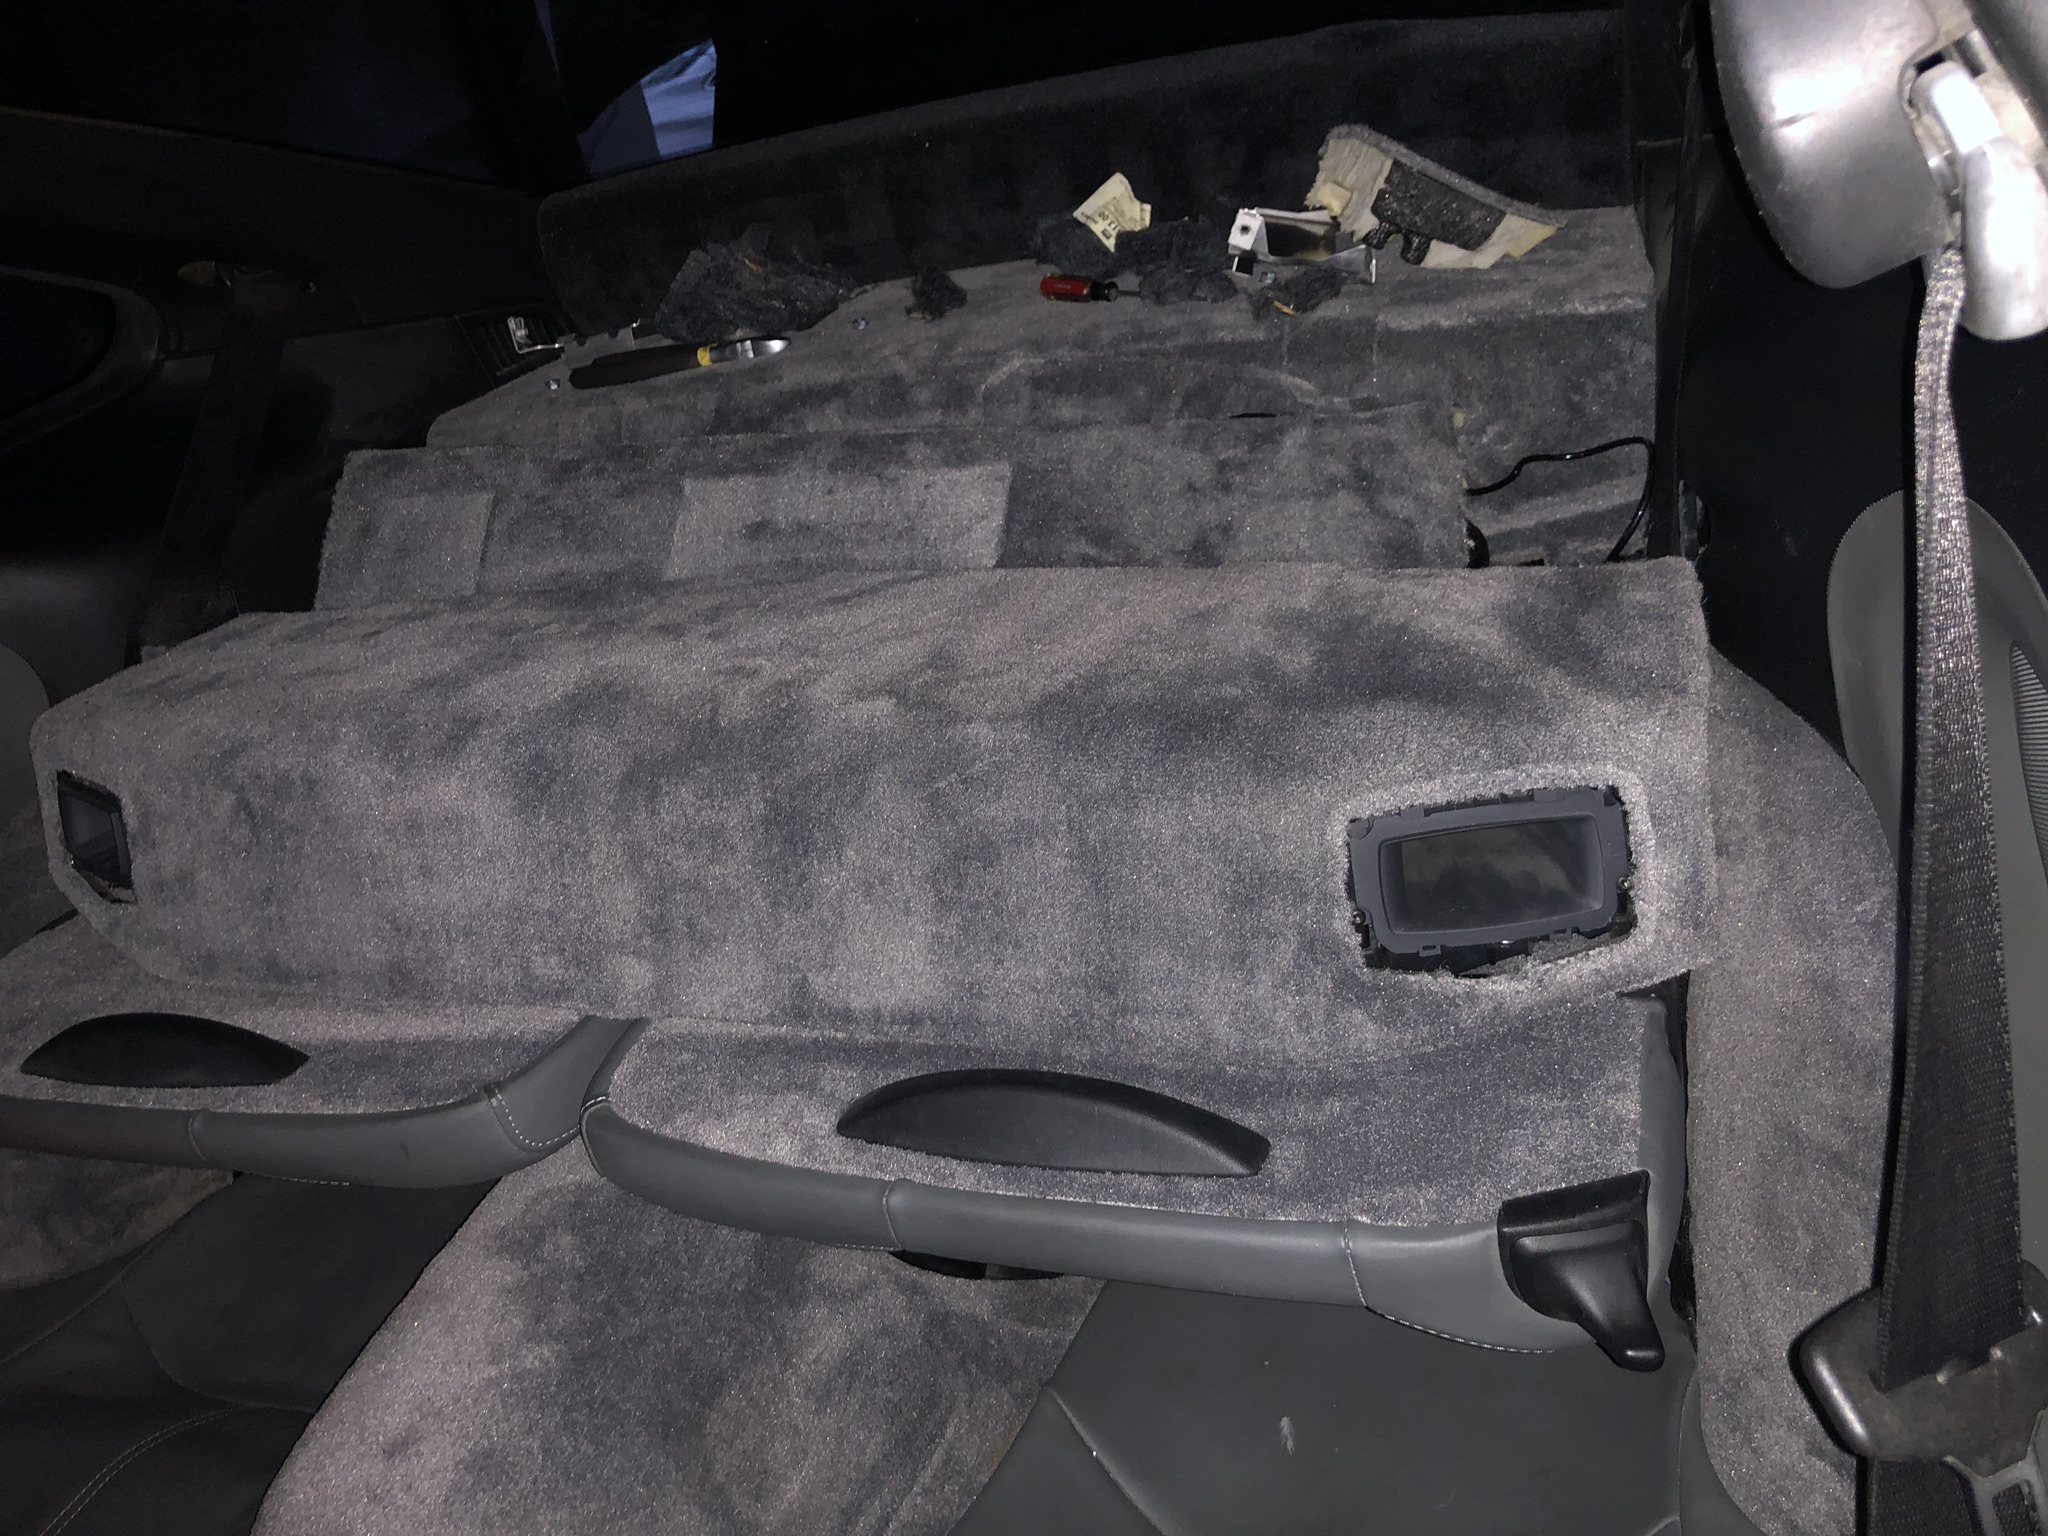
Taking apart the interior to access the rear shock mounts
Brand new rear suspension installed
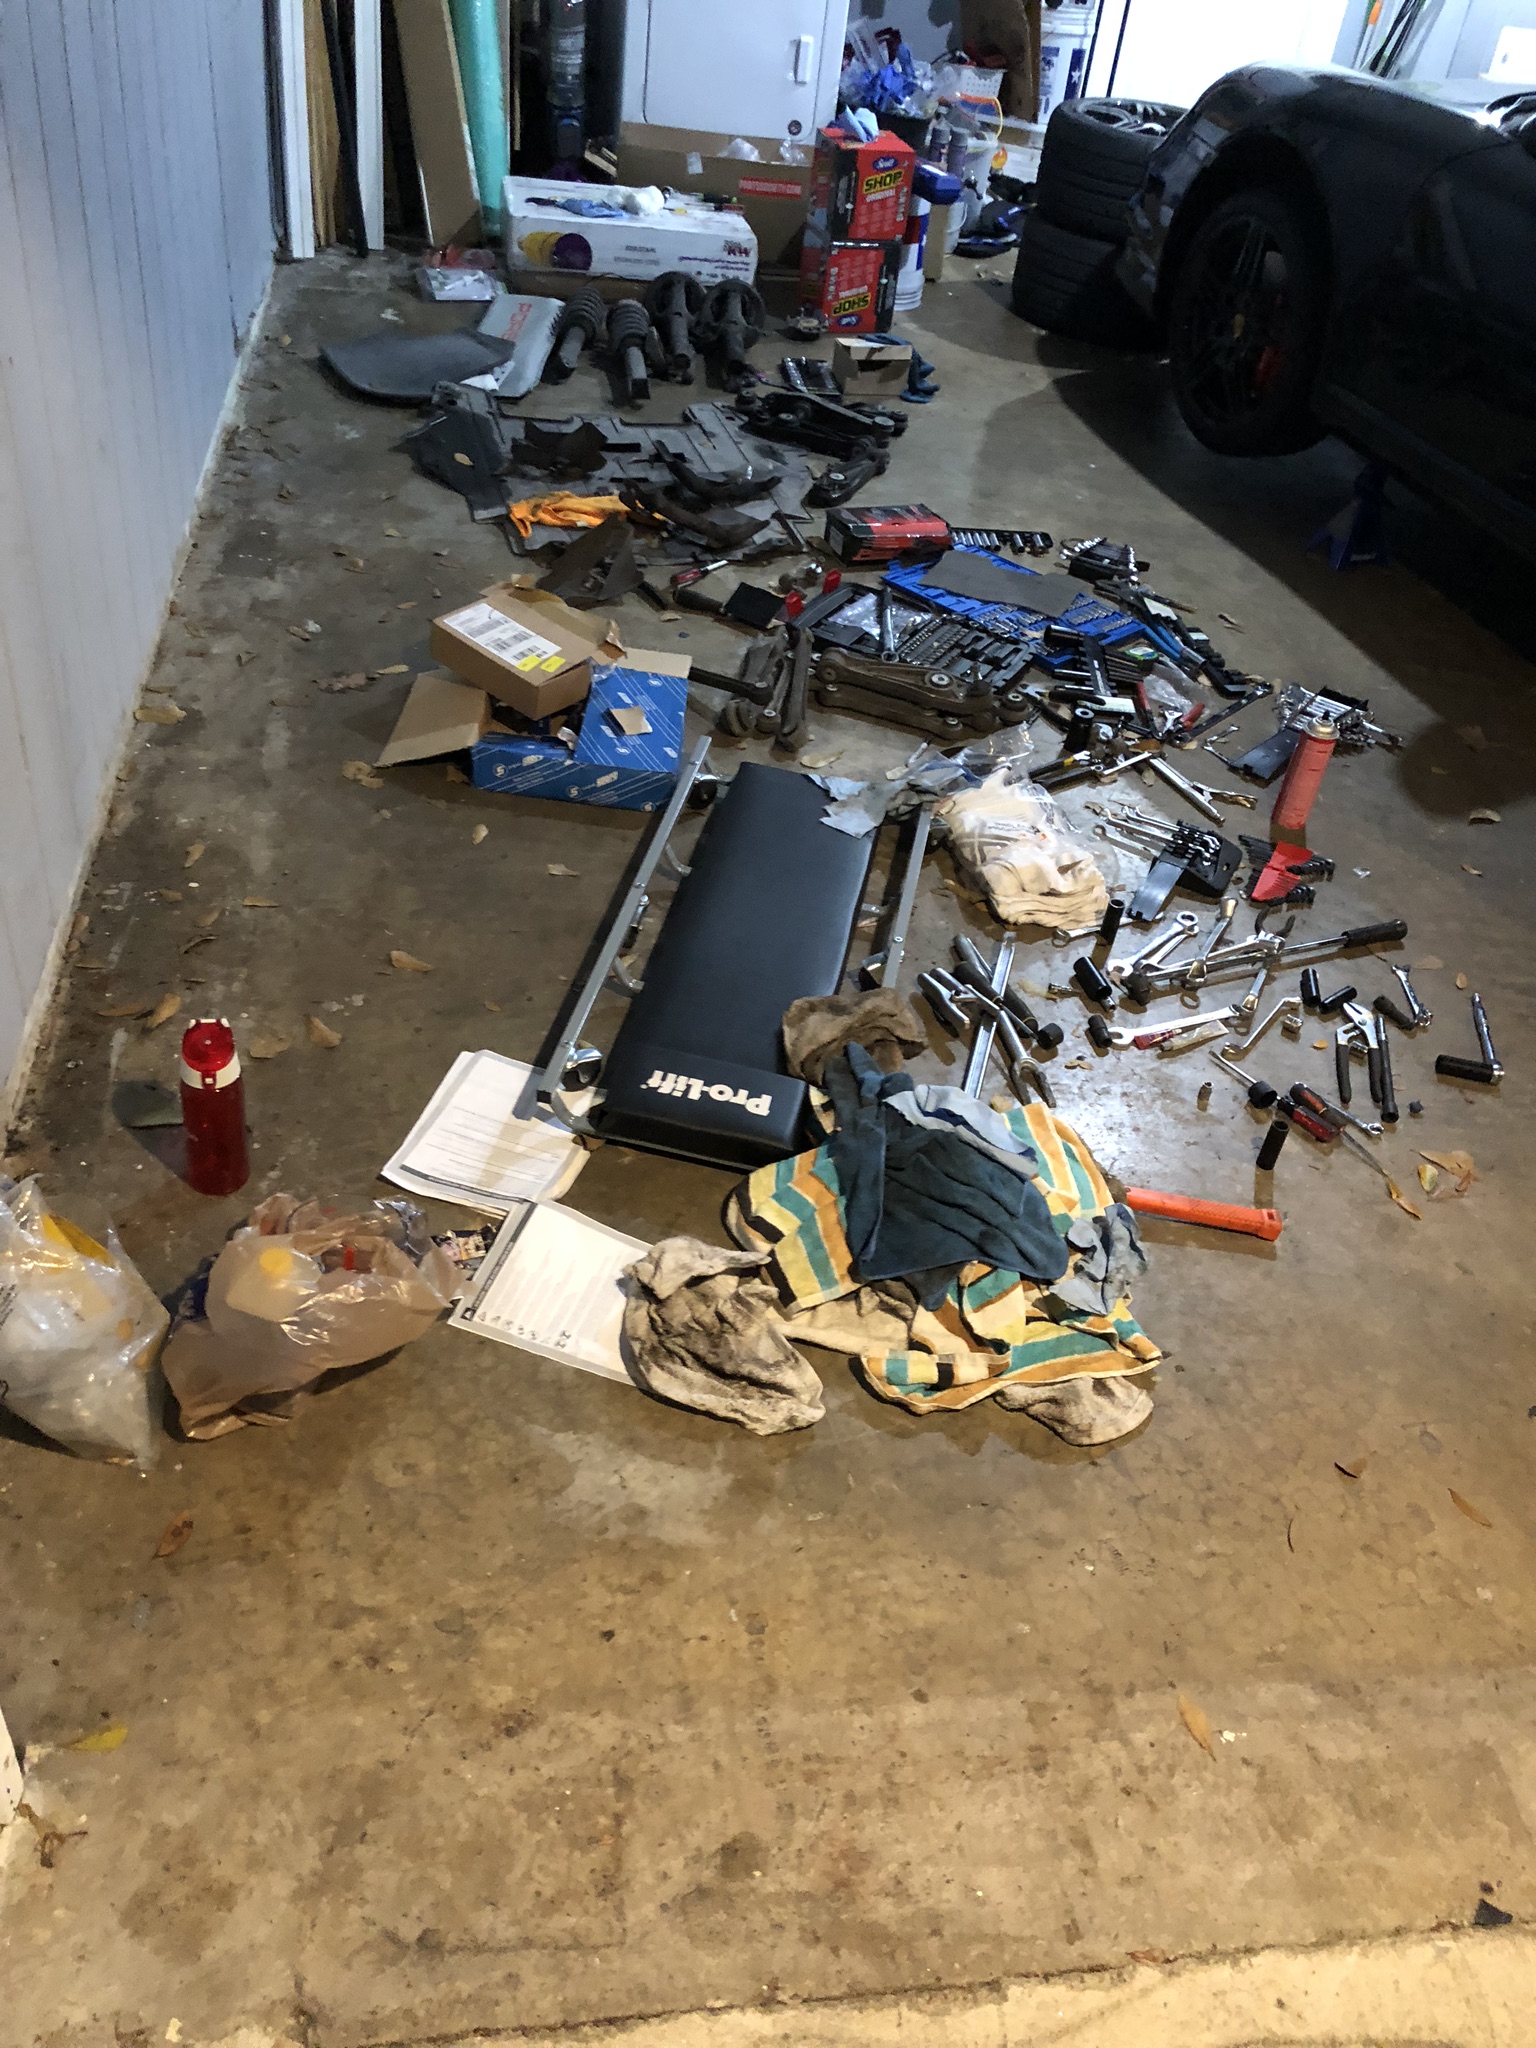
A huge mess was made. My other car had to sleep outside for a few nights.
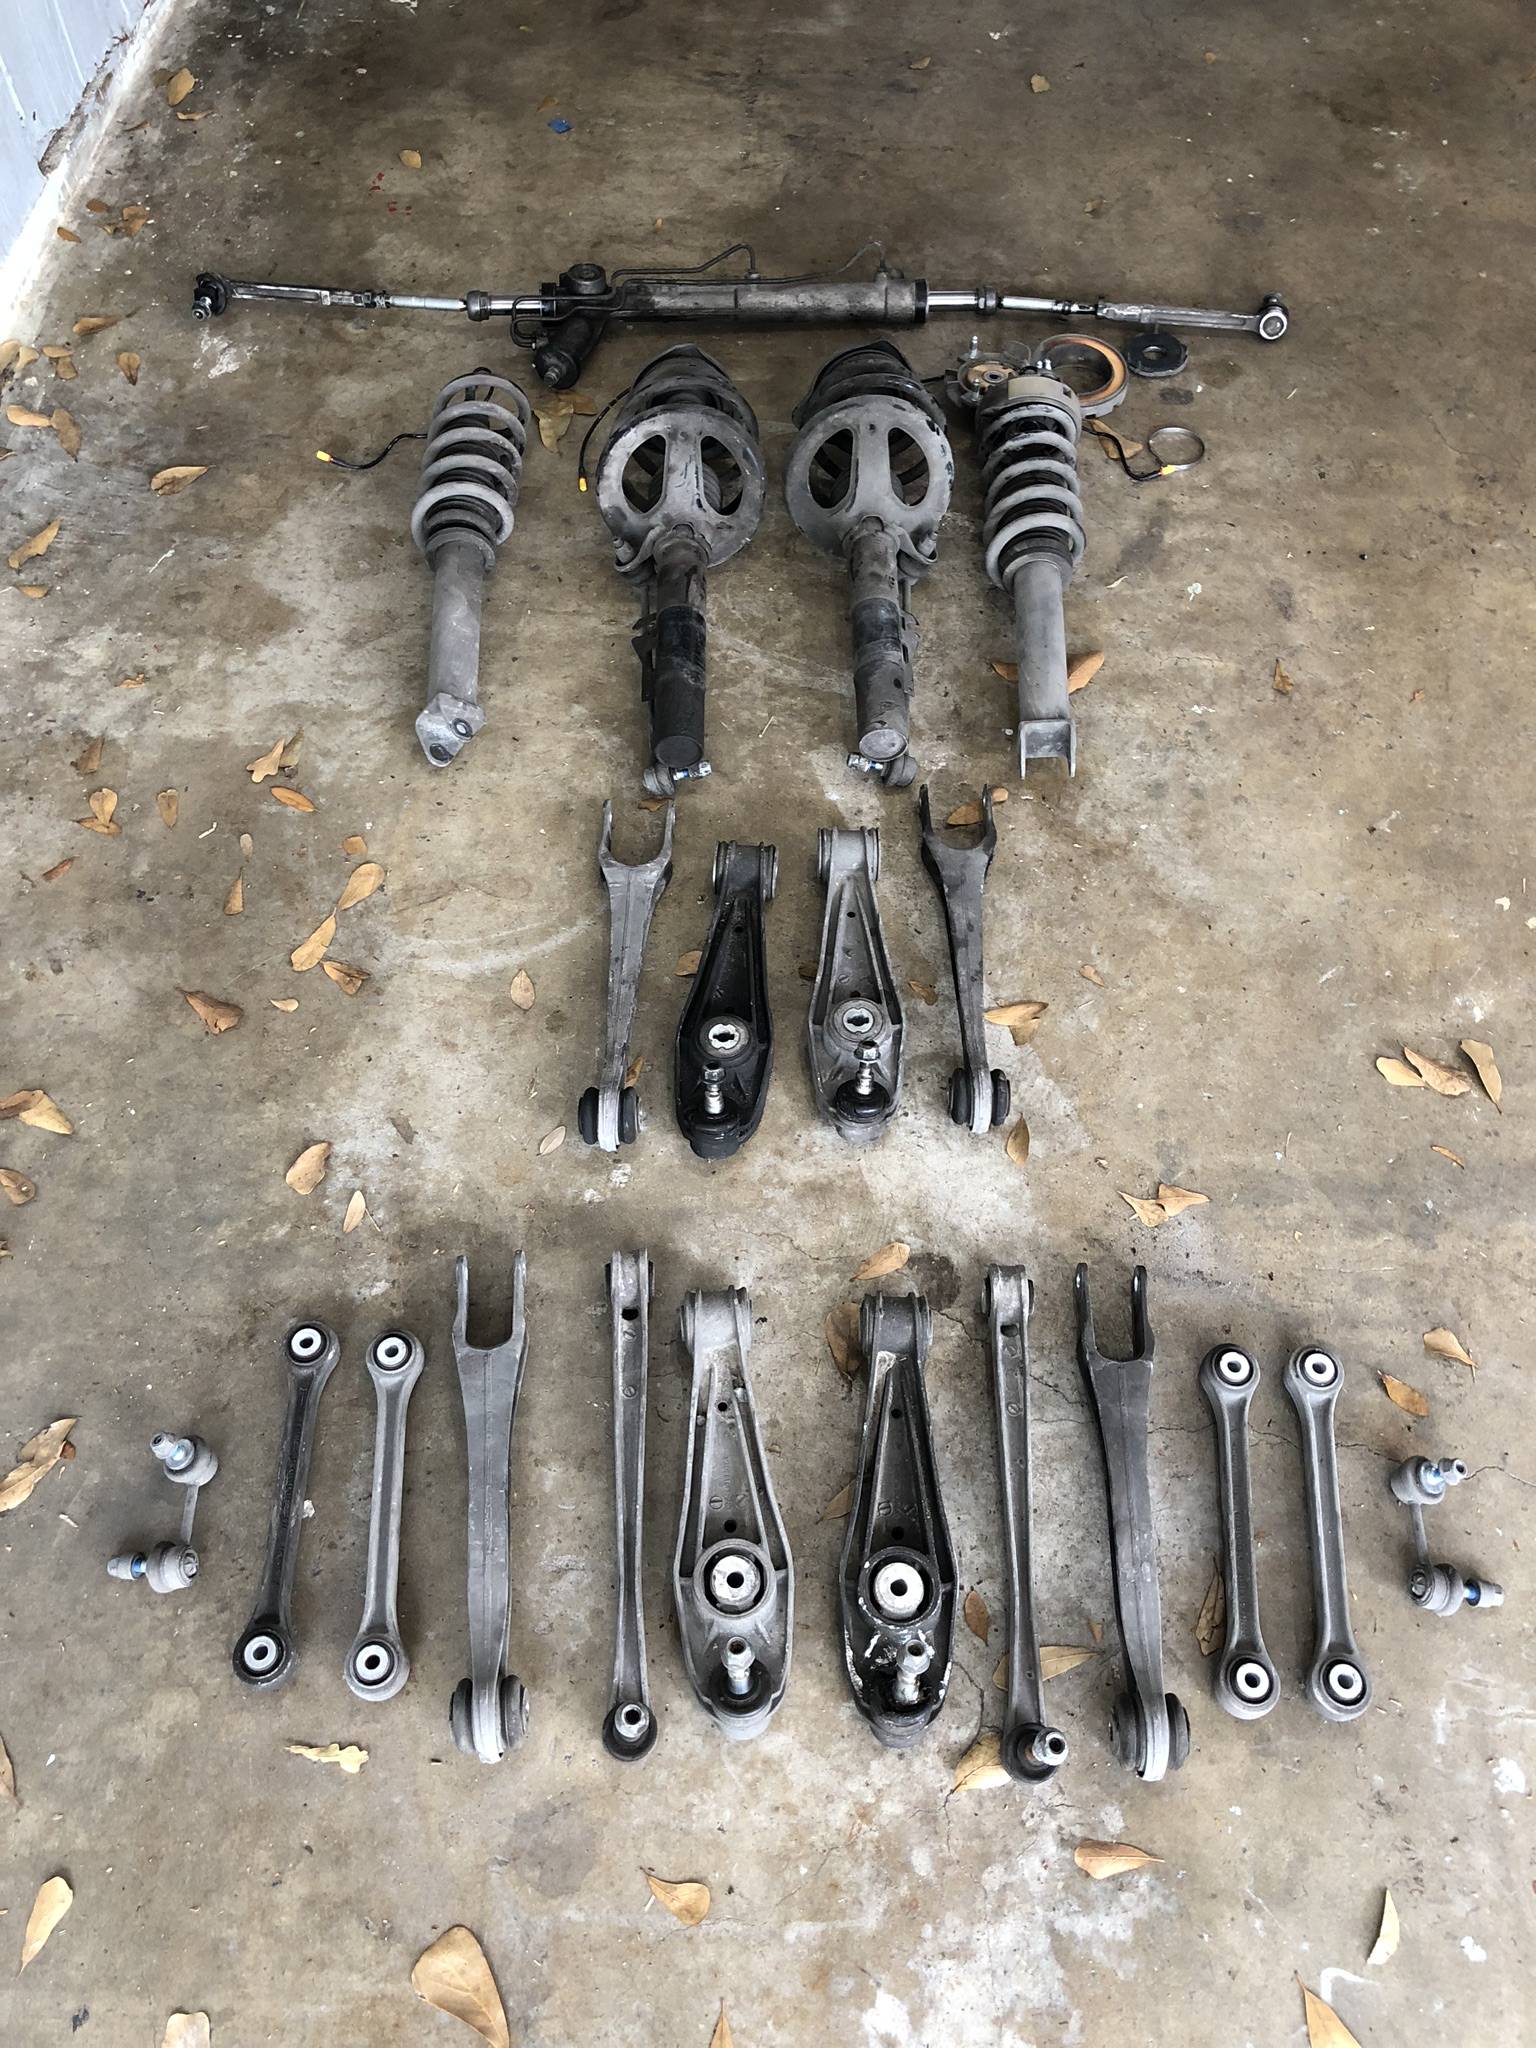
The boneyard
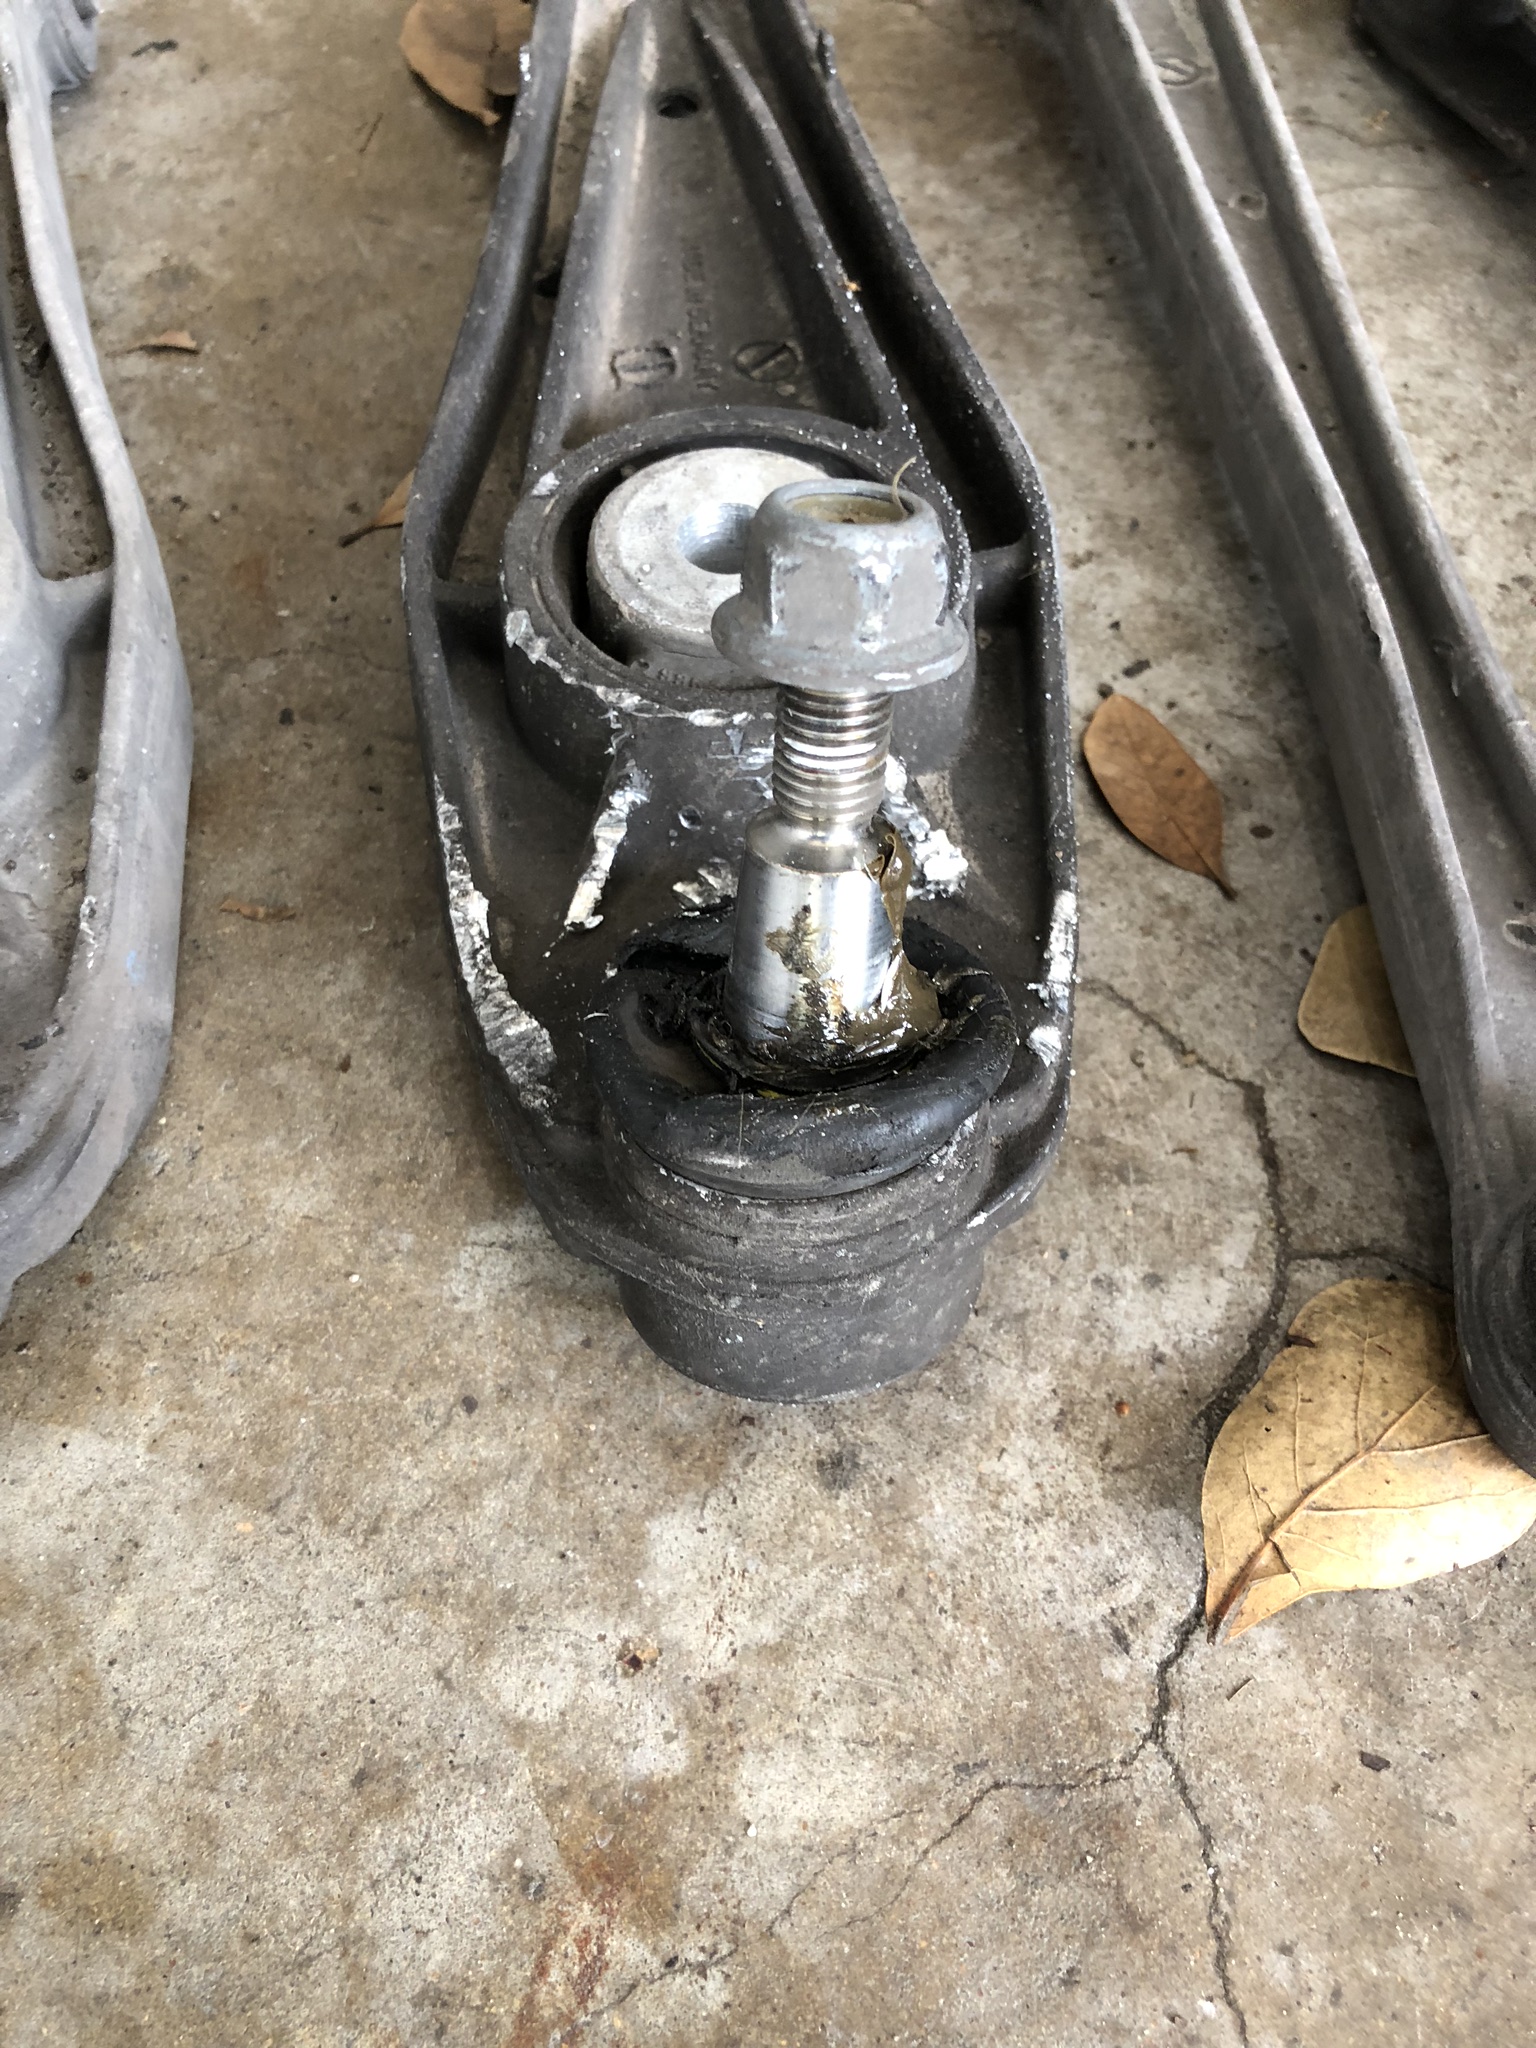
Some balljoints were worse than others. In this case, I had to use a pickle fork to mangle this one in order to pry it free from the rear hub.
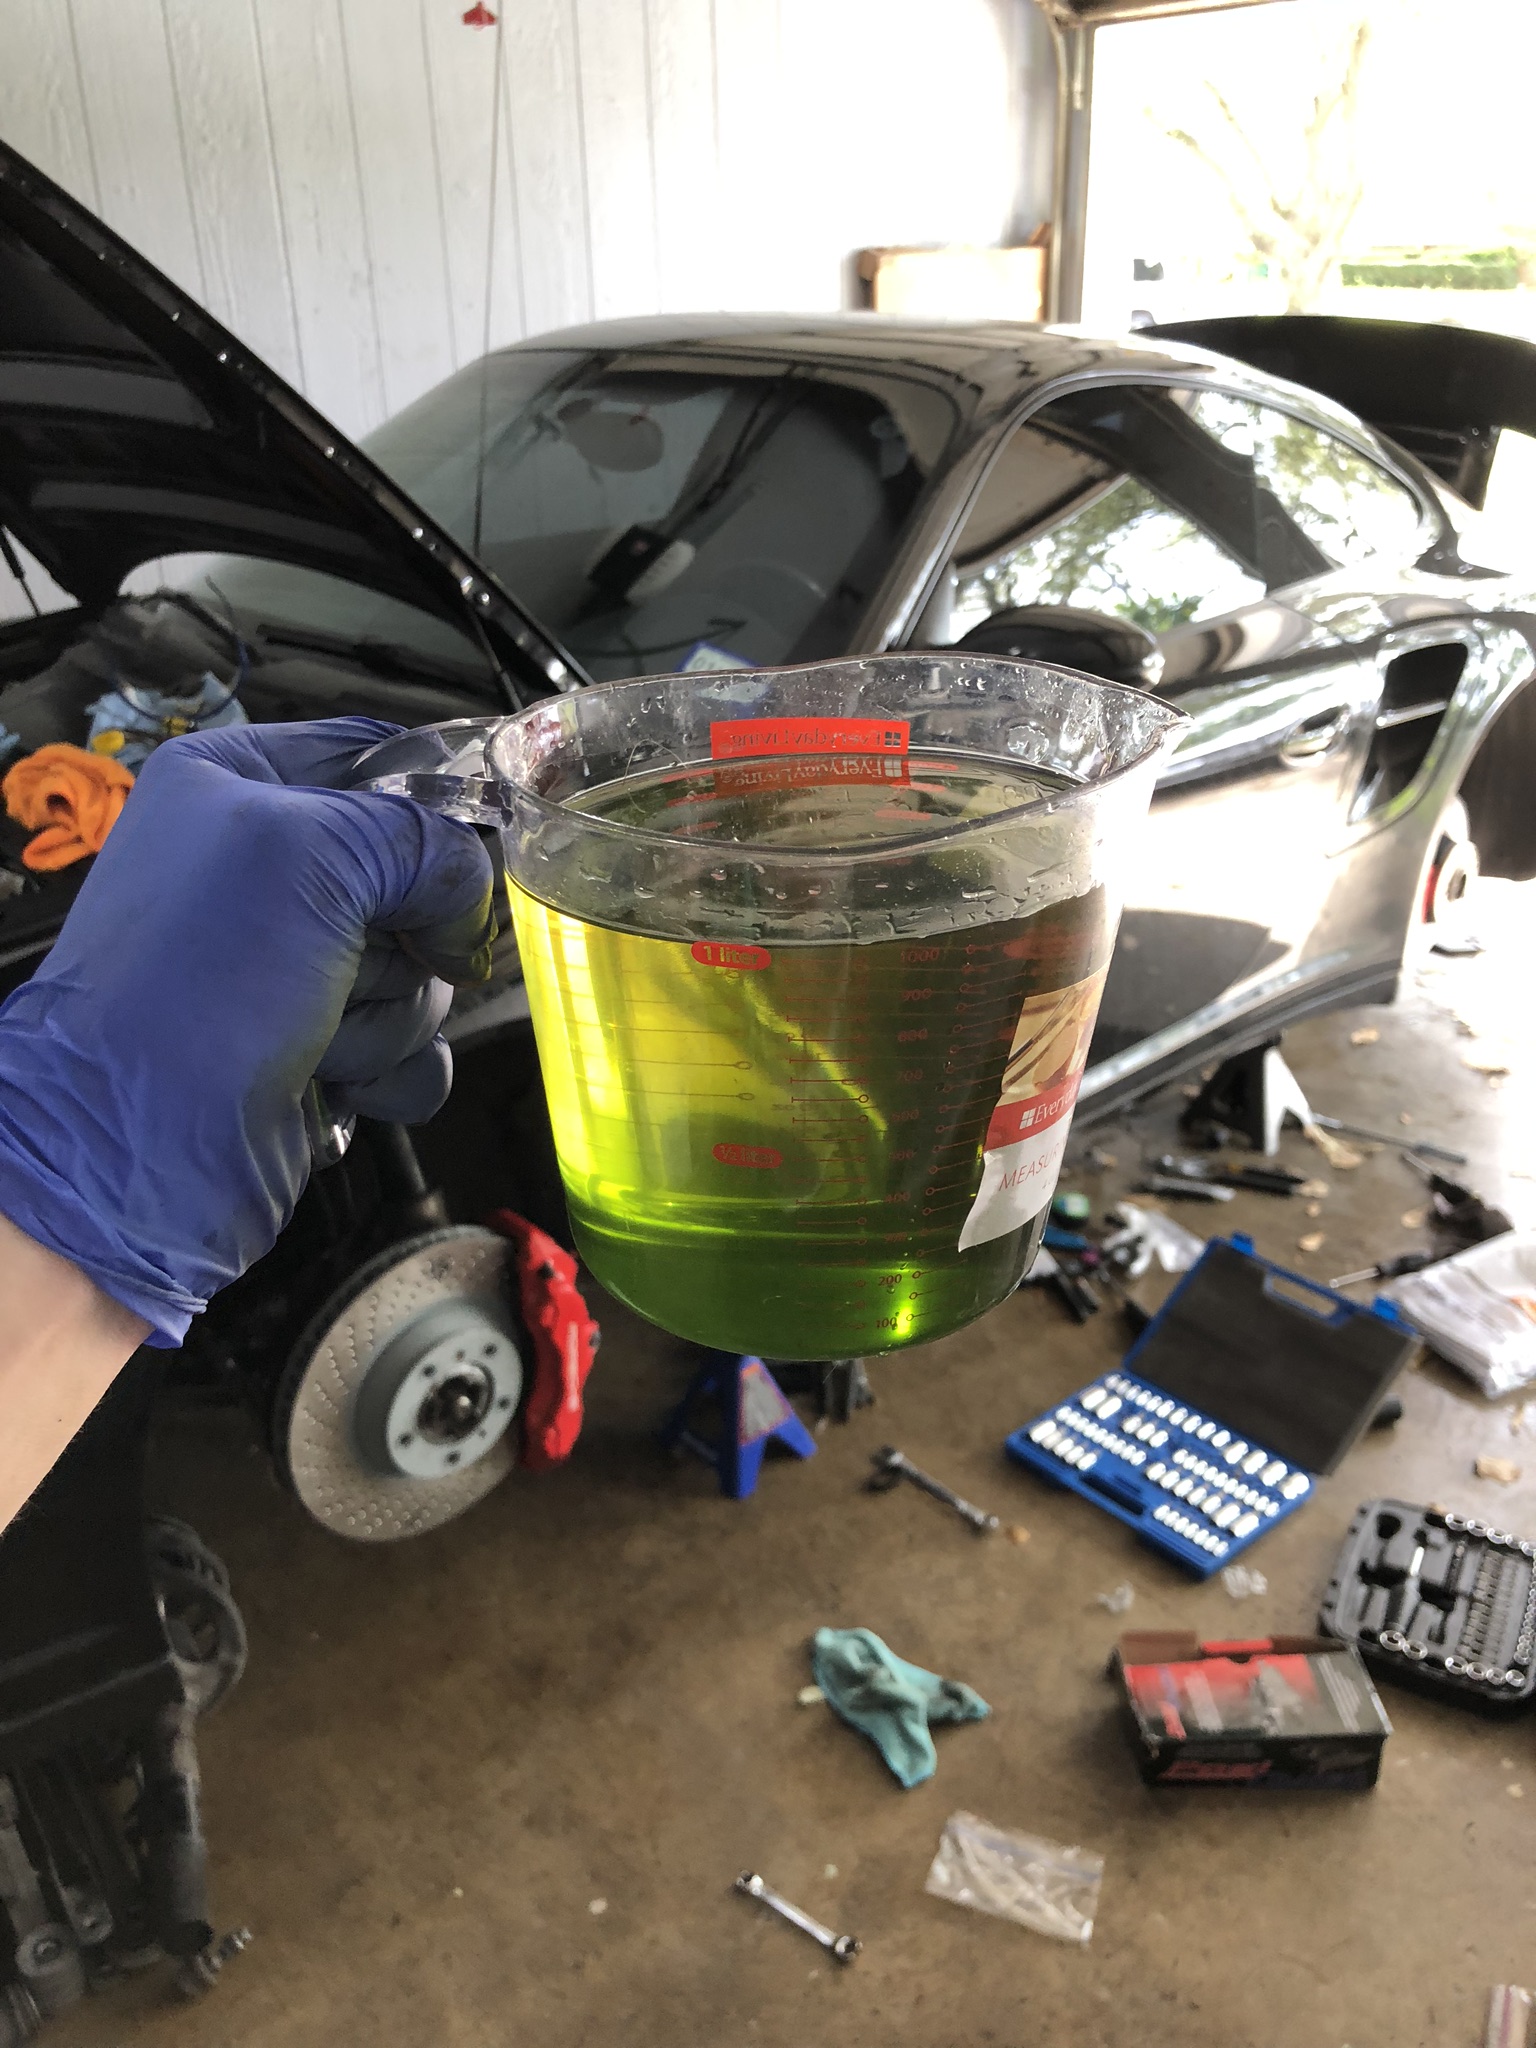
The battery died on me when I finished because I had to start the car a few times in order to briefly run the PS pump to flush the Pentosin. So I had to charge the battery before pulling it out of the garage for a wash. This was about 2 weeks in.

Old vs. new
Shiny new parts
Bleeding with Motiv Power Bleeder
Taking apart the interior to access the rear shock mounts
Brand new rear suspension installed
A huge mess was made. My other car had to sleep outside for a few nights.
The boneyard
Some balljoints were worse than others. In this case, I had to use a pickle fork to mangle this one in order to pry it free from the rear hub.
The battery died on me when I finished because I had to start the car a few times in order to briefly run the PS pump to flush the Pentosin. So I had to charge the battery before pulling it out of the garage for a wash. This was about 2 weeks in.
The following users liked this post:
jayi836 (03-02-2020)
03-18-2019, 12:30 AM
#5
Three Wheelin'
Thread Starter
I flushed out the front diff, which has TWO oils in the 997 turbo. The 997.1 turbo diff is different from the 997.1 carrera diff which only takes the PTX. The turbo diff takes PTX as well as AWD controlled oil. It has two separate fill/drain areas. The front area is for the PTX and the rear area is for the AWD controller.
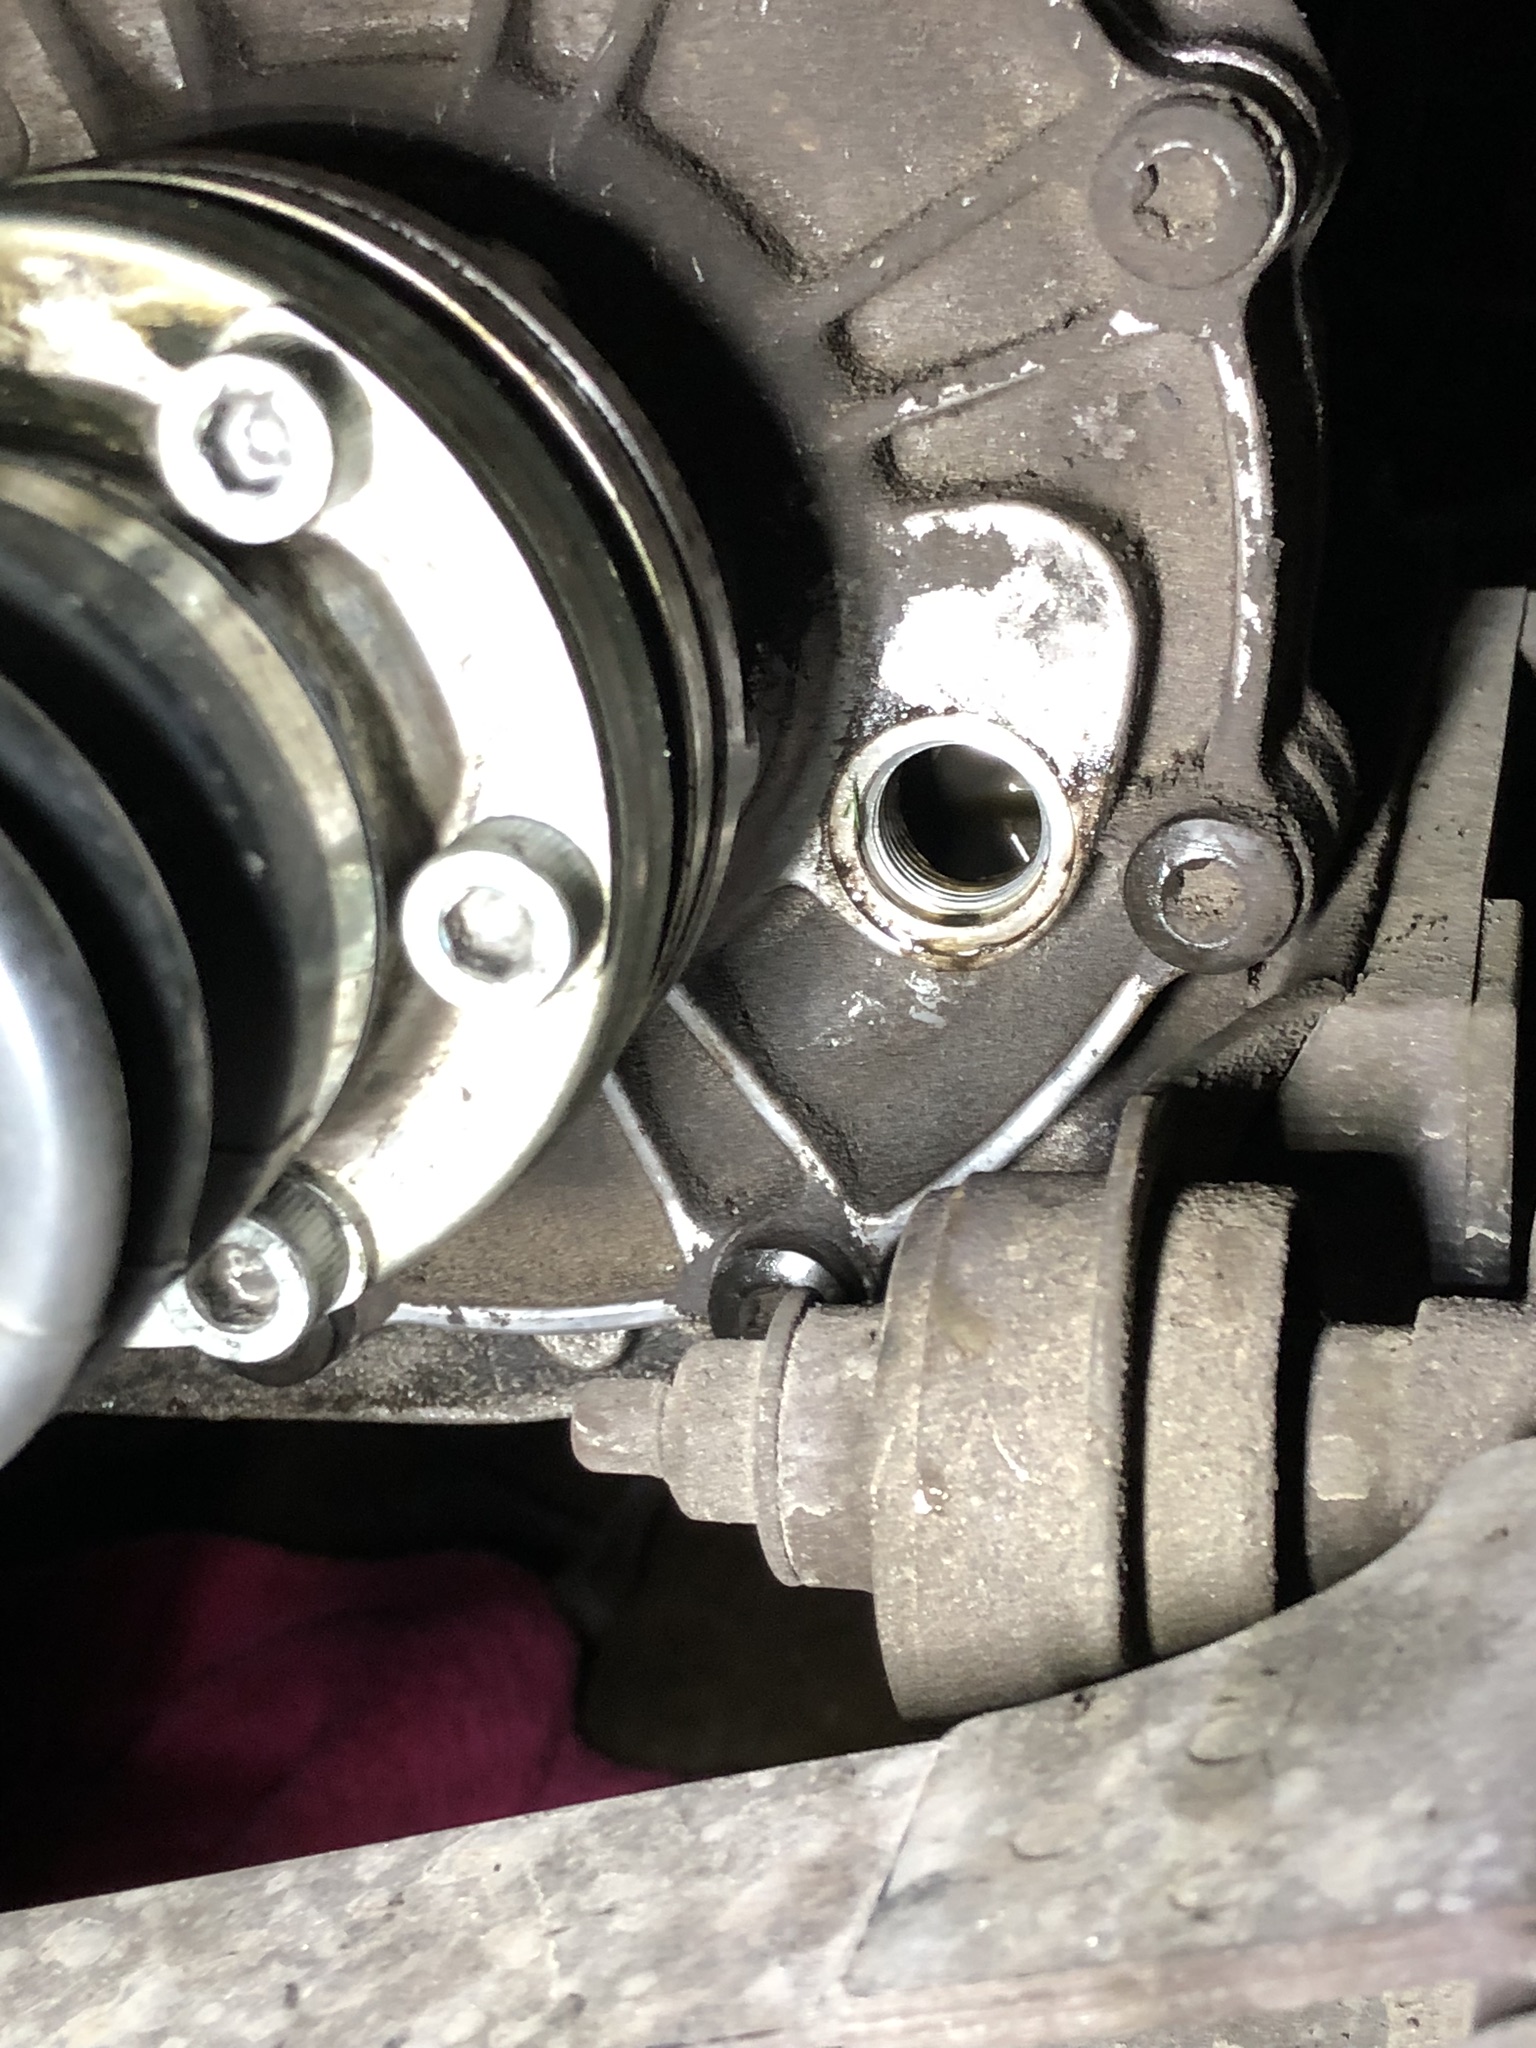
Front diff draining
Front diff drain bolt, seen from passenger side wheel well. Easily accessible when the rack was out of the way. Otherwise, best way to access it is from below using a combo wrench.
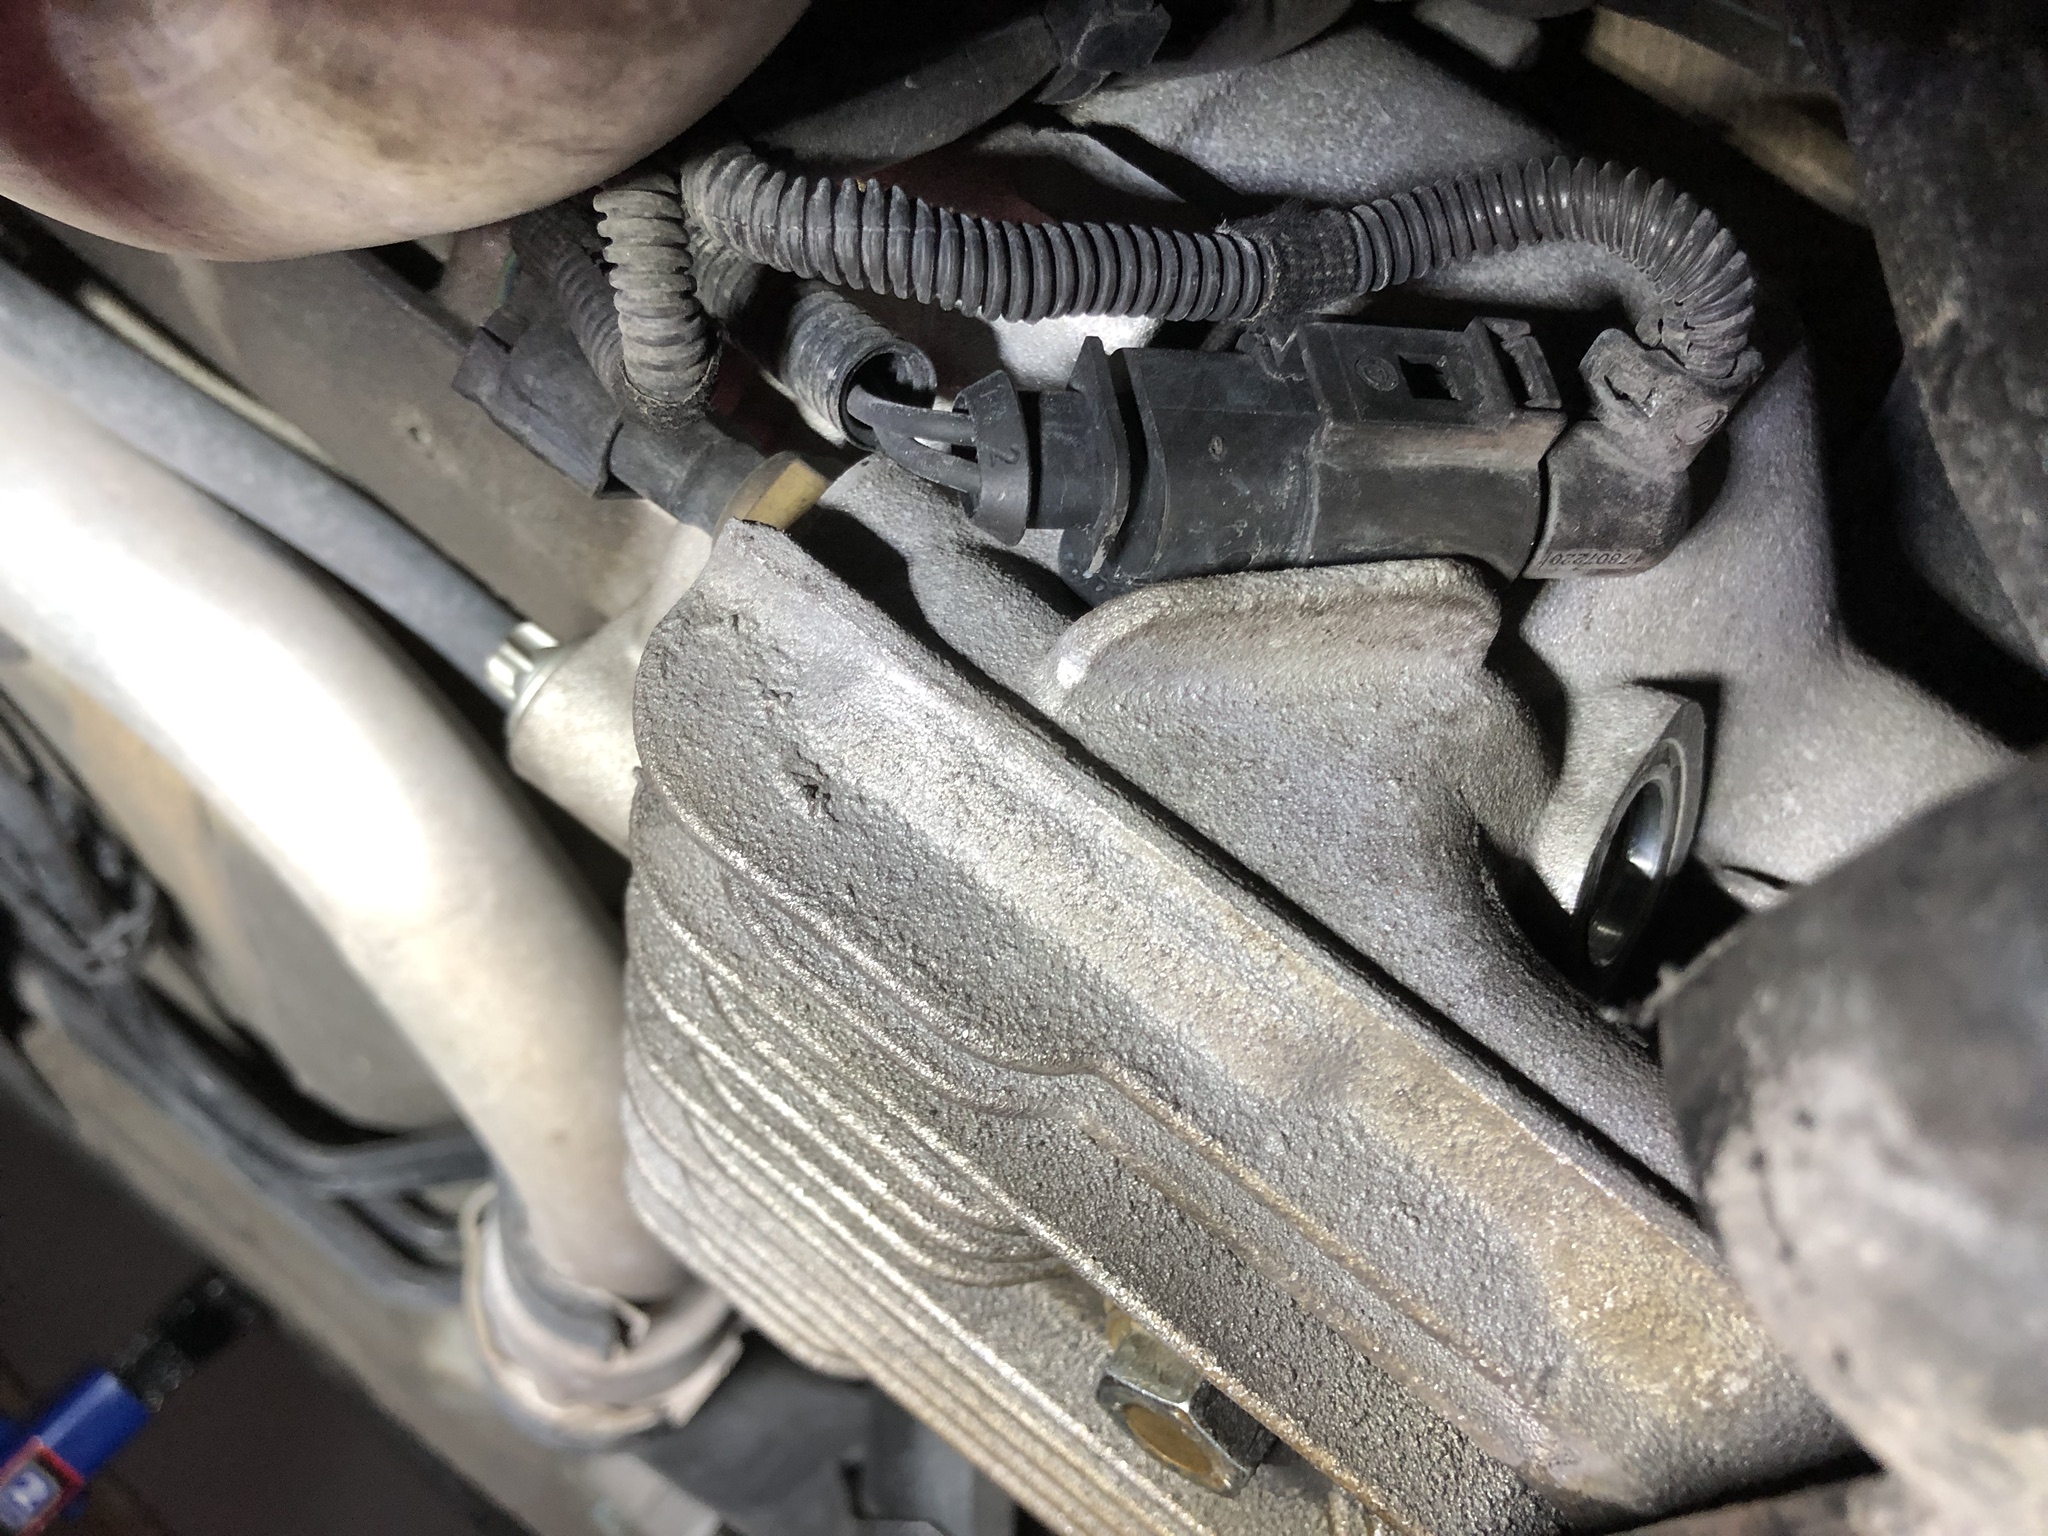
Rear diff area (facing the rear of the car), for the AWD controller showing location of the fill and drain bolts. Pain in the *** location.
Fluids were filled. Leaks were identified. New drain bolts solved that issue.
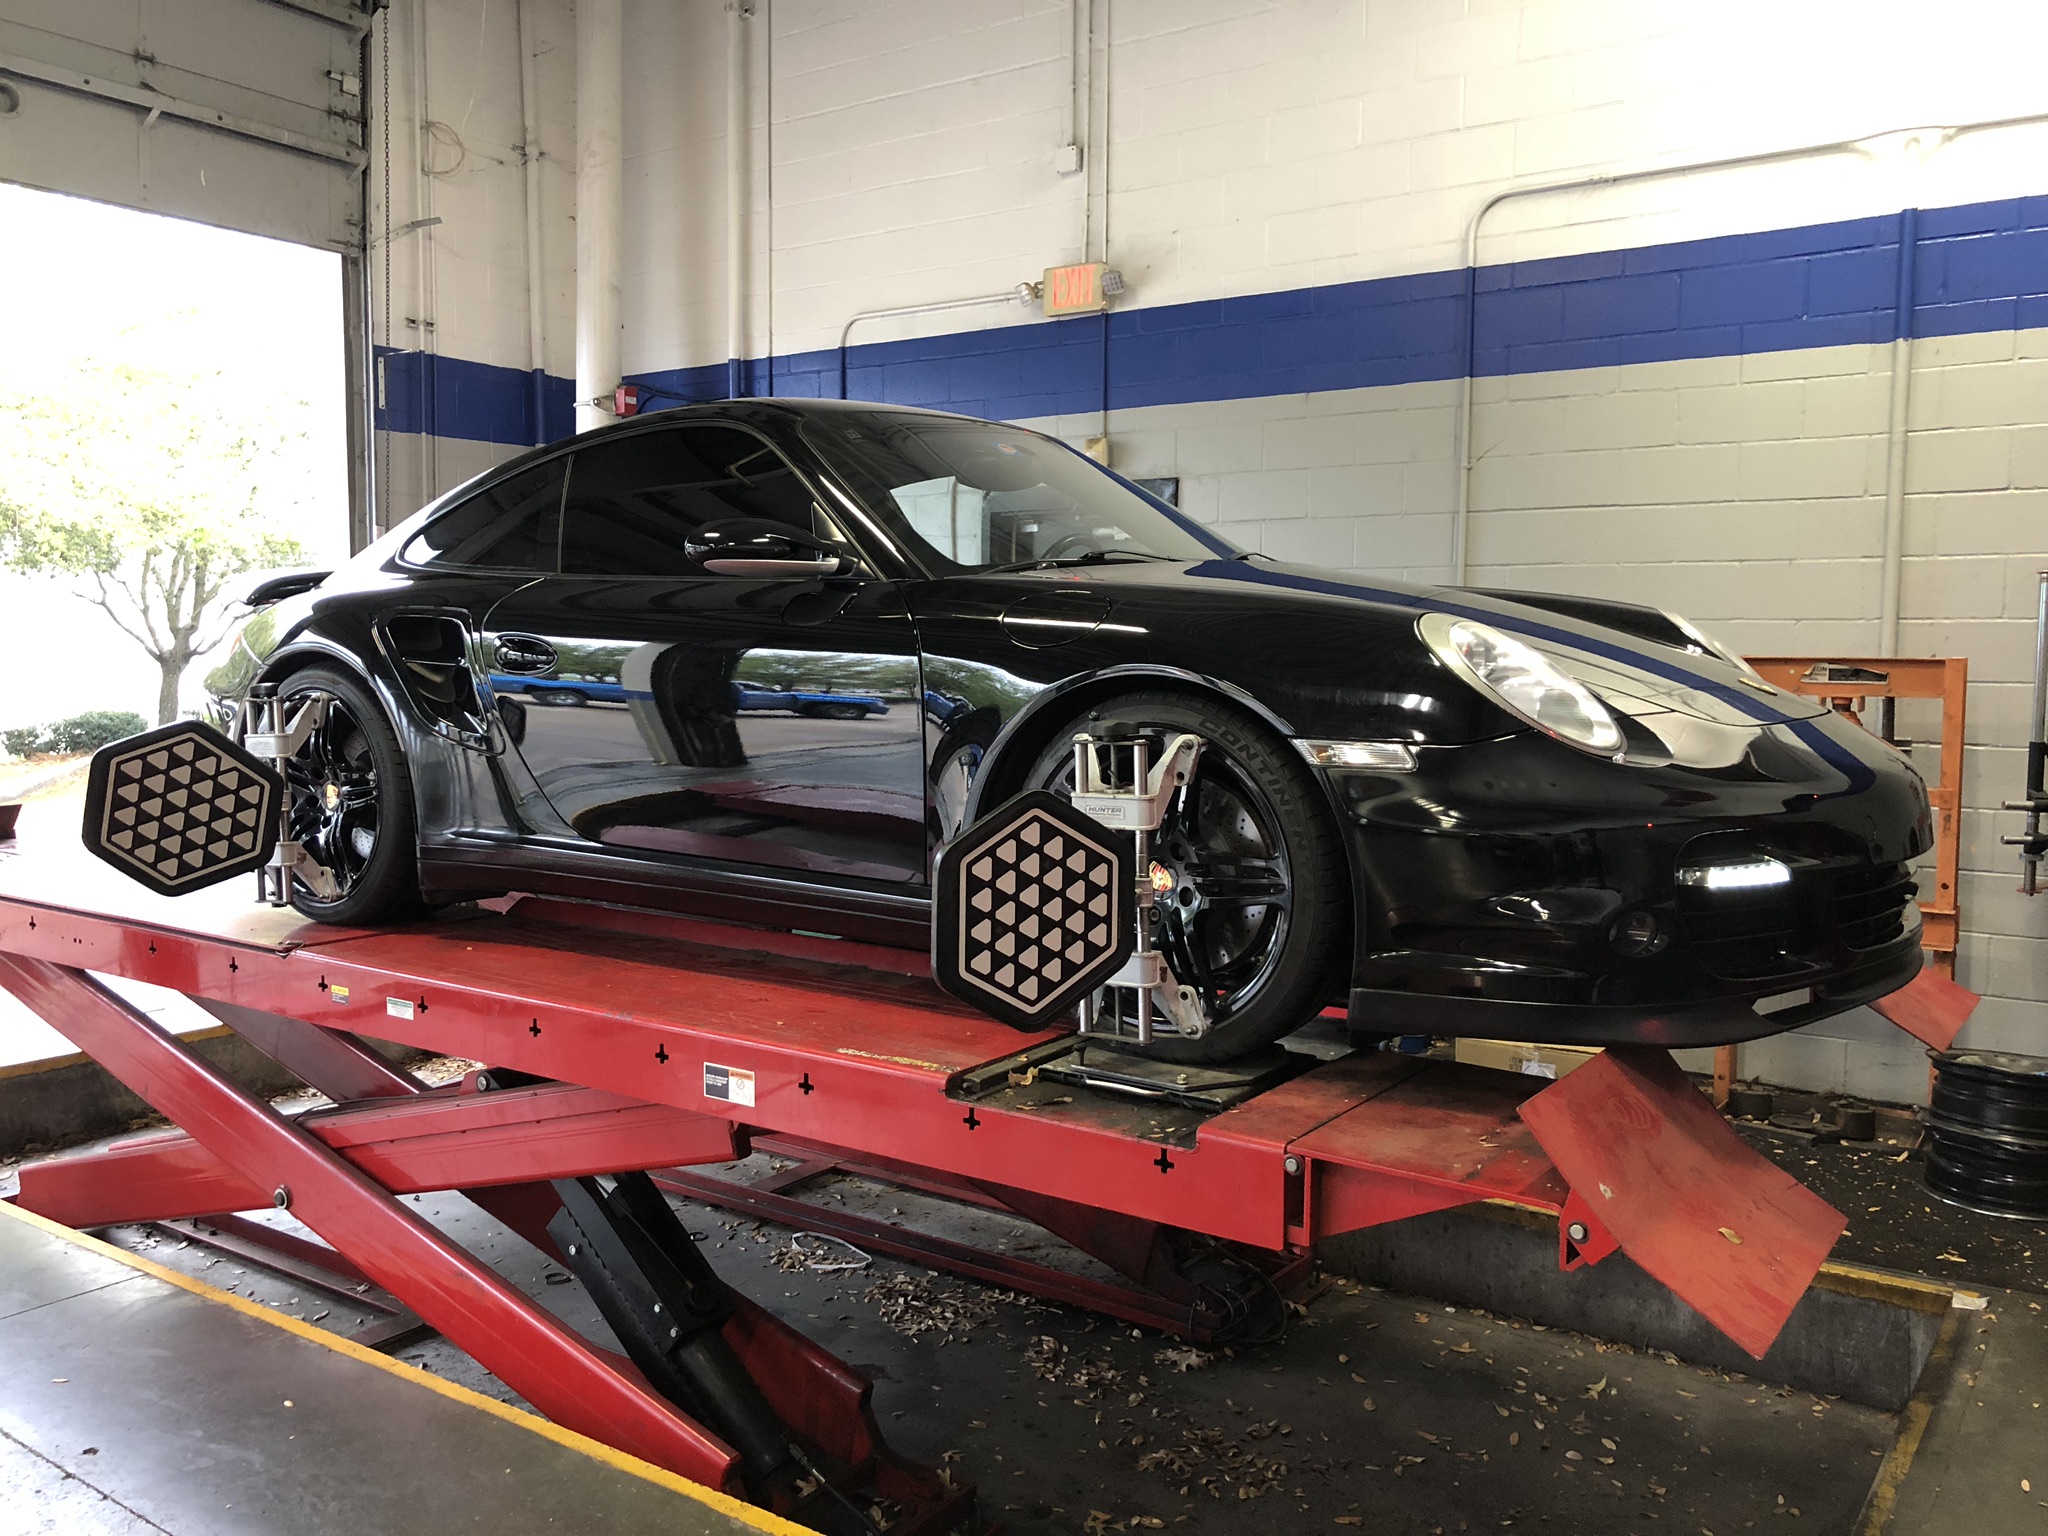
Finally had it aligned and ready to rock!
Front diff draining
Front diff drain bolt, seen from passenger side wheel well. Easily accessible when the rack was out of the way. Otherwise, best way to access it is from below using a combo wrench.
Rear diff area (facing the rear of the car), for the AWD controller showing location of the fill and drain bolts. Pain in the *** location.
Fluids were filled. Leaks were identified. New drain bolts solved that issue.
Finally had it aligned and ready to rock!
The following users liked this post:
jayi836 (03-02-2020)
03-18-2019, 12:35 AM
#6
Three Wheelin'
Thread Starter
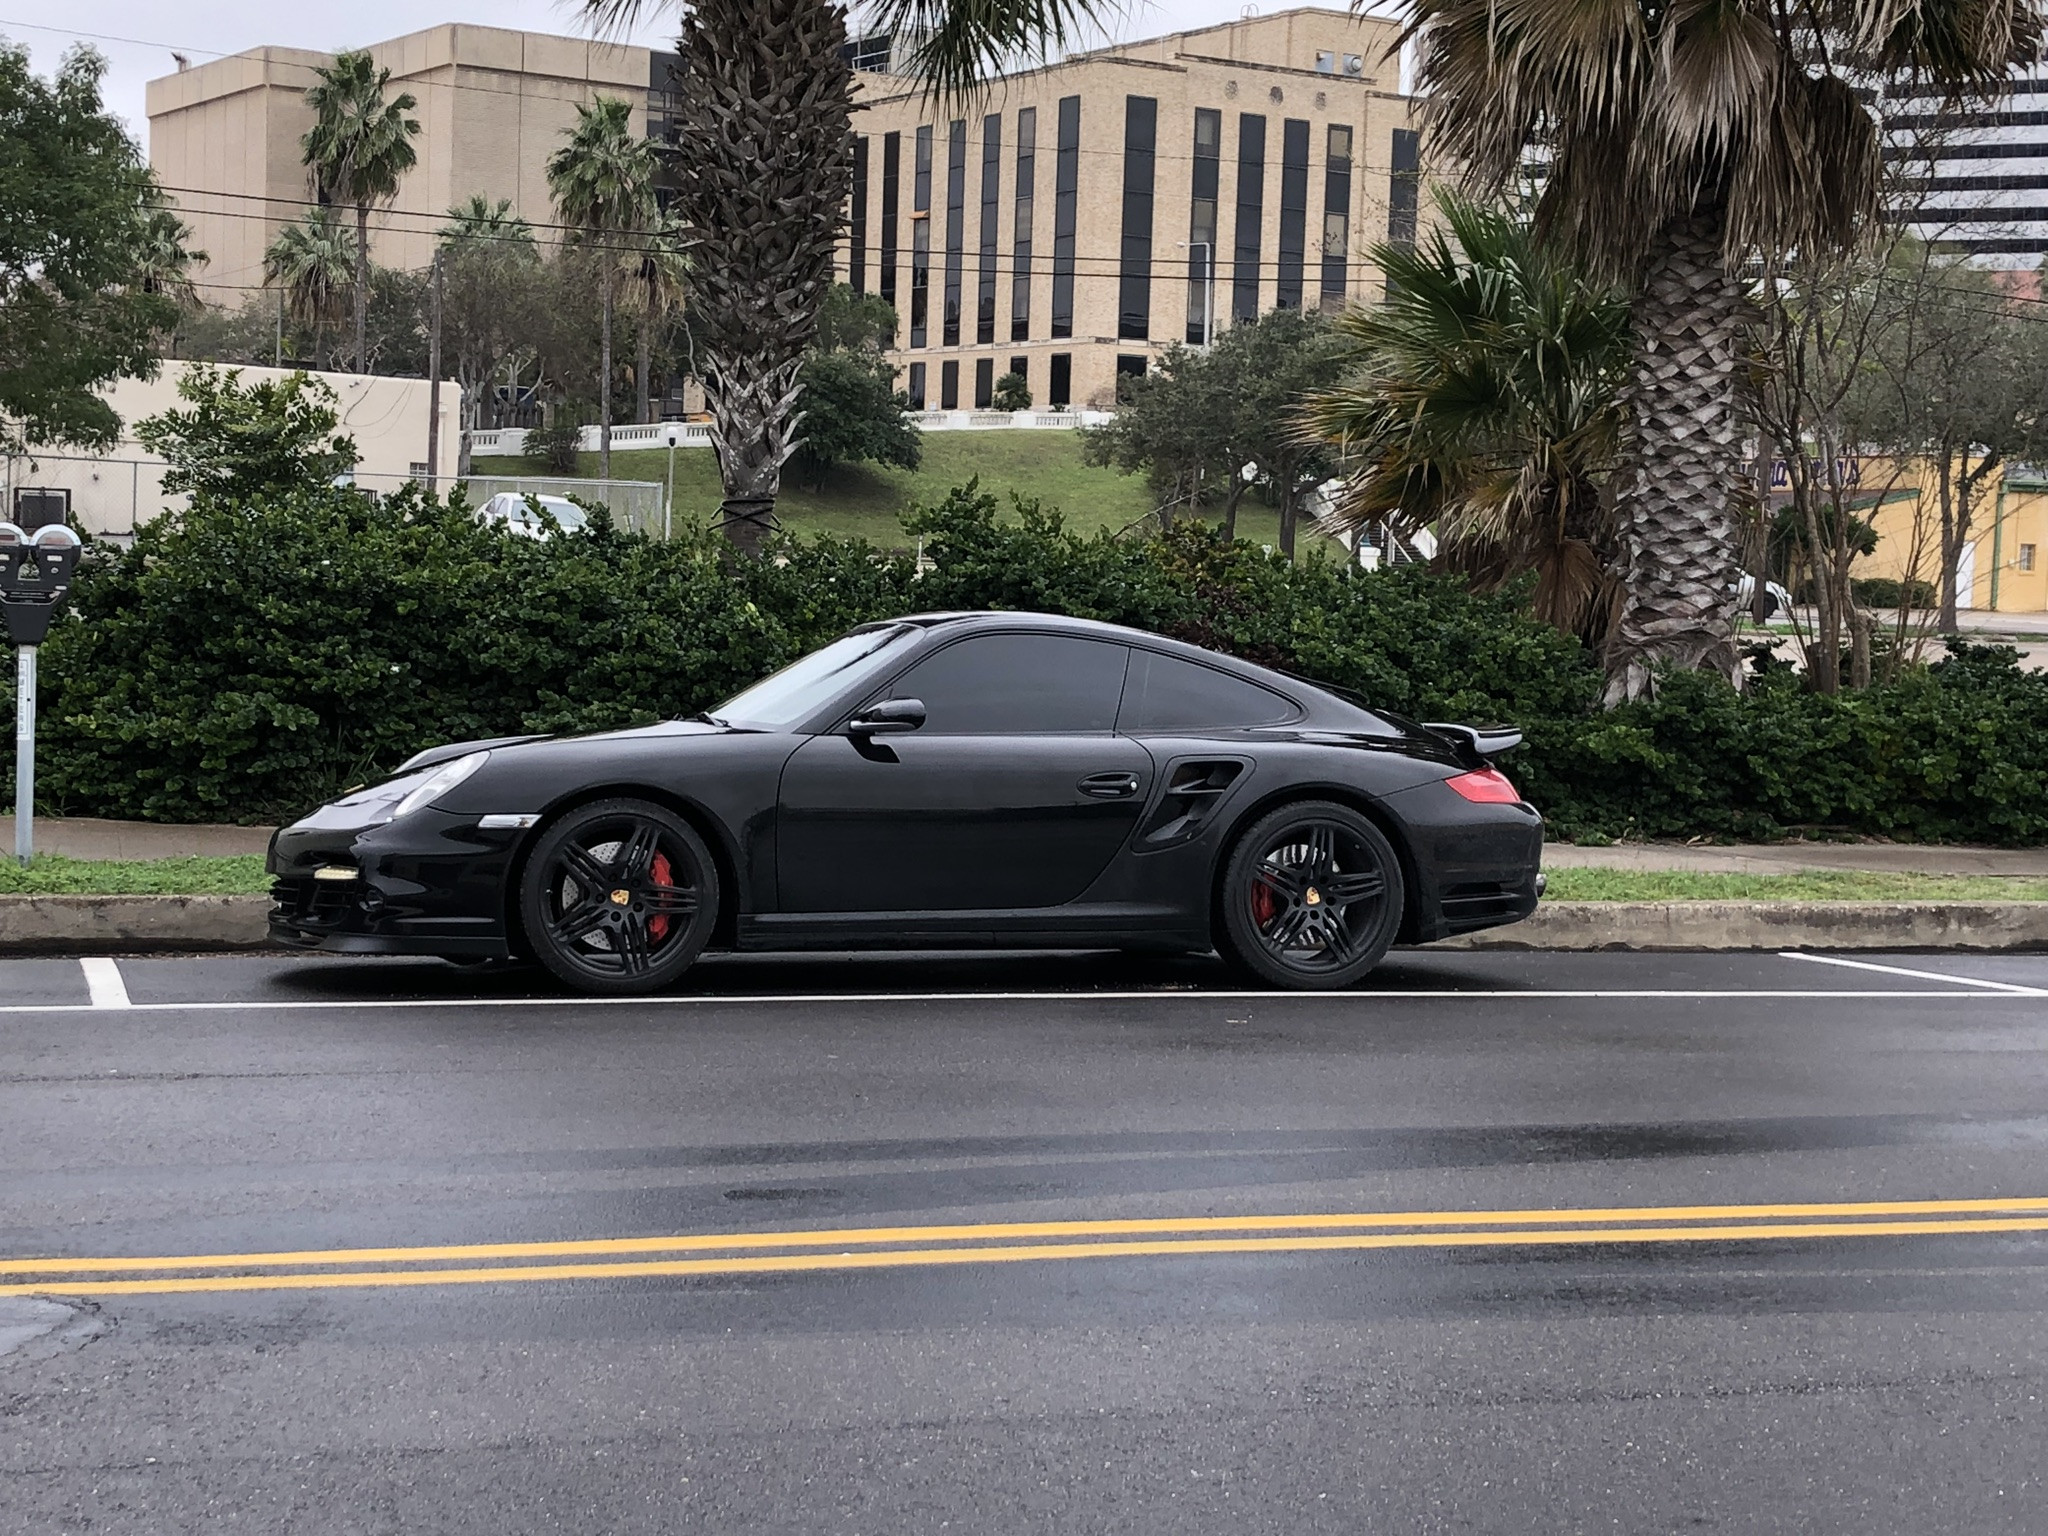
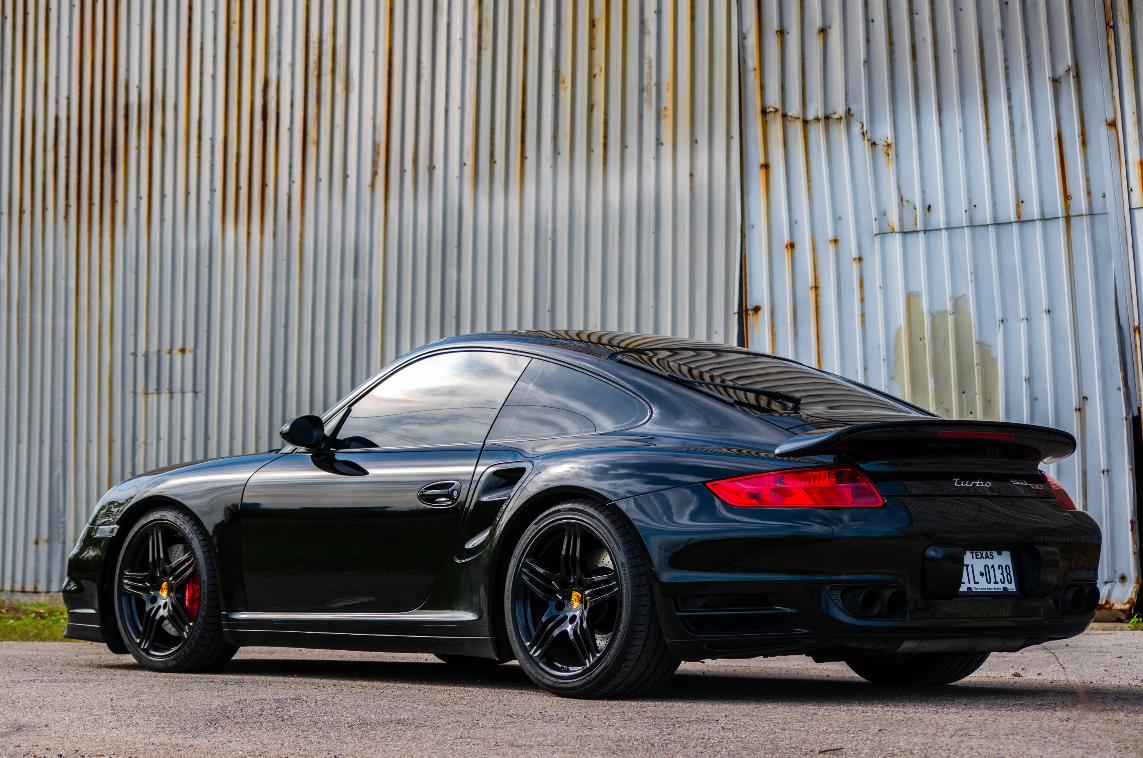
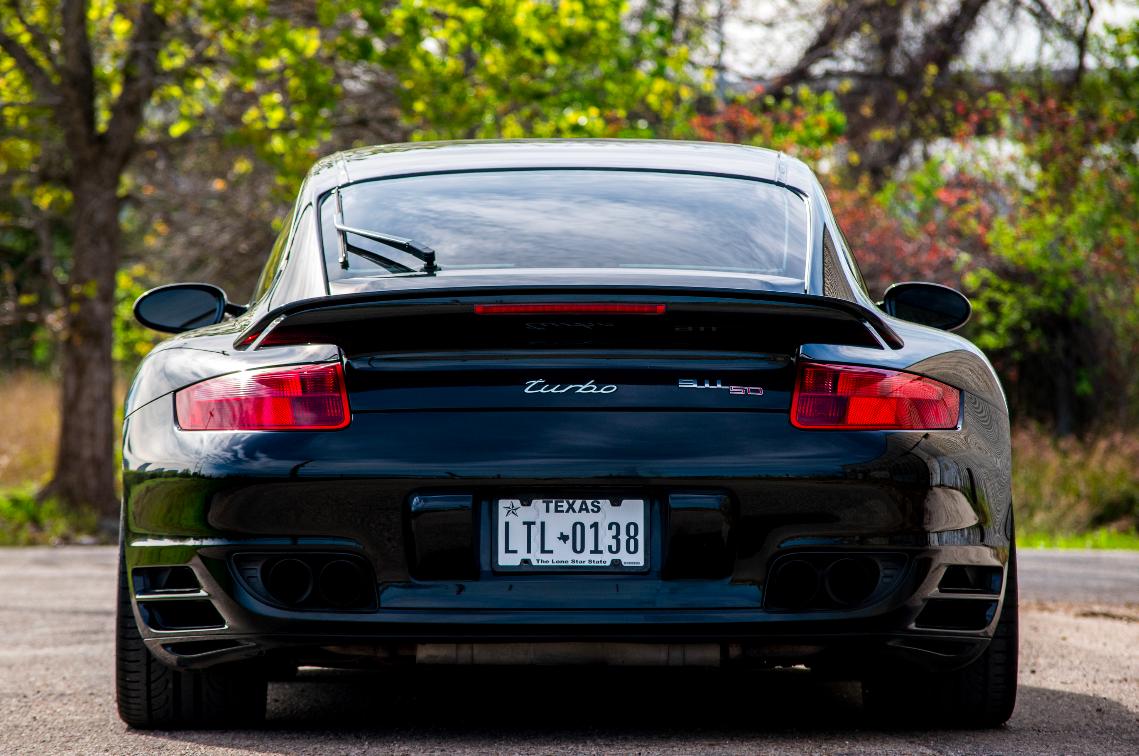
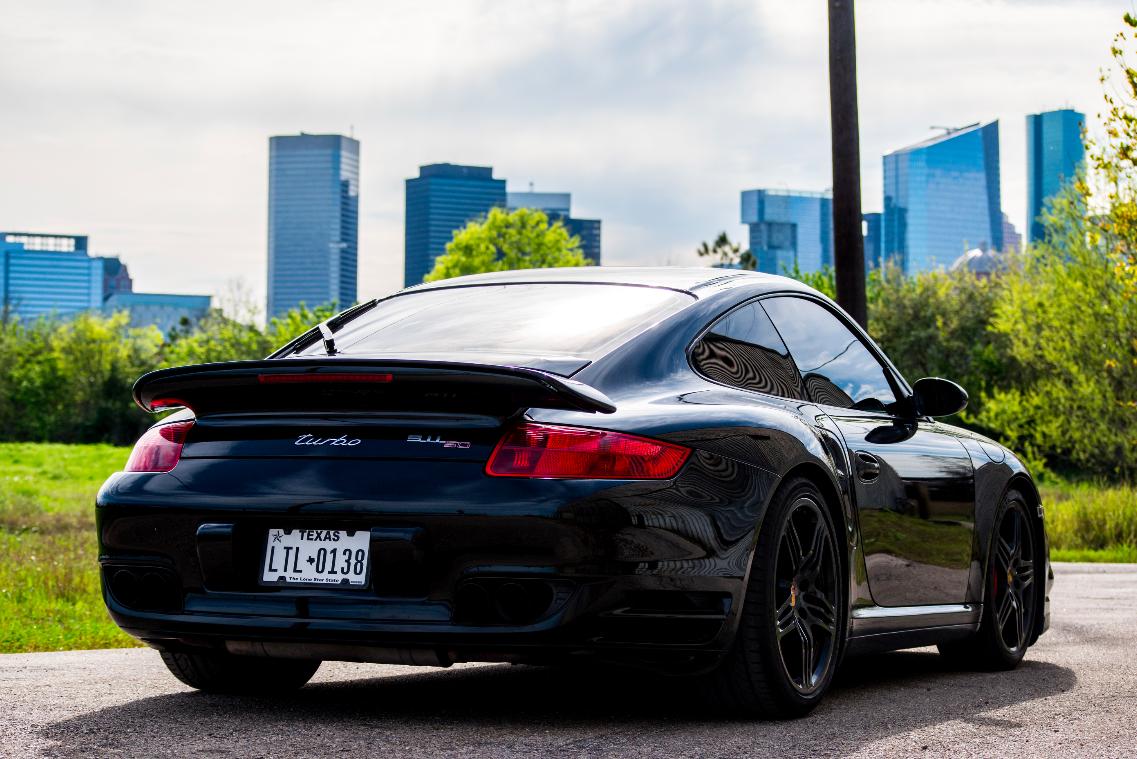
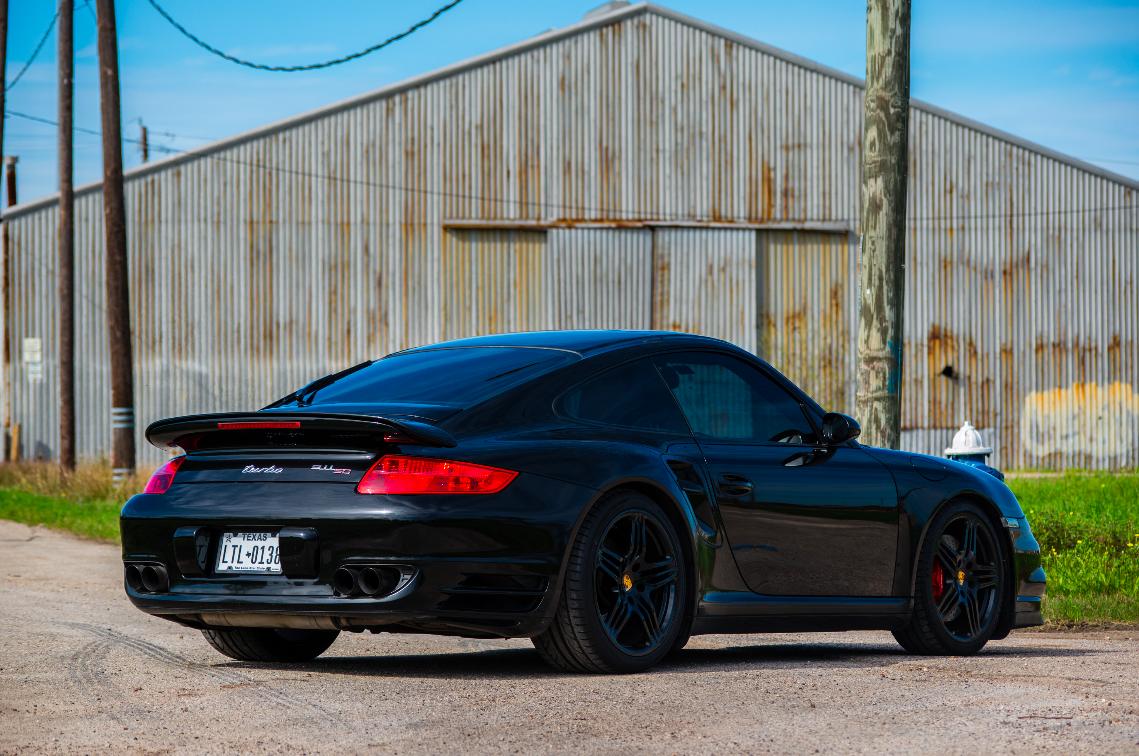
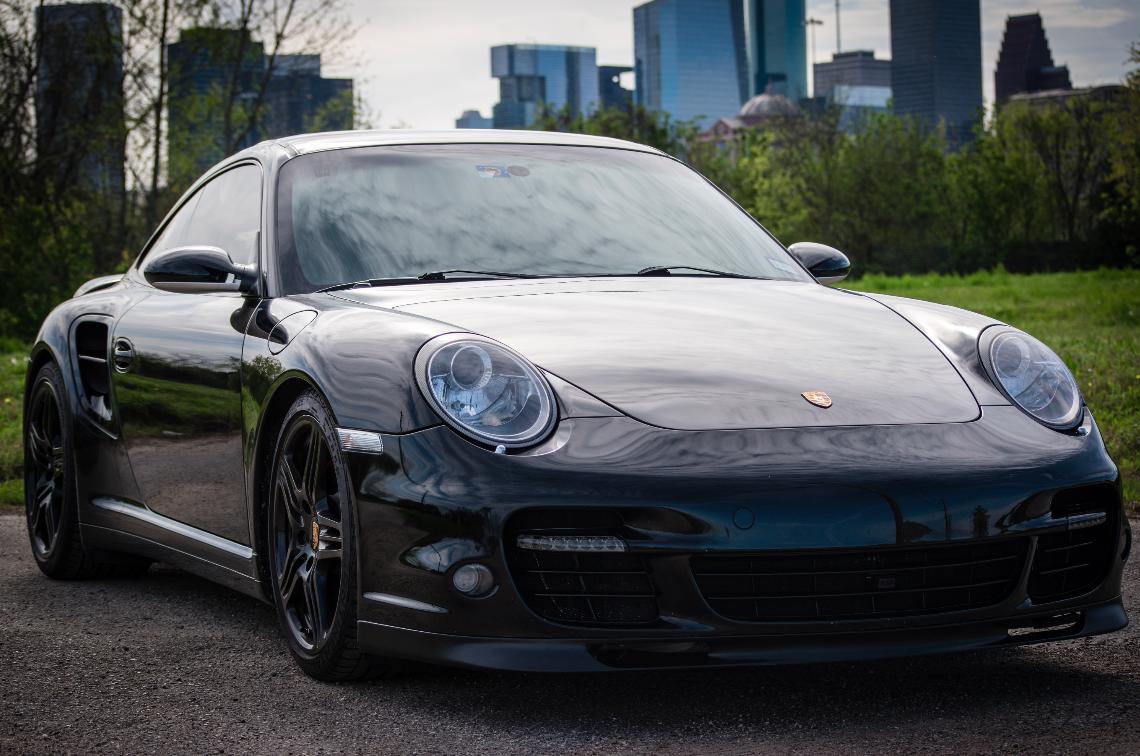
Photoshoot time!

The following users liked this post:
jayi836 (03-02-2020)
03-18-2019, 12:35 AM
#7
Rennlist Member
^ Nice work and great pics, I love the DIY threads.. Nothing like "laying hands" on a new-to-you car.. And yes, that AWD controller fill hole is a bit of a challenge to get off..
Trending Topics
03-18-2019, 12:38 AM
#8
Three Wheelin'
Thread Starter
Next up I will be replacing the rear axles. The boots are torn and there is a noise like a feather stuck in a bicycle wheel likely due to debris build up in the axles.
In the near future, I will do the spark plugs and coils and do an oil change with 5W50, possibly the fuel filter if it looks old.
I am sourcing inspiration for what else to do with it! I don't love black cars, so I think I will wrap it at some point. I like the deep blues (Mexico, Riviera) and the shiny grays (Grigio Telesto, Nardo). Thanks for following along! I'll be updating this thread with my progress.
03-18-2019, 01:03 AM
#10
Three Wheelin'
Thread Starter
 03-18-2019, 11:07 AM
#11
Rennlist Member
Nice work. You saved thousands in labor costs. Car sounds good too, especially for a turbo which most say sound very tame stock and have too much drone with mods.
03-18-2019, 12:55 PM
#12
RL Community Team
Rennlist Member
Rennlist Member
That's a lot of work accomplished in a short time. Great job. At this rate though, you're going to be bored again soon 

 03-18-2019, 09:29 PM
#15
Three Wheelin'
Thread Starter