When you click on links to various merchants on this site and make a purchase, this can result in this site earning a commission. Affiliate programs and affiliations include, but are not limited to, the eBay Partner Network.
Thanks guys! Amassing more parts for the next round on the projects evolution for some more power and shedding more weight, current plan is to overhaul as soon as the snow flies now that the Corrado is pretty much done, no point in pulling the 996 apart while some summer miles can be enjoyed. Here is another picture from this mornings coffee run.
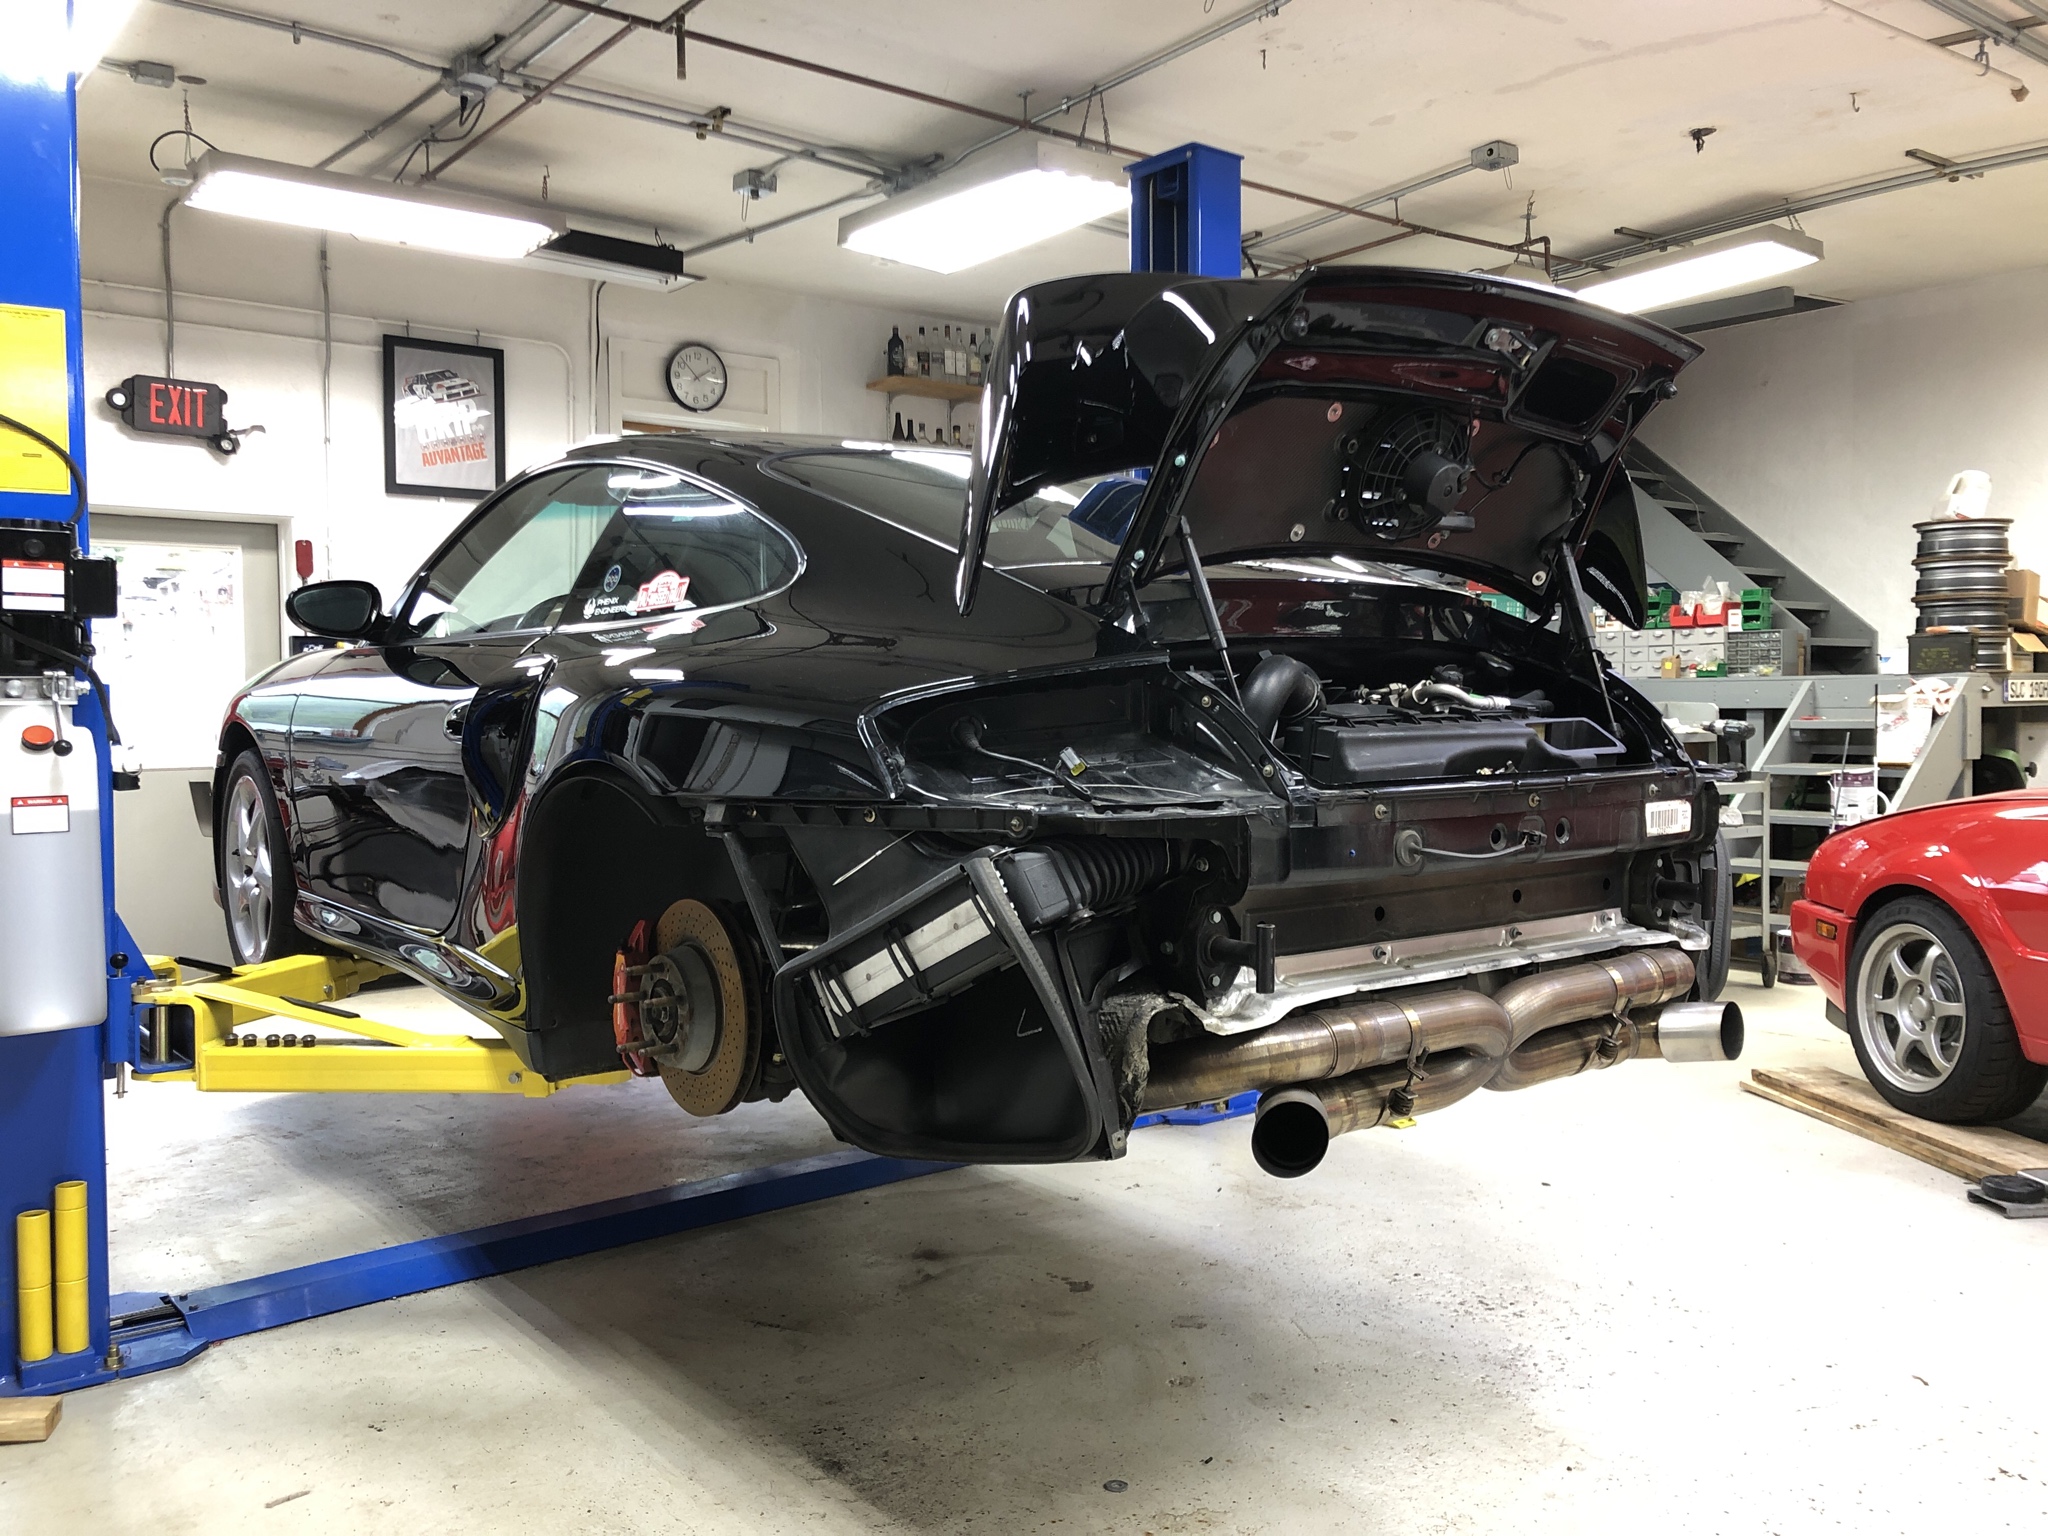
Finally getting back to working on the 996, she is due for some service items so in between renovation fun figure bang out a few things.
-New Plugs
-Oil Change
-Replace rear O2 sensors
-Install new front Monoballs
-New Front LCA Arms
-Install new DV & DV hose
-Clean Intercoolers
-Transmission Fluis Flush
If time allows for it, getting the new body parts painted and installed. Have a new rear euro bumper, Manthey doors and GT3RS hood to put on for some weight savings.
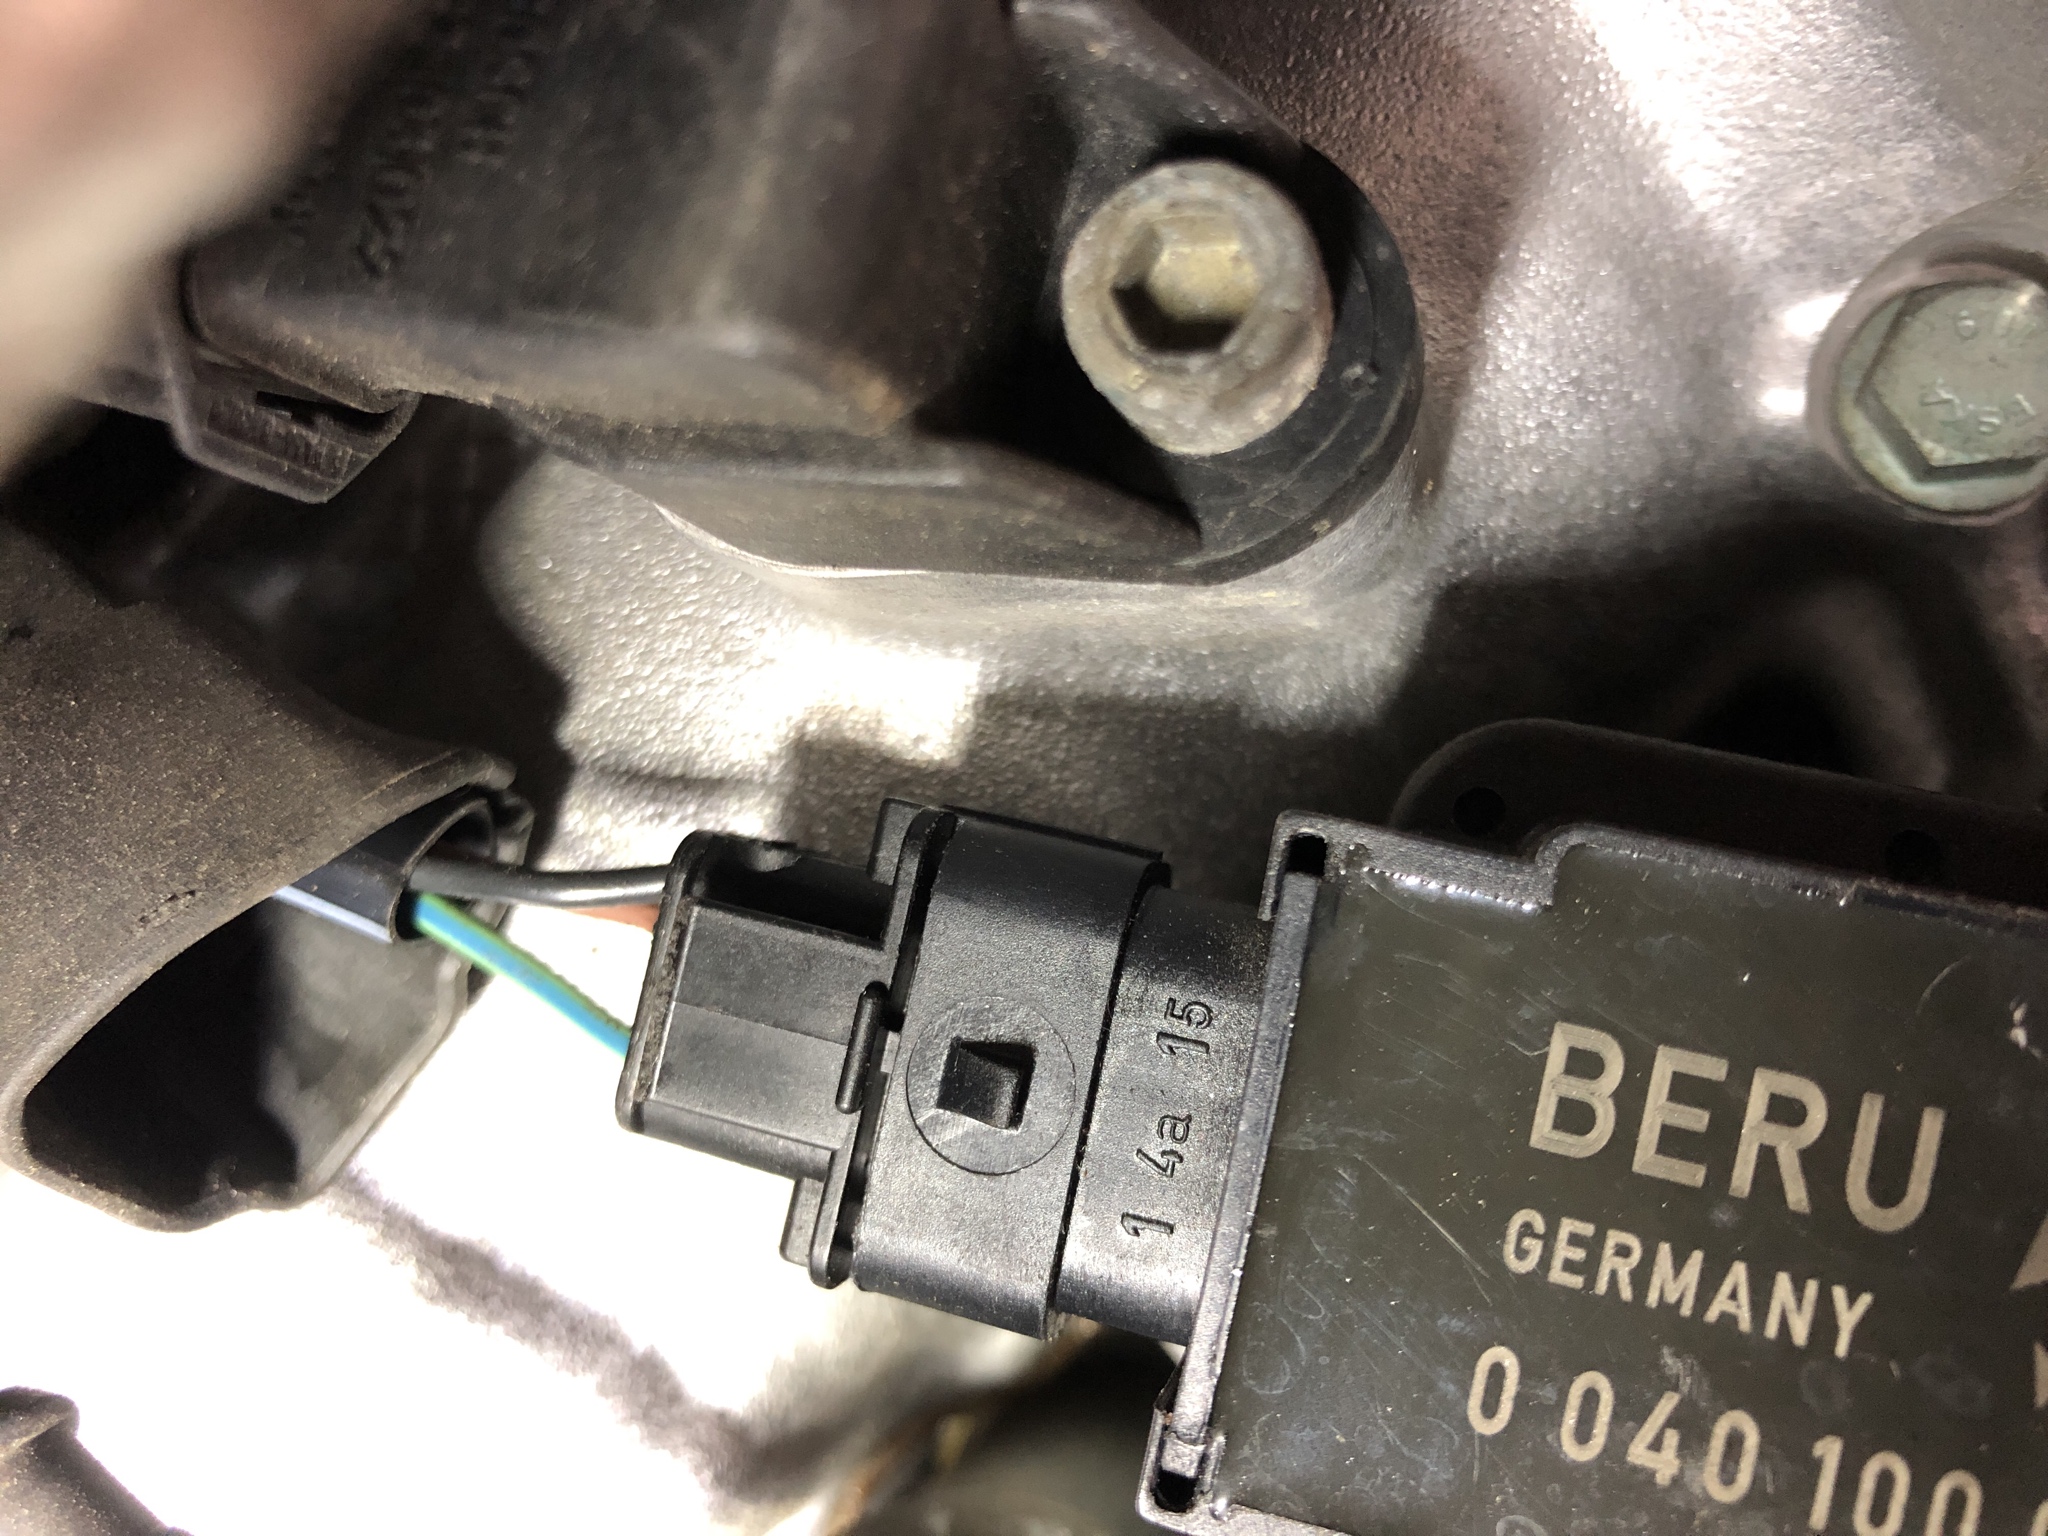
With the super hot weather it left only mornings to work on the house gutting, with retiring to the cool garage by lunch time. Attacking the plugs first as they were due for changing after 12k miles, I also decided to tackle the one broken coil plug from the prior shop that worked on it. Originally when I did the plugs I used the same zip tie trick to hold in place, but with having so much experience and all the spares from the 997tt that had 4 broken plugs it made sense to tackle it.
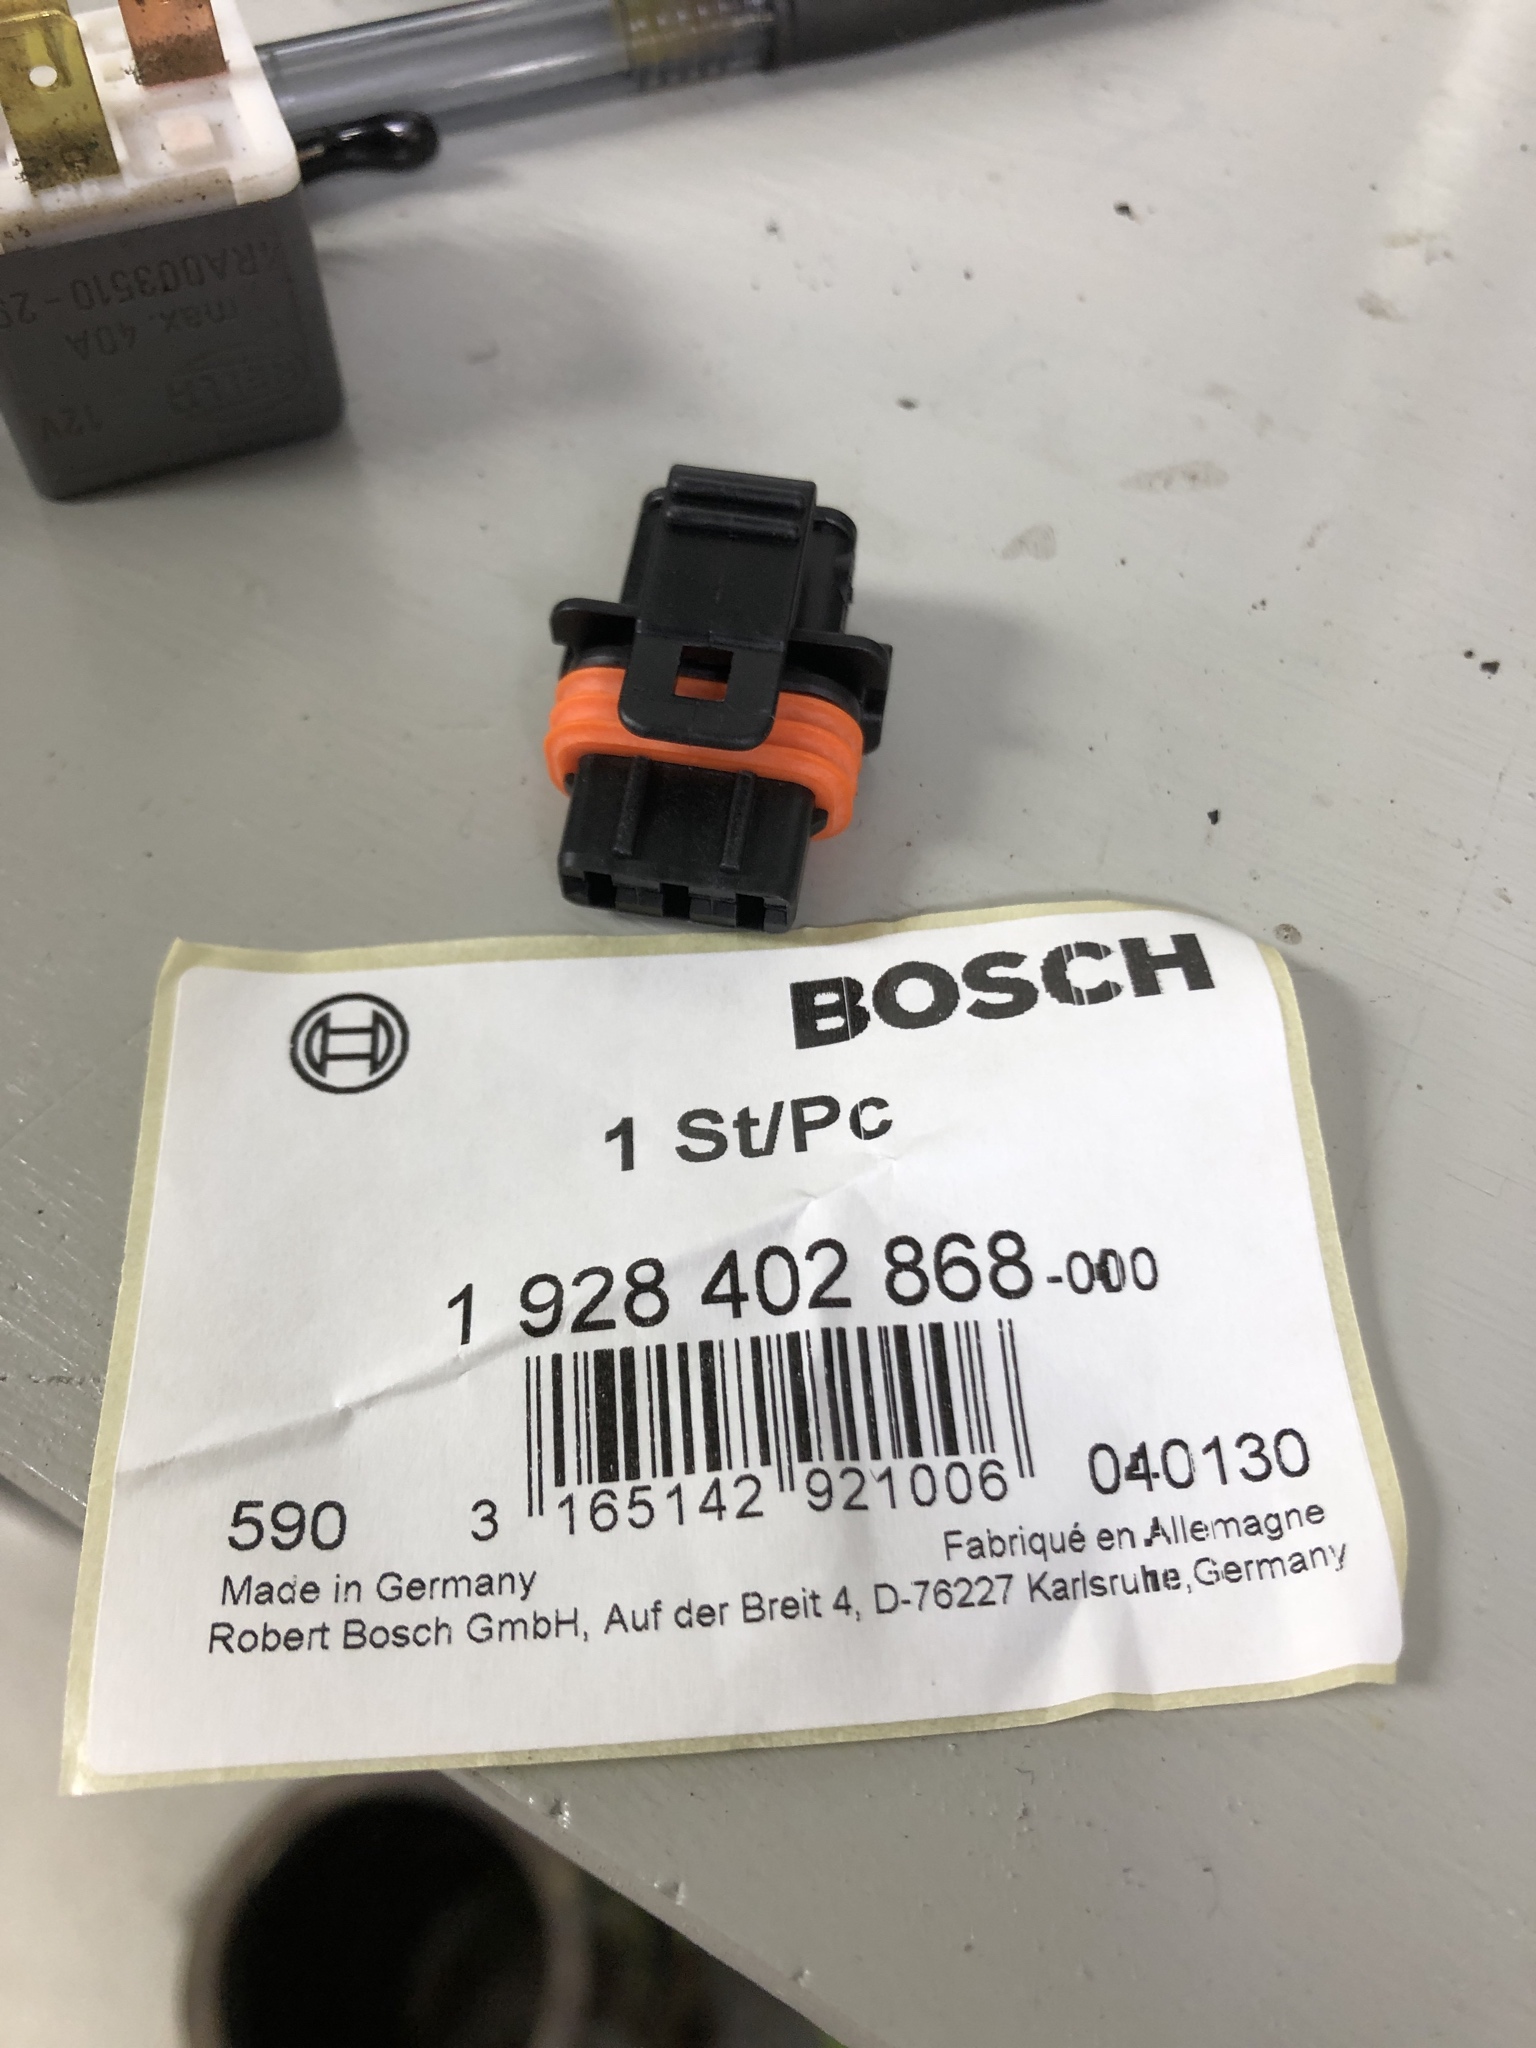
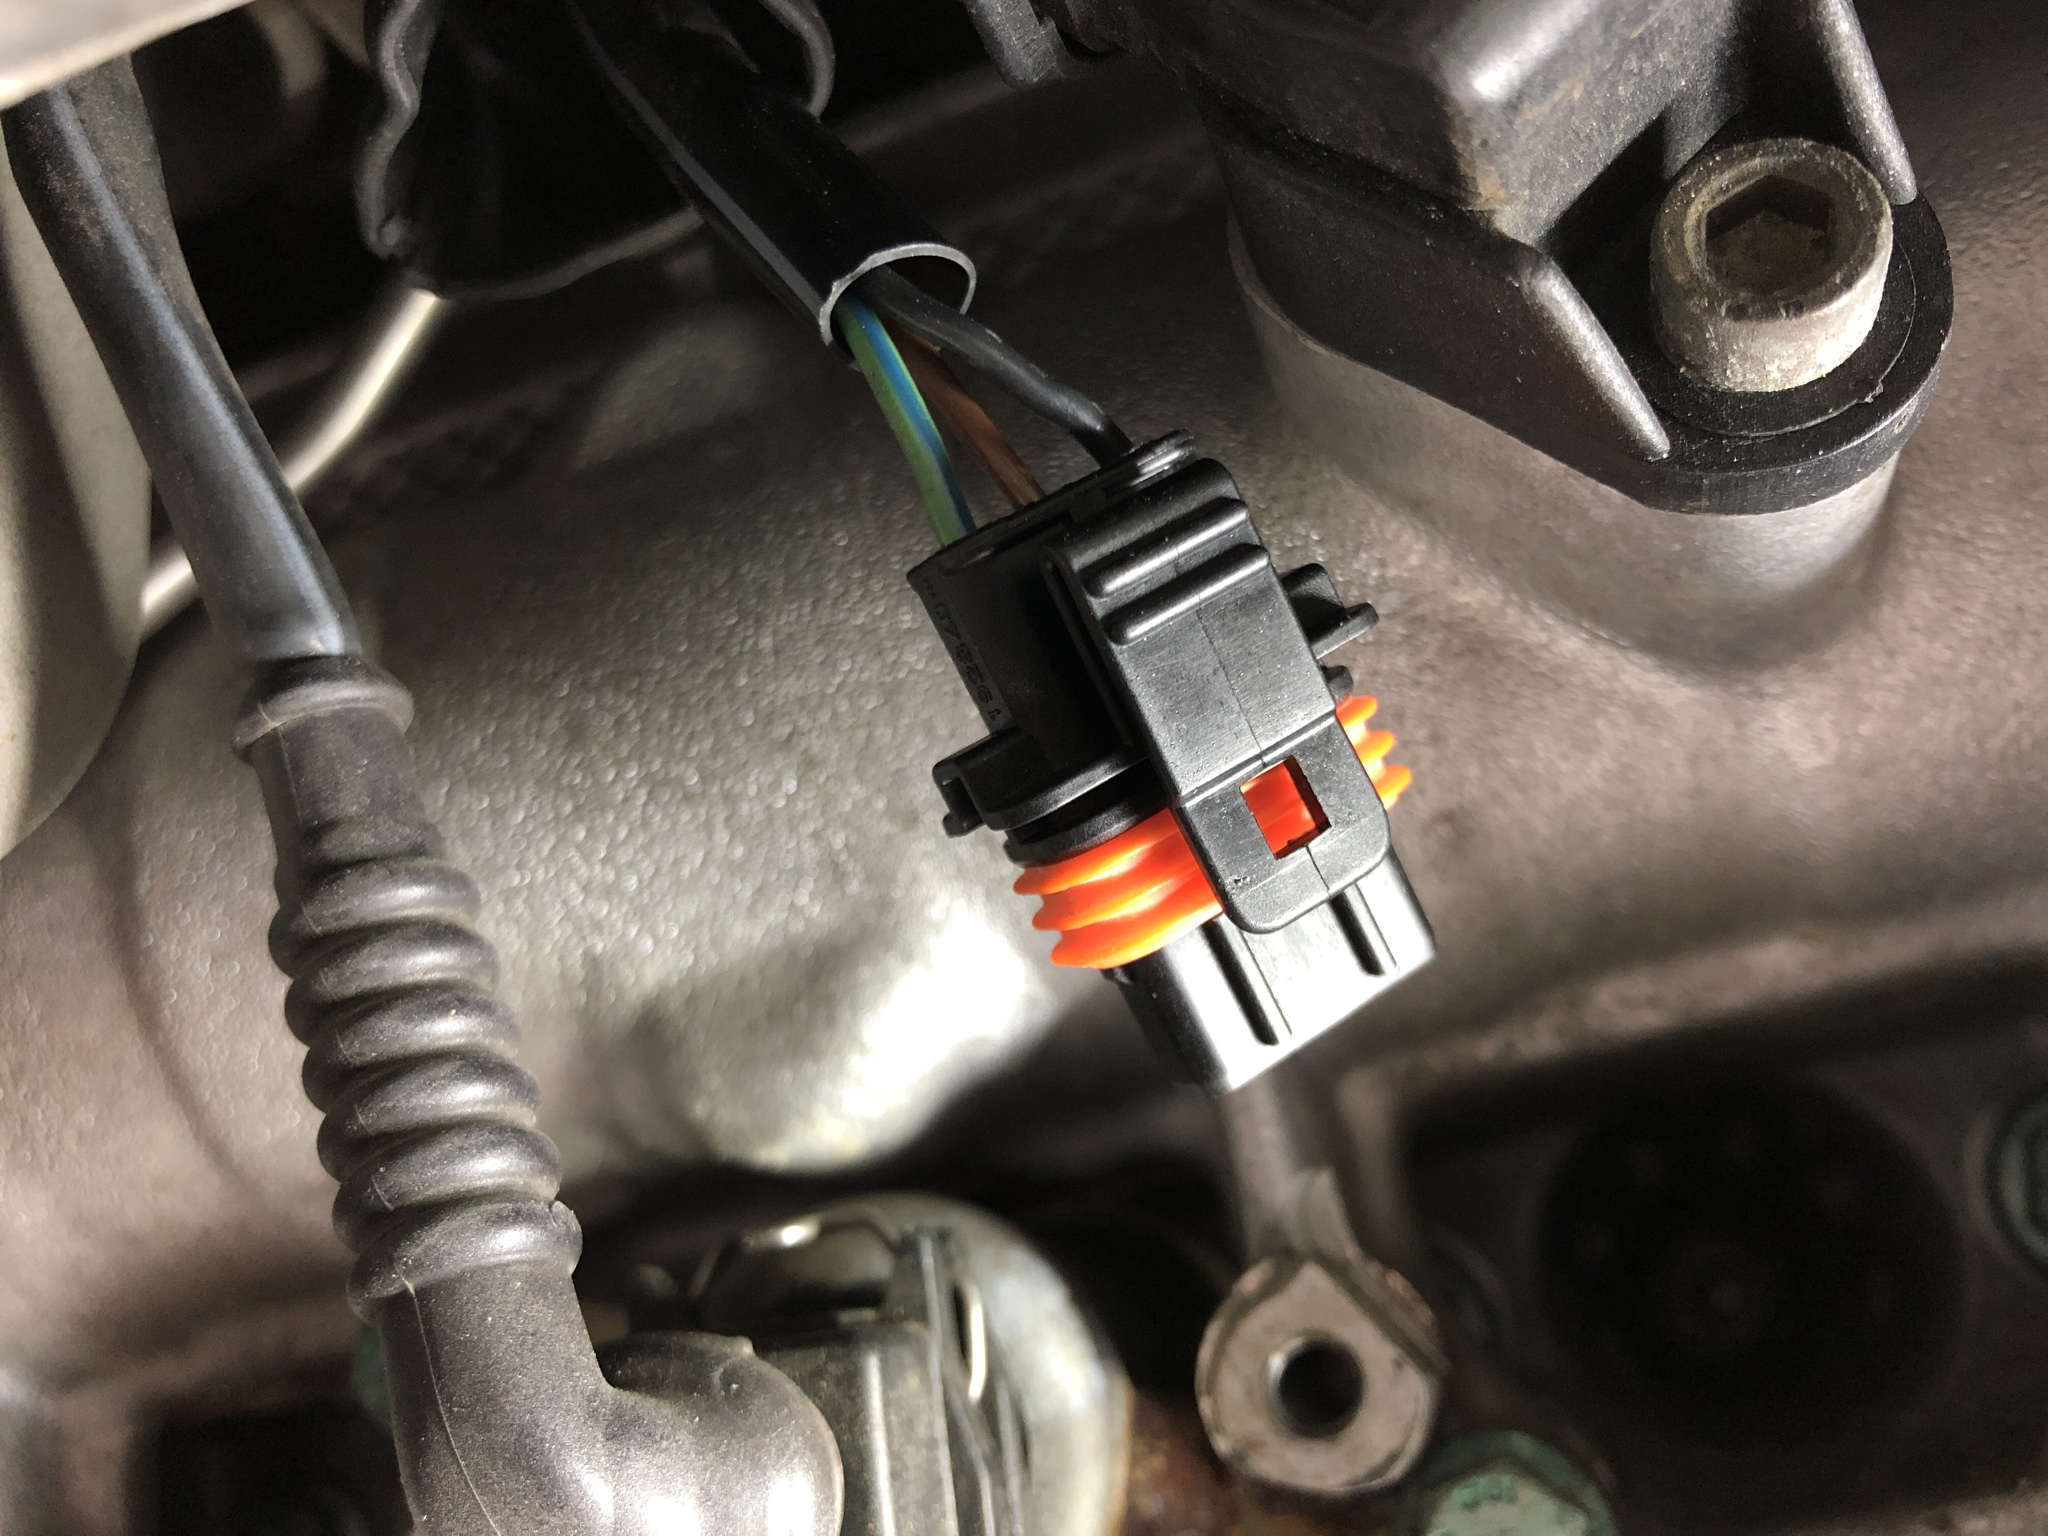
New Connector for 996/997 Turbos
Fixed coil plug, this requires some extreme contorting of the hands to de-pin the connector, patience is key. Removing the exhaust also helps gain access as it is tight.
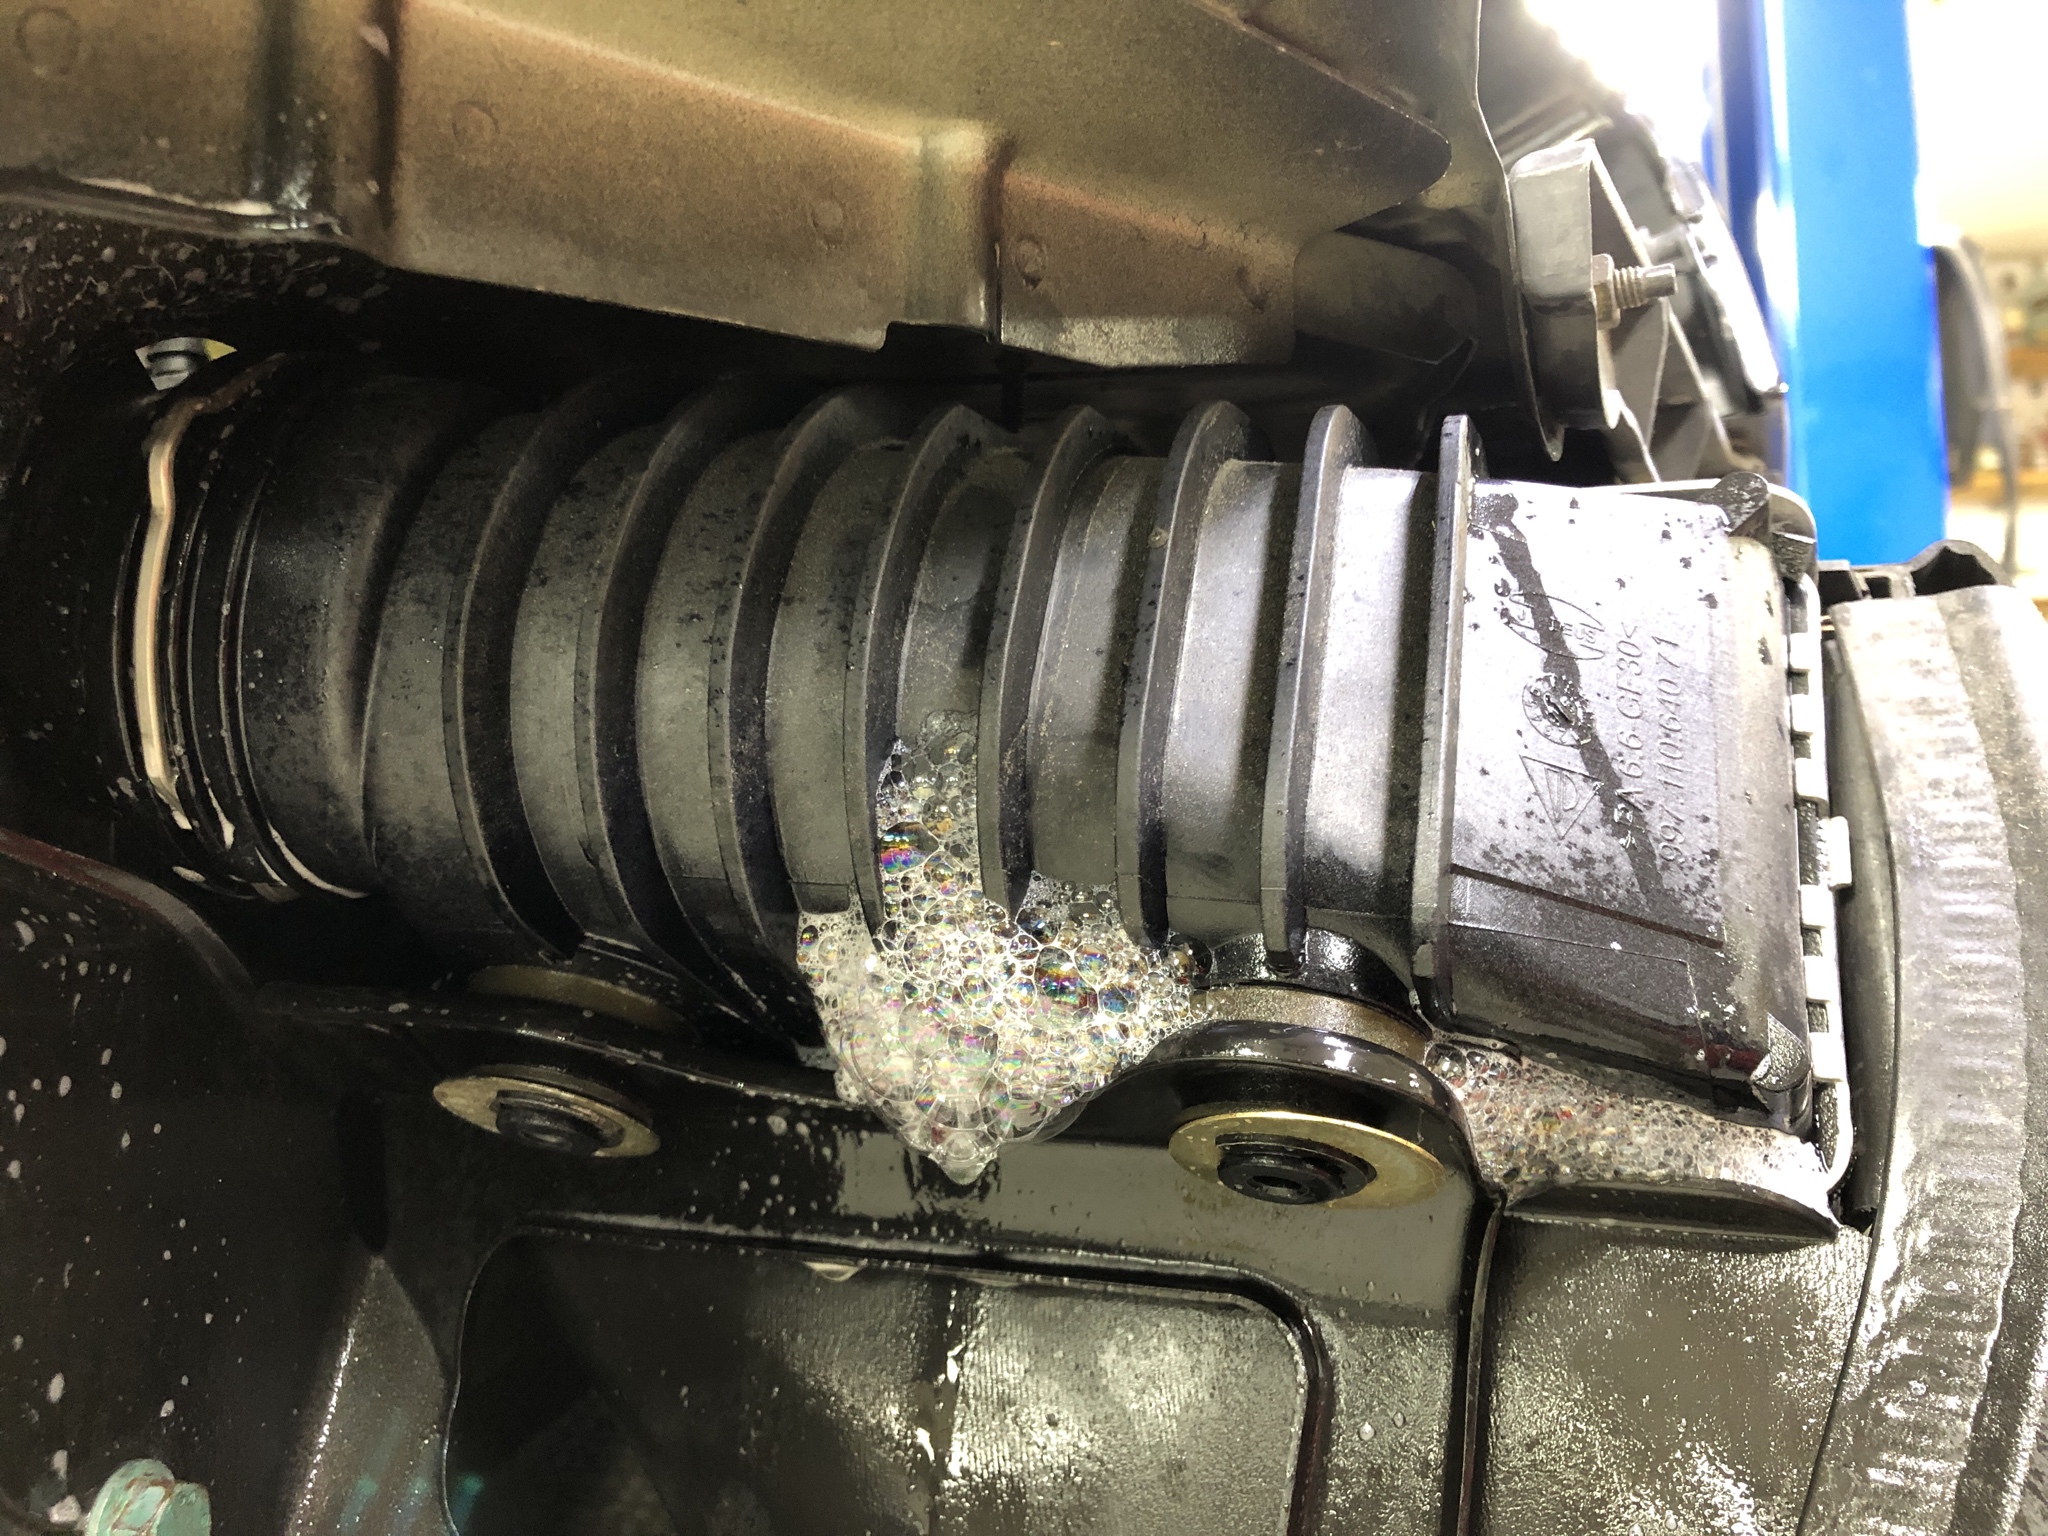
After that was done and the new rear O2 Sensors were in, the IC's went back on and pressure testing was in order. I always pressure test at least every other oil change and to my surprise I found a leak from the right 997.2 IC, this was a bit of a kick in the nutz as these are only 6k miles old and purchased through Sonnen. Could be just a single bad one or that the manufacturer has issues with them sealing correctly at the crimp place. It appears that many have had similar issues with theirs.
... I also decided to tackle the one broken coil plug...Fixed coil plug, this requires some extreme contorting of the hands to de-pin the connector, patience is key. Removing the exhaust also helps gain access as it is tight.
Can you post a picture of the specific pin release tool you used? I find half the battle is trying to figure out what tool it is, especially if you are dealing with tight spaces and limited ability to inspect it carefully.
...I found a leak from the right 997.2 IC...
Bummer... Doesn't look like an easy fix other than replacement.
Awesome build thread. I would like to have a set of those doors!
pfbz,
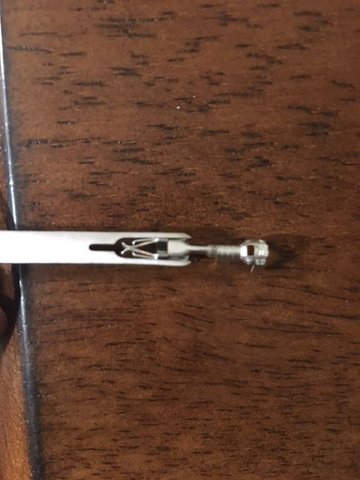
I used the tool shown to release JPT terminals. Look in the end of the terminal housing and you will see the slots where the tool fits. Most of the Kompakt connectors use this style.
Can you post a picture of the specific pin release tool you used? I find half the battle is trying to figure out what tool it is, especially if you are dealing with tight spaces and limited ability to inspect it carefully.
Bummer... Doesn't look like an easy fix other than replacement.
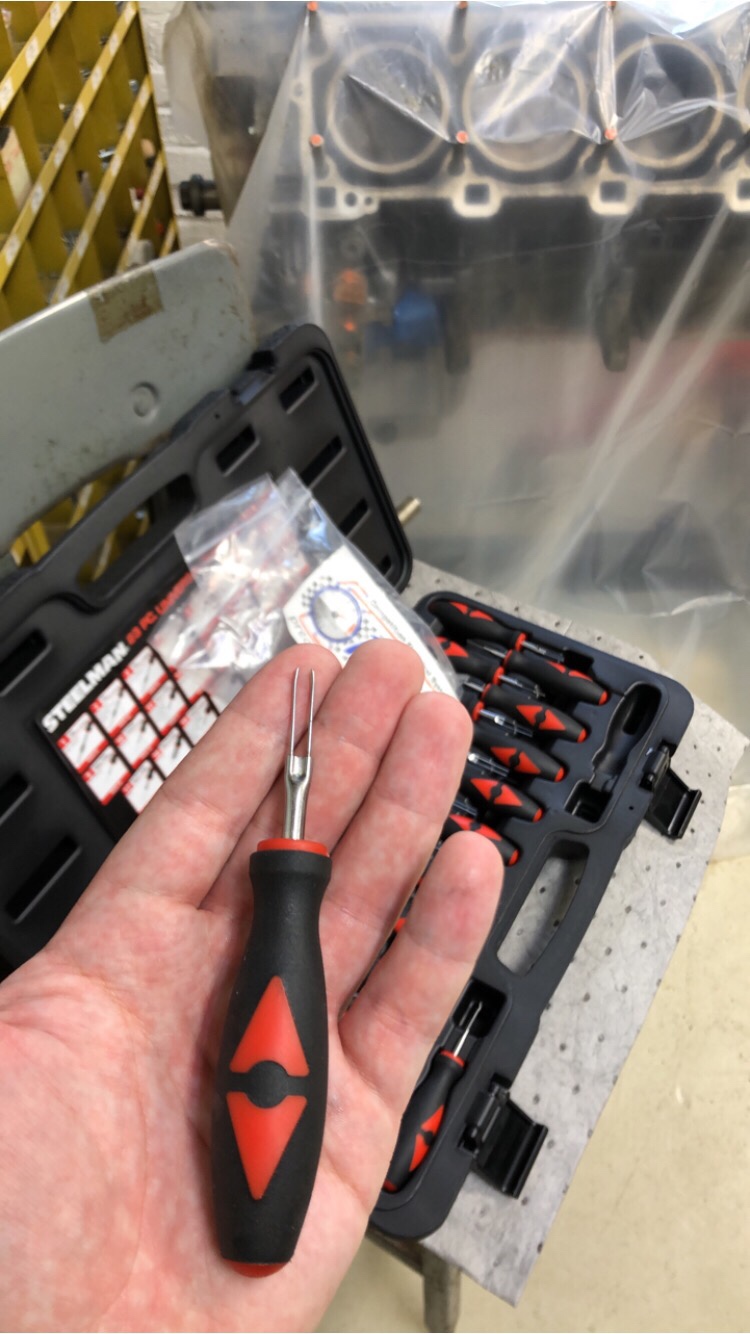
I have a Steelman Kit that I got off ebay as well as a couple others, this is the connector tool I used out of the kit. Ordered up some replacement IC's and will try to fix these at some point as I have a couple ideas that might be able to make it a DIY fix for folks with similar issues. With all the used ones floating around it might be wise to ask for a video showing they do not leak under pressure. Kevin might have more insight on the failure rate of the .2 IC's.
Originally Posted by StephenB
Deckman,
Awesome build thread. I would like to have a set of those doors!
pfbz,
I used the tool shown to release JPT terminals. Look in the end of the terminal housing and you will see the slots where the tool fits. Most of the Kompakt connectors use this style.
Thanks! Yeah the doors are a work of art for sure! That tool there you posted looks even better to use rather than these kits as they some times dont have the most rigid design to them.
BDK / BSK 2.8 / Disassembling Tool
This Bosch tool is used to remove most of the pins on the connectors without damaging the locking pins. I used this to change the MAF sensor connector, as mine was broken and wouldn�t lock.


 06-01-2019, 12:16 PM