When you click on links to various merchants on this site and make a purchase, this can result in this site earning a commission. Affiliate programs and affiliations include, but are not limited to, the eBay Partner Network.
My nearest dealer, and I'm not in the most expensive area in the nation, charges $250/hr for labor and the book says a battery install is a 1 hour job. They are also running an oil change "special" for $399, except by the time you pay the overage for a car that holds 9 quarts + tax you're at $500 LOL!
Overage? Is the special for up to a certain amount of oil?
For all of you in hot climates, covering the flap holes back up made a giant difference in how well the cold AC worked. Much more air flow and noticeably colder!
I saw a few people say it "should" make a difference, but I wanted to confirm that is definitely makes a difference.
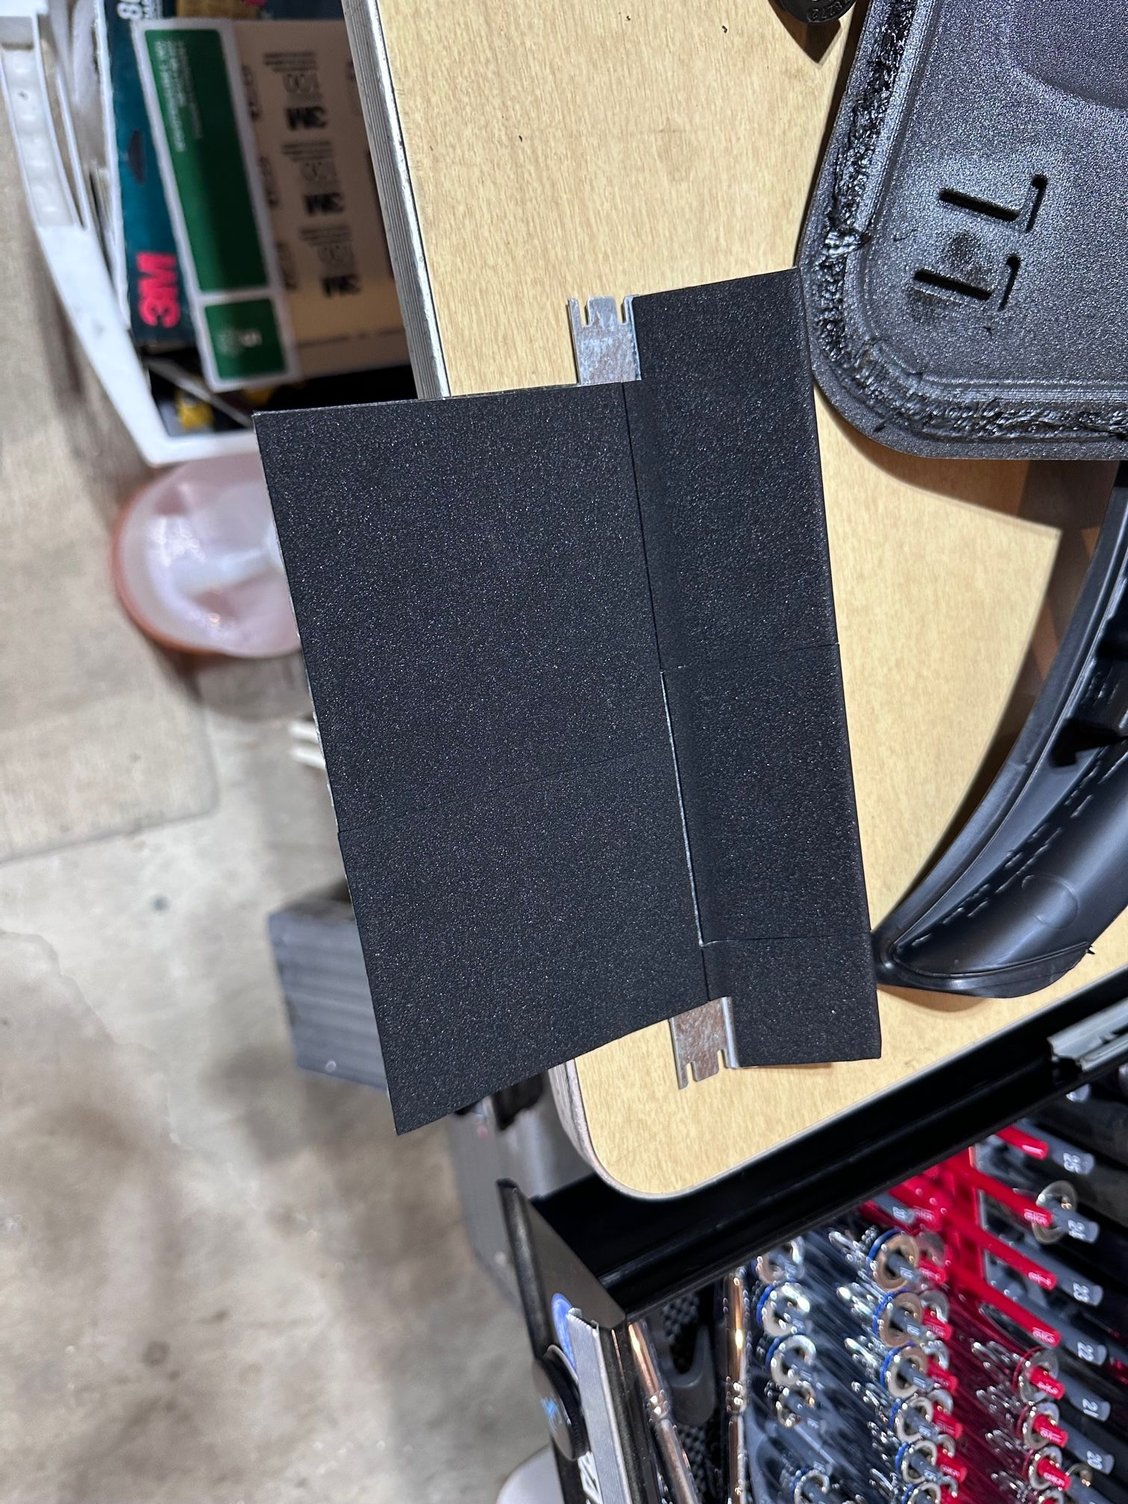
I have read that someone is using DSP plugs found on eBay. The look like a very clean and easy repair. However my concern is will the vent close enough or would it need the form tape on the vent door edges ?
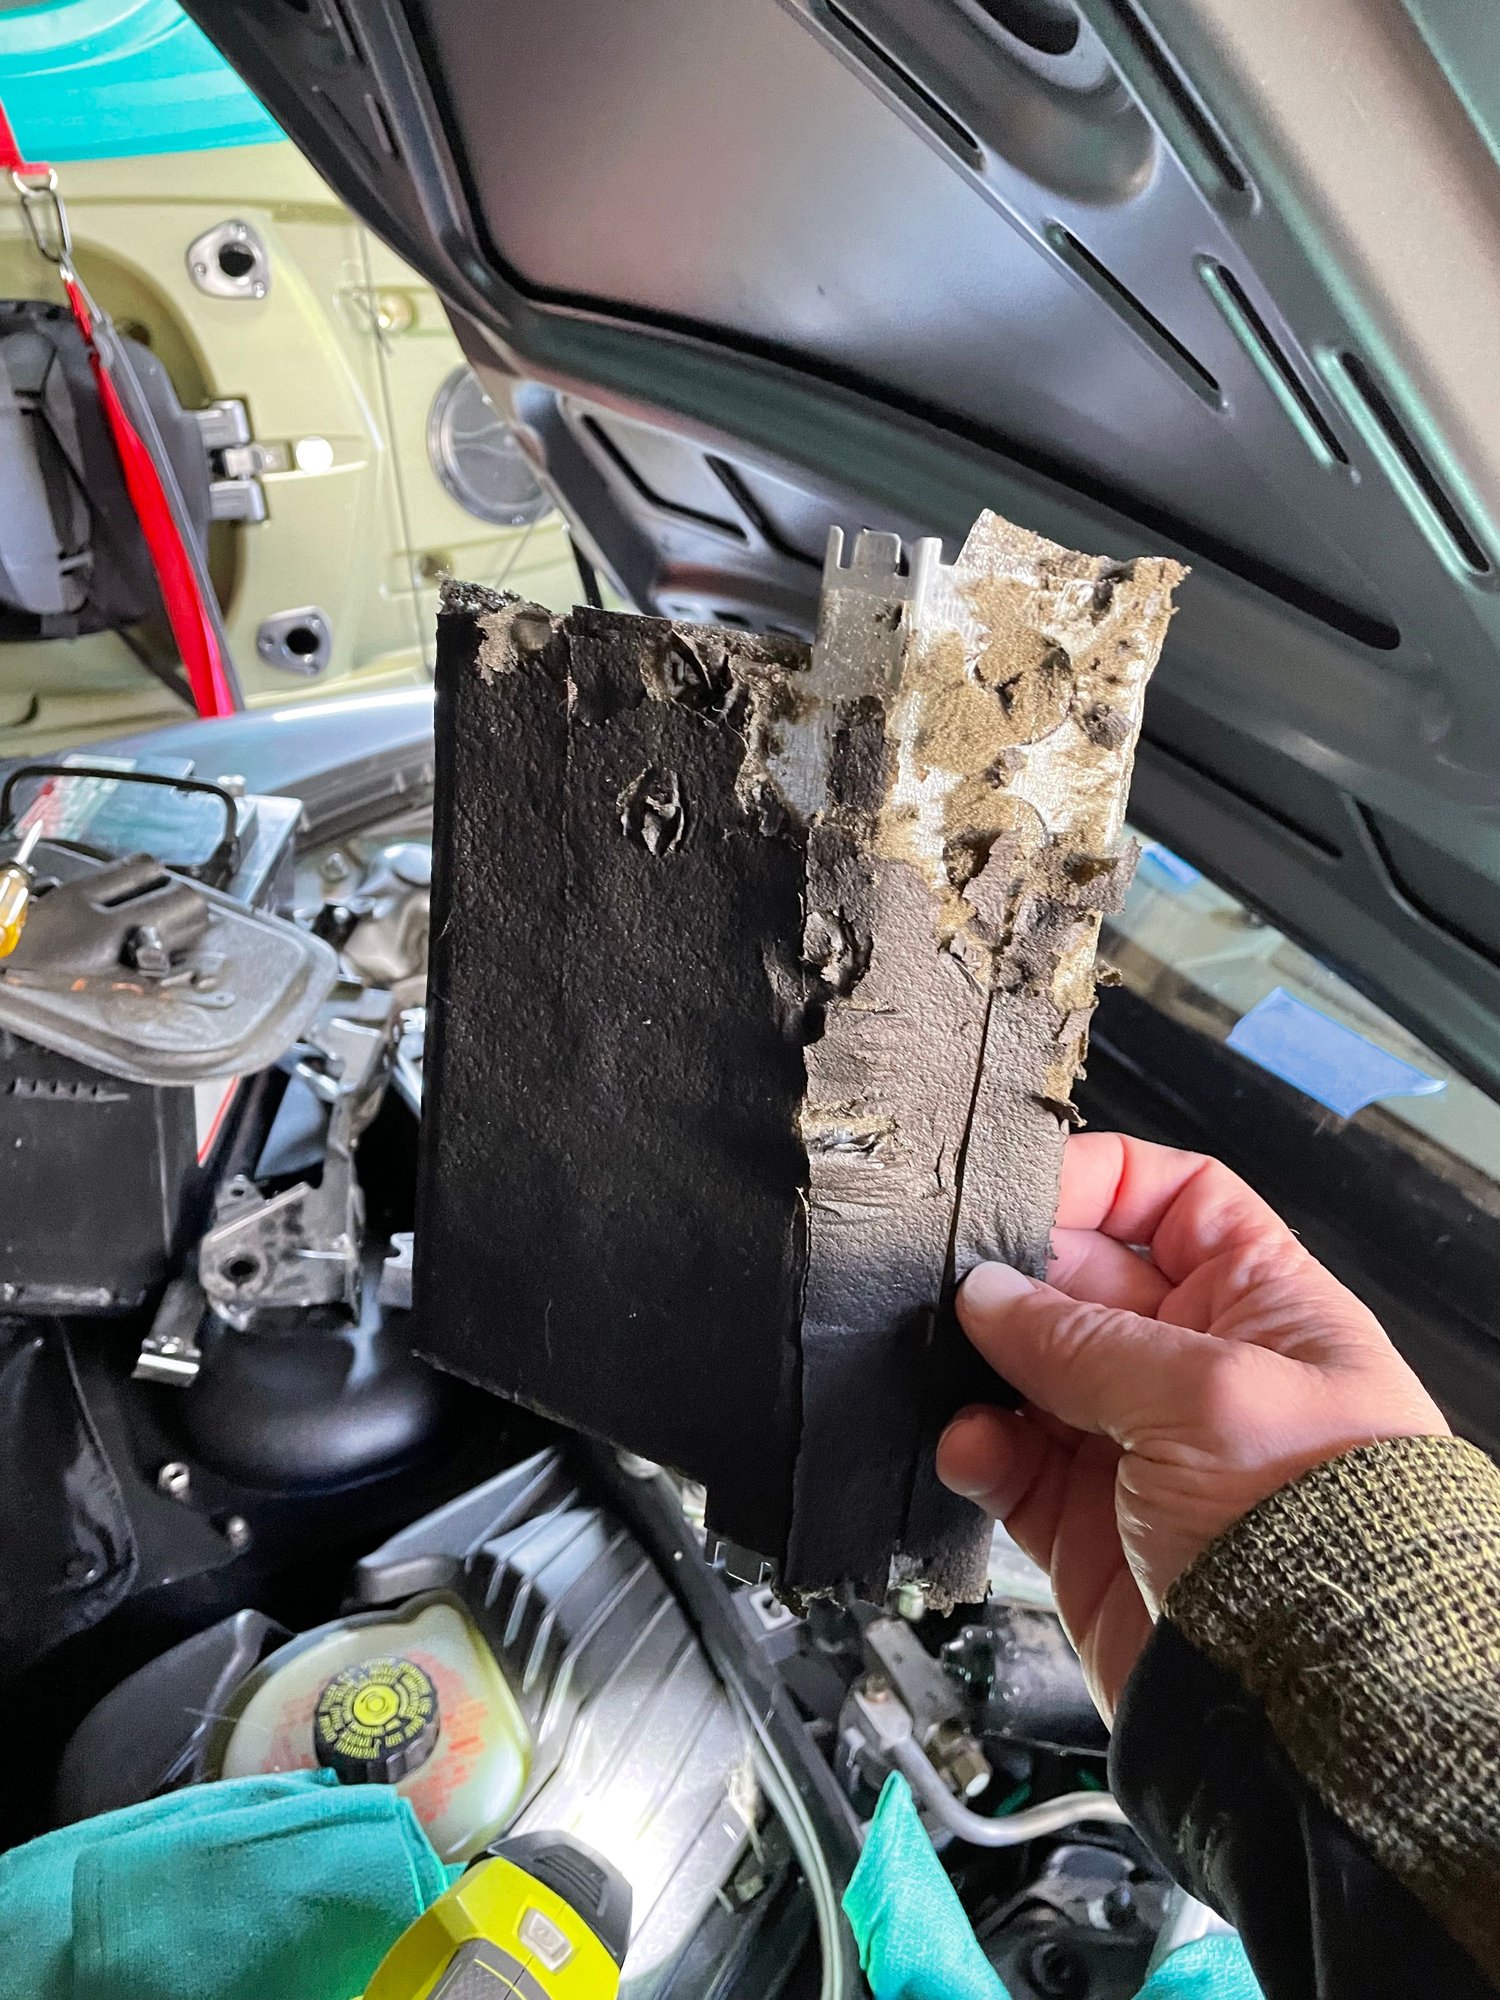
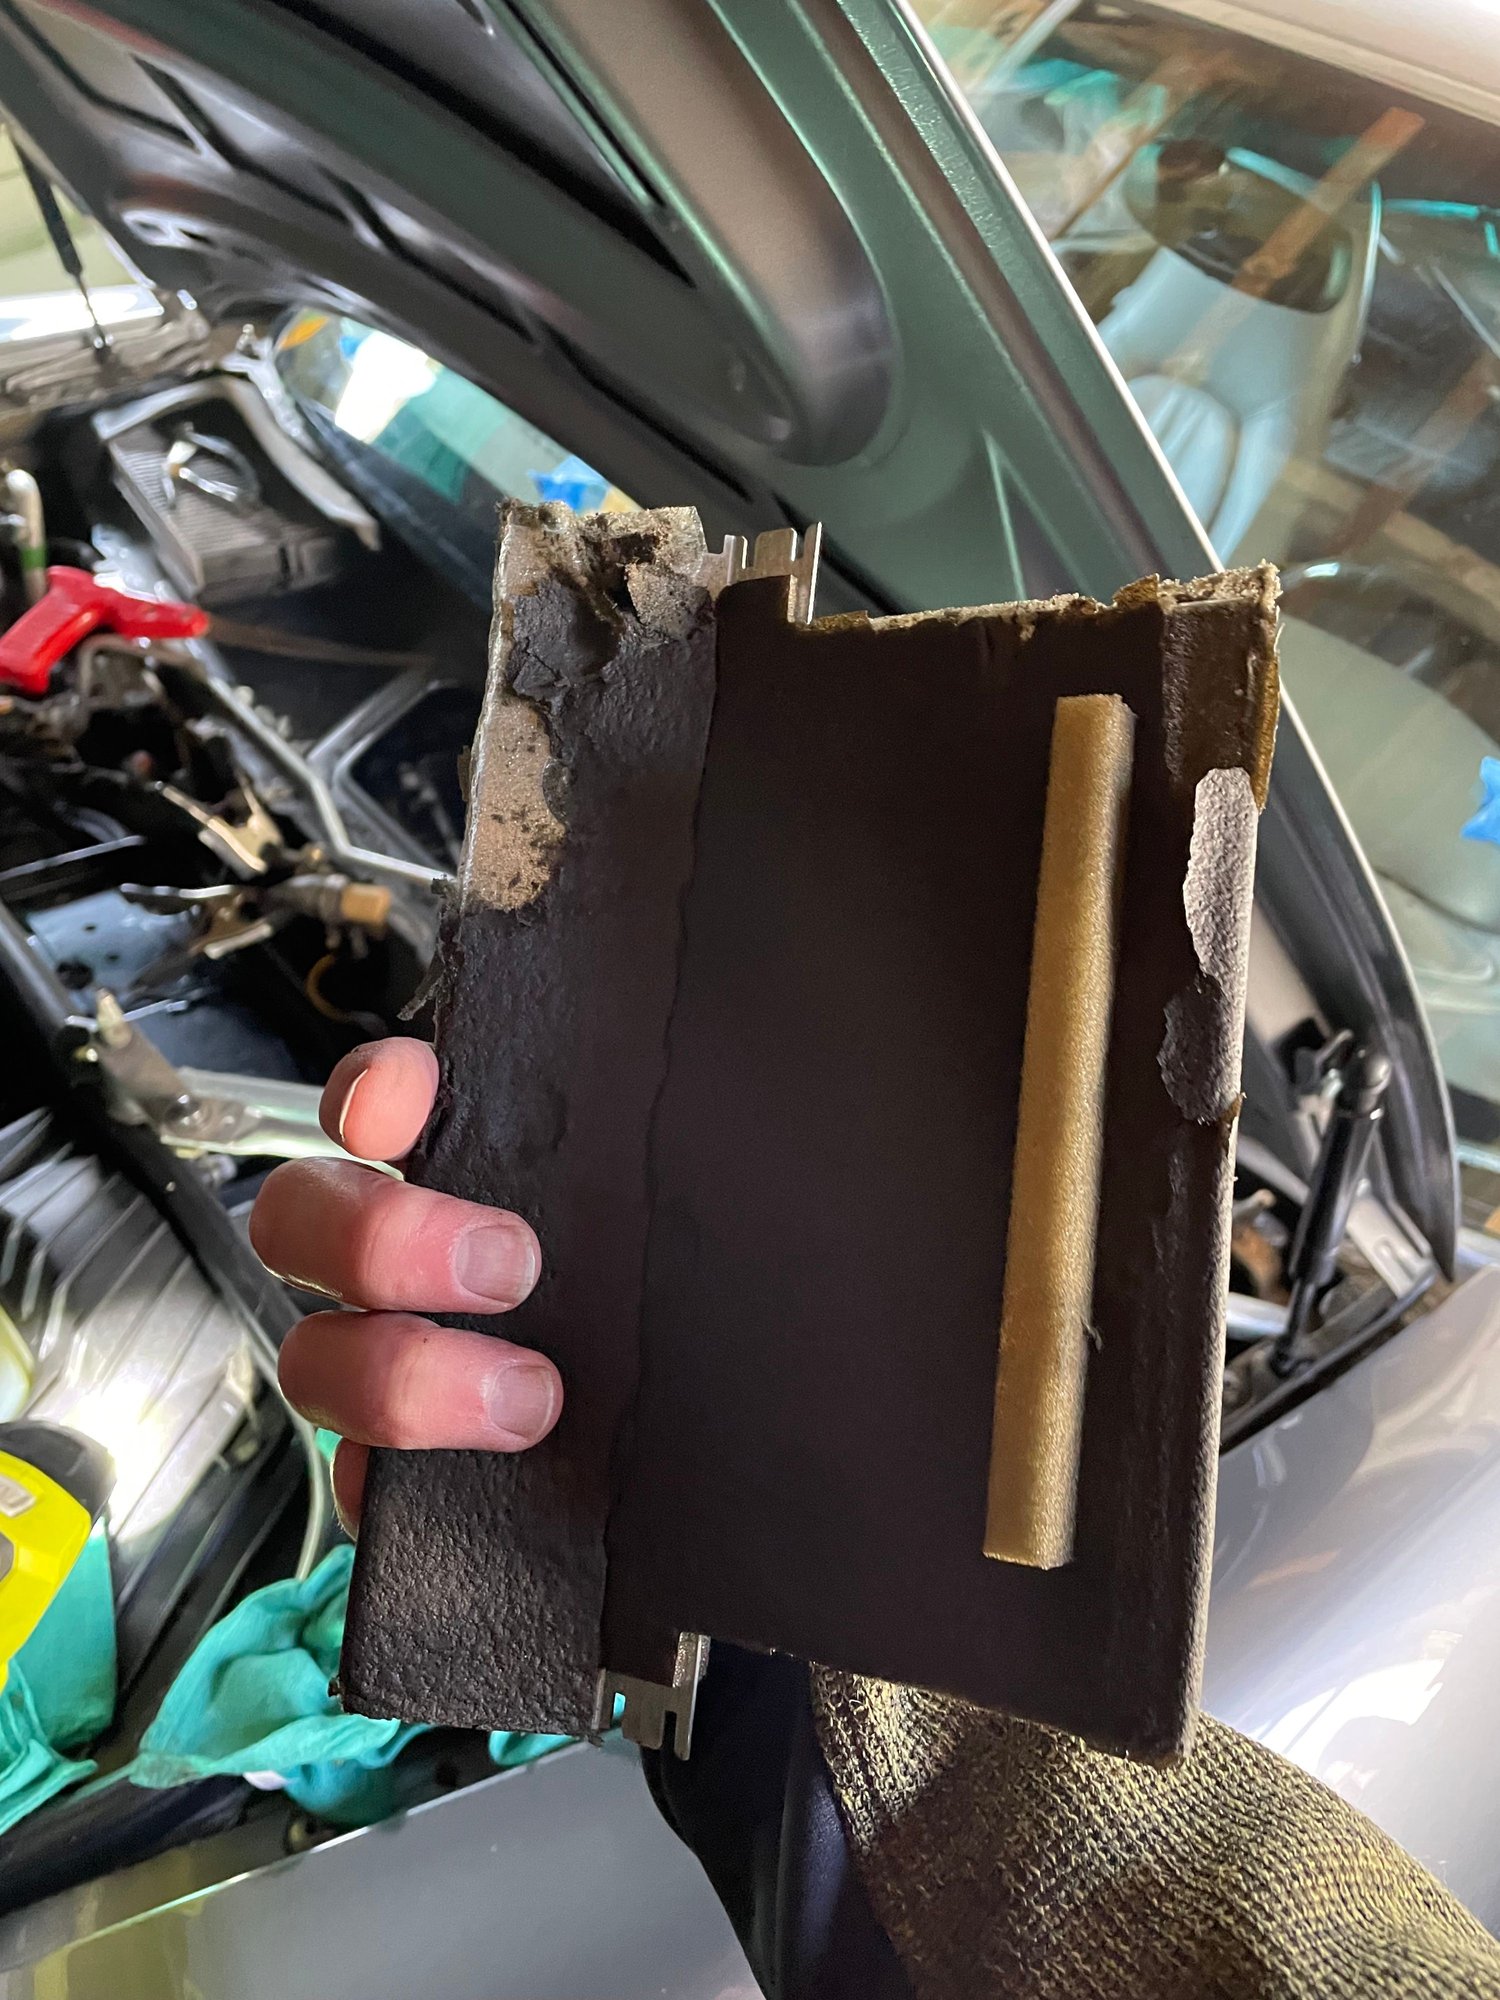
Finally got around to this today, took longer than I expected but overall wasn't that hard. Once I removed the first duct/flap, I was able to see the second one, it too was missing all of its foam, but there was no way I was going to effectively get to it. Does any one know which flap does what; my biggest issue was in the summer the windshield would fog up from the A/C being on, I am hoping this fixes that, but have to wait until next summer to find out.
From reading all the posts and watching the video/s this was the list of pointers I came up with that made the job easier:
· Run heater at full and use shop vac to suck out as much foam as possible before starting
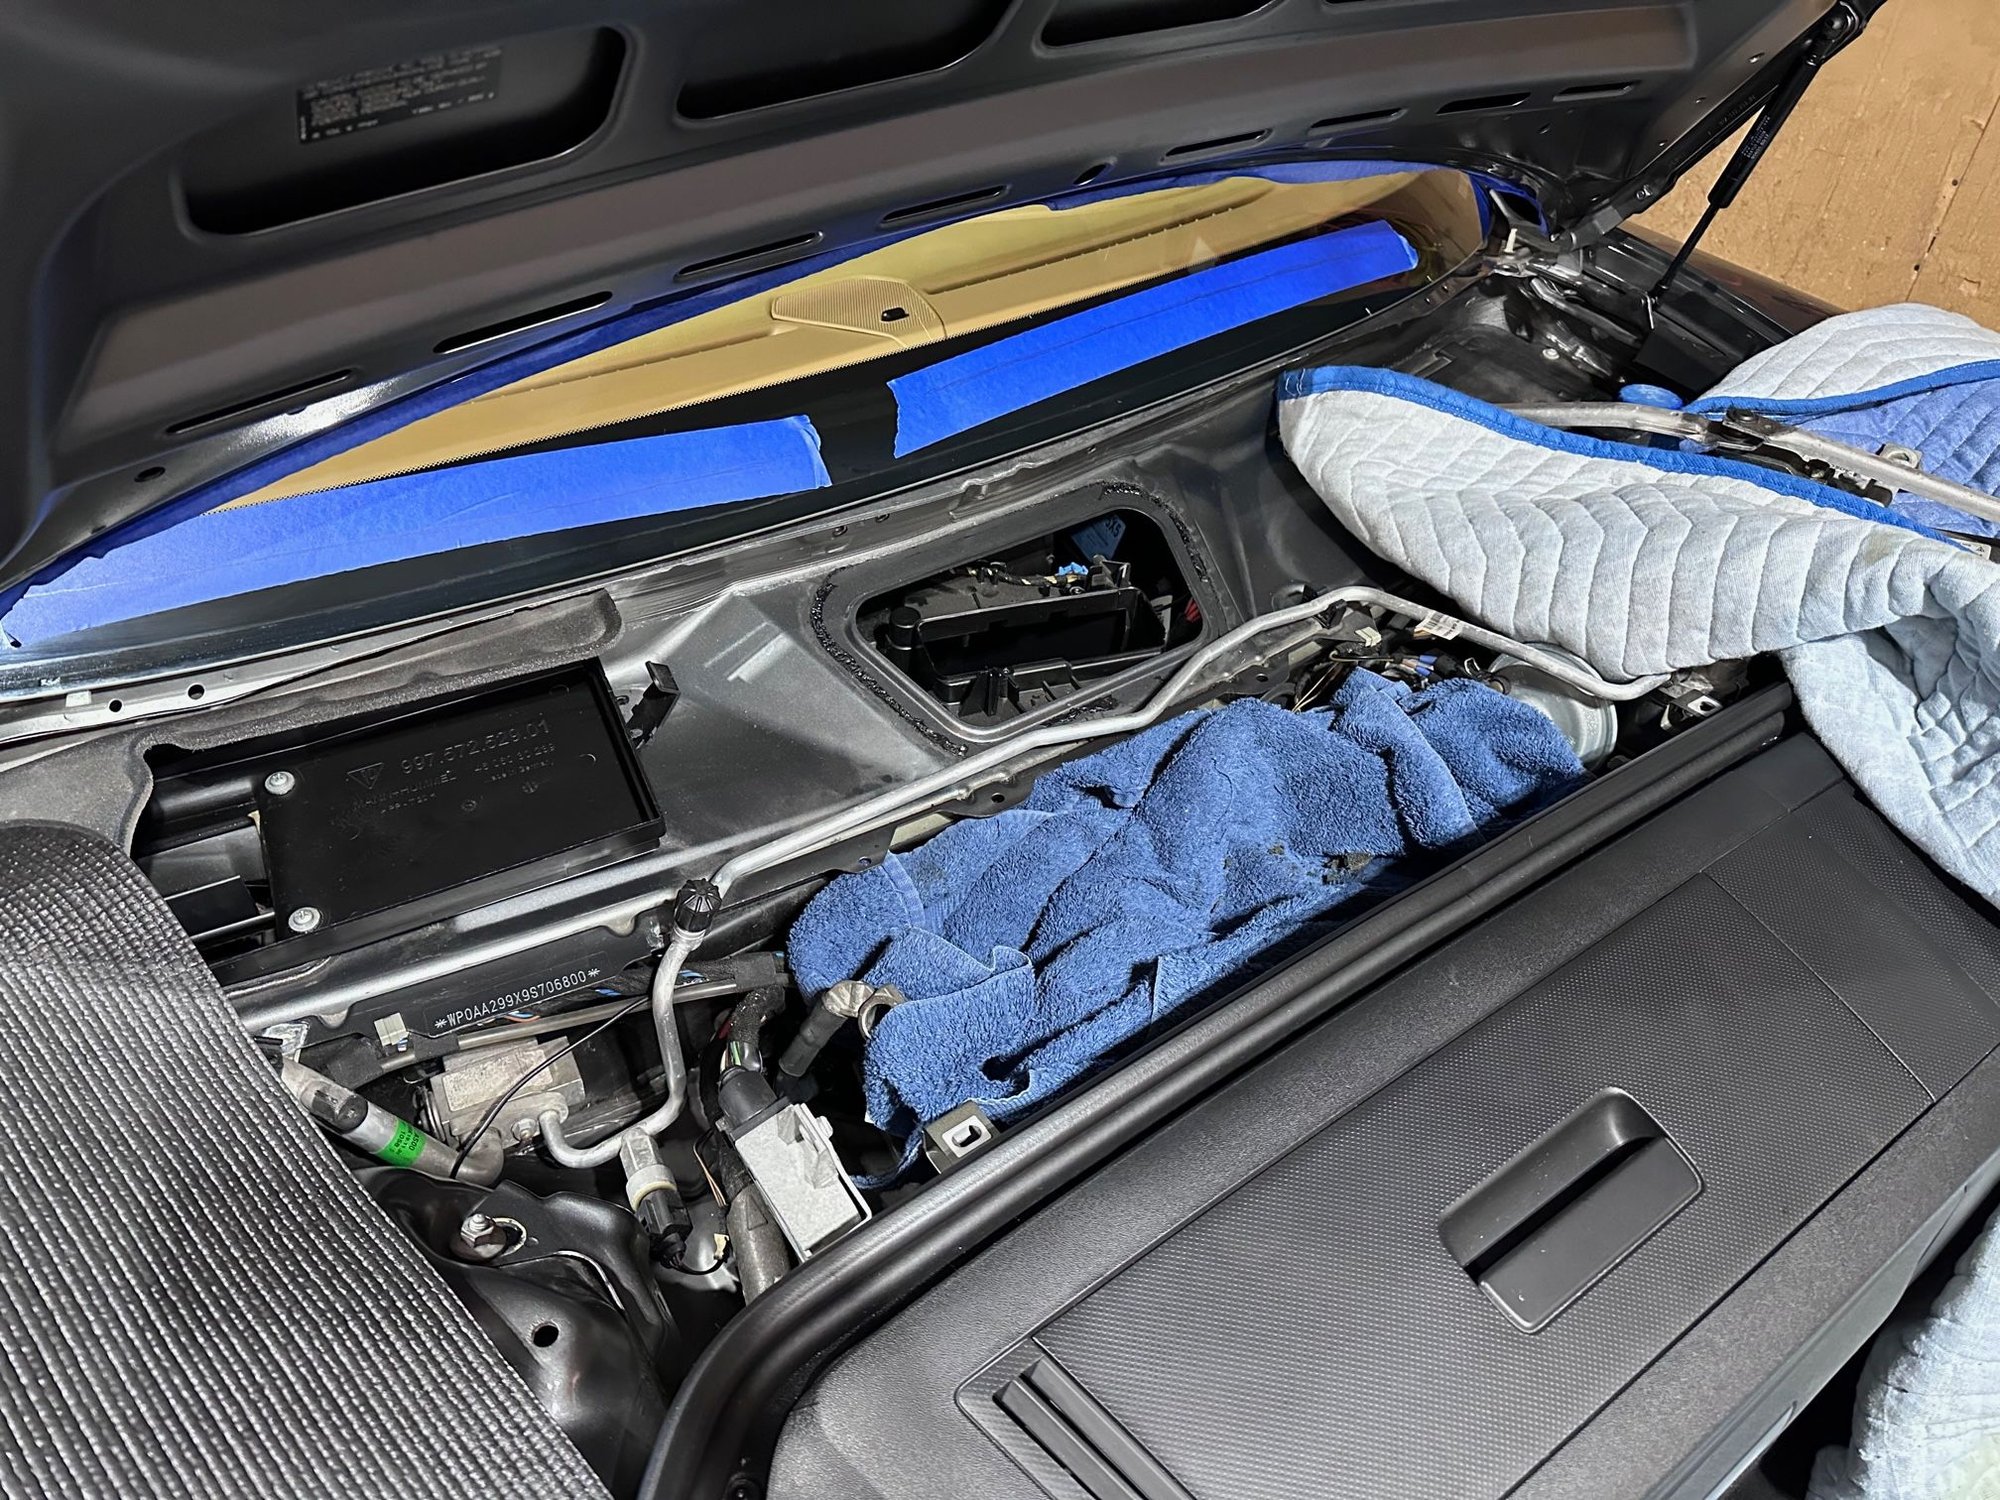
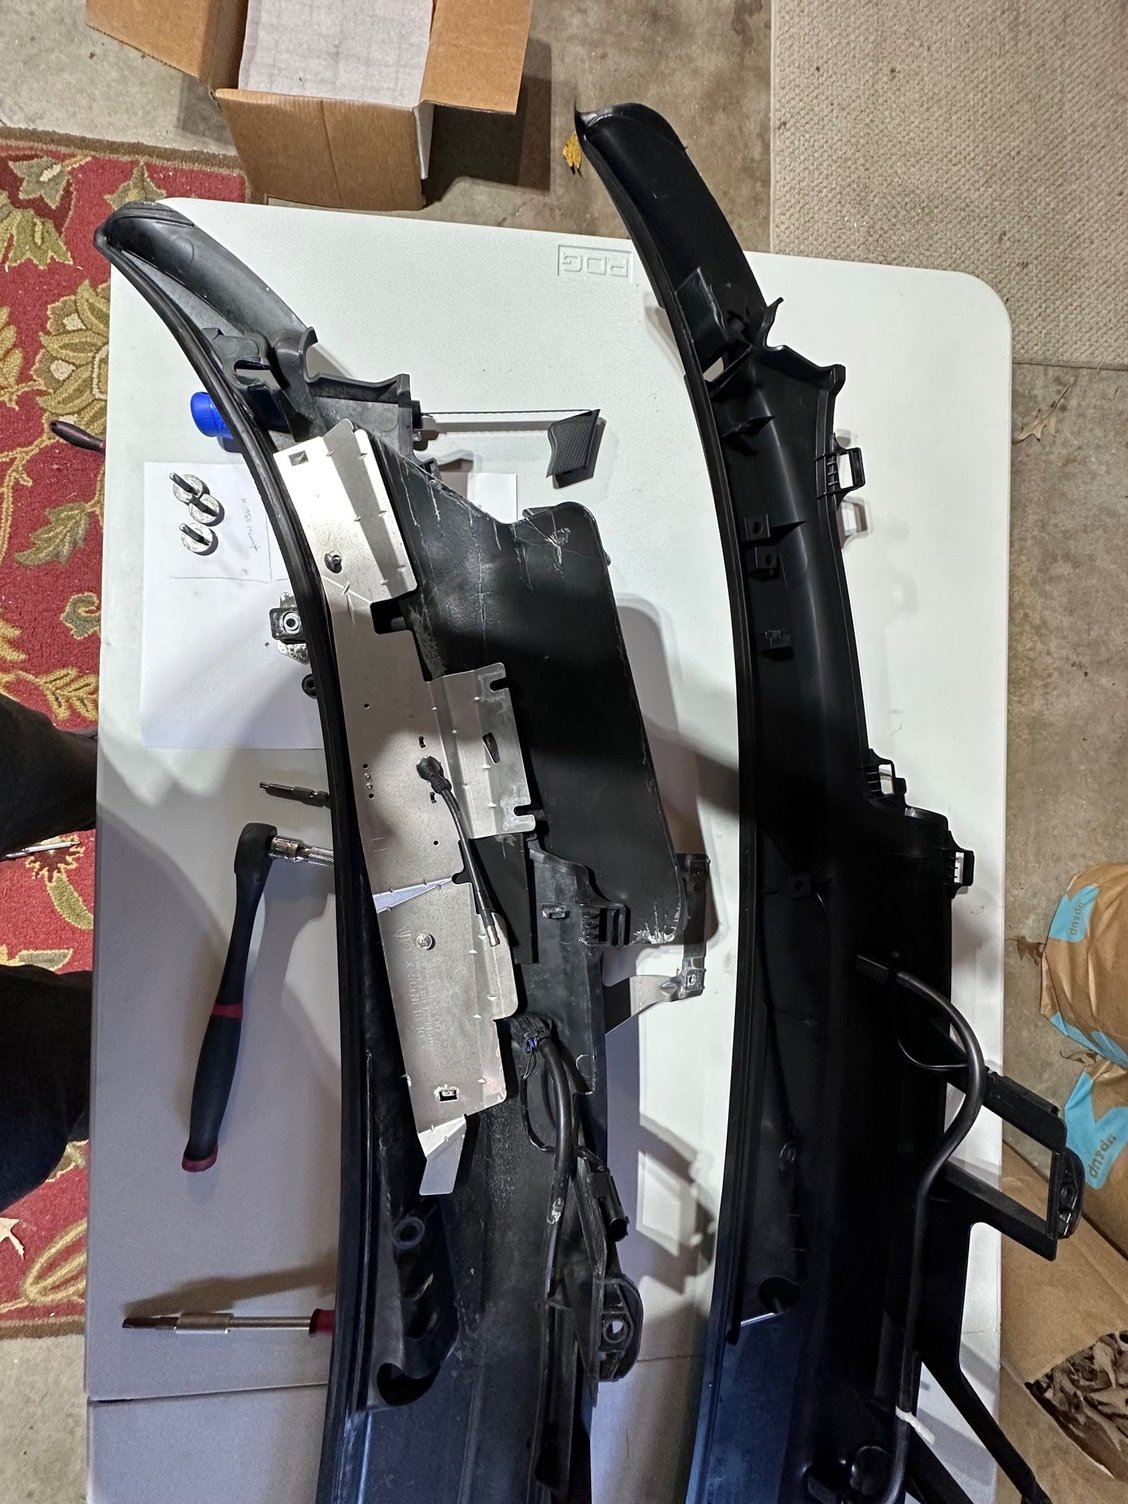
· Use masking tape on windshield to mark where wipers are located; I also used some on the edge of the hood, I also replace the black cowl under the wiper blades, I figured since it was out I would swap it since it was faded and plastic restore wasn't cutting it anymore - note if you are replacing the cowl, there are a few parts that have to be transferred over, and there is an extra wire over by the cabin air filter, not sure if that is a 997.2 only thing, but watch out for it
· Loosen coolant fill cap in engine bay, this relieves pressure on the system, for less fluid loss
· Block hood latch with towel; this is key, throughout I had to put the hood up and down to get the wiper blades arms and cowl out
· Lower windows before you remove the battery
· Pinch off heater core hoses, you can use wine bottle corks or ˝” socket extensions to plug the hoses
· Have towel for radiator fluid, and clean any up that spills; I had spilled more than planned, and had some pre-mix to fill the heater core back up
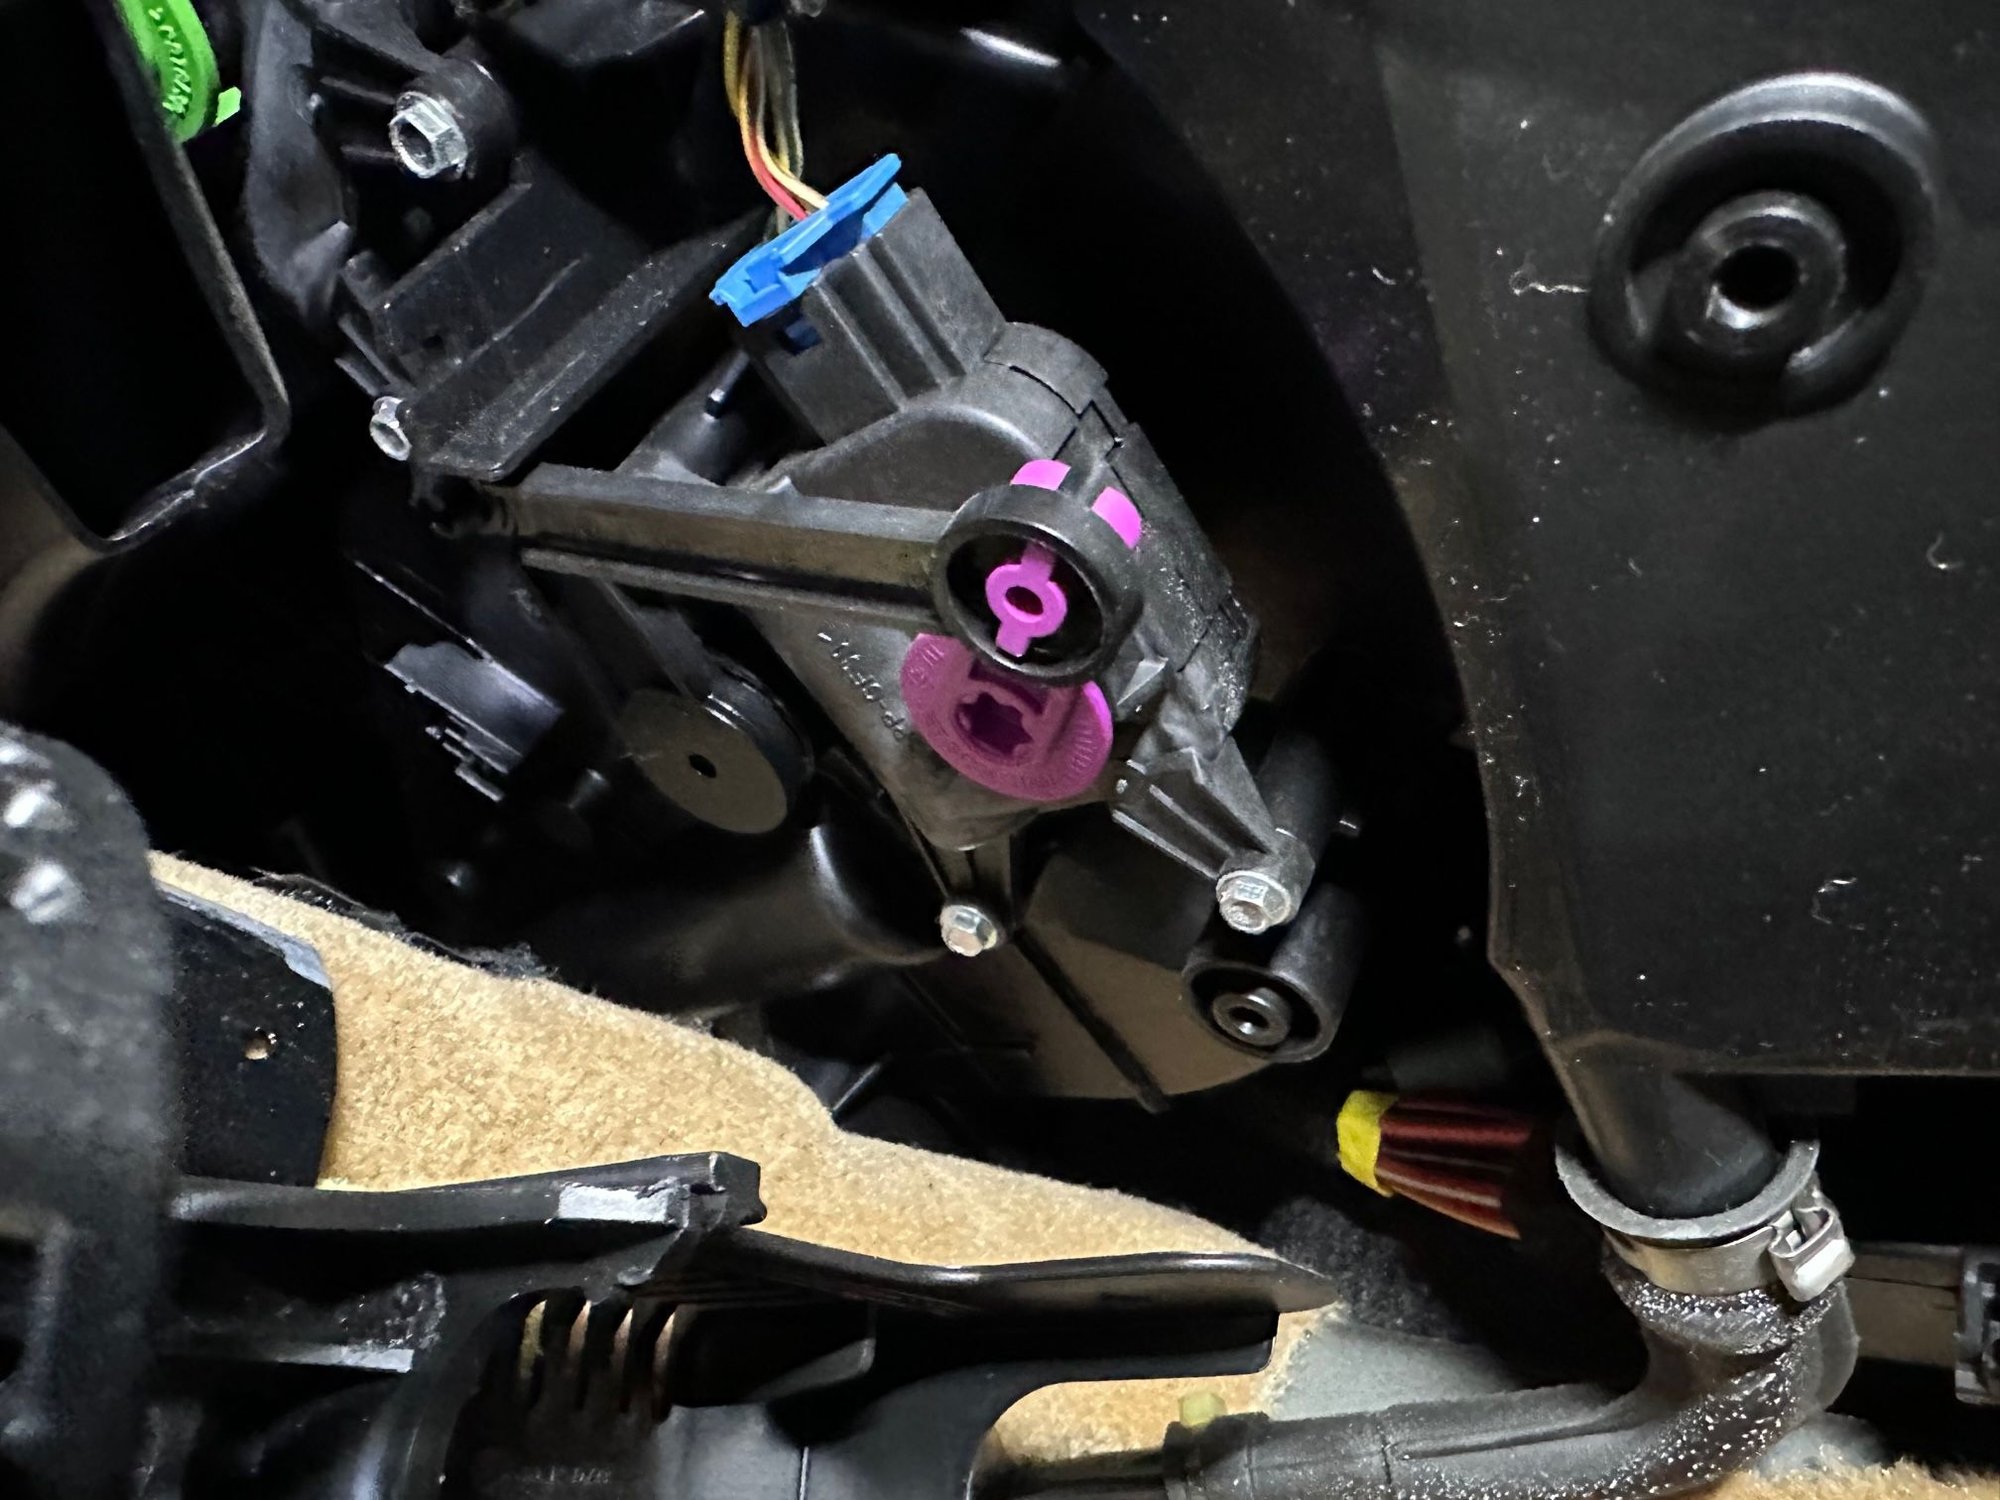
· Photograph the flap position, triple check, it should move freely once installed; also photograph the lower motor lever arms before removal
· Use screw to pull on the bottom plug, I also used a plastic trim pry bar tool to pop it, and used the same to push it back in
· Run foam around all the edges, there is enough clearance room
· Regrease pivots
transferring parts from the original cowl to the new one
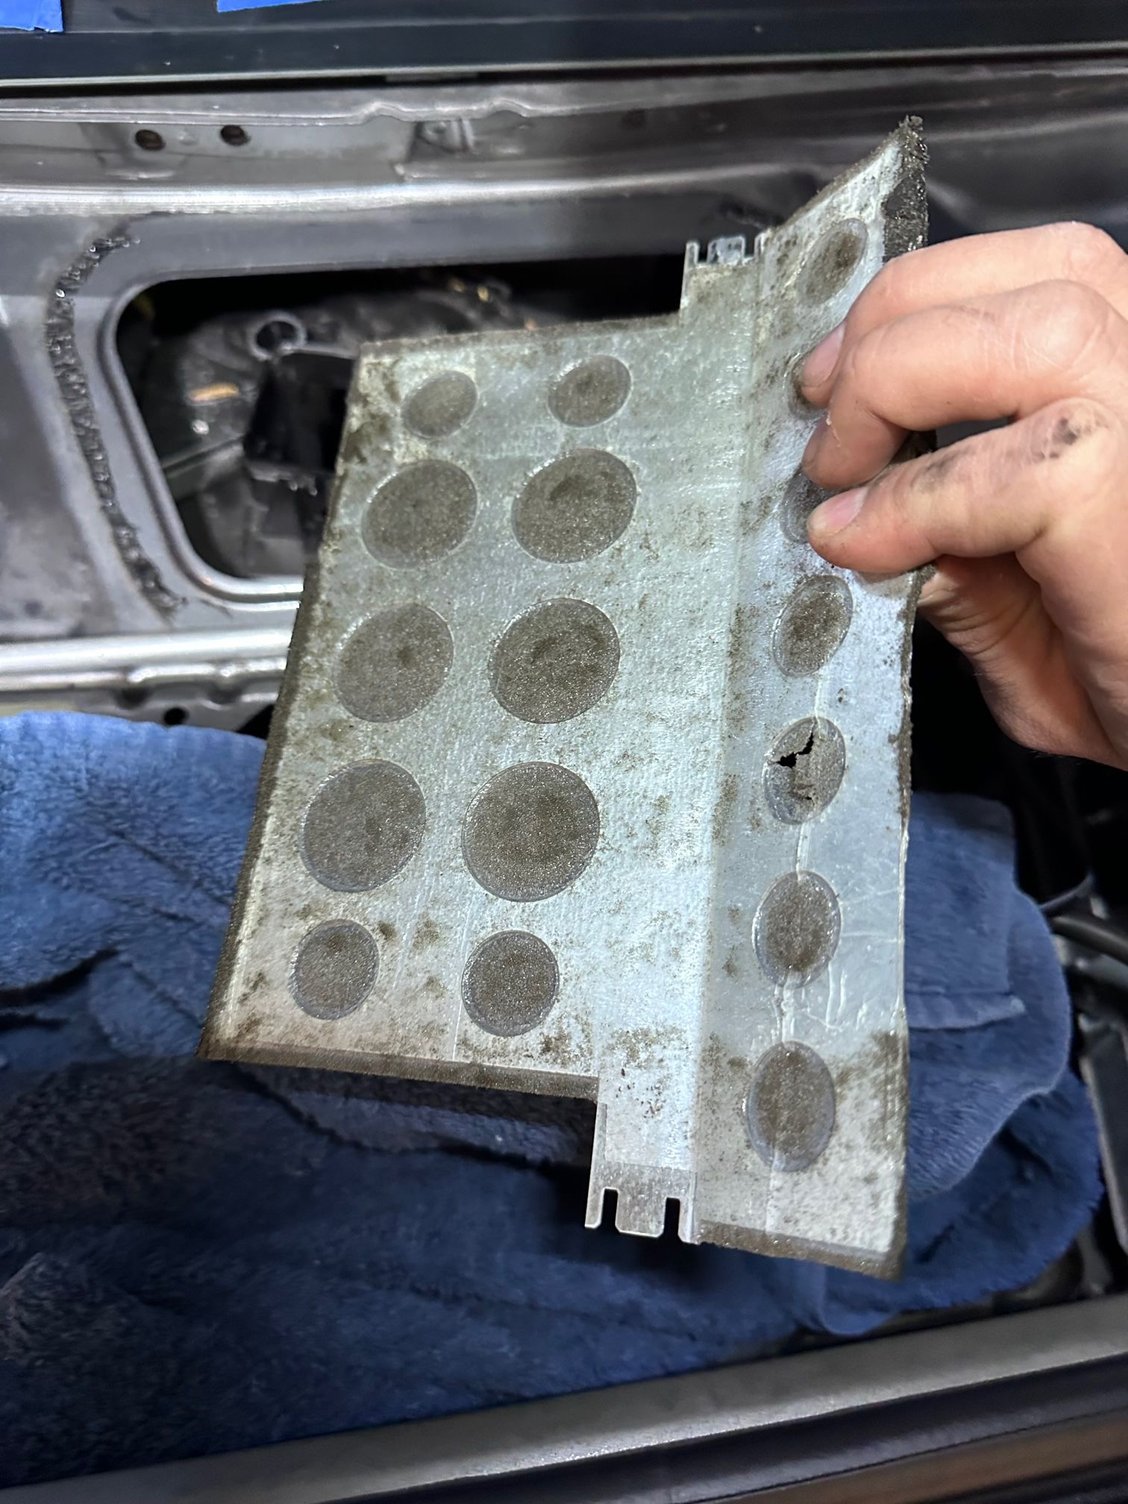
Still had the adhesive all over, but no foam left...
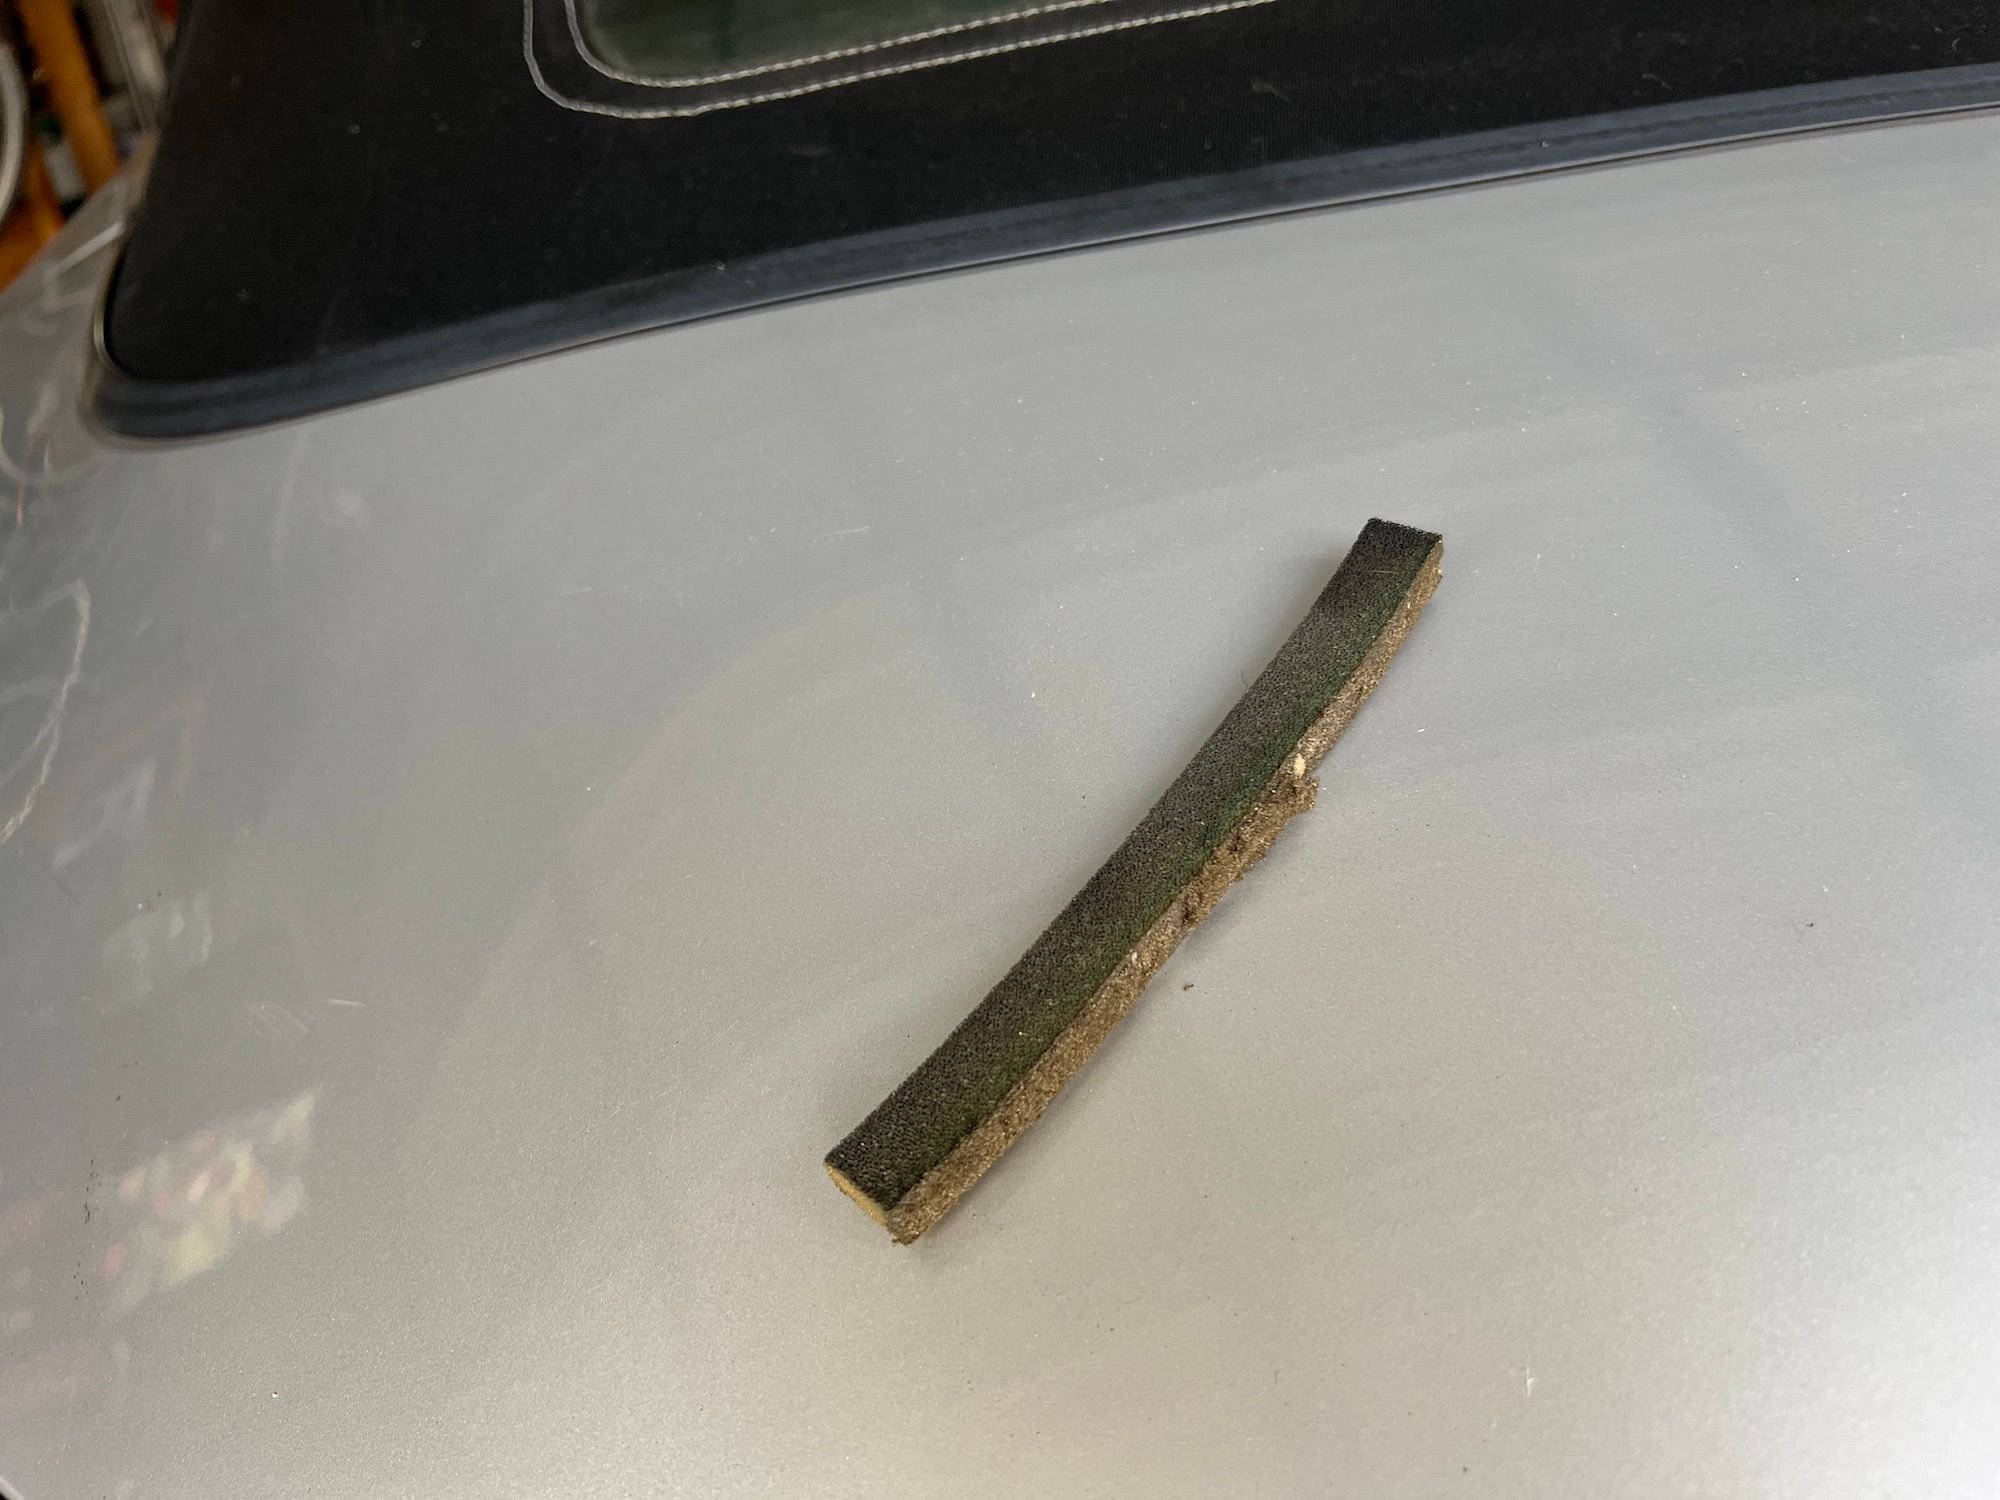
So I've got the black foam coming out on new to me 1999 with 99k miles. I was pulling some out with tweezers, when I pulled this out --- Did I pull something unrelated to the foam covered plate? It came out without much resistance, so I didn't know what it was till it was near opening of vent (passenger).
That is another piece of foam on the blend door. It is a strip along the edge to seal against the fitting to prevent air leakage. When I did my blend doors I just glued it back on but most people dont or it deteriorated on them! Thats where it was!
Last edited by Dranon; 11-30-2022 at 08:36 PM.
Reason: add photos
How exactly did you use the dum dum to hold the flap pivot cap on. Did you use a bead between the cap and the stem or did you put the pivot cap on and then put the dum dum over the entire cap and down the stem to hold it in place.
How exactly did you use the dum dum to hold the flap pivot cap on. Did you use a bead between the cap and the stem or did you put the pivot cap on and then put the dum dum over the entire cap and down the stem to hold it in place.
thanks.
I suggest the latter. You don't want to interfere with the pivot itself being able to move, you just want to hold the cap on. I think I found a plastic plug that fit over the top of the tube and used that to keep stuff out.
How exactly did you use the dum dum to hold the flap pivot cap on. Did you use a bead between the cap and the stem or did you put the pivot cap on and then put the dum dum over the entire cap and down the stem to hold it in place.
I have read that someone is using DSP plugs found on eBay. The look like a very clean and easy repair. However my concern is will the vent close enough or would it need the form tape on the vent door edges ?
I'm getting ready to go this route. It seems really neat, based on this guy's video. We'll see though, I guess.
There are threads on here about that method of fixing the second internal door, and if you're using it, you should search for them. I think some have been a little more elegant than his cutting. But all involve cutting.
Pedantic aside: I have an issue with his using RTV. RTV is a sealant, not an adhesive. He really wanted an adhesive here.
Yeah, I don't know that the oscillating tool is how I'd go at it, but I was thinking something more along the line of 3M Windo-Weld rather than RTV. If that stuff is good enough to stick the windshields on supercars, and hold up to the elements, it should be A-OK in my 996's heater box.


 08-22-2022 | 01:09 AM