When you click on links to various merchants on this site and make a purchase, this can result in this site earning a commission. Affiliate programs and affiliations include, but are not limited to, the eBay Partner Network.
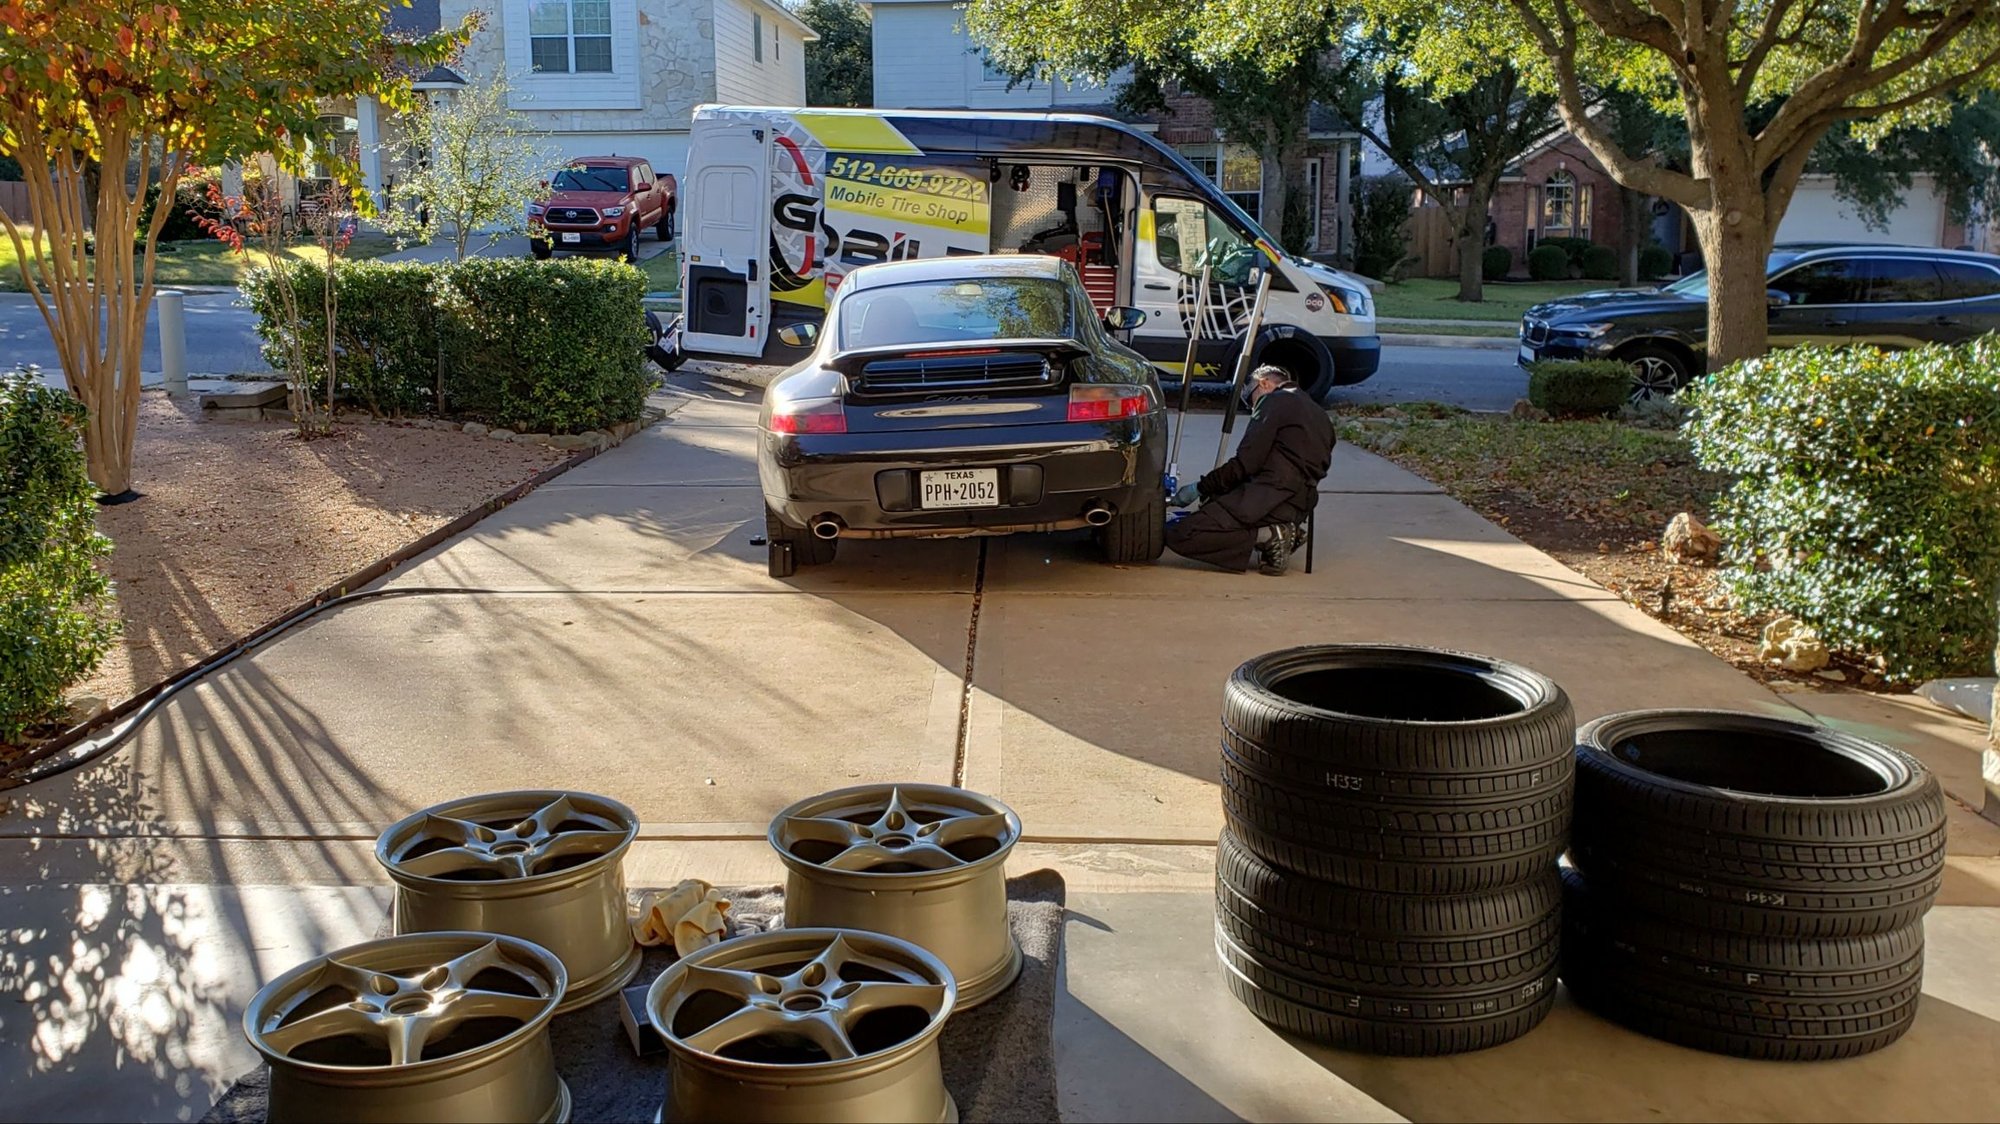
Wheels and tires refreshed. Powdercoated 996.2 Lightweights, Pirelli PZero Colleziones, Huf valve stems and OE centercaps. DIY ceramic coat on the wheels prior using Gtechniq C5 wheel armor. While the tire man was here also took care of the spare tire valve (rubber dry rotted away).
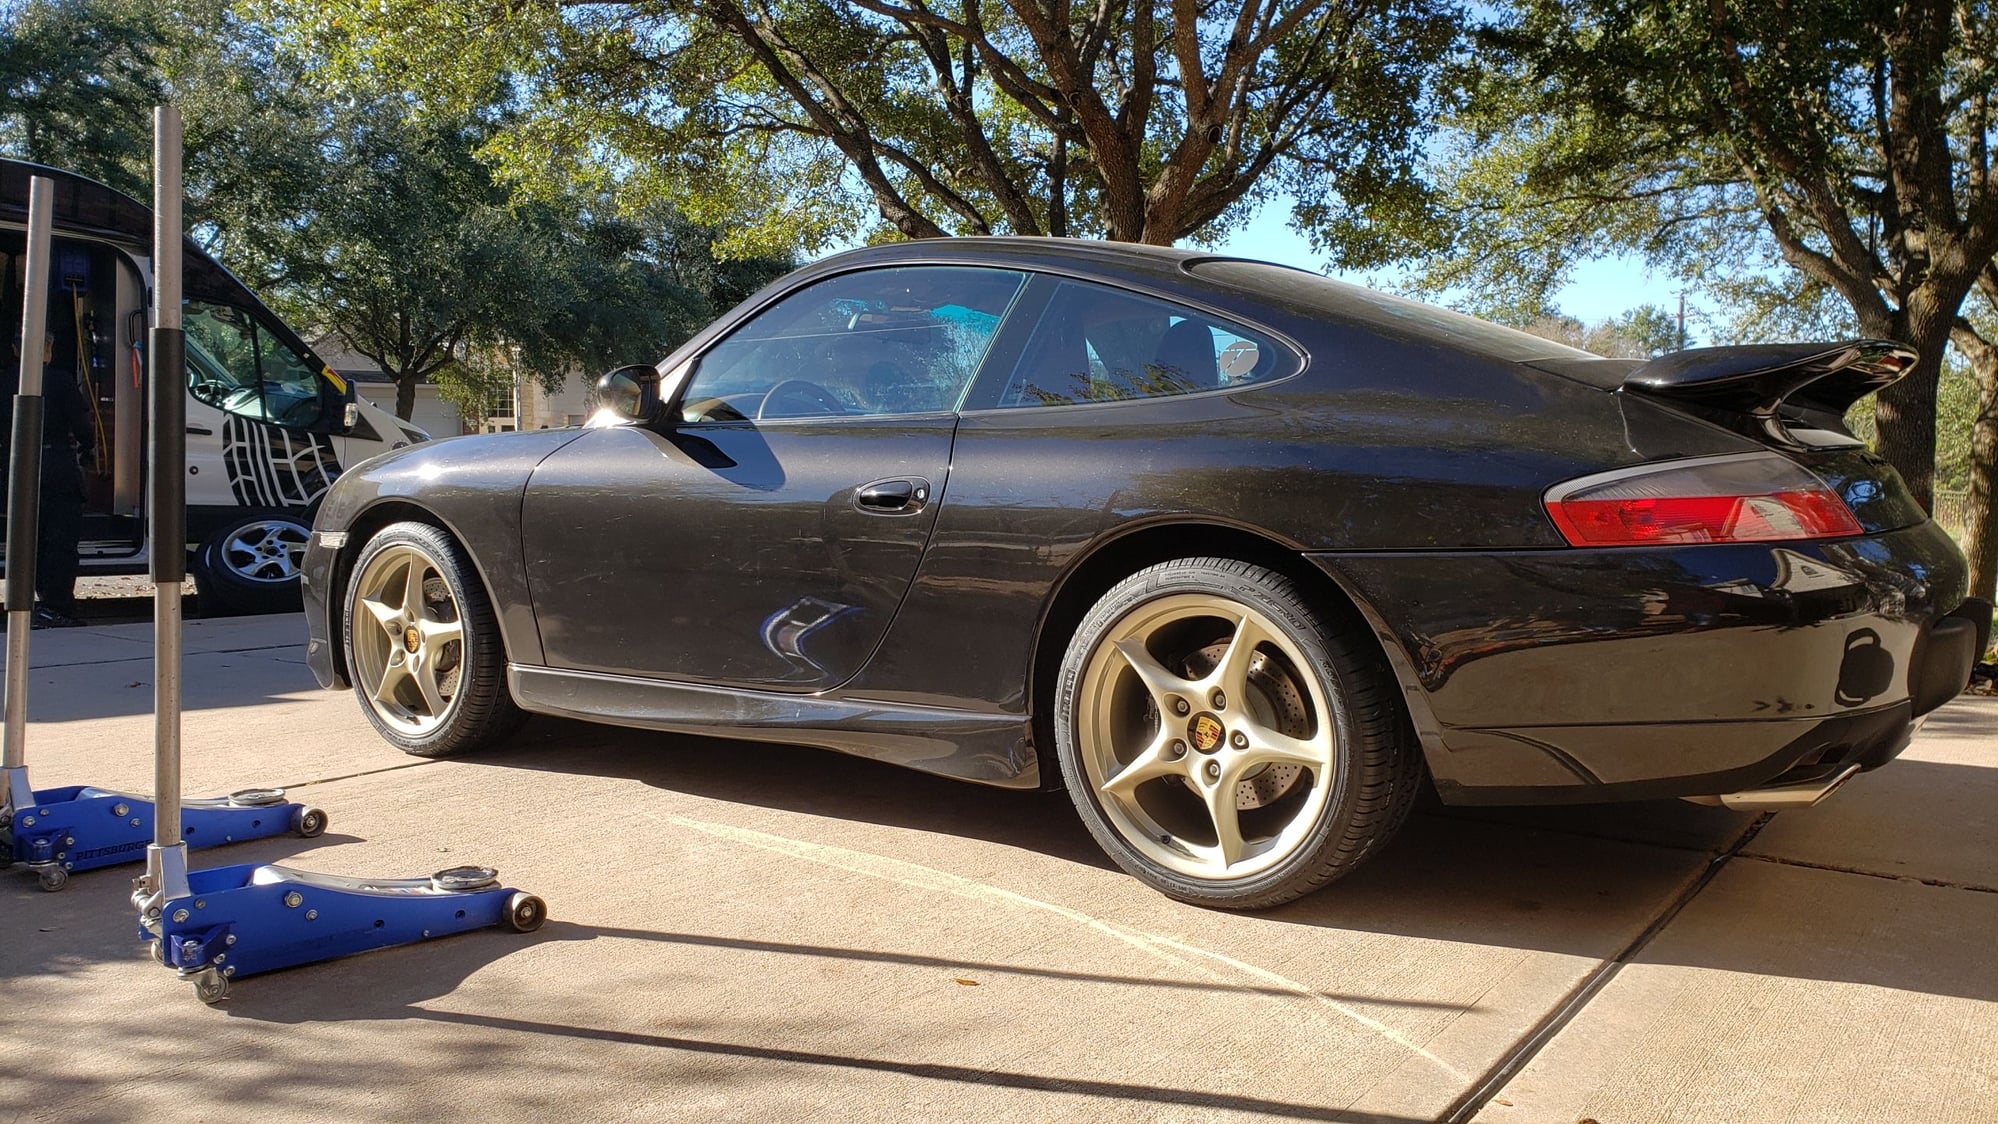
If you're curious, the color is a light gold/champagne metallic topped with gloss. Prismatic Powders Electro Gold PMB 1978.
autoRS - Nice and subtle color change. Was the powder coat reasonable compared to paint?
Thanks and glad I got samples (free) from Prismatic before choosing. You see more yellow in full sun, in the shade it's more champagne. Powder v. paint was about the same for refinishers in the area.
Wheels and tires refreshed. Powdercoated 996.2 Lightweights, Pirelli PZero Colleziones, Huf valve stems and OE centercaps. DIY ceramic coat on the wheels prior using Gtechniq C5 wheel armor. While the tire man was here also took care of the spare tire valve (rubber dry rotted away).
If you're curious, the color is a light gold/champagne metallic topped with gloss. Prismatic Powders Electro Gold PMB 1978.
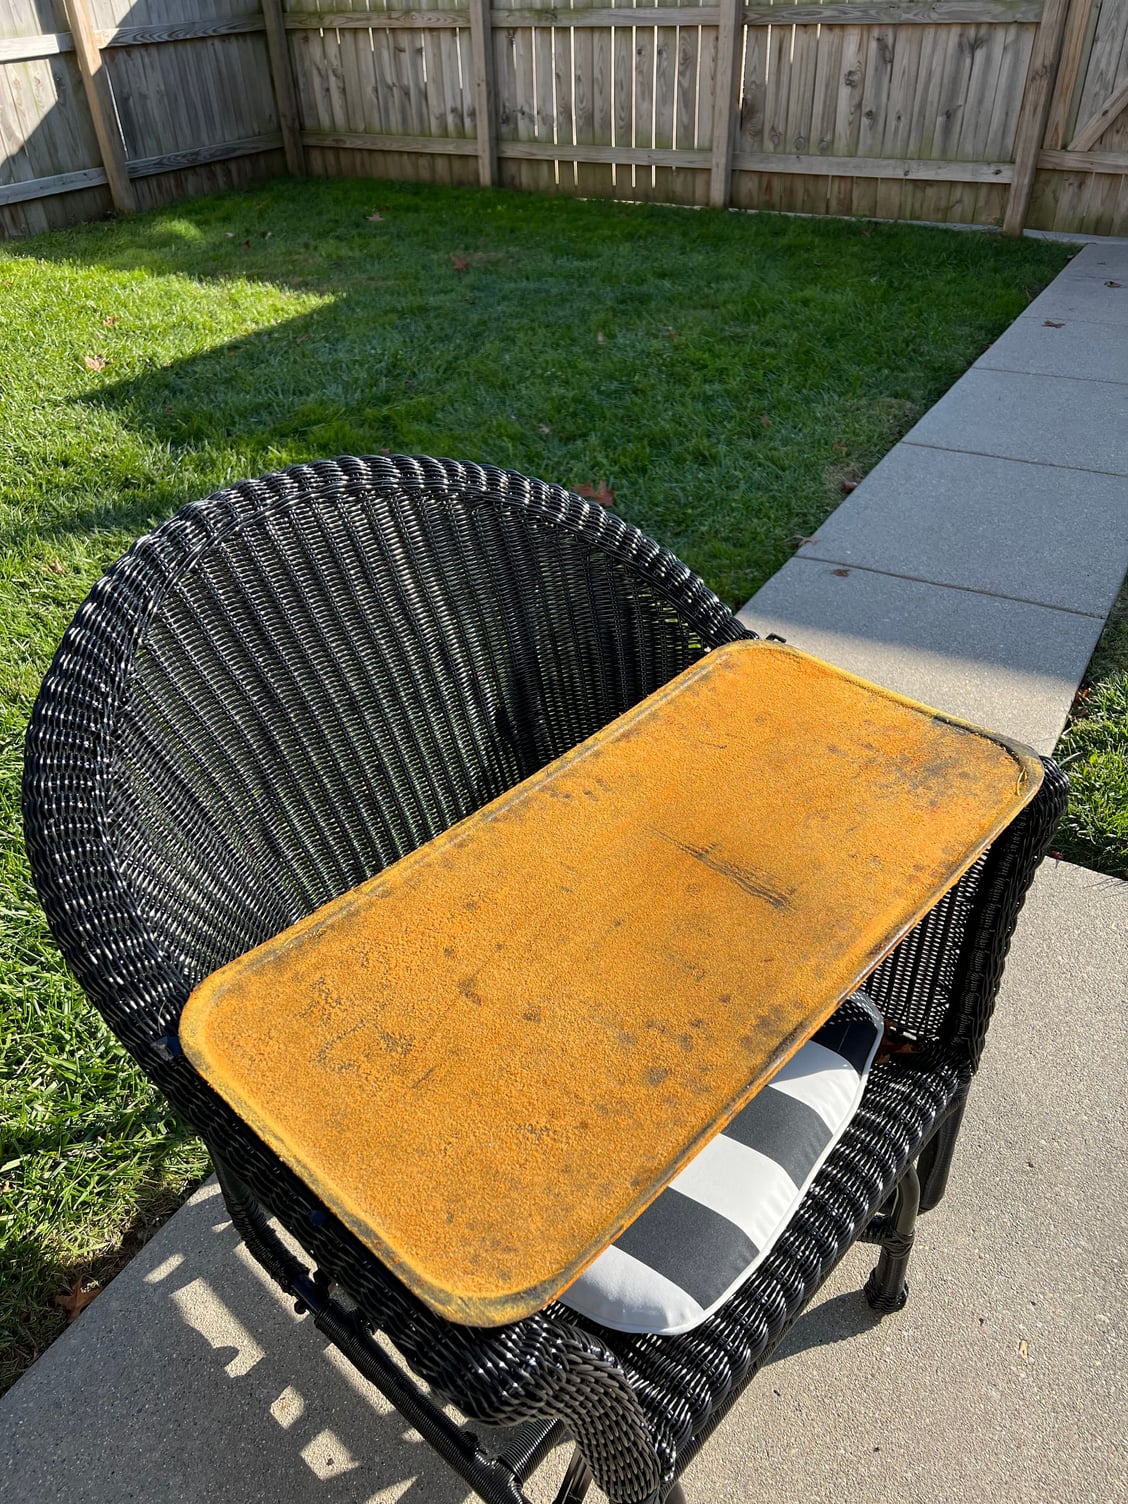
I successfully removed the sunroof tray some time ago and separated the fabric with no issue. It is still in perfect condition.
Any recommendations on best way to reattach the headliner to the tray? I had the fabric off before I had the tray out so I don't know what it looked like before. Just spray adhesive?
3M sells a adhesive for this, I was able to get it at a parts store locally. In the past I did my Jeep Cherokee headliner and it wasn't too bad. Lay out your fabric and then fold half it back over onto itself, spray the adhesive on the half of the headliner and then fold it over and smooth out so there aren't any wrinkles. Repeat on the other side.
I love 3M spray adhesive. They have many kinds, with slight differences and strengths, including one for headliners. Just follow the instructions closely, most sprays have you spray both sides, let it start to set, then push them together. I'm always impressed by how well it works (on all sorts of applications). My only failures have been when it was too cold during application, or I got in a hurry. Good luck!
 11-29-2021, 01:29 PM