Turbo "S" Scoops with LED Lights Installed!
#106
I can't decide on the Turbo bumper for my car. I like the look and I would buy a Euro bumper from Carnewal most likely. But, on the other hand. I kinda feel like I would have a C2 with a C2S/Turbo bumper. Not sure how I feel about it yet. Still deciding...
Here is my view on my decision: At this point in my life, I think I am never going to sell my 993. And my issue is that I have never really cared for the rounded look of the front bumper compared to a more finished look of the turbo front bumper. But there is an issue that a NB can look a bit front heavy with a turbo front bumper and turbo s chin spoiler. Fortunately, the original owner purchased side skirts and aero kit. (I can't remember the option code off the top of my head.) So that helps balance things out a bit.
And if later on in life I decide to sell it, I still have all of the original parts. I went to Gert for a lot of items. Turbo front bumper, turbo s front chin spoiler, turbo s air scoops with LED's, carbon fiber 3-spoke steering wheel, and some other stuff...
What I can say is this: I have absolutely no regrets. No buyers remorse whatsoever. I love the look of my car. Some purists don't--especially b/c I have a NB C4 Cab.
When I went through the laundry list of options the original buyer purchased with the car--I really think they wanted a convertible turbo. They couldn't order one, so they attempted to purchase a C4 Cab with a bunch of options to make it sort of look like a turbo. I might have done the same thing if I was the original buyer.
Anyway, if you really want that look--go for it. I surprised myself that I have no regrets. (Keeping the original parts helps on that front.)
#107
Rennlist Member
I went back and forth on this same exact question for about a year. It would basically be the first non-stock change to my 993. And should I go down that slippery slope?
Here is my view on my decision: At this point in my life, I think I am never going to sell my 993. And my issue is that I have never really cared for the rounded look of the front bumper compared to a more finished look of the turbo front bumper. But there is an issue that a NB can look a bit front heavy with a turbo front bumper and turbo s chin spoiler. Fortunately, the original owner purchased side skirts and aero kit. (I can't remember the option code off the top of my head.) So that helps balance things out a bit.
And if later on in life I decide to sell it, I still have all of the original parts. I went to Gert for a lot of items. Turbo front bumper, turbo s front chin spoiler, turbo s air scoops with LED's, carbon fiber 3-spoke steering wheel, and some other stuff...
What I can say is this: I have absolutely no regrets. No buyers remorse whatsoever. I love the look of my car. Some purists don't--especially b/c I have a NB C4 Cab.
When I went through the laundry list of options the original buyer purchased with the car--I really think they wanted a convertible turbo. They couldn't order one, so they attempted to purchase a C4 Cab with a bunch of options to make it sort of look like a turbo. I might have done the same thing if I was the original buyer.
Anyway, if you really want that look--go for it. I surprised myself that I have no regrets. (Keeping the original parts helps on that front.)
#108
Drifting
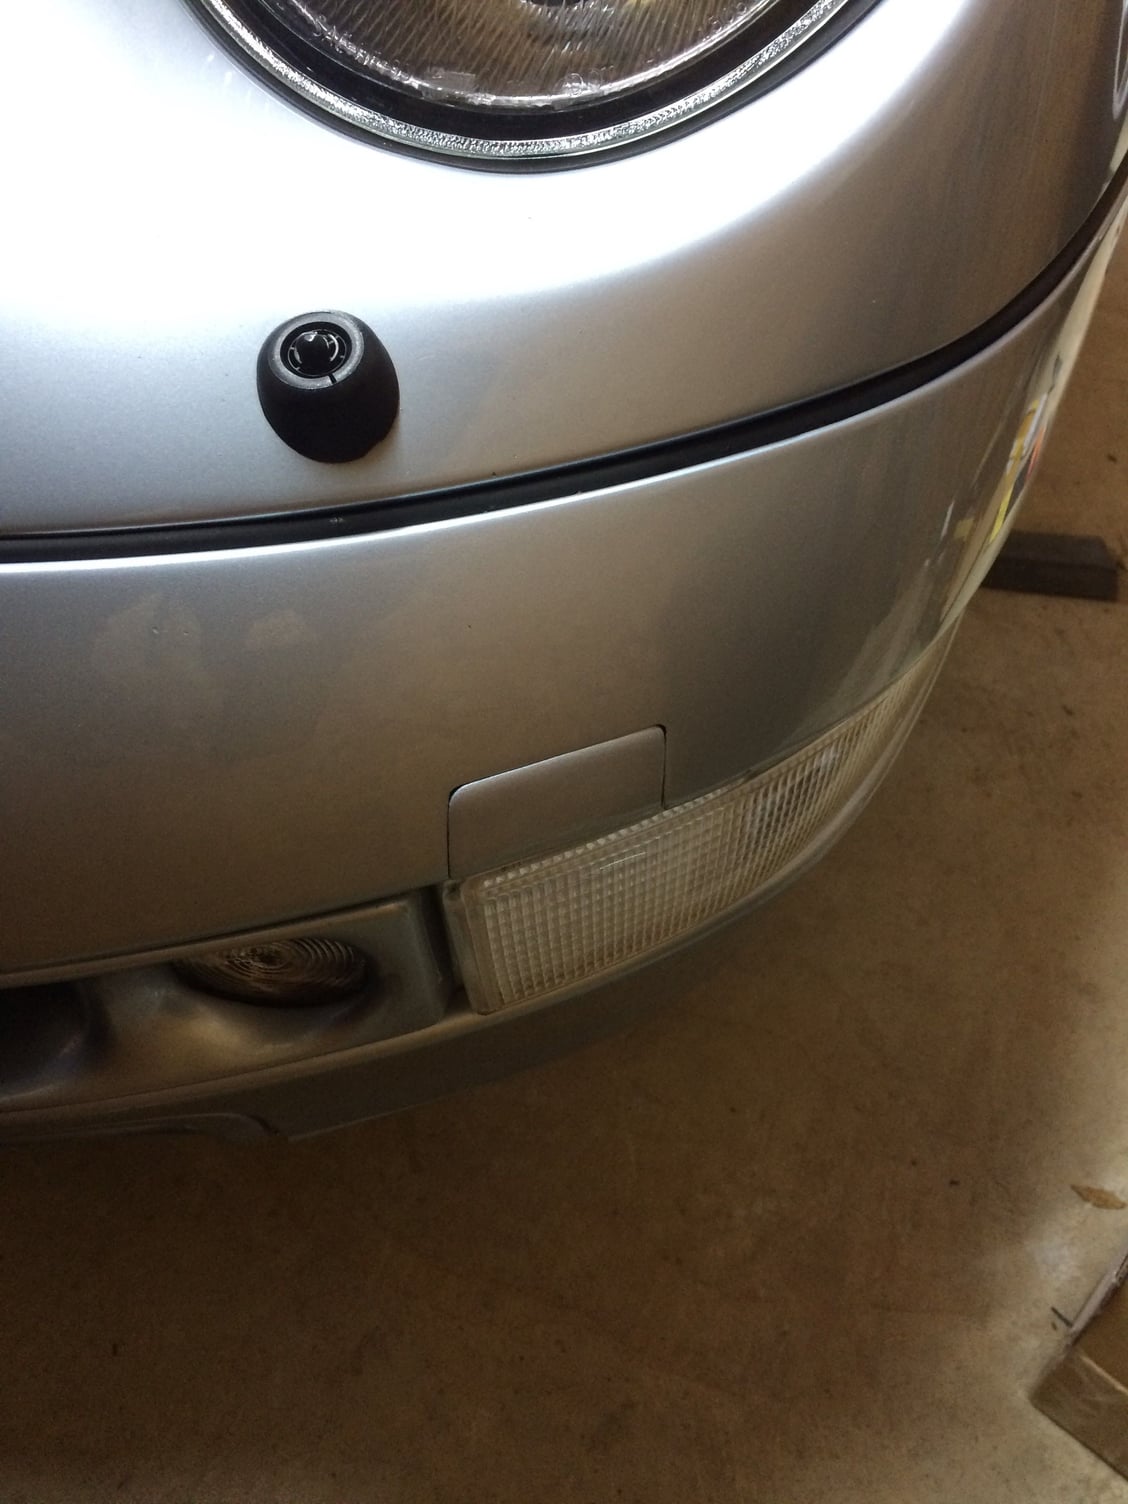
I thought I'd share this temporary ghetto repair I did to hide the bumperette notches in my front bumper unit I get the bumper repaired and repainted. I just installed the new Euro corner lights and the Turbo S scoops (still unpainted until the bumper is done), and decided to cover the notches with duct tape! It happens to be a pretty close match to Polar silver, and from a distance is hardly noticeable.
The following users liked this post:
koister2001 (07-10-2020)
#109
Ducts and Hella lights arrived today from Type911. I snapped one light together for a test fit. Now, I'm having trouble separating the plastic lens from the base.
Inserting a screwdriver in the cut-out and twisting hasn't popped loose the lens. I don't recall this issue being mentioned in earlier posts. Is there a trick or do I need to keep trying? I'd rather not apply too much pressure and crack the lens.
For the installation, did anyone dab silicone on the cut-out area of the lens as a barrier to moisture?
#110
Rennlist Member
Thread Starter
Ducts and Hella lights arrived today from Type911. I snapped one light together for a test fit. Now, I'm having trouble separating the plastic lens from the base.
Inserting a screwdriver in the cut-out and twisting hasn't popped loose the lens. I don't recall this issue being mentioned in earlier posts. Is there a trick or do I need to keep trying? I'd rather not apply too much pressure and crack the lens.
For the installation, did anyone dab silicone on the cut-out area of the lens as a barrier to moisture?
Inserting a screwdriver in the cut-out and twisting hasn't popped loose the lens. I don't recall this issue being mentioned in earlier posts. Is there a trick or do I need to keep trying? I'd rather not apply too much pressure and crack the lens.
For the installation, did anyone dab silicone on the cut-out area of the lens as a barrier to moisture?
And for a nice, clean, wiring solution, check out this thread from Top-Gun.

https://rennlist.com/forums/993-foru...o-s-ducts.html
#111
Rennlist Member
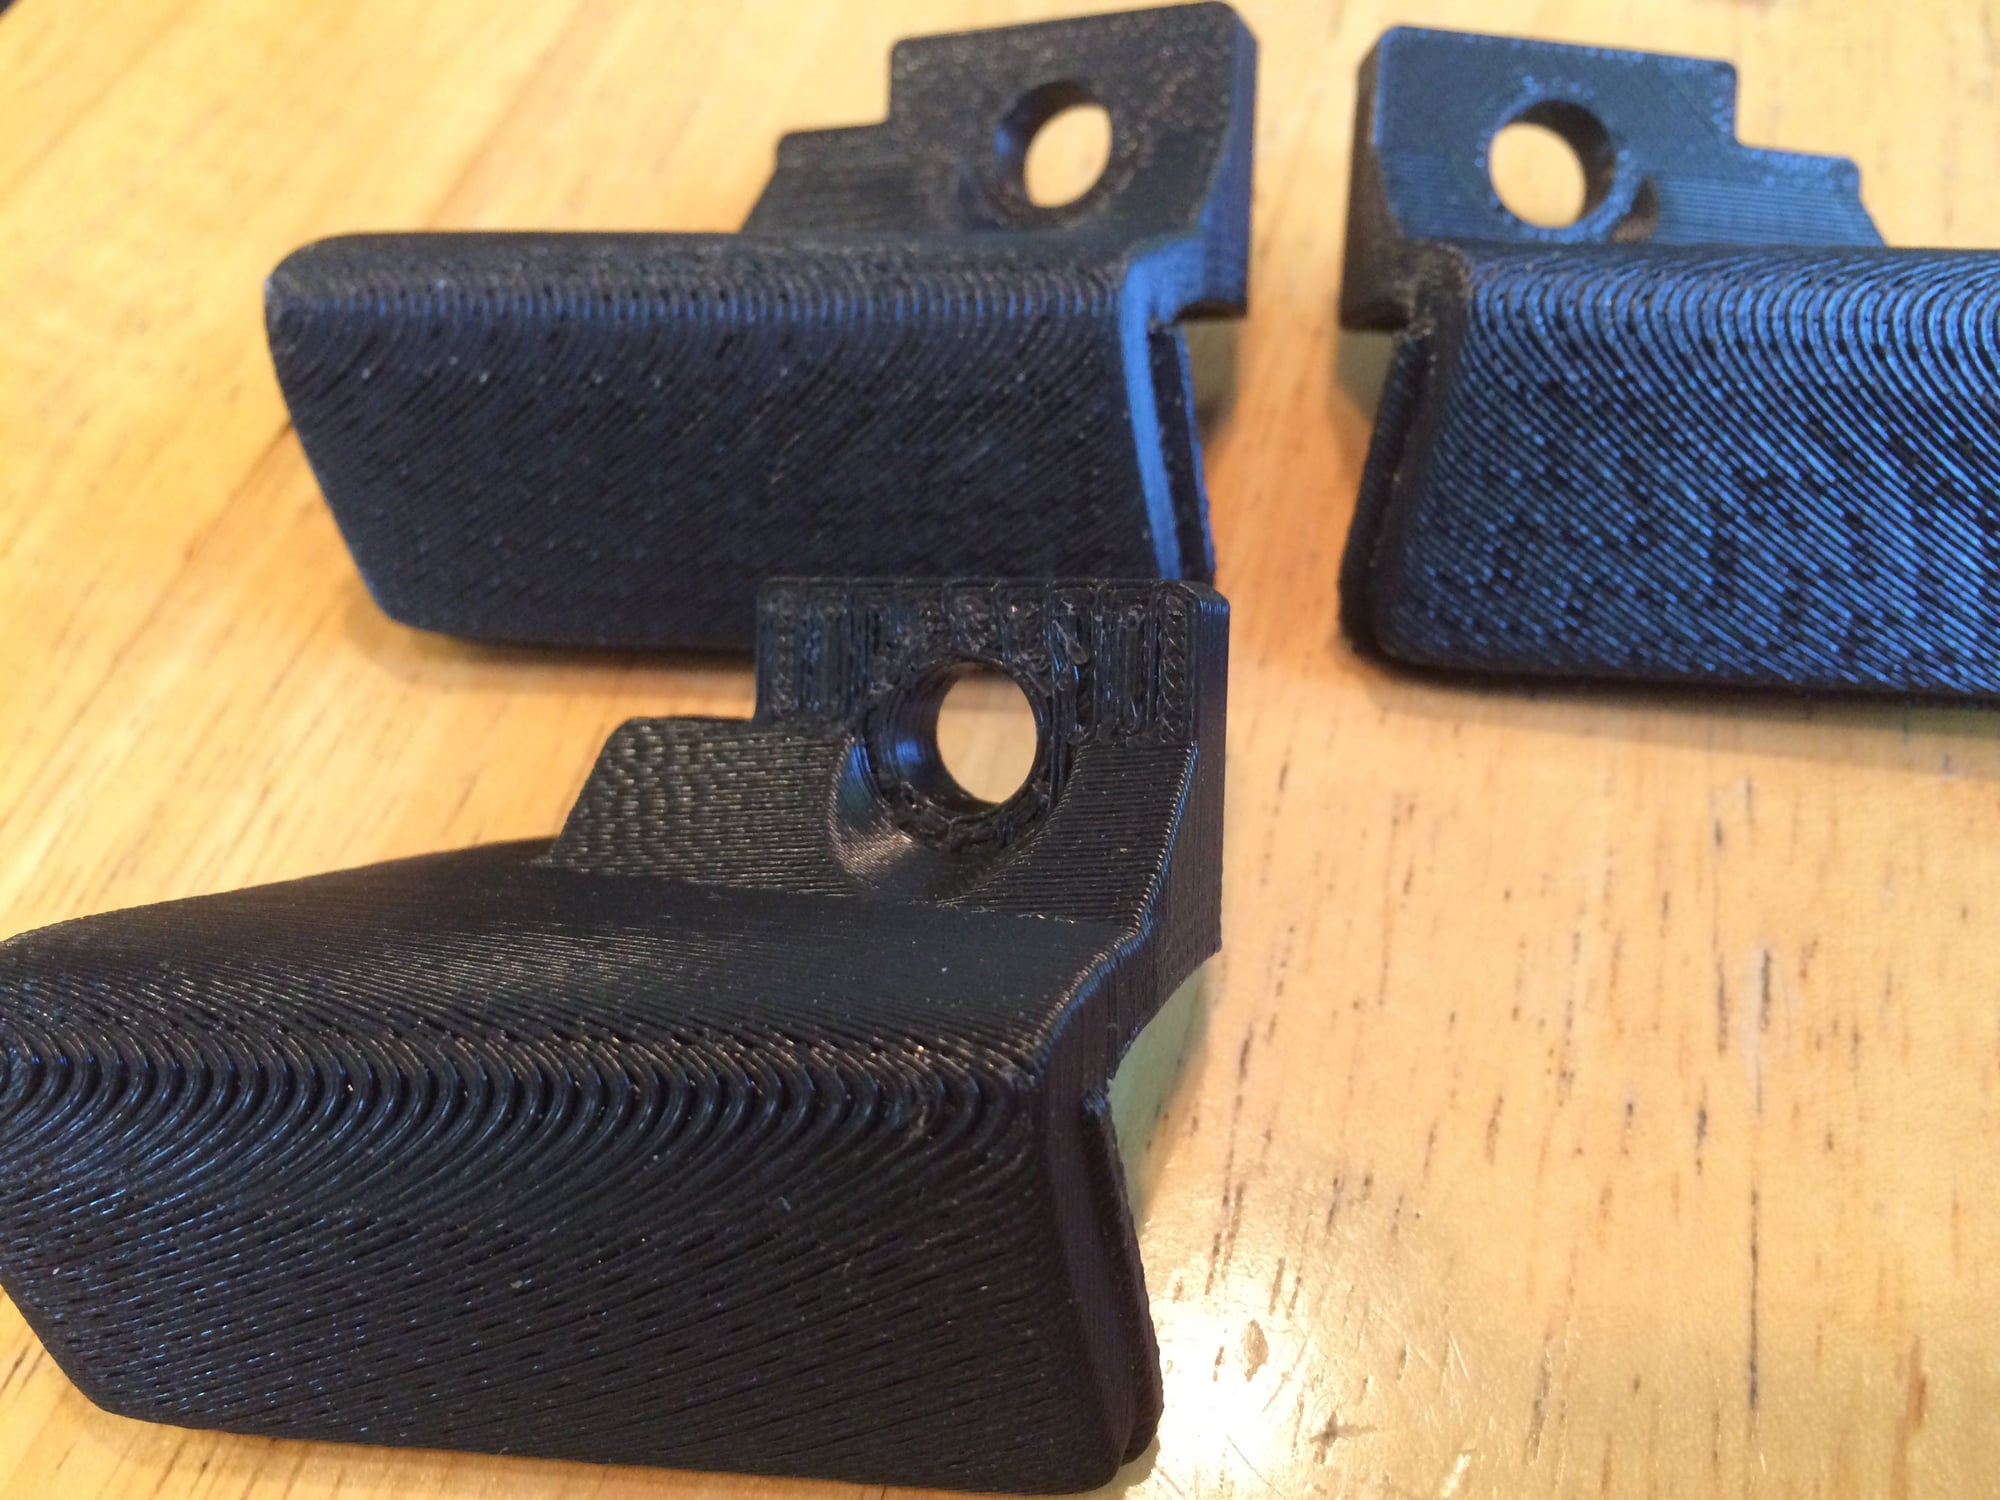
I thought I'd share this temporary ghetto repair I did to hide the bumperette notches in my front bumper unit I get the bumper repaired and repainted. I just installed the new Euro corner lights and the Turbo S scoops (still unpainted until the bumper is done), and decided to cover the notches with duct tape! It happens to be a pretty close match to Polar silver, and from a distance is hardly noticeable.
#112
I would not use a screw-driver. If you simply put a little pressure on the tab with your finger you should be able to pry the lens off from the base with your bare hands. No silicone required, but in addition to the rubber plugs you should tape up the the three holes in back with electrical tape.
And for a nice, clean, wiring solution, check out this thread from Top-Gun.
https://rennlist.com/forums/993-foru...o-s-ducts.html
And for a nice, clean, wiring solution, check out this thread from Top-Gun.

https://rennlist.com/forums/993-foru...o-s-ducts.html
The finger-squeeze approach to getting the lens off hasn't worked. There is a tiny ridge inside the rear housing and it seems to be doing its job exceptionally well. That's why I started thinking about a screwdriver. Perhaps the unit I chose has an unusally tight fit. I am afraid to snap the other one closed for comparison.
I will be using liquid electrical tape on the back to seal around the plugs. It's more suited to the task and doesn't leave messy residue when removed.
#113
Rennlist Member
Thread Starter
Thank you for the suggestions. I found Top-Gun's wiring tip thread earlier today.
The finger-squeeze approach to getting the lens off hasn't worked. There is a tiny ridge inside the rear housing and it seems to be doing its job exceptionally well. That's why I started thinking about a screwdriver. Perhaps the unit I chose has an unusally tight fit. I am afraid to snap the other one closed for comparison.
The finger-squeeze approach to getting the lens off hasn't worked. There is a tiny ridge inside the rear housing and it seems to be doing its job exceptionally well. That's why I started thinking about a screwdriver. Perhaps the unit I chose has an unusally tight fit. I am afraid to snap the other one closed for comparison.
#115
They can be stubborn at times, but the housings are pretty sturdy. Applying firm pressure (enough to negate the ridge) to two opposite sides of the lens near the base usually does the trick allowing the lens to pop free. I have a unit out that I'm working on, and will have a closer look tonight for any tips.
#116
Rennlist Member
Thread Starter

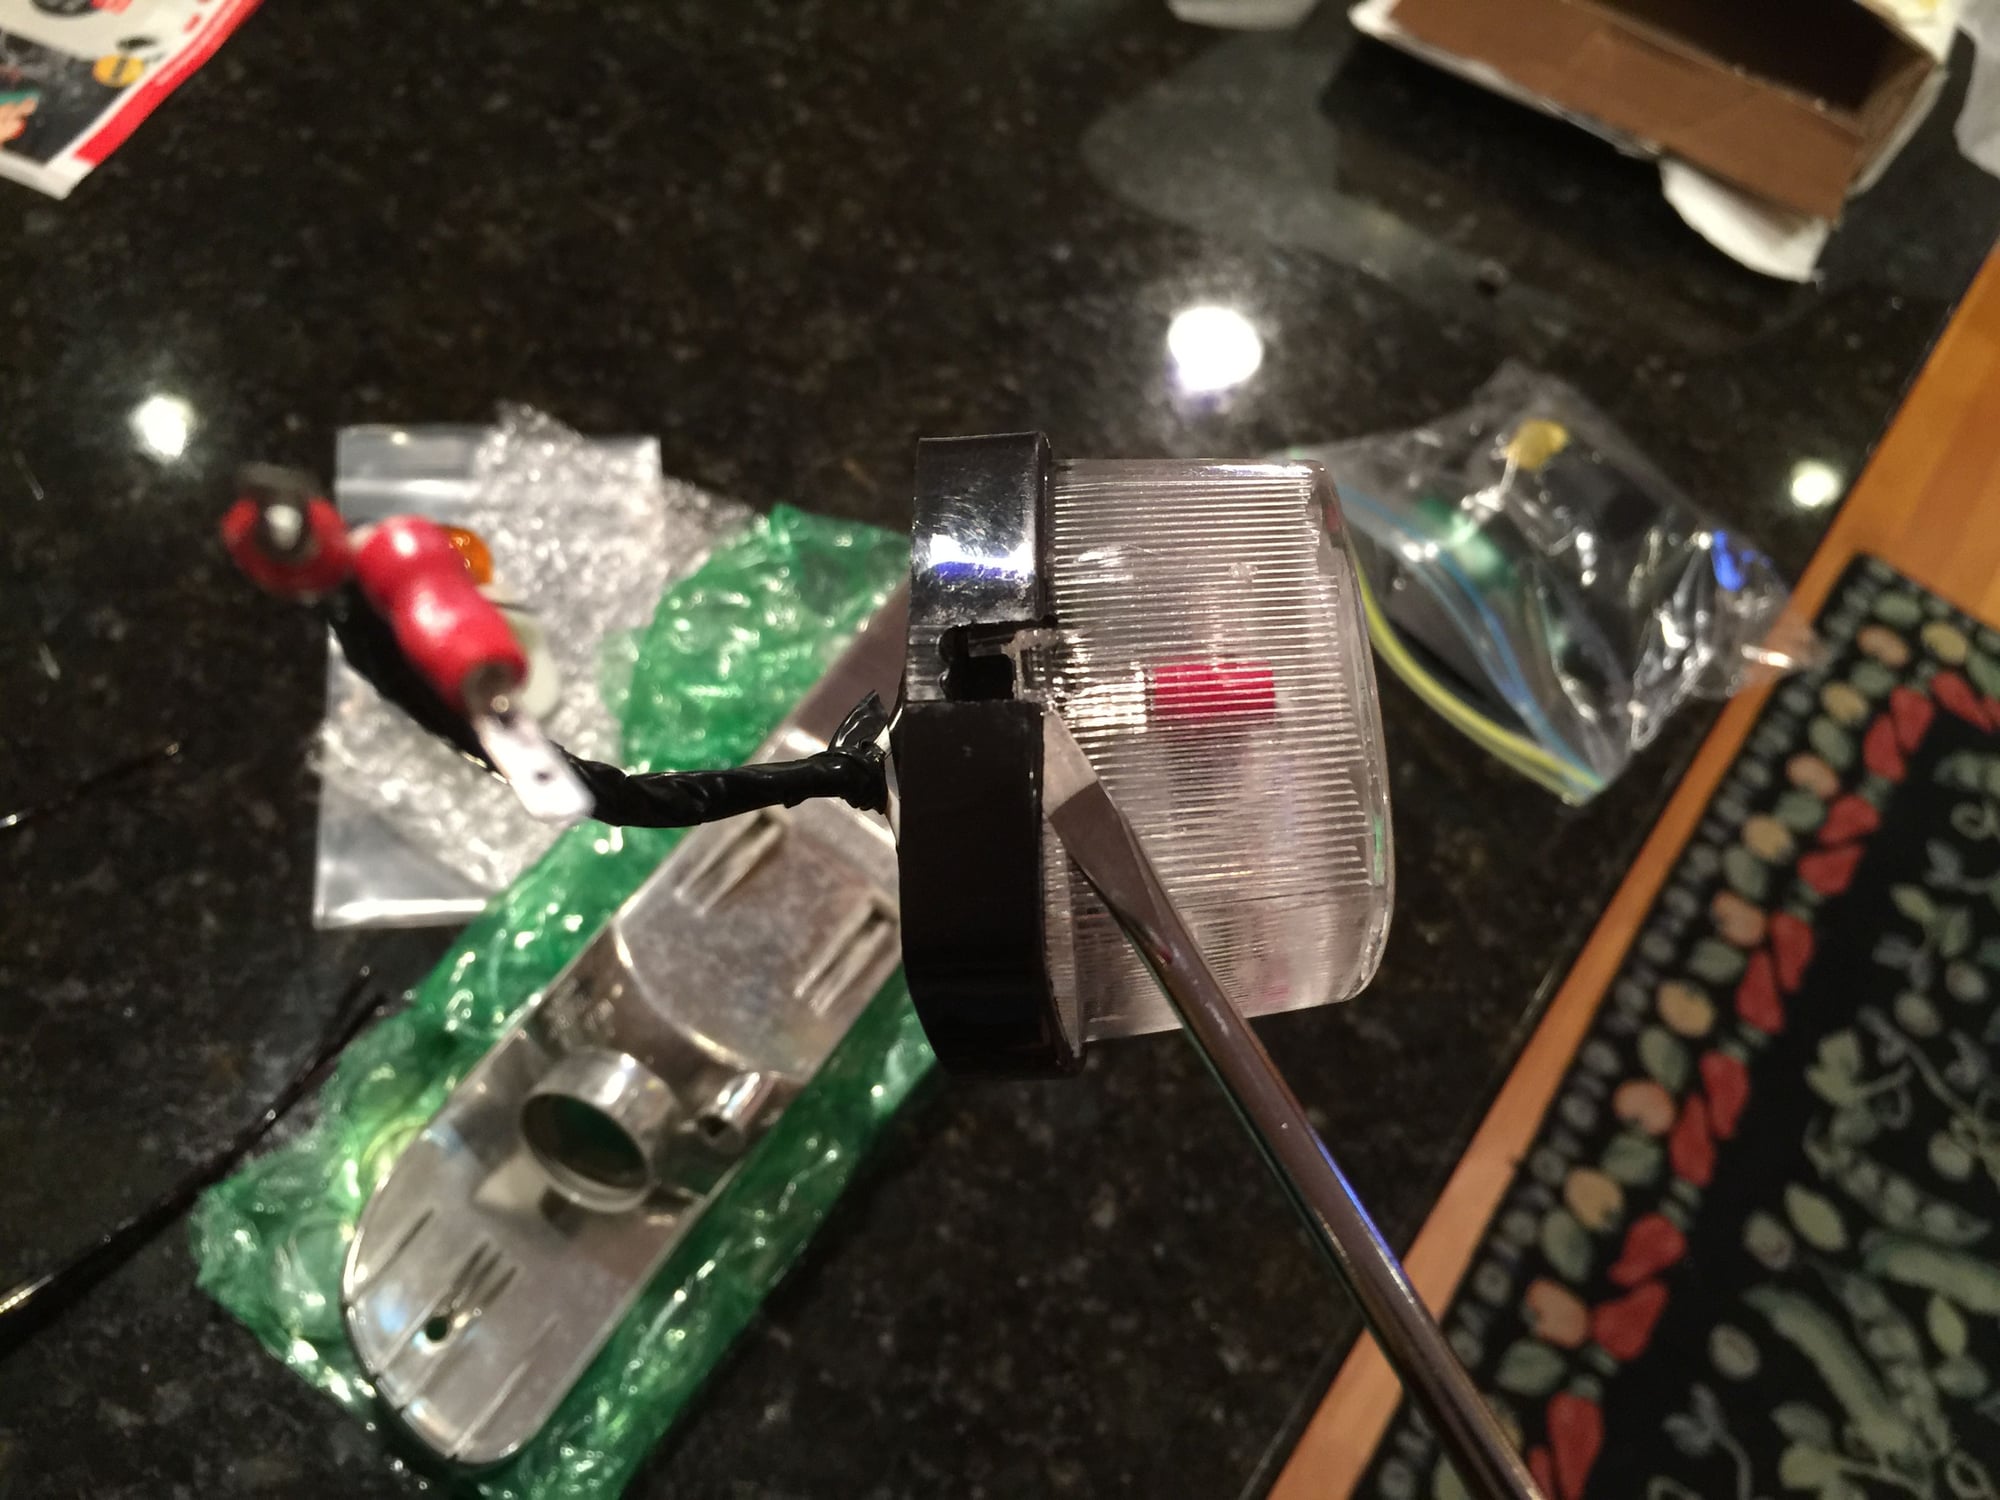
Insert screw driver between housing and lens and gently twist to pry housing away from lens.
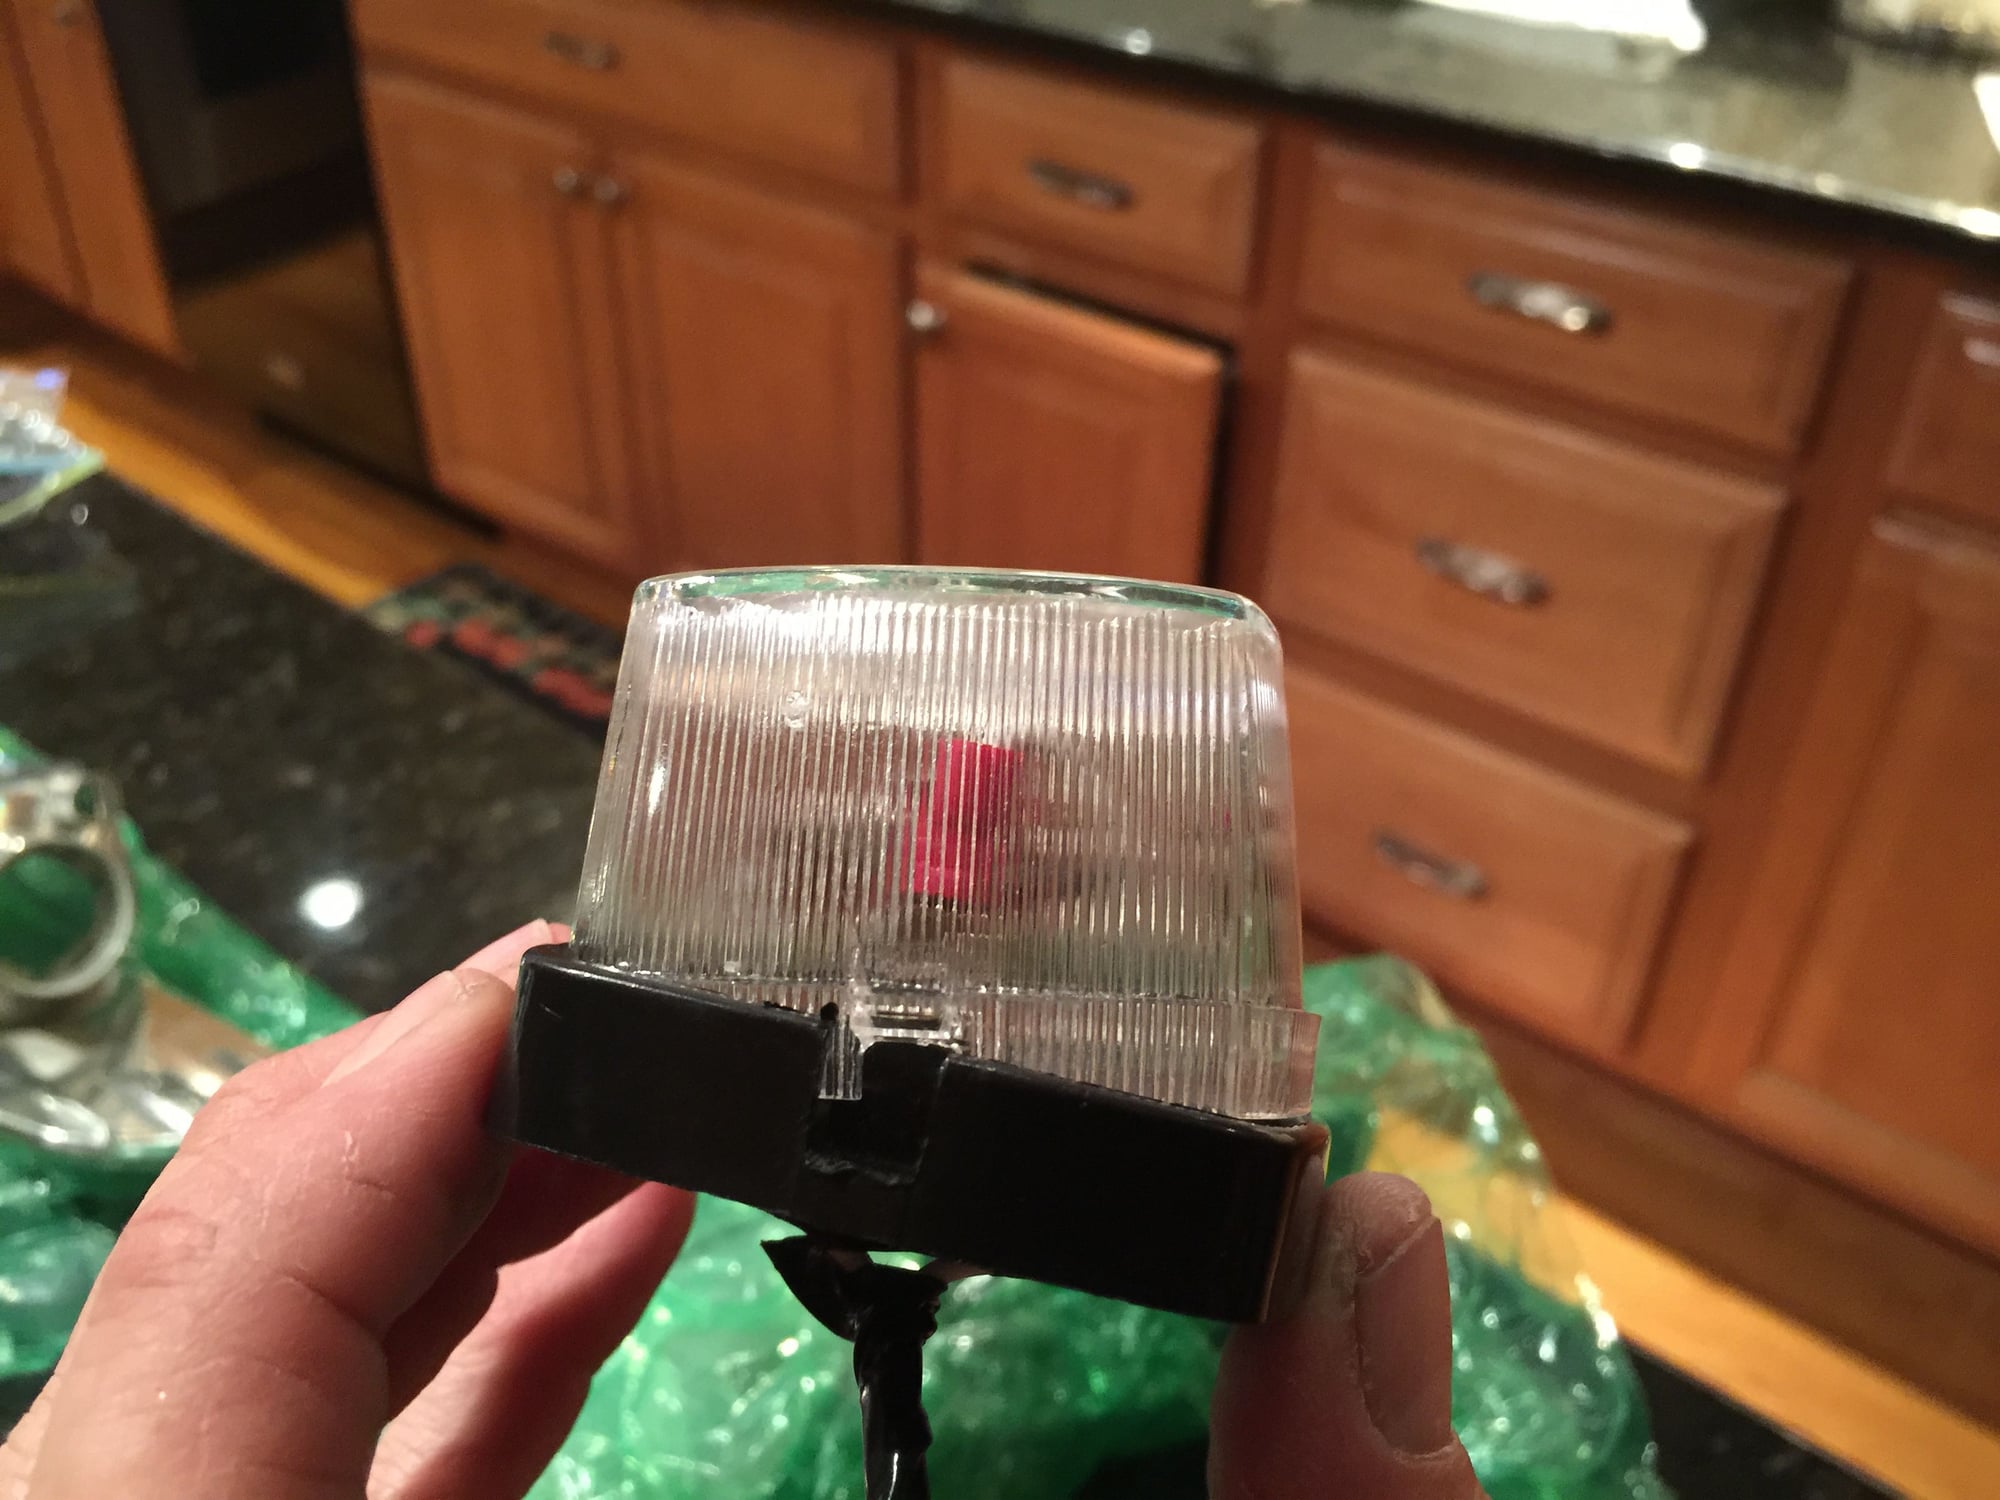
Once you've freed up one corner you are all set.
#117

Turbo Scoops with Hela Lights

Hela light kits include case, three gaskets, wire harness and 16 LED bulb
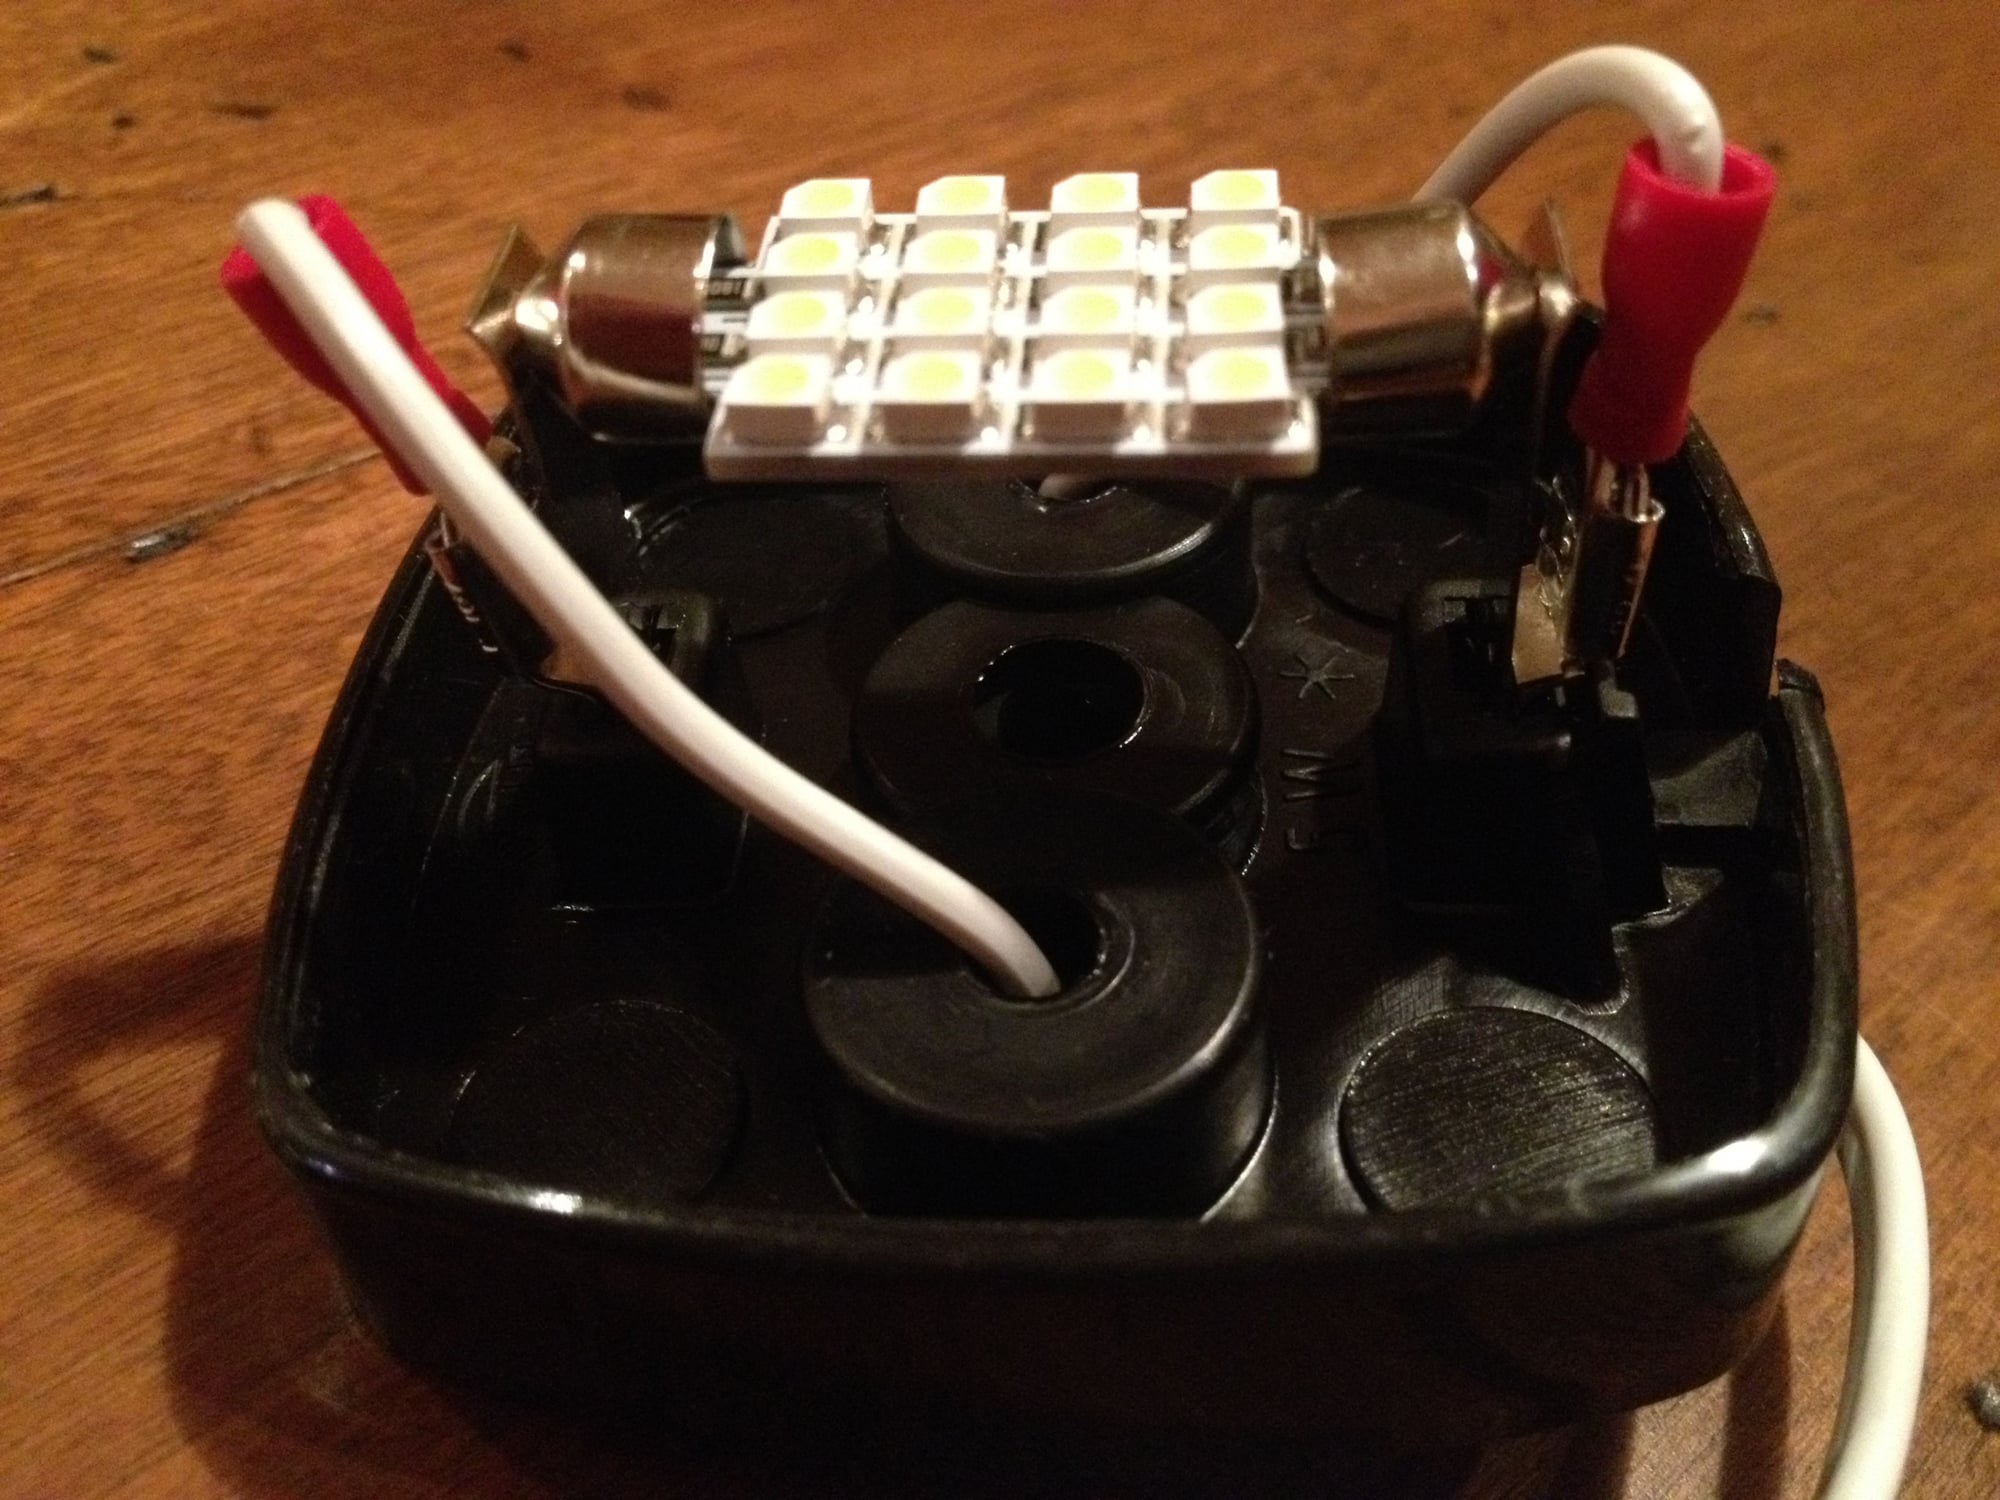
Run the female ends of the harness through two holes from the back and connect to outside leads.

Pry female ends open a bit with screwdriver, and secure over outside leads
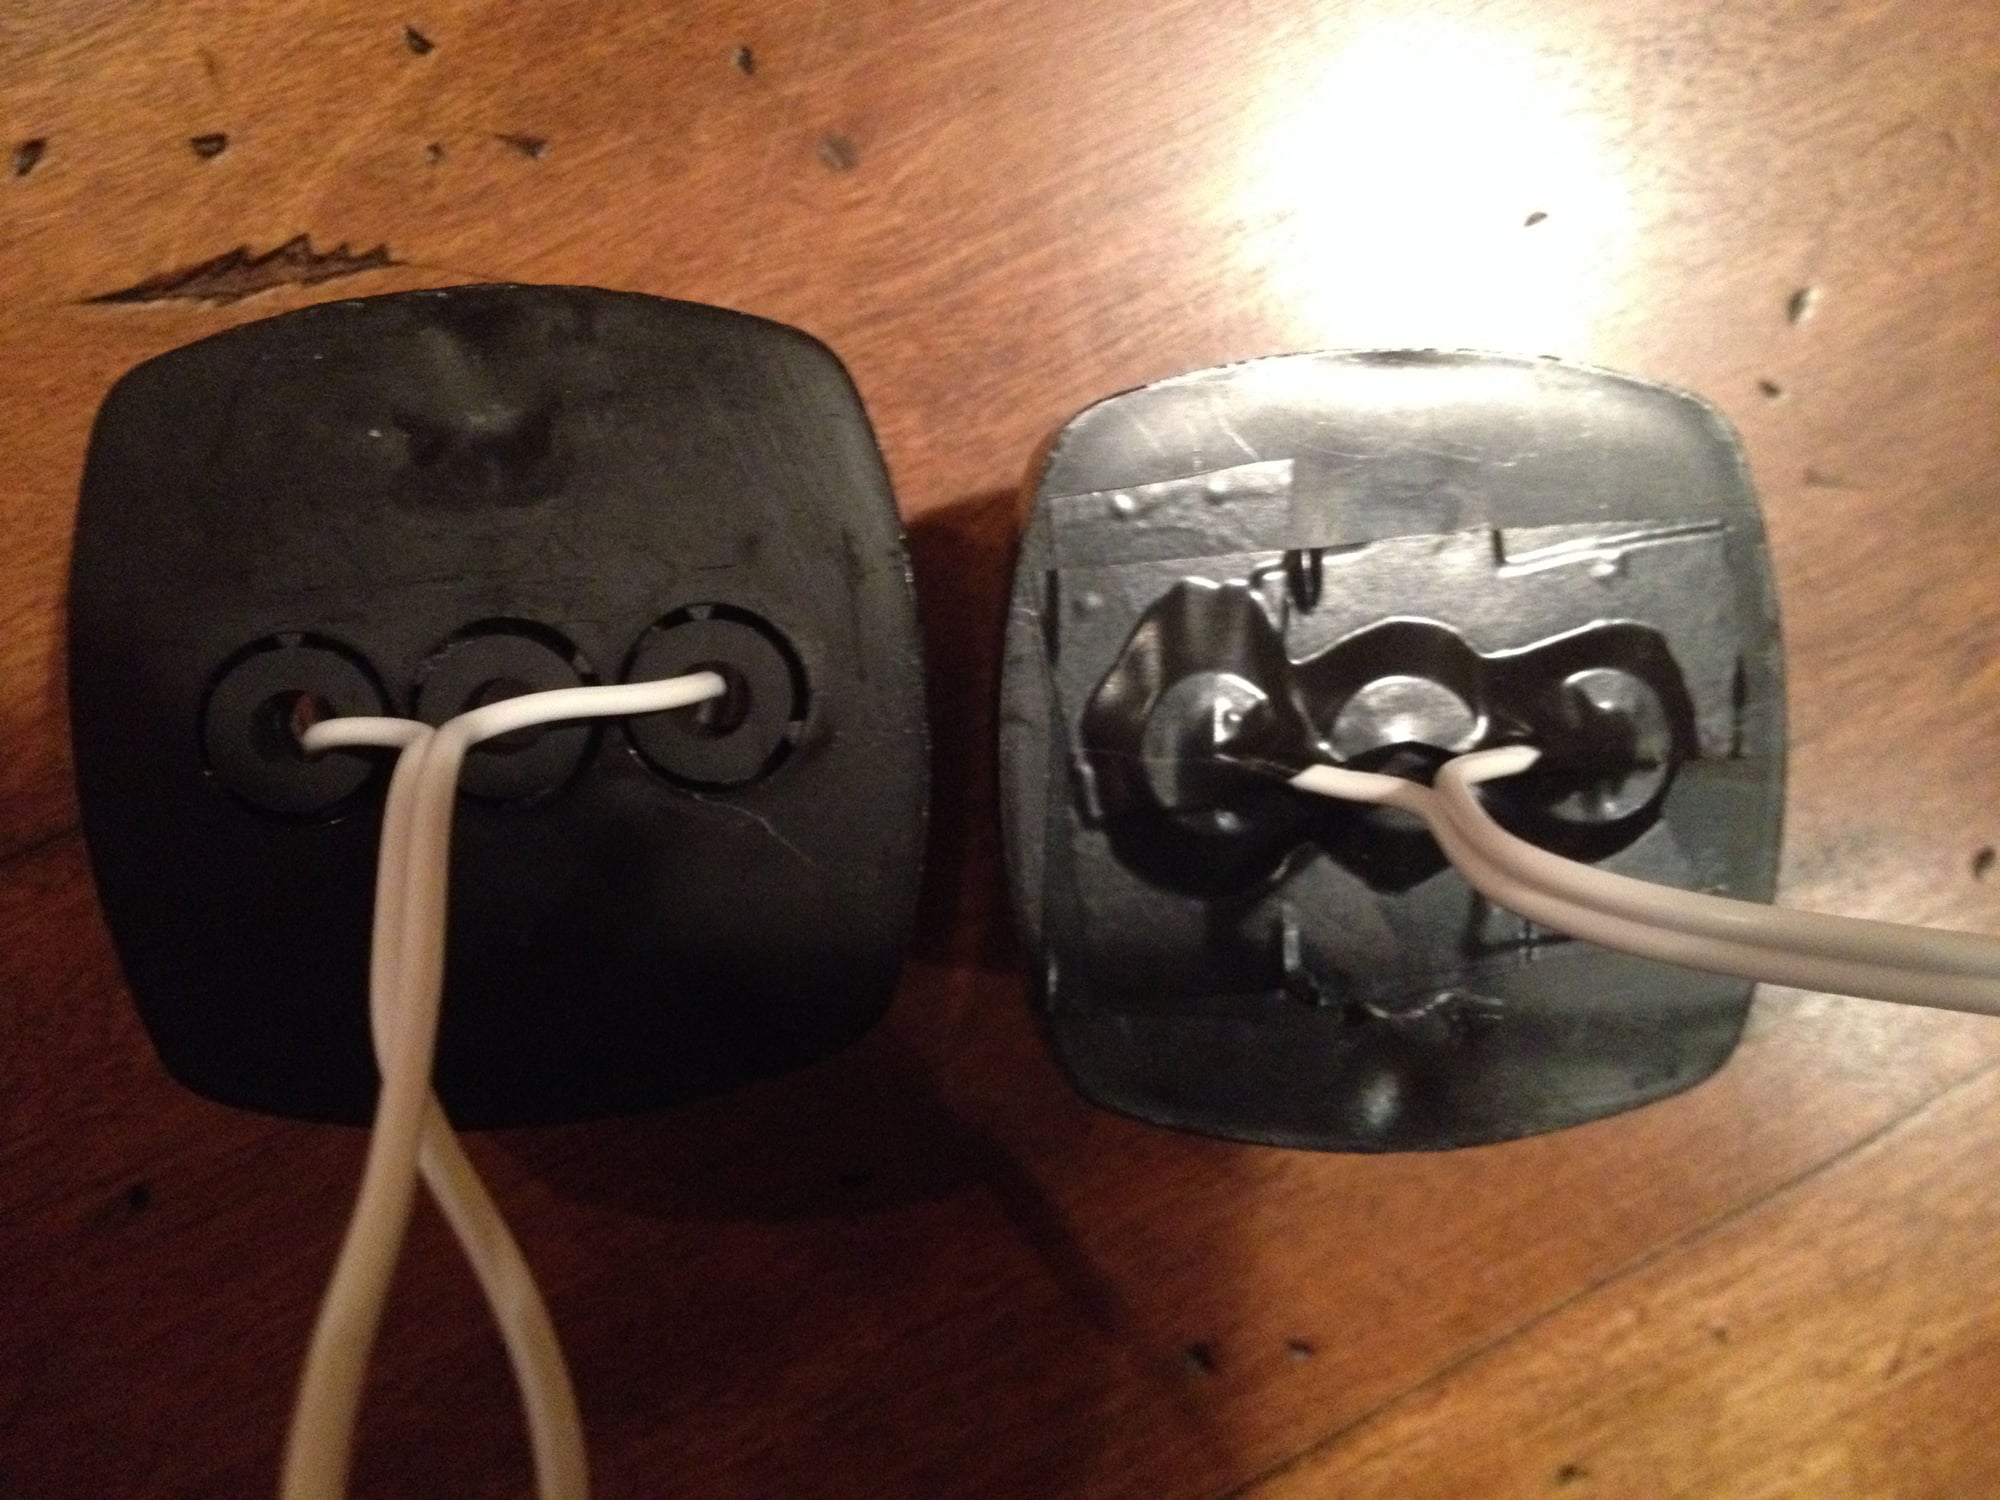
Electrical tape to seal gaskets
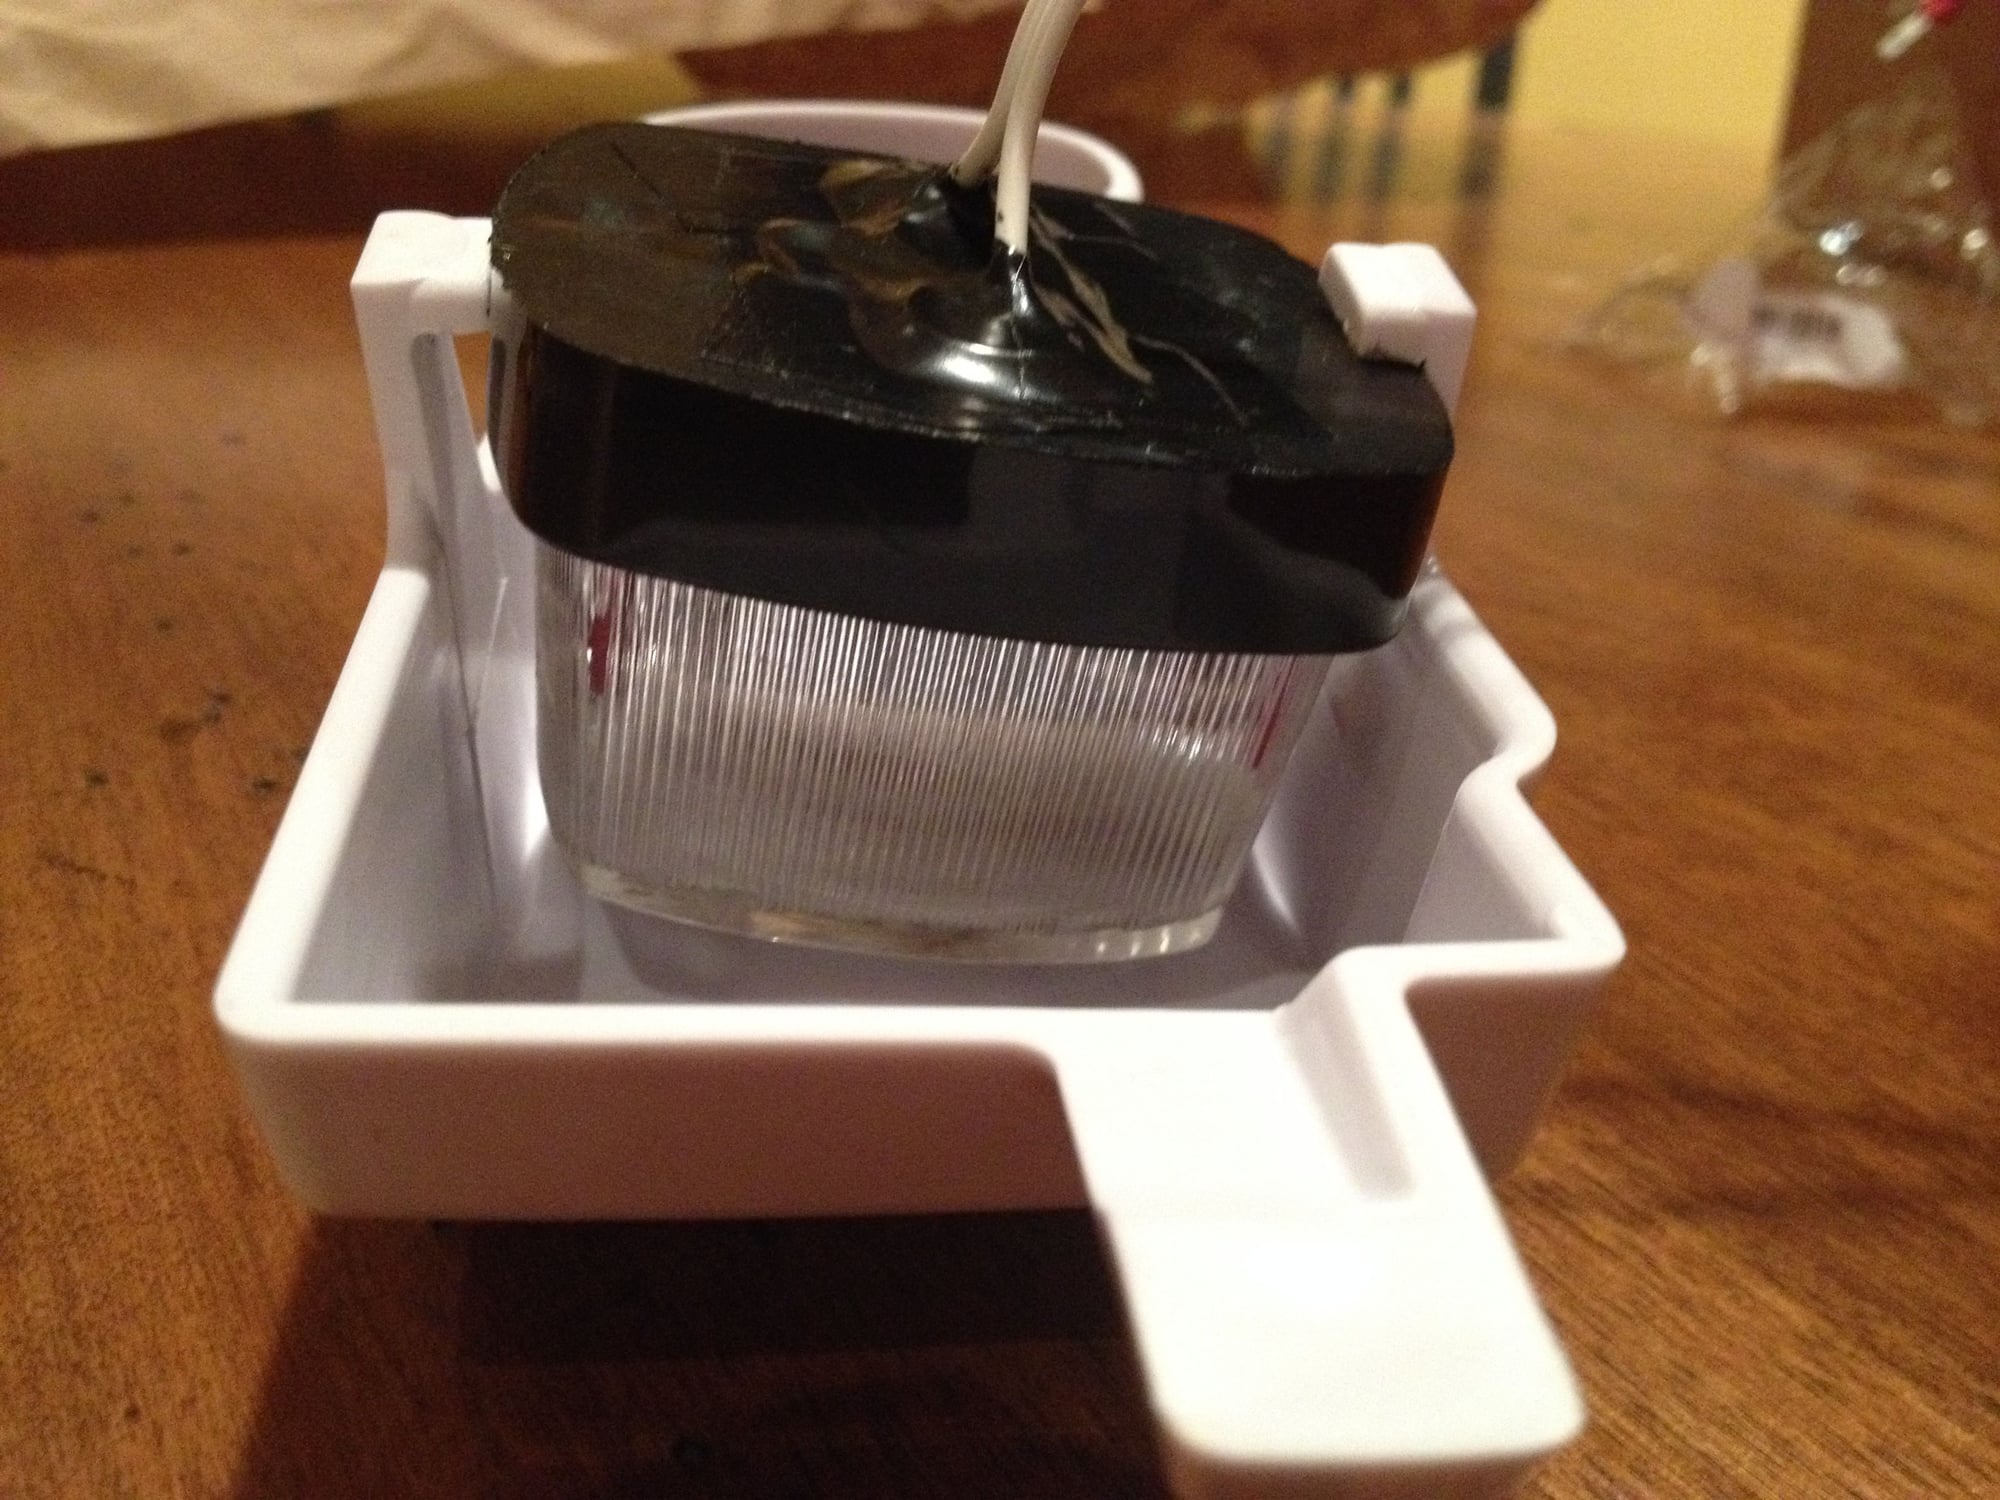
Take a dry run installing the lamps before painting. If you slide one end under one of the two prongs and line everything up correctly, the other end will snap in with a little force.

Snap
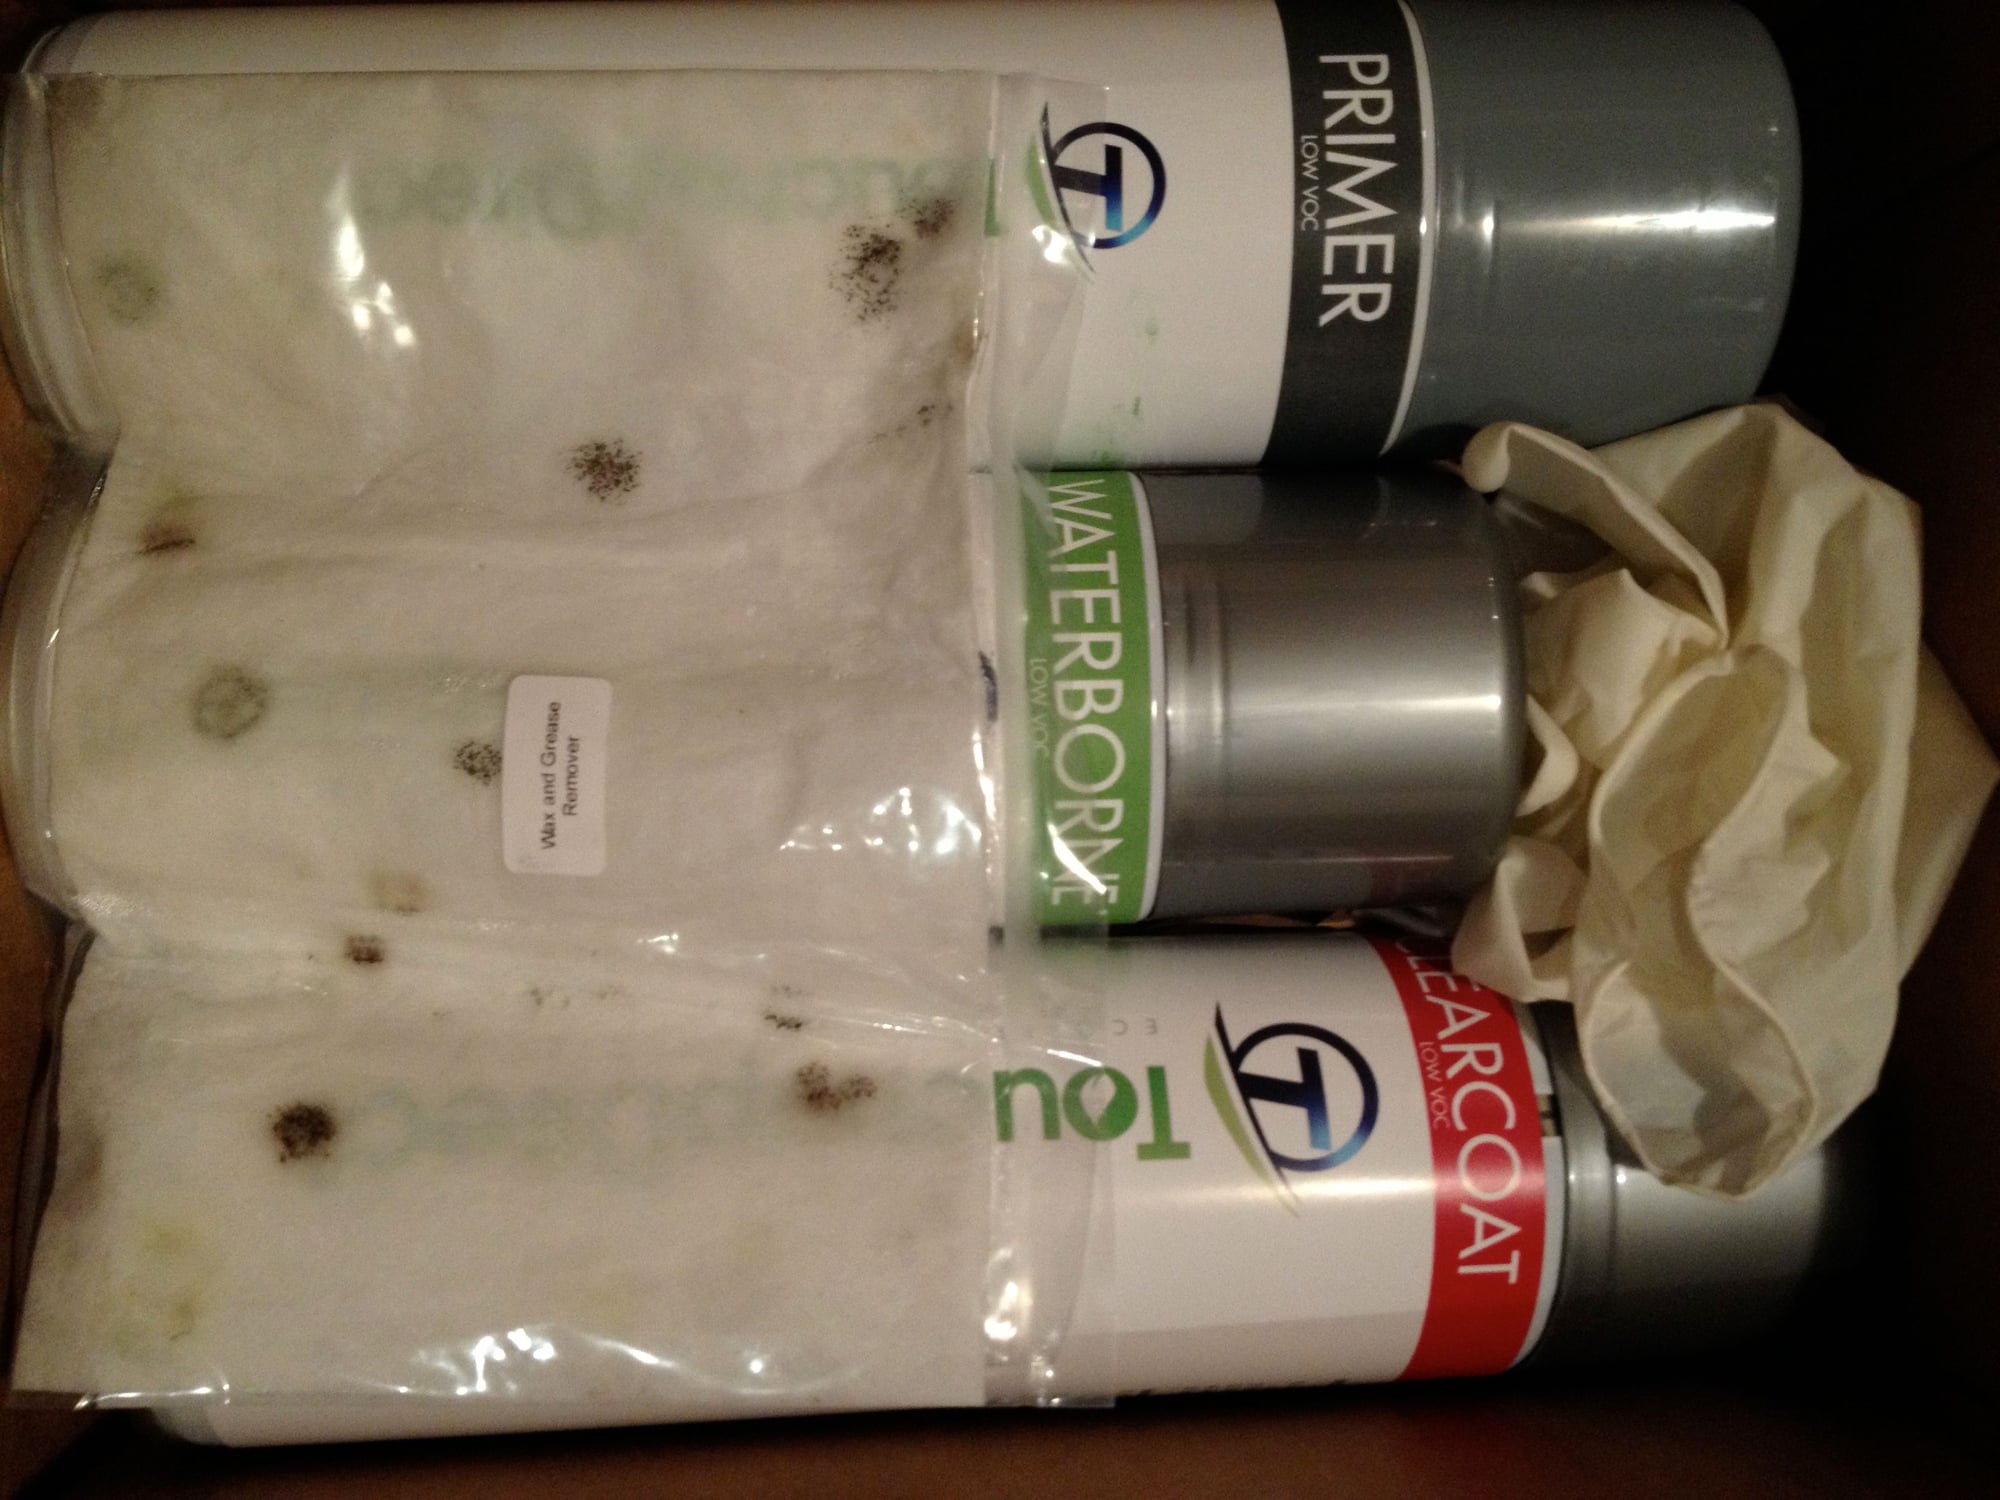
Paint kit fromTouch Up Direct with Primer, Paint, Clear, gloves, and a moldy tack cloth
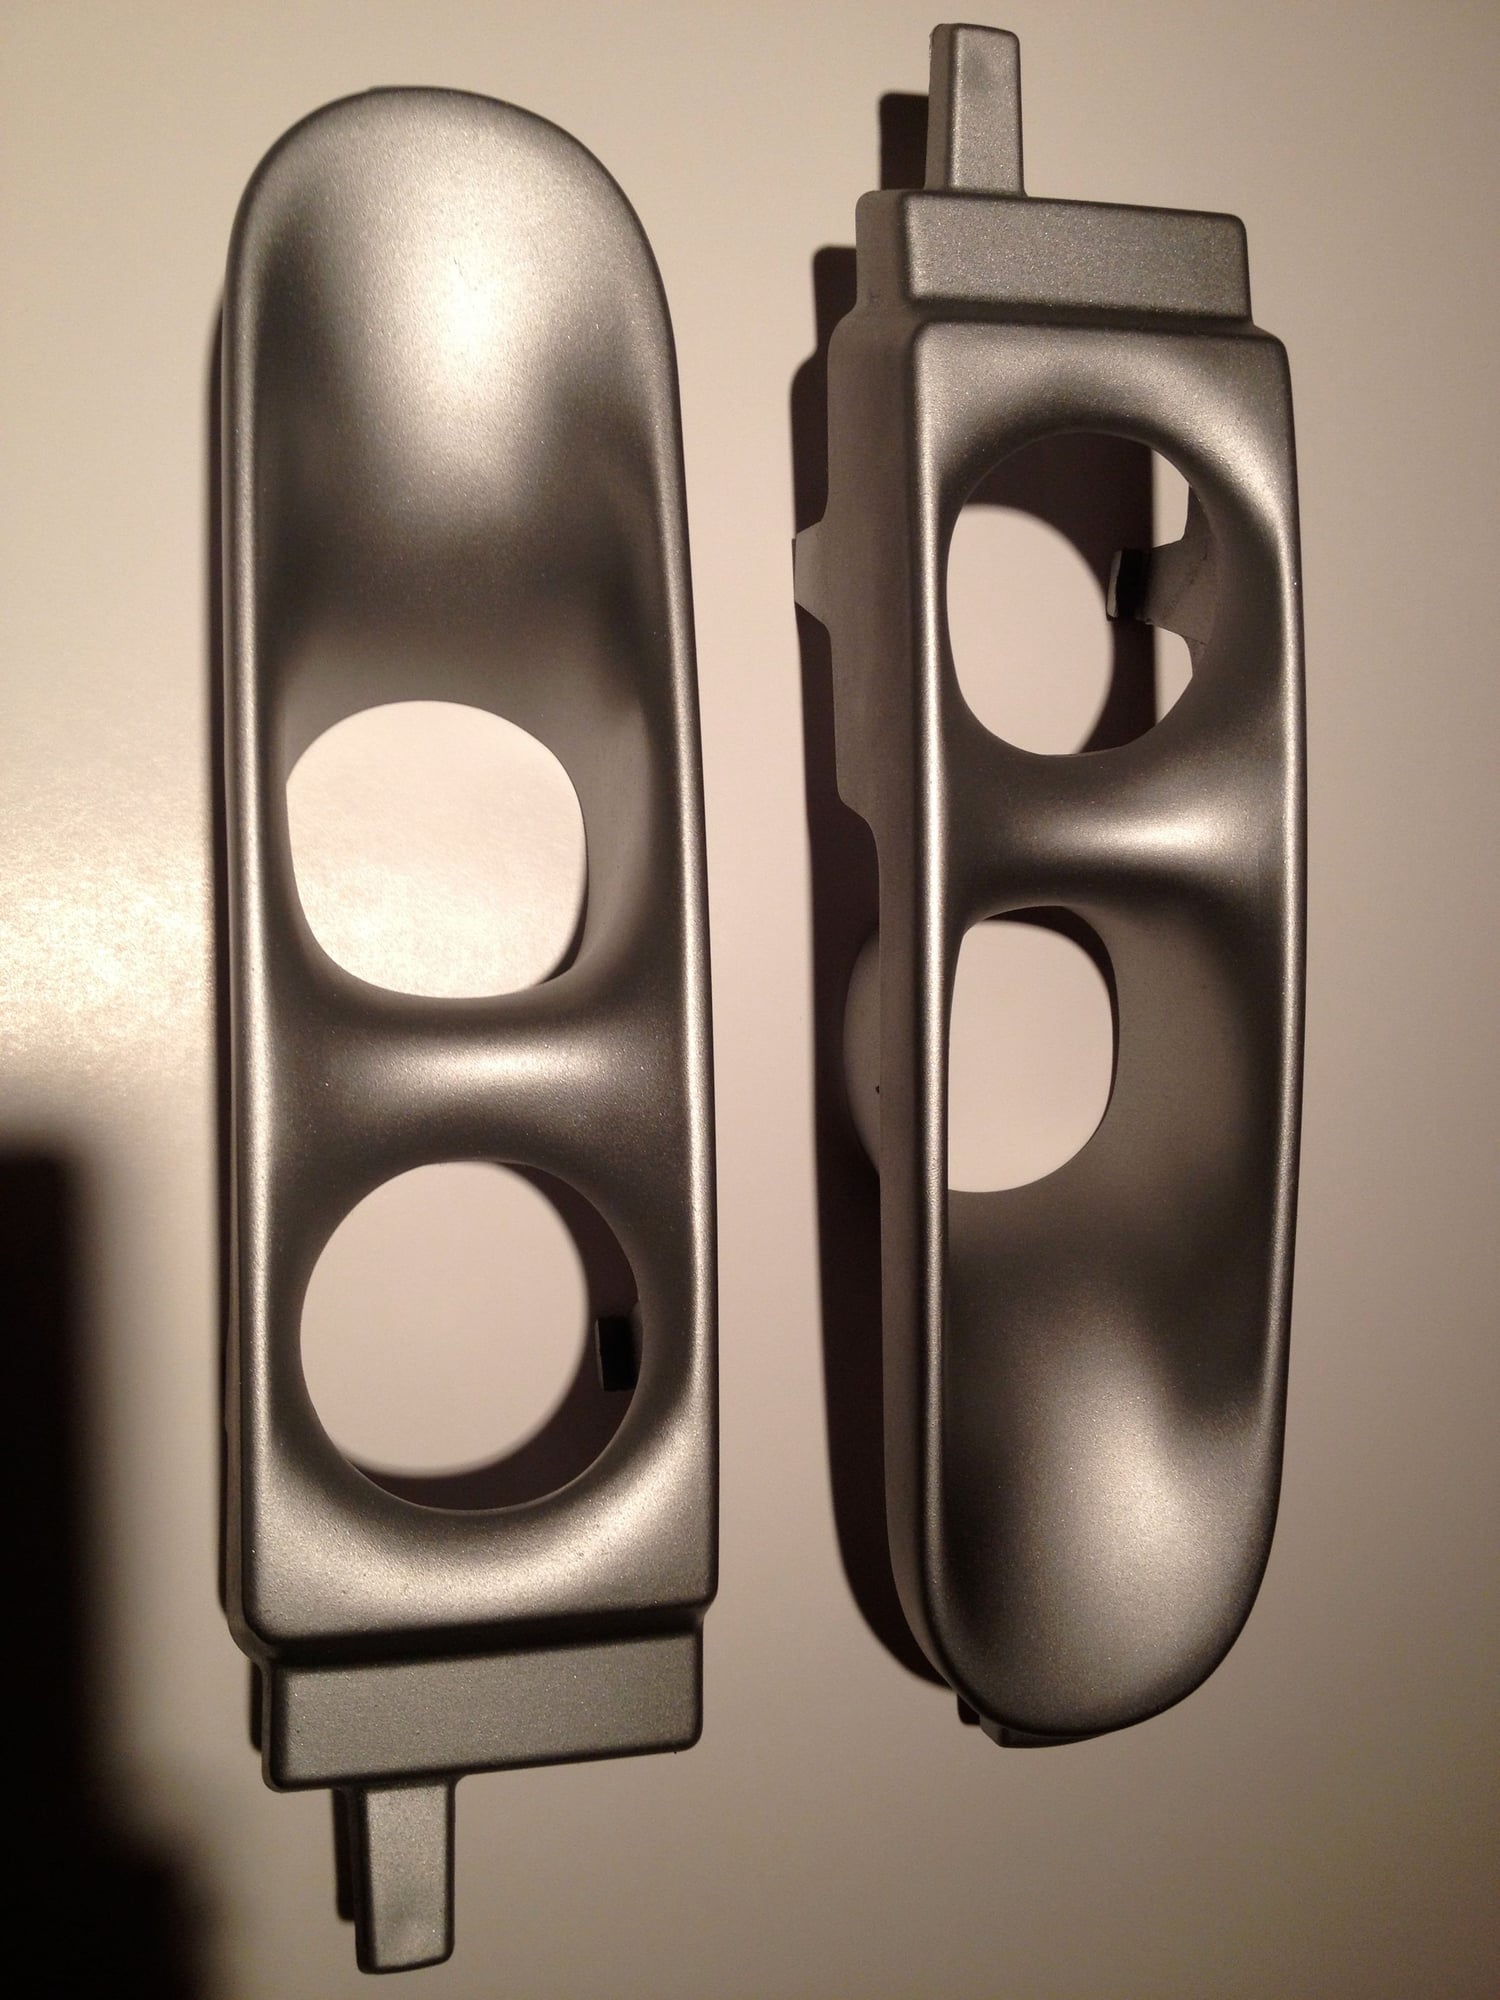
Scoops with four coats of paint (no clear yet)
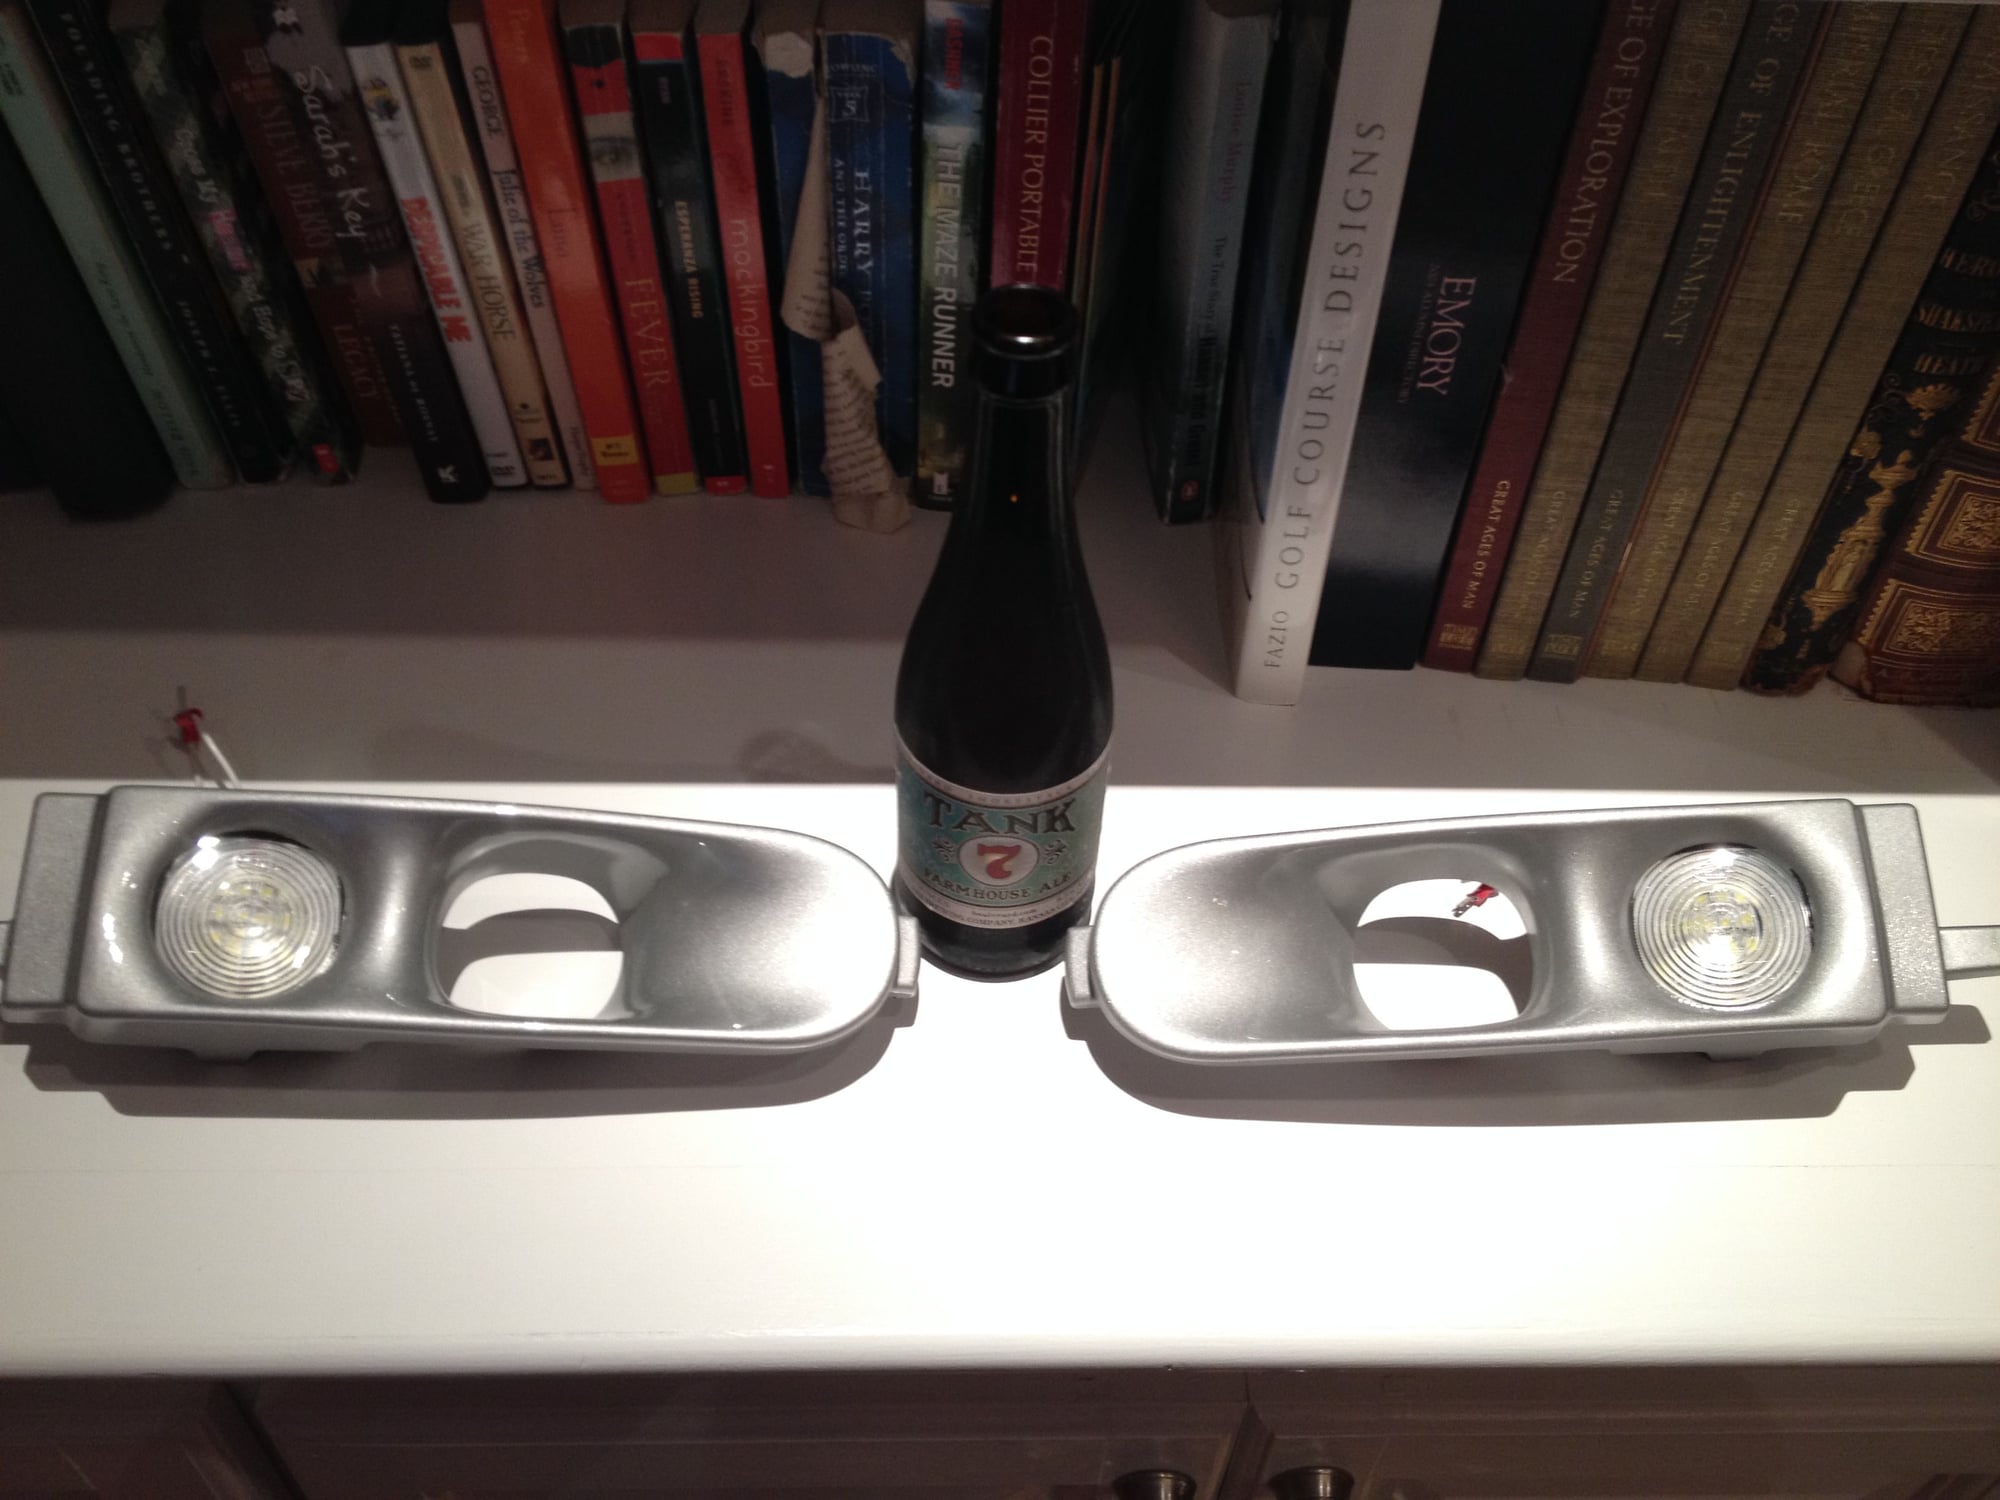
Scoops done and ready to install. Time for a beer!

8 mm extended ratchet to remove the bumperettes.
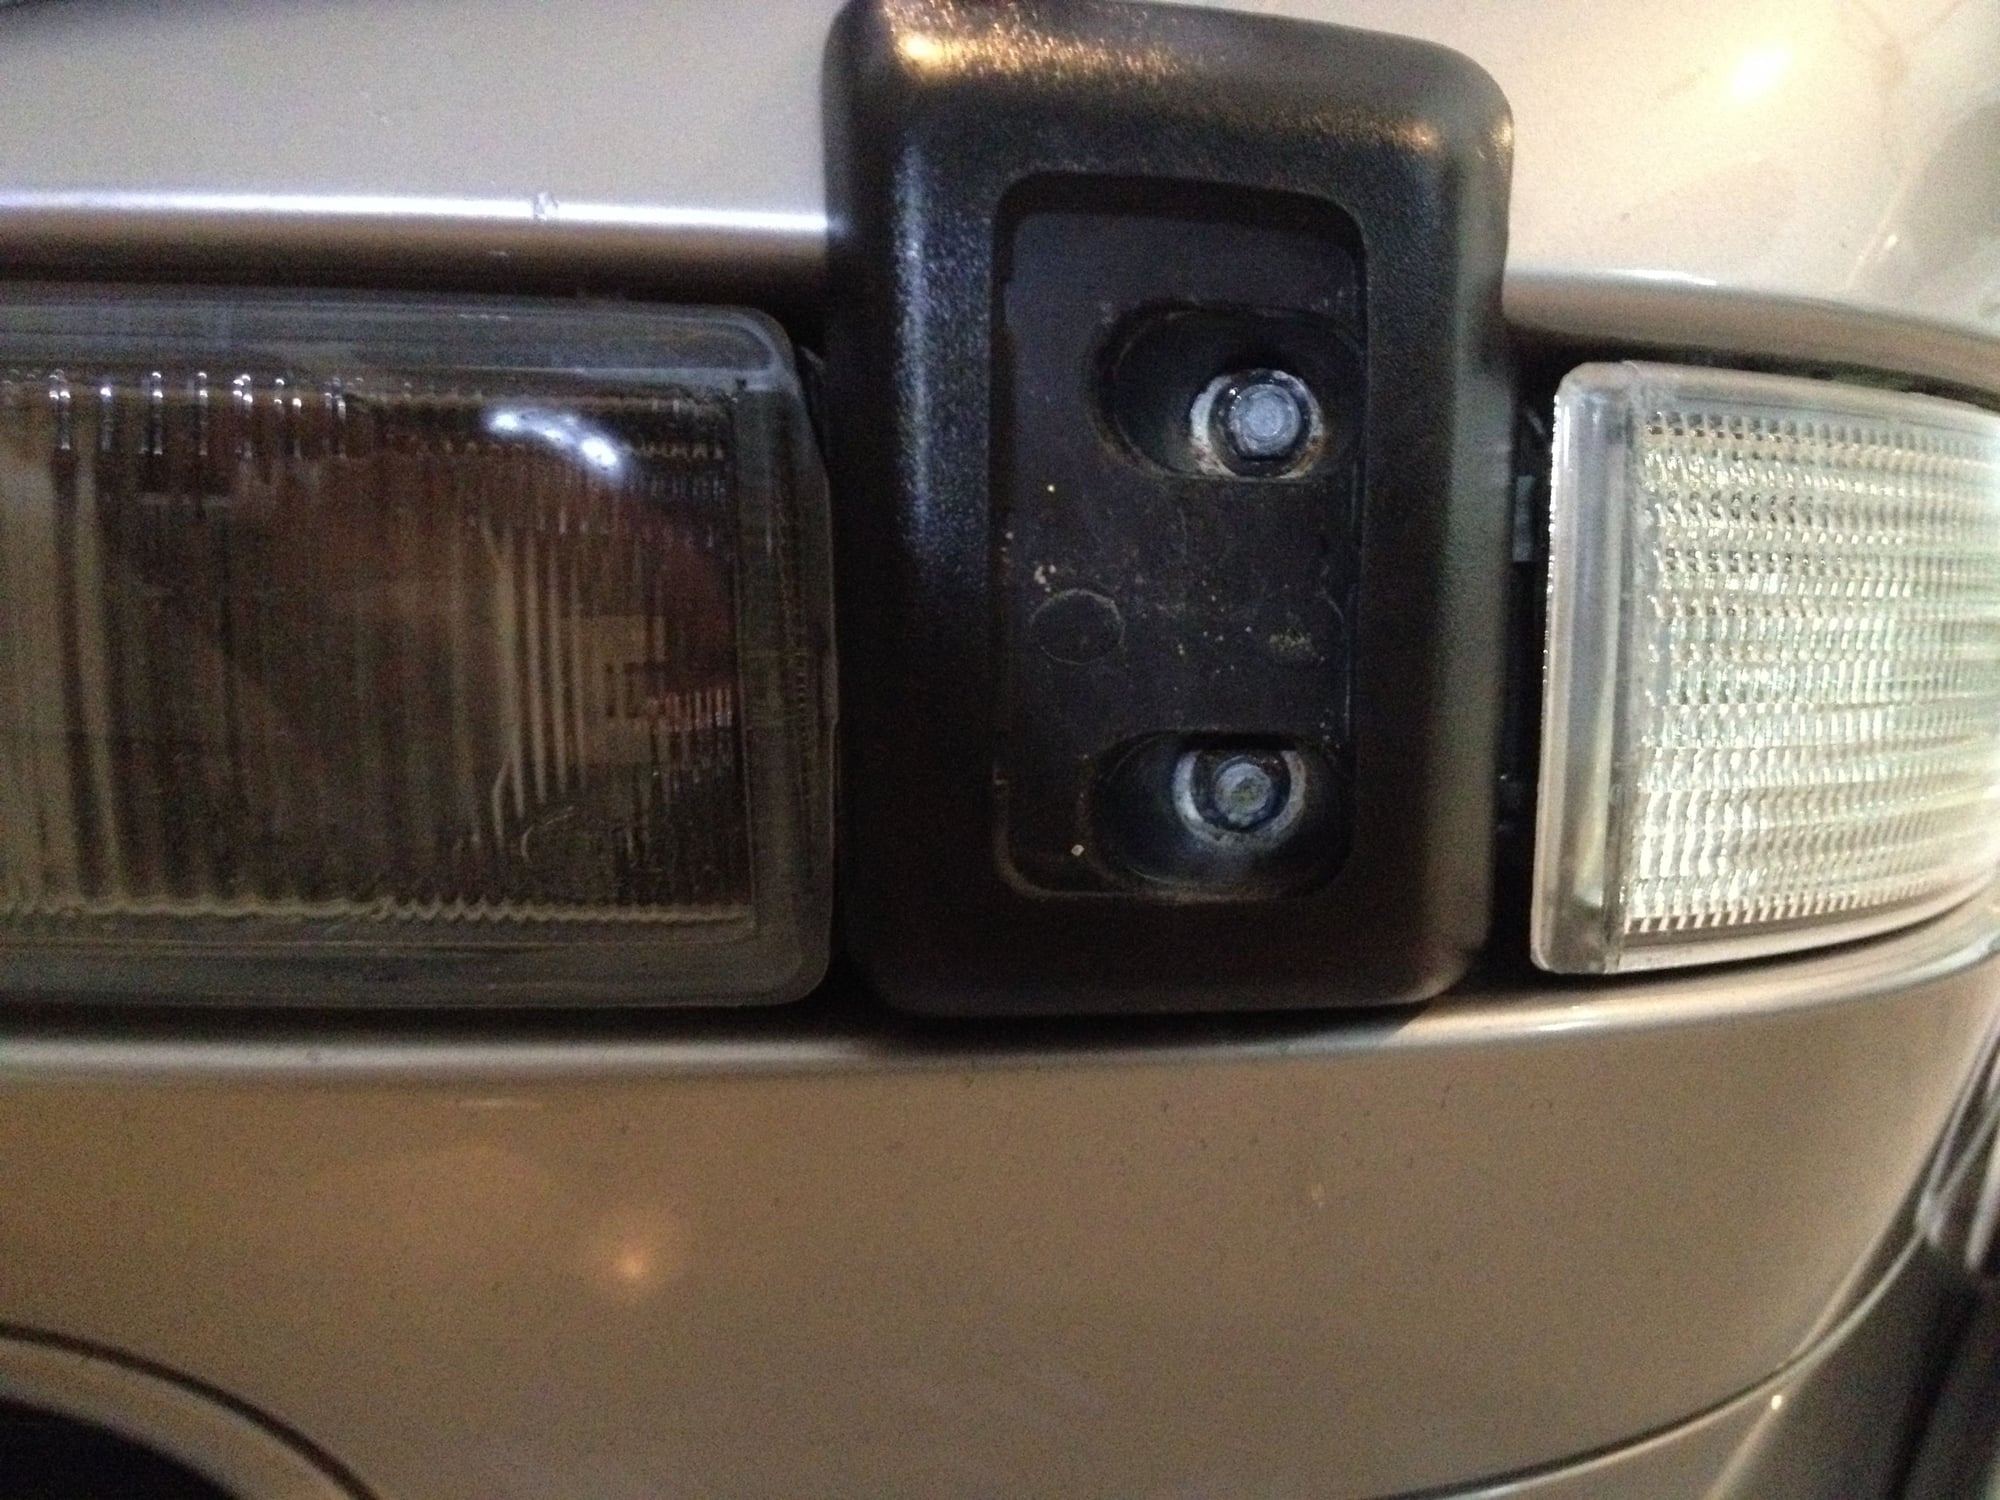
Remove bumperette covers and remove the two screws to remove
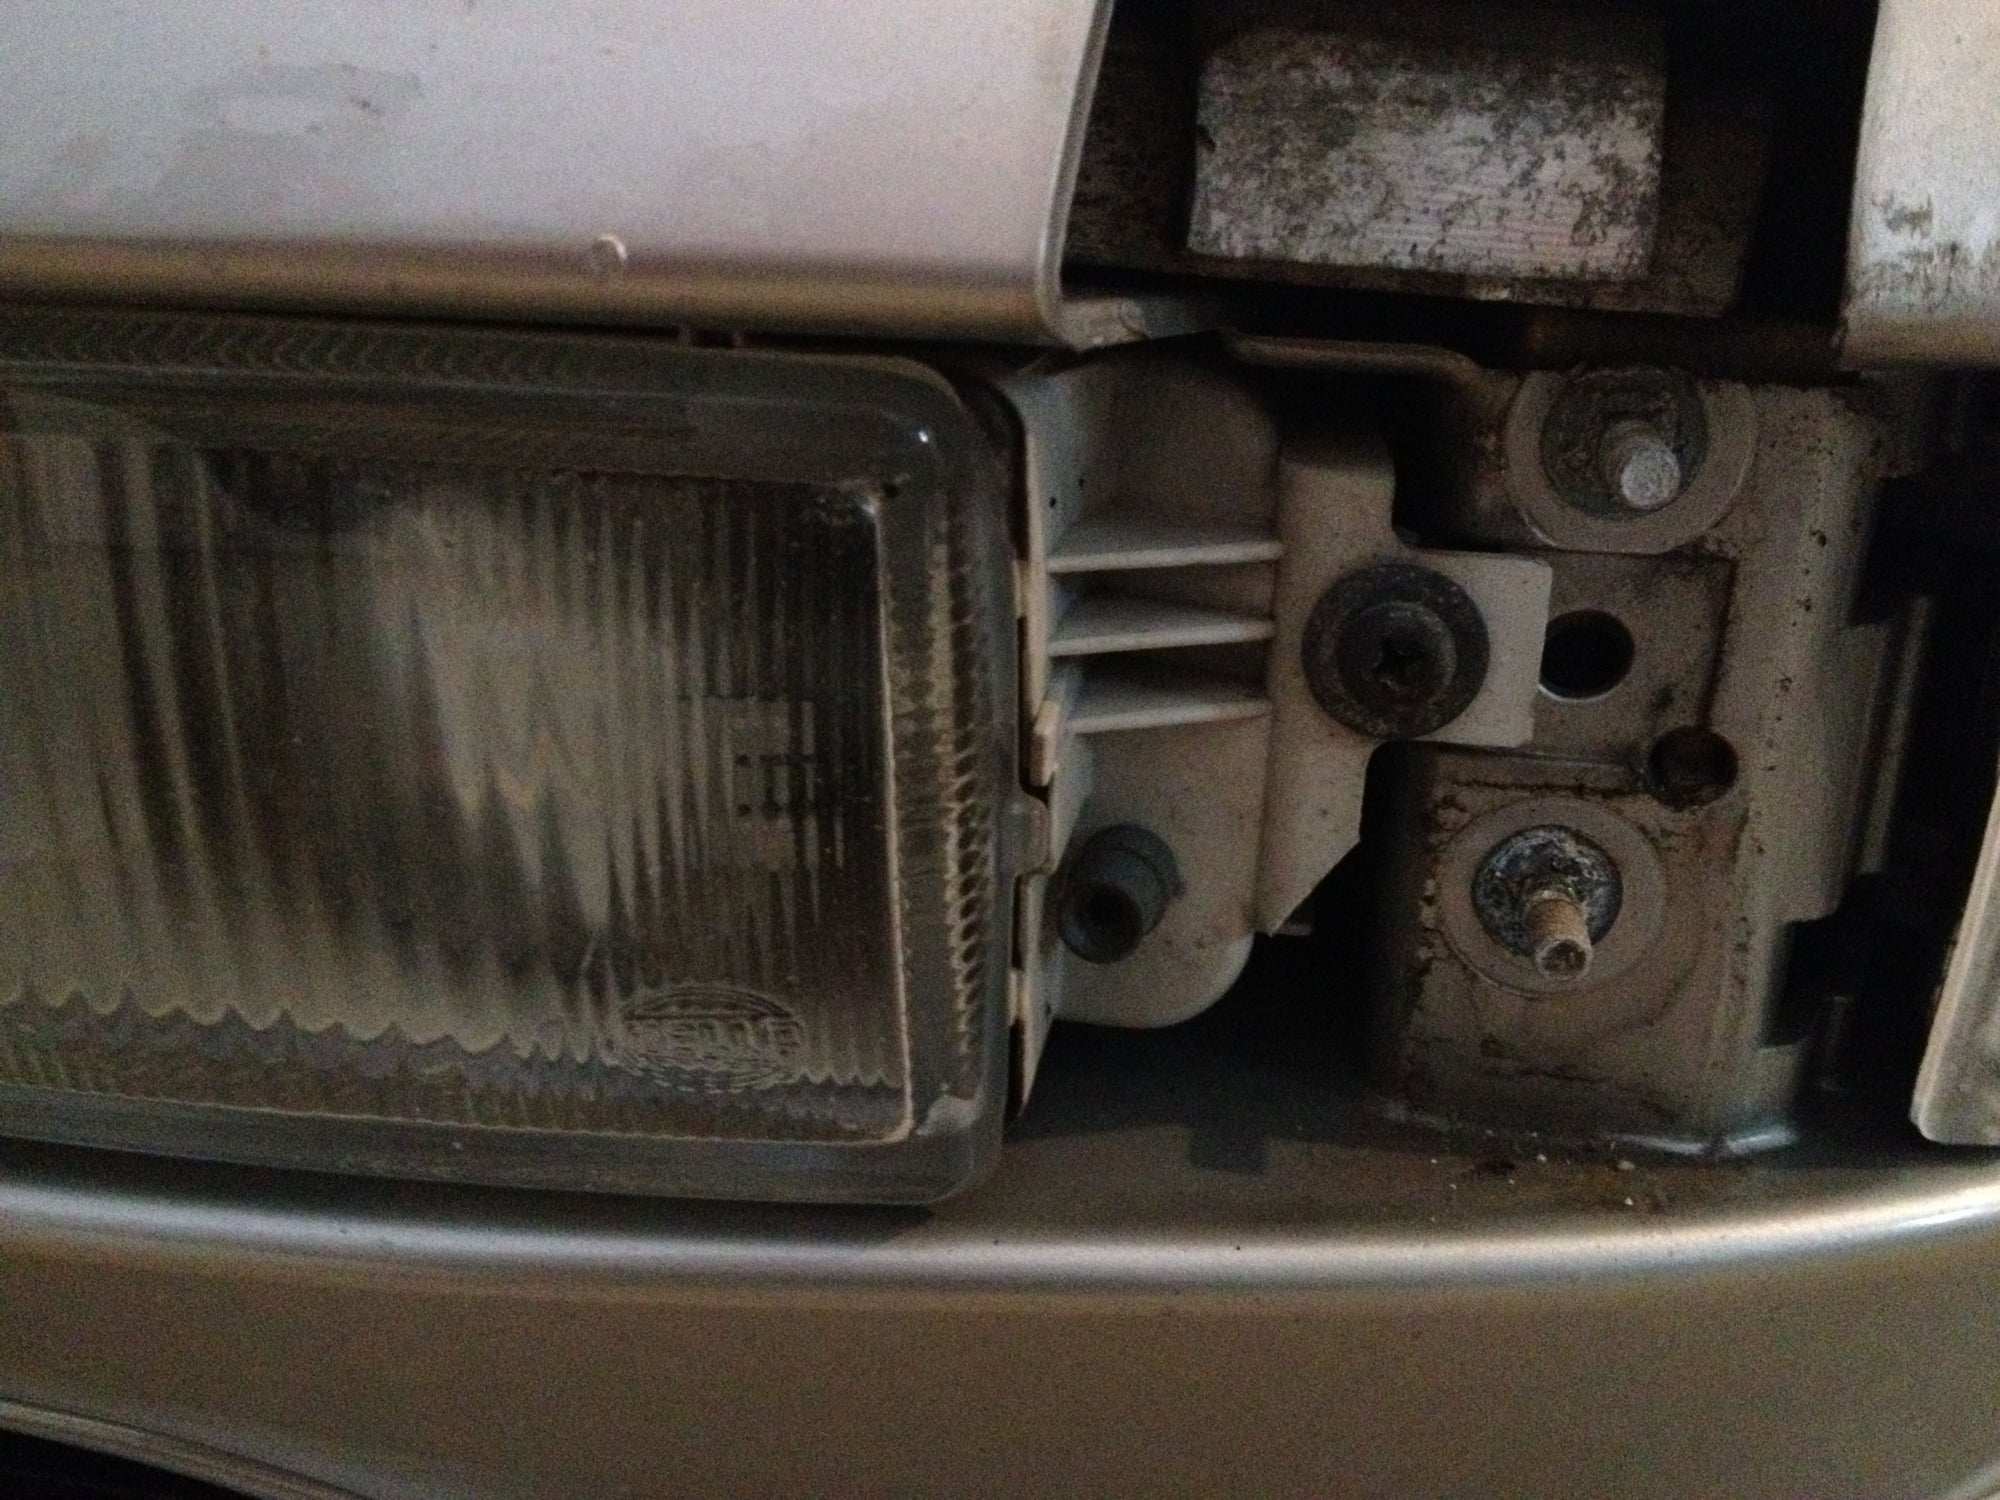
Unscrew the phillips head screw holding in the fog light and remove the assembly
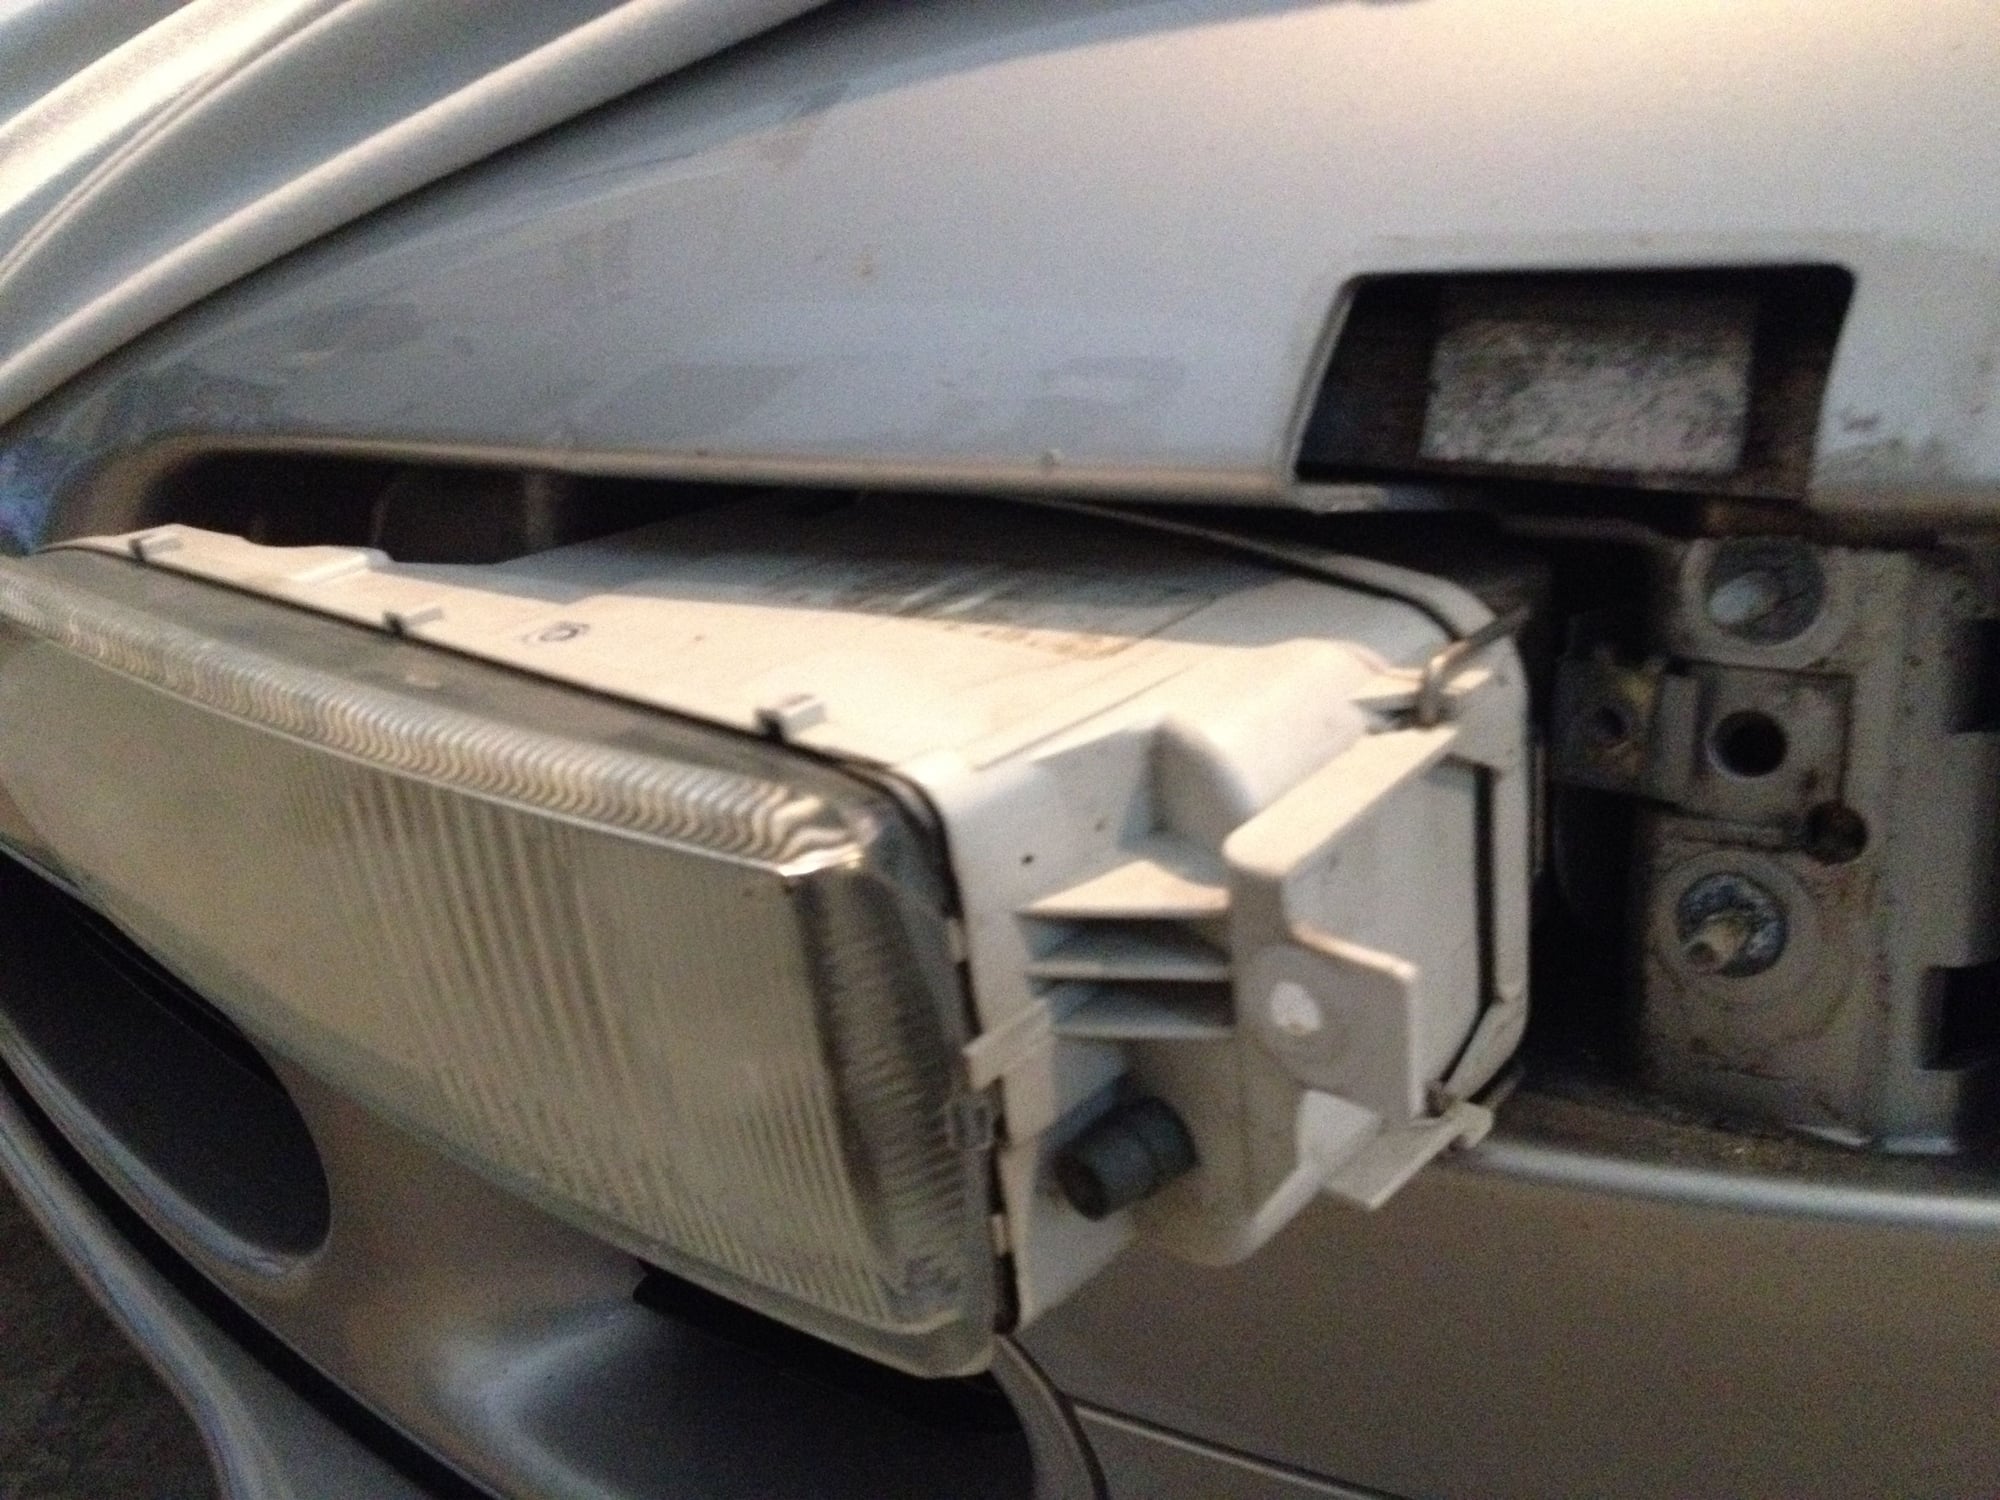
Fog light assembly comes out with a little pull
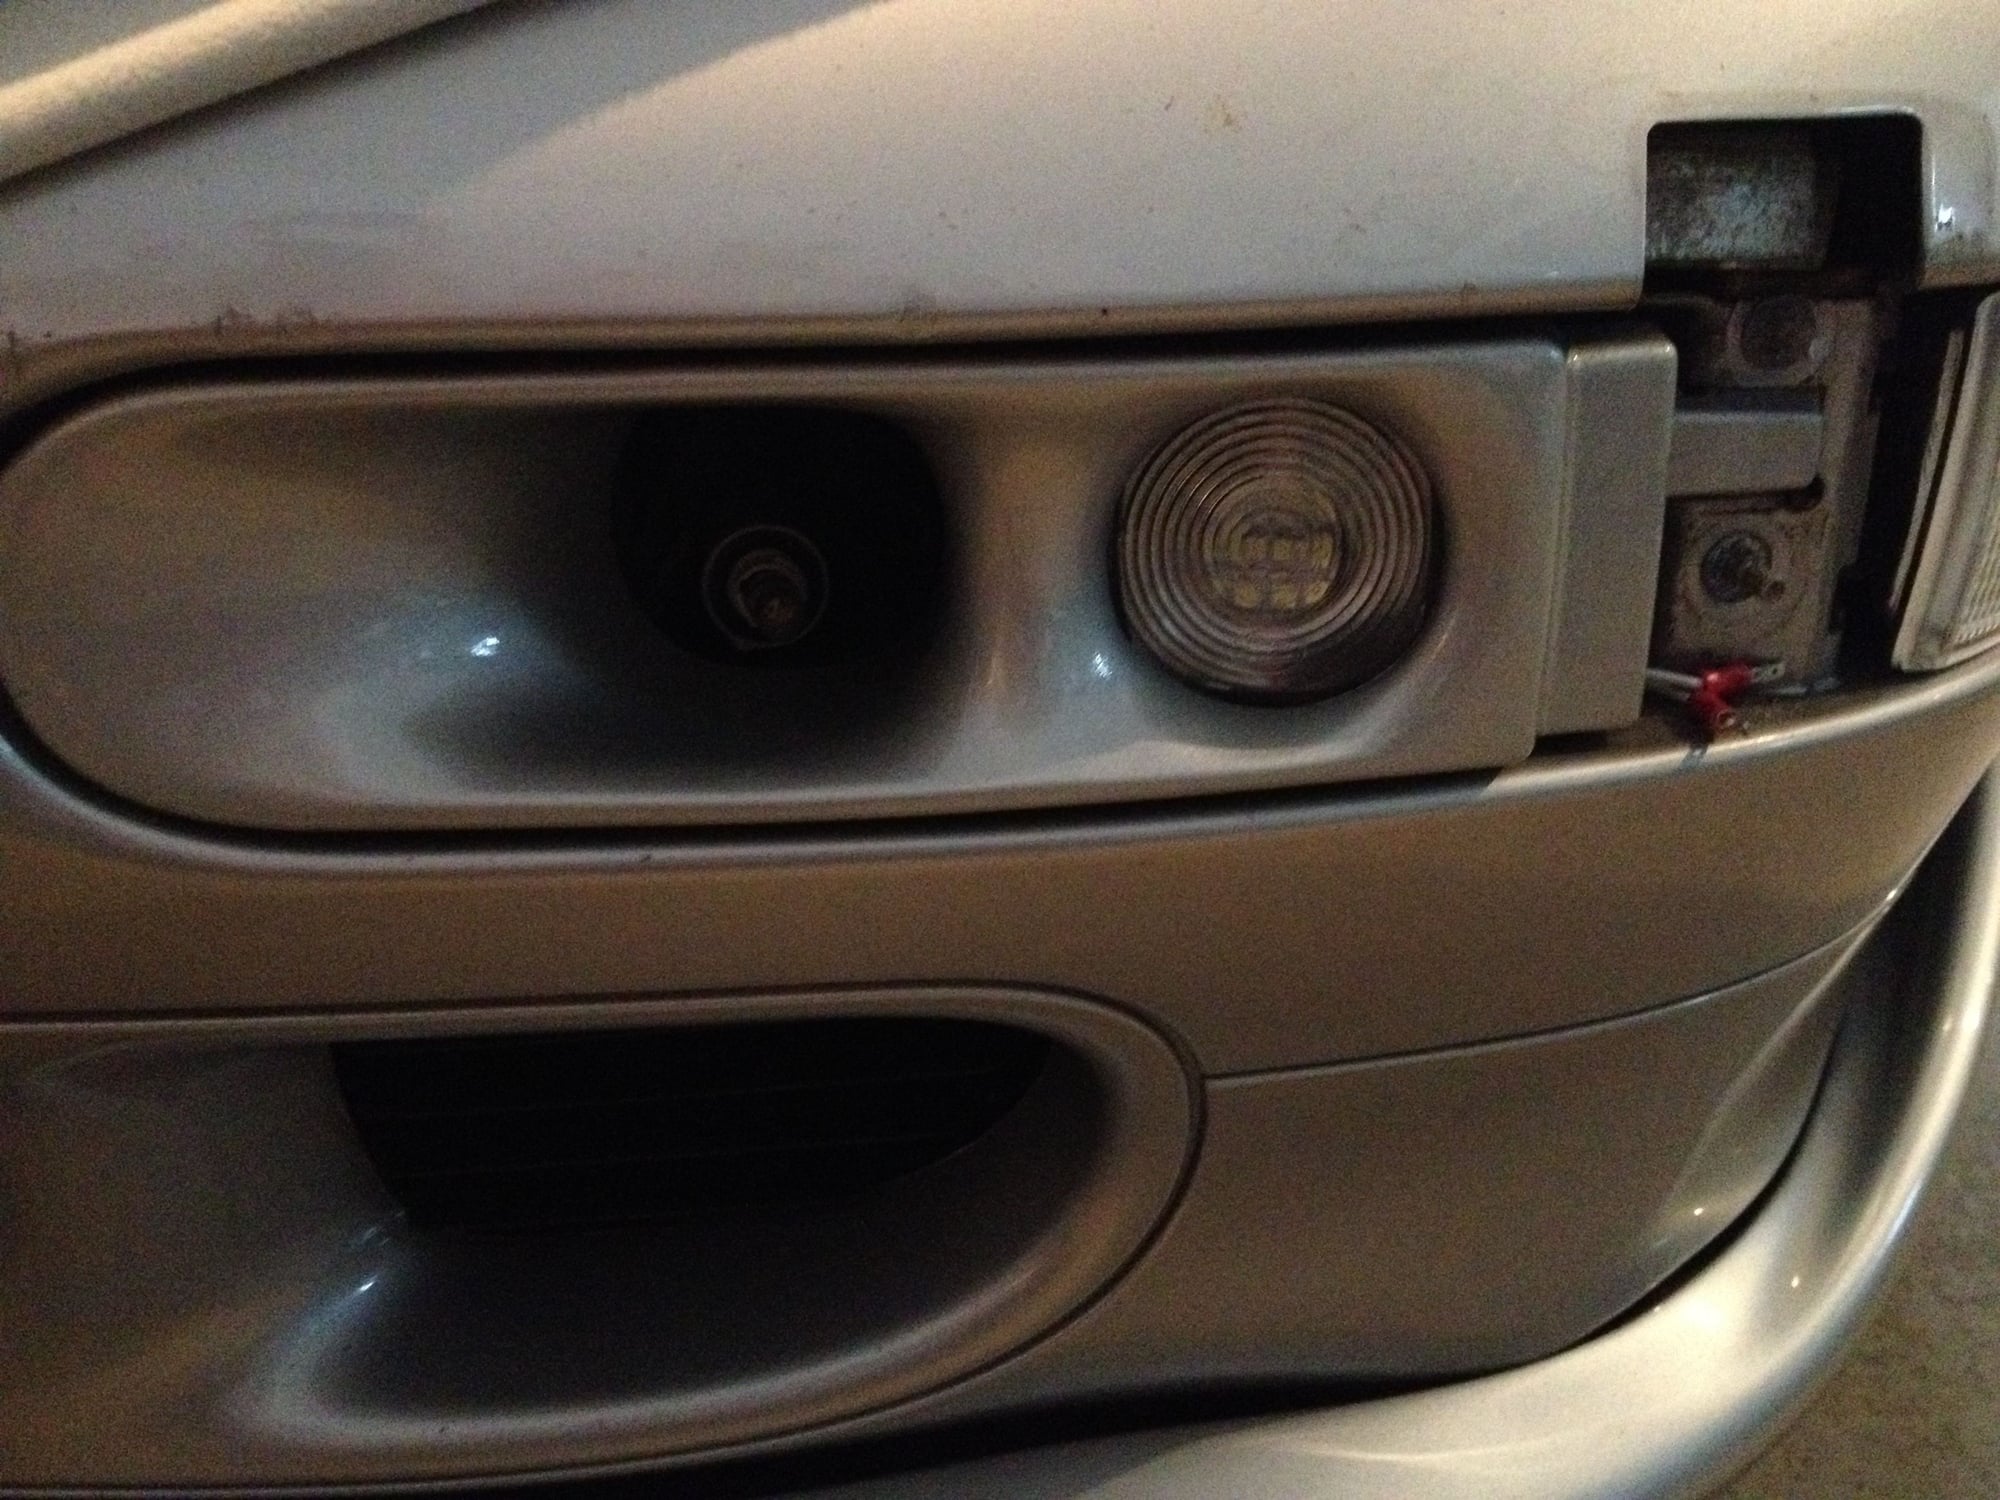
Turbo scoops fit in perfectly. Secure light harness to wire for daytime running lights and cover securely with electrical tape.

Before on the left, after on the right. Better looking, brighter, and lighter!
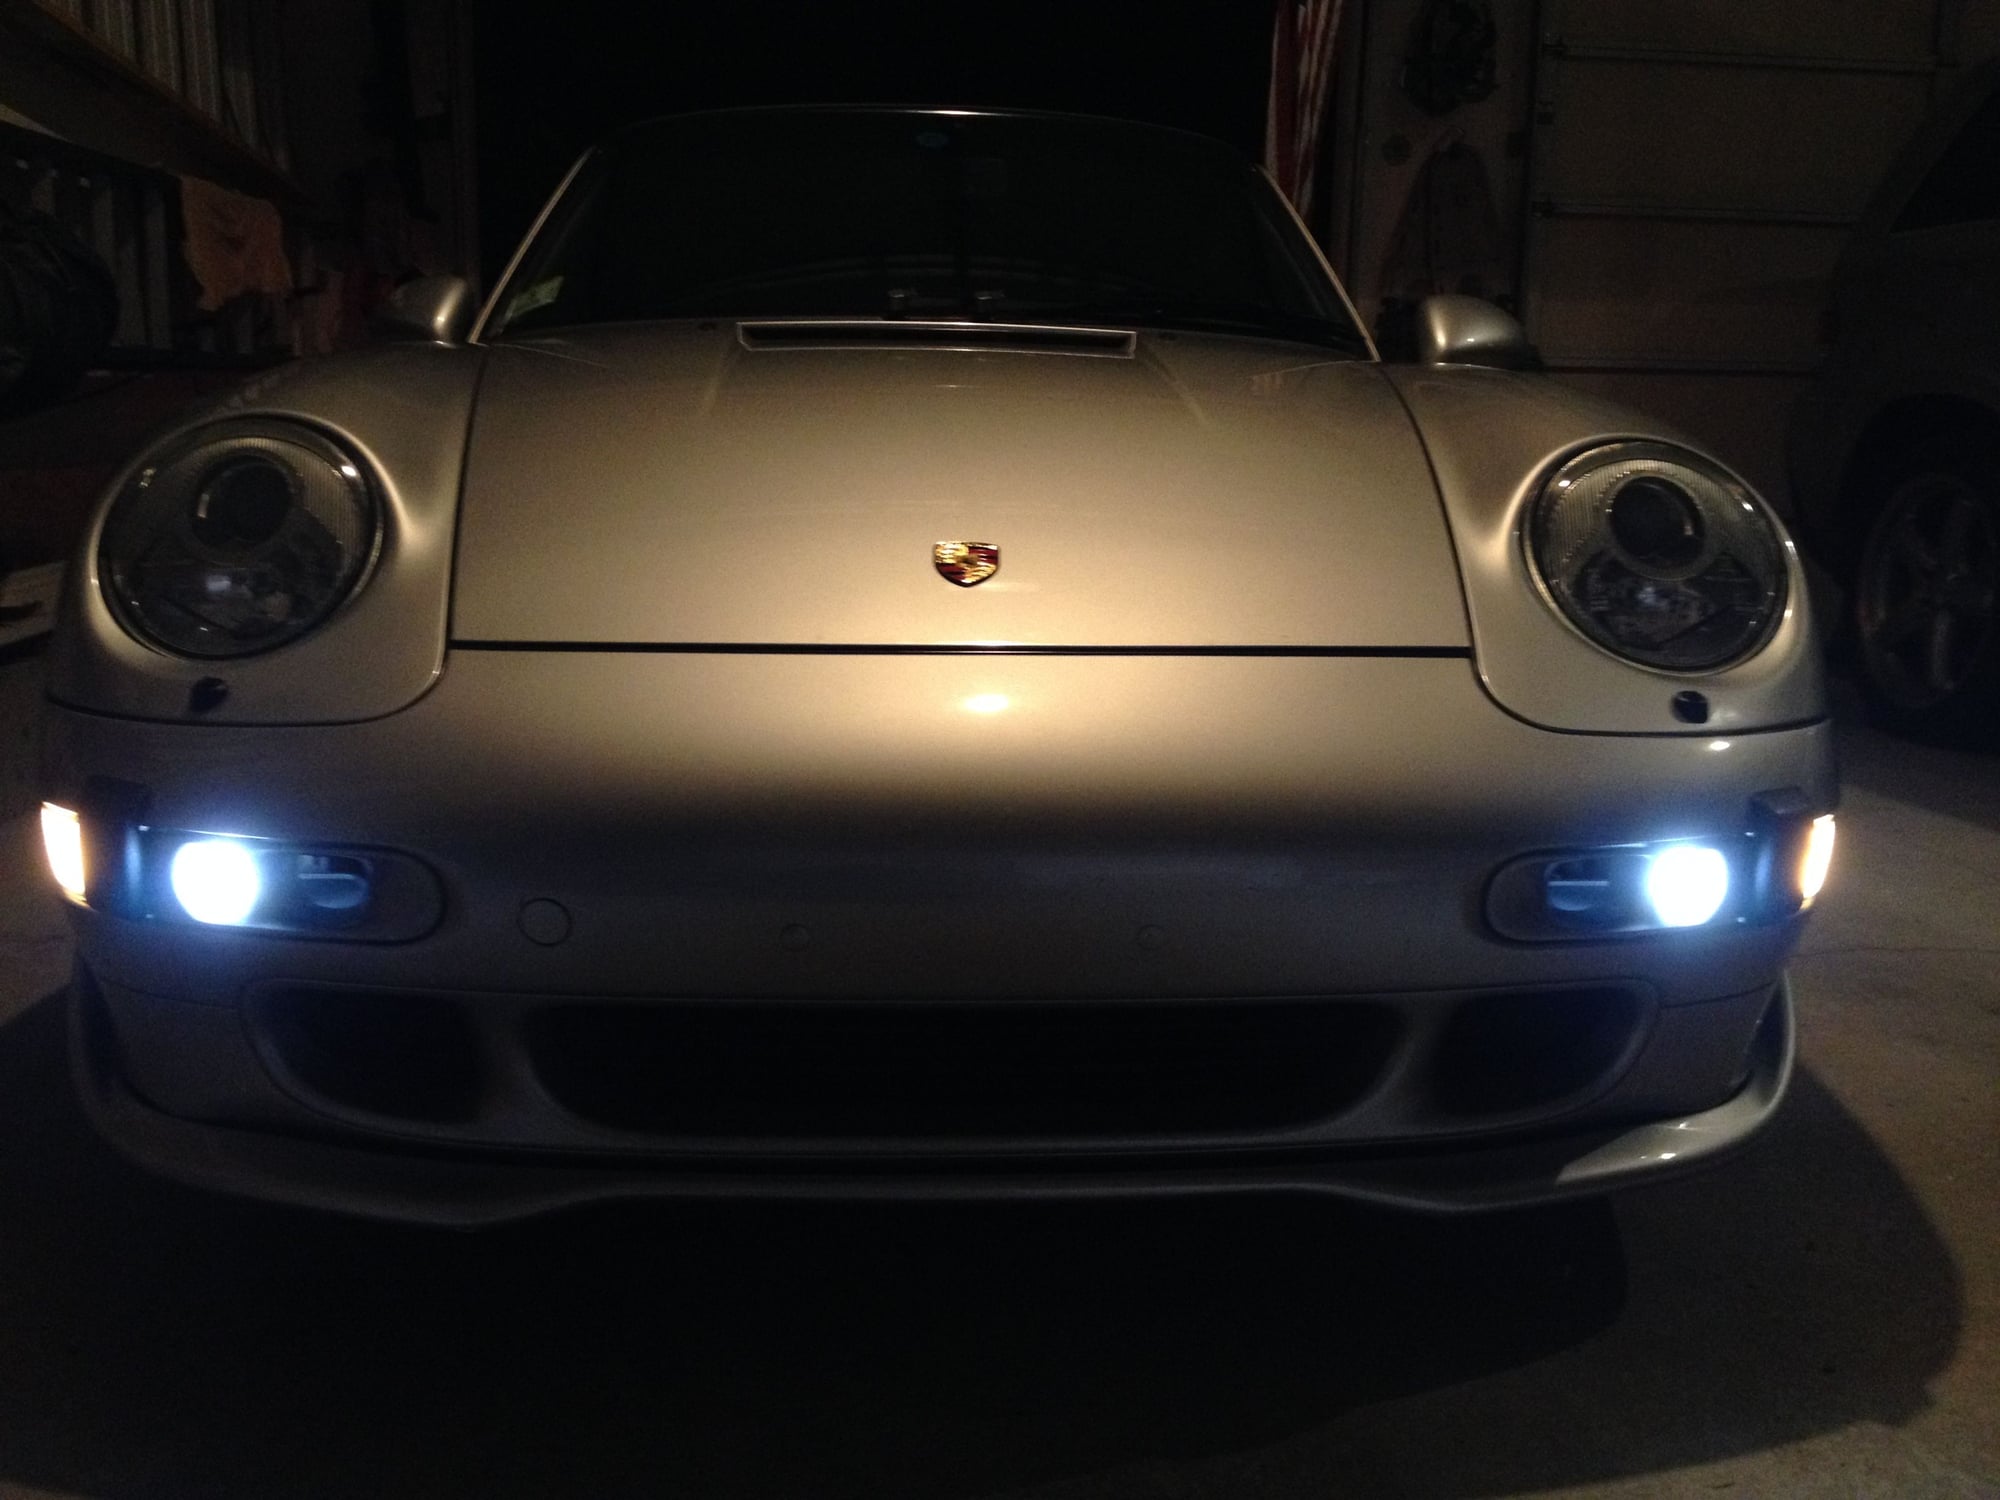
Al done with bumperettes back on
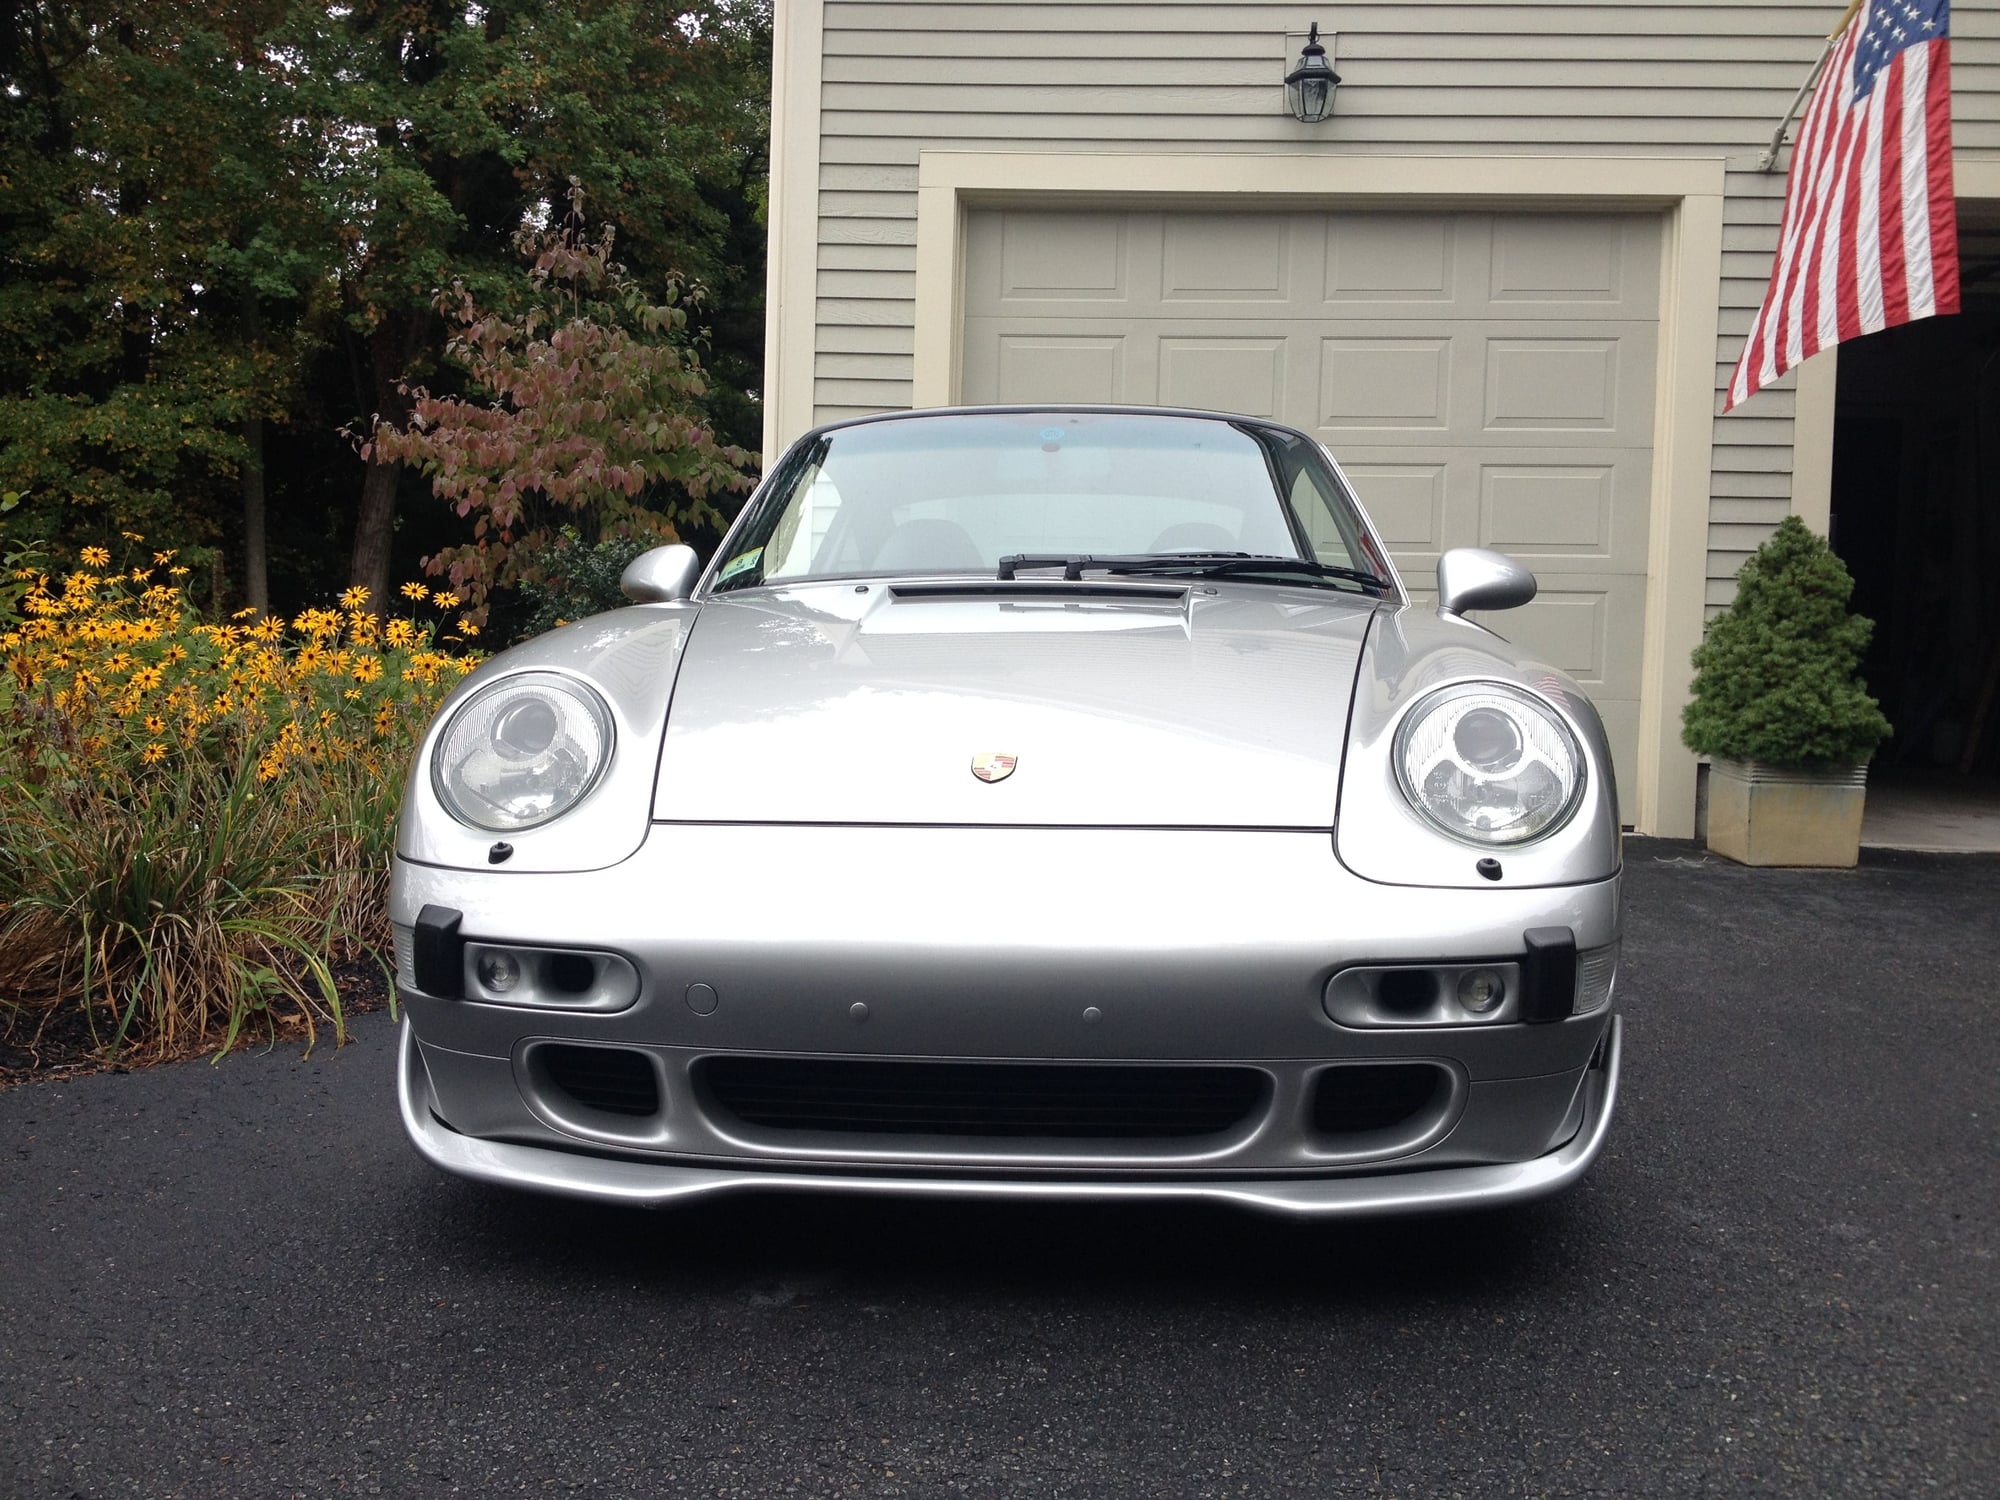
Form and function - time for a new project!
#119
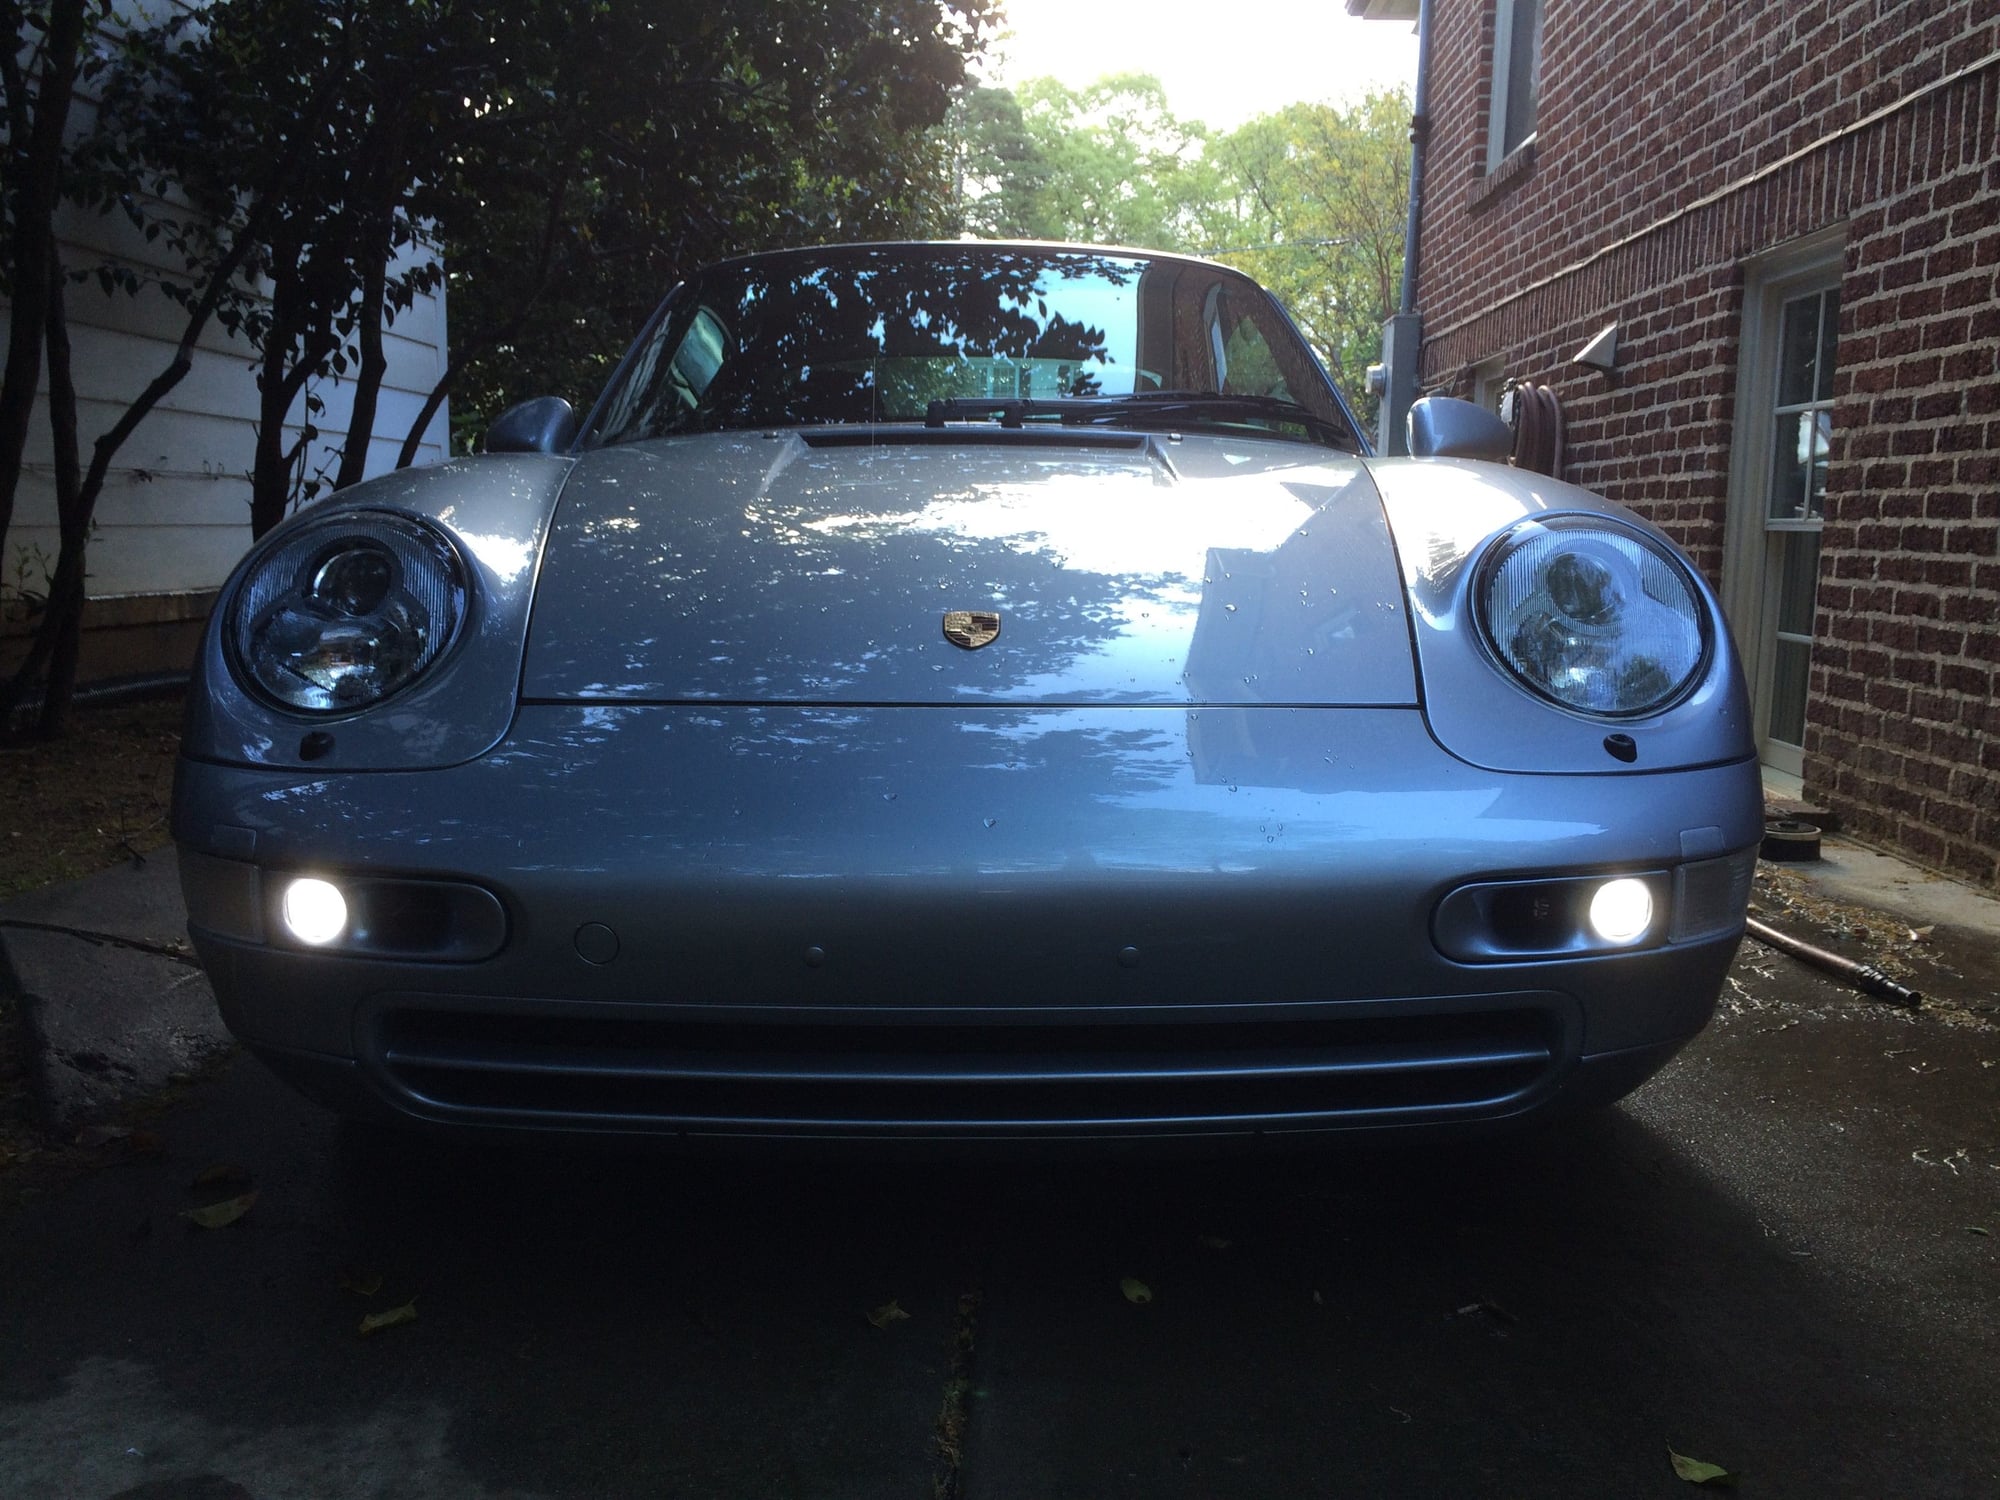
Here's mine. Turbo S Ducts with LEDs and Euro Clear Turn Signal Lenses purchased from Gert with new OEM Euro Turbo Bumper. I've since added chrome turn signal bulbs to replace the orange blobs.

