When you click on links to various merchants on this site and make a purchase, this can result in this site earning a commission. Affiliate programs and affiliations include, but are not limited to, the eBay Partner Network.
Nice which model screens? Look like Zunsport. from UK. Yes?
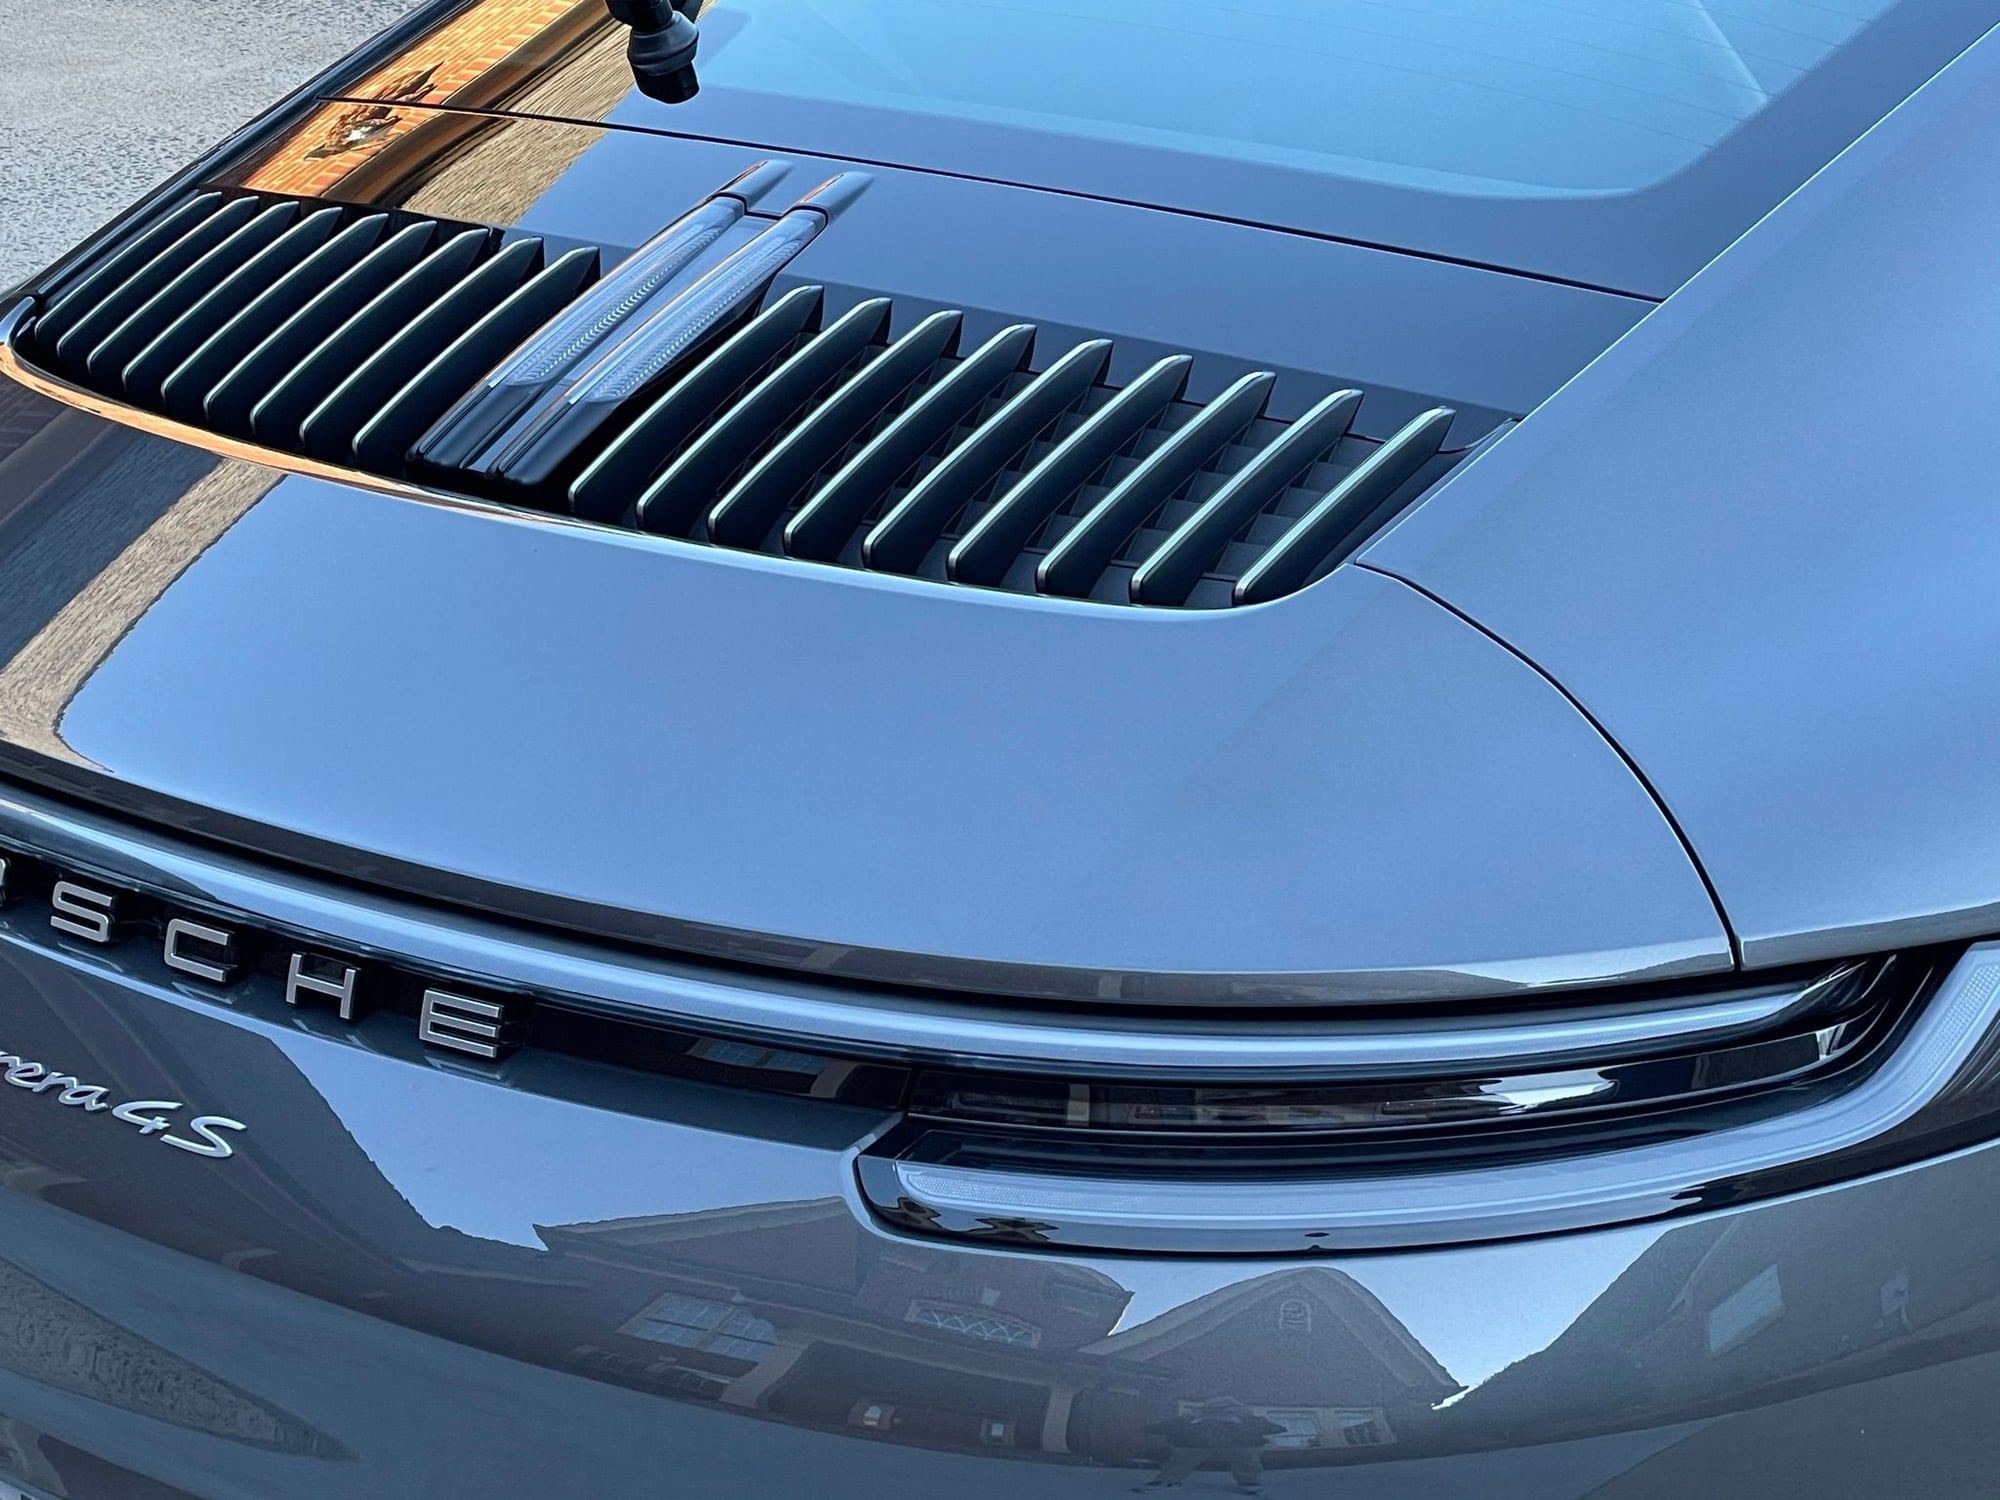
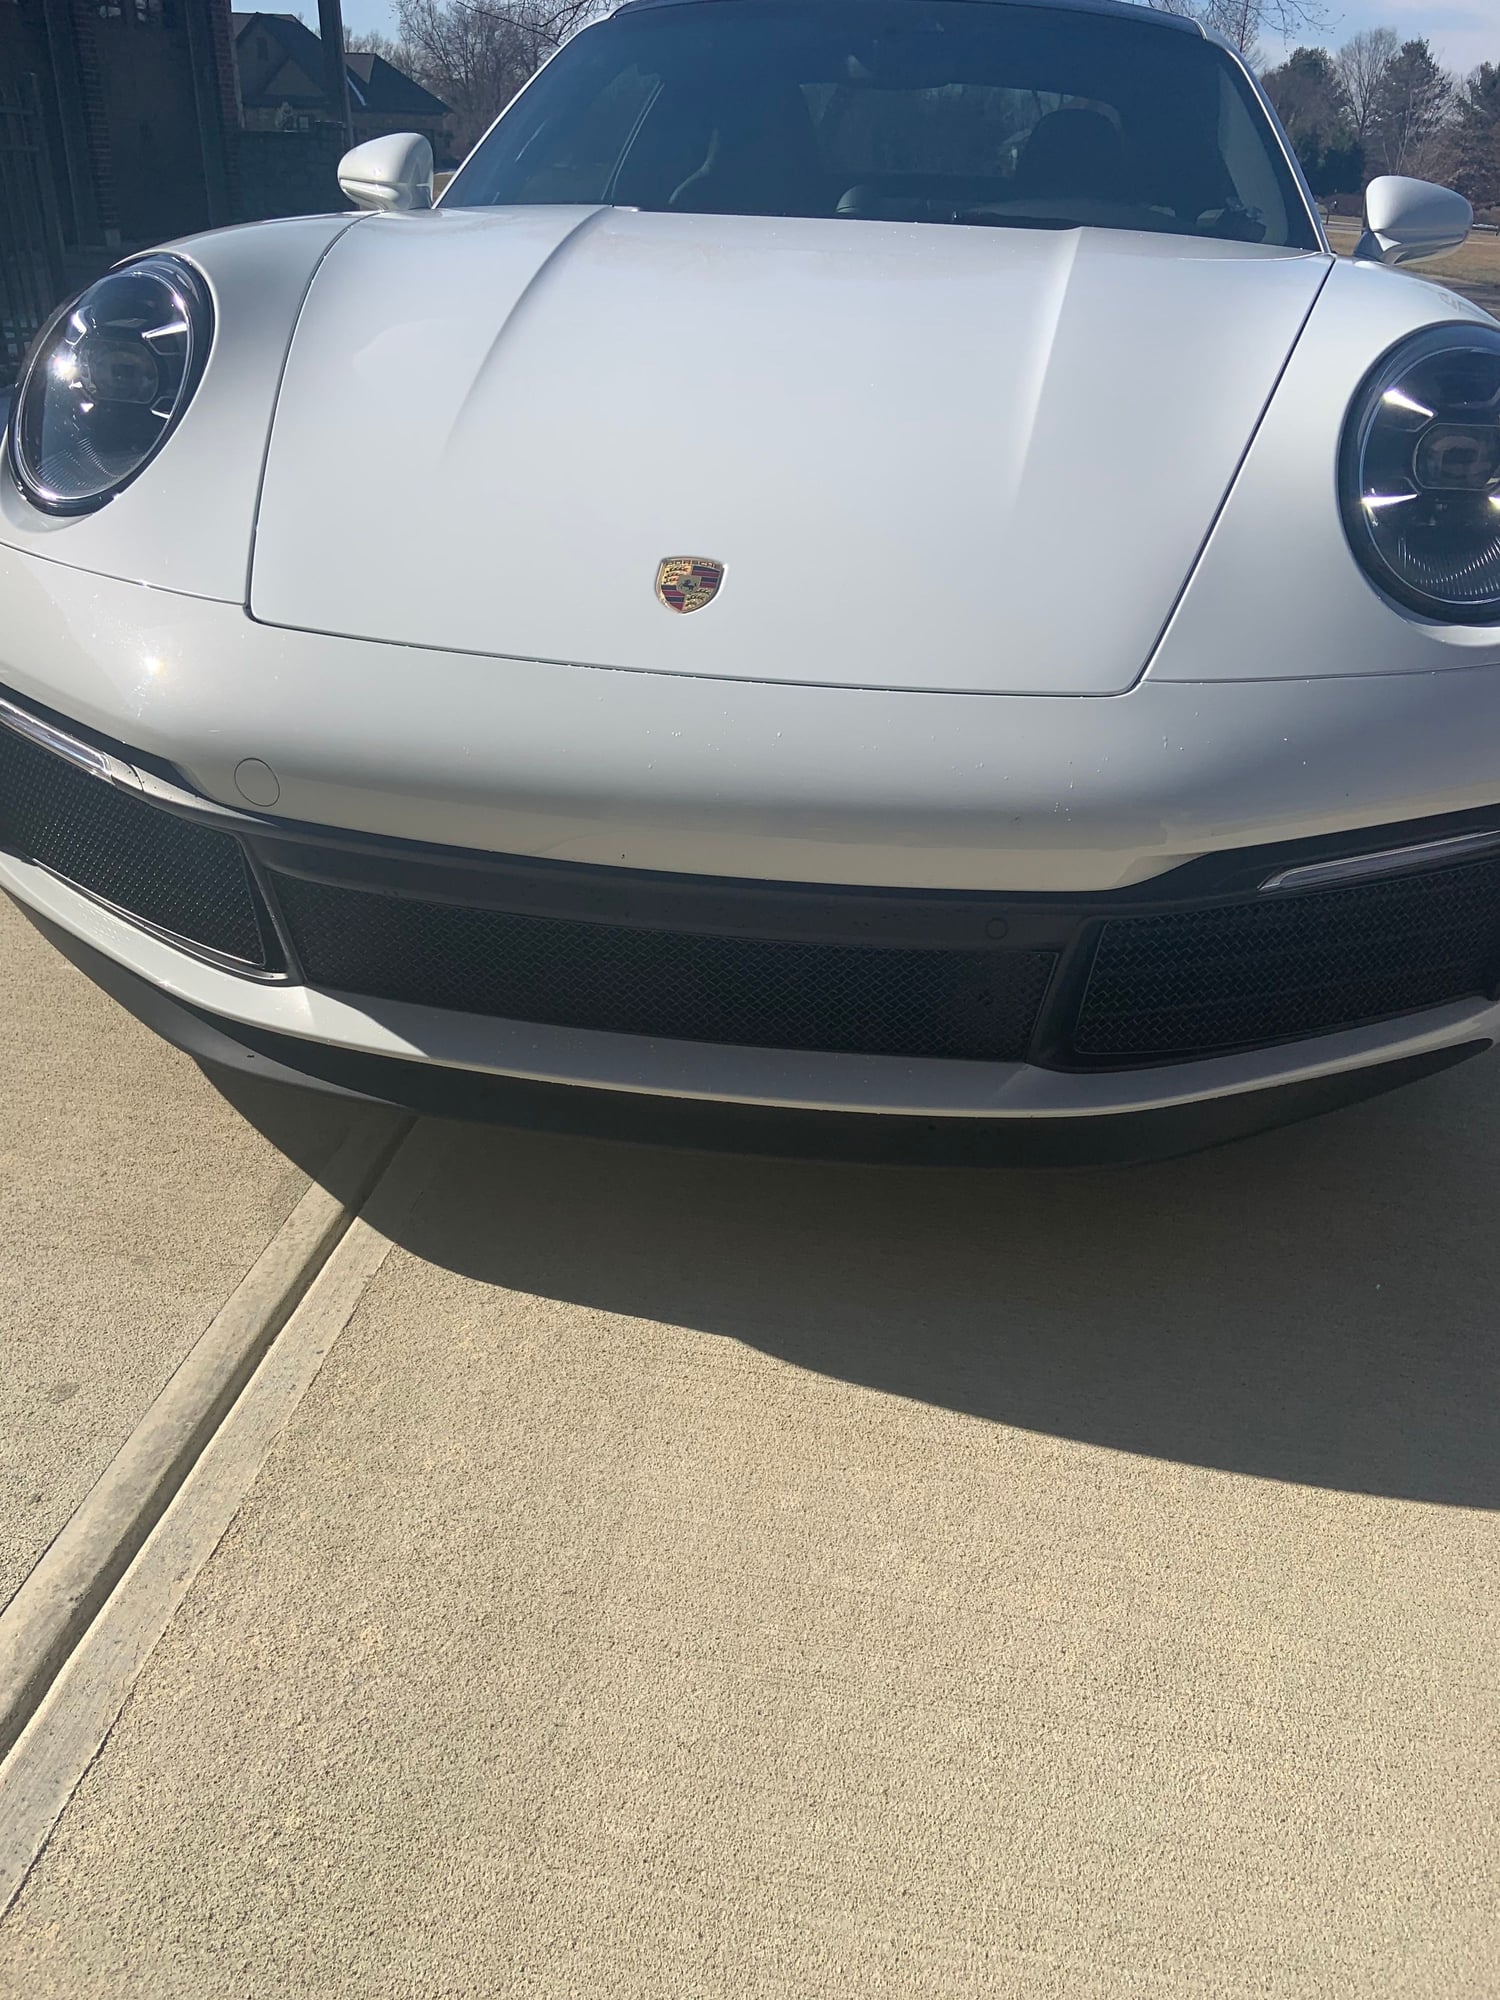
Just looked at the website, thinking the 911 might get some, and the Macan turbo too, that open grill on the macan is massive and asking for stones, birds, small children to disappear in the holes 😉
Fire Extinguisher . . . . just because.
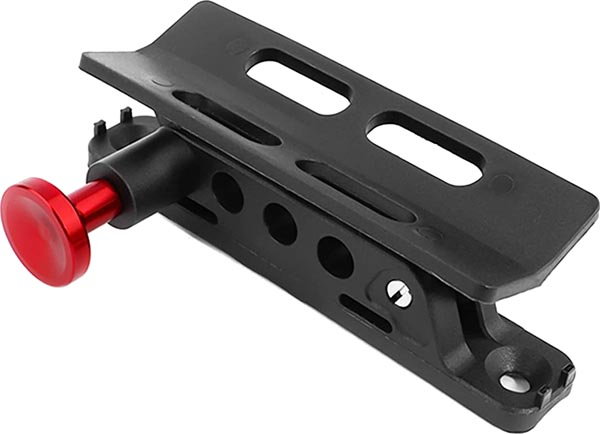
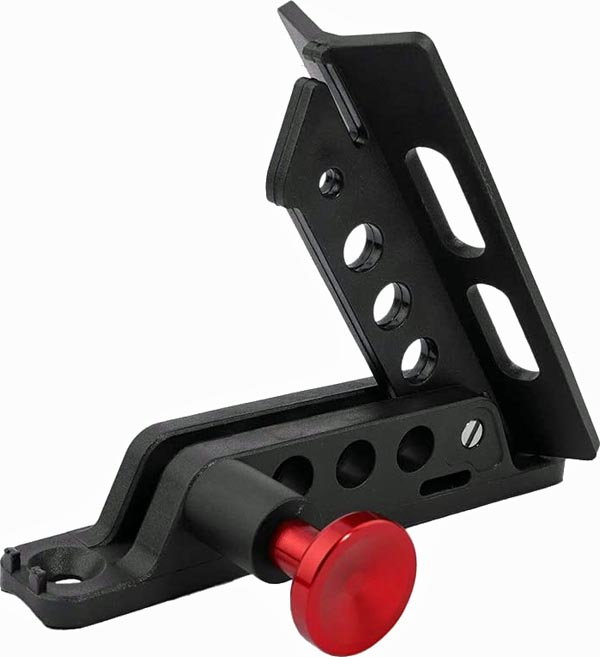
The mount I used is a "BarBaren Fire Extinguisher Mount" on Amazon for $19.00.
If I ever catch someone smoking in or near my Porsche . . . they'd better be on fire!
.
Last edited by Bluehighways; 01-29-2021 at 05:41 PM.
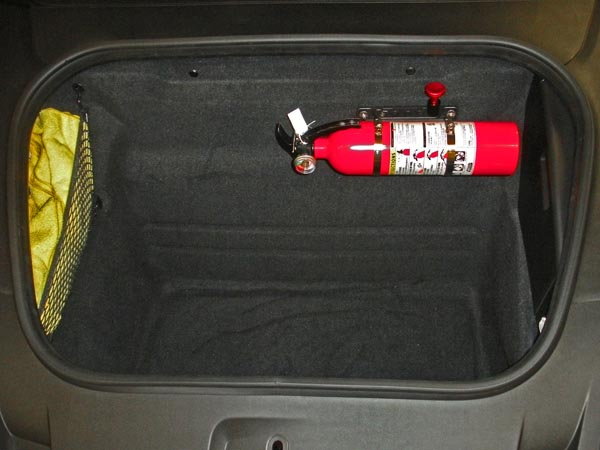
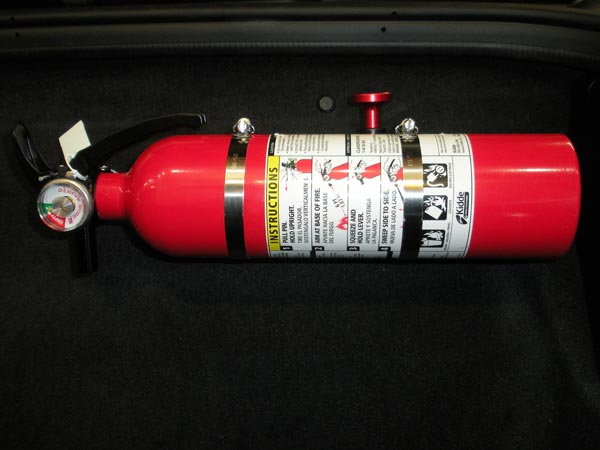
Fire Extinguisher . . . . just because.
The mount I used is a "BarBaren Fire Extinguisher Mount" on Amazon for $19.00.
If I ever catch someone smoking in or near my Porsche . . . they'd better be on fire!
.
Well done. You just bolted that mount straight to the frunk wall?
Well done. You just bolted that mount straight to the frunk wall?
Yes, however I was extremely careful about where I drilled the holes. I also backed up the mount with a reinforcing plate on the opposite side. There is a horizontal seam in the body that I used. This seam is sealed and spot welded when the car is manufactured. I positioned the fire extinguisher mount so that I did not disturb any of the spot welds (they're fairly large and hard to miss). I backed up this mount by employing a 1 1/2" wide, 9" long, 1/8" thick aluminum plate and used RTV Silicone sealant in the area of the bolt holes to seal against water as that area is open to the road (eventually) and thus can probably see water. I also used 1" diameter fender washers and nylock nuts. Due to the weight and longitudinal positioning of the Fire Extinguisher I do not want this mounting orientation to cause any vibration induced fatigue to the body panel to which it is attached. Mounting the Fire Extinguisher vertically with the bottom of the Fire Extinguisher sitting on the floor of the Frunk would have been my first choice, but due to the Gas Tank on the rear side of the Frunk wall and a vertical clearance issue at the front wall of the Frunk I chose the position that I did. I also want the Fire Extinguisher easily accessible no matter what or how full the Frunk may be with luggage or whatever.
Last edited by Bluehighways; 01-30-2021 at 12:53 PM.
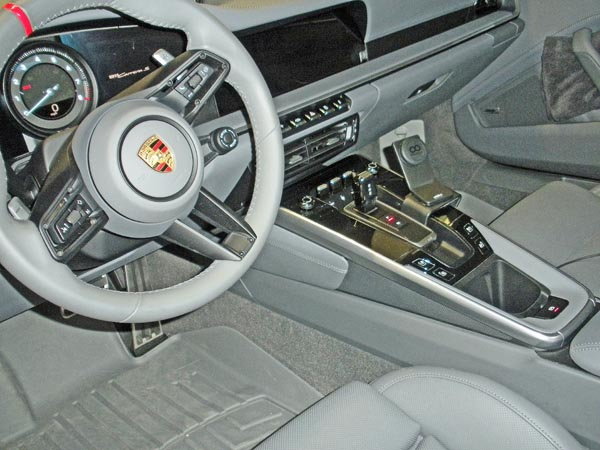
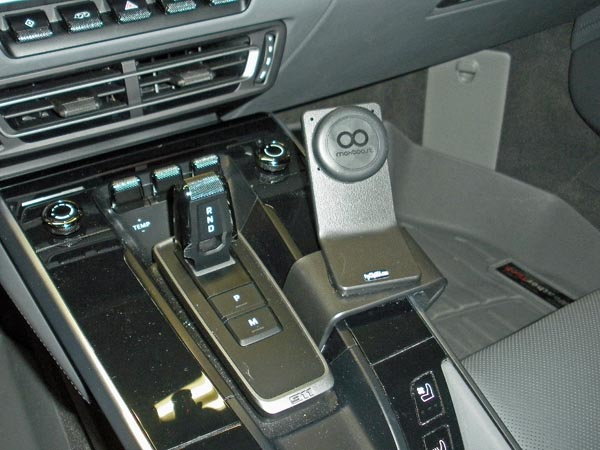
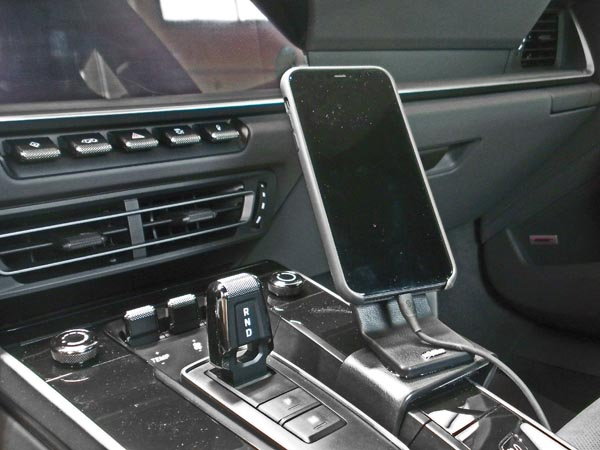
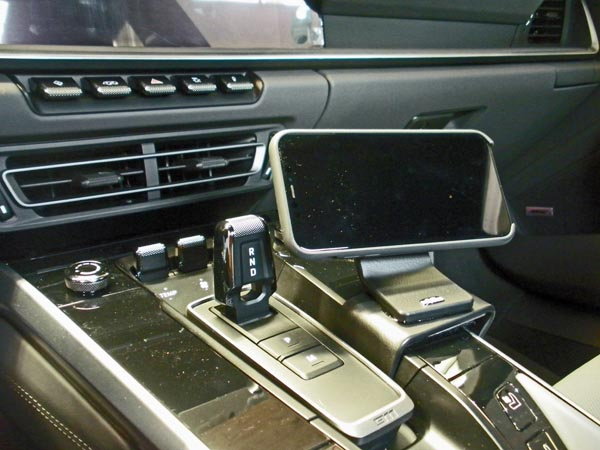
I installed one of the "ProClip" Phone holders and used a "Maxboost Magnetic Car Mount" to attach my iPhone 11 to it.
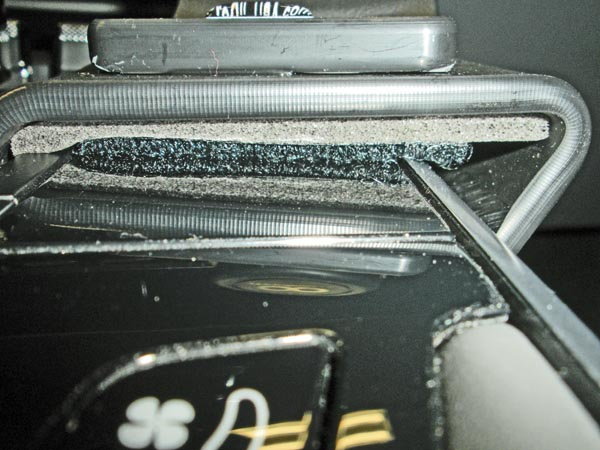
I did not use (unwrap) the two sided tape that comes with the "ProClip". I want to be able to remove it without dealing with the tape. Tape is just a bit to permanent for me when the plastic piece it covers might need to be removed if any service to the console is required in the future. So, to keep the "ProClip" securely in position without the two sided tape, I used a bit of sound deadening foam and then the fuzzy half of a velcro kit. On of the pictures below shows this as the padding between the ProClip and the Piano Black Plastic.
The result is what I would consider to be a clean installation, with or without the phone in place, that is easy to use.
Took it out for a drive and it works perfectly. No movement in either the vertical or the horizontal position, with or without the cord plugged in.
Love it, I'm a happy camper.
.
I installed one of the "ProClip" Phone holders and used a "Maxboost Magnetic Car Mount" to attach my iPhone 11 to it.
I did not use (unwrap) the two sided tape that comes with the "ProClip". I want to be able to remove it without dealing with the tape. Tape is just a bit to permanent for me when the plastic piece it covers might need to be removed if any service to the console is required in the future. So, to keep the "ProClip" securely in position without the two sided tape, I used a bit of sound deadening foam and then the fuzzy half of a velcro kit. On of the pictures below shows this as the padding between the ProClip and the Piano Black Plastic.
The result is what I would consider to be a clean installation, with or without the phone in place, that is easy to use.
Took it out for a drive and it works perfectly. No movement in either the vertical or the horizontal position, with or without the cord plugged in.
Love it, I'm a happy camper.
.
I did the same. It's location is ideal. It holds fine without using the adhesive tape. If only they also offered a cup holder using the same attachment. As I see it, the cup holder would extend into the passenger area
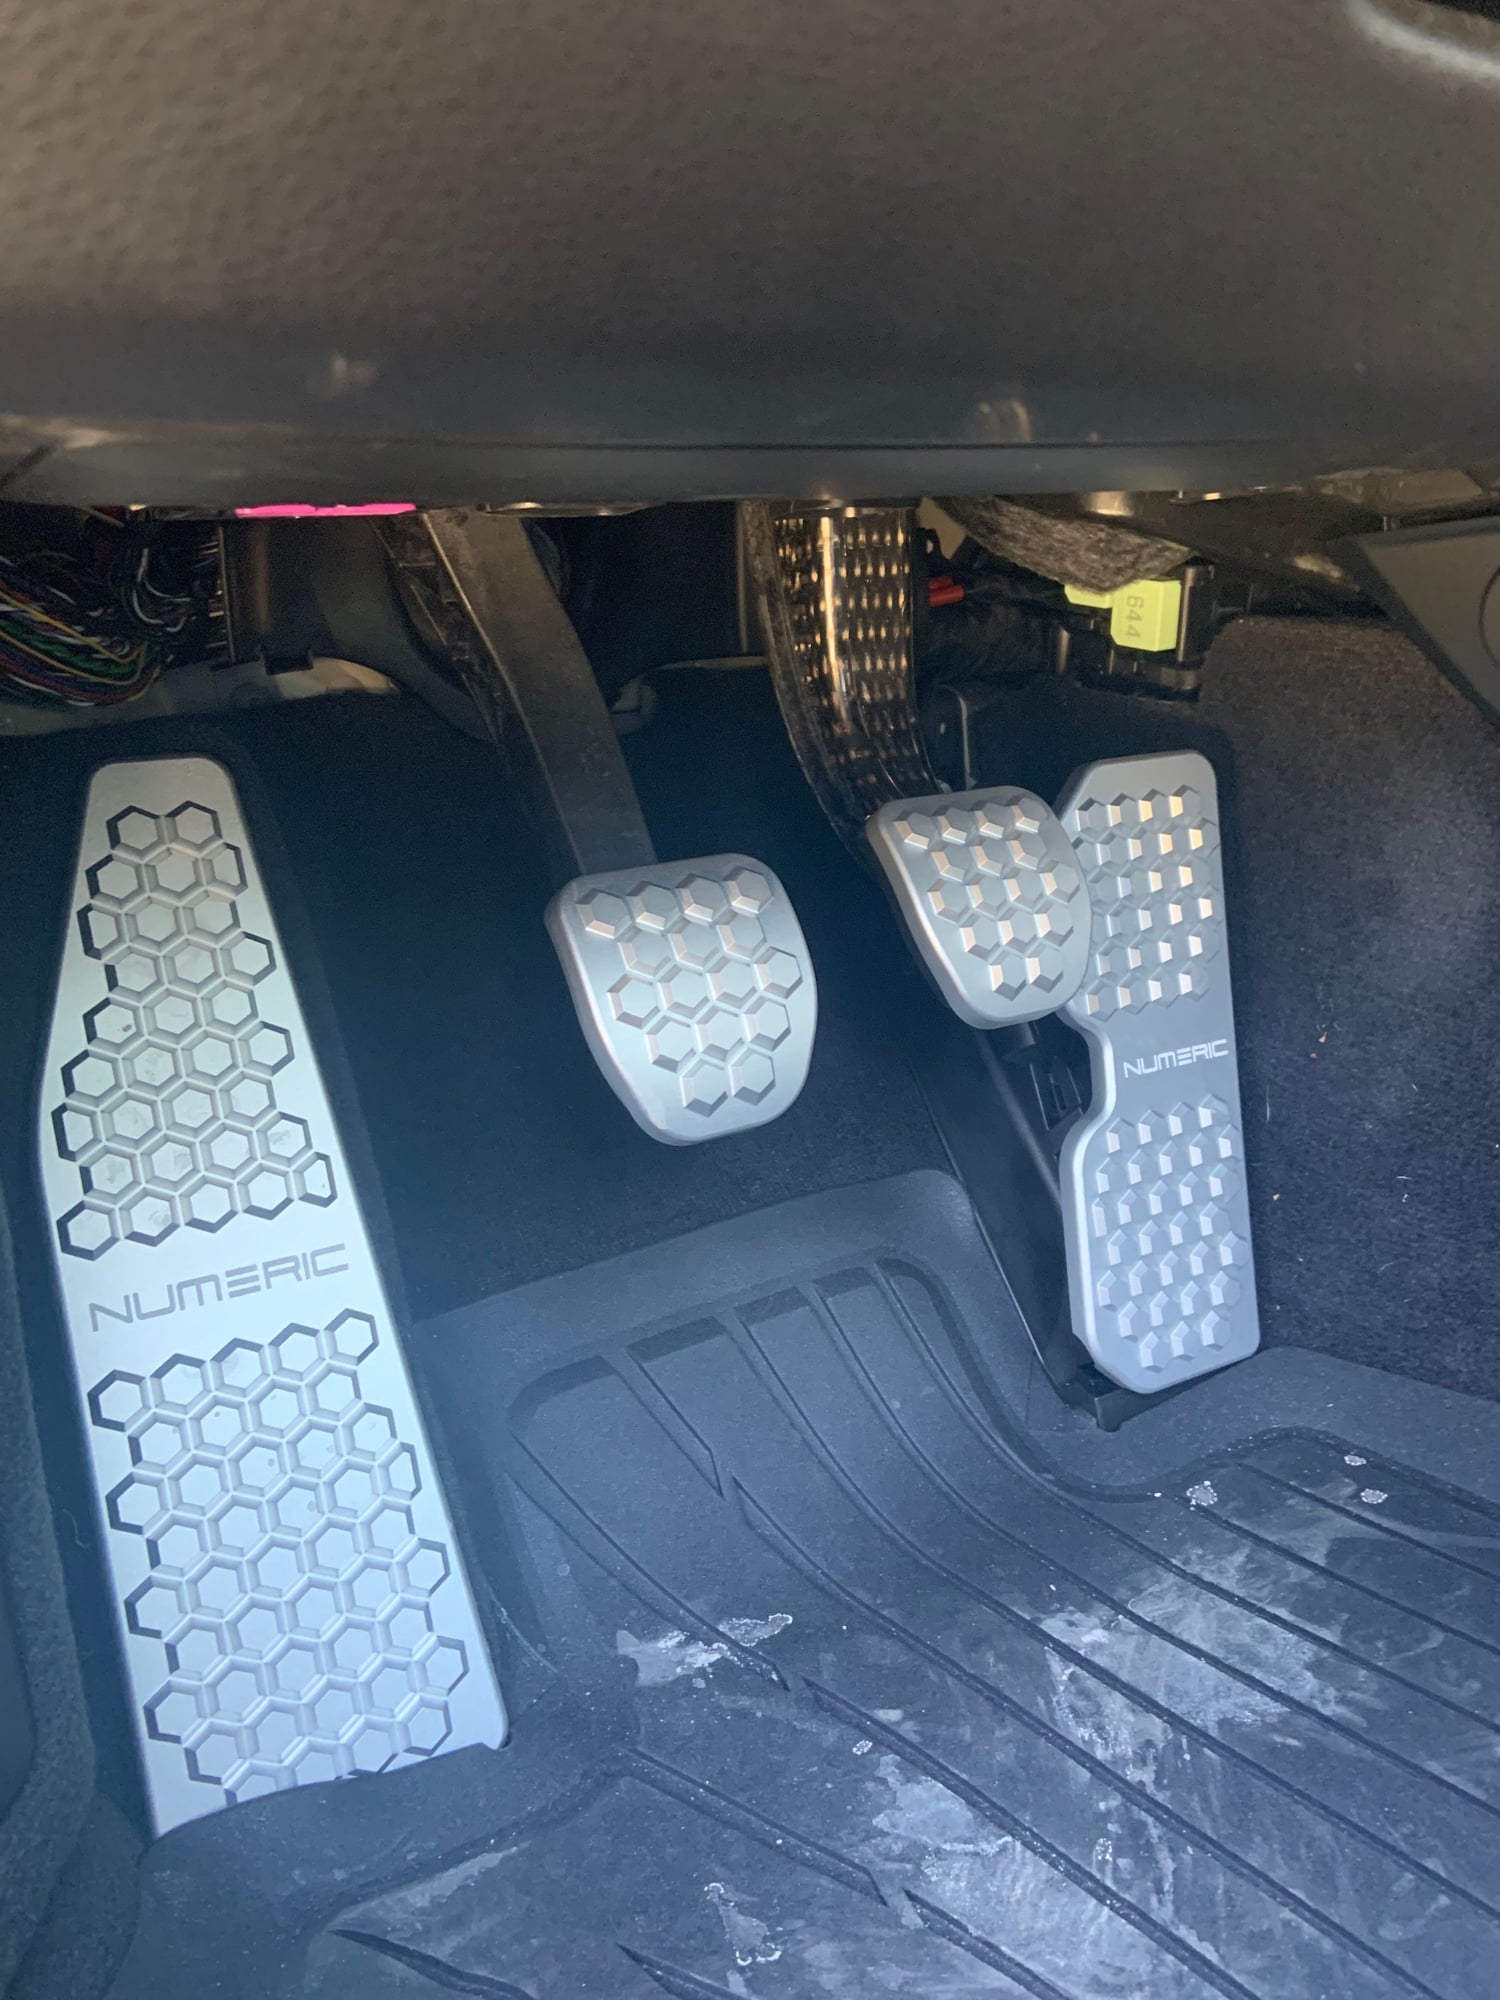
1.) Numeric Aluminium Pedals - really like the quality (specifically once you remove the originals and realize how flimsy they are). Much easier to heel/toe with the numeric gas pedal and how it is shaped.
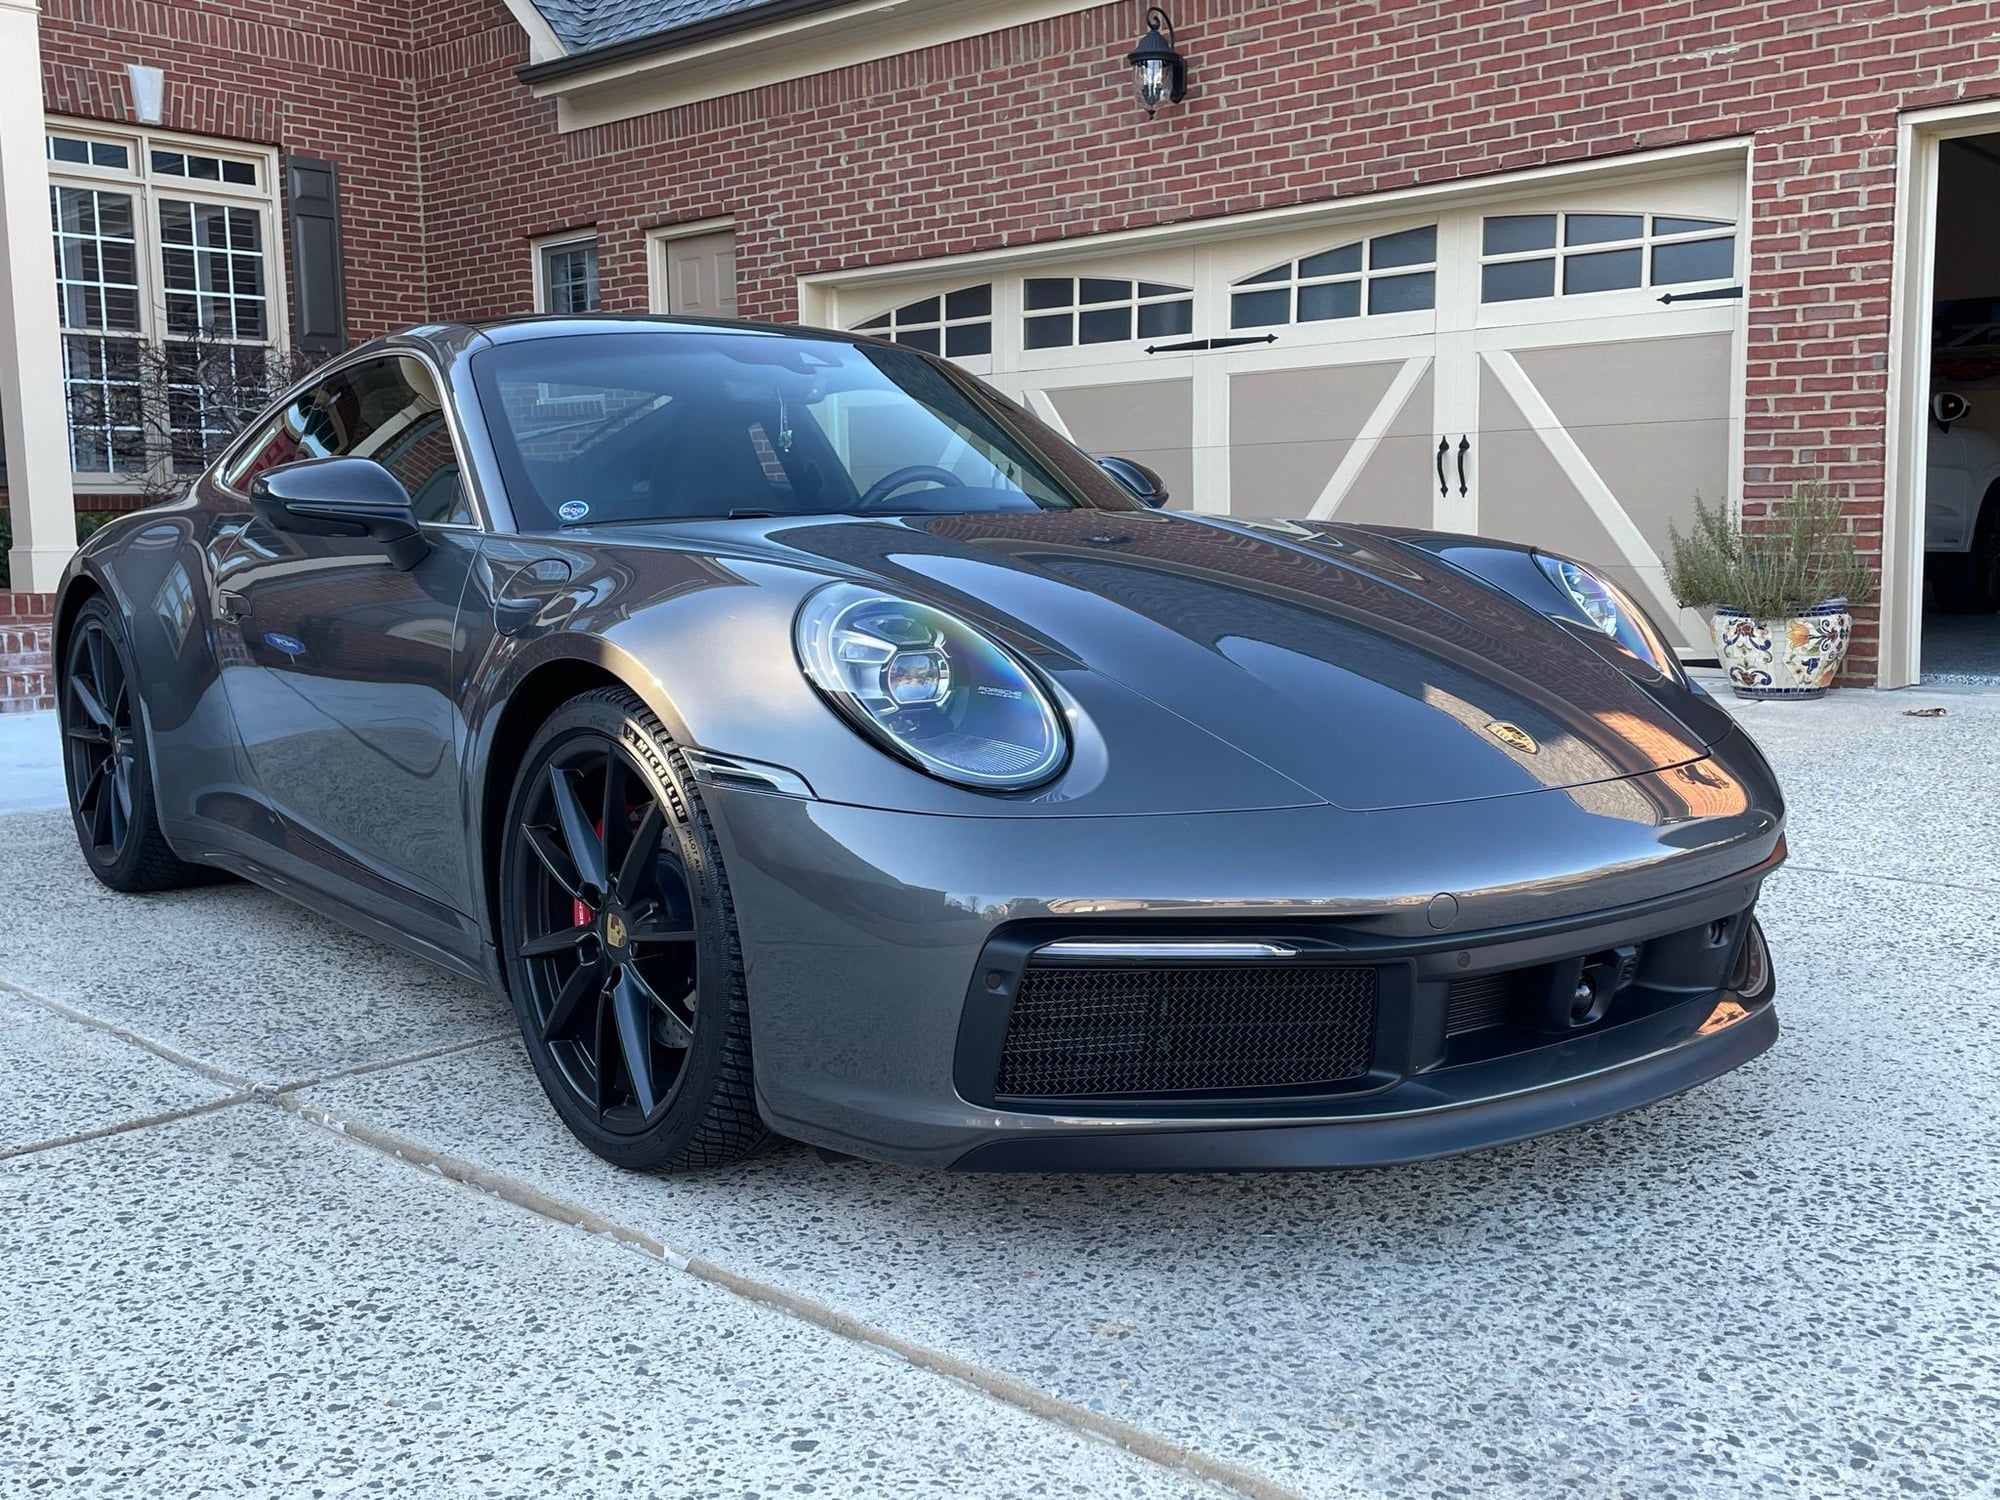
2.) Added front grill protectors from Zunsport. Really nice quality. Had quite a few leaves and what not in the front side areas during last washing. Thought I would add these to mitigate that. They actually look pretty cool. Not the best pic with shadows, but you will get the feeling.
Both installs were very quick. The Pedals took about 30 minutes. The front 3 grills took about 15 minutes.

 01-28-2021, 10:05 PM