964 C4 light refurb
#887
Rennlist Member
Thread Starter
Twin clamp sleeve assembly like a pro.
I used two new bolts so the heads were pristine.
Place transmission in neutral.
Find a couple of friends. Station one at each front wheel. You go under the car with the correct Allen key attached to a torque wrench set at 75Nm.
Have one friend hold his/her front wheel still. Ask the other friend to slightly turn his/her wheel which will turn the prop shaft with the sleeve on it. Slide the clamping sleeve rearward when the splines align with the rear shaft splines. The final sleeve position you need it is where the bolt holes line up with the channels in the shaft. If you don't do this you can't insert the bolts as they hit the splines.
Have your team hold one wheel and turn the other one until the shaft rotates into a position where you can insert the first bolt. Torque to 75Nm.
Have the team repeat the turning until the other bolt hole appears. Insert the second bolt and torque to 75Nm.
Place the plastic and rubber covers over the access holes.
It's very easy if you follow this procedure. There is nothing to man-handle.
BTW: Nice engineering from Porsche to have a design where the bolts loosening are unlikely to allow the shaft to separate as the splines will hit the bolts before they do that.
Last edited by John McM; 11-27-2017 at 05:02 PM.
#888
Rennlist Member
Thread Starter
Power steering banjo bolt. Two new copper washers. Torque to 30Nm.
Just for fun, I took the advice to anneal the washers first.
Heat the washers cherry red and let them cool naturally. It's supposed to make them softer so they seal better.
NB: I’ve edited the above text. I mistakenly cooled the washers in water. That is NOT the correct way to anneal / soften copper washers.
Last edited by John McM; 11-30-2017 at 02:12 PM.
#889
Rennlist Member
Thread Starter
Next up is completing a full brake and clutch fluid flush. I'm using a fluid similar to the existing one so the colour change method of knowing when I have removed the old fluid won't work.
Instead I'm going to do it by volume. The shop manual specifies the bleed quantities:
- 250 cc at each wheel, bleeding both nipples.
- 50-100cc at the clutch slave cylinder.
- 250-300cc at the Lateral PDAS lock (side of differential) and
- 200 cc at the Axial (longitudinal) PDAS lock (front of transaxle)
I have marked up my motive bottles to measure the amount of fluid removed.
#890
Rennlist Member
Thread Starter
13 point bleed completed. The only annoyance is that the PDT999 would not connect to PDAS so I had to bleed the diff locks via the console switch. In total I used just short of two litres for the full flush. As much as I liked the Castrol SRF I downgraded the new fluid to Motul RBF600 as it meets my likely needs at a much lower cost. If I had a C2 with only one litre I probably would have stuck with SRF which has a far higher wet boiling point, which is what you need at the track to help prevent brake fade.
#891
Rennlist Member
Thread Starter
With the bleed finished, I fitted the rear ARB, central tunnel cover and front cover, put the Cup1s back on and lowered the car down to the ground. I have a few things to do yet, like the throttle linkage then it's ready to fire up. Before I do that I want to put the Silver car up on to lift to find the source of a clicking in the front left suspension. This is never ending 

#892
#894
Rennlist Member
Thread Starter
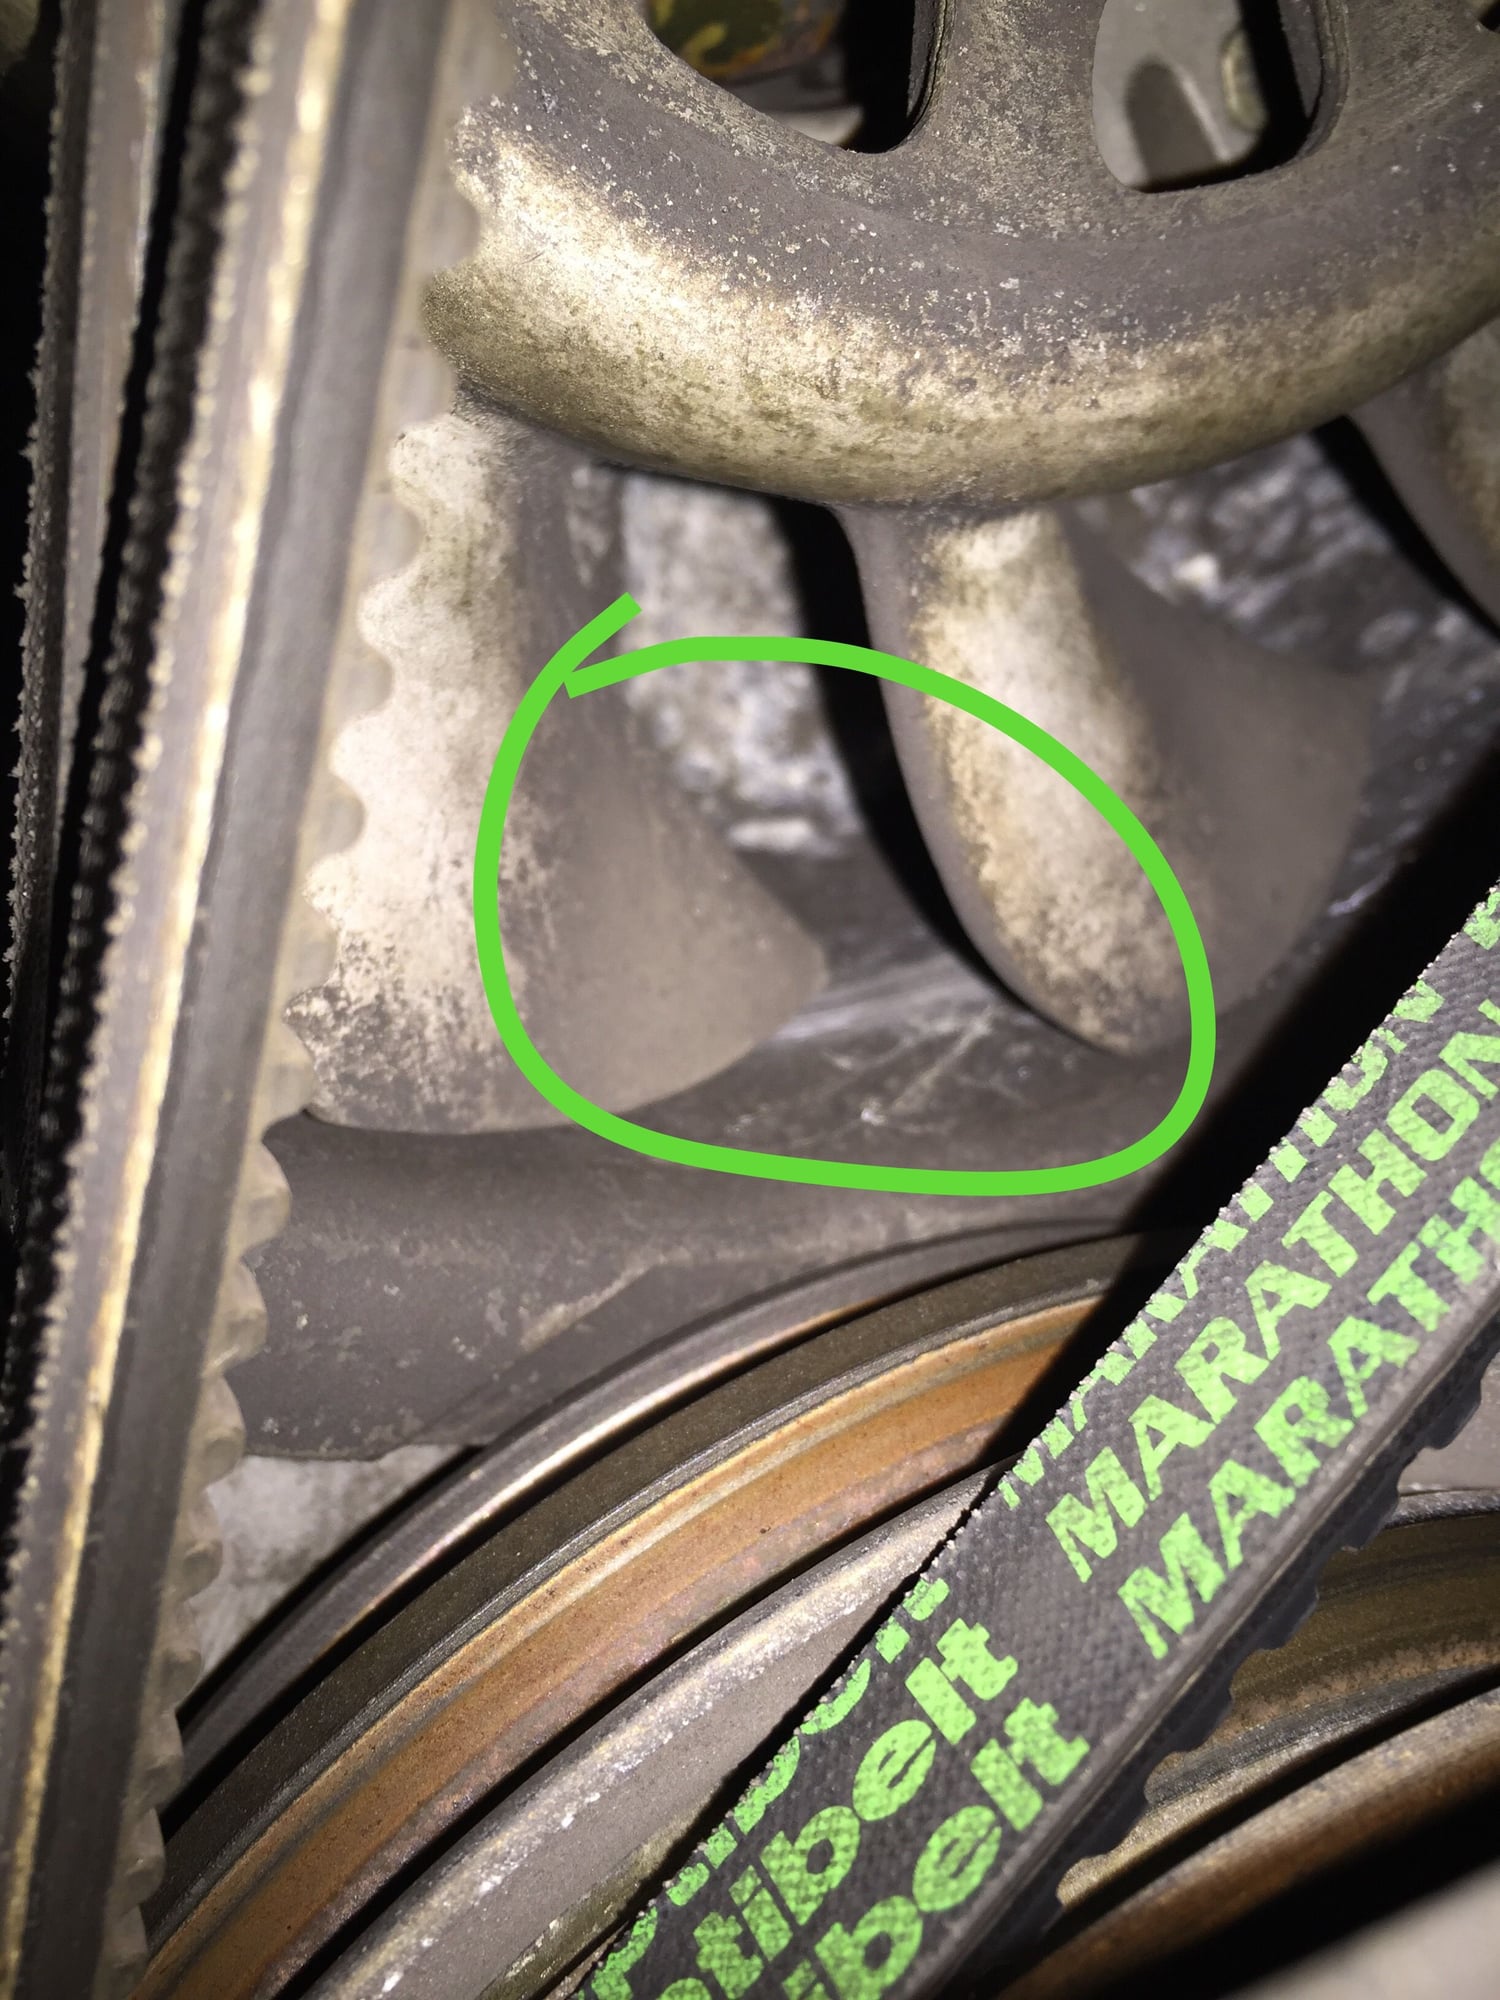
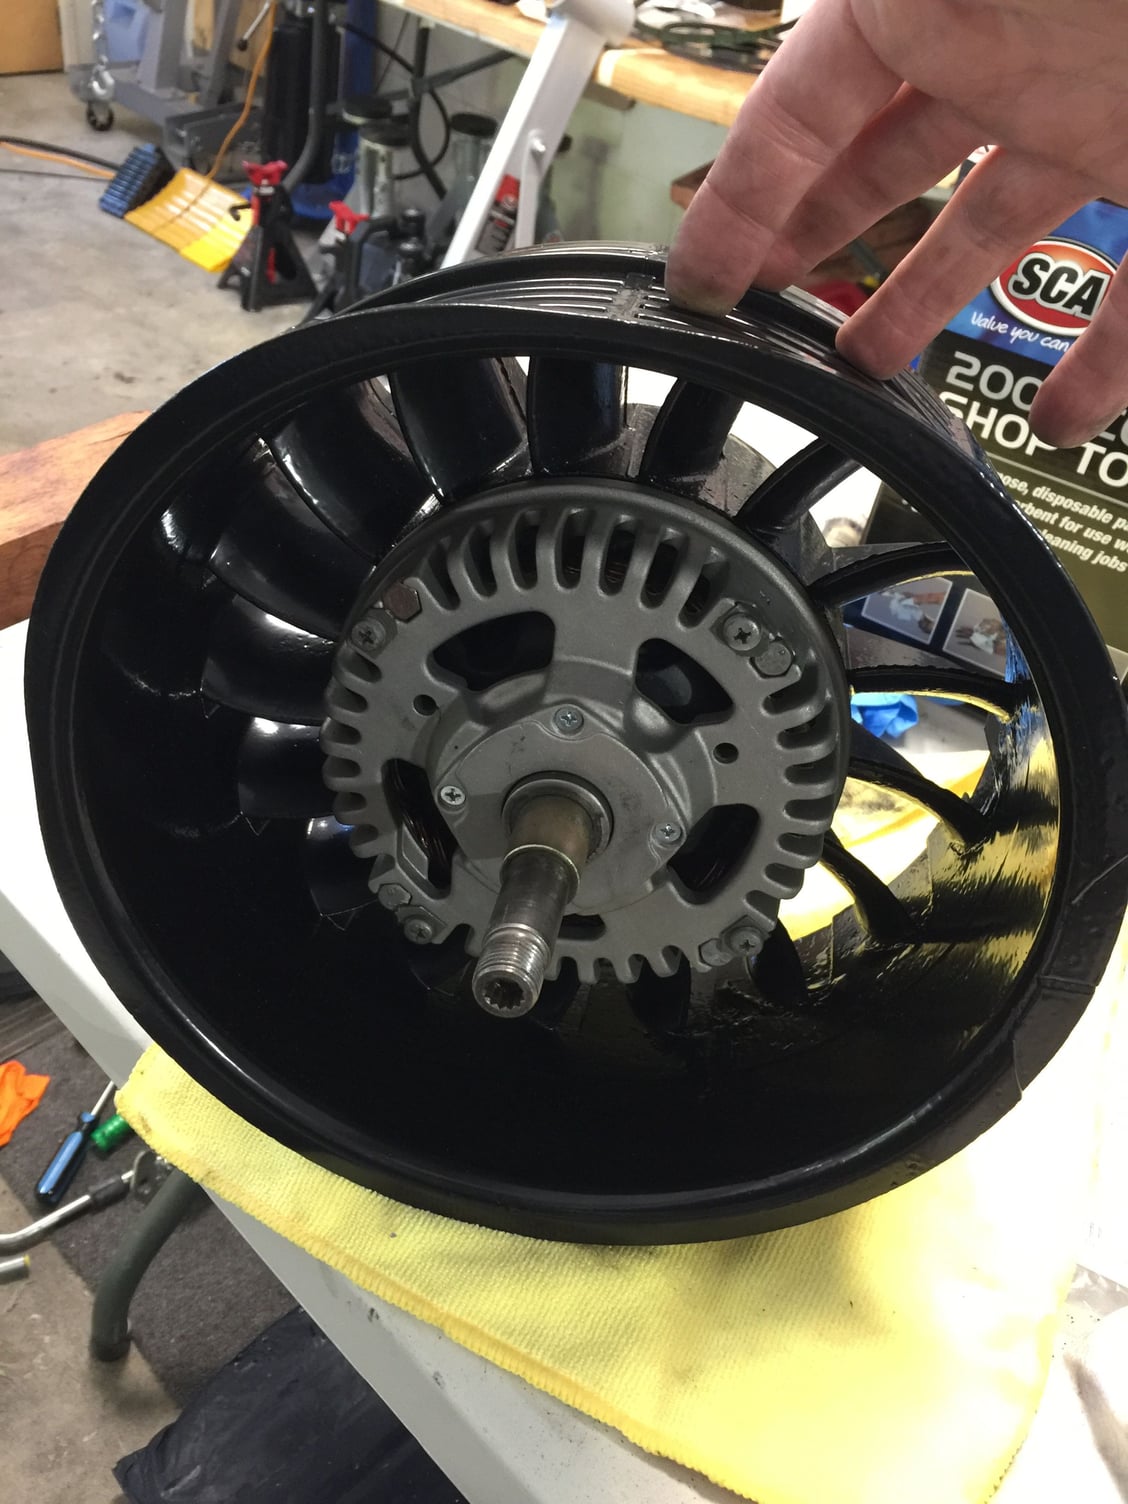
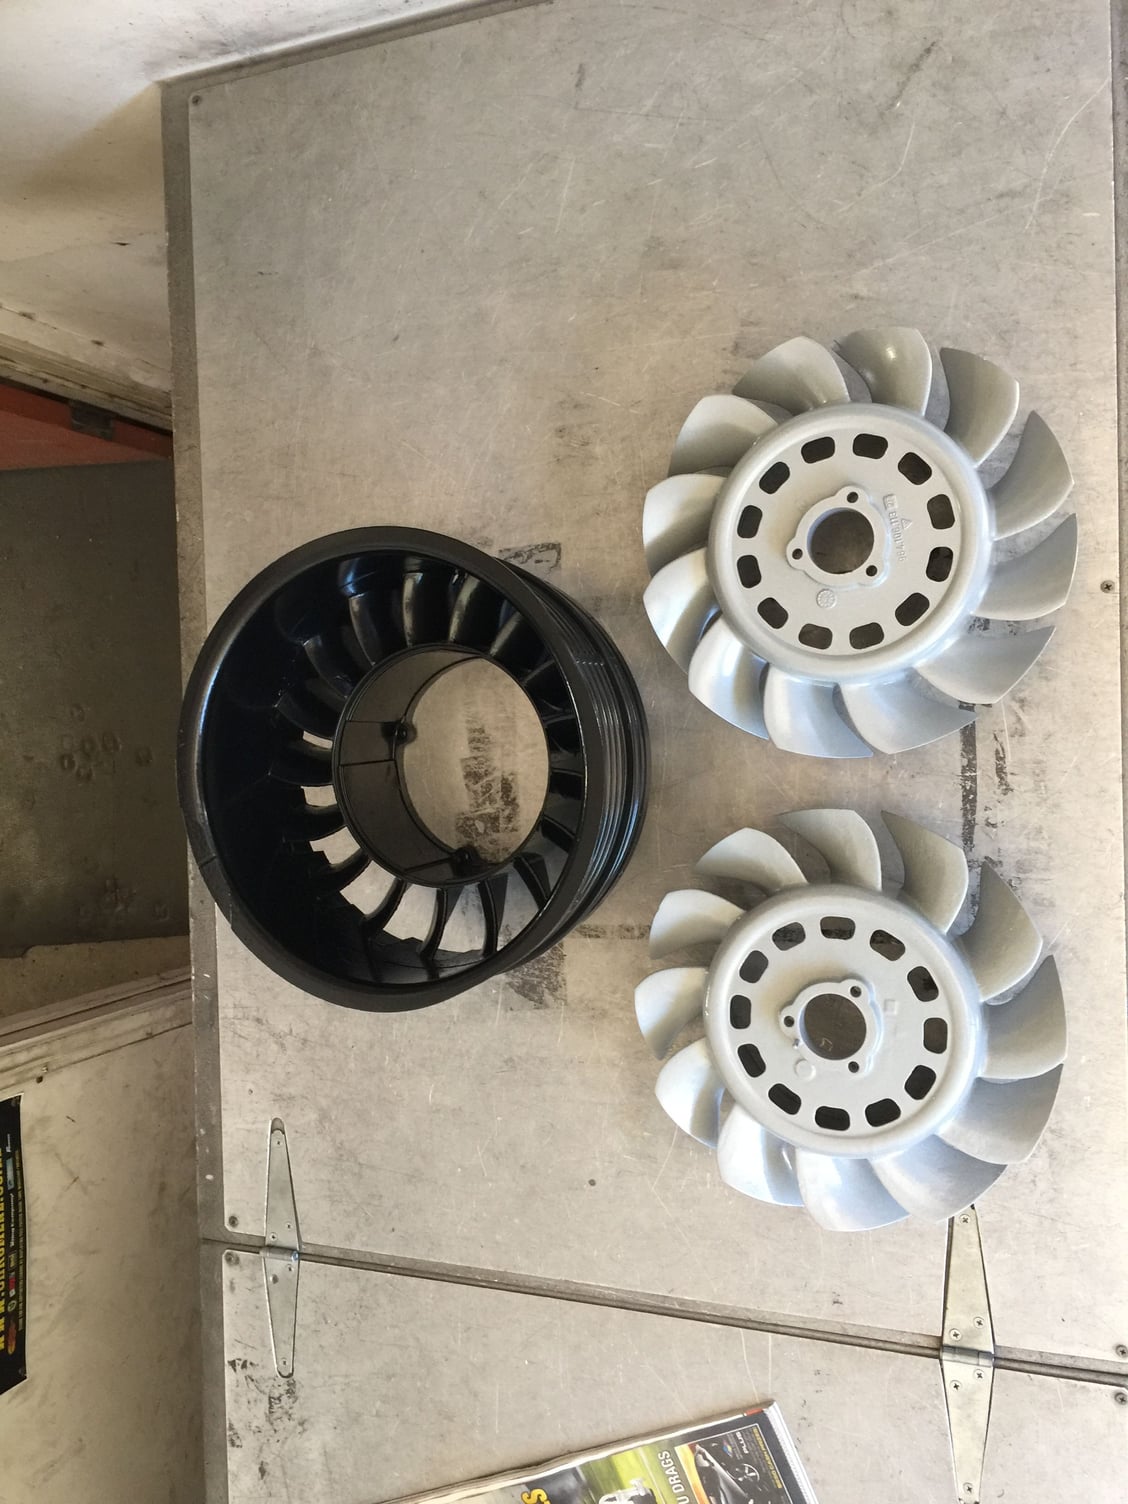
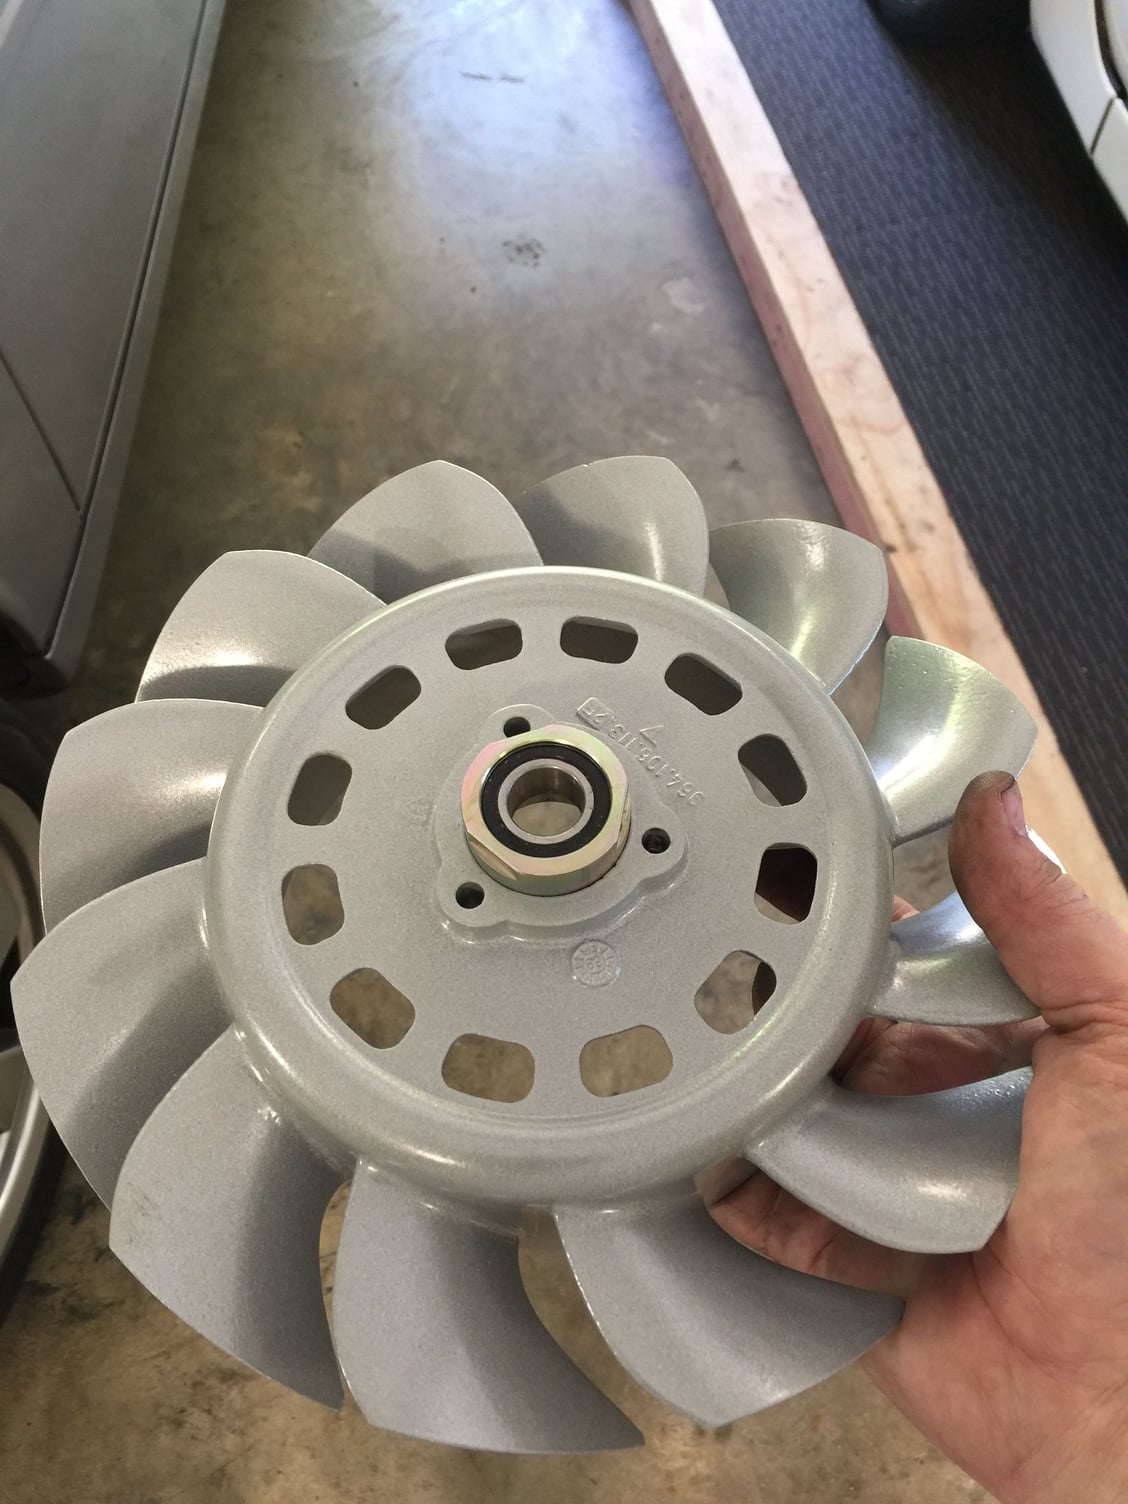
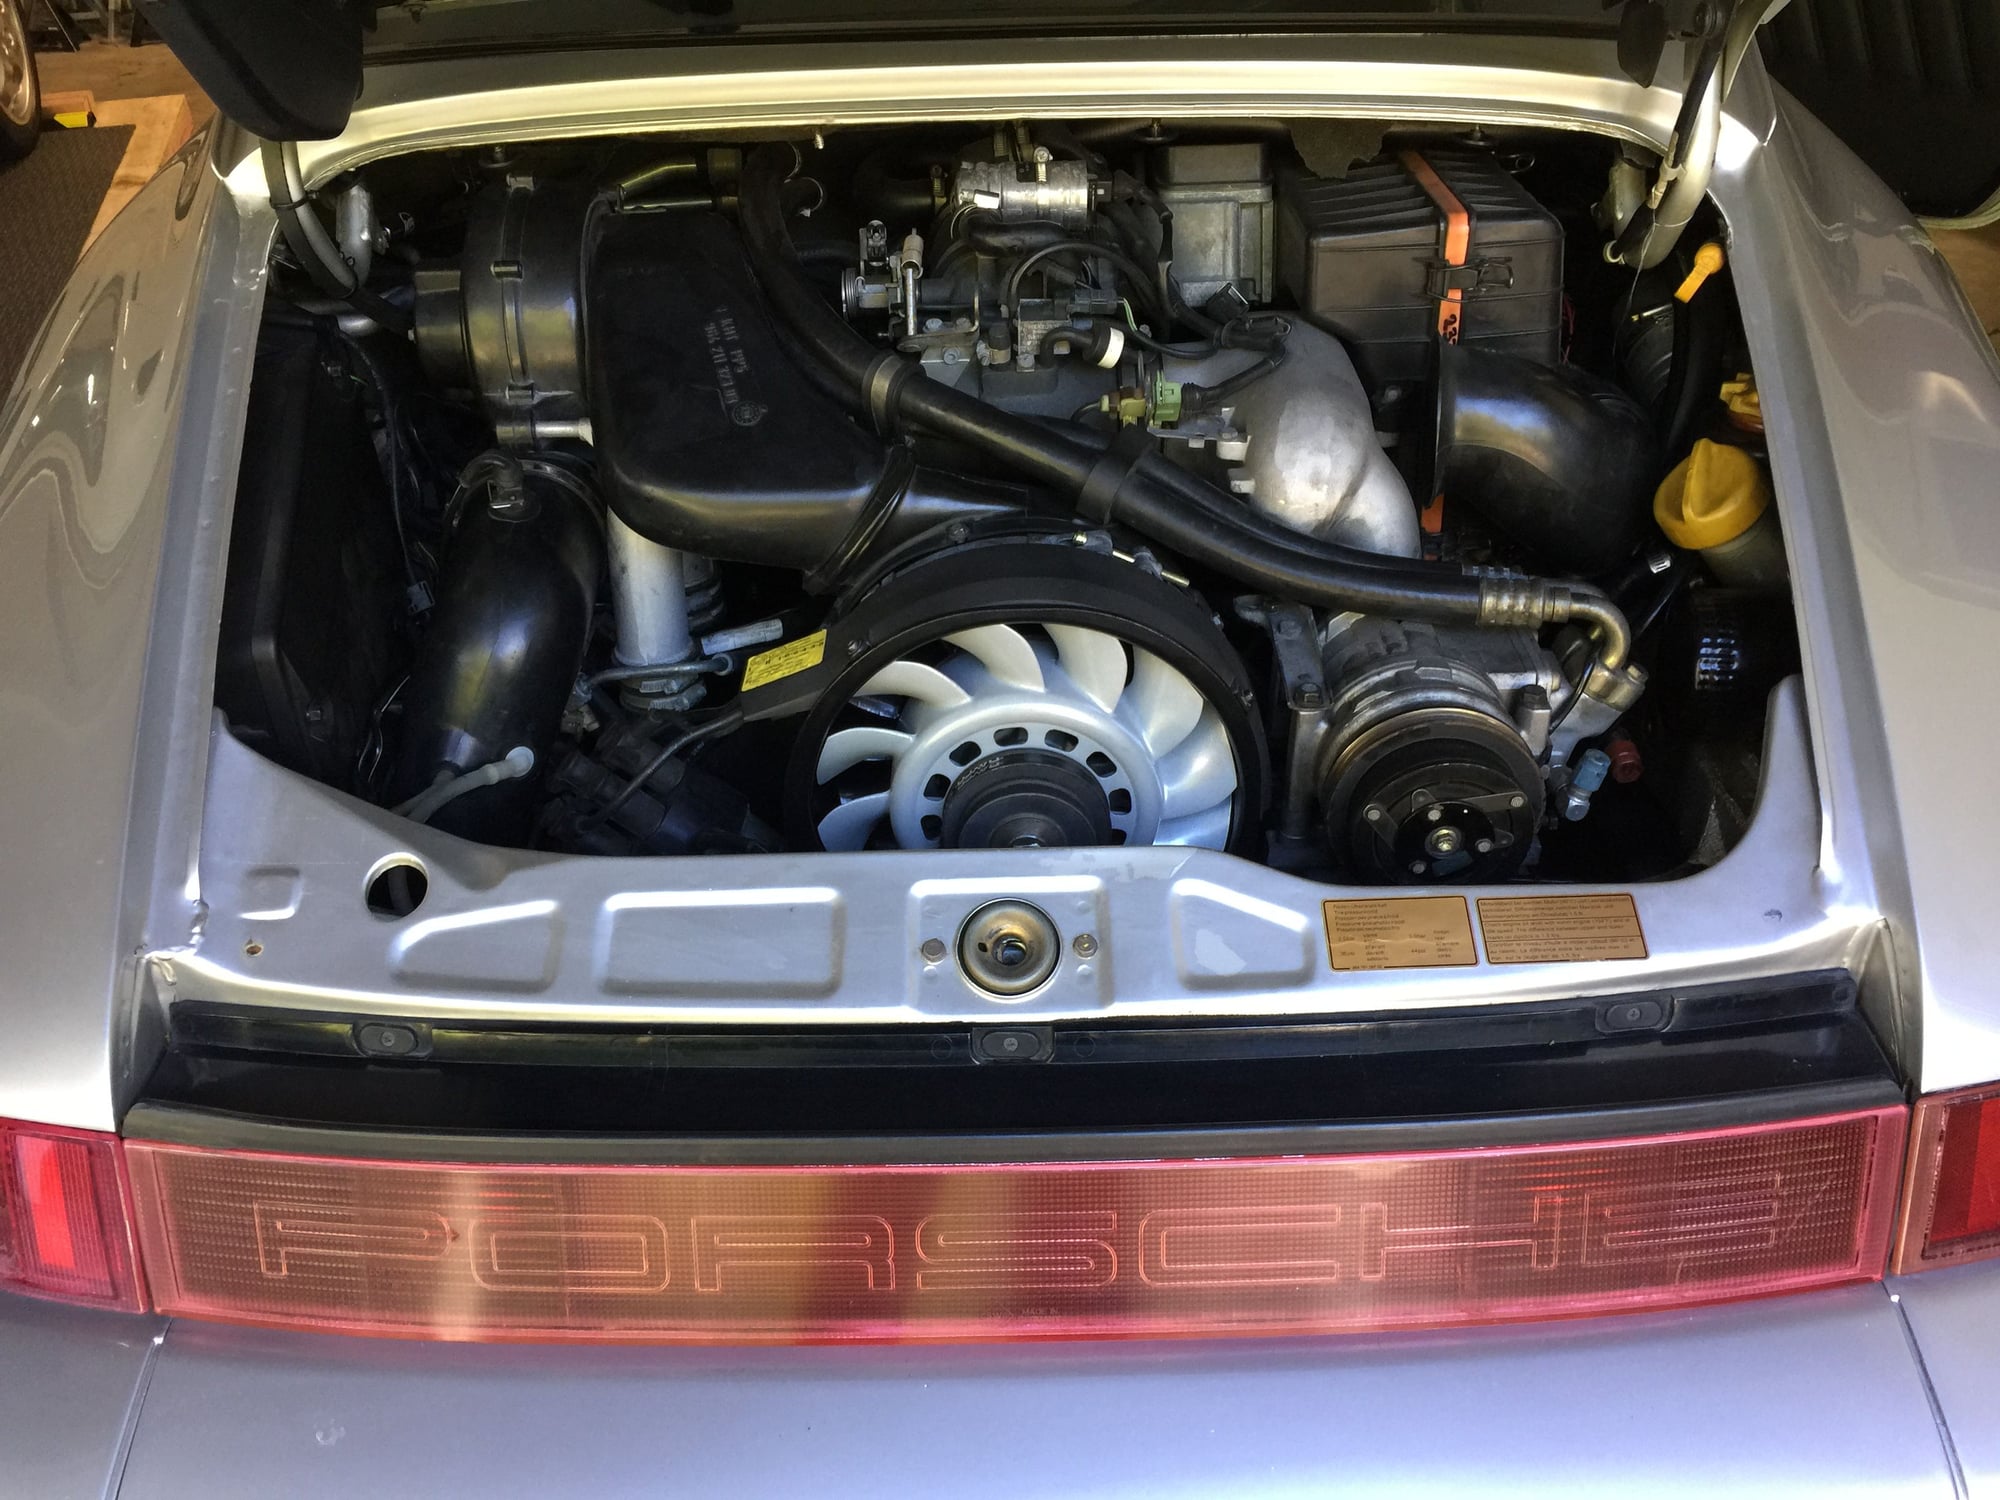
The Silver car'Â’s cooling fan was hitting the fan shroud due to a badly worn hub bearing.
I carefully removed the old bearing (it took a few hits with a copper hammer but was ok as long as I supported the fan around the bearing area), then took the fan and shroud to a powder coater I trust.
The Silver colour was the closest they had to the factory fan colour so I chose that.
A new hub bearing was inserted using a small plastic hammer while I held the fan in one hand.
Then it was all reinstalled. No rubbing!
Before https://youtu.be/dkgaYx08pB0
After https://youtu.be/NXwsob-lhCY
Cost was $130 for the bearing and $65 for the powder coating.
#895
Rennlist Member
Thread Starter
Trial fit of the original tail with a spoiler grille I bought off a local. I will need to read the manual as I can't get it sitting right.
Unfortunately I don't have the mechanism to lift it at speed so it will be a fixed tail. It should be fine at the speeds I drive at.
Unfortunately I don't have the mechanism to lift it at speed so it will be a fixed tail. It should be fine at the speeds I drive at.
Last edited by John McM; 12-02-2017 at 08:29 PM.
#898
Rennlist Member
Thread Starter
I ordered a leather refurb kit where the colour coat fluid unexpectedly has an expiry date so I had to reprioritise work and do the recolour.
The sequence is leather cleaner, leather prep (takes off any sealer and a few layers of colour), spray colour then sealer and finally conditioner and protector. The colour is not an exact match to the vinyl but I'm very happy with the outcome.
The sequence is leather cleaner, leather prep (takes off any sealer and a few layers of colour), spray colour then sealer and finally conditioner and protector. The colour is not an exact match to the vinyl but I'm very happy with the outcome.

