When you click on links to various merchants on this site and make a purchase, this can result in this site earning a commission. Affiliate programs and affiliations include, but are not limited to, the eBay Partner Network.
I've talked about this in another thread, but I'll re-hash it here so I can look back later. After installing the Sleepers SSK the OEM leather shift boot is a bit taught and I can feel it tug when shifting into 2nd and 4th in particular. This was enough to encourage me to switch to the billet version with swine11 reboot, however this revealed an underlying issue that seems like it has likely been present for a long time - quite a lout drivetrain whine. It is remarkably suppressed by the OEM leather overboot, but once that is removed it is painfully evident....
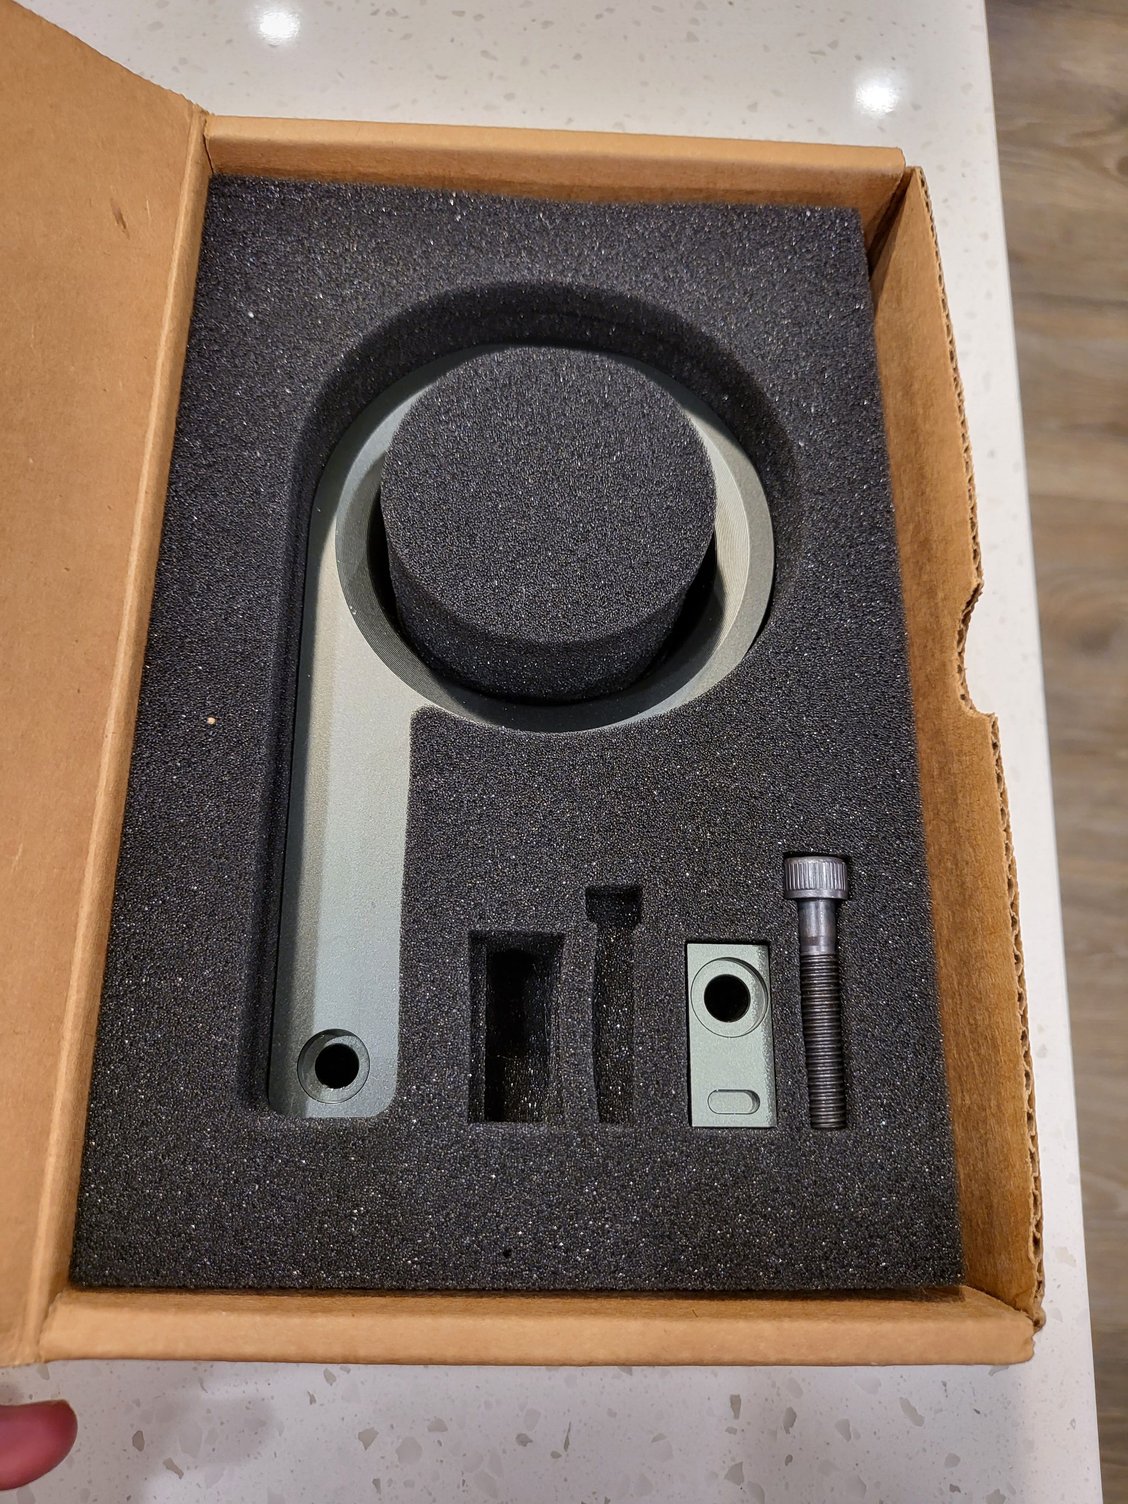
On a more positive note, the billet shifter wasn't the only thing that showed up - I like to drink coffee so decided to try out the fanciest cup holder I could find....
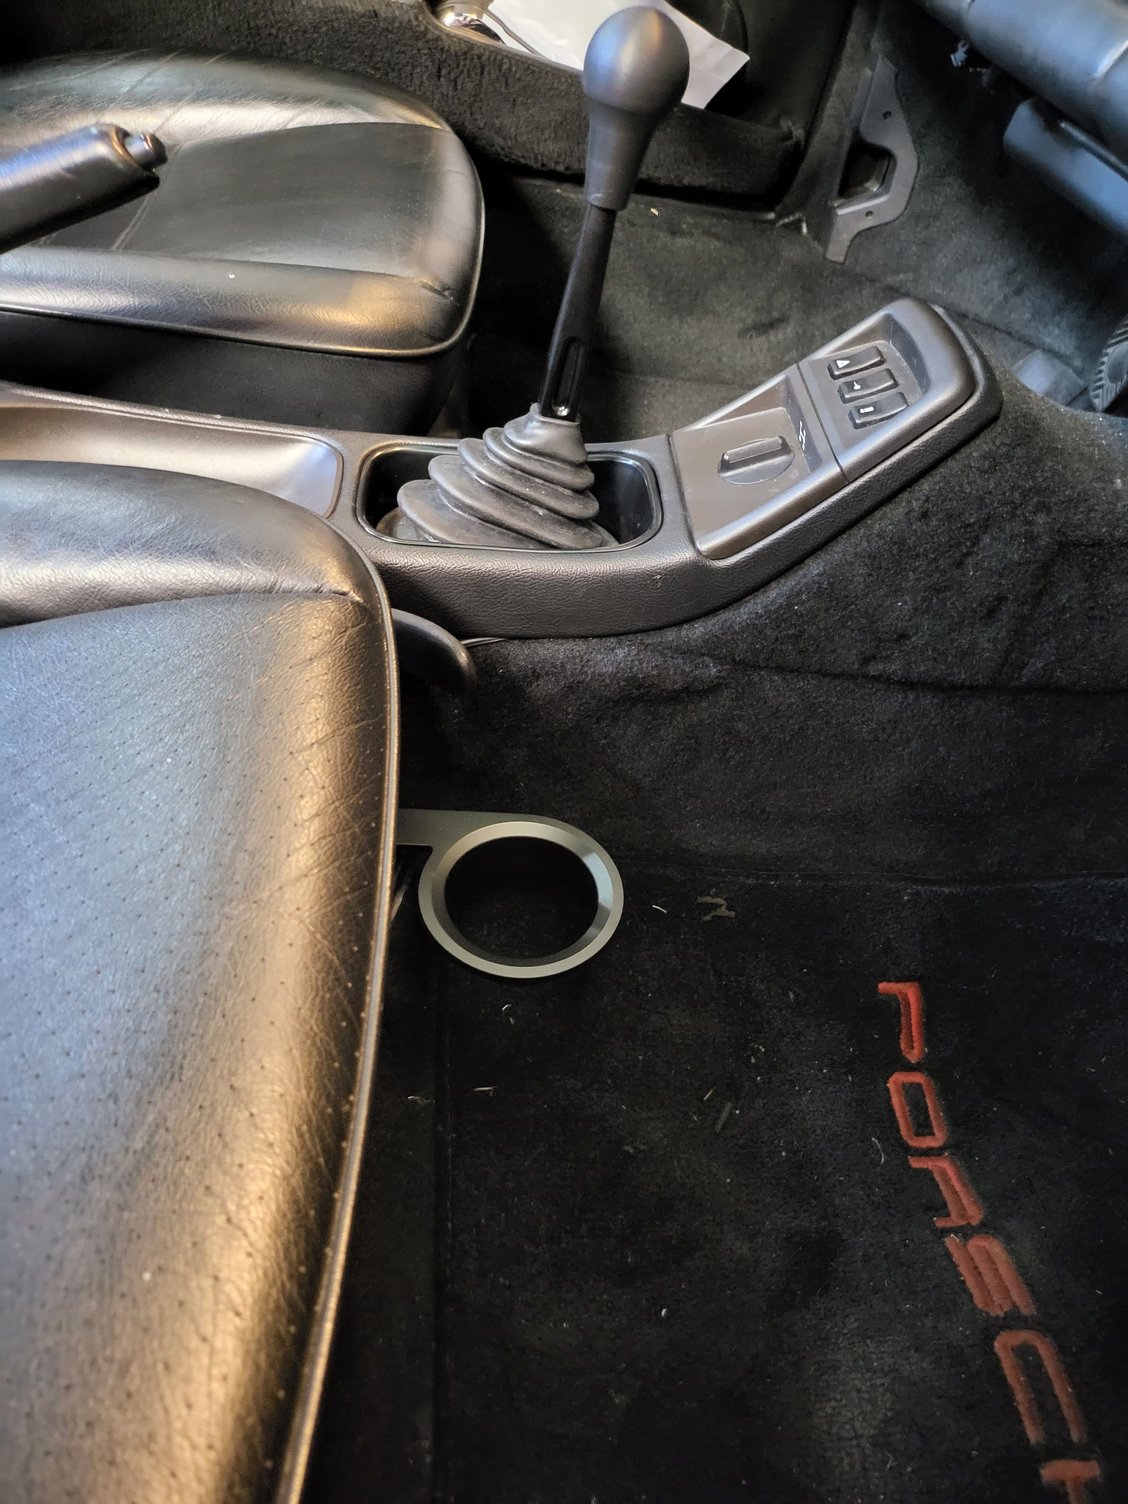
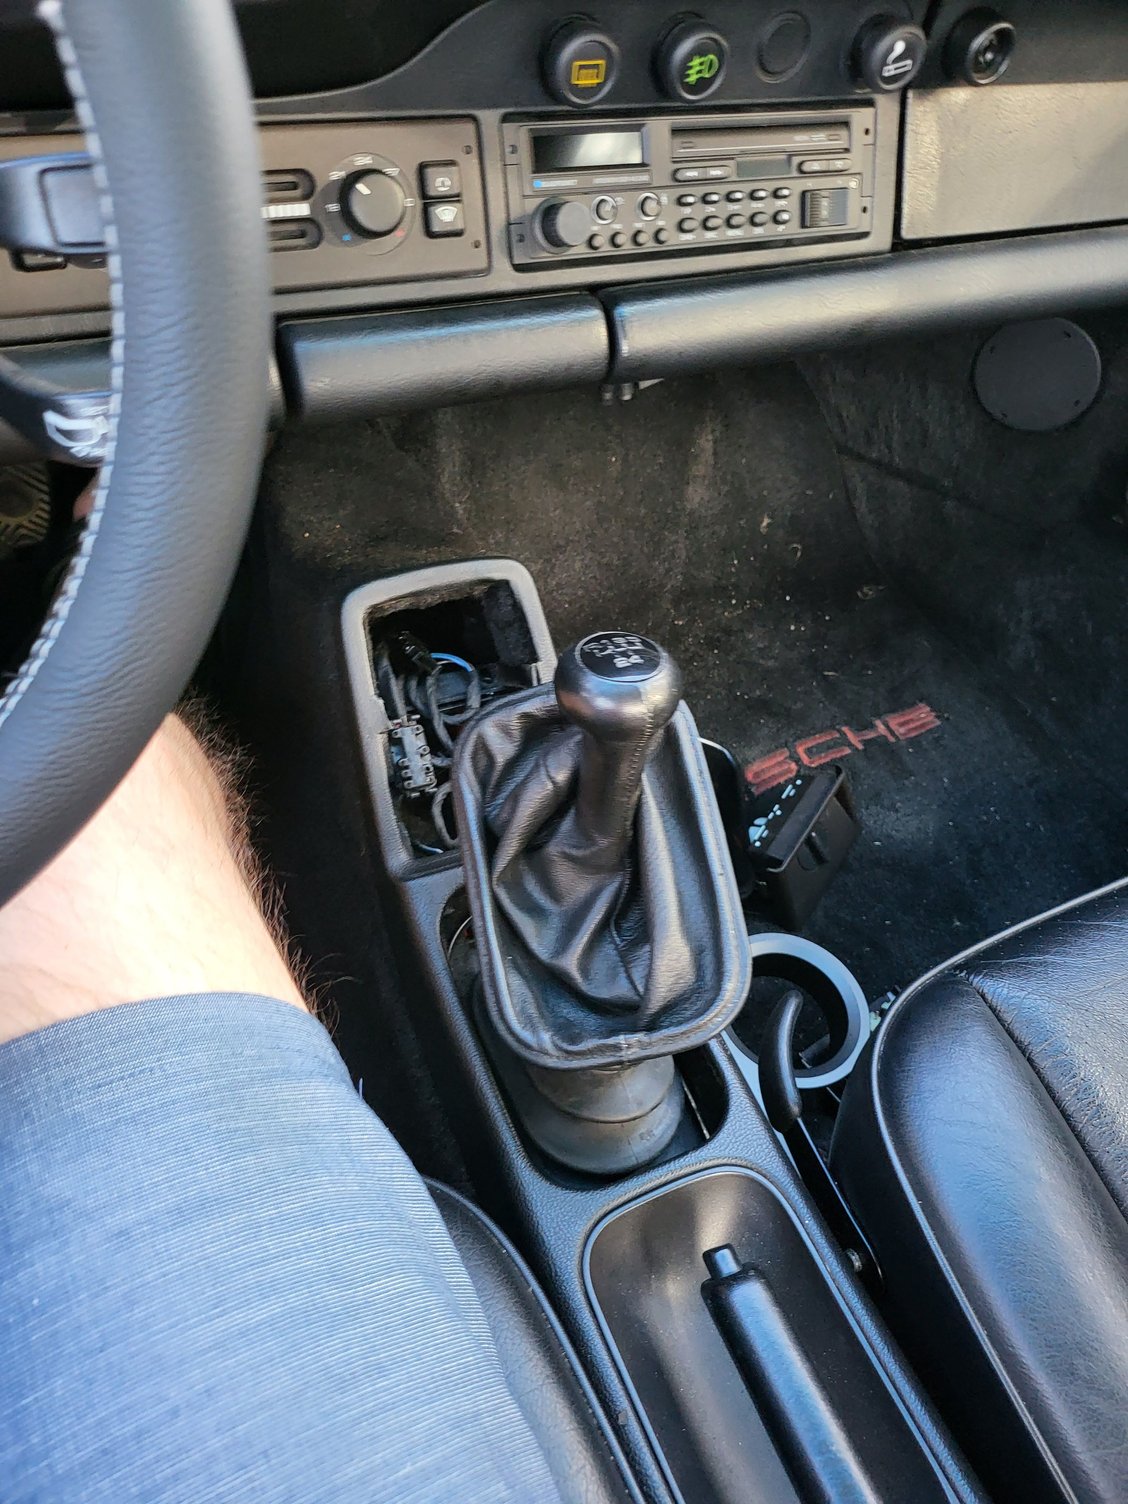
Here it is installed, along with the billet shifter. please excuse the dirty carpet. I think the cup holder is pretty unobtrusive and fits with the interior well enough. Very nicely made.
Anyways, to confirm that the whining wasn't the result of something to do with the billet shifter I refitted the OEM version and then drove around with the leather boot both on and off - confirmed the problem is there regardless and was probably there all along. Sounds like dry bearings, praying it isn't the torque tube but that seems most likely.....
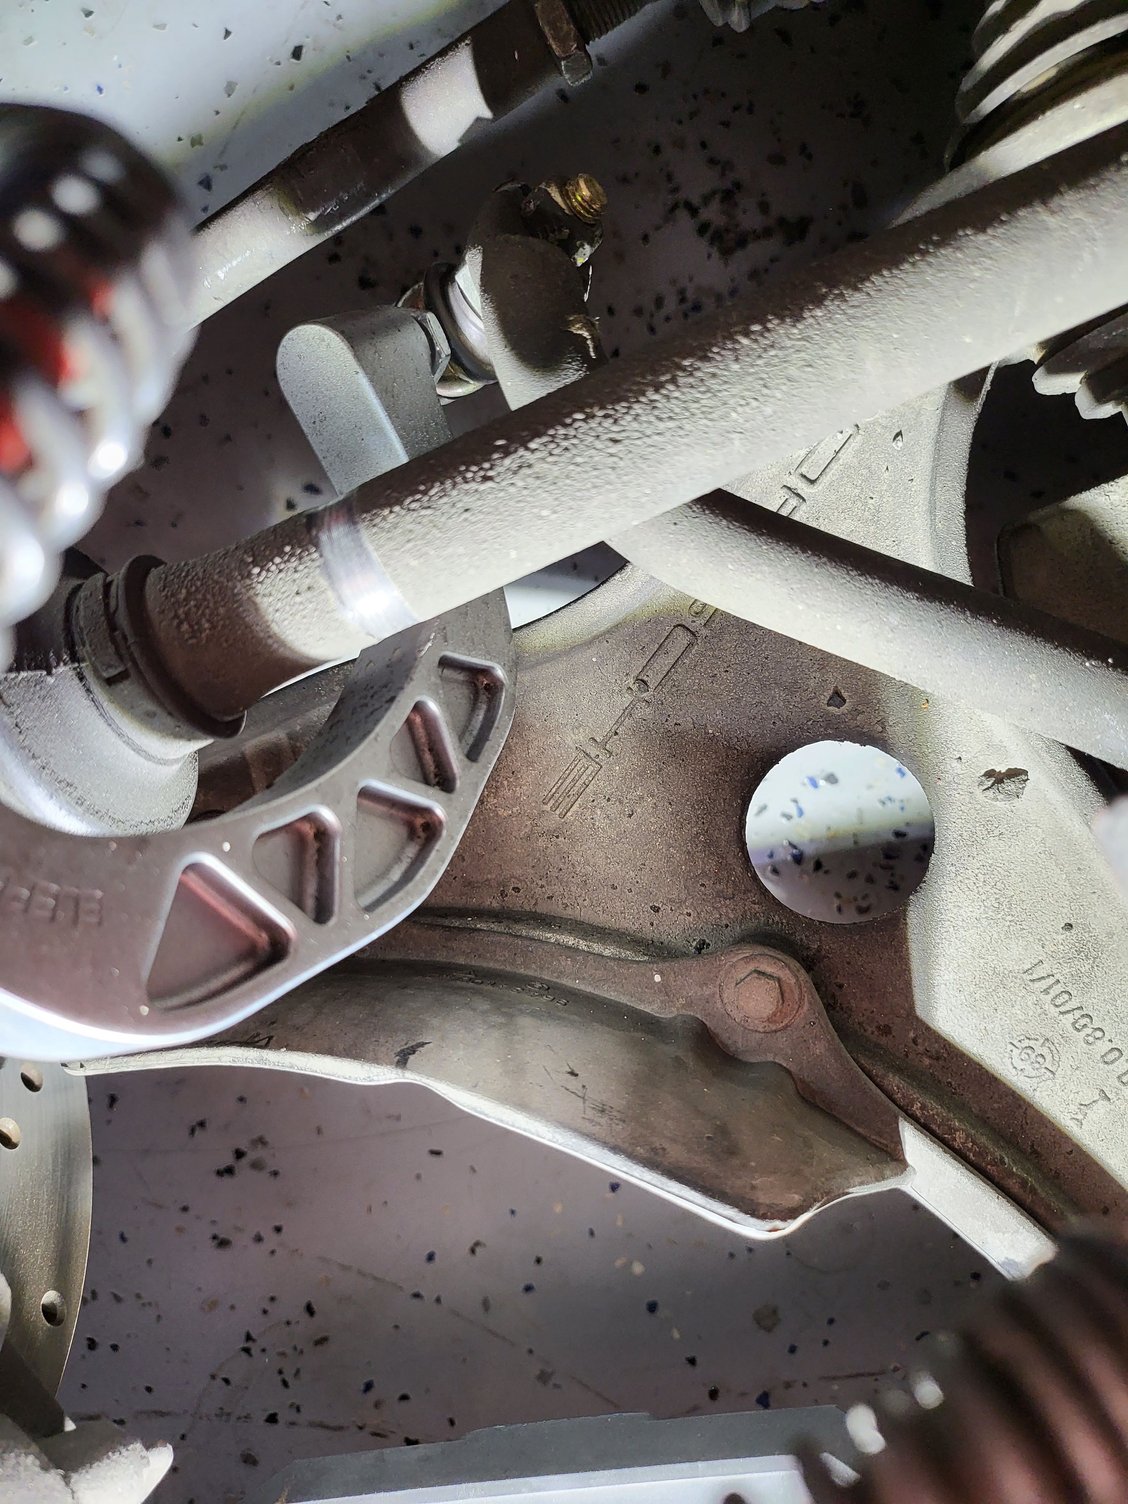
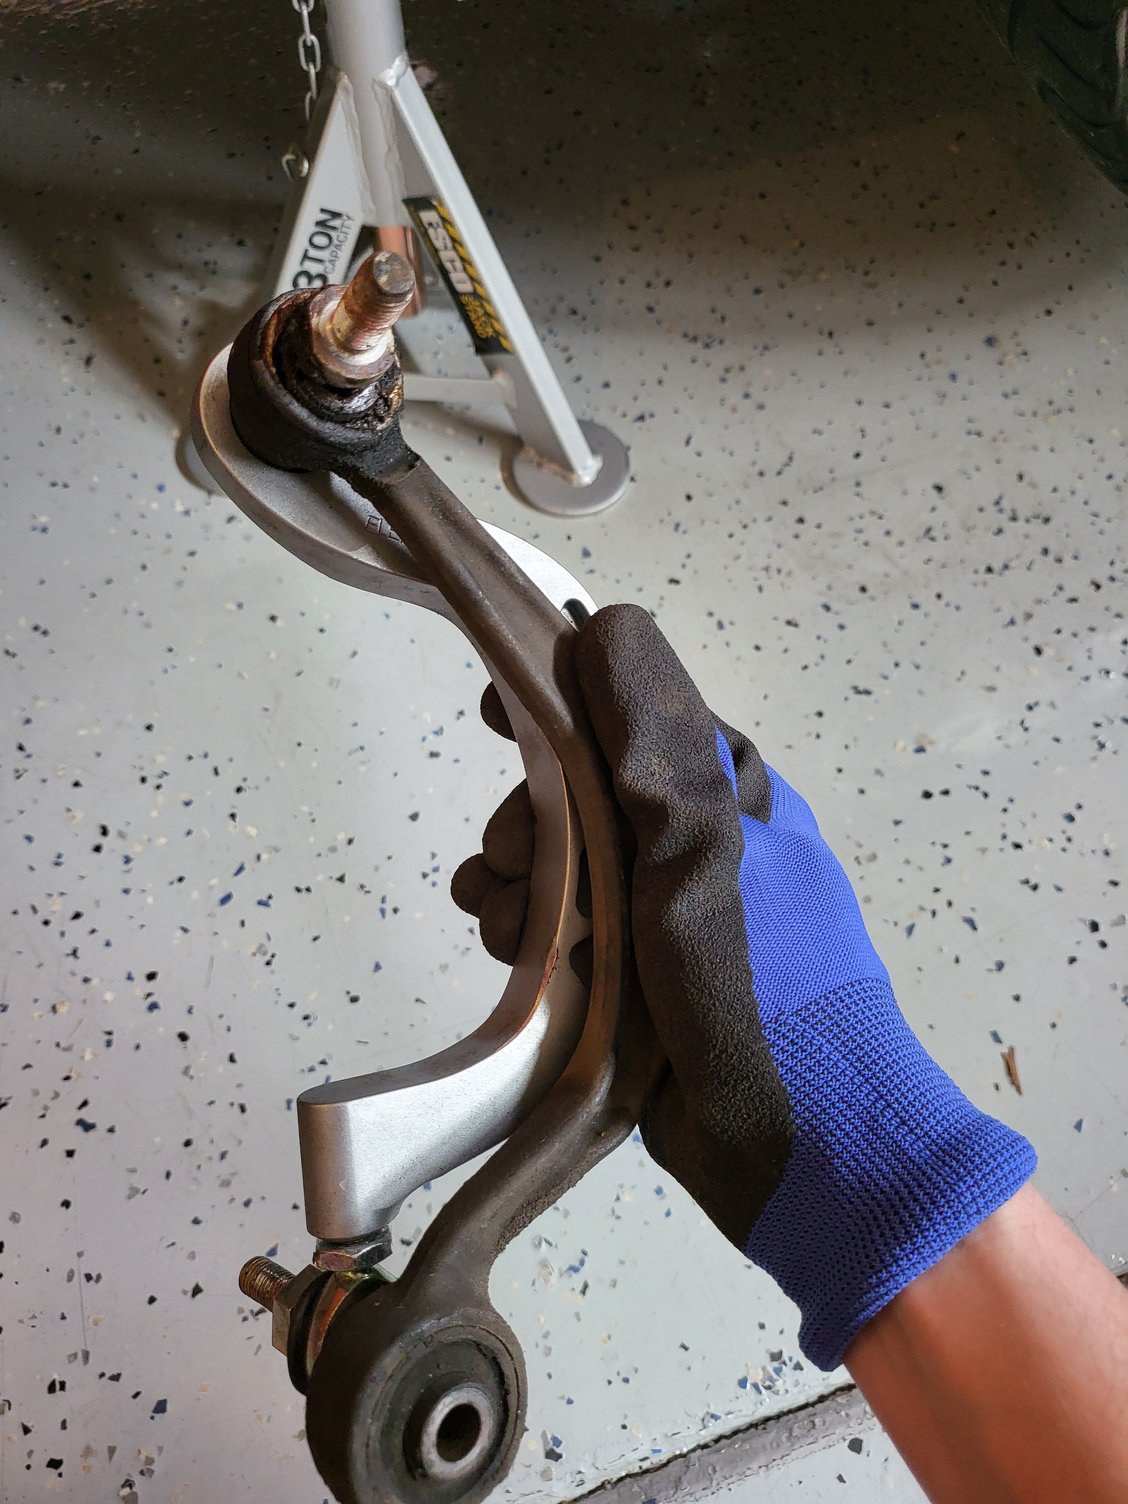
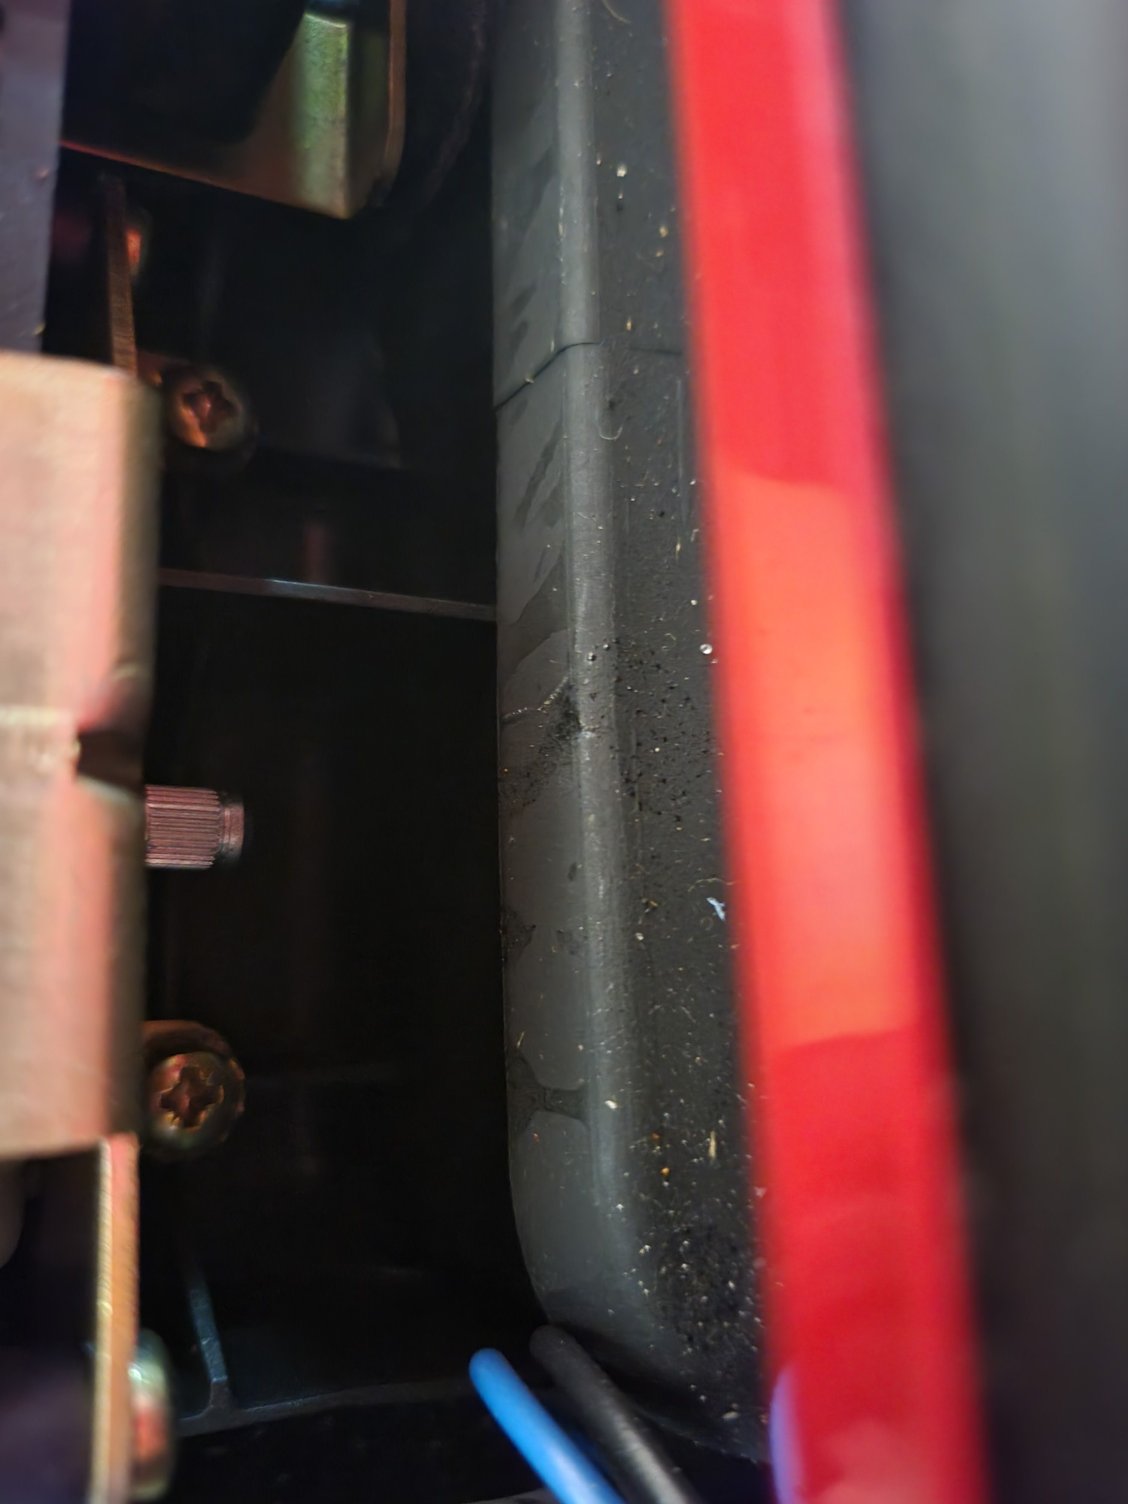
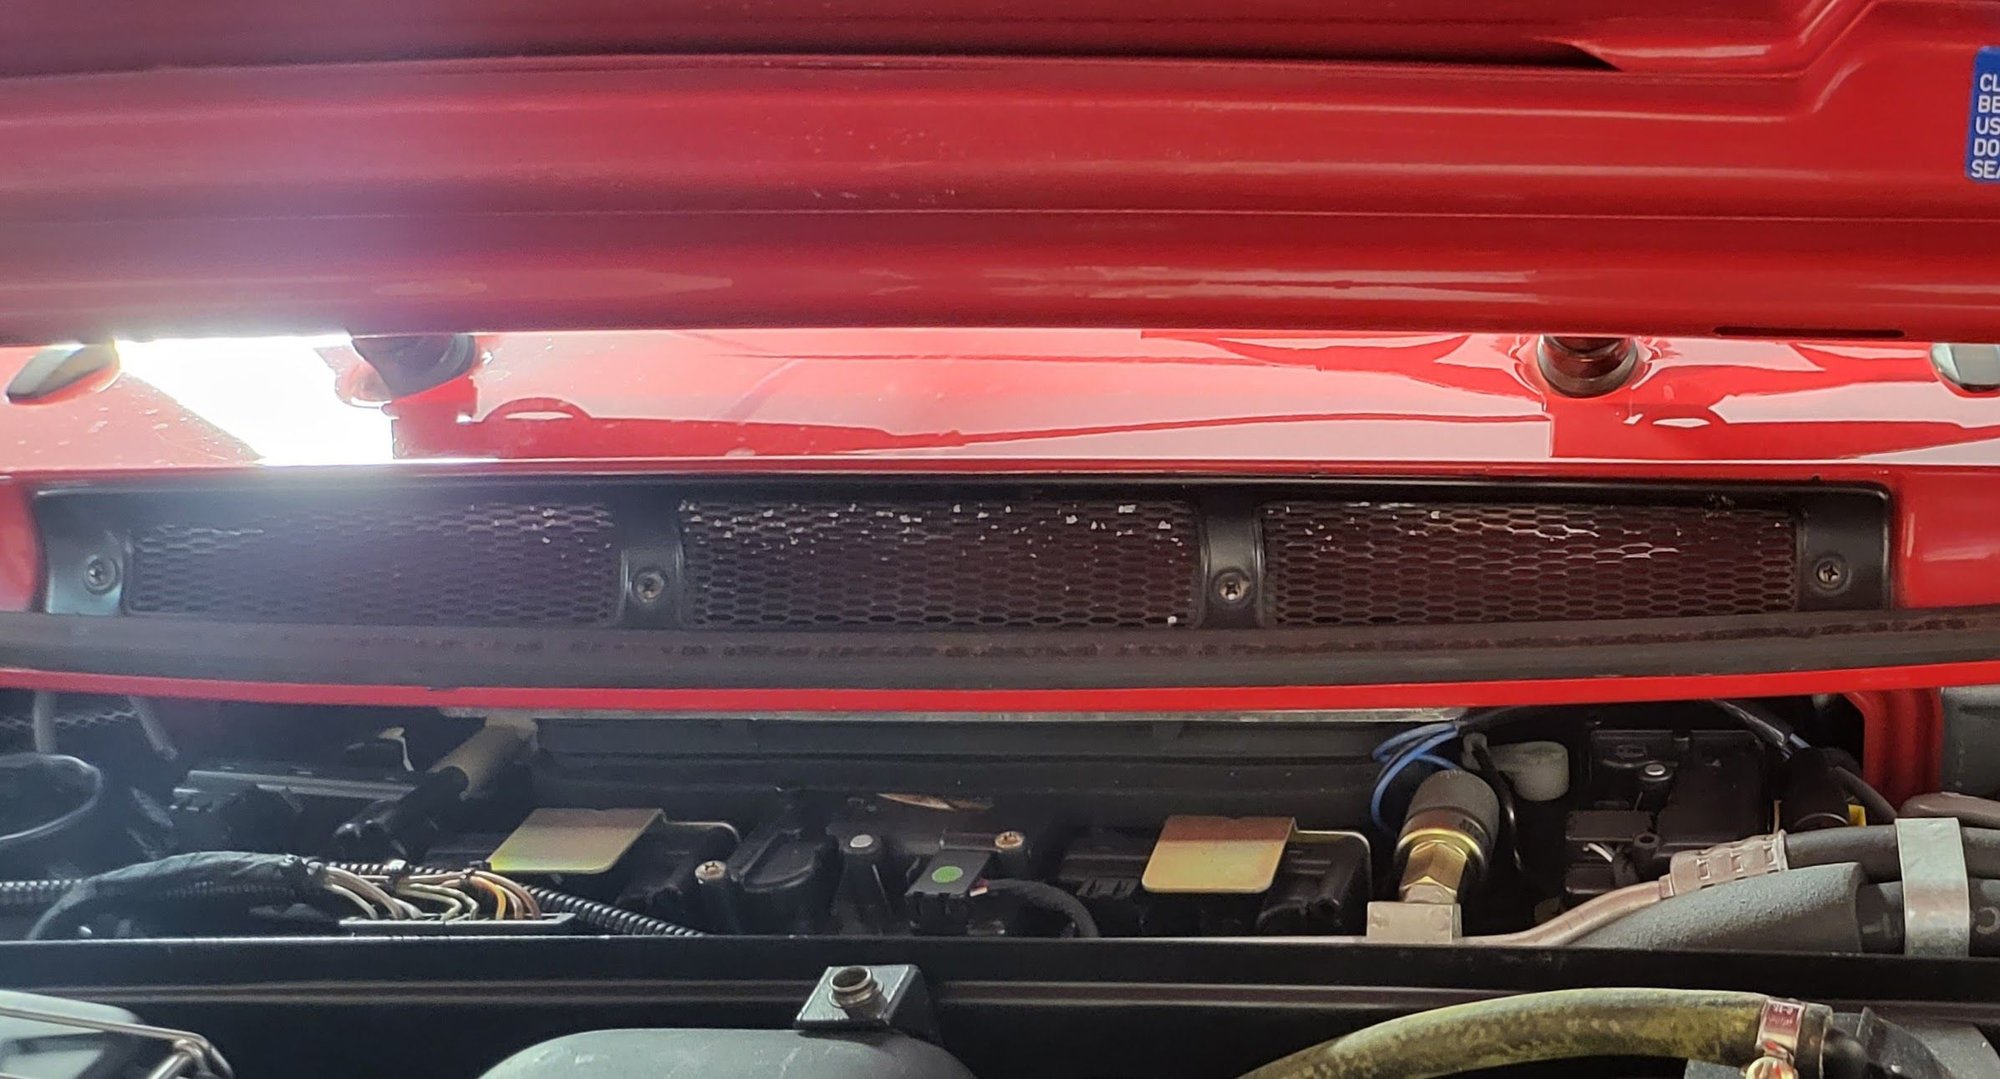
Looking for explanations, I recalled that when I first installed the Elephant Racing front drop links the jam nuts weren't fully tightened and there was some drivetrain interference. Despite tightening the jam nuts to try to keep the link away from the drive shaft, contact persists. I've reached out to them for advise but haven't heard back - in the interim I've refitted the originals which provide much more clearance as you can see below.
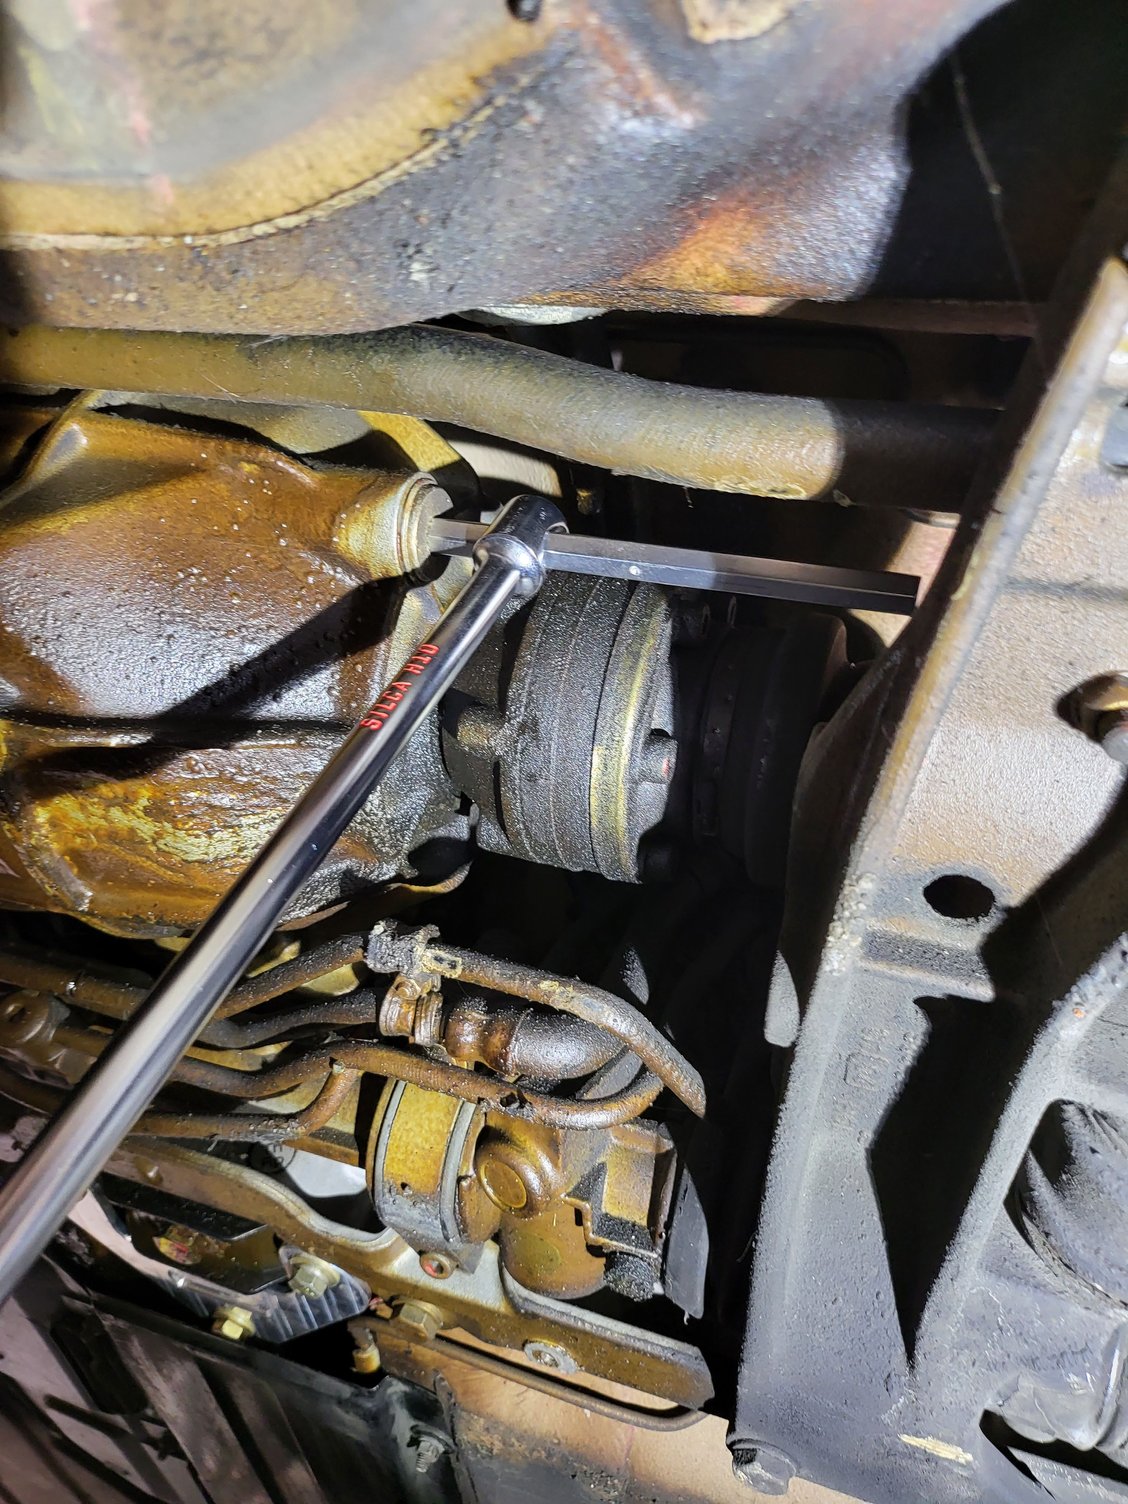
Refitting the originals did not solve the sound unfortunately. Next up was to change the diff and trans fluid to see if the sound changes at all - reviewing service records I could see that trans fluid was changed relatively recently in terms of miles driven, but many many years ago, and I could not find a record of the front diff fluid being changed. Started with the fill plugs as usual - crazy tight....had to break out the big boy hex wrench as there wasn't really enough space for the big breaker bar.
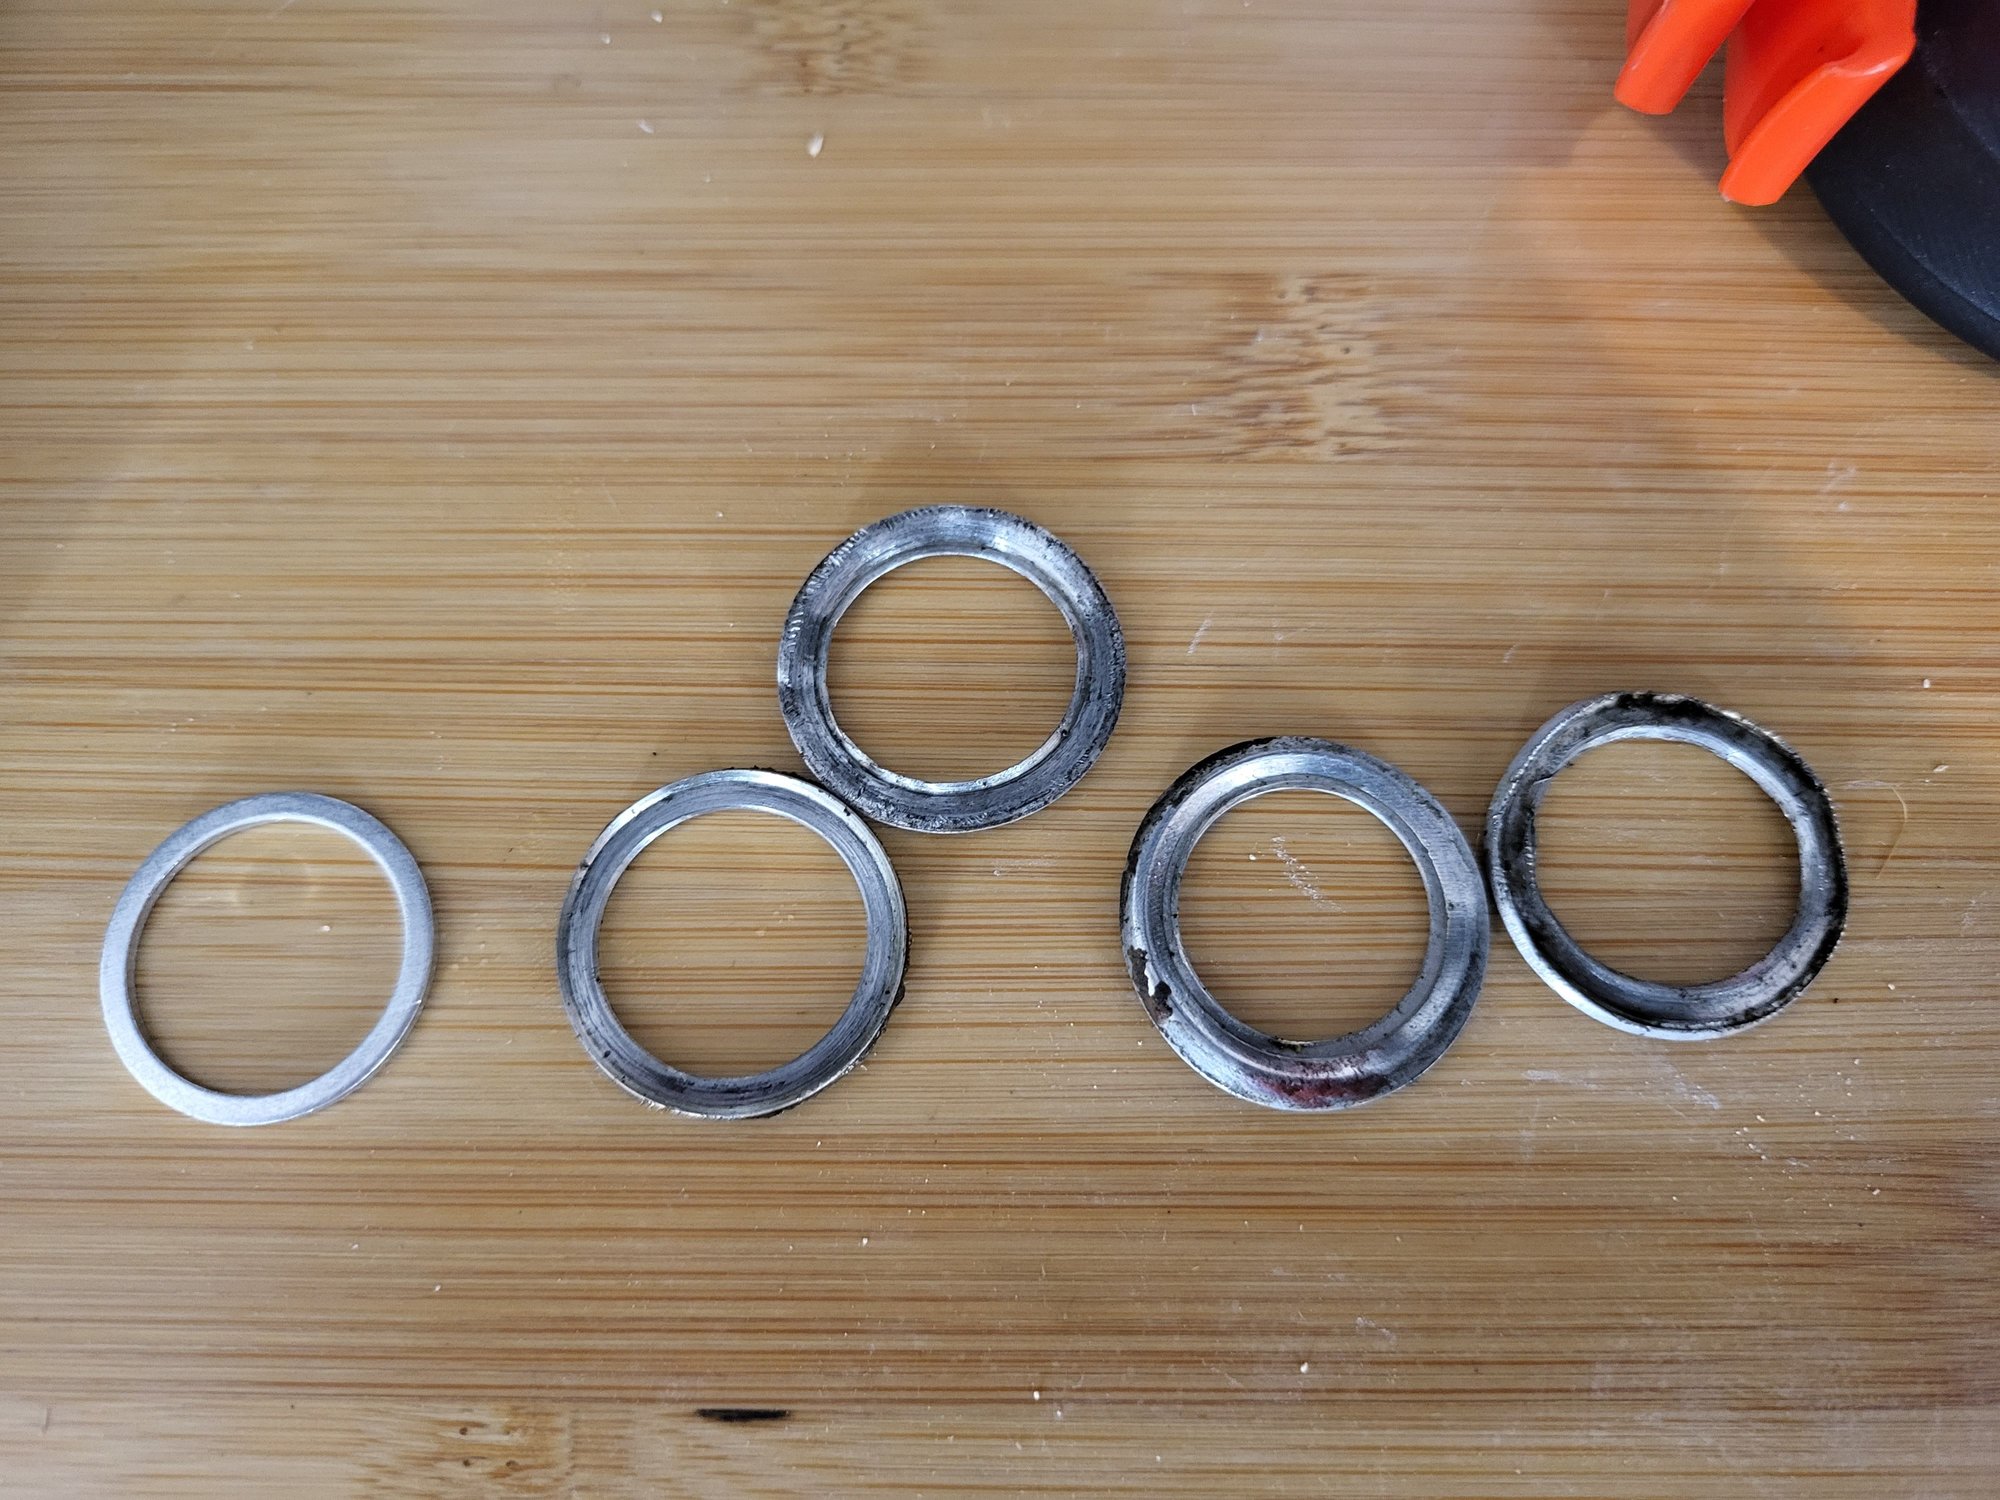
Both fill and drain plugs required massive amounts of torque to undo. Its unclear whether these crush washers were the incorrect washers or just crushed by the excessive torque. Threads look fine and everything went back together smoothly with no leaks.
Regrettably, despite slightly smoother feeling shifting the whining noise remains. Diff fluid was extremely black, trans fluid looked fine. There were no shavings on either of the magnetic drain plugs, but I'm still suspicious of the front diff. I may try to source a used one and swap it out to see if that fixes the whining noise. For the time being I'll leave the OEM shift boot/**** in place so it isn't so annoying to drive.
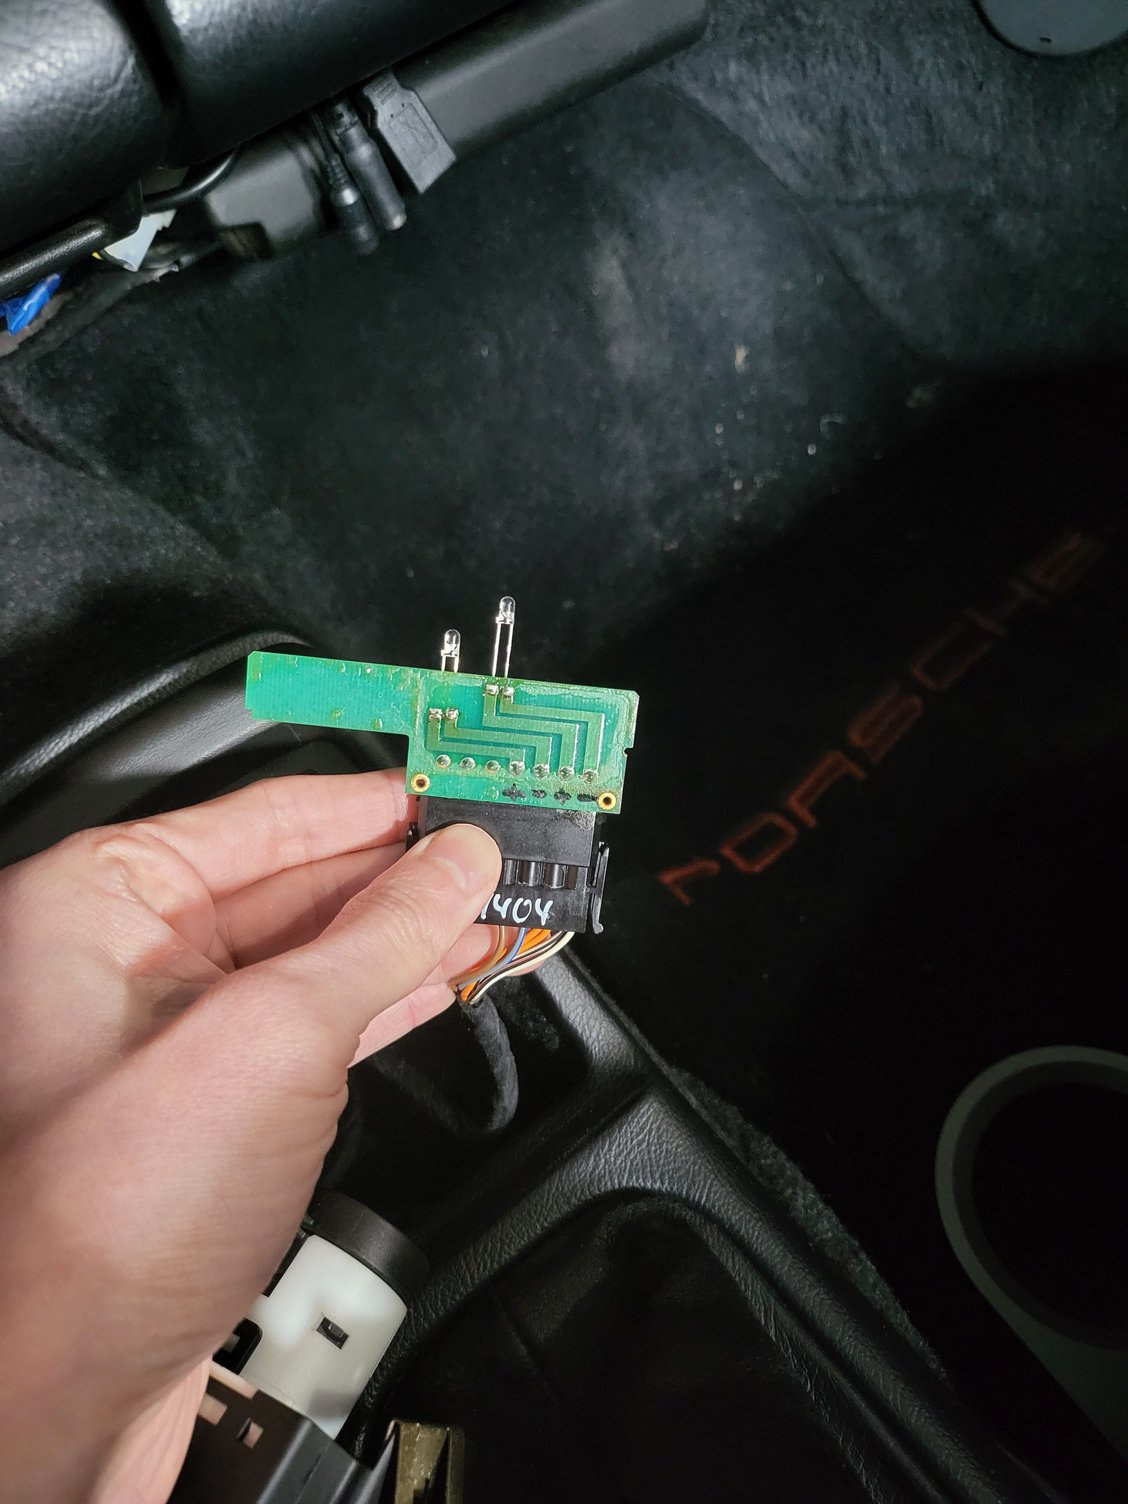
In need of a win, I tackled the burnt out lights in the center console. Mine were all burnt out, such that I didn't realize they were supposed to be there until I saw a photo of someone else's car with them illuminated. I bought some LEDs with integrated resistors from digikey so I didn't have to add my own resistors. Tore has a handy photo on his website detailing the anode and cathode layout on the boards, however his photo is of the newer board with the spoiler control; being as my car is an 89, mine is a little different. Below I've marked mine in case anyone needs it.
Not super exciting stuff, but I decided to tackle some HVAC issues in my car. I went through Tore's excellent diagnostic guide to see what was going on as I had a number of things that weren't quite right. Most noticeable was that as soon as I turned on the car, the oil cooler fan would cycle on high, on a couple seconds, off a couple seconds, repeat. The t-stat worked correctly and would feed oil to the cooler when the car was up to temperature, but the fan always ran like that regardless. Another problem was that the rear blower fan would run on high if the climate fan was set at anything above 0 - there was no low speed fan operation. Finally my driver's side vent would blow cool air regardless of the temperature setting, while the remaining vents operated as expected. I had a pretty good idea what the causes were but went through the full diag regardless.
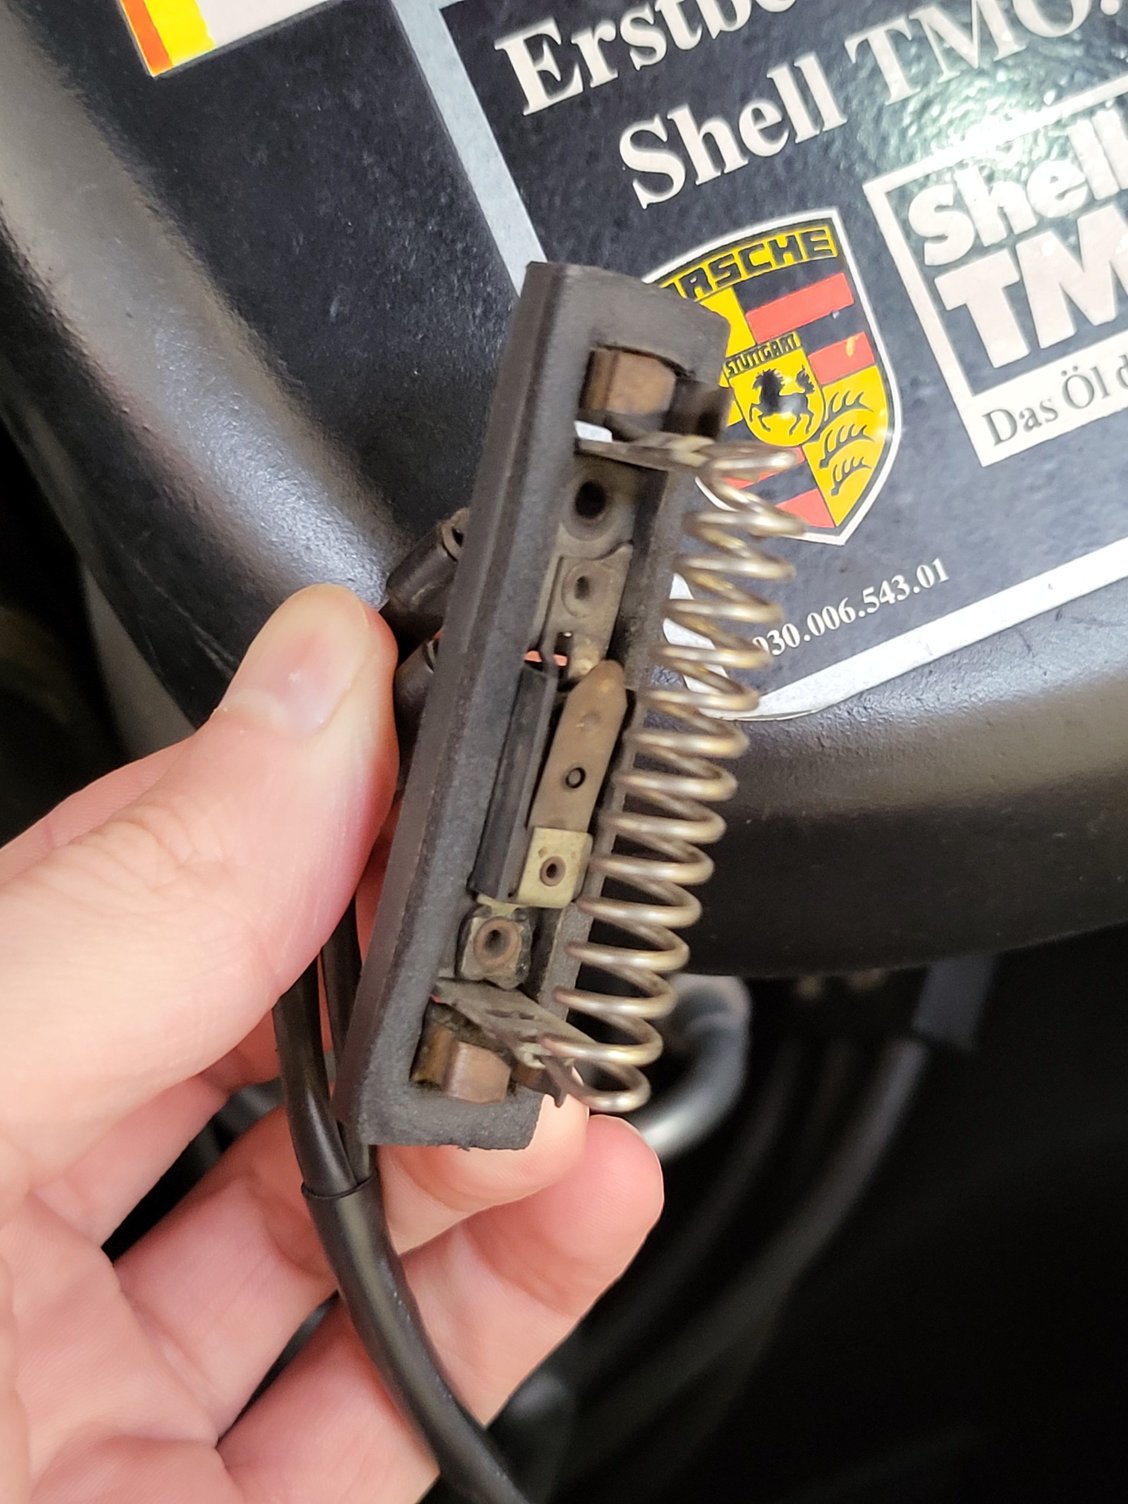
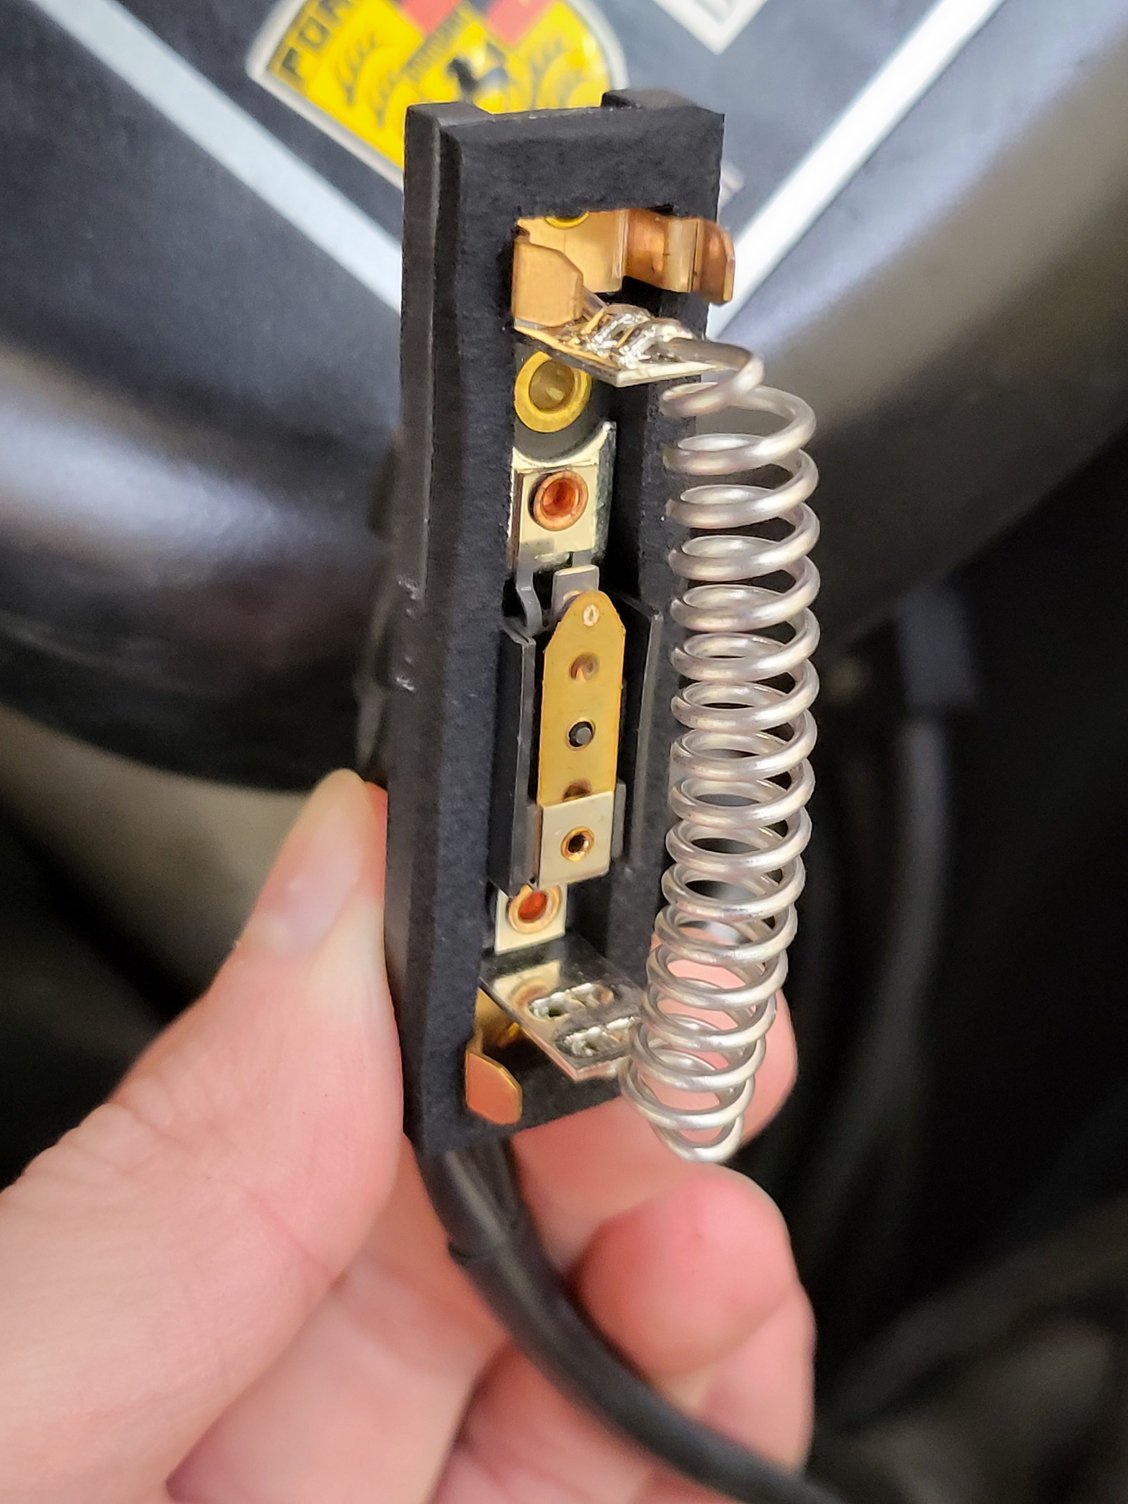
First up, rear fan issue. No low speed indicates (usually) that the rear blower resister/thermoswitch has failed, and I determined that mine indeed had. Jumping the relay for low speed fan did not run the fan, but if I bridged the resister I would get high speed output, indicating the resistor had failed.
A replacement part solved the problem, easy start.
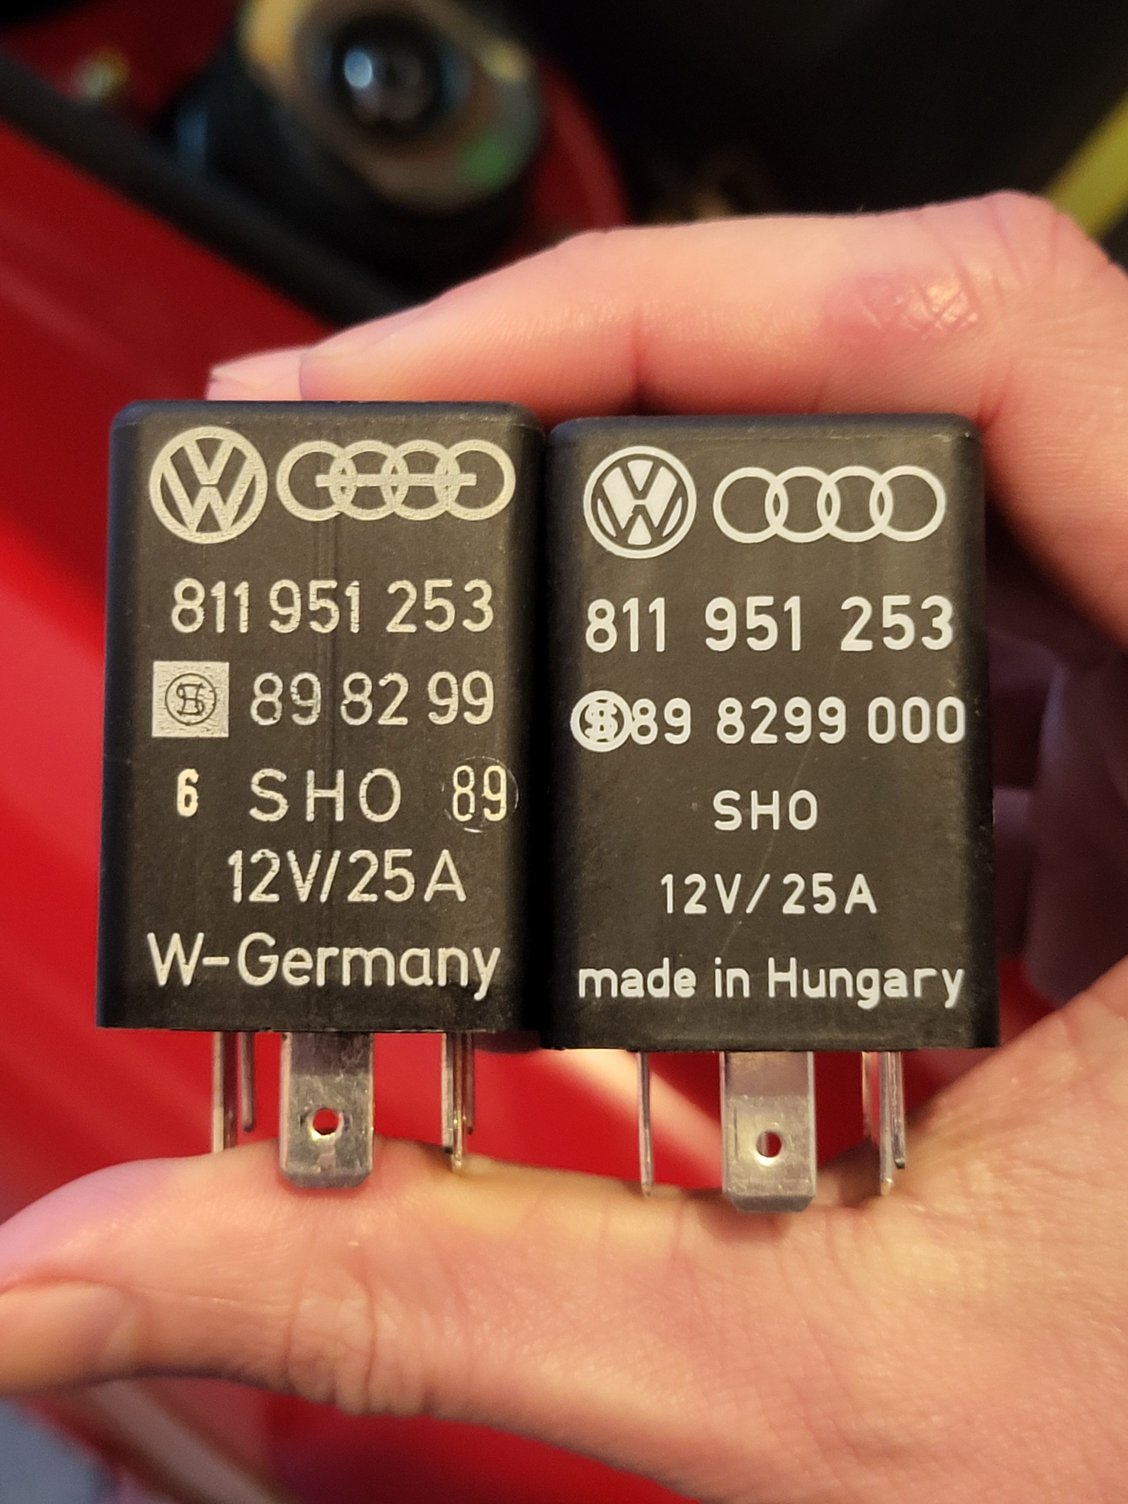
Next I moved on to the oil cooler fan behavior. Jumping the relays provided the expected low and high speed fan outputs ruling out a ballast resistor fault. I then swapped the AC fan and oil cooler fan relay and the fan operated as expected, leading me to believe that the relay has failed in a bit of a strange way. I ordered a new one to replace it and everything seems to function as expected now. New vs Old relay - they're now made in Hungary.
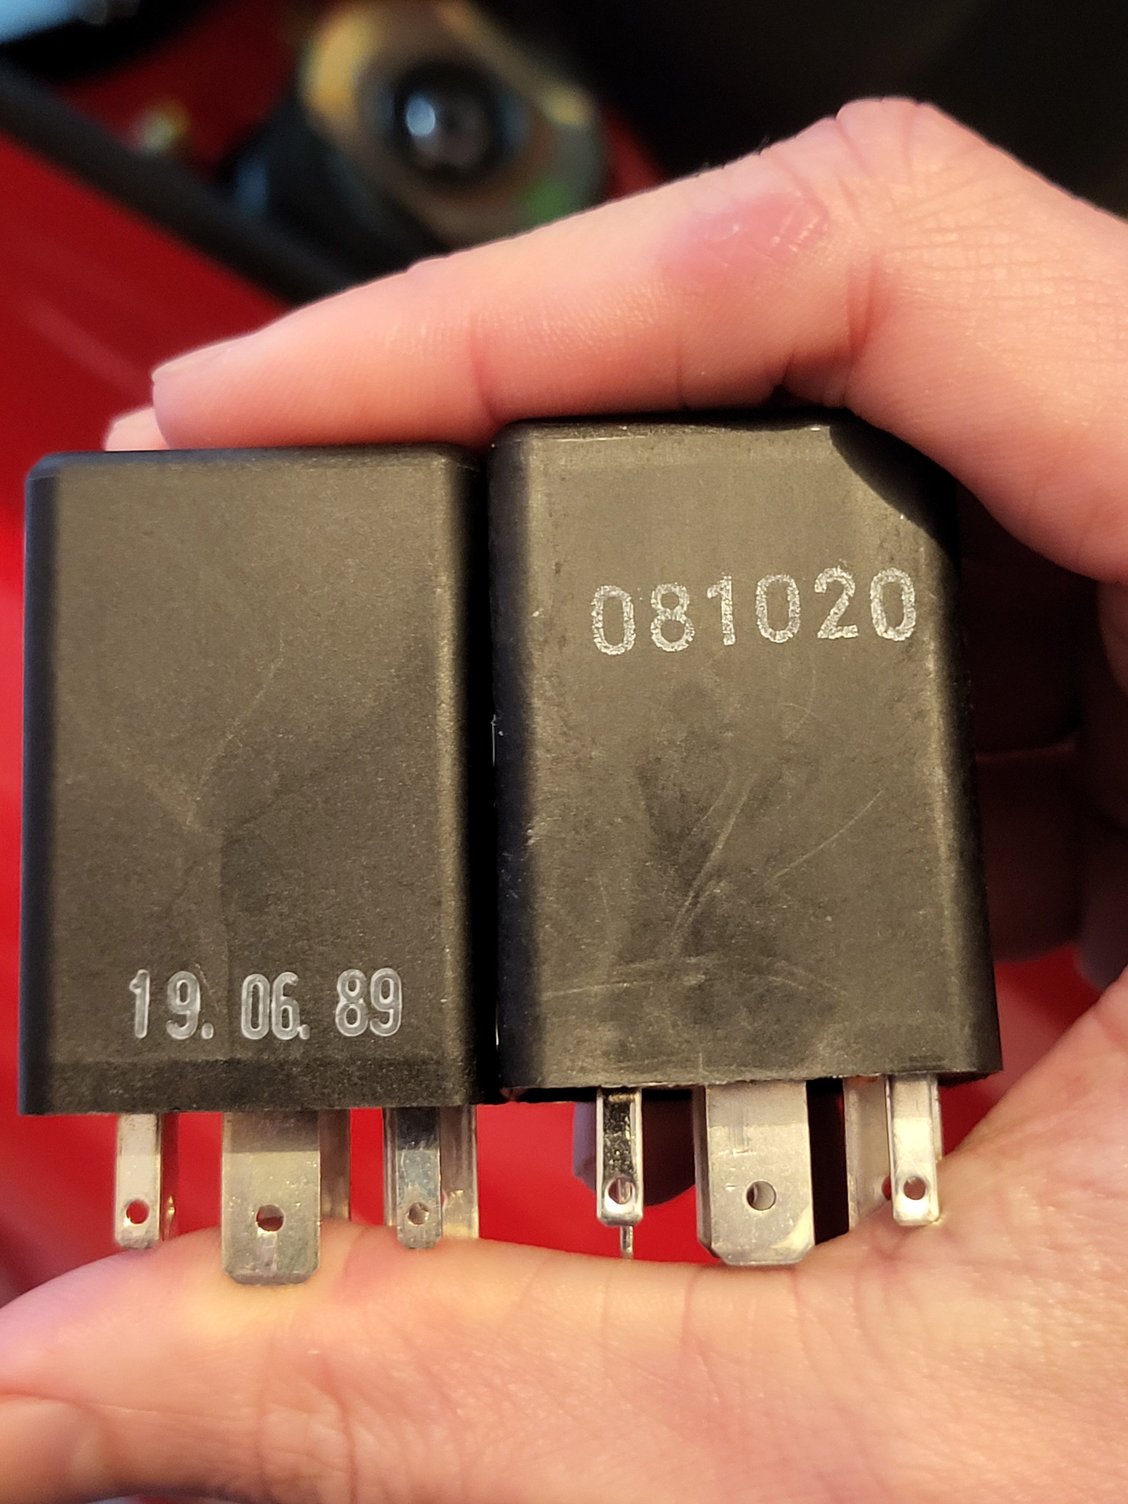
Date code indicates the relay was original (I assume), from 1989.
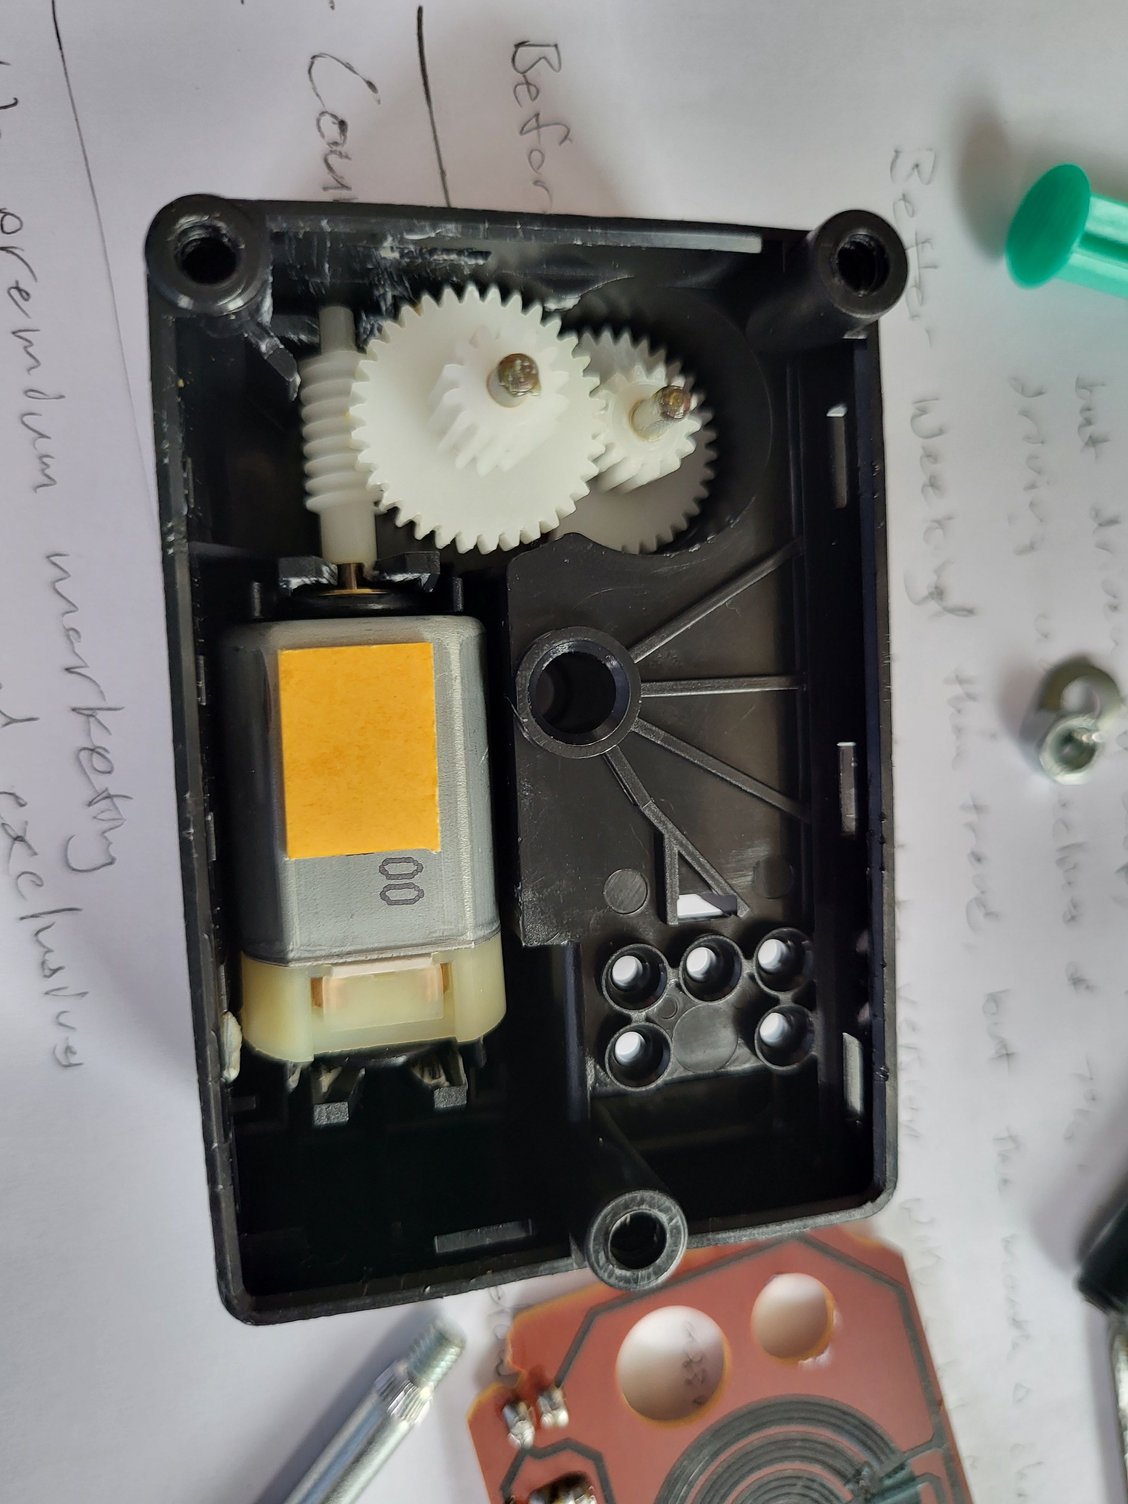
Next up is the vent behavior in the car. Going through the test procedure, all servos worked correctly with the exception of the left mixer servo which showed no signs of life. After almost passing out looking at the cost to replace the little servo motor I contacted Michael at Partisan Autoteile (no affiliation) regarding a rebuild kit. He shipped it promptly and it arrived a few days later from Germany.
Removal of the mixer servo involves first removing these two philips head screws tucked behind the servo - careful not to drop them.
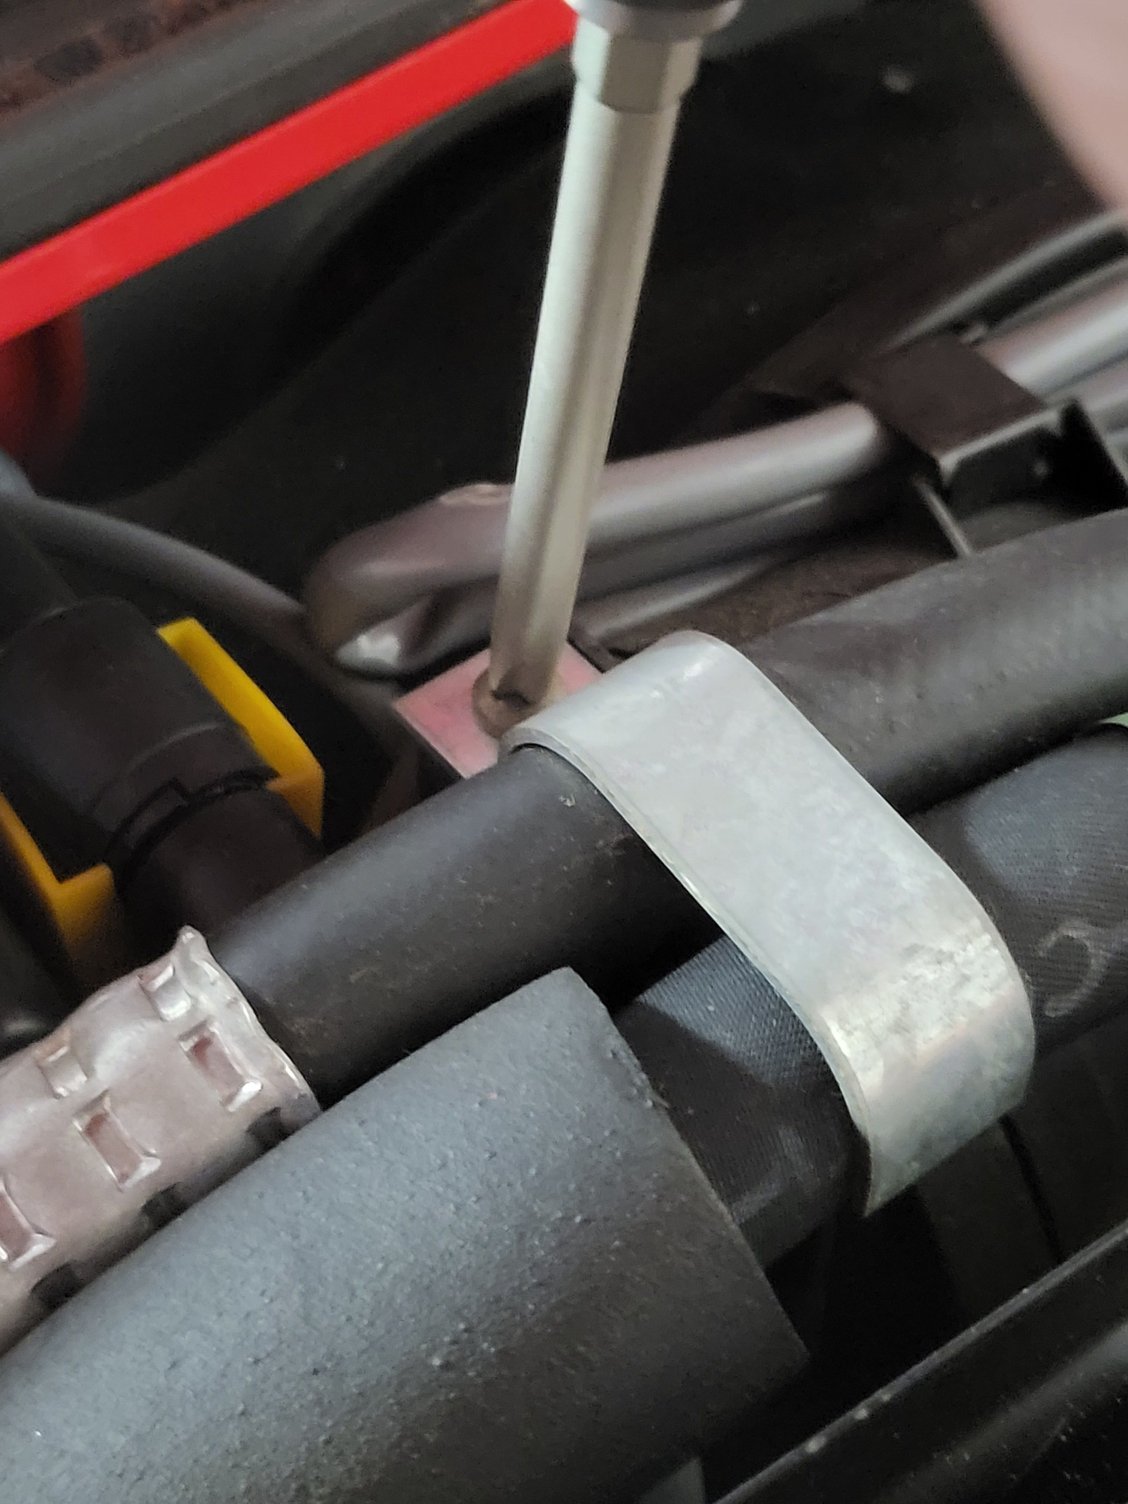
Next I found I needed to undo the AC line clip to allow enough wiggle room.
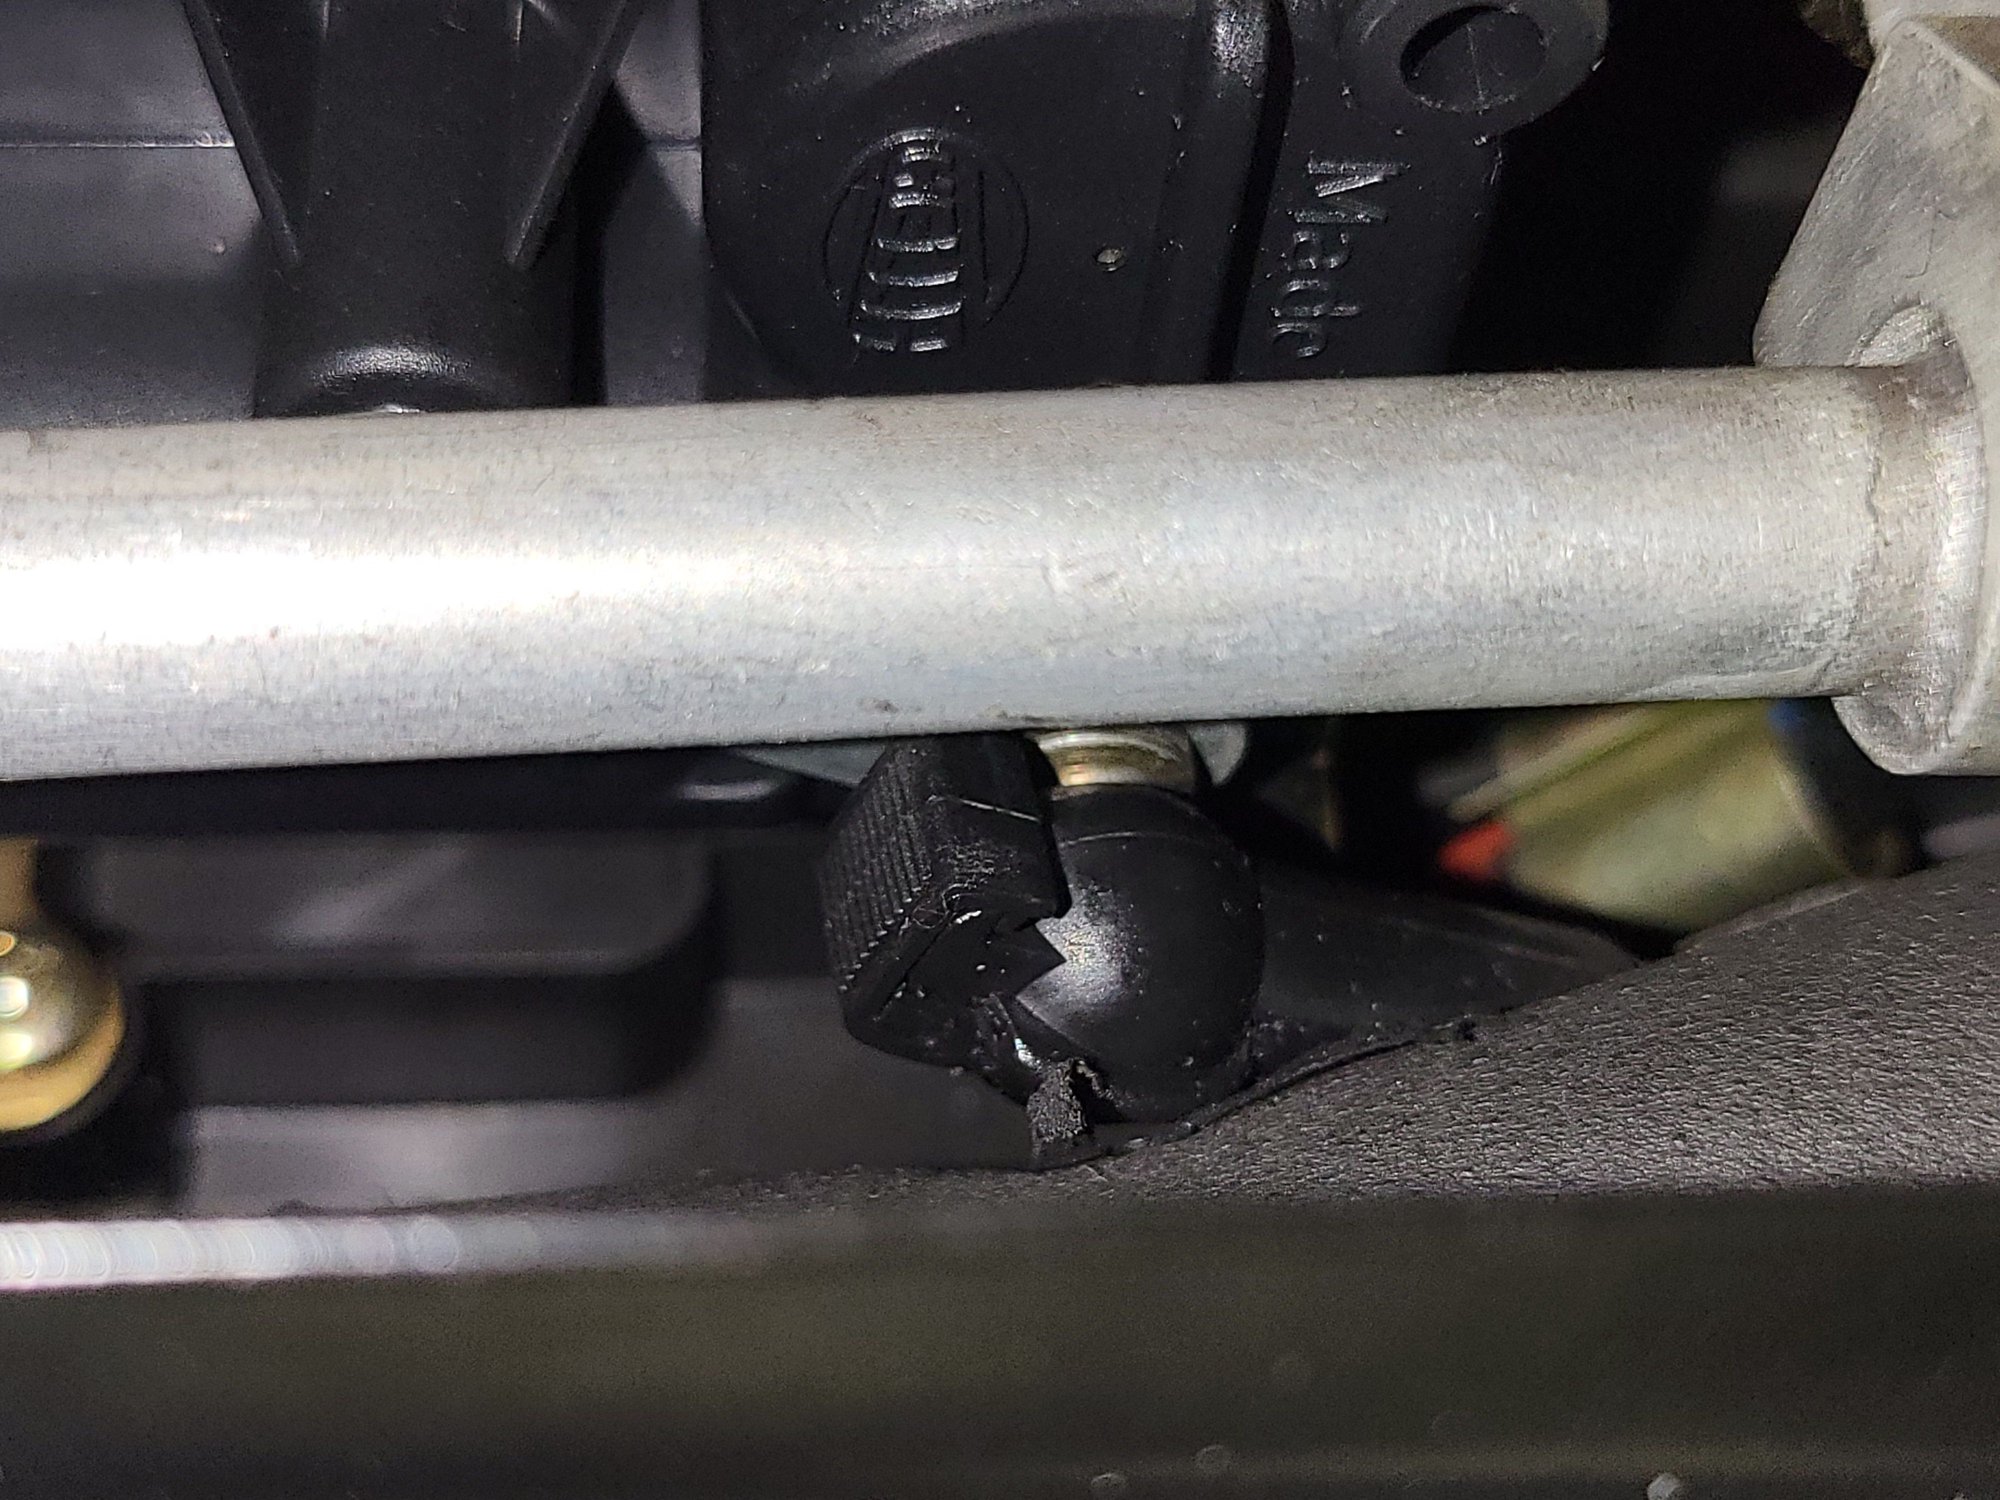
Lastly, the mixer flap is attached to the servo via this ball connection which is held tight by a hinged plastic clip on the top - undo this clip to allow you to remove it without damage.
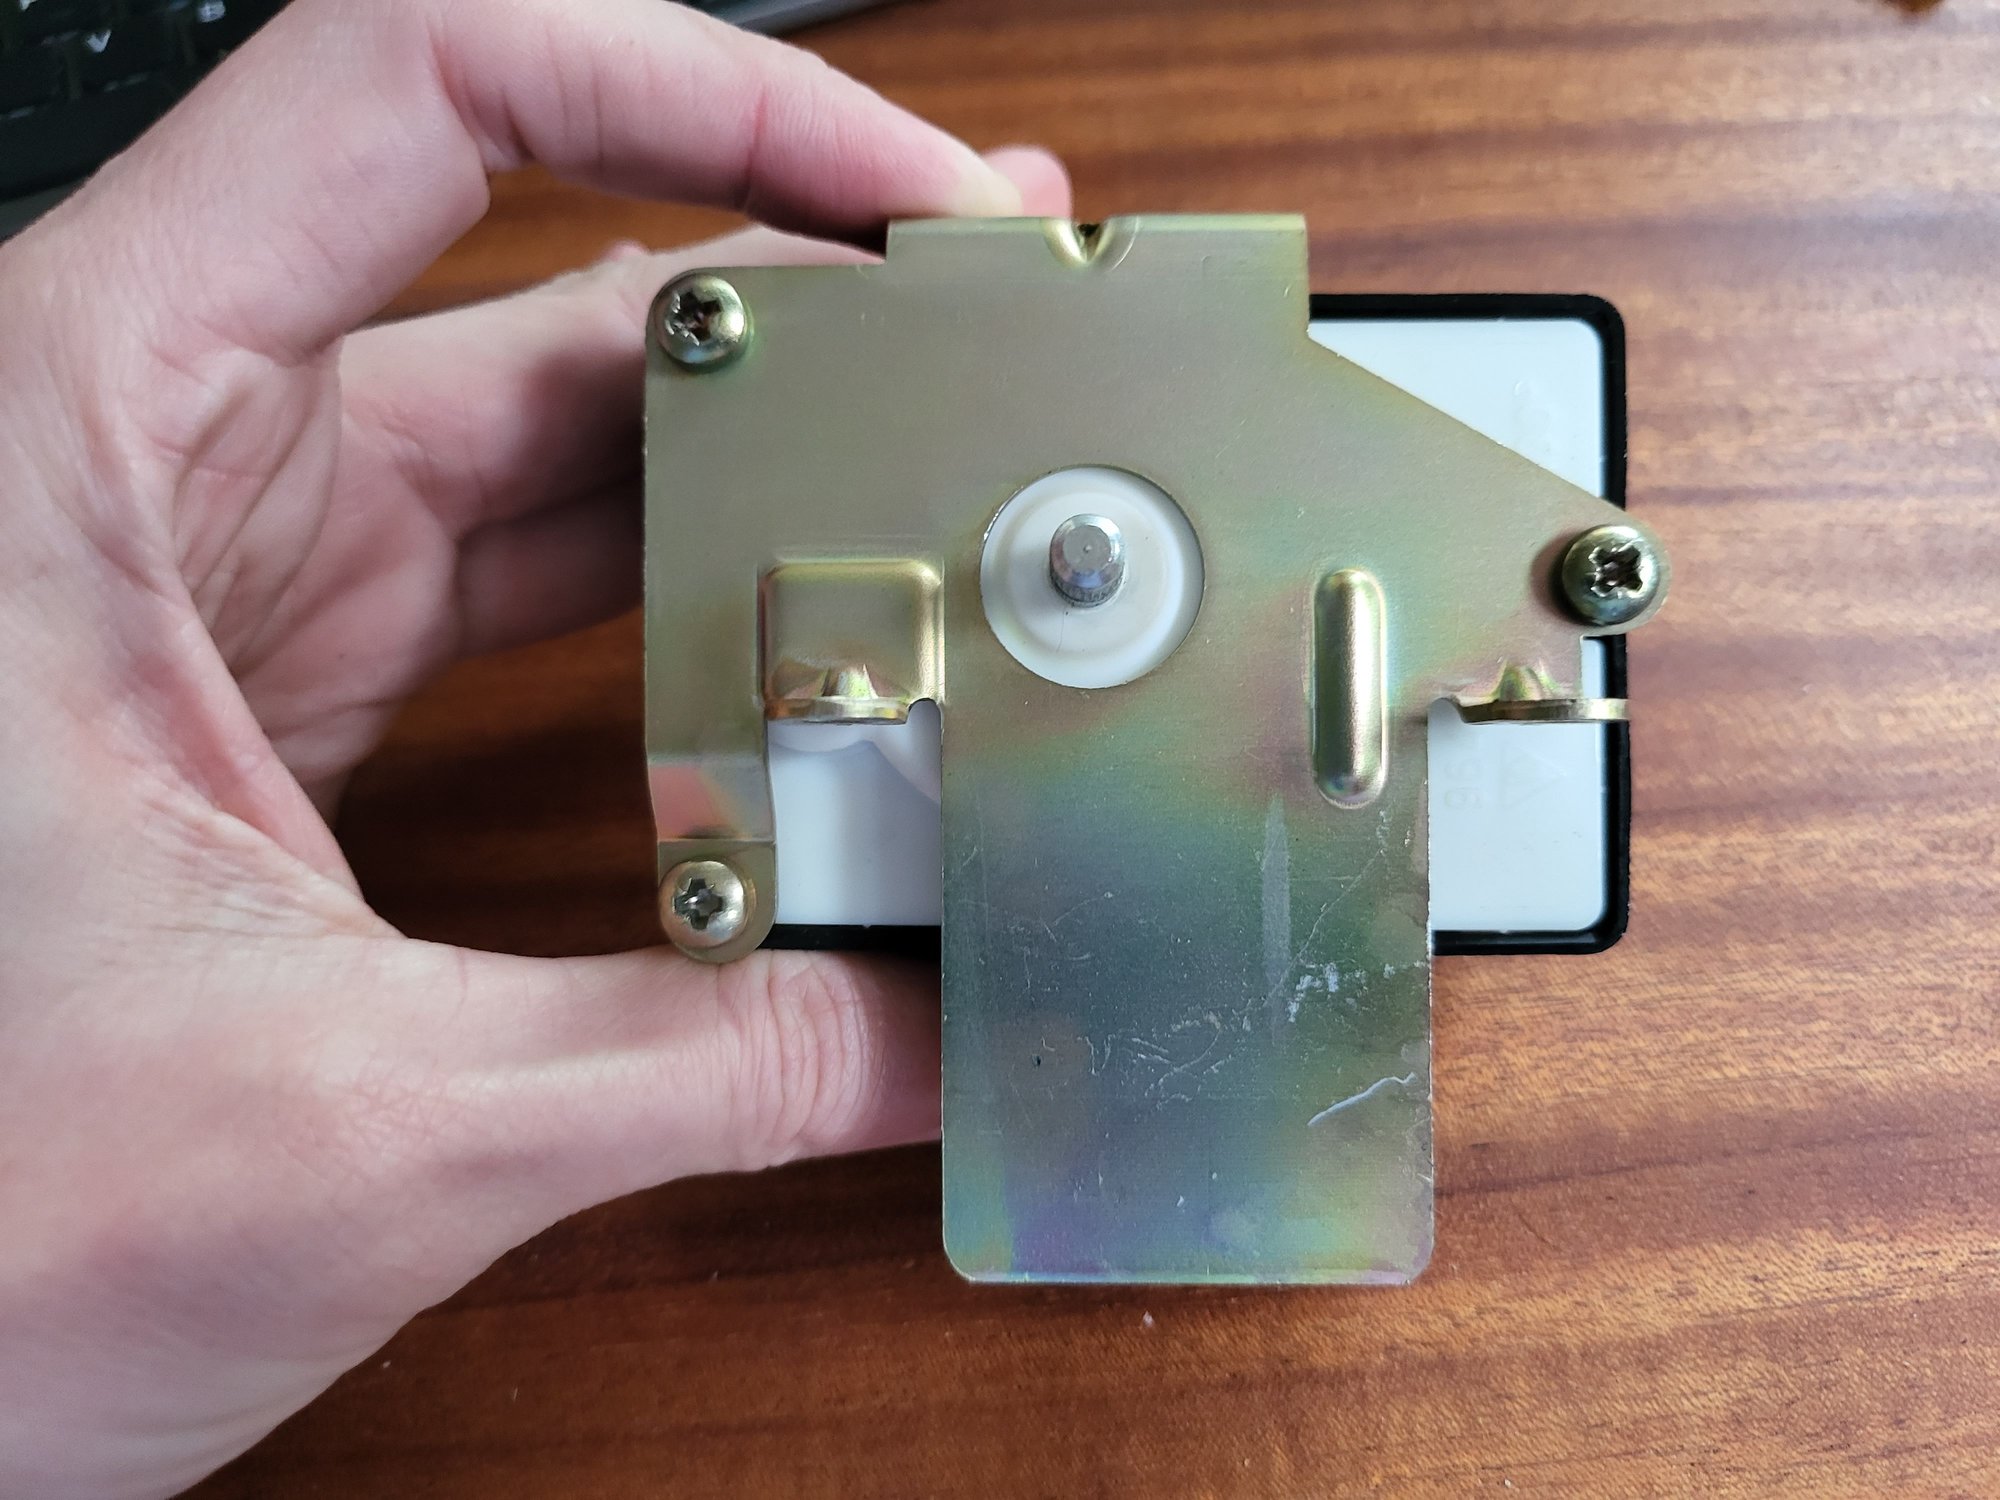
Disassembly first requires removal of this metal bracket via three screws.
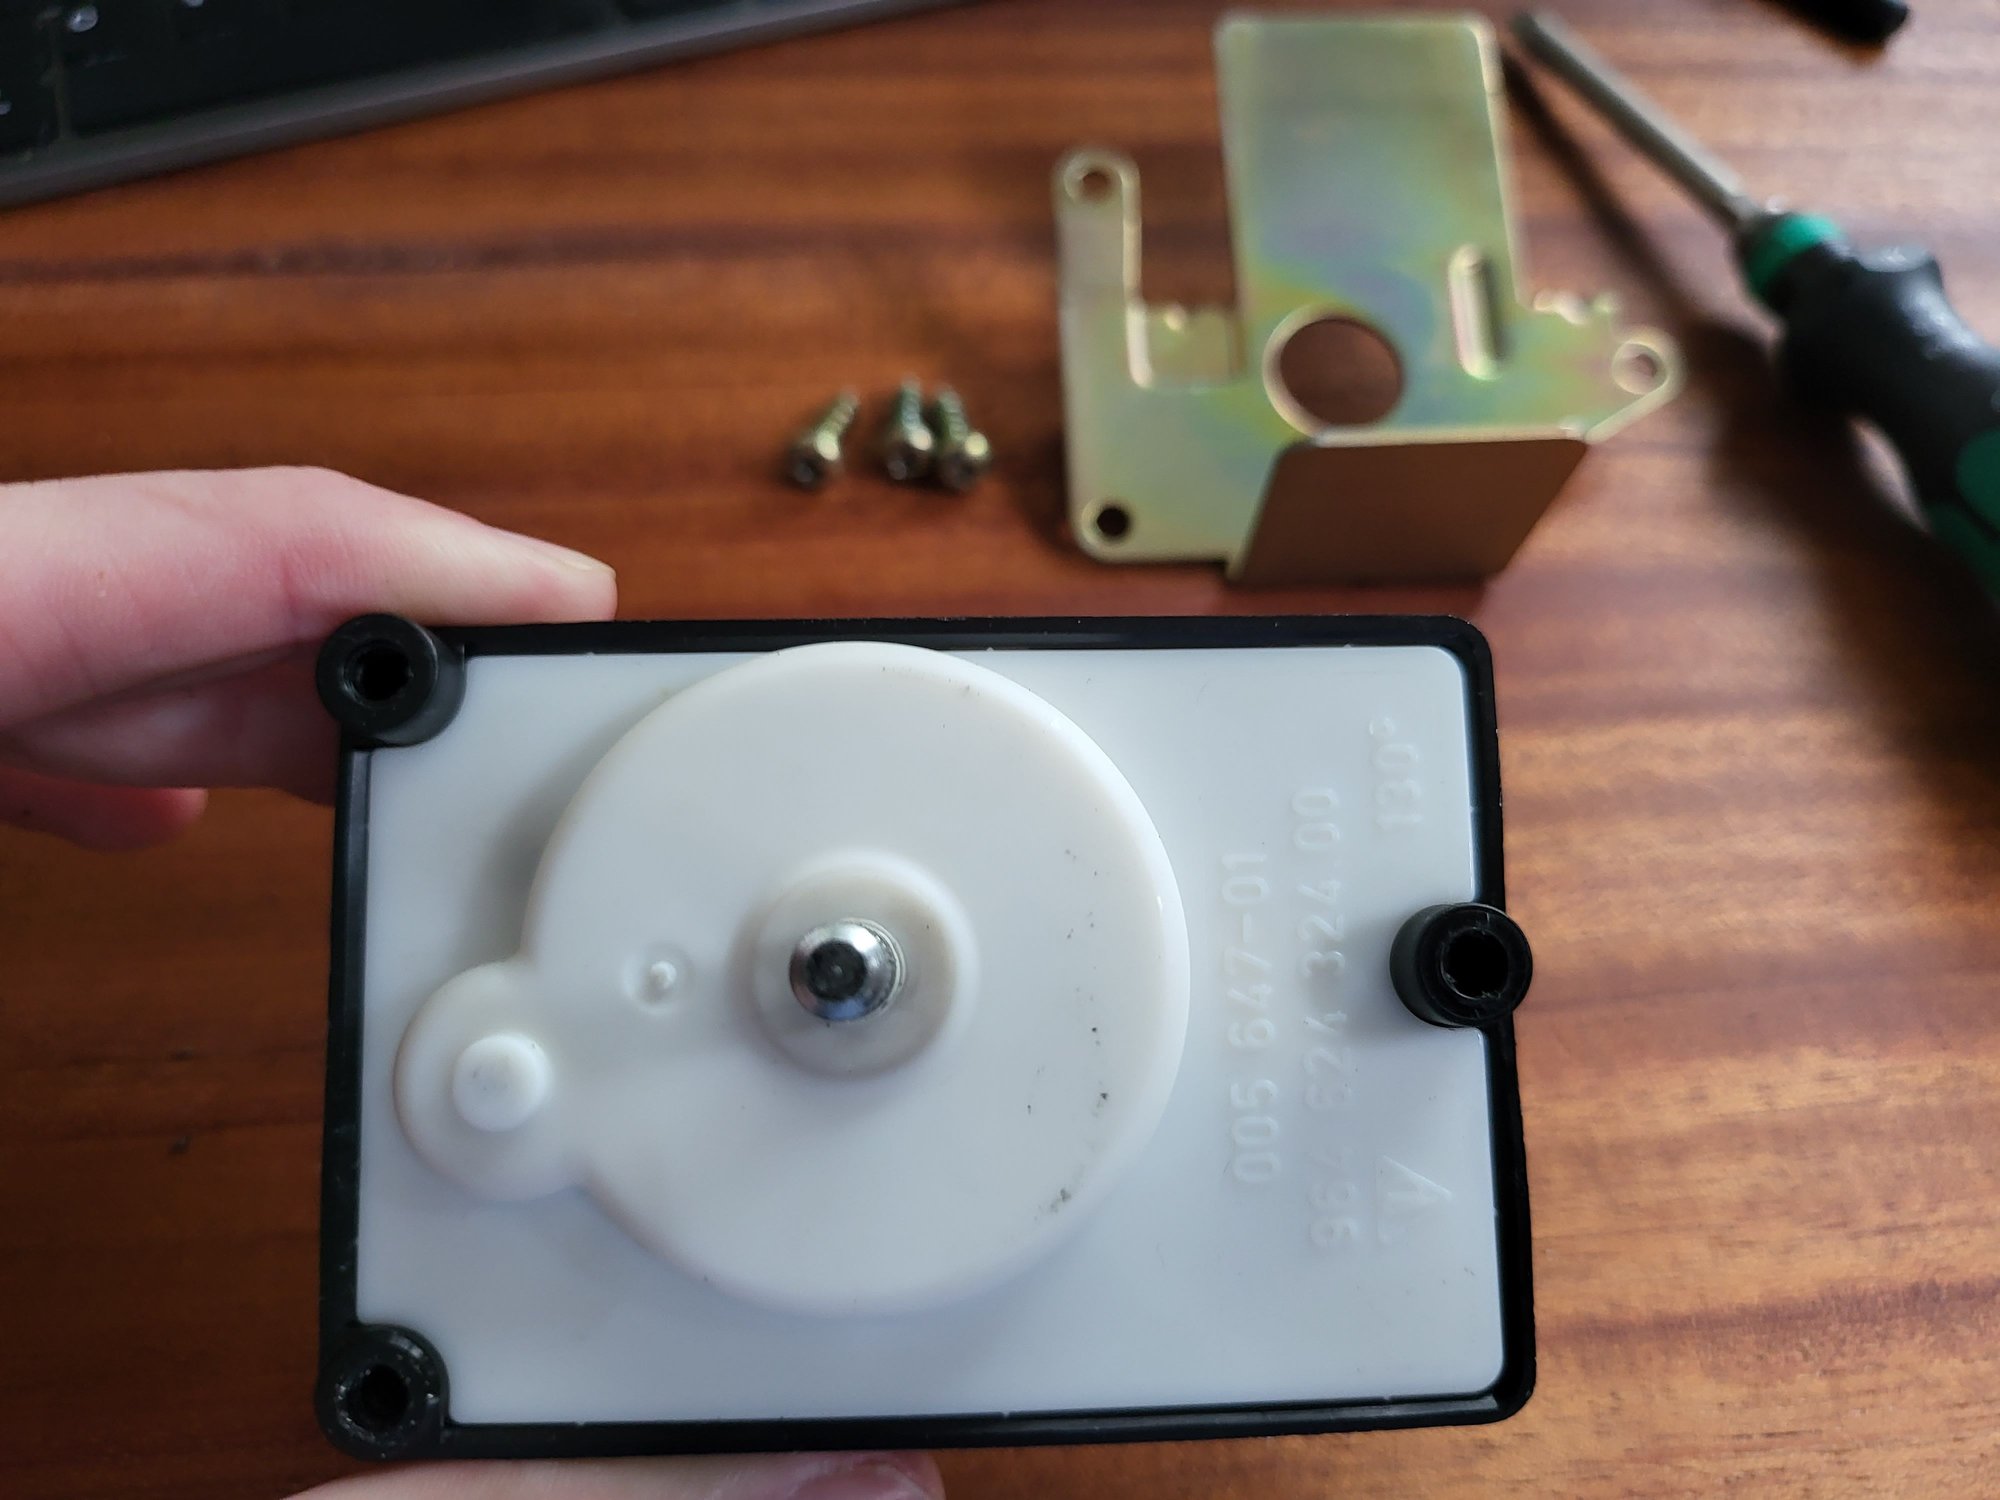
Next remove the lever arm by undoing the 8mm nut. the lever arm is pressed onto the splined shaft and mine required quite a bit of force to free it.
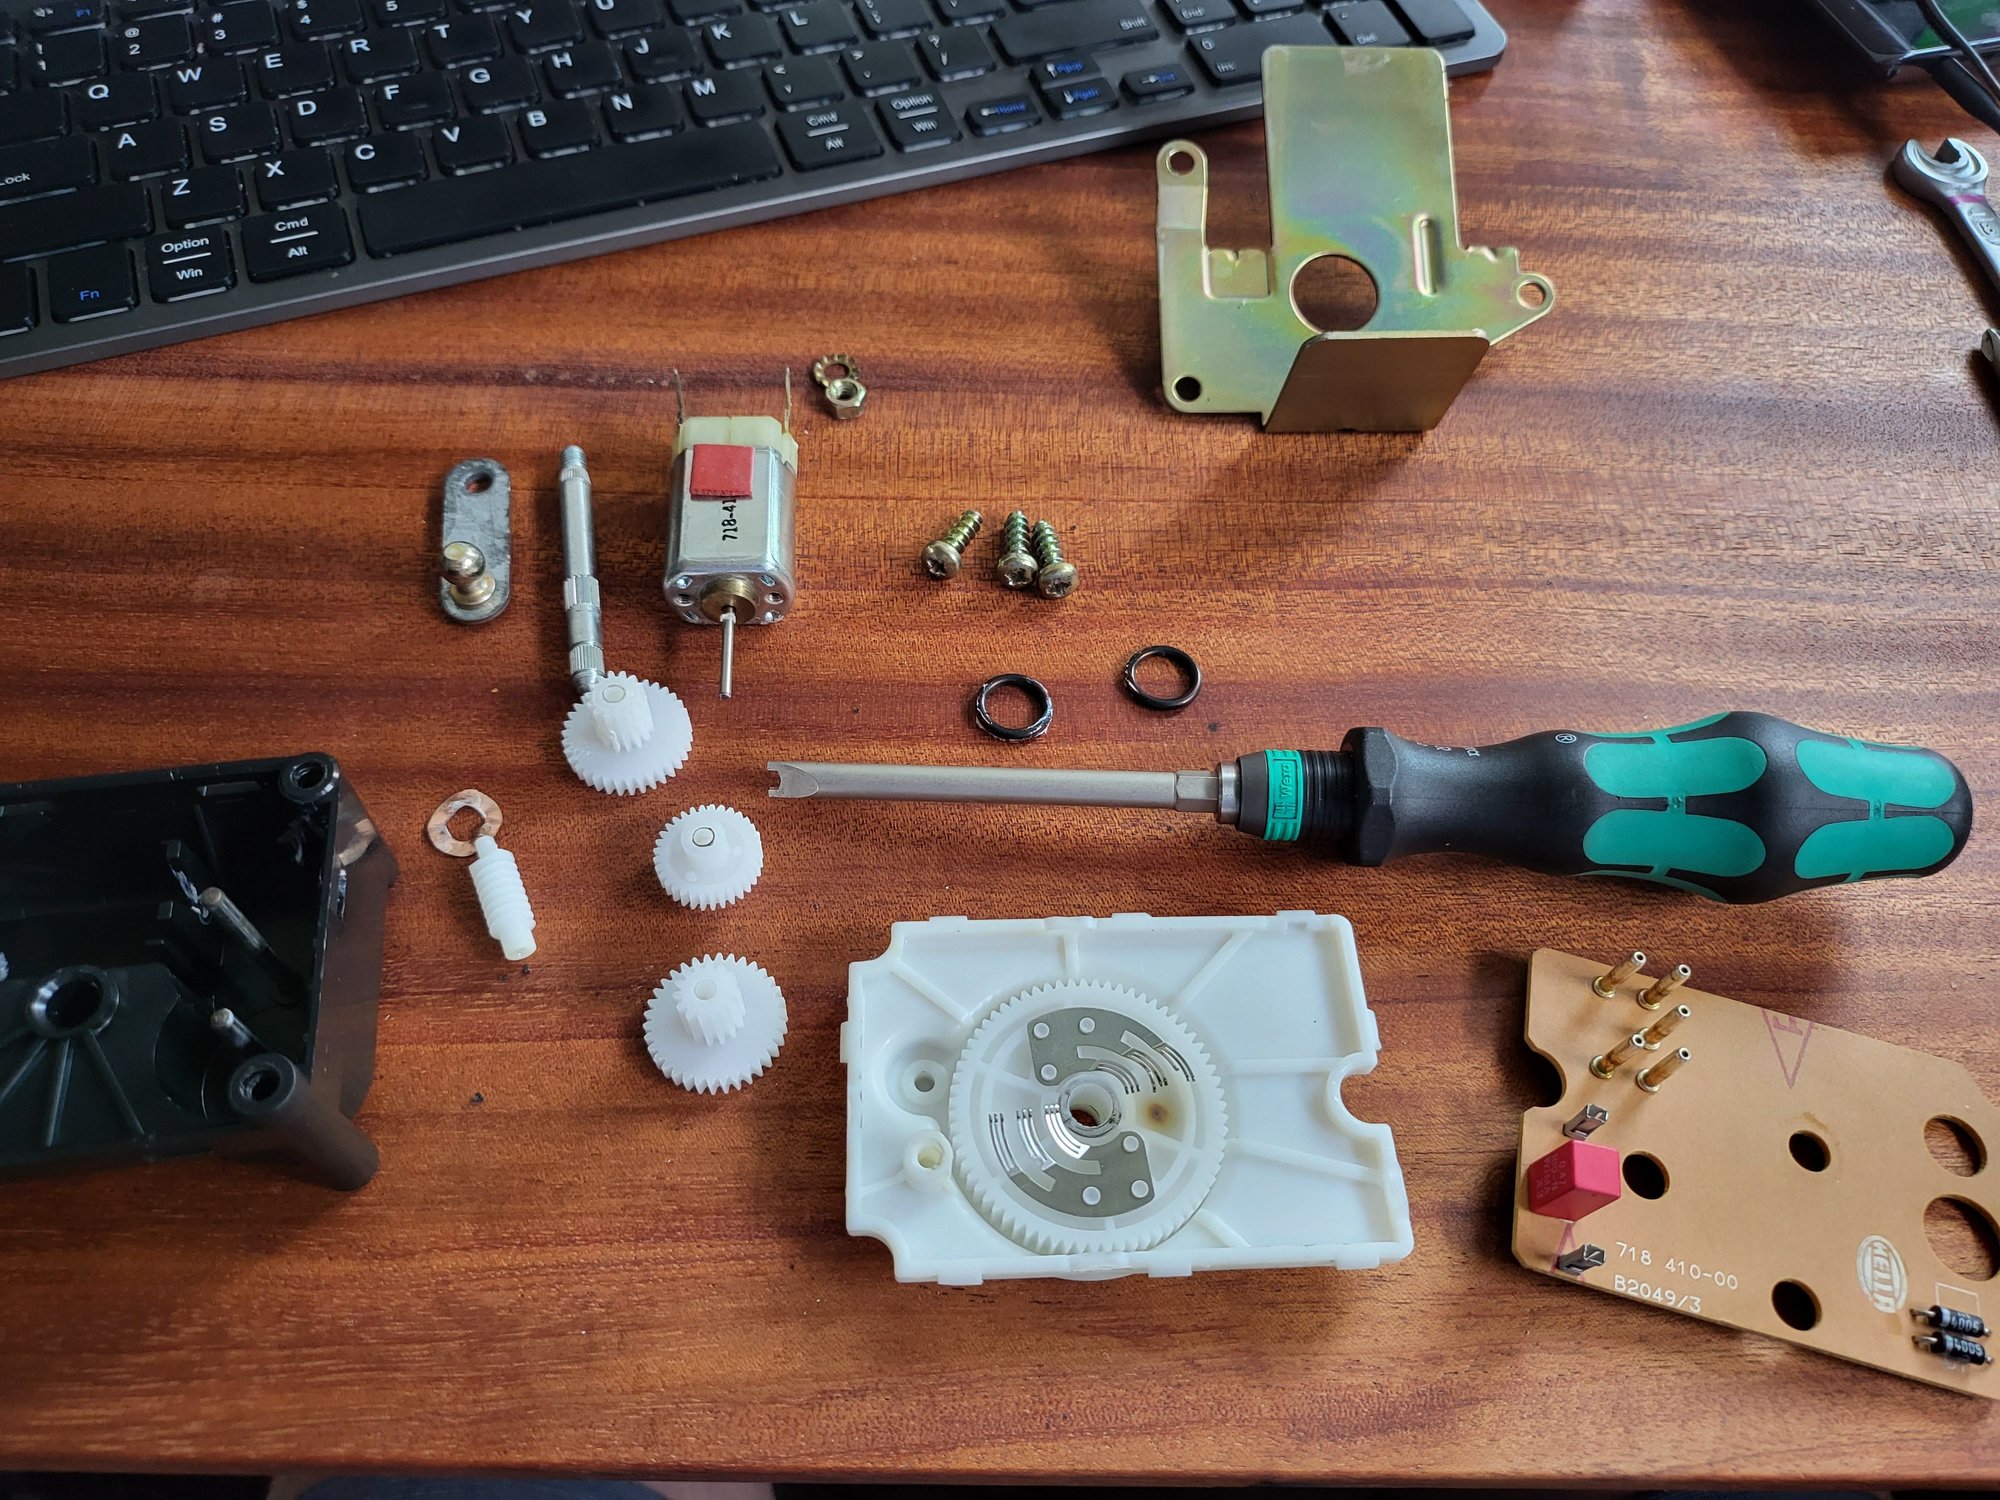
After that is off, you can pop the case apart and complete the disassembly.
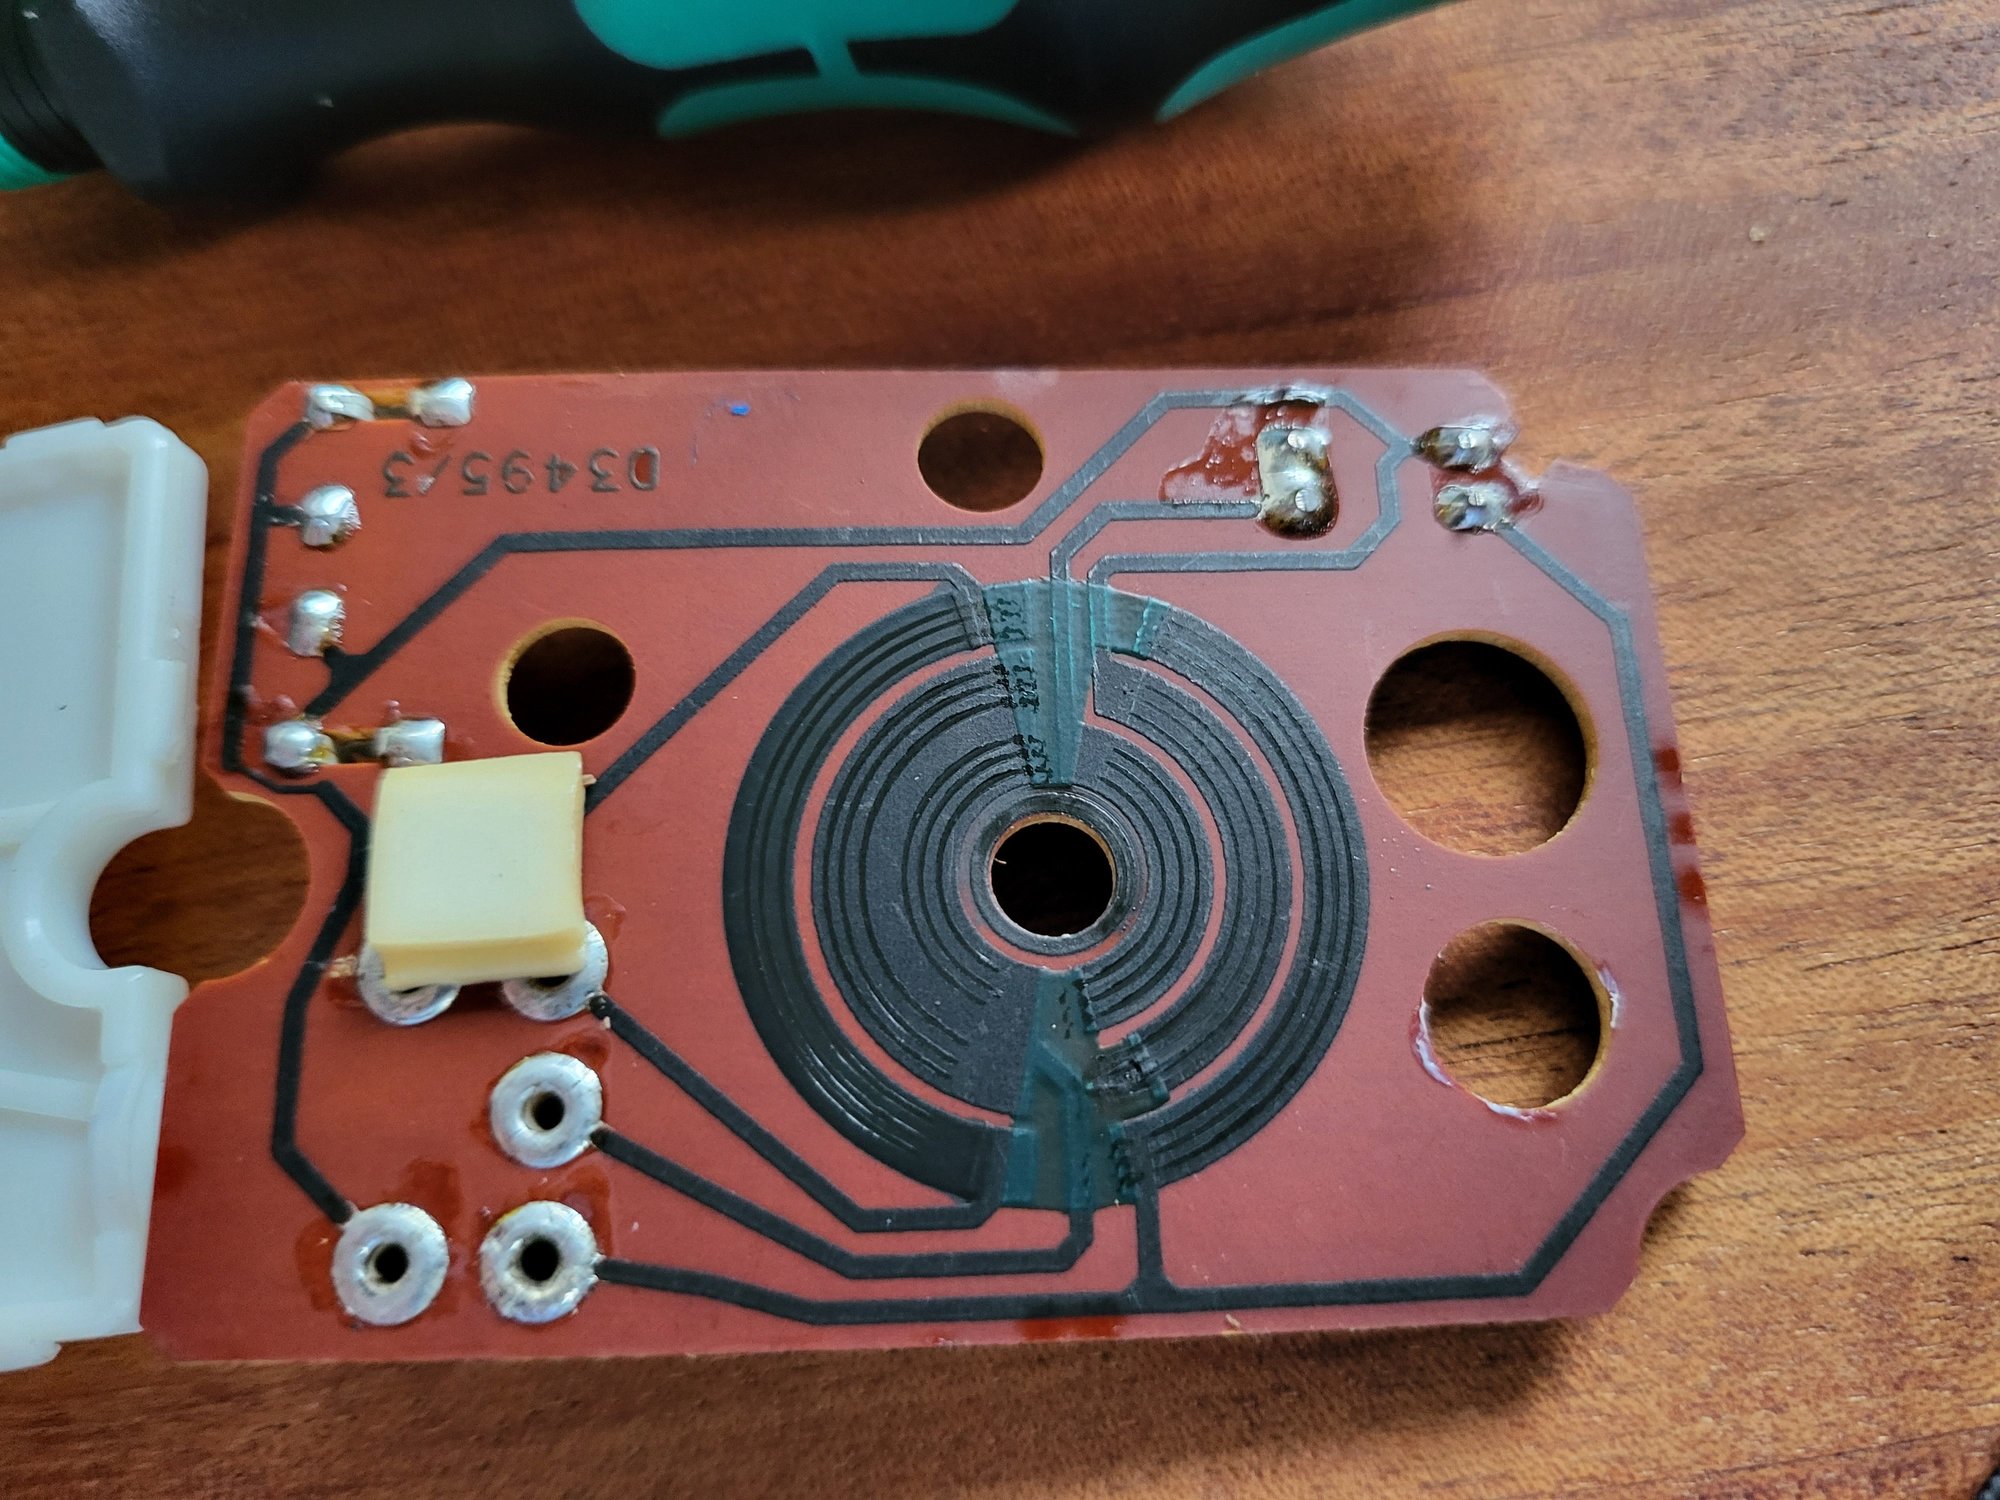
Looking at my traces, I really don't think they look all that bad. One of the little arms that runs along the traces is burned, but the rest look fine. I'm wondering now if this could have been rehabbed without the need of a rebuild kit, but in any case I've retained the parts for future investigation.
Reassemble the gear assembly with new motor in place. Everything just goes back in the reverse order it came out.
Push on the new board, snap the case back together and loosely fit the lever arm (to be tightened in car)
Refit the metal bracket and reinstall in the car. I re-attached the socket to the lever arm before tightening the 8mm nut. It is very tight and required a thin 8mm box end wrench.
Tested and works as expected now!
Final discovery during my testing was that it seems like the AC fan ballast resister is dead. I have a new one but it appears to be a pain to change so this will wait until I have an excuse to remove the bumper again - AC is not charged anyways so its not urgent.
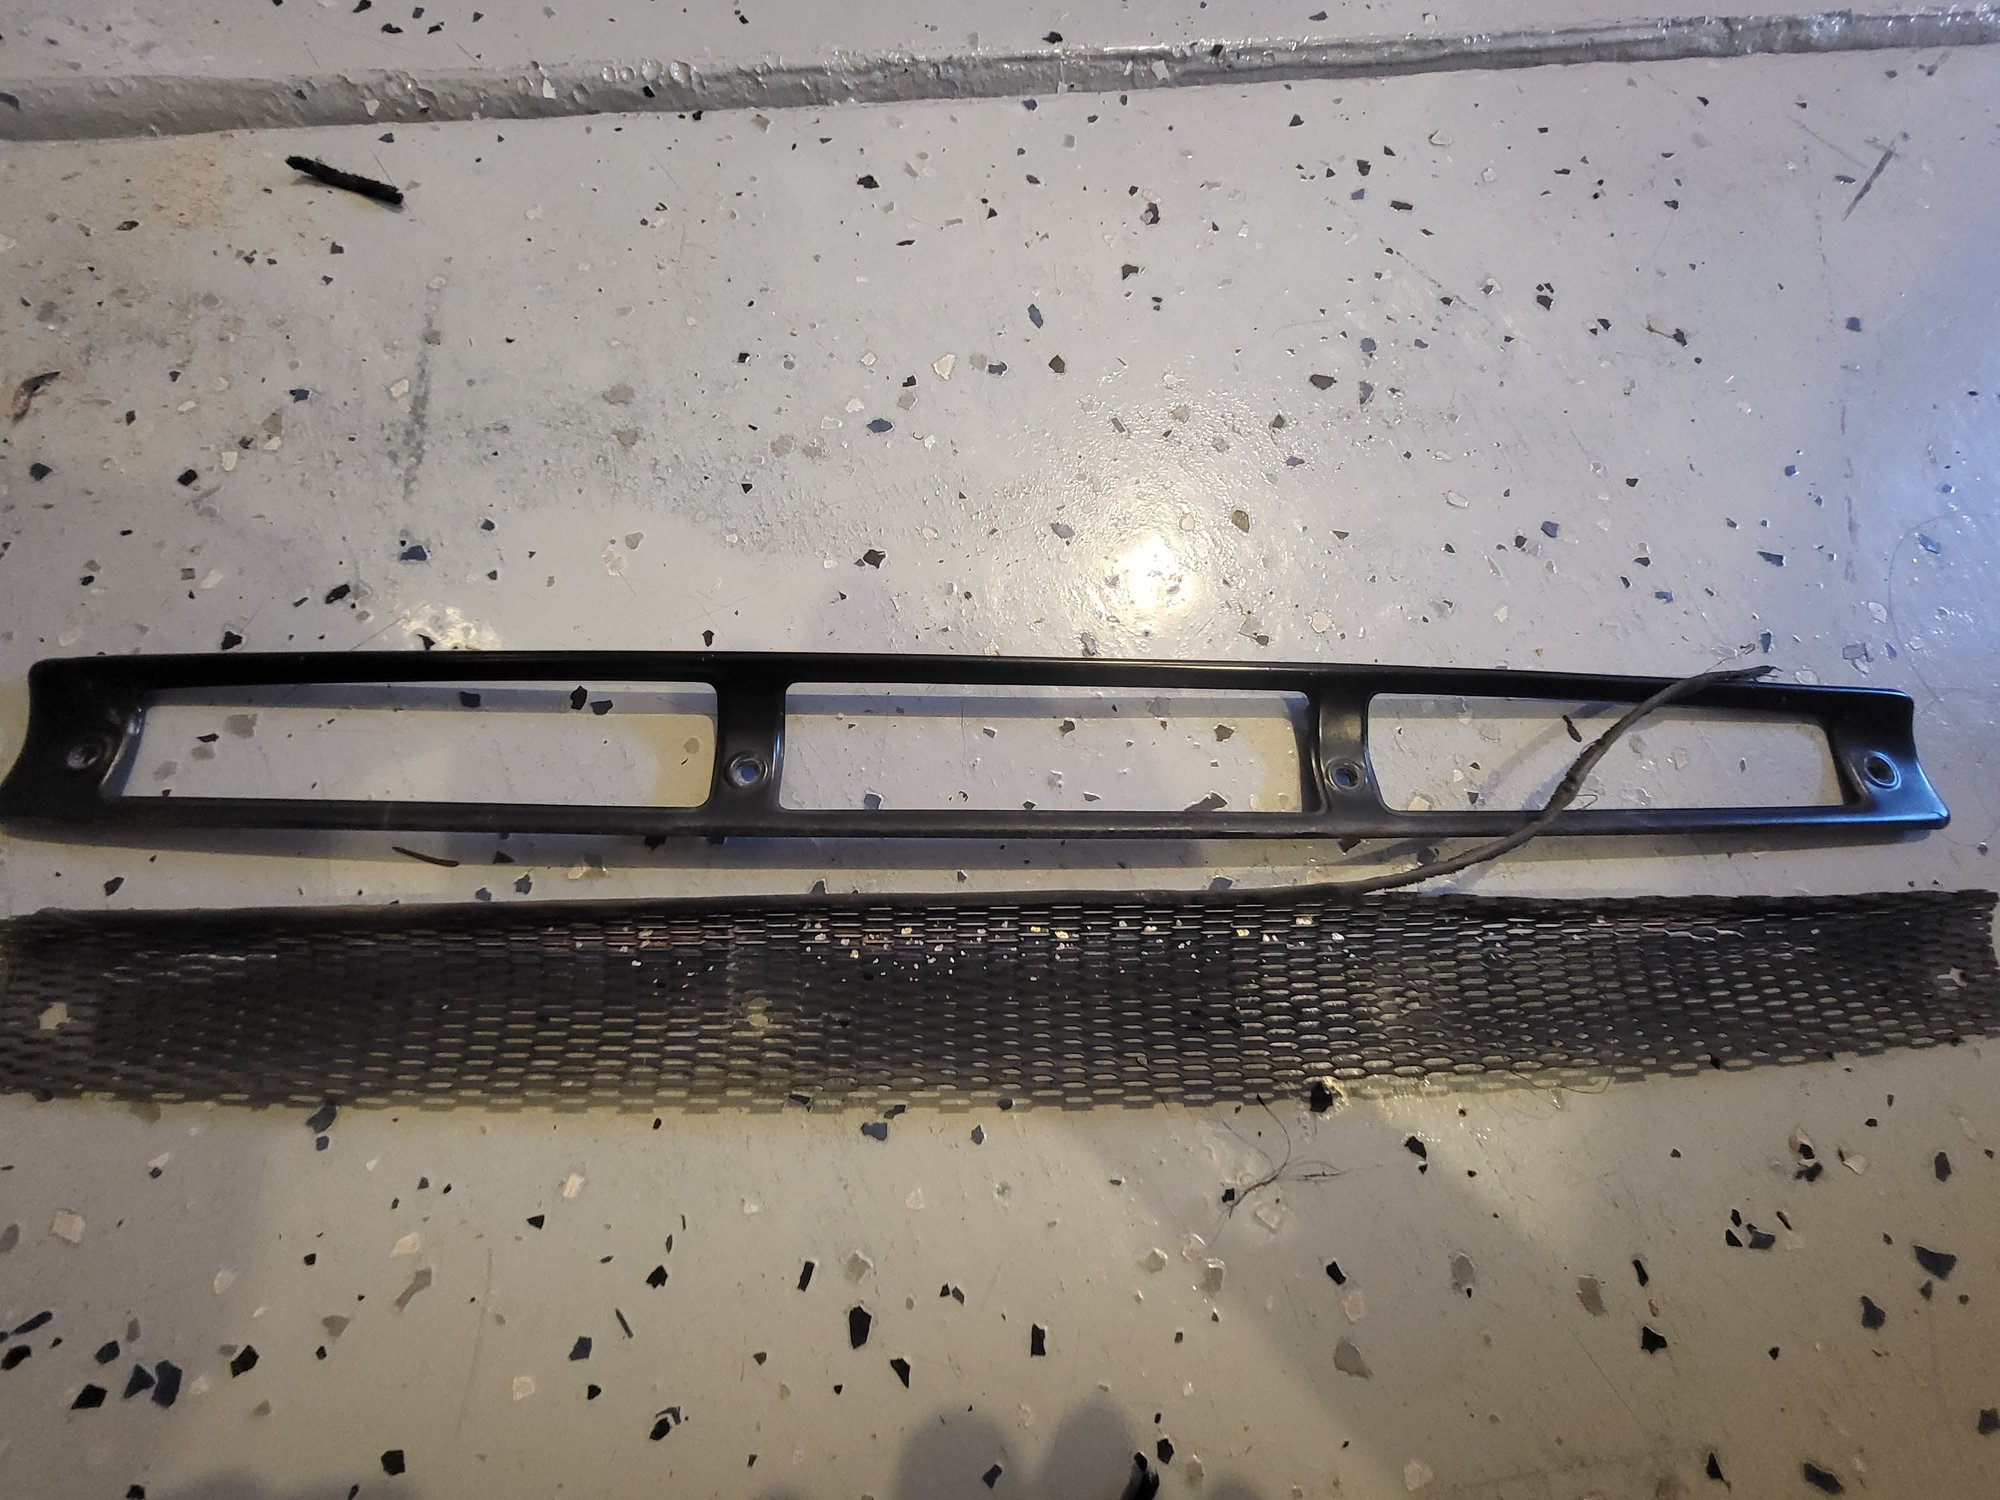
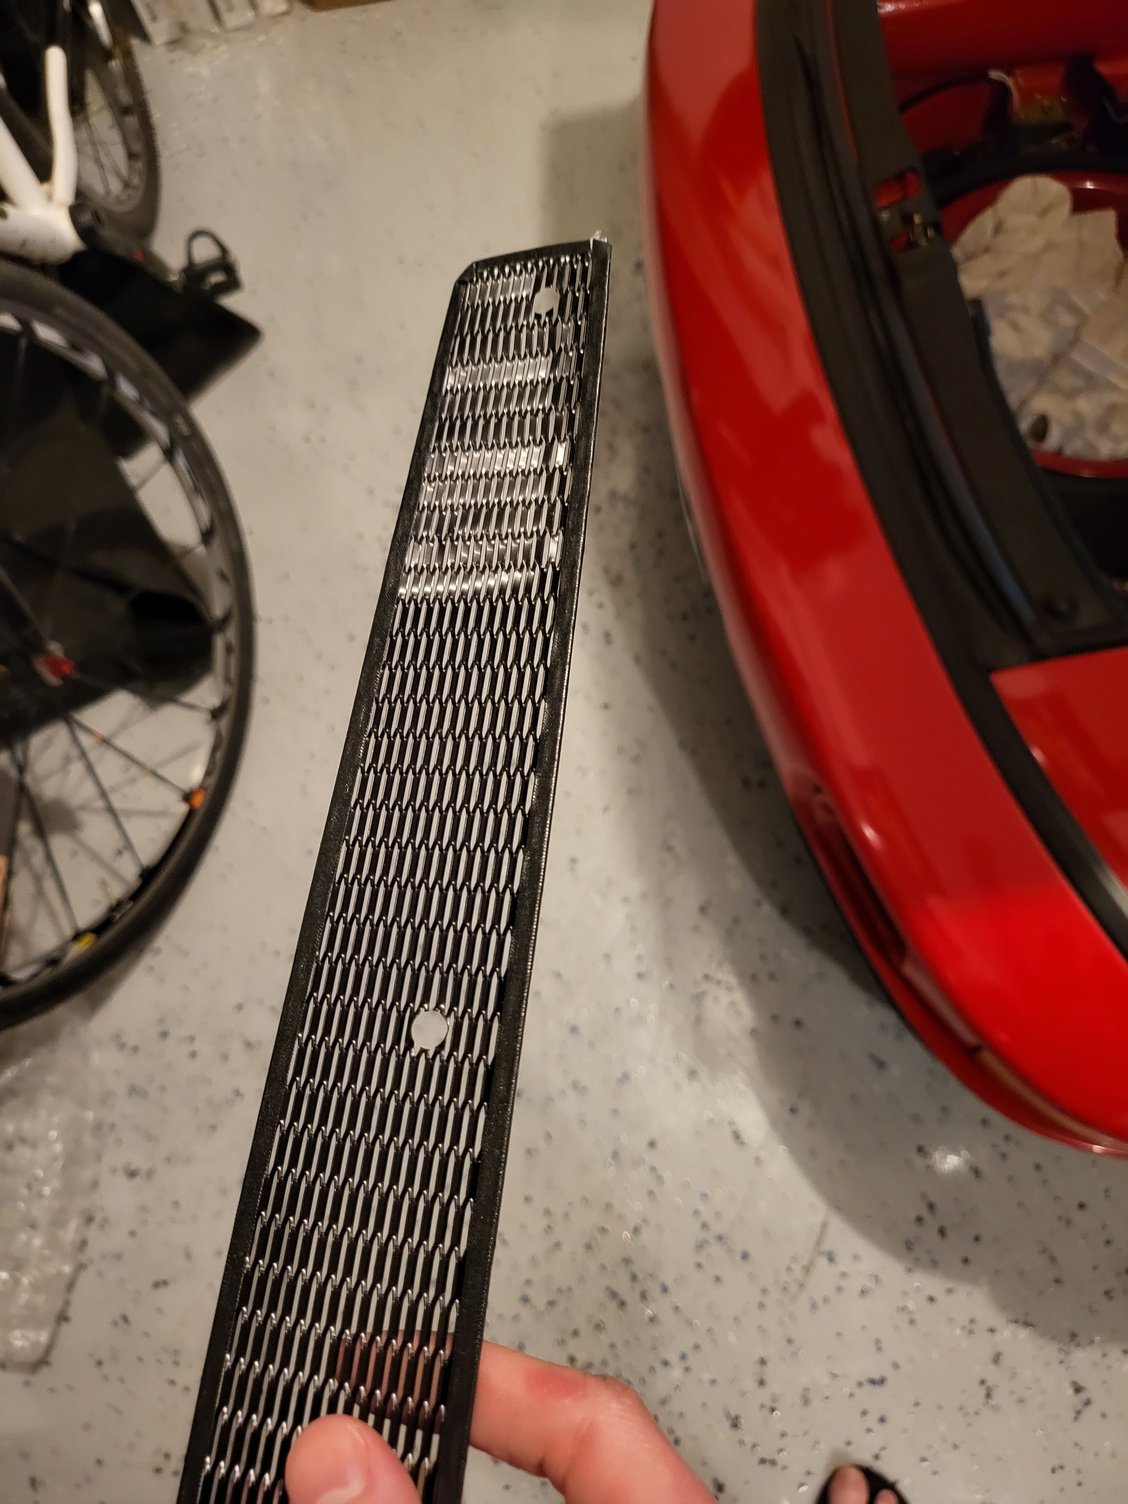
Something that has been bothering me is this little black grill - mine is all jacked up from stone chips and is so faded its impossible to make look clean. I decided I'd pull it off and give it a refresh... Sorry for the poor quality photo, I was taking a picture of something else...
When I removed the frame+grill assembly the grill surround disintegrated - not really sure what to use to retrim the grill....Also not really sure how to prep this fine mesh for re-finishing.
I decided I'd replace with new until I decide how to refurb the original.
Relevant parts are the grill frame (911 559 401 00) and the grill itself (911 559 410 00).
I didn't realize the grill comes flat(ish), and is only formed by the frame once you fit it to the car. Mine also came with some additional "pre-forming", which is not ideal - I may ask for a replacement but once on the car I can't really notice it.
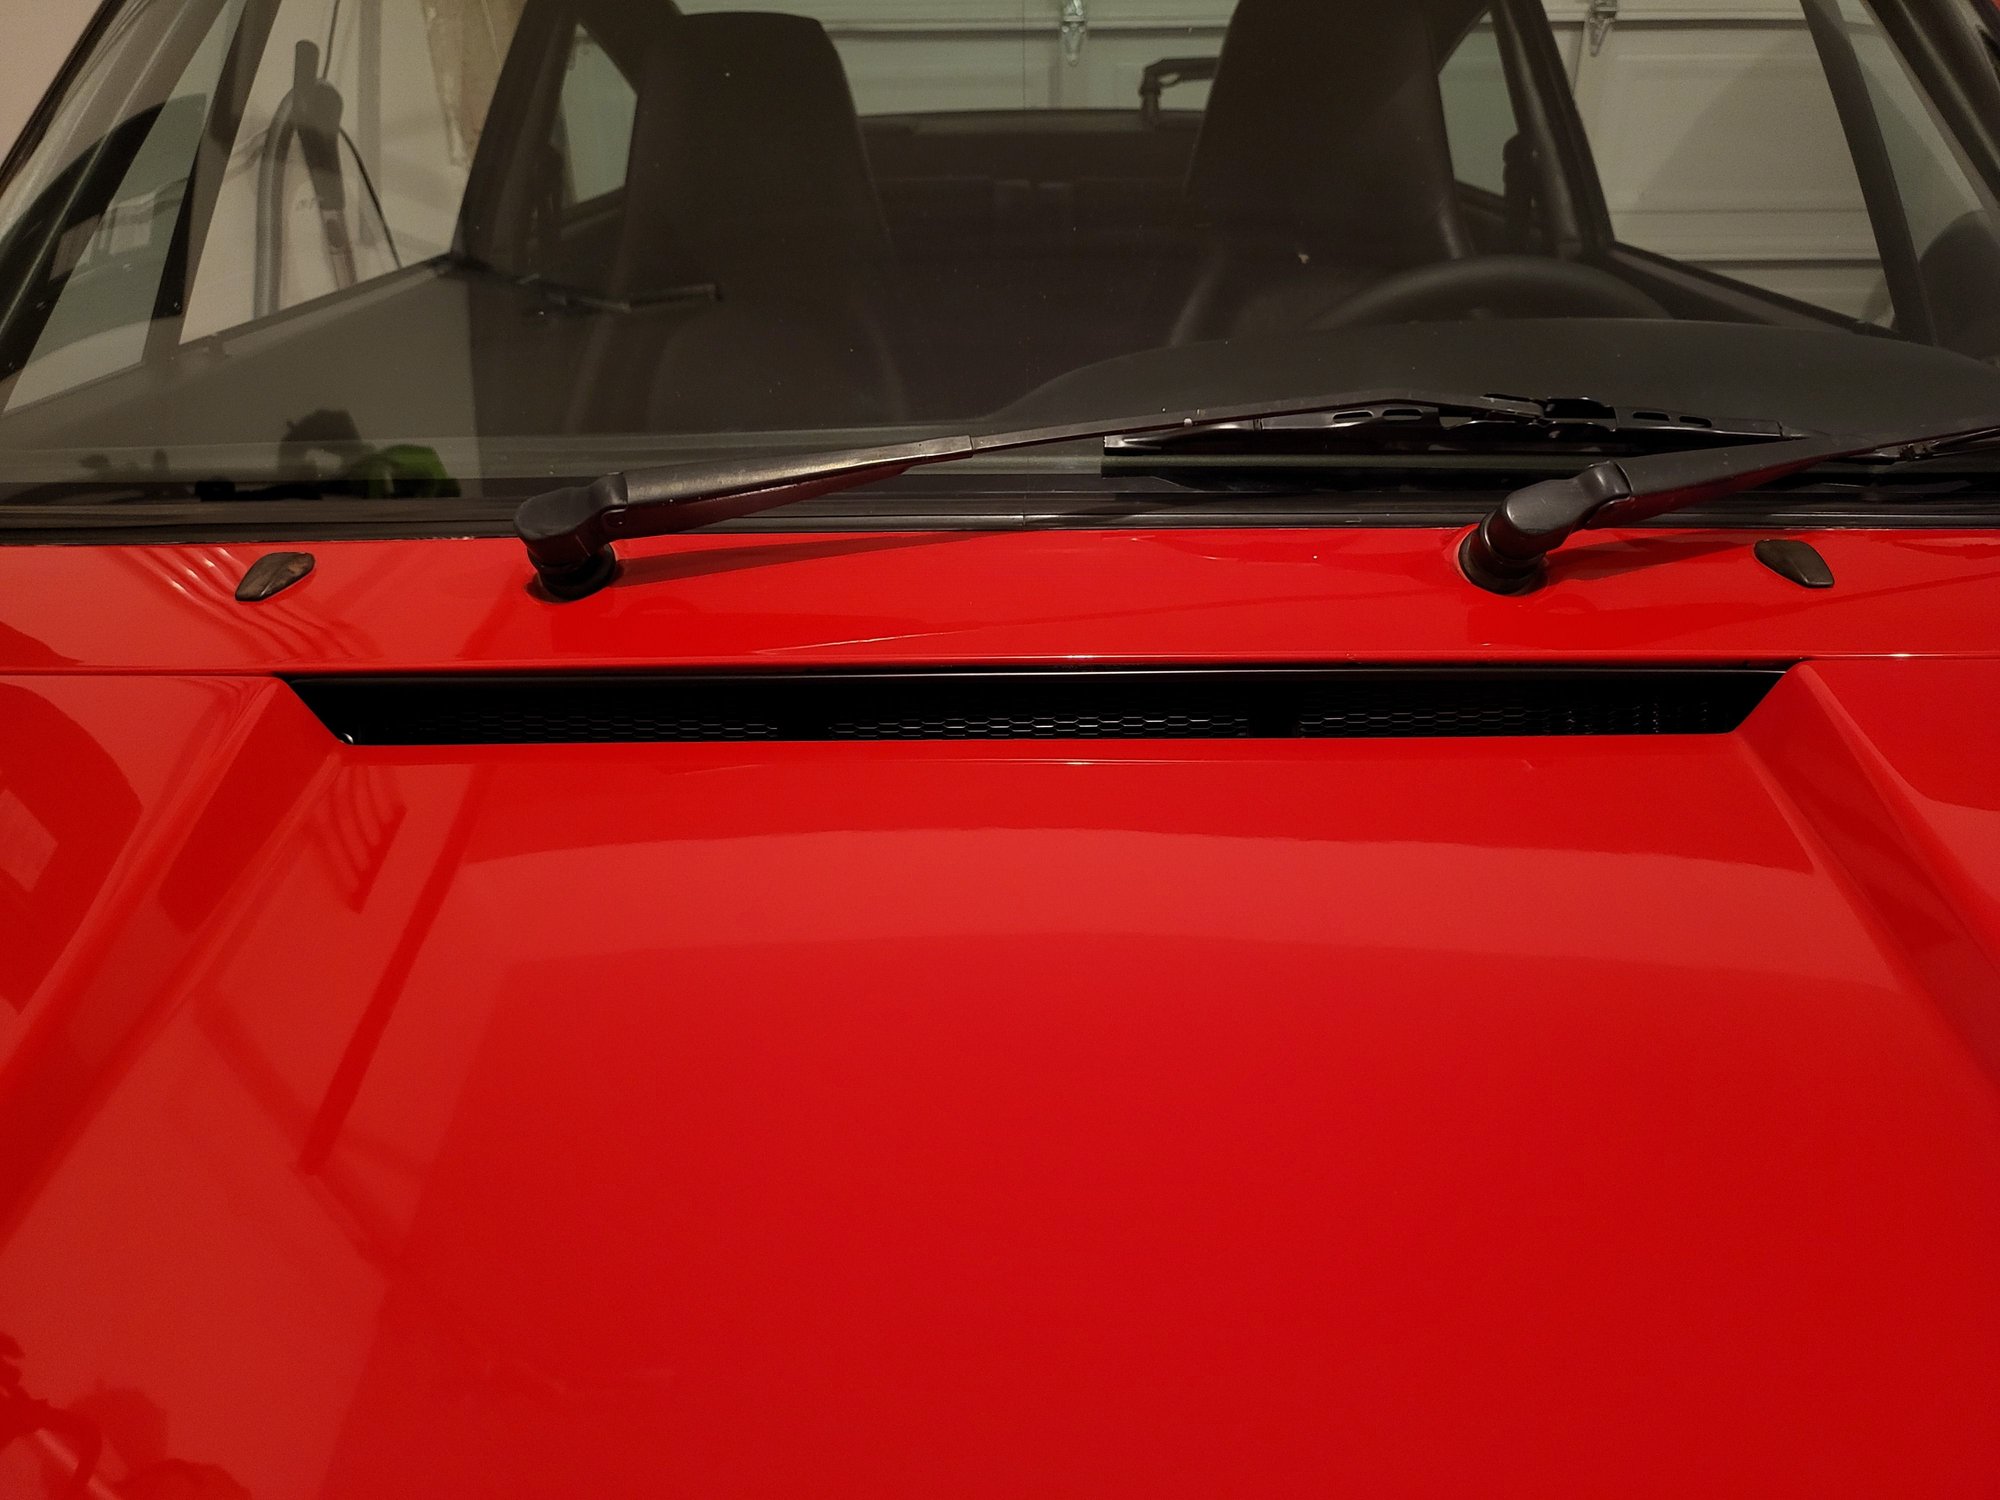
Installation is straight forward. I started on one edge, aligned the grill under the frame and fixed the first screw, then worked my way across. Everything shapes into place nicely, finished result below. Looks a lot more fresh.
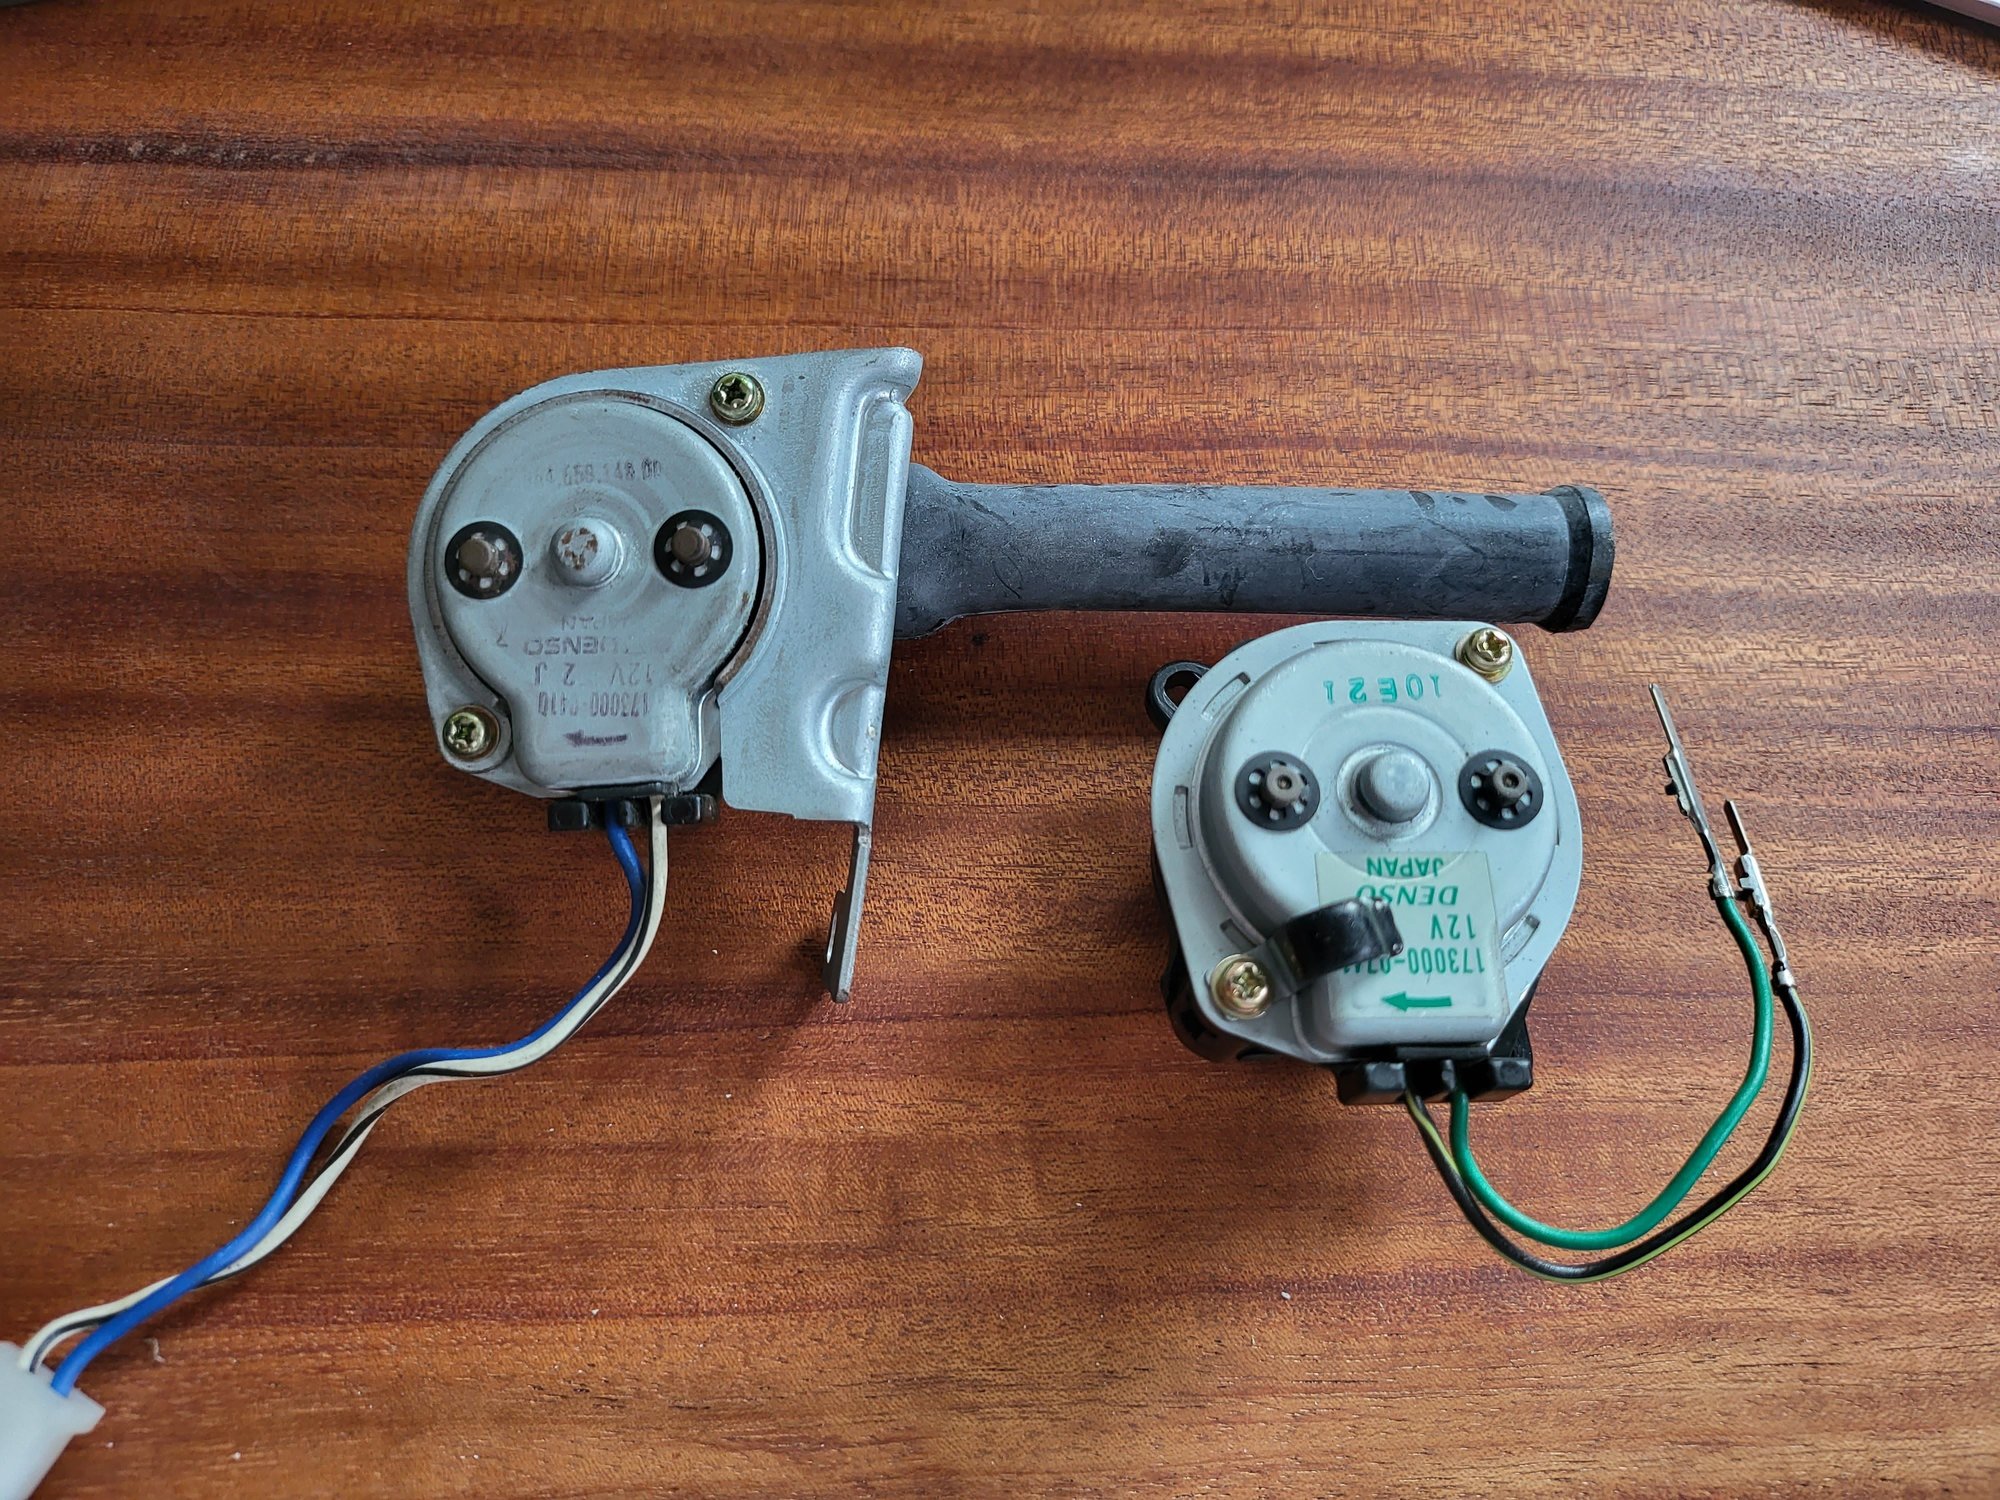
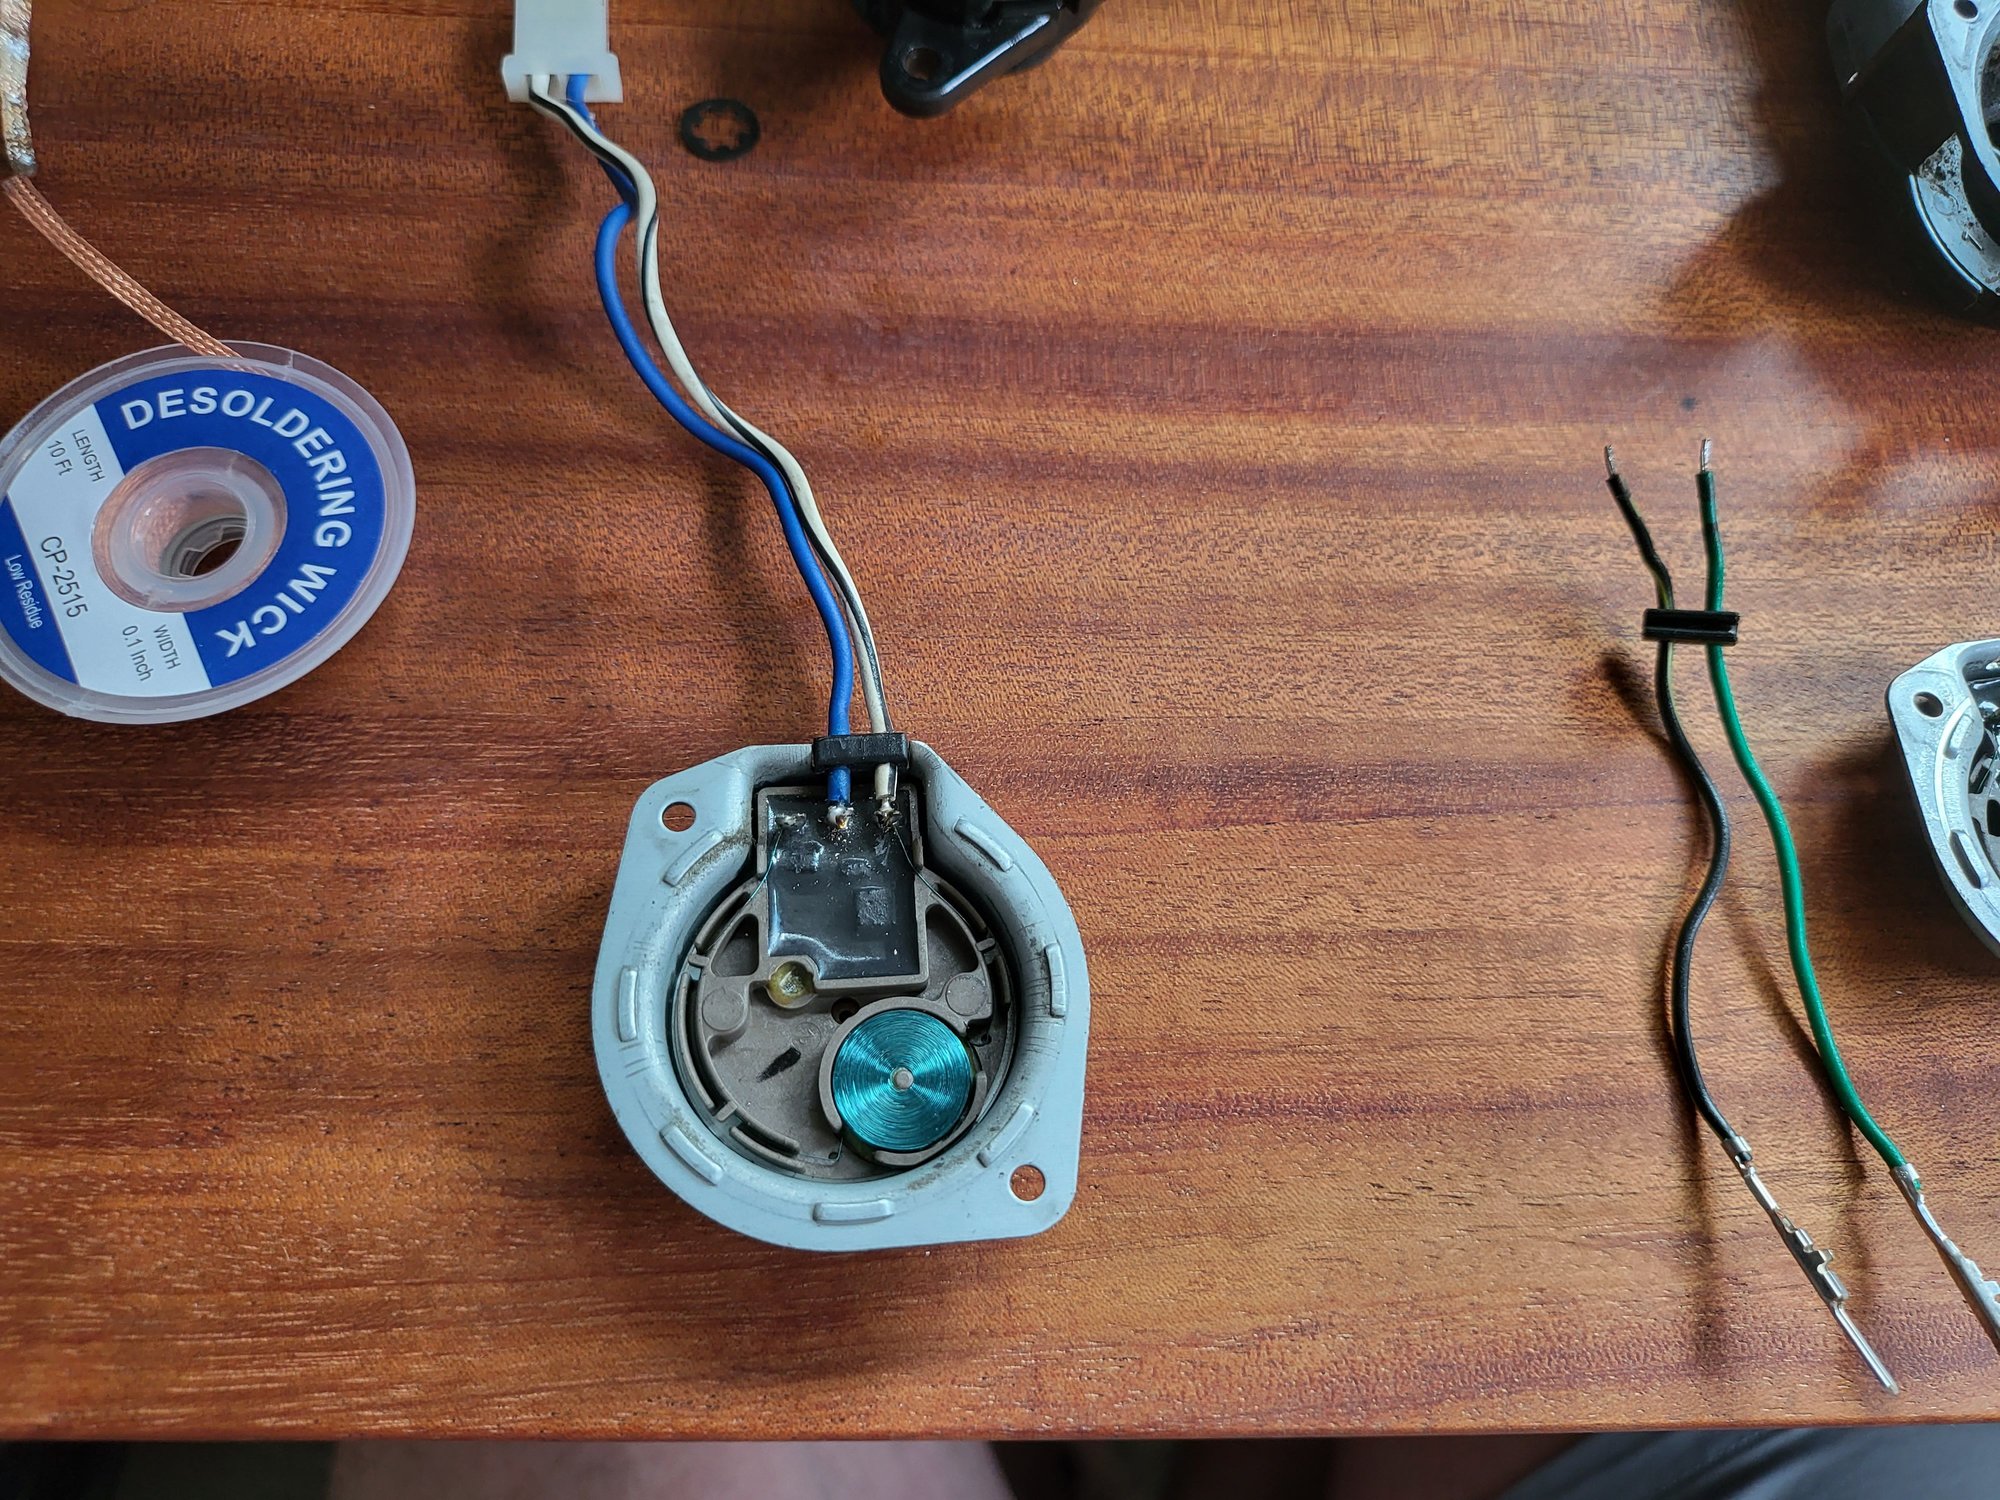
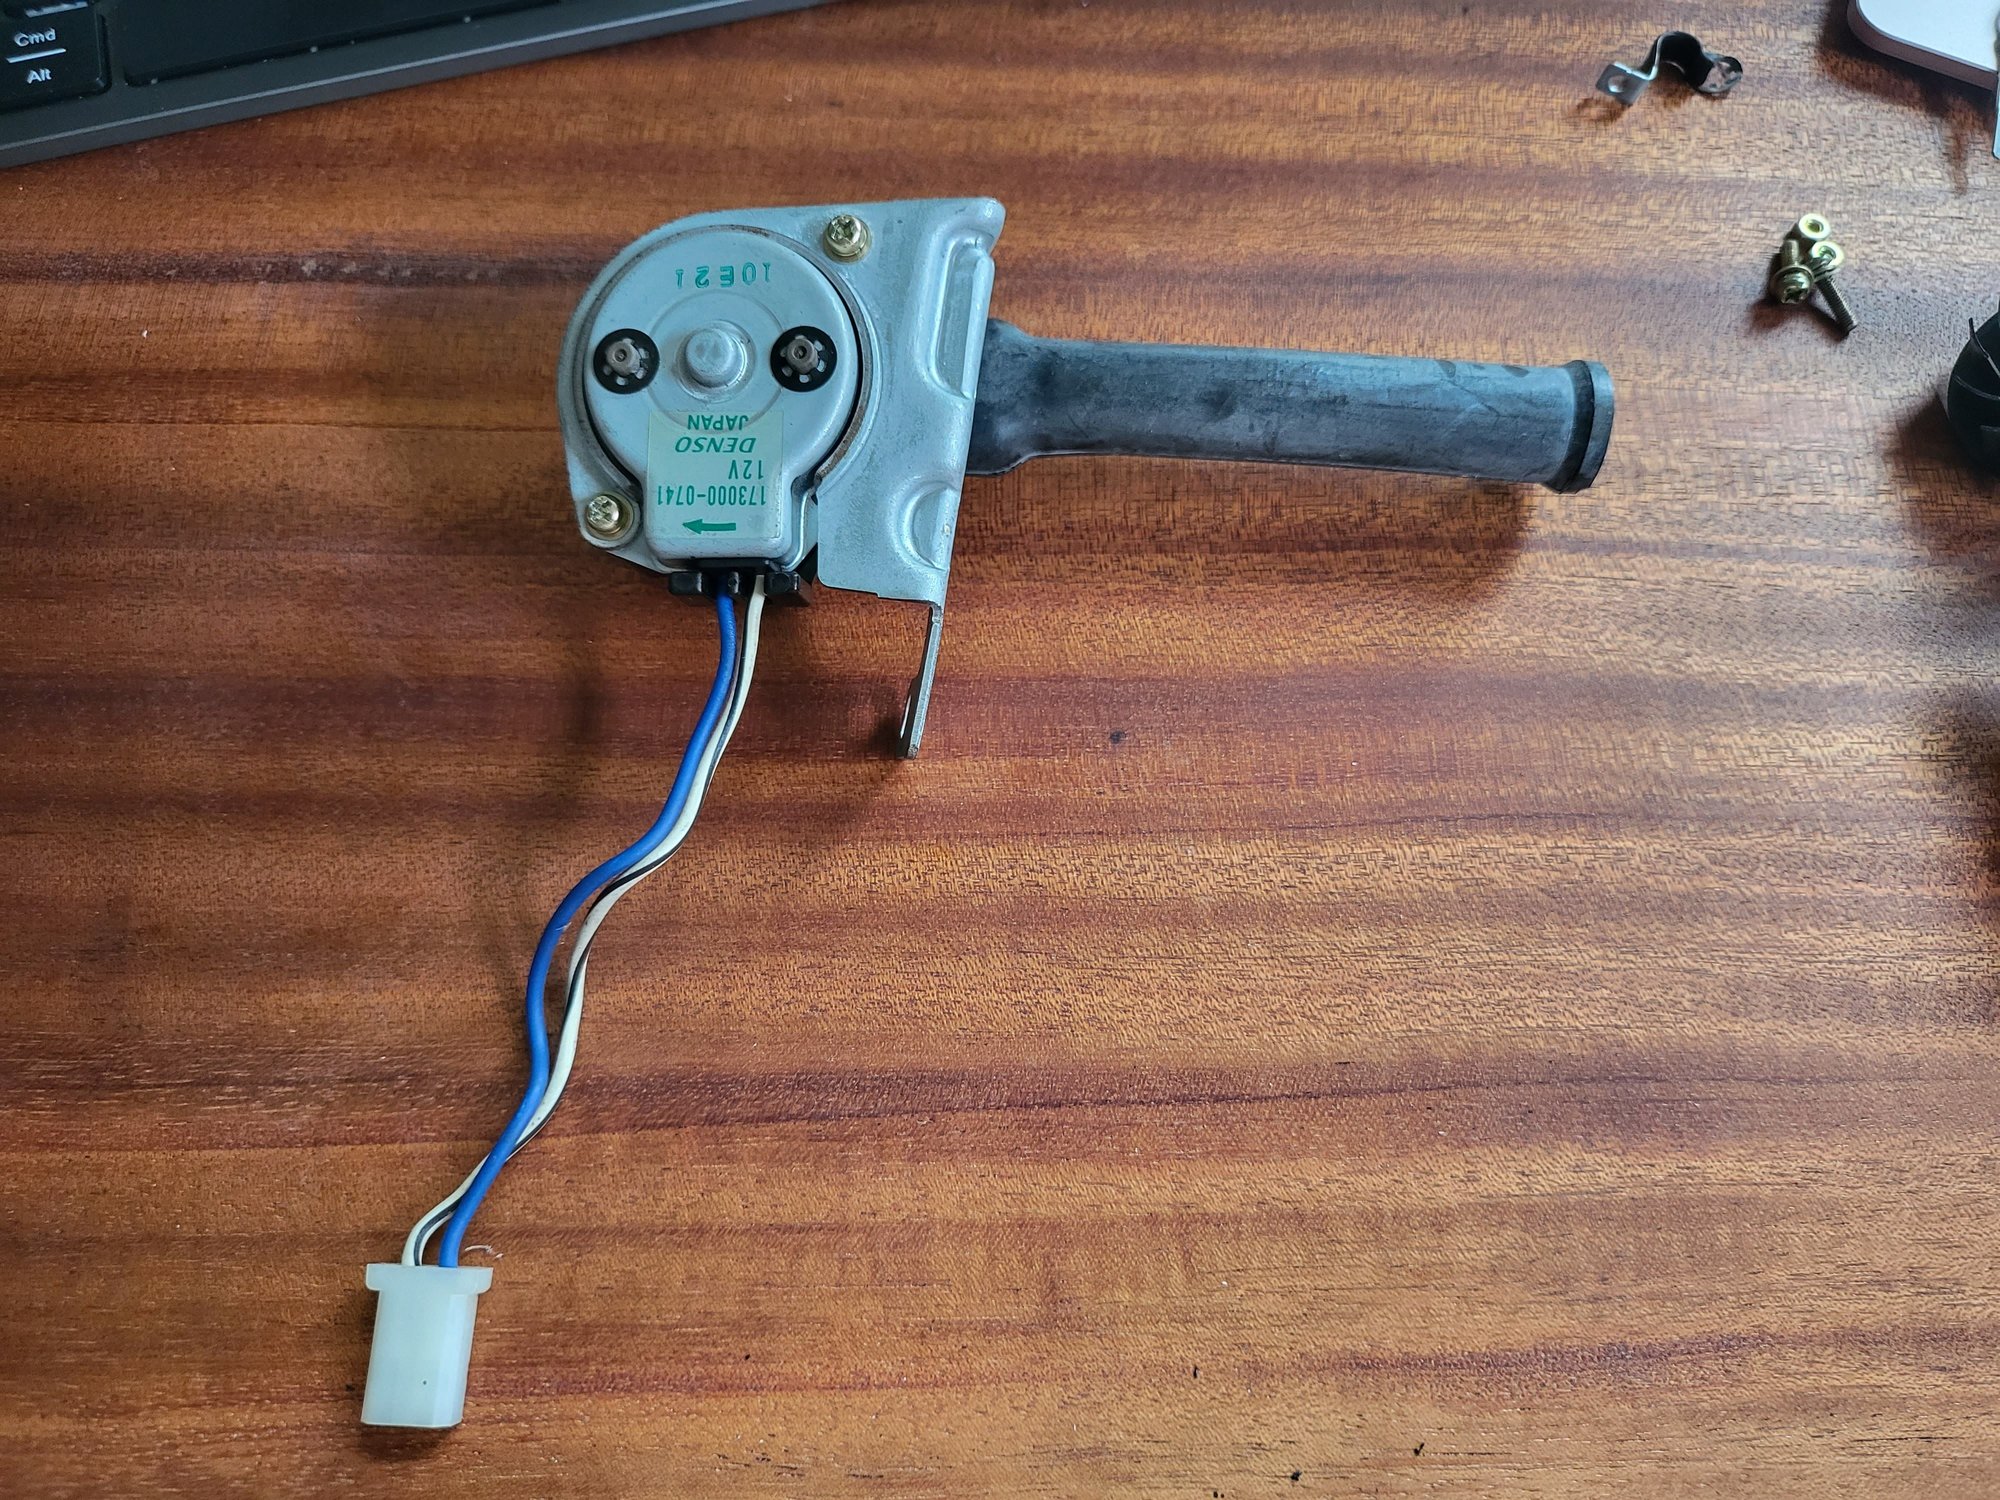
Since I've owned the car the CCU fan has been removed as it was making a horrible noise. Not wanting to spend $300 or whatever on a tiny little fan, I found the land rover part on ebay (PN Denso 173000-0741) for $28 delivered.
Old on the left, new on the right.
Here are the two units pulled apart - similar but slightly different. Not wanting to splice the plug I decided to unsolder the pigtail from the old fan and solder it into the new fan.
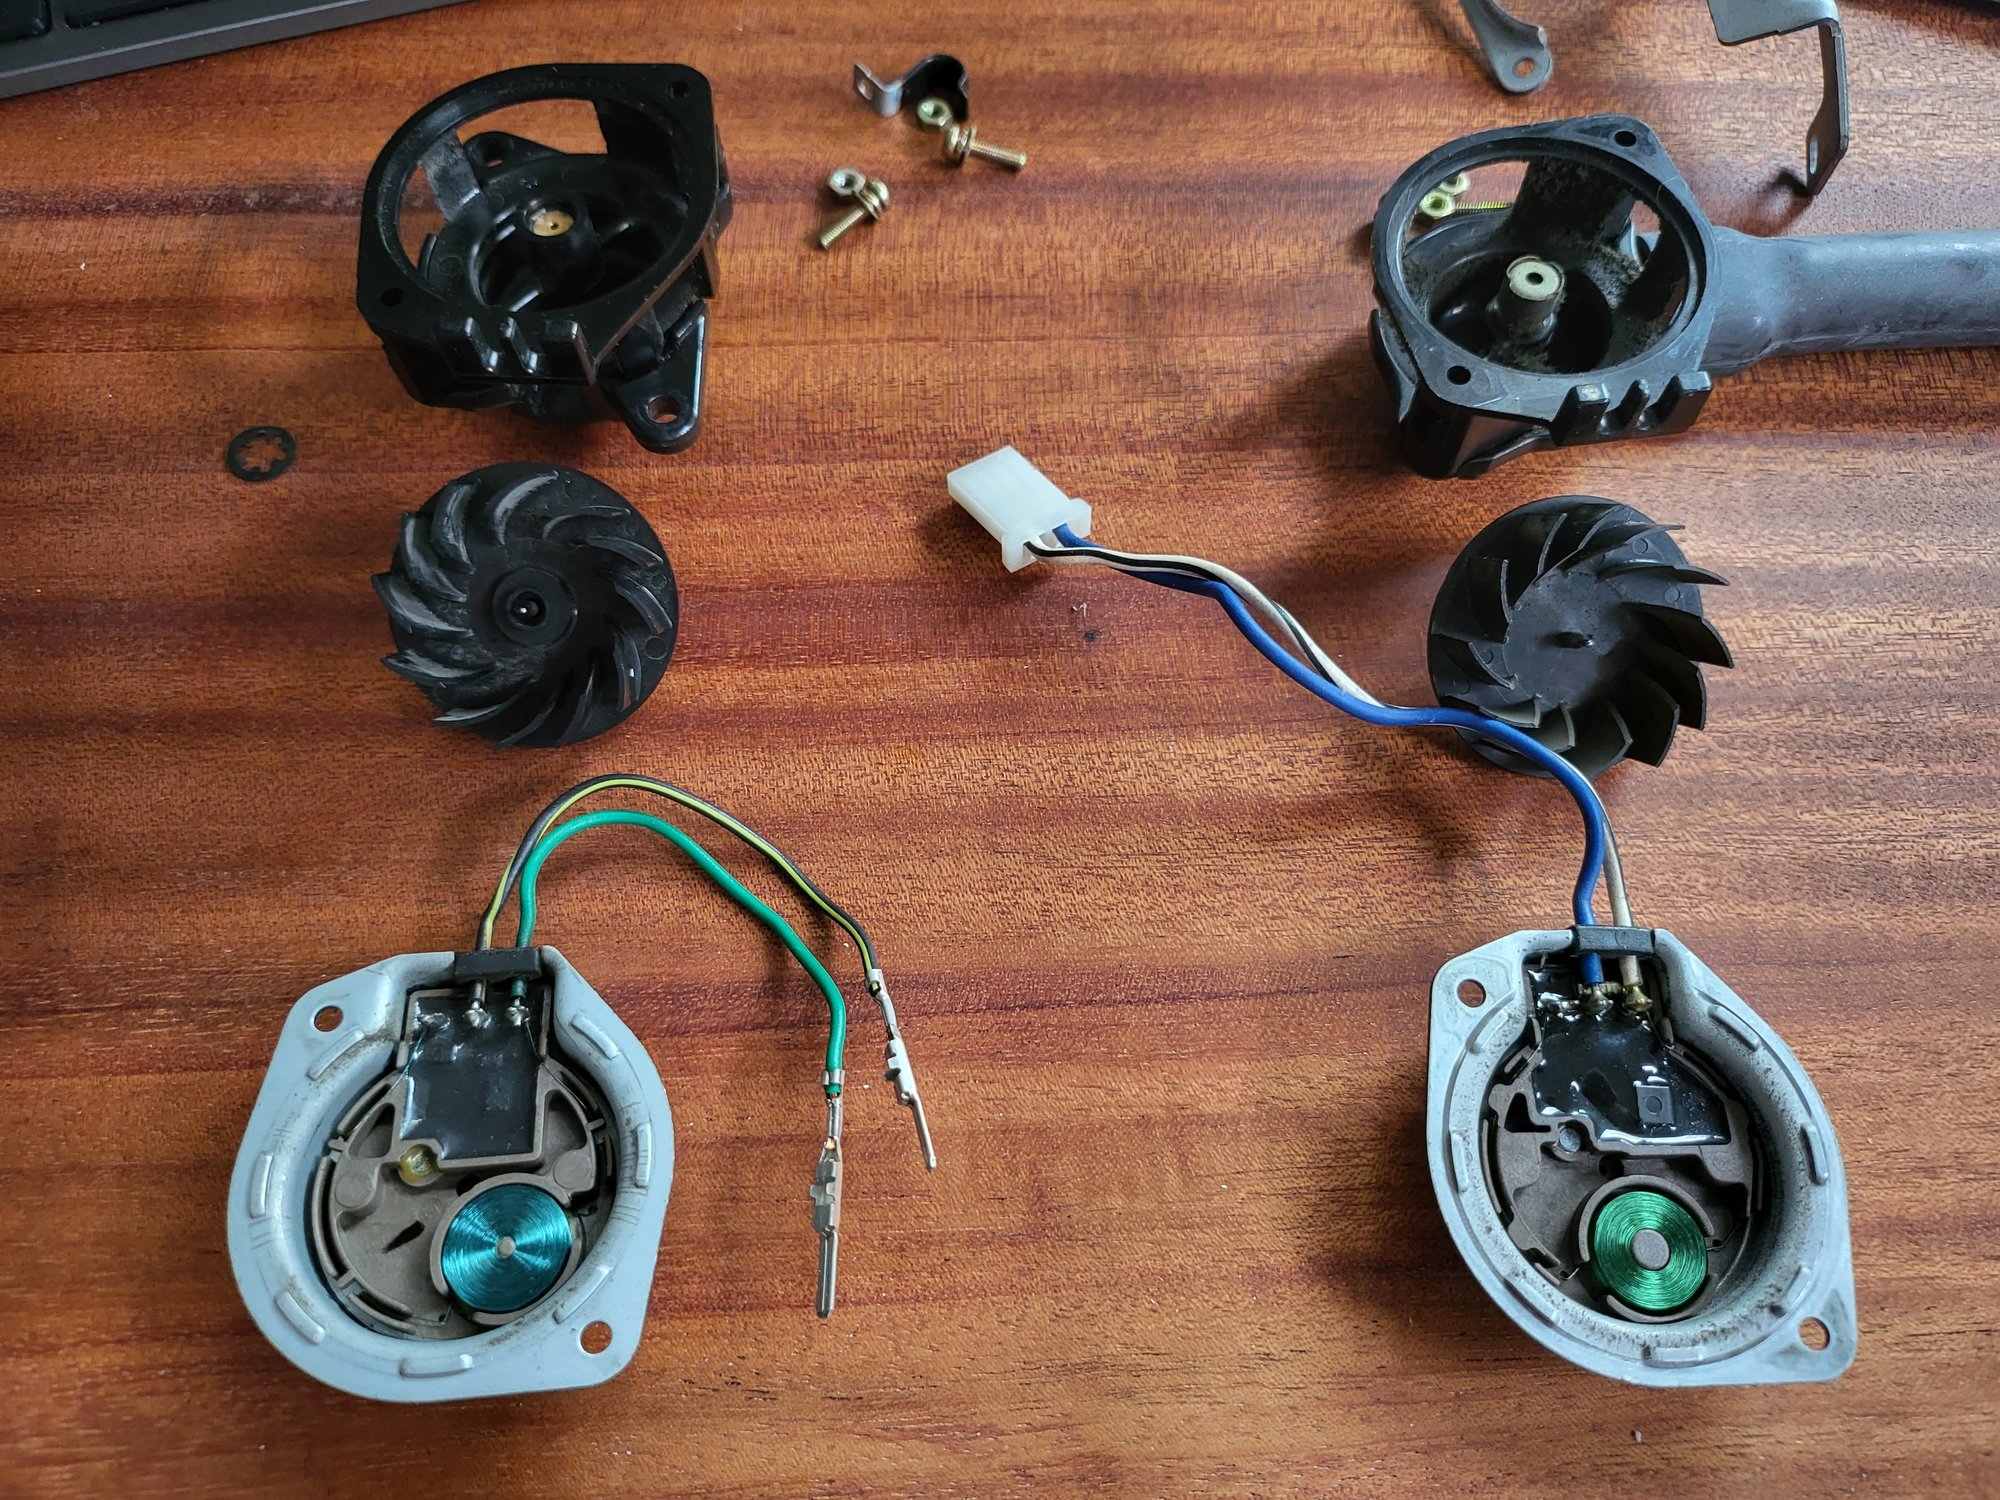
Everything lines up as expected.
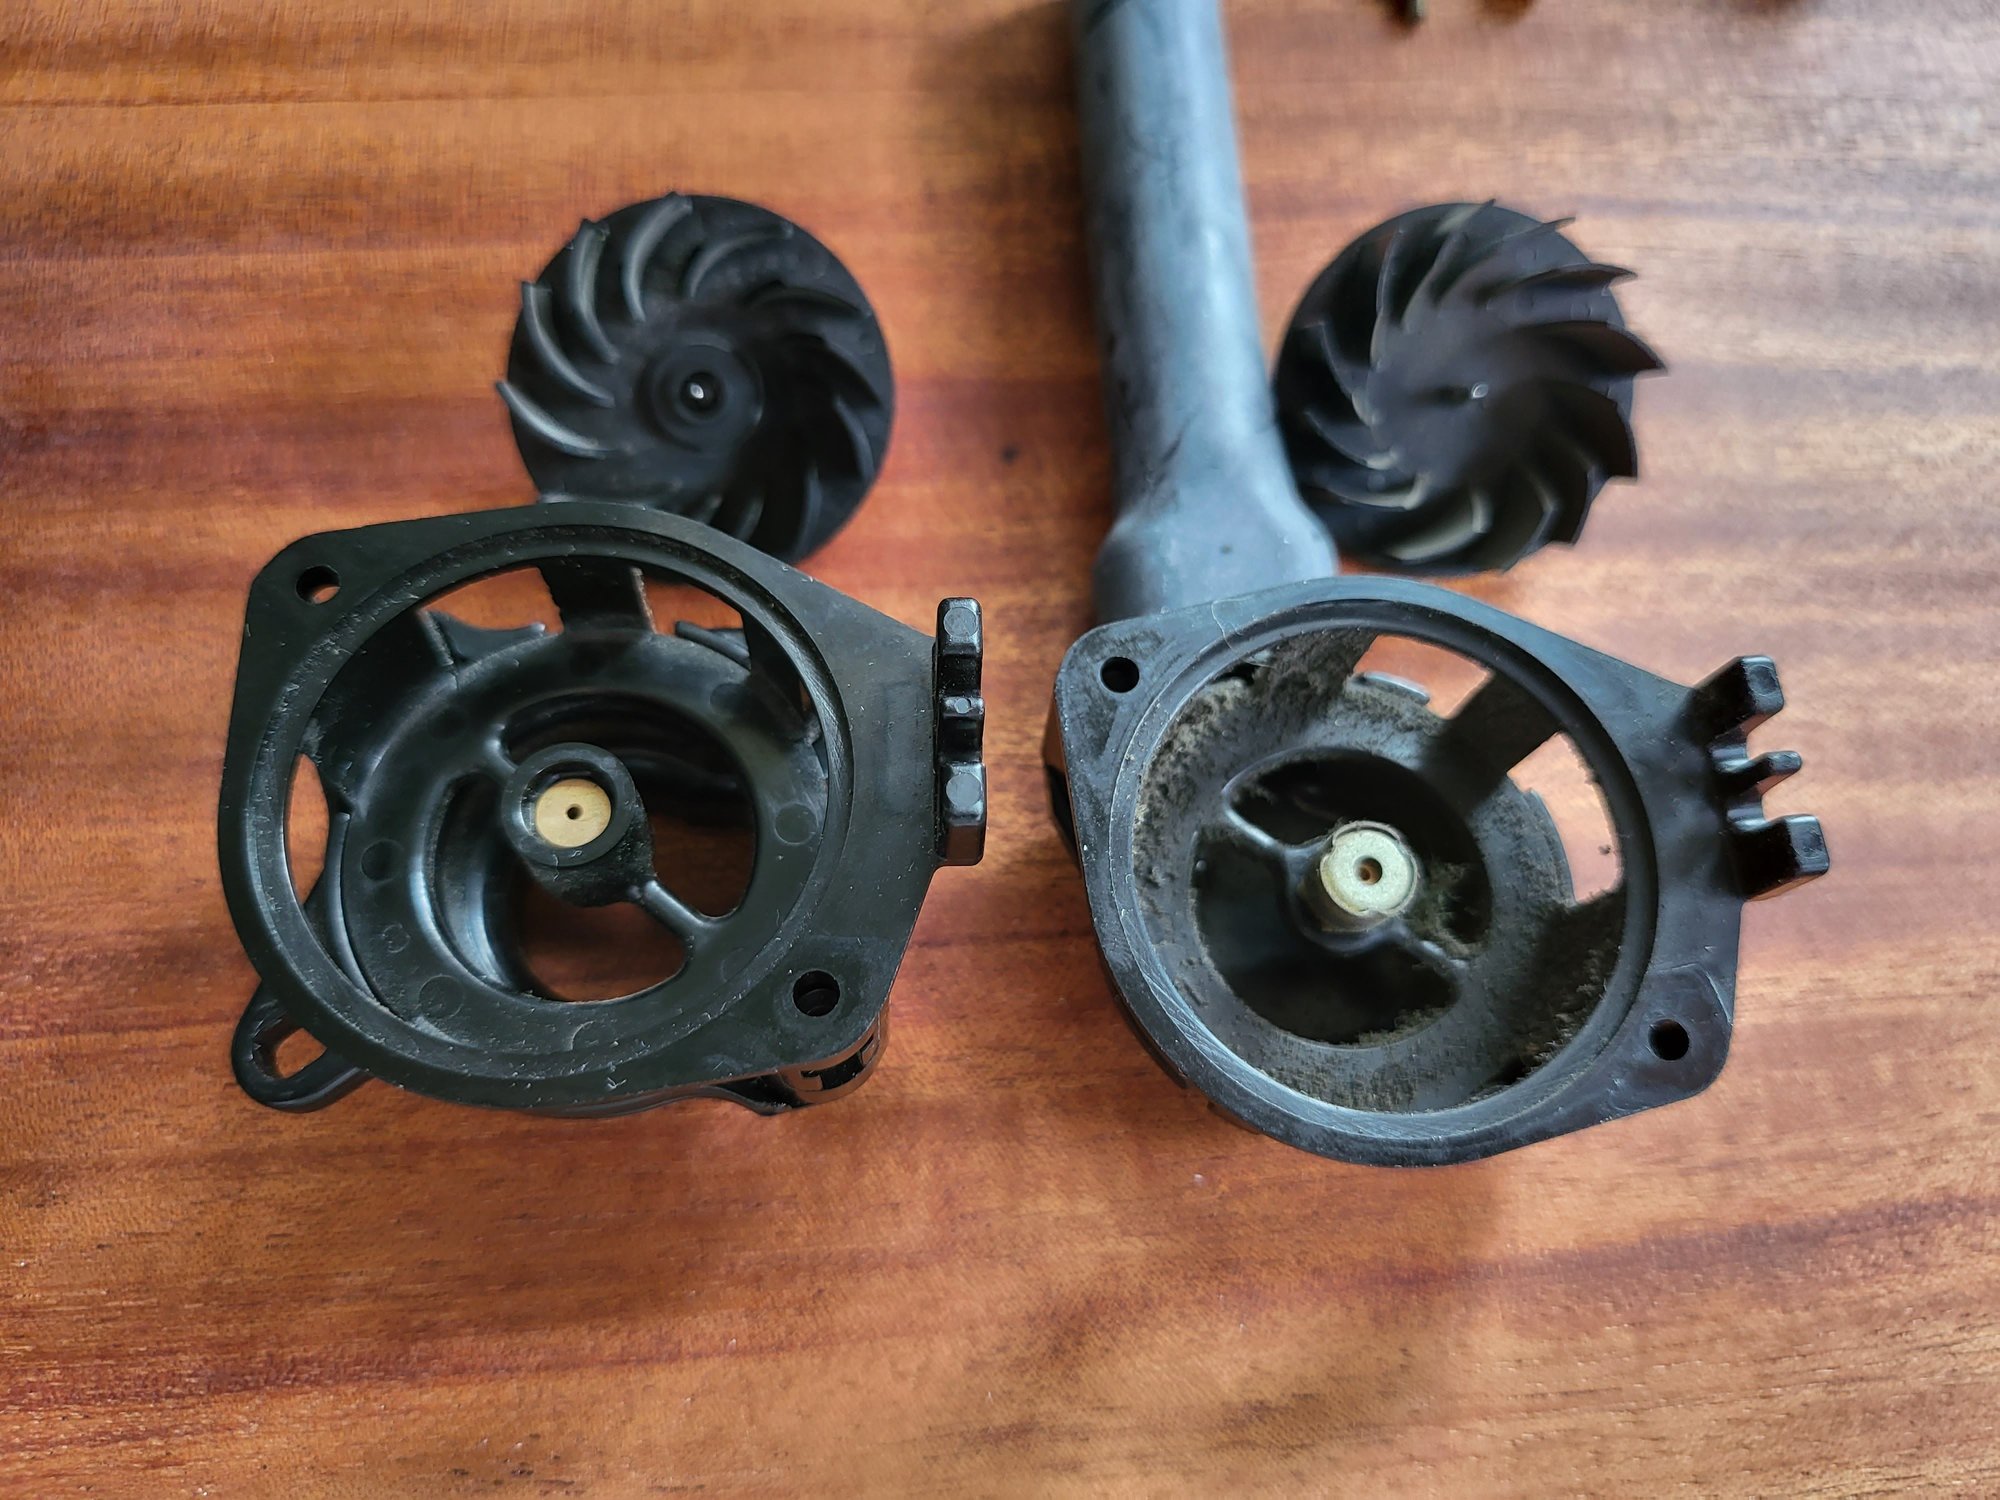
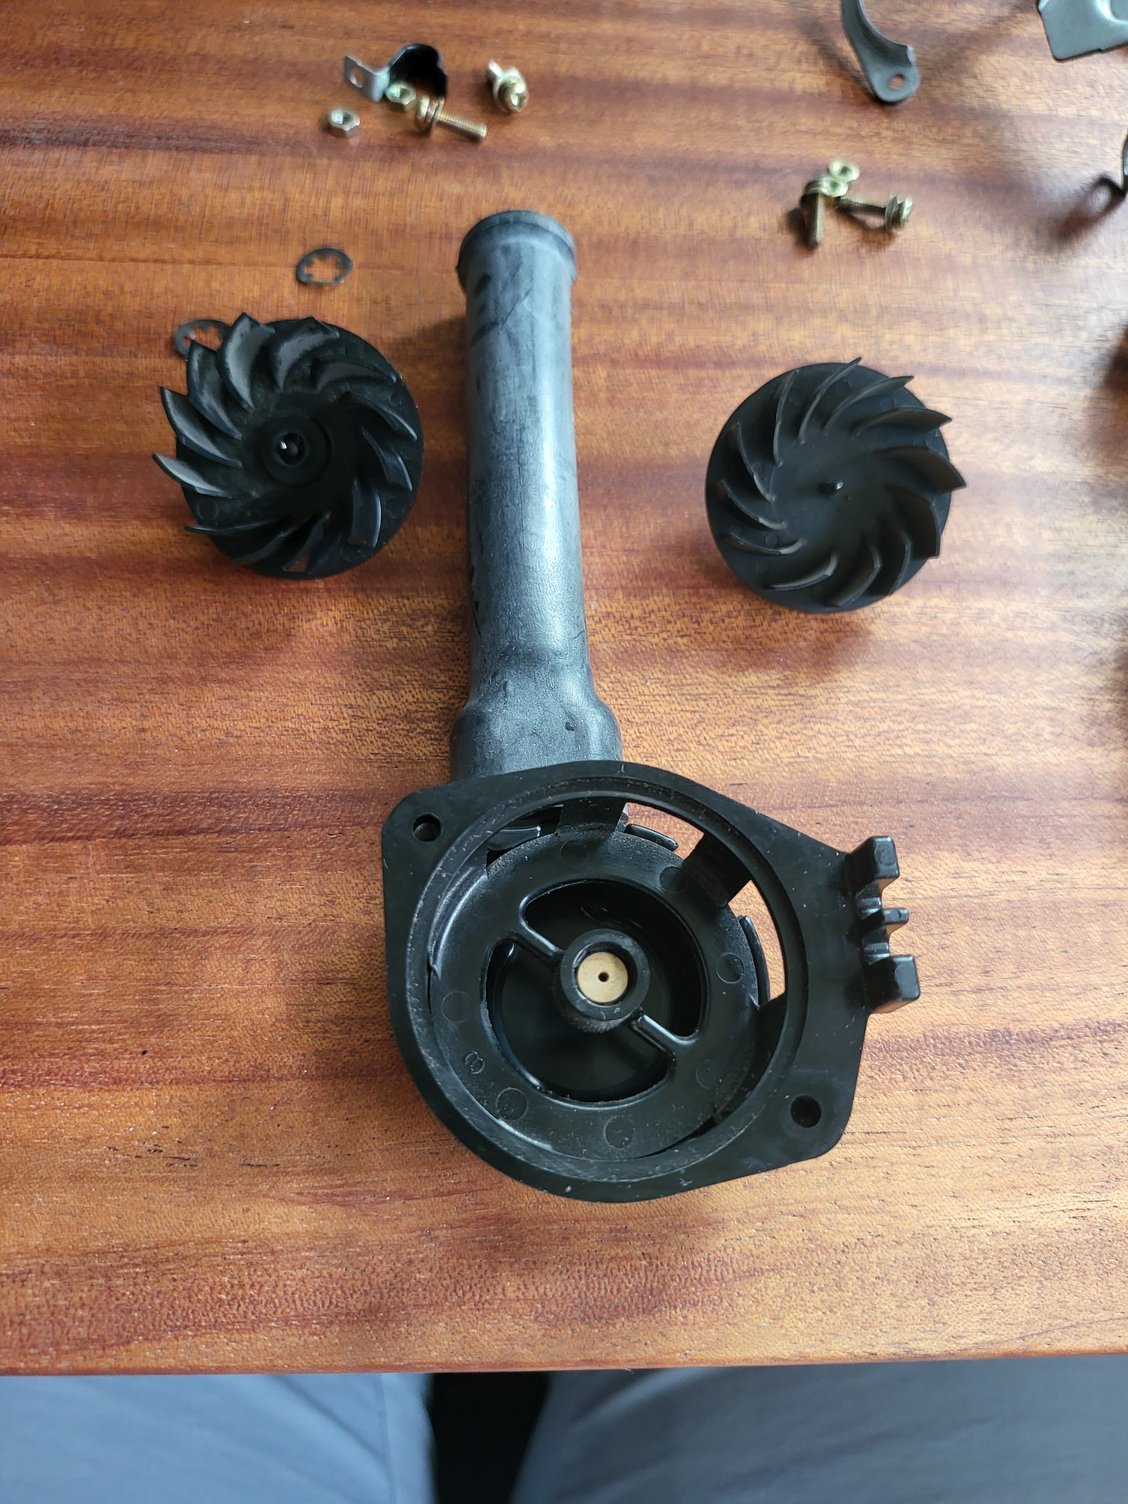
Next up, the impeller design has changed slightly between these two motors, and so has the way it interfaces with the cage, see below. This requires swapping the plastic cage as well.
After final assembly, it looks like this. Tested and its nice and quiet now - didn't take very long.
This should be the last of the HVAC work needed until I tackle the AC system which doesn't hold a charge for more than a couple seasons - no more faults showing up on the hammer!
I�ve enjoyed this thread immensely Tom, especially since you are local to me and I am in the process of acquiring my own 964 C4 currently.
I am sure I will be bending your ear at some point!
Nice stuff - Wish I found your thread sooner as I've done many of the same little fixes. I liked the Denso fan from UK Ebay, and I just did that exact HVAC servo rebuild last night (with the same Wera screwdriver) except I cleaned up the tracks with some deoxit as I was not aware of the rebuild kit. Can you let us know what parts the kit includes and the price?
Does your cup holder prevent the passenger seat from moving all the way forward? Mine (similar design) does.
Saw your AFM post as well - there is a replacement "wiper track" available which I found to be a direct drop-in replacement for the original.
Coincidentally I've actually got your rebuild thread open in another tab, about 3/4 of the way through!
Rebuild kit came with a new board, new main gear and new motor, along with some special grease, instructions, and possibly some smaller stuff I'm forgetting. �145 I think. I originally planned to clean up the tracks but read about several repeat failures so decided on a (hopefully) more permanent fix.
My cup holder does indeed restrict forward motion to some extent - how much I'm not sure as I don't move the seat very often.
AFM wiper track is interesting as I've recently developed a cold start reluctance and am looking for culprits...not entirely sure this would be one of them but worth a look.
I love it - these cars have VERY predictable faults. I'm not sure if you're reading my engine rebuild thread or my post engine rebuild cold-start thread but I'm chasing the issue actively.
My driver side mixing flap is intermittent and when it is in the closed position - even closing it manually with the rod disconnected from the servo - it does not provide a tight seal against hot air. I've had to cap the hot air outlet at the sill for the summer. One thought I had was that physical resistance from a buckling / degrading foam seal on the inside of the suitcase is causing the servo to operate intermittently. Another thought would be that the issue is the servo itself and I have no idea if my fix will hold. The last idea is the CCU. It generally works fine but occasionally shuts down entirely with no response what so ever, ie the fan speed **** produces no results, none of the lights are illuminated. Only to roar back to life apropos of nothing. So I have mailing it to Tore on my agenda when I can find a few weeks I don't need climate control. Late September, looking at you.
Its been a while, but starting to prepare for some winter projects even though the weather here is still nice. Quite a few things planned for this winter, we'll see if it all happens but the plan is as follows:
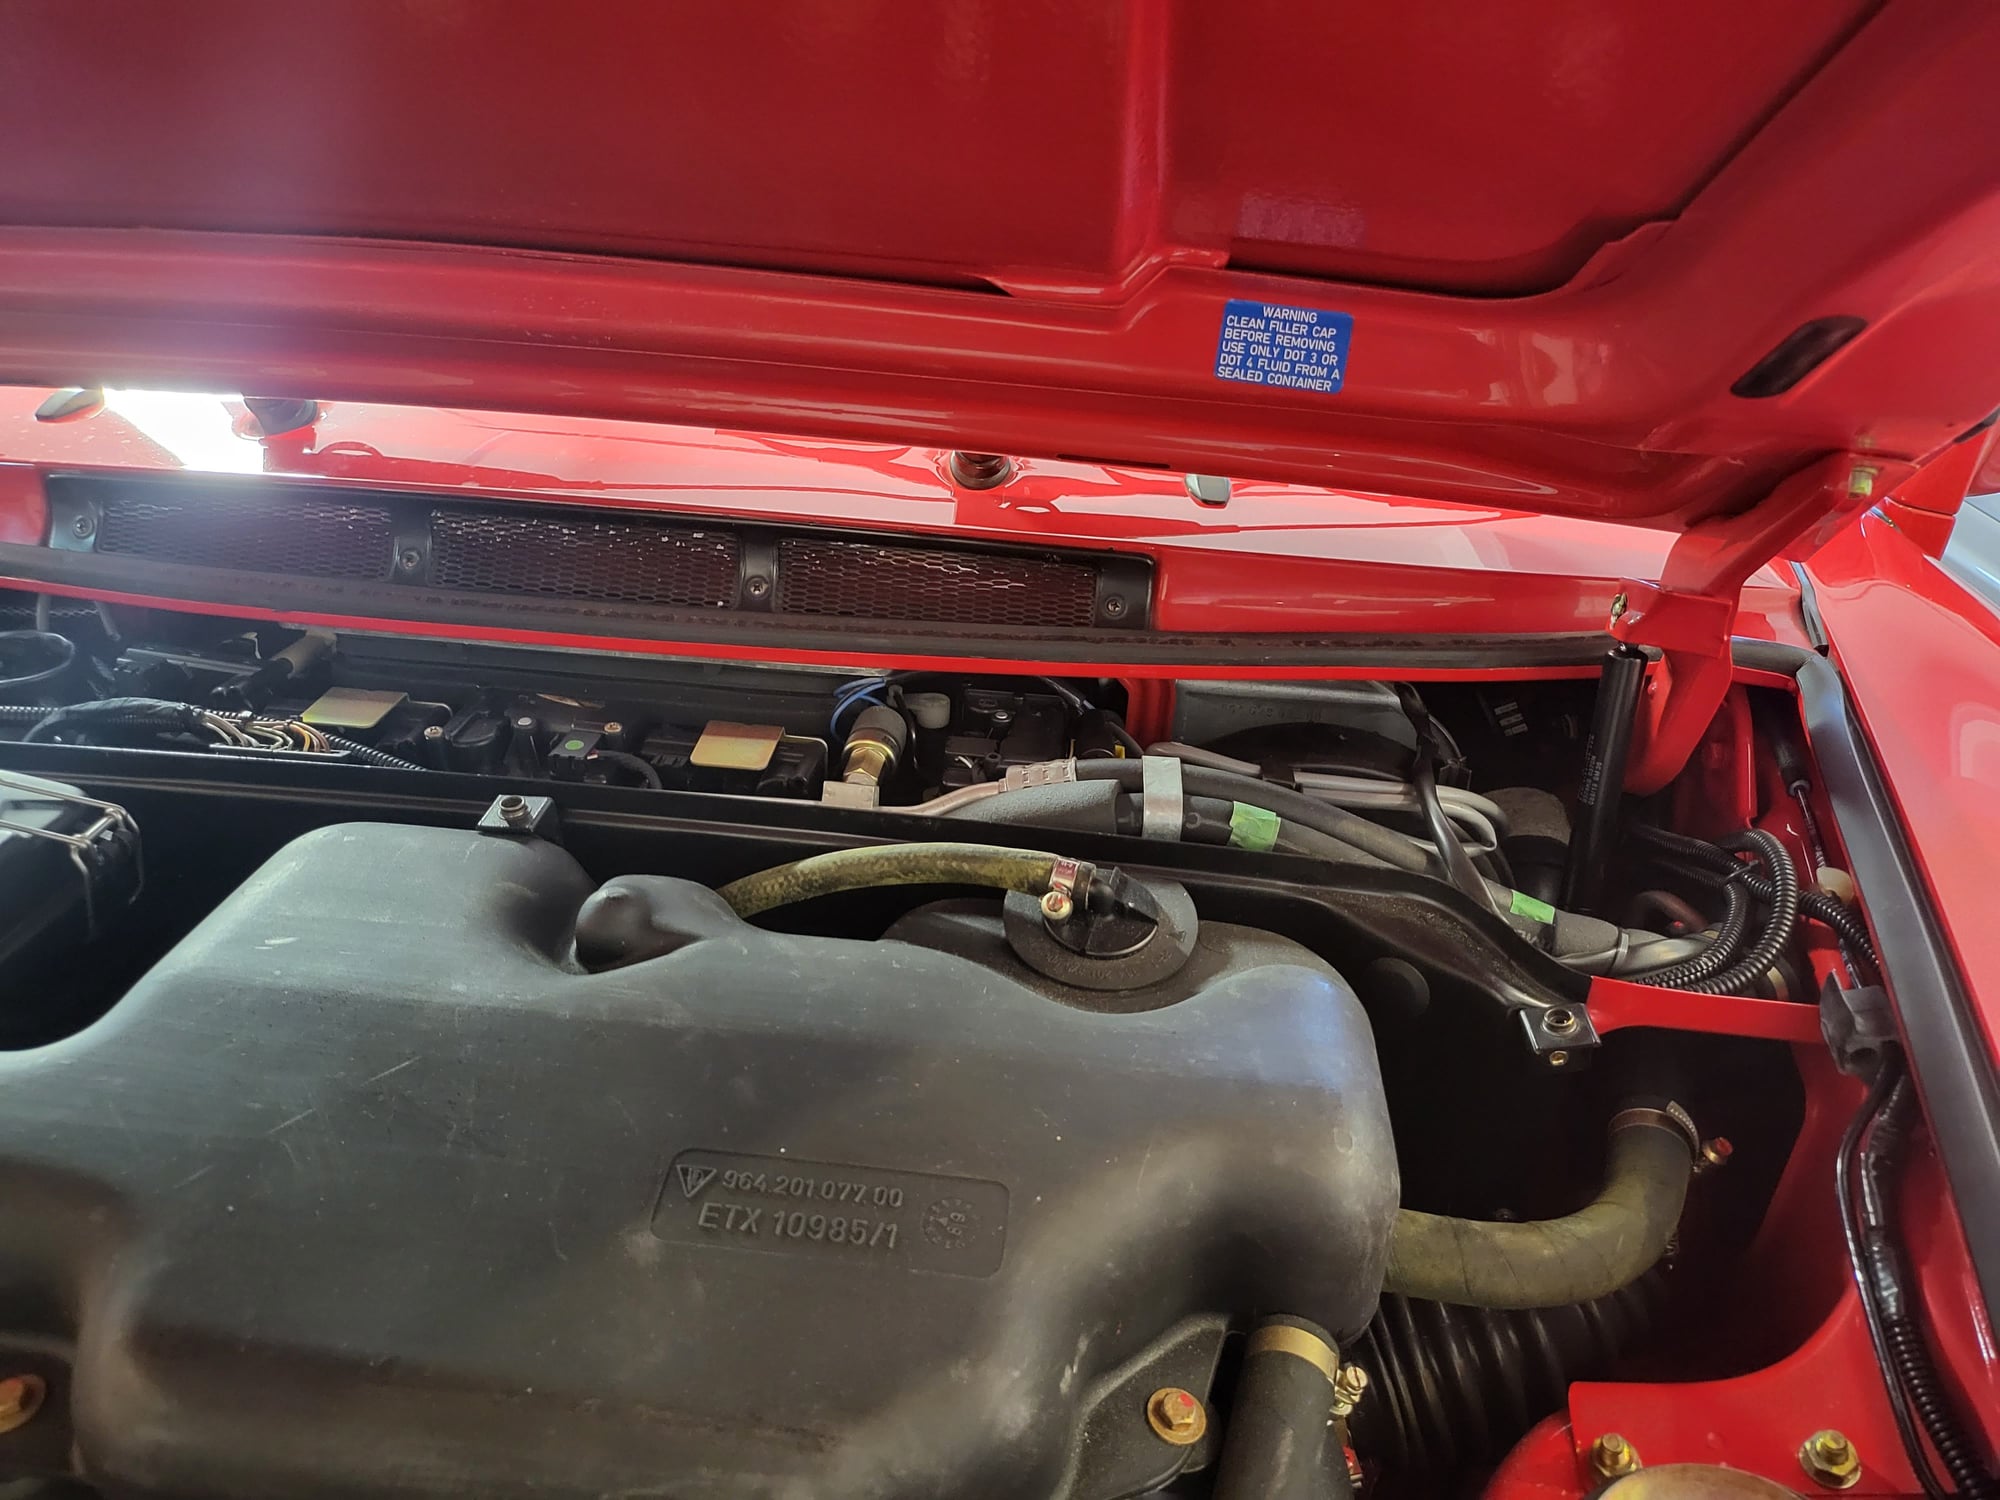
Engine Bay Work:
- Clean and refurb the intake/runners/top of the engine. There is some wetness I can see so I suspect maybe the oil pressure sender gasket or the oil breather cover gasket.
- Replace all the fuel lines. While everything is off the top of the engine I figure its as good a time as any to replace all the fuel lines. I'm planning on using AN hose from the pump all the way back, and then I plan to replace the stock fuel rail/FPR situation with a simplified system with adjustable regulator. Obviously this won't really help anything in the current state, but at some point down the road I plan on moving to a stand alone ECU and could have other options.
- Refurb Fan housing. Also while this other work is going on I'll refurb (or have it refurbed) my fan housing, which is showing some corrosion. I also planned on giving the fan the same treatment but I discovered a crack so that will be replaced next week, ahead of all this other work.
Front End Work:
- Replace my temporary Bilstein HD + H&R setup with proper coilovers - I have not decided which coilovers to go with yet, TBD
- Replace Control Arm bushings with Elephant Racing sport hardness bushings. My bushings are original and likely could do with replacement
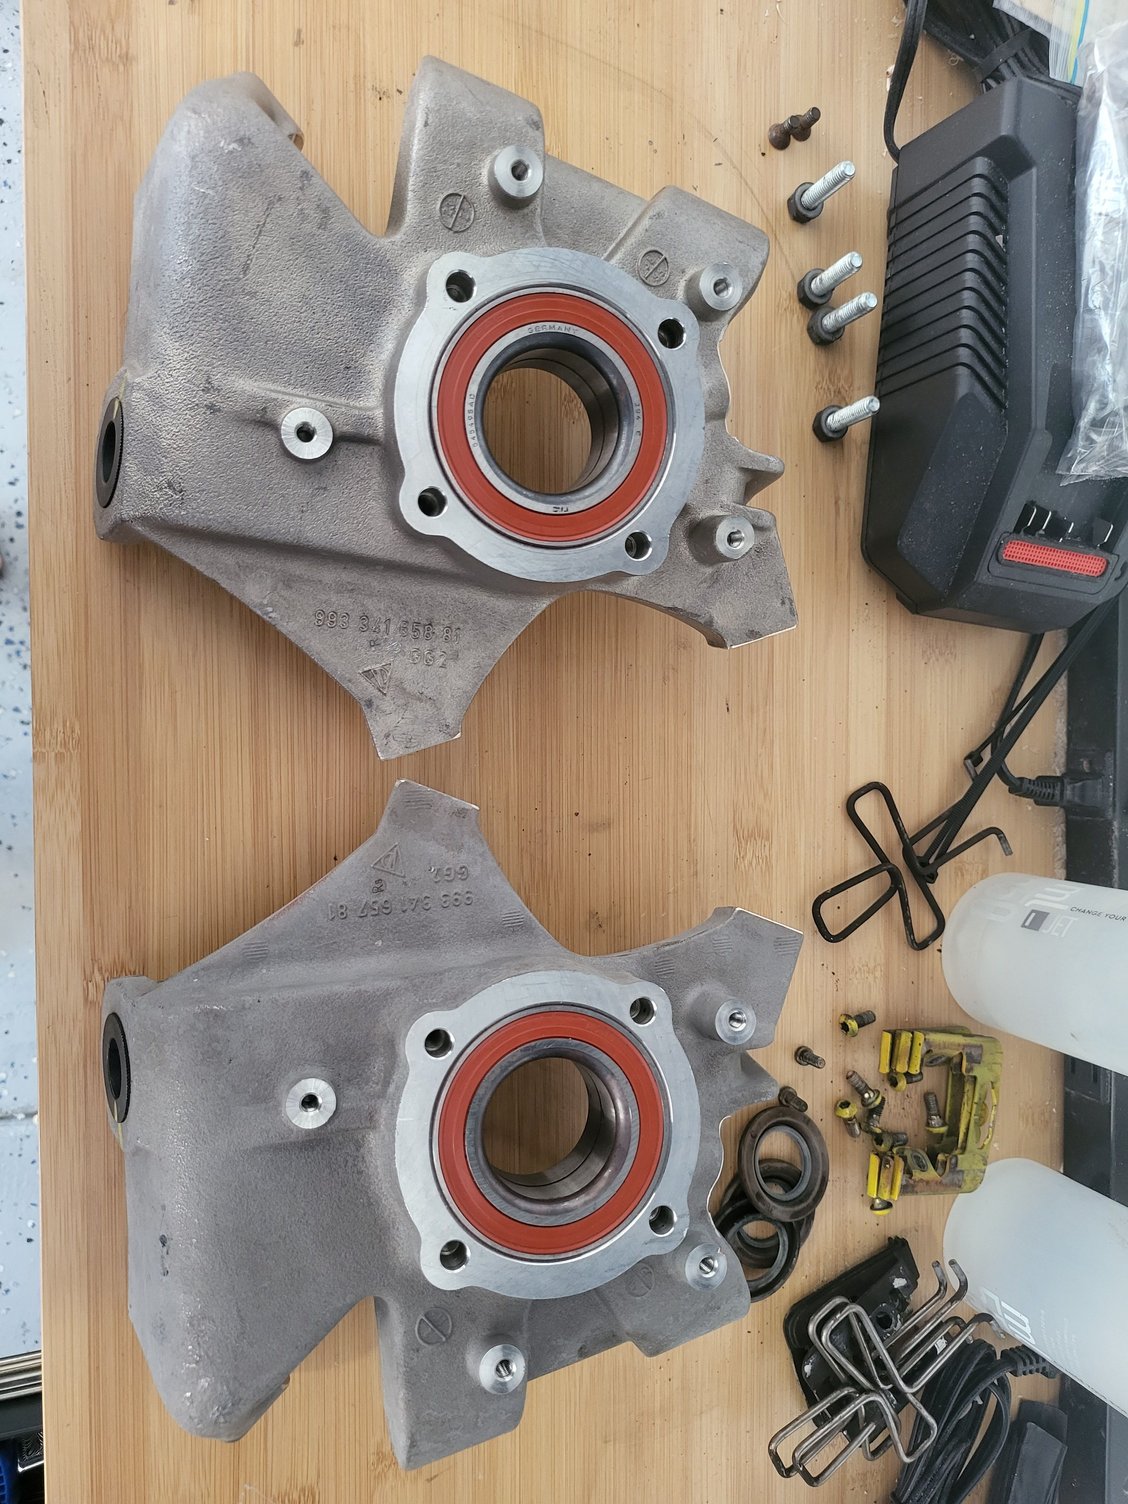
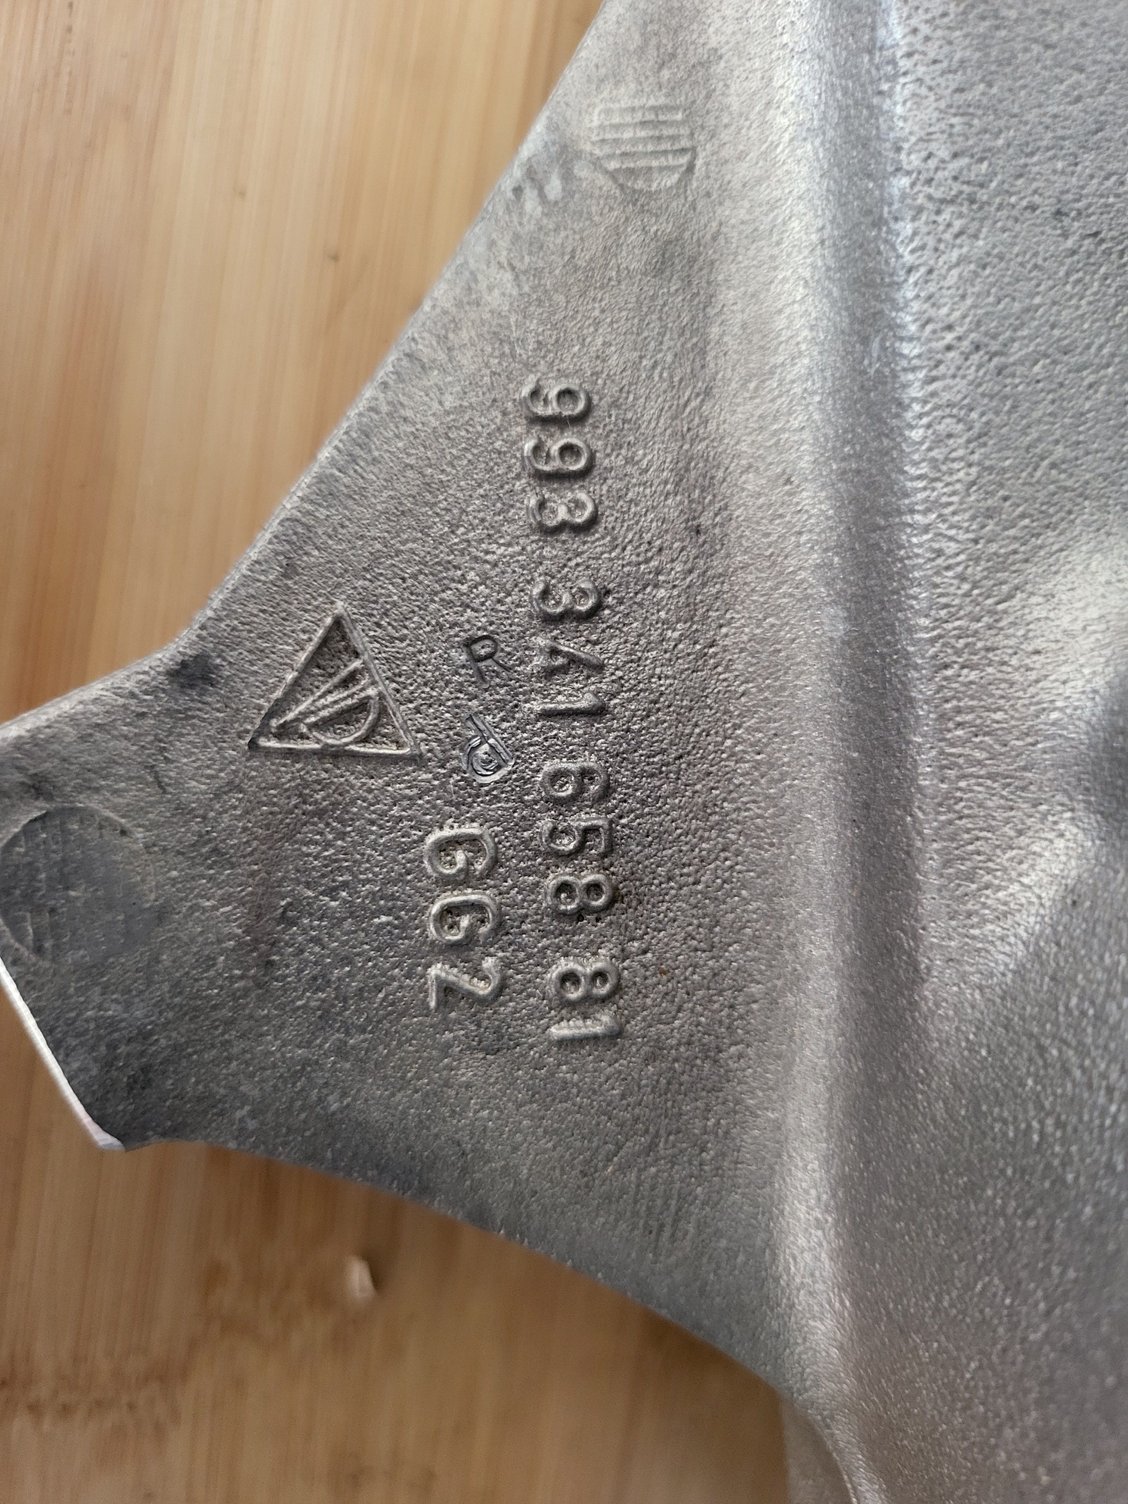
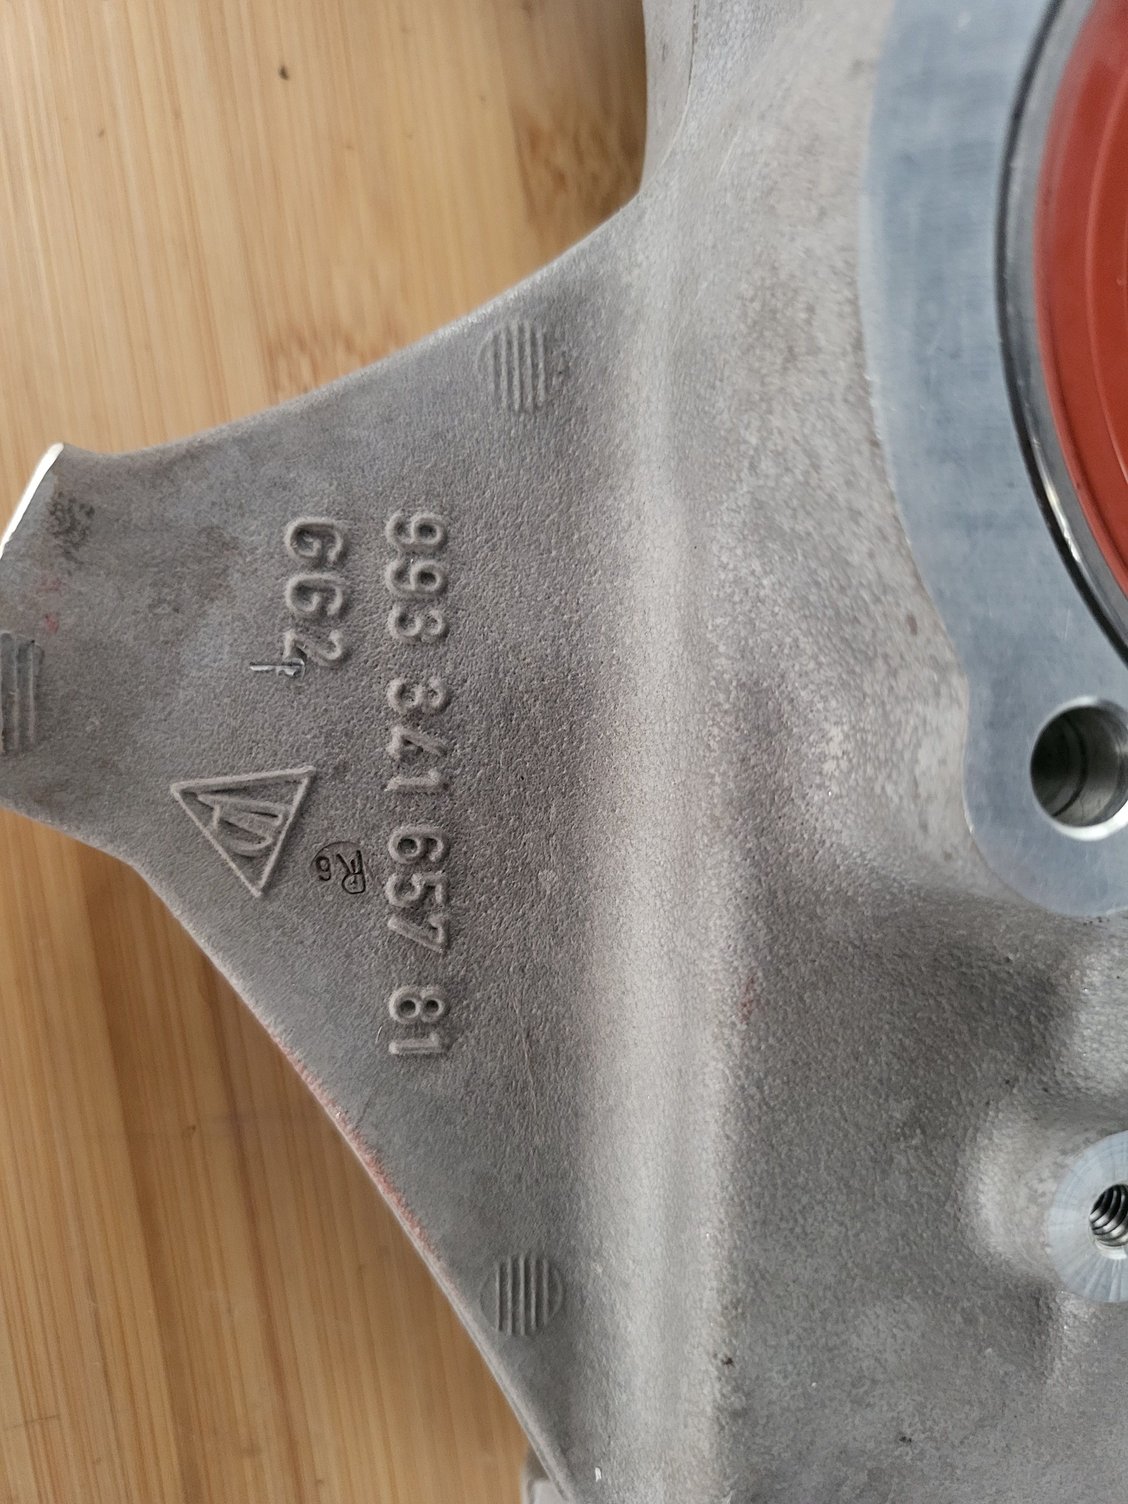
- Replace front uprights with 993RS uprights. I got a reasonable deal on a pair complete with new wheel bearings from a fellow rennlister. I will of course be replacing the ball joints and tie rods to accomodate this. I also plan on changing to 993 longitudinals to widen the track by 12.5mm each side, and will therefore need a 993 ARB as well.
- Replace brakes with 993 brakes - 36/44mm fronts and 30/34mm rears. I believe with the removal of the p/v this will be a well balanced setup. I have a C4 so I'm hoping that the brake M/C will be sufficient, however I have my doubts as my car is an '89 and I think it likely has the 20.6mm M/C. If this is the case it will be replaced with 964.355.903.80 from an RS.
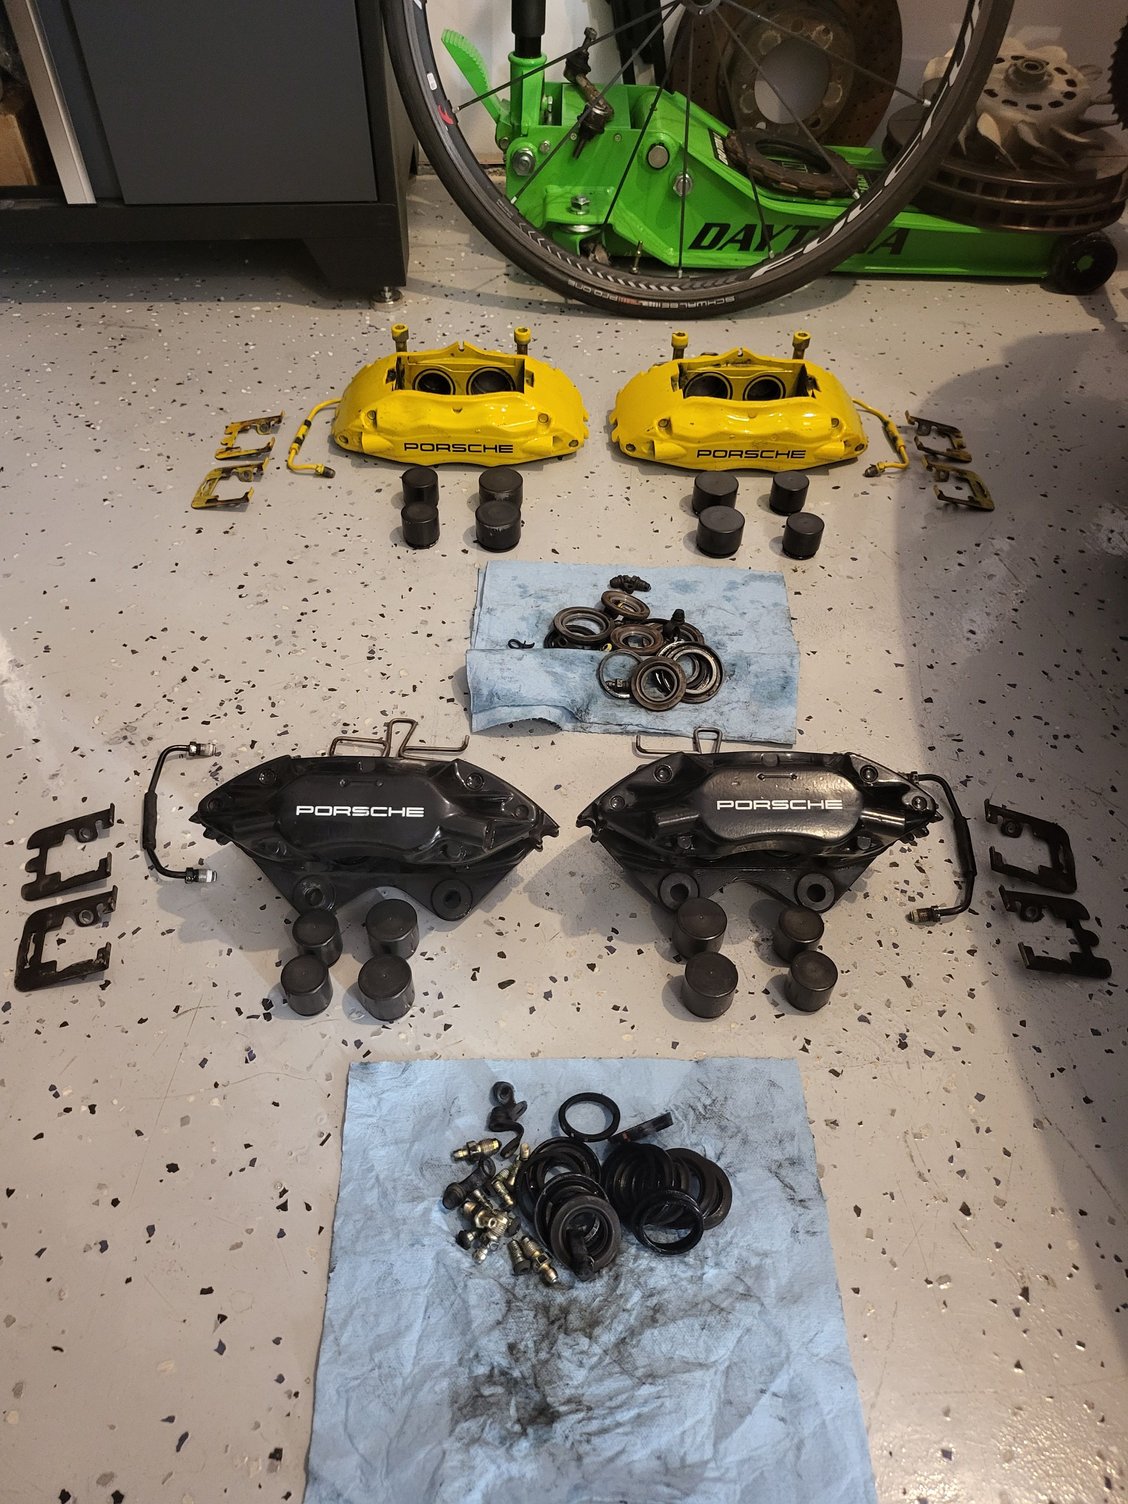
The 993 brakes I got are from two different cars. I'm going to rebuild them and the fronts in particular are looking a little rough. They've been painted yellow at some point, and the pistons look like someone used a crowbar to remove them at some point, so I'm thinking I'll replace the front pistons in addition to the seals. The rears are in quite good condition and honestly probably don't even need to be rebuilt, but I'd like to blast and repaint all four red.
Anyways, tonight I tore them both down.
The front calipers were a bit of a nightmare to get the pistons out of....hooking up my compressor at 100psi only moved two of the four. I ended up attaching my high pressure bike pump up to it and they finally snapped free at ~140psi. the bolts holding the side plates on were also rather difficult to get free, but not as bad as I expected actually. For those who have refinished calipers before, is it better to paint behind the side plates or should I be masking this area off? Anything I should be looking out for inside the bores of the calipers?
In looking at rotors, there seems to be way more options for 322x32mm rotors than the 304x32mm rotors standard for NA 993s - does someone make a 9mm spacer to space the caliper off the upright so I can use 322x32mm rotors?
993RS uprights are cast in different years and the finish of the aluminum doesn't quite match, but neither have ever been mounted to a car so I'm pretty happy with this.
You have the 23.81mm MC in your C4. Same one used in the 964 turbos however the RS and 993 C4's turbo etc used the 25.4mm. It is work to swap out the MC to the 25.4mm. You will need adapters and IMO isn't necessary unless you are turning it into a dedicated track car. I had a set of rears I rebuilt not long ago that I had similar issues with but mine popped out at 130PSI. I'm more accustomed to them popping at 40PSI. So long as there is no damage to the casting itself you should be good to go. Side note. The 993TT MC is the same as the TRW units you will see sold elsewhere. I purchased one not that long ago from Porsche and it was pricey. The unit came in a box with the Porsche part number on the box but when I opened it had no plate with a Porsche part number as they used to and just the TRW part number.
The one upright appears to have some surface corrosion although it does not seem to be showing on the machined surfaces. Might have been stored in a damp environment. You should be fine but might want to use an aluminum brightener on them. You can make a spacer out of aluminum bar stock if you can source stock at 9mm or close enough and have it machined down. The Medium S4 calipers came in 2 configurations. The stock 993/928S4 version as you seem to have setup for the 304mm rotors and the 91-92 964 turbo version which are setup for the 322mm rotor. The mounting hubs are machined down on the 928S4 version. The 993 uprights will require you to use the 993 turbo rotor if you go that route. Neither 964 turbo rotors will work. The 993TT rotors will have an additional 10mm of material on the inside of the rotor closest to the hub that will not be used. Not ideal but will work. Also remember that the 993 ball joints and 993 tie rods will be required and are not a direct bolt up you will need to modify your A arm and buy the bolt that holds it in place to work. 964 ball joints won't work with the 993 components. Also the 993 tie rods don't allow for the spacers to work so you need to remove them and be careful not to bind your wheel against the tub at full lock. You might consider the ERP or elephant tie rods to make this process easier.
The fact that you easily removed the bolts that hold the end plates in place is amazing. Usually when the pistons bind that much the end plates are impossible to remove.
BTW you can purchase inexpensive pin removal tools for future electrical work on connectors. It makes it easier to remove the connector and reuse. It is interesting that Denso made the original part as well.
Keep up the good work.
PS: if you are doing all this work you might consider changing out the old fuel lines in the future.
That was what I thought initially about the MC but I came across a thread over on pelican where Bill V and someone else came to the conclusion that some early build C4s were shipped with the smaller MC. If mine is 23.8 I'll leave it alone, but if I have the smaller one I might as well upgrade to the 25.4 as the price difference isn't that large.
That was what I thought initially about the MC but I came across a thread over on pelican where Bill V and someone else came to the conclusion that some early build C4s were shipped with the smaller MC. If mine is 23.8 I'll leave it alone, but if I have the smaller one I might as well upgrade to the 25.4 as the price difference isn't that large.
Tom
I would need to compare them side by side but I don't believe they made a 20.64mm MC that works with the electro hydraulic system and AFAIK the 20.64 wasn't introduced until the C2 in 90. Although the only way to know is to check. You can probably pick up second hand MC's from Autobahn from Singer builds.

 03-21-2022, 03:16 PM