When you click on links to various merchants on this site and make a purchase, this can result in this site earning a commission. Affiliate programs and affiliations include, but are not limited to, the eBay Partner Network.
Had a pretty decent day of progress, with some morning work early and then some evening work straddling a workday in the middle, and took most of my phone calls from the garage as well. The other half had a rare day going into the office so I had to take advantage of the extra space!
With all the wheel studs taken care of, it was time to finish tackling the suspension. First order of business was cracking free the lower bolts on the rear shocks - these are the only bolts not yet cracked free since I had struggled with my longest breaker bar for quite some time before giving up and accepting defeat.... a couple weeks ago... Both electric and air powered impact wrenches failed as well. Anyways, someday I'll add a torque multiplier to my collection, but until then I decided to go for the much sketchier floor jack + breaker bar option. I figured since its on the back of the car it would be pretty hard to apply enough force to accidentally lift the car off the jack stand.
That image is not distorted, that is a 25" breaker bar flexing like crazy, about 2 pumps away from the final loud crack! The other side required similar pressure - its quite remarkable as when I pulled the bolts out, they looked to be in exceptional condition and still slathered in copper anti seize so I don't quite understand where the reluctance comes from, but anyways, they're off. I had already removed the blower and airbox a while ago so the top nuts were quick and easy to take care of and everything came out.
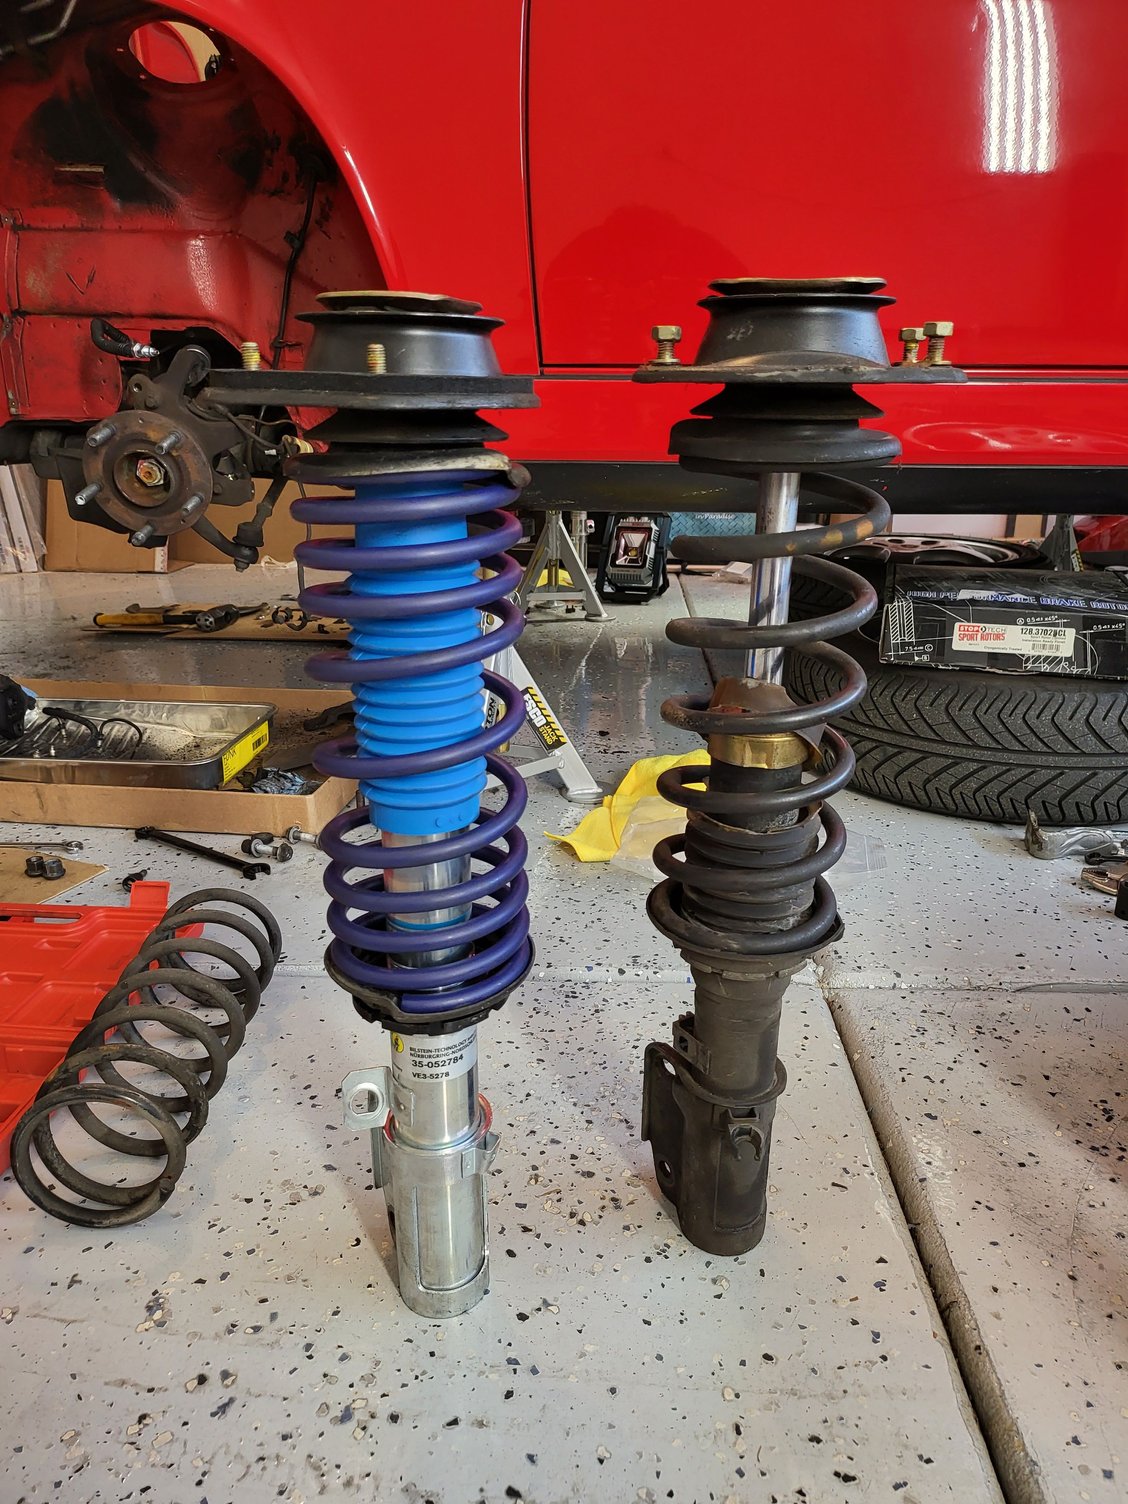
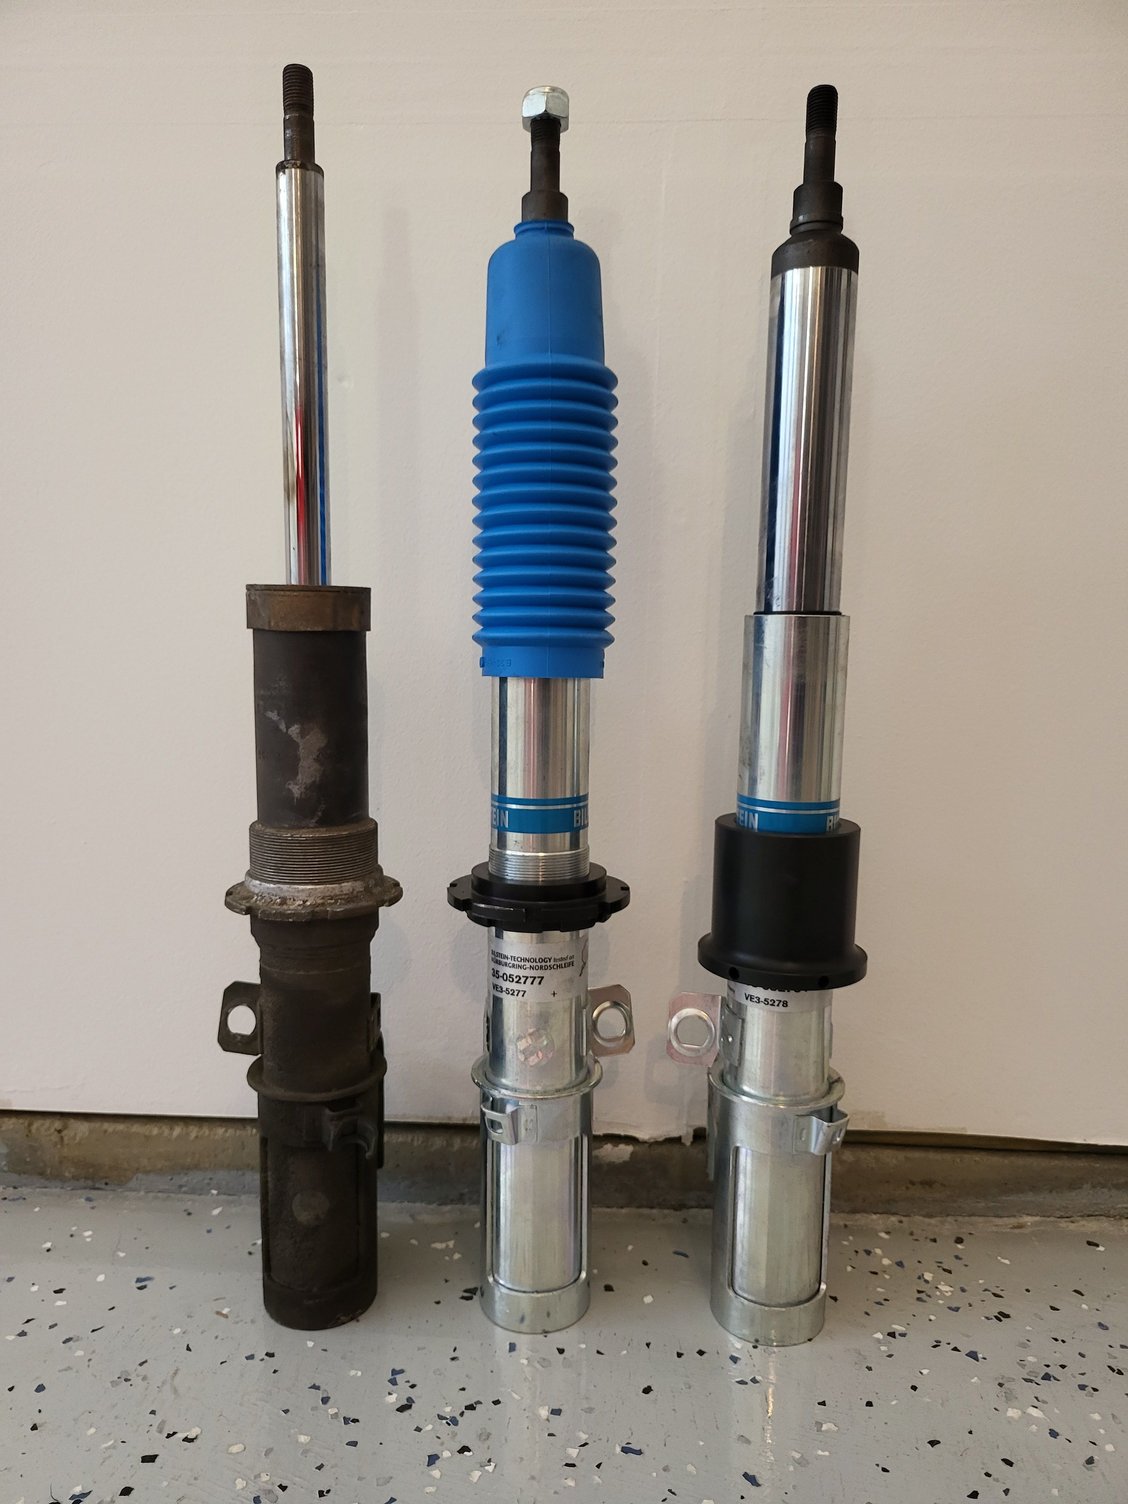
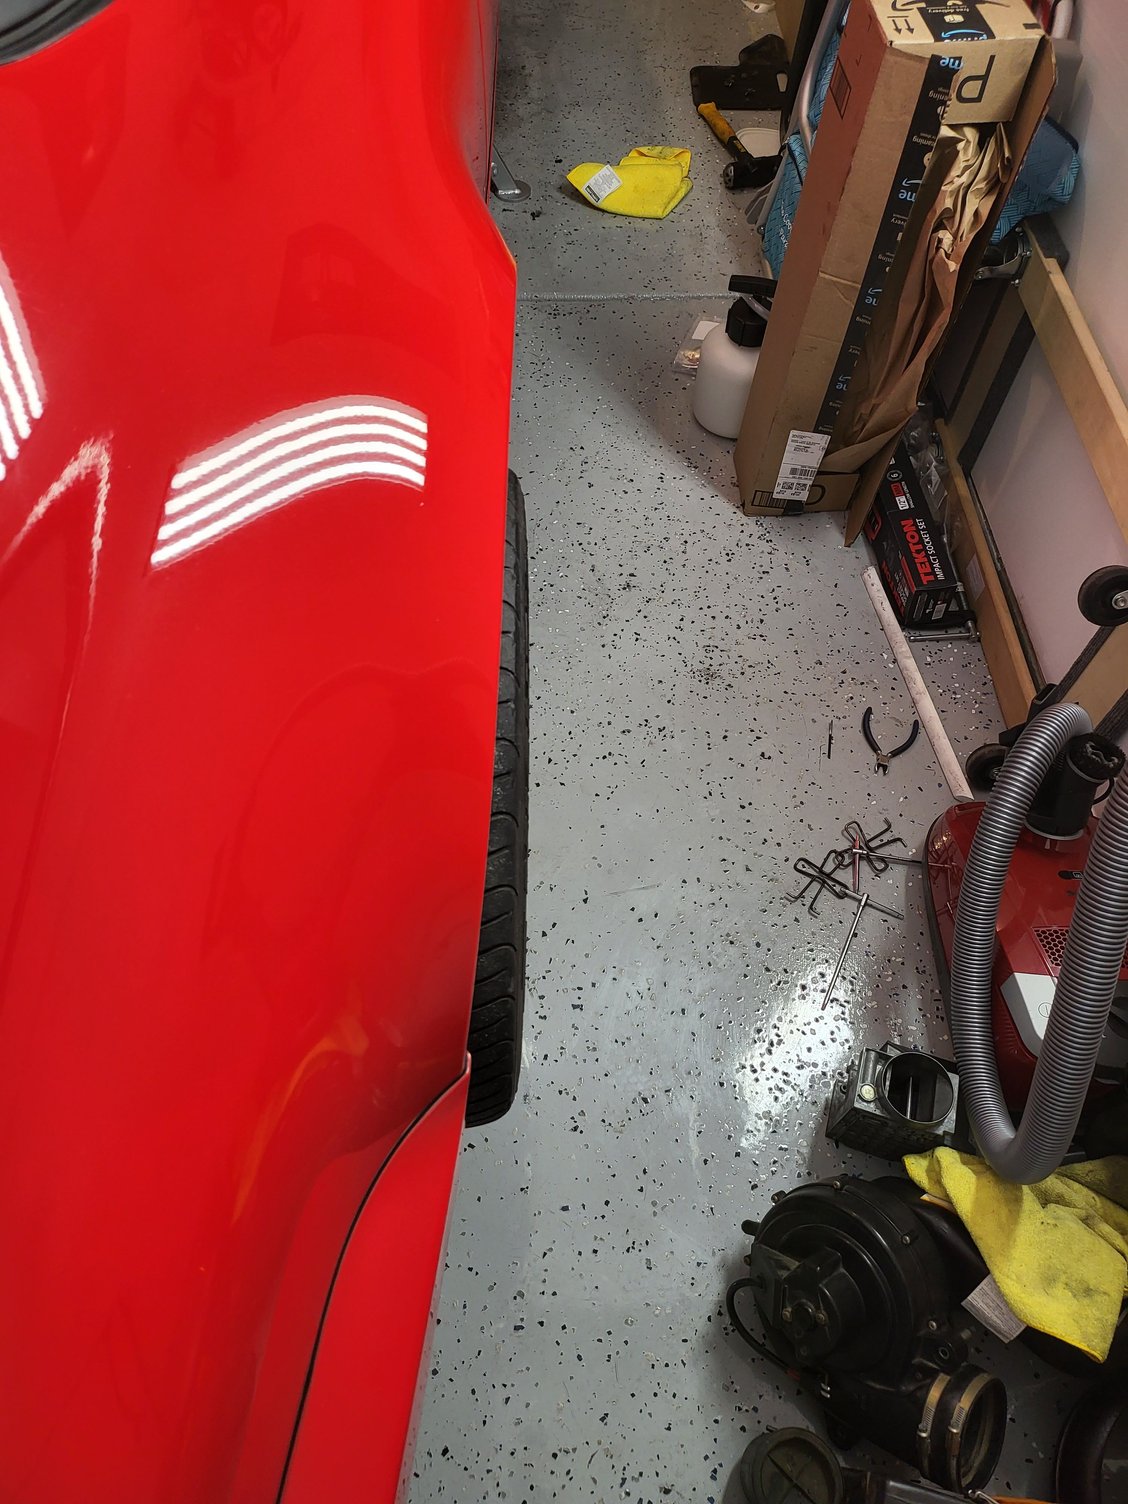
Exploded view of what came out - pretty filthy! Bump stops have disintegrated and will not be reused - I'll have to order new ones and fit them later as I missed this in the pre-accumulation of bits. I had also planned to clean the wheel wells, but I'm going to save it for the next big session - looks like some nice weather coming up finally so I want to get things put back together quickly. I found it interesting that the adjustment range on the new bilsteins was essentially the same - for some reason I thought it would have been more. I'm going to reuse the top mounts for the time being - I'm not convinced they're in spectacular condition currently but this suspension setup is more of a temporary one until I decide on a coilover plan.
I was sort of dreading putting the new ones back in since I've heard it can be a real challenge without a second set of hands, but I actually found it pretty easy. Just had to sight the holes up top and their orientation, line the shock assembly up roughly and then lift it up and jiggle it until you can feel the studs go in. After that, the trailing arm seemed to be at basically the perfect height to rest the bottom on while I went up top and threaded the nuts on. Then back down to lift the trailing arm up and finesse the bolt in and all done.
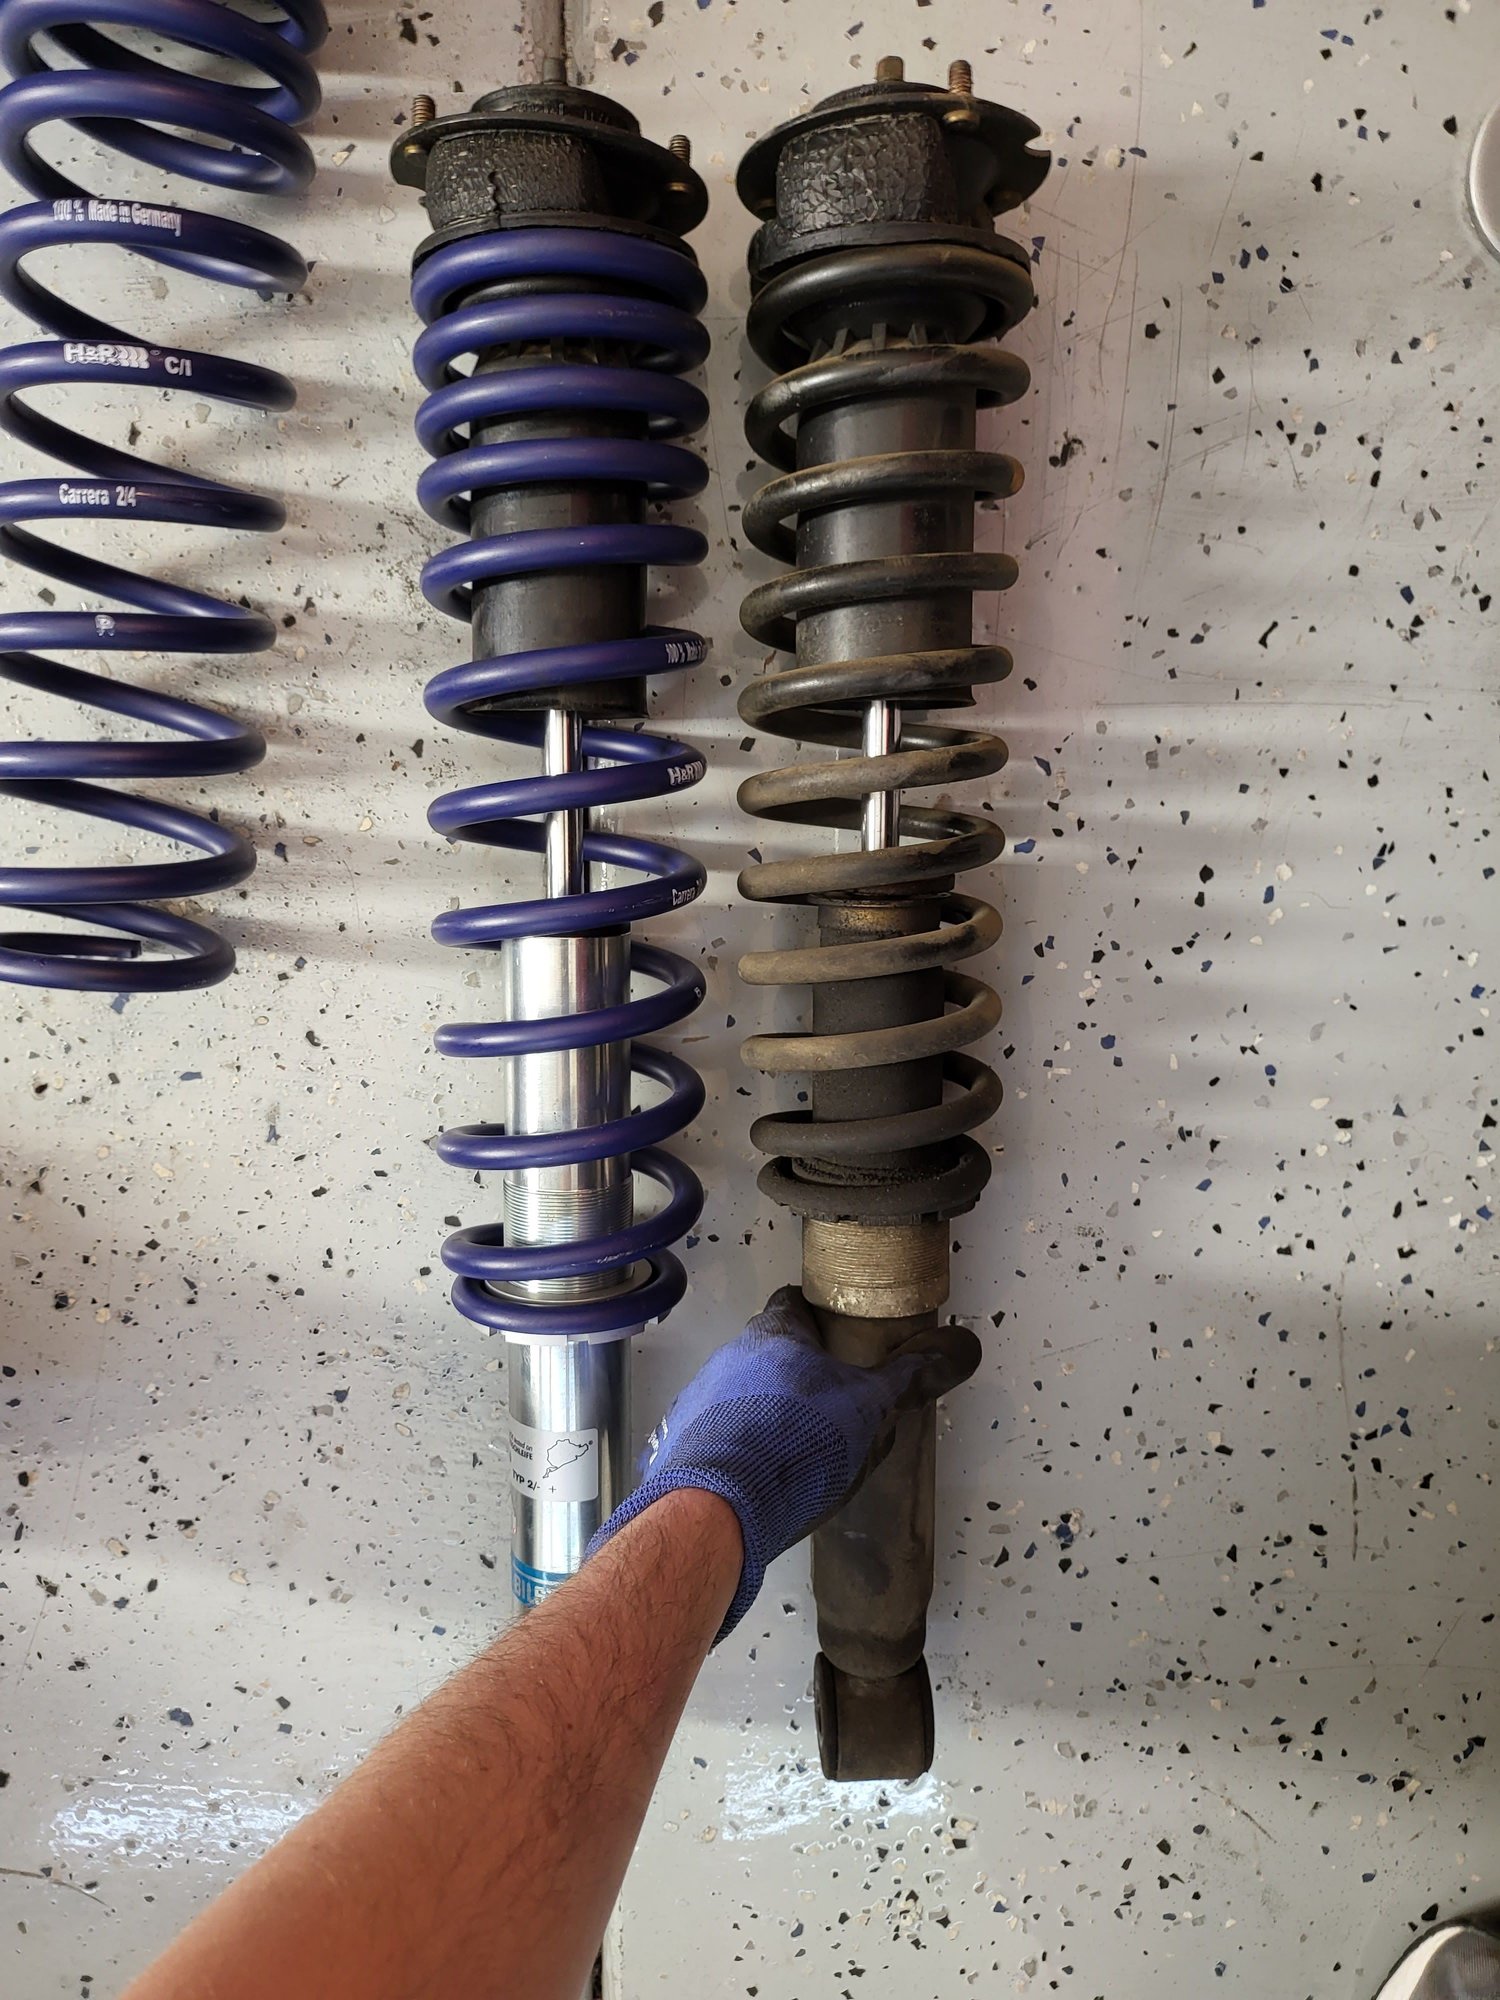
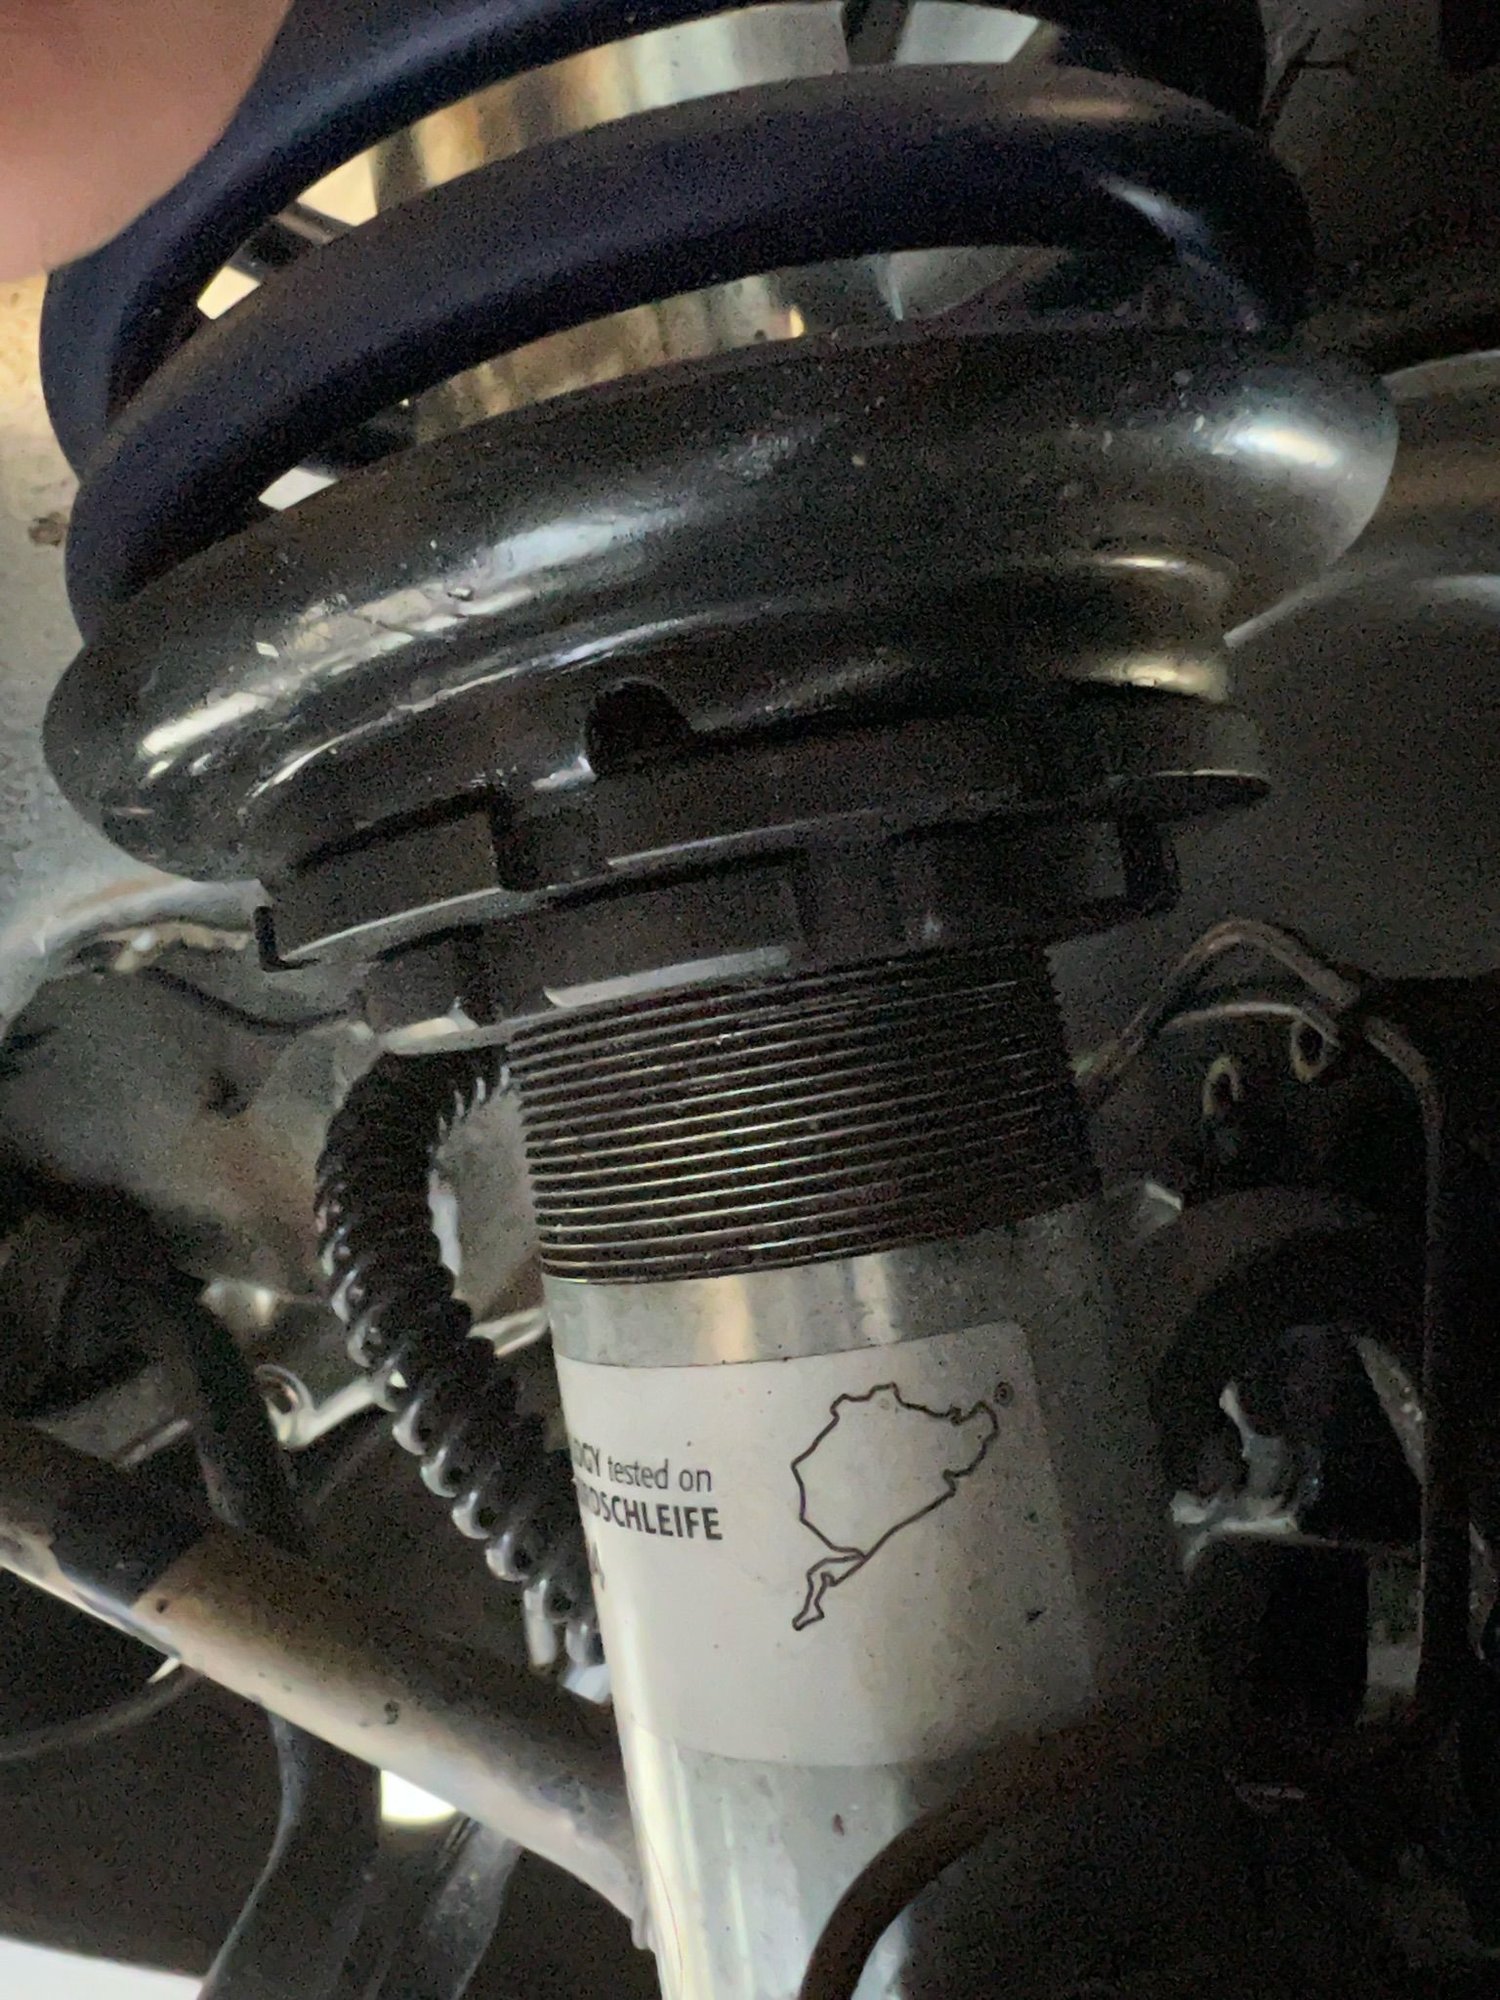
Good enough for now. Next up is the front. I had removed the struts a few weeks ago and planned to fit the new ones at the same time but I ran into the same problem I'd seen intermittently on here. I wanted to go down to RS or RS+5, and some on the B6+H&R combo seem to get there no problem, some can't and need lowering collars. Looked like I was in the lowering collars group.
The strut itself is slightly shorter than the original, maybe 5-10mm, but the spring collar is at almost the exact same height. With what are, I assume, stiffer springs I couldn't see how this would achieve much lowering, and my car was in full 4x4 mode before so I ordered the FVD collars.
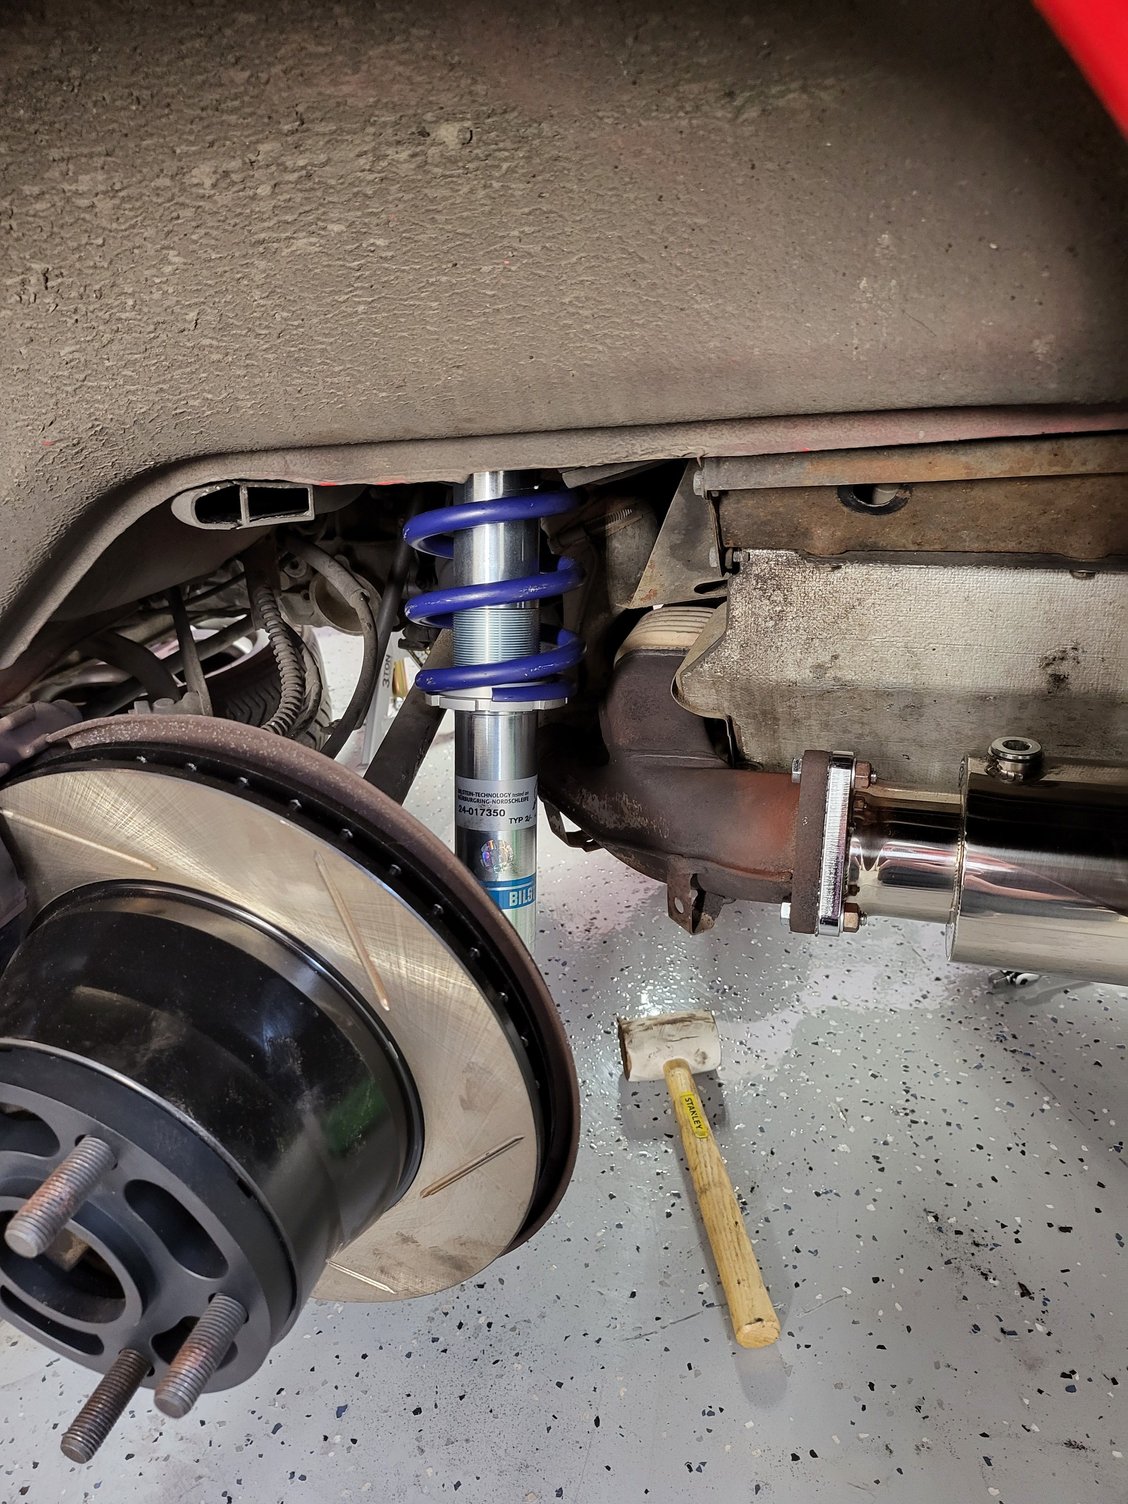
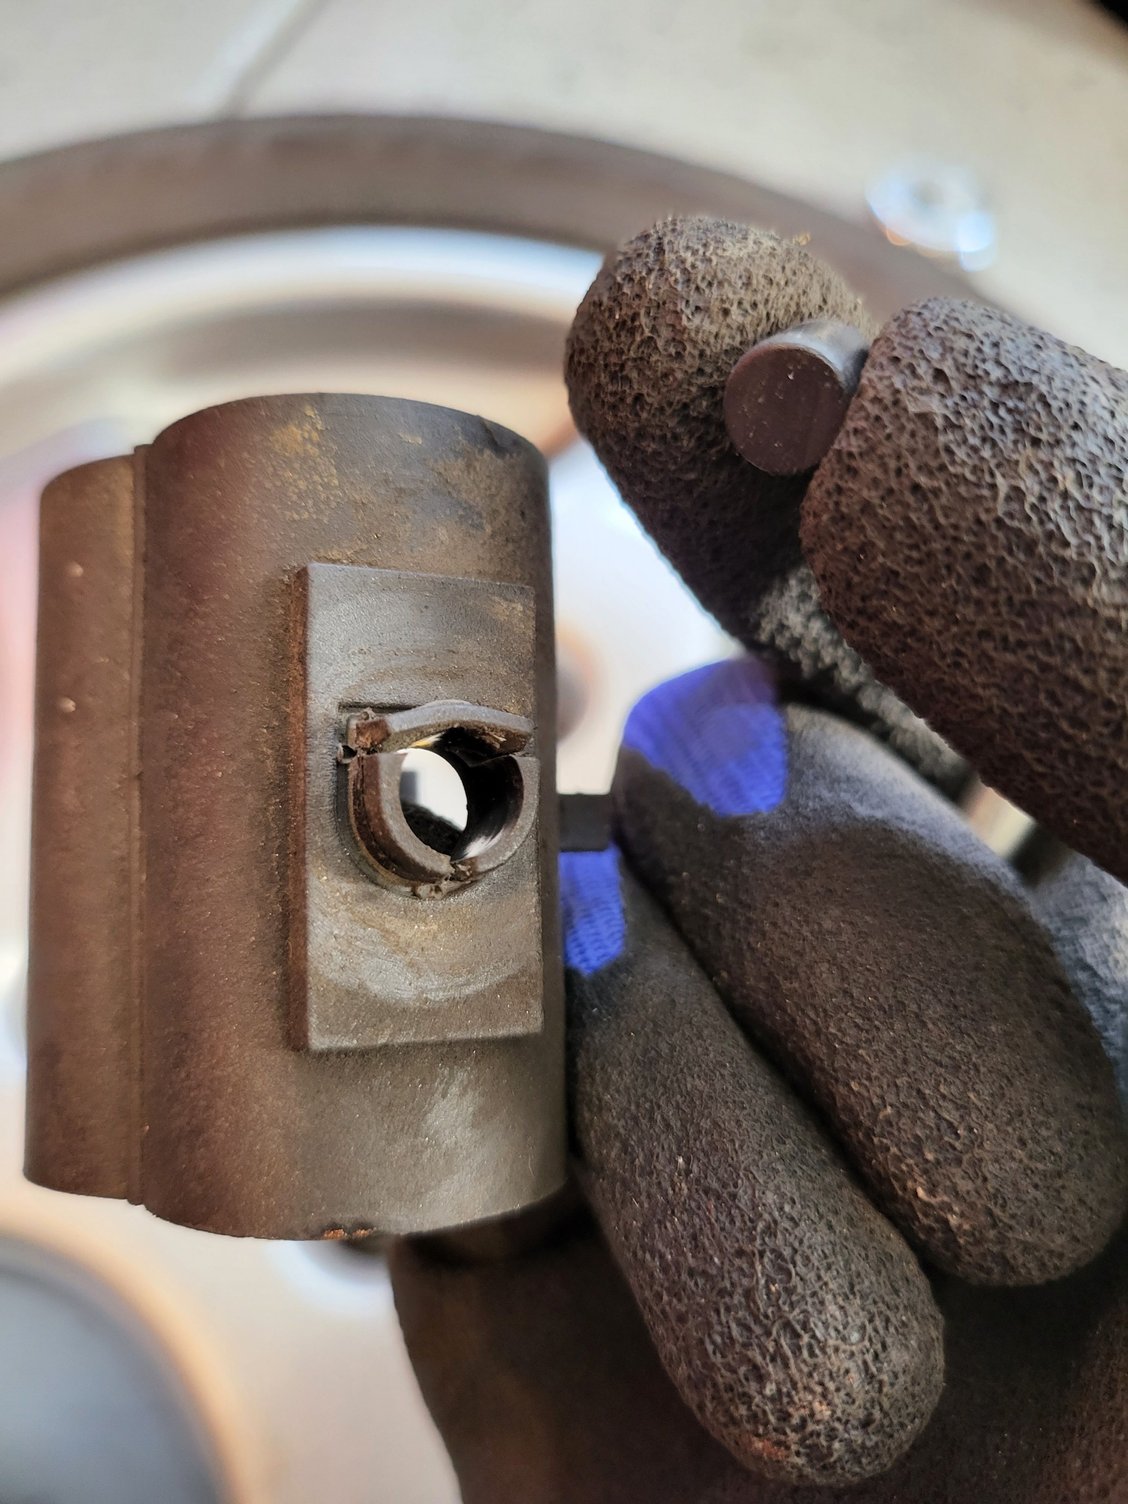
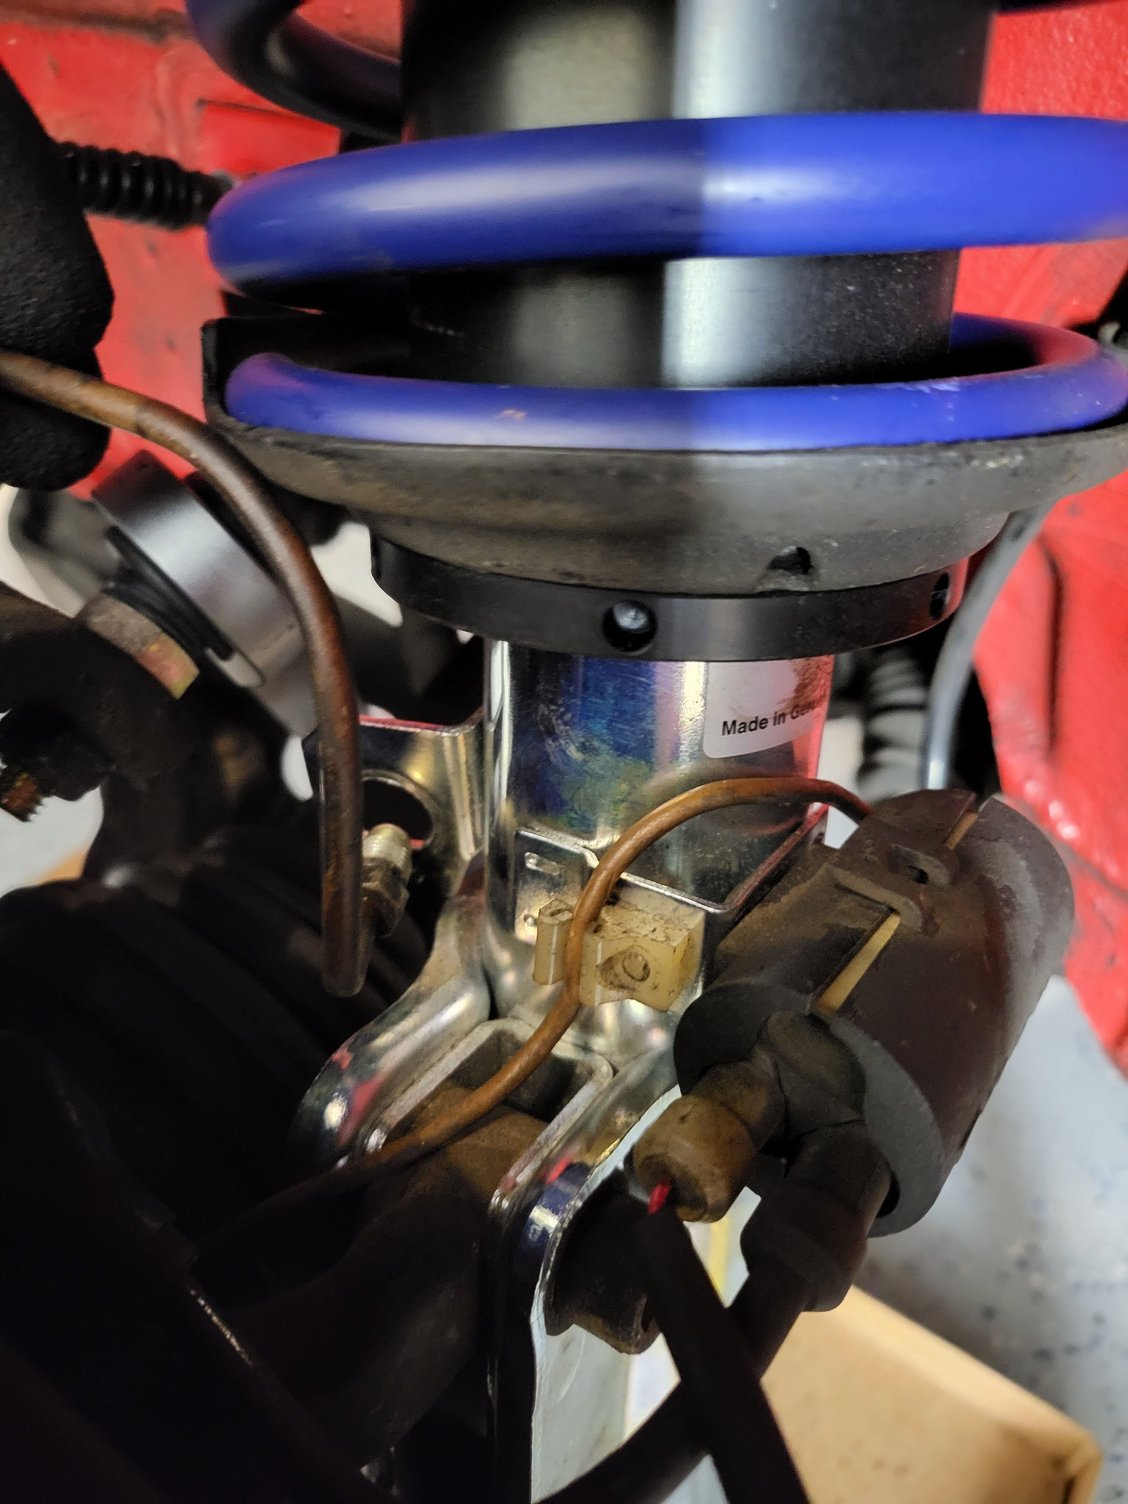
Here's a comparison of the situation. The collars seem to be very well made, although I find it strange that there is a hole tapped for a grub screw, but no screw included.... anyways, back to the install. One thing that was not obvious to me was how to detach the cable/plug management bits from the old struts. I ended up, unfortunately, going for the brute force method. With them off I can see how they work, so maybe this will help someone else - there is a cylindrical tab retainer pushed through the center of the connection to the strut which can be removed with a pick or similar, allowing the whole thing to be pulled out easily.
Ripping it out didn't seem to cause too much damage so I will reuse it for now. The small ugly white clip uses a similar system. With the collars now set at a first guess height and springs/top mounts fitted, onto the car they went. I again reused the top mounts, which seem to be in good shape. When I do the next phase I'll probably go for some kind of camber plate setup but these are good for now.
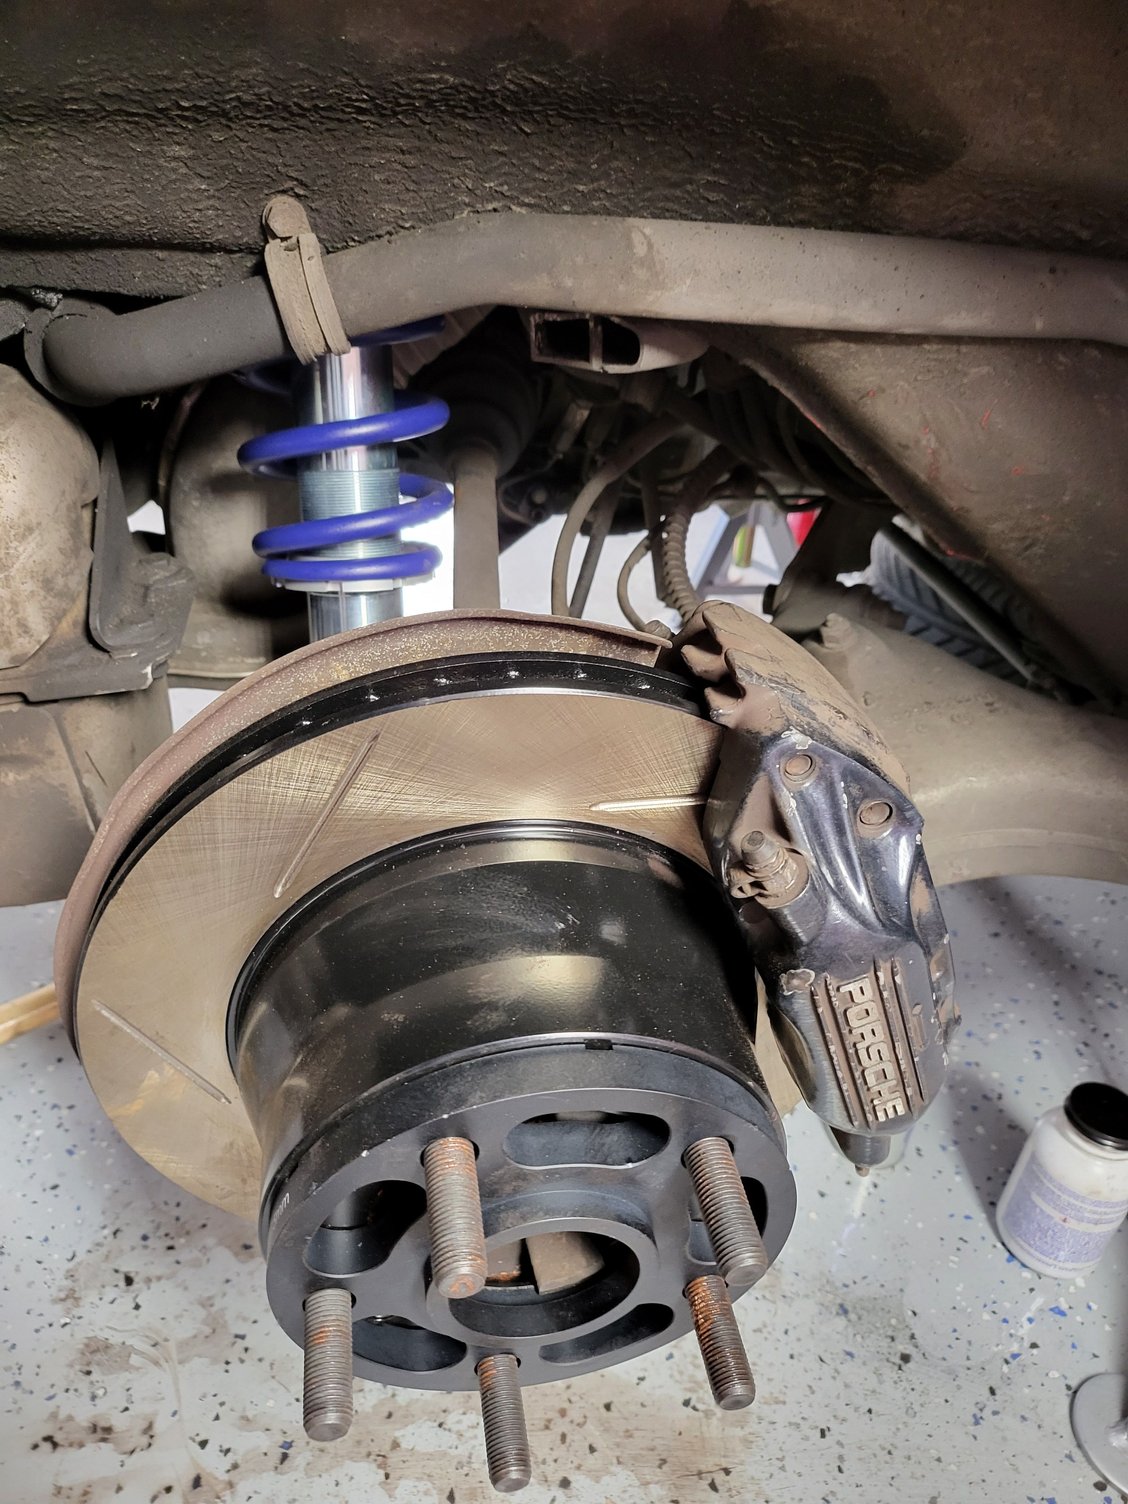
I fitted new rotors (drilled cryo treated, only because they were on clearance from TR a while ago and a very good deal), refitted the calipers and hardlines, and dropped in new pads. My drivers side hardline was a slightly different bend configuration than the passenger side, not sure if one had been replaced at one point? Anyways, it was sort of resting against the spring collar and required some gentle persuasion to move away.
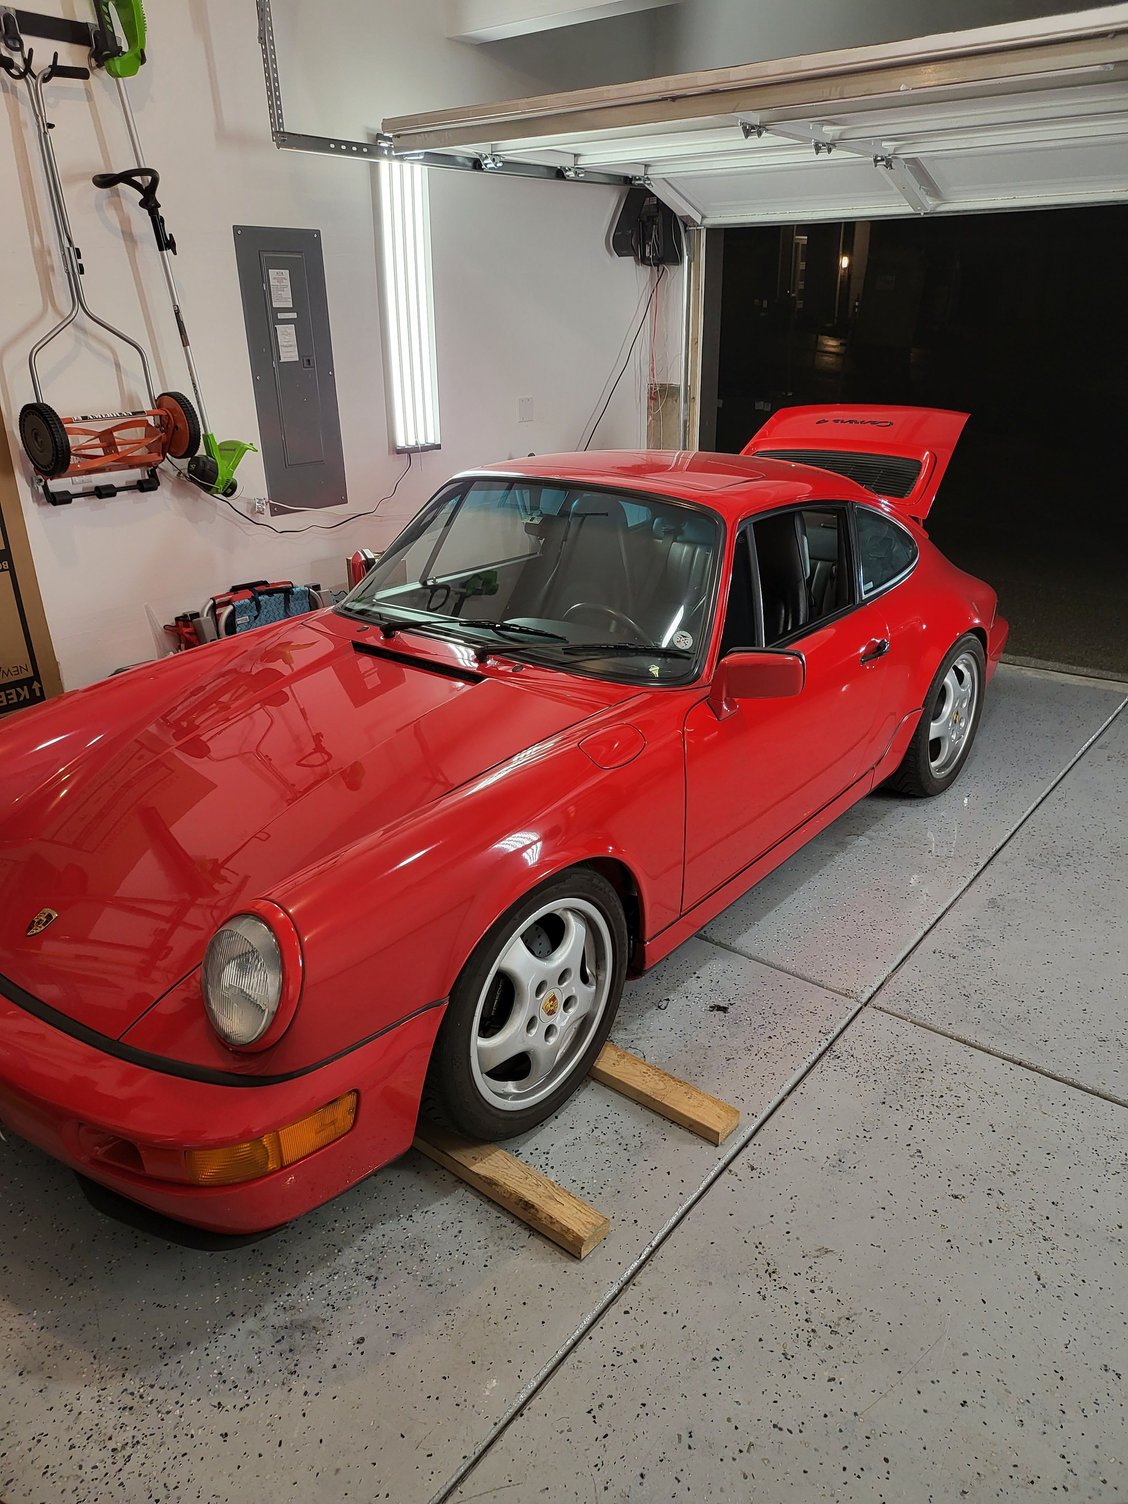
Now we're starting to look dangerously close to drivable! New brake lines hooked up, but fluid hasn't arrived yet so I have to wait before bleeding.
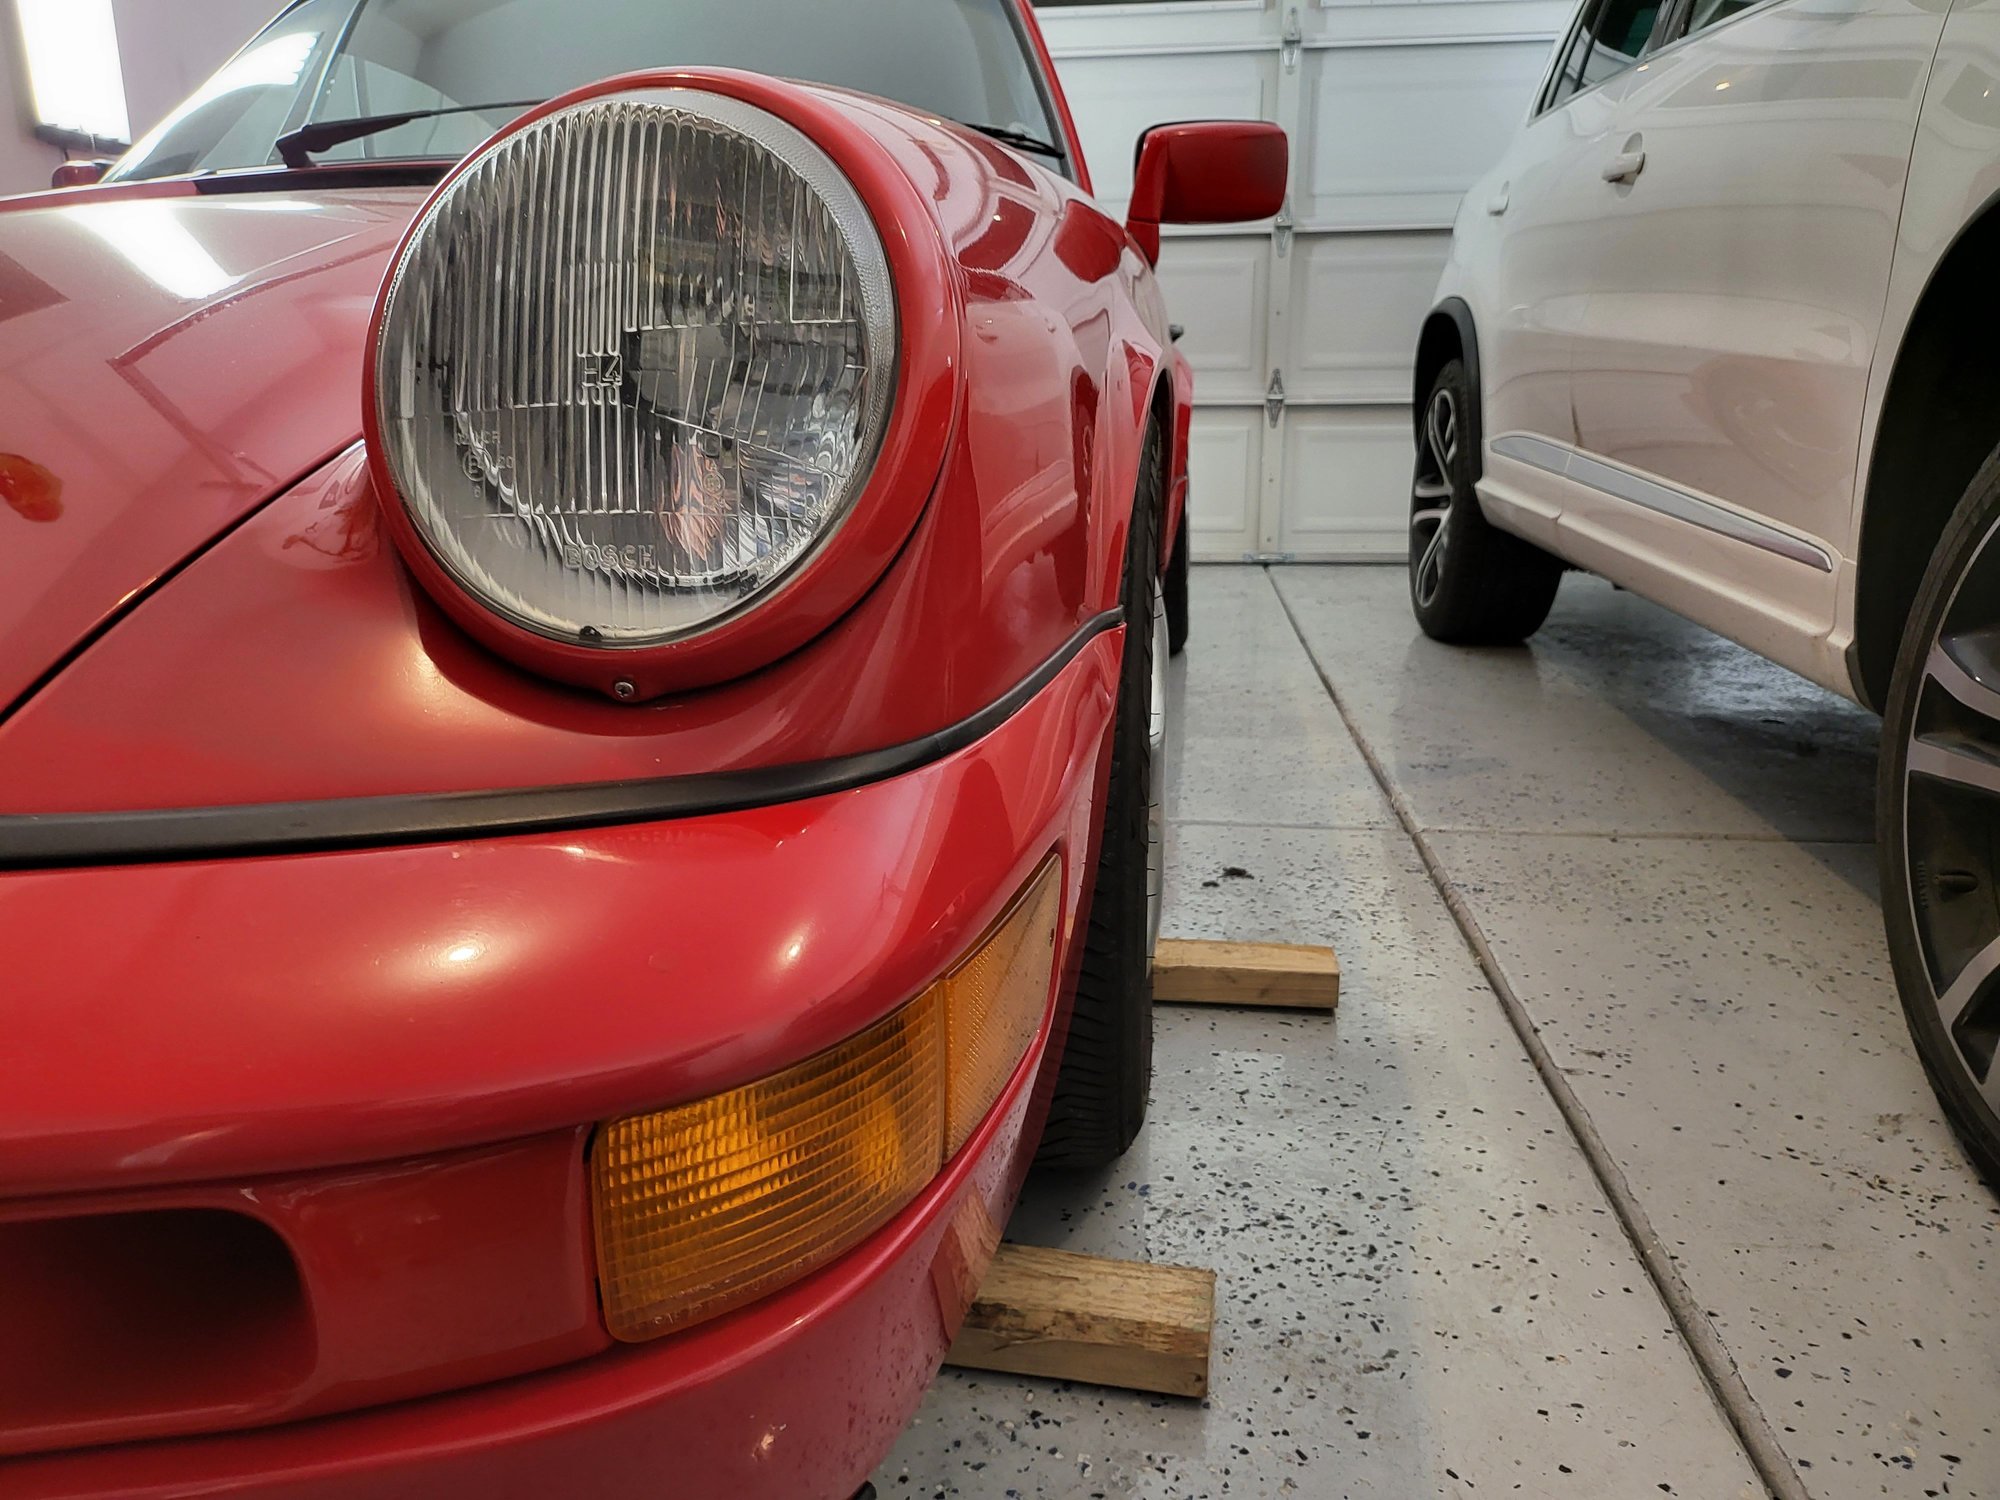
I find it quite difficult to figure out what size spacers to run to get a flush look - I've read dozens of threads and seem to get conflicting information frequently, as I think there are just too many variations of wheel offsets, tire profiles and other nuances. I started with 15mm all around and figured I'd just have to see for myself what works. After putting the back wheels on and looking from above, I started getting a bit nervous that I'd overshot the mark....
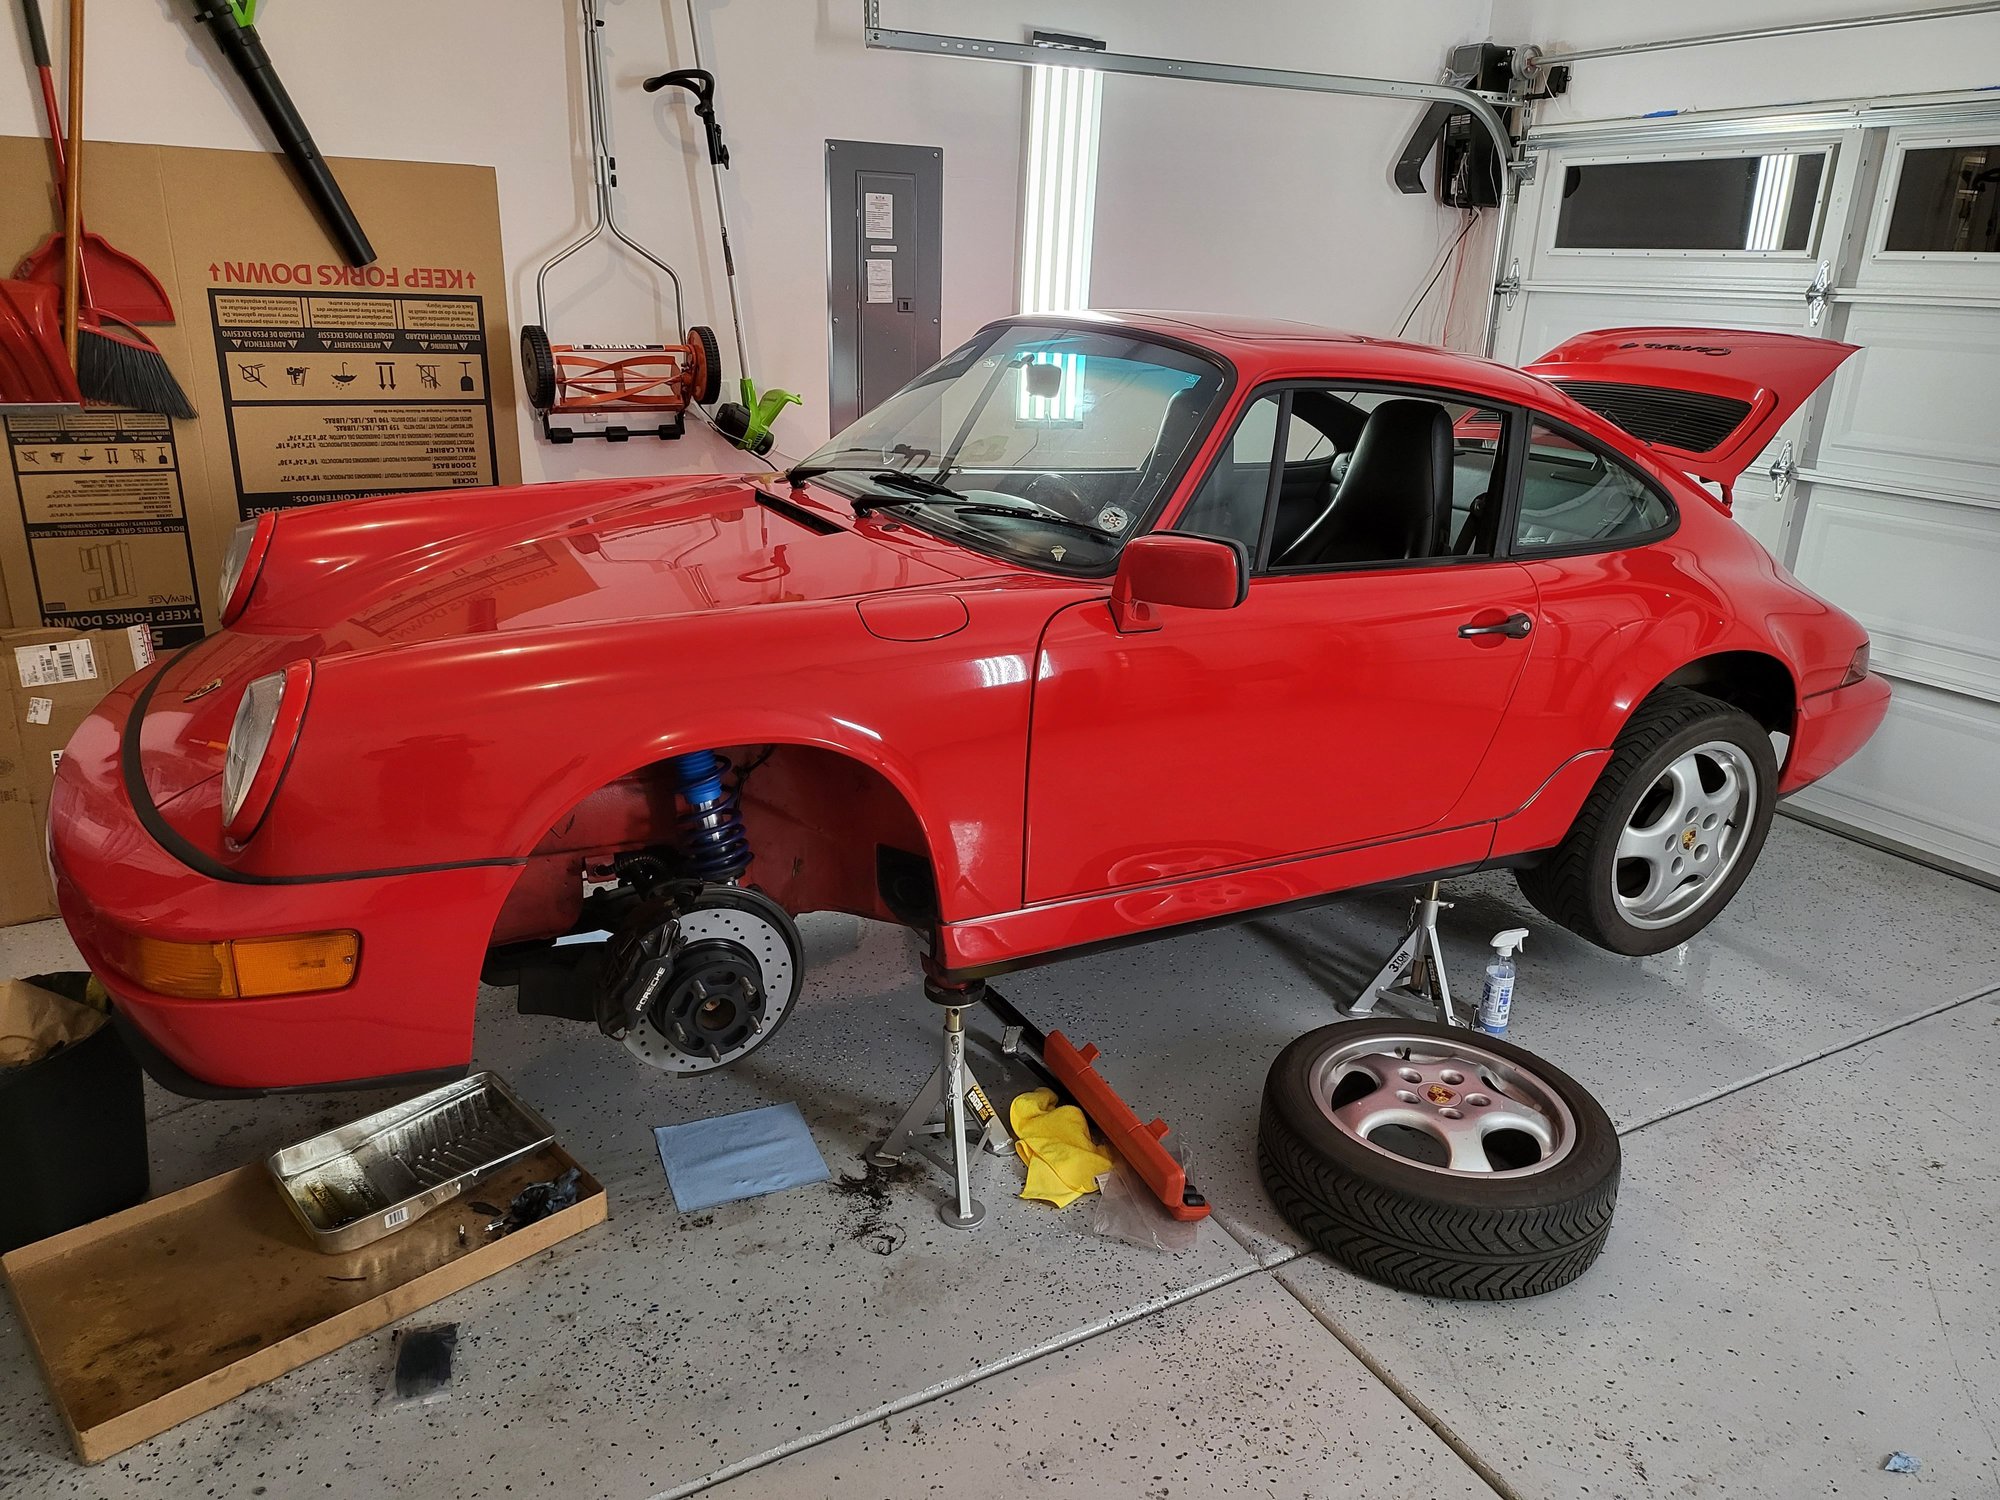
This caused me to go for max camber up front to start with and see if they'd fit. It was difficult to determine how much I'd be able to come out with the old suspension because the car sat so high. Anyways, dropped it off the stands and I think the rear is actually sitting pretty well. Front is probably a bit low and I have way too much camber right now, but I think I'm convinced that the front could actually come out a few more mm. We'll see once ride height is sorted out and I get an alignment.
That was all the time I had before the other car came home and cluttered up the garage. I'll have to play around with the ride height/camber over the next couple days and decide what to do. No more 4x4 though, so thats good!
Looking good Tom, Great progress. I'm running 15mm spacers all around myself. I have RUF speedline wheels 17x8 and 17x9. I do rub in the back a little b/c of tire shape. It's too square.
Thanks for the comments guys, I never know if anyone's reading this or if I'm just rambling to myself.
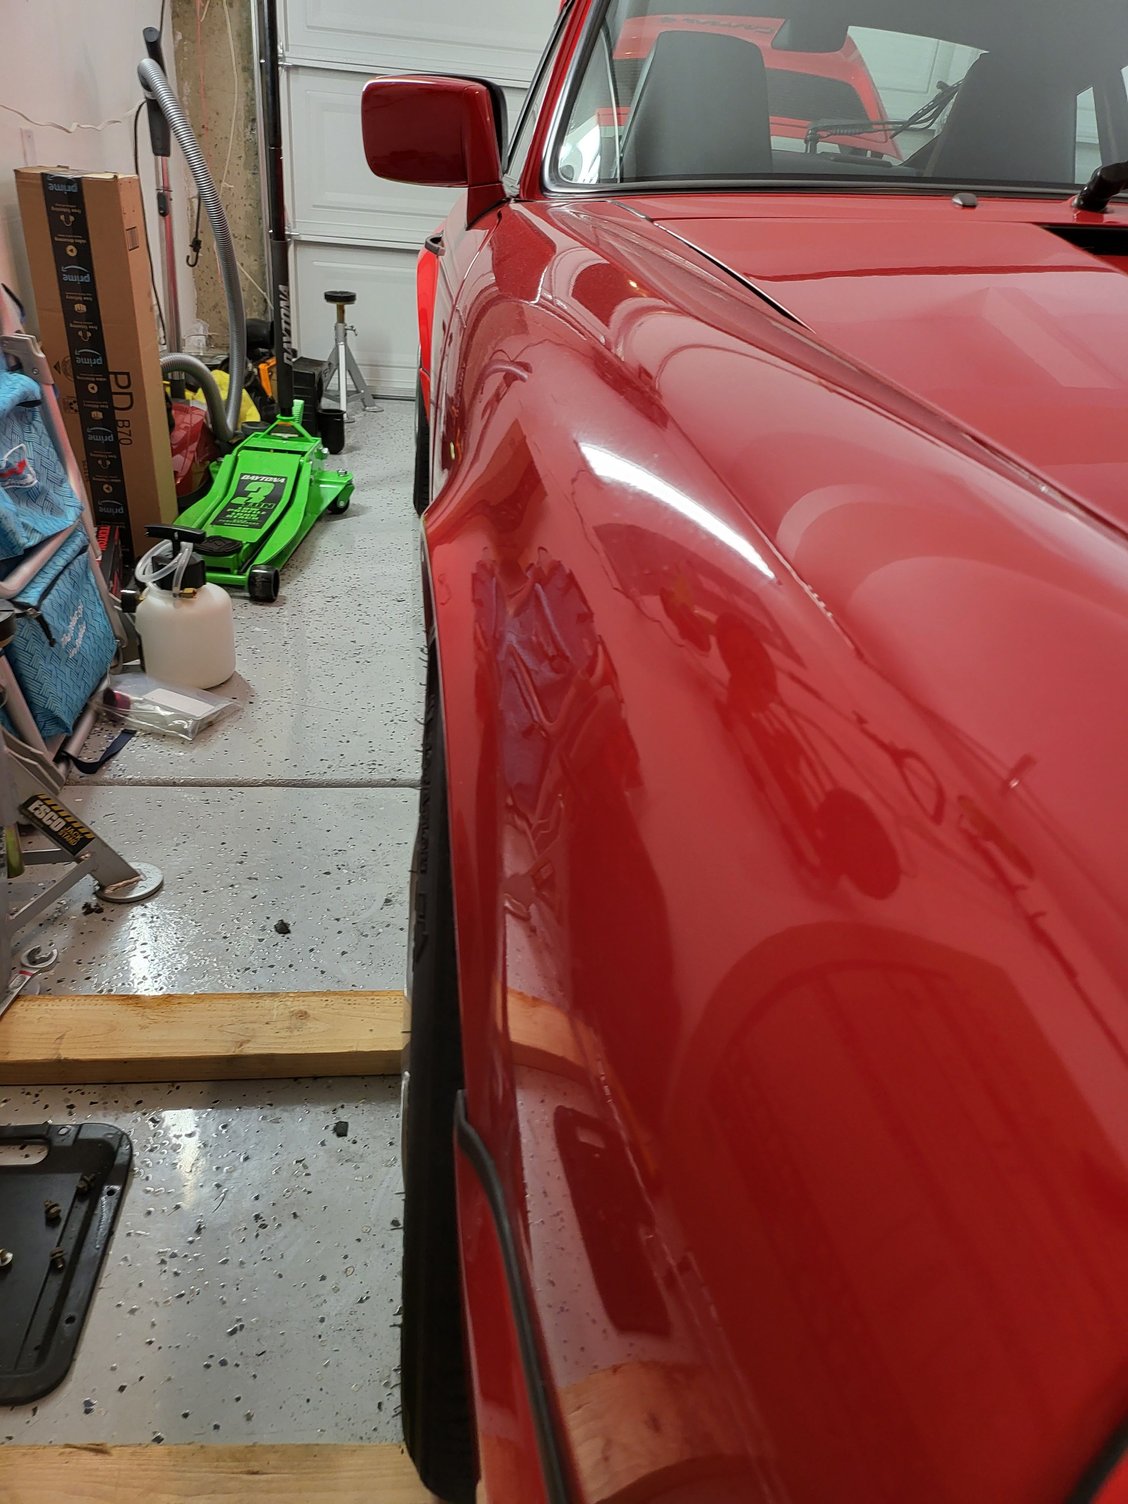
After letting the springs settle overnight and bouncing the car up and down, the front is way too low.
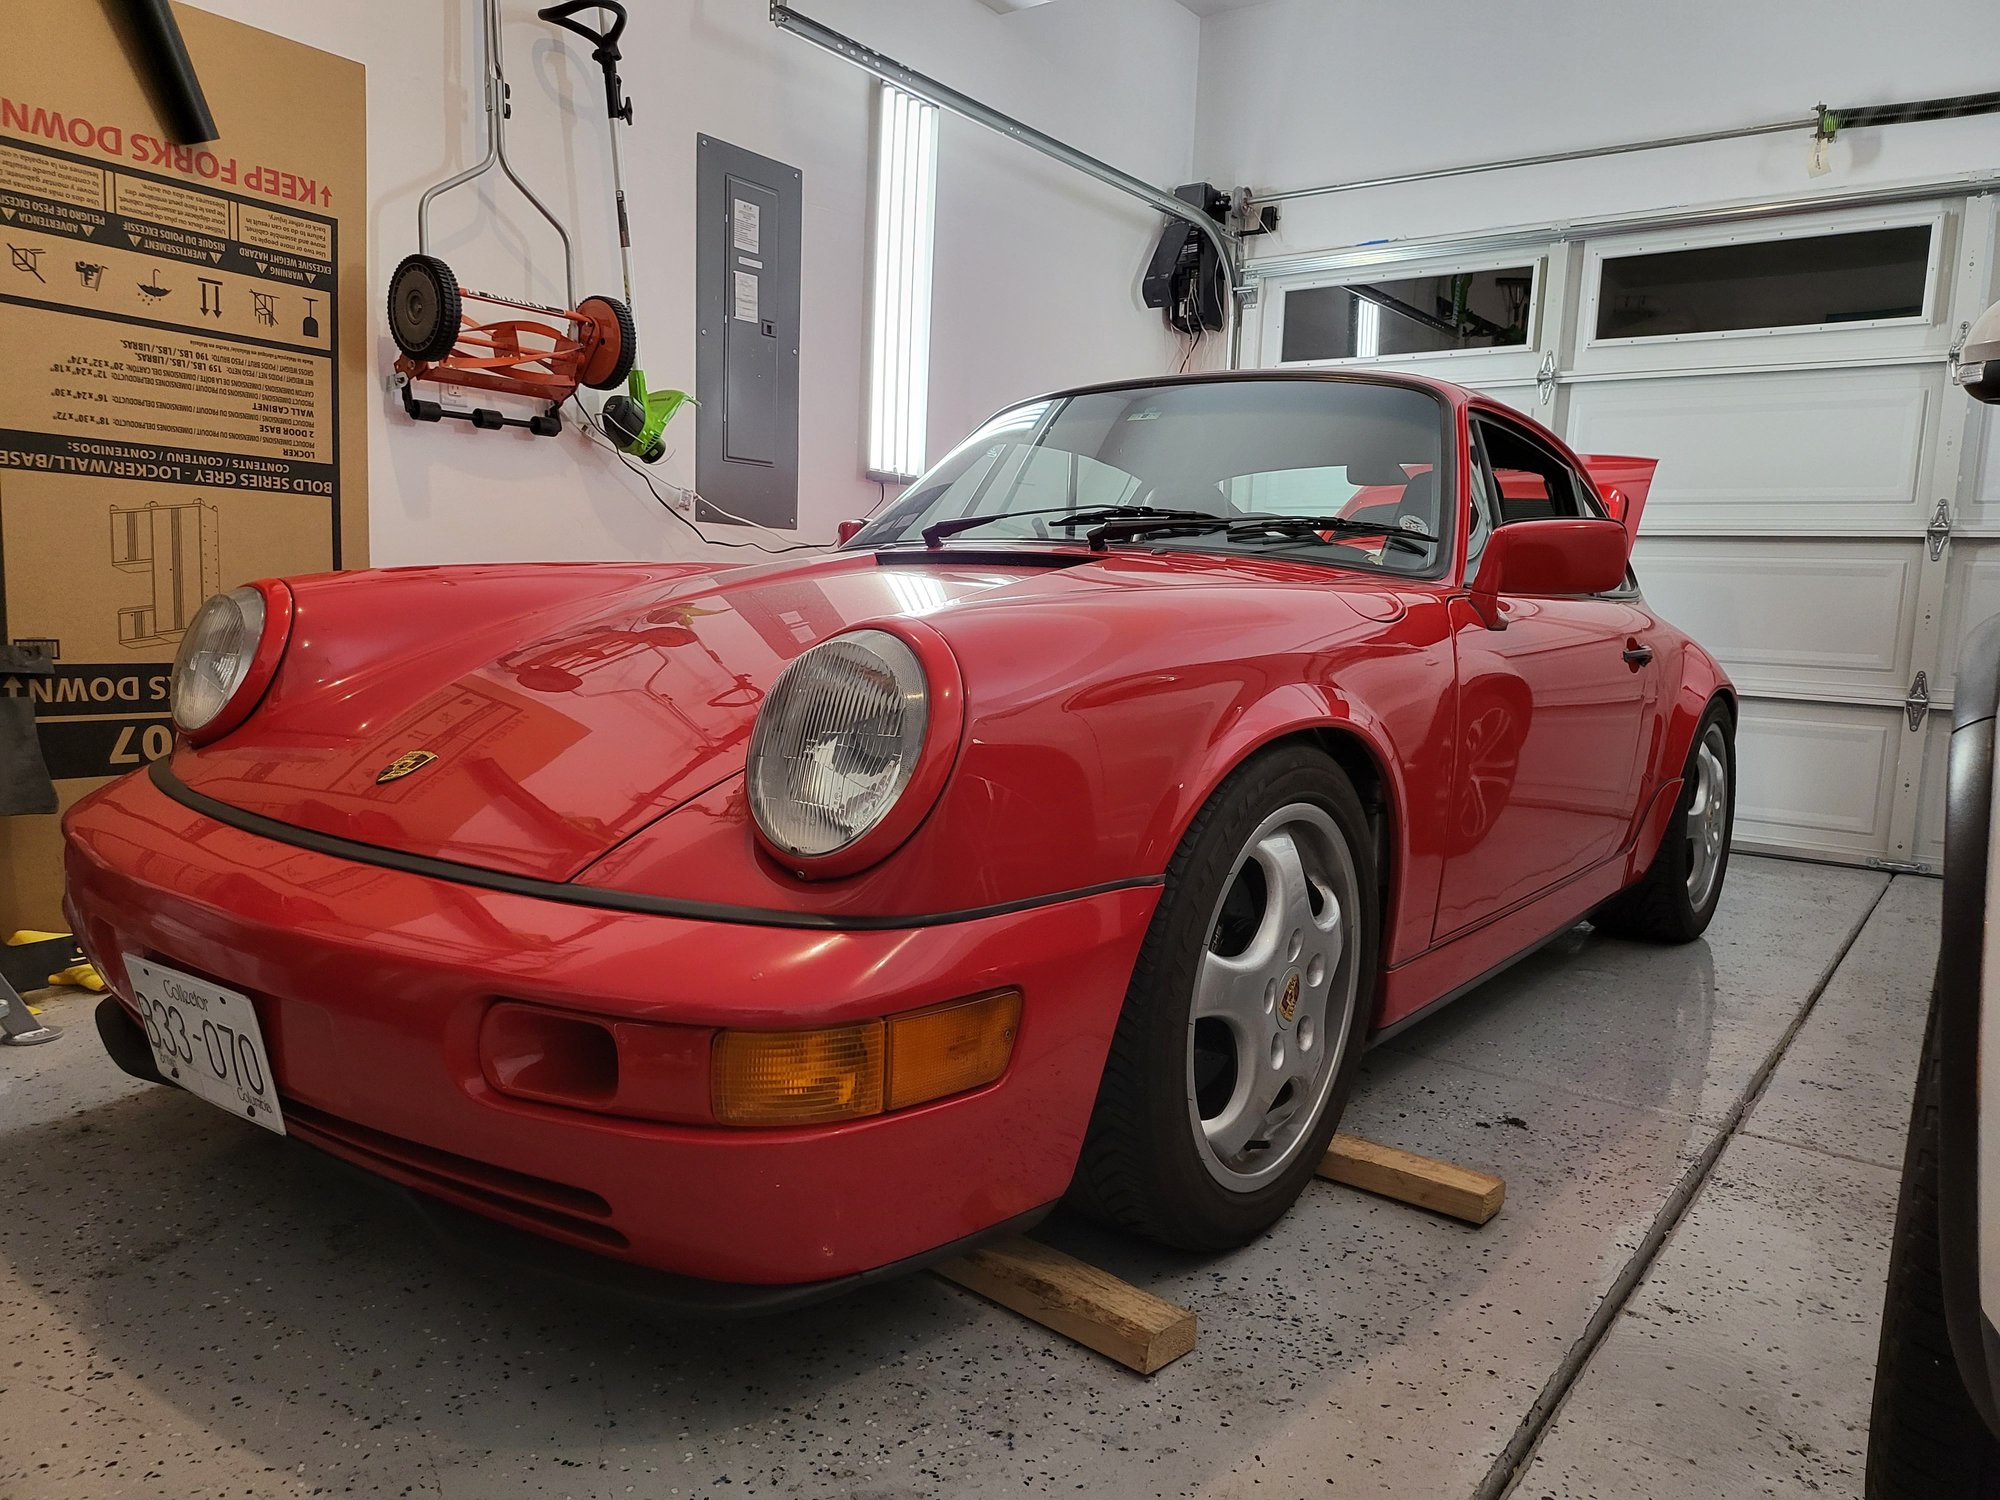
I'm not really interested in not being able to get by (low profile) floor jack under the jack pad. Had to screw around a bit to get the car lifted back up to adjust. Added a few turns to each side's spring collar which was pretty easy as there isn't too much pre-load on the springs. I'll let the alignment guy set the final height so I just wanted to get it close enough to drive a few blocks to the shop. Also pulled back on most of the camber I had set last night as it was way more than necessary. Results:
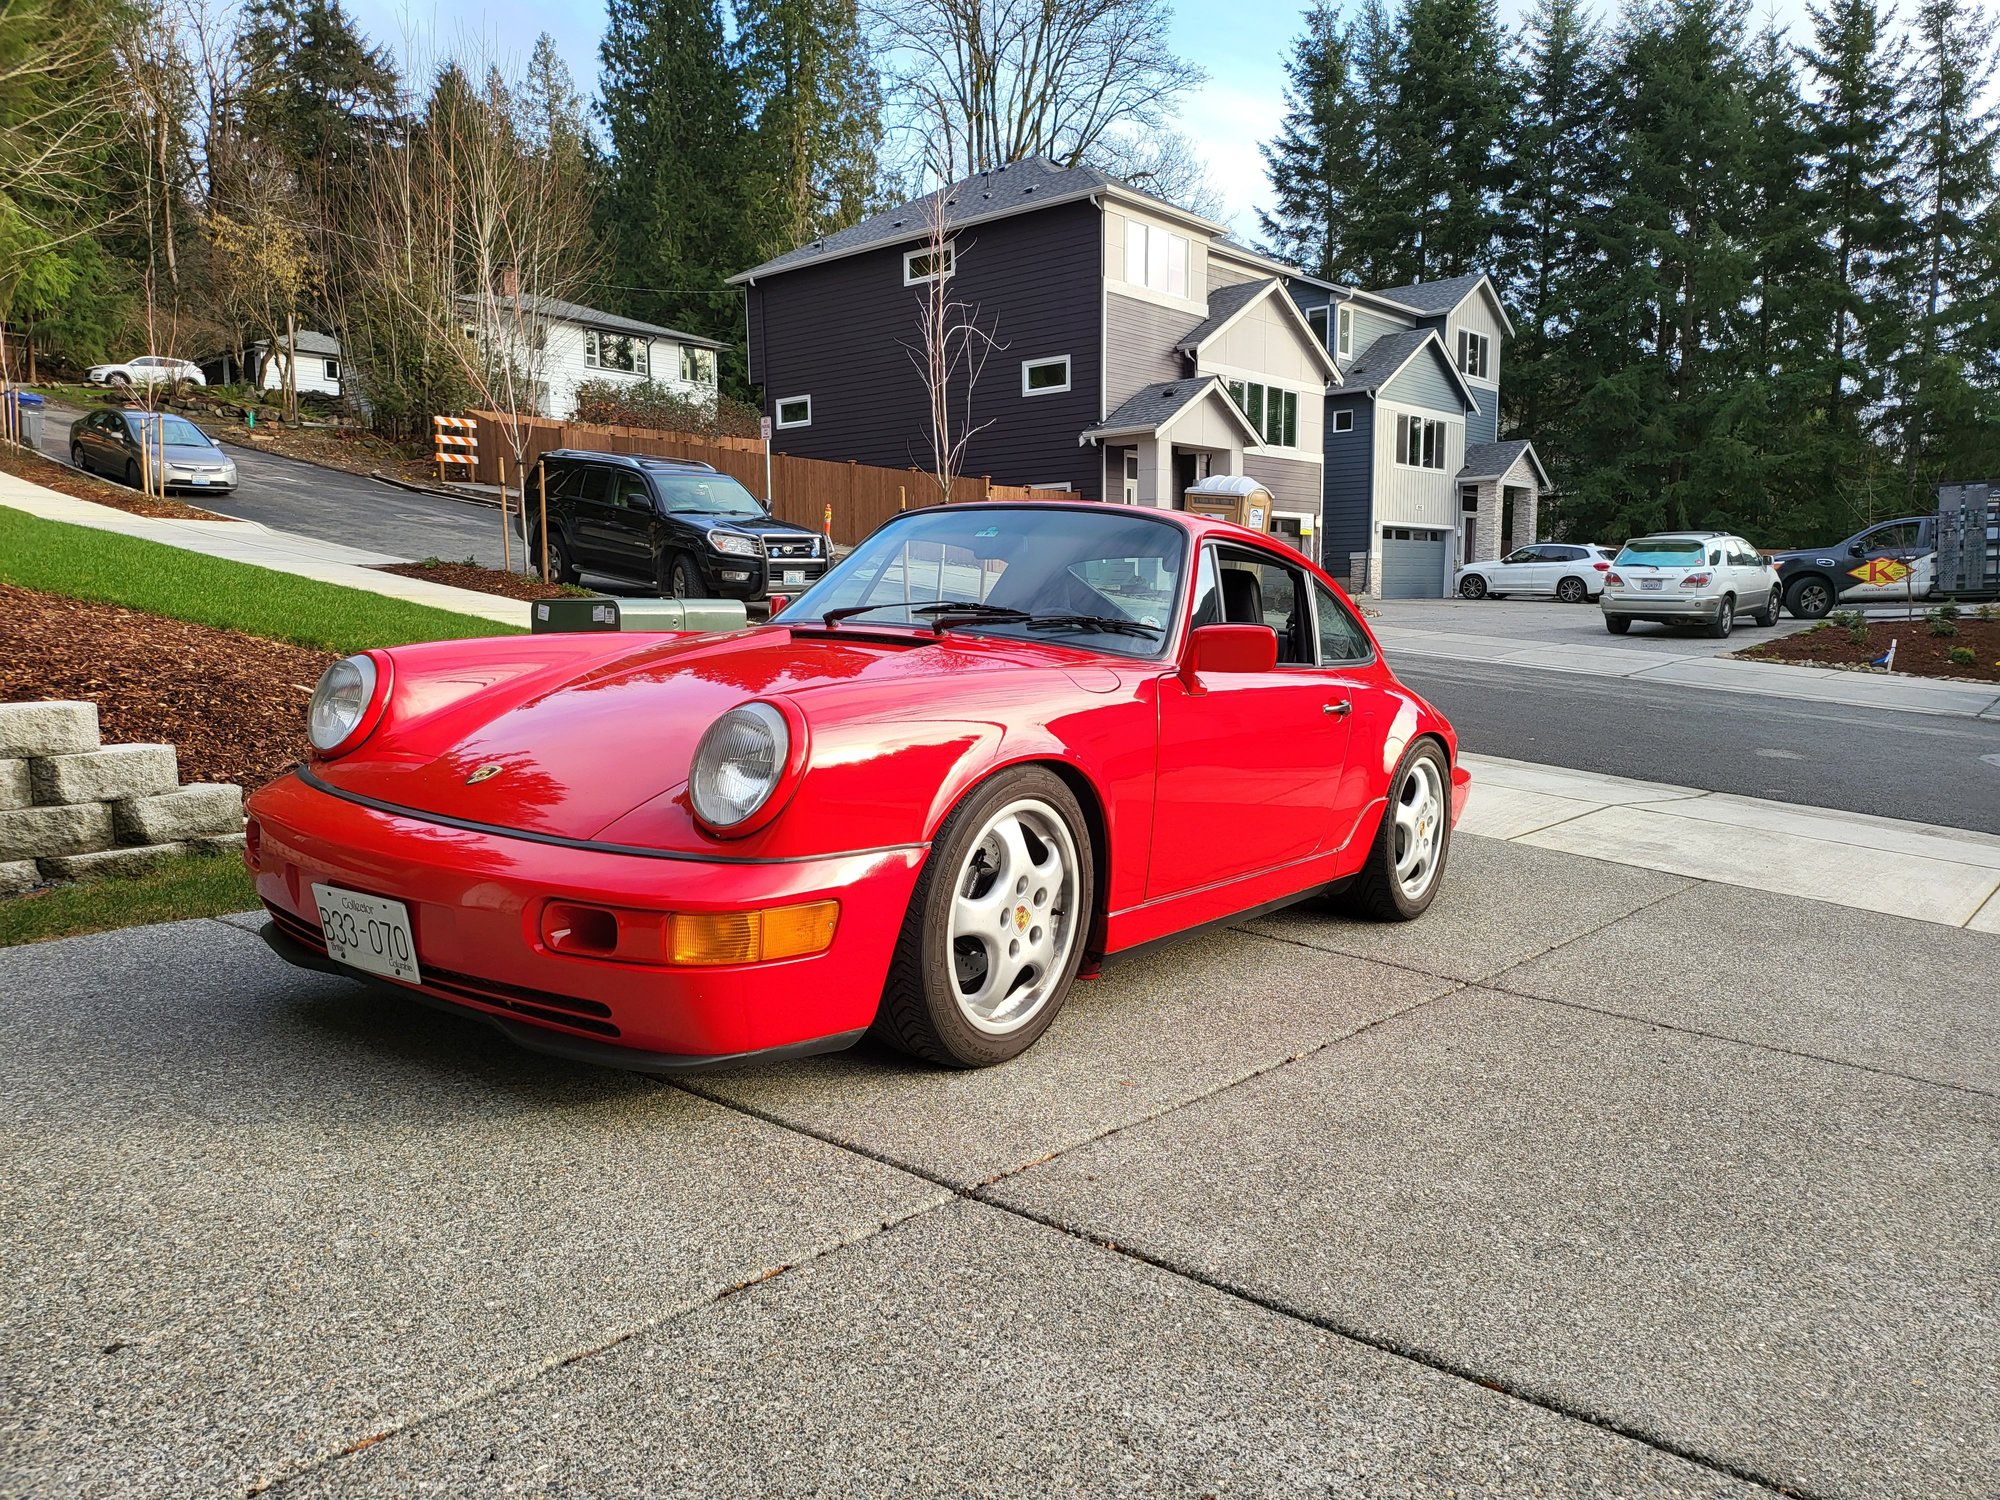
Looking much better now I think. I'd say if anything now I might be able to come out a little further in the back, but I'll see after the alignment - its good enough for now. As always, please excuse the messy garage.....I'll clean it one day I swear.
I have the same type of Jack Pads For the front I drive over a 2x11 wide board (can't recall exact measurements right now) to raise it up enough for me to slide my quick jack and rubber pad
Last edited by 964Luftballoon; 02-04-2022 at 10:36 AM.
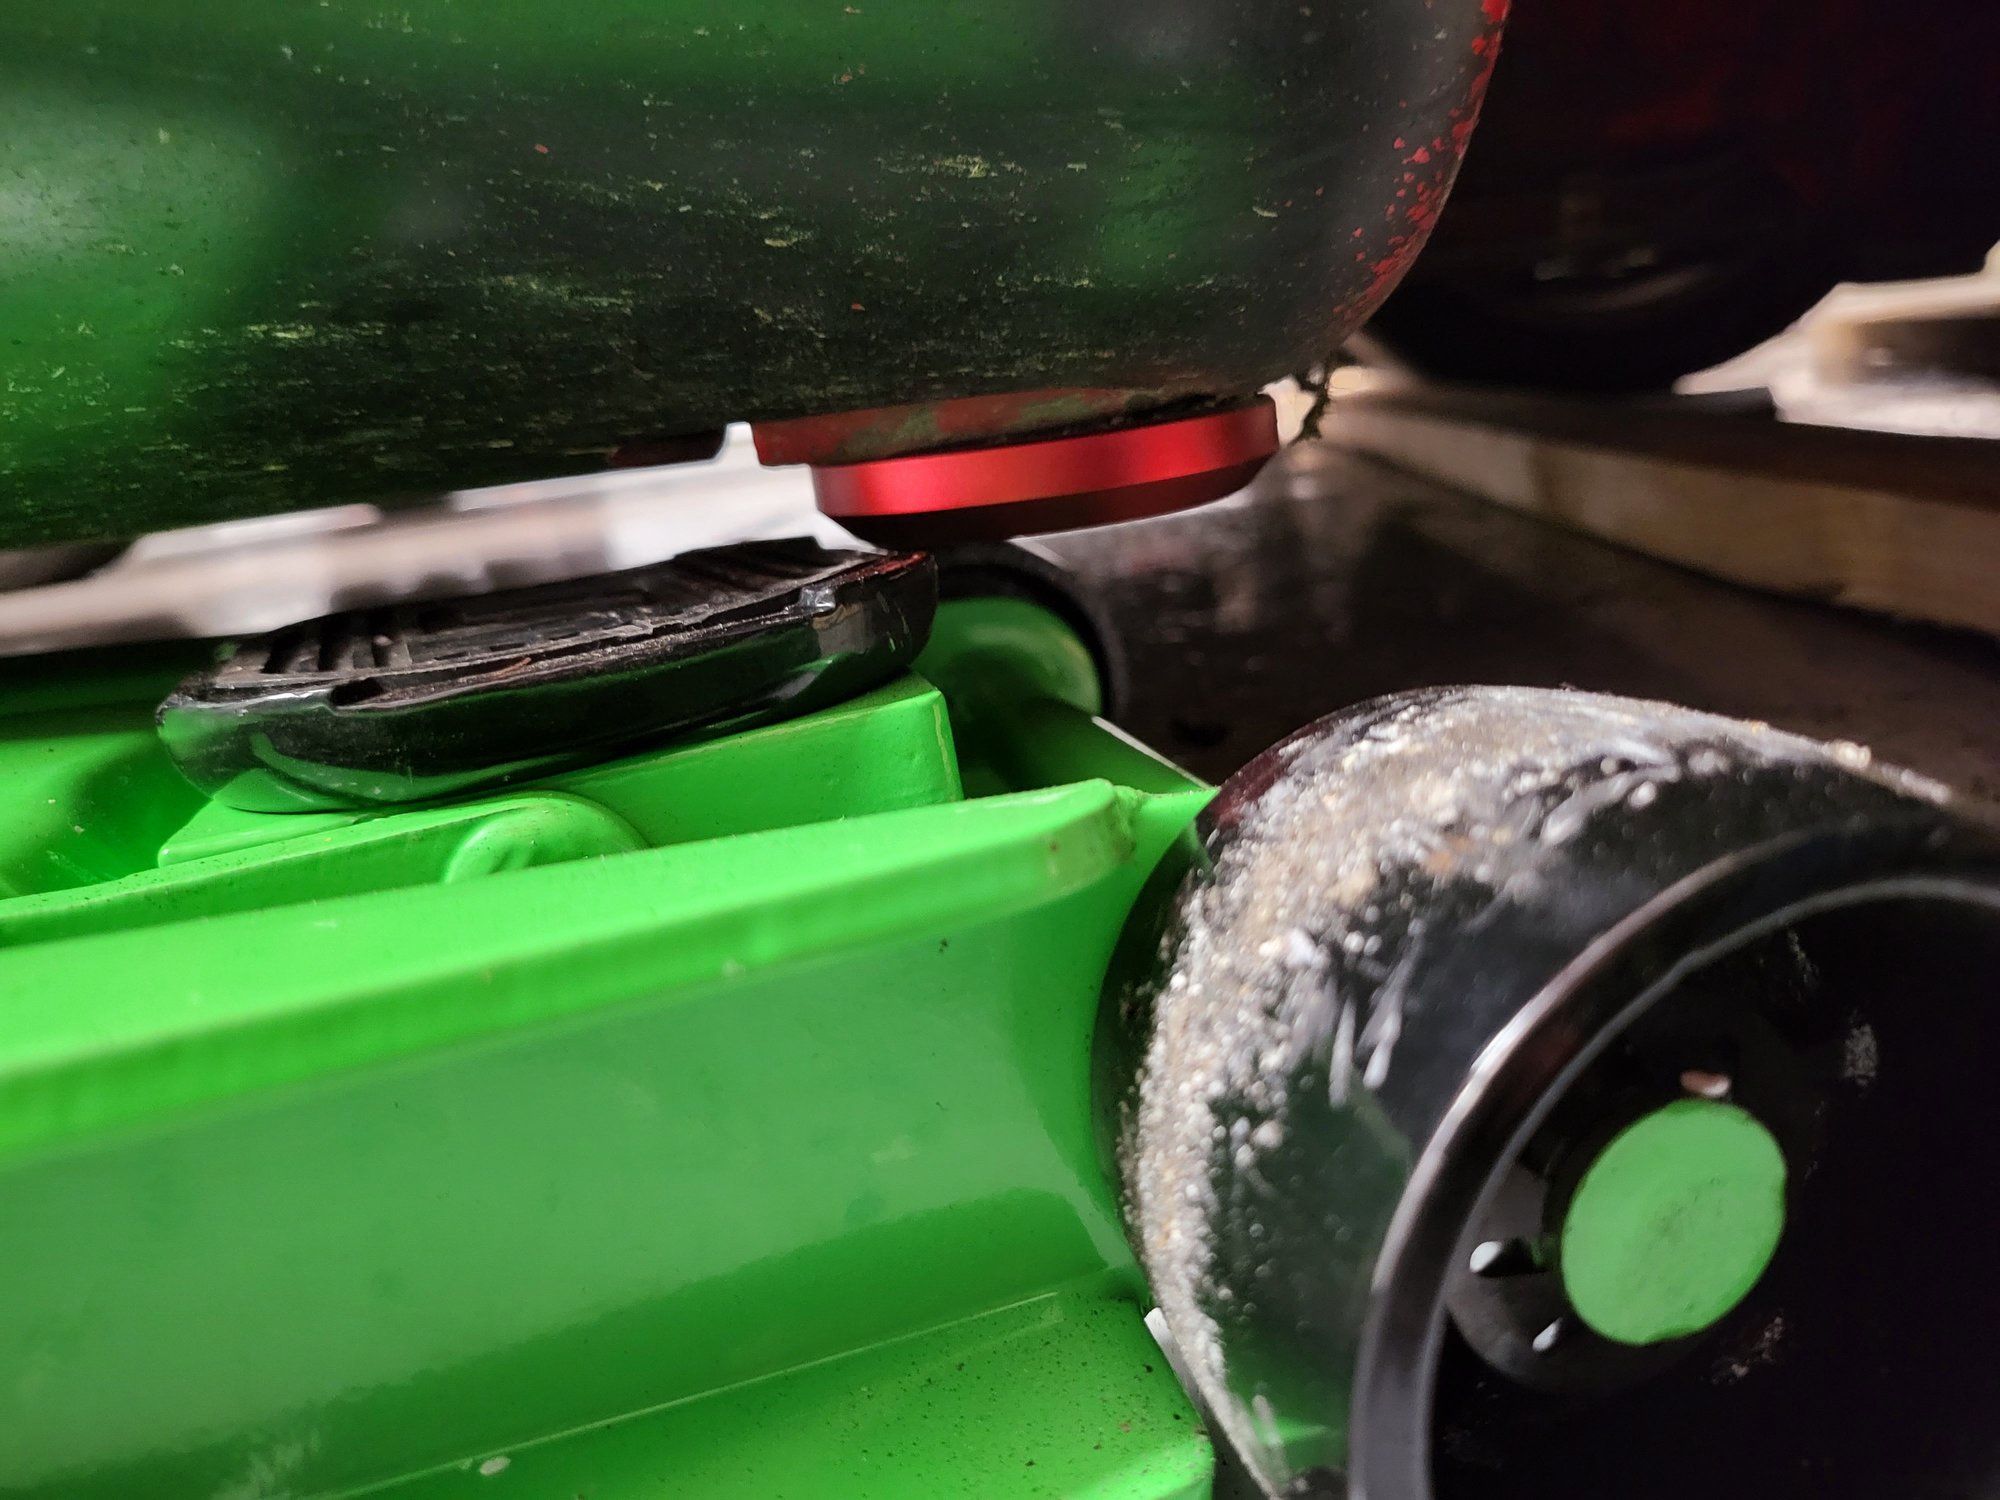
So in order to achieve your ride height, you needed to add the FVD lowering collars to your Bilstein B6/HR setup? Any impact to ride/performance?
Ya that is correct. The below photo shows where I initially set the fvd collar vs where the stock b6 collar sits, and I've now raised the fvd collar so it just covers the blue stripe - the perch still sits below where the stock collar would achieve.
Thanks for showing the lowering collars installed. What were you able to use in order to fix it to the strut? Did you put some sort of screw in the holes for it to stay? I wonder because this isn't the first time I've seen complaints that the collars don't arrive with the appropriate screw.
Thanks for showing the lowering collars installed. What were you able to use in order to fix it to the strut? Did you put some sort of screw in the holes for it to stay? I wonder because this isn't the first time I've seen complaints that the collars don't arrive with the appropriate screw.
I haven't added grub screws yet - I suspect I have something kicking around but haven't tried yet as I haven't yet decided on final ride height.
Originally Posted by Turbo Racer
Wonderful write up. Read it from start to finish. How do you like the car now with your new setup?
No conclusions yet, I've just been puttering around while I play with the ride height and get alignment close enough to drive to the shop. This is my first time trying an at home alignment adjustment and I would not say I'm good at it....I have it good enough that it doesn't feel like I'm driving a poorly responding boat anymore, but I think I'll let the shop take it from here on Thursday.
My goal was to get to RS height, but now that the springs have settled I think I'm too low. I hope no one ran out and bought fvd lowering collars on my word, I may have to pull them off. Seems like I can only get to ~RS -5 with them on. I may leave it for now and see how it feels. This whole suspension upgrade is only a stopgap solution until I get to phase 2, which will likely not happen until the fall.
I'll update after alignment to report back on where things land.
Had an alignment done this morning and have had some time to drive the car a bit. Car is setup to RS specs with the exception of rear camber, which is at ~-2 to avoid rubbing with the spacers. I may see about slightly thinner spacers and dialing back the camber a bit.....or I may just forget about it....probably the second one. Car handles great, feels tight. Haven't noticed any issues with bumpsteer yet, but haven't had an unsettling bump mid corner yet either, so the verdict is still out. Longer term I plan on going all the way in with proper wheel carriers and coils etc but this is a good setup for now.
Visually it turned out the way I wanted. One day I think I'll go with E88s but that is probably a ways away.
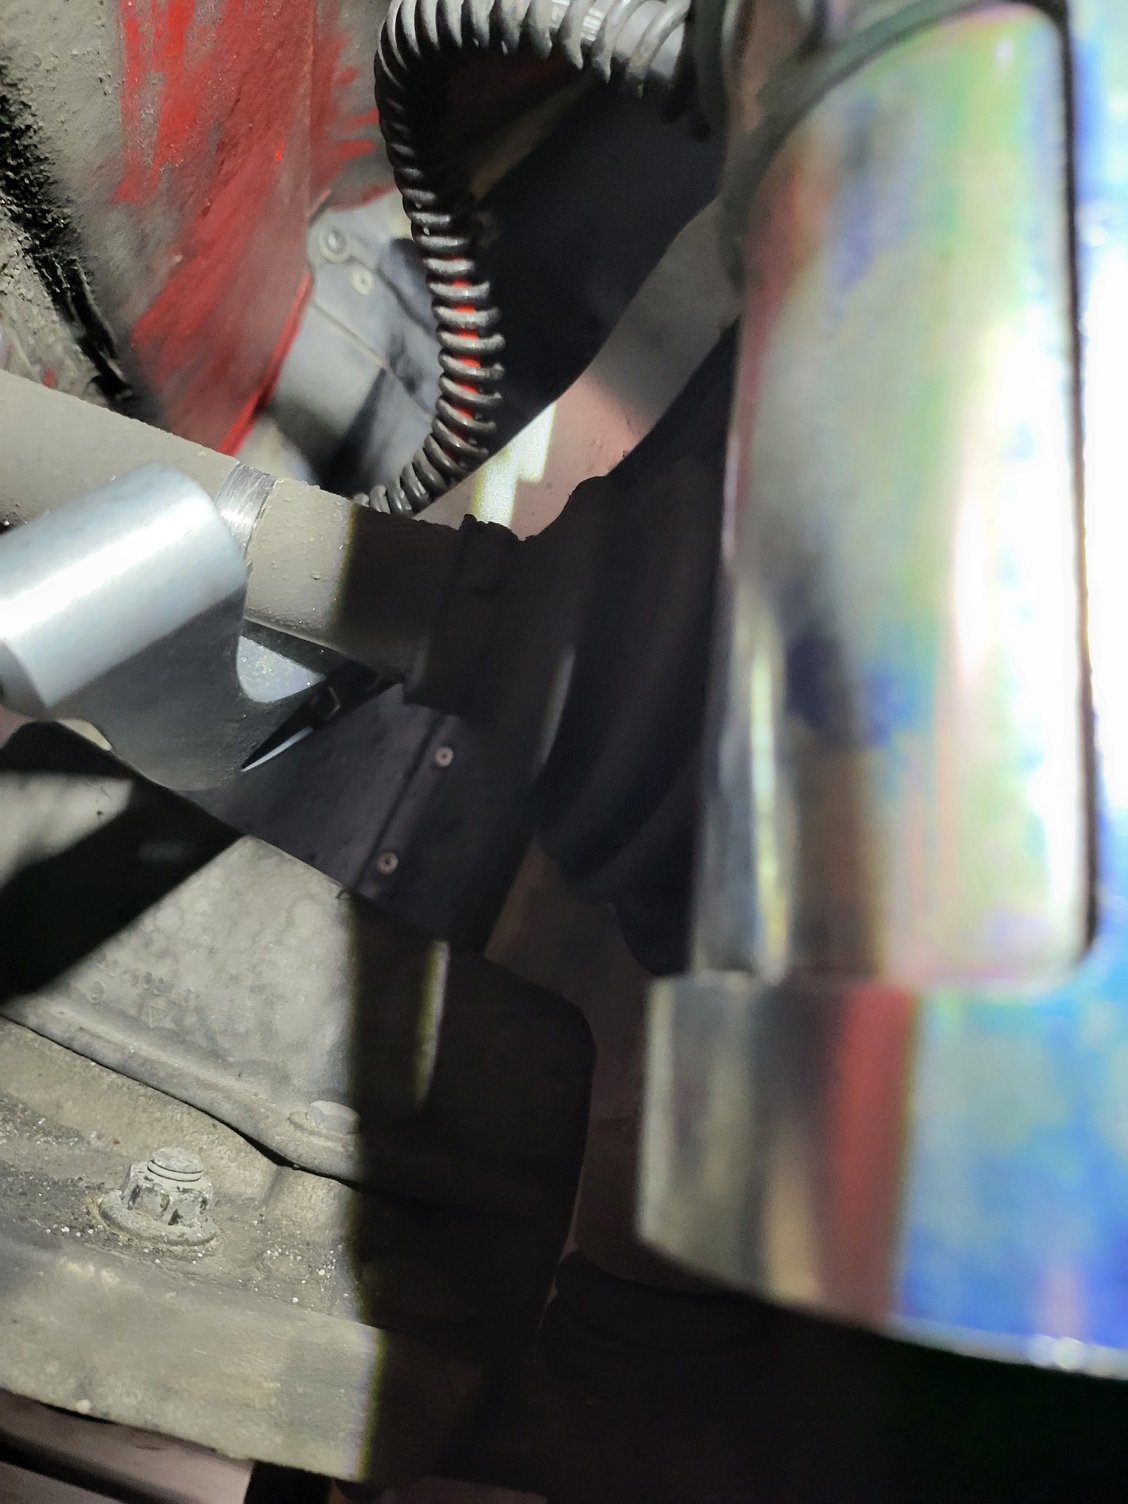
Now for one PSA regarding the Elephant Racing front drop links for the C4. Full disclosure, I haven't spoken to Elephant about this yet. I think I didn't tighten the jam nut on the adjustable portion of the drop link sufficiently, or perhaps tightened it with the link skewed incorrectly, but it has resulted in visible rubbing on the drive shaft on both sides. Apologies for the terrible photo, I didn't spend a ton of time trying to get the shot at the shop.
I think the photo makes it look worse than it is as it has really "cleaned" just the one portion, although I don't know what the finish on the drive shaft is supposed to be. I've moved the link and retightened the jam nut to hopefully avoid further interference and will monitor over the next couple weeks. Anyone experience this before? Anyone have any advise as far as what to protect the exposed bare metal with?
Happy overall. PS, pulled the trigger on the billet version of the Sleepers Short Shifter, so excited for that to come in a couple weeks.
I have seen a couple of recent threads calling for FVD lowering collars when using B6 with H&R lowering springs. I had my 964 on my lift doing another job, and I had a quick look at my B6 suspension setup with a RS +5mm height setup. I have lots of threads left. And a pic of course…
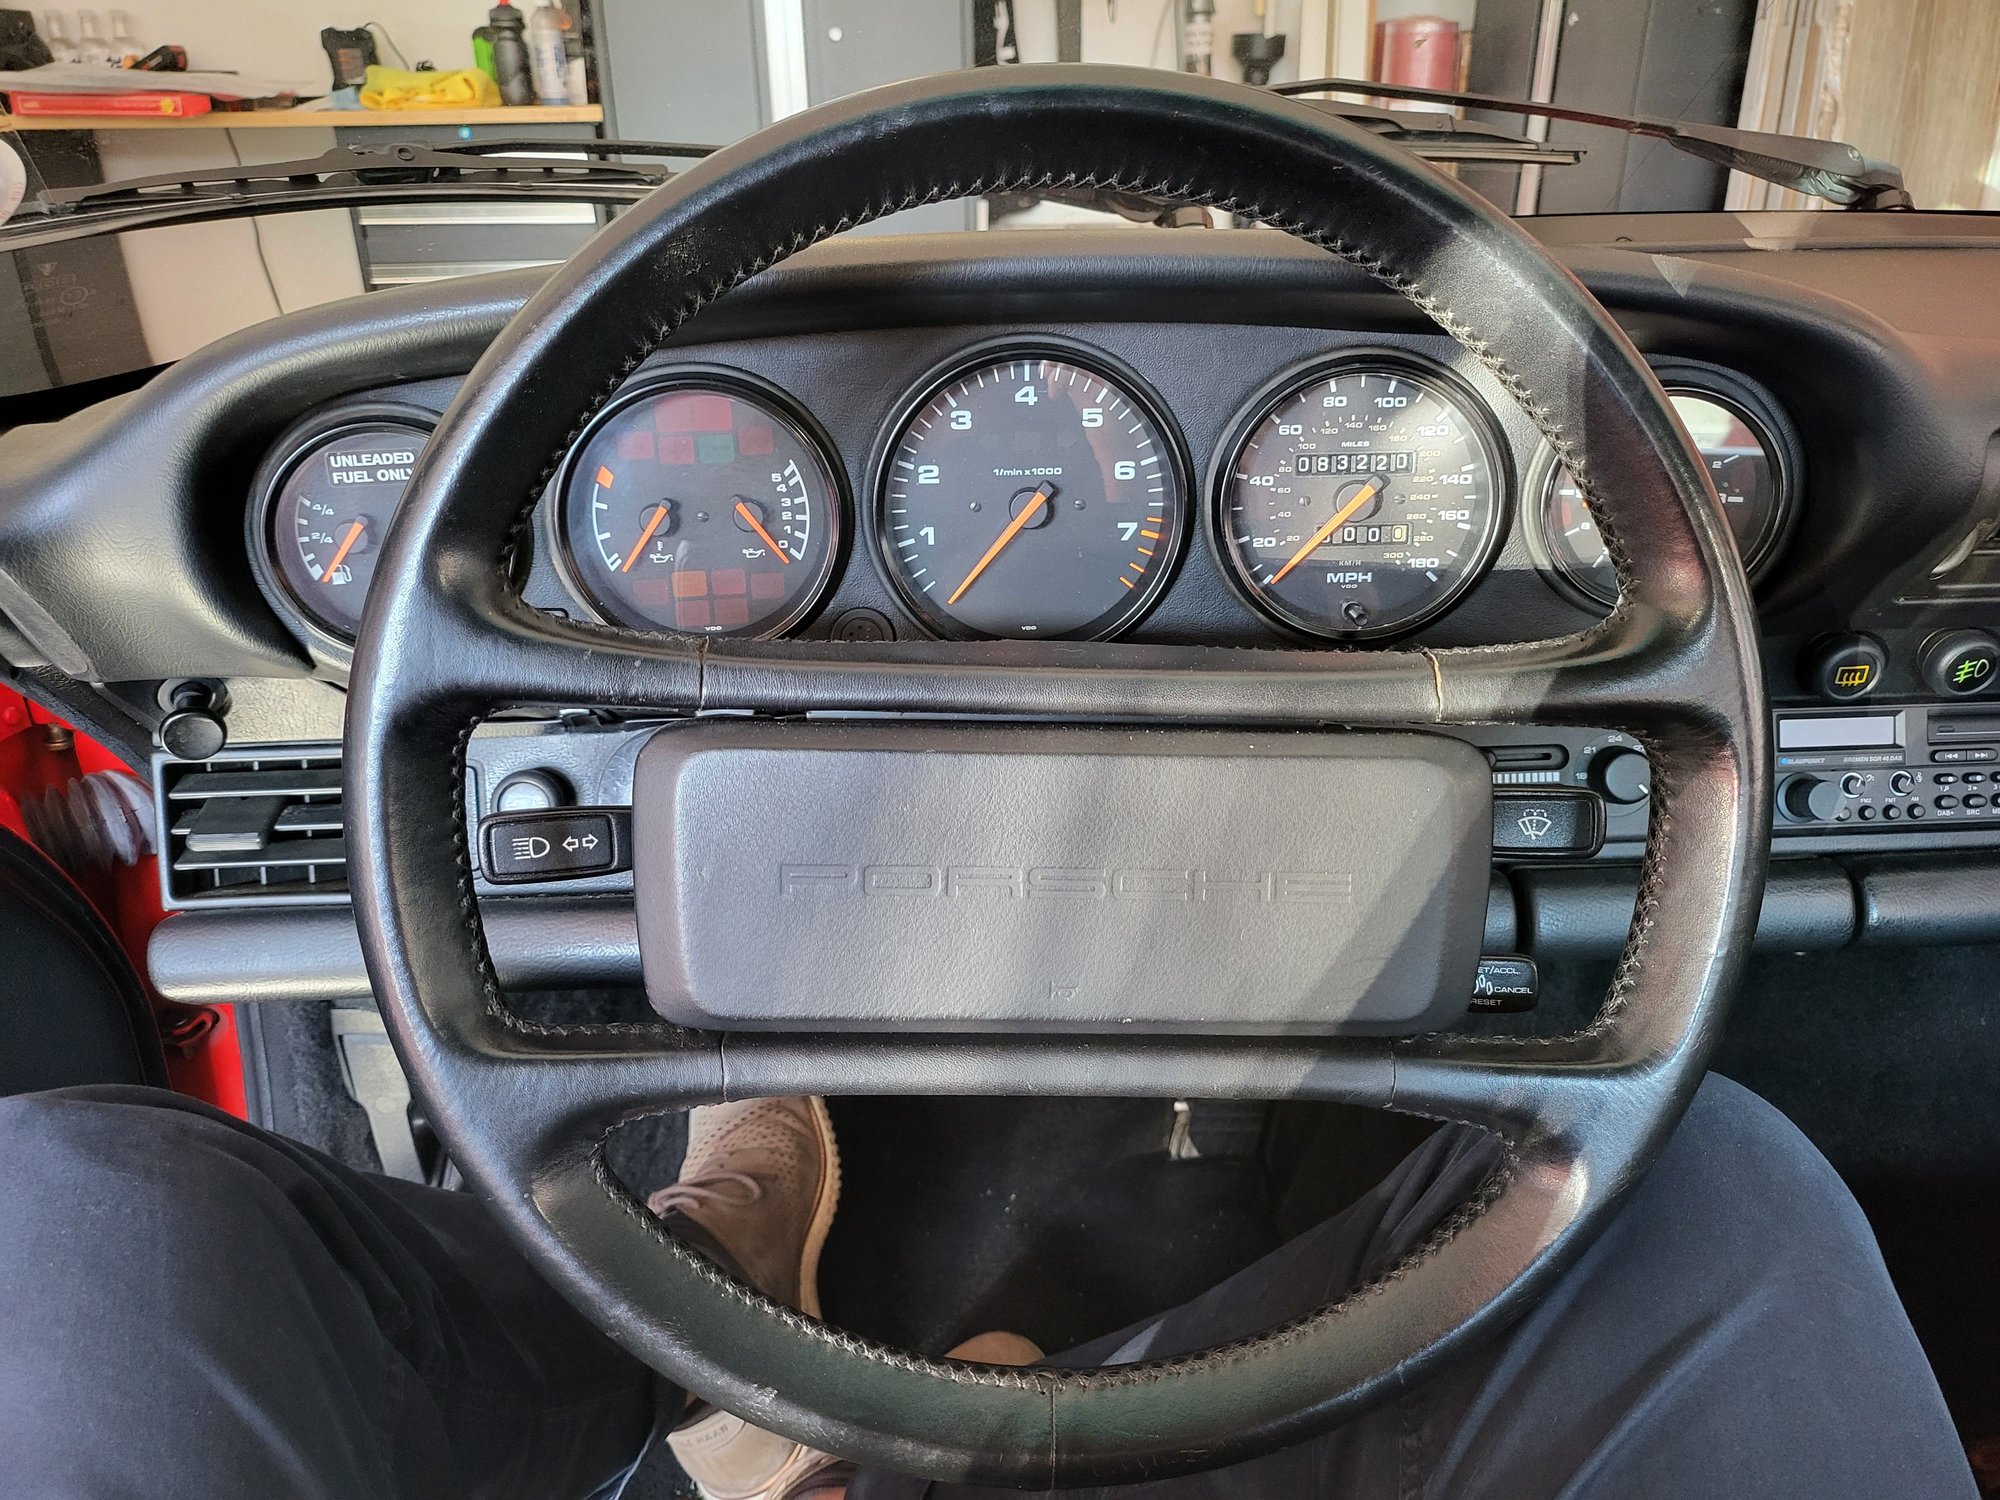
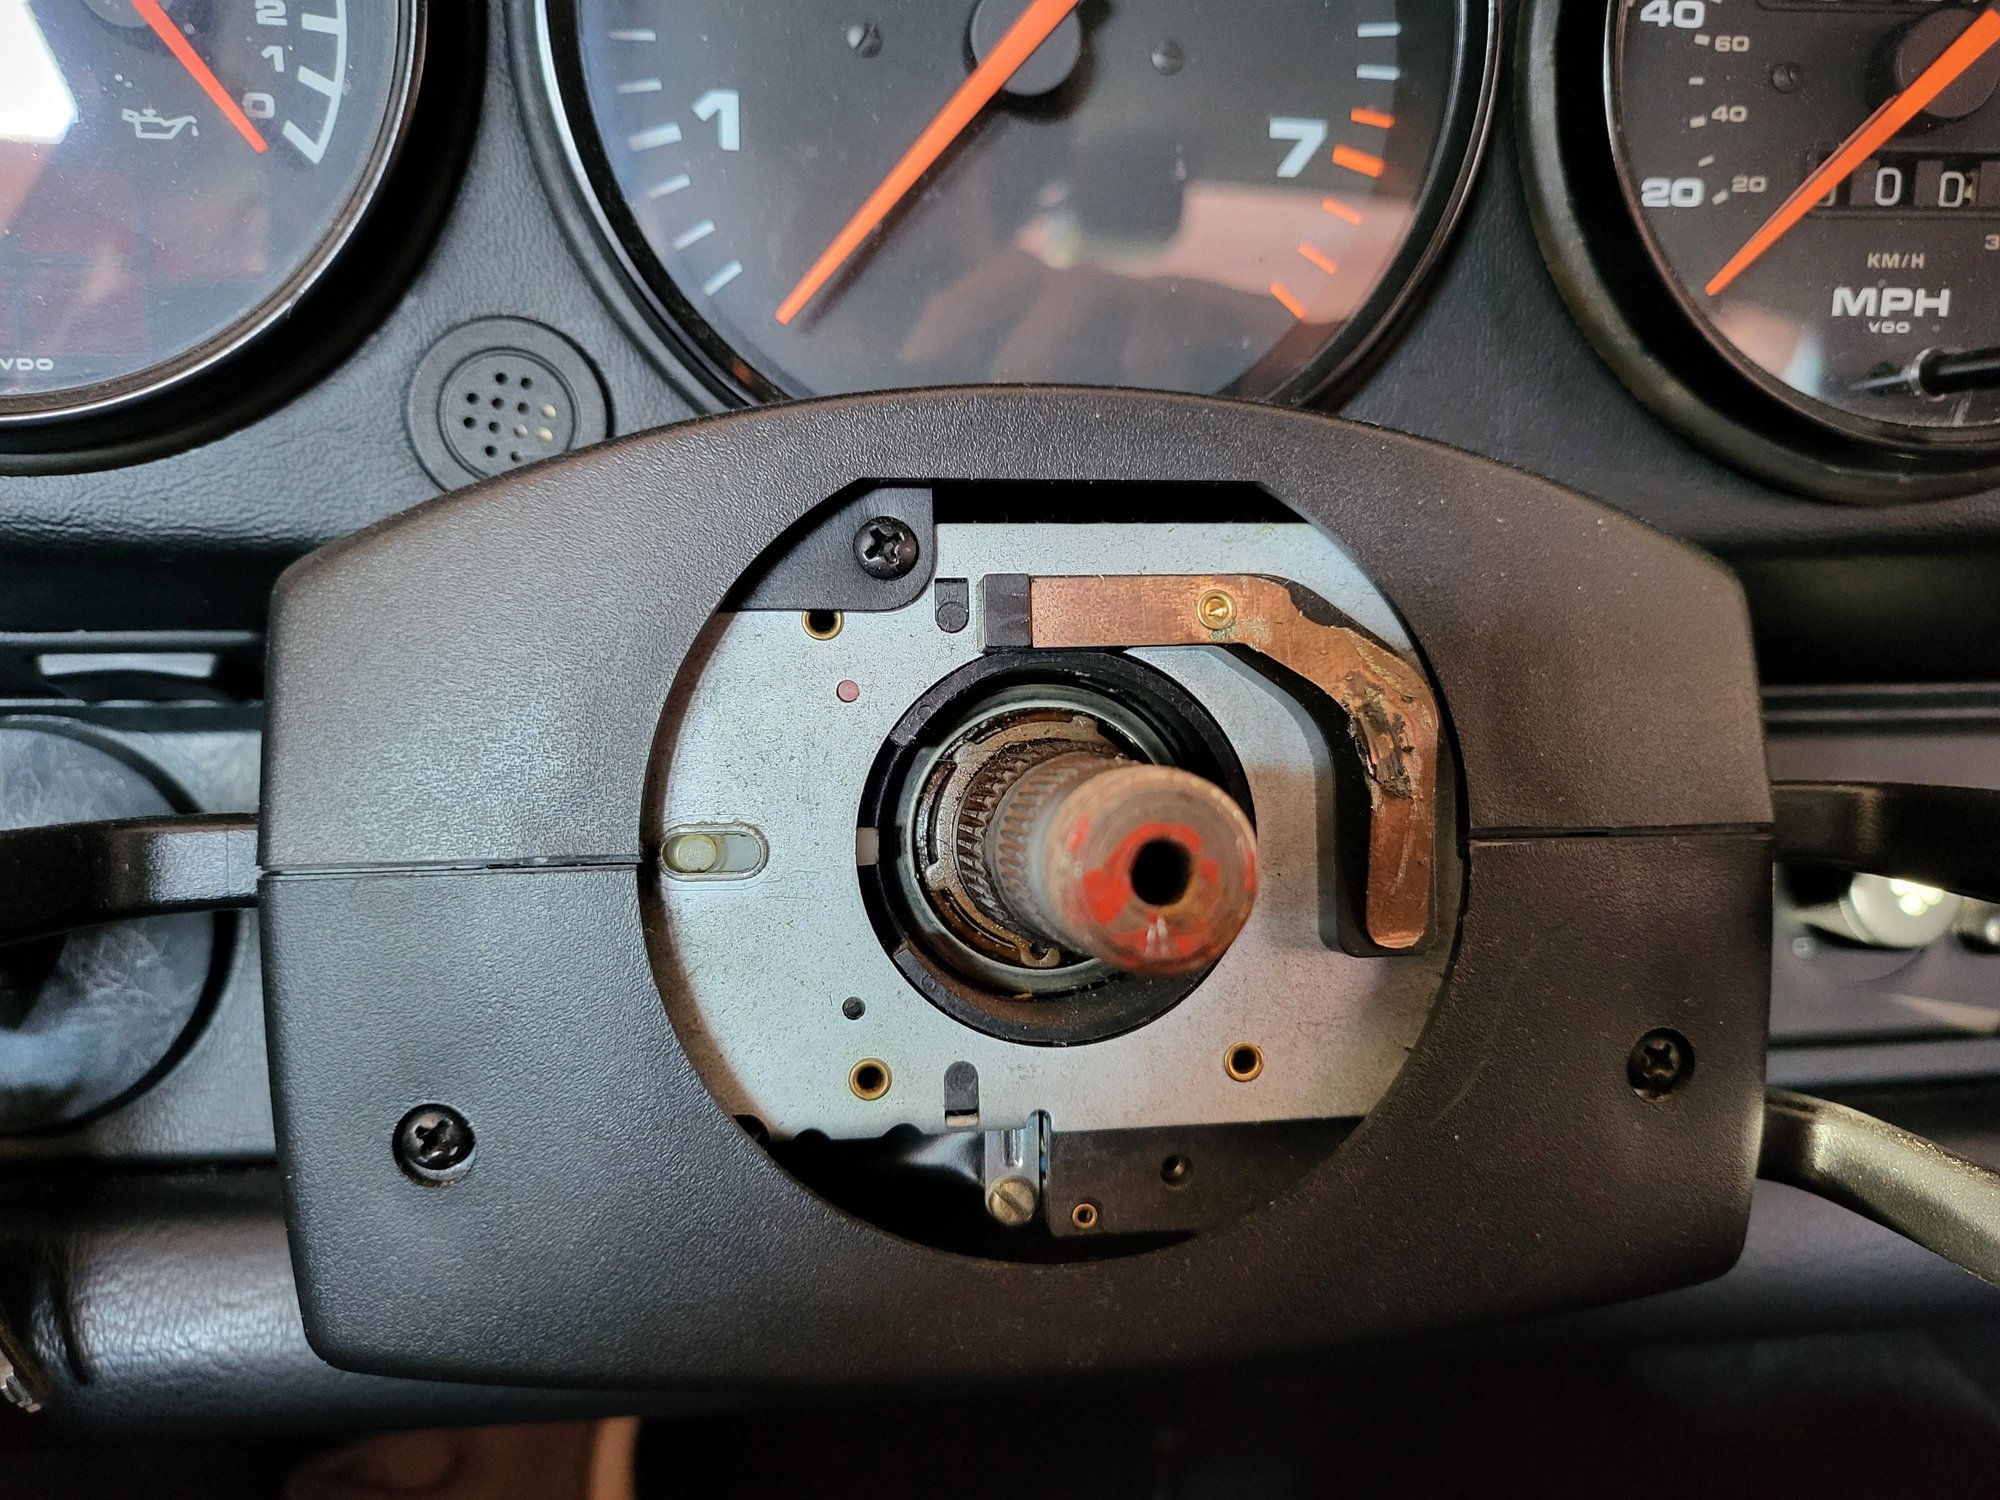
Not much change recently, but my better half bought me a prototipo steering wheel so I decided to throw that on as I wasn't a big fan of the original. My car, being an 89, has the no airbag steering wheel which I think makes this a little easier aside from the absurd amount of force required to remove the horn pad. After referring to the PET it didn't appear there were any fasteners to remove and only brute force required.
Before:
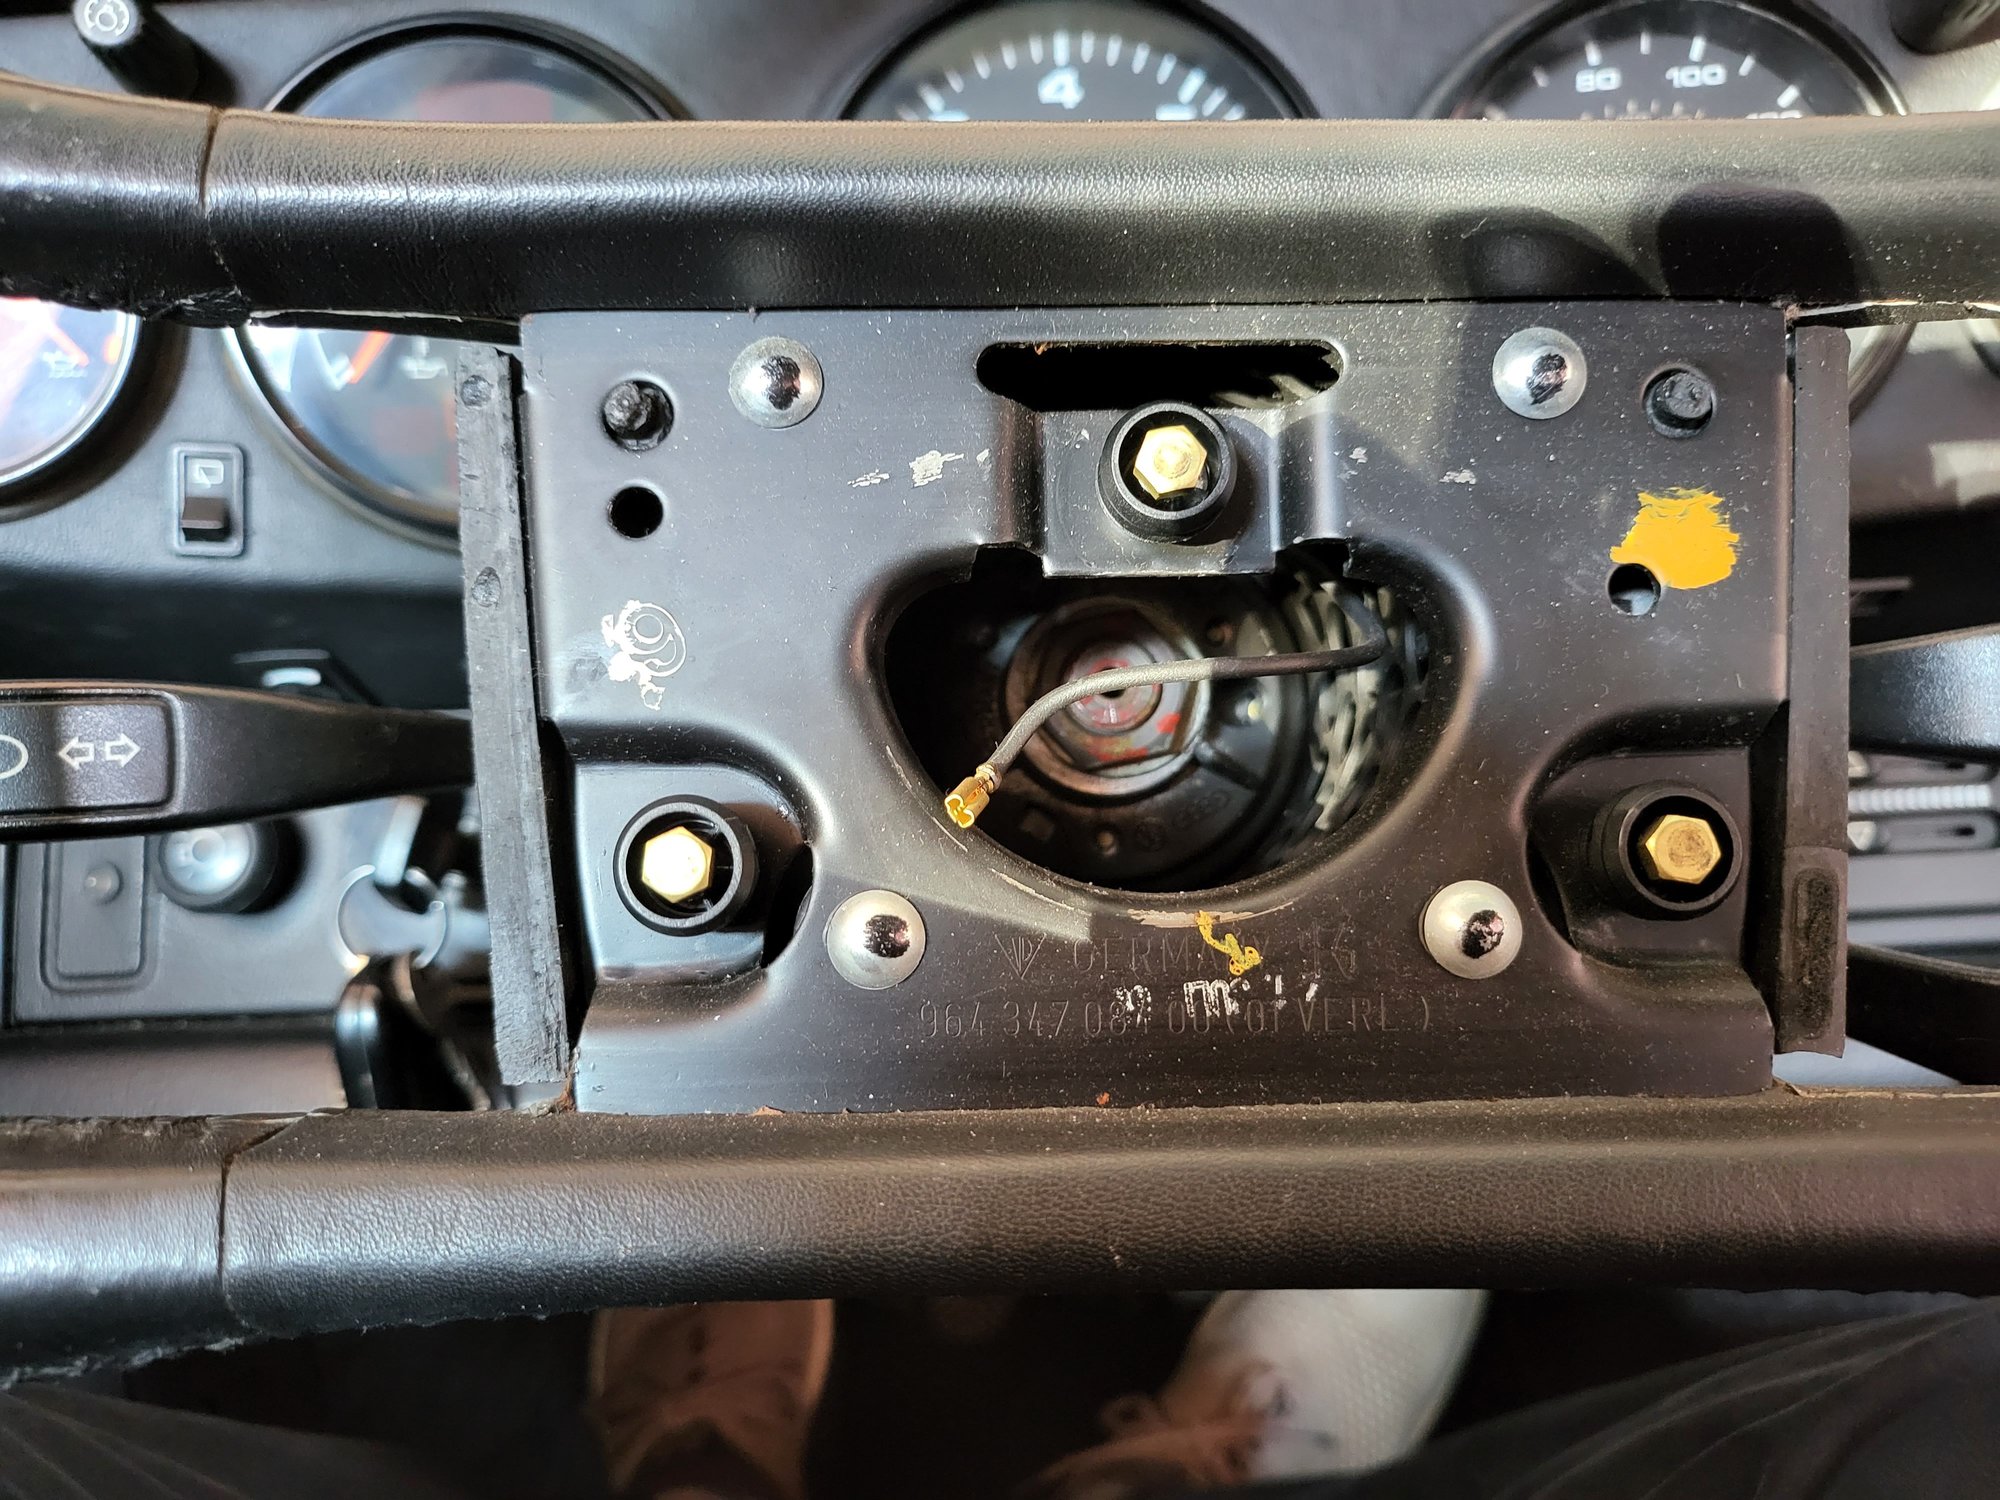
Horn pad removed:
There is a big 24mm nut to be removed. Required quite a bit of force on mine, had to get out the breaker bar.
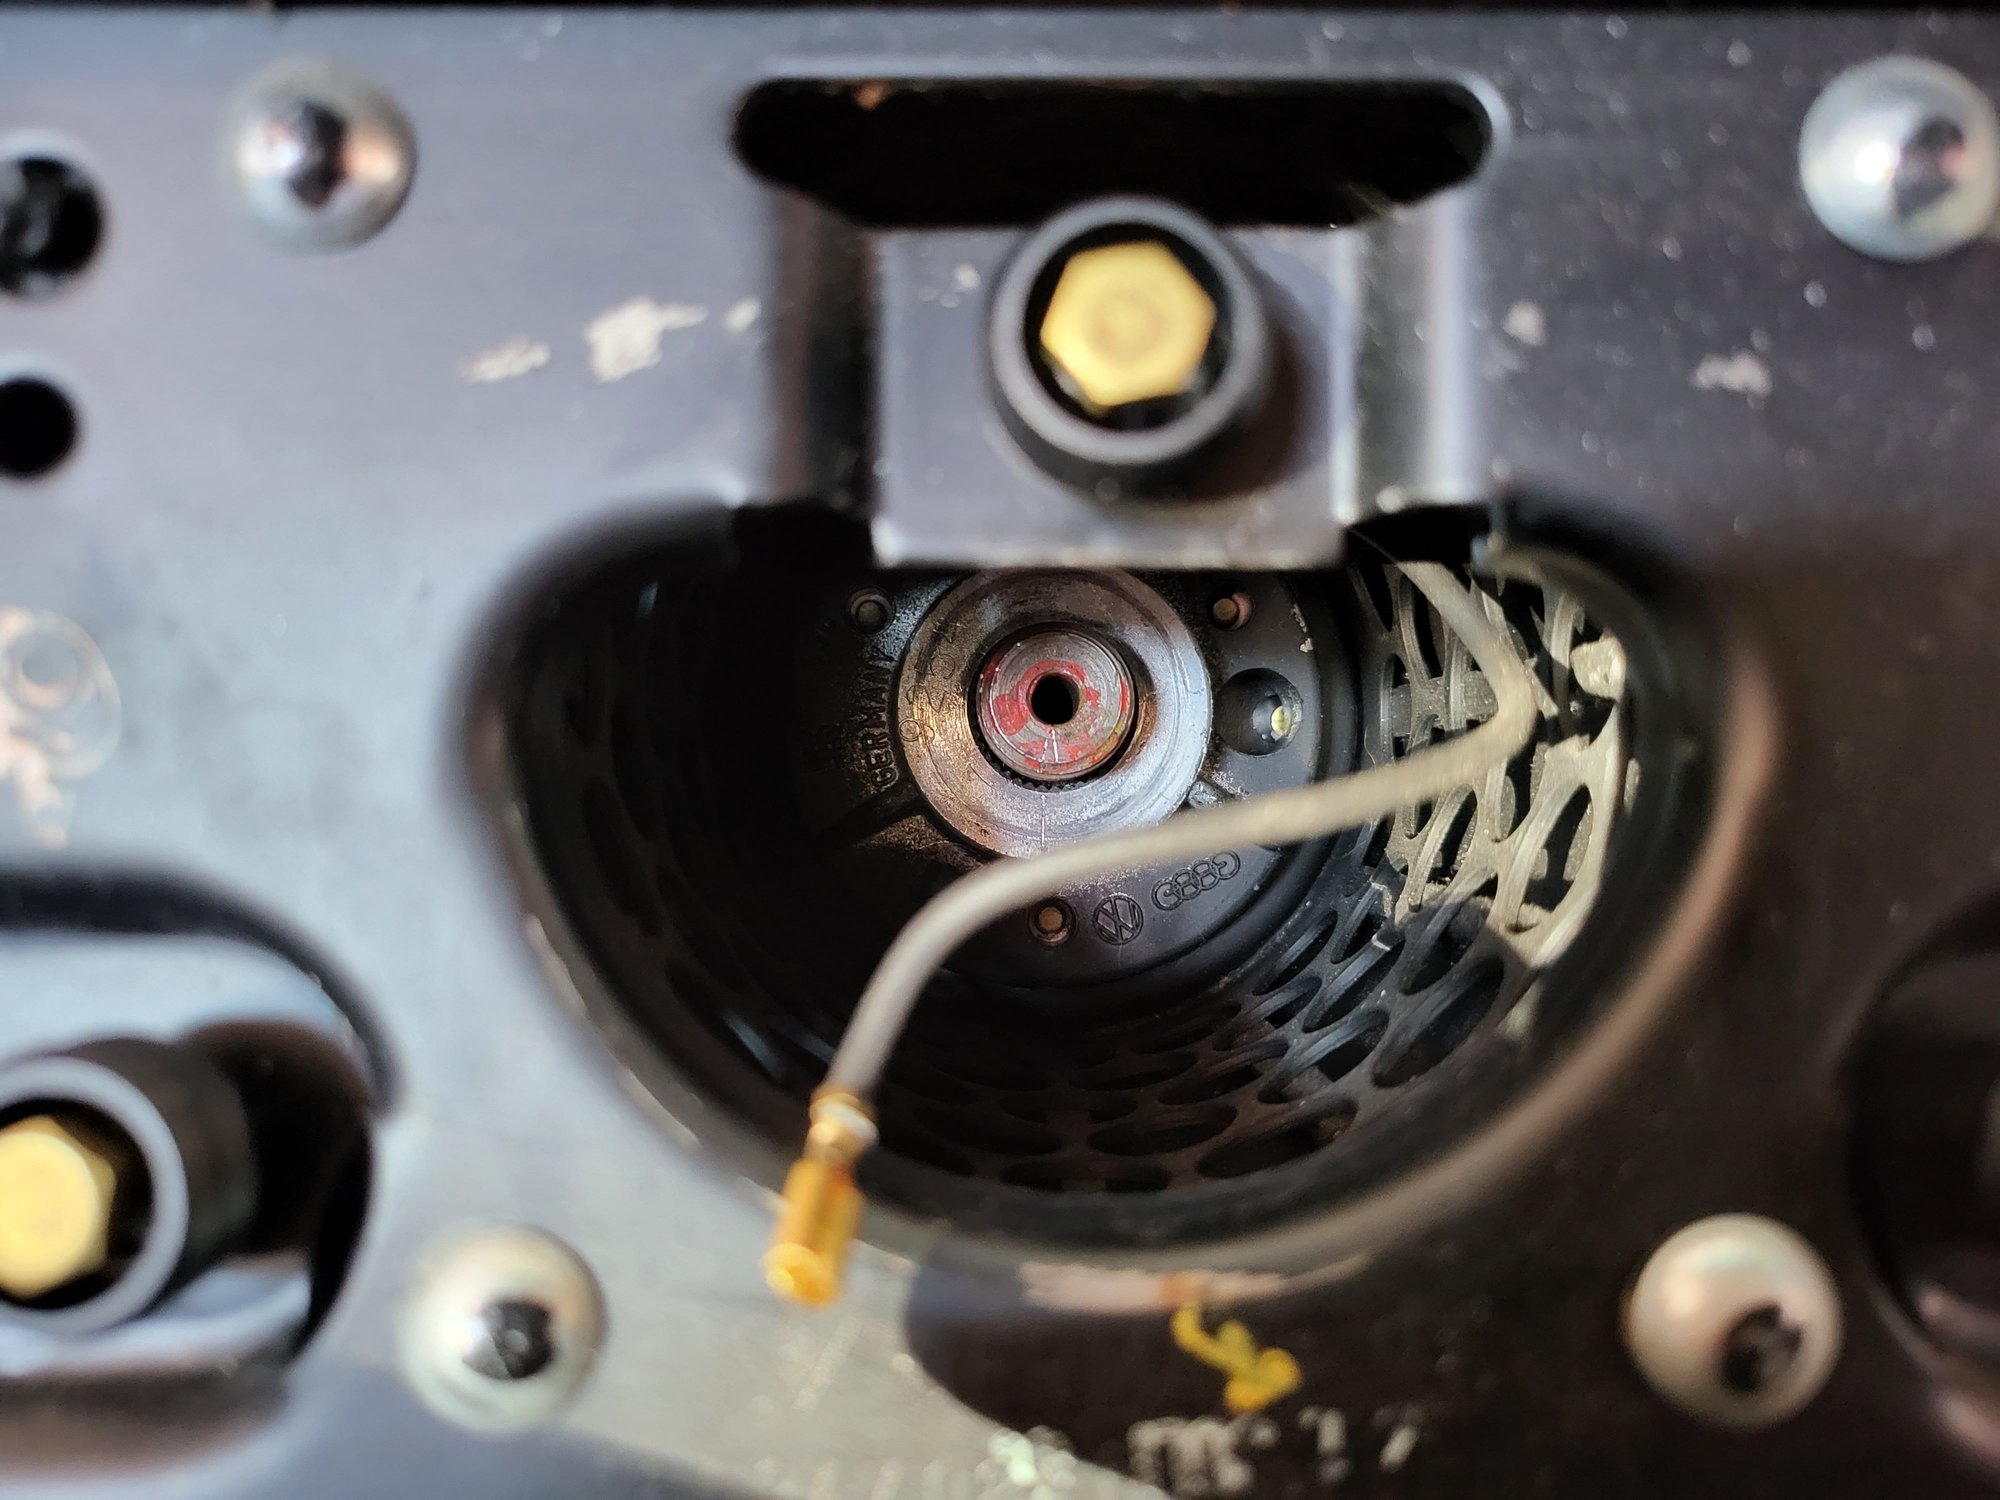
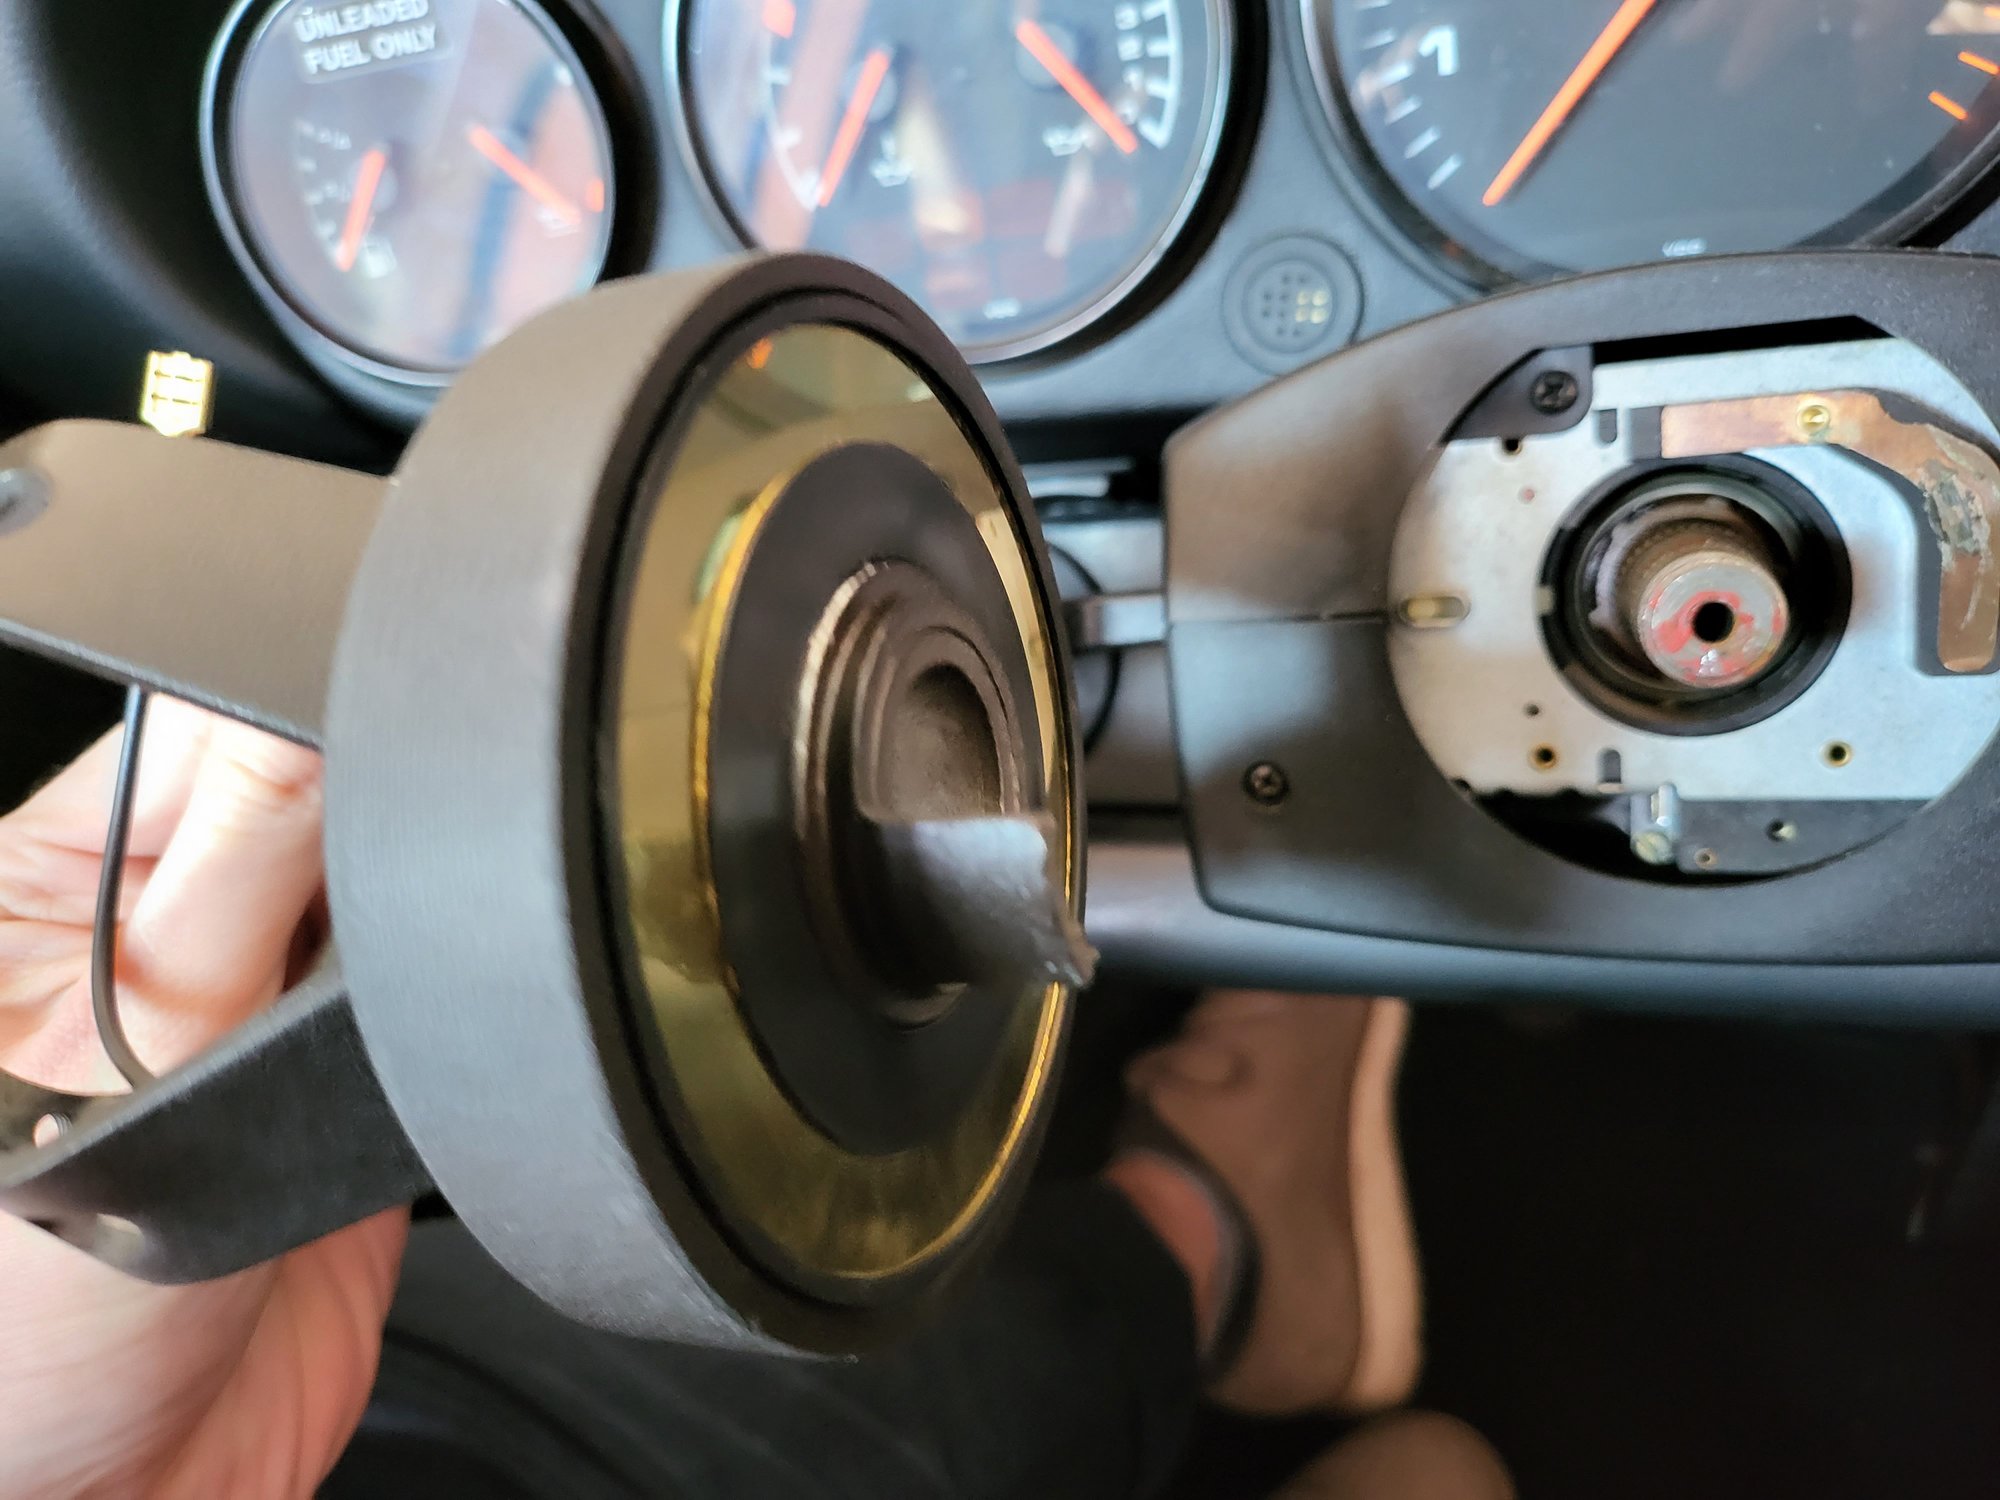
Once the nut is removed a couple shakes and the wheel comes off.
I purchased what I think is the correct hub adapter (#7004), however when you line up the hub adapter lettering and markings in the logical way the signal cancel arm is at roughly 4 oclock instead of the required 9 oclock. Rotating the hub such that signal cancel is in the correct area doesn't really look correct - is anyone able to confirm this is the same on theirs?
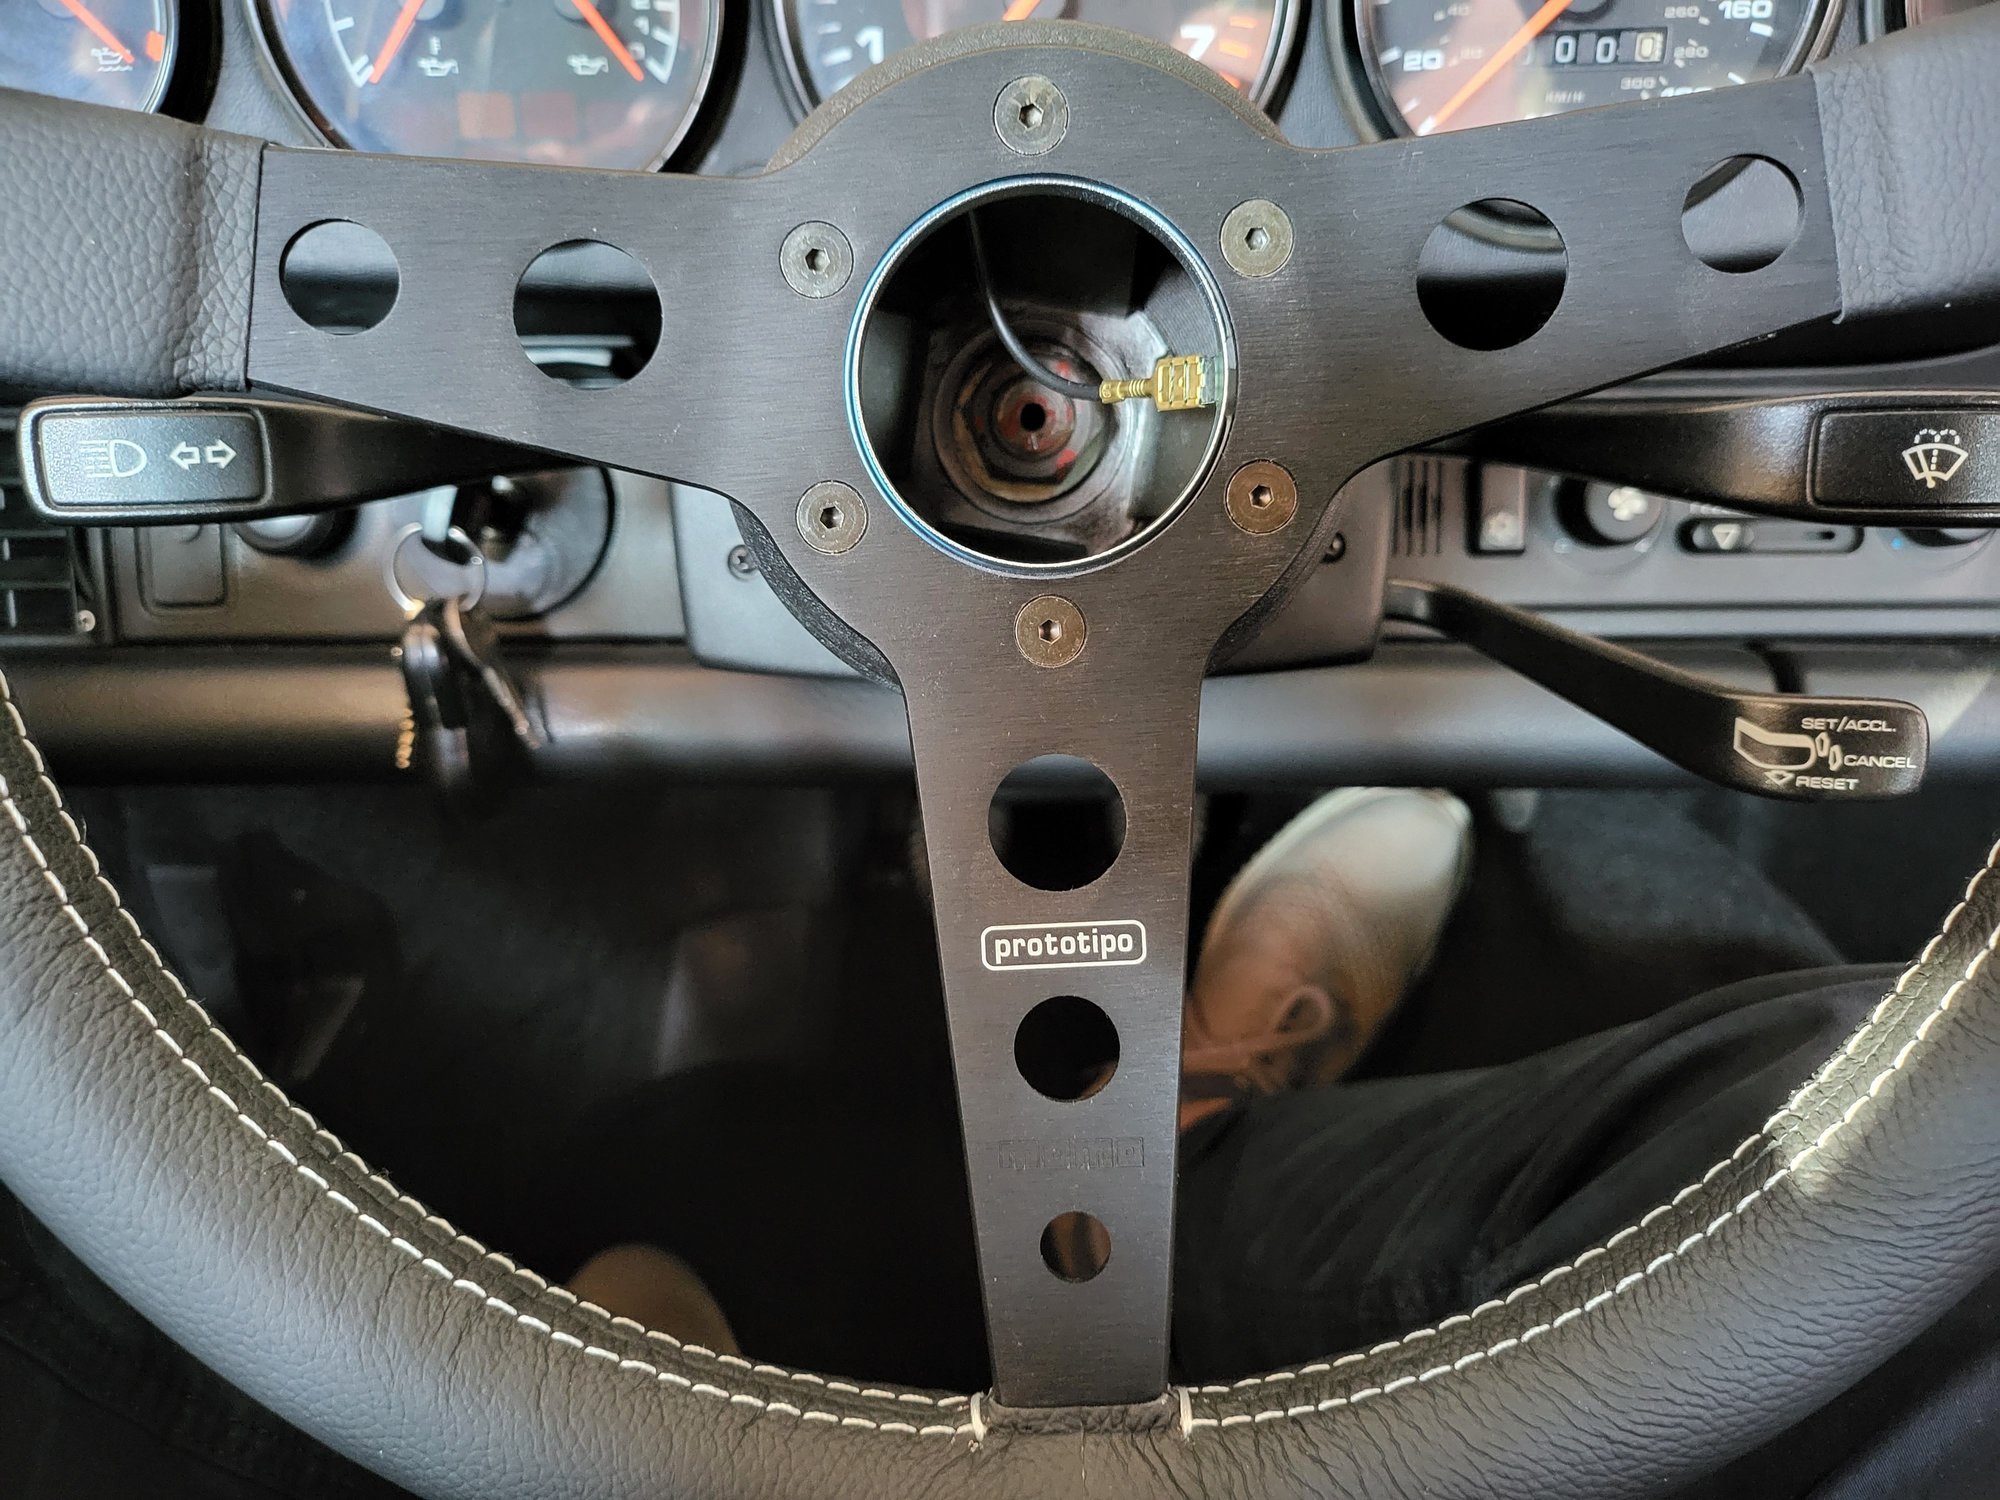
In any case, I went ahead. I loosely tightened the 24mm nut on before attaching the steering wheel to the hub. Please ignore where the horn connection is placed in the below photo, I was having a brain cramp. I used a very nice 3mm hex wrench rather than the cheap one provided - these screws are very nicely machined, and the fitment is very tight. Once the steering wheel is attached (6nm on the six hex screws - I guessed on the torque) then its easy to torque down the main 24mm nut to 50nm.
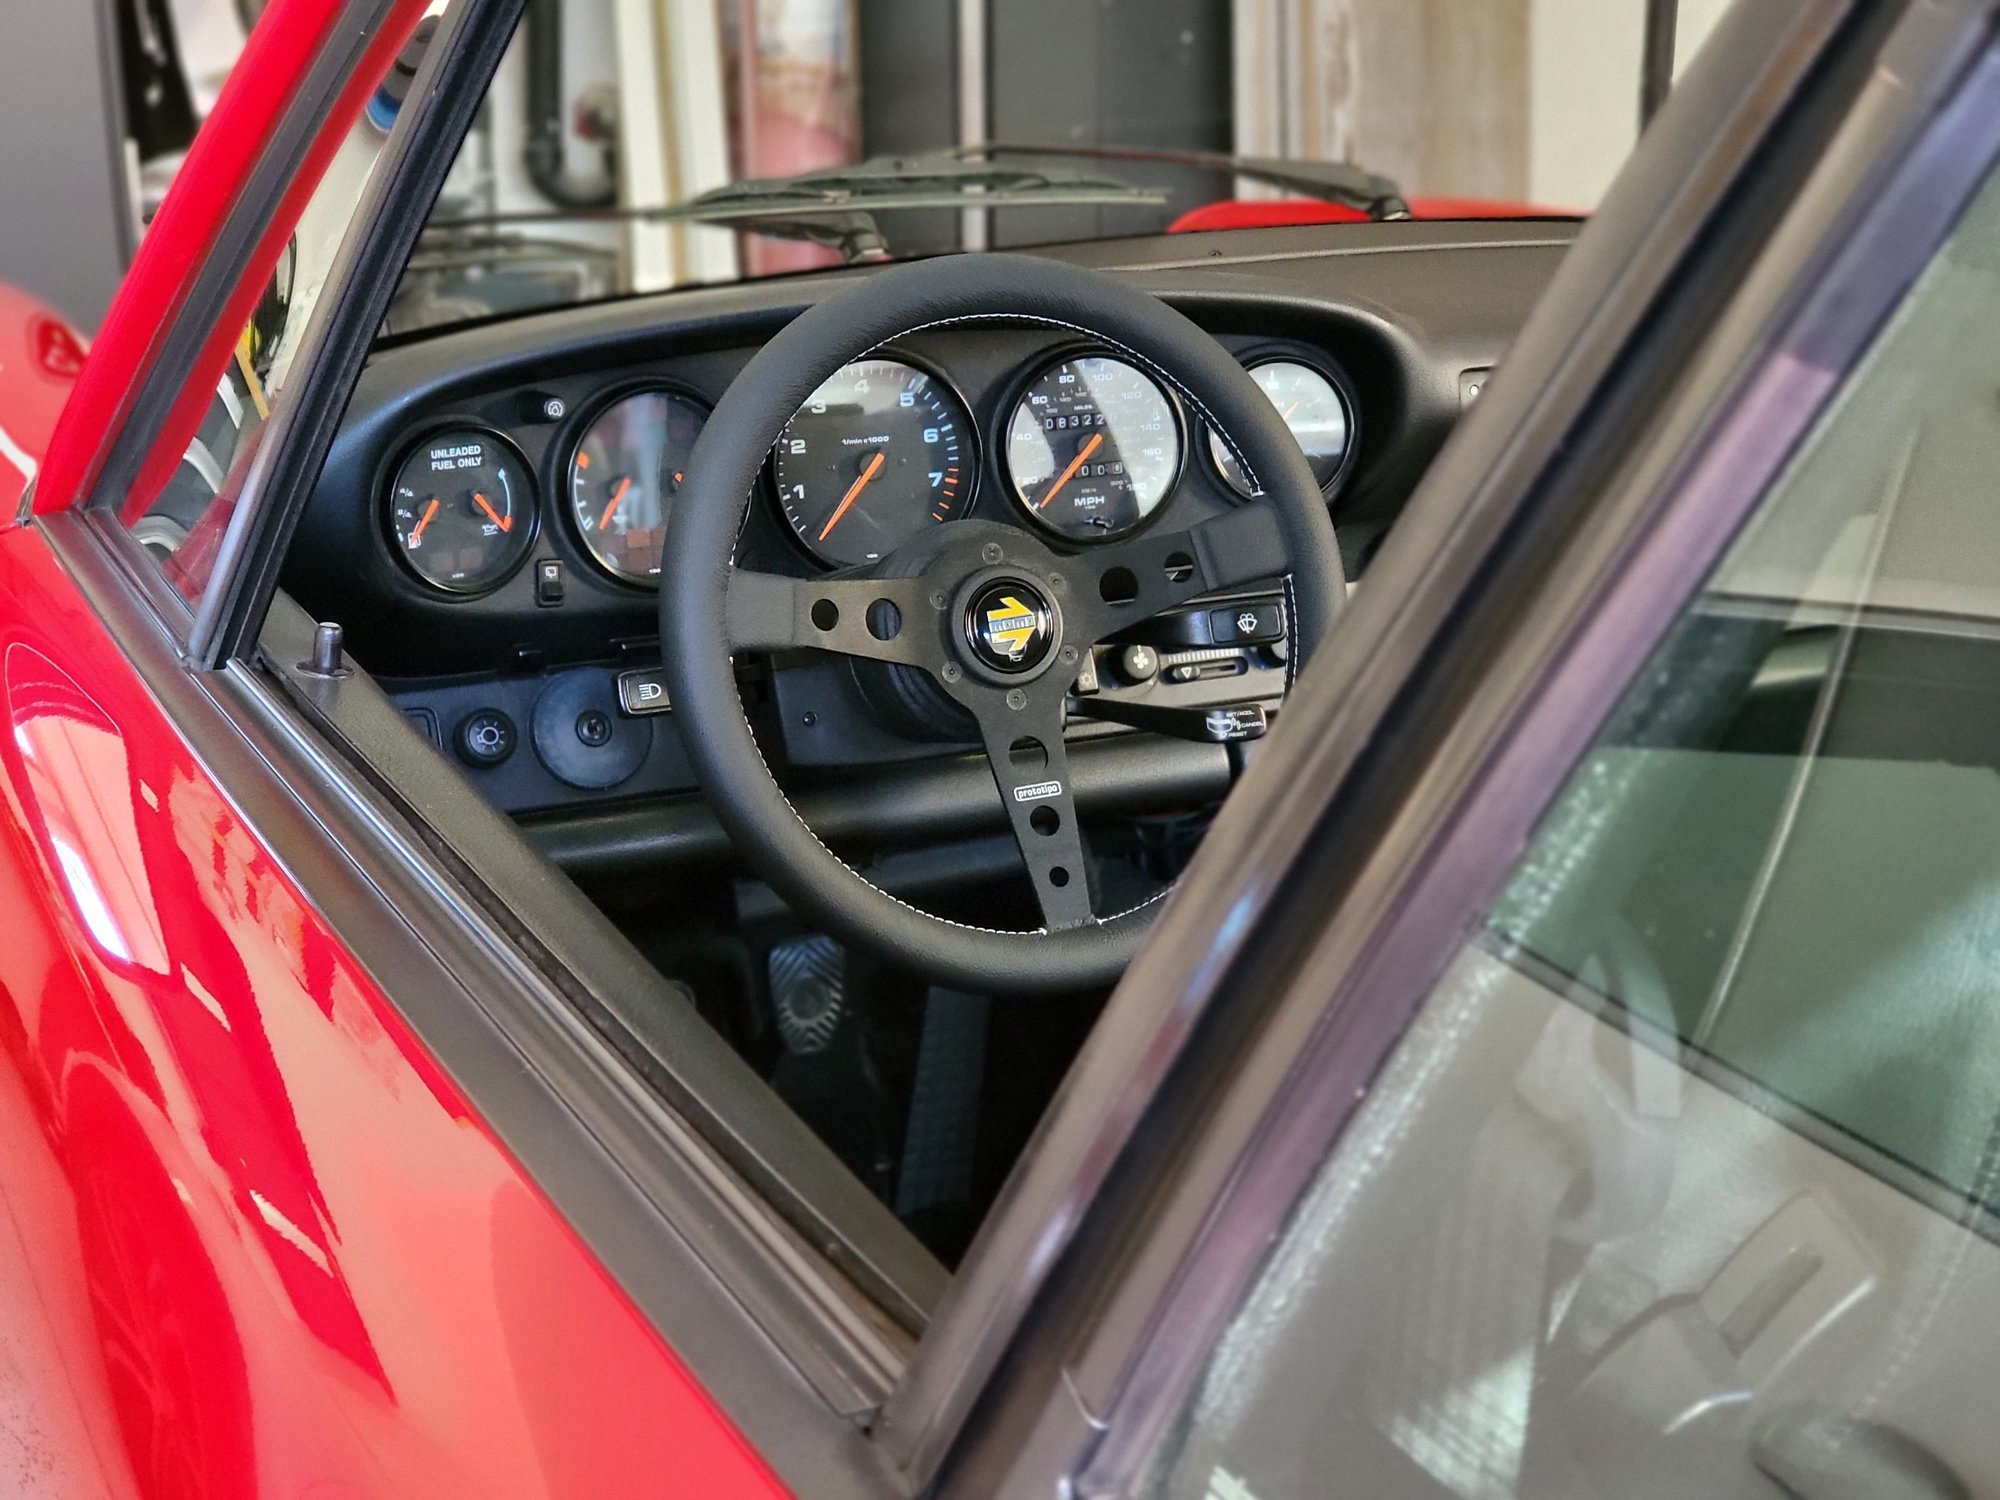
Connect the horn button and slide it in and you're done. Finished product below. I will be replacing the horn button with, hopefully, a leather embossed Porsche crest - are these still best sourced from Manuel?
Anyways, I much prefer the feel and look, although I don't like the white stitching and I'm really hoping over time the leather darkens, as it is a much lighter black than the seats etc currently. Does anyone have experience dying the white stitching to black?
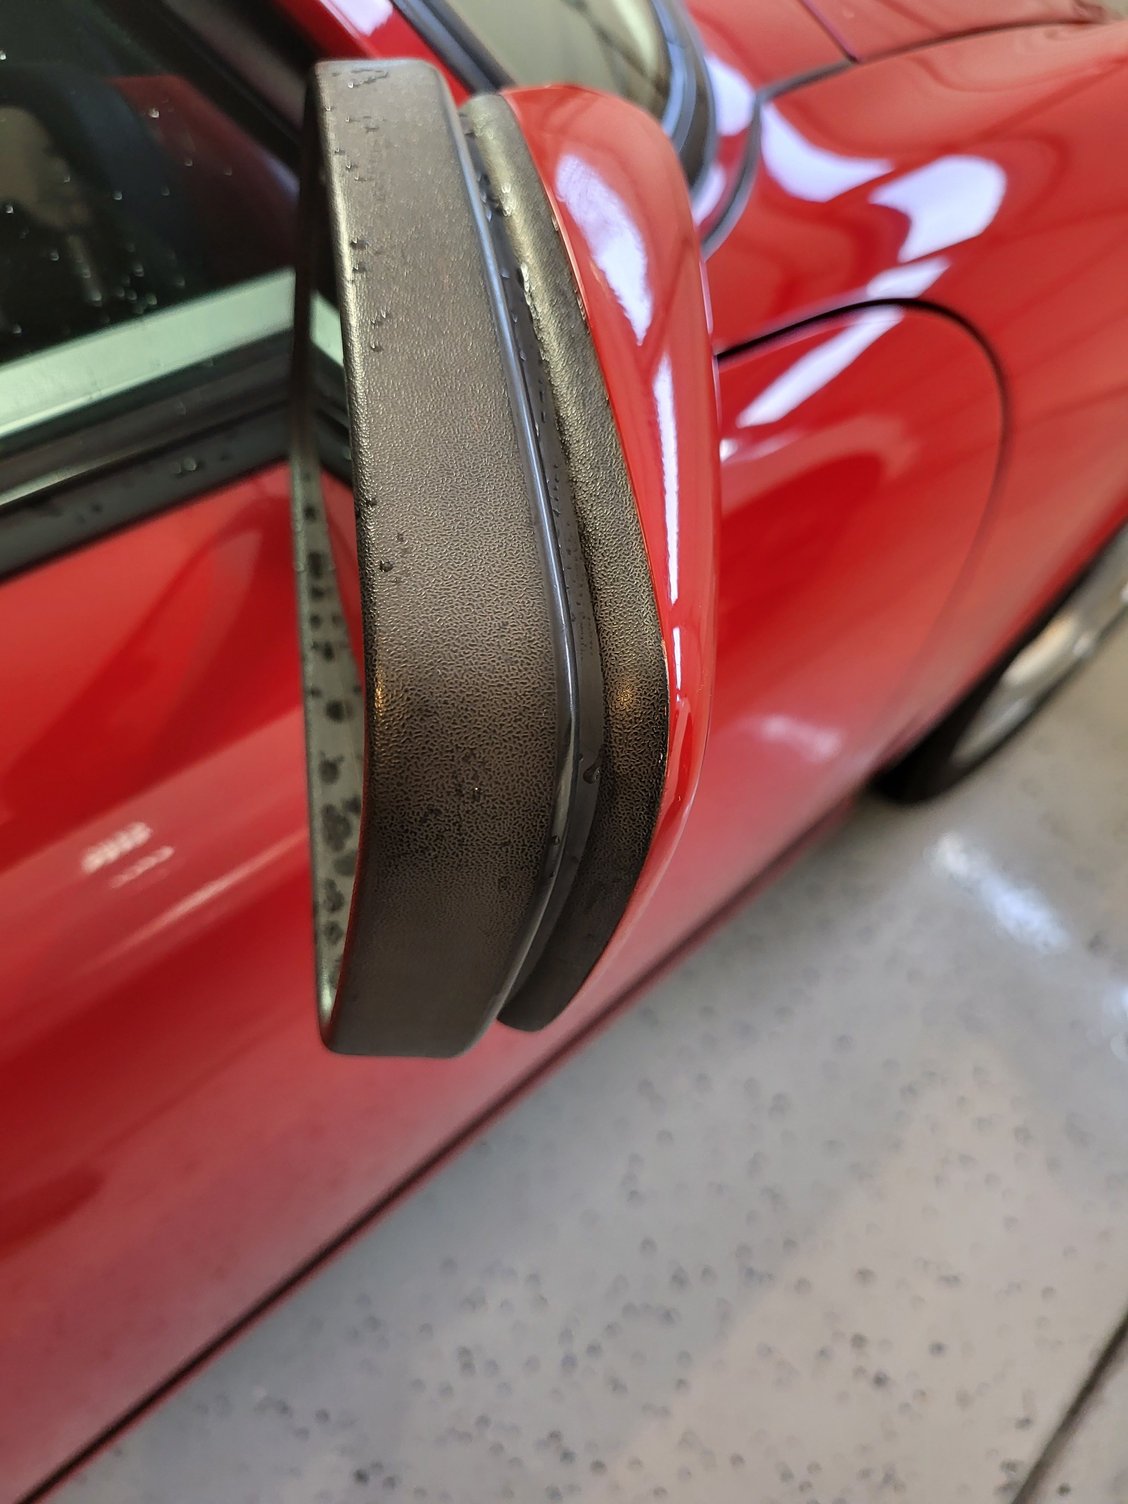
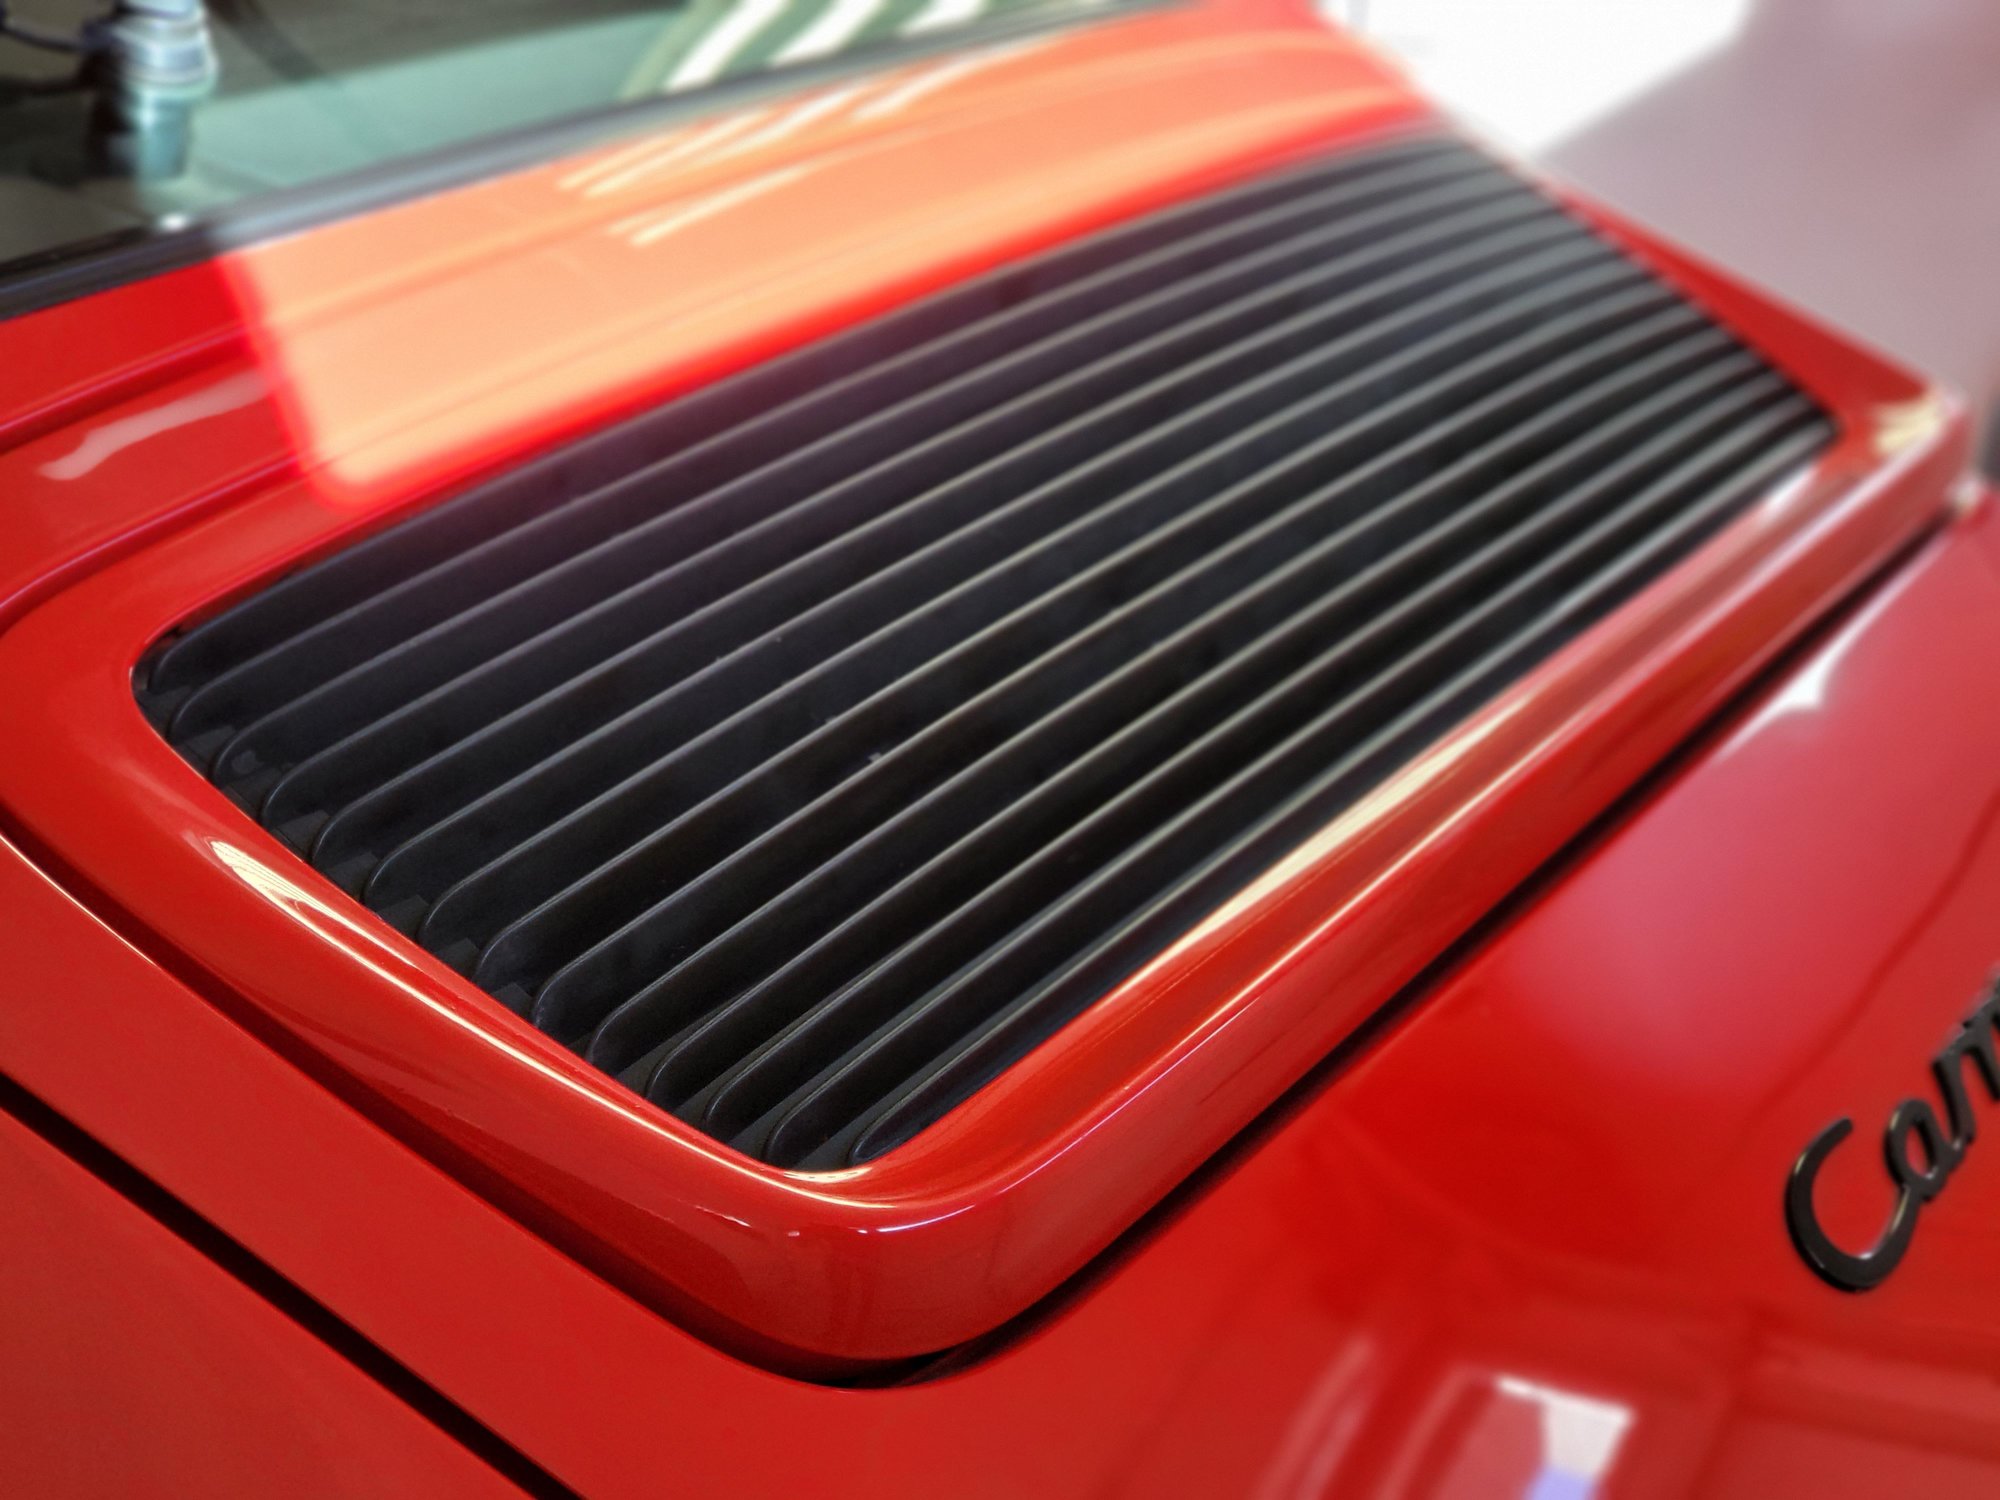
Only other activity recently was trying to address a couple faded black plastic areas. When I replaced the rear spoiler to address the crack in my original, I ended up with one where the black slats across the top were noticeably faded. I also had substantial fading on the plastic around the mirrors.
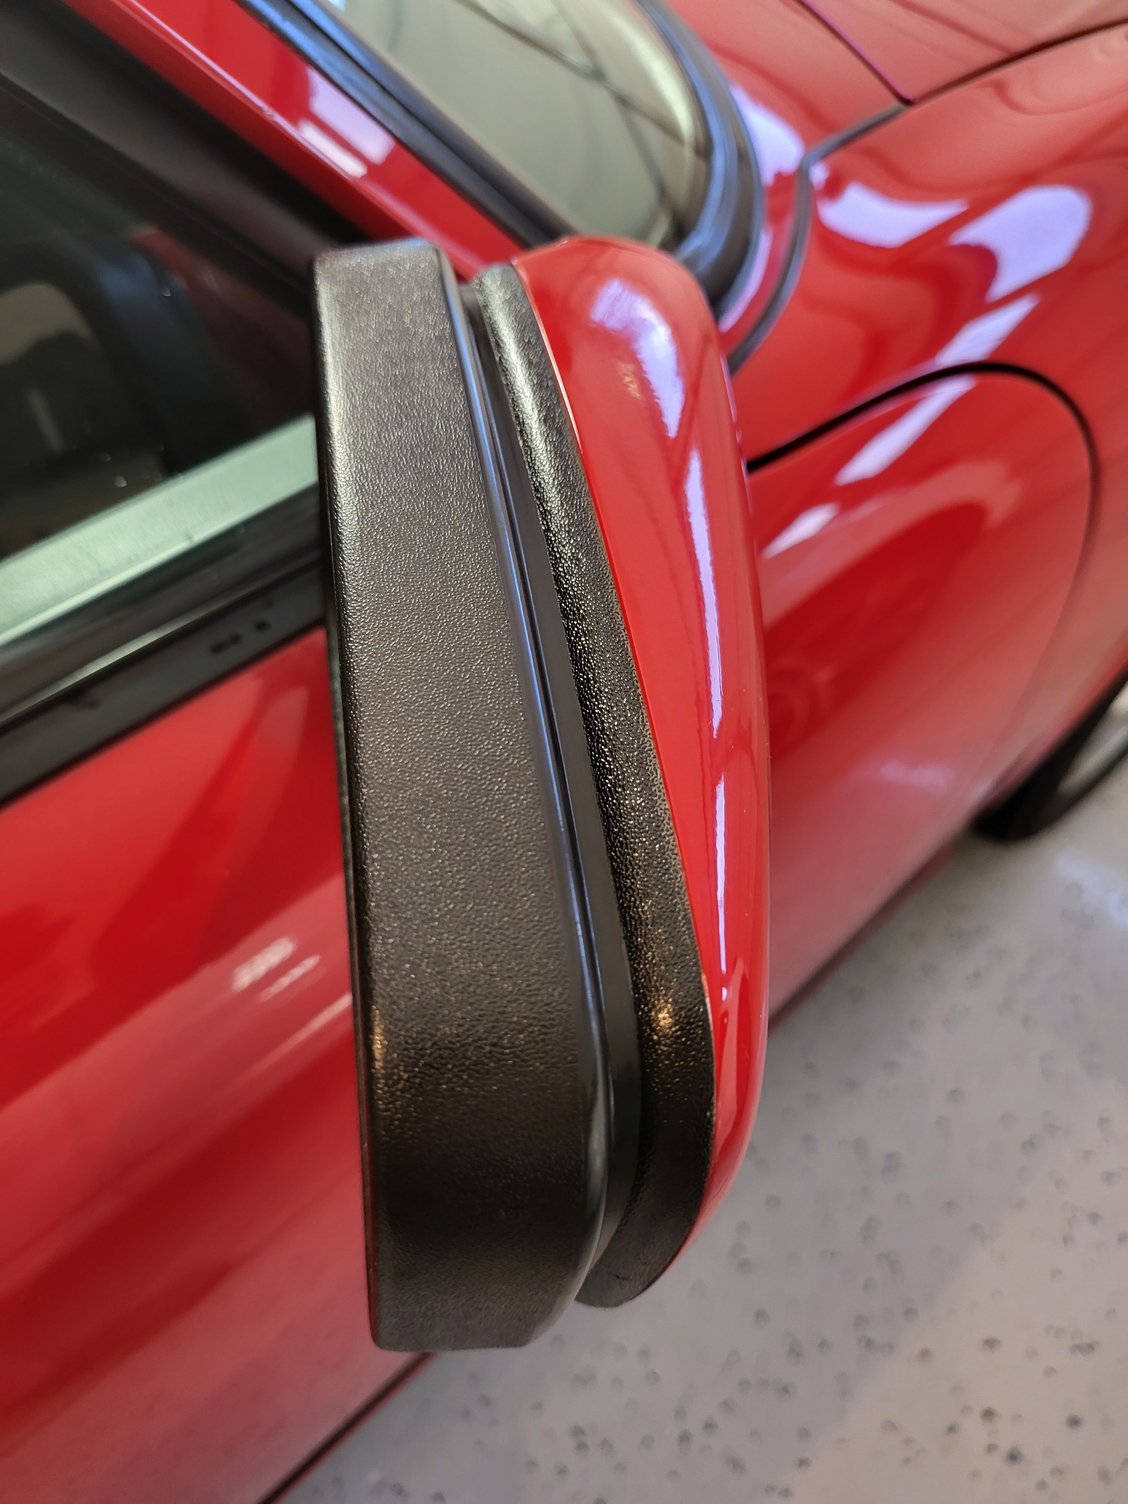
I unfortunately neglected to get a before picture of the spoiler slats, but they were quite faded. The mirror surround above looked worse in person, but the above photo gives you an idea. After watching a couple youtube videos I decided to give cerakote trim coat a try (no affiliation). It smells horrible, but seemed to work pretty well:
Very happy with the results. I'm going to try it on a few interior pieces as well at some point and see how it goes.


 02-03-2022, 01:46 PM