When you click on links to various merchants on this site and make a purchase, this can result in this site earning a commission. Affiliate programs and affiliations include, but are not limited to, the eBay Partner Network.
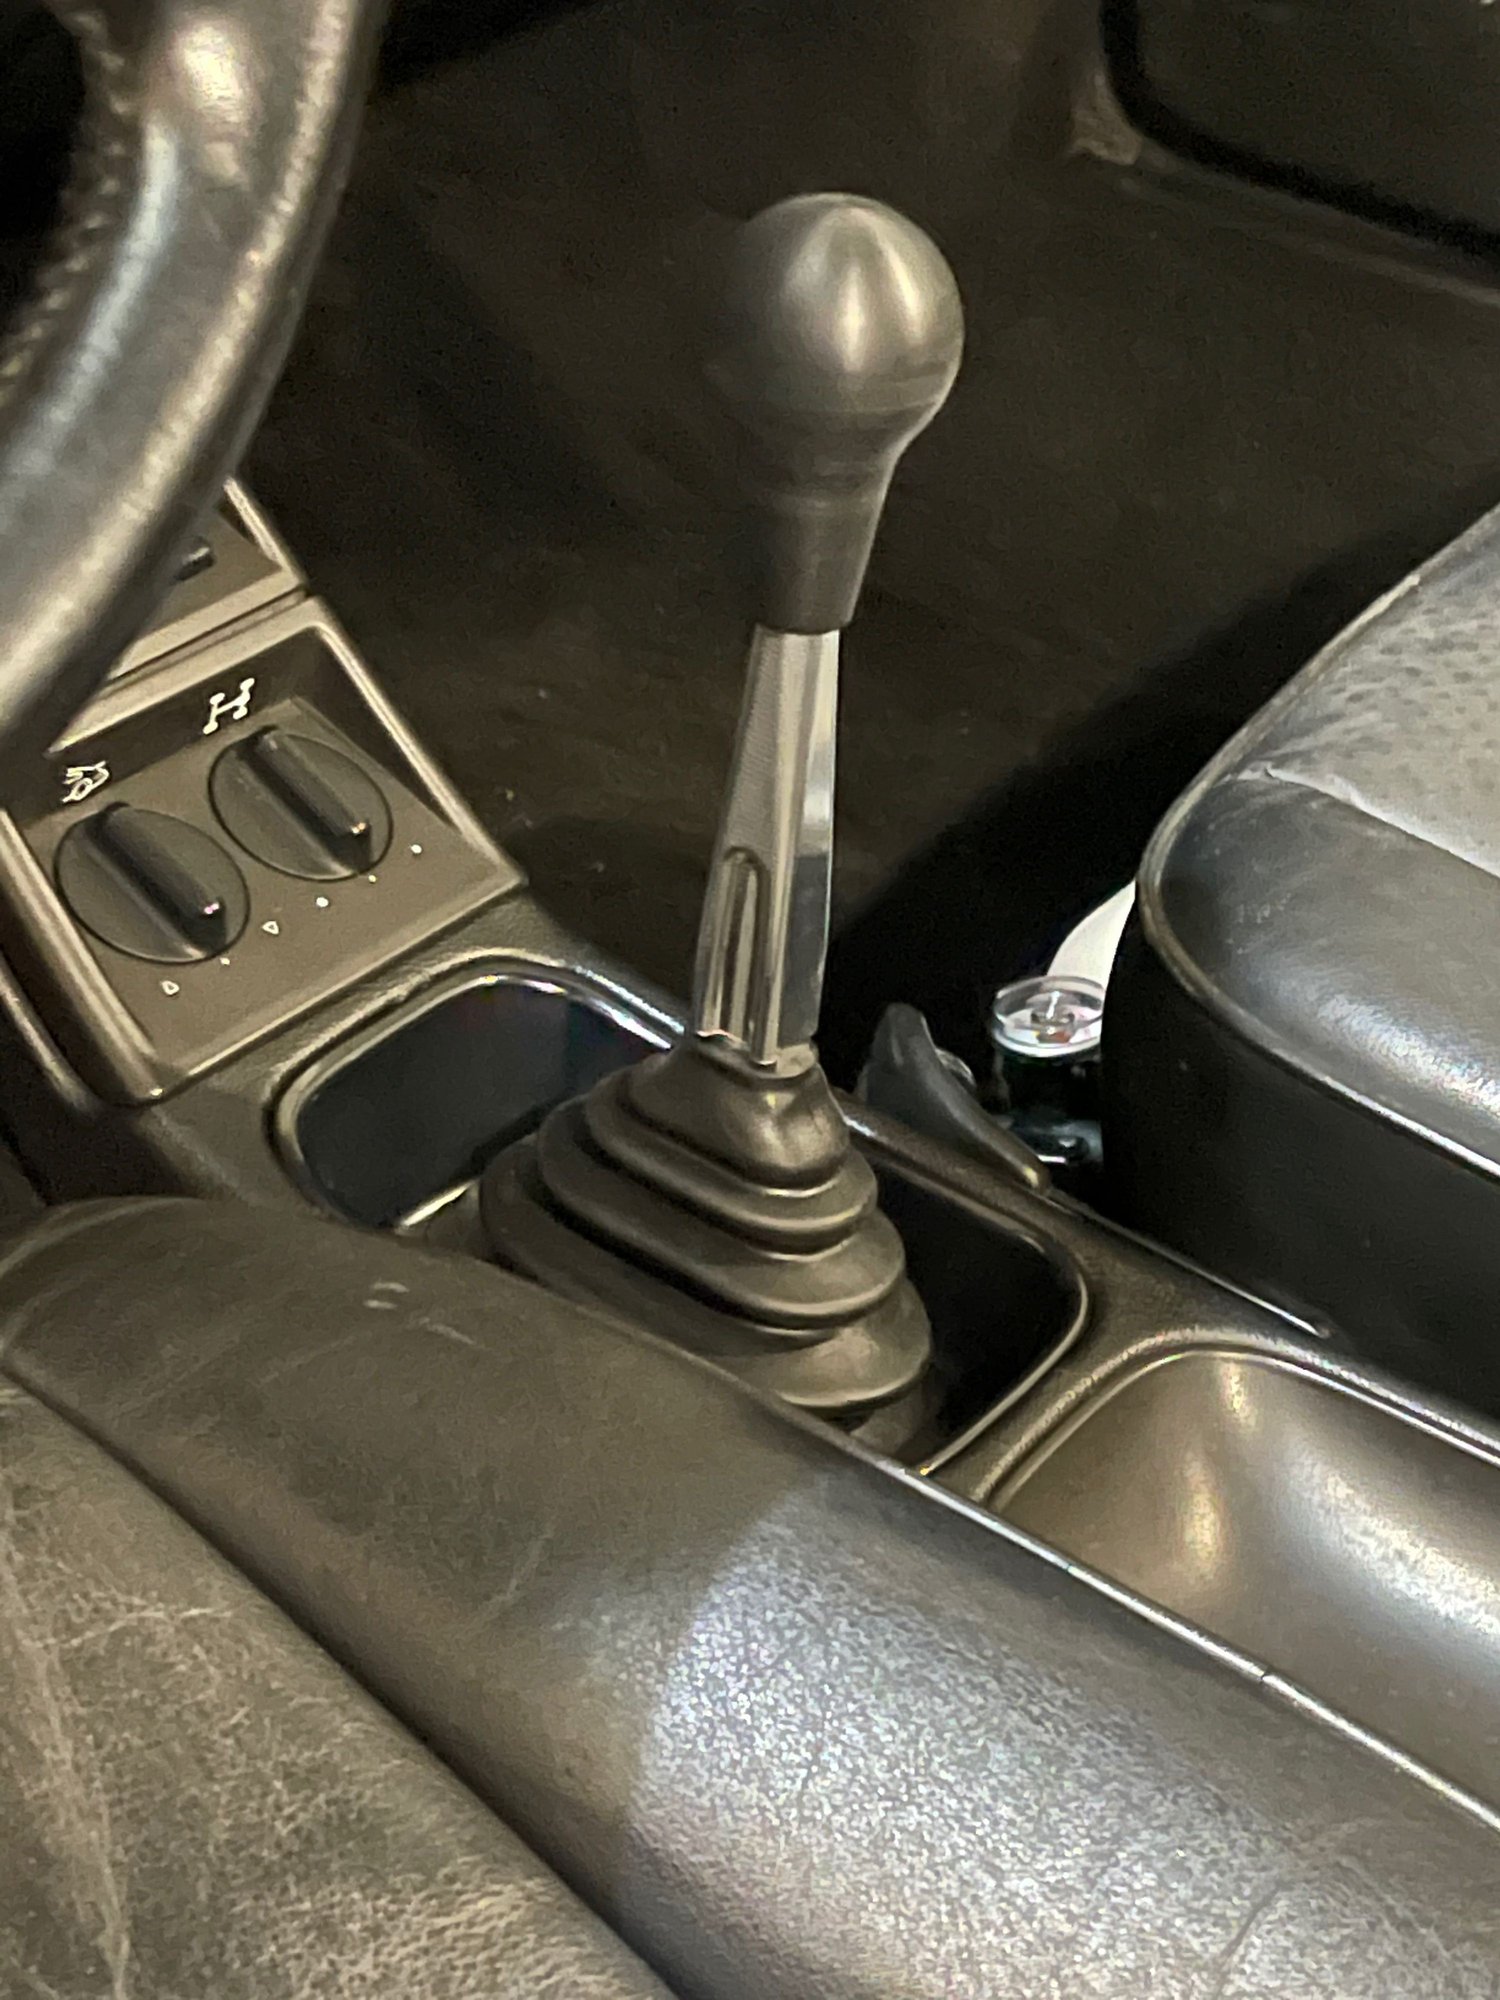
Nice, job. I have the sleepers kit as well. It's been the only real "mod" i've done to my car but I love it. I set mine to 40% throw and love it. I have the billet version and it looks great with the swine11 housing
@964Luftballoon I am working on installing the Rothsport billet shifter and looking at your photo I am wondering what, if any, modification you had to do to the rubber boot/bellow? I was investigating mine off the car and noted the interal "stem" and other structural rubber used to keep it sealed. Did you cut off that internal piece and open it up to work with your shifter? Wow...the difficulty in rewording this post to be safe for work took some serious editing.
@964Luftballoon I am working on installing the Rothsport billet shifter and looking at your photo I am wondering what, if any, modification you had to do to the rubber boot/bellow? I was investigating mine off the car and noted the interal "stem" and other structural rubber used to keep it sealed. Did you cut off that internal piece and open it up to work with your shifter? Wow...the difficulty in rewording this post to be safe for work took some serious editing.
Yes, you have to cut the internal piece for it to fit through. For the Rothsport I suspect it's the same.
Looking at your underbody pictures and your question �what do you think�? The wishbones and bushings look well covered in 30+ years of grime. I would be thinking about refreshing the wishbones, bushings, and looking at the rest of the front /rear end. Any pictures of the suspension, ball joints, tie rods? A refreshed suspension / steering system is worth gold over any mods. All the best with your project.
Tom, regarding the grime by the Diff. That could be normal as I've seen that on mine. I don't want to alarm. Have you checked boots on your axle? Just to be sure. "While you're in there"
Looking at your underbody pictures and your question �what do you think�? The wishbones and bushings look well covered in 30+ years of grime. I would be thinking about refreshing the wishbones, bushings, and looking at the rest of the front /rear end. Any pictures of the suspension, ball joints, tie rods? A refreshed suspension / steering system is worth gold over any mods. All the best with your project.
Next project is the suspension overhaul. The car currently has original boges and springs so sits like a 4x4. I have bilstein HD and H&R combo sitting in the cabinet waiting, as well as Elephant Racing front drop links as the drop link boots are shot (I think its probably fine as it is but I figured if I'm going to pull everything apart I might as well change them). Tie rods look okay but I'm trying to source ERP replacements anyways. I also plan to take off the control arms/subframes and clean them up, replace the bushings. Deciding between Elephant or the Walrod solution....haven't made up my mind. While I have everything apart I'll change the steering rack bushings as well. Anything else recommended?
Regarding the driveshaft boots, they all look good and I'd like to avoid the messy job so I think I'll leave them alone.
@Tomfun I'm literally doing all of this right along with you. While a C2, most of it is the same and I hope to be posting soon.
My list is:
PSS10's (on the car)
Rennline ball joints
Elephant Racing bump steer correction kit
Elephant poly sway-bar bushings (front and rear)
Tarrett drop links (front and rear)
Rothsport poly steering rack bushings
Rennline strut brace (on the car)
Rennline Monoballs (front and rear)
Tarrett racing spring plates
Rennline tublar engine carrier and ajustable motor mounts
Rothsport SSK with FD forward and golden rods
Momo Prototipo
I went a bit wild, but I should just about have everything covered. To get the car "feeling" right. Brakes will be my follow up to all of this.
It's interesting to this non-964 guy to watch the "evolution of the species", to borrow from Mr. Ludvigsen. As in, that shift linkage looks like the nephew of that in my 924S and nothing like that in my SC.
Do you have to drop the front diff in order to refill it? Is resealing it something that can by DIY'd?
thanks, John
There is a drain and fill plug on the front diff. so there is no need to drop. Just be sure to loosen the fill plug first to make sure it's not seized. There is a diff seal just behind the drive shaft. I believe there a DIY if not mistaken.
It's interesting to this non-964 guy to watch the "evolution of the species", to borrow from Mr. Ludvigsen. As in, that shift linkage looks like the nephew of that in my 924S and nothing like that in my SC.
Do you have to drop the front diff in order to refill it? Is resealing it something that can by DIY'd?
thanks, John
You don't have to drop the diff to refill it, however I believe you do to replace the seals. It is something that can be DIY'd, there are a few DIY examples here on rennlist.
I have too many projects on the go and only have a couple hours here and there to work on them, so progress is slow right now....
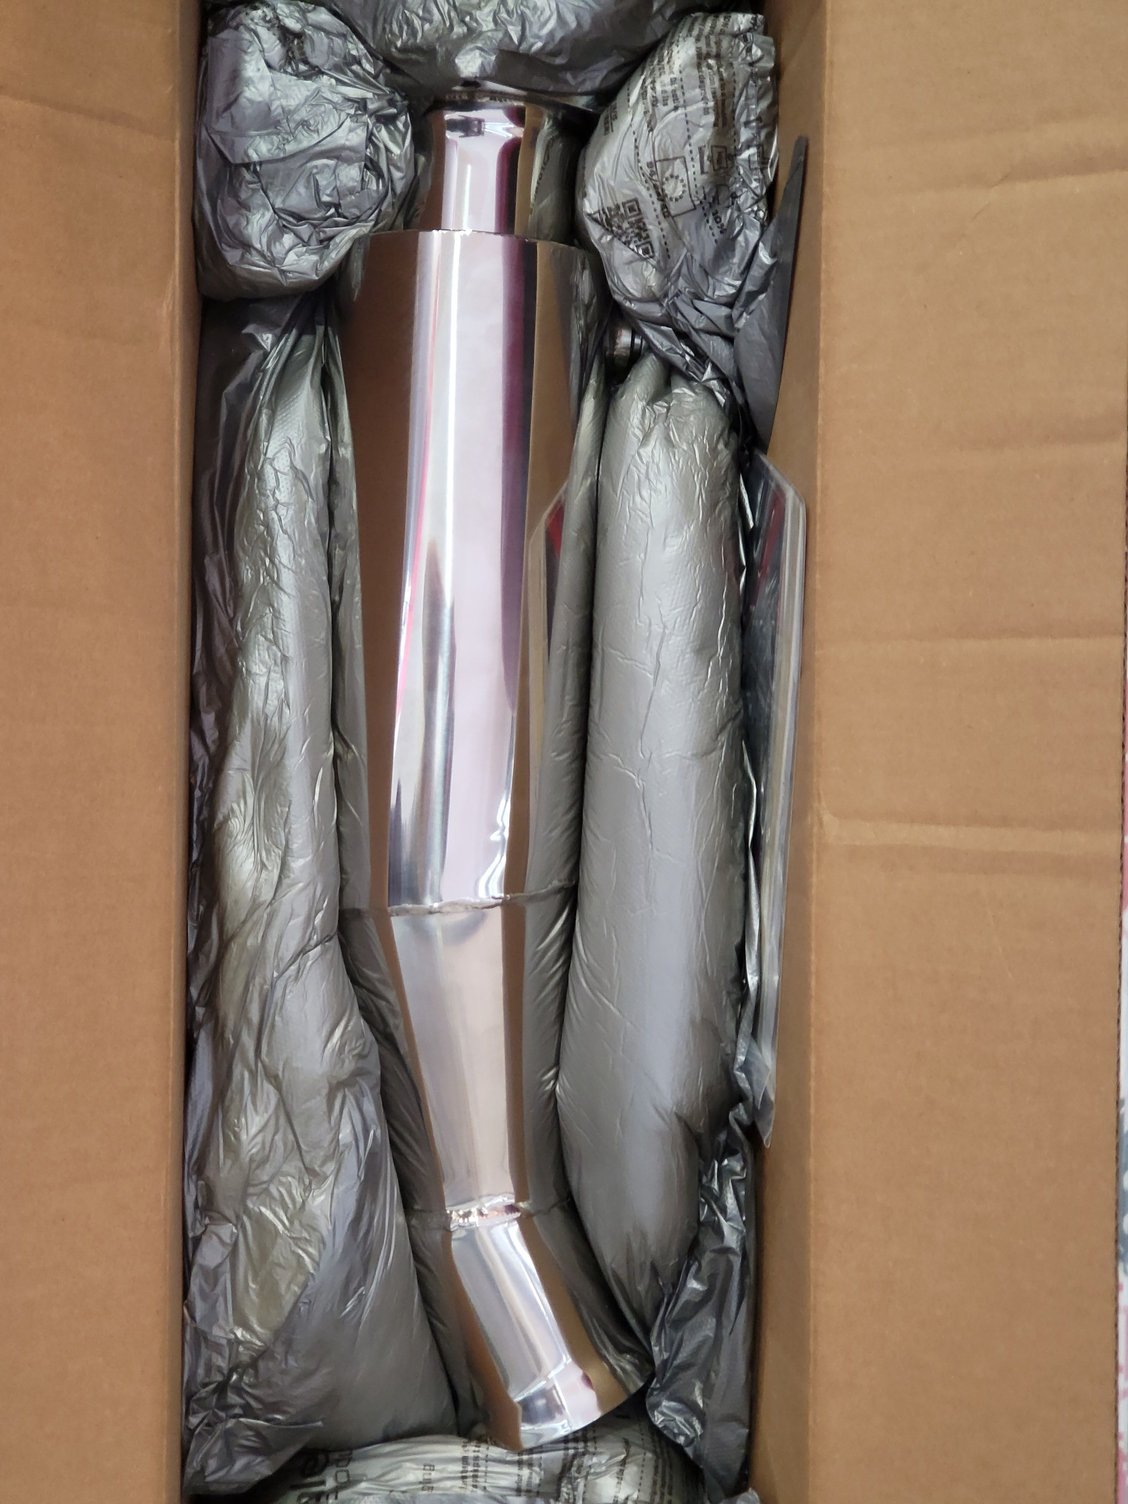
After many many months of waiting (a little over 4 to be specific), something shiny showed up.....
So naturally this got added into the mix along with brake rotors, pads, bleed, springs, struts/shocks, drop links, air ducts etc etc you get the picture.
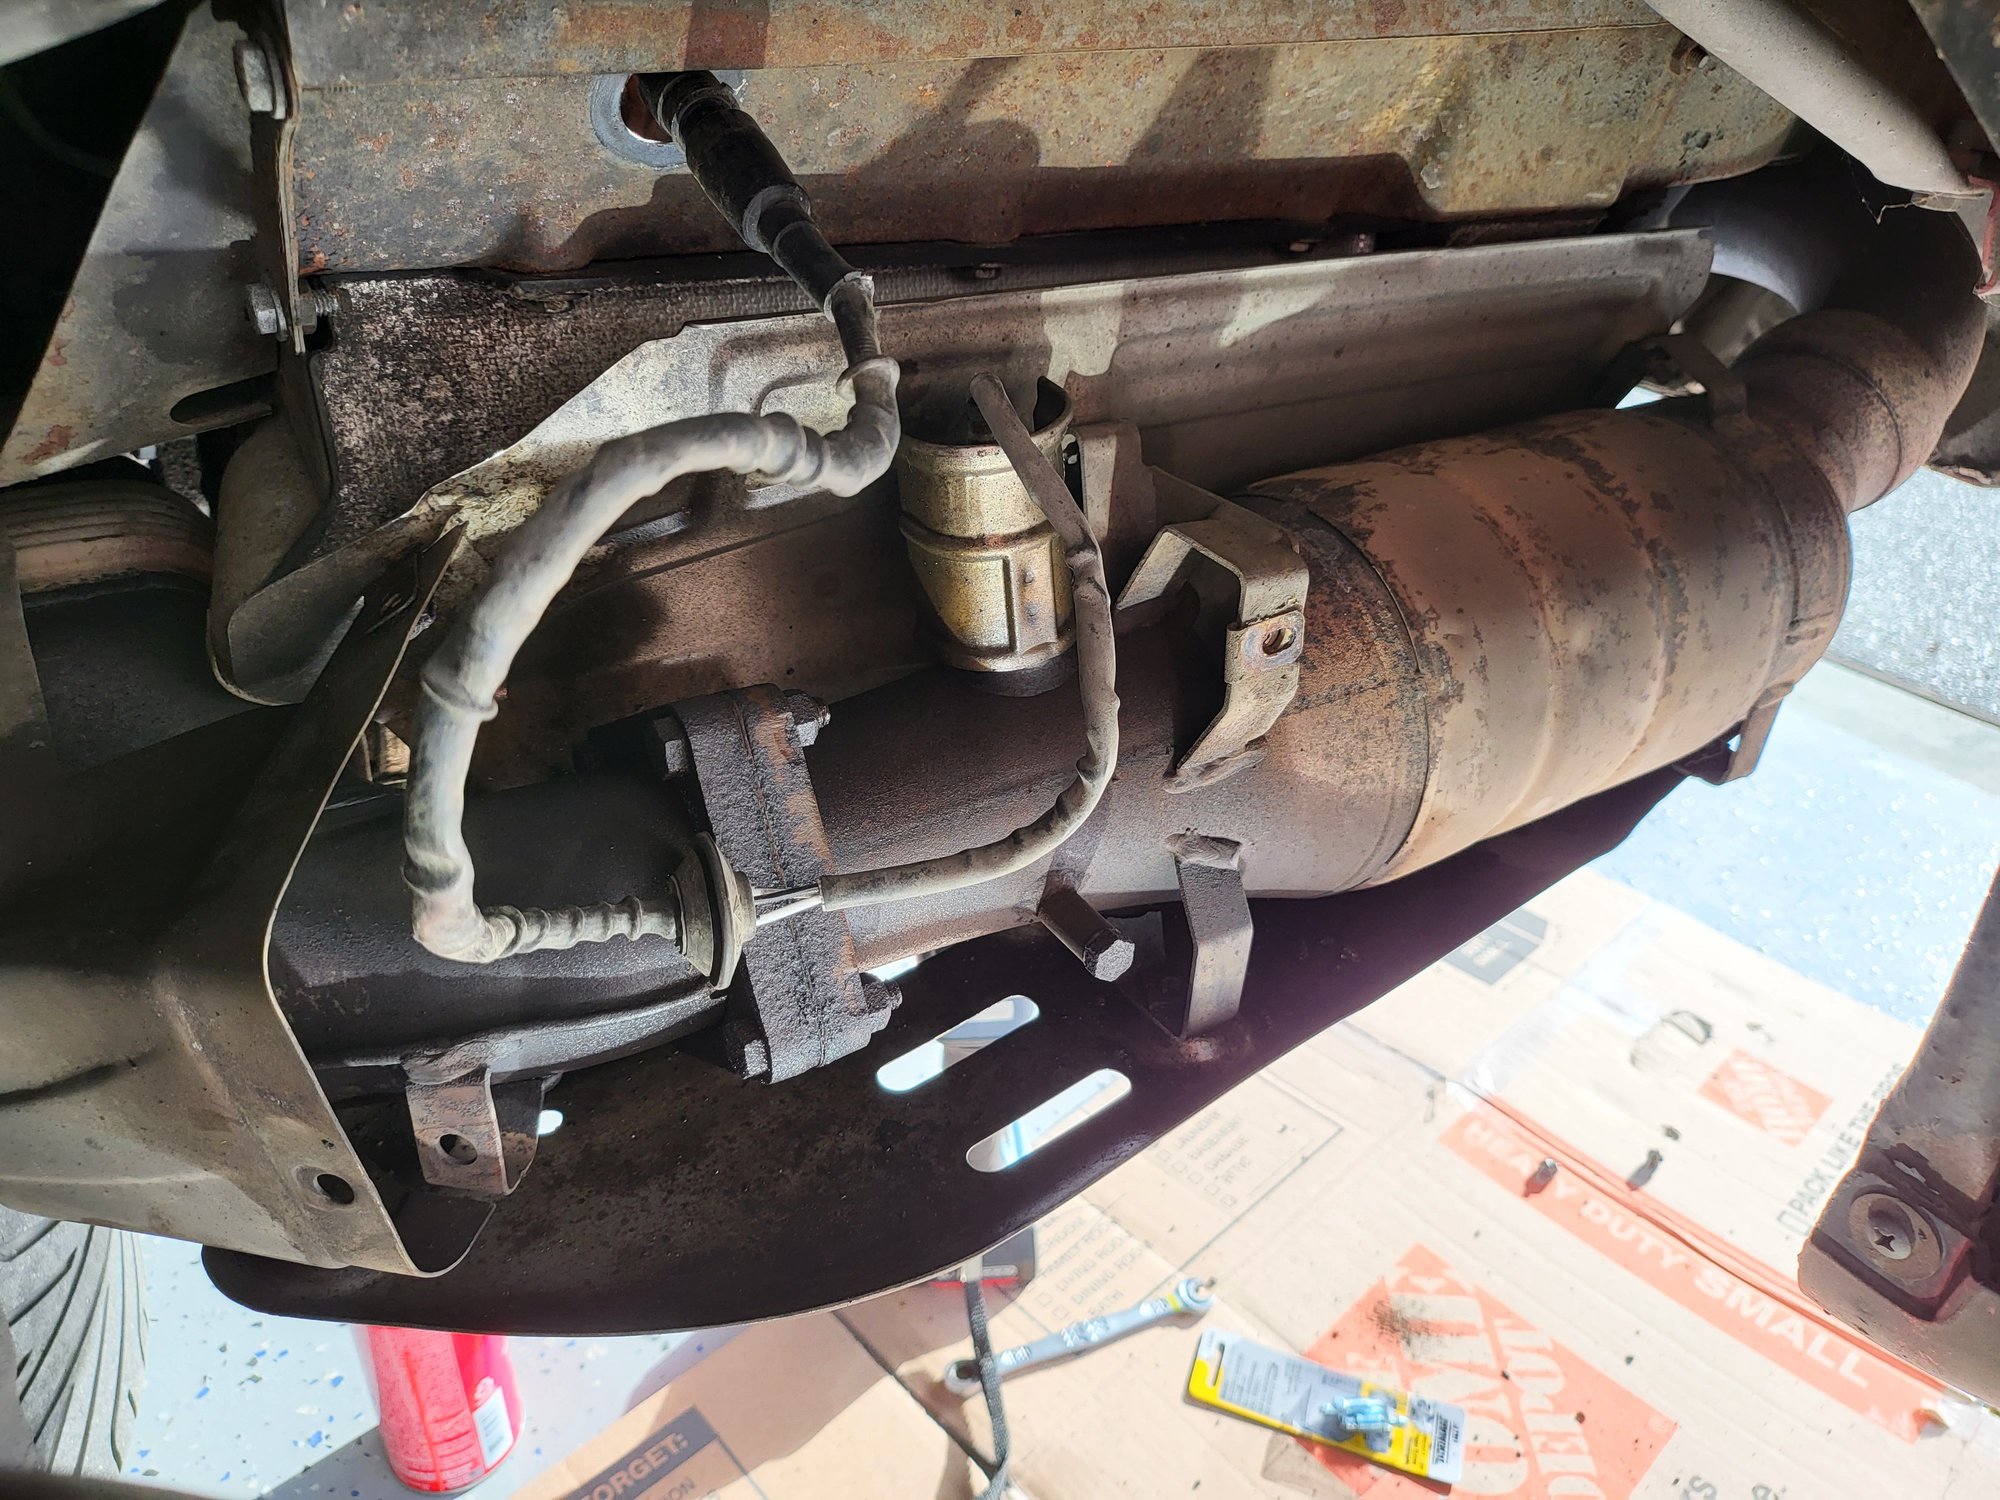
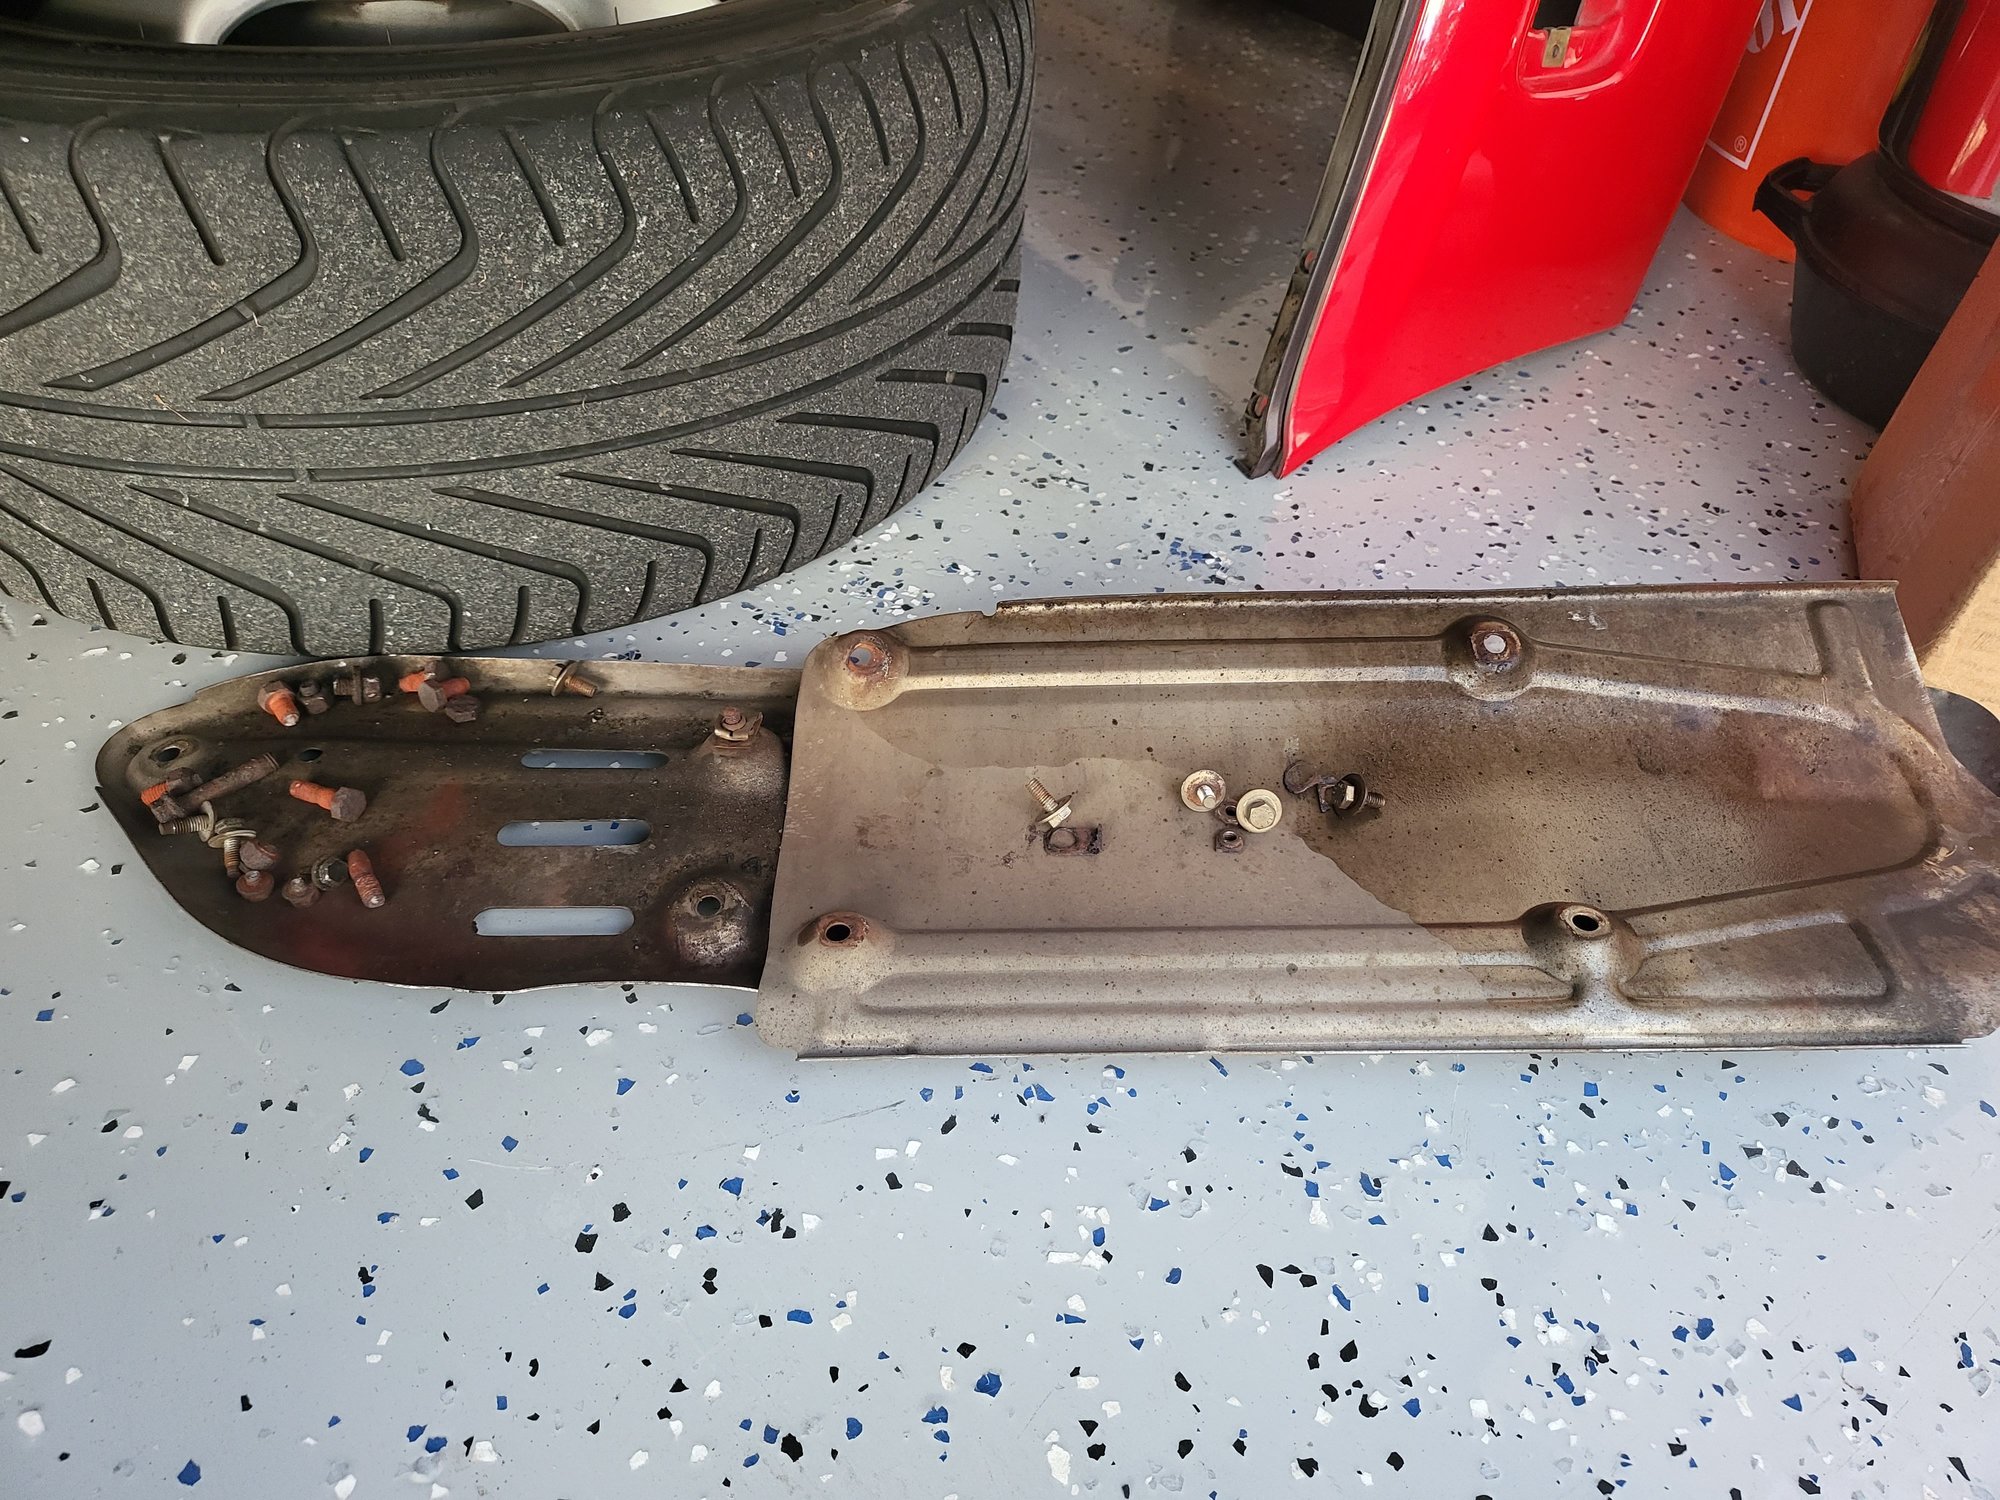
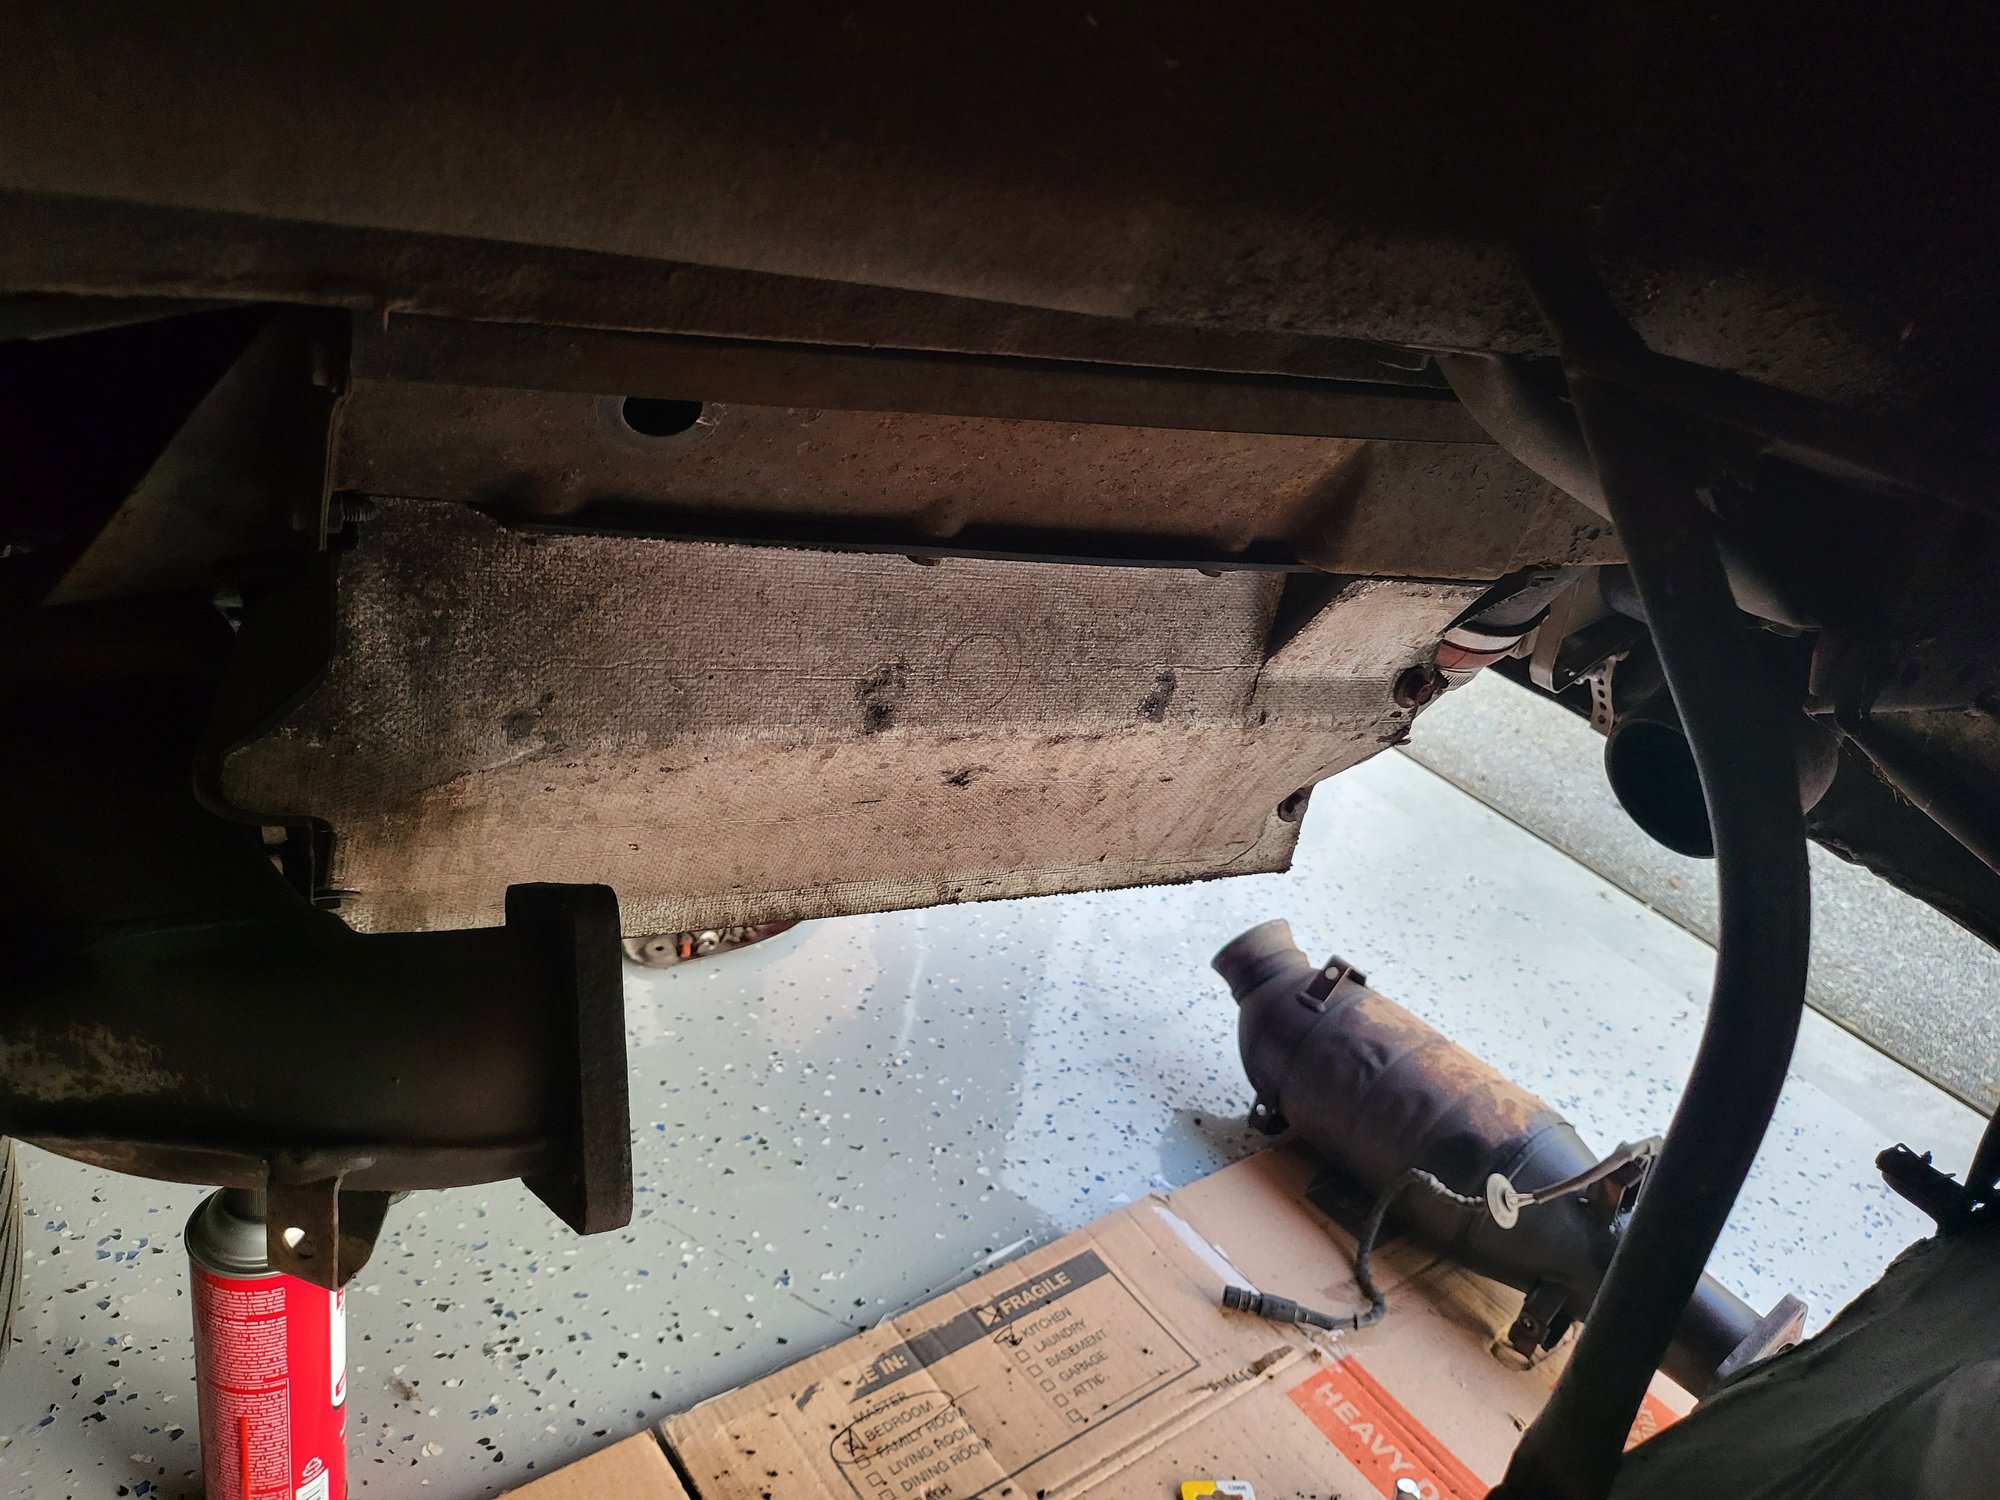
Excited to see how it sounds, I started on my most hated task - exhaust work. My car has no rust and no meaningful corrosion, but I don't think the cat has ever been off the car and everything exhaust related is a nightmare at the best of times. Soaked everything in penetrant, but I might as well not have bothered - every bolt or speednut broke with the exception of one that came out clean.
It required quite a bit of frustration to get the cat out, but finally she came free!
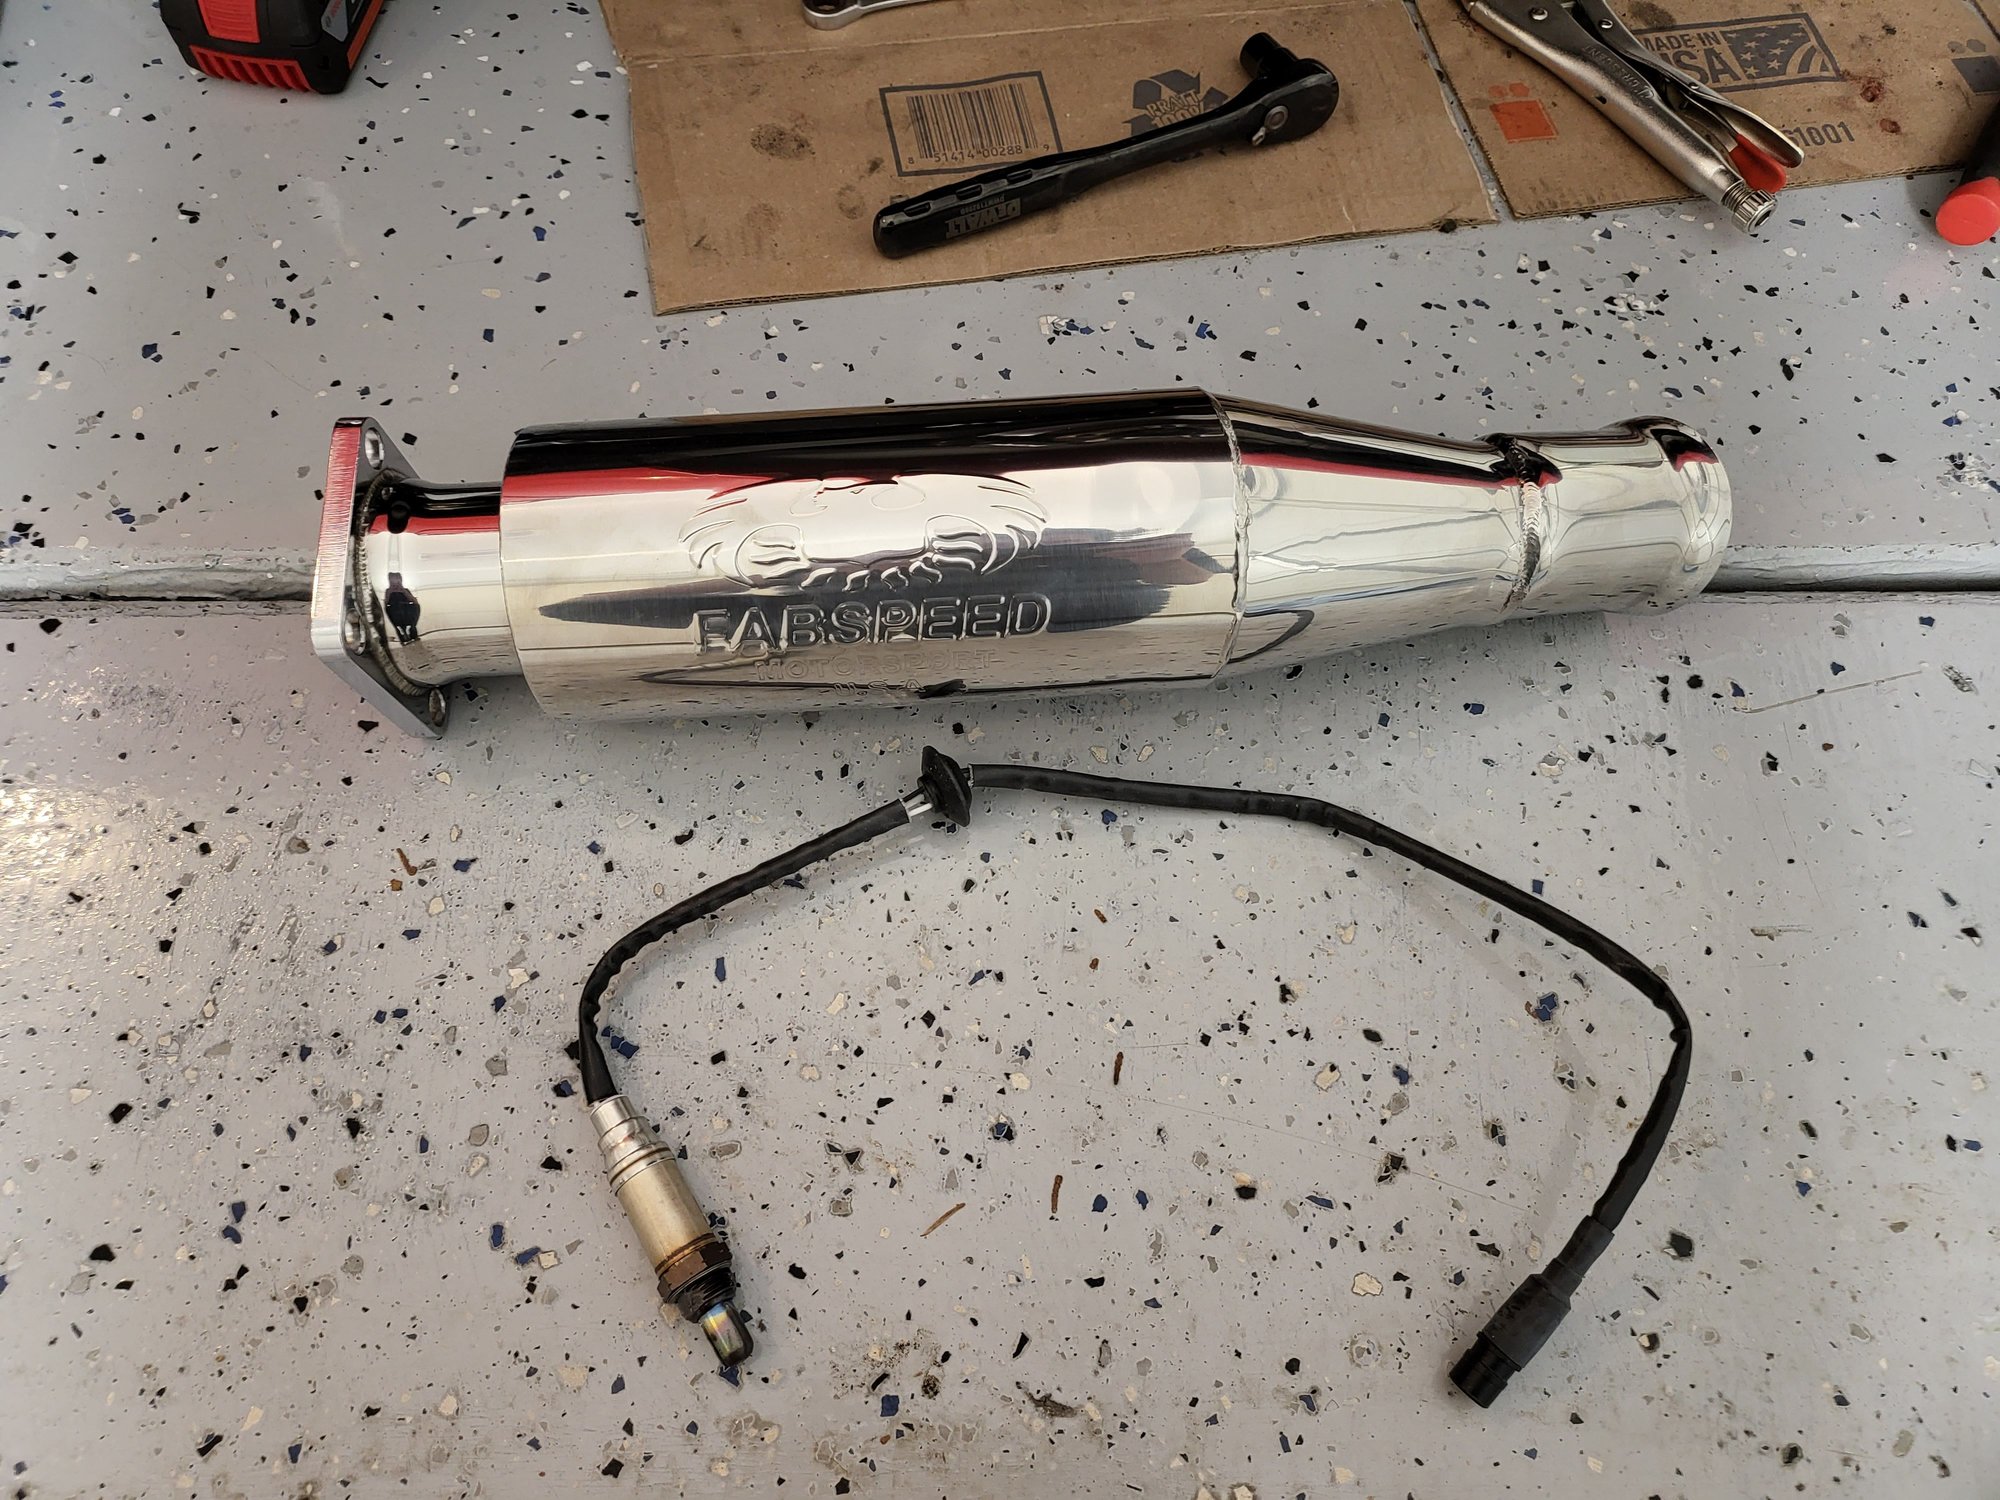
Unfortunately, I was not able to remove the O2 sensor. After putting a pipe on the end of a wrench and going at it, I only succeeded in mangling the thing, so I decided I'd leave it attached in case I ever decide to re-install the cat. I ordered a new one (I thought) from amazon and waited patiently for 20 hrs.
New O2 Sensor arrived and I was ready to go
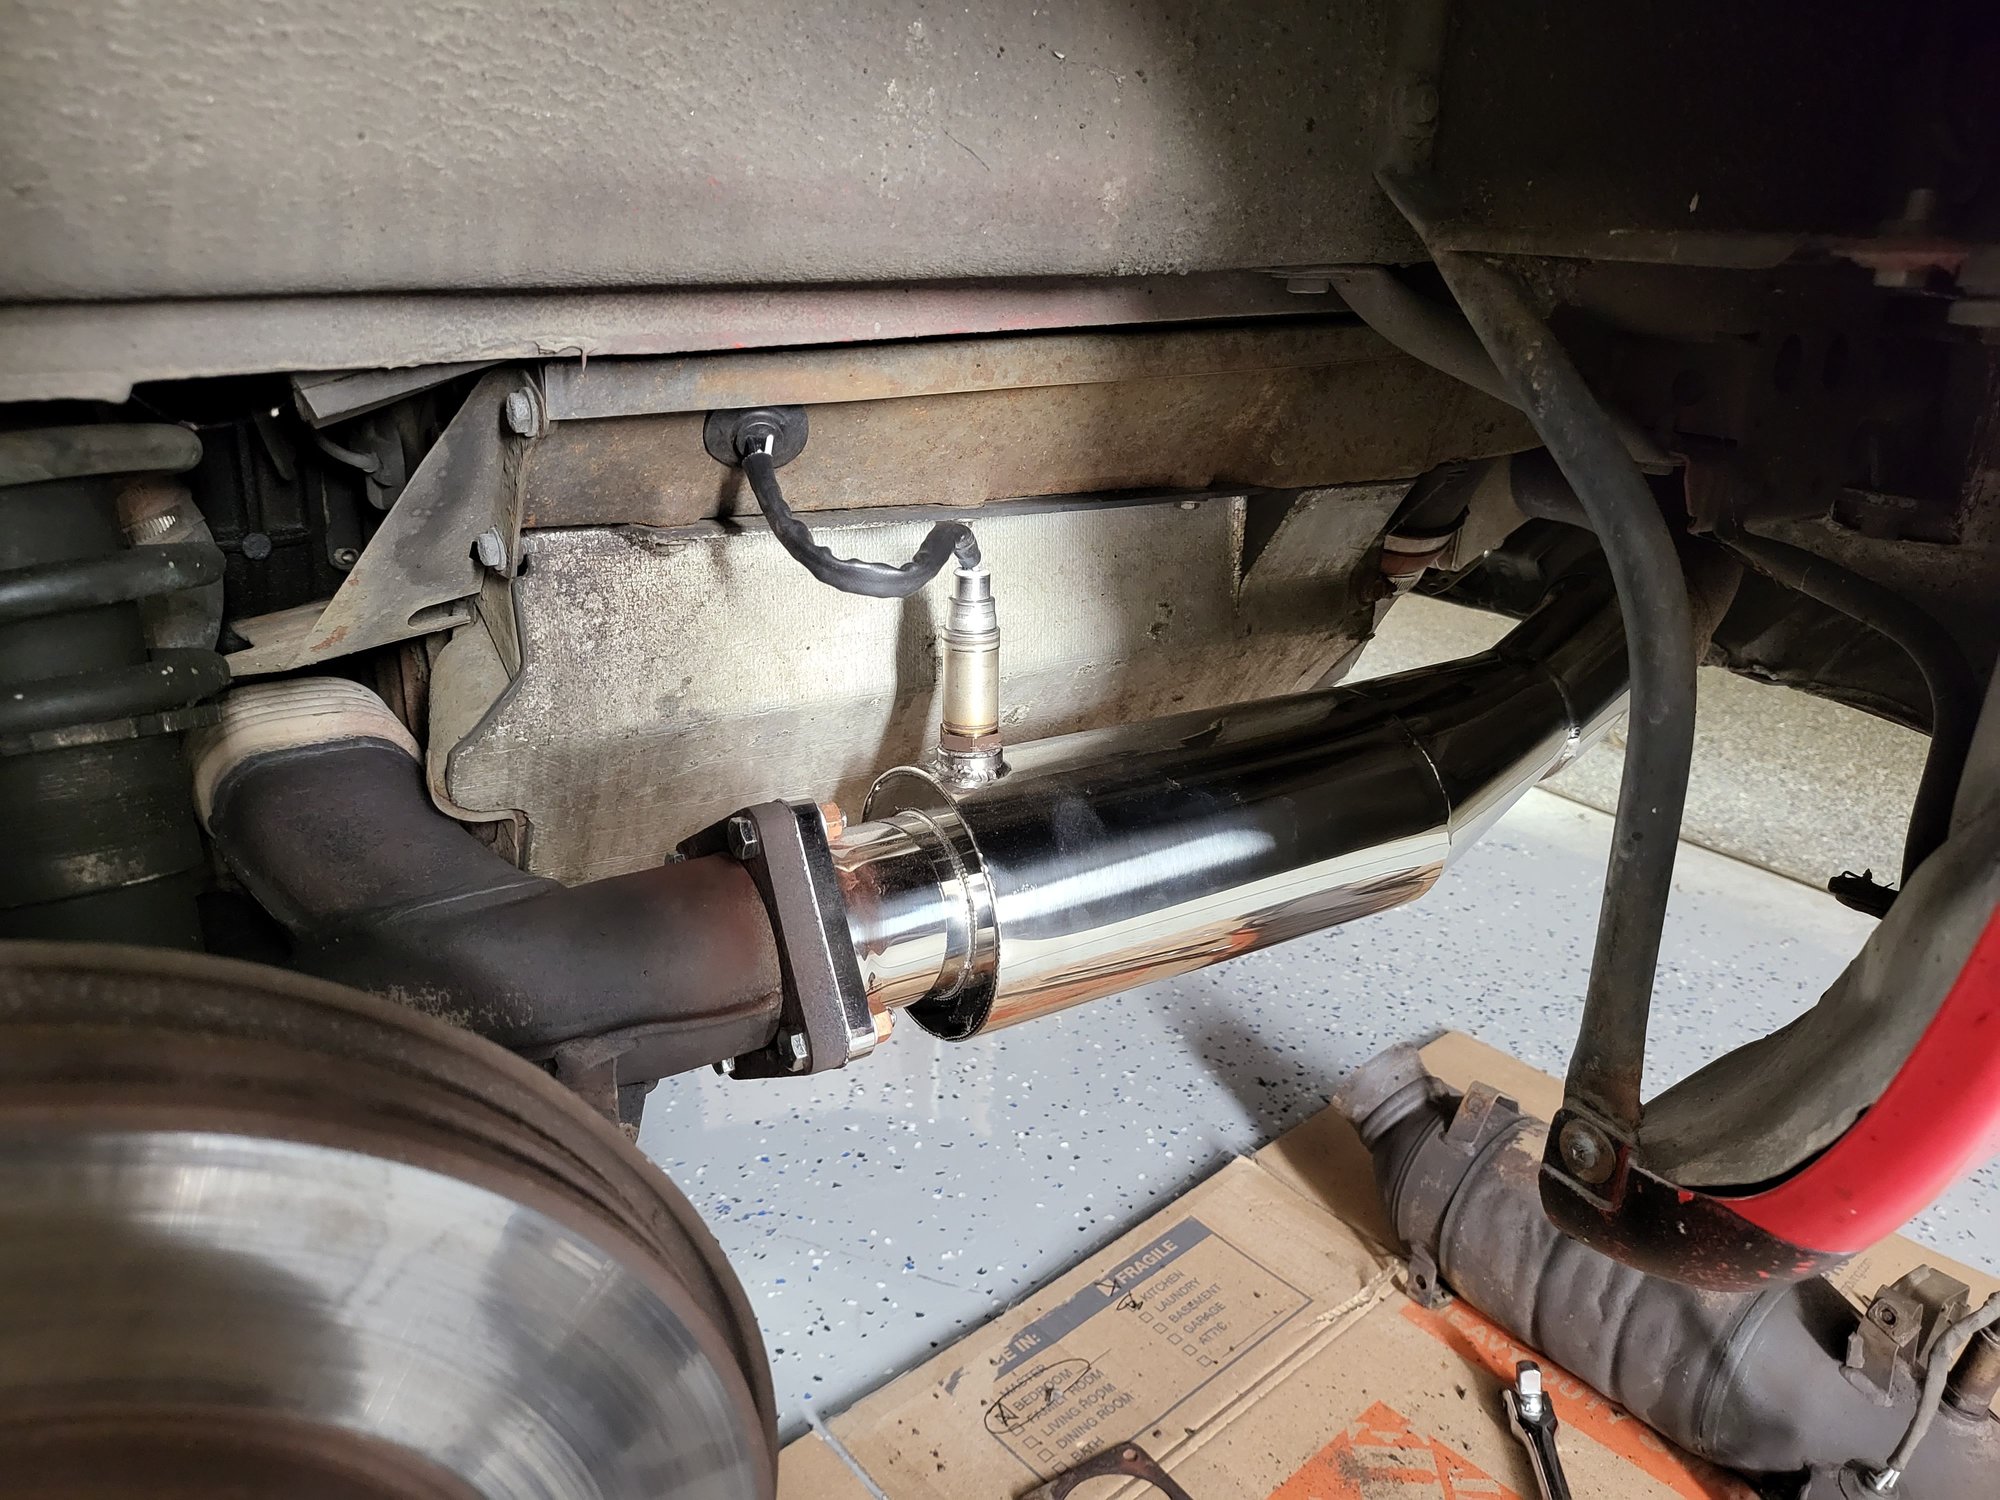
Cat bypass went in without incident, so all that was left was to fire it up and hear how it sounds....
Aaaaannnnddd here is where I'm looking for some help.....
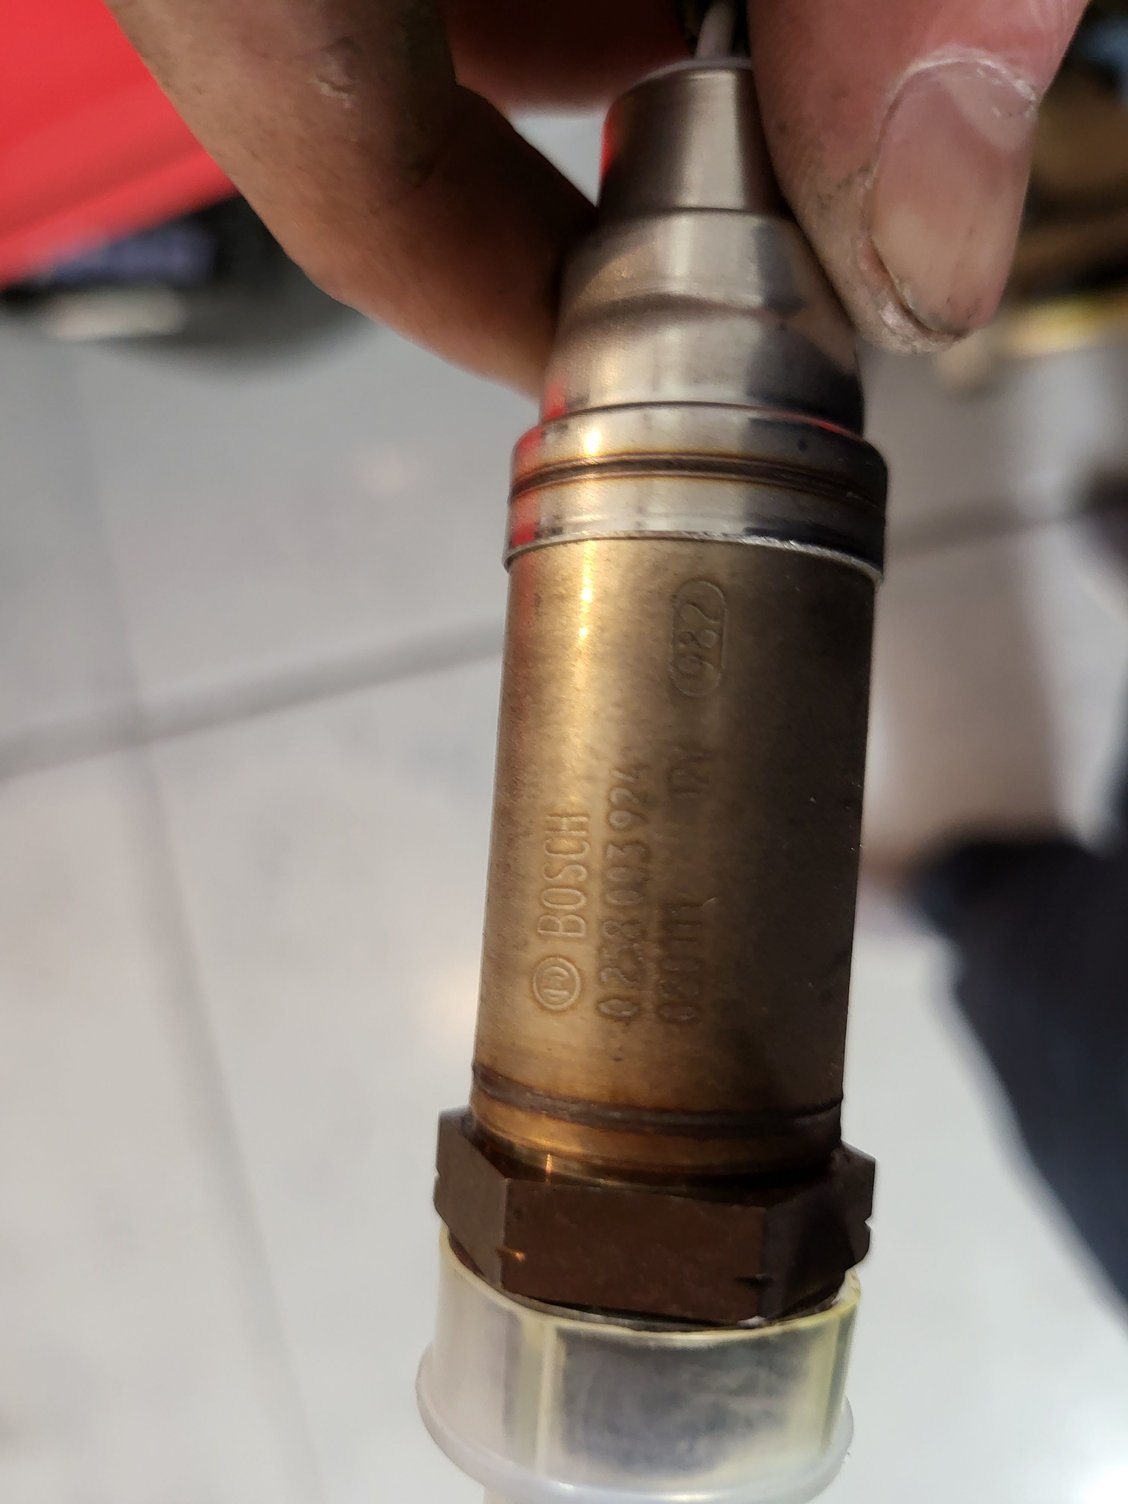
The O2 sensor is part number 965 606 126 01 (unless I'm wrong), which after some research appeared to be Bosch 13924 which was available on amazon for considerably less than the usual sources for Porsche parts. What arrived certainly looks like the old one, although I can't read any of the markings off the old sensor.....new sensor pictured below.
Anyways, when I fire it up the car sounds great for about one second before it stalls. Modulating the throttle I can keep it running, but no matter how delicately I try to return it to idle, it stalls. I then, out of interest, unplugged the sensor and tried again - idles just as it did before..... So question is; did I buy the wrong part? Is there something else going on? Anyone know how I can test the new and old sensor? I'll do some bedtime reading tonight, I don't really know how these work...
Anyways, for now I've left the sensor out and installed the plug that comes with the bypass until I get it solved.
I have too many projects on the go and only have a couple hours here and there to work on them, so progress is slow right now....
After many many months of waiting (a little over 4 to be specific), something shiny showed up.....
So naturally this got added into the mix along with brake rotors, pads, bleed, springs, struts/shocks, drop links, air ducts etc etc you get the picture.
Excited to see how it sounds, I started on my most hated task - exhaust work. My car has no rust and no meaningful corrosion, but I don't think the cat has ever been off the car and everything exhaust related is a nightmare at the best of times. Soaked everything in penetrant, but I might as well not have bothered - every bolt or speednut broke with the exception of one that came out clean.
It required quite a bit of frustration to get the cat out, but finally she came free!
Unfortunately, I was not able to remove the O2 sensor. After putting a pipe on the end of a wrench and going at it, I only succeeded in mangling the thing, so I decided I'd leave it attached in case I ever decide to re-install the cat. I ordered a new one (I thought) from amazon and waited patiently for 20 hrs.
New O2 Sensor arrived and I was ready to go
Cat bypass went in without incident, so all that was left was to fire it up and hear how it sounds....
Aaaaannnnddd here is where I'm looking for some help.....
The O2 sensor is part number 965 606 126 01 (unless I'm wrong), which after some research appeared to be Bosch 13924 which was available on amazon for considerably less than the usual sources for Porsche parts. What arrived certainly looks like the old one, although I can't read any of the markings off the old sensor.....new sensor pictured below.
Anyways, when I fire it up the car sounds great for about one second before it stalls. Modulating the throttle I can keep it running, but no matter how delicately I try to return it to idle, it stalls. I then, out of interest, unplugged the sensor and tried again - idles just as it did before..... So question is; did I buy the wrong part? Is there something else going on? Anyone know how I can test the new and old sensor? I'll do some bedtime reading tonight, I don't really know how these work...
Anyways, for now I've left the sensor out and installed the plug that comes with the bypass until I get it solved.
During install did you get any grease on the O2 probe?
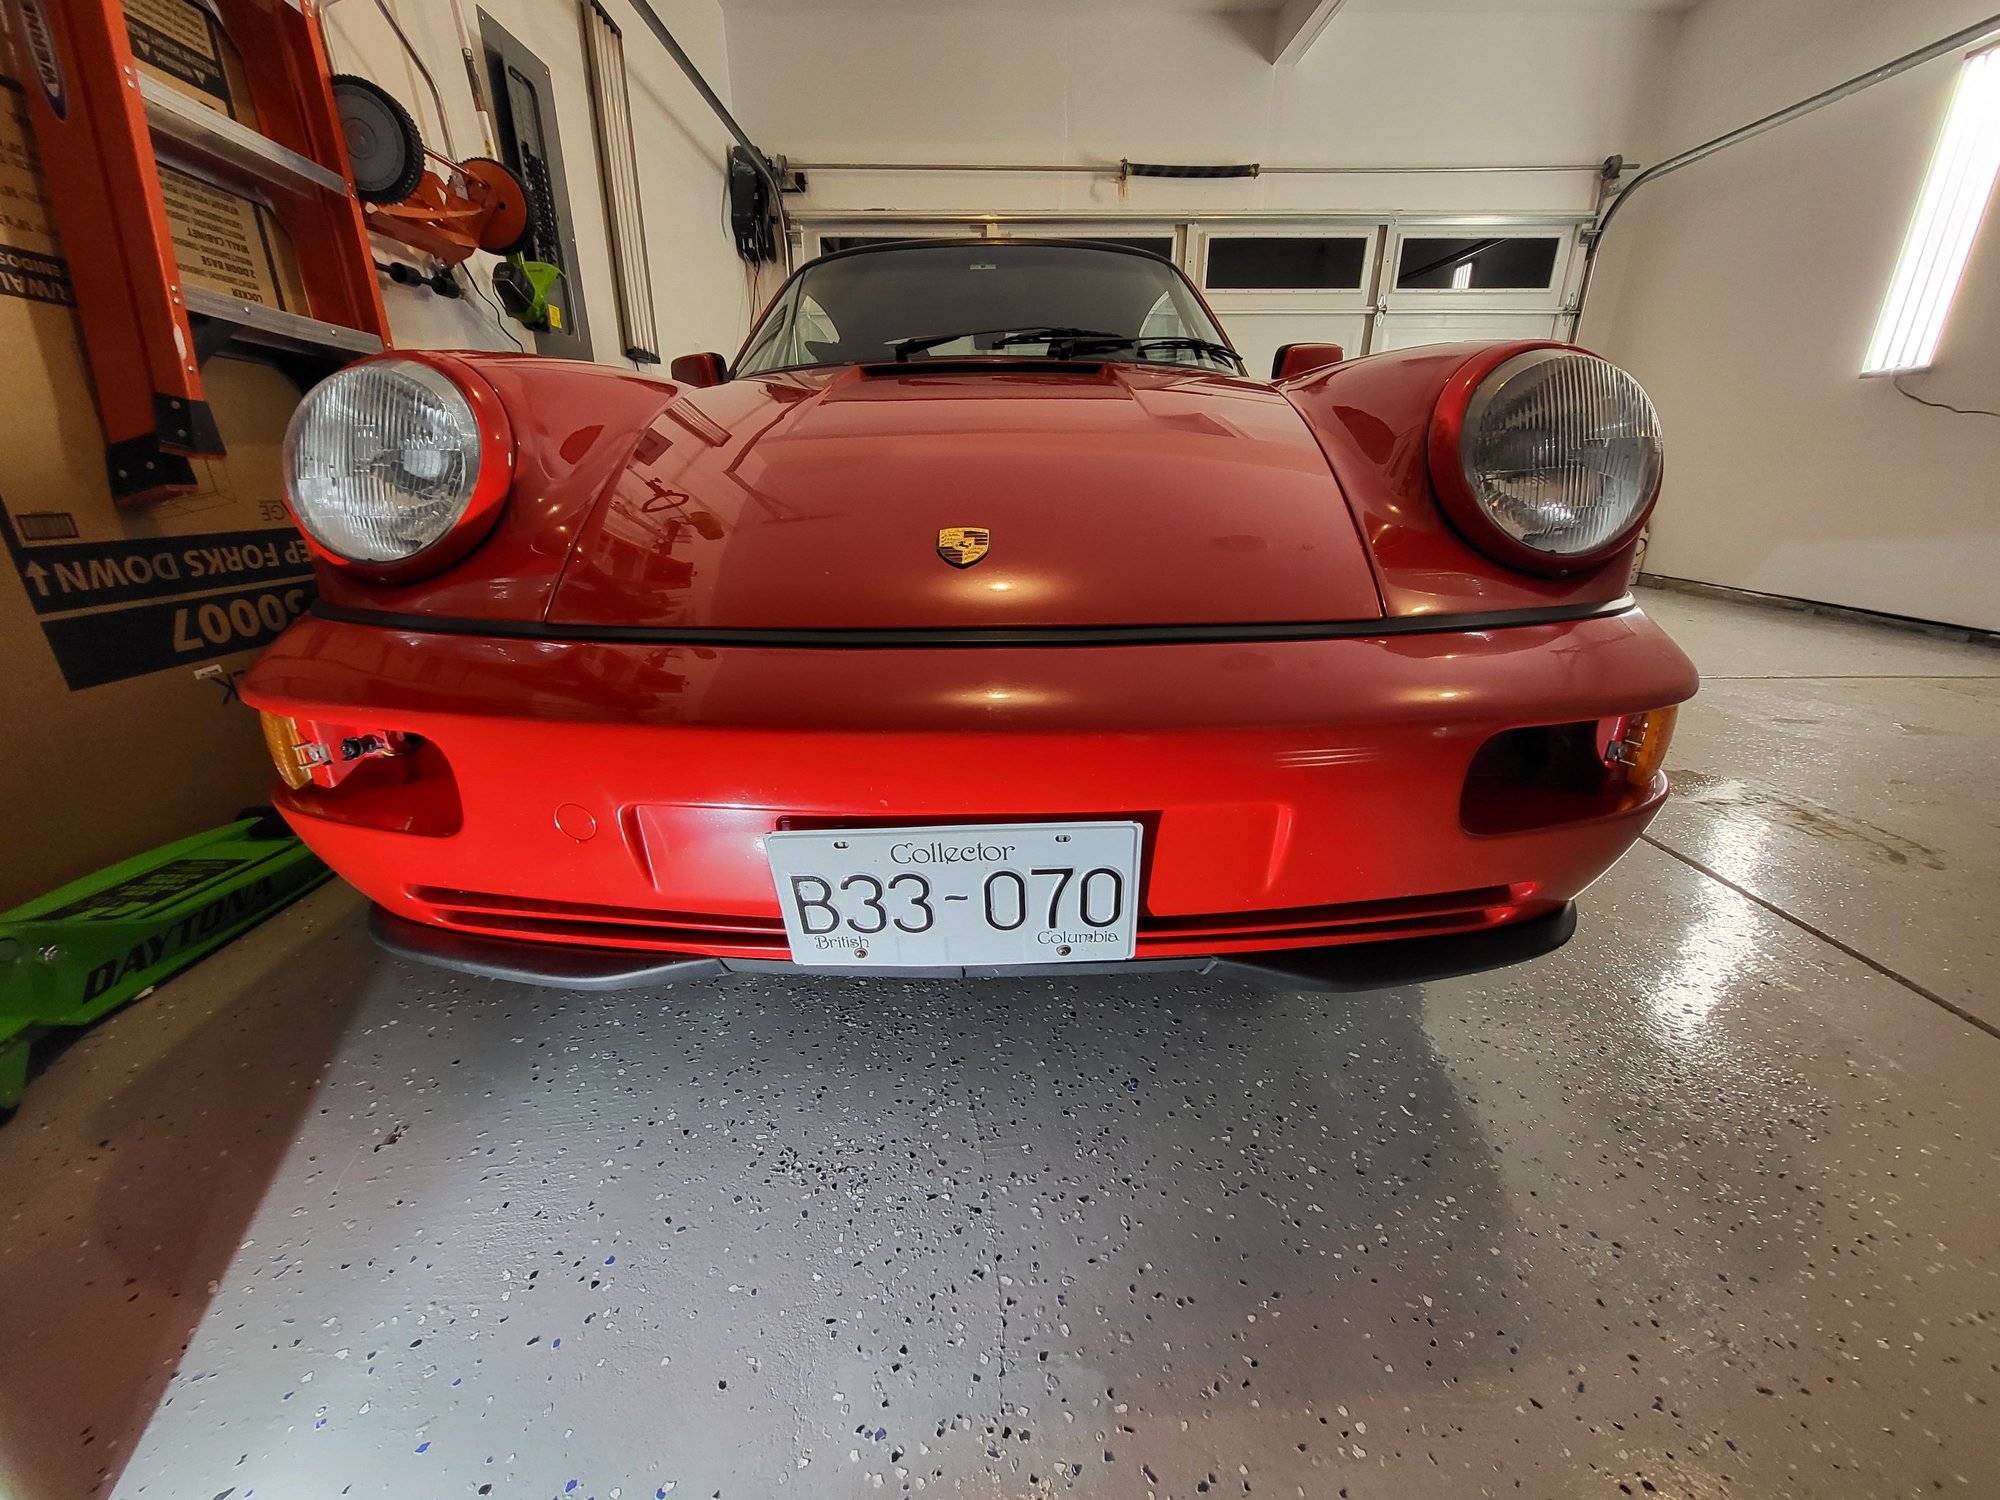
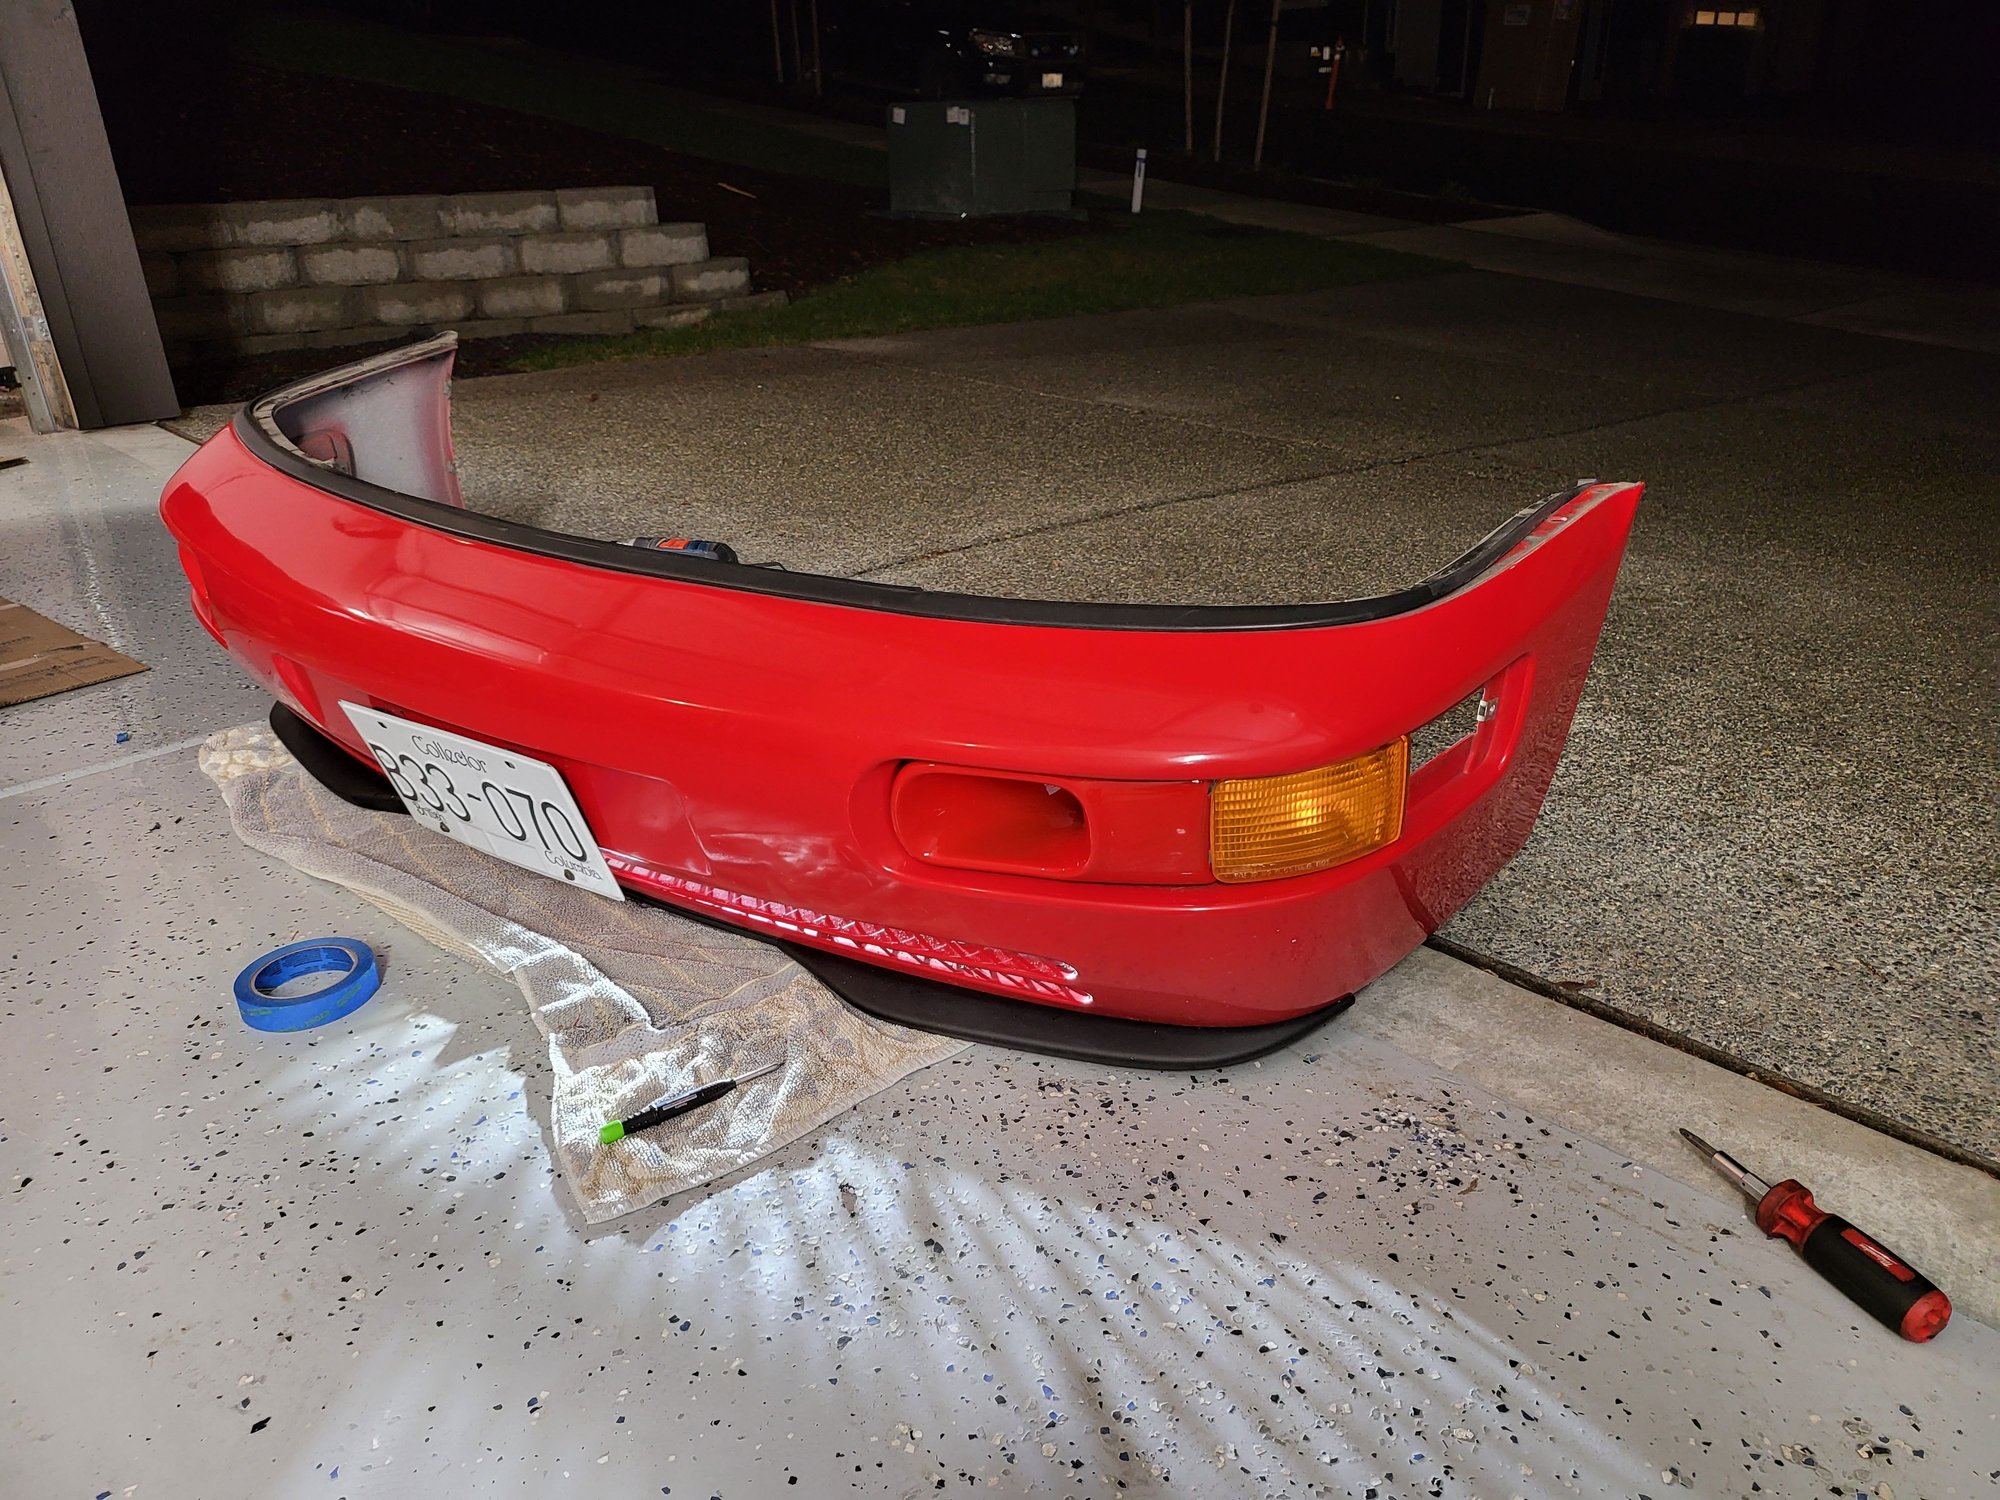
After battling with the cat bypass/O2 sensor problems for a while, I decided to move on to a cosmetic change. A couple months ago I was inquiring on here where to get cult werks brake ducts as I was having a hard time confirming who still sold them - I wanted brake ducts without the visible mounting hardware. A fellow rennlister reached out with a set that were already painted in guards red.... they mentioned that the color match was poor for their car, but I figured I would give it a try with mine and worse case I could repaint them to match.
Documenting the steps here so I can refer back if I want to revert.
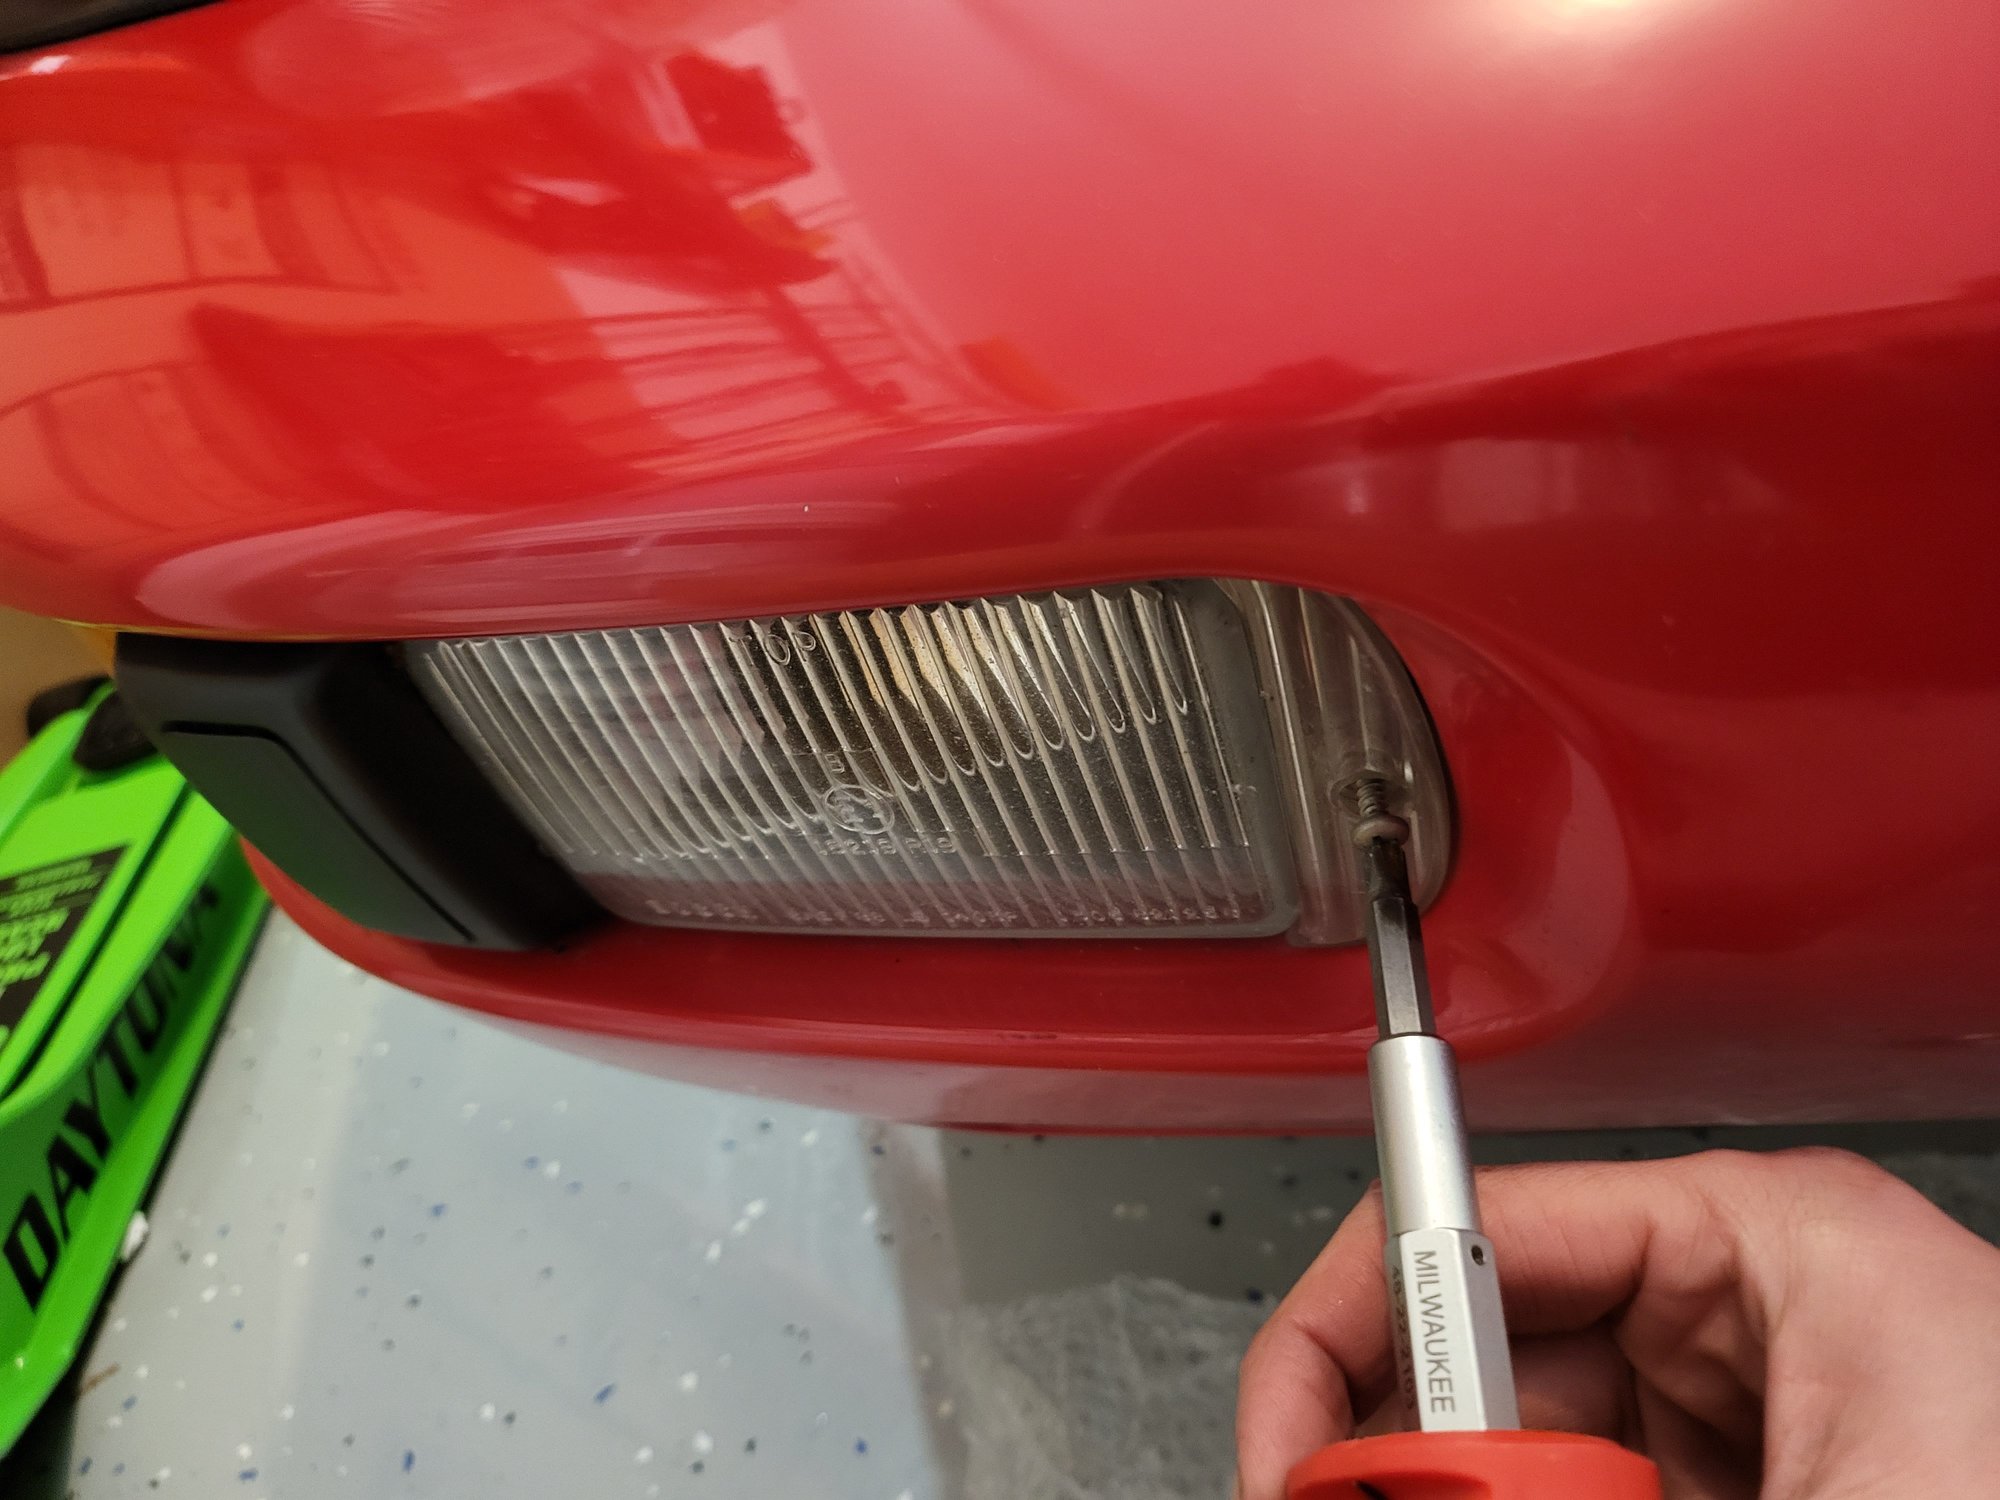
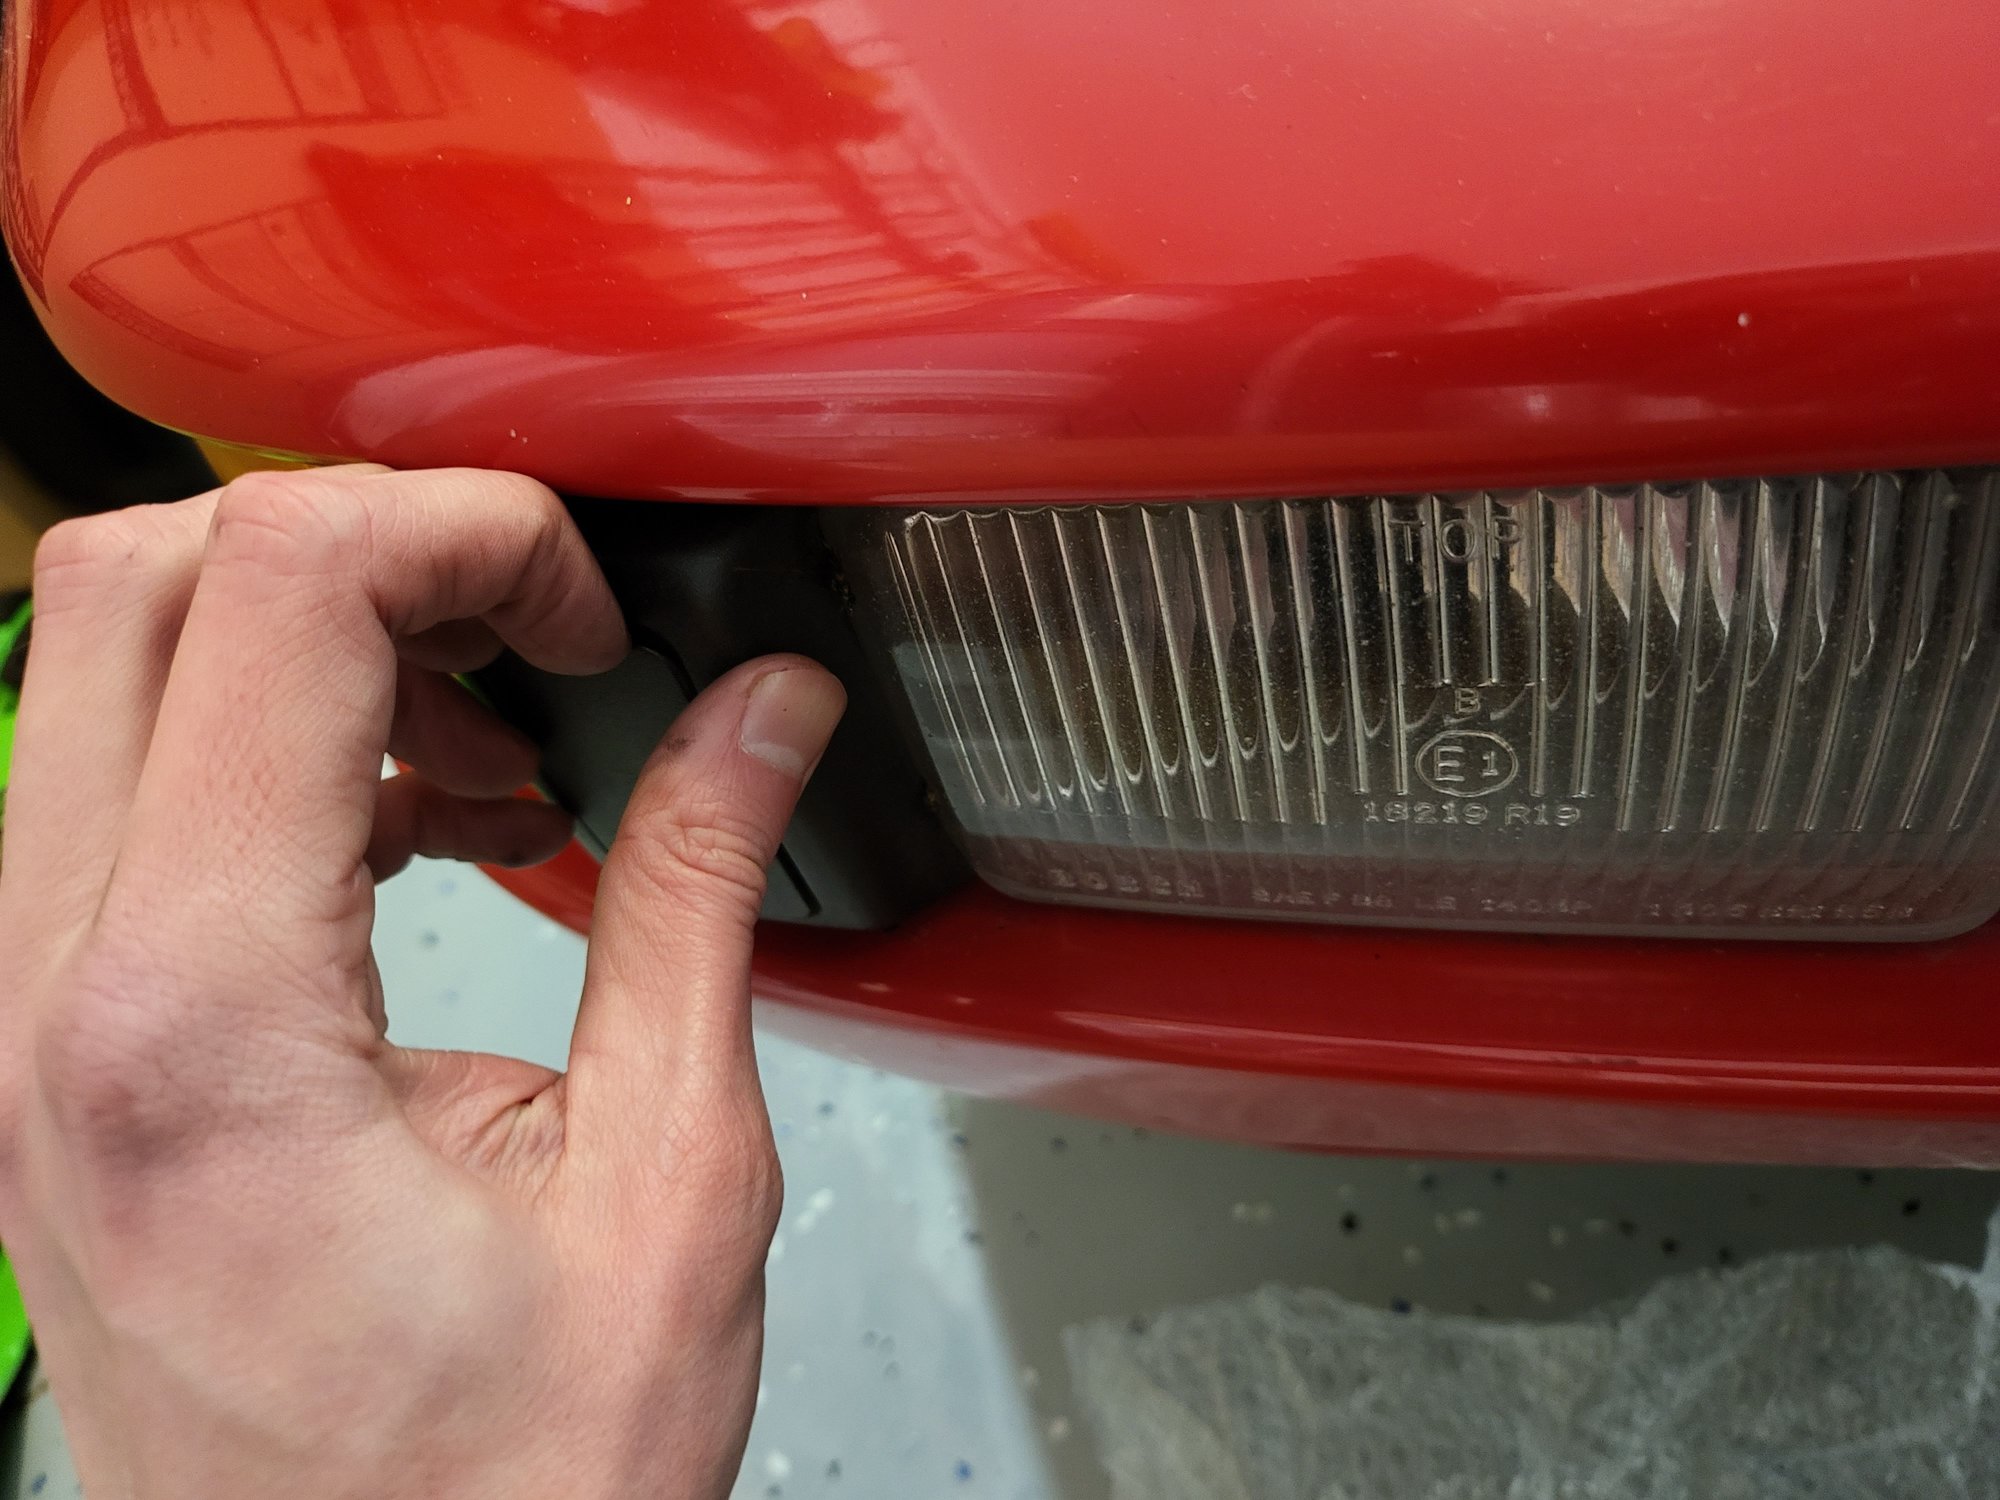
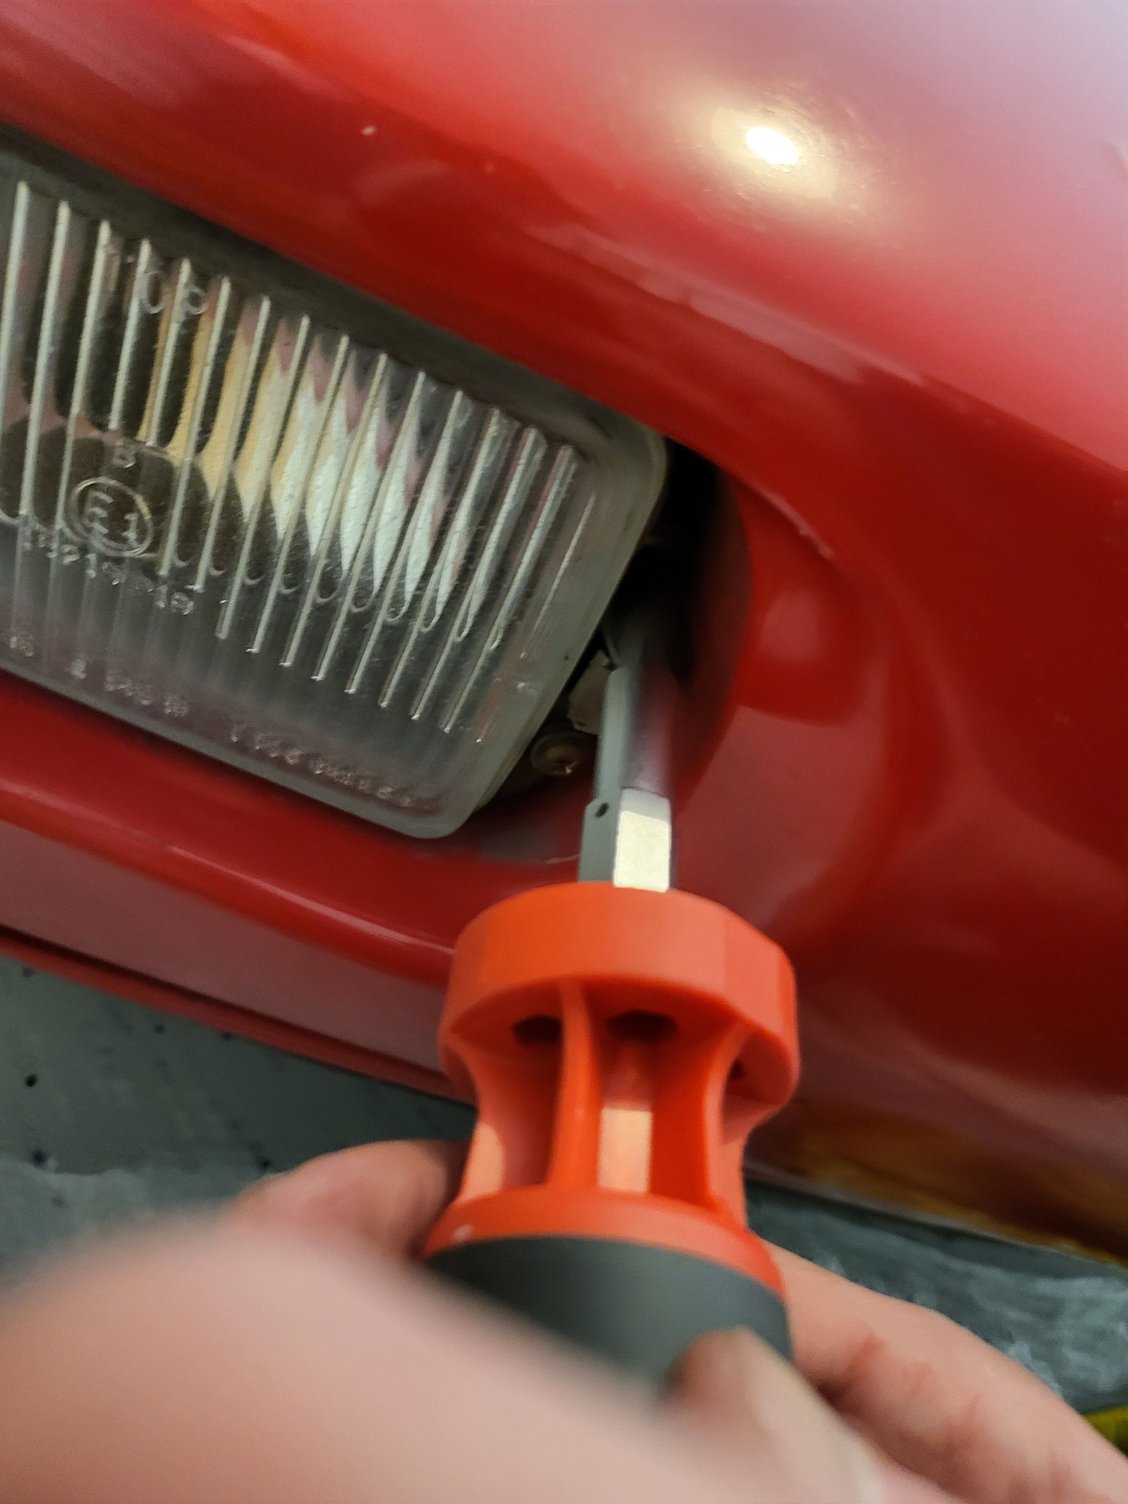
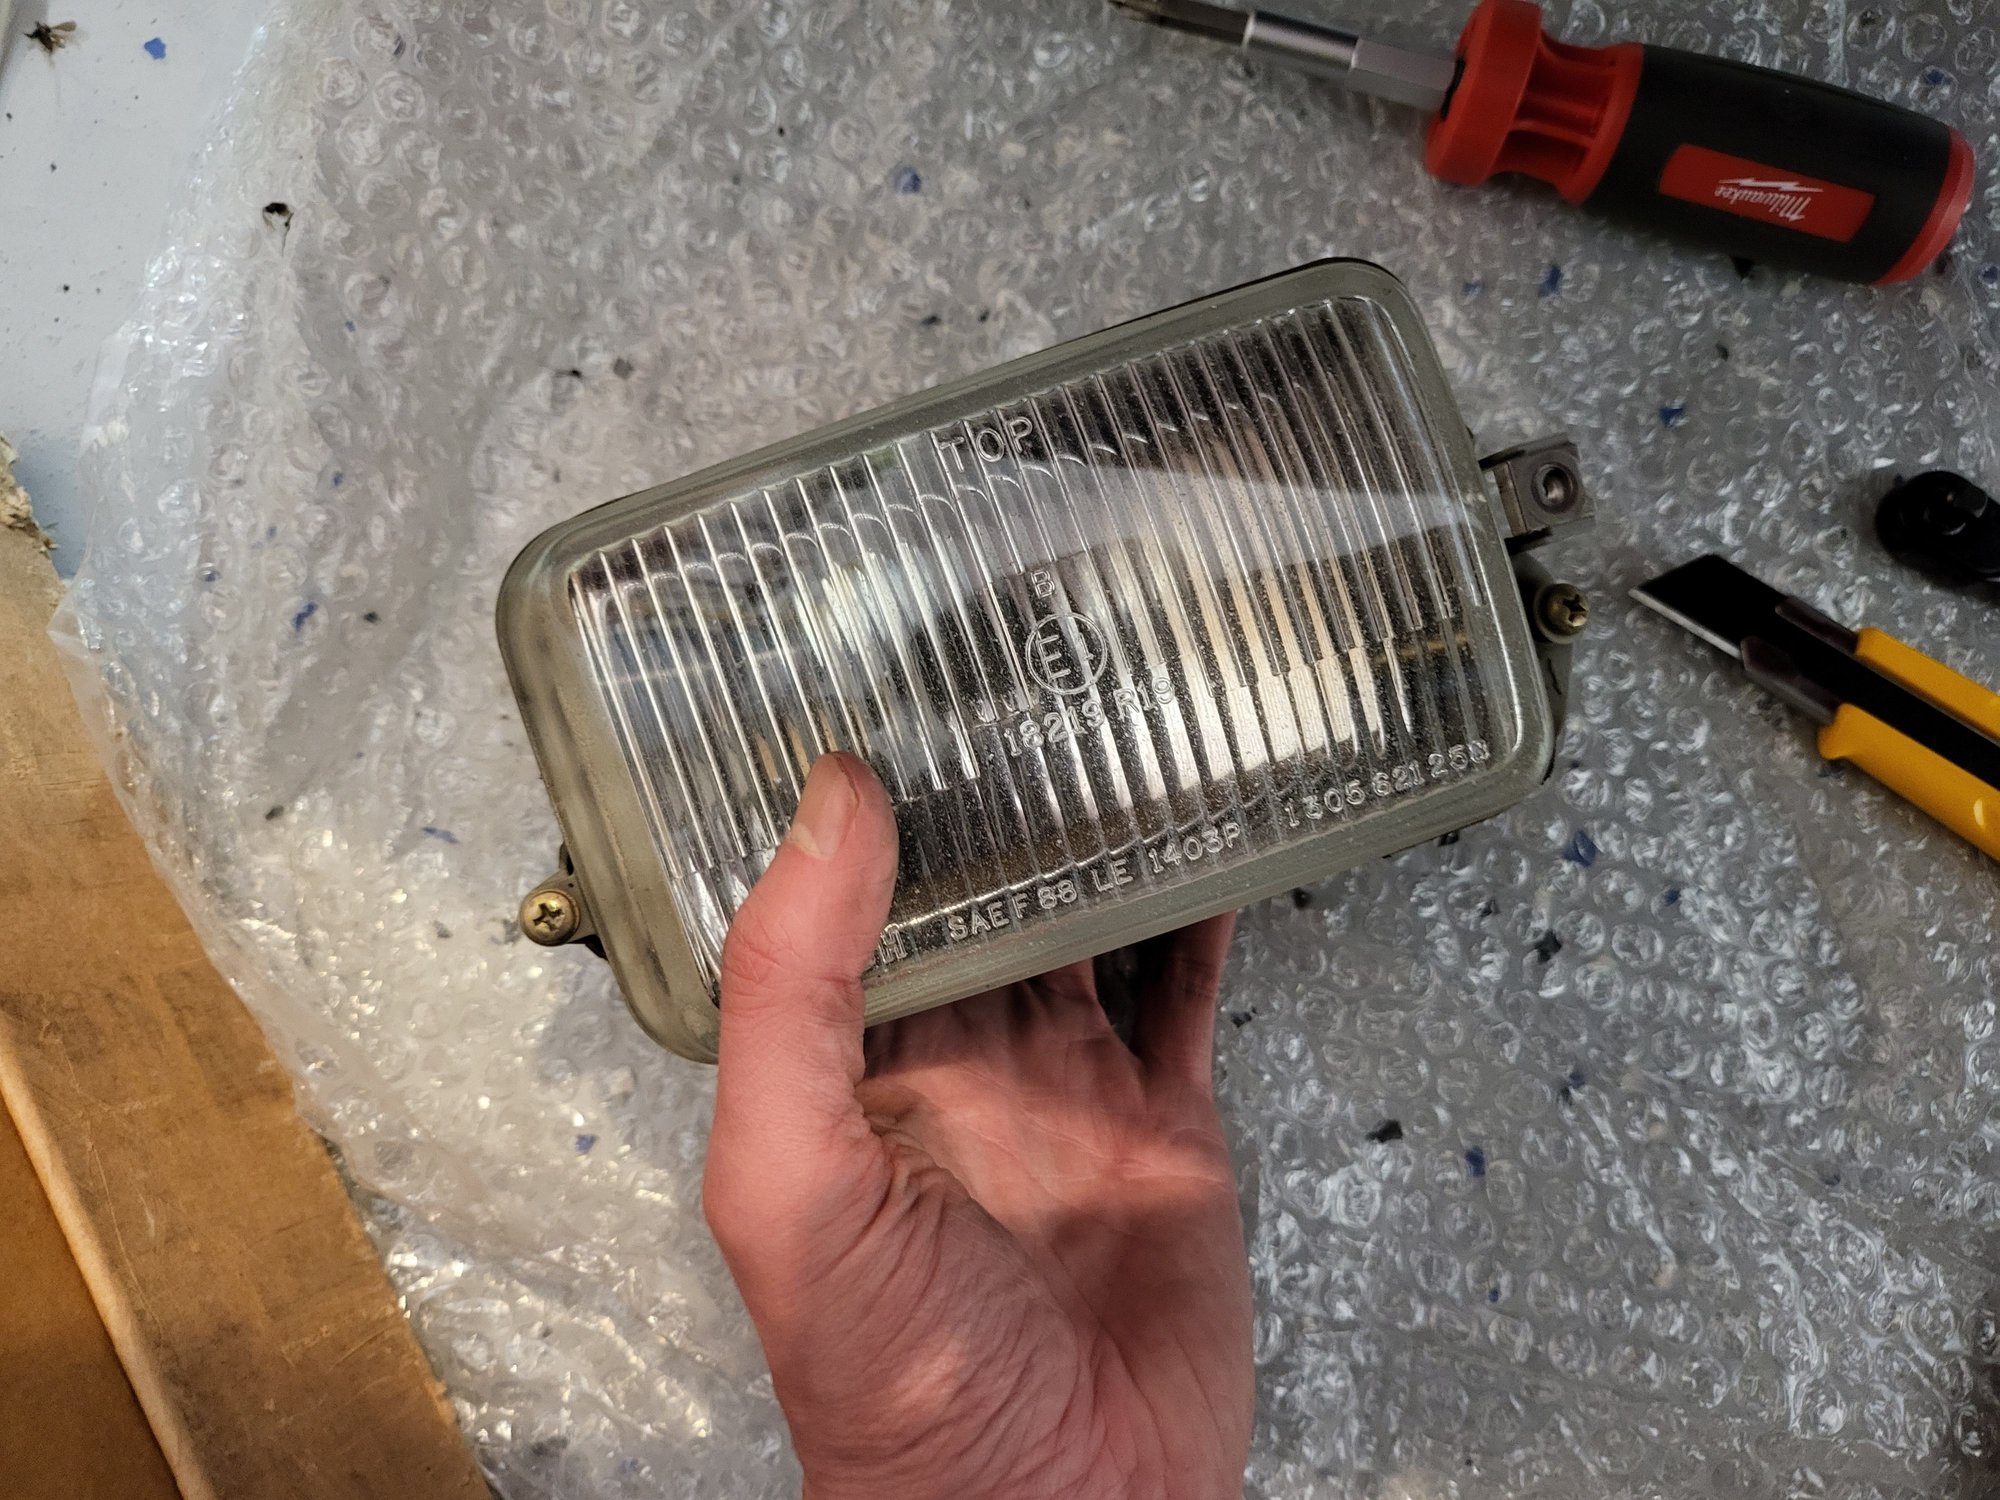
Remove clear fog light trim piece.
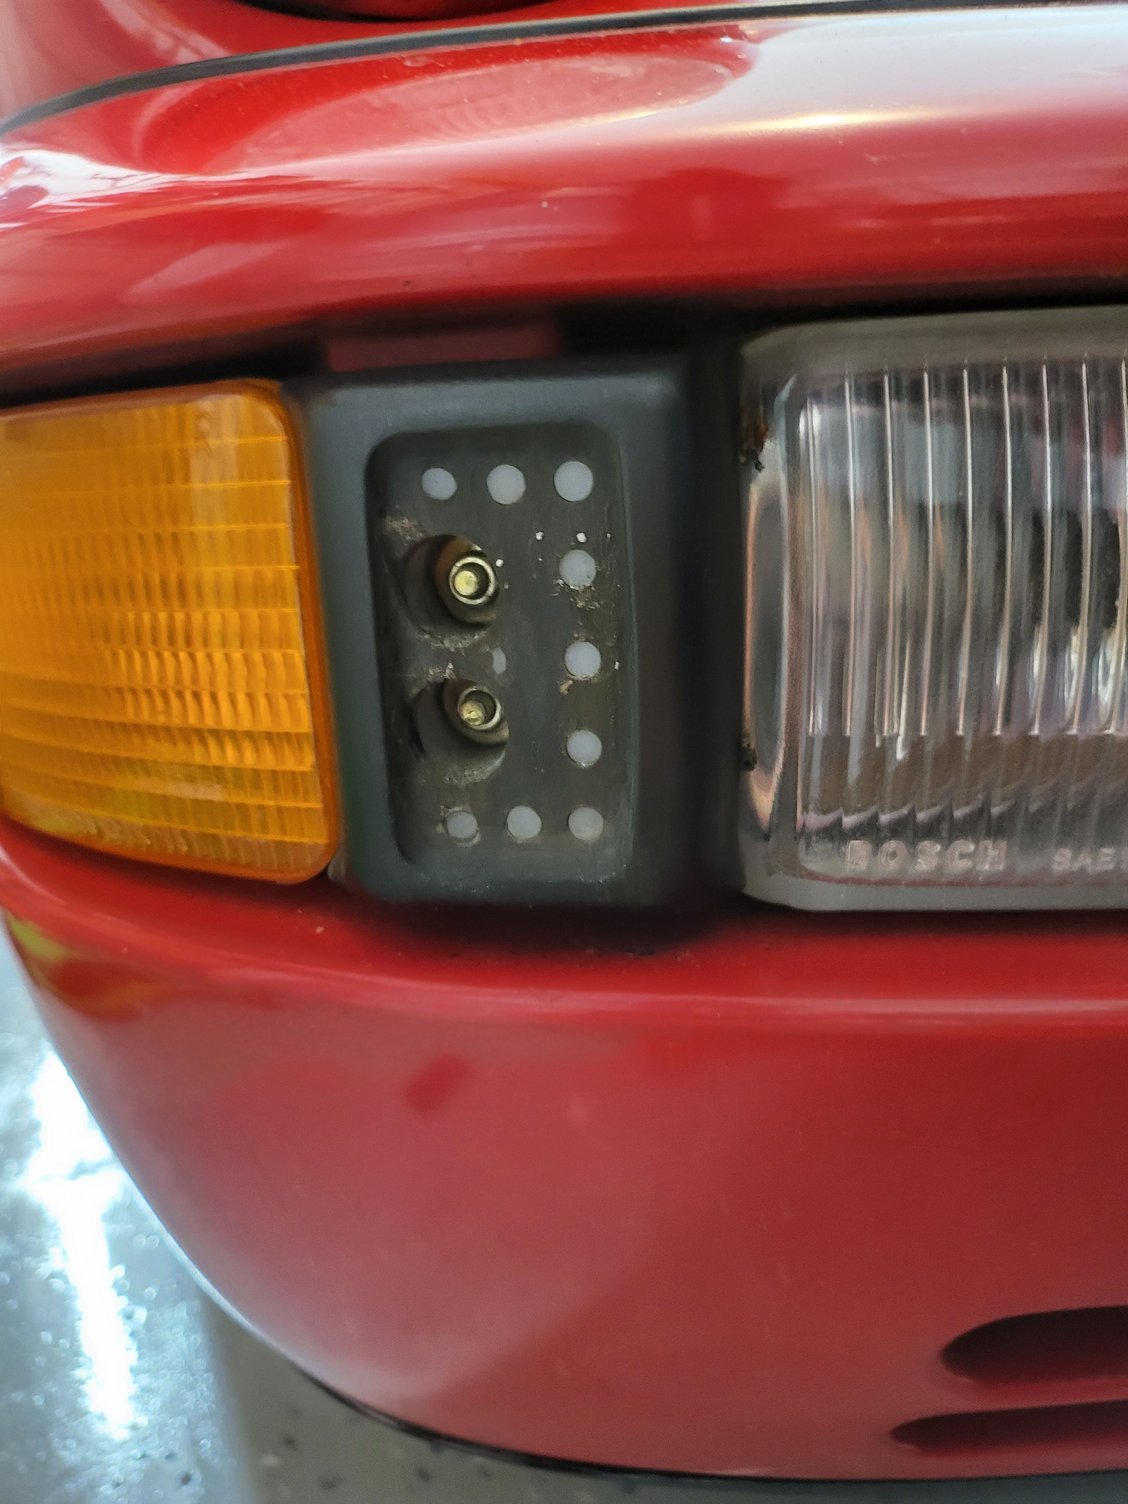
Remove bumperette cover.
Undo two nuts holding bumperette on.
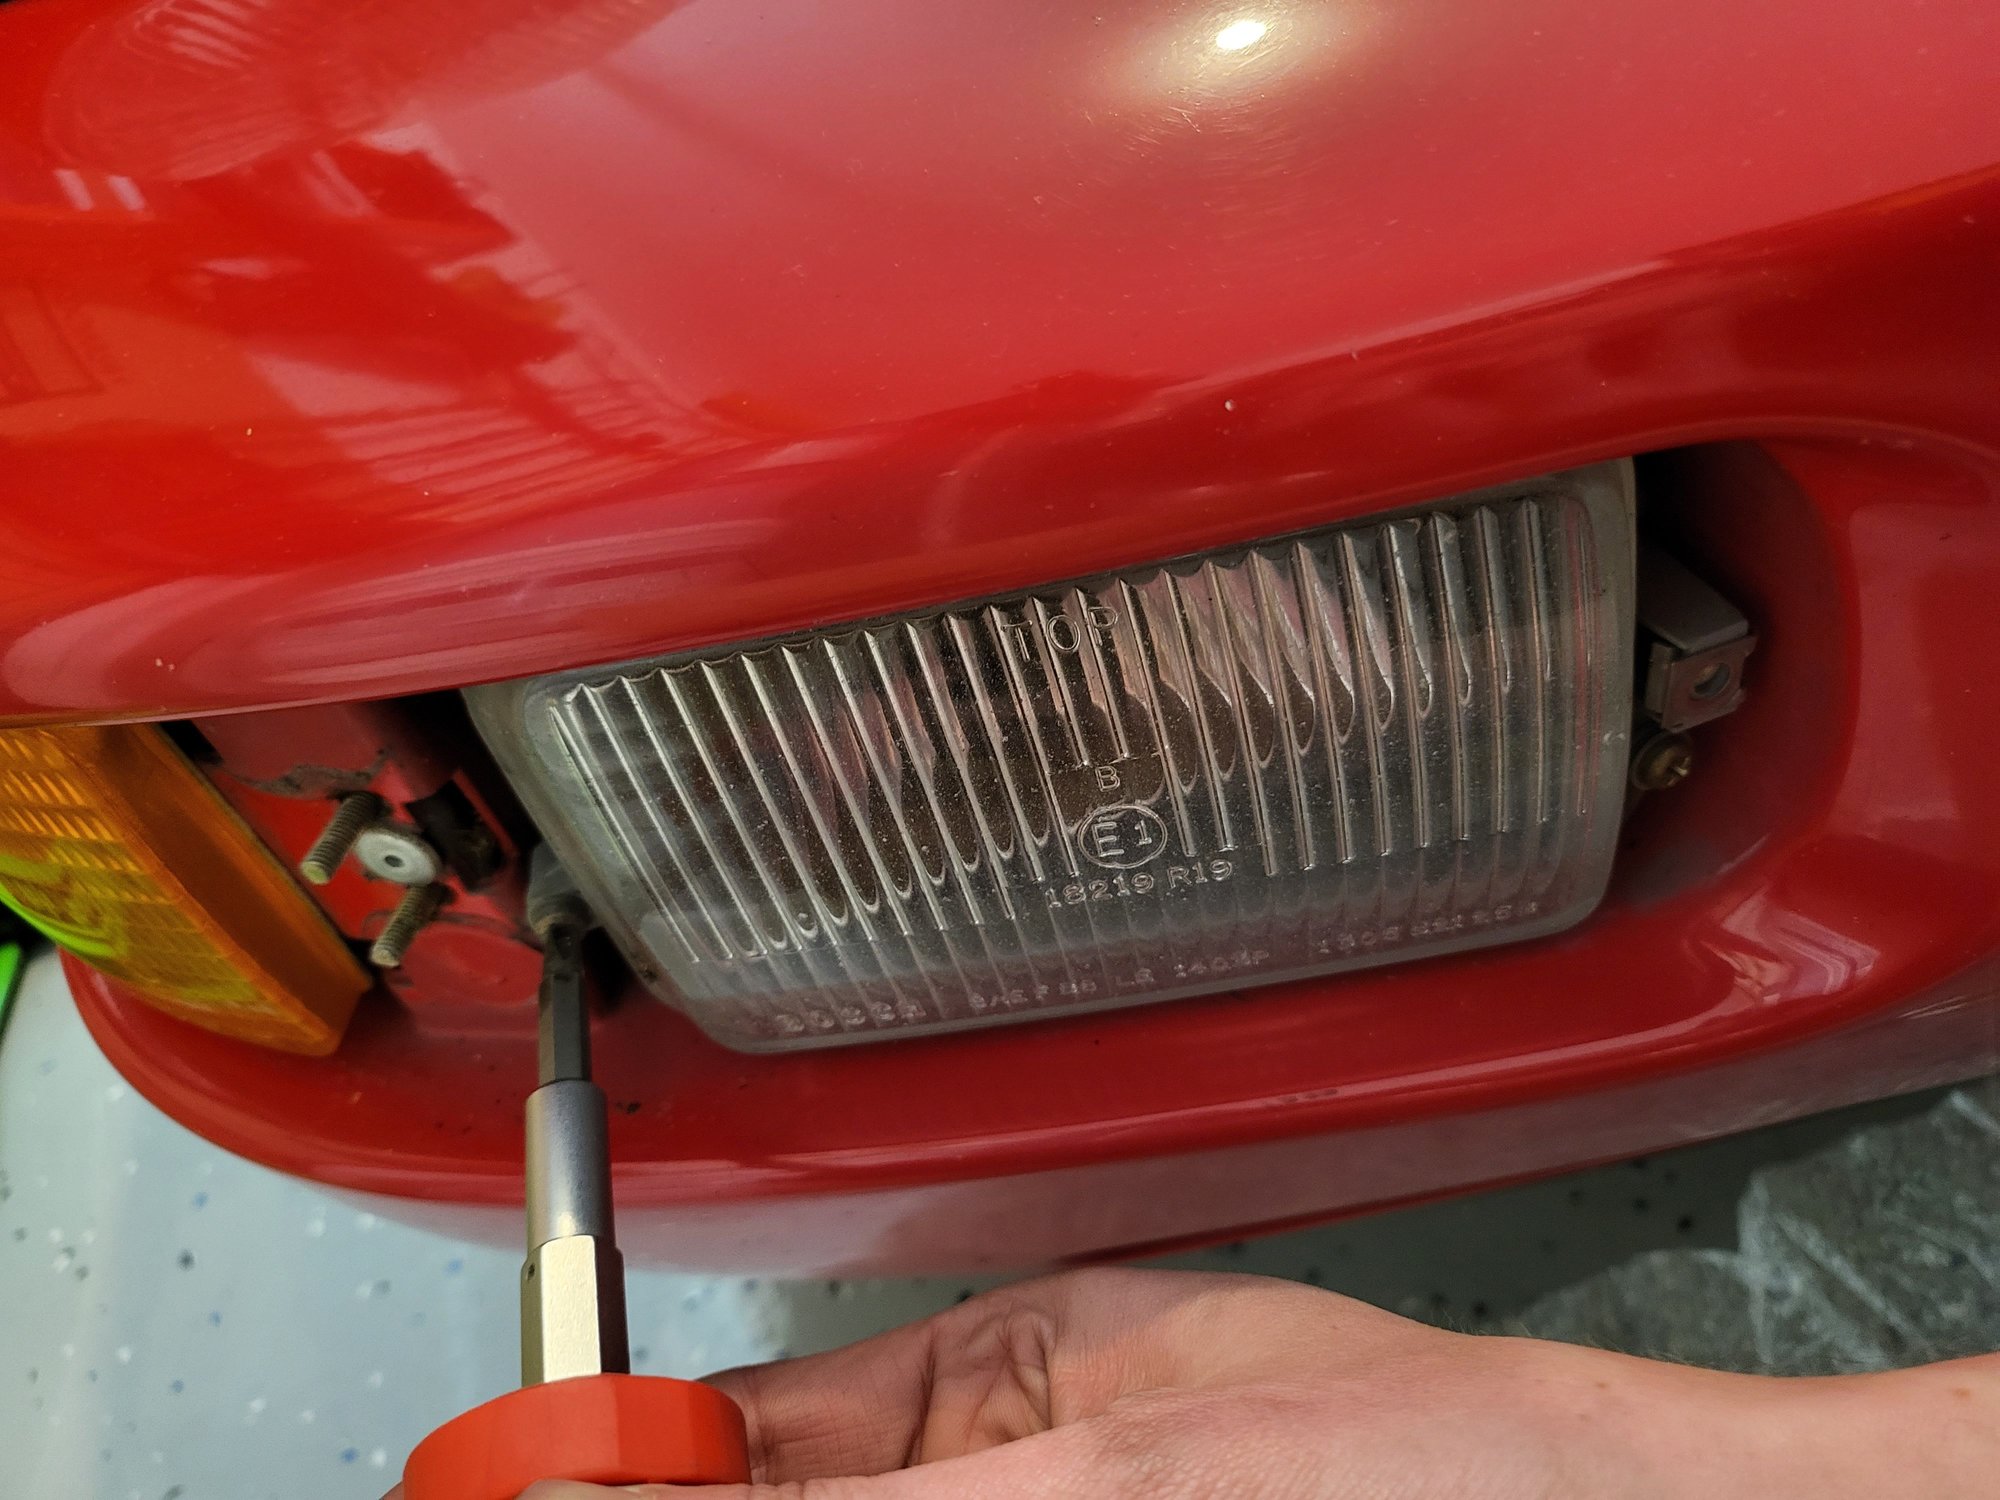
Remove two philips screws fastening fog light lens to body - note to avoid touching the level adjustment screw.
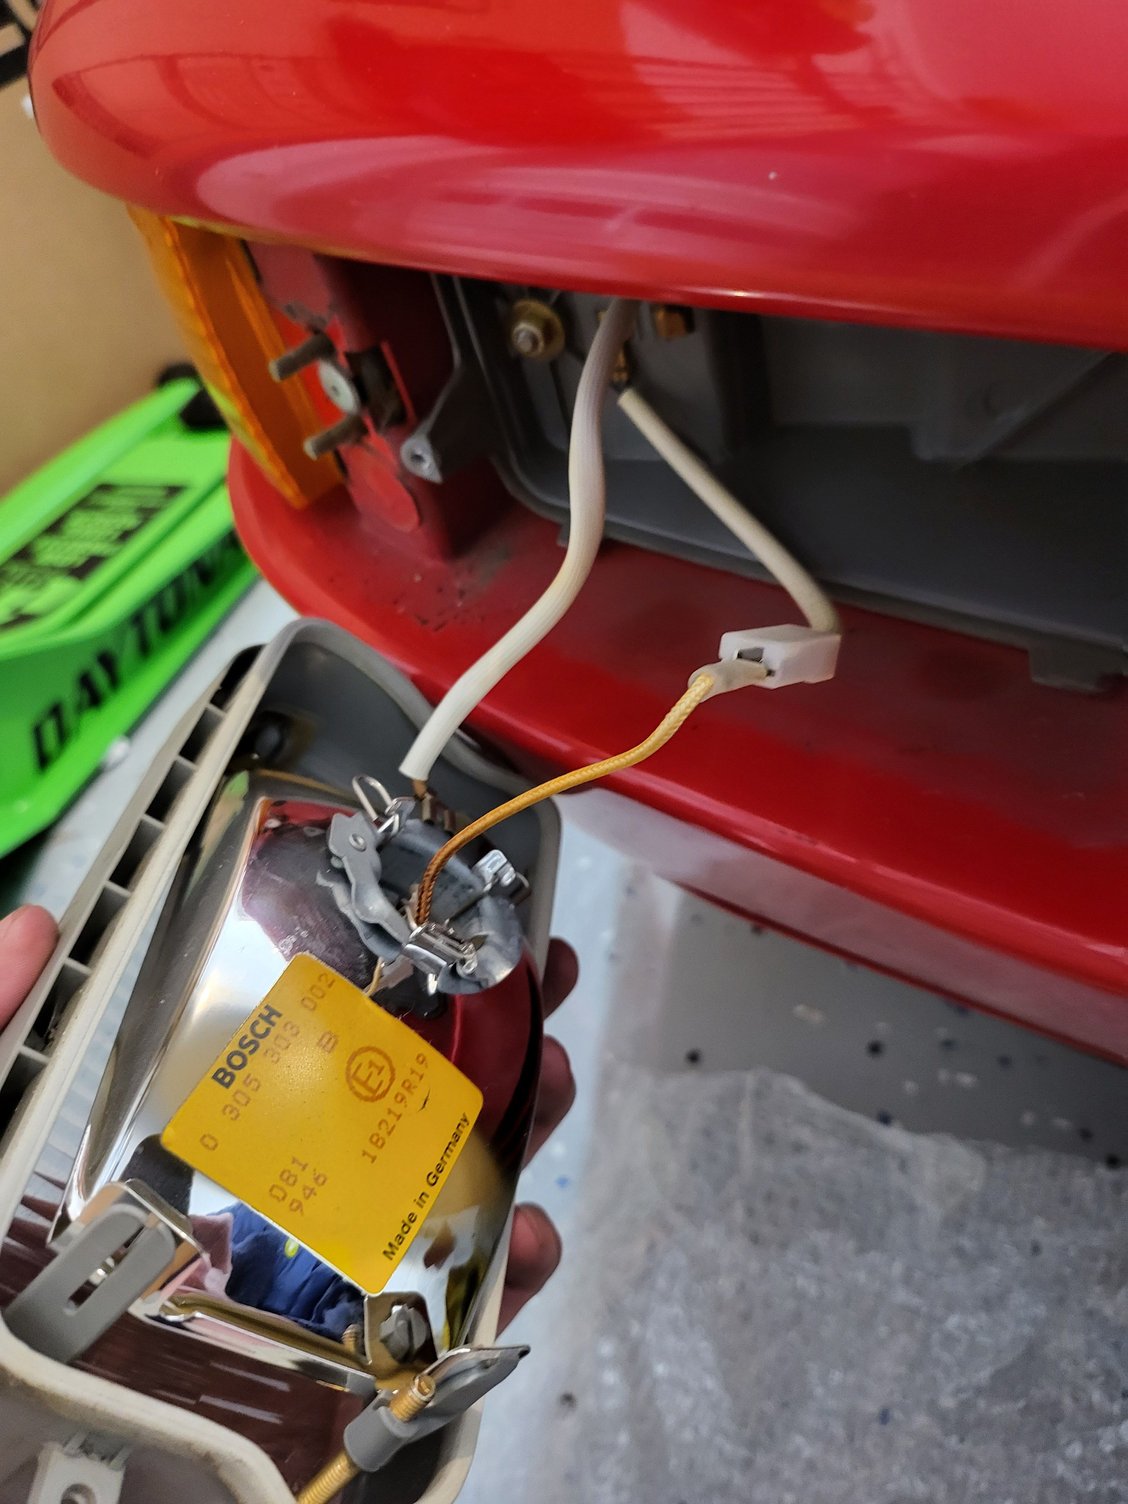
Pull fog light lens assembly forward and disconnect.
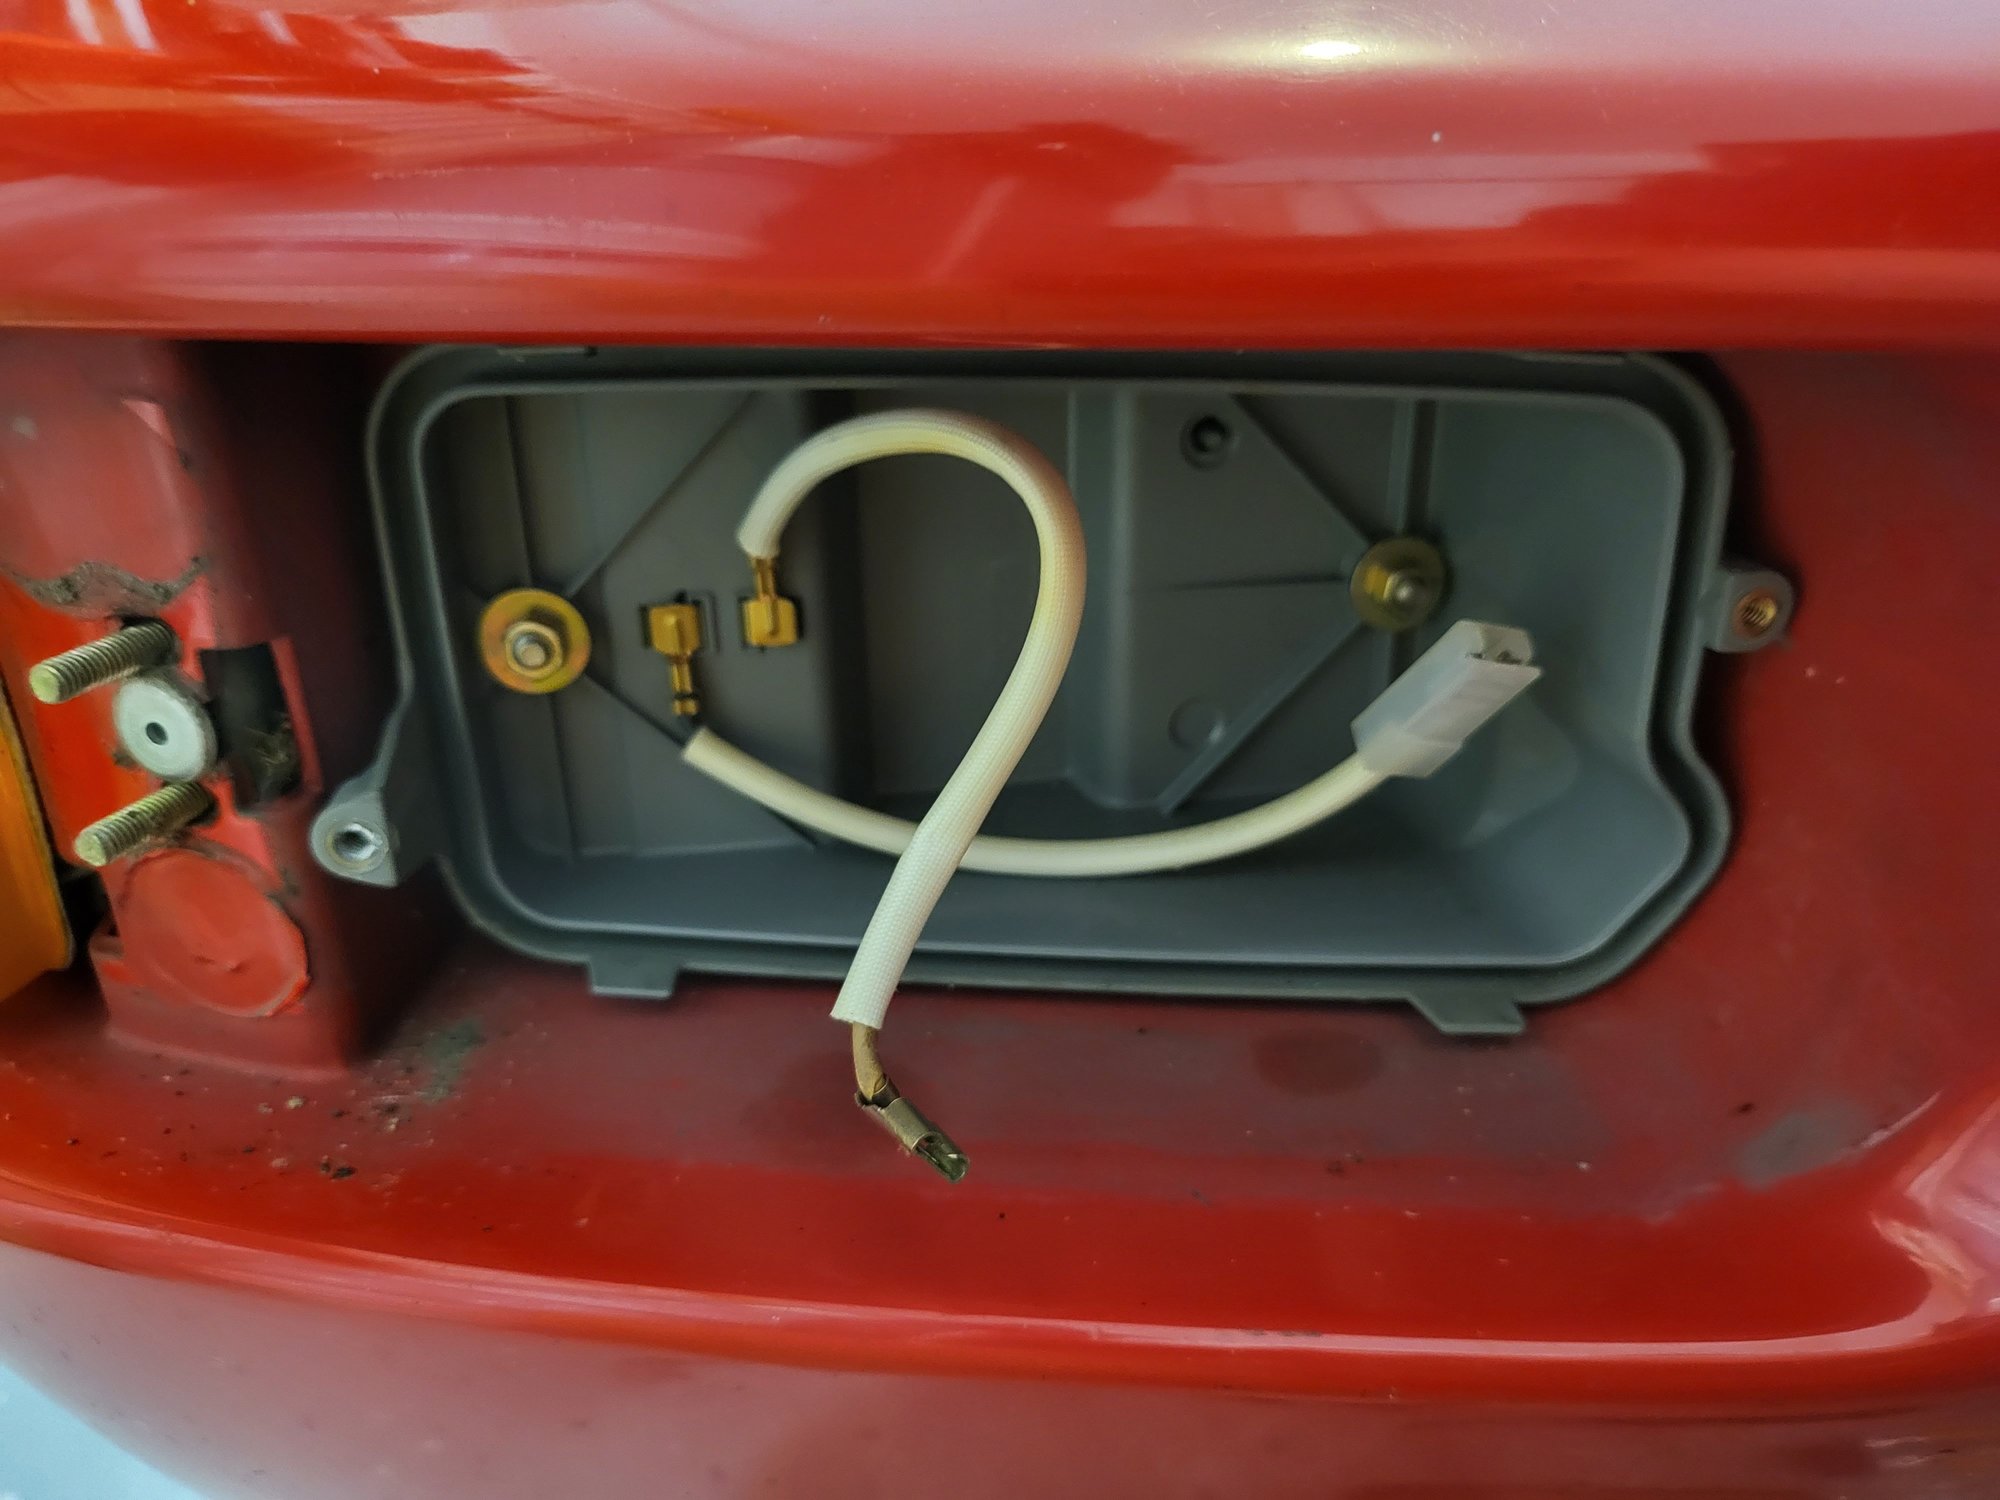
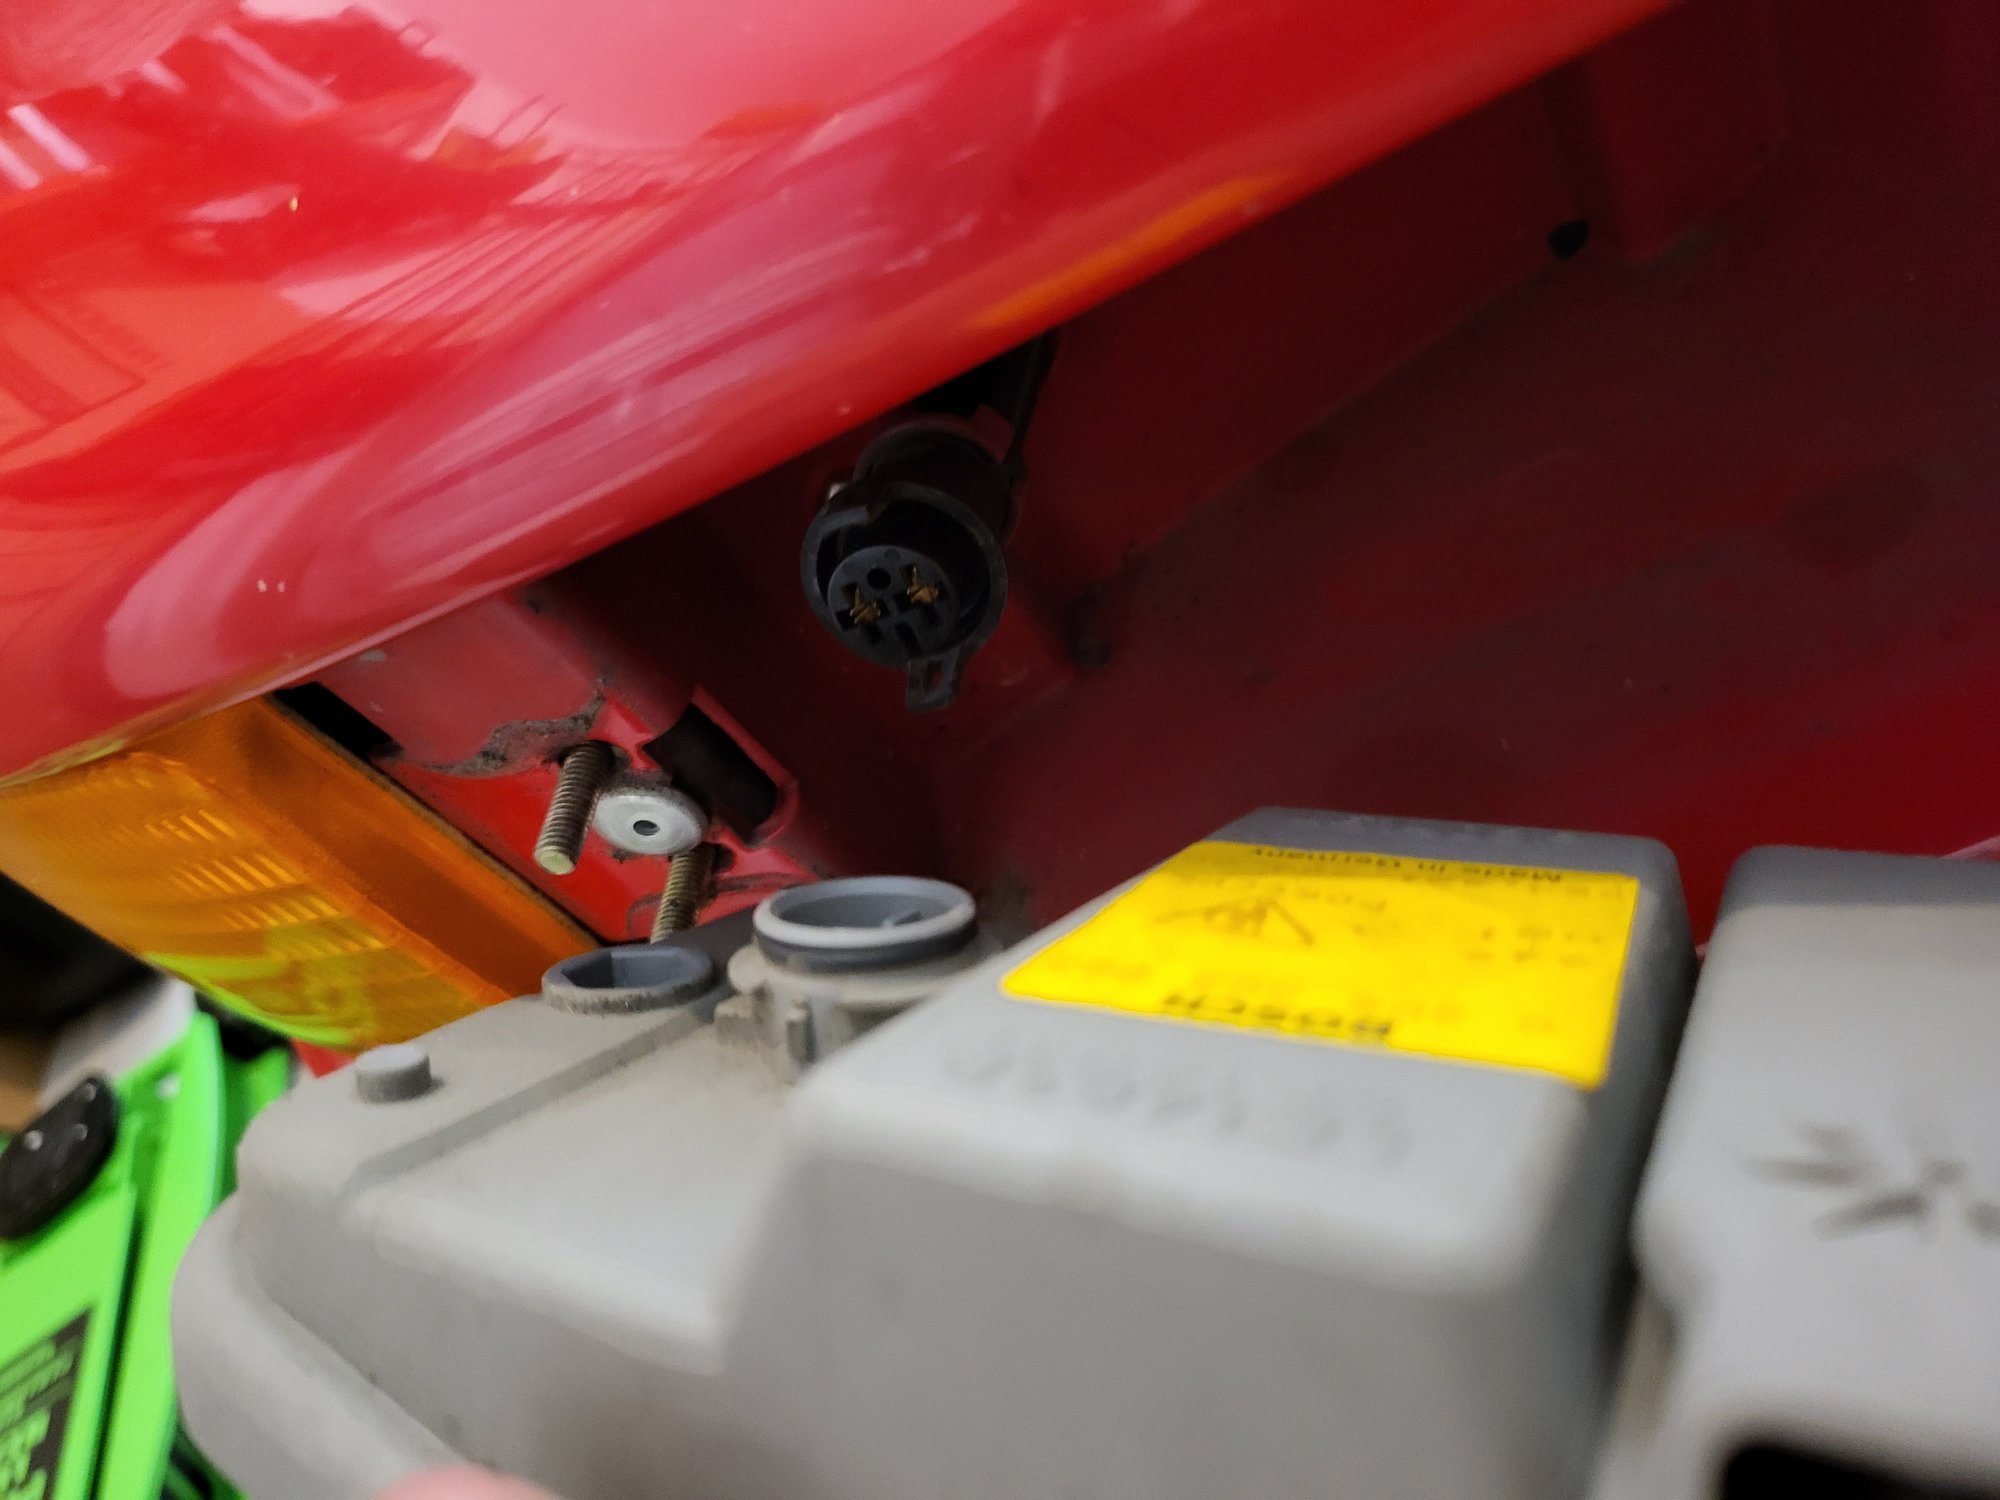
Remove two obvious nuts fastening fog light body to the bumper.
Disconnect plug from rear of fog light body.
Reassemble fog light and place in ever growing parts bin.
Admire step one complete.
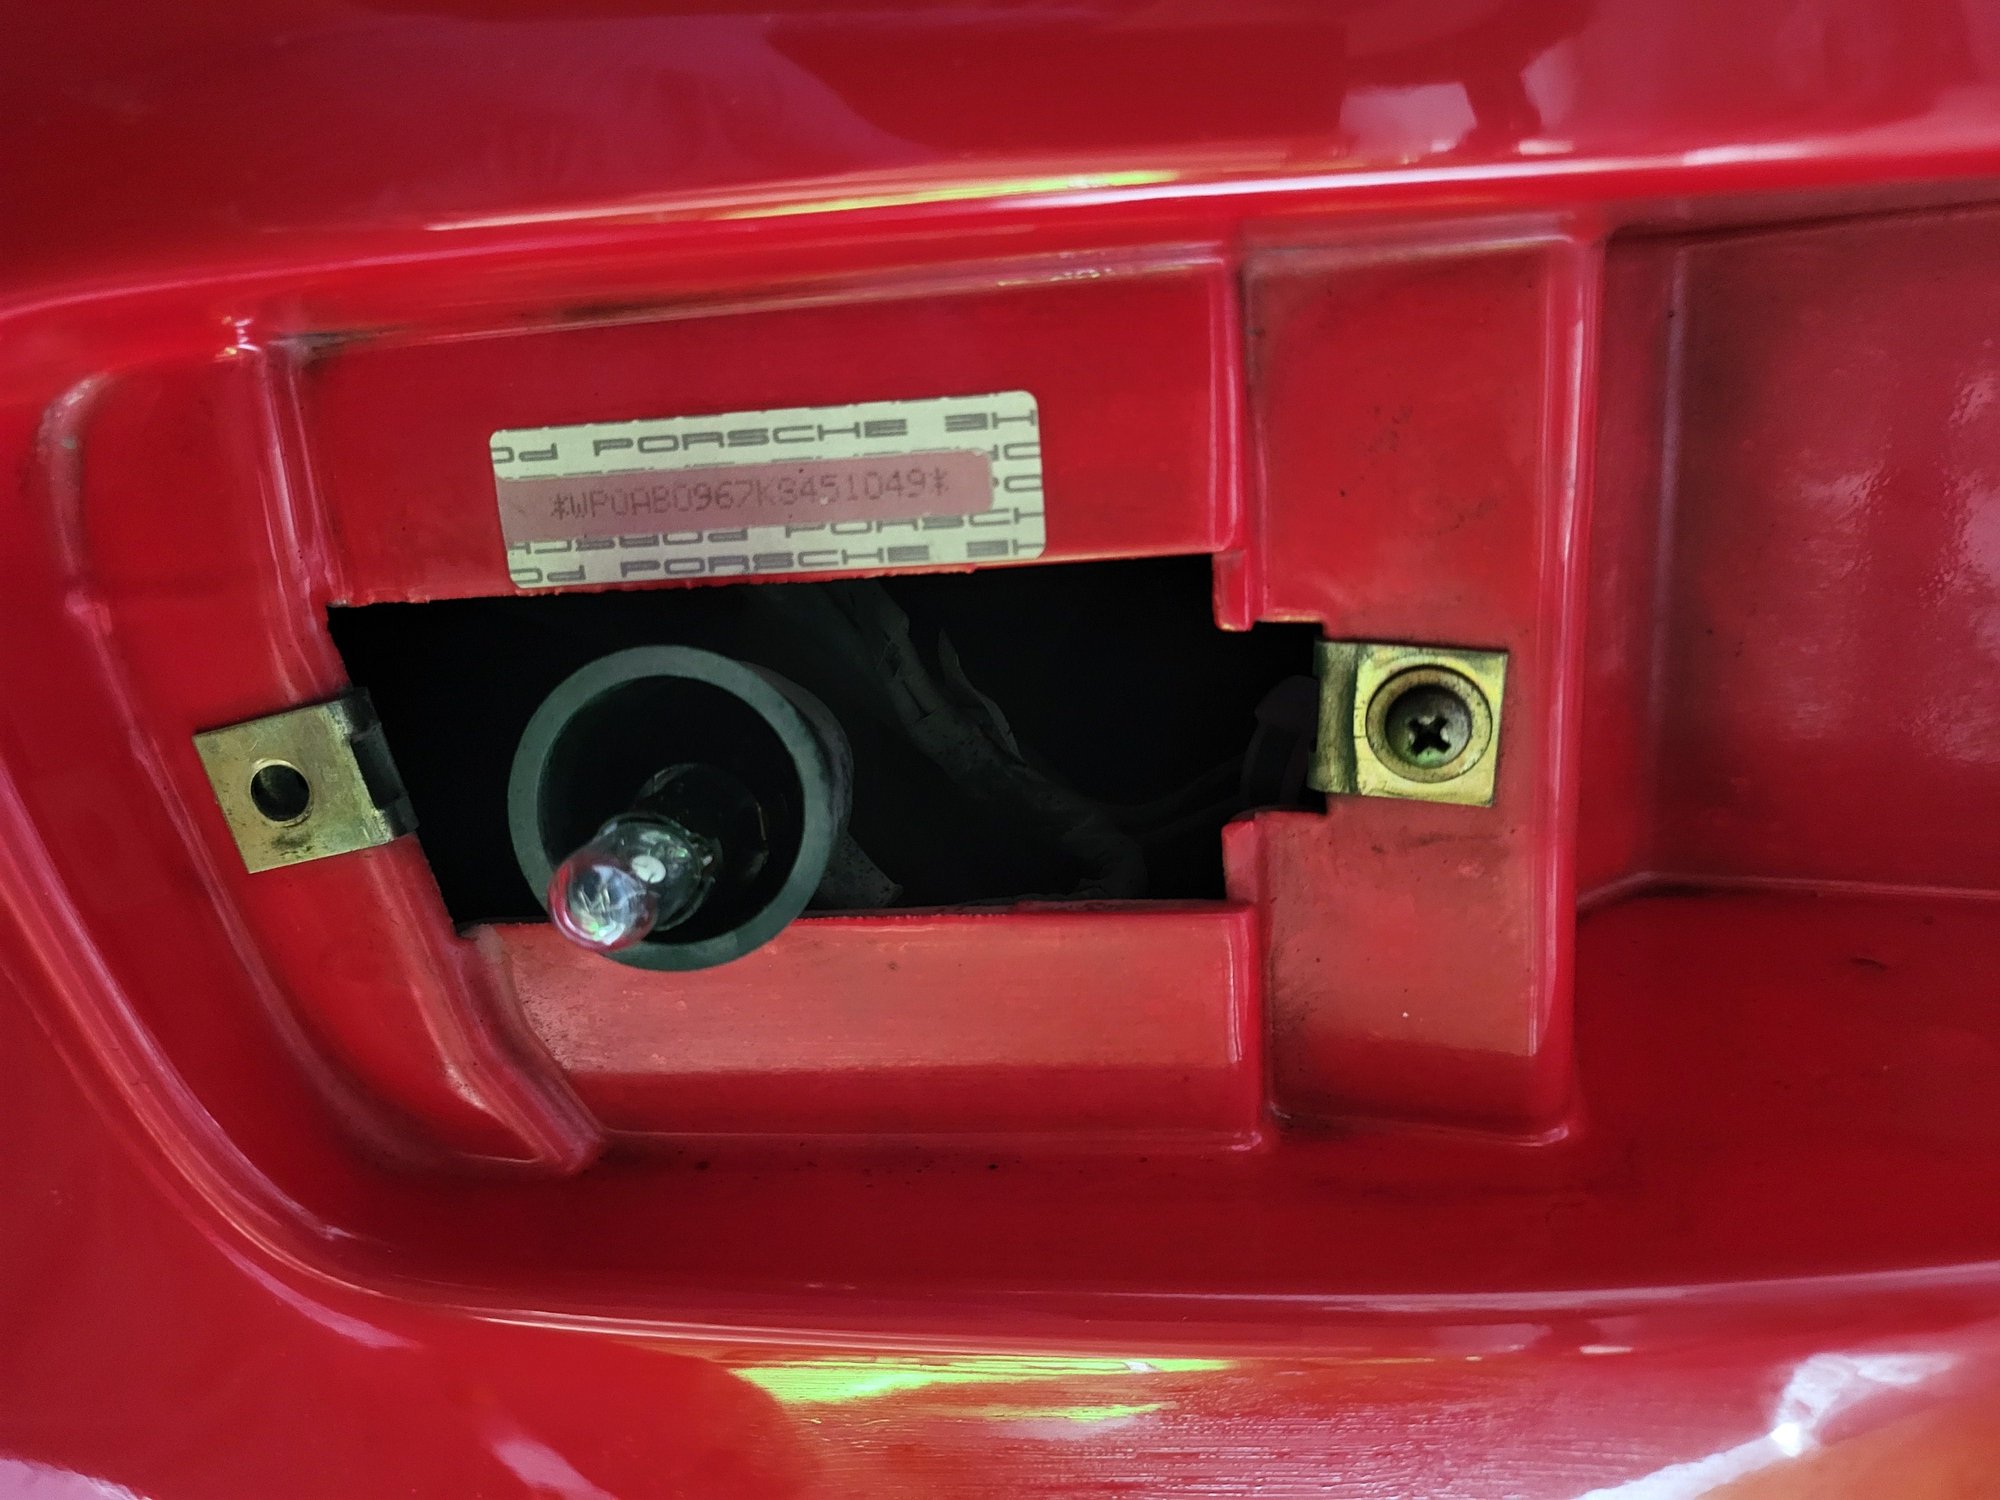
Pull corner markers, fasteners obvious. Also was able to confirm that my bumper is original.
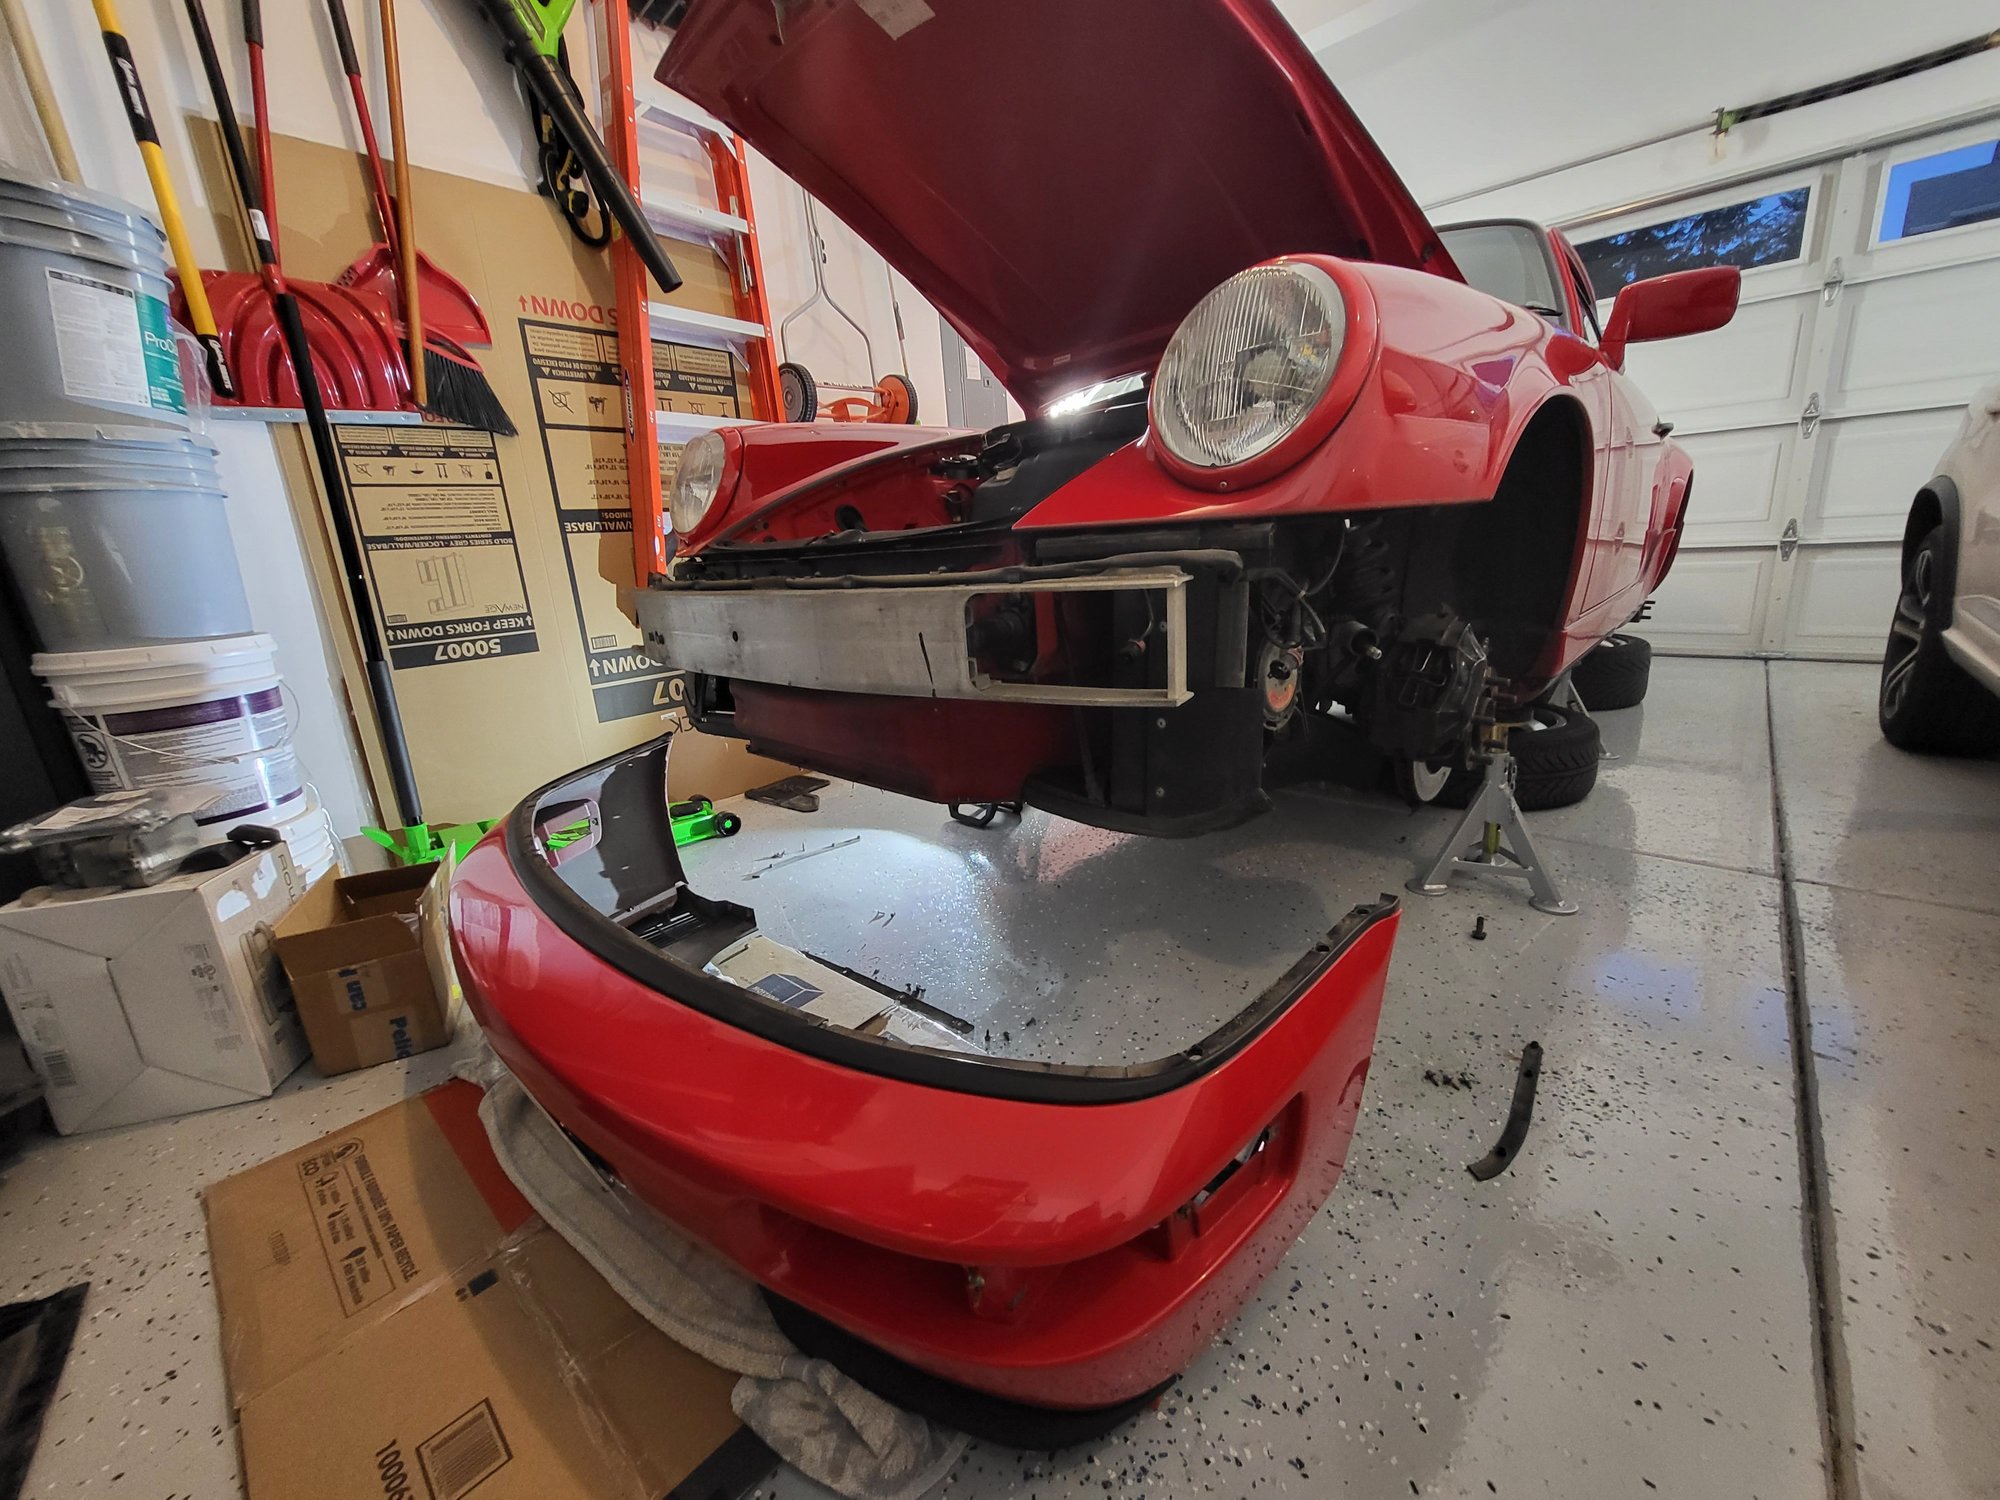
Remove front bumper. Quite a few threads detailing how this is done.
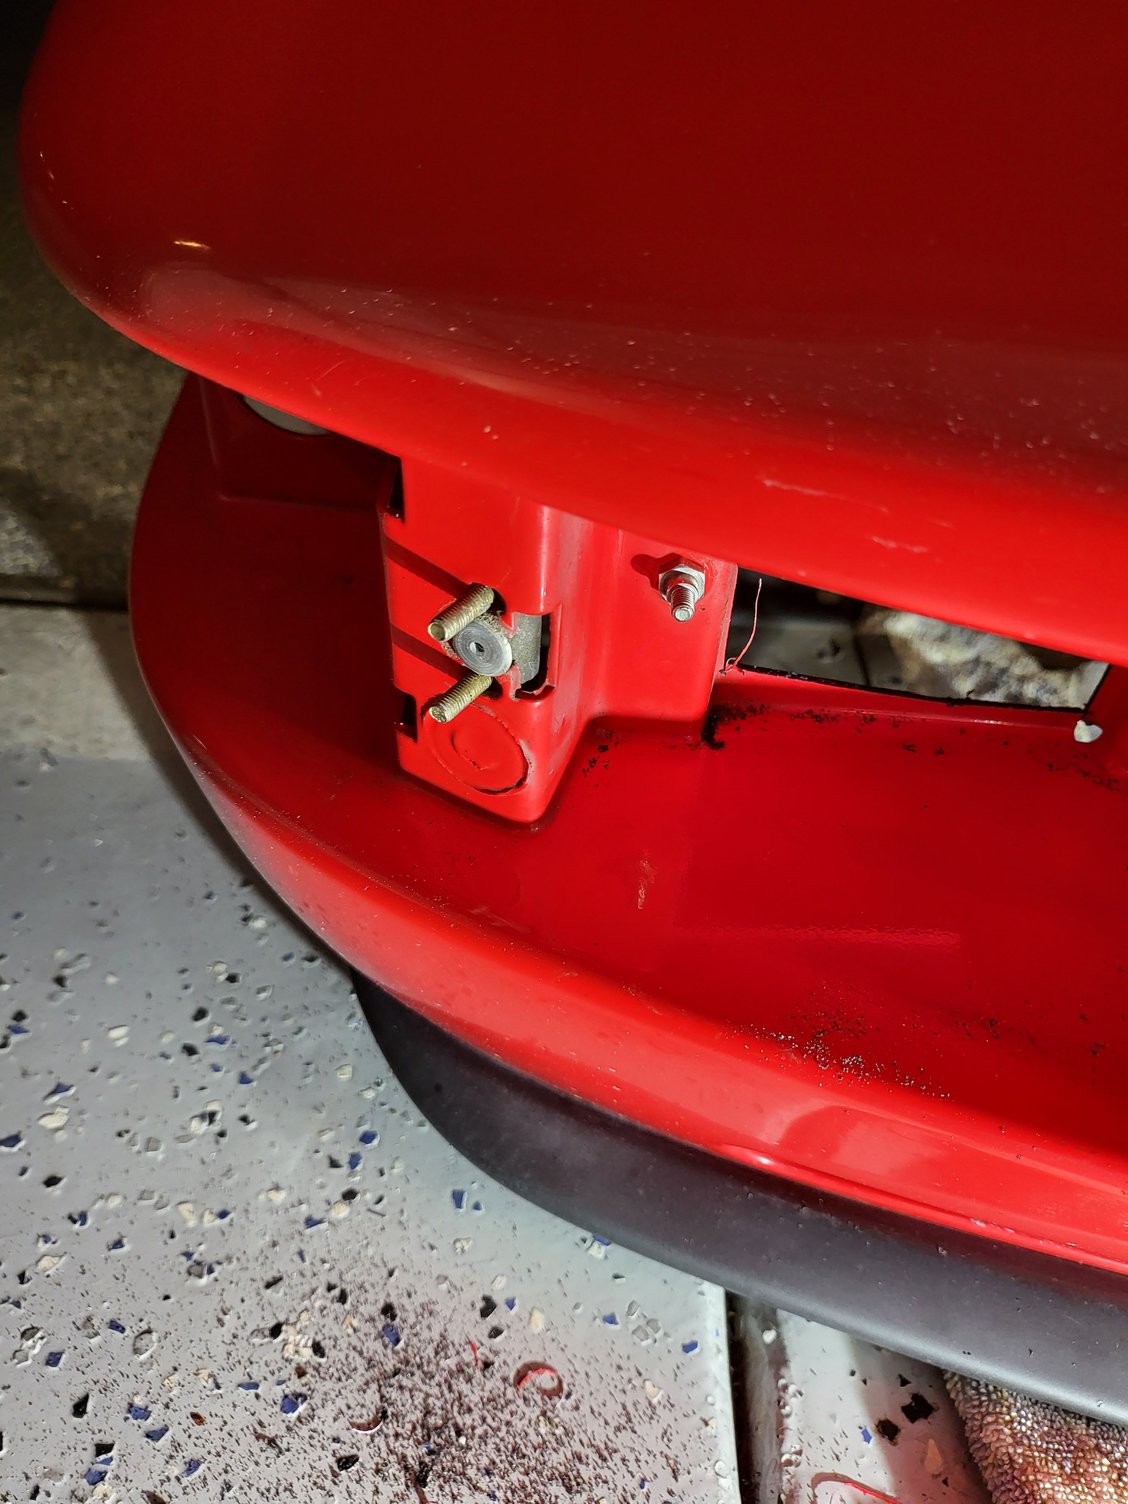
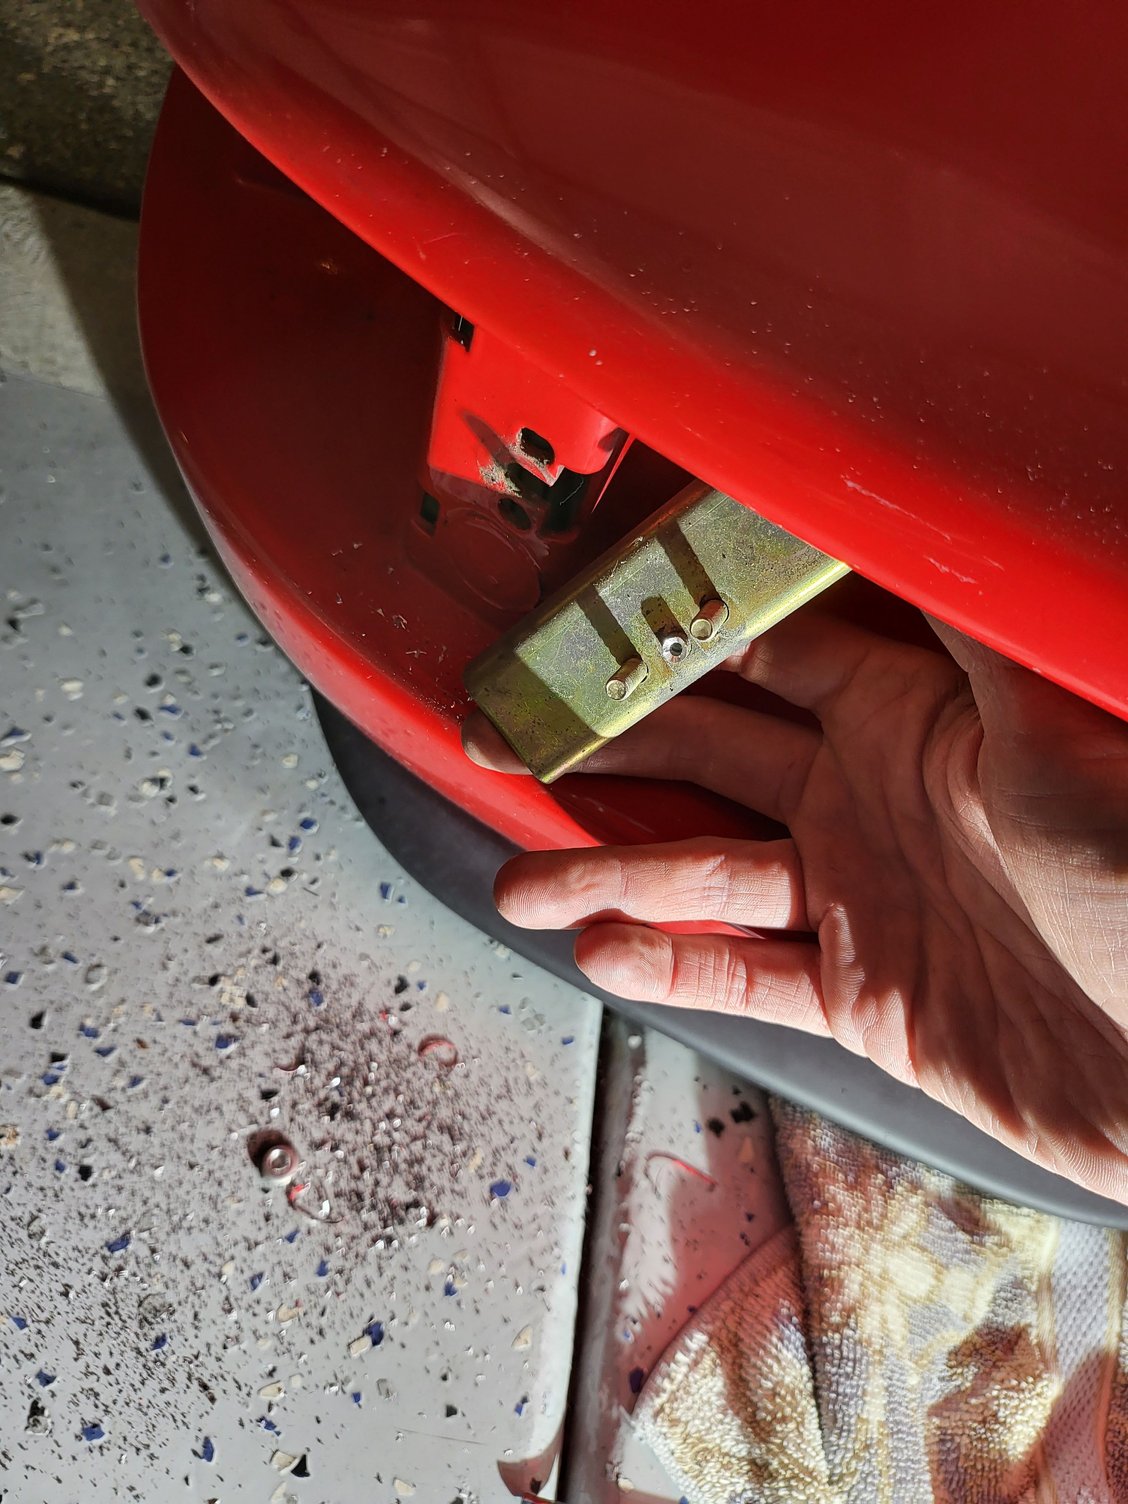
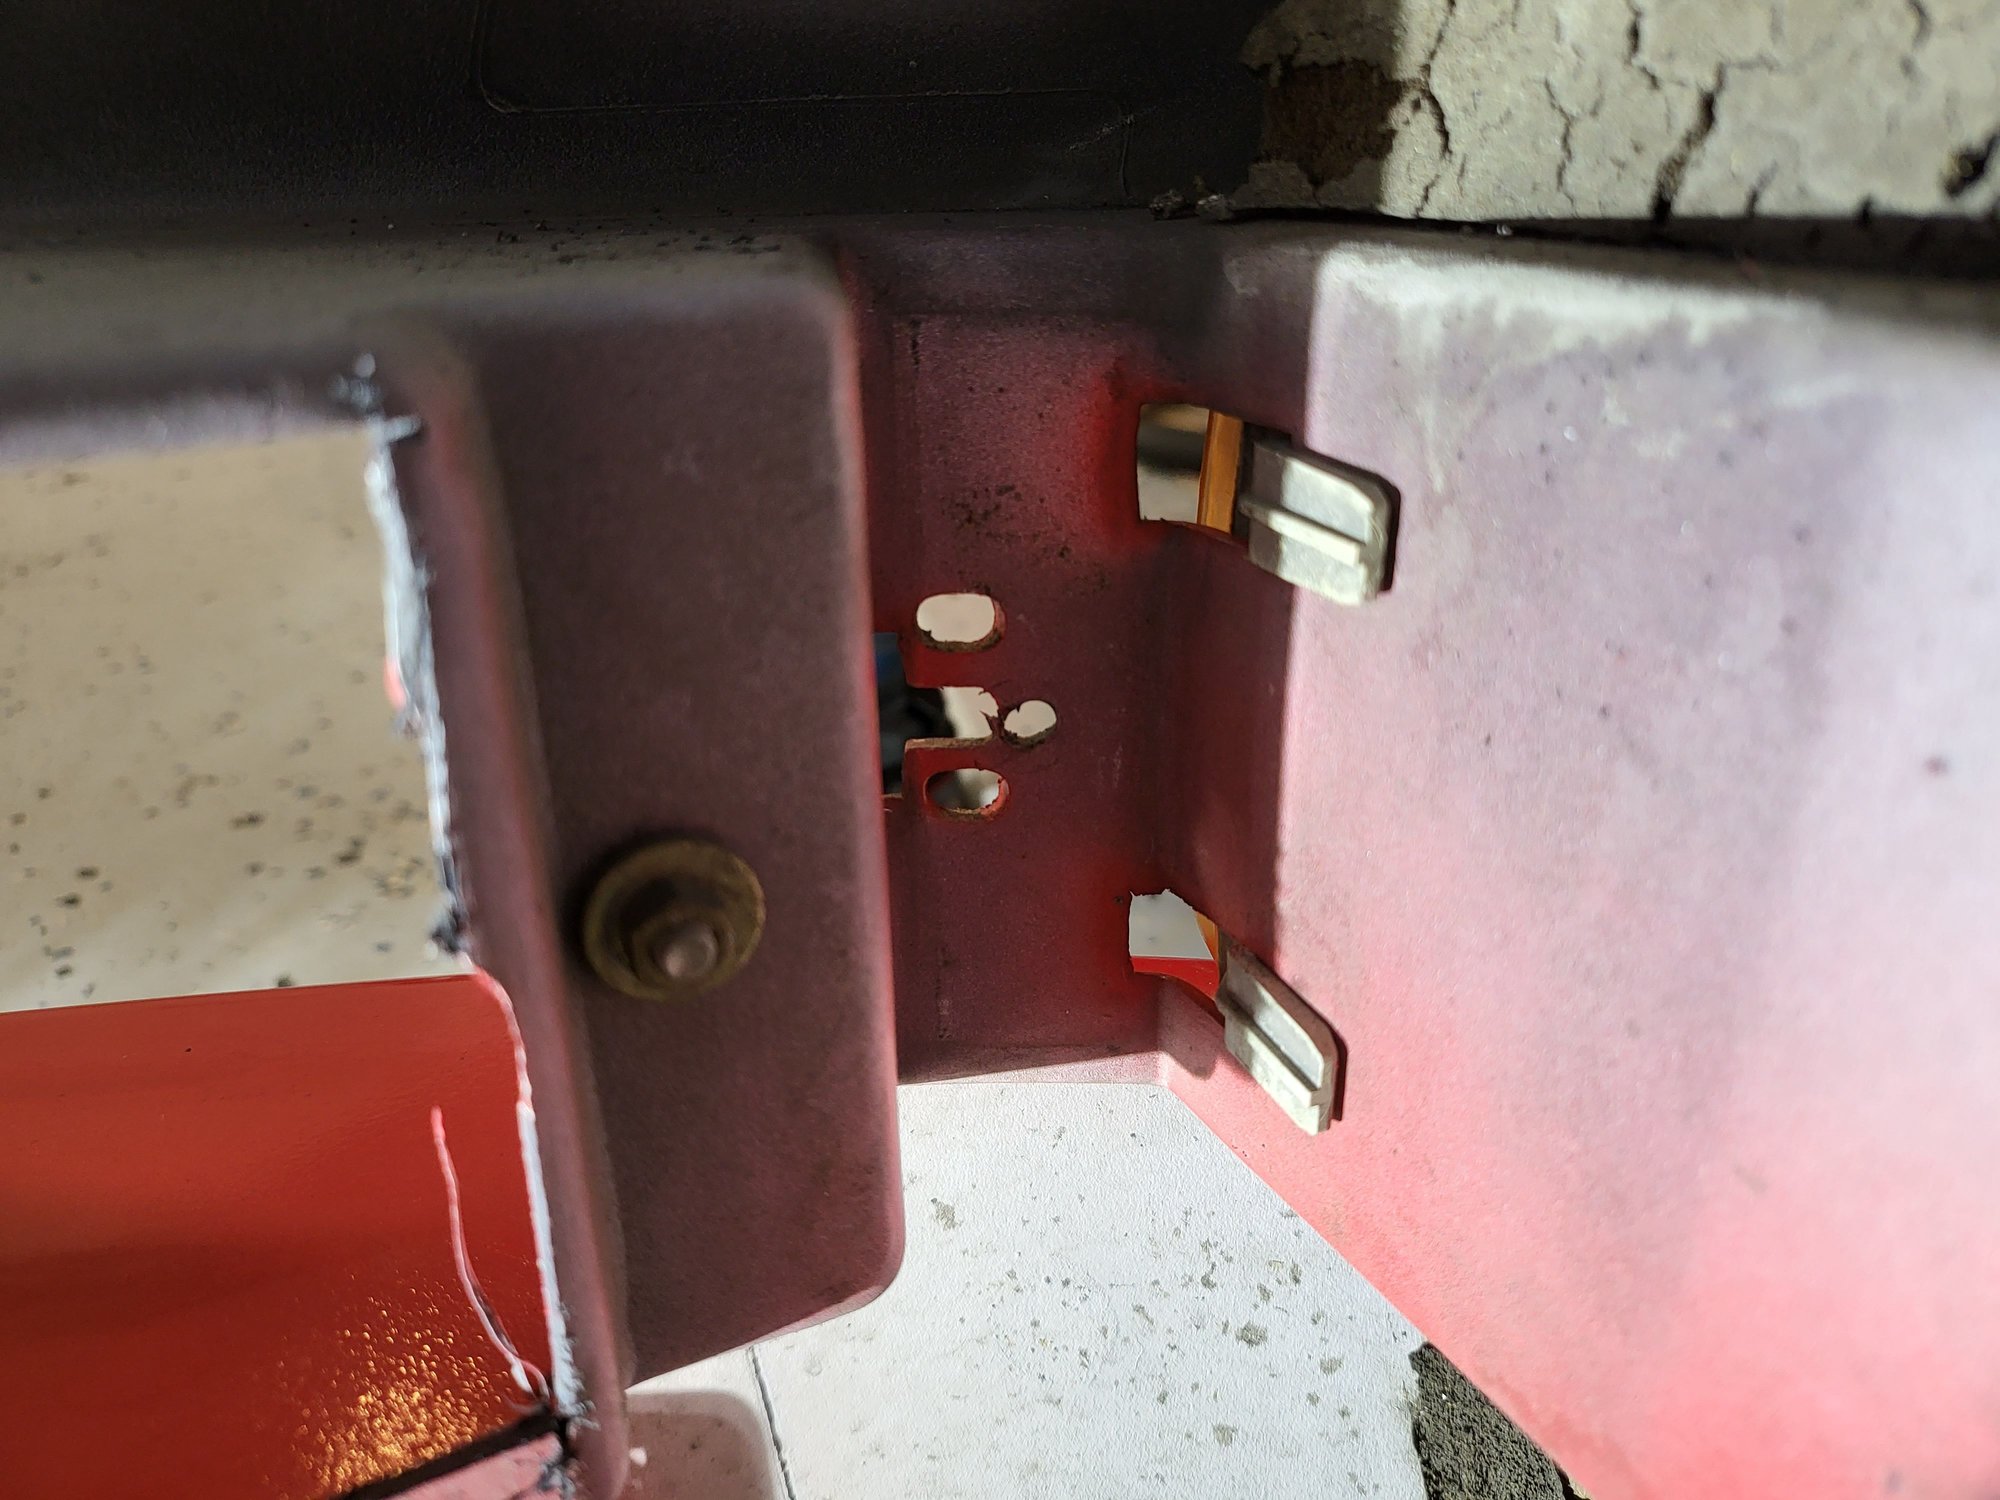
Next I've read quite a few people say to dremel off the bumperette studs, however I don't even really understand how that will help anything, as you still need a hole through the general area where the backing plate is. I opted to drill the rivet instead and retain the backing plate with studs should I want to revert to foglights in the future. Also, didn't get a picture but I cut out the bumper panel behind the fog light to provide the necessary clearance.
Bumperette backing plate comes out.
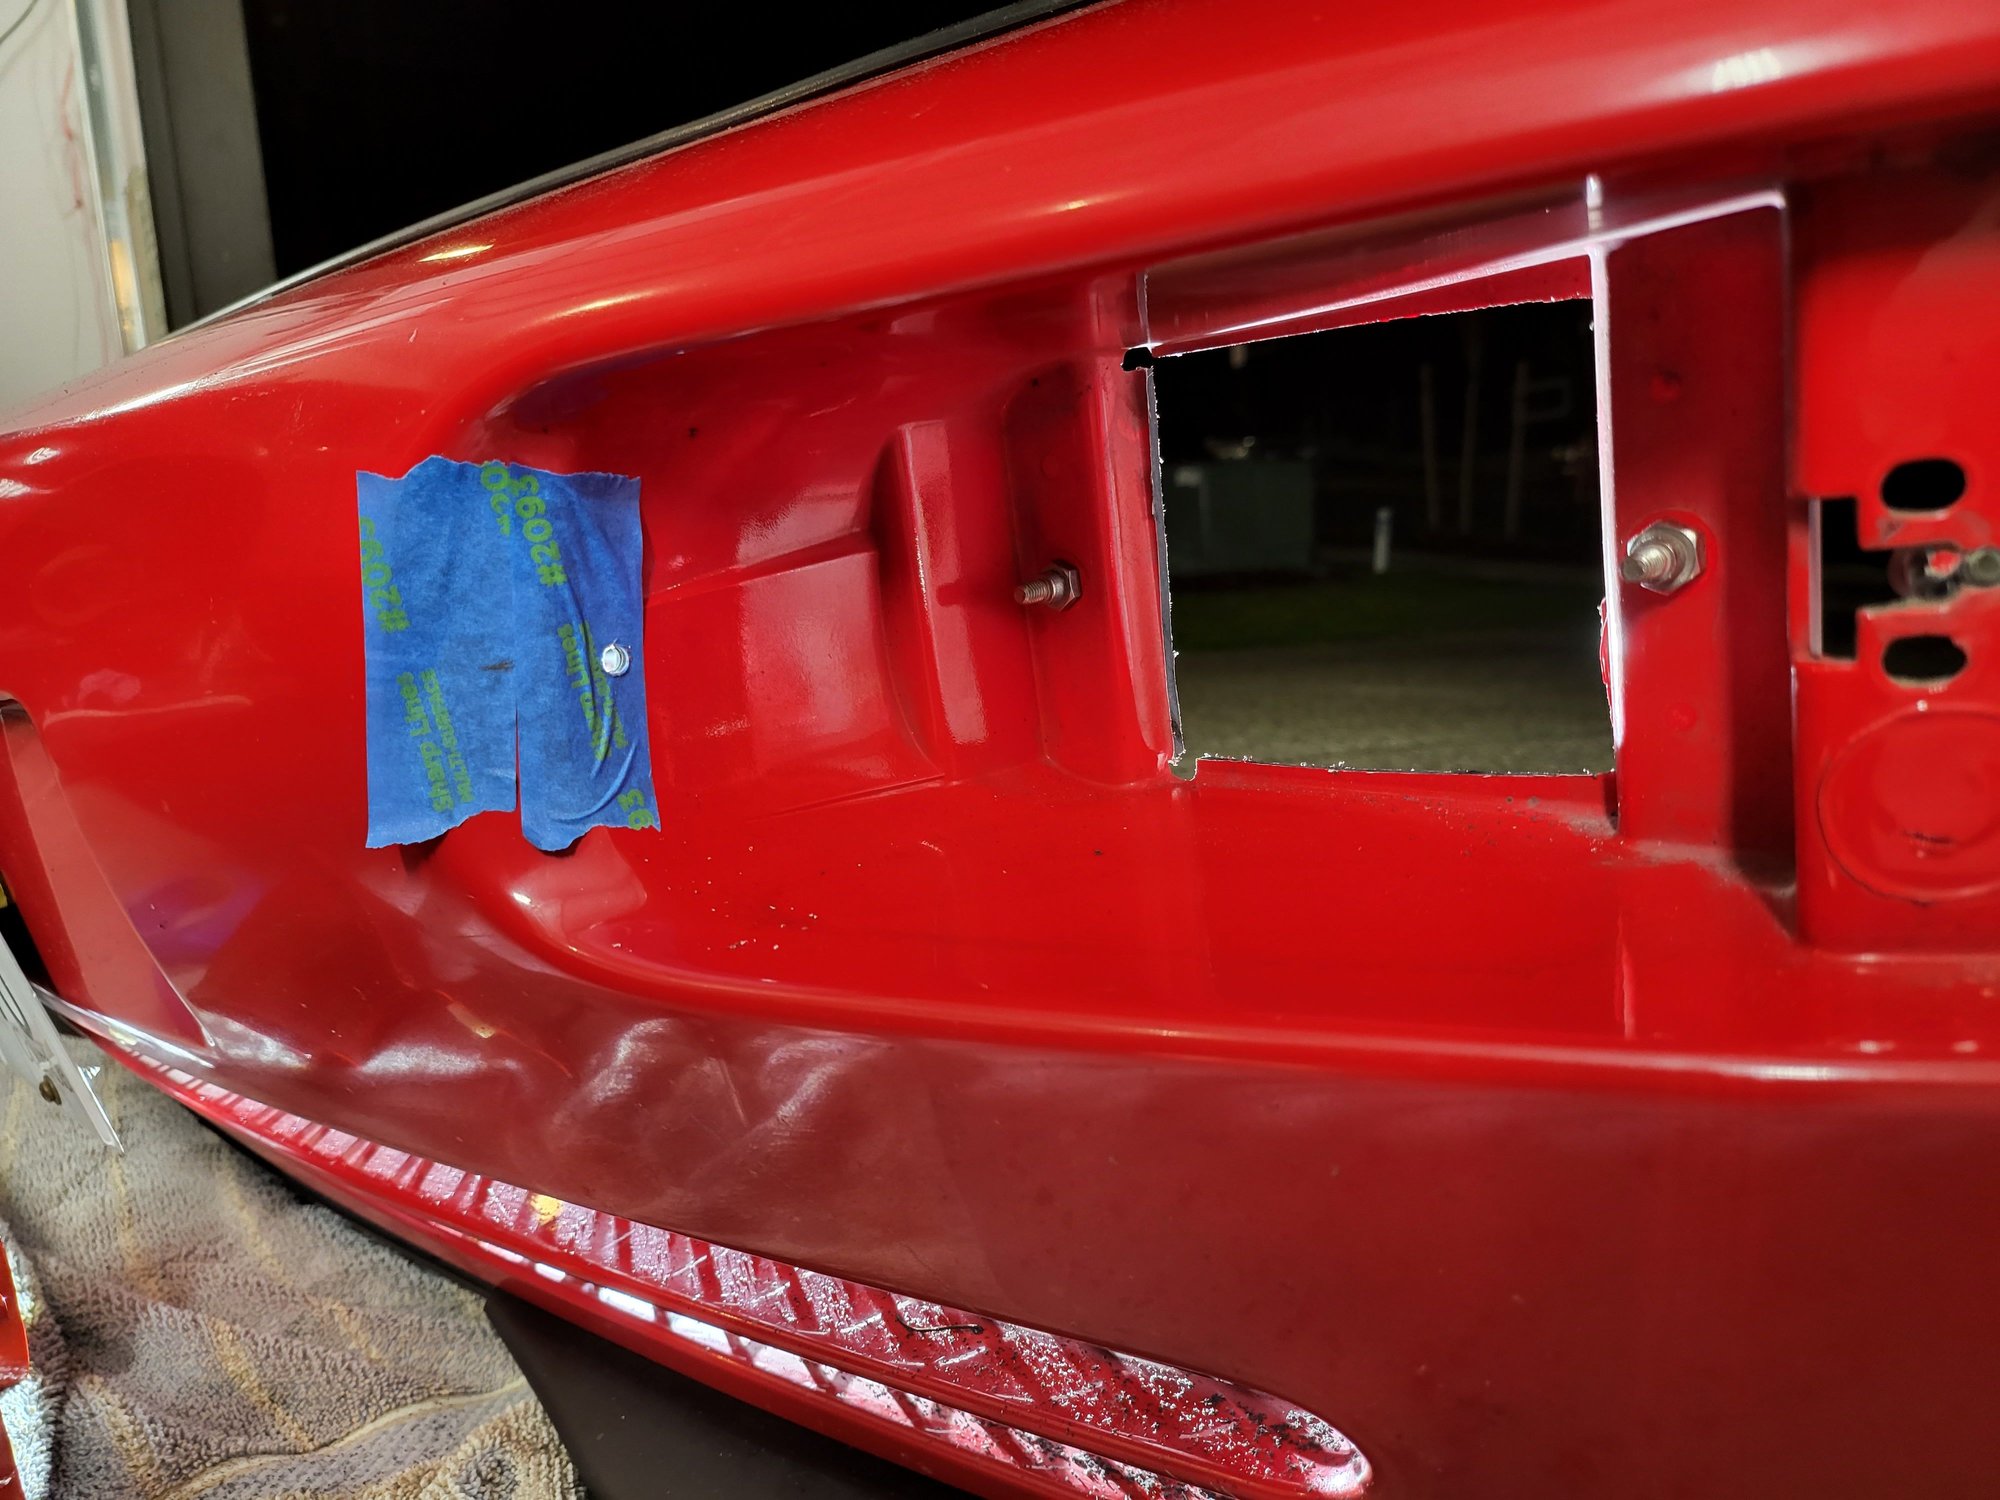
Next thing I'd read (or thought I had read) is that with the cult werks ducts utilized one hole that was already present in the bumper, but I did not find this to be the case if I wanted proper fitment. I needed a hole just beside the bumperette rivet hole to make things line up correctly.
After drilling a suitable hole on the bumperette side, I mounted the duct using the one hole and measured carefully where the second hole would need to be drilled based on how I wanted the fitment.
Then screw everything together (with corner markers to make sure the gaps are how you want them) and done.
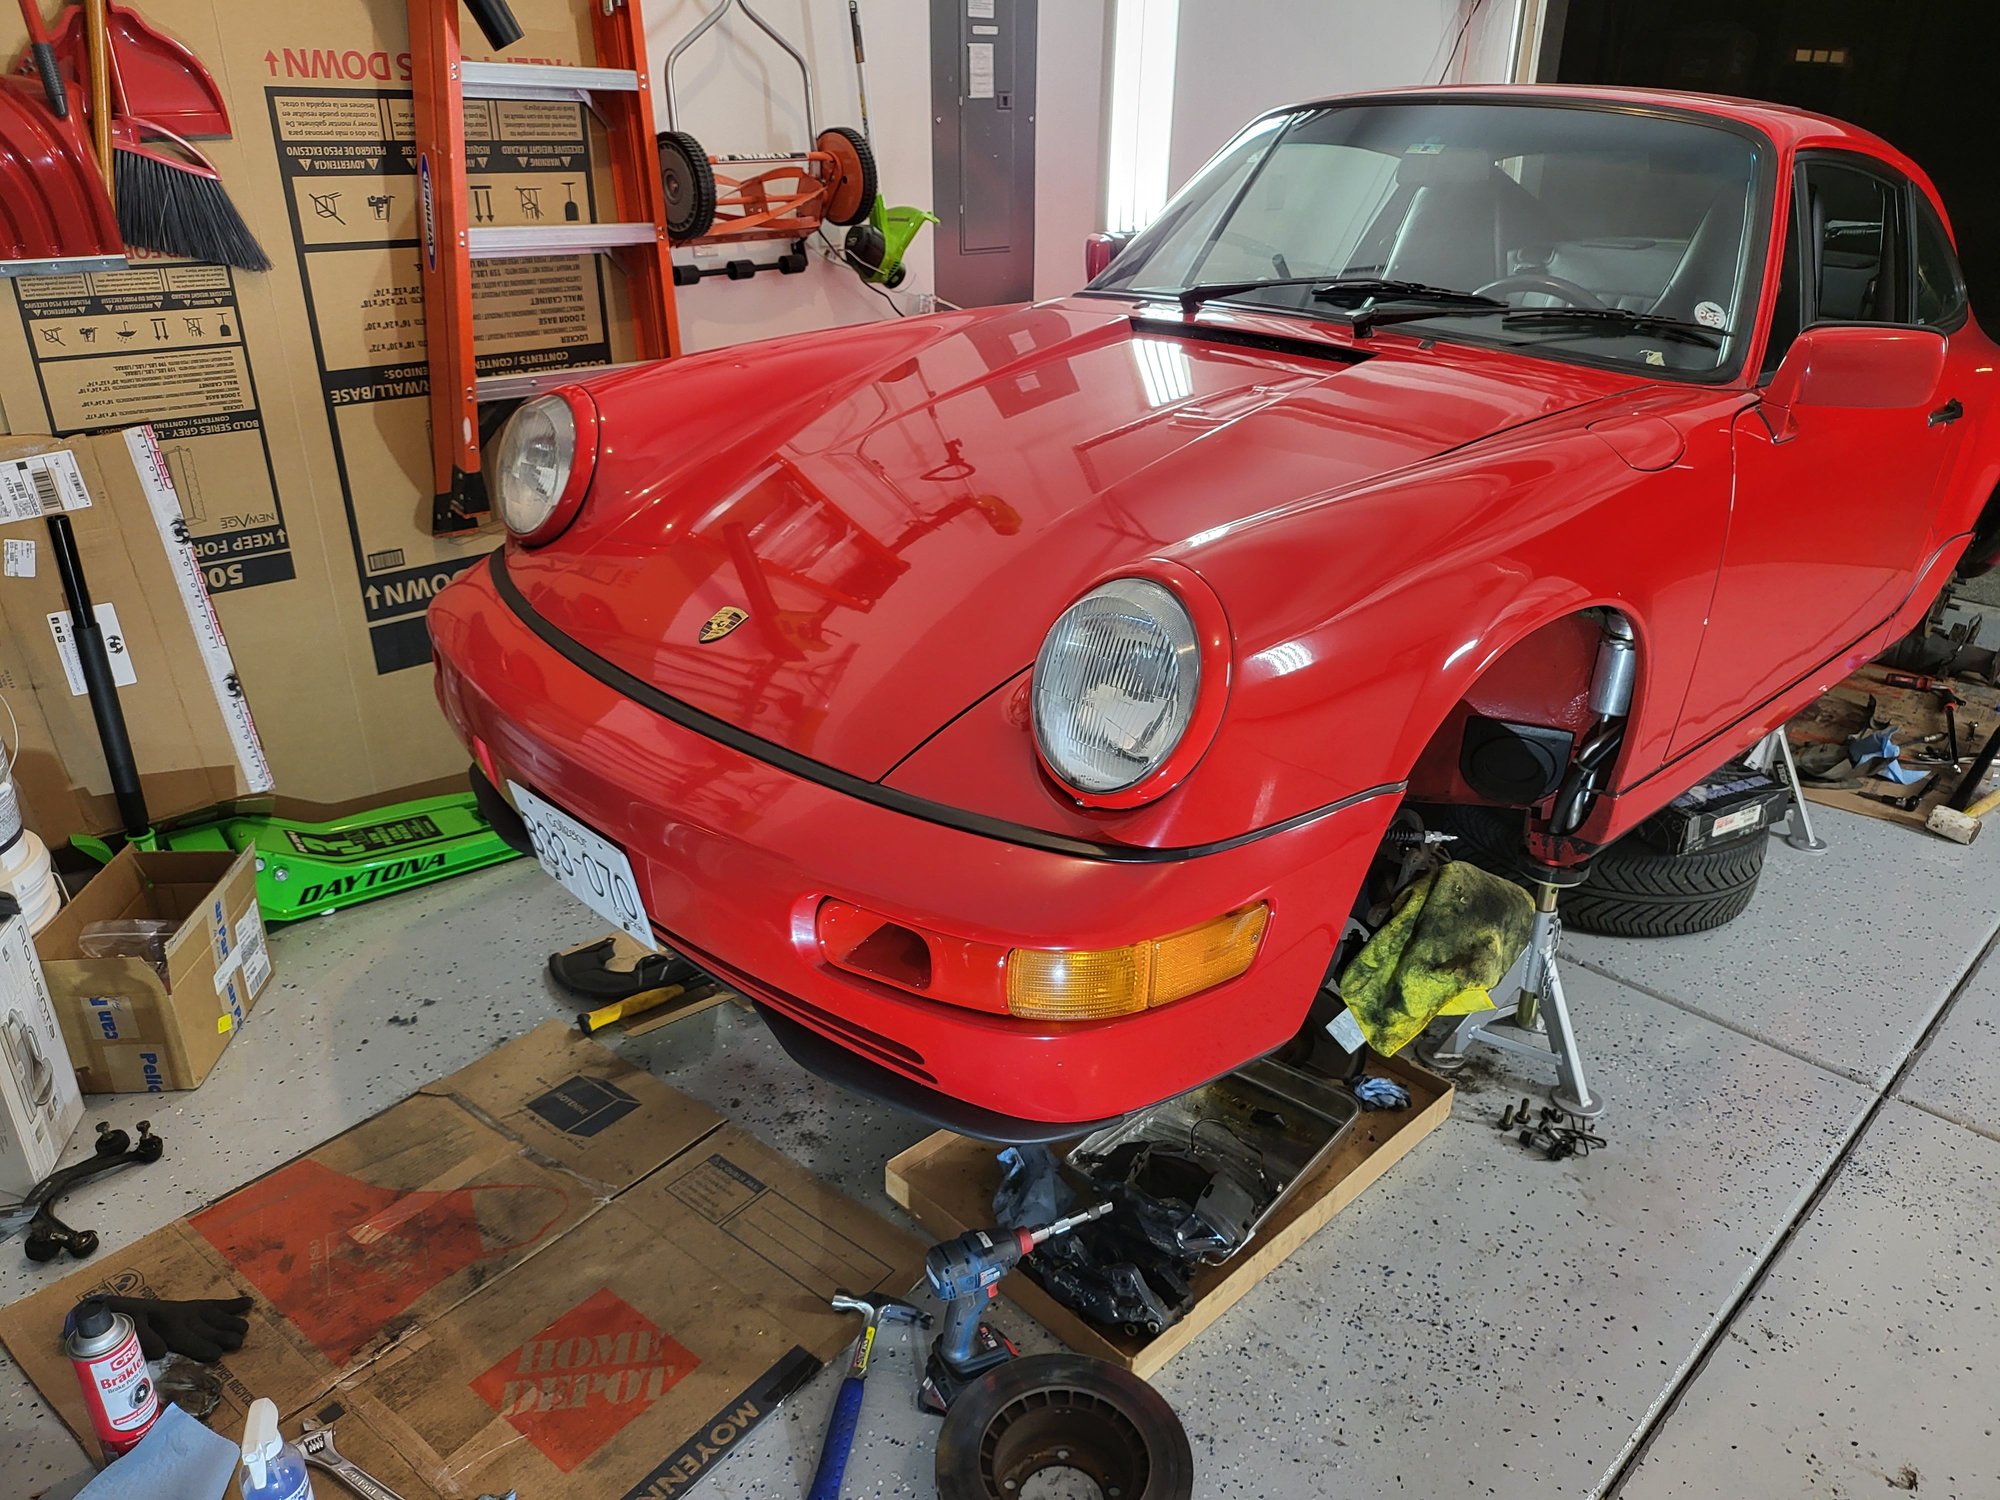
I haven't sorted out mesh for the back of the ducts as they are for show and won't actually be ducted to the wheel wells. Additionally, I'm curious if anyone has added any kind of weather stripping or seal around the perimeter of the ducts to close up the remaining gaps? Anyways, I put the bumper back on the car for now to get it off the ground. I'll pull it off again when I source suitable mesh.
Interestingly when I stand and look at the car, the paint match looks great, but looking at the above picture it does look like it may be off a bit. Maybe its the weird lighting in my garage, I'll reserve judgement until I get the car outside.
During install did you get any grease on the O2 probe?
I don't believe so, but anything is possible - I can clean it and try again. I'm wondering if its possible that the 32yr old probe that was in there was non-functioning and the car had been running without O2 input all along? I haven't pulled the drivers seat yet, but if the DME is jumpered to work as a ROW vehicle without O2 sensor will plugging a functional O2 sensor into the harness have any impact?

 01-10-2022, 01:32 PM