When you click on links to various merchants on this site and make a purchase, this can result in this site earning a commission. Affiliate programs and affiliations include, but are not limited to, the eBay Partner Network.
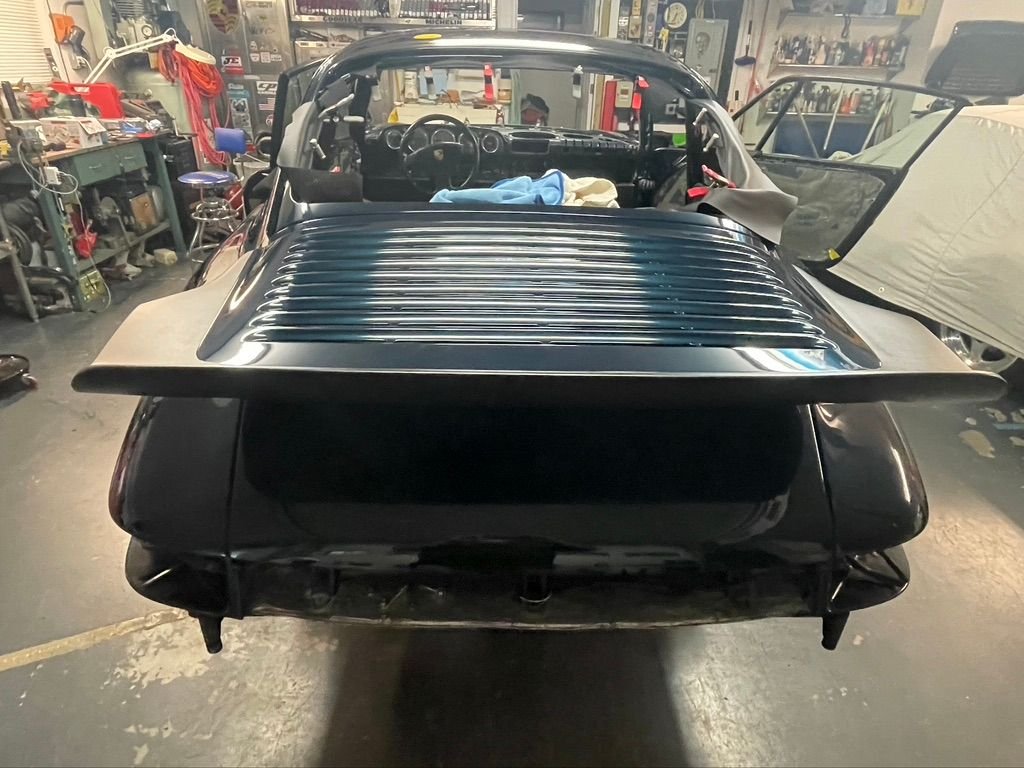
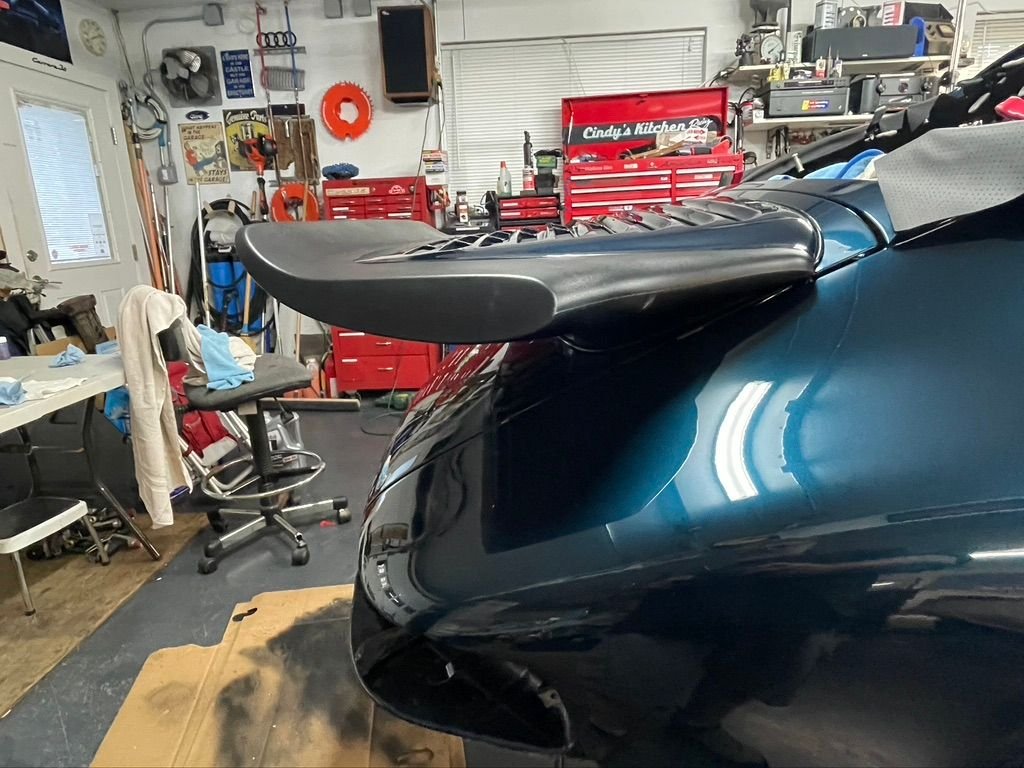
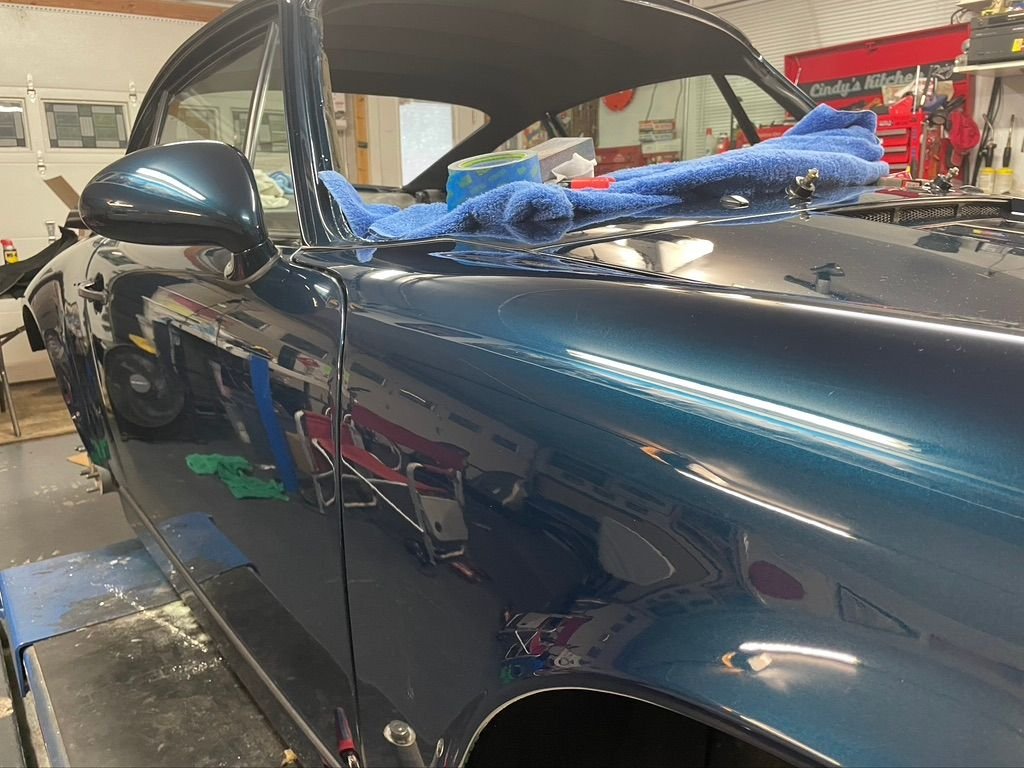
I had forgotten to mention I had gone over every square inch of the new paint and the orange peel is spot on and depth in this paint is amazing.
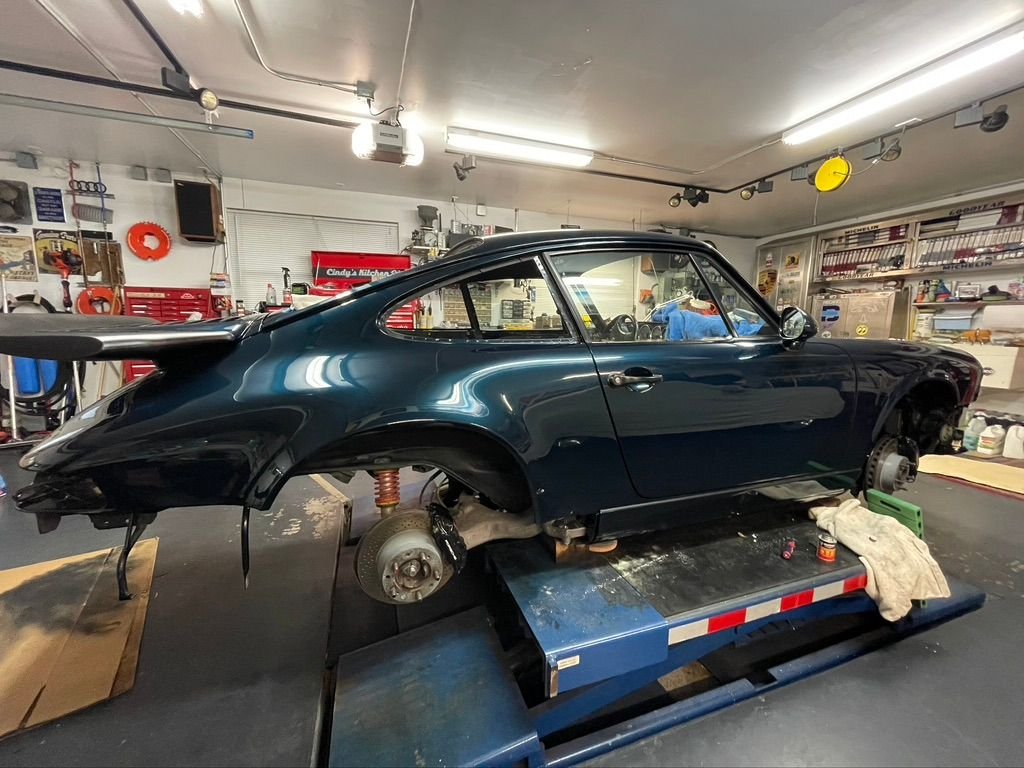
I recognized the car on Pino's post! So much better without the sunroof! The paint looks fabulous!
I hope all goes well with the neck, Anthony, and you don't have to go for the surgery!
I am not sure. I was going to protect the side wings with some PPF I have some pieces already cut but am undecided about the front. My turbo and 928 have it but are original paint. This is more of a driver which will be close to concours at this rate so for now just taking baby steps.
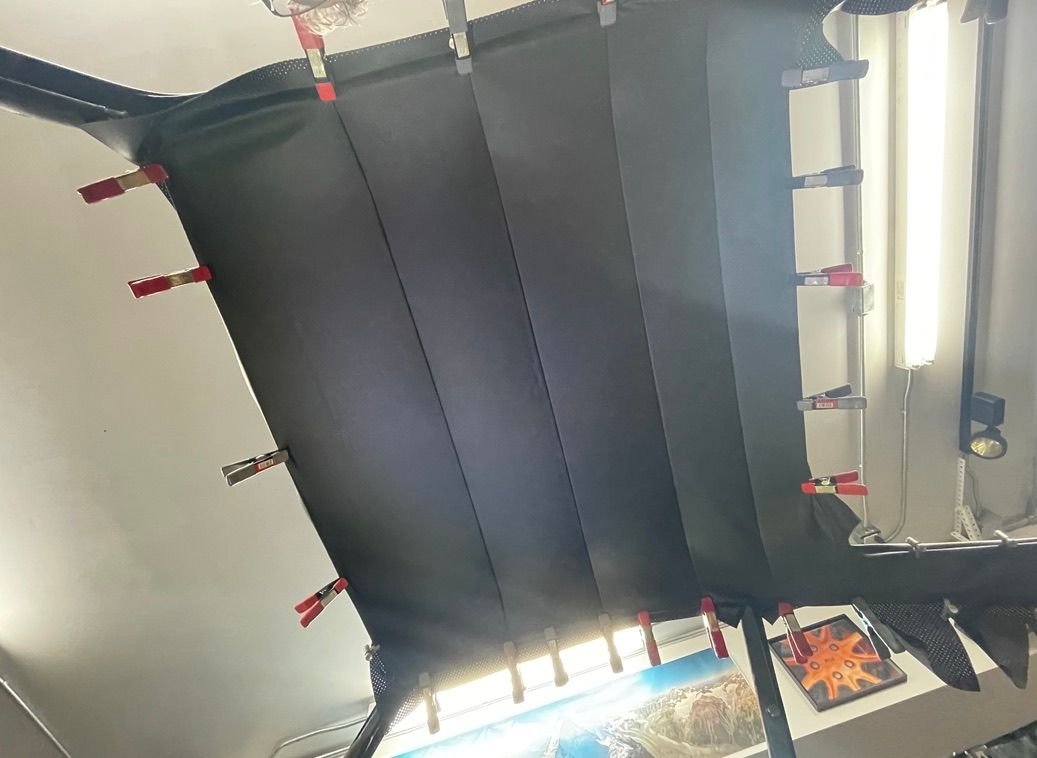
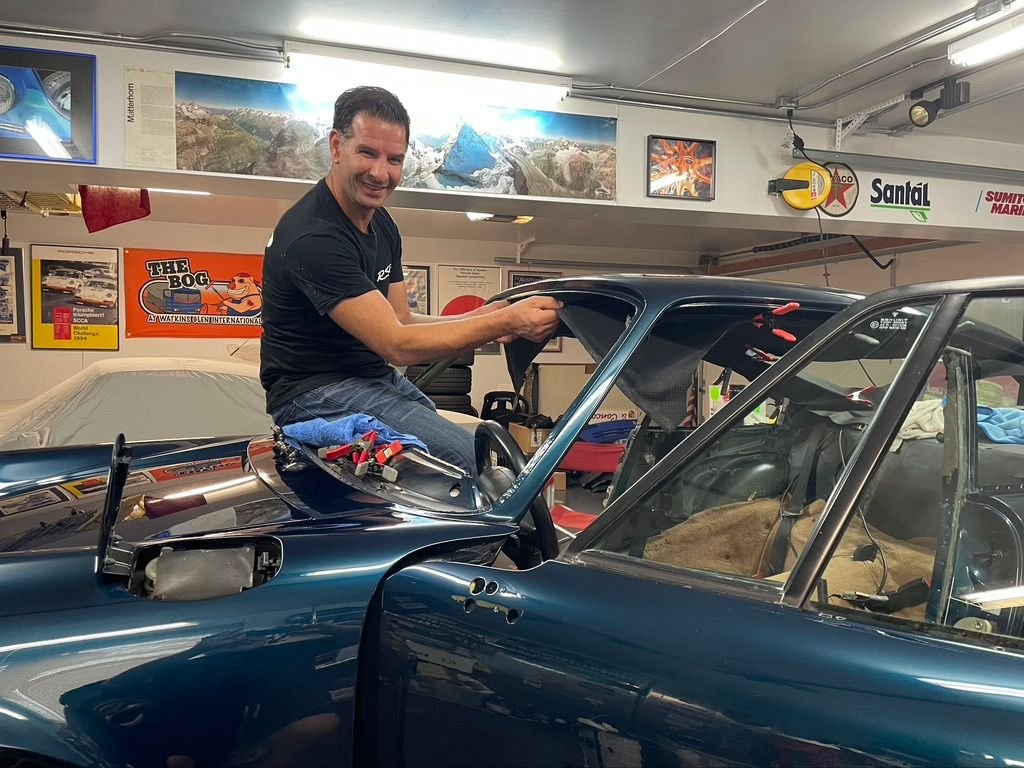
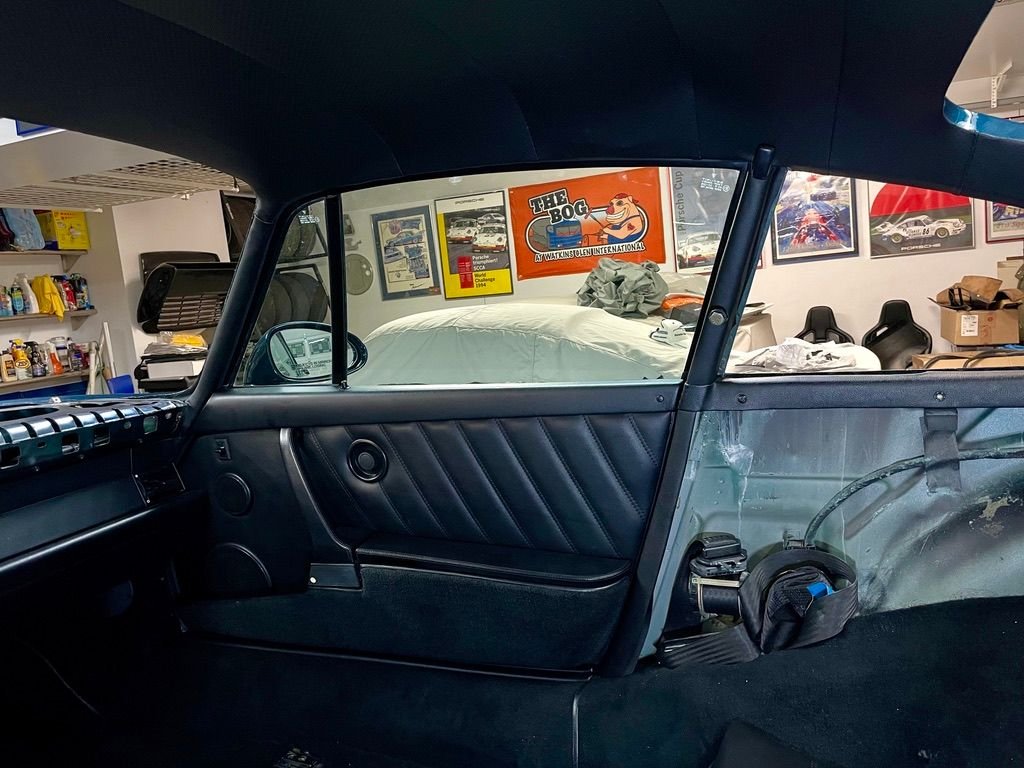
The Non Sunroof headliner is very different than the sunroof delete headline and takes time to stretch out properly. We have the liner in place which I need to message for a week or so until all the wrinkles are out and the seems are smooth. Once this happens it can be glued in place and the windows can be installed.
Could you expand on this? What is a sunroof delete headliner and how does it differ from a non-sunroof headliner?
Could you expand on this? What is a sunroof delete headliner and how does it differ from a non-sunroof headliner?
Sorry typo I didn't pick up on. I was in the middle of posting when something came up needing my attention.
That should have read the sunroof headliner is different than the sunroof delete headliner. The sunroof headliner doesn't have the seams and support bars needed to hold it in place.
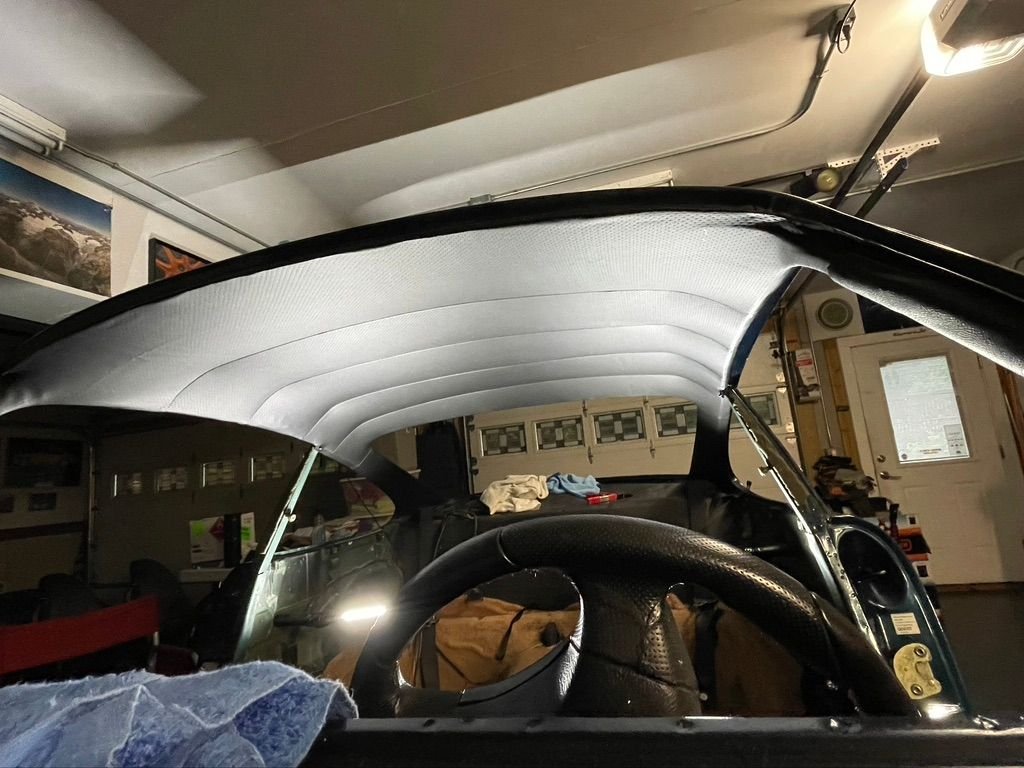
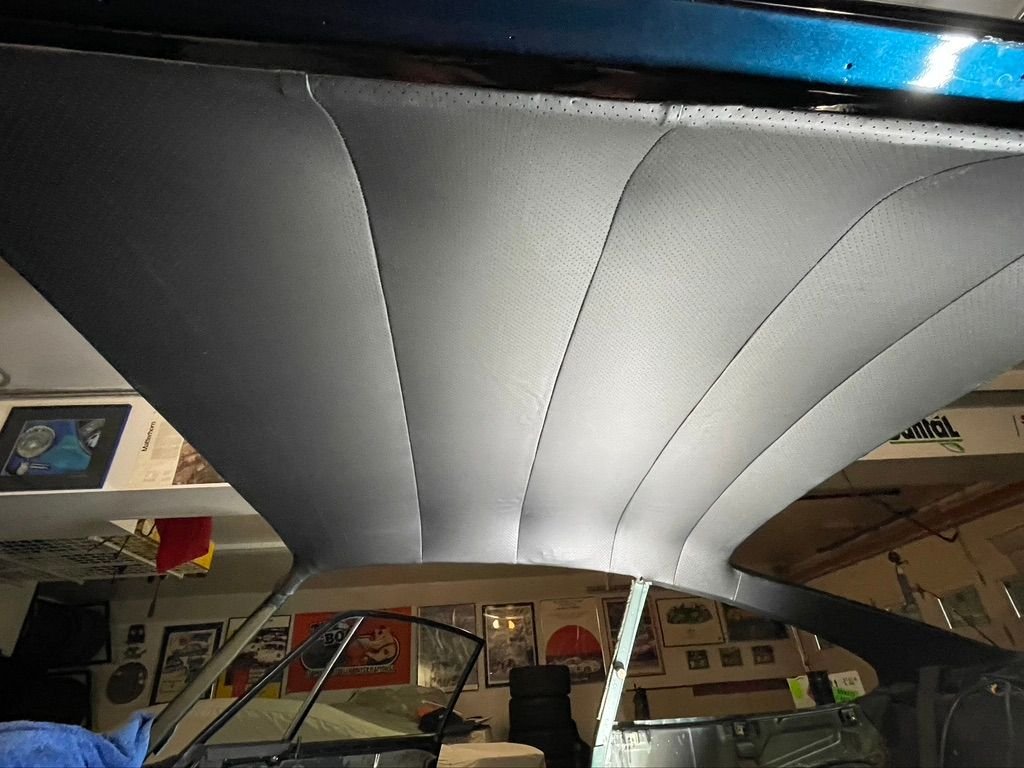
Pino stopped by Saturday for the cutting and glueing of the headliner. This is the second of three stretching's. The final stretching will be when the windows are installed which will lock everything in place and then the cuts can be made for the side lights and visors. For now it will have to sit.
The photos accentuate every imperfection but most of what you see will be gone by the window fitment.
If you found watching Akira Nakai do his RWB builds interesting. Watching Pino move around and glue the liner in place IMO is far more entertaining and he is doing things the right way. Whatever small wrinkles remain can be steamed out later.
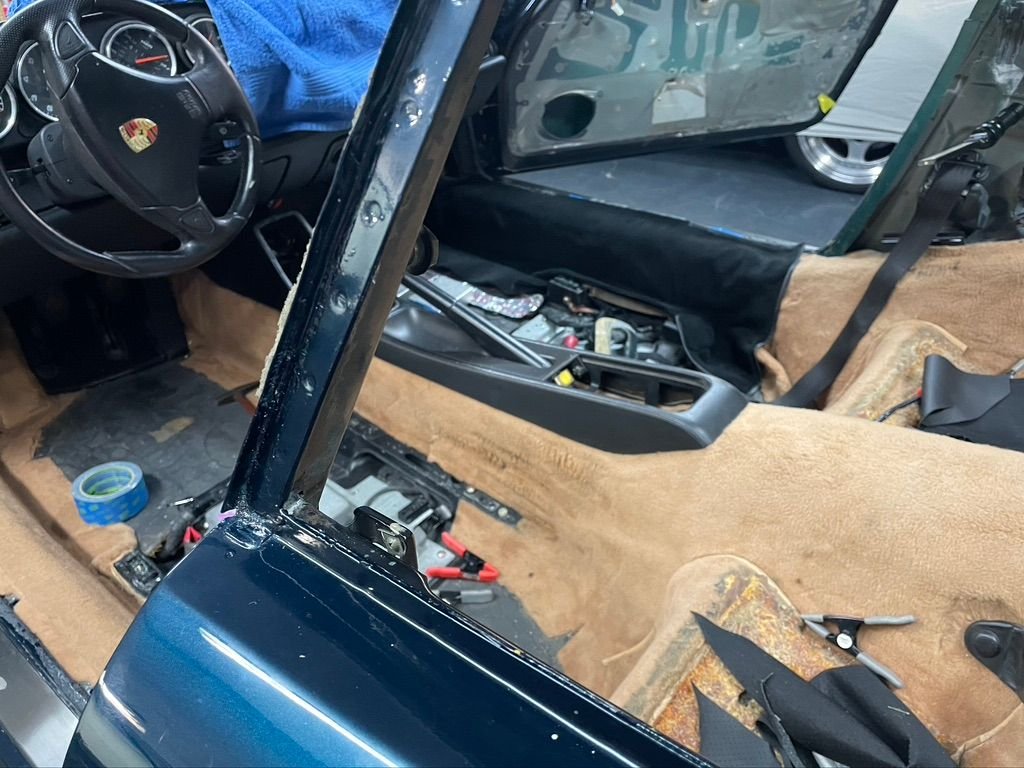
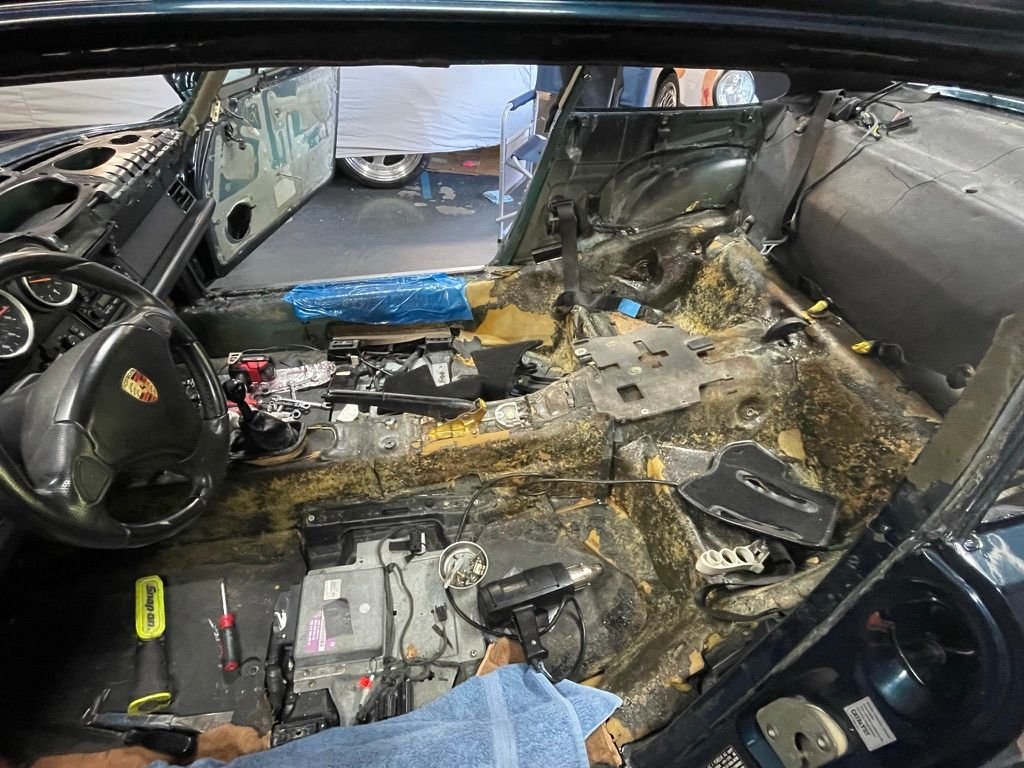
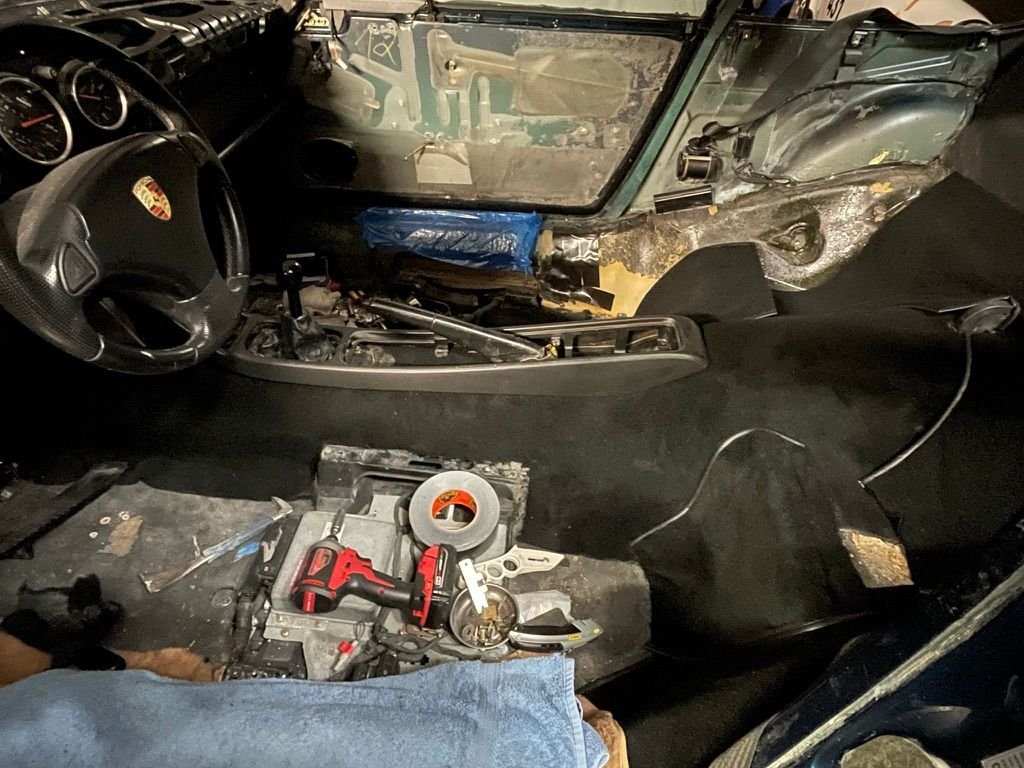
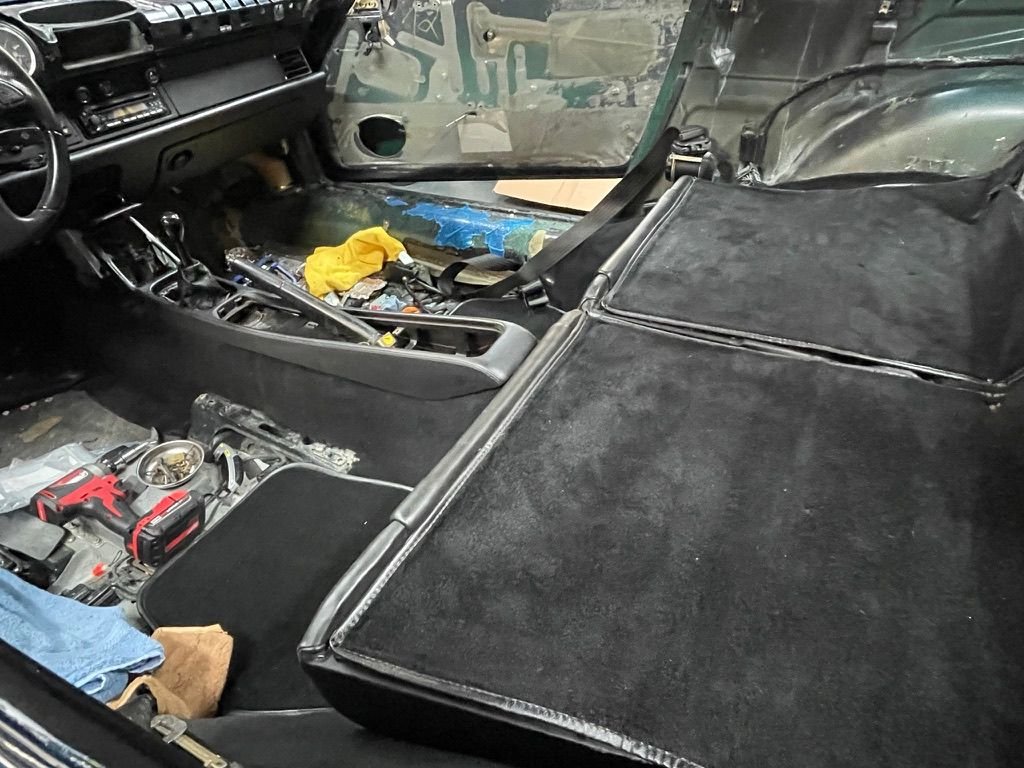
So I started on removing the carpet. I was considering salvaging it but unlike the earlier cars i have removed carpet from this is far different. The cashmere carpet in my 90 came up without issue. The glue is nearly 30 years old and is still gripping like it was applied yesterday. The process is slow if I try to keep it but the bigger problem is keeping it from sticking to itself. I have to cut the glue every inch as I go not unlike removing PPF from the paint.
It took me nearly one hour to remove this single section. I then just played with the fitment to see how the carpet was. Autos International did a great job from what I can see although there are some variations to the original carpet it makes it easier to install from what I can see so far. This is not glued in place that won't happen until I remove everything else first but I am really liking the black vs the black with silver thread most cars came with.
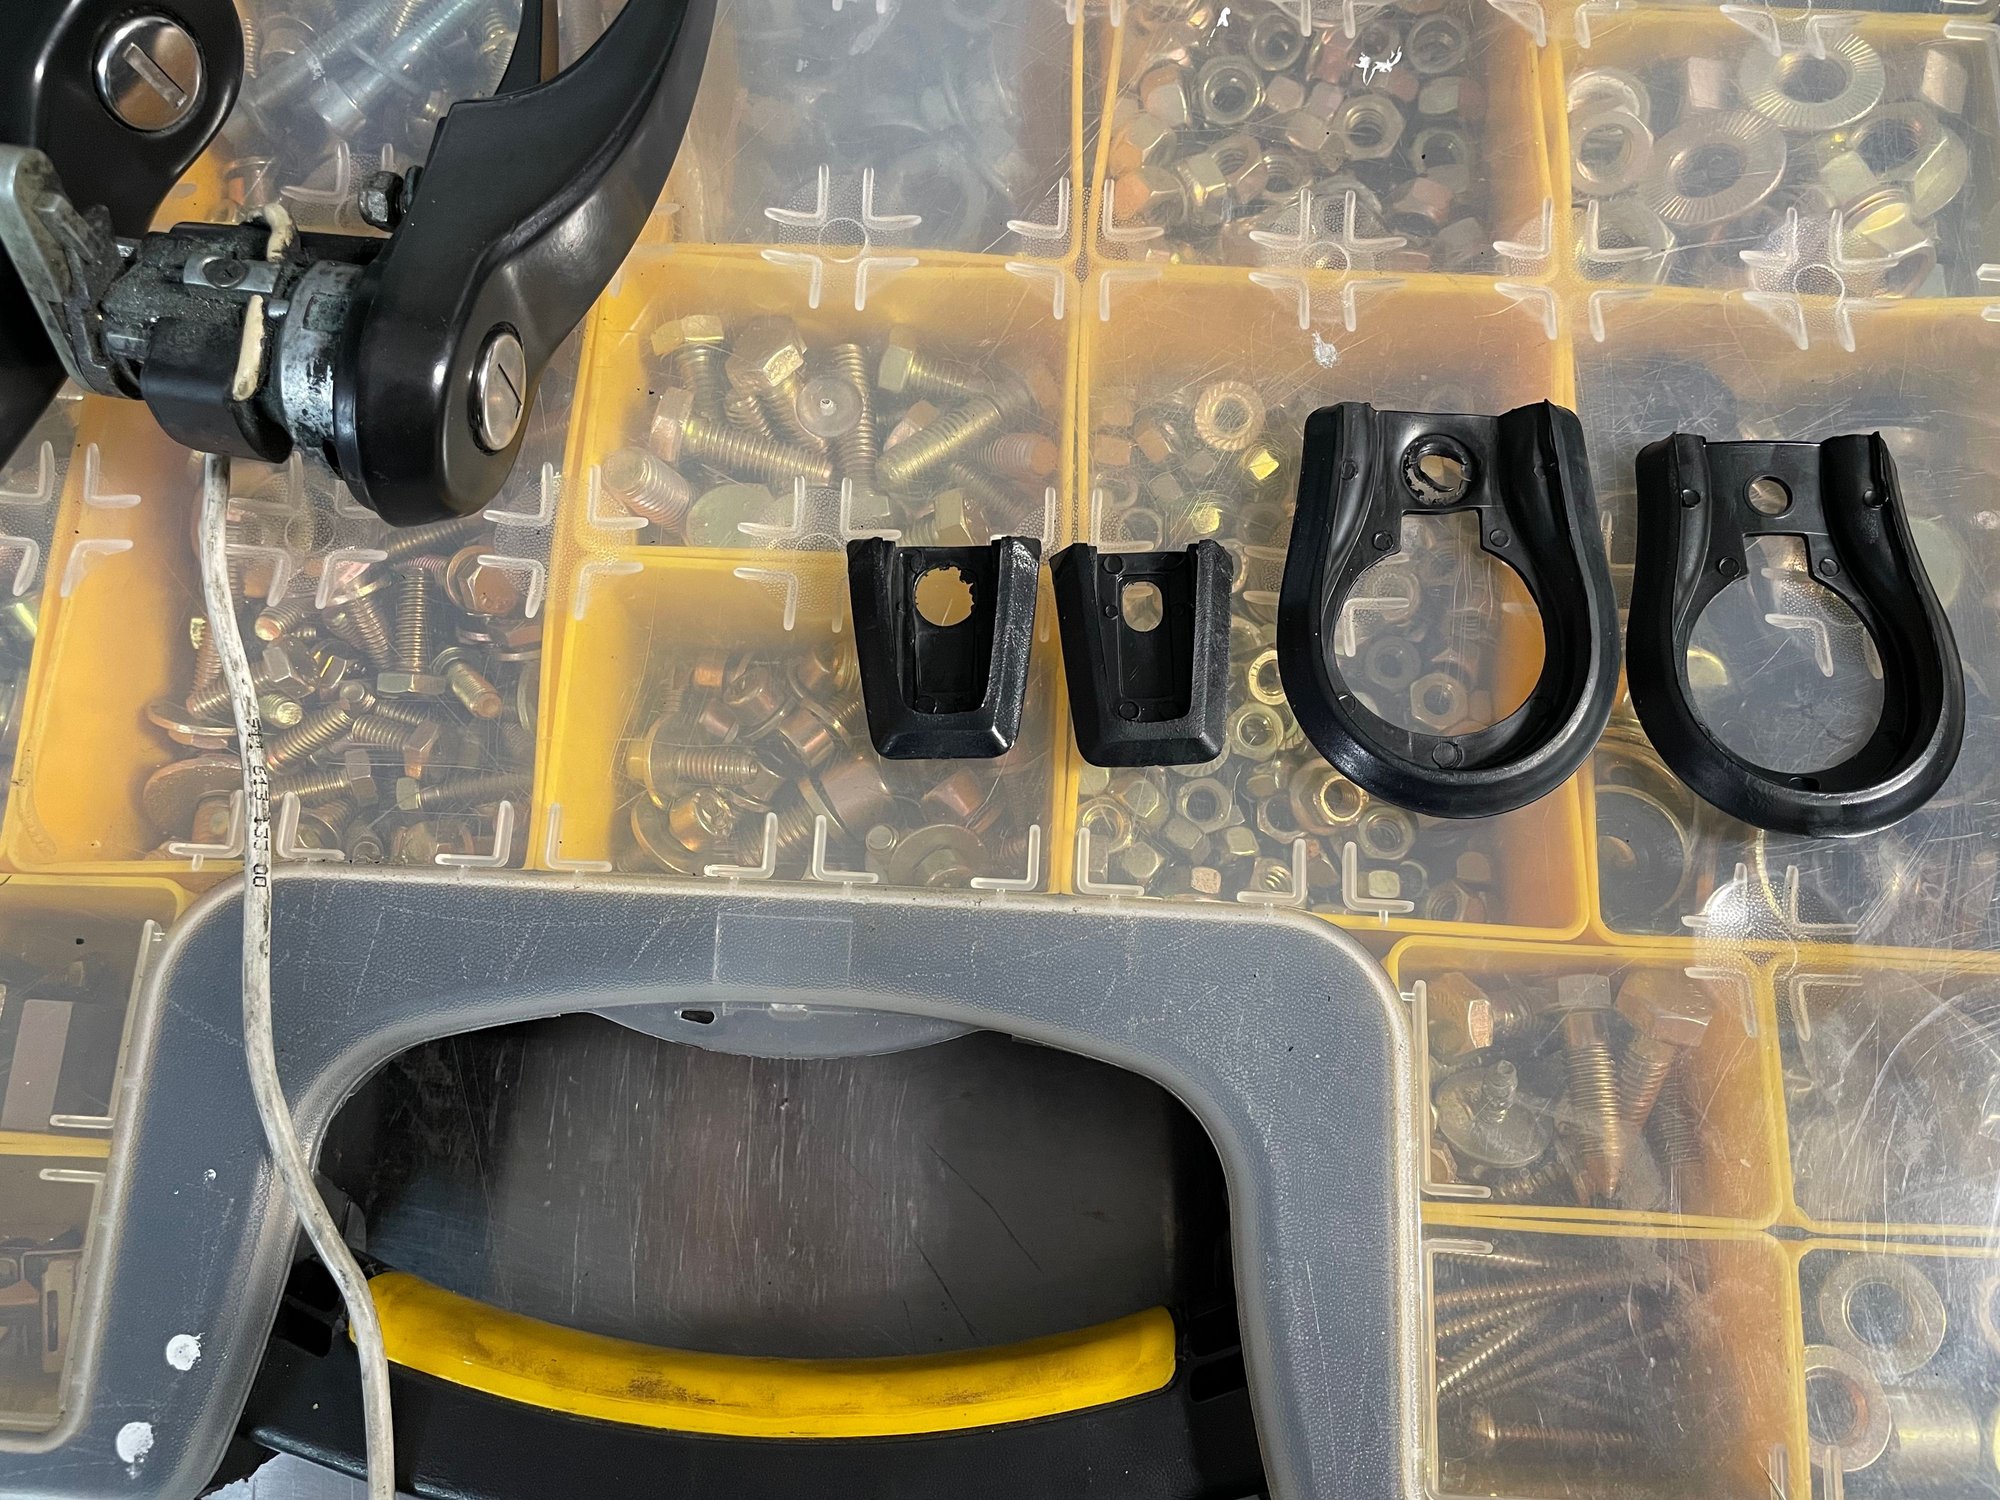
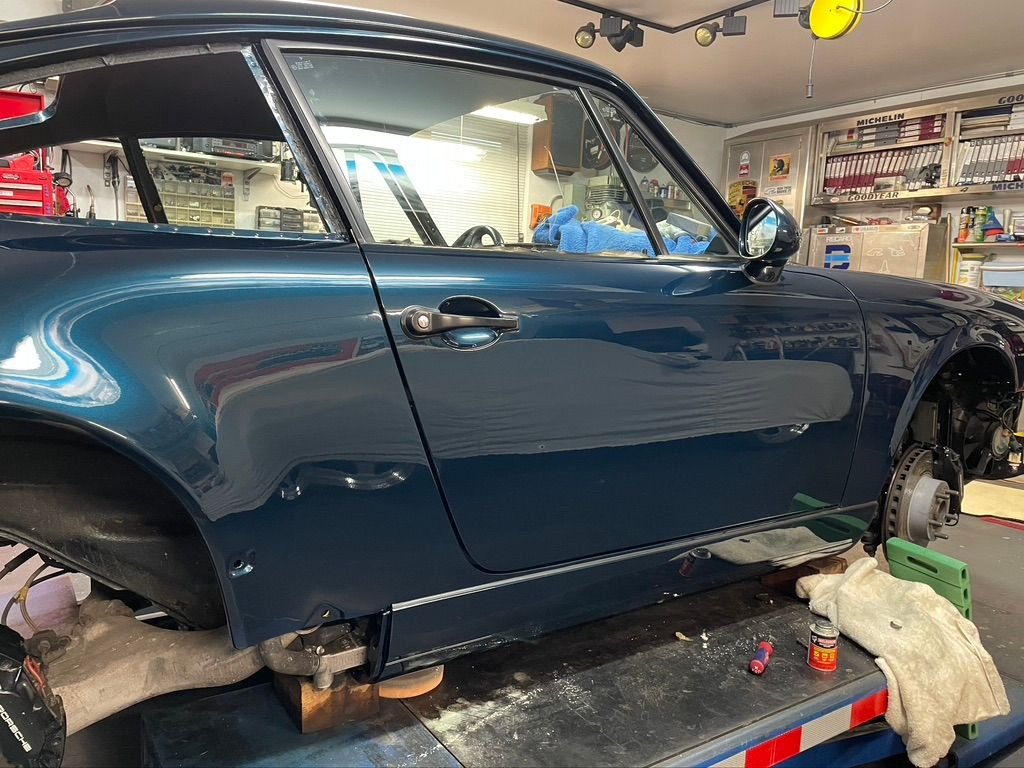
Spent some time during Henri as I pumped my pool down twice removing some 6000 gallons of water dropped in a few hours working on trim pieces and installing the door handle and mirror on one side. Fitting new seals takes time to make sure the lay flat and I have to admit for nearly 30 year old seals the originals were almost worth of being reused.
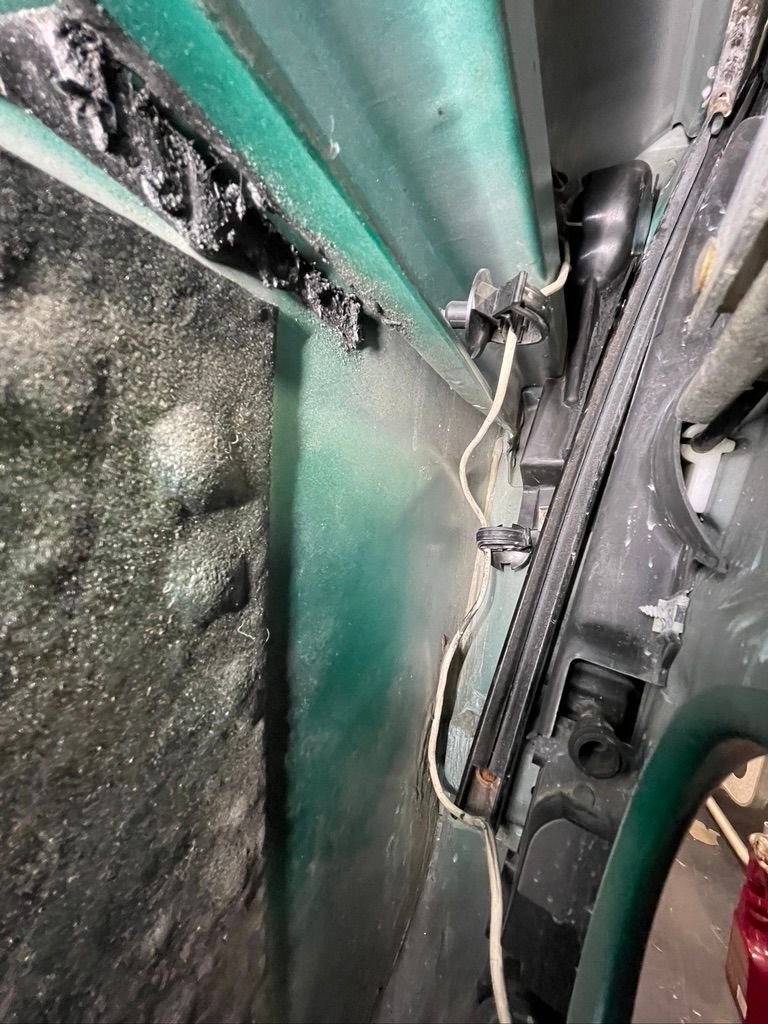
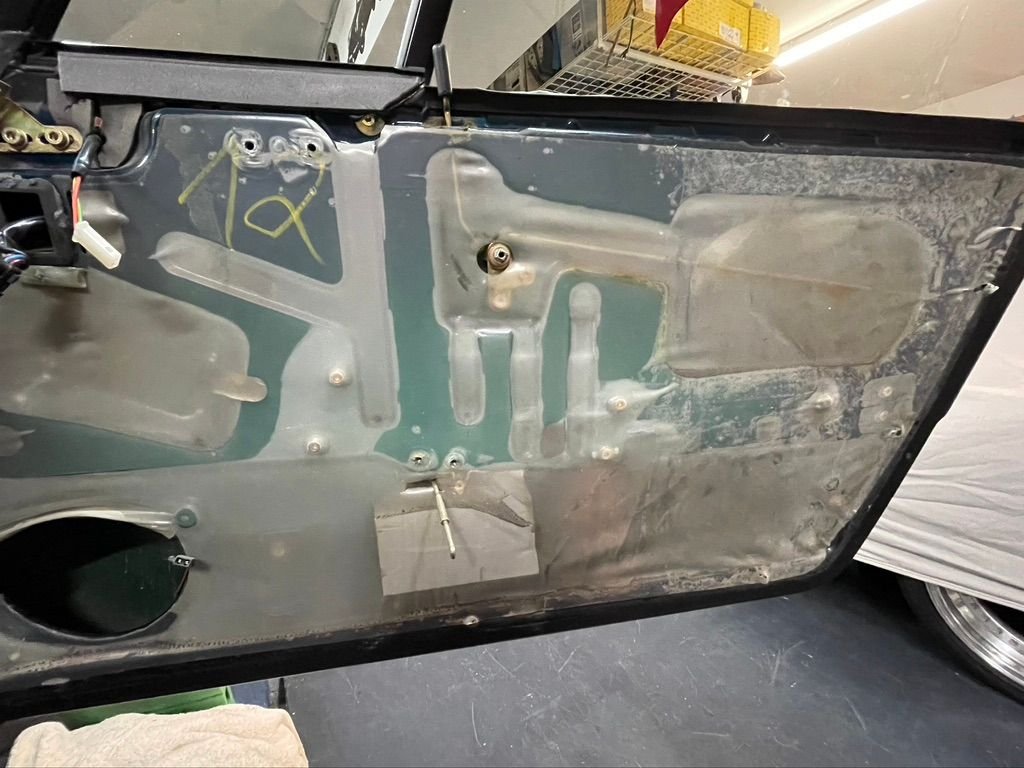
I had noticed whoever was in there before did not install the wiring correctly which is a PITA but you don't want the wires damaged by the window regulator. Also the plastic that covers the door is heat shrink material. It had shrunk a little in the curing process after paint so I had to stretch it to fit properly. This is usually not done and is the reason so many door cards warp from water getting in.
Now this gets pushed to the side while I install my Numeric shifter in the **** Box for the upcoming Glen event.
So it has been a while since I have had the time to put into this project. Track and concours took over these past few weeks. The Bridge event was amazing and worth checking the pictures John posted out.
I finally had the time to remove the old carpet. Interestingly I like two tone interiors so long as the carpet is dark. Looking over my CofA on this car it states the car has cashmere carpet with black supple leather seats. I must assume it is a mistake or the seats were swapped out for cashmere at some point.
Either way I am already eyeballs deep into this so no turning back.
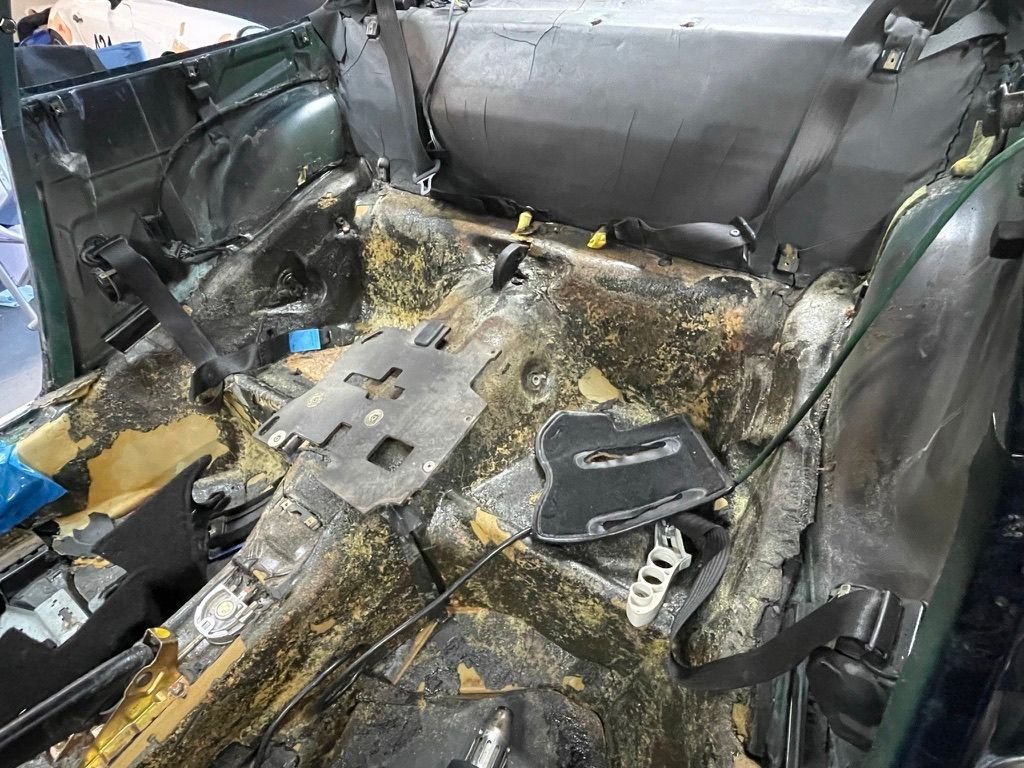
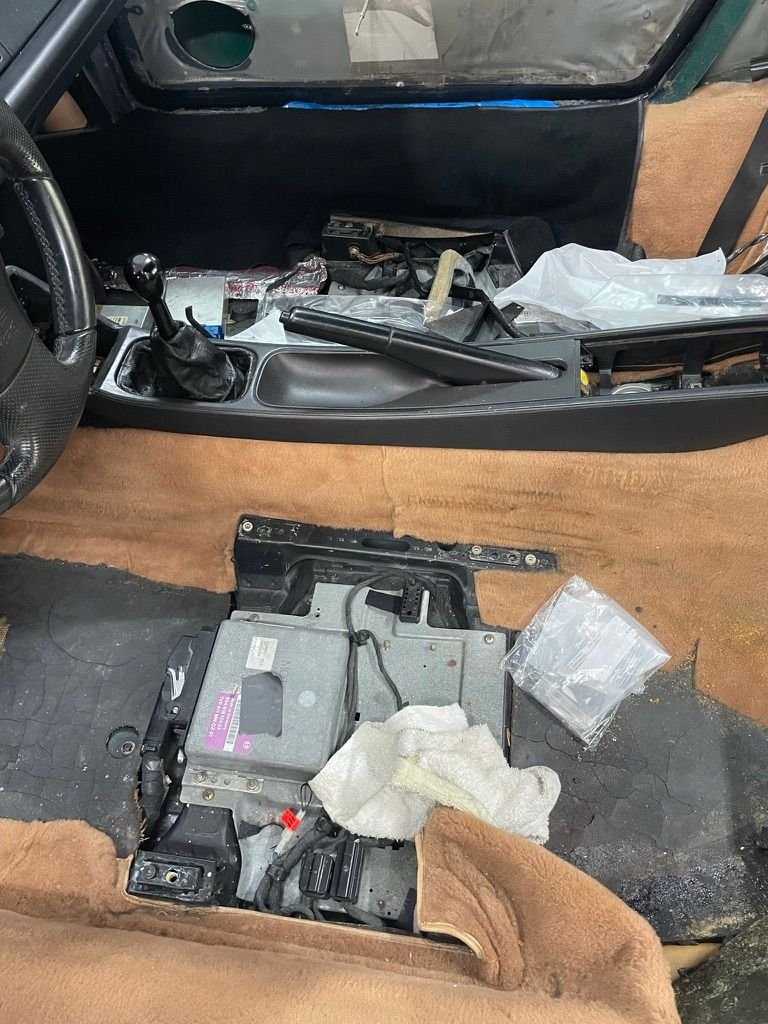
I have removed carpeting and interiors from several 964's and none gave me as much of a hard time as this one. Although I usually am removing the sound deadening as well. I wanted to preserve the insulation if I could i didn't want to have to replace it if not necessary. I also wanted to save the carpet if I could. It is in very good condition minus some small areas that can be cleaned up. It is amazing how sticky the glue is after nearly 30 years. There is no pulling it free without destroying the insulation covering. So I was told to sue a razor knife. HaHA that would take a lifetime although in some tight areas was necessary. I found if I used a heat gun at low setting about 4" away from the backside of the carpeting it just pulled up but then would stick to itself. So I used plastic to cover the old carpet backside when done to preserve it for now. I did get lazy once and leaned my head against the center console after removing the carpet. It is very difficult to get into the area around the pedal box so I got to close and lost some hair pulling my head free from the glue. I also recommend open air and mask when doing this as the fumes from the melting glue can be a bit noxious.
So this was the best I could do I had to fix some areas where the hard backing pulled away the glue was so thick neither the knife or heat gun could separate them. For the most part I salvaged 90% of the padding and used tape to fix the areas I couldn't salvage. It helps to keep the new carpeting smooth looking.
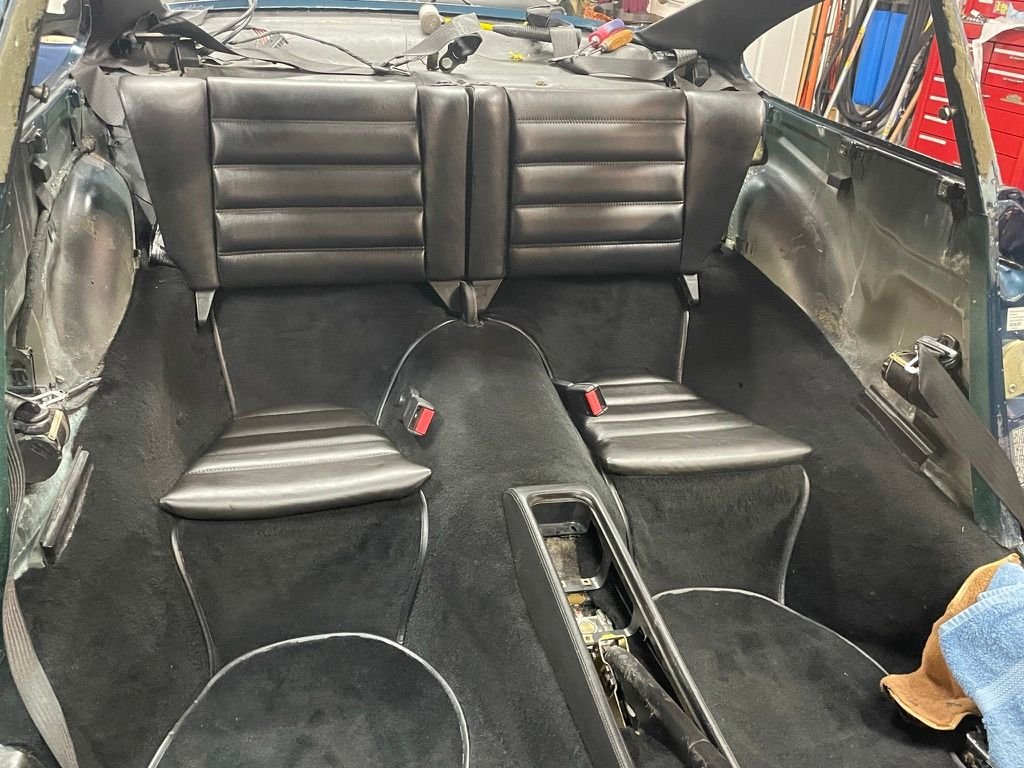
So I started on the installation of the new carpet I got from Autos International. It is not a direct fitment so you need the old carpet as a templet to get the holes correct and some cutting is required. I prefer the extra carpet as I can cover more of the sound deadening then the factory did.
It will be another day or two before this is done but I am happy with the decision to go with the factory sliverknit black and not the black with gray as I see in most 964's.
Just in the rough stages but is coming along better than most factory installed carpets I see.
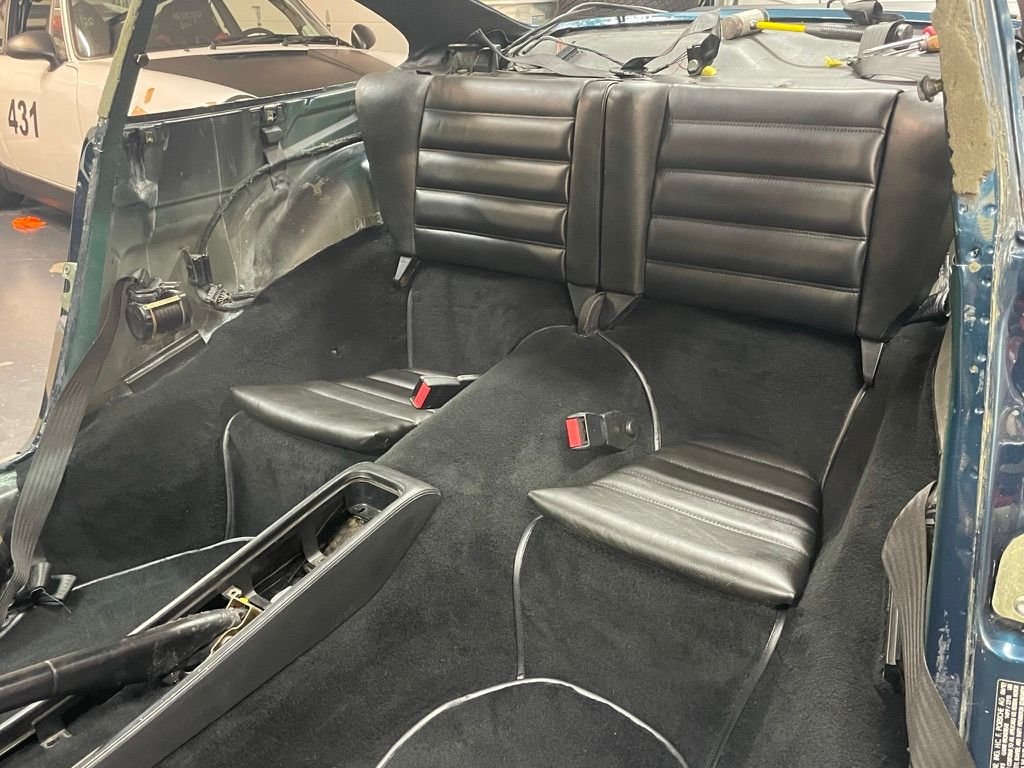
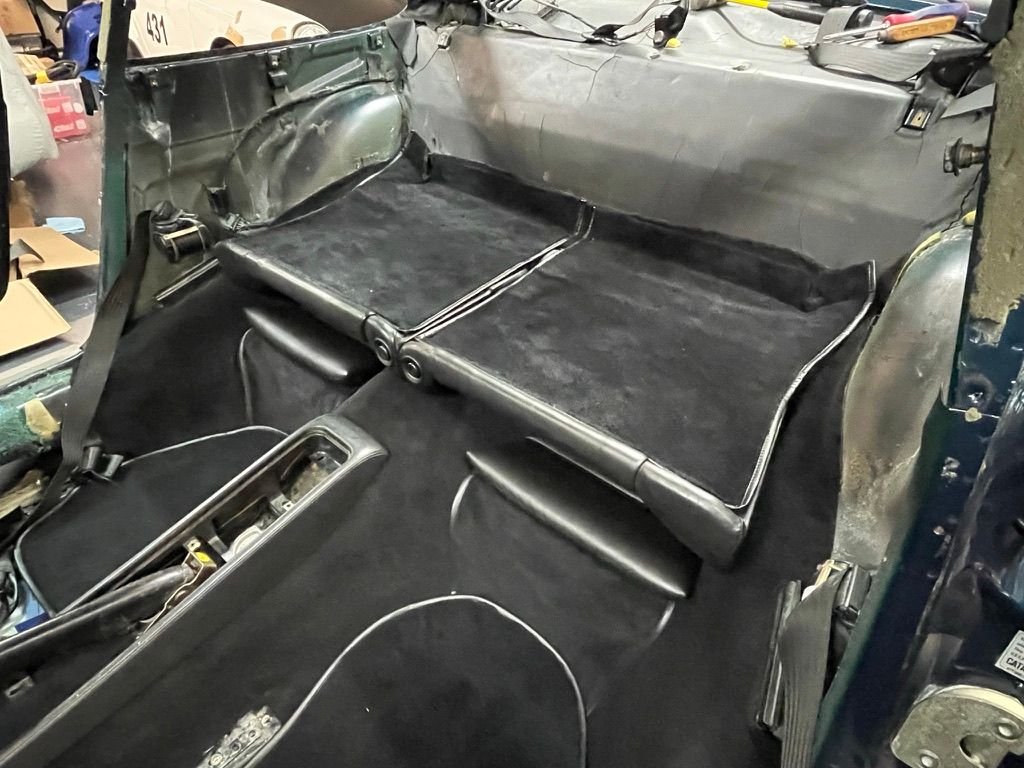
Slowly coming along. It is amazing how much time it takes to do properly. I see a lot of carpets done professionally with massive wrinkles and issues. Some little areas can take an hour on one side and 5 min on the other. But I am making every effort for it to look better than the factory carpet. I should be done by today and then the rest of the work begins.
Two side carpets and some minor work in the toe box and I am done. I just not as spry as I used to be.
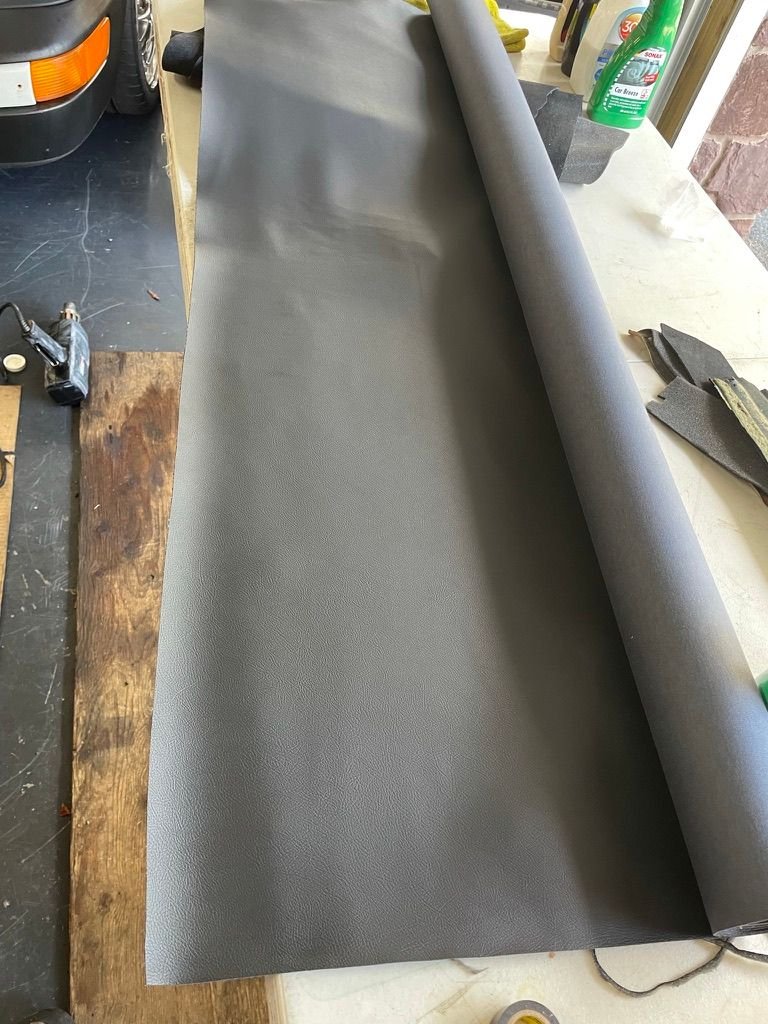
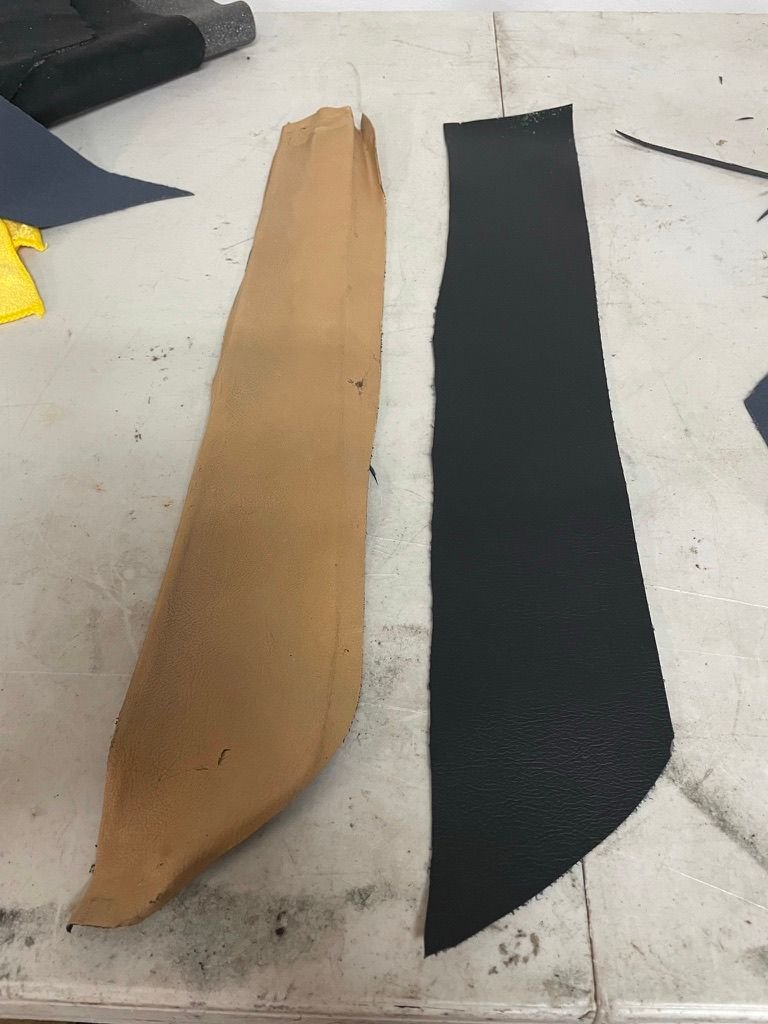
After pricing out the vinyl bits from Porsche I decided to buy factory quality vinyl from Veteran by the yard. Very nice material with a perfect match to the factory bits. The old vinyl has become a little brittle from age and shinny from years or cleaning and applying products. I don't want leather as it is a bit too delicate and this will be a driver when done.
So I had the old pieces left over to use as templets and some padding from my track car build I did in Alcantara. It takes a bit of time to make everything as perfect as I can. Had to cut and punch holes in the bits like the carpet so all the mounting parts line up but it wasn't all that difficult. looking back I could easily do this and save by just buying the carpet by the yard and having someone sew the welting for me.
So. I am at a stand still right now. Windows and rear panels should be along this upcoming week and then the interior will be done. I can install the sportster CS's and move onto installing the drivetrain. It will be nice to have a driver 911 again although the season is coming to a quick close. they are coming to close the pool today. 2021 went by quickly after 2020 dragging along so slowly.
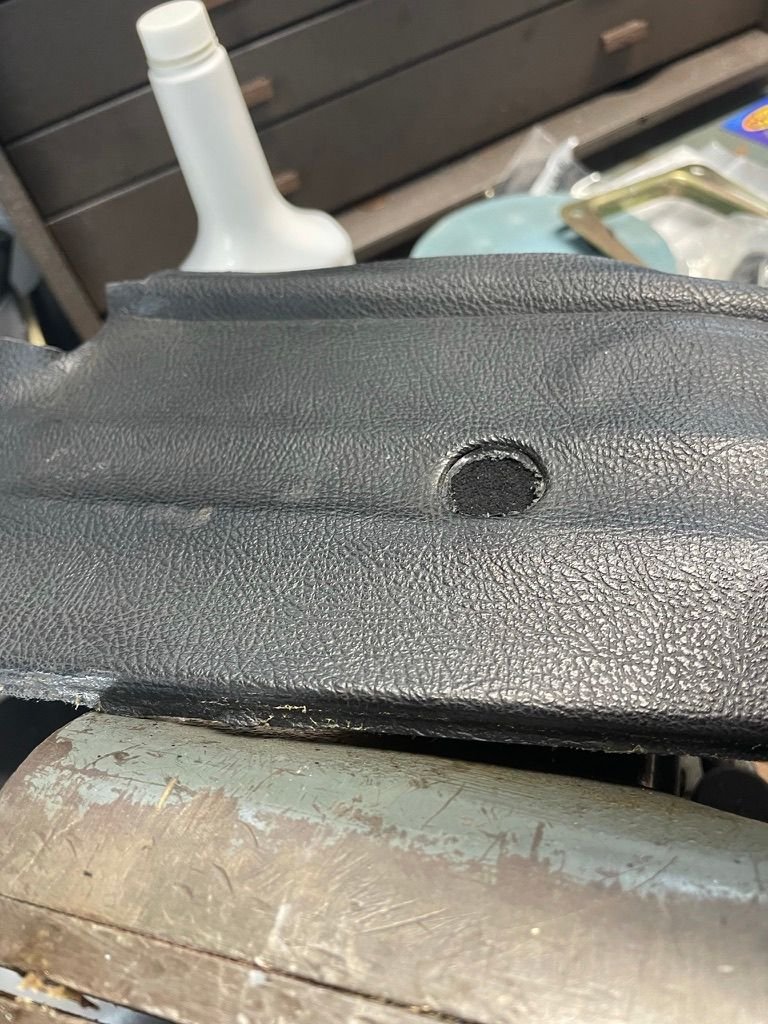
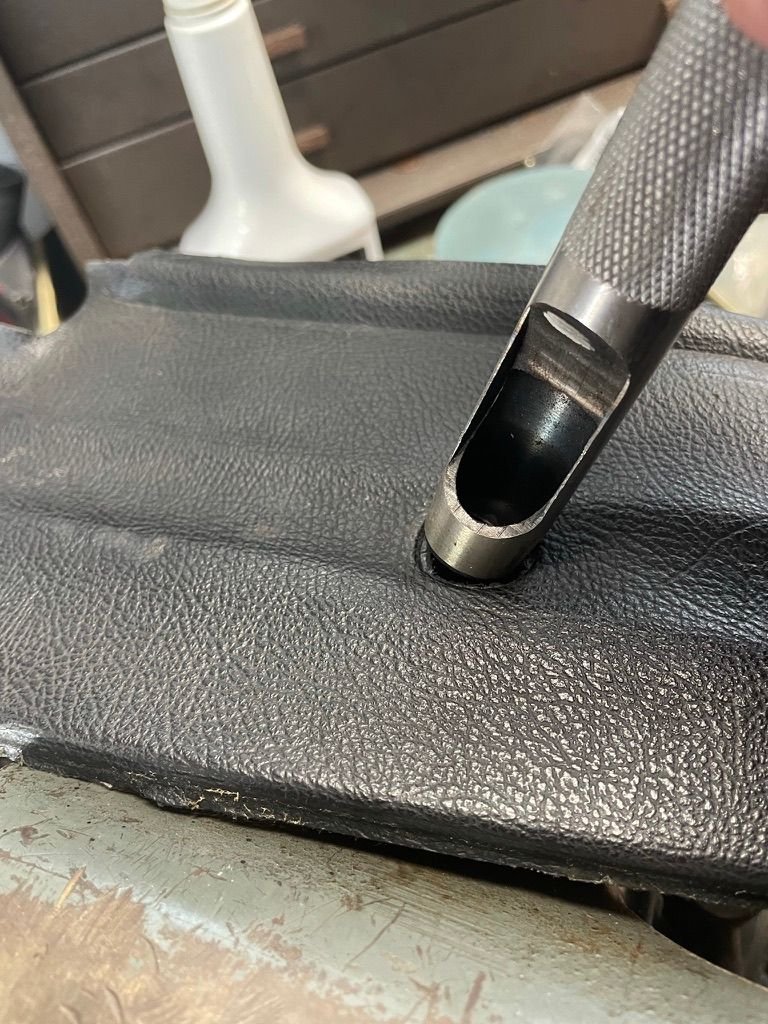
Here are the pics of the final bits as I made them and after installation.
Had to heat the old pieces to flatten them out first Finding correct punch size to make seat belt hole Padding
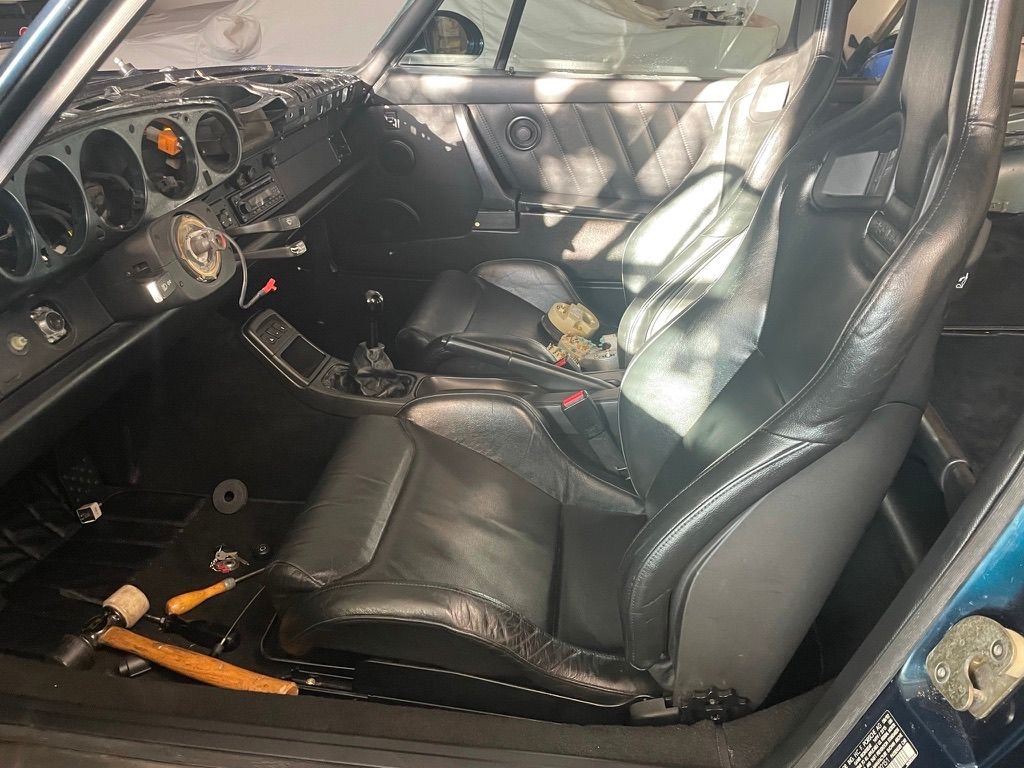
I really like the basic black interior. With everyone going tartan and over the top interiors I like the old school look of the 964 as it was meant to be. It looks better in person. Nothing flashy just purposeful. The reason I didn't go RS door cards. I like to store stuff in the side pockets when I go to events and carry folding chairs in the back. the seats help to hold them in place without moving around on spirited drives.
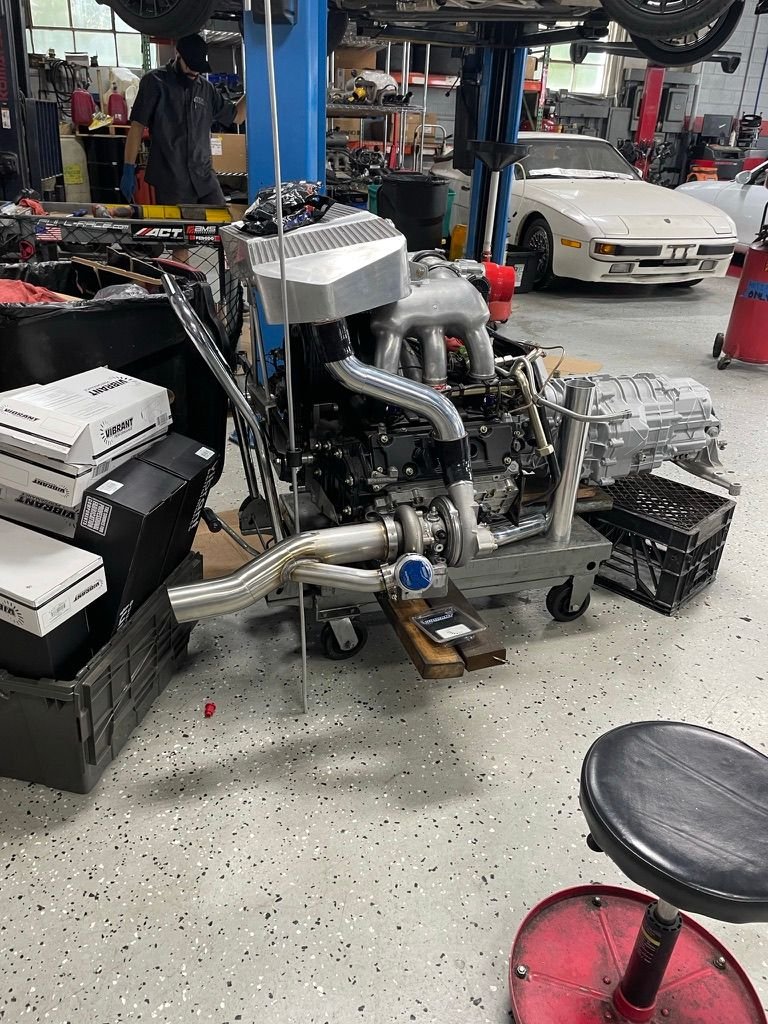
I hope to make some progress on the Blue meanie engine while I wait on parts for this car. Finally got some supplies in for that project. Getting parts has become a huge issue these days,
Will mount this on the engine stand and finish the IC piping and hard lines for the turbo cooling.
I haven't been visiting the forums lately just too busy so here is a long overdue update.
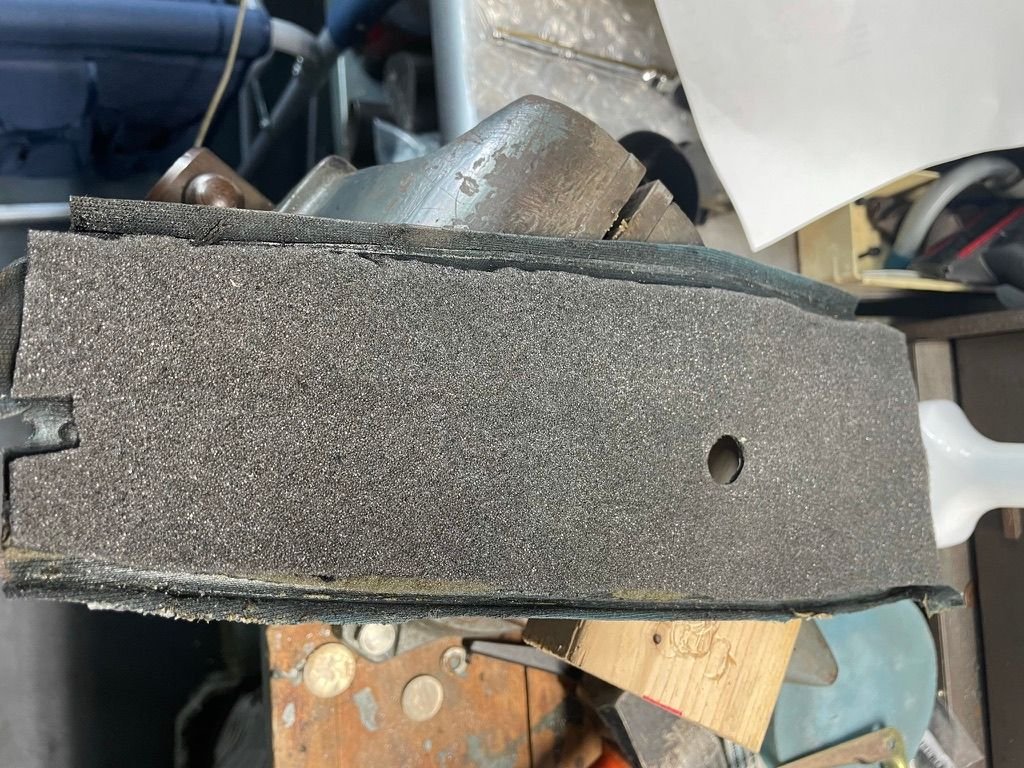
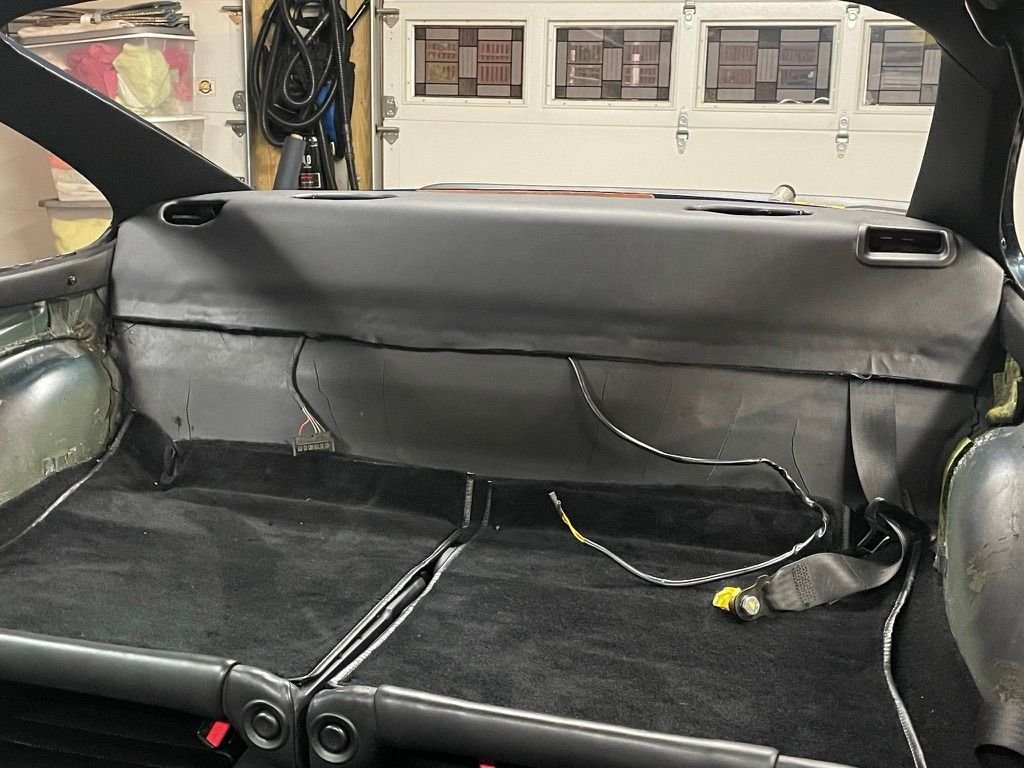
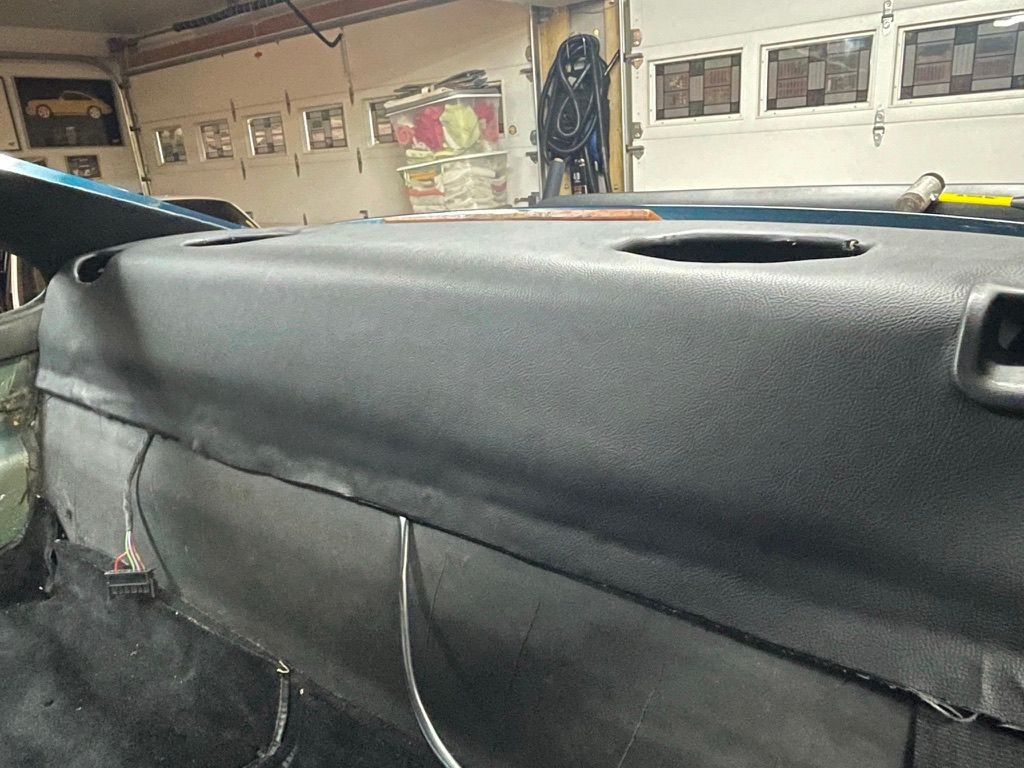
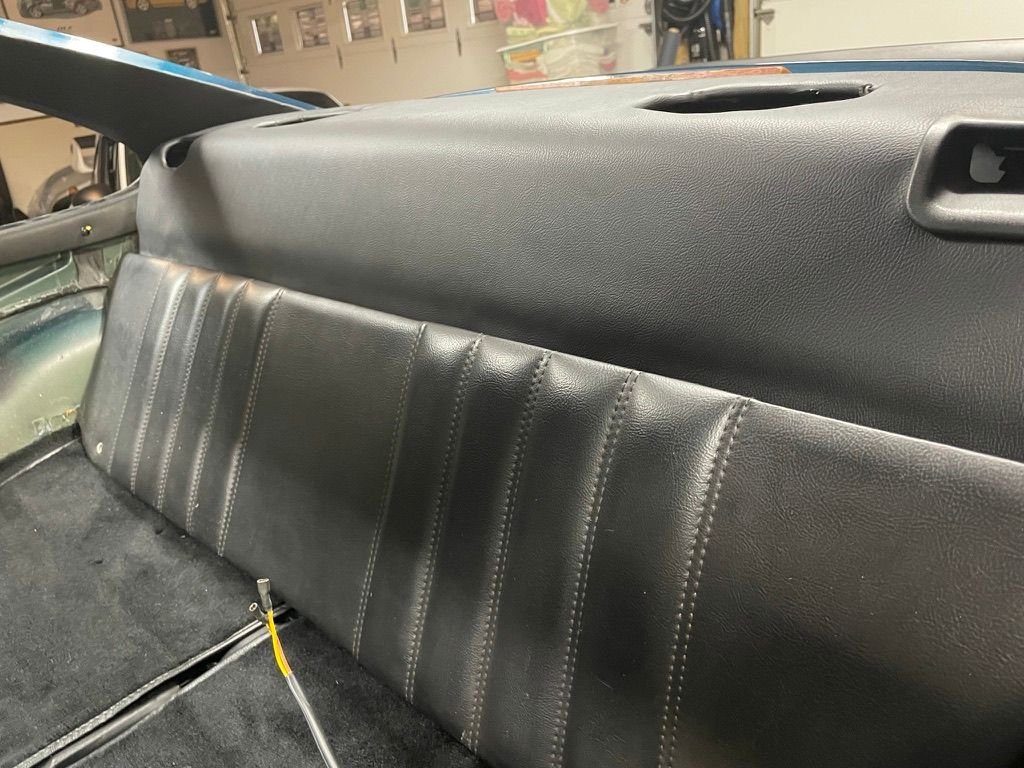
I started redoing my rear panel. The shelf I had without an opening for the wiper was not in the best condition. I had to dissect the entire thing and replace the upper vinyl.
It is an involved process. You must pull all the staples apart and separate the two halves. This is a little more complicated than most DIY projects. getting the vinyl to stretch around the curved areas is a bitch. Now I see why each panel is signed. It is like a work of art when you realize what it takes to make these perfect.
This was my first attempt I did not have time to take pics of the second attempt which came out perfect but the parts are back together and Pino will be spraying the panels in the same black as I have on the rest of the car. The lower quilted area is the wrong black so it is all getting redone. You have to remove the vinyl on the lower padding to staple it all together and then you can glue and staple the vinyl back it was a real PITA but came out looking like new which we will see in a week or two hopefully.
I learned from the part which came from the **** Box it had light gray and cobalt blue interior. I plan to paint that car cobalt again one day so I might continue with the color scheme or not.
Here are some photos
I am going for a rather subtle look. Nothing over the top as most builds seem to be heading just a simple 964 interior in its original glory.
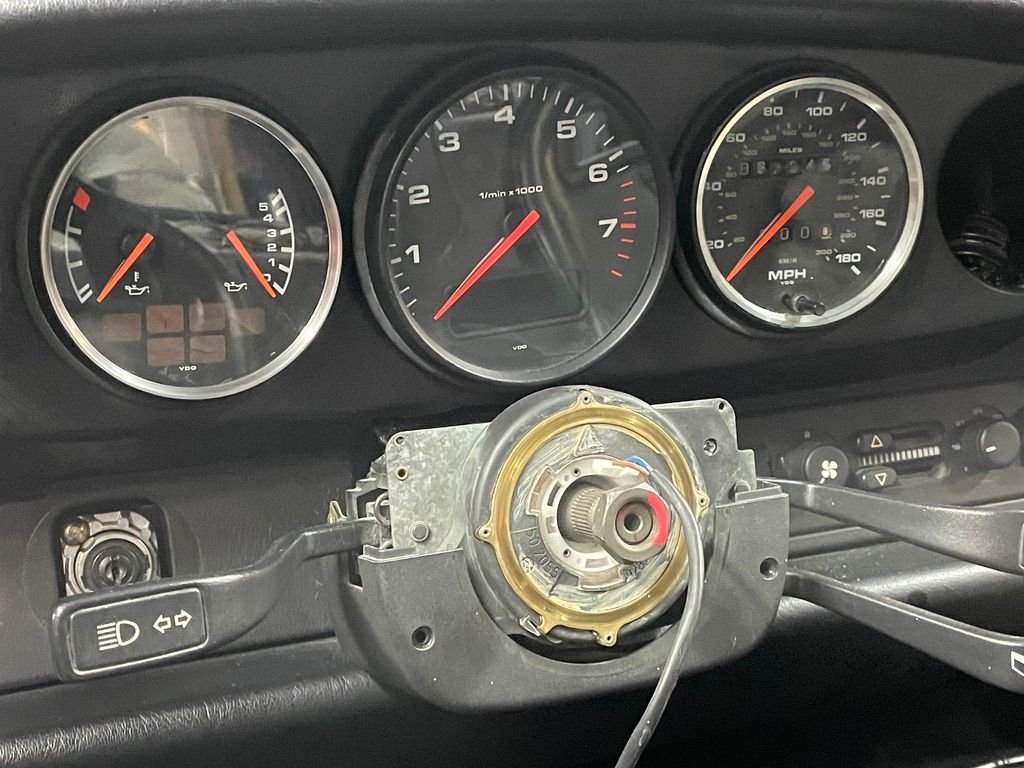
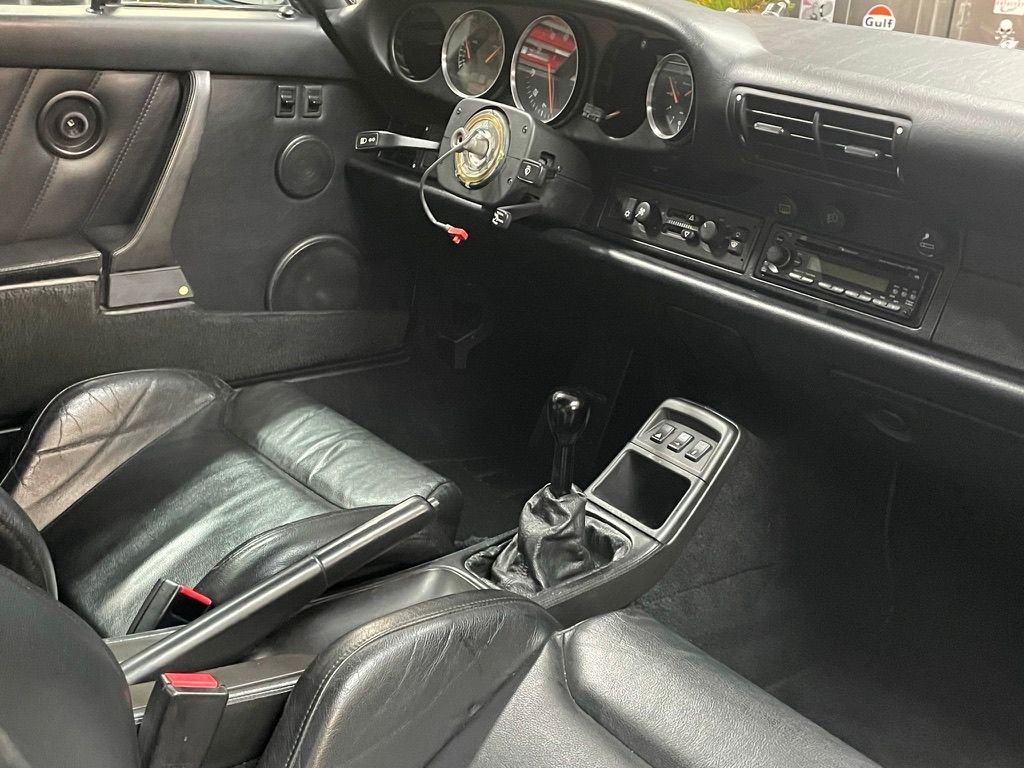
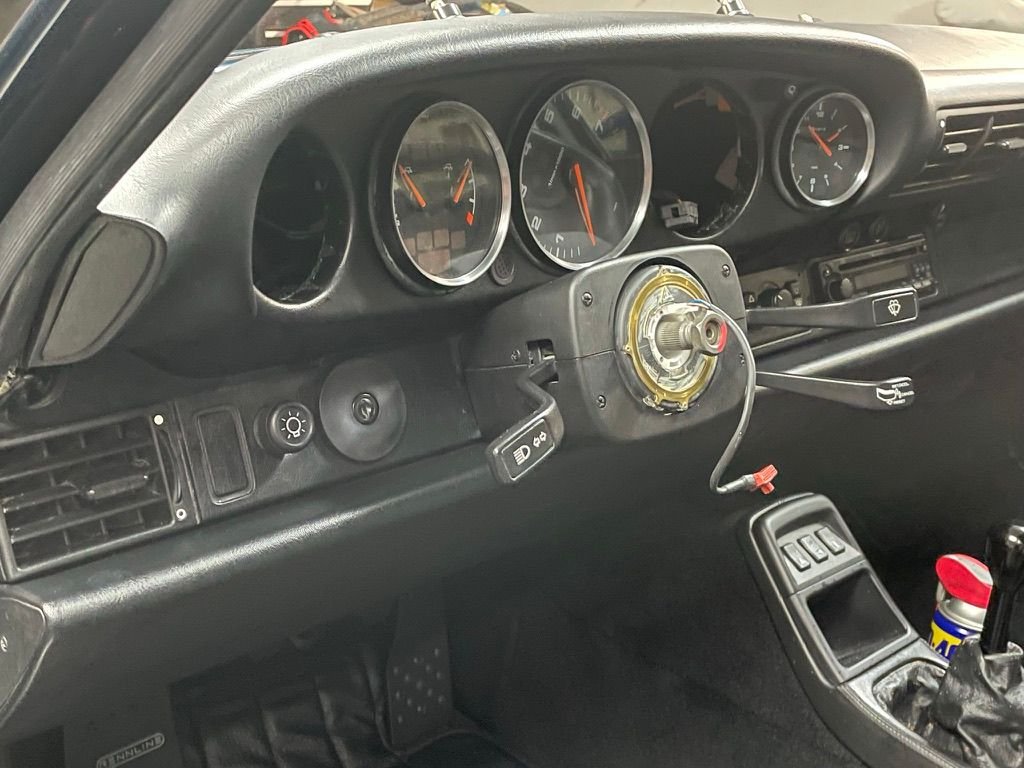
I have nothing that pops or stands out and all accents are black so I had to make a choice about the gages. I had silver gage surrounds I used on this car which added a bit of a modern touch but the issue is they make the gages look small by encroaching on the gage face. So I have a set of all black factory leather wrapped gages or the surrounds as before or I can do some customization of my bezels. I need to source some new lenses and gage faces. The gages closest to the door have begun to lift and the lenses delaminate. As you know the glass is backed by a piece of plastic in case of an accident so the glass doesn't fly everywhere and they tend to delaminate or haze over time. I will need to remove the glass and bezels so the question is what to do. I wanted a dark gray gage face but the gray they offer IMO is too light and not to my liking so I am going to stick with black.
Here are the three gage choices which look different in the pictures than in real life.
The left is a modified factory bezel the middle is leather and the right has the overlay I had used before.
I am leaning towards the left so far it gives a little accent without being too in your face.
Some others I had played with.
BTW the sportster CS's are in I didn't realize I purchased these in 2007. They are showing some age but I like them as is. I had to make some adjustments and added the Cantrell side adjustment ***** but they only helped a little.
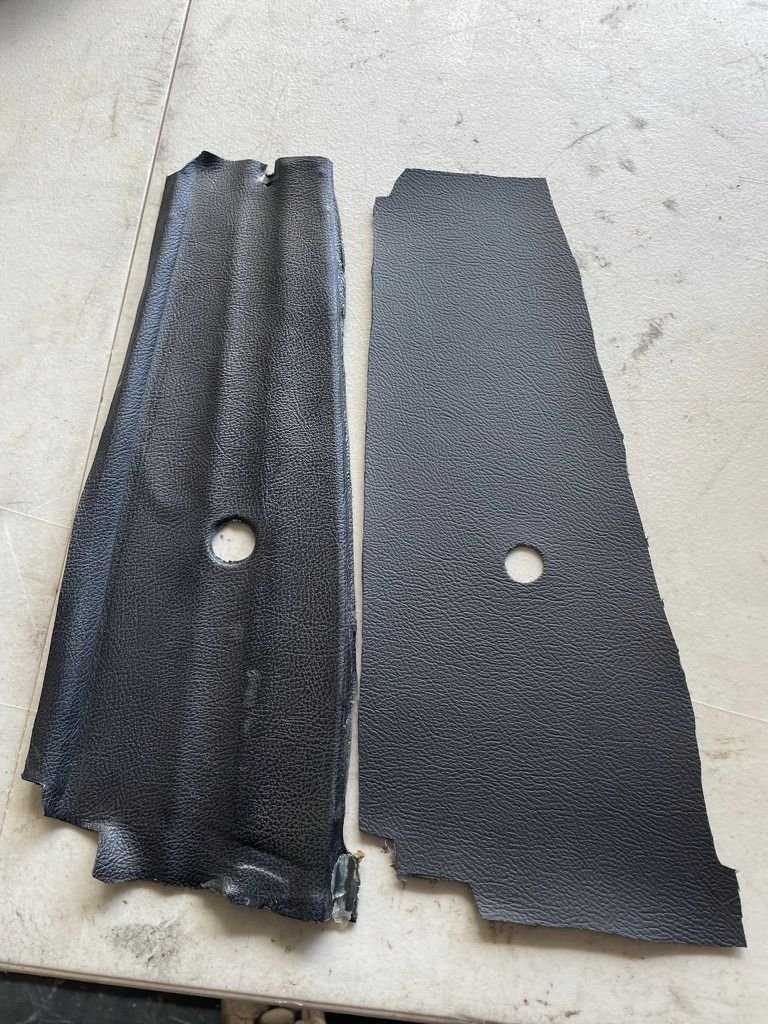
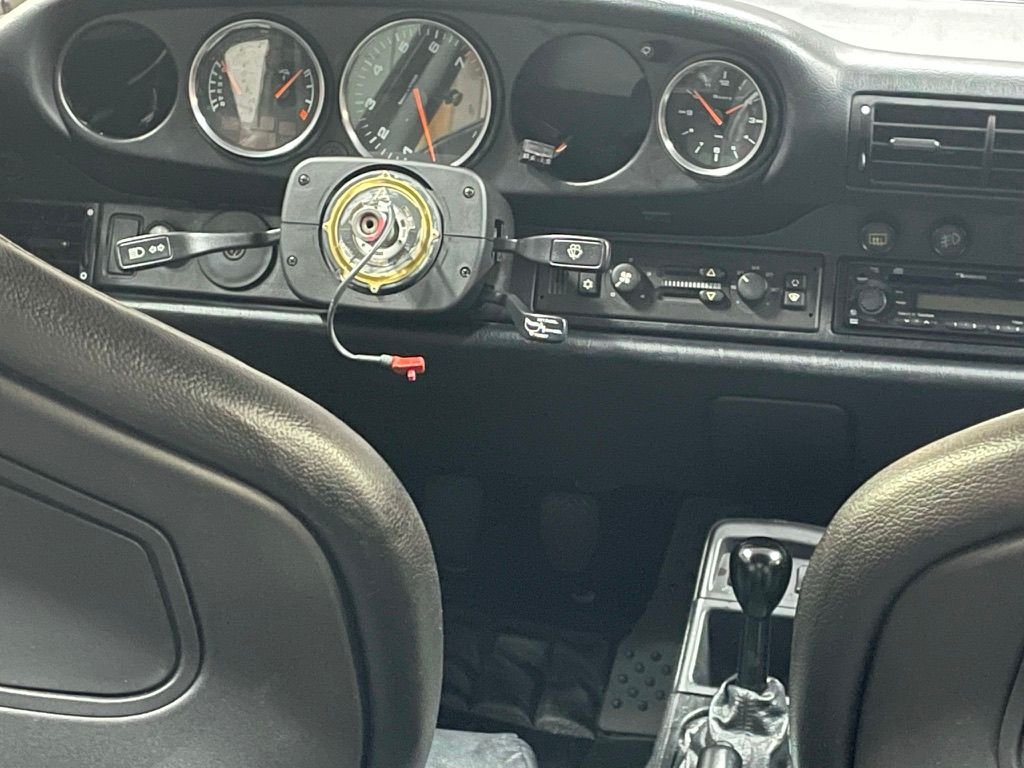
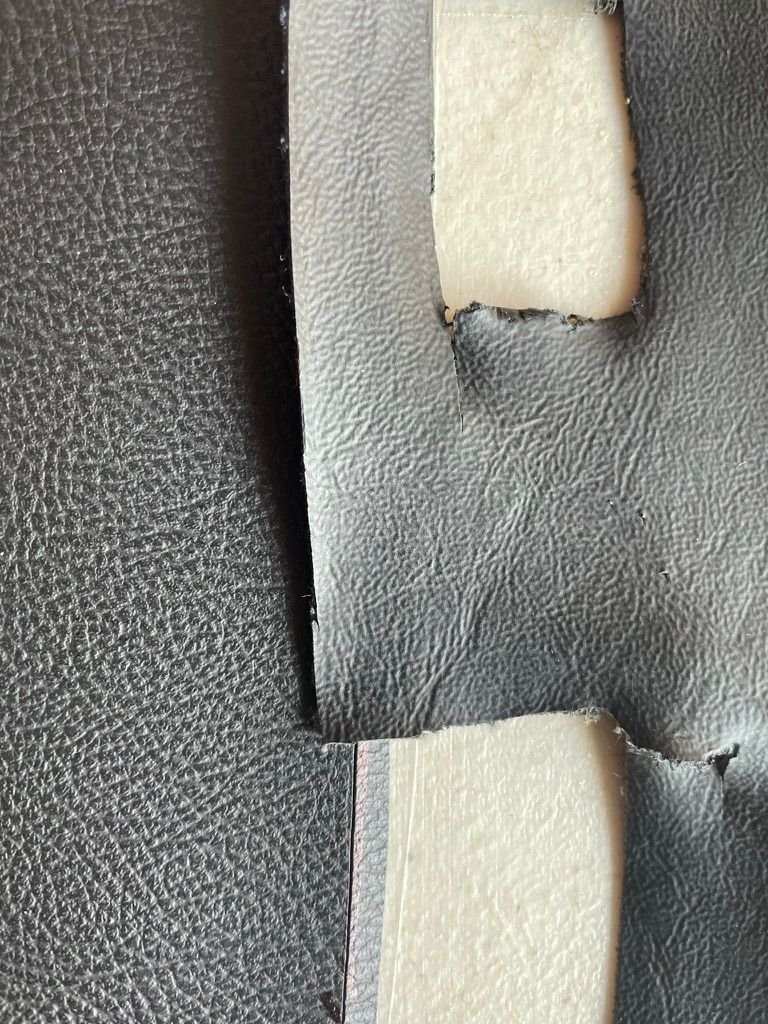
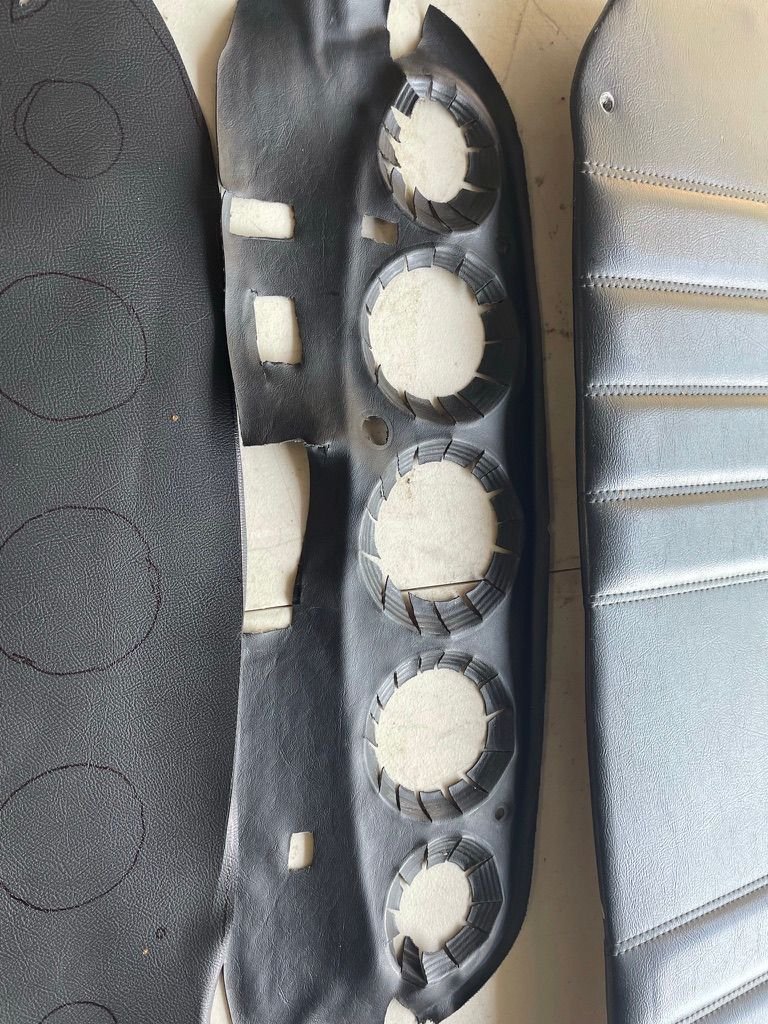
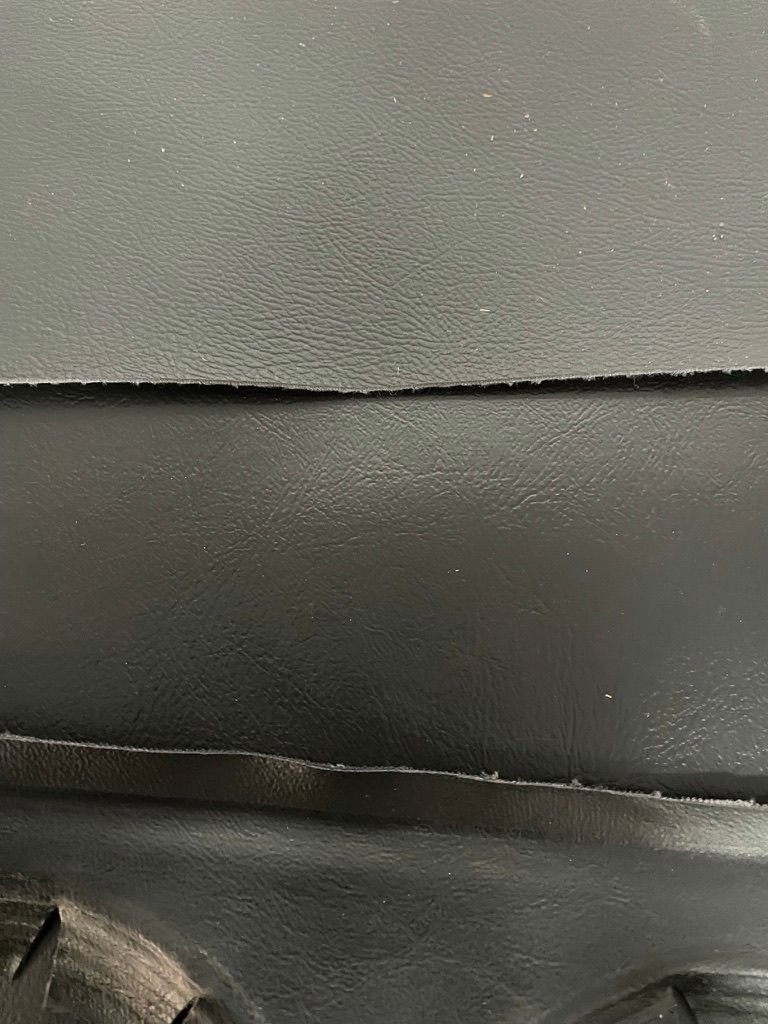
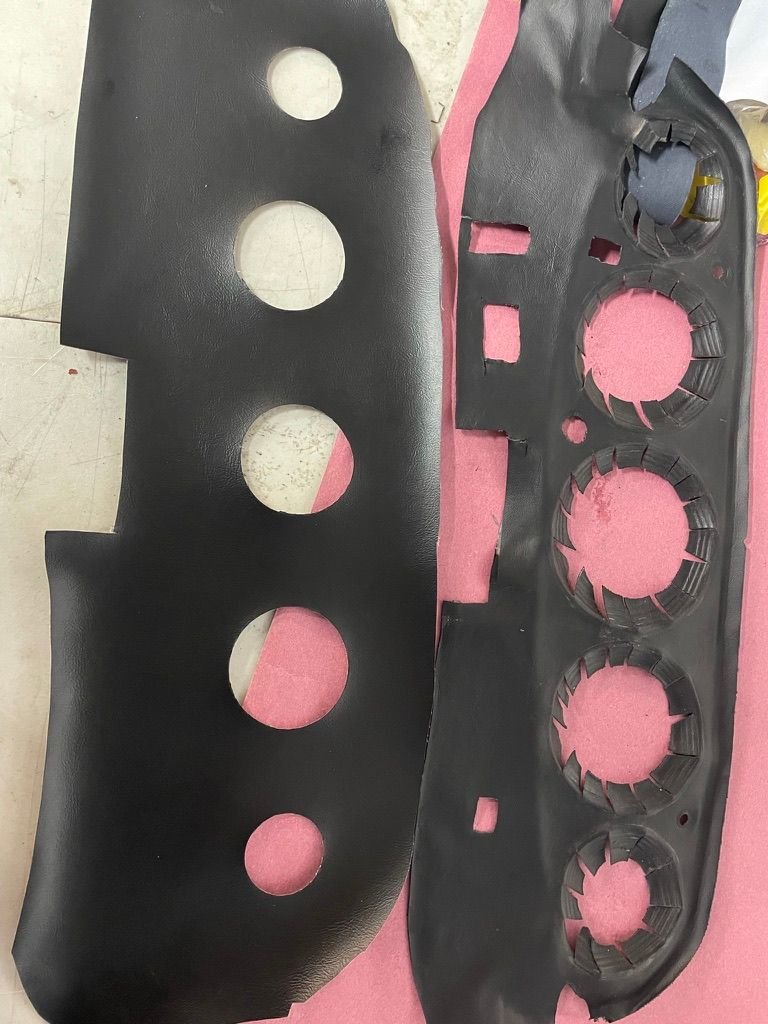
Lastly I did not want the switches for the sunroof and rear wiper so I had to replace the vinyl around the gages to cover up the holes. After removing it I realized that the vinyl for the gage surrounds is different than the vinyl for the rest of teh interior. Luckily Pino had a supply of vinyl and gave me a piece. It is a finer grain than the regular vinyl and I didn't want to buy a yard for a small area.
Interior vinyl left and dash vinyl right old vinyl removed. You need to remove most of the dash to get this correct Prepping the vinyl for installation Final product but still need gage parts to finish
My biggest hold up right now is getting small parts from the factory. Supply chain issues is making the simplest parts hard to come by.
🤞 Hopefully the windows will be in this week so I can get the engine back in the car.🤞

 08-16-2021, 09:28 AM