When you click on links to various merchants on this site and make a purchase, this can result in this site earning a commission. Affiliate programs and affiliations include, but are not limited to, the eBay Partner Network.
Many of us would love to delete our sunroofs, but fear either the $$$ or not having guy's like you and Pino close by.
For those that haven't seen the process or even seen a roof skin removed, watch this: (this process probably differs in many ways from how Cobalt/Pino are doing it, but gives you an idea of what's involved)
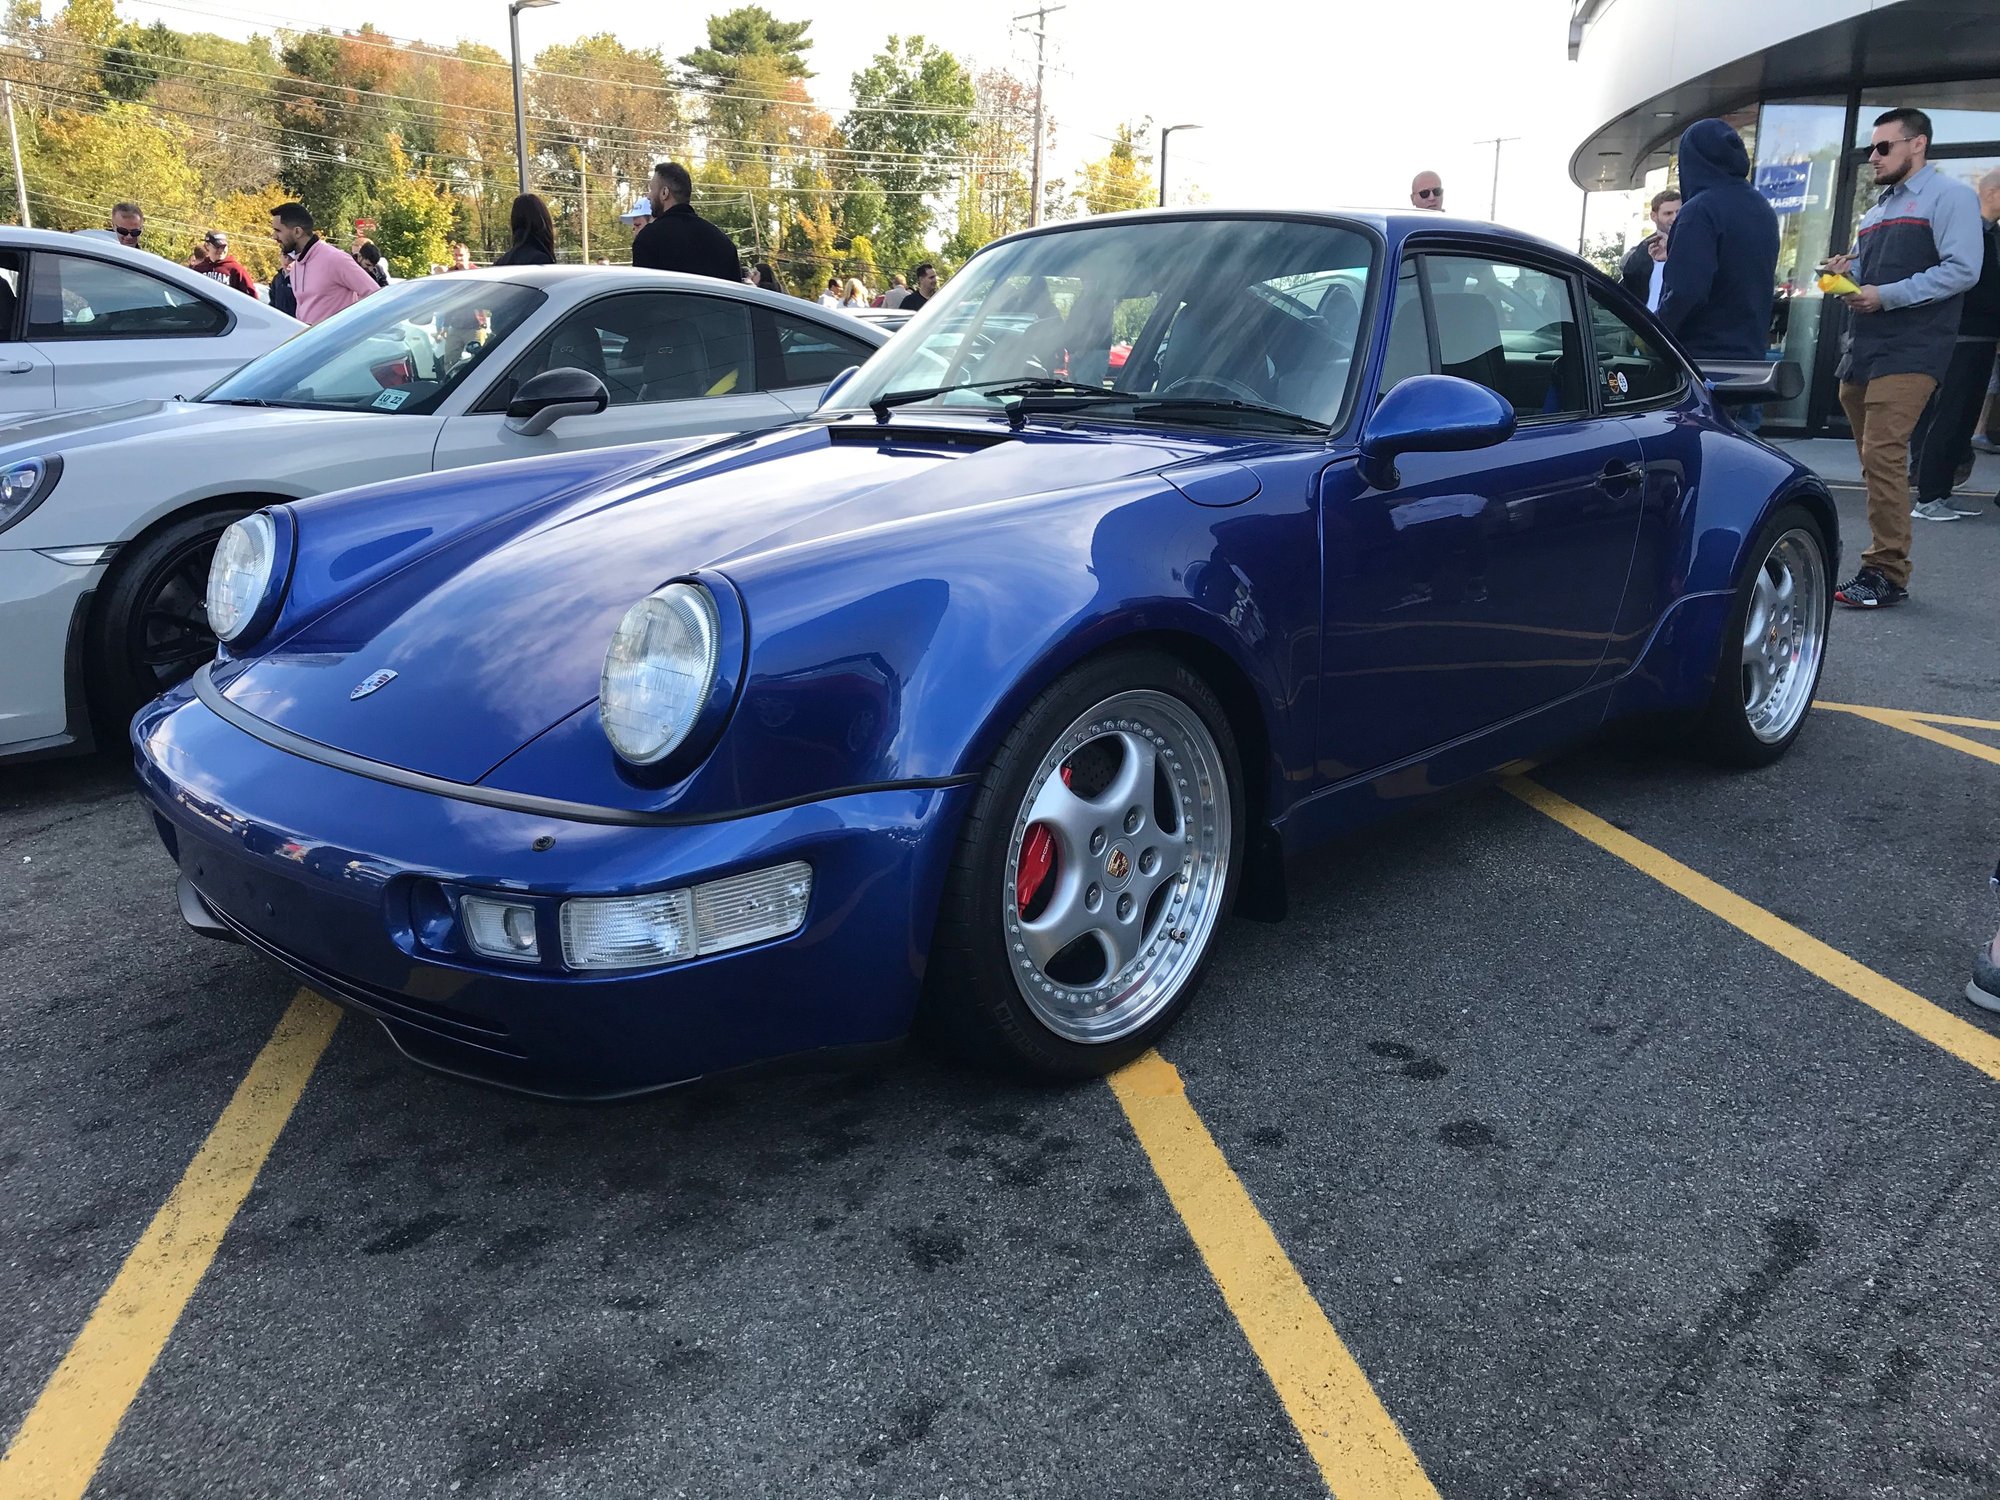
Actually it is nearly identical process although after quite some deliberation we chose not to do the Cowl and back sections. Unlike Larry's car mine had 0 rust anywhere and I didn't want to mess with perfectly good factory sections. The video is quite accurate but we spent a lot of time making gages which verified everything was to original spec and he now has for use on other projects. Making the new panel fit to the old was a bit of work and what they don't show you is all the man hours involved that are so heavily condensed in the video. We will also be bonding the roof skin which wasn't done by the factory. Just the welds and crimped metal held it in place. It is taking us more time since this is a side project and I end up helping out with other projects as much as I am working on my car LOL. Pino's guys are more than capable of doing this work but he knows how fussy I am so he won't let anyone else touch it and he is a very busy guy. Meanwhile the cobalt AR is now back to original. The protomotvie turbo setup is gone and good riddance.Now just waiting on the top and seats to be recovered but the mechanicals are all back to stock.
Originally Posted by eddieb4
I had the Fennline delete panel installed per their installation recommendations and it has been perfect.
We did the feen lane on my track car and it is a great product and simple way of doing it. So far no issues. I just wanted it done factory style on this car. If anyone checks they would be hard pressed to say it wasn't factory but we all know otherwise. I like working with metal and figured it would be fun cutting up a pristine C2. Now that we are this far along the rest goes quickly.
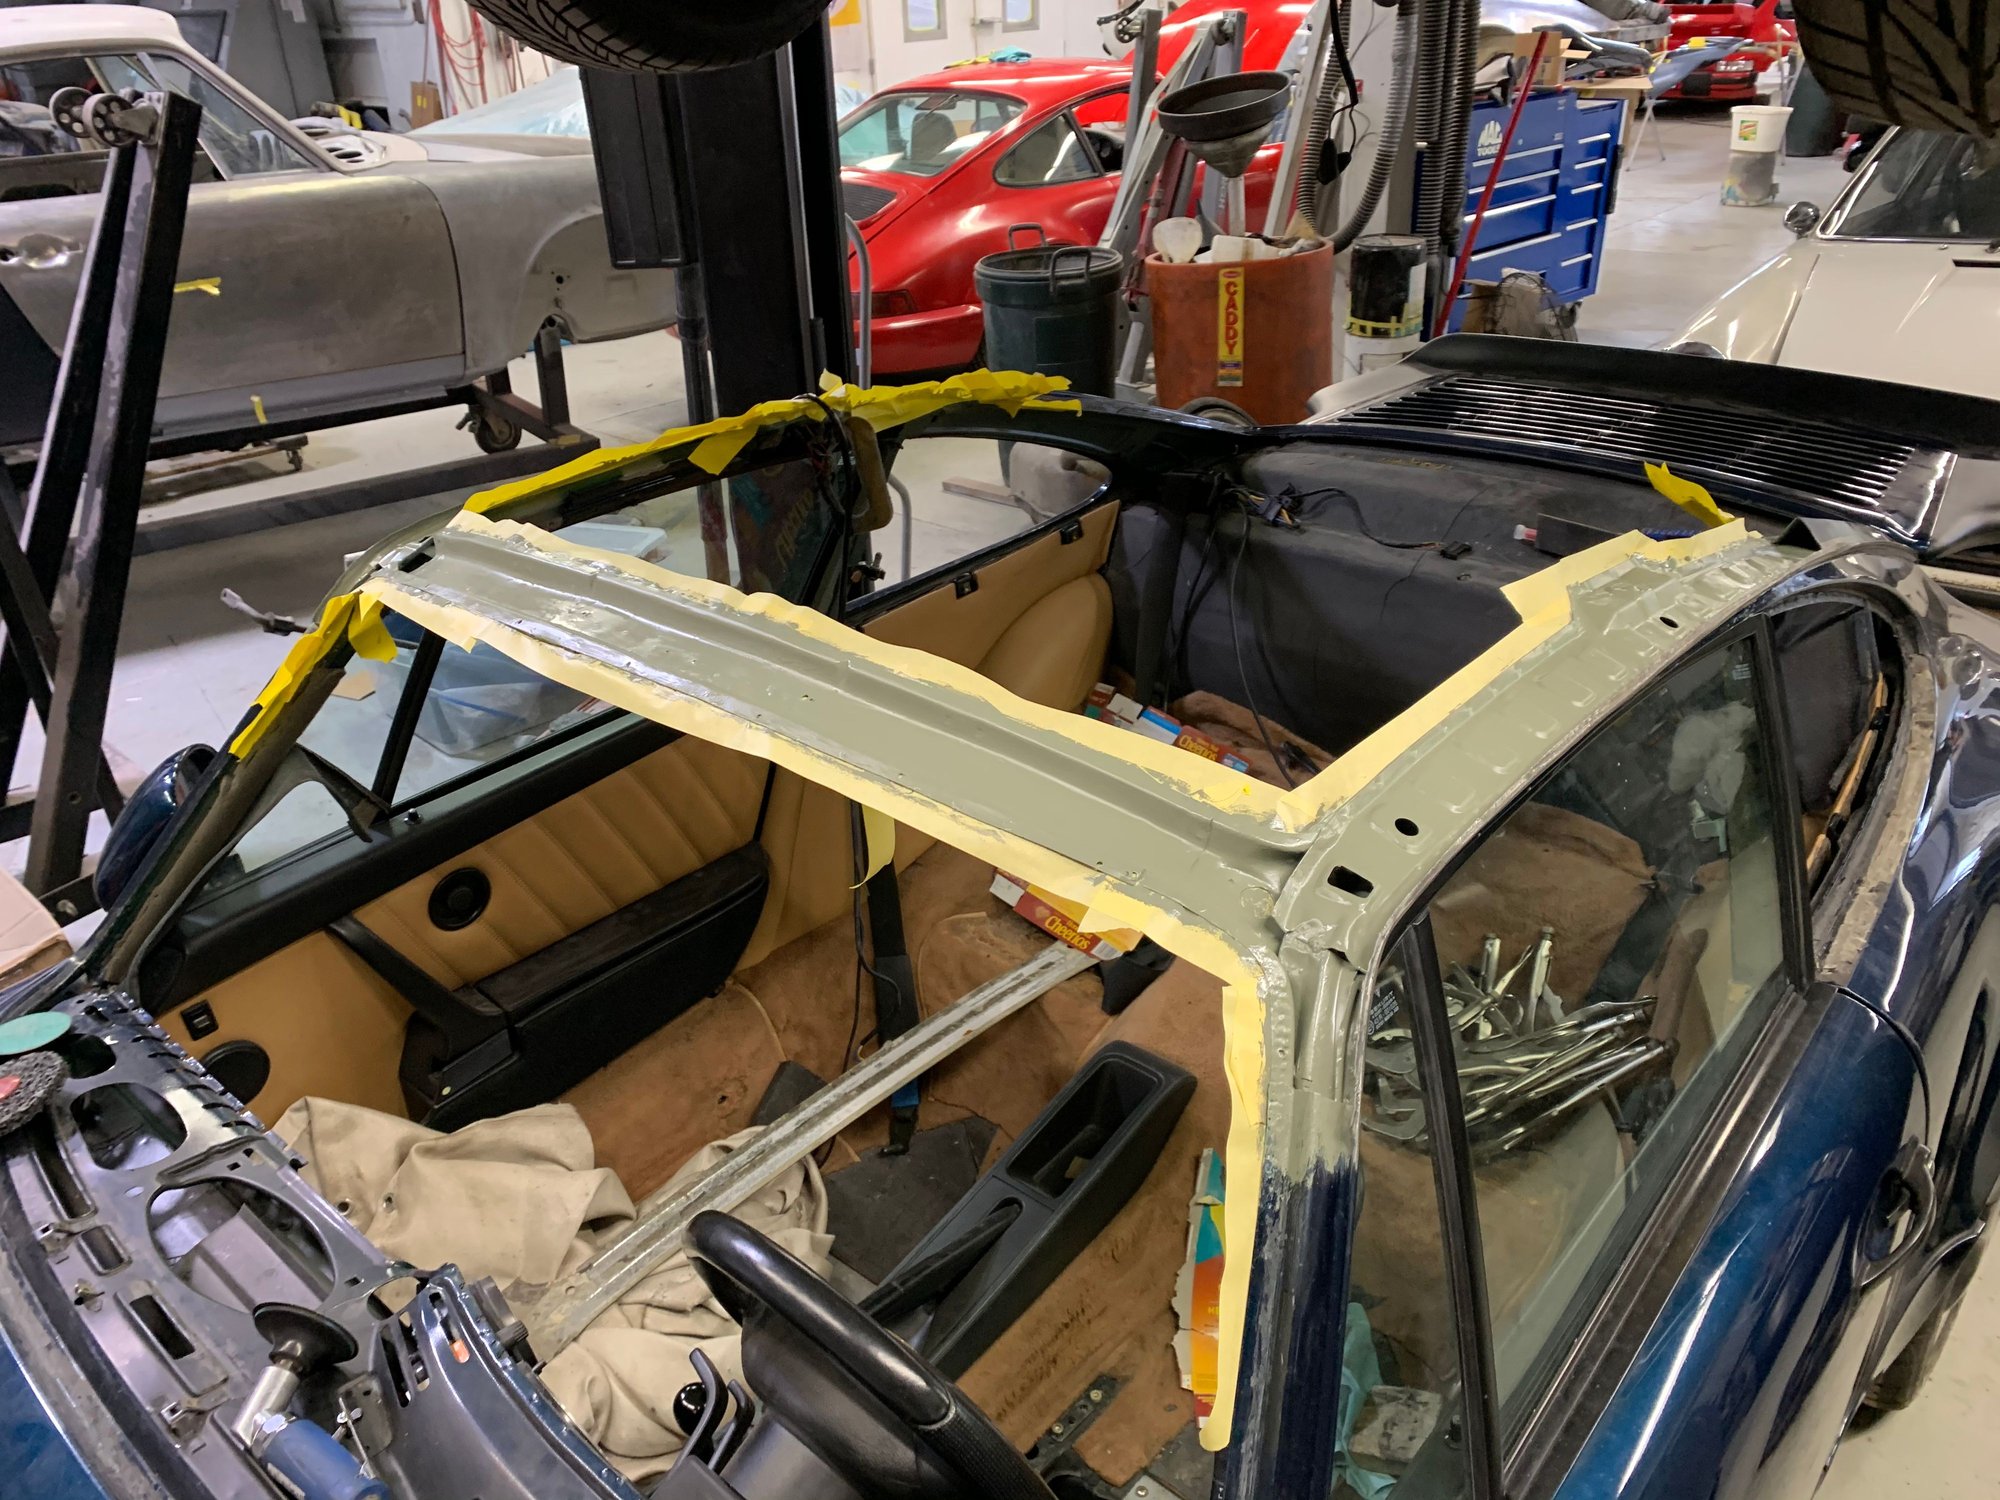
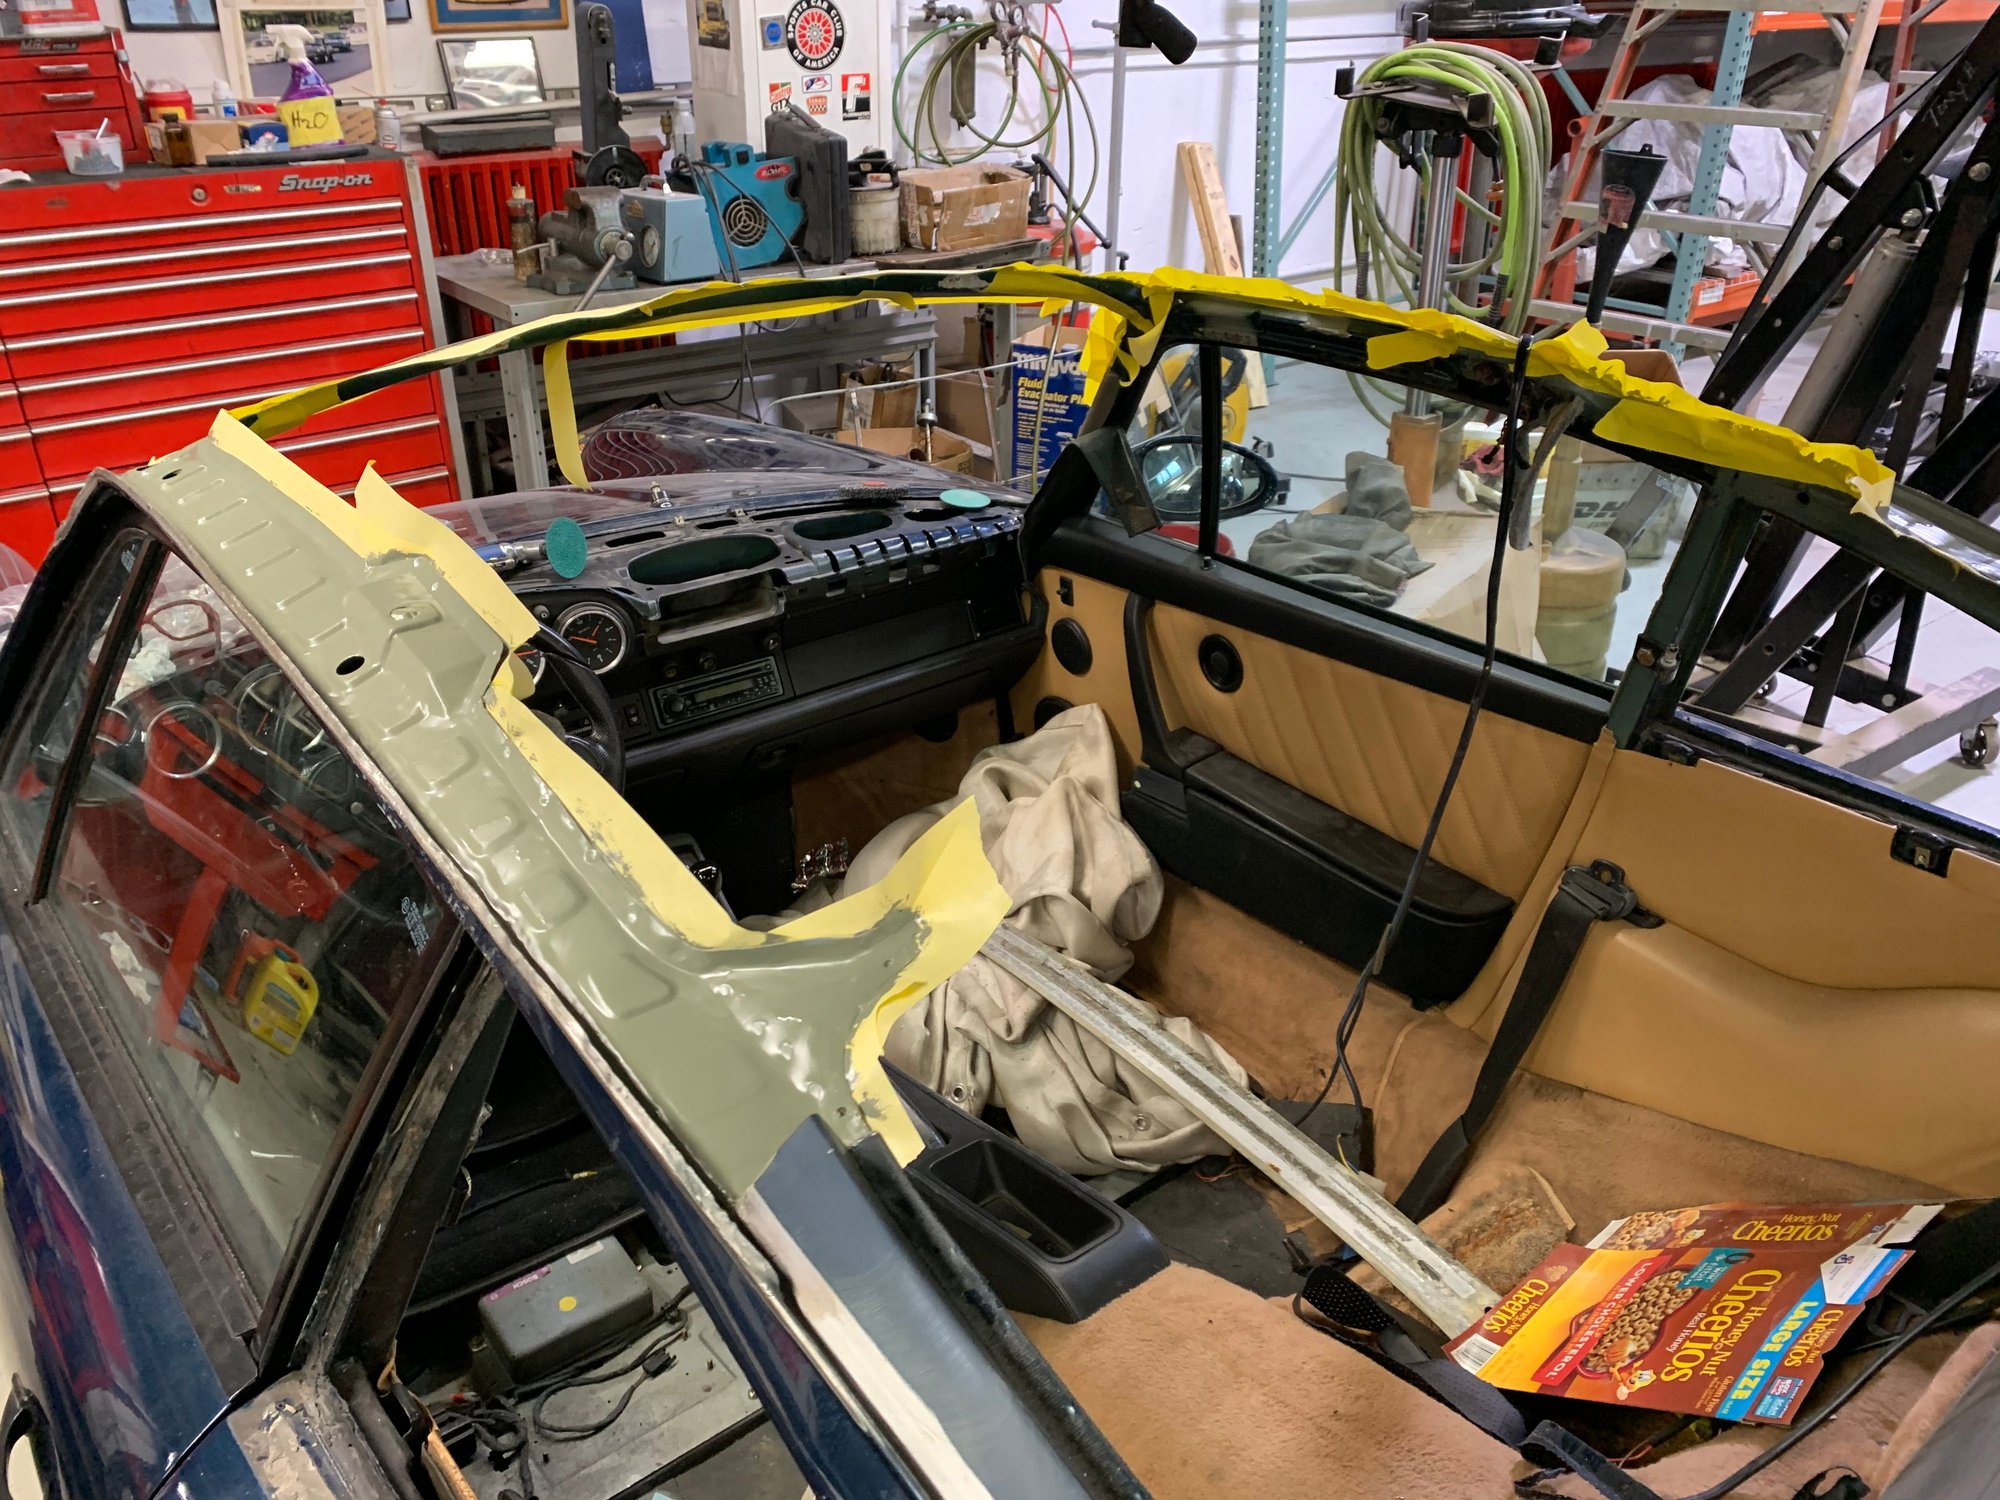
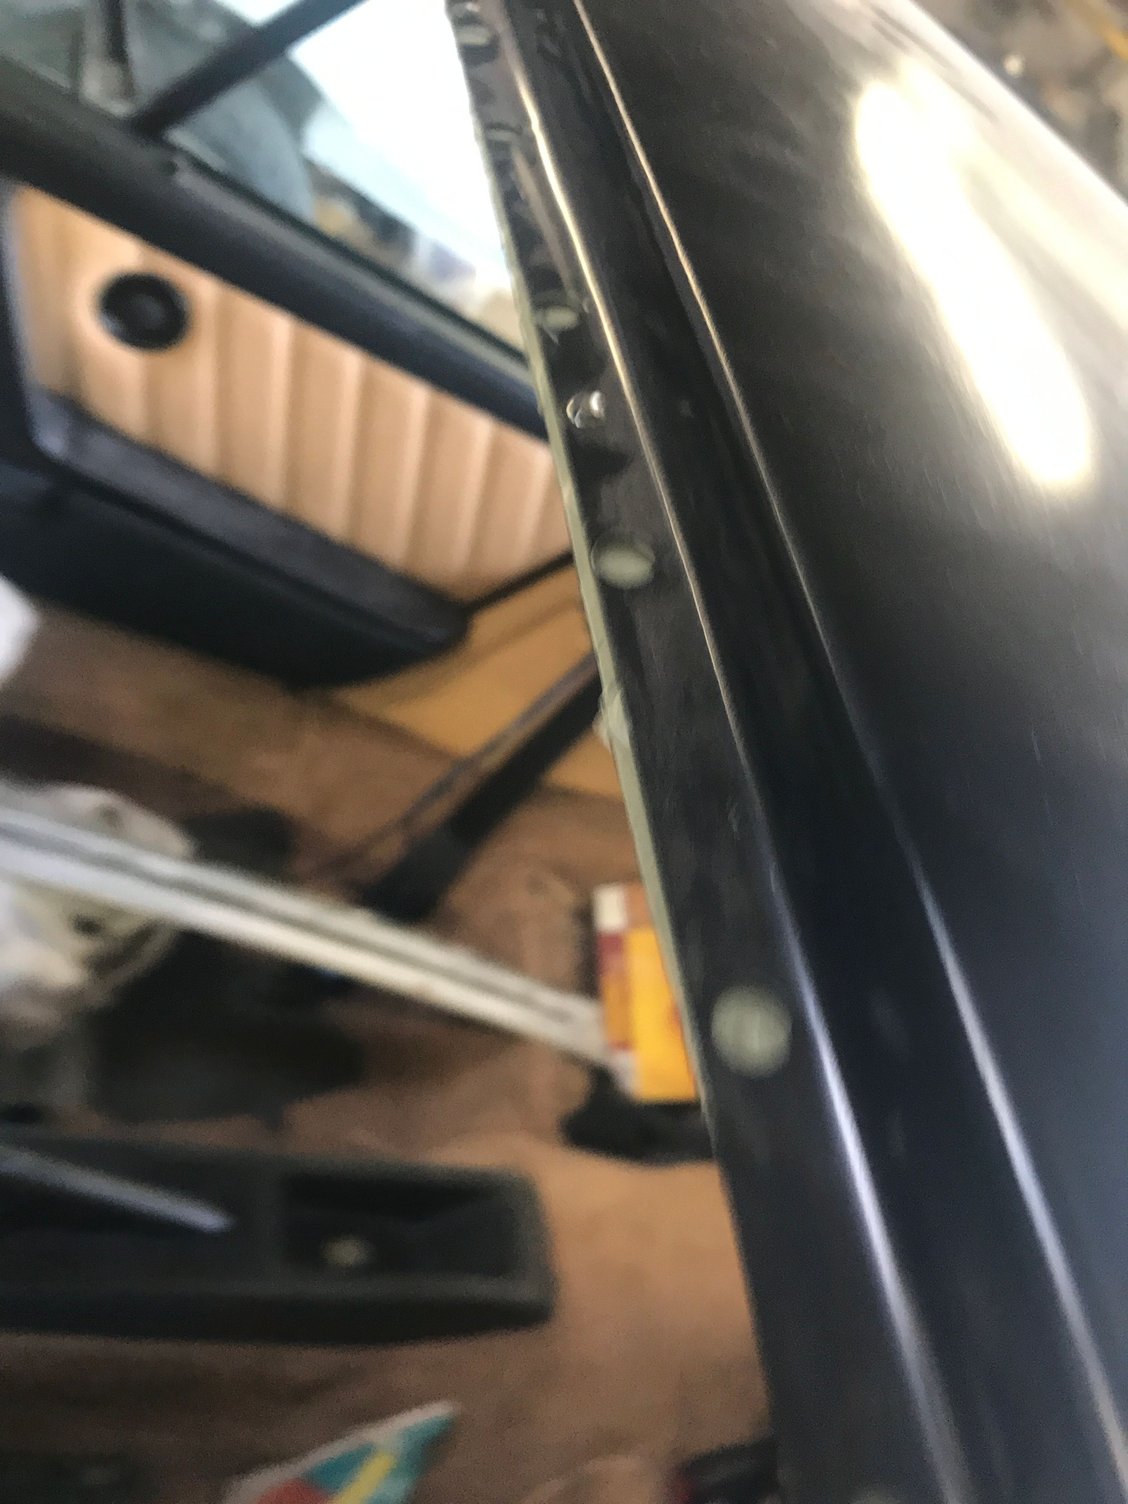
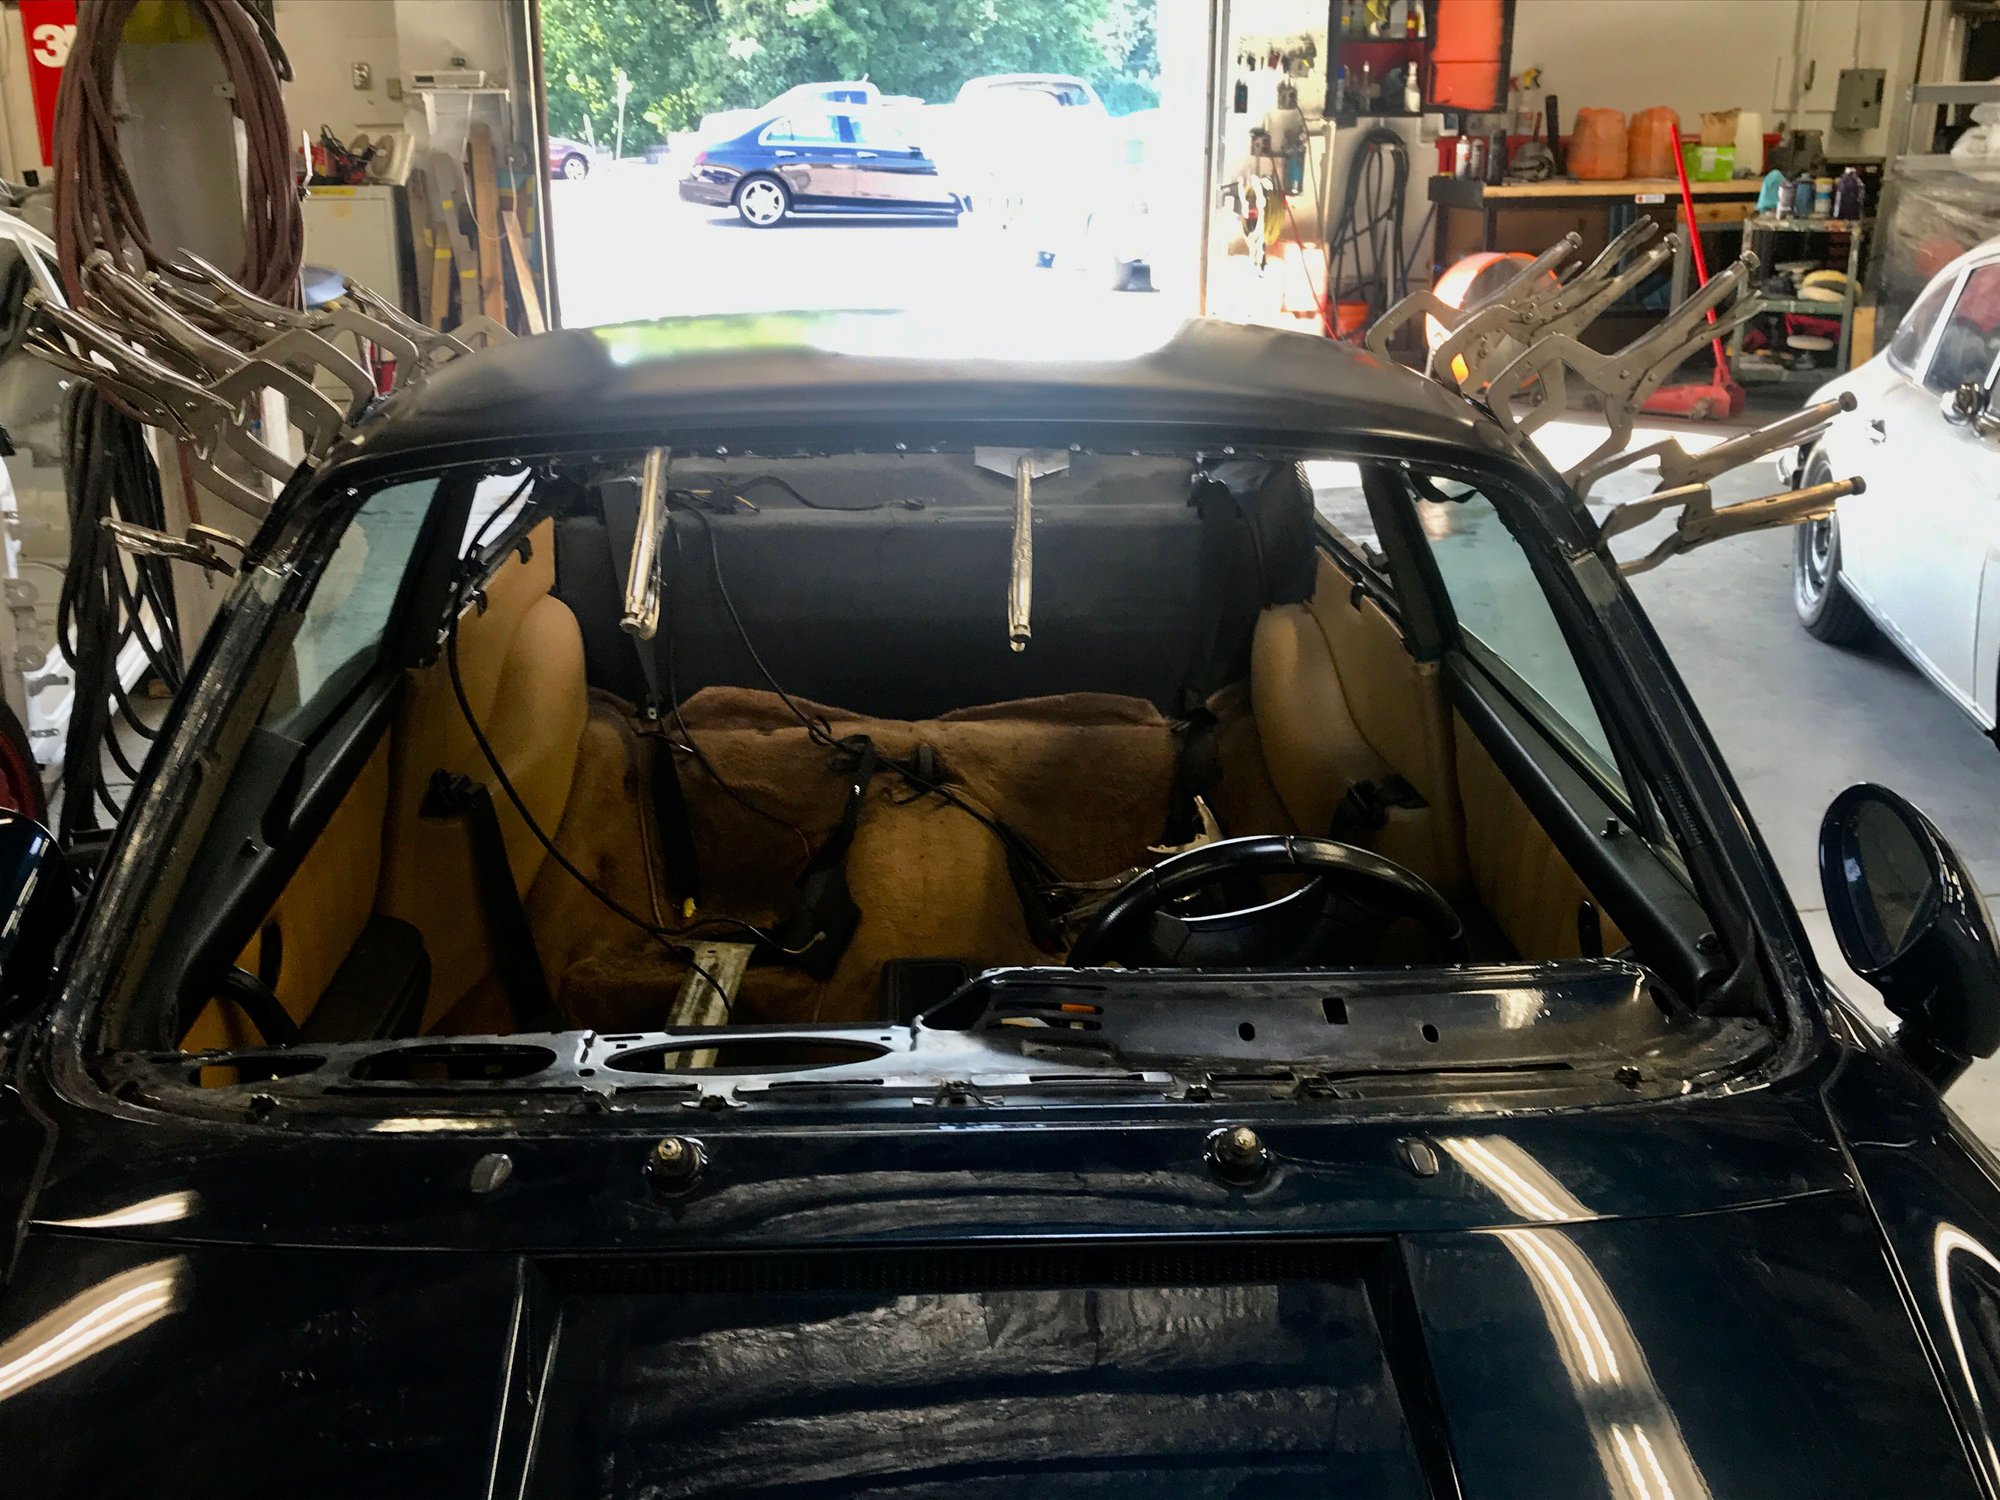
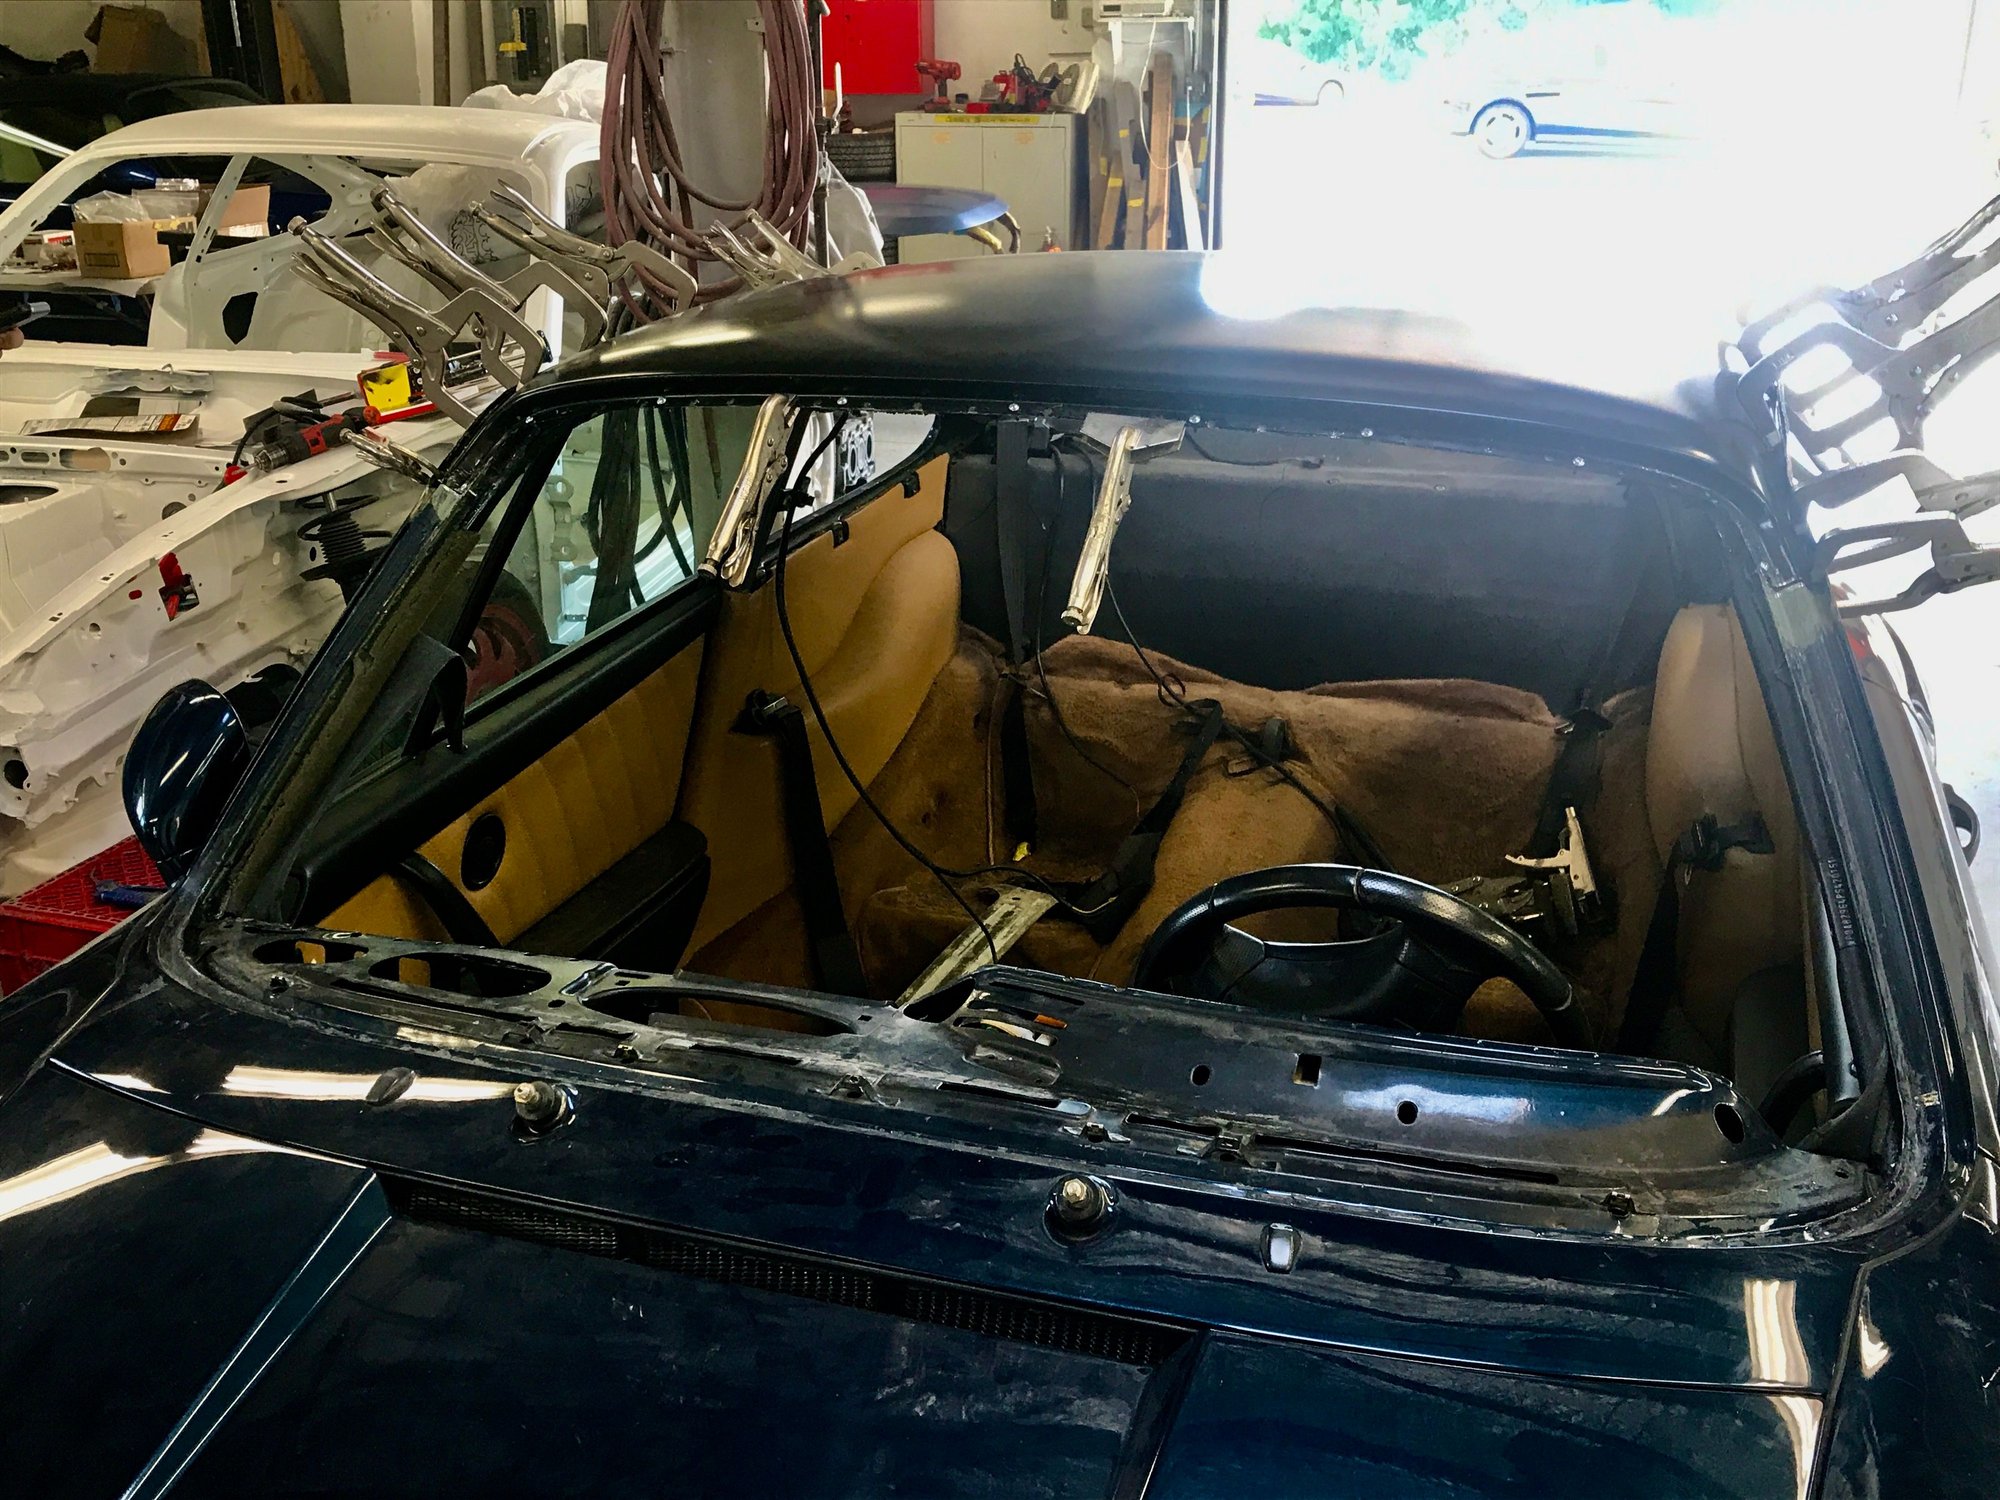
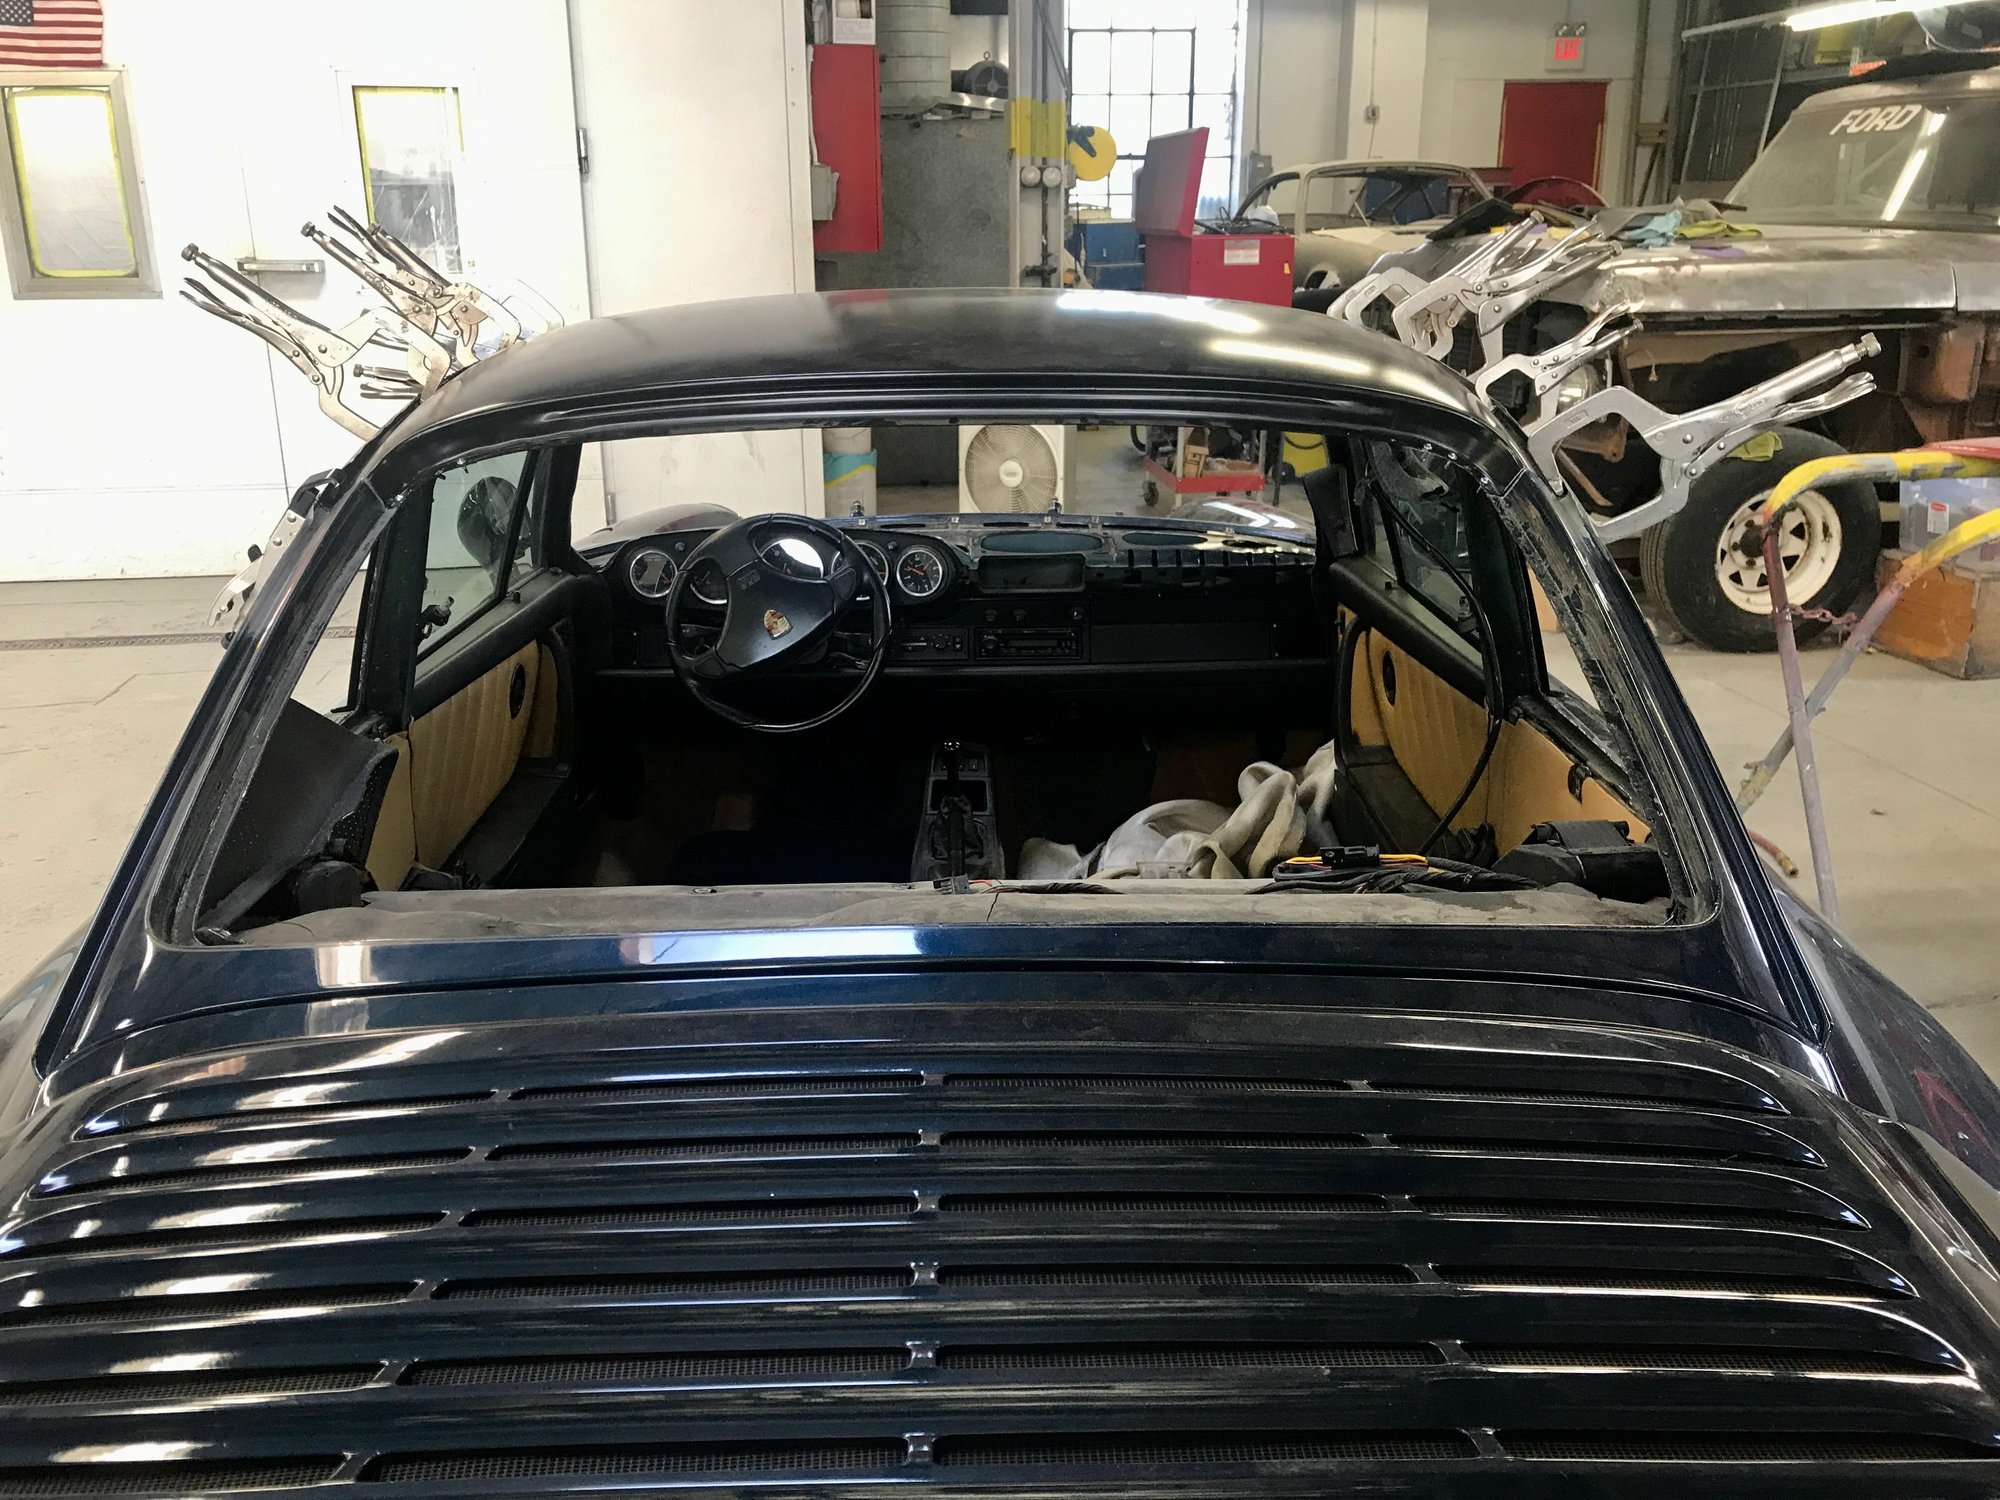
So here are some more photos of the roof just screwed in place making sure everything lines up and is solid. Pino is hyper critical and OCD like me so things like this always get measured 20 times and cut once. LOL The shop is small and there are many projects going on at once. He is in the process of rearranging it. All mechanical and assembly work on one side and all bodywork on the other to keep the mess down. He has only been in this location for a few years and time teaches you what works. I think the change will be helpful. Unfortunately finding any building with SQ footage in North Jersey for reasonable money is non existent. I am always envious of the shops out midwest or in more rural areas that have massive facilities.
Car will be getting some serious detailing when done.
Meanwhile on the other front. Finally getting to placing the turbos so the headers can be built. They need to be tucked in high enough for the oil to feed back into the case at a lower point than the turbo so it isn't easy to find the space. The prior setup didn't take this into consideration and their approach was just change out the cheap turbos occasionally. These latest Borg warner turbos are too expensive to mess with like that. Hopefully some progress will be made here as well this week. they still need to be clocked as all components are adjustable on these.
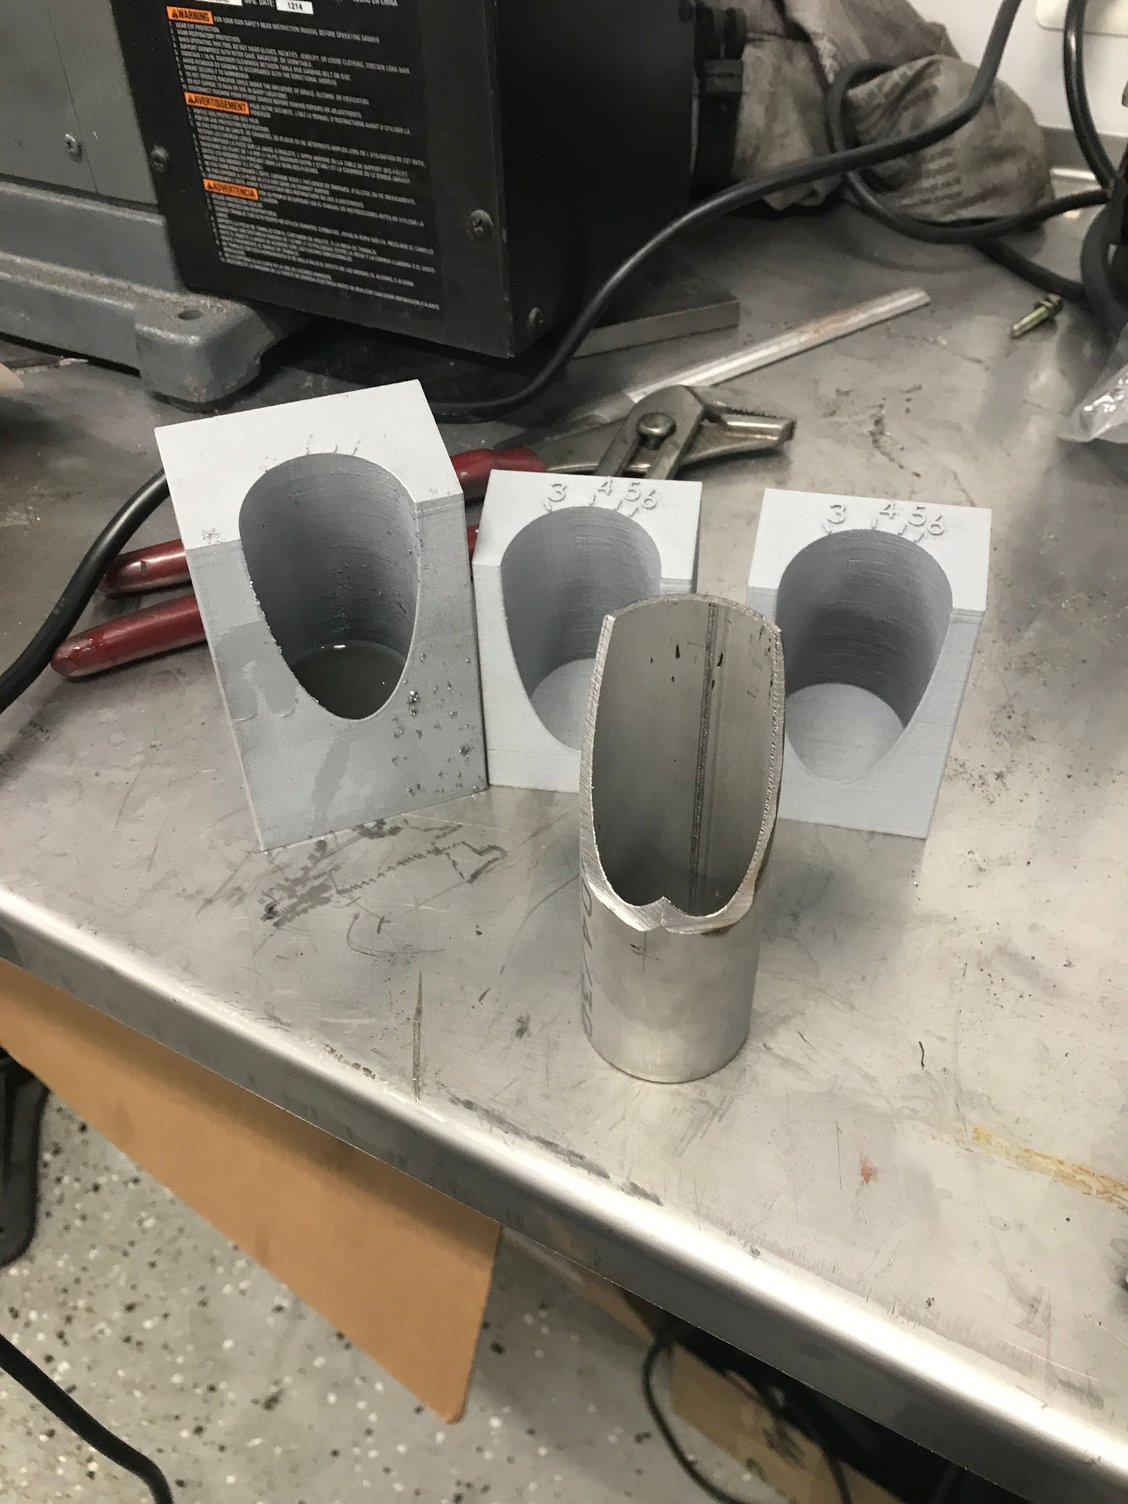
Also add that we are making a fixture so we can make the collector for the headers. Print rate might have been a bit fast but already a 6 hour print. There is light at the end of these tunnels. LOL
🤞 If all goes to plan today we bond and weld the roof on finally. It has been a long road with many delays but the light is shining at the end of the tunnel. At the same time we have the pieces to cut the collector for the TT exhaust. It is still work in progress but is promising. This will allow us to weld the collector with 3 even cuts into one flange. This was the initial test cut but will be a bit cleaner when done.
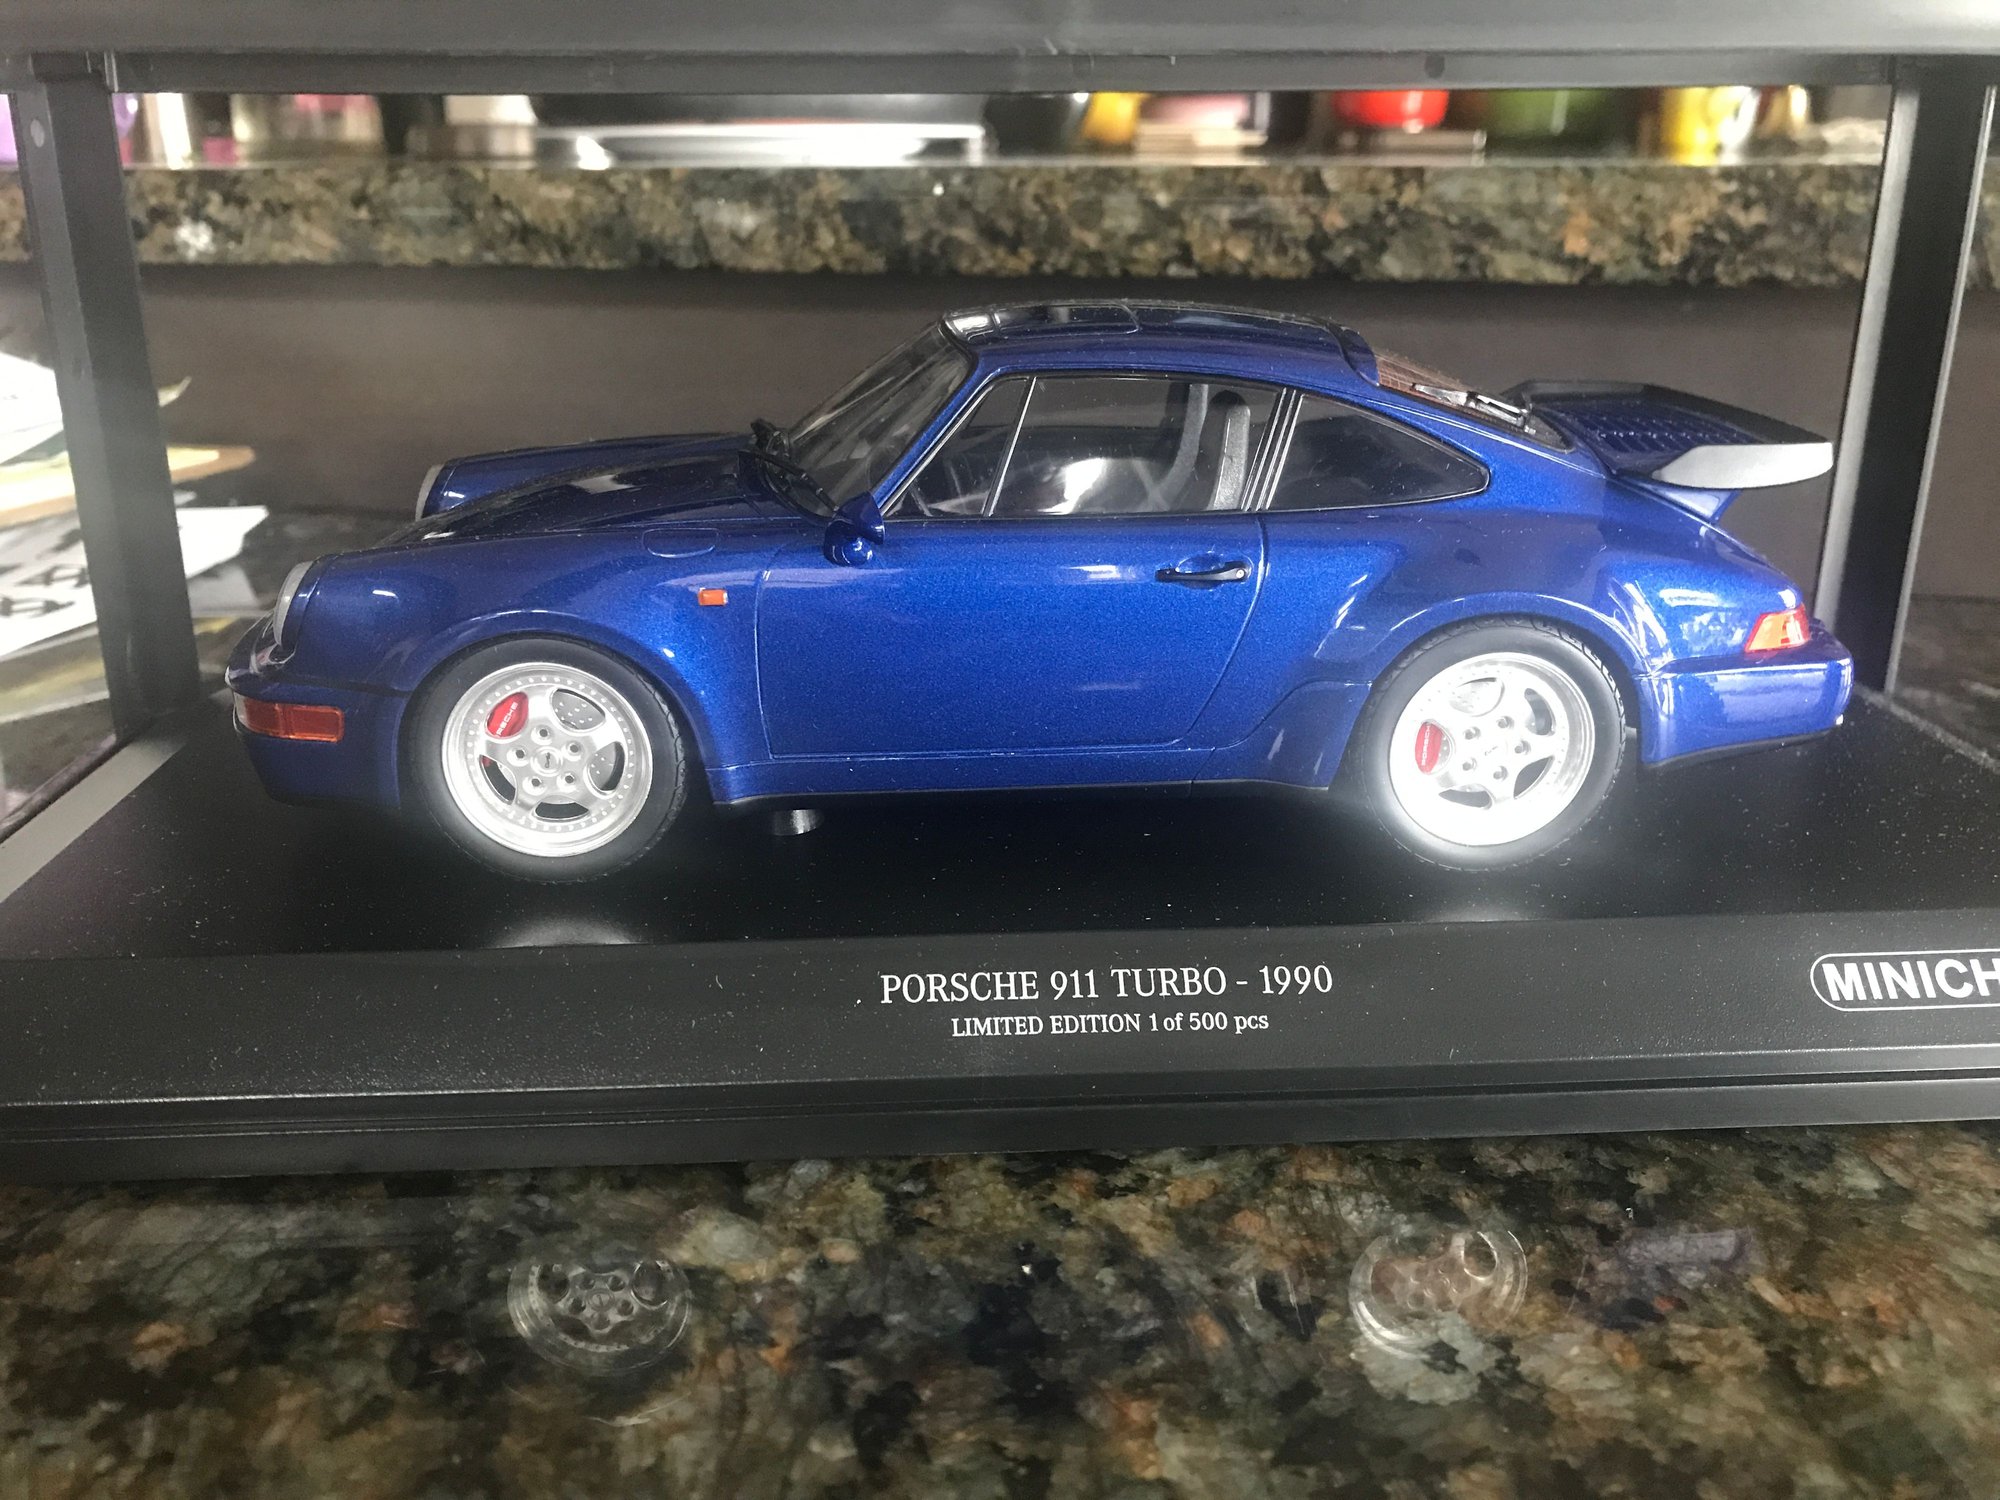
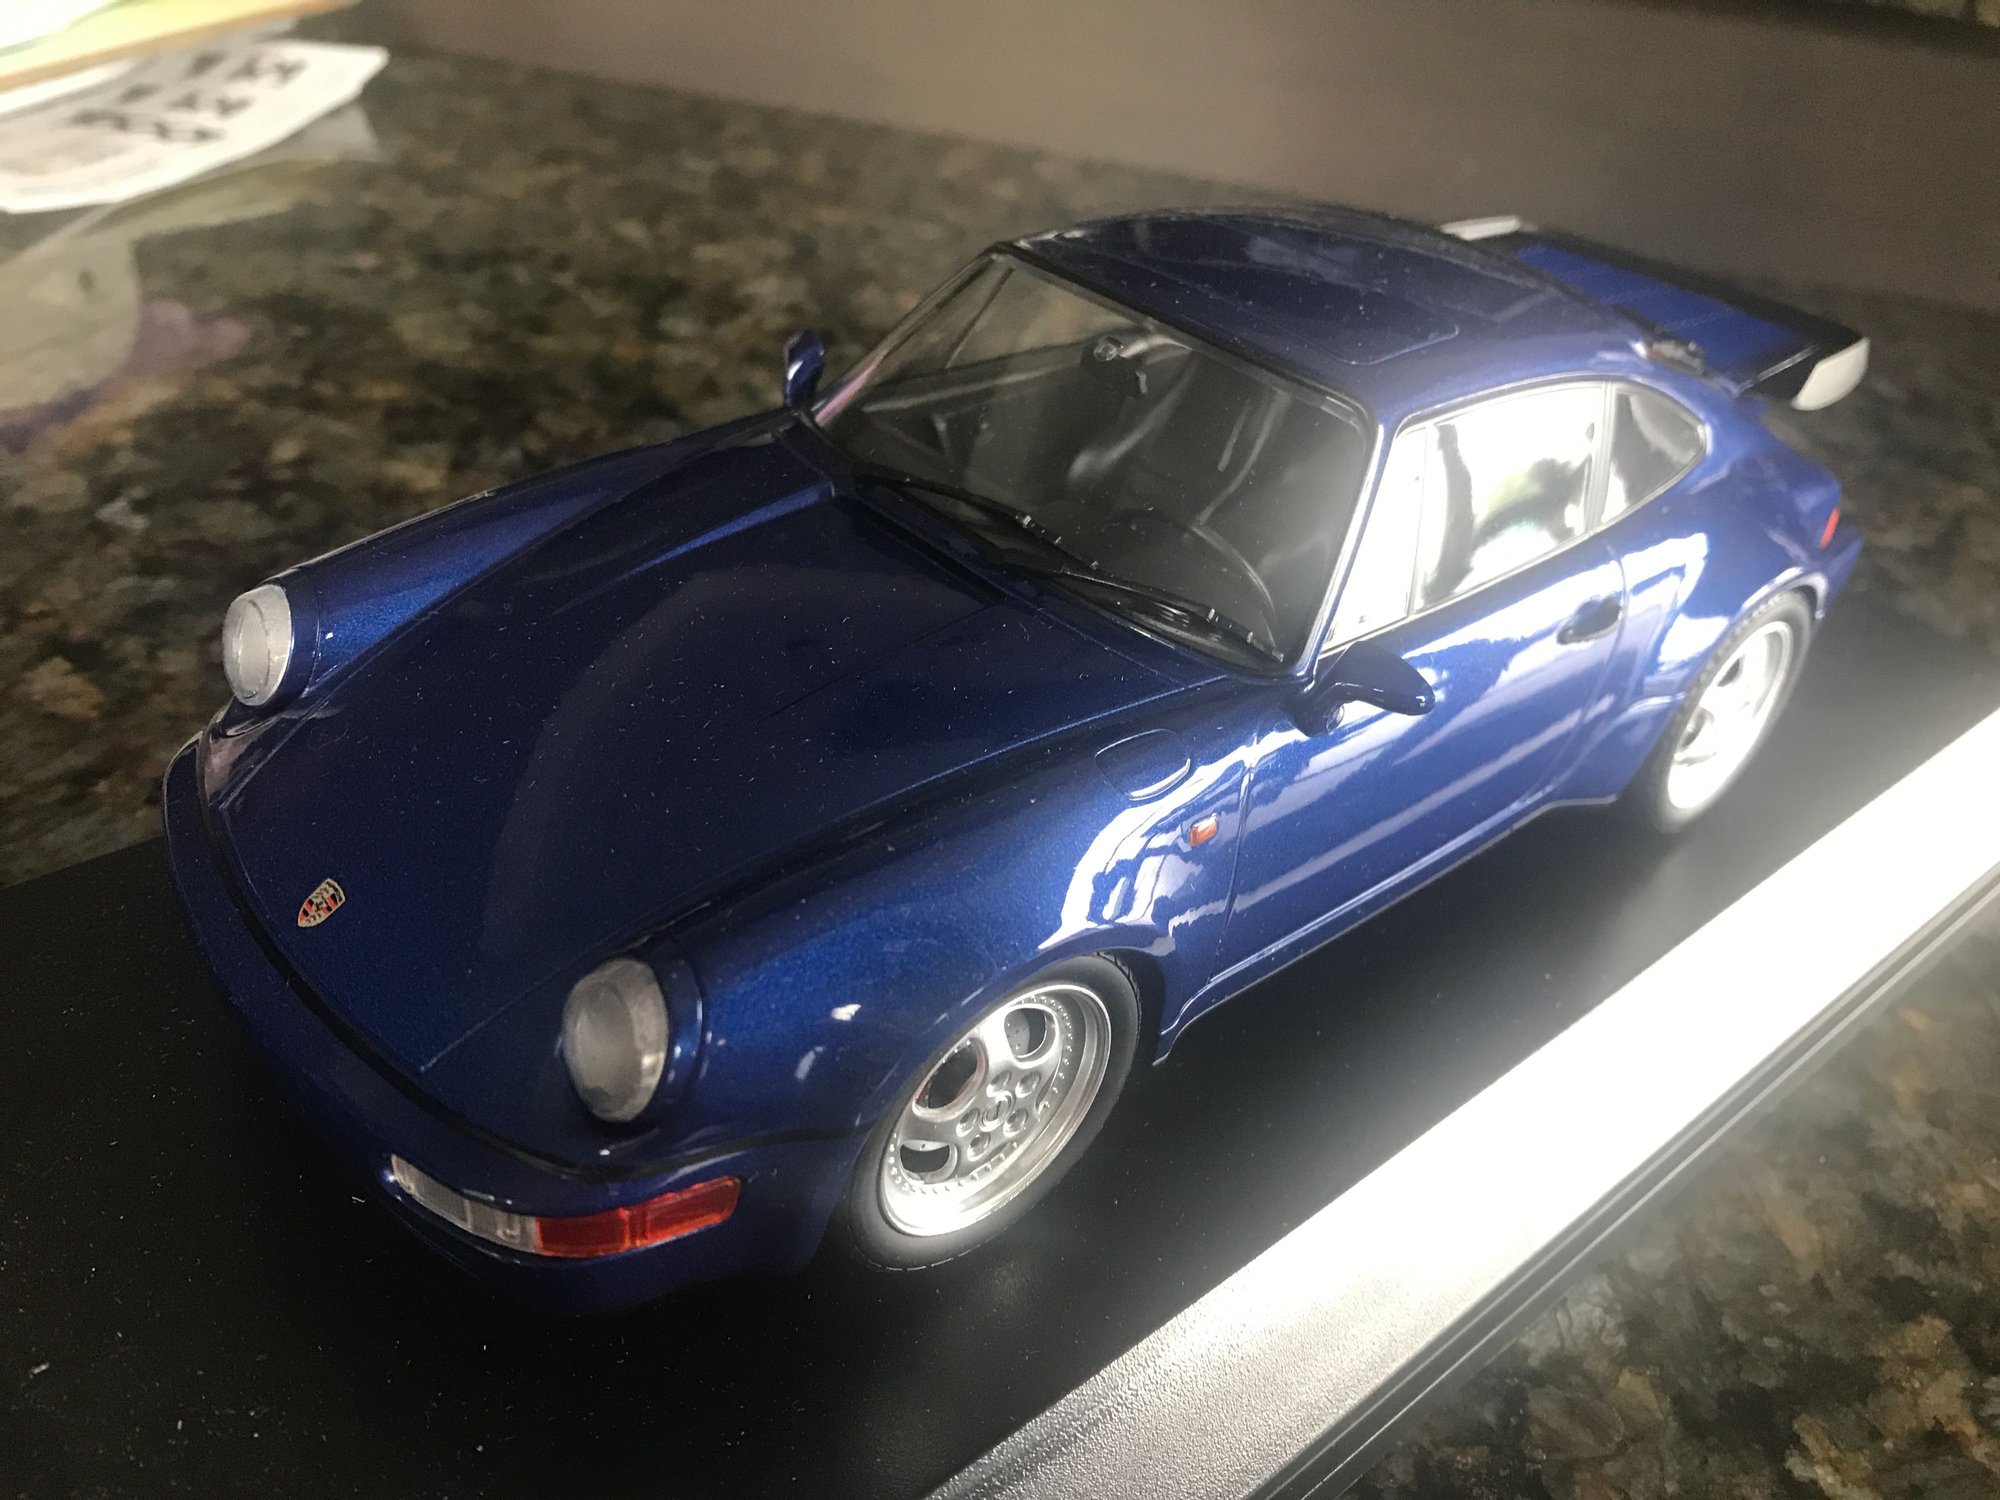
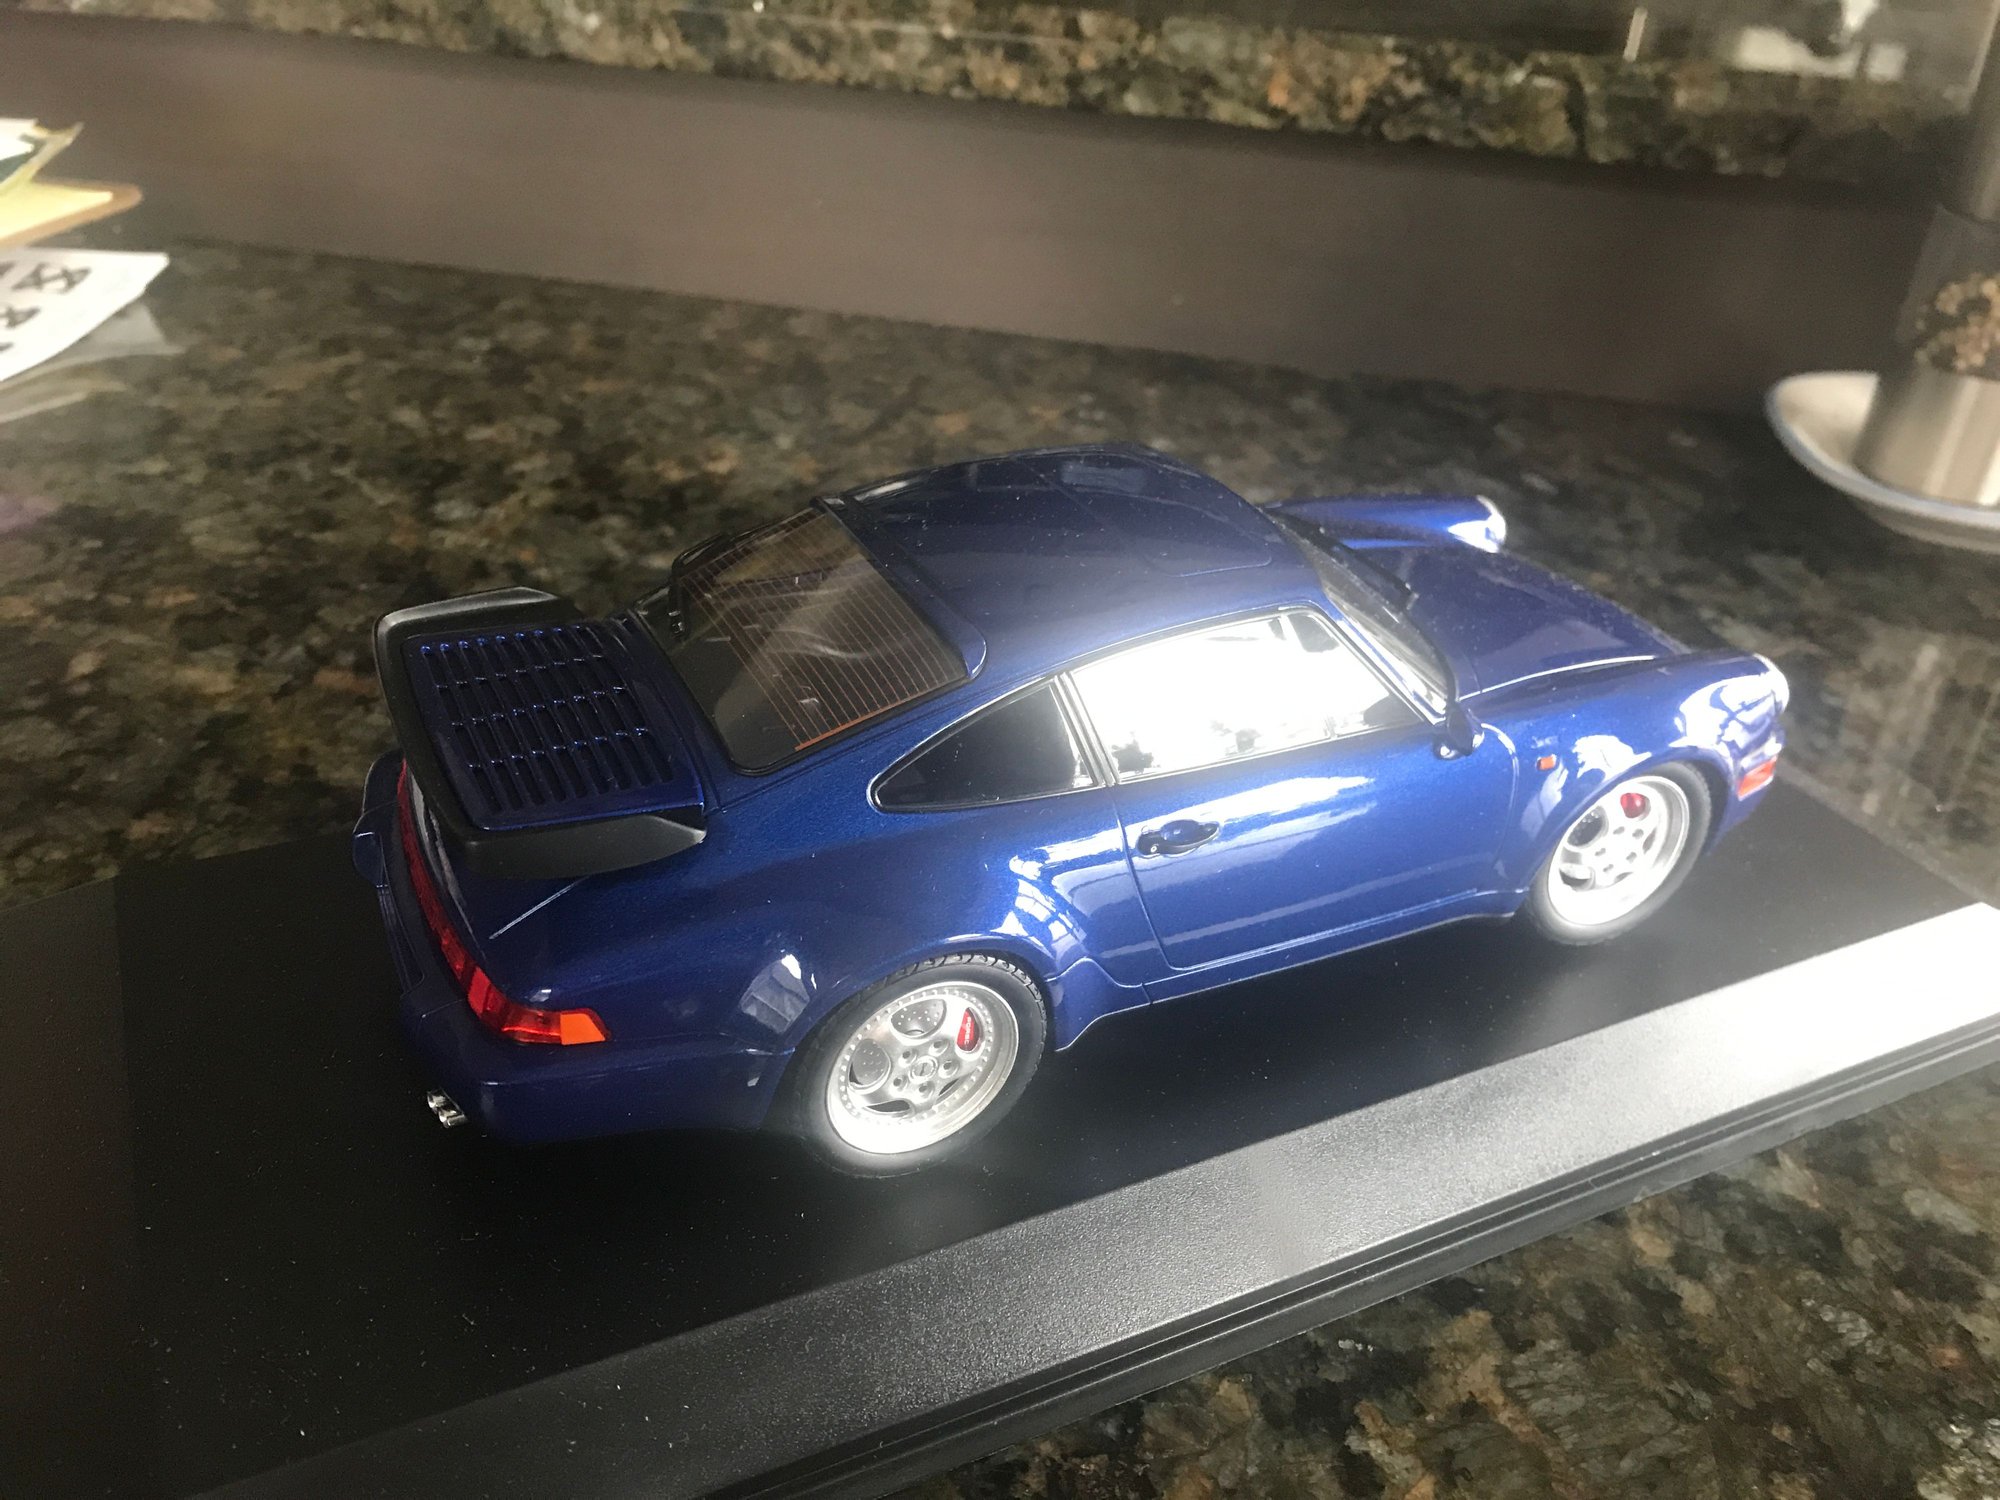
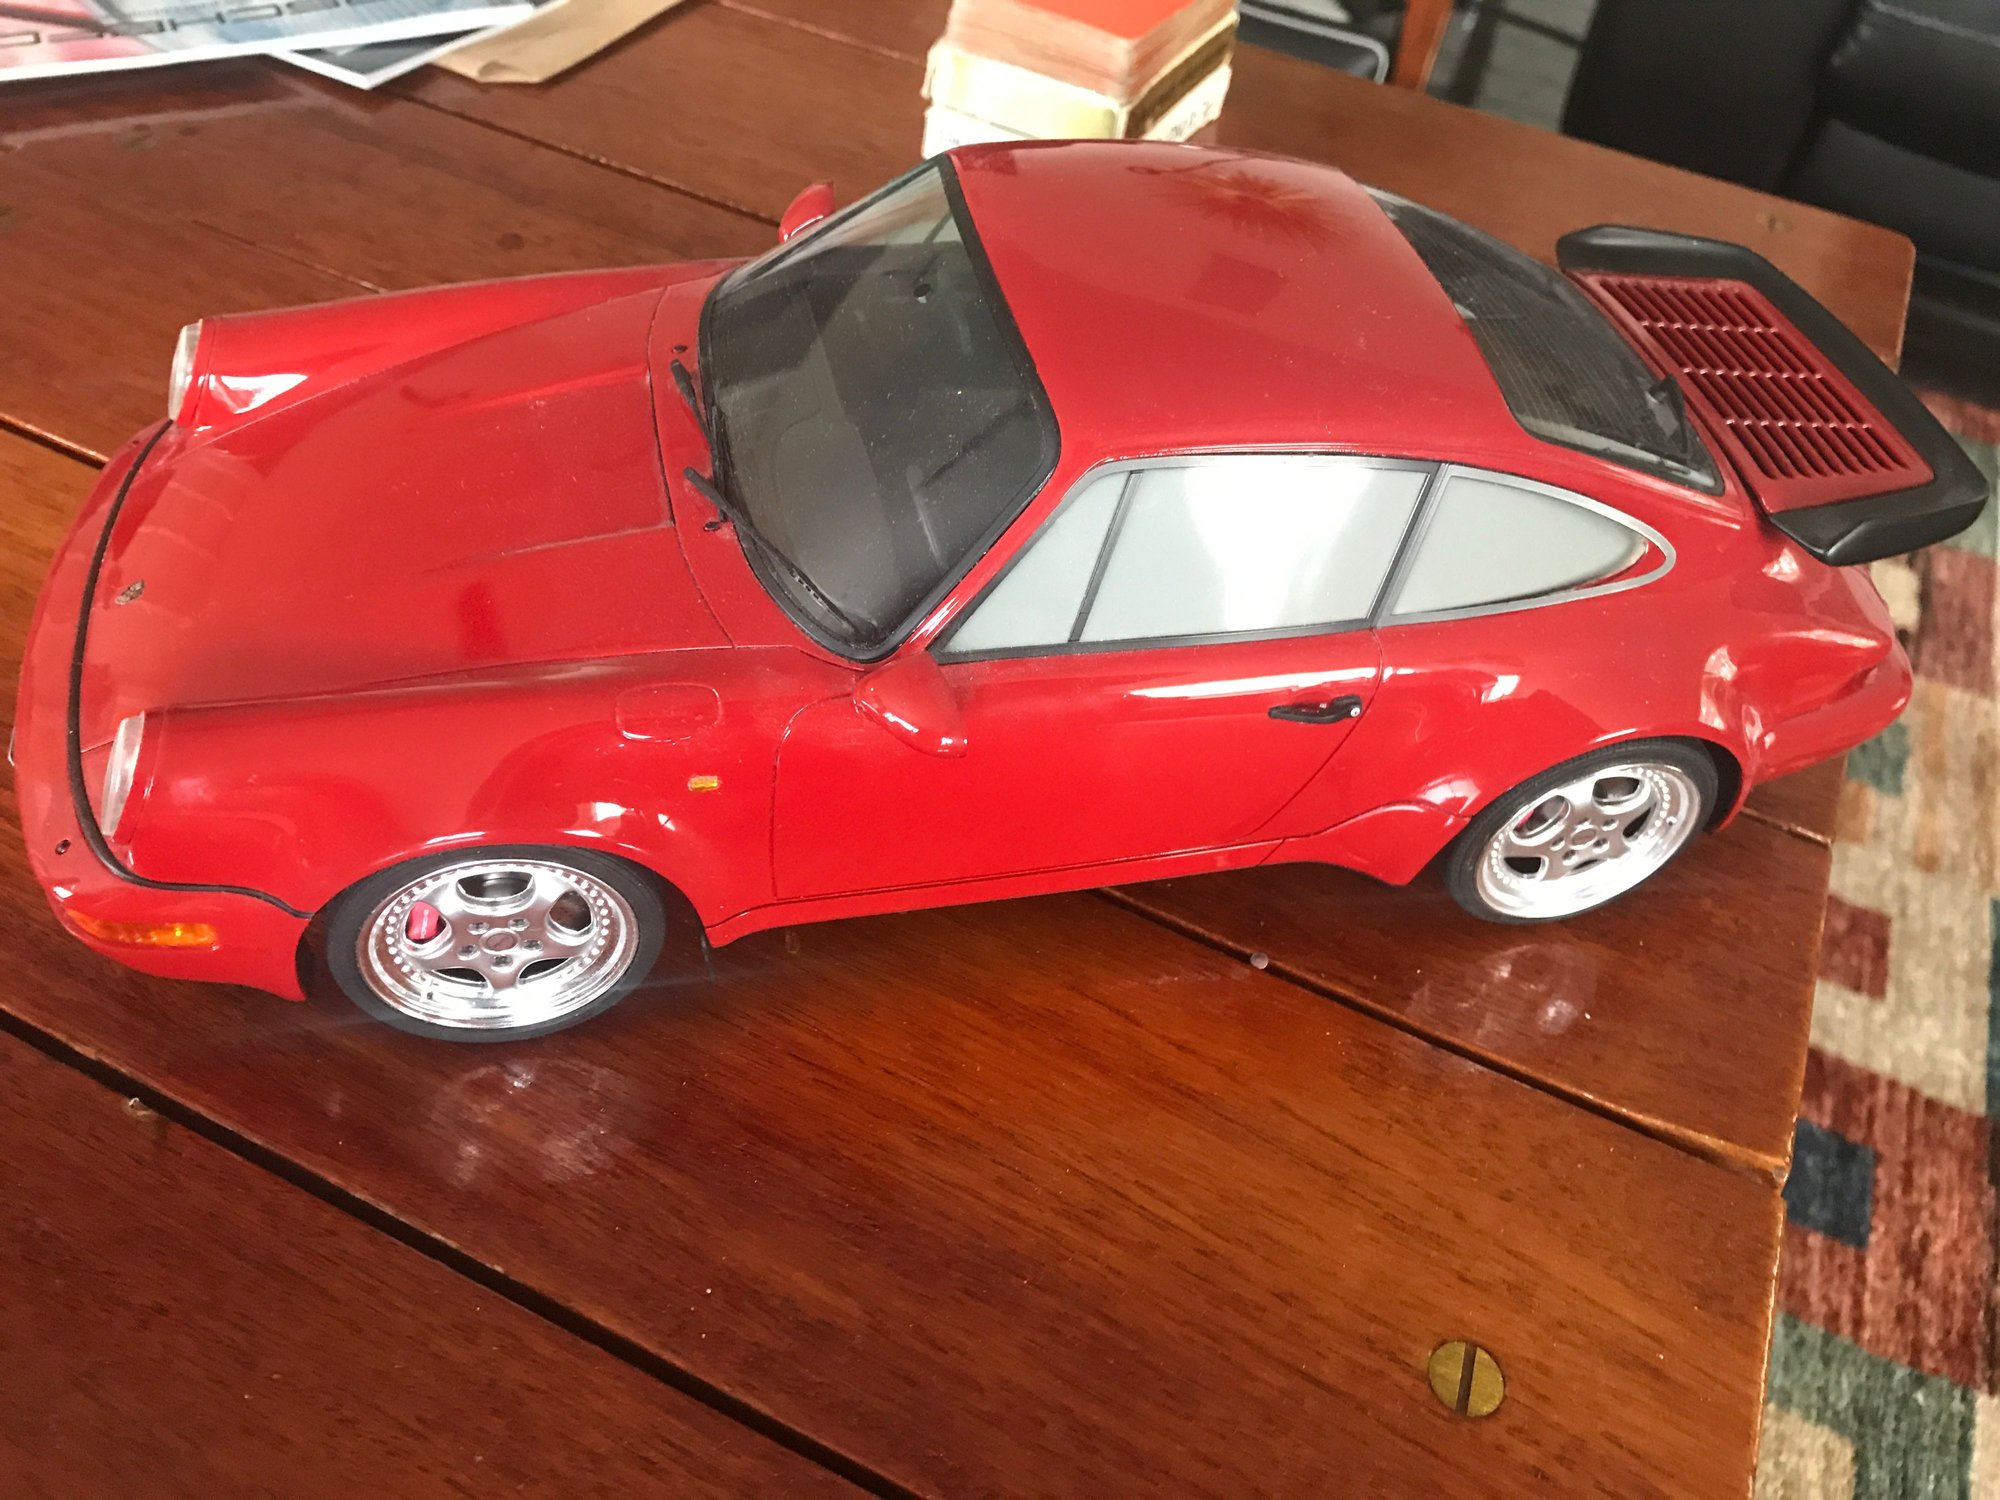
More exciting news. After waiting months for a car model painted in close enough to cobalt it finally arrived after one being lost in the mail. Ironically like all other model manufacturers they get the production info wrong. They even have the twin tipped exhaust like my car LOL.
Beautiful model car--I have a couple that match the model and color of my earlier Porsches. However, yours needs a slick-top to match completely. See what Pino thinks.
That is supposed to match my 94 turbo. Iwas going to have Pino Paint a 1;12 scale GT spirit turbo model but the one window turned opaque and they want 80 euro plus shipping for a replacement window and I don't see the value in it. Clearly a manufacturing defect and IMO should be replaced for free but these resin models are not the same quality IMO as the cast ones.
This car will never be modified from original that can't easily be reverted back. All original paint I don't mess with the C2 had some paintwork already so I didn't see the concern plus it is more of a driver than the turbo which has become more of a show car lately. Just no shows.
So I am giving up on predicting the future. Apparently I suck at it. Each time I say something will get done something happens to prevent it so I will post after it is done.
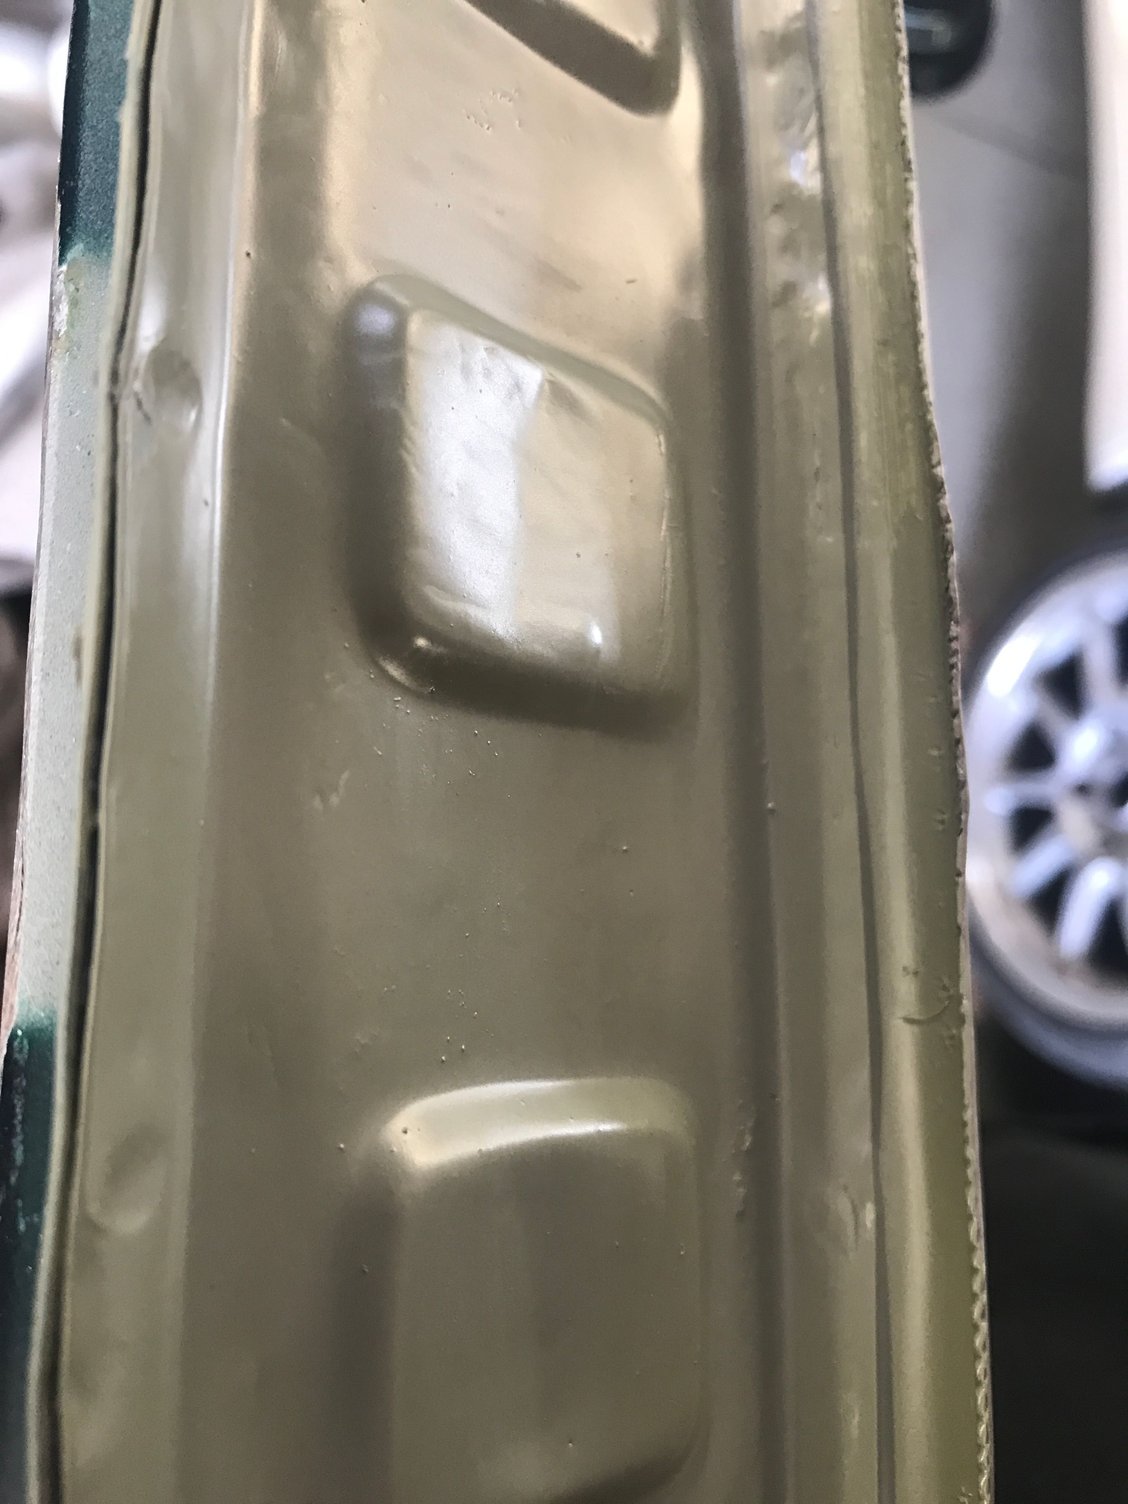
Pino sacrificed the last of his discontinued Glasurit acid wash/galvanized primer on the inner framework. I'll report back when the roof is welded/bonded and crimped in place.
We are finally making some progress. This has gone far beyond what most any shop would take the time to do. Hand painting the primer was a laborious job. Pino is using a larger pinch weld than the factory. We are also using an extremely strong adhesive to bond the roof to the body. By all rights this will add stiffness to the tub and if anything ever happens we might not be able to replace the skin without cutting the entire roof and side members off. The adhesive alone is as strong as weld but the larger pinch welds will make it solid and this is guaranteed to be noise free. After all of this is done the rear channels where the drain tube for the sunroof runs will be primed using a special tool that allows us to get into the channel and paint as we pull it out from bottom to top. looking forward to seeing this done.
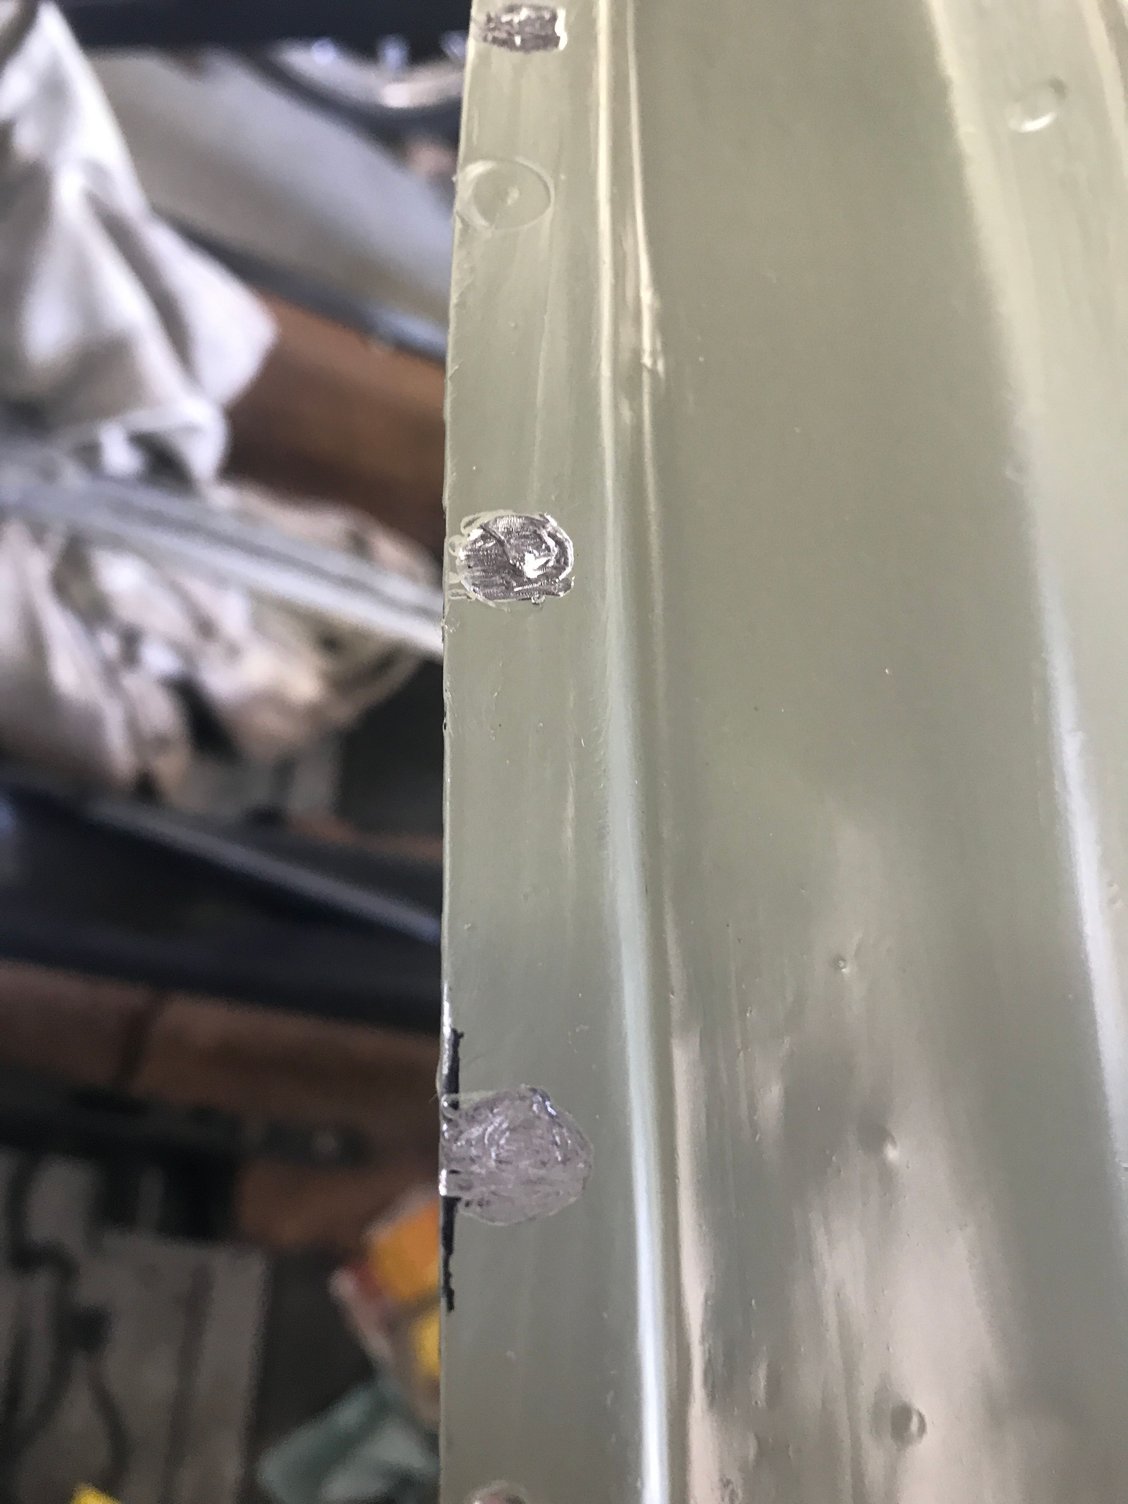
So the roof is actually bonded to the car and is screwed and clamped in place sitting overnight to allow to dry. All the pinch weld points have been punched and the weld area cleared of any primer for a good bond. Pino hand painted the adhesive so nothing would cover the raw metal where the pinch welds will be. If all goes well I will be reporting back on the finished welds soon. As I stated earlier there will be no bondo used period not even a skin coat so this takes even more time. Once the welds are done and the railing hammered back into shape and lapped over the new skin Pino wants to go in and drill some small holes to add additional weld points along with some other things.
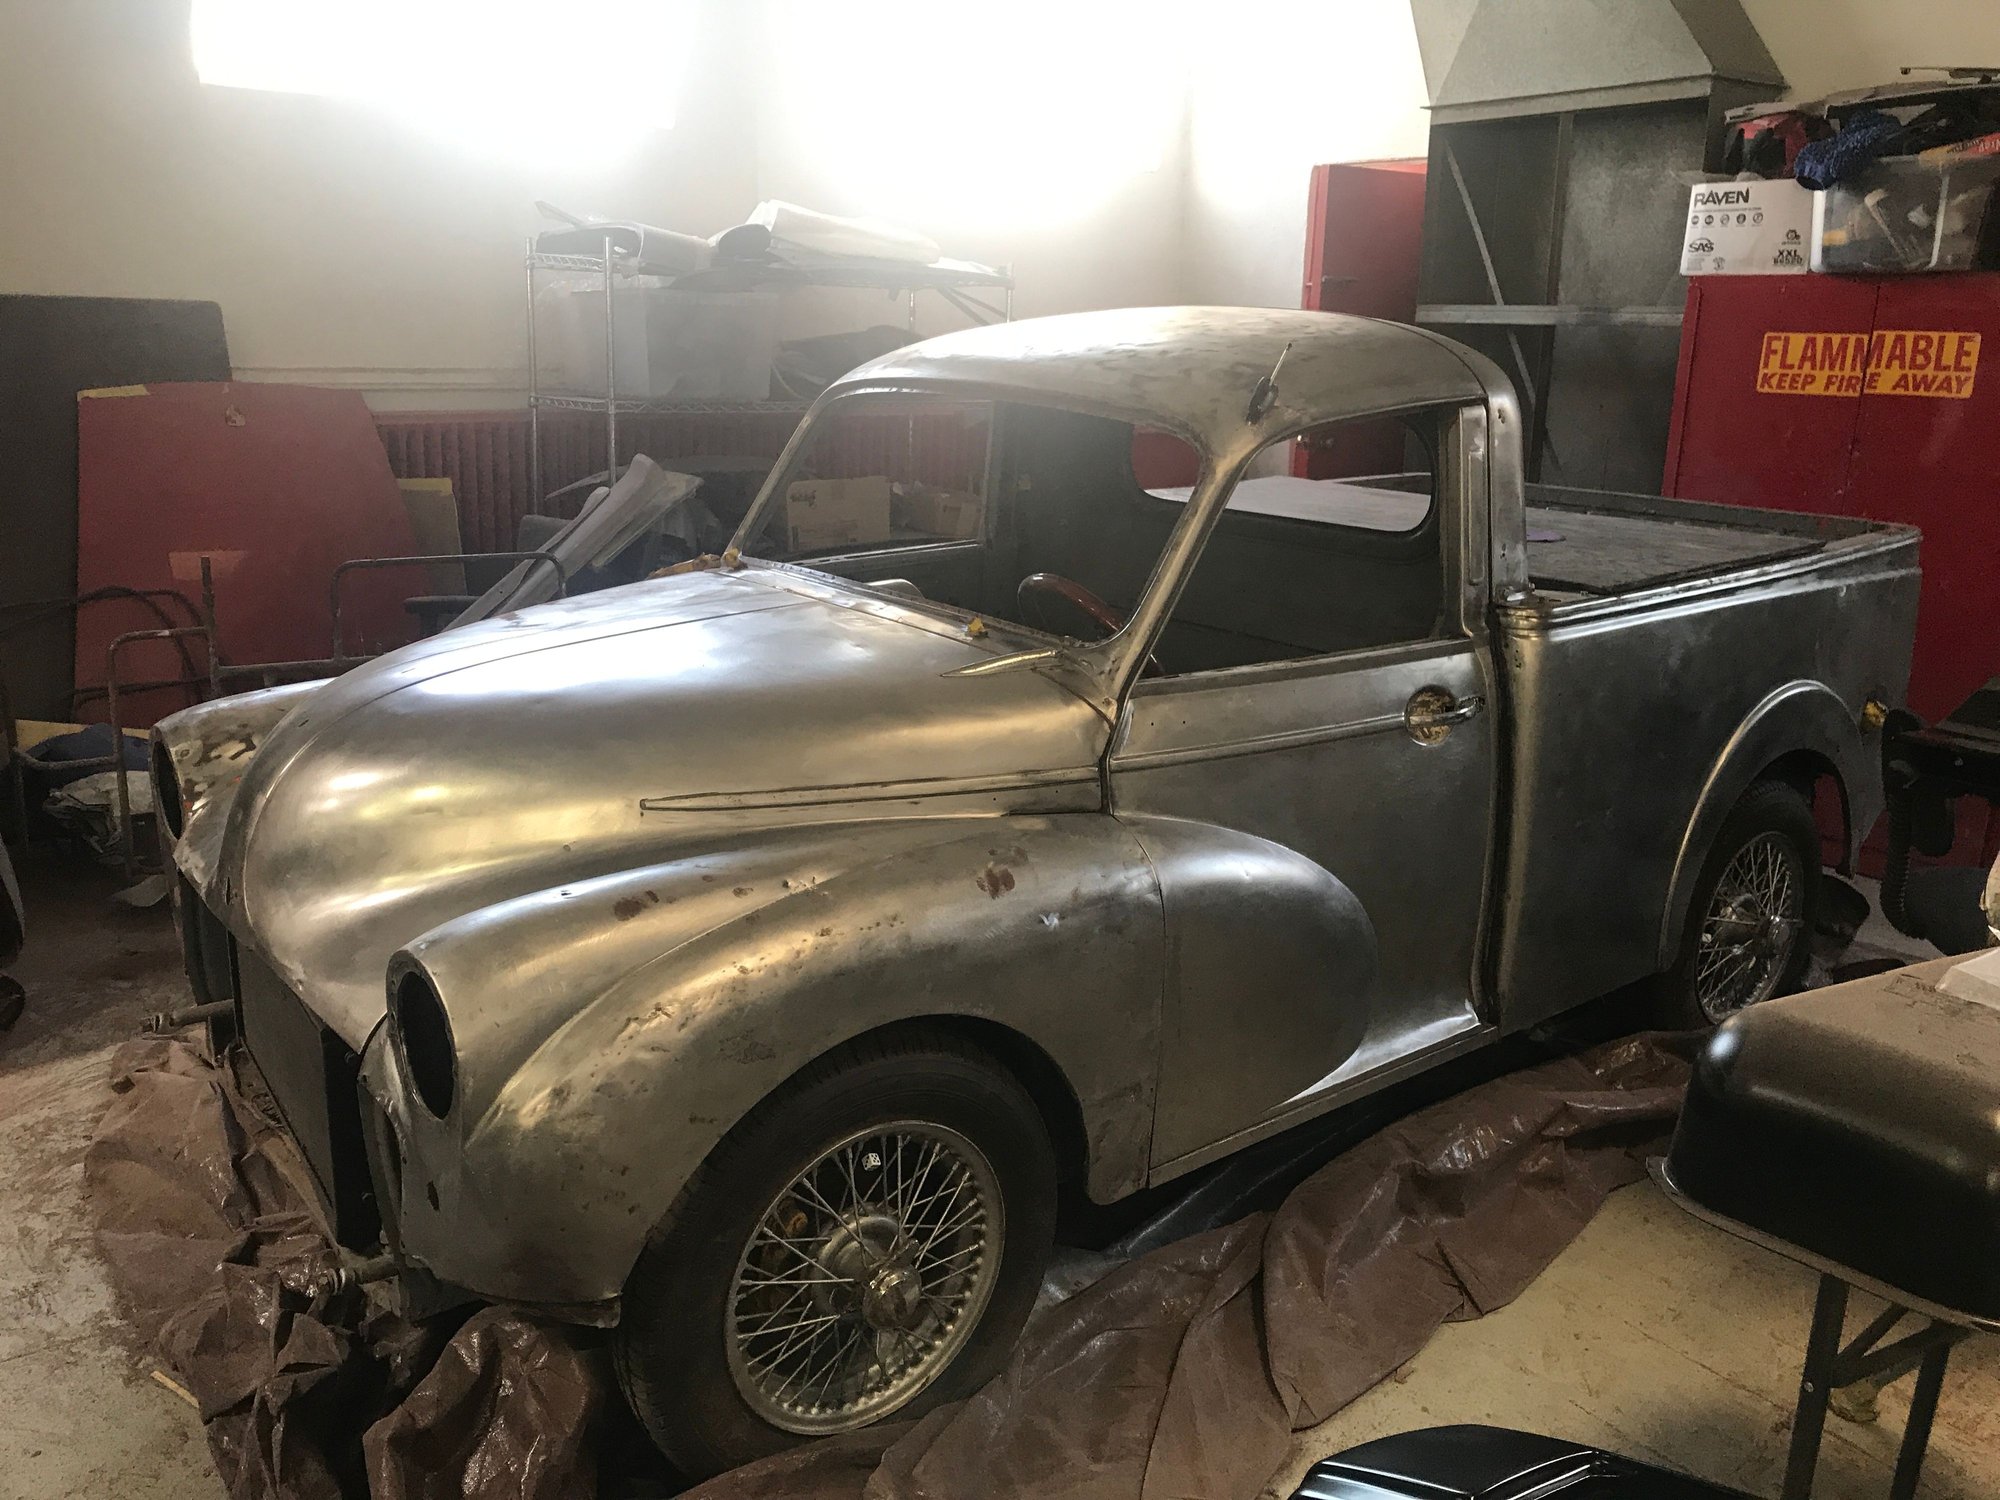
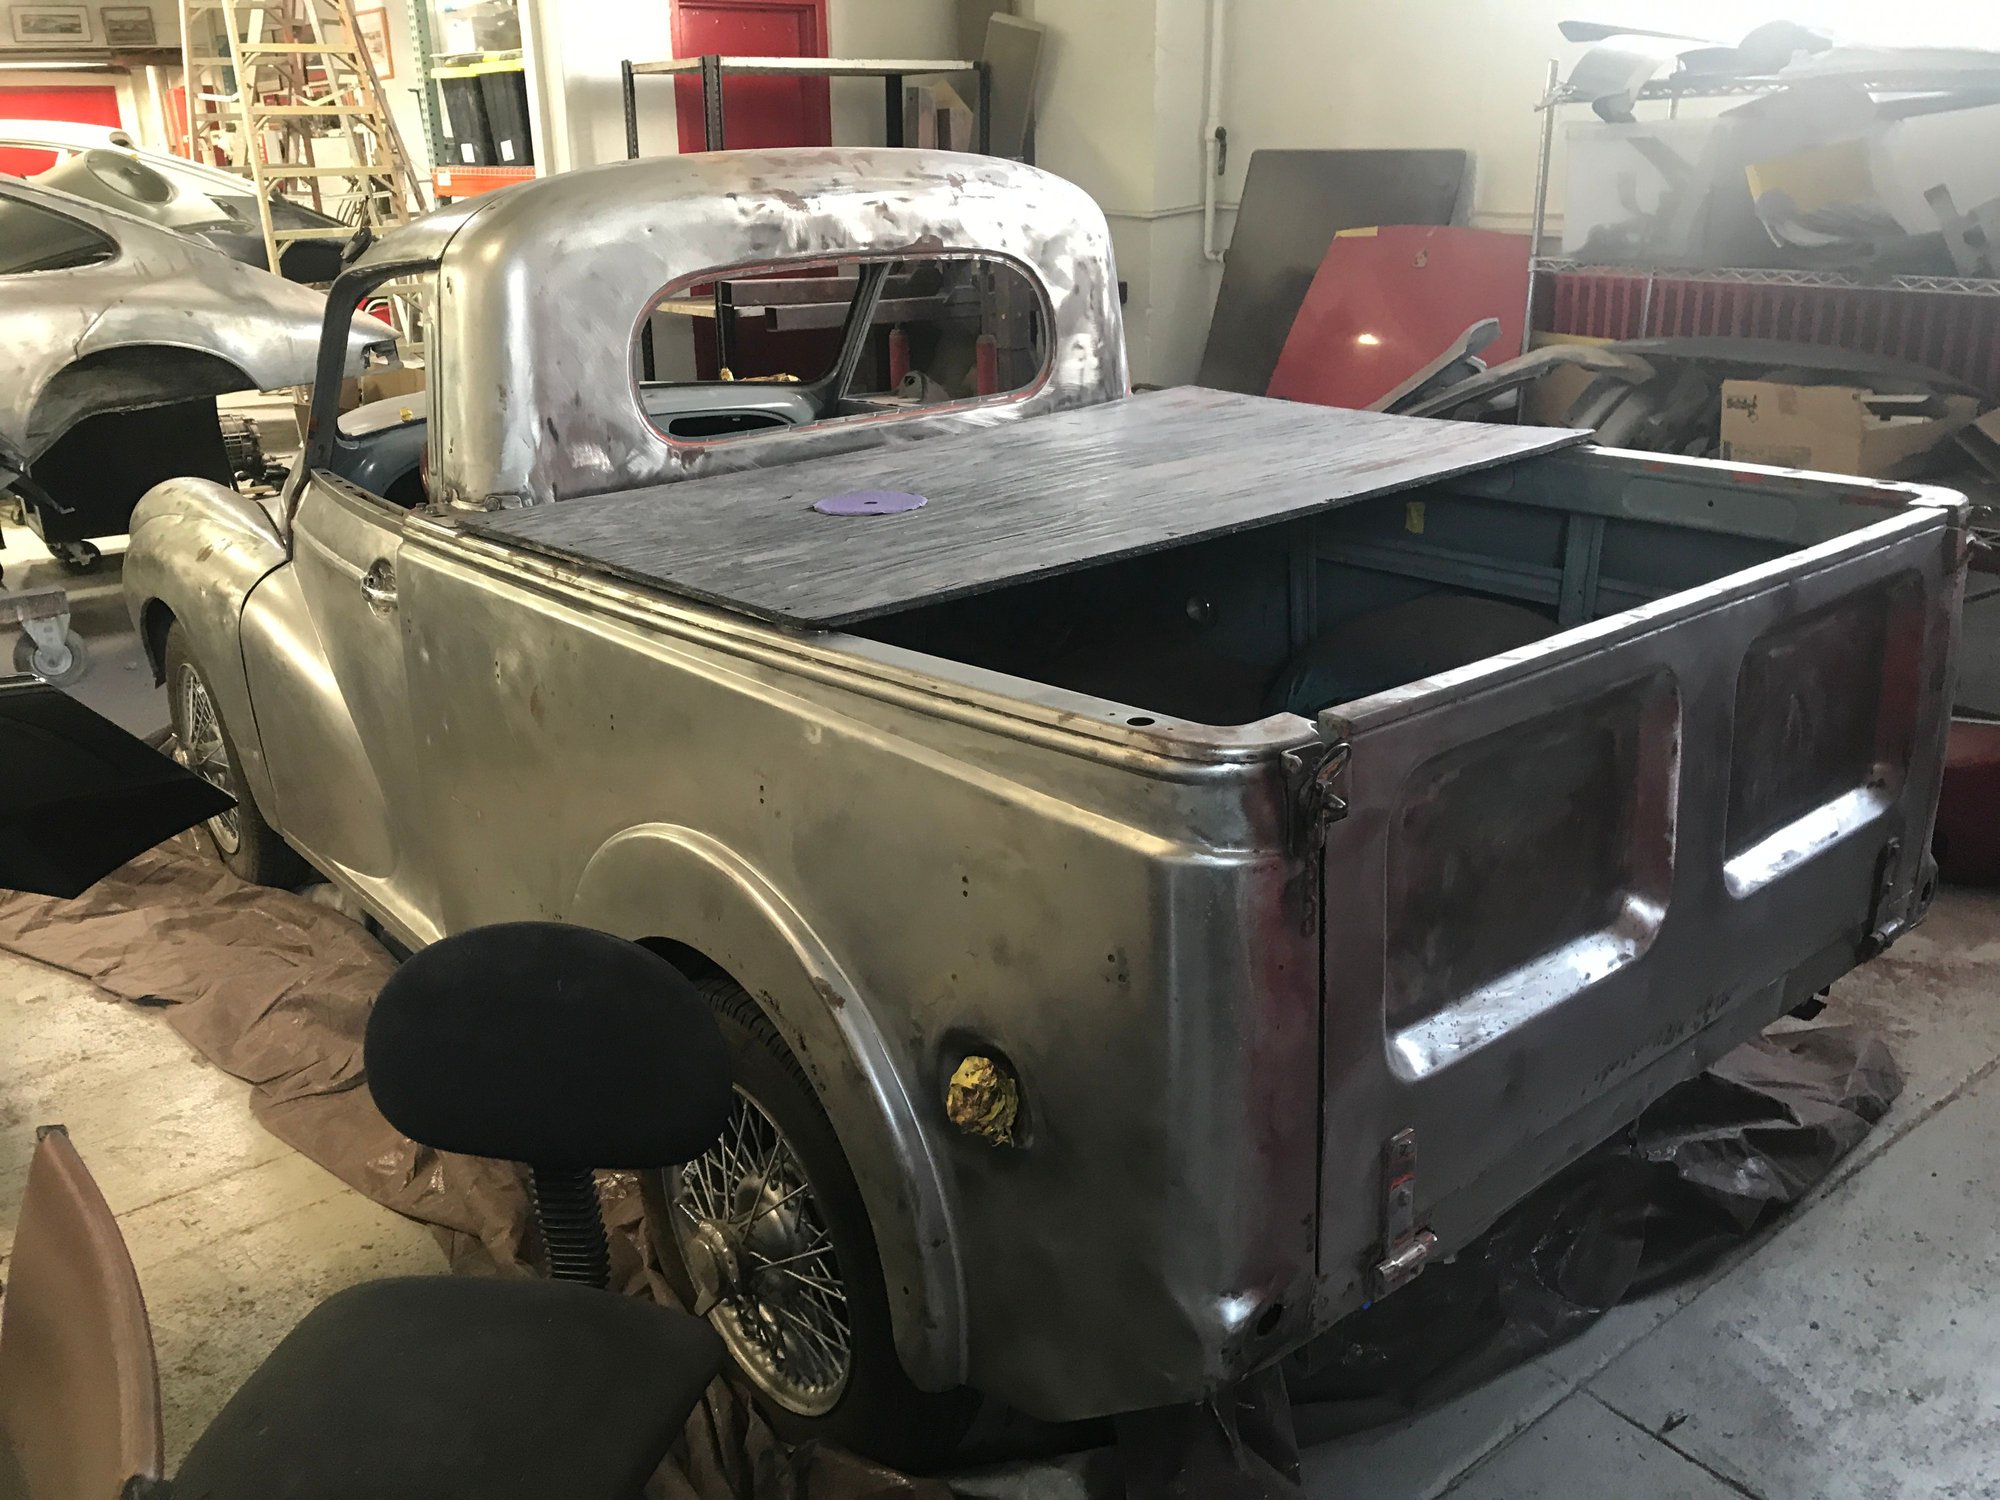
This is a fun project they are working on. Not sure what it is but looks pretty cool in person. A lot of hours stripping it down to bare metal. Seems restoring old pickups is becoming quite popular these days.
Just got a call as I was heading out. The adhesive needs 24 hours to dry and we did this around 3PM yesterday so we will wait till tomorrow to weld. Bummer but not worth rushing.
This is a fun project they are working on. Not sure what it is but looks pretty cool in person. A lot of hours stripping it down to bare metal. Seems restoring old pickups is becoming quite popular these days.
Morris Minor pickup. Our friends across the pond may not recognize it without all the rust....


 08-29-2020, 09:41 AM
 Now that we are this far along the rest goes quickly.