When you click on links to various merchants on this site and make a purchase, this can result in this site earning a commission. Affiliate programs and affiliations include, but are not limited to, the eBay Partner Network.
Ok, some documentation to help others before my ultrasonic cleaning festival begins.
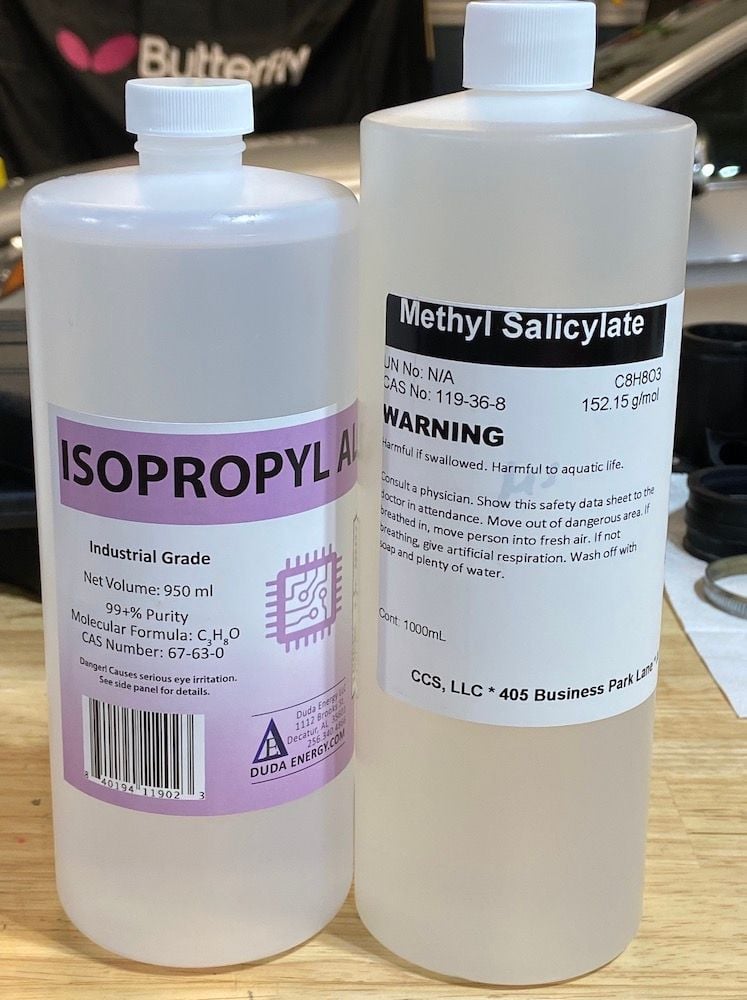
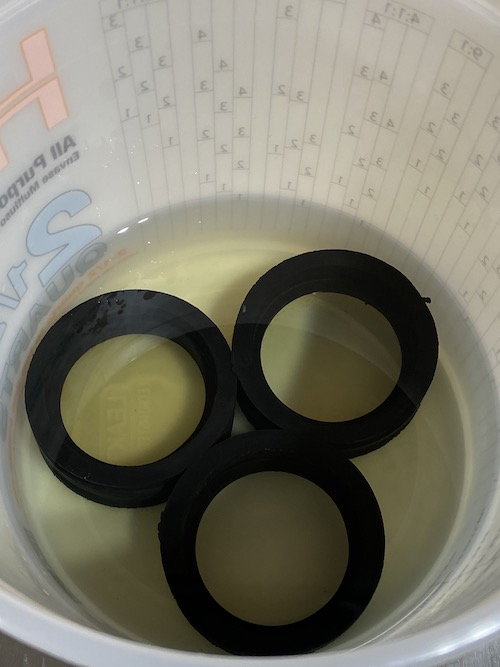
You know what is even harder to source than Isopropyl Alcohol right now? Distilled water... but that is for another post. I finally got my good 99.9% alcohol and wintergreen to setup my rubber rejuvenation bucket. Remember it is 3 parts alcohol to 1 part Wintergreen Oil (Methyl Salicylate)
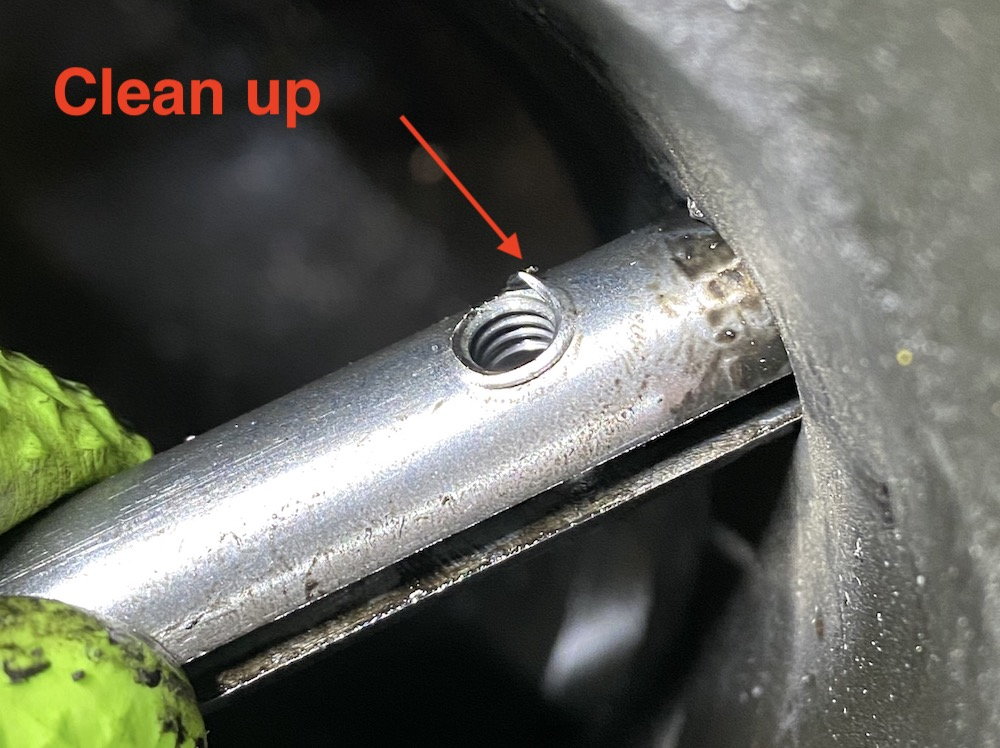
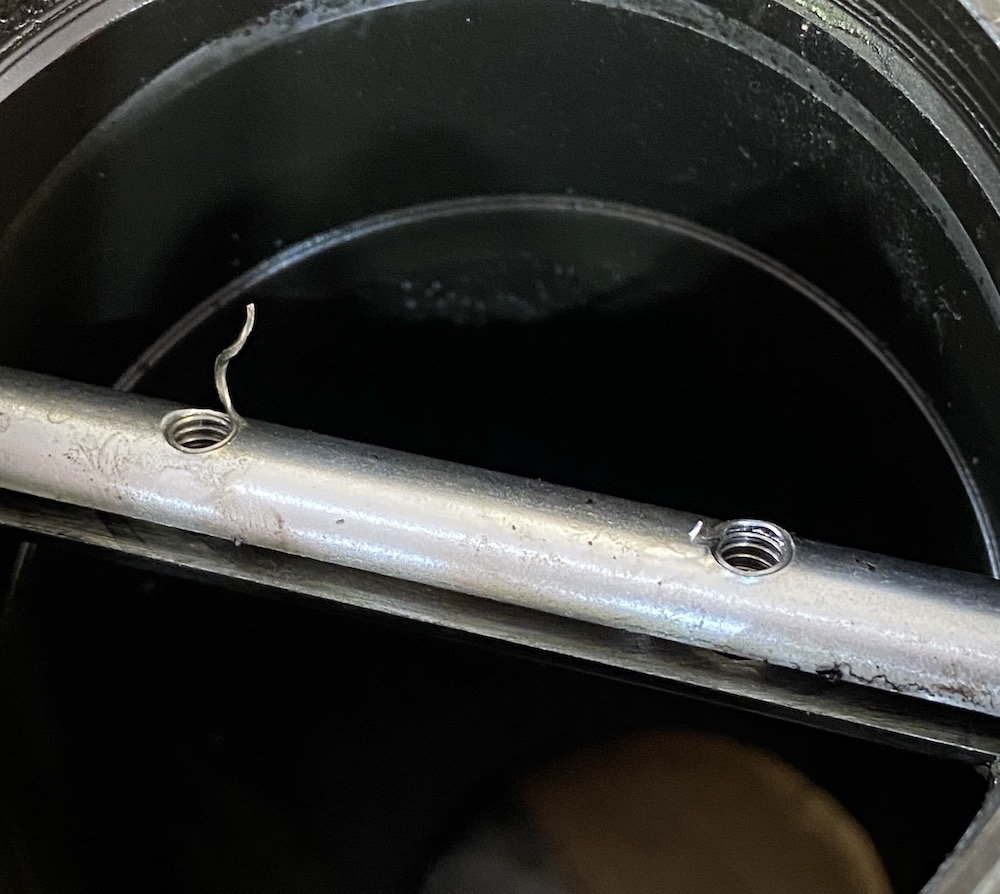
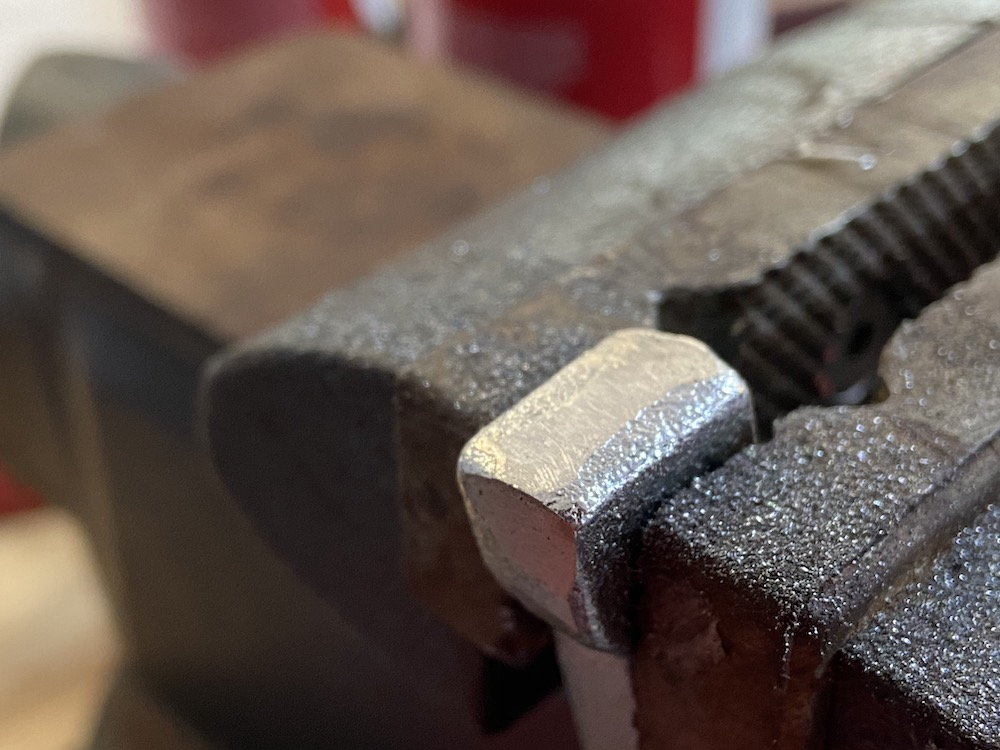
Everything tears down pretty straight forward. Just take pictures at each step and then reverse those steps upon re-assembly. The butterfly screws all came out but make sure you have a good Philips head screwdriver and use good technique to back them out. They are in there tight because the screws are peened on the back (see my screw post above and drilling on of them out). Also note when you remove these screws you end up creating burrs on the back size. You have to clean these up with a file to remove the shafts.
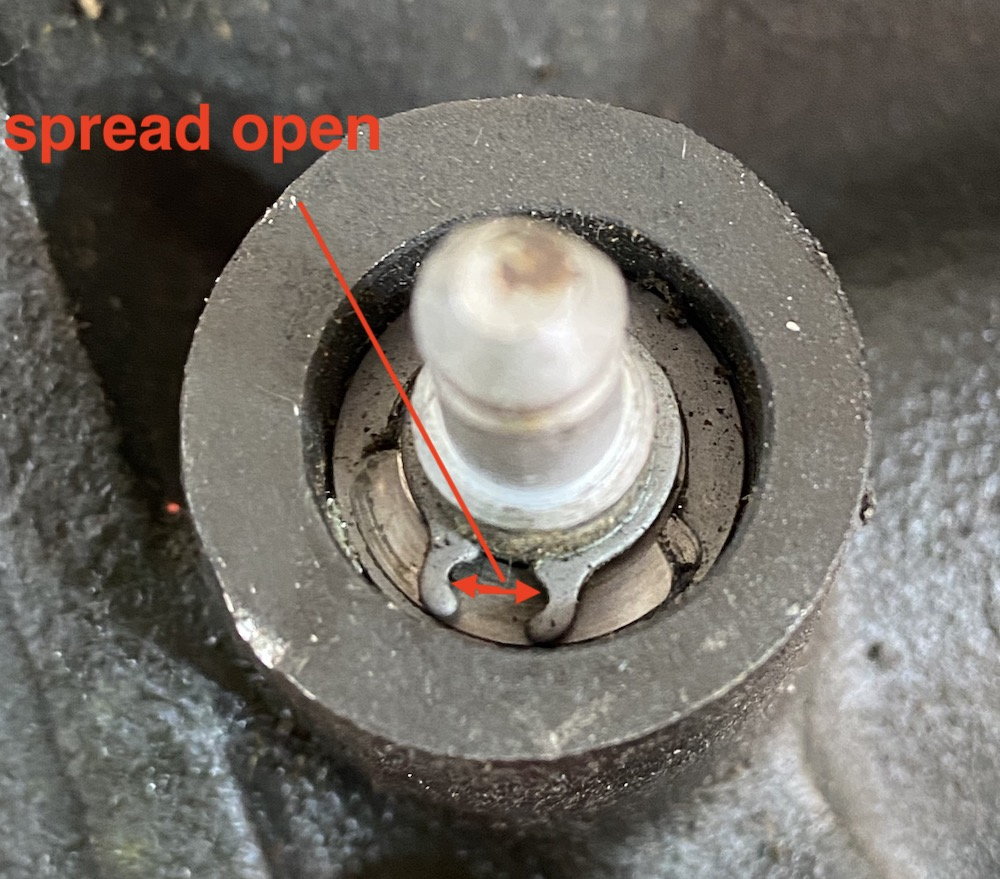
There is this tiny snap ring you have to remove and you just need a tiny pair of needle nose pliers to spread it open. My snap ring pliers were all too large.
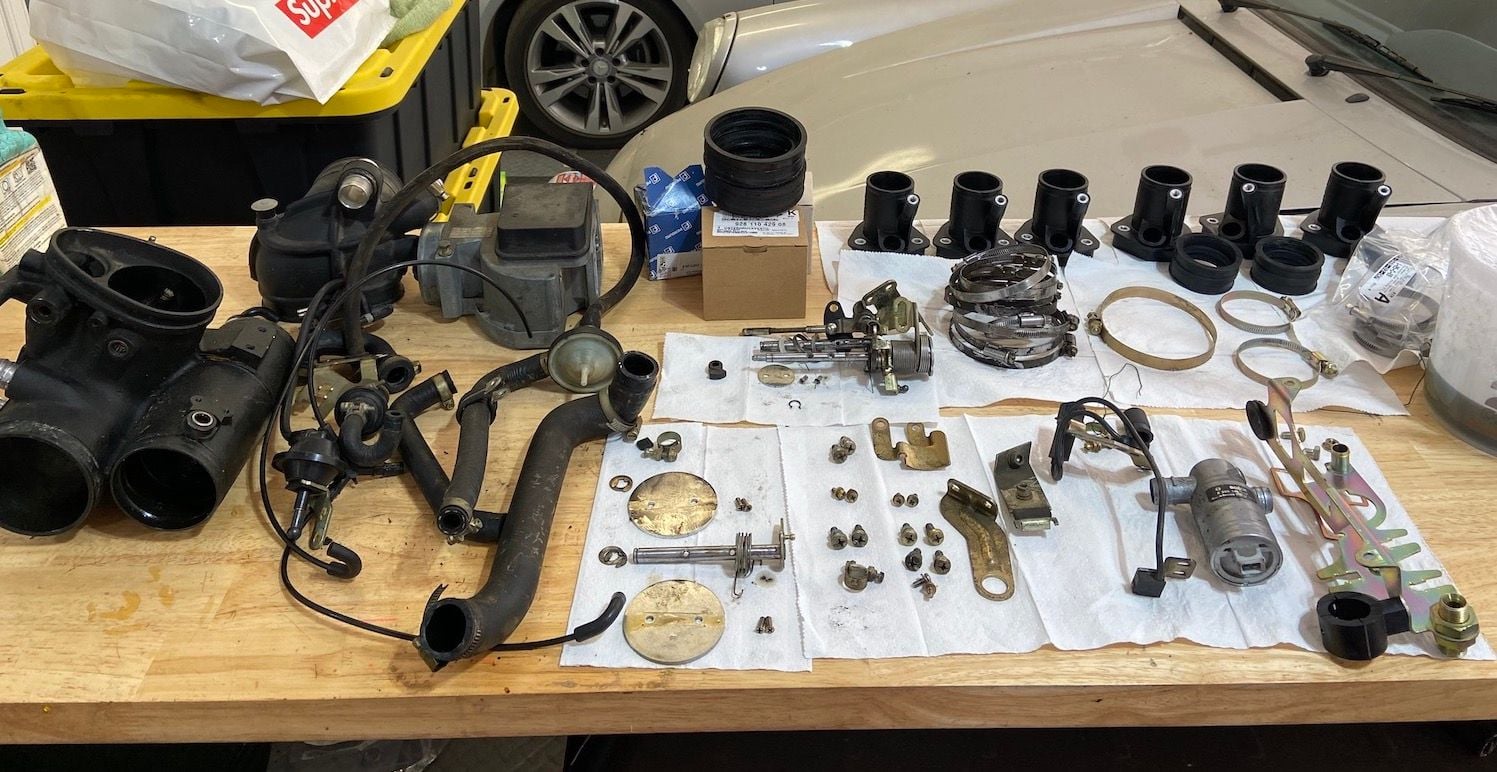
Now the Ultrasonic cleaning party can begin!
Oh, and where would I even be without Goughary! Thank him for the madness.
Slightly OT but for those with ultrasonic cleaners is 30L the right size to go for for most part cleaning needs? Wish there was one you could drive the whole car into lol.
Yeah- 30L is great. You can always put small parts in glass jar etc and keep your large tank with just water. The runners as well cam towers also fit and the ultrasonic did such a good job even with dish soap and water that I don't feel the need to pull the spray tubes. My axle shafts also went in the bath but only one end at a time. Got the insides way cleaner than I could of with just the parts washer.
Ricardo- its really a great tool for small detailed parts isn't it? When I bought it (we're tight for funds and they run $700 here for the cheap 30L) I told my better half that I was buying a time making machine to make more time for me to work on the house..... I got approval.
EDIT: Ubipa is right in his post below, go to belmetric.com and order a handful of these and NOT a box of 100 for McMaster for $10.
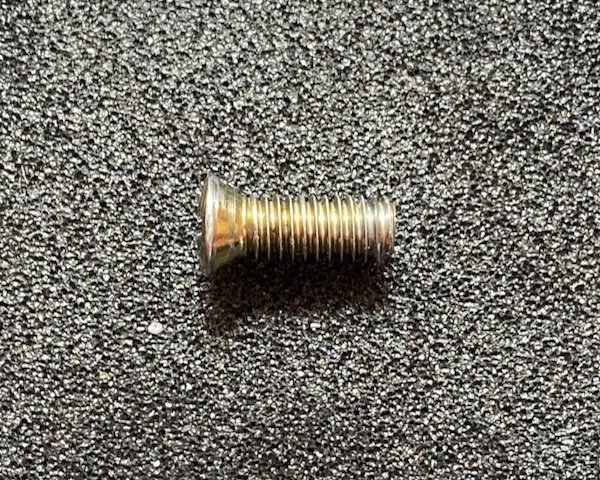
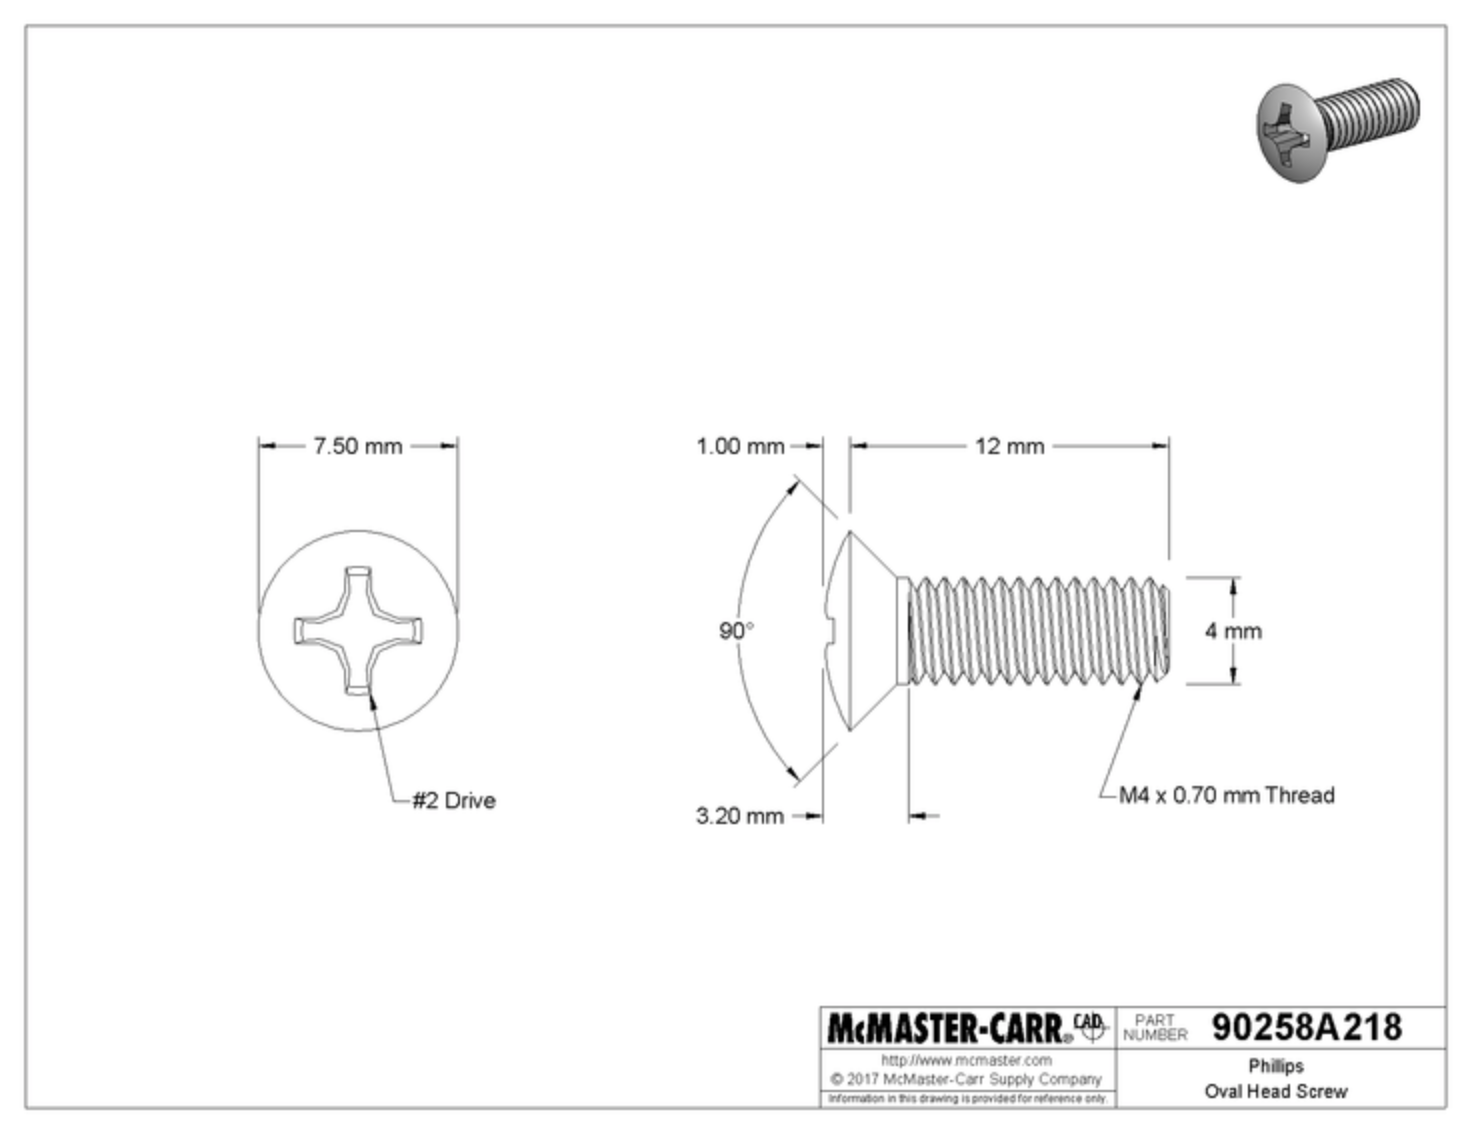
So now I need new flap screws. Goughary helpfully confirmed these are M4 x 0.7
The head diameter is 6mm, and two lengths are used. ~11.4mm in length for the big flaps, and the one tiny flap is ~ 9.6mm (the one I destroyed). The head appears slightly domed.
I will probably end up ordering a box of 12mm long stainless steel screws and then just cut to the length I need. The head diameter is 7.5mm. I may have to shave it down. There is also a T-20 torx head version but the diameter of the head is even larger 9mm. Torx would be great but I don't expect to be tearing into my intake again in my lifetime.
For the limited need of a screw like this, it would be better to tag on just a few to a hardware order for 8 cents each. My favorite place to order hardware....
Well I got all 6 bearing out and big THANK YOU to Goughary for the encouragement and advice and getting the last little f'ing bearing out where I got stuck.
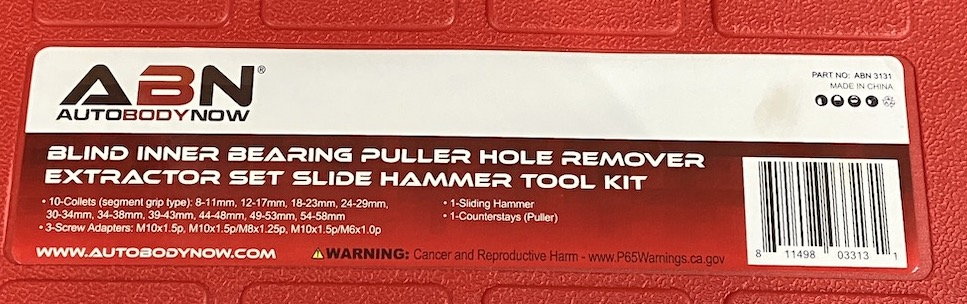
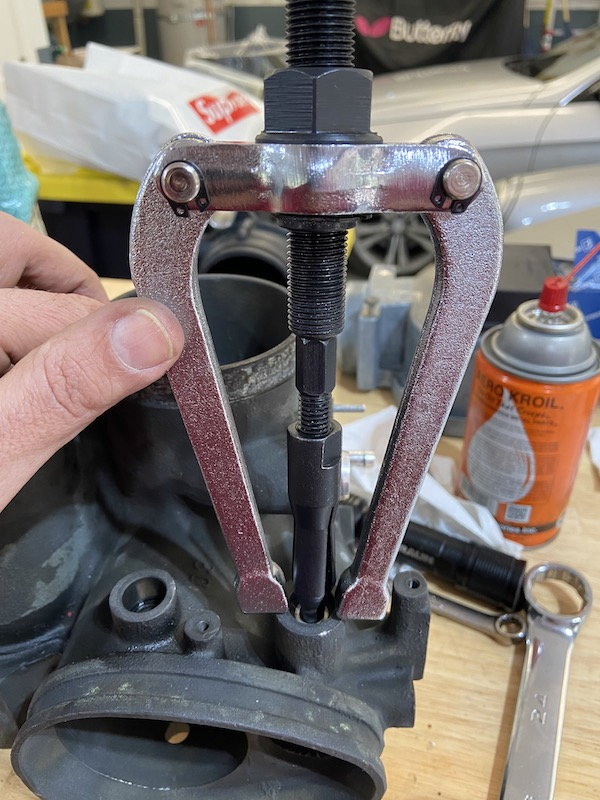
First, Goughary and I used this blind bearing puller which frankly is little piece of garbage that does the job.
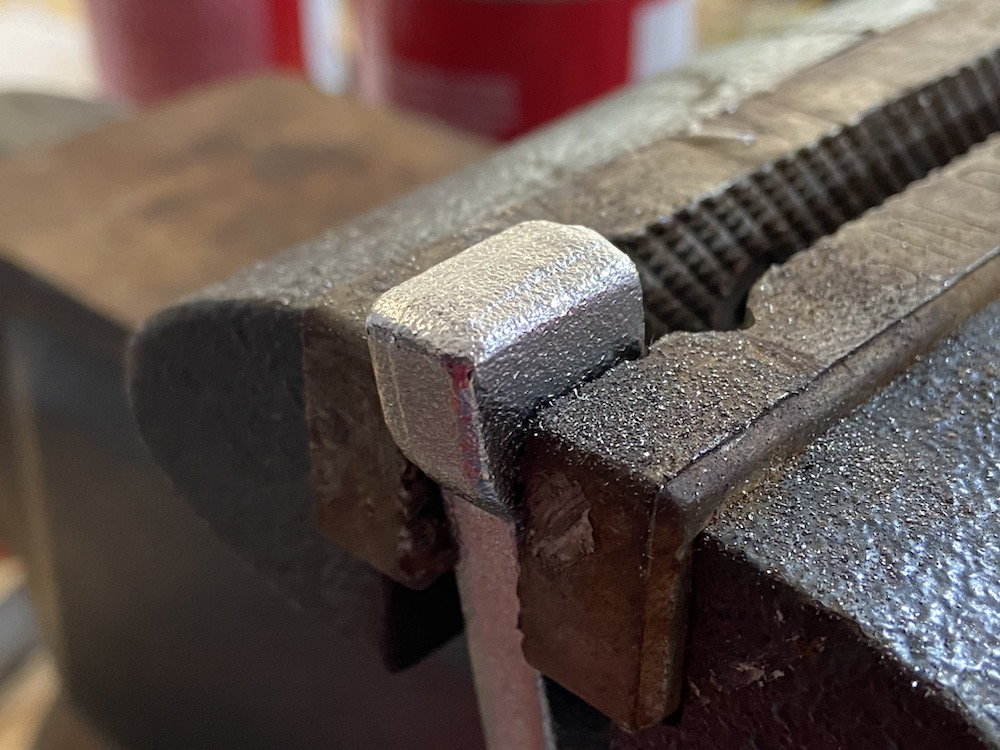
First thing you want to do is sharpen up the corner of the pulling jaws so you don't mar up your intake too badly. Before and after photo below. Just manually use a file to crisp it up a bit. Or get a perfect sized large washer like Peteinjp did.
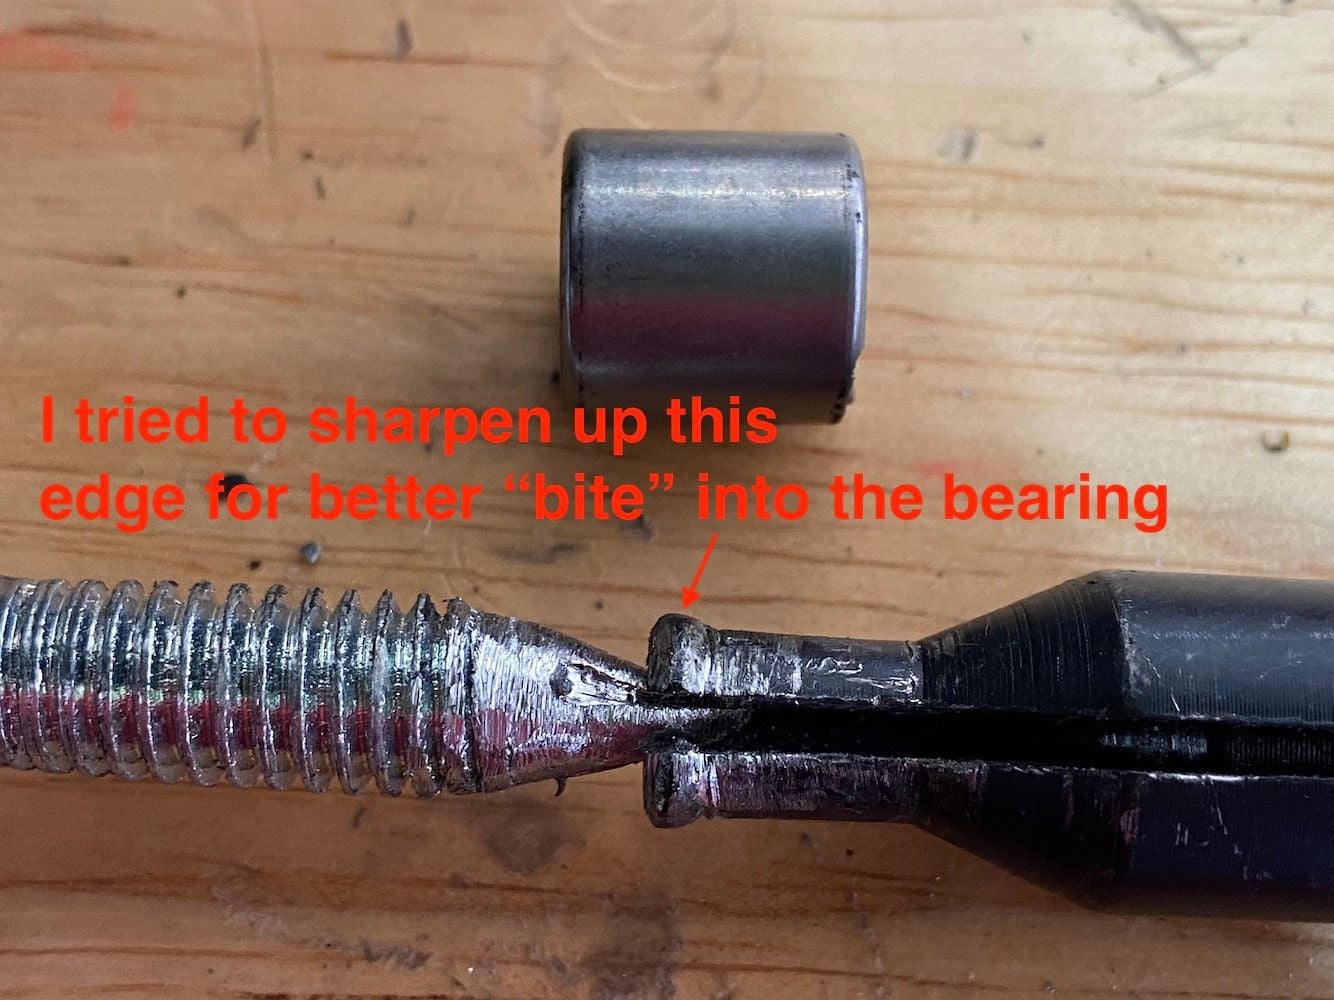
I got stuck on the last little bearing, took a break, and then followed Goughary's method of pushing it out from the backside. On Goughary's advice I sharped up a long bolt I had in my junk drawer with my angle grinder and made a prison shiv. Use the pointy end of your shiv to open the jaws while you hammer it out. You have to set the pointy thing into the tool first and then once its locked in place good, grabbing good hold of the bearing, hammer the entire assembly out. The shiv keeps pressure on the jaws when you hammer it out.
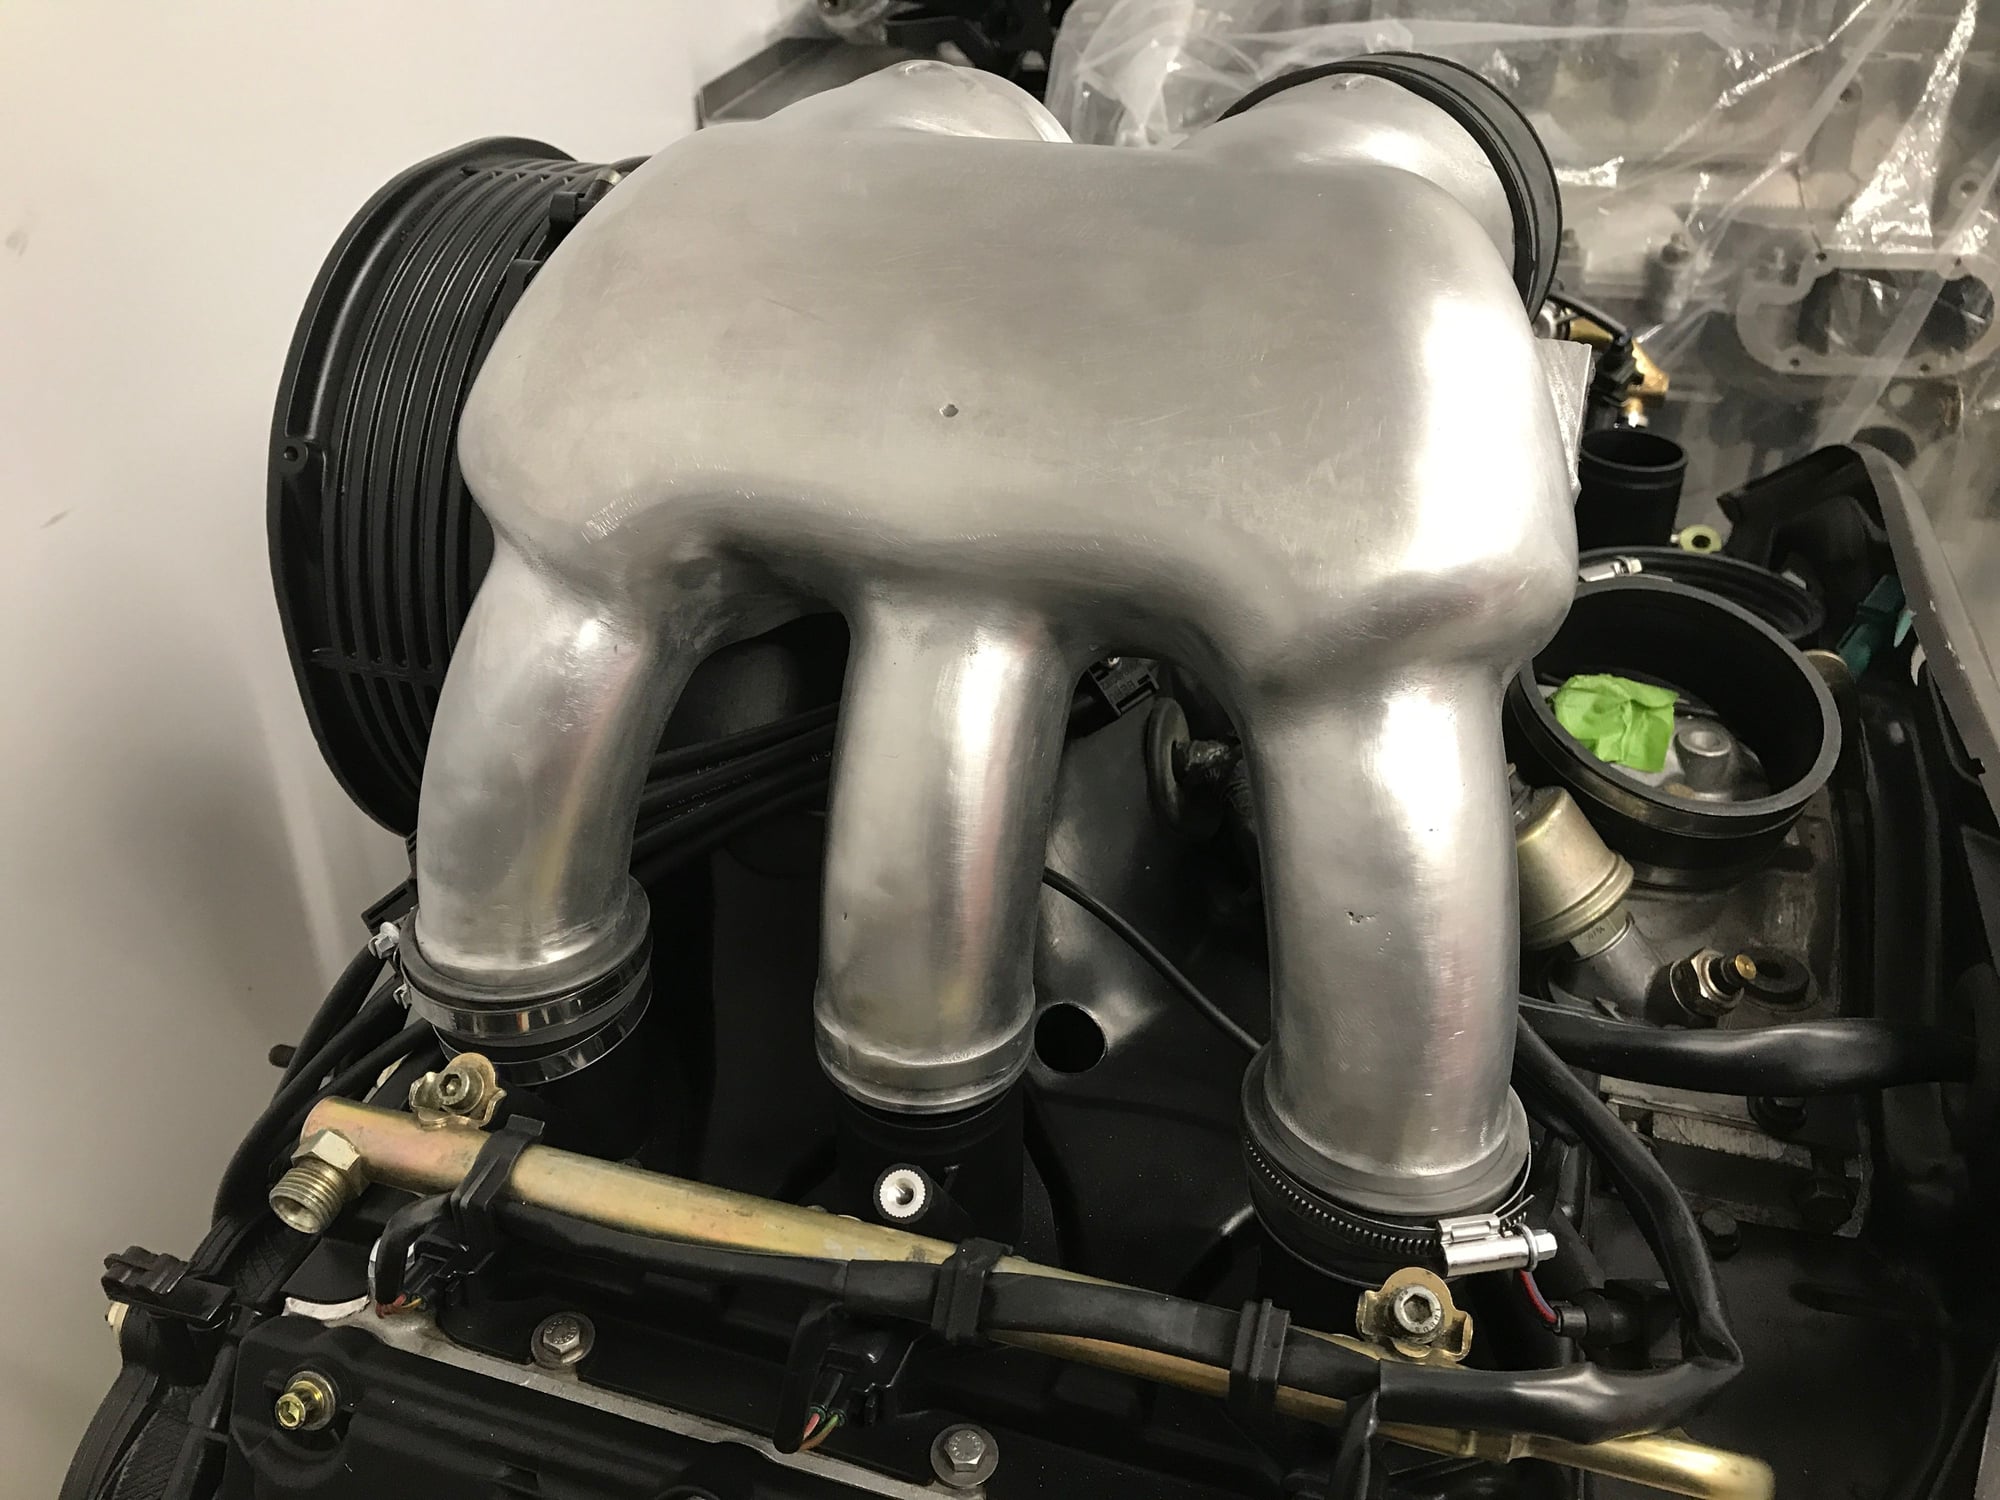
Finally! I am down to bare intake. So how do I port & polish this thing? Then I think I will figure out how to Cerakote myself and give it a nice gun metal finish.
I use a die grinder and and 2 or 4" carborundum pads to take down the rough stuff then surface prep pads pads to polish out the surface. You don't want a perfect surface but there are areas you can improve upon. Think golf ball. Too smooth isn't good either despite what many think. I have many mandrels some of which I have cut back to 1" and use a 2" pad it allows to work on rounded surfaces better.
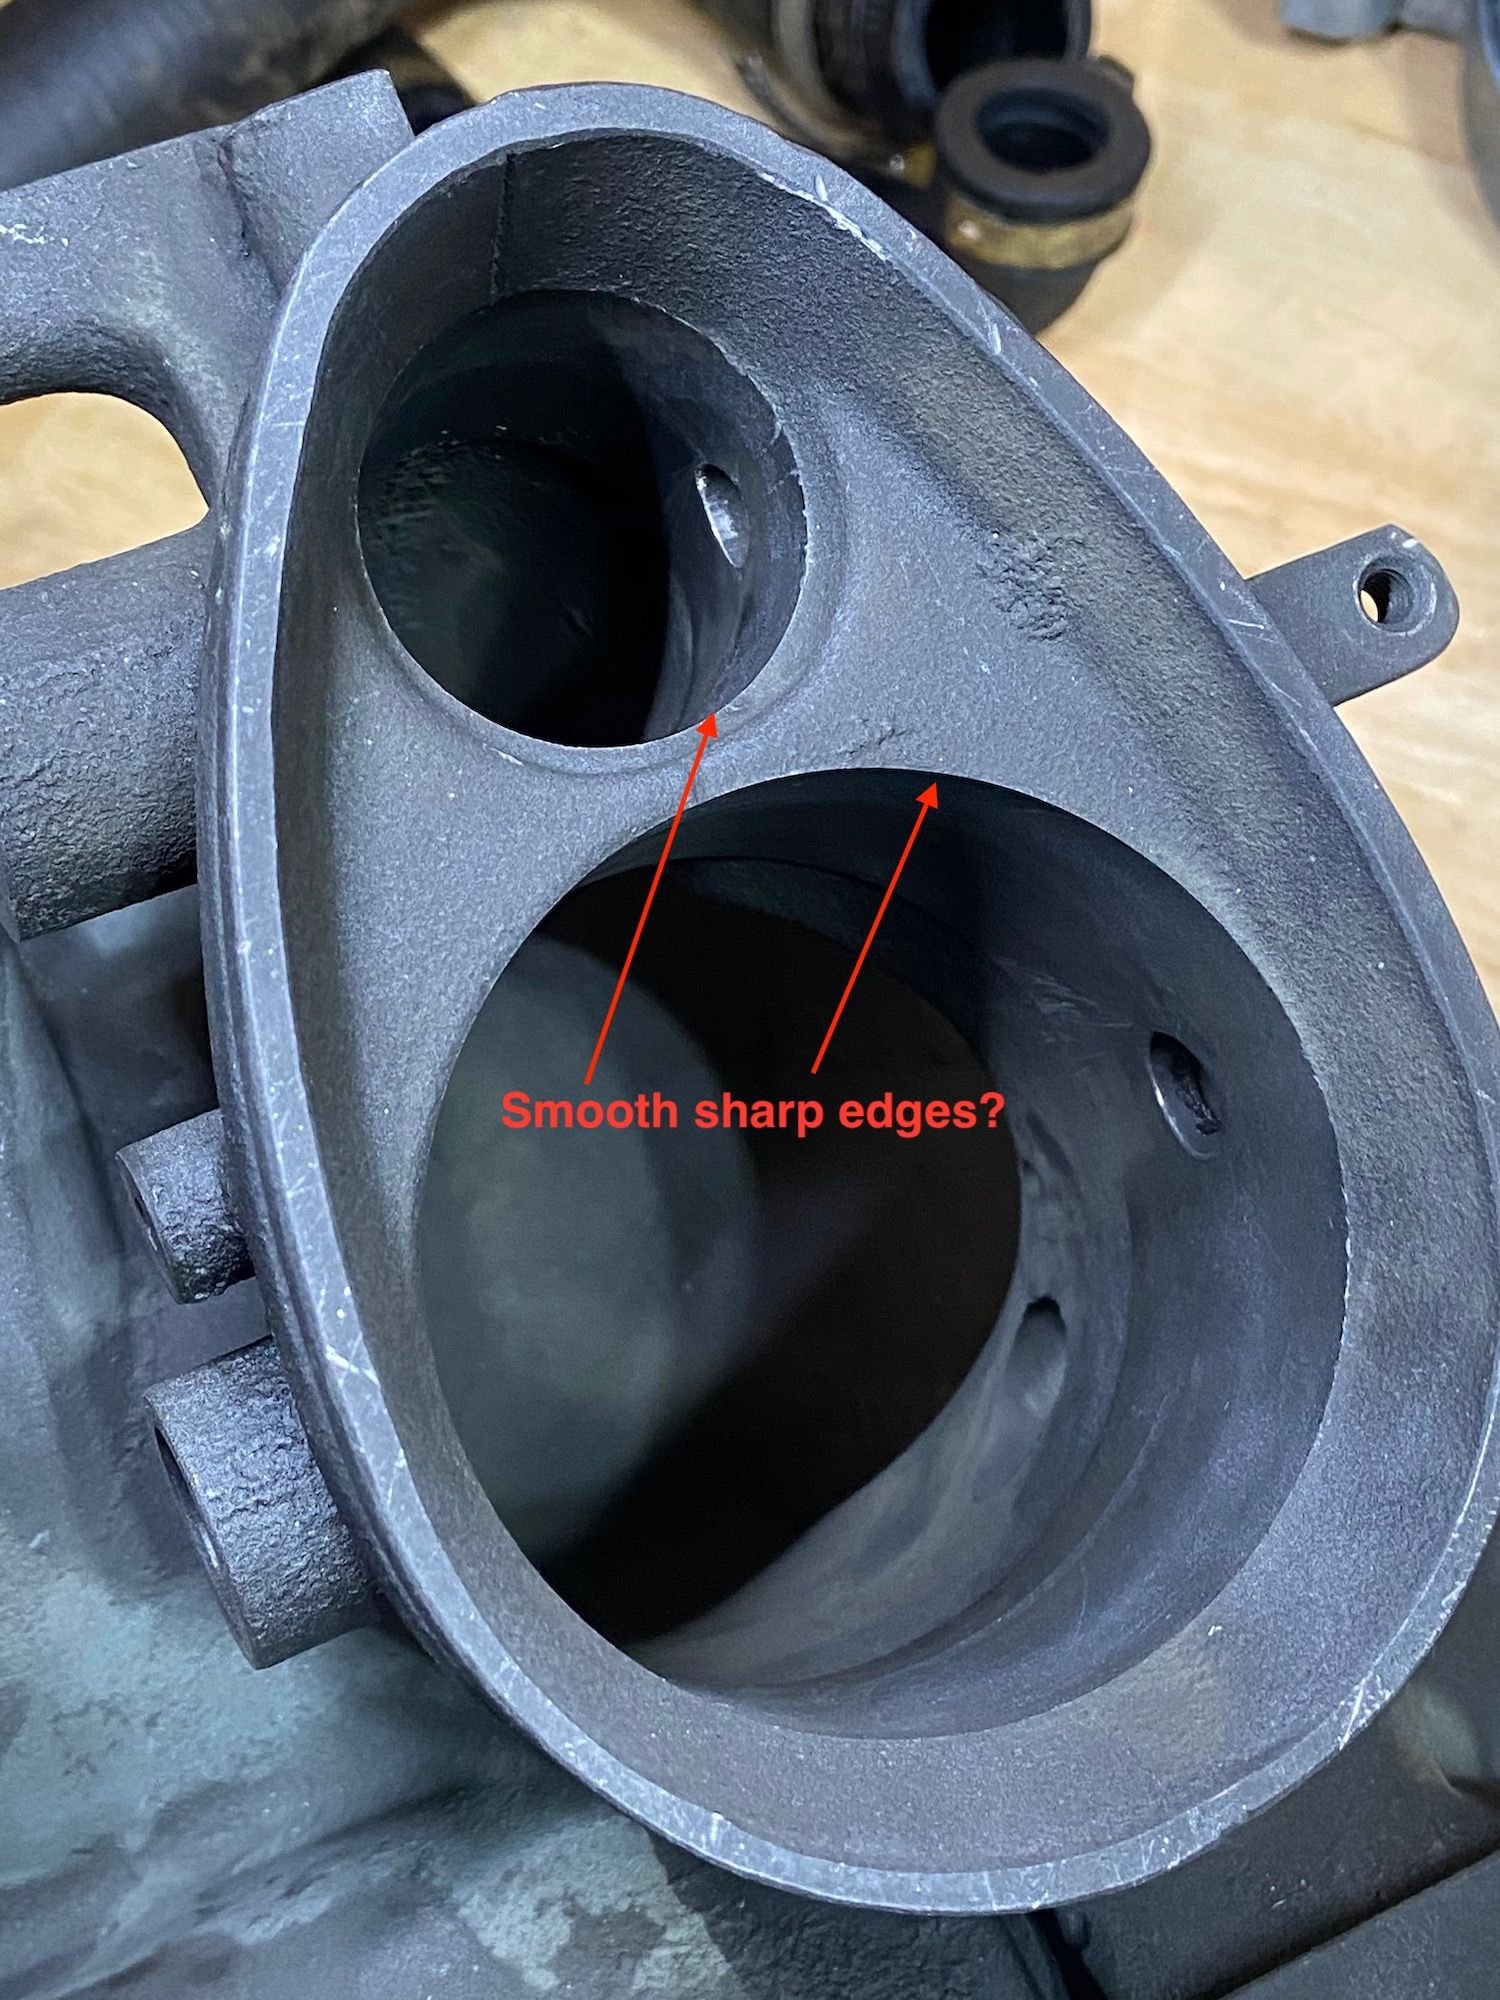
Does it make any sense to even polish the throttle body and resonance tubes.
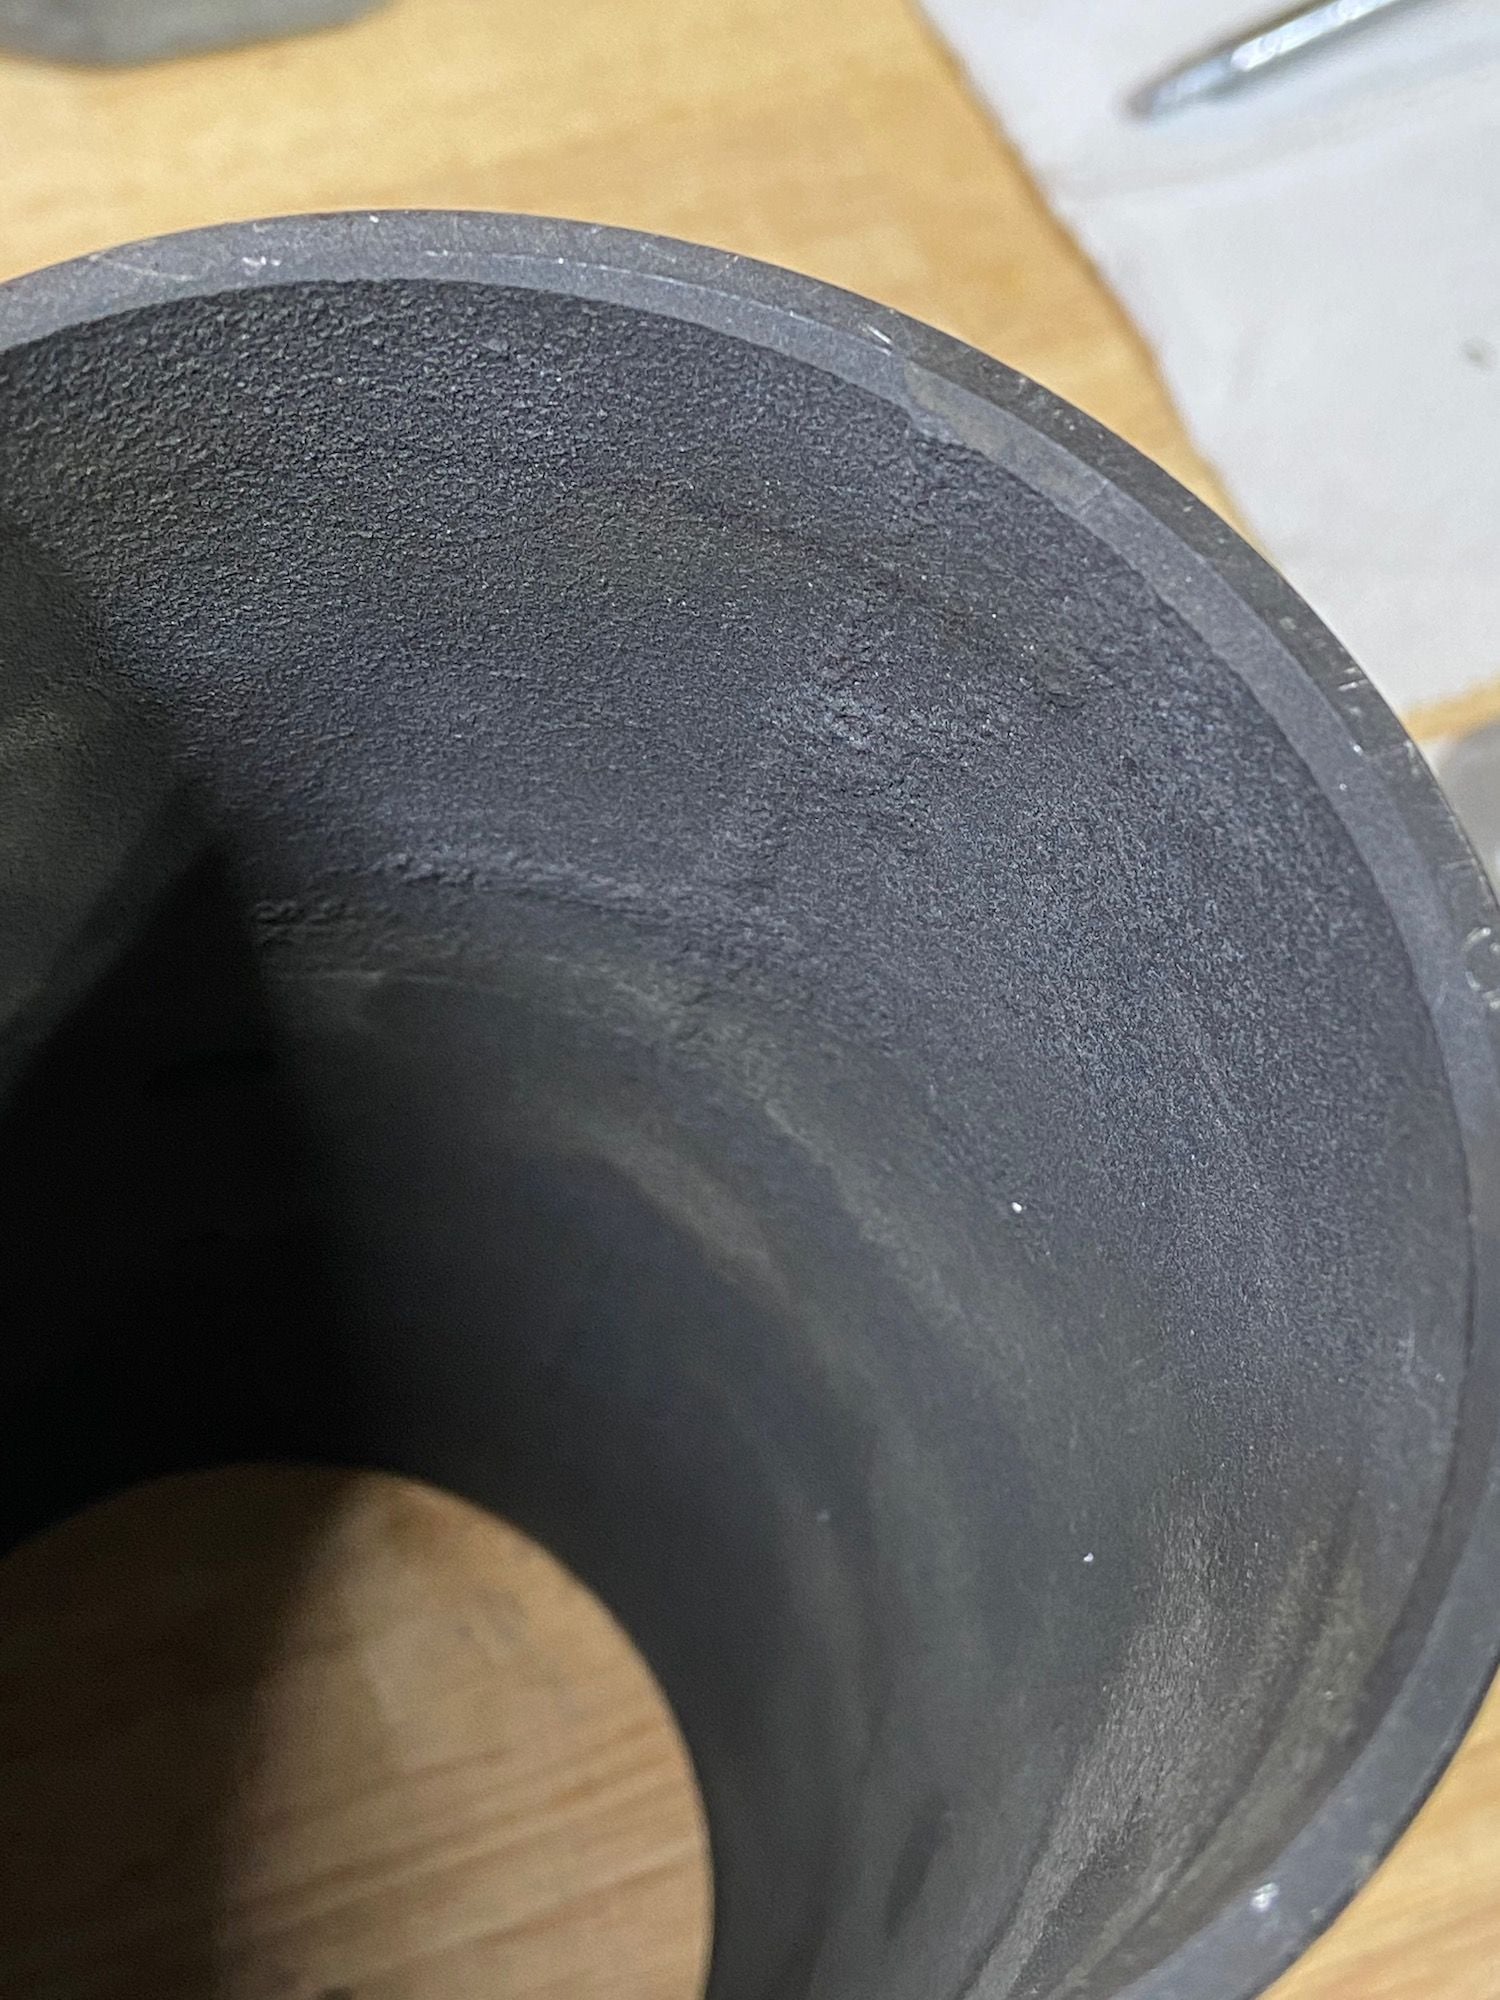
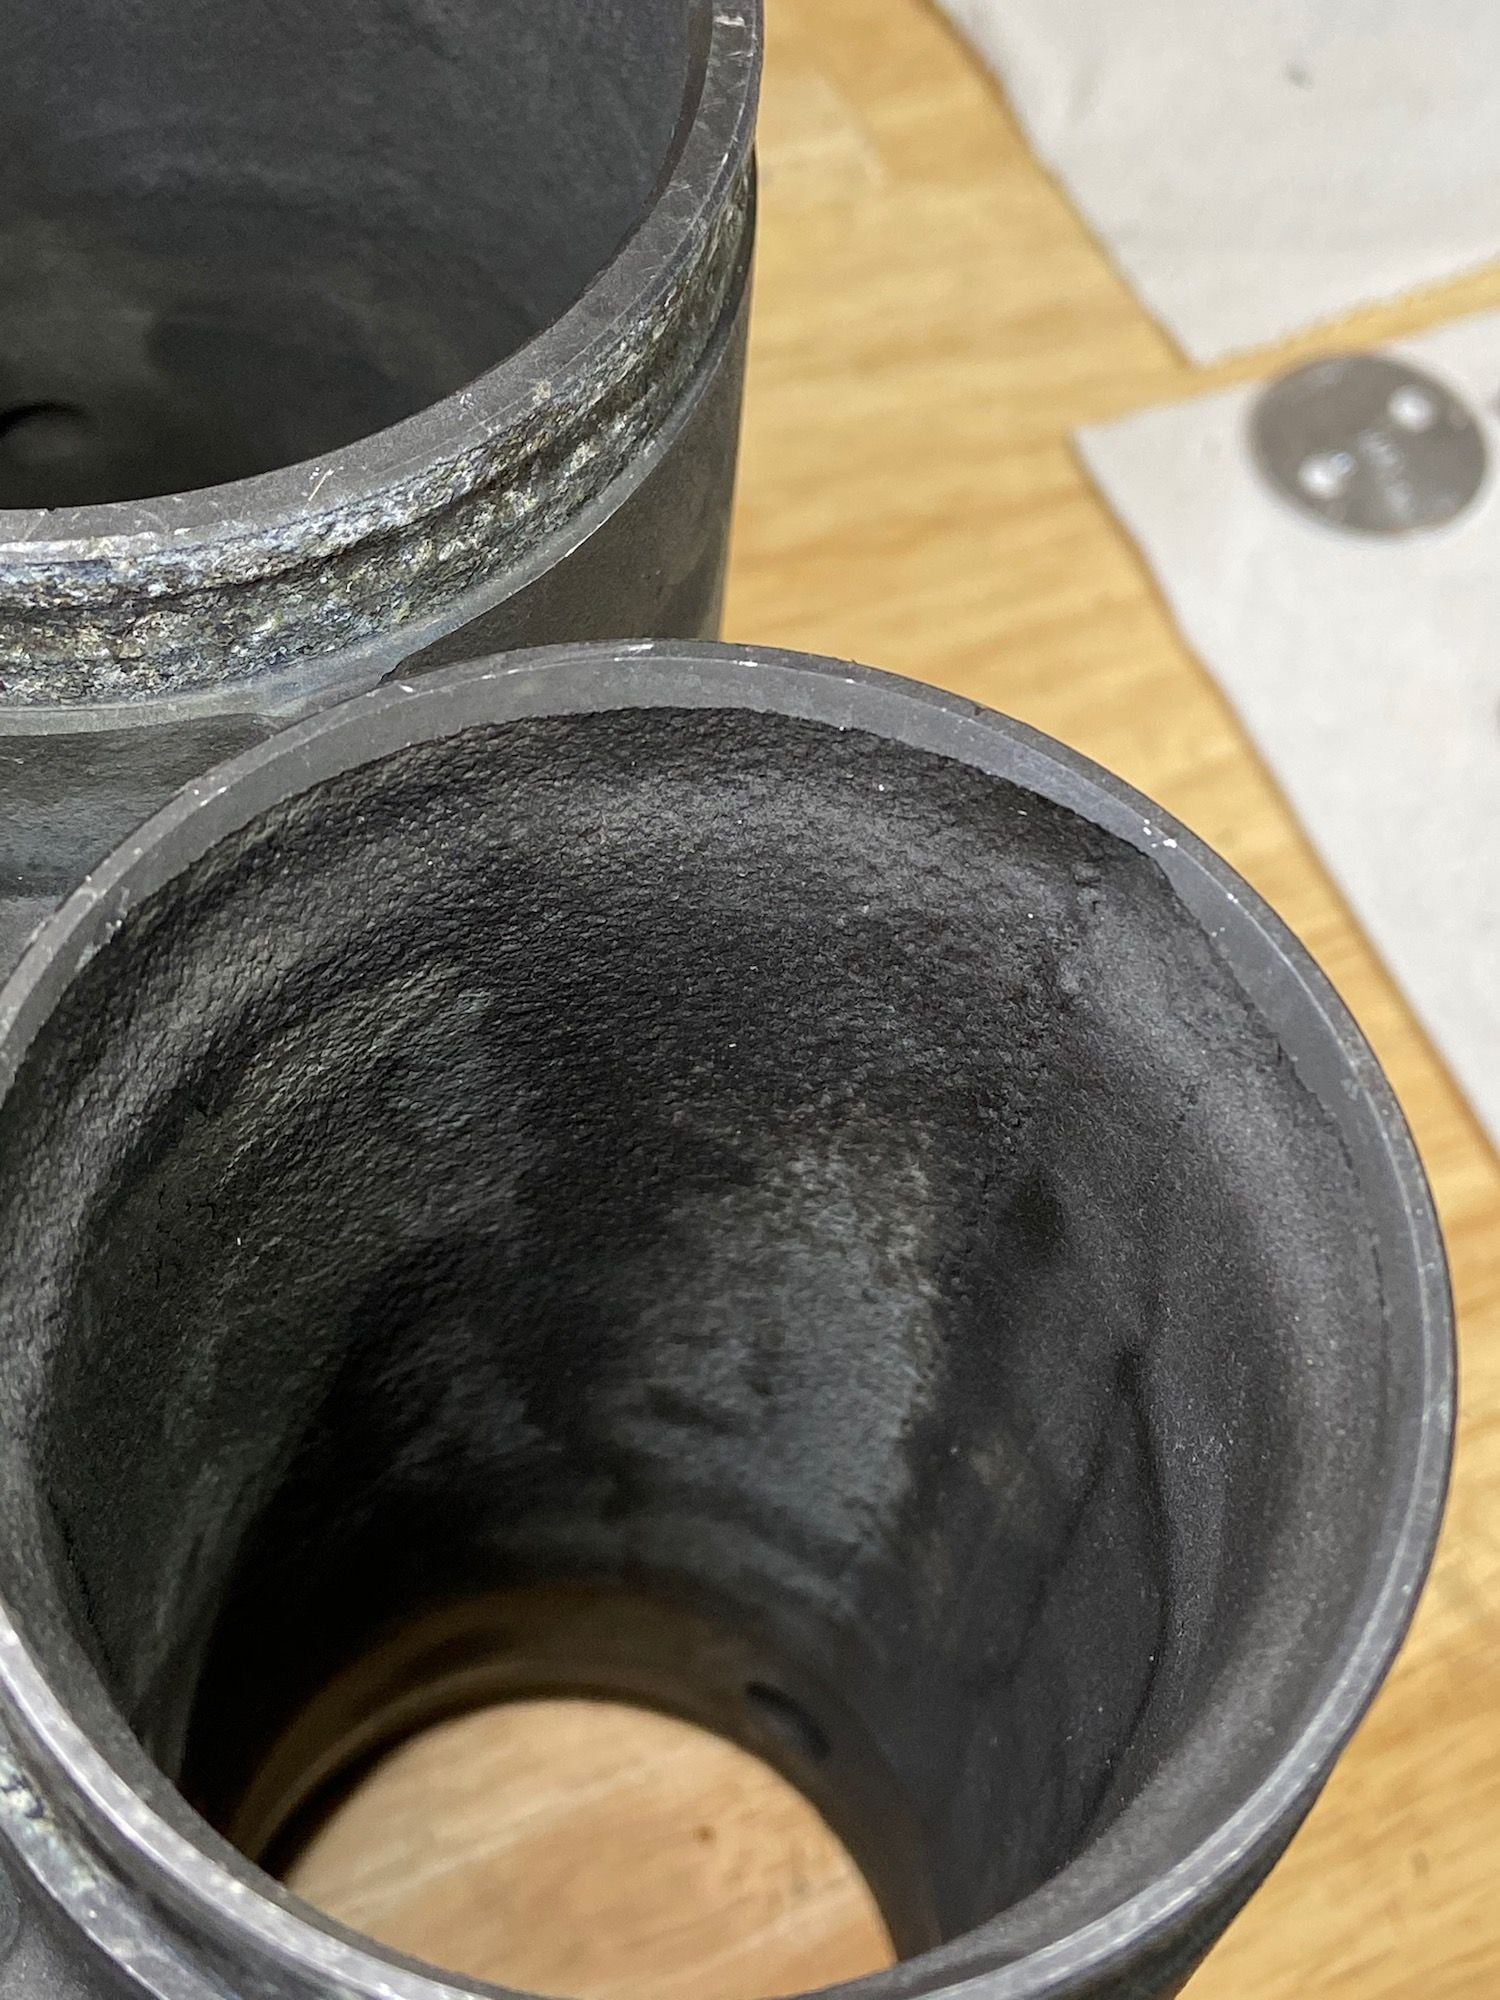
That small and large throttle inlet tubes are relatively smooth. The resonance tubes are where the surface is pretty rough. Does it makes sense to break the sharp edges on the throttle body inlet ports? It feels like this is a lot of sanding for no purpose.
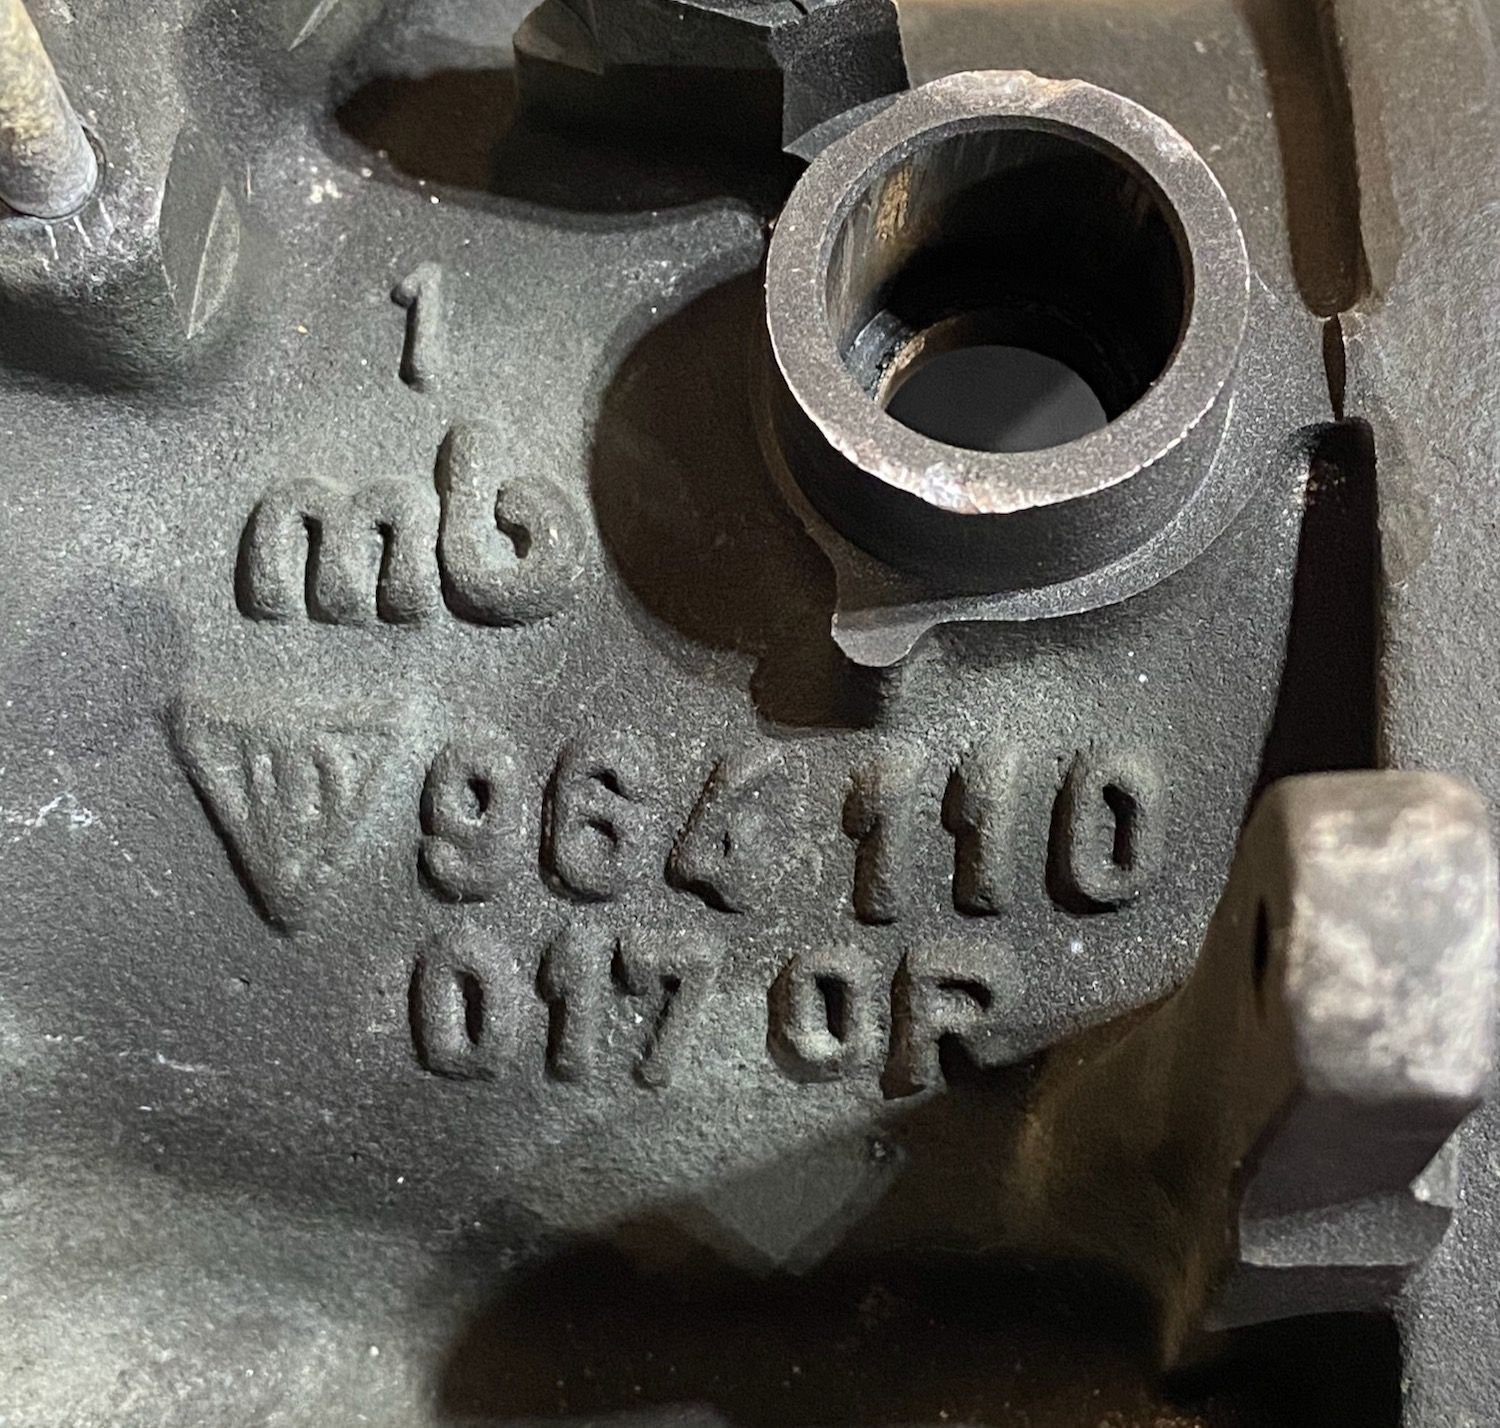
As an ex foundryman of 30 years those pictures made my stomach turn. Whoever made those had little control of their sand process. I would never release a part looking like that. I'm no fluid dynamics expert but I would have to guess that anything that creates significant turbulence is worth smoothing out a little. I have never had this part of the early intake in my hands but I am getting a sense it is magnesium? That pitting has all the earmarks of mag along with the color. Mag dust is explosive and can start nasty little fires if you aren't careful. Just don't make a mess. I can't leave well enough alone so I am always cleaning and improving if I can. Although if you disturb the oxide layer you might be risking corrosion in those areas.
Thanks Anthony. Here are the part number and casting marks. Does the M in the triangle indicate magnesium? How can one tell it is mag and not aluminum, absent of creating a dust pile, and lighting it on fire like my science teacher did one time.
Ricardo. We don't like ugly things. We like pretty things. And as we know, beauty comes from the inside....
I wouldn't touch the resonance tube. But the rest- up to you. I think one of the big problems with the intake in general is all the area with rough edges to allow grime to grab hold and build up over time....aside from just allowing air to flow freely...
Anyway- i say go for it. I did the main tube and then a little around the plenums.
The next one i am doing (haven't started) is going to go a little further.
To my eye it is mag I am 98.975% sure. I would just be careful and it wouldn't hurt to coat the areas with some paint at a min when done.
I personally would go to town on it. Run a 3" coarse wheel and take down the high spots of the resonance tube and smooth it out as much as possible but I did this for a long time and can power through it pretty quickly. Although I ache a lot more after these days.


 05-02-2020 | 08:47 PM


 Whoever made those had little control of their sand process. I would never release a part looking like that. I'm no fluid dynamics expert but I would have to guess that anything that creates significant turbulence is worth smoothing out a little. I have never had this part of the early intake in my hands but I am getting a sense it is magnesium? That pitting has all the earmarks of mag along with the color. Mag dust is explosive and can start nasty little fires if you aren't careful. Just don't make a mess. I can't leave well enough alone so I am always cleaning and improving if I can. Although if you disturb the oxide layer you might be risking corrosion in those areas.