When you click on links to various merchants on this site and make a purchase, this can result in this site earning a commission. Affiliate programs and affiliations include, but are not limited to, the eBay Partner Network.
Ricardo- did you close off the hose - apply vacuum and then open the line? Effectively mimicking what the car does? Or did you just pull the vacuum and that's the press e needed to open the valve....
Just curious for reference when i do the same with the dual flap throttle body...
Another question for the experts: after all of this hard work and cleaning, my understanding is that our cars will always have some level of oil in the intake system after use due to the engine / oil tank breather hose arrangement. Has anyone here looked into adding an air/ oil separator as part of this "madness" to ensure clean parts stay clean and only air and not air + oil is going into the intake? There was a thread from a few years ago mentioning using a ProVent 100 system but details were a bit lacking for me.
Another question for the experts: after all of this hard work and cleaning, my understanding is that our cars will always have some level of oil in the intake system after use due to the engine / oil tank breather hose arrangement. Has anyone here looked into adding an air/ oil separator as part of this "madness" to ensure clean parts stay clean and only air and not air + oil is going into the intake? There was a thread from a few years ago mentioning using a ProVent 100 system but details were a bit lacking for me.
I just added one to the vacuum line on the oil tank and plan to add one to the large vent hose. I�m just waiting till I move to a speed density efi so I can vent to atmosphere on that hose.
Why does moving to speed density (maf?) allow the large hose to vent to atmosphere?
The vac line on the oil tank currently pulls air from the metered side of the AFM via the large hose. Switching to speed density uses manifold pressure, so it won�t need to meter air mass. You can then essentially put an air filter on the large hose... and when there�s no vac from the manifold and the positive pressure builds from blow by, it will vent to atmosphere through the large hose.
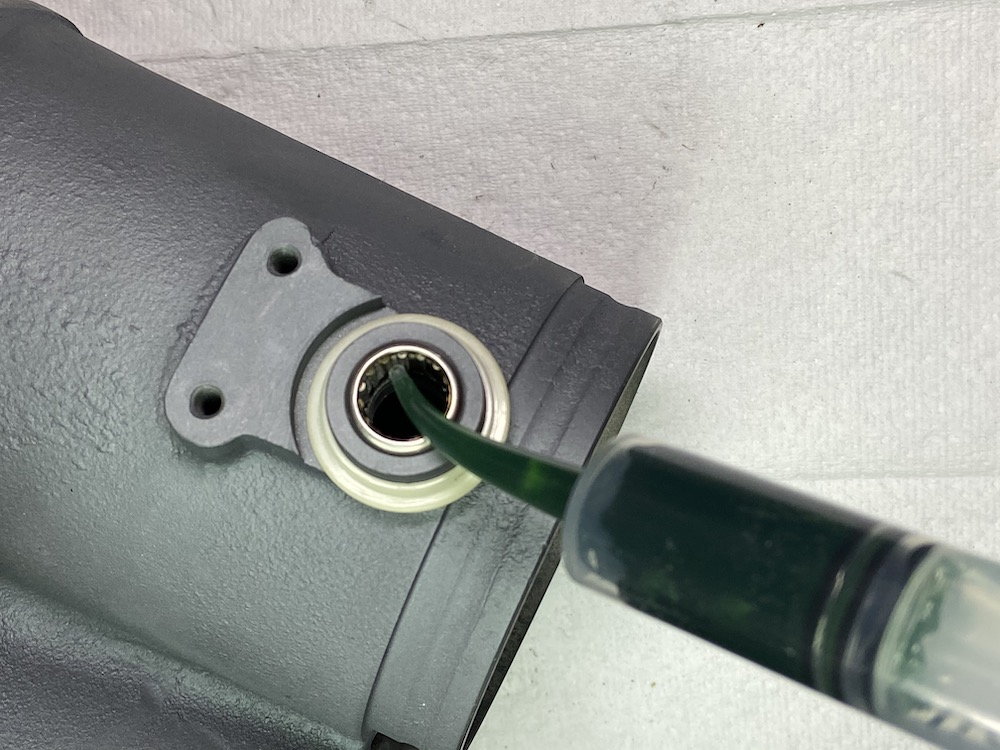
A little birdy (*cough* Goughary *cough*) reminded me to grease my bearings. Doh! So out came the shafts again. Don't forget this step! I used Green Ronex MP grease for wheel bearings. Filled one of my syringes with it. This is the start of application. When you push the shafts through the excess will come out at the end of the shaft and you can wipe it clean.
Putting in back together the 2nd time was 100 times faster.
I just added one to the vacuum line on the oil tank and plan to add one to the large vent hose. I�m just waiting till I move to a speed density efi so I can vent to atmosphere on that hose.
can you share a part number or manufacturer for that unit? Looks compact and easy to get on.
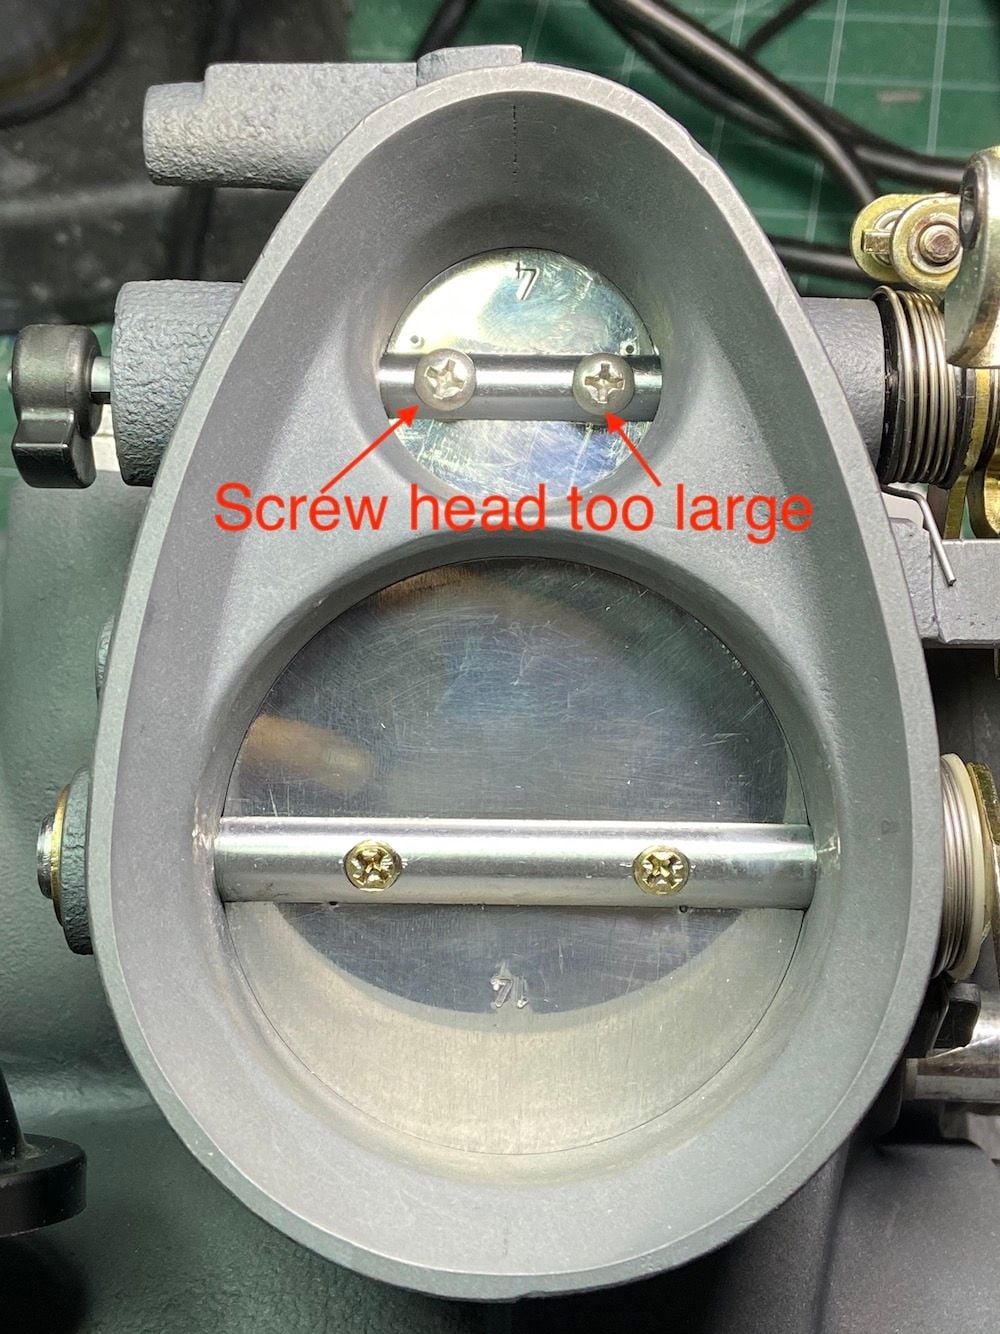
I got the large flaps installed. The replacement screws I purchased, as predicted, have head diameters that are too large. We still need to find a source for these screws. It is possible to put the screw on a lathe or drill and then file down the head to the right shape. Instead I am sourcing a spare flap screw from a friend but I would like to figure this out for others as would Goughary. Also, I wonder how easy it would be to deform the stainless steel replacement screws I purchased.
You want to put the flaps back into their original locations and orientation. I suggest marking them with dots or scratched prior to removal. Instead my amazing iPhone11 camera was able to record all the detail in my take apart photos and I could figure out via scratches which flap marked "14" matched which tube. There are little punch marks as well to help you line up the flaps. If you put them back into their original locations they self align. Everything is sealing nicely again.
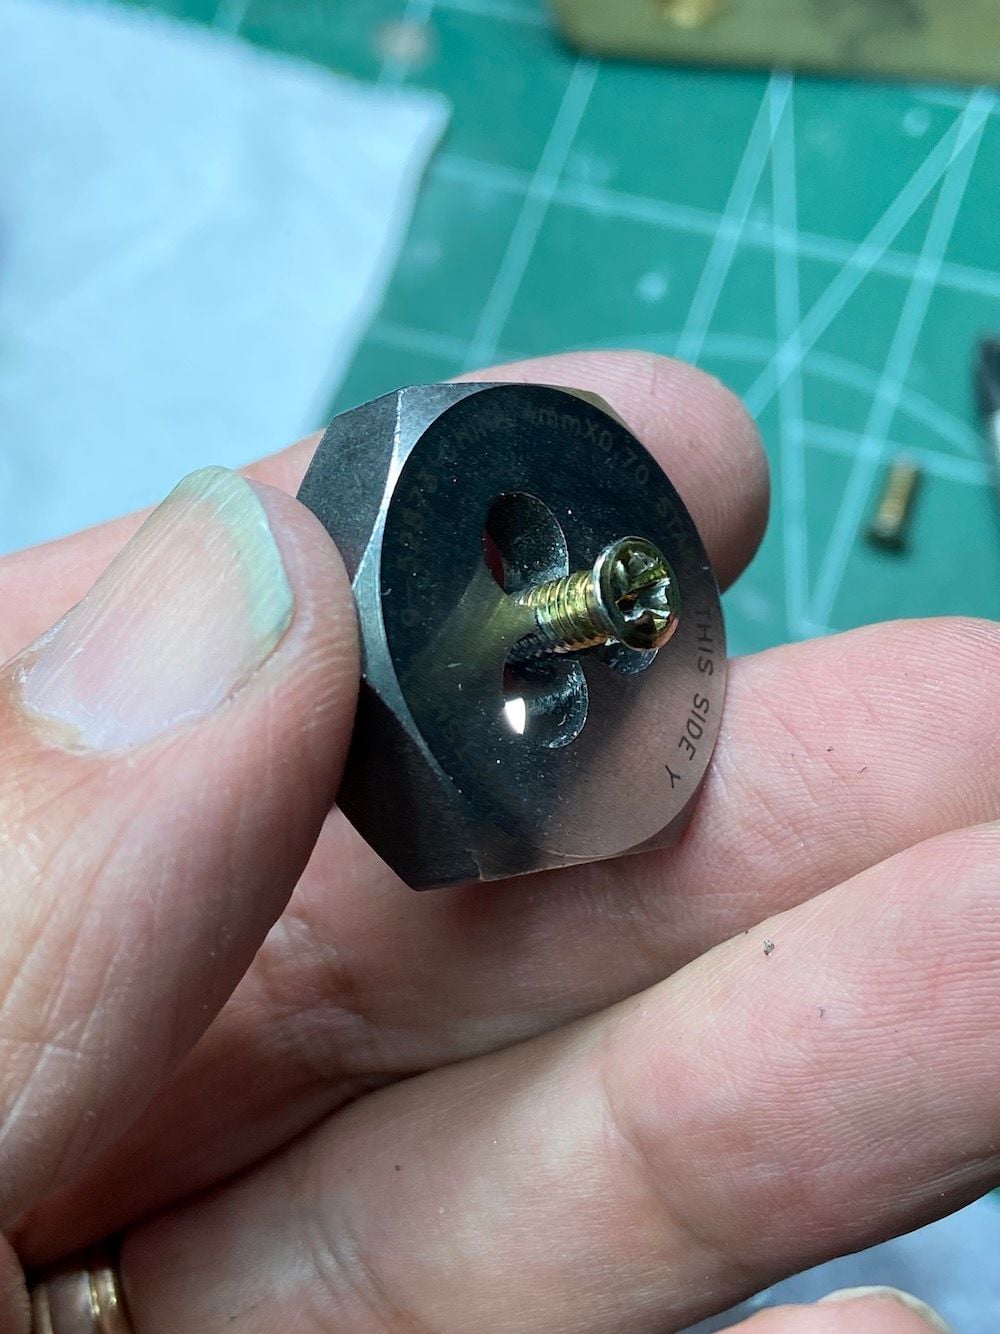
I did run a M4 x 0.7 tap through the shaft screw holes and then used a die to correct the screws that were previously peened by the factory.
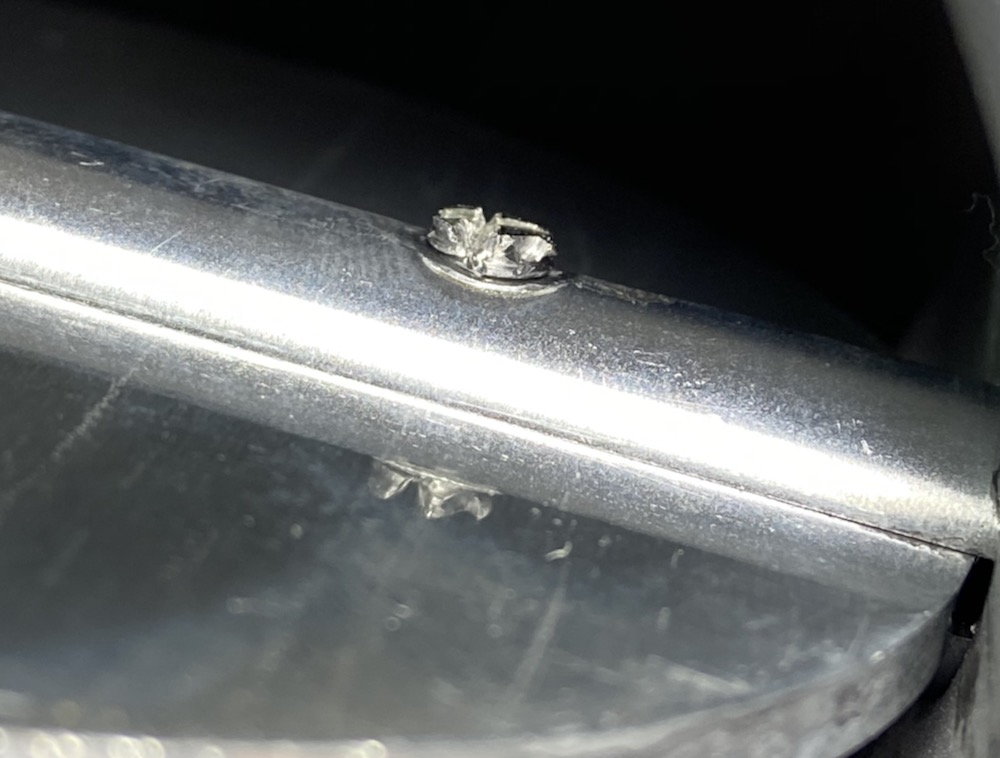
For the large flaps, after install, I used Goughary triangle file method then also whacked the threads in that area with a screwdriver to deform some more. Probably overkill but these screws will not back out now. Not the prettiest solution but it works.
First of all, I can't thank Goughary enough for guiding me through all this and encouraging me to explore my curiosity on all things 964. He suggested an experiment and I just completed it. It is best shown via a video.
Please note on my 1990 964 my old resonance flap solenoid valve no longer works. Meaning I was losing all kinds of power and torque above 5,400 rpm. The vacuum check valve, solenoid, and actuator should be standard maintenance items for everyone. It is not necessary to buy new parts if you can verify function of each, or perhaps clean them up first, and then verify function.


 05-29-2020 | 06:19 PM