When you click on links to various merchants on this site and make a purchase, this can result in this site earning a commission. Affiliate programs and affiliations include, but are not limited to, the eBay Partner Network.
I will let Alan answer the hardware question. As for bleeding, all we do as put a power bleeder on the master cylinder and pump the clutch pedal slowly until it firms up.
Glad I invested in a power bleeder a while back then. Curious as to how all the air gets out of the system though, but I guess that by forcing fluid into the slave the air works its way back into the reservoir/power bleeder.
Hmm, sounds like I forgot to package some clutch slave bolts. If you want to get them at your local hardware store, they are 15 or 16 mm long M6 x 1.0 socket head cap screws. Or we can include them in your intake manifold shipment (assuming you ordered one). As for the small size, they are ok because this is a push type clutch, so all those bolts are doing is holding the slave in place. The back of the bellhousing takes all the load.
The slave bled very easily on my car and Mike�s. I think the first time I did mine, I didn�t even use a power bleeder. Just keep the brake fluid reservoir full while you very slowly lift and push down the clutch pedal through its full stroke.
Thanks for the positive feedback on the oil pan. Glad you�re happy with it!
Originally Posted by EastEnd944
Wow guys, I am majorly impressed. The oil pan looks amazing, certainly worth the wait. Was the bellhousing supposed to come with bolts for the slave cylinder? If not, what size bolts should be used? They seem quite small for a slave cyl but I guess if it worked for GM it shouldn't be a problem for us. Lastly, I noticed there isn't a bleeder on the slave. Do you only bleed it at the master?
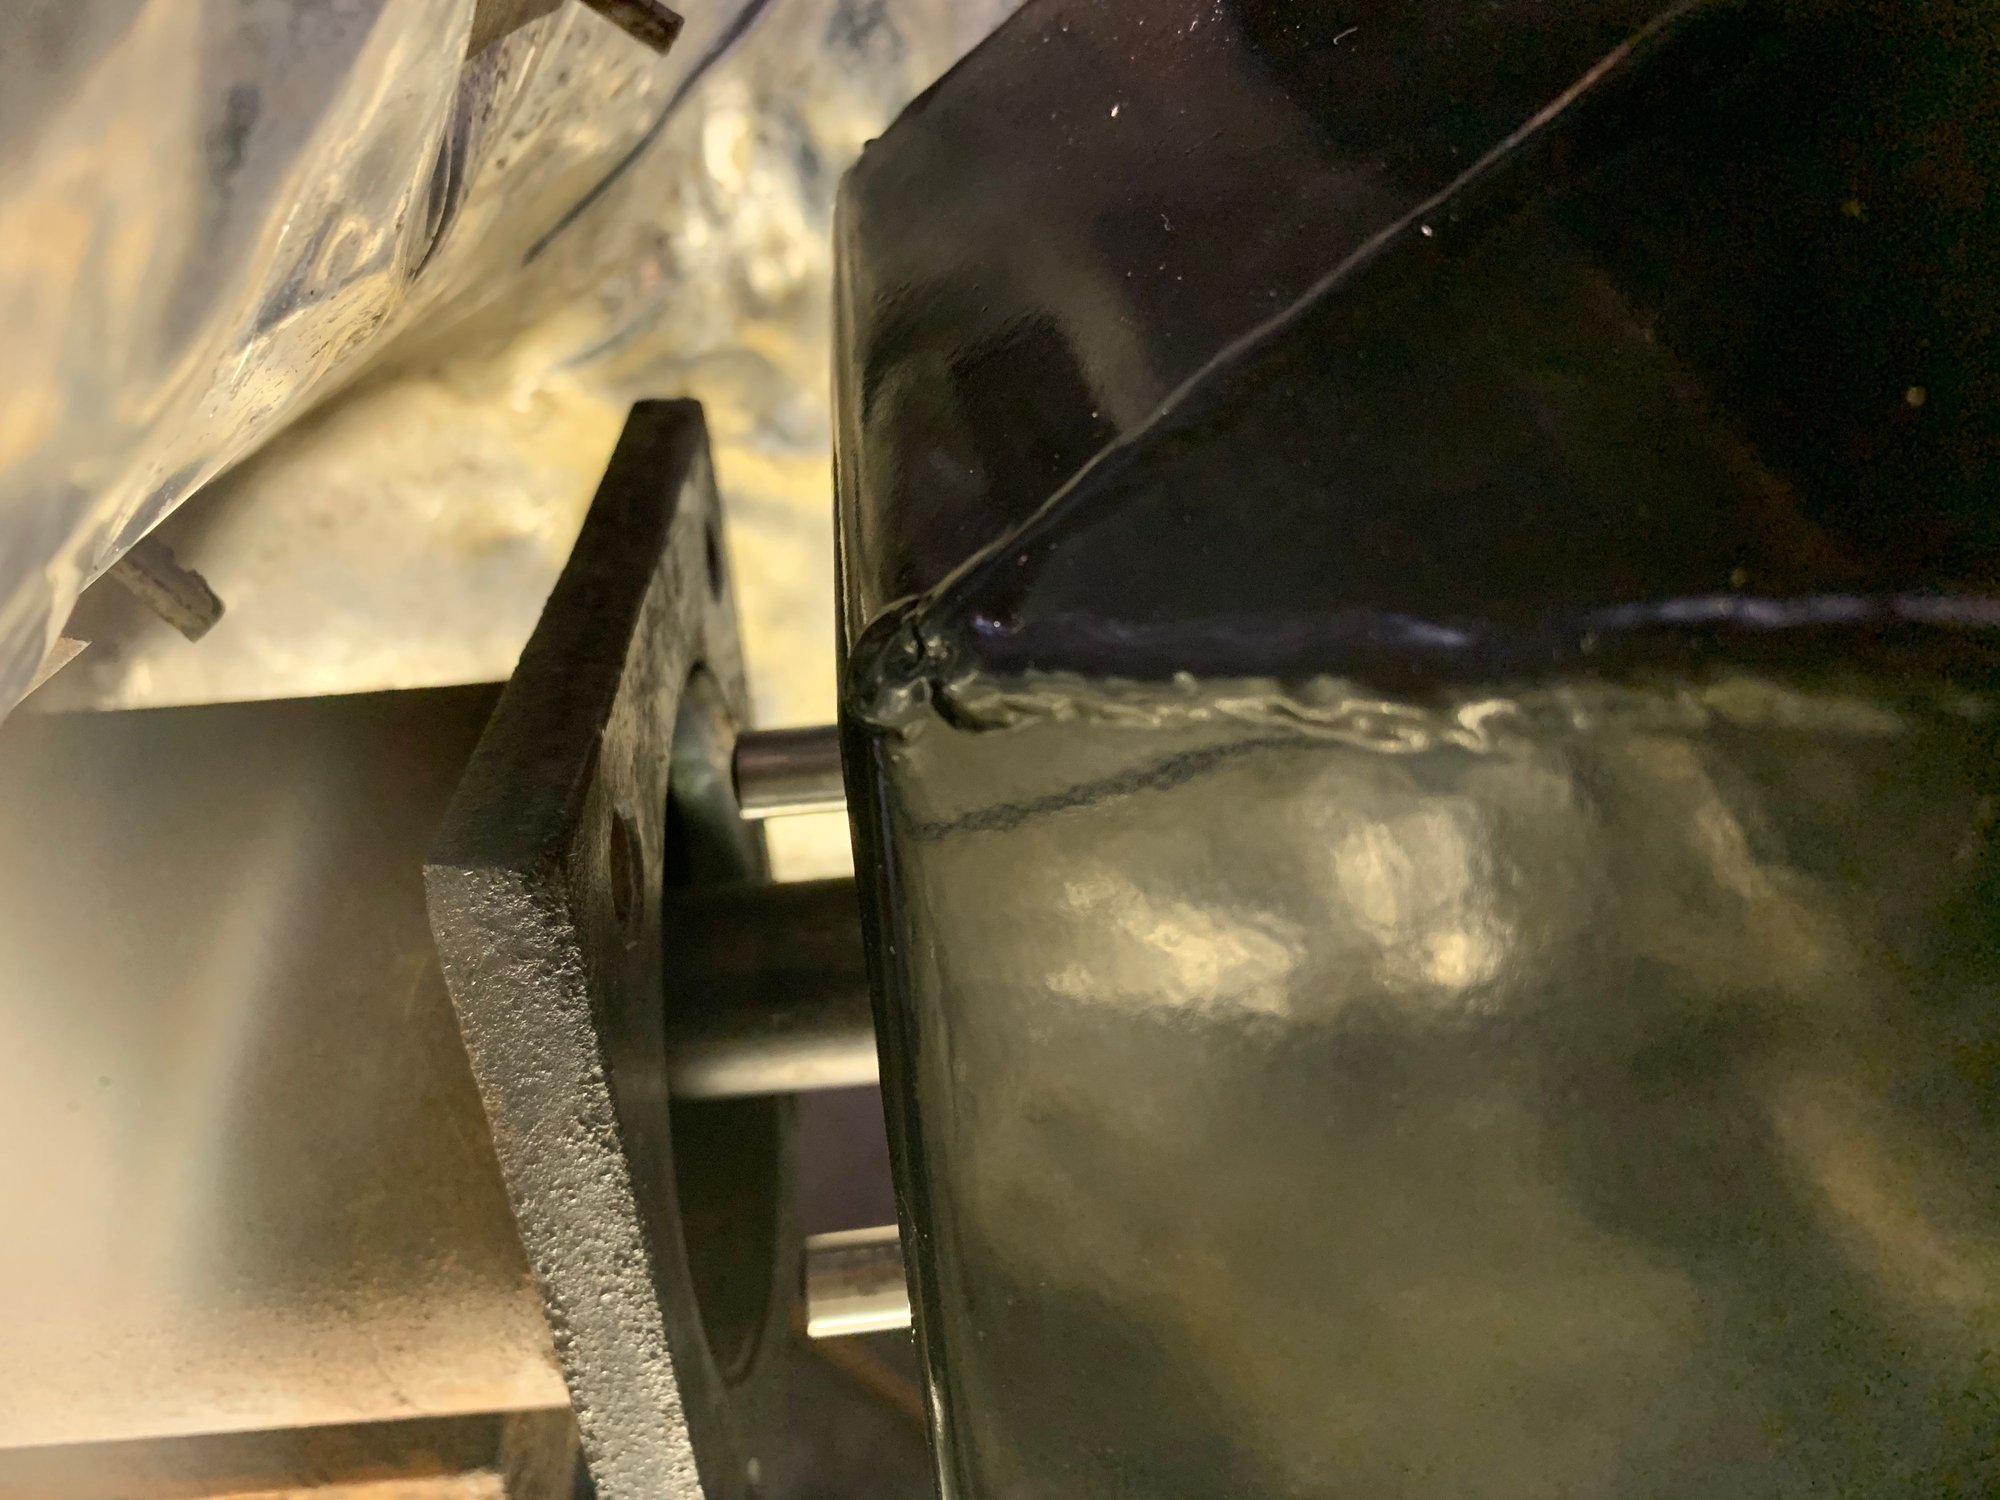
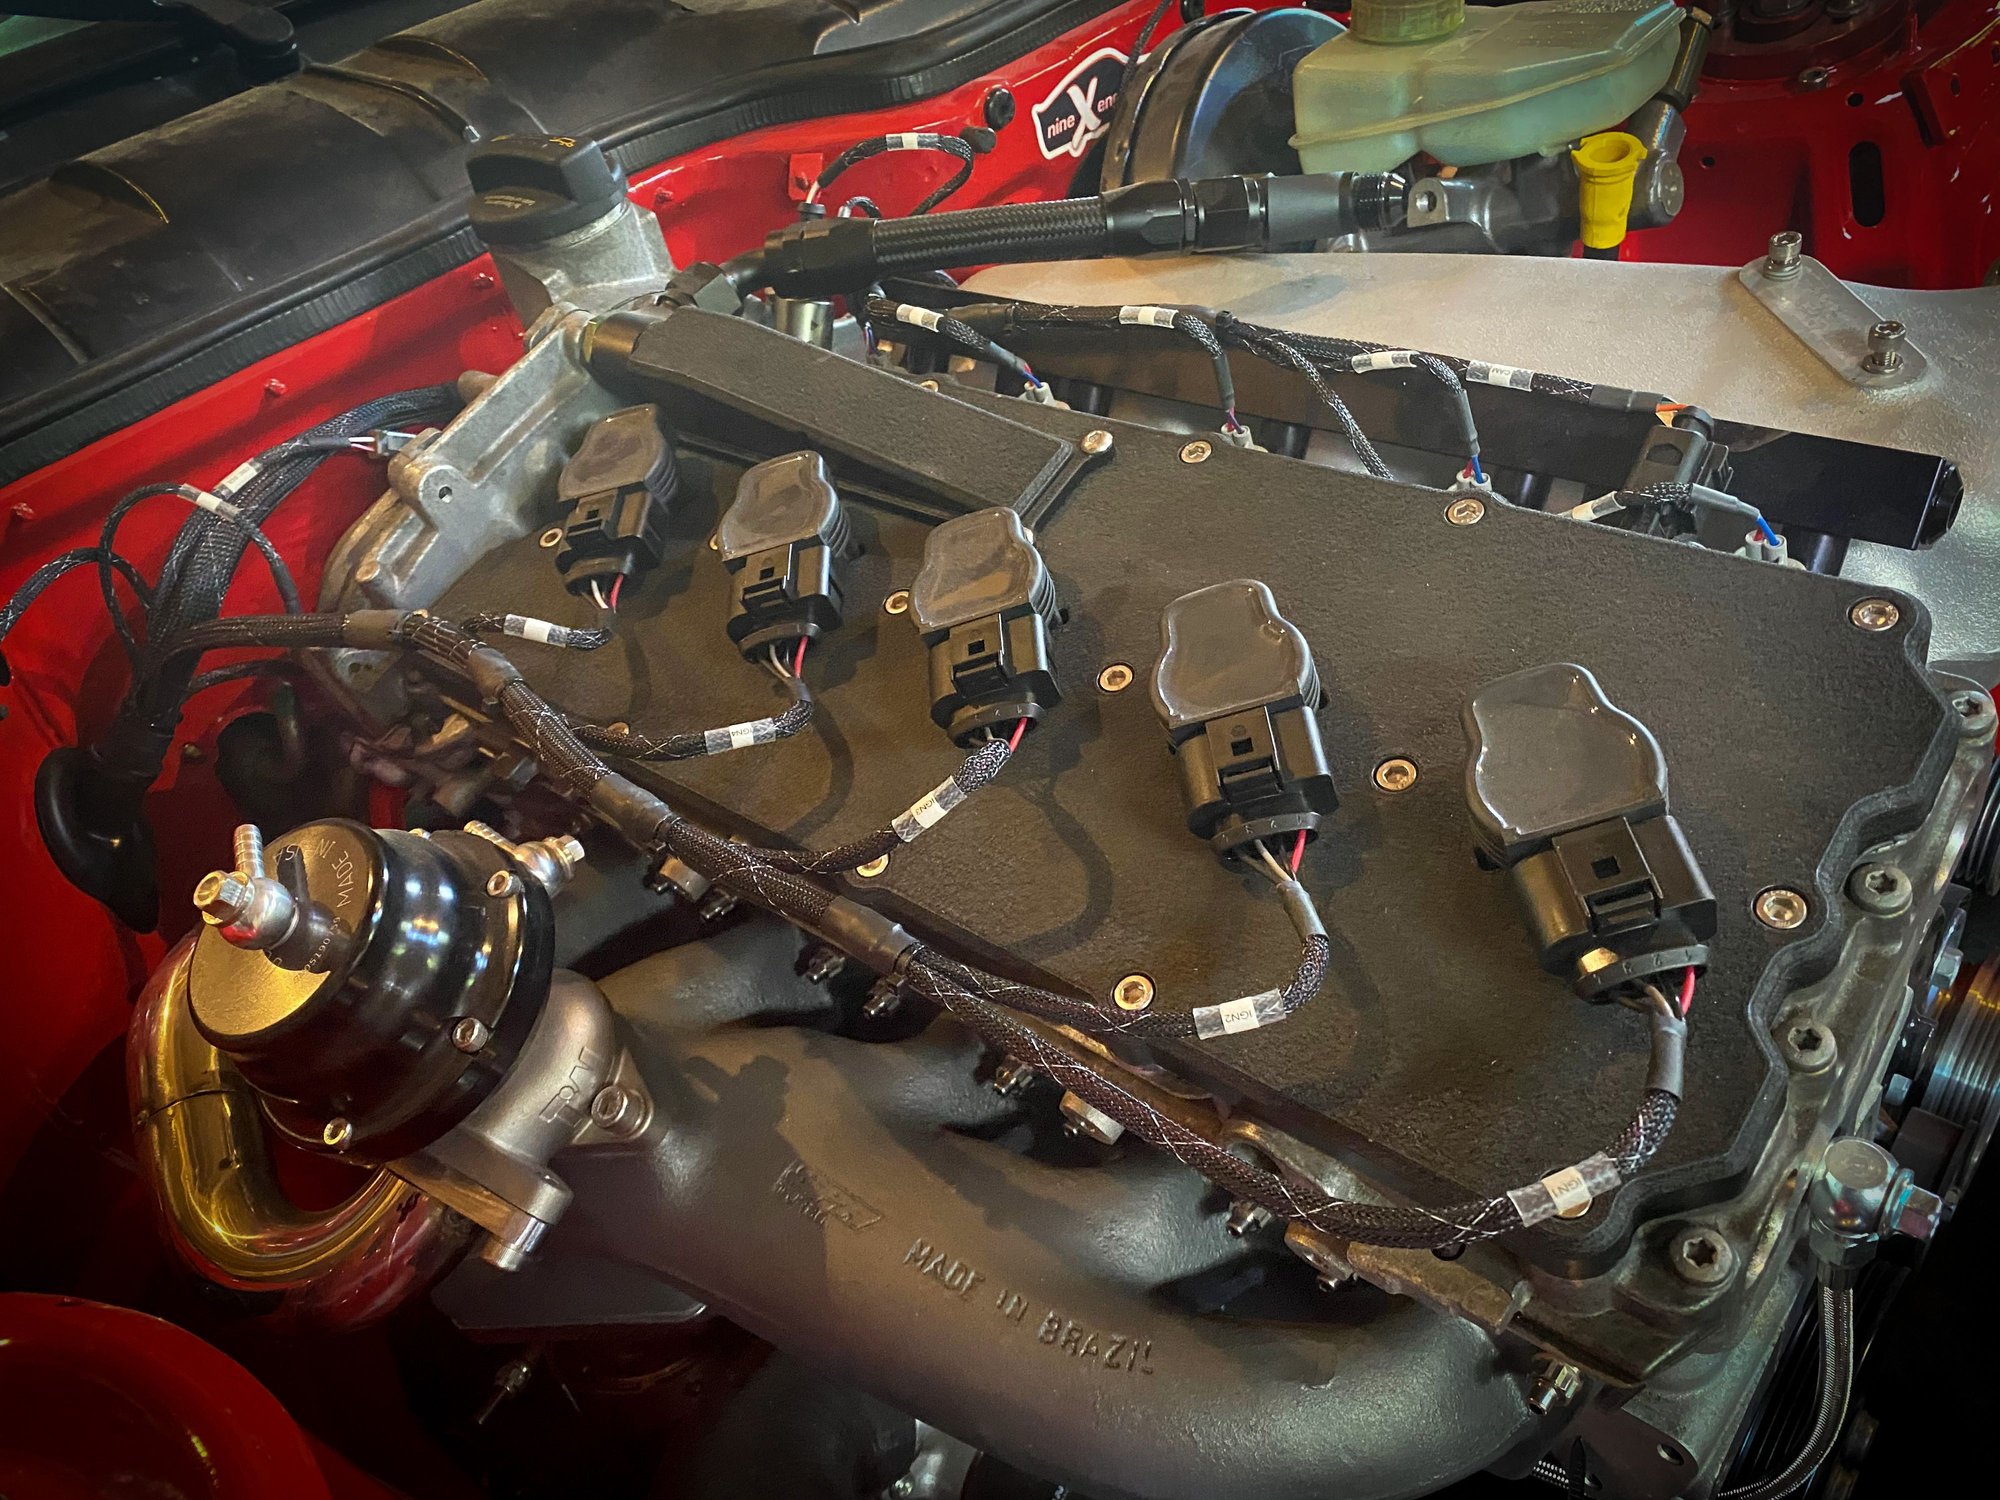
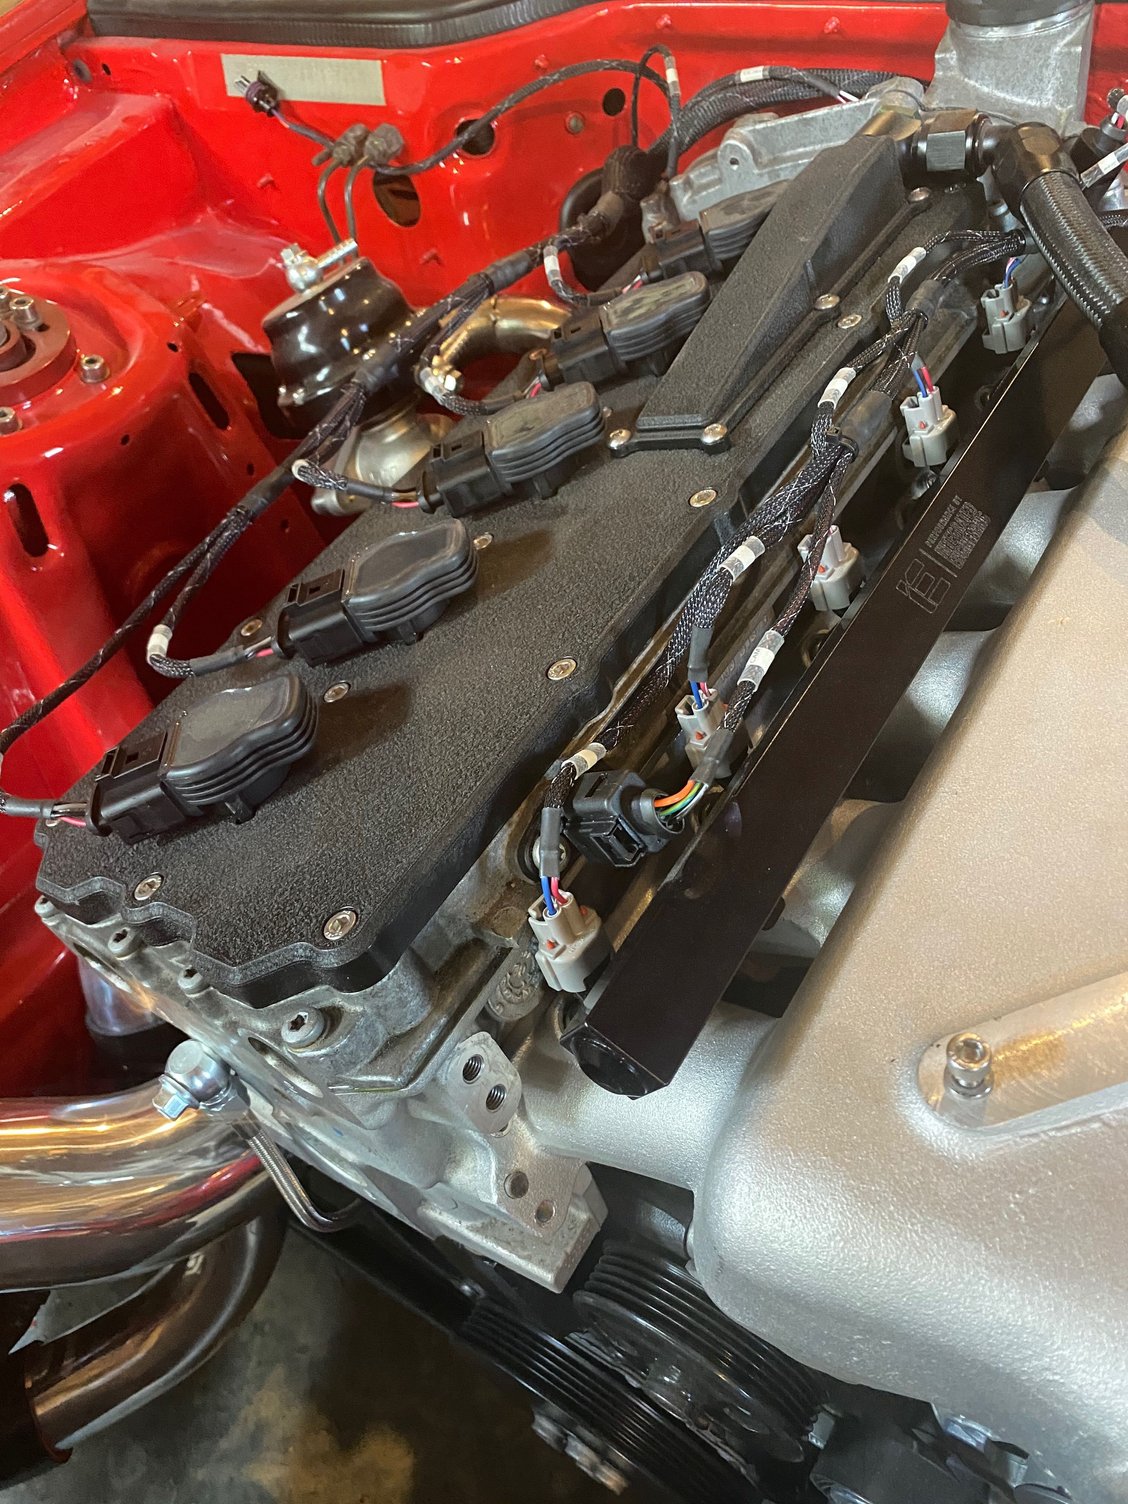
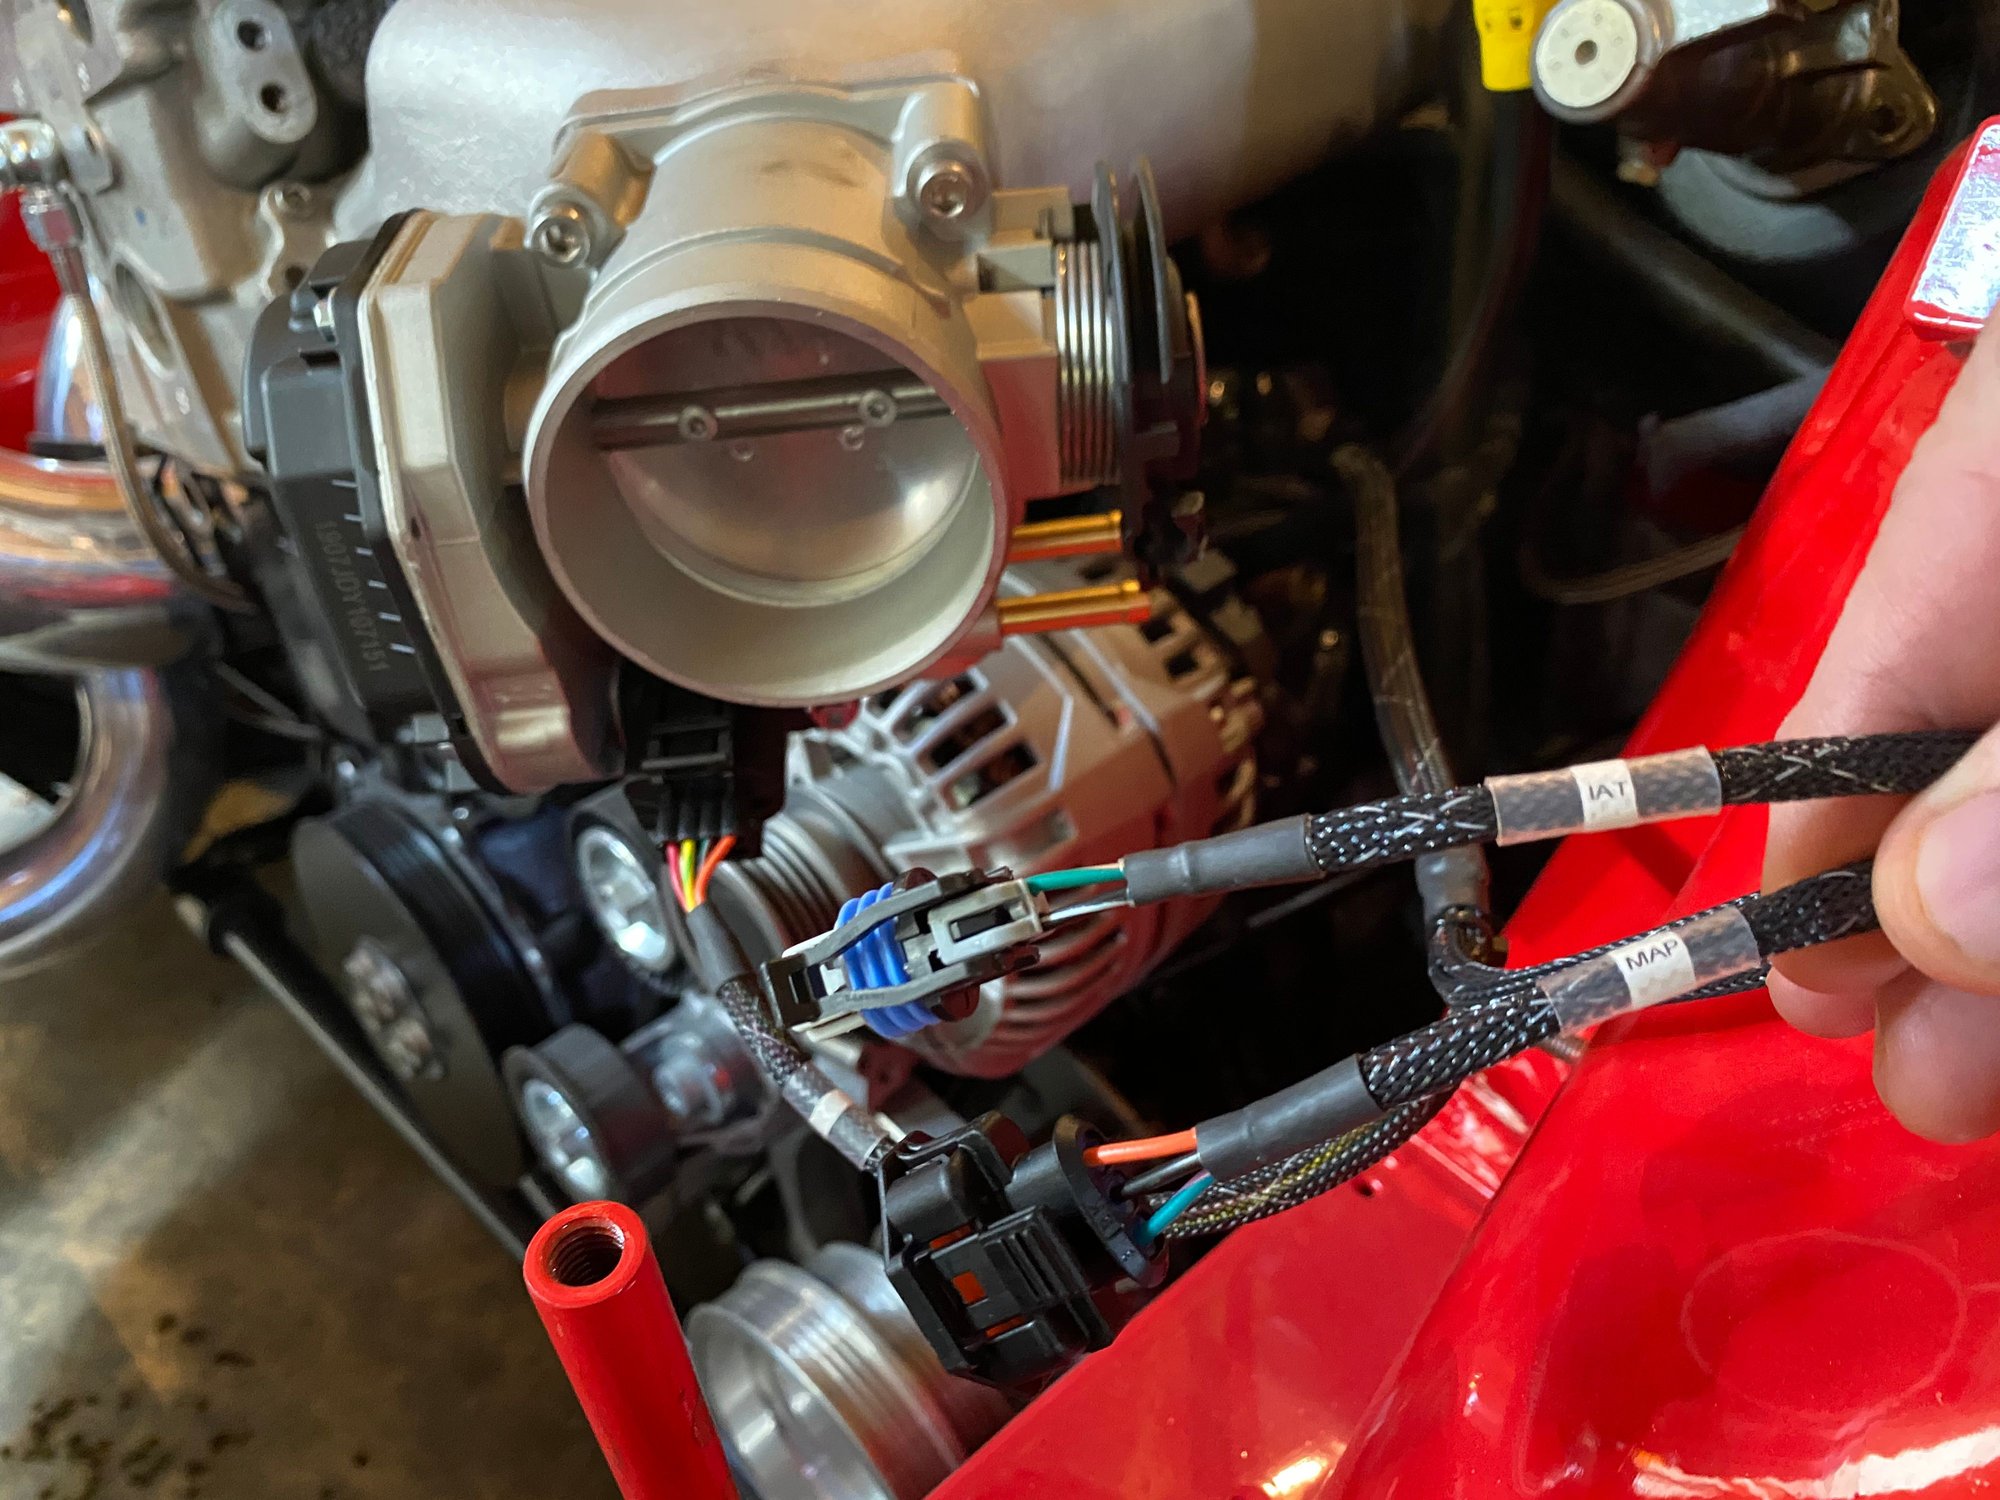
David from PE brought over my harness to test fit yesterday. It is our first production 07K harness, and it is beautiful. Really nice loom and heat shrink job, and every connector is labeled. This is how they will all be done.
I will be using some of the valve cover bolt locations to add some p-loops to hold the coil harness in place... just wanted to snap some quick photos to show you guys what it looks like.
Everything is great so far, thanks for the extra effort to get these out. No pressure, but curious if you are close to shipping manifolds?
Yes. However, our first batch of thermostat housing cover adapters got lost in transit. We are waiting on the second batch and they will be here in a few weeks. Unfortunately you can�t permanently install the intake until you have this piece so we were going to wait to ship it all together. I�m fine with shipping intakes now though if that�s what you all prefer. There is also some wiring that needs to be done with the intake off for proper access, although you might be able to access it from below.
Hmm, sounds like I forgot to package some clutch slave bolts. If you want to get them at your local hardware store, they are 15 or 16 mm long M6 x 1.0 socket head cap screws. Or we can include them in your intake manifold shipment (assuming you ordered one). As for the small size, they are ok because this is a push type clutch, so all those bolts are doing is holding the slave in place. The back of the bellhousing takes all the load.
The slave bled very easily on my car and Mike�s. I think the first time I did mine, I didn�t even use a power bleeder. Just keep the brake fluid reservoir full while you very slowly lift and push down the clutch pedal through its full stroke.
Thanks for the positive feedback on the oil pan. Glad you�re happy with it!
No need to include them with my intake, I was able to pick some up locally. What do you recommend having on the engine before permanently installing it? Should I already have lines on the rear coolant flange?
No need to include them with my intake, I was able to pick some up locally. What do you recommend having on the engine before permanently installing it? Should I already have lines on the rear coolant flange?
As long as you have the rear coolant flange installed, you�re good. There�s plenty of room to install hoses and sensors afterwards.
Other major things to install on the engine before dropping it in: upper oil pan and pickup, oil sump, flywheel, pilot bearing adapter, clutch disk, bellhousing, TOB. Optional: psgr side engine mount.
I�d recommend having little else on the engine so it�s easier to get it in without scratching your paint (ask me how I know 😬.
That brand new, fresh and pretty engine bay paint!
Based on our experience, it is easier and safer to install the header/manifold and power steering AFTER the engine is in the car.
That brand new, fresh and pretty engine bay paint!
Based on our experience, it is easier and safer to install the header/manifold and power steering AFTER the engine is in the car.
Originally Posted by vt951
As long as you have the rear coolant flange installed, you’re good. There’s plenty of room to install hoses and sensors afterwards.
Other major things to install on the engine before dropping it in: upper oil pan and pickup, oil sump, flywheel, pilot bearing adapter, clutch disk, bellhousing, TOB. Optional: psgr side engine mount.
I’d recommend having little else on the engine so it’s easier to get it in without scratching your paint (ask me how I know 😬.
I've spent the entirety of the day attempting to get the engine into the car. However I can't get it to go the last inch or two (which I assume is the clutch/pilot bearing being a pain). I have the subframe lowered as much as possible without taking the bolts out, torque tube jacked up, and don't have anything extra on the engine that is preventing it from going in. I believe my current issue is that even though I have done all of that, the lower oil pan still hits the subframe, which I think is blocking me from being able to get the engine level enough to push into the clutch/pilot bearing. However, I'm pulling it out tonight to check if the clutch isn't centered, as the tool that came with mine has a decent amount of room for play and that could also be the issue. As for the paint... well my engine bay certainly could use a fresh coat as is.
Last edited by EastEnd944; 05-03-2020 at 09:45 PM.
I've spent the entirety of the day attempting to get the engine into the car. However I can't get it to go the last inch or two (which I assume is the clutch/pilot bearing being a pain). I have the subframe lowered as much as possible without taking the bolts out, torque tube jacked up, and don't have anything extra on the engine that is preventing it from going in. I believe my current issue is that even though I have done all of that, the lower oil pan still hits the subframe, which I think is blocking me from being able to get the engine level enough to push into the clutch/pilot bearing. However, I'm pulling it out tonight to check if the clutch isn't centered, as the tool that came with mine has a decent amount of room for play and that could also be the issue. As for the paint... well my engine bay certainly could use a fresh coat as is.
Yeah, if the clutch disk isn�t right on center, the tip of the driveshaft isn�t going to line up with the pilot bearing. Also, we recommend removing the crossmember completely so you have a clear path to align the engine with the torque tube. And, use an engine leveler on your engine hoist to get it at the correct angle (fore/aft). It also needs to be clocked pretty close to 15 degrees (tilted toward psgr side) so that after you get the engine all the way back, you can get the four torque tube bolts into the back of the bellhousing. Another thing we found helps if the driveshaft spline doesn�t want to go into the clutch disk, spin the crank using a strap wrench around the crank pulley while you push the engine back. I know you got further than this, but these tips might help others as well.
Can�t emphasize enough, get the crossmember out of the way, and get the engine hanging at the correct angle before you start sliding it back. As far as lifting the torque tube all the way up, that was something we had to do when we didn�t remove the crossmember (due to oil pan hitting crossmember, like you said). The problem with raising the torque tube is it puts it at an angle relative to the floor, so when you roll the engine hoist backwards, it puts the driveshaft in a bind with the clutch. So, again, remove that crossmember, and everything should be easier!
Sorry it didn�t go all the way in yet.. keep trying and you�ll get it.
Yeah, if the clutch disk isn’t right on center, the tip of the driveshaft isn’t going to line up with the pilot bearing. Also, we recommend removing the crossmember completely so you have a clear path to align the engine with the torque tube. And, use an engine leveler on your engine hoist to get it at the correct angle (fore/aft). It also needs to be clocked pretty close to 15 degrees (tilted toward psgr side) so that after you get the engine all the way back, you can get the four torque tube bolts into the back of the bellhousing. Another thing we found helps if the driveshaft spline doesn’t want to go into the clutch disk, spin the crank using a strap wrench around the crank pulley while you push the engine back. I know you got further than this, but these tips might help others as well.
Can’t emphasize enough, get the crossmember out of the way, and get the engine hanging at the correct angle before you start sliding it back. As far as lifting the torque tube all the way up, that was something we had to do when we didn’t remove the crossmember (due to oil pan hitting crossmember, like you said). The problem with raising the torque tube is it puts it at an angle relative to the floor, so when you roll the engine hoist backwards, it puts the driveshaft in a bind with the clutch. So, again, remove that crossmember, and everything should be easier!
Sorry it didn’t go all the way in yet.. keep trying and you’ll get it.
After pulling everything and checking it appears my clutch was slightly off center. I definitely agree that an engine leveler is necessary, I wouldn't have gotten nearly as far without it. Mounting the leveler on the intake side of the engine helped to keep it clocked at the right angle for bolting up to the torque tube. While the engine could be installed with the crossmember slightly lowered(with lower pan on), I would recommend to anyone else installing their engine to get it completely out of the way. To not only avoid any headache, but also to prevent damage to the lower pan. I had given up when everything (TT relative to engine) appeared level, the driveshaft was centered in the bellhousing, and turning the crank had no effect. I'm confident that by removing the crossmember I'll be able to get everything together easily, as it would've been a stretch to get it in the way I had it. So thank you for that.
Update: Took me maybe 5 mins to work it into position with the crossmember removed. For those who have yet to install their engines, take the 10 minutes to drop the crossmember. It'll save you a day of headaches
I'm happy to say I now (hopefully) have my engine permanently installed. I was able to manage it on my own but I'm sure it would be even easier to slide onto the driveshaft if you had another person helping to level and raise/lower the engine.
Last edited by EastEnd944; 05-04-2020 at 08:10 PM.
Reason: Update
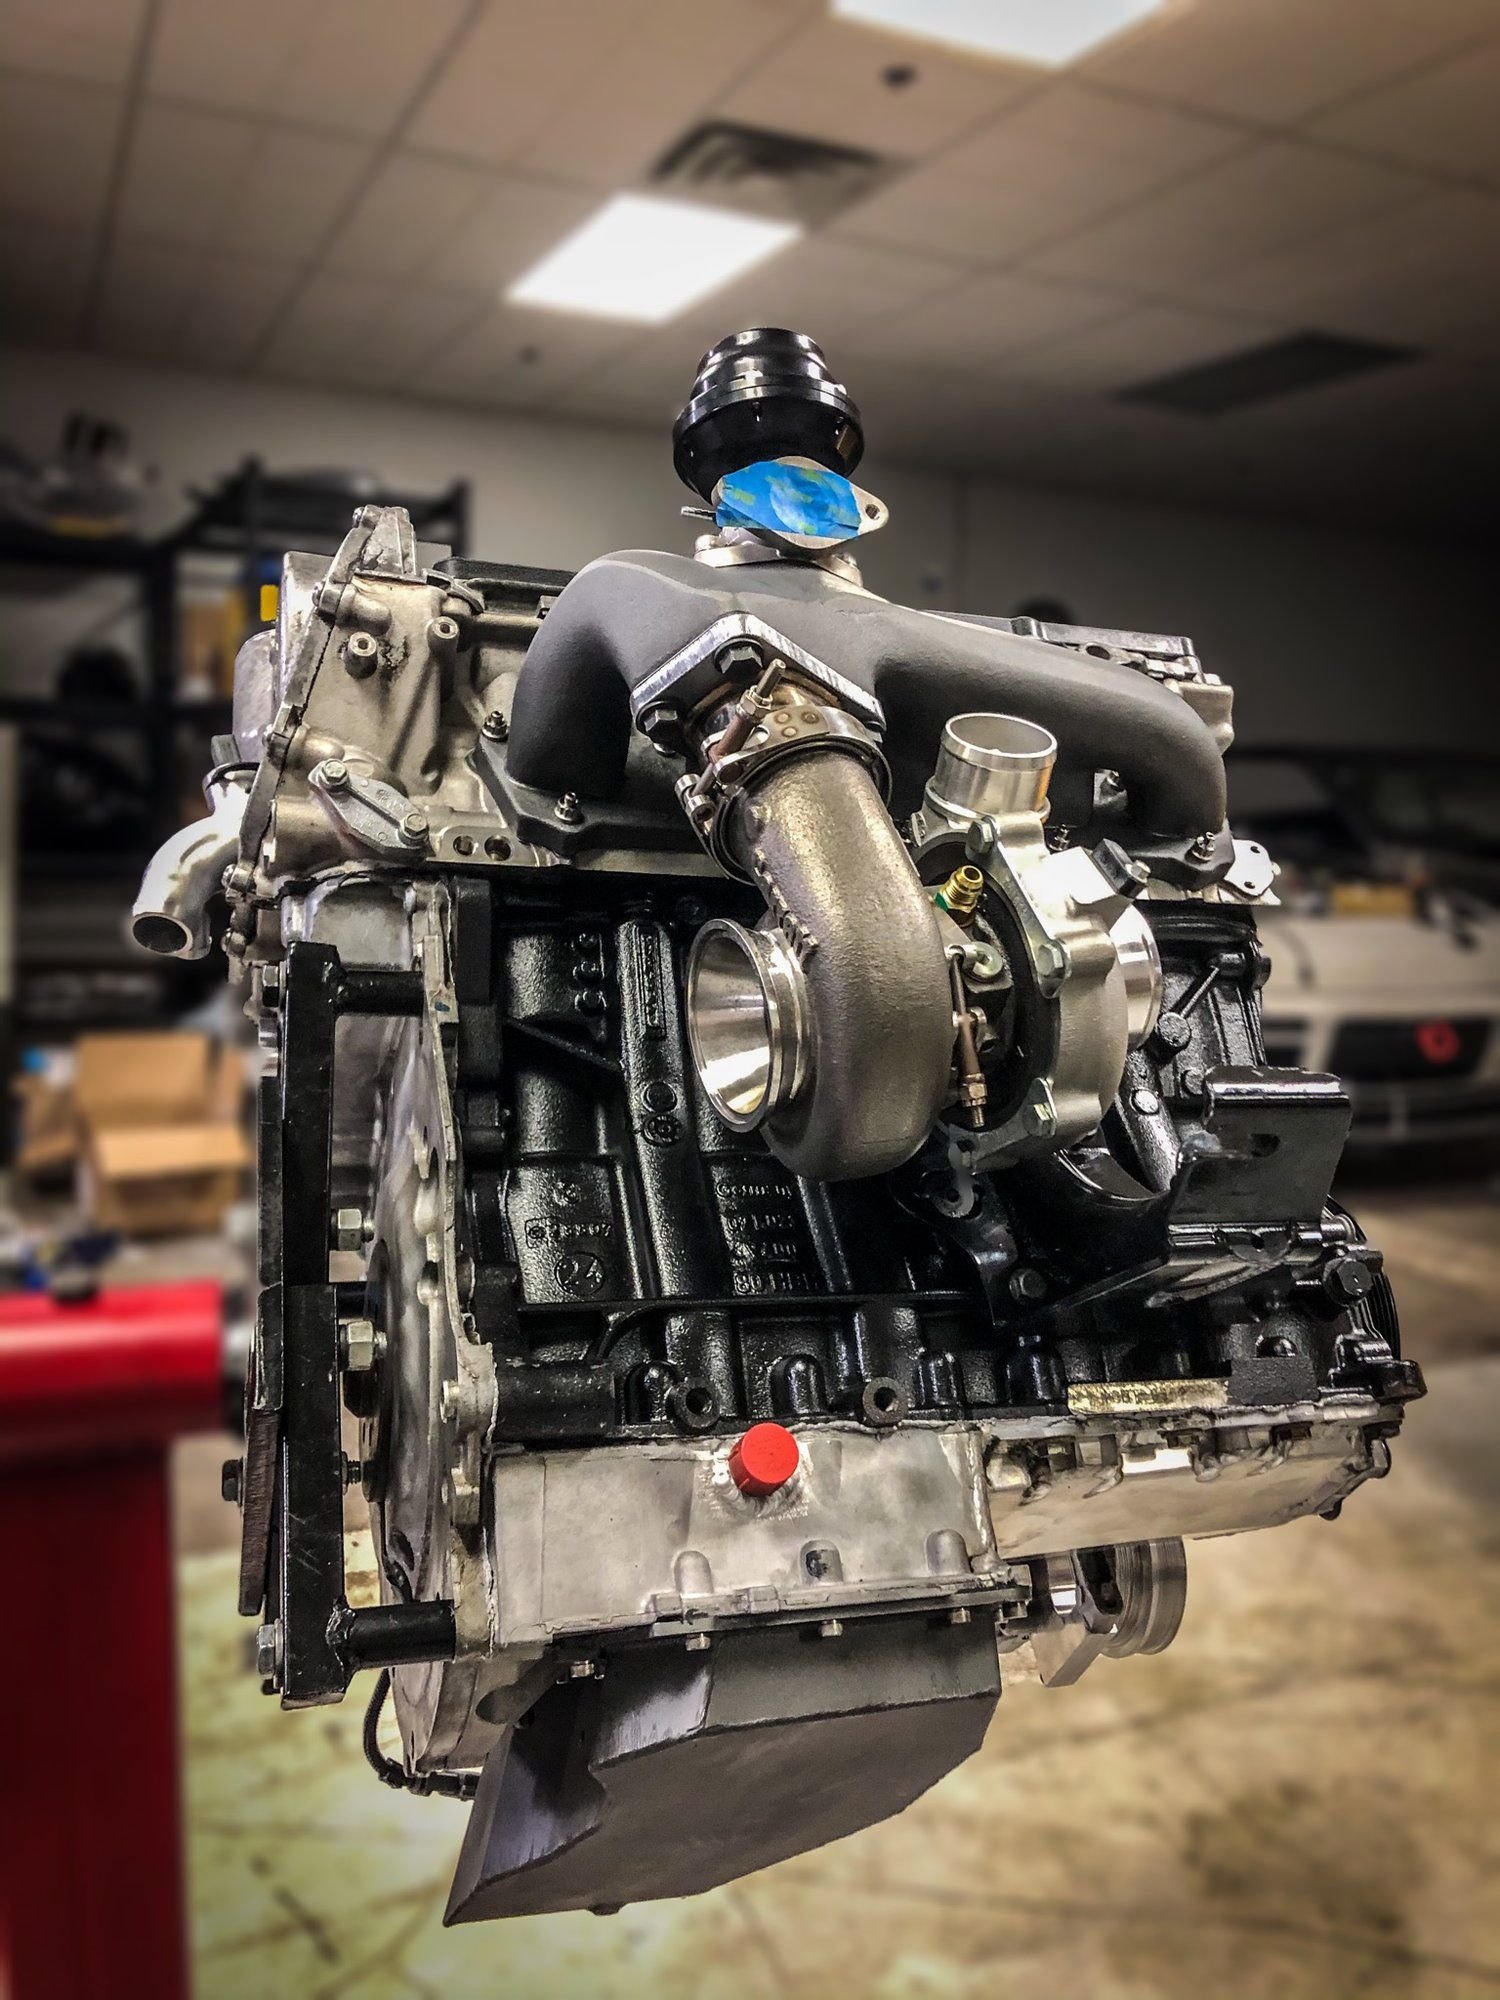
Do you have pics of the engine out with the intake/turbo attached? I'm just wondering if there is space for this and a steering column for all the RHD guys?
Hey Patrick, does this pic help? If not, let me know what other angles you need.
Looking at my car now, this turbo location is definitely in the way of a RHD steering shaft. I think a good option for RHD could be to use the Gallardo header and mount the turbo up front. Lots of room in front of this engine.
Originally Posted by 333pg333
Do you have pics of the engine out with the intake/turbo attached? I'm just wondering if there is space for this and a steering column for all the RHD guys?


 05-01-2020 | 03:12 PM


 .
.