When you click on links to various merchants on this site and make a purchase, this can result in this site earning a commission. Affiliate programs and affiliations include, but are not limited to, the eBay Partner Network.
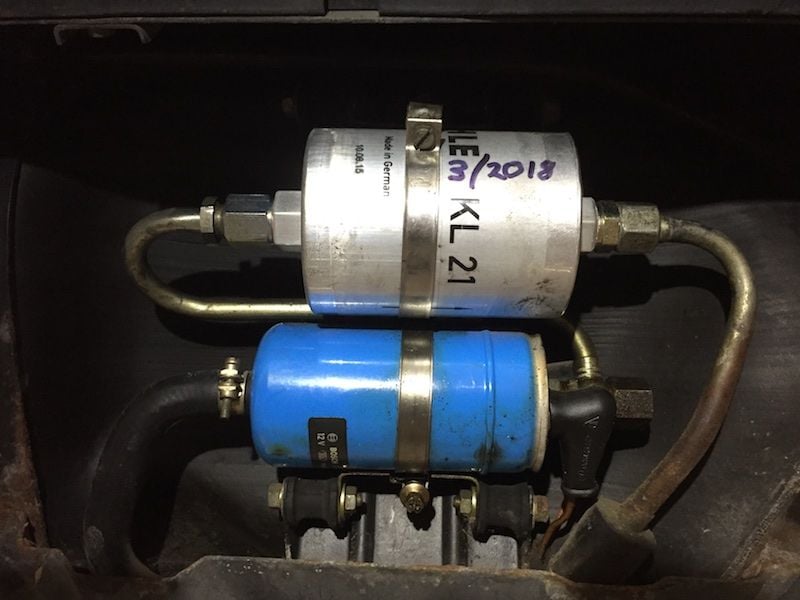
1. I found where the fuel filter is hidden. Didn't look very old, but its hard to tell.
2. Replaced it with a filter I'd bought two years ago but had been procrastinating about (details below).
3. Wrote the date on it, so a future owner might be spared an unnecessary change.
Details: There's a panel at the rear of the gas tank held by two screws high up. It looks like part of the tank - not obvious that it comes off. I spent quite some time looking, too stubborn to research the matter. Finally did, but was steered to the wrong place (was it moved at some point?) The fittings on the left side are conveniently 19mm and 17mm so you can use two flare wrenches from a set. Both are 19mm on the right, so you can't. I had to extend the (short) flare wrench on the right to break the connection - naturally, these get a good pyrophobia-based torquing. Will the entire tank empty out the open lines? No, just what's in the lines and filter, but you'll need a bucket and a fire extinguisher on hand.
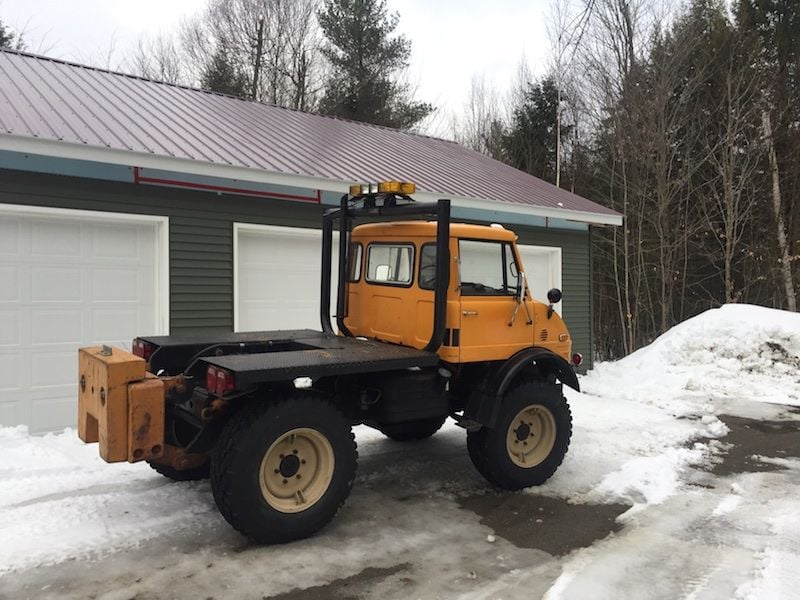
I've added a gratuitous photo of my "barn" and new-to-me vintage German equipment (but sold by Case). Also needs a fuel filter, but I'm waiting for warmer weather since it won't quite fit through the doors.
Oil change, filter change, new hood release cable and latch and she finally emerged from hibernation into warmest and sunniest spring day UK has had this year!
Since last fall, I built a garage, put in lifts, and hoisted my car Feb 4 to put in a rebuilt torque tube and do might-as-well stuff. Today, it's back on its wheels and the list of remaining tasks is tantalizingly short.
Not on the list is adjusting front ride height. I raised the rear about a 1/2-inch, but the front struts have frozen collars - gotta take them out and put on "new" collars. Then I'll get the suspension settled down on our plentiful frost heaves, and head for an alignment shop (yes, I know - I'll bring instructions and a baseball bat).
This is the first time I've cooked with "home brew" so I need to get things right before sharing. I used to use a Gateros kit in Germany but unfortunately they don't ship to the States. Some of the better links I found are:
Trying to free the adjusting sleeve from the left rear shock to complete the last of my 4 corner suspension overhaul. New shocks, new brake lines, front lower ball joints and tie rod ends, reset ride height. Front is all done. Ride height at 175mm.
While letting this soak, replaced inner steering bearing, remounted steering support assembly correcting mistakes made by whoever did it last, reinstalled dash pod.
On the 82: replaced belts and replaced clutch slave rubber hose. Degreased bottom of motor, took all 4 wheels off and soaked all rusty brake fittings down with kroil


 03-24-2018 | 07:12 AM