
So what did you do to your 928 Today......


 01-20-2013, 07:36 PM
#3543
Rennlist Member
Join Date: Oct 2003
Location: Saco, Maine/ Scarborough, Maine
Posts: 1,975
Received 570 Likes
on
213 Posts
Hit 50 degrees in Boston today so peeled back the cover and fired up the GT and took it for a half hour run around the countryside. It felt great to be back running thru the gears.
Sadly it's going to snow tomorrow and later this week so back under the covers til spring.
Sadly it's going to snow tomorrow and later this week so back under the covers til spring.
01-21-2013, 12:19 AM
#3544
Electron Wrangler
Lifetime Rennlist
Member
Lifetime Rennlist
Member
Having been in the drivers door to fix the broken door handle hinge - I also added damplifier noise reduction sheet from Second Skin Audio. This is not my first noise reduction installation - I have a bunch of Fat Mat - which works well but melts under high temperature (and makes a huge ugly mess) - I have had to rip some out due to this - but its OK in some locations, flat (horiz.) not really hot areas or areas where all seams can be taped fully - the doors are clearly NOT this config.
Second Skin has a good reputation and damplifier is a thin compliant black foil CLD product with good reviews. Its quite thin/fairly stretchy so works well on our profiled doors.
I removed everything, installed the damplifier (2 pieces + 2 half pieces and patches) and then reinstalled everything. I punched holes in advance for all the fasteners - time consuming. Damplifier is actually easy to handle and install - most unlike FatMat which is very very messy....
One door all done, will do the other door next weekend. Too early to tell results...
Alan
01-21-2013, 12:57 AM
#3545
Rennlist Member
Having been in the drivers door to fix the broken door handle hinge - I also added damplifier noise reduction sheet from Second Skin Audio. This is not my first noise reduction installation - I have a bunch of Fat Mat - which works well but melts under high temperature (and makes a huge ugly mess) - I have had to rip some out due to this - but its OK in some locations, flat (horiz.) not really hot areas or areas where all seams can be taped fully - the doors are clearly NOT this config.
Second Skin has a good reputation and damplifier is a thin compliant black foil CLD product with good reviews. Its quite thin/fairly stretchy so works well on our profiled doors.
I removed everything, installed the damplifier (2 pieces + 2 half pieces and patches) and then reinstalled everything. I punched holes in advance for all the fasteners - time consuming. Damplifier is actually easy to handle and install - most unlike FatMat which is very very messy....
One door all done, will do the other door next weekend. Too early to tell results...
Alan
Second Skin has a good reputation and damplifier is a thin compliant black foil CLD product with good reviews. Its quite thin/fairly stretchy so works well on our profiled doors.
I removed everything, installed the damplifier (2 pieces + 2 half pieces and patches) and then reinstalled everything. I punched holes in advance for all the fasteners - time consuming. Damplifier is actually easy to handle and install - most unlike FatMat which is very very messy....
One door all done, will do the other door next weekend. Too early to tell results...
Alan
www.raamaudio.com Click onto "How To" then scroll down a bit.
Last edited by 77tony; 01-21-2013 at 01:12 AM.
01-21-2013, 12:59 AM
#3546
Electron Wrangler
Lifetime Rennlist
Member
Lifetime Rennlist
Member
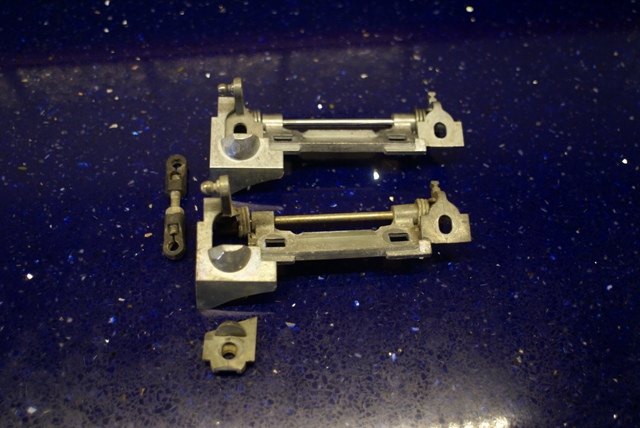
Again since I was in the door already - I used this opportunity to add the door reinforcement fix - since my door fasteners spots cracked a bit recently (loosening a bit at the handle spot only) - the passenger door is worse - will do that one next weekend.
The hardware that came with these was OK but I needed one smaller bolt (too long) and decided to both glue the metal bracket to the original plastic and screw it in more places, I drilled small holes and screwed with short flanged head wood screws, not shown here I dremelled off the protruding screw shafts and power filed the remnants flush - they become basically very low profile rivets - they won't be coming out again now... They are all hidden when installed - either blind in the door pocket or behind the door card... the reinforcement does not address the front most mount in the air port for the door - mine was showing signs of cracking so I reinforced that one with JB weld & a large fender washer.
Here are some pictures:
01-21-2013, 01:25 AM
#3547
Electron Wrangler
Lifetime Rennlist
Member
Lifetime Rennlist
Member
On the passenger side I have a subwoofer that does vent to the door cavity - so there I will install some baffling behind it on the outer panel as well as some other damping strips on the outer panel. BTW on the GTS there is already a layer of (probably asphalt loaded) acoustic sheet on the outer door skin - quite a band... it must have been installed before final door skin assembly I think...
Alan
Last edited by Alan; 01-21-2013 at 02:47 PM.
01-21-2013, 01:30 AM
#3548
Rennlist Member
Replaced the ignition switch in the '89 due to intermittent immobilization. I removed the pod to replace it even though I really didn't have to. But while I was there, I also changed the pod illumination back to blue LEDs, replaced the incandescent indicator in the pod with a green LED and changed an inoperative incandescent LCD illumination bulb with a new bulb. I also replaced the AC head unit with a fully equipped LED AC head unit with the fiber optics in the sliders replaced with real honest to goodness LEDslocated within the sliders and a surface mount LED in the fan control switch.
I also removed the starterfrom the Stepson due to intermittent immobilization. The starter will be rebuilt by my local rebuilder.
I removed the pod to replace it even though I really didn't have to. But while I was there, I also changed the pod illumination back to blue LEDs, replaced the incandescent indicator in the pod with a green LED and changed an inoperative incandescent LCD illumination bulb with a new bulb. I also replaced the AC head unit with a fully equipped LED AC head unit with the fiber optics in the sliders replaced with real honest to goodness LEDslocated within the sliders and a surface mount LED in the fan control switch.I also removed the starterfrom the Stepson due to intermittent immobilization. The starter will be rebuilt by my local rebuilder.
01-24-2013, 04:28 AM
#3549
Nordschleife Master
Rebuilt my AC hoses after cutting them up and re-plating the fittings, using r134a-friendly barrier hose. (I had another old set handy to use as a template for the hose lengths and fitting angles).
Kids are already in bed at 7:30pm, so next up this evening is rebuilding a compressor. Hopefully by Monday I'll have refitted all the bits and be ready to get it charged with gas
Kids are already in bed at 7:30pm, so next up this evening is rebuilding a compressor. Hopefully by Monday I'll have refitted all the bits and be ready to get it charged with gas
01-24-2013, 02:53 PM
#3550
Racer
Join Date: Feb 2011
Posts: 290
Likes: 0
Received 0 Likes
on
0 Posts
Im working on my kick down switch on the gas pedal, I was told that with the key on, engine off, I should hear the trans click, when I push the pedal to the floor, well I heard the click from the transmission, Next I need to test drive it, and press the pedal to the floor and see if it kick down a gear, but the weather here is 6 degree, so I will wait until it warm up a little !!!!!!
01-26-2013, 03:32 PM
#3551
Racer
Just went for a nice 1 hr drive. This car always envokes a smile when I drive her.
 01-26-2013, 04:13 PM
#3553
Pro
Join Date: Dec 2010
Location: Palgrave, Ontario, Canada
Posts: 700
Likes: 0
Received 2 Likes
on
2 Posts
Cleaned up more than a decade's worth of dried brake pad dust on one original wheel. Three more to go...
After washing and pressure washing, there was still a lot of black material. The only thing that touched it was phosphoric acid (Aluminum Cleaner) and wet-&-dry paper - and lots of scrubbing.
After washing and pressure washing, there was still a lot of black material. The only thing that touched it was phosphoric acid (Aluminum Cleaner) and wet-&-dry paper - and lots of scrubbing.
01-26-2013, 05:28 PM
#3554
Burning Brakes
Join Date: May 2011
Location: Tucson, AZ
Posts: 772
Likes: 0
Received 0 Likes
on
0 Posts
Going to swap rims on the 89 and turns out that when the clown that put the rear ones on they must have used an air ratcheted at full pressure... easily 150lbs on the damn things... got all but the locking lug off without damage.... the first locking lug sheared right off to start with... so a little help was needed...
This
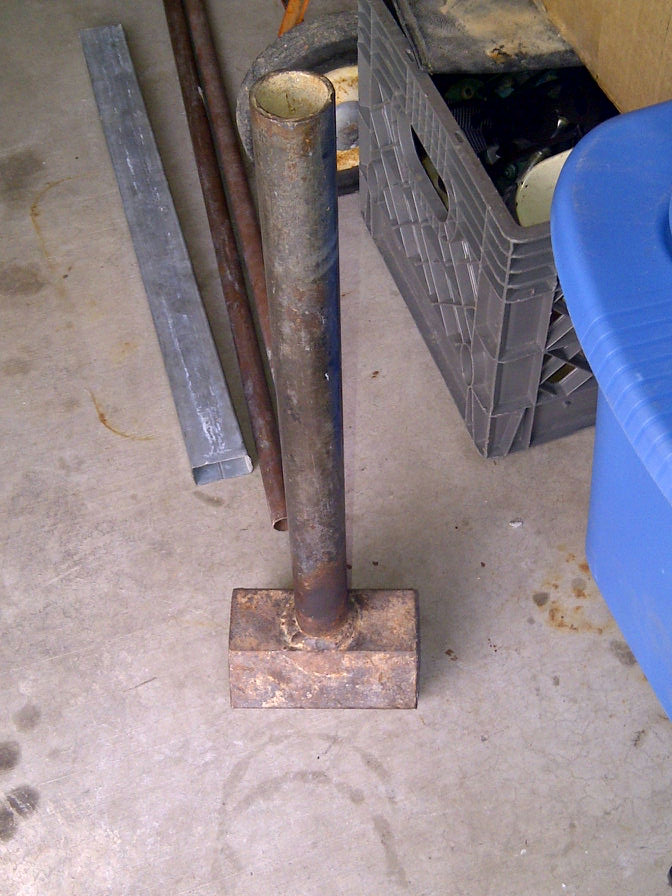
plus this
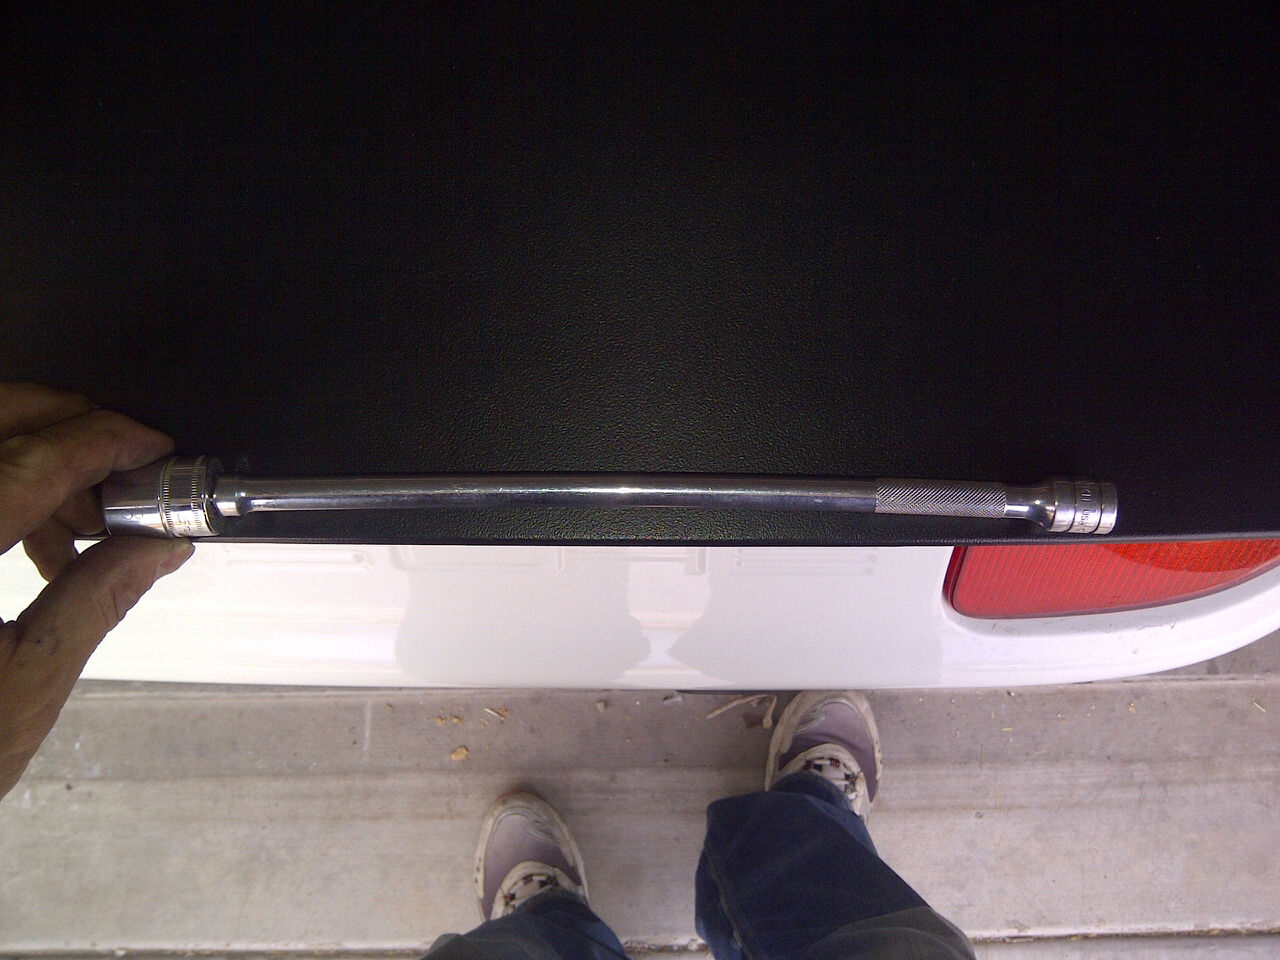
Will get you this
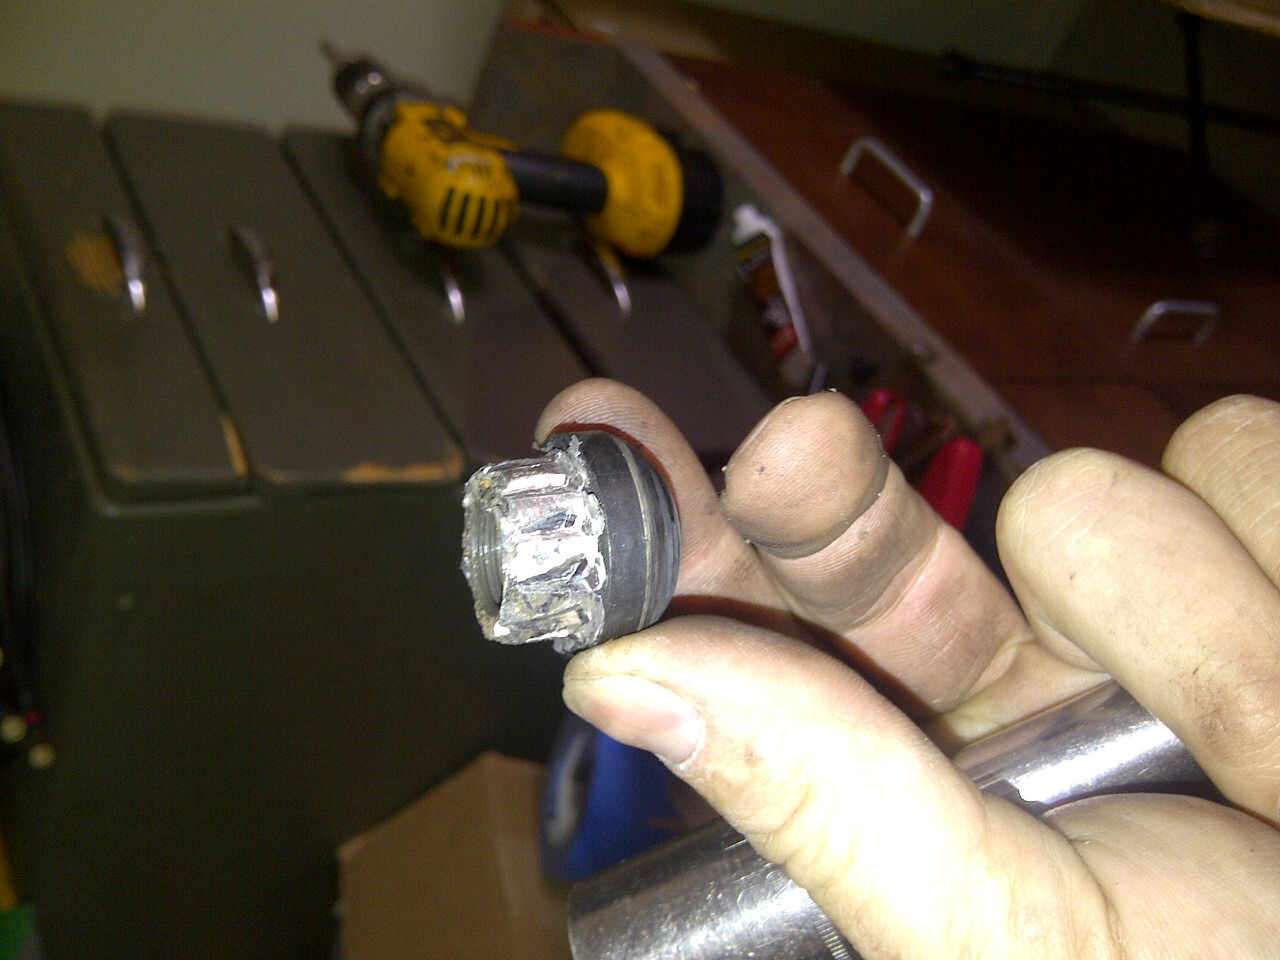
This
plus this
Will get you this
01-26-2013, 05:36 PM
#3555
Drifting
Put 'BigBlue83' in the air and cranked the front shocks up 2" on each side. I only had 130mm of clearance at the front suspension measuring point! ( I think the PO used it as a SNOW PLOW!!) Its snowed here last night so I haven't run it around to settle in the front end. I'm looking for a measurement of 180mm at the front. In the process I noticed the rack is leaking so that goes in the "fix before spring" list. Now I just have tom find a shop that can do 298 front alignment properly in the South Jersey/Phila. area. I could go to Cherry Hill Porsche if I have to but they seem to want to sell/rent me a new car instead. If anyone can steer me to a good shop in my area I would greatly appreciate it. Thanks in advance on this