When you click on links to various merchants on this site and make a purchase, this can result in this site earning a commission. Affiliate programs and affiliations include, but are not limited to, the eBay Partner Network.
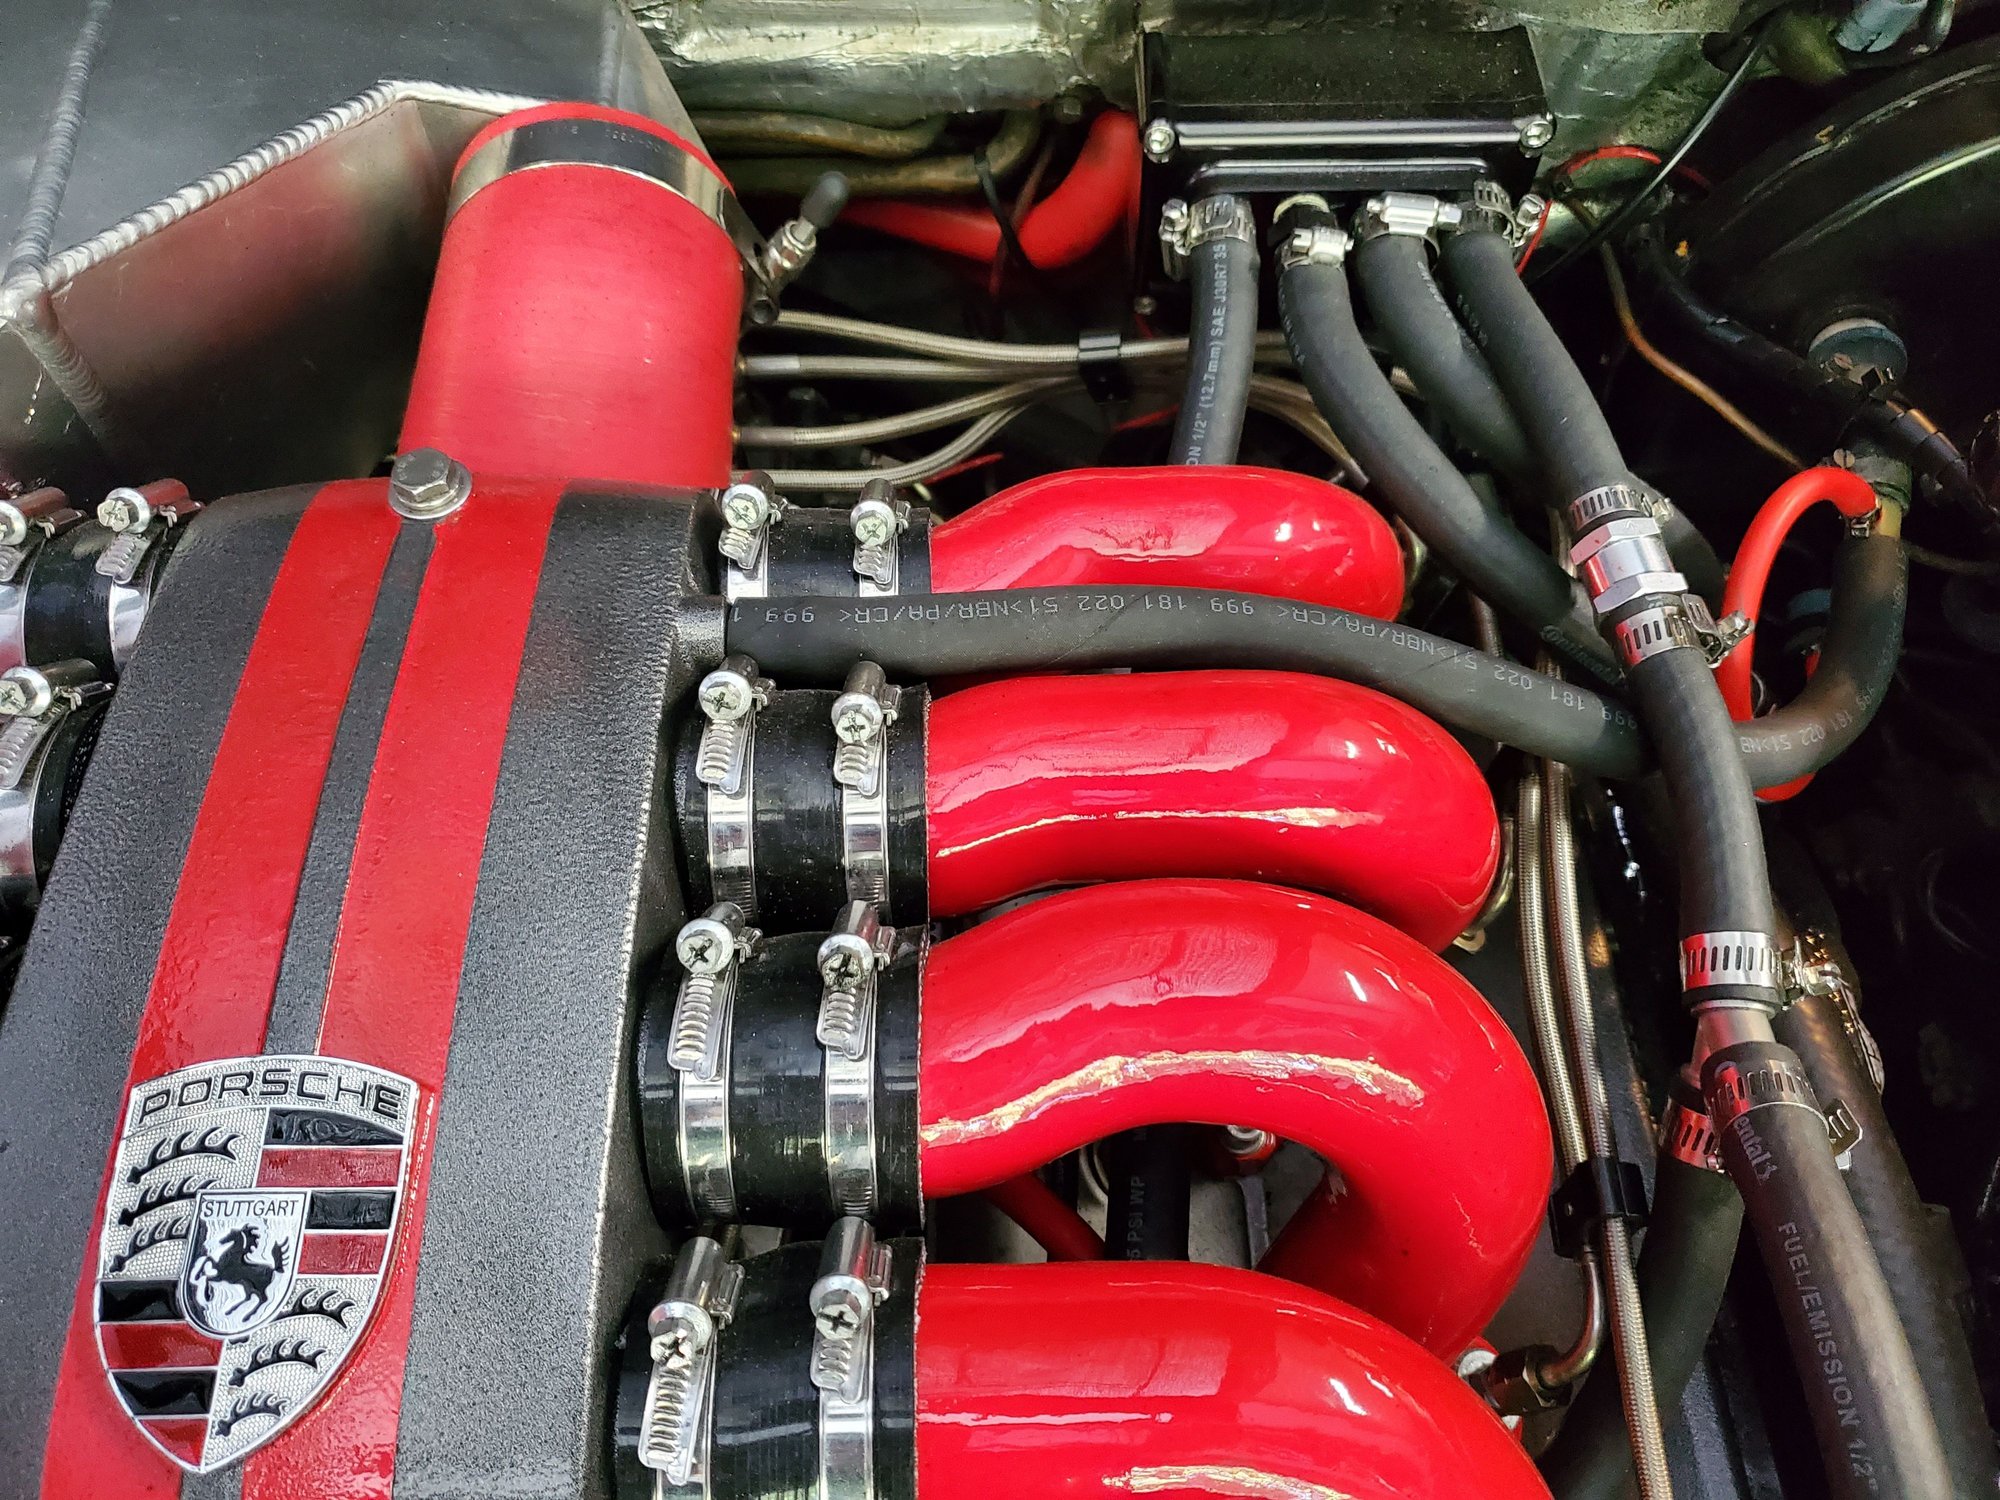
Stock setups have either the 19 or 21 iirc clamp for the vacuum hose connections.
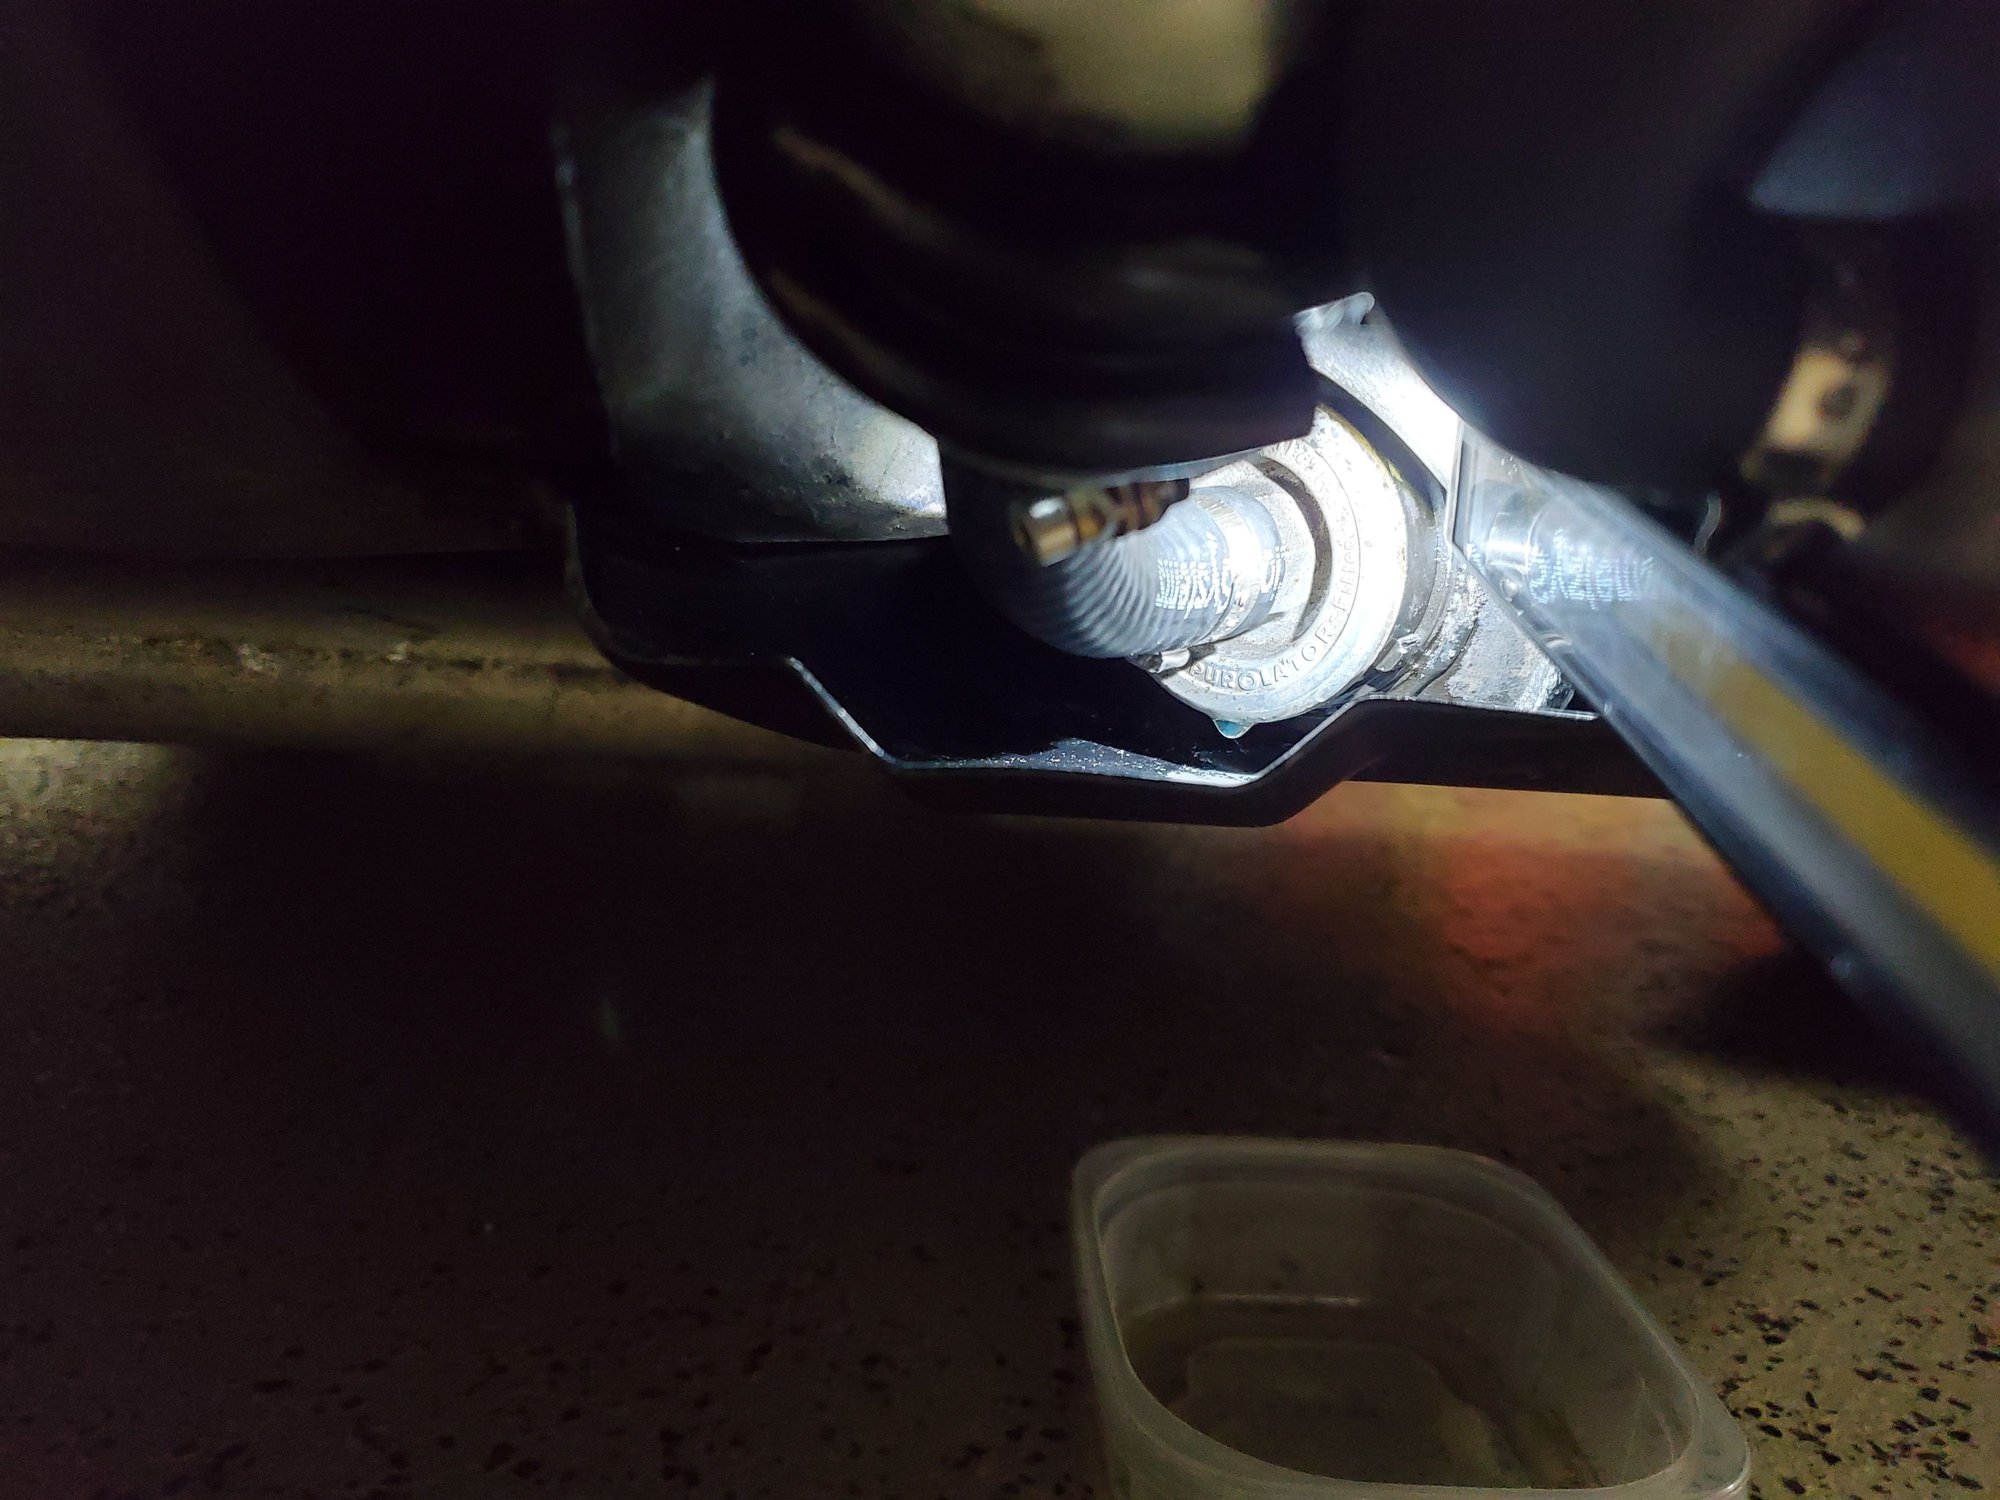
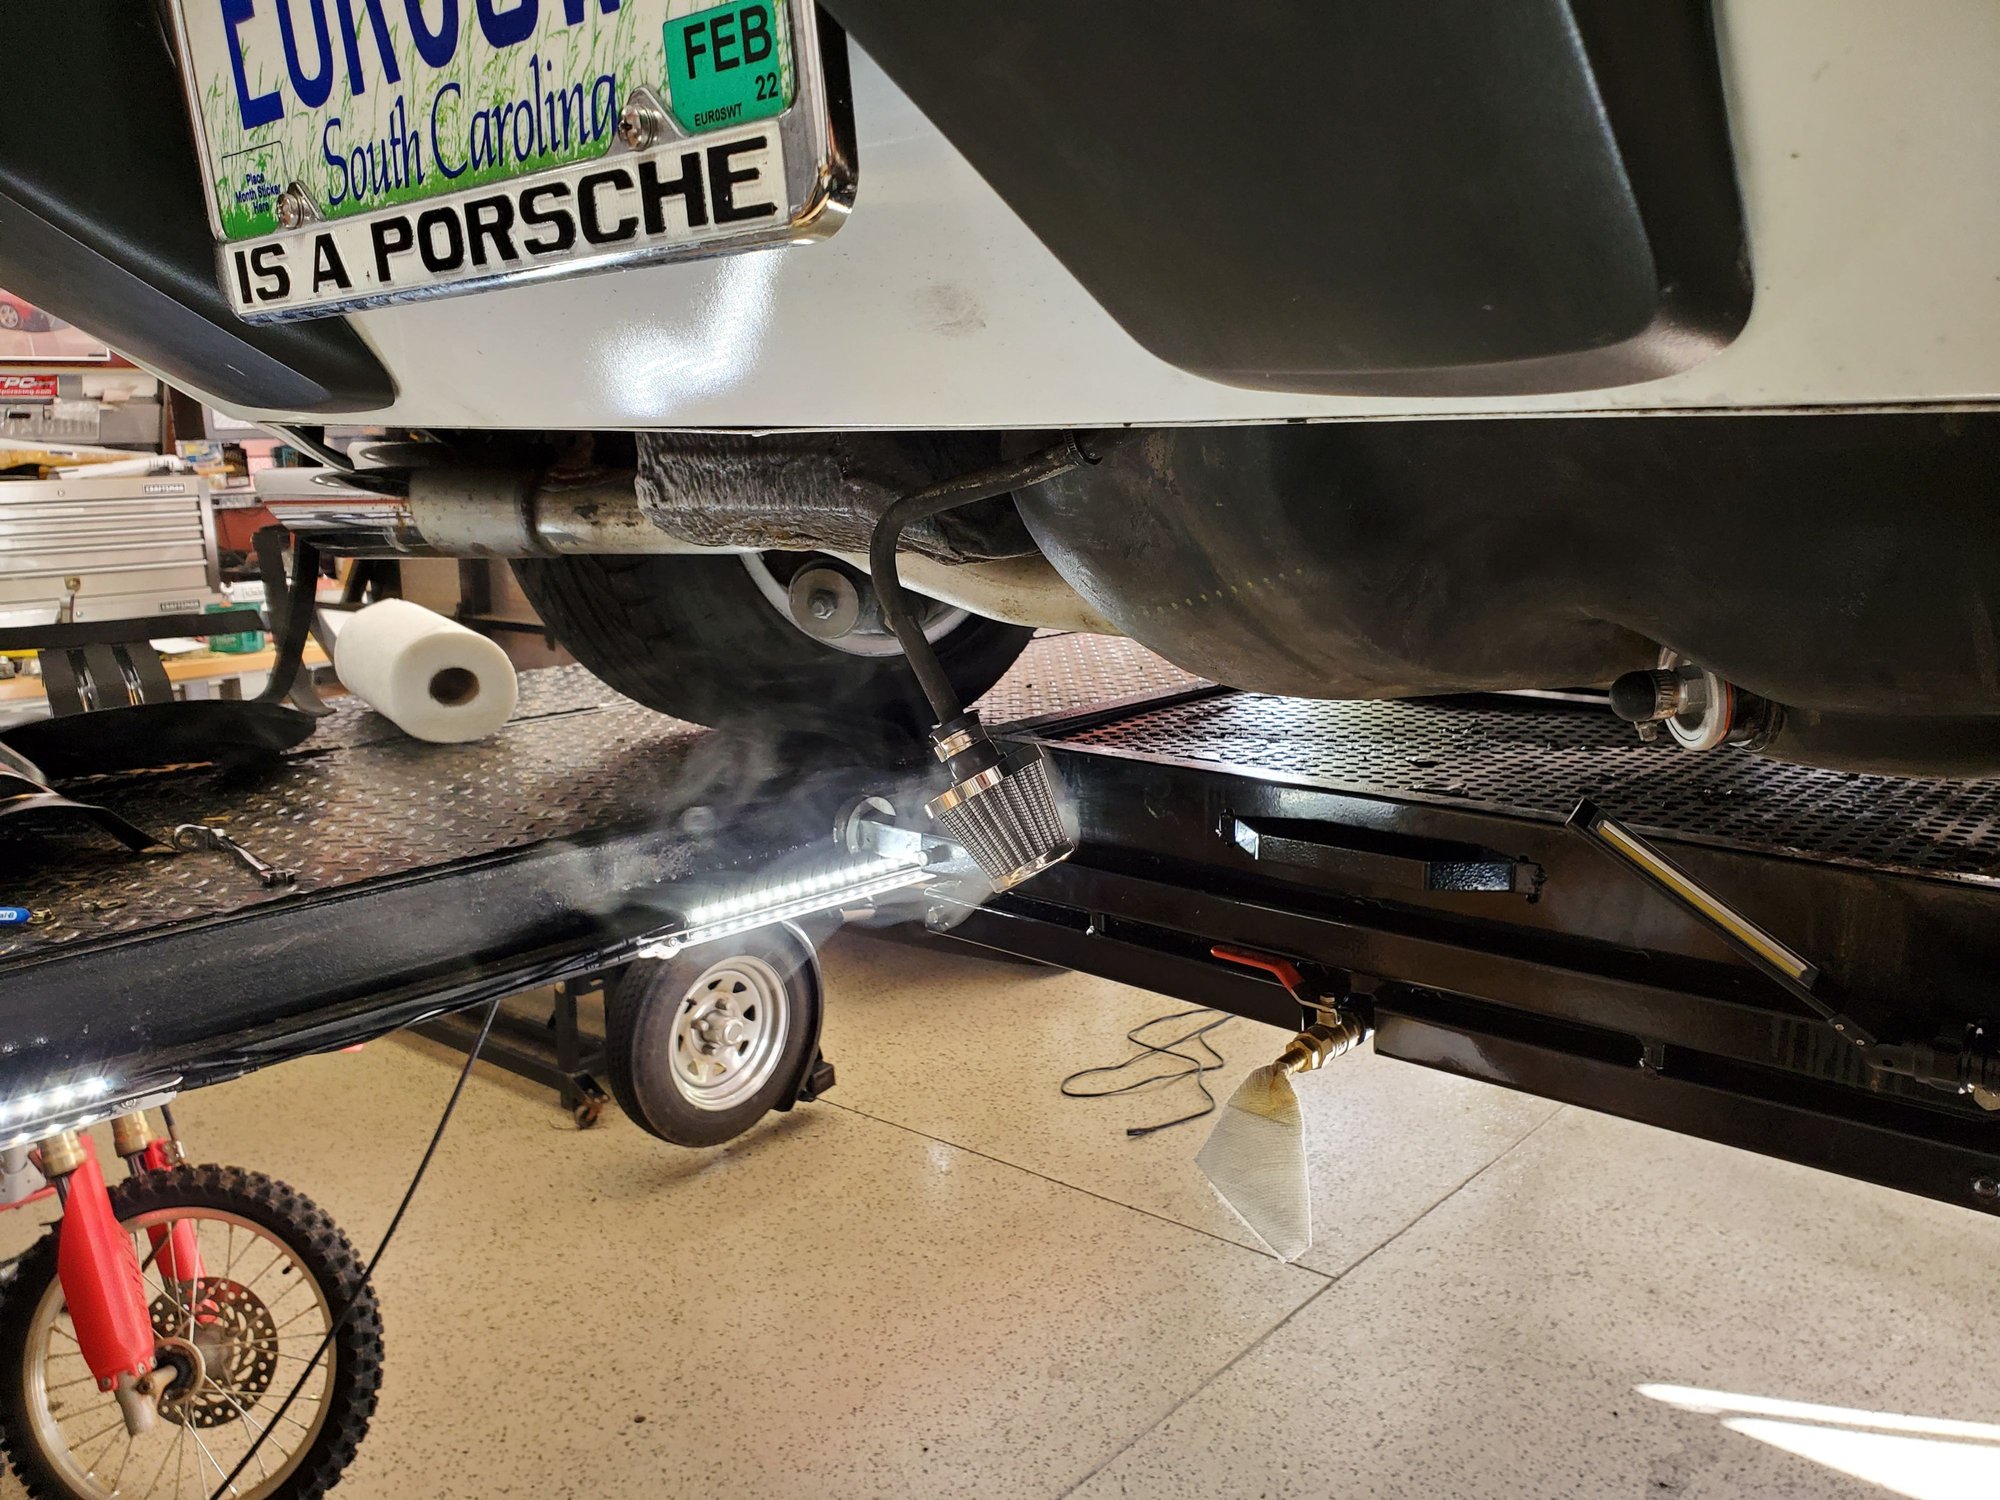
question: why the addition of the external fuel filter ?
The boss for this tank is rusted inside but not leaking and is missing the filter screen. Since the gas goes straight from the tank to the pump and then to the filter, debris that gets through can jam the pump. Rather than risk removing the non-leaking tank outlet to install the mod that is available with a new tank boss and screen, I figured out a way to use the compact Wix fuel filter to protect the pump, and now it's also easily replaceable for any debris that might get into the tank instead of clogging up the in tank screen.
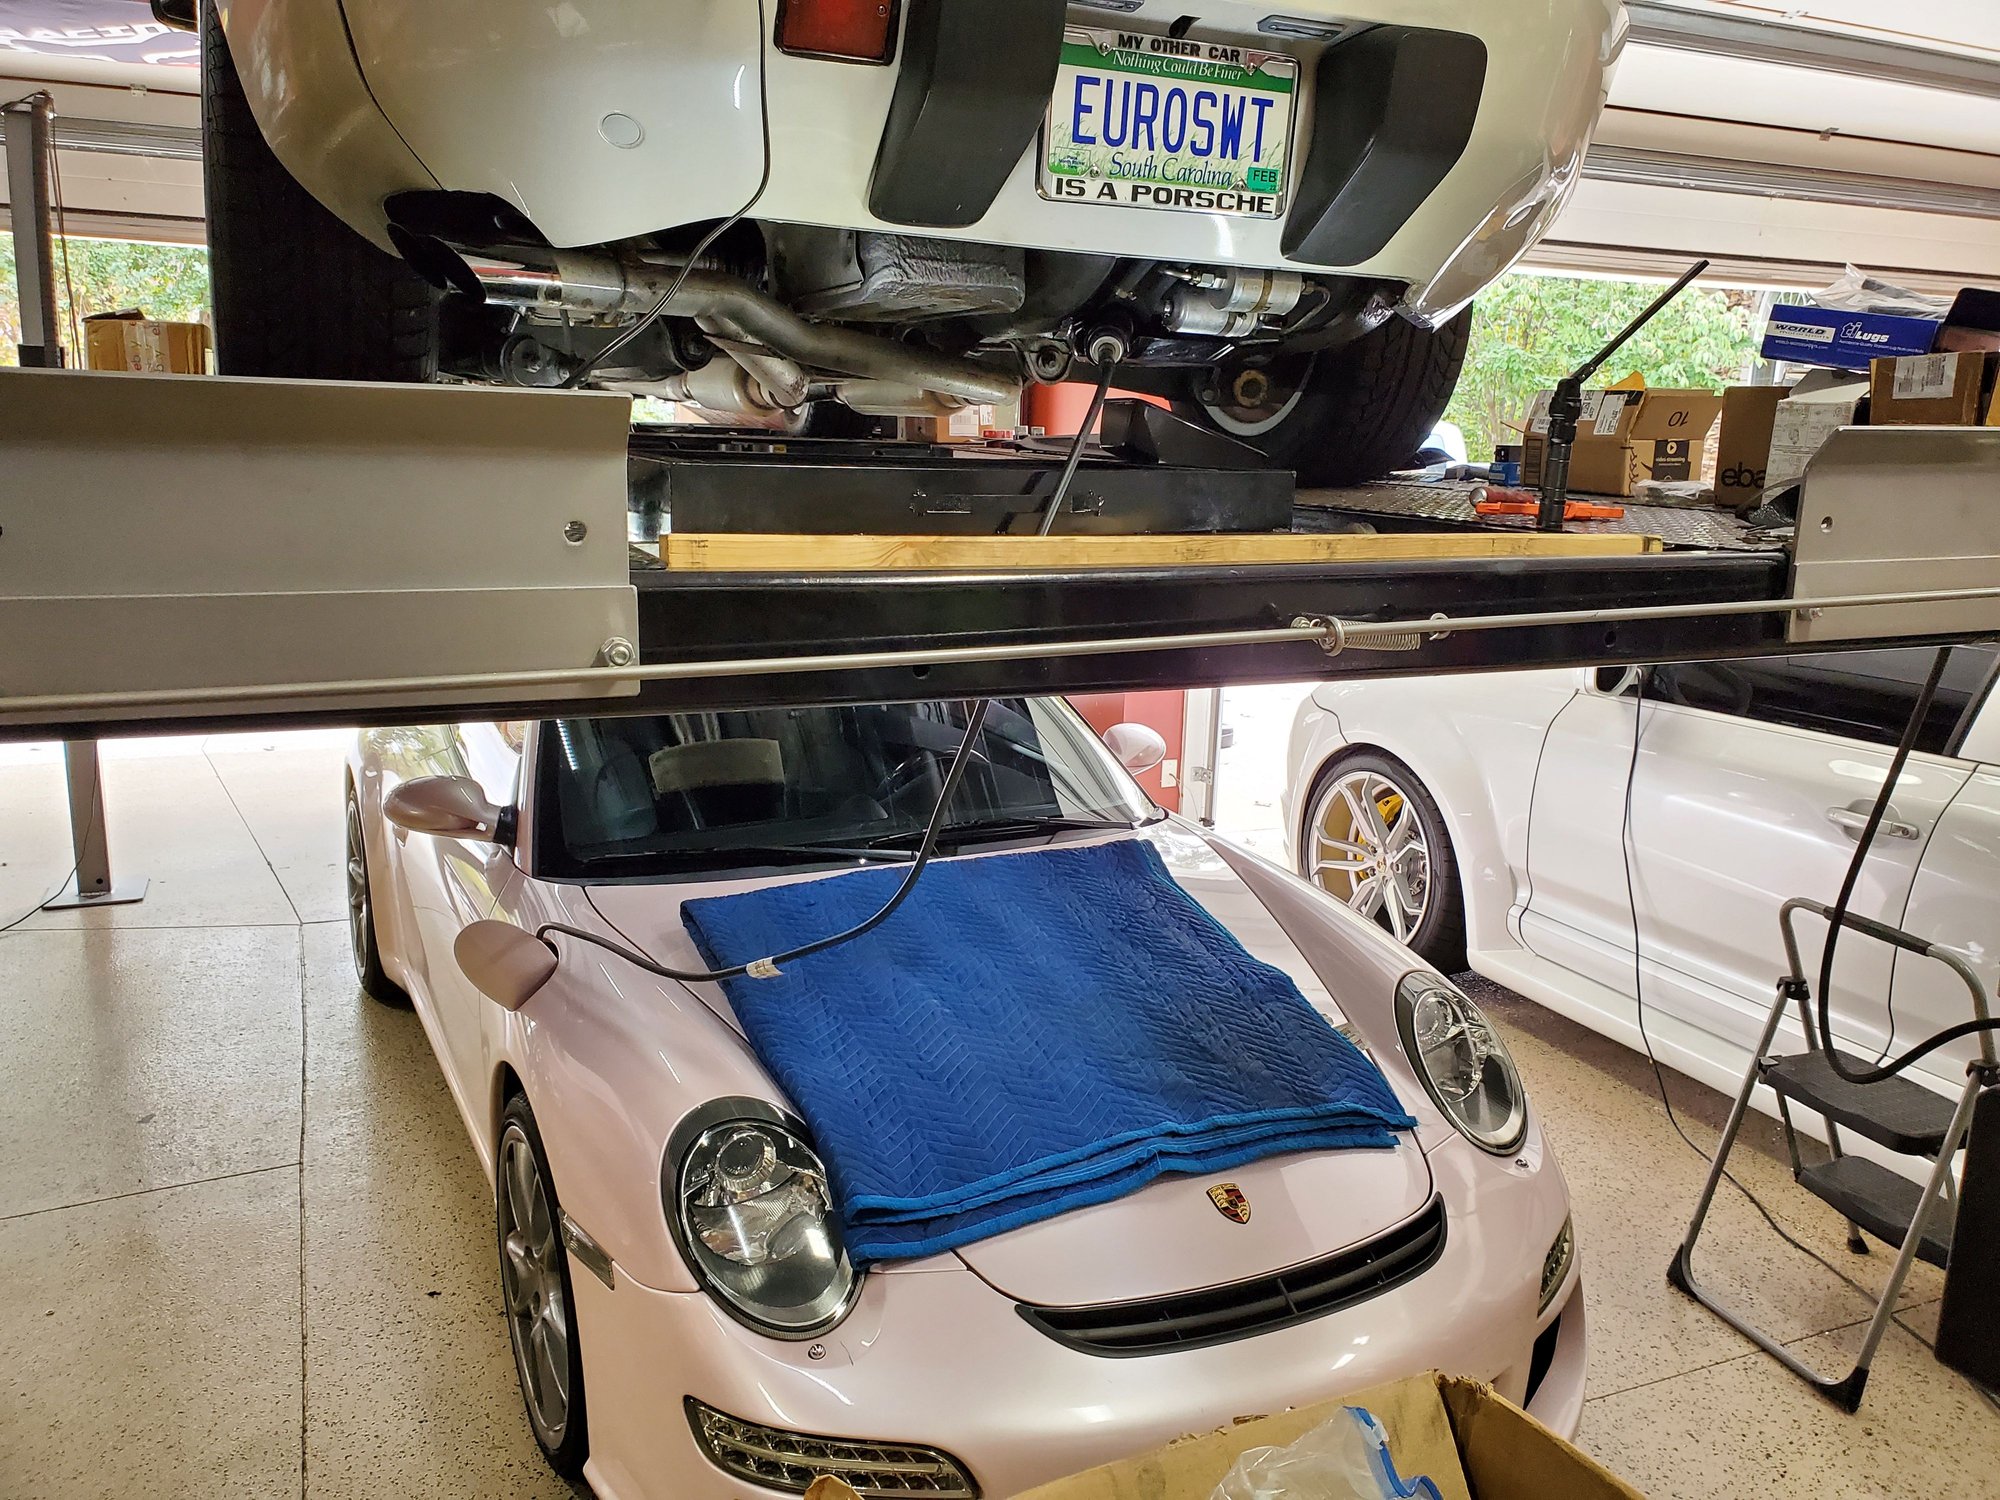
Buttoned everything up and ran the car on the lift. No leaks at the sender return or underneath behind the fuel component cover. Will road test it this afternoon to make sure it runs right, but it didn't explode when I started it which is nice 😉
Fuel Tank replacement project now officially done Road tested the car & completely filled the tank. No leaks and no driveability issues. So back under the Spyder for regular DD use.
While I had the Spyder on the ground, I had enough 9f the special vacuum booster hose remaining to replace the silicone vacuum hose that was on that car with the proper, non-collapsing hose.
The tank outlet boss has a leak, so I guess this project isn't done. As an added bonus, just filled the tank yesterday too.
Do I replace it with the new mated fitting offering and can that be done with the tank in the car or does it have to come down a third time? With a leak this slow (1 drip/hour) is there a way to repair it once the tank is empty again or does it need replacement?
Didn't realize that I forgot to post an update in here, but I installed the new tank and unfortunately, had a leak at the outlet fitting.
So, I ordered the new internal strainer with outlet piece and the aftermarket threaded piece from Roger and am working on installing those this weekend.
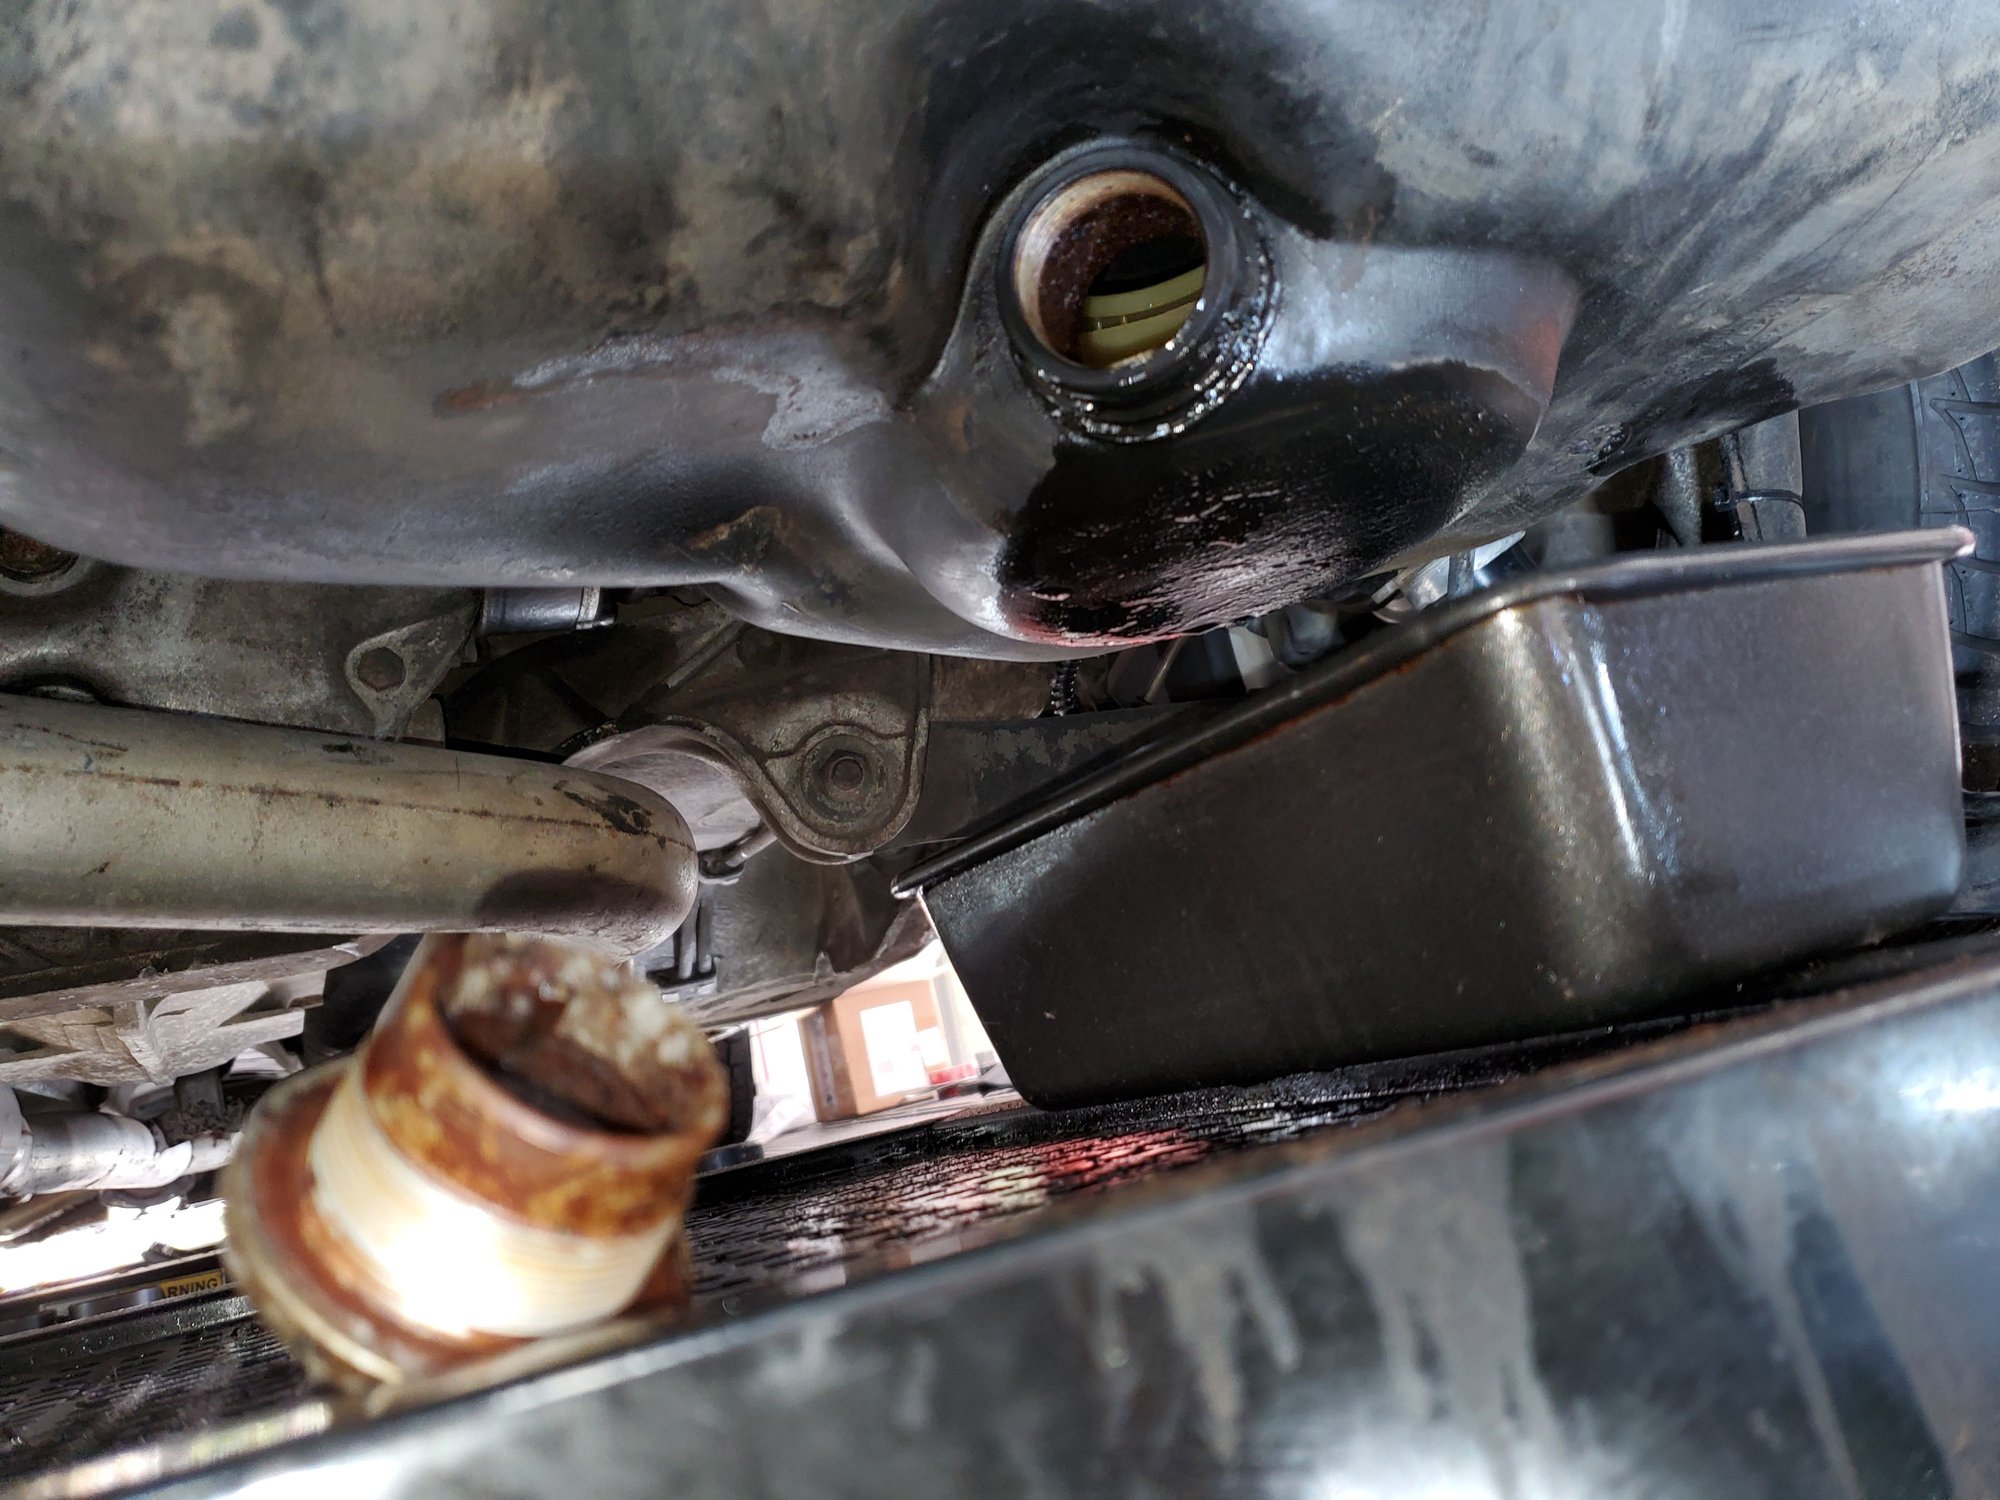
Had to drain the tank again, and luckily, the wife's 997 is just about completely empty since the 928 is still 1/2 full. A little ingenuity and that process is going well and cleanly.
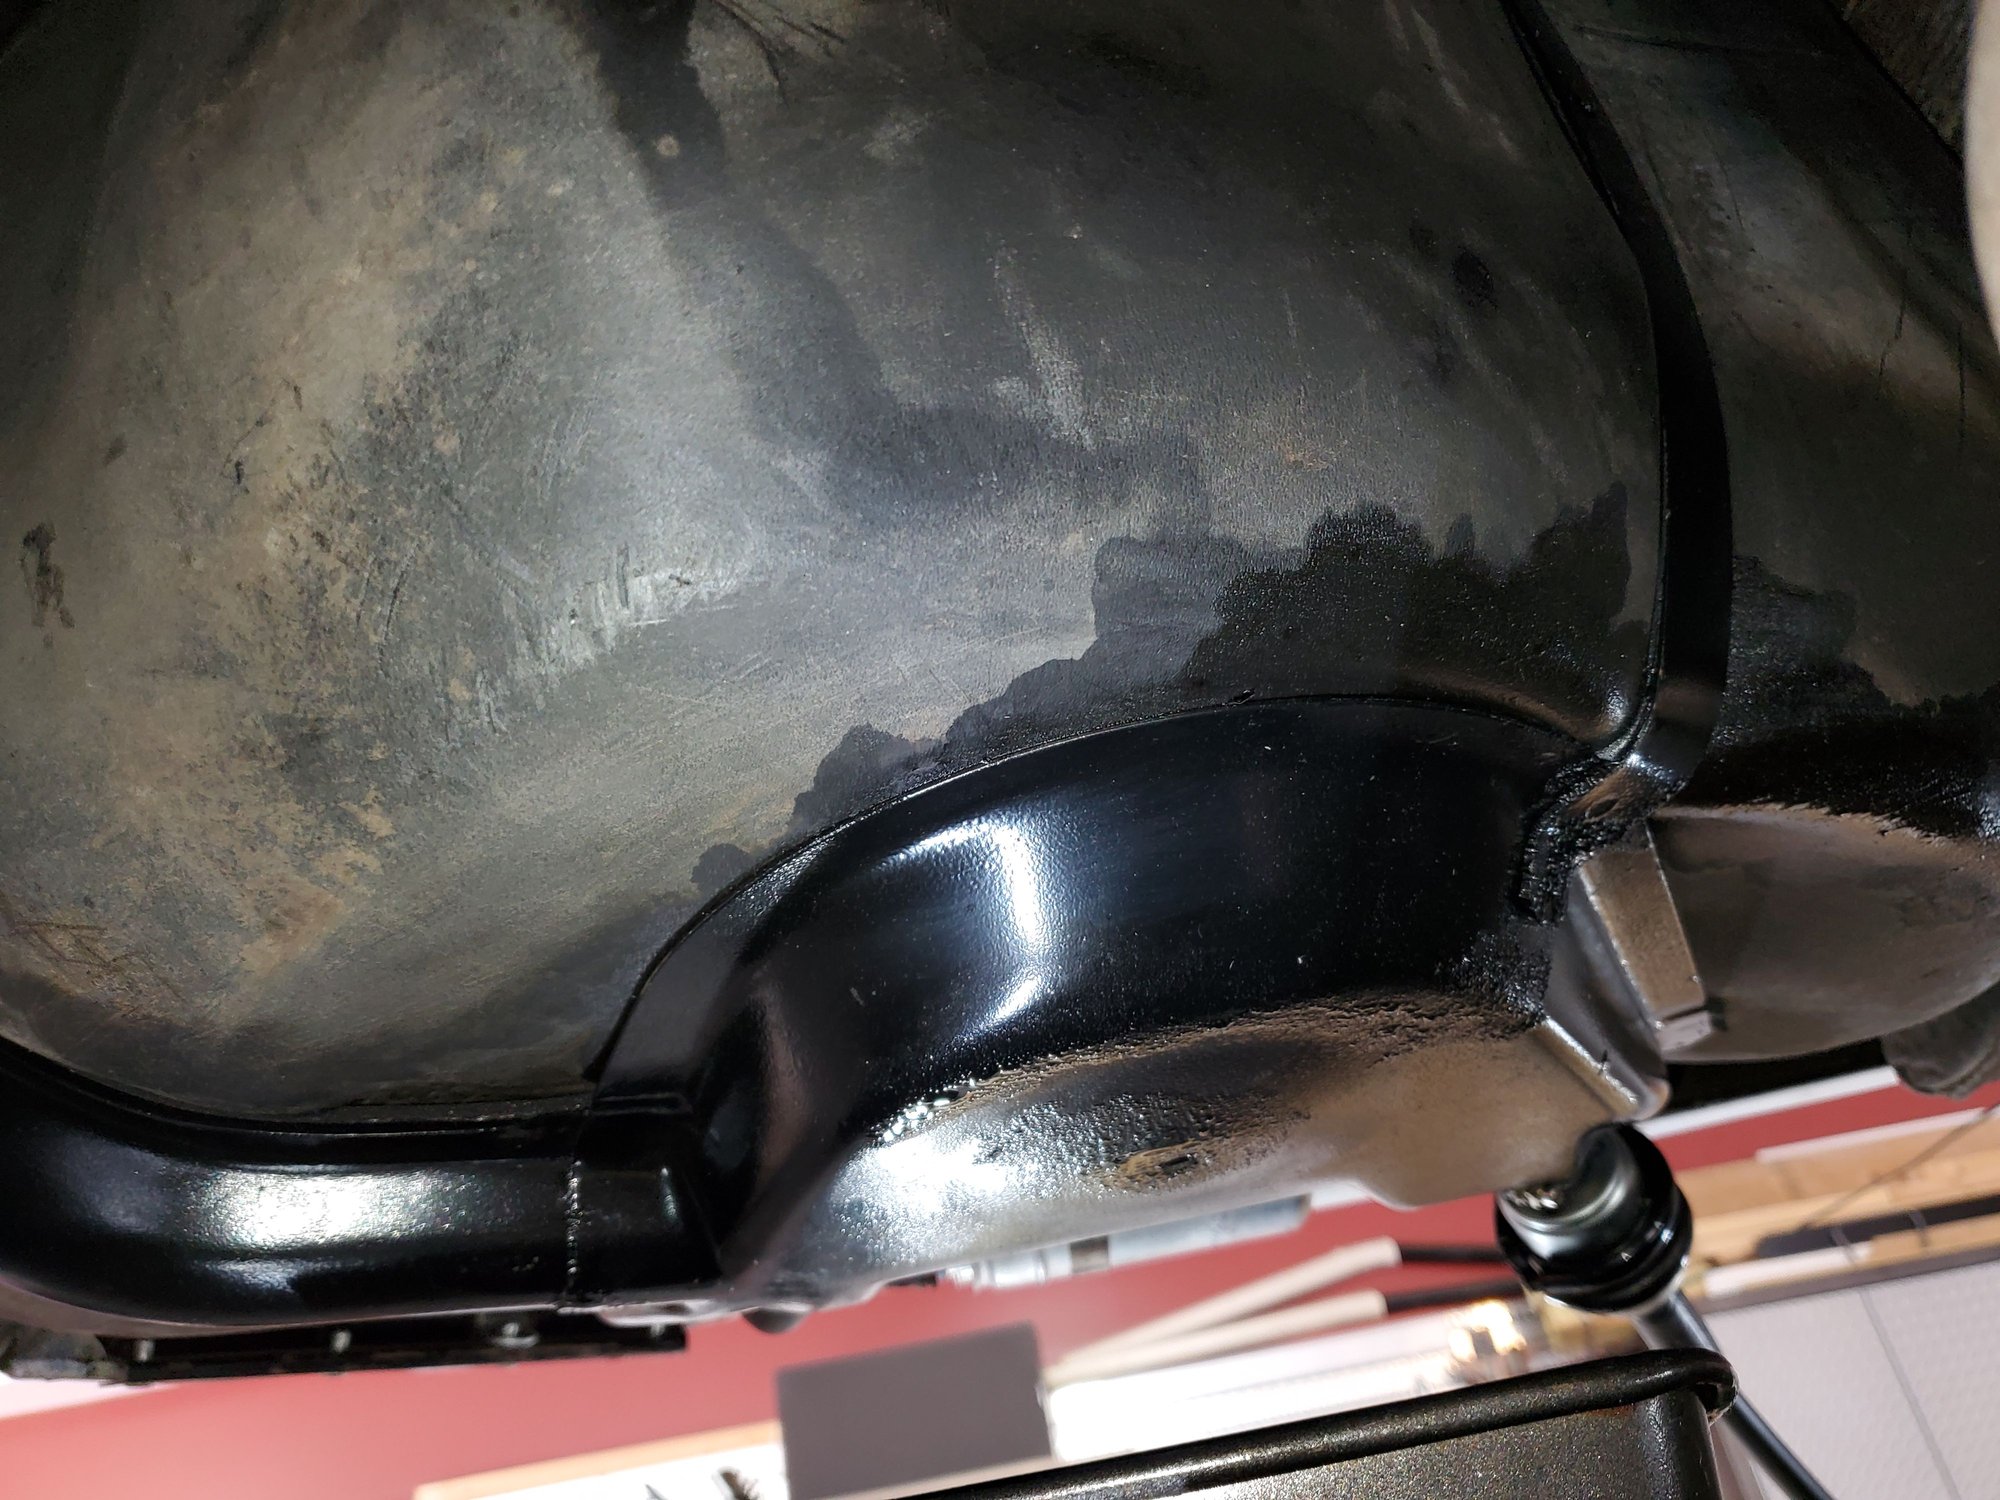
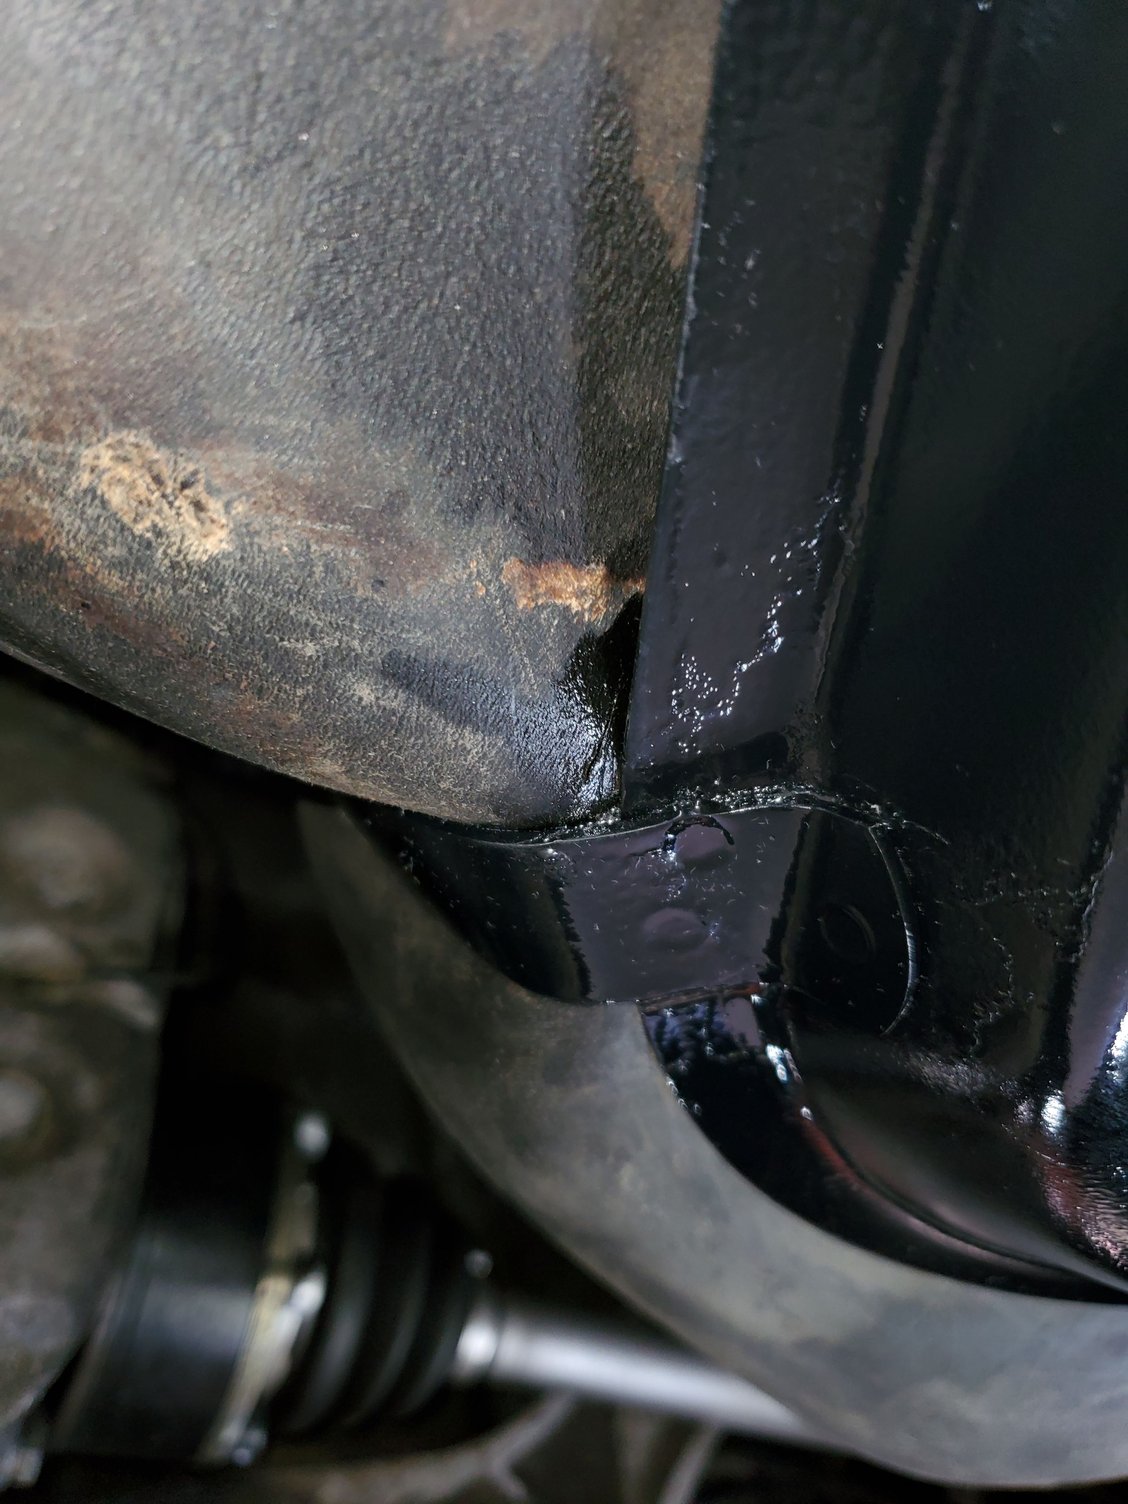
However, I noticed a wet spot and a bit of deformation here in the bottom of the tank and don't know whether this deformation was there when I installed it or if it's something new, but the wetness above the cradle is concerning me, unless the foam cradle tape is acting like a sponge from the gas that's dripping into the cradle from the leaky outlet.
All the vent lines are connected and loosening the gas cap does not result in any type of hissing noise.
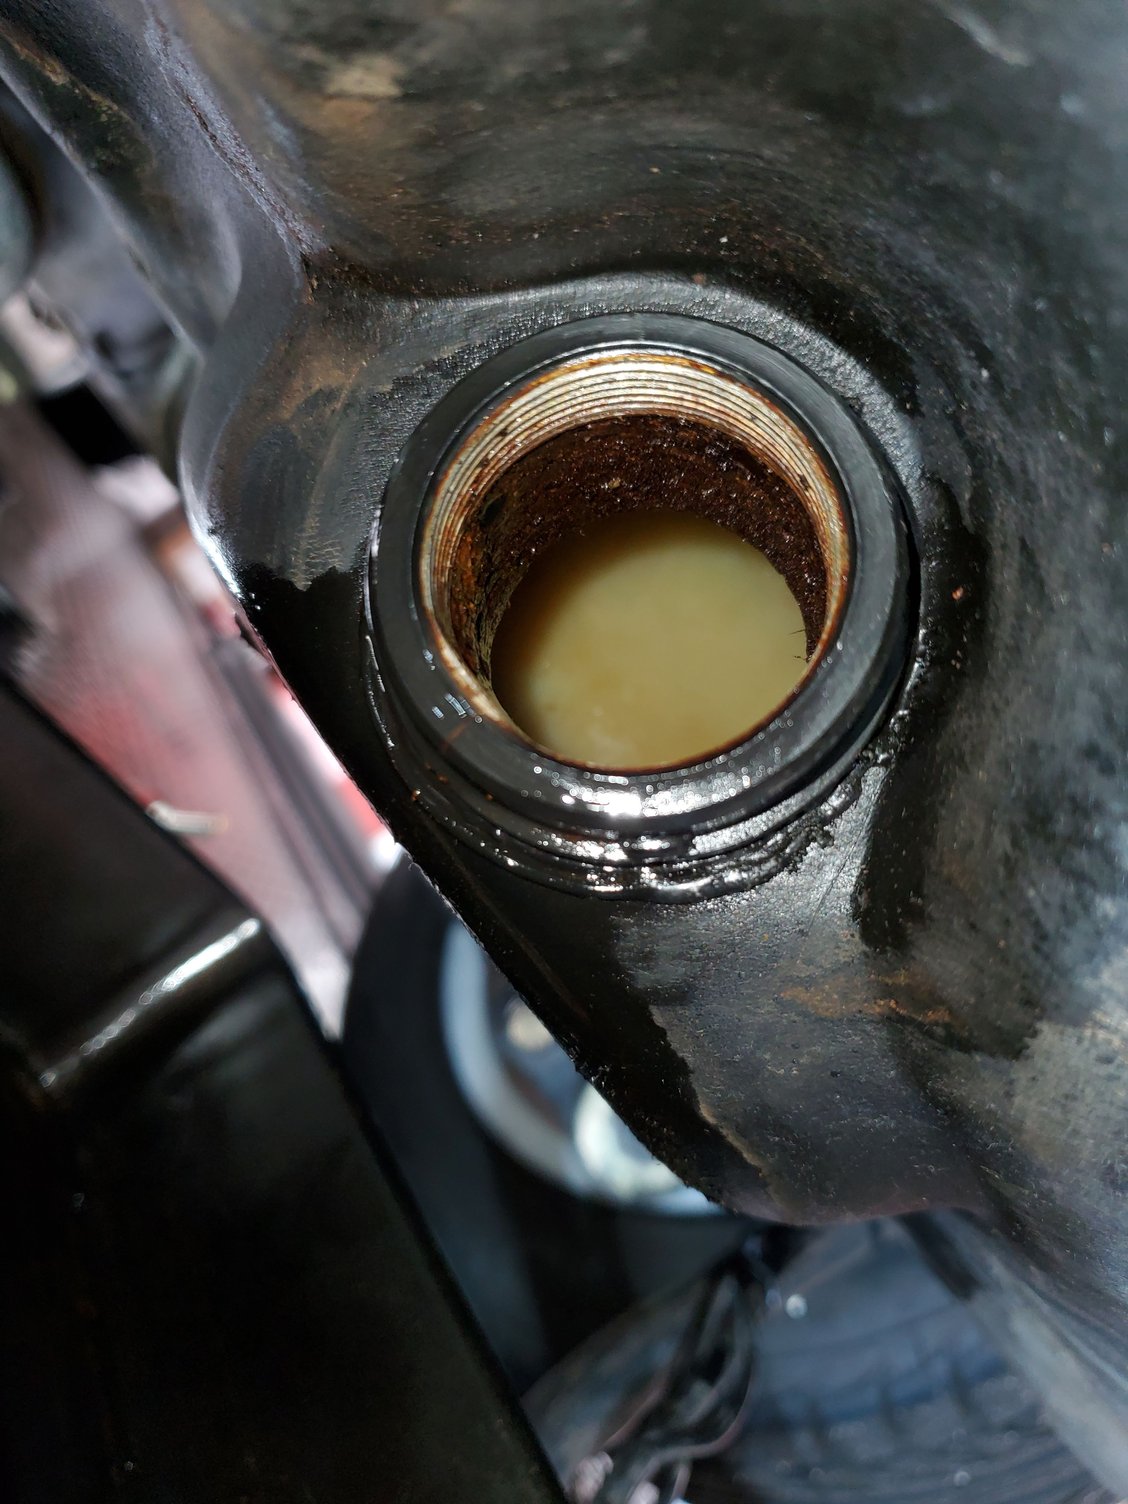
Ok, so the outlet.is out and the threaded insert still seems to be anchored into the tank. I assume this means I can just thread in the new outlet and strainer I have and won't actually need the inside sleeve because that won't fit with the original sleeve still in there.
This also assumes the leak I posted below is from where the metal outlet threads into the tank sleeve and that they don't leak where the tank plastic tank outlet is welded to the tank. Is that a fair assumption?
Pete - I know this fuel tank has to be very frustrating but I would not be comfortable with any wetness at all. It�s just too risky. This might be one of those times were you are just going to have slow down and step back and really analyze the situation to get it perfect.
Pete - I know this fuel tank has to be very frustrating but I would not be comfortable with any wetness at all. It�s just too risky. This might be one of those times were you are just going to have slow down and step back and really analyze the situation to get it perfect.
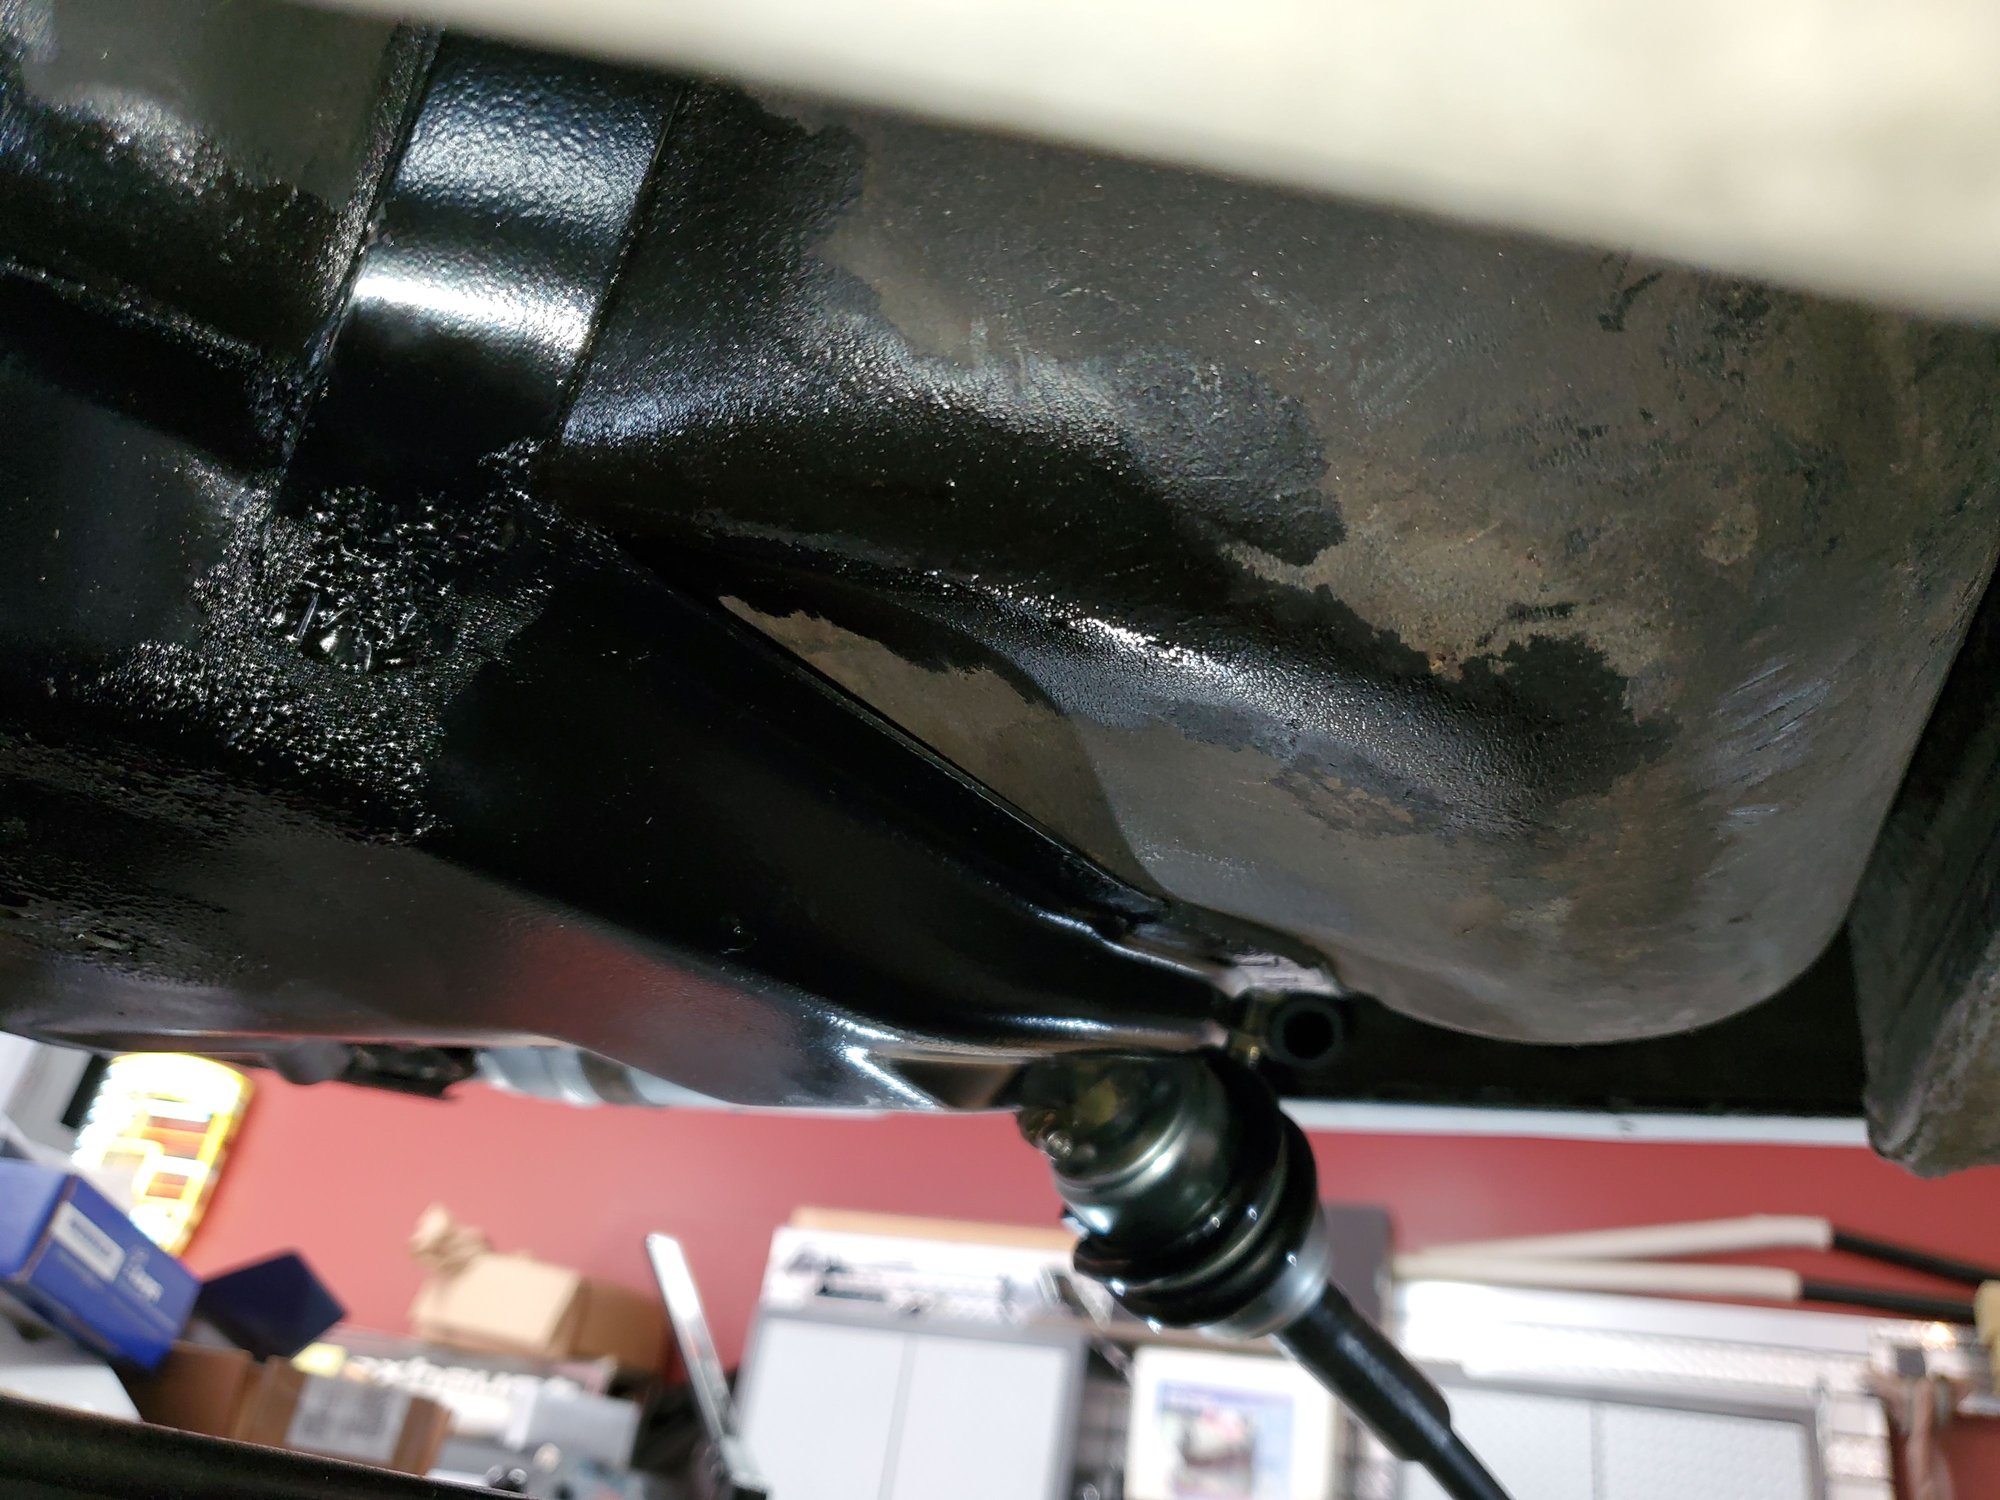
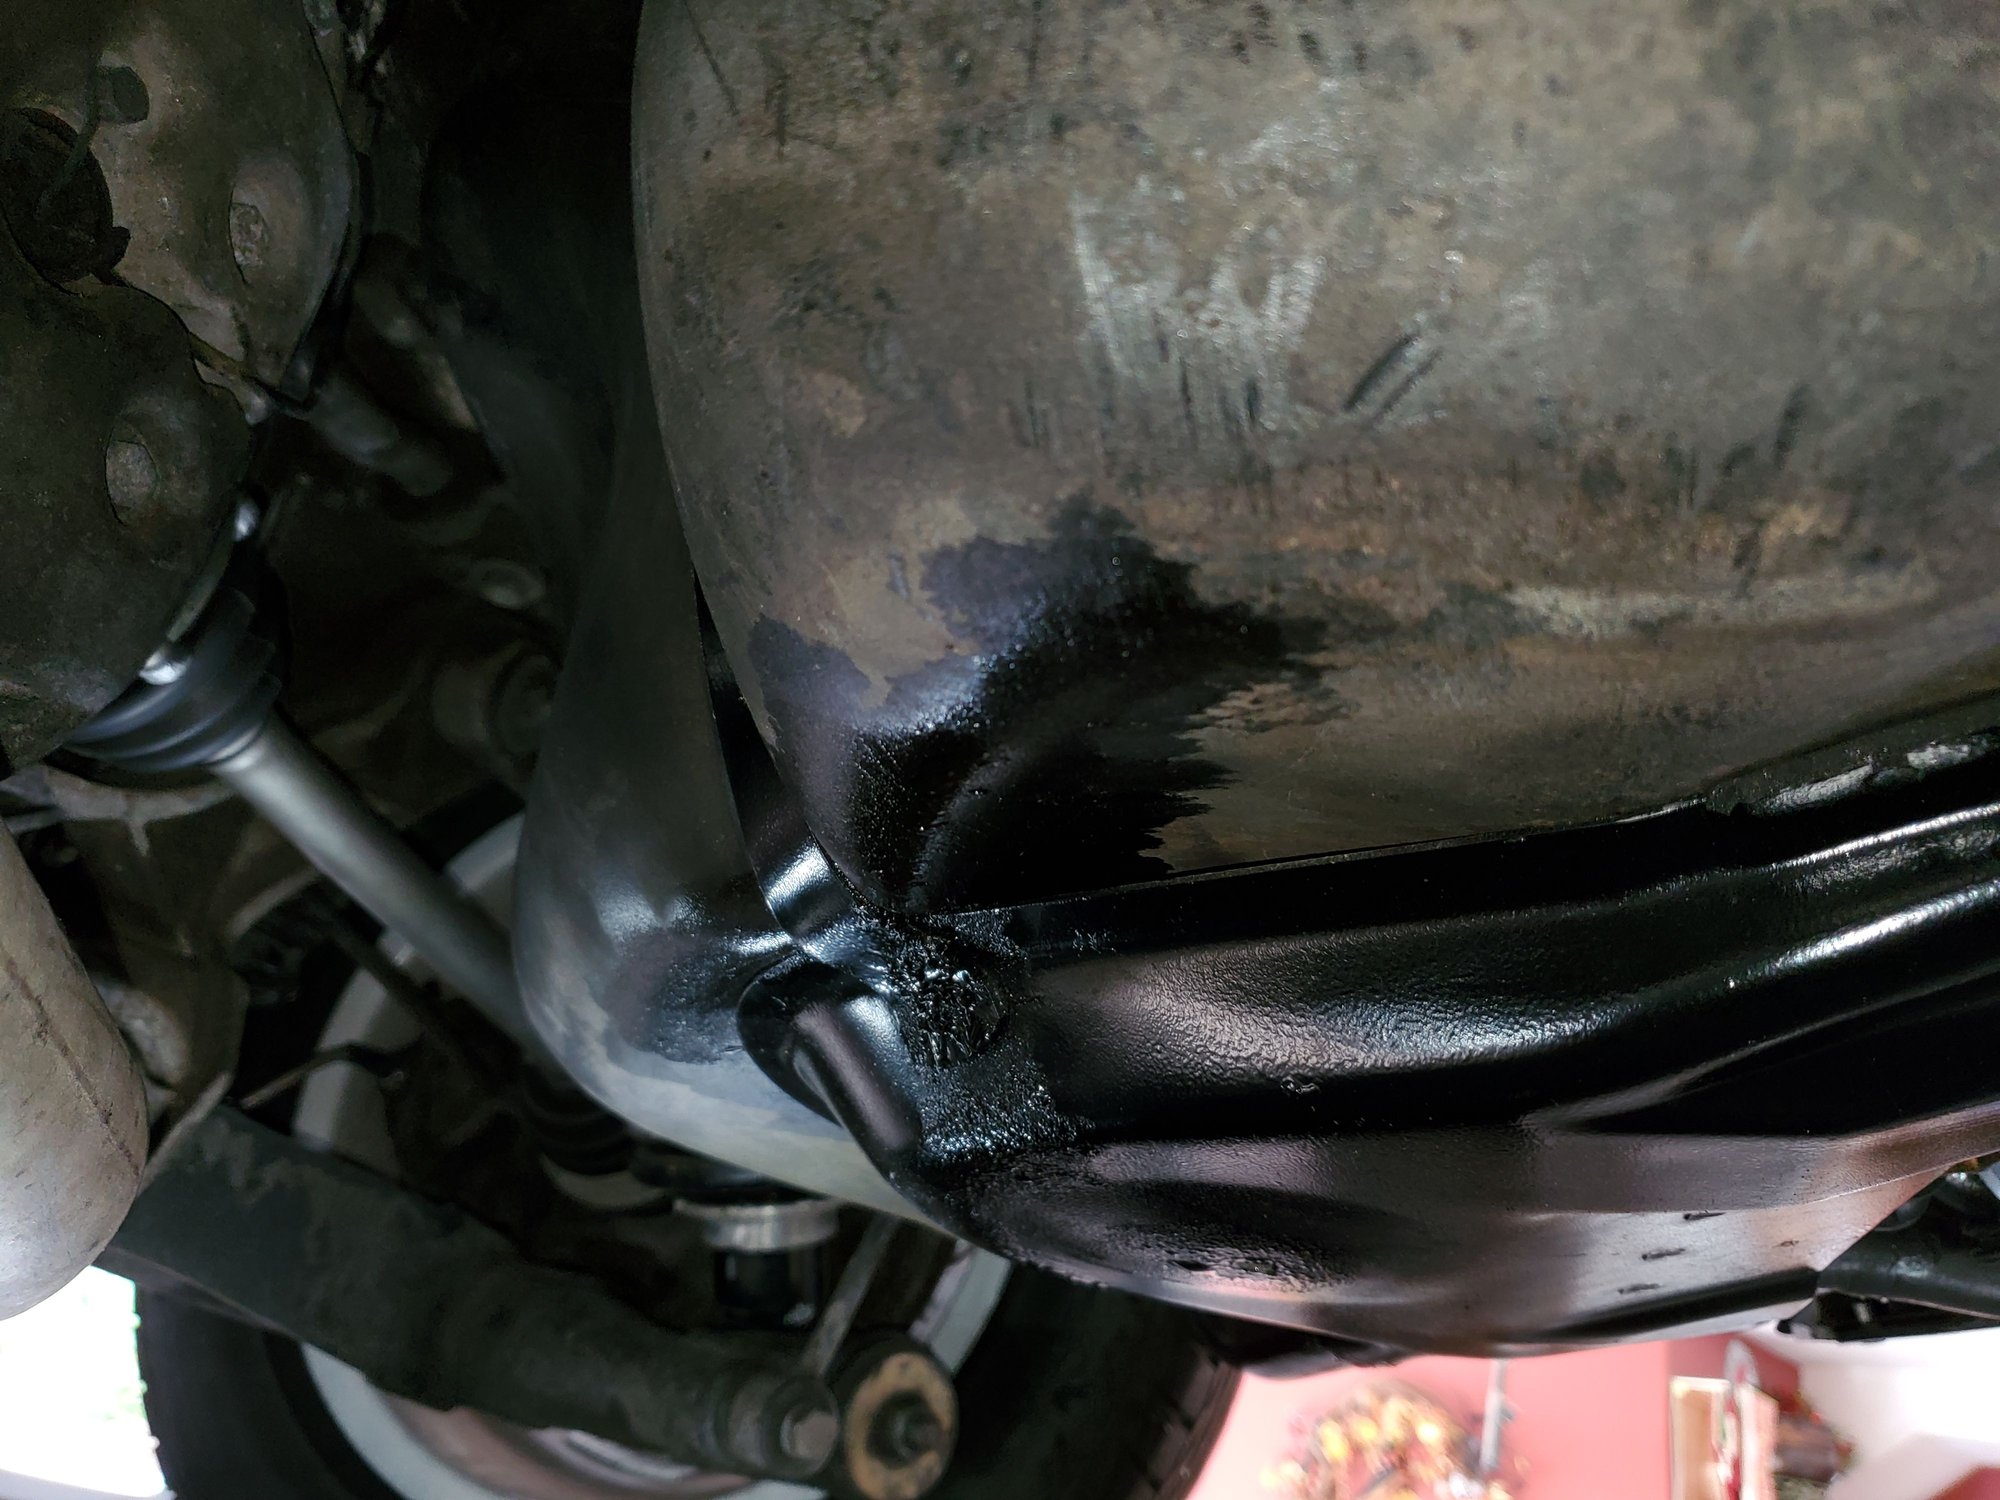
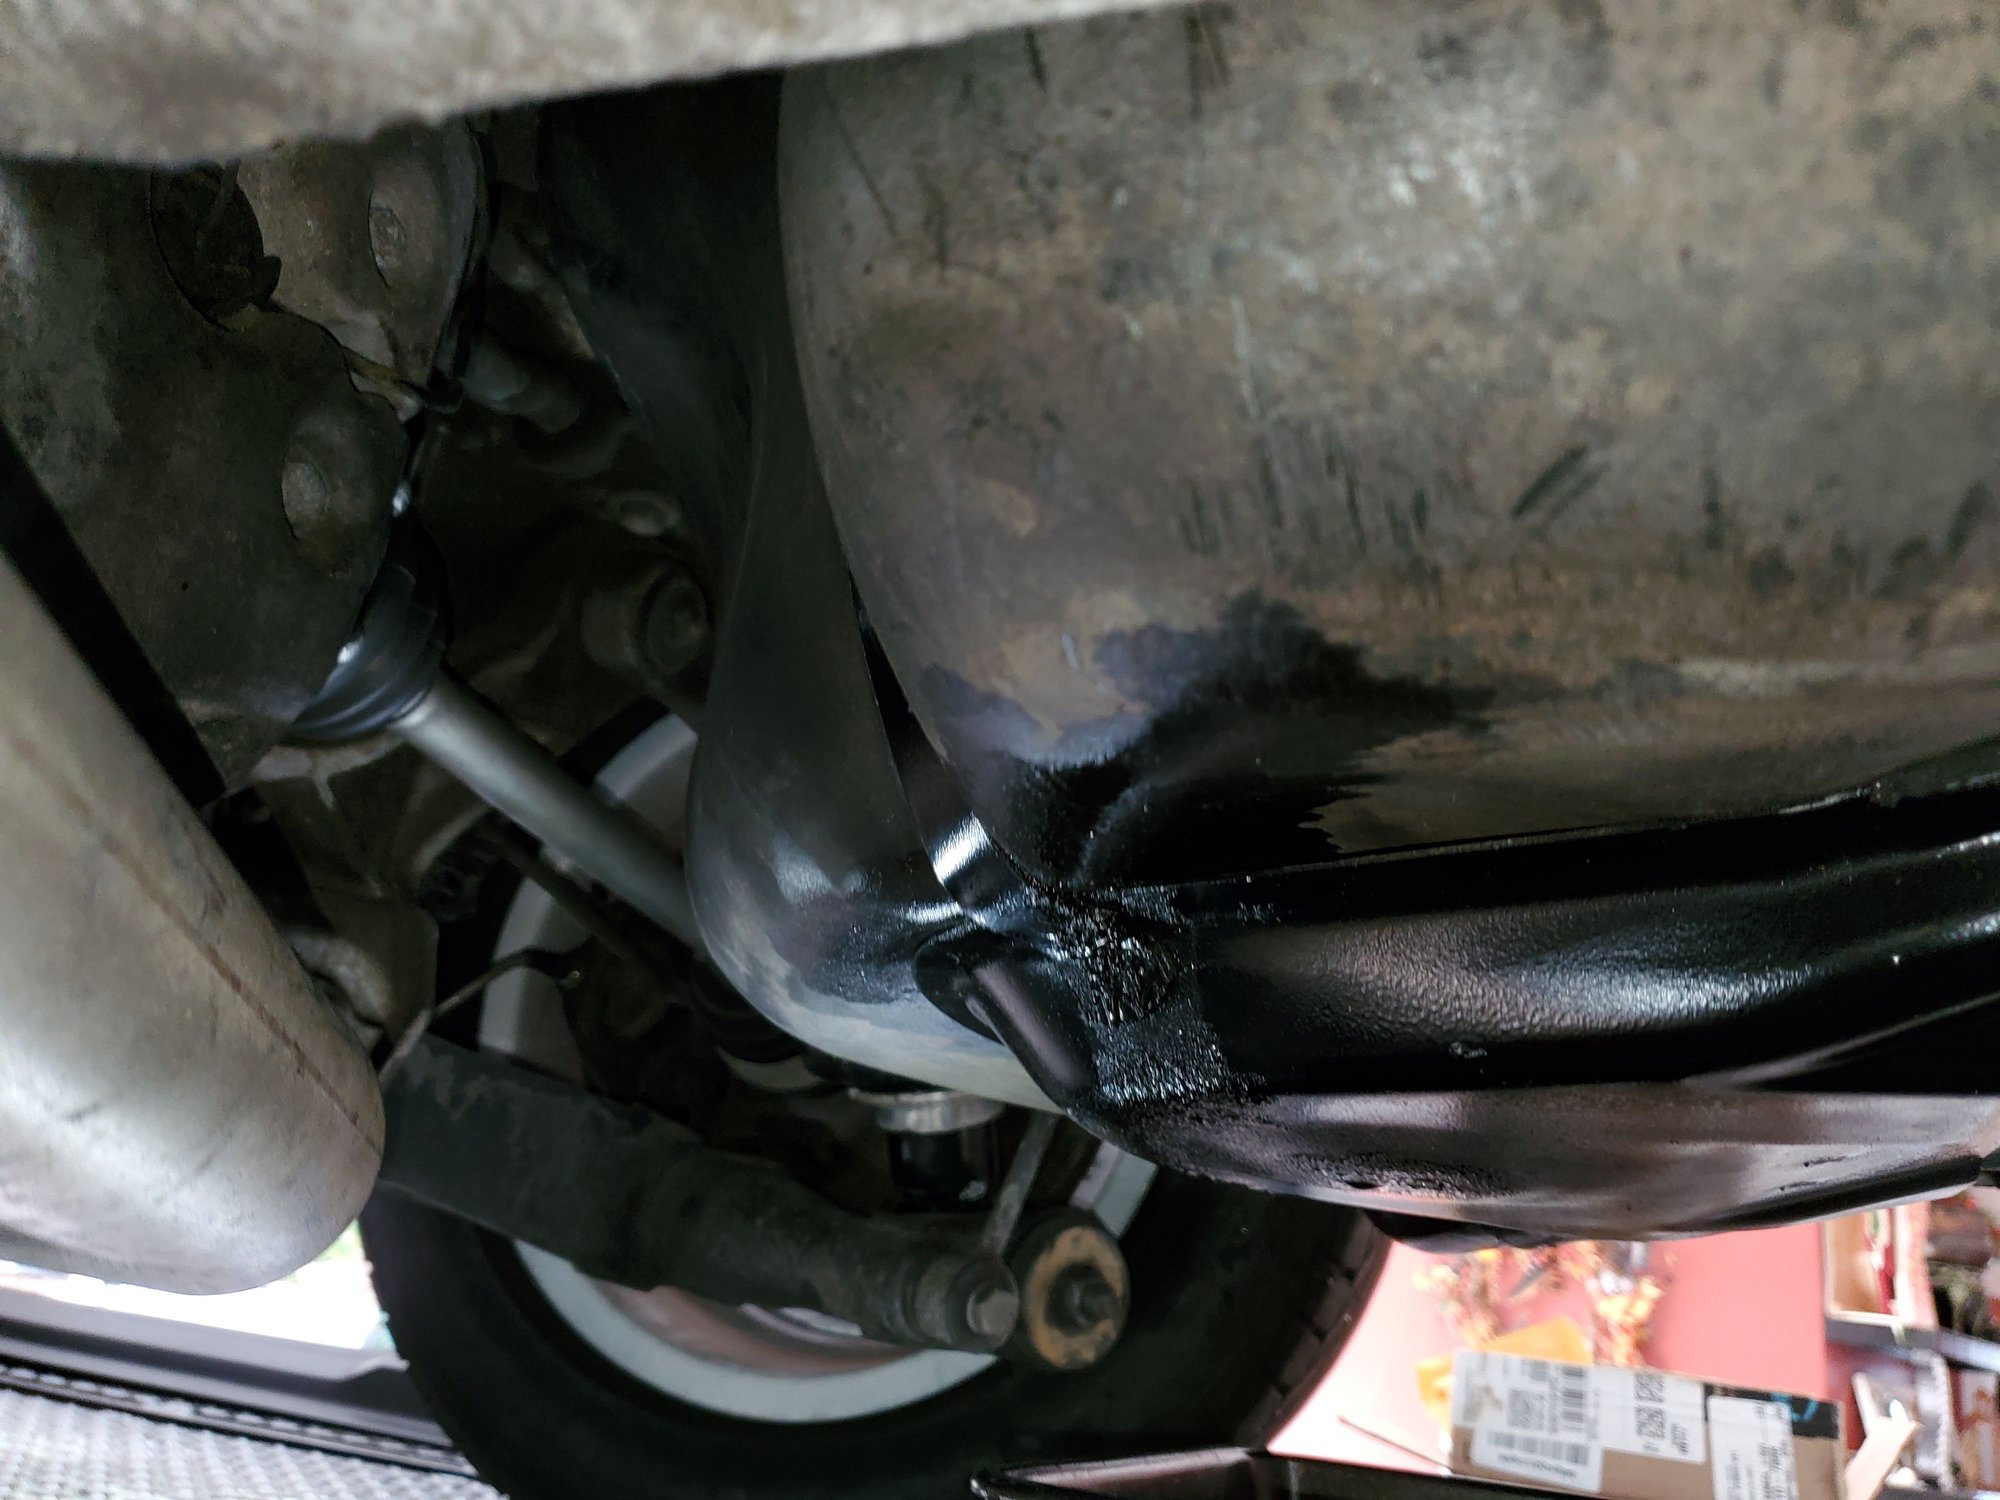
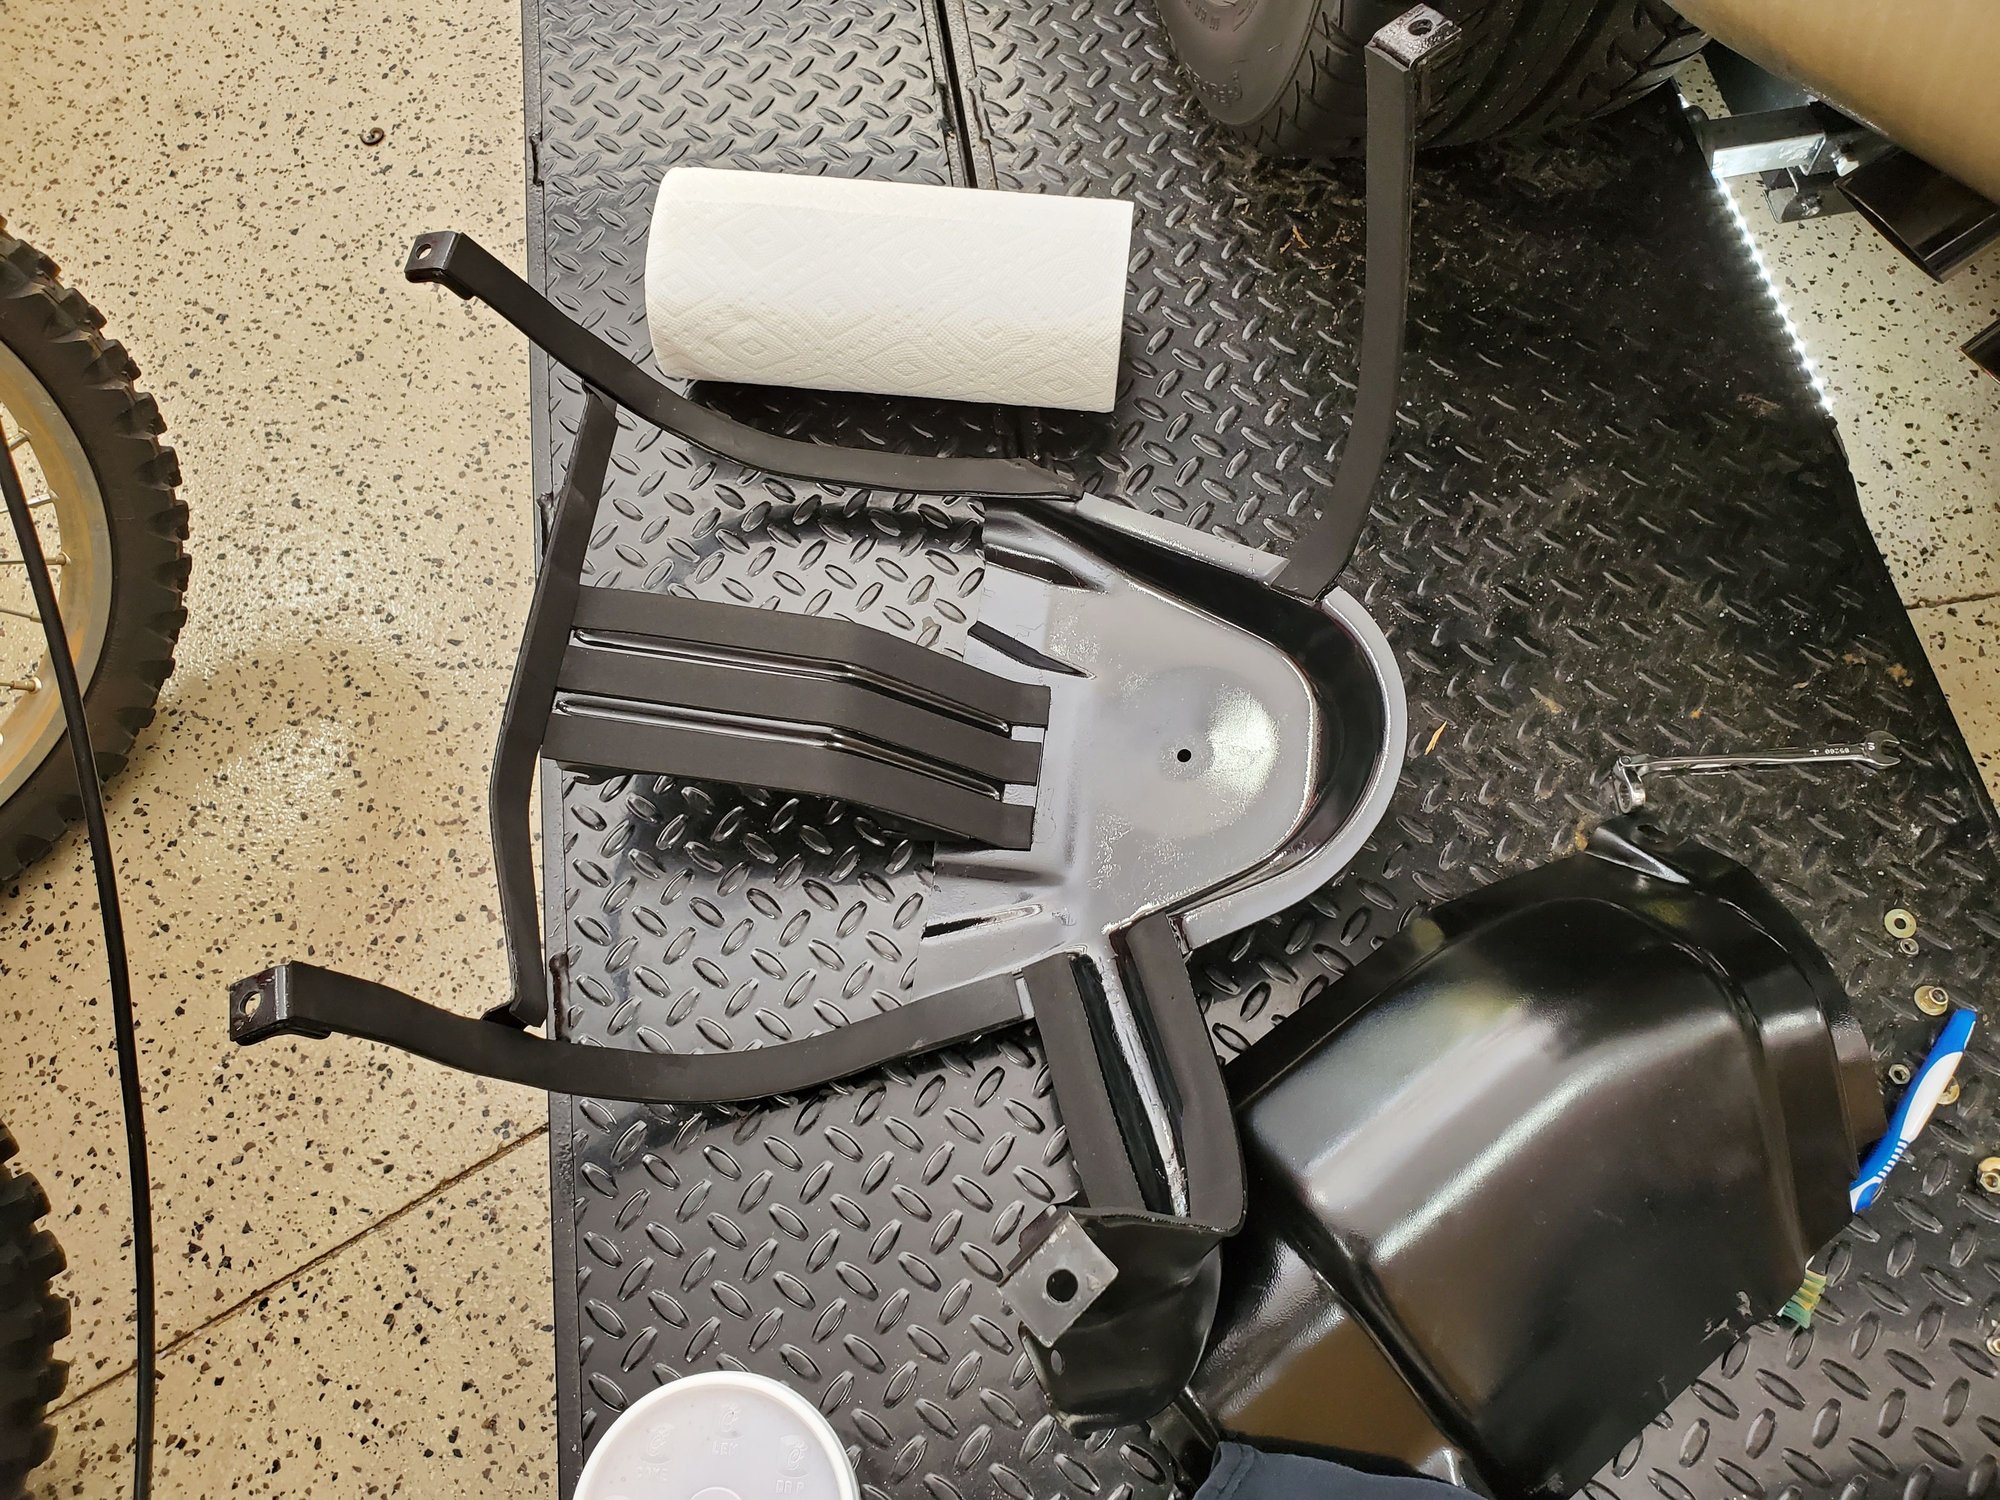
I cleaned up the tank with Simple Green and can't see any cracks anywhere and I think maybe my theory about the foam acting like a sponge may be what carried the fuel up the side. I took the cradle down and the foam adhesive at the bottom of each strip was dissolved and if you look at this photo you can see the paint bubbling on the outside of the cradle only where the foam was adhered and that's where the tank plastic showed wrness too. It also did it on the other side where the wiring and fuel lines descend from above and the fuel line is.completely dry and the tank isn't warped on that side st all, so I think it was the foam.
I need to remove the peeled paint (from the gas exposure) and touch up those spots so I can keep the cradle from rusting.
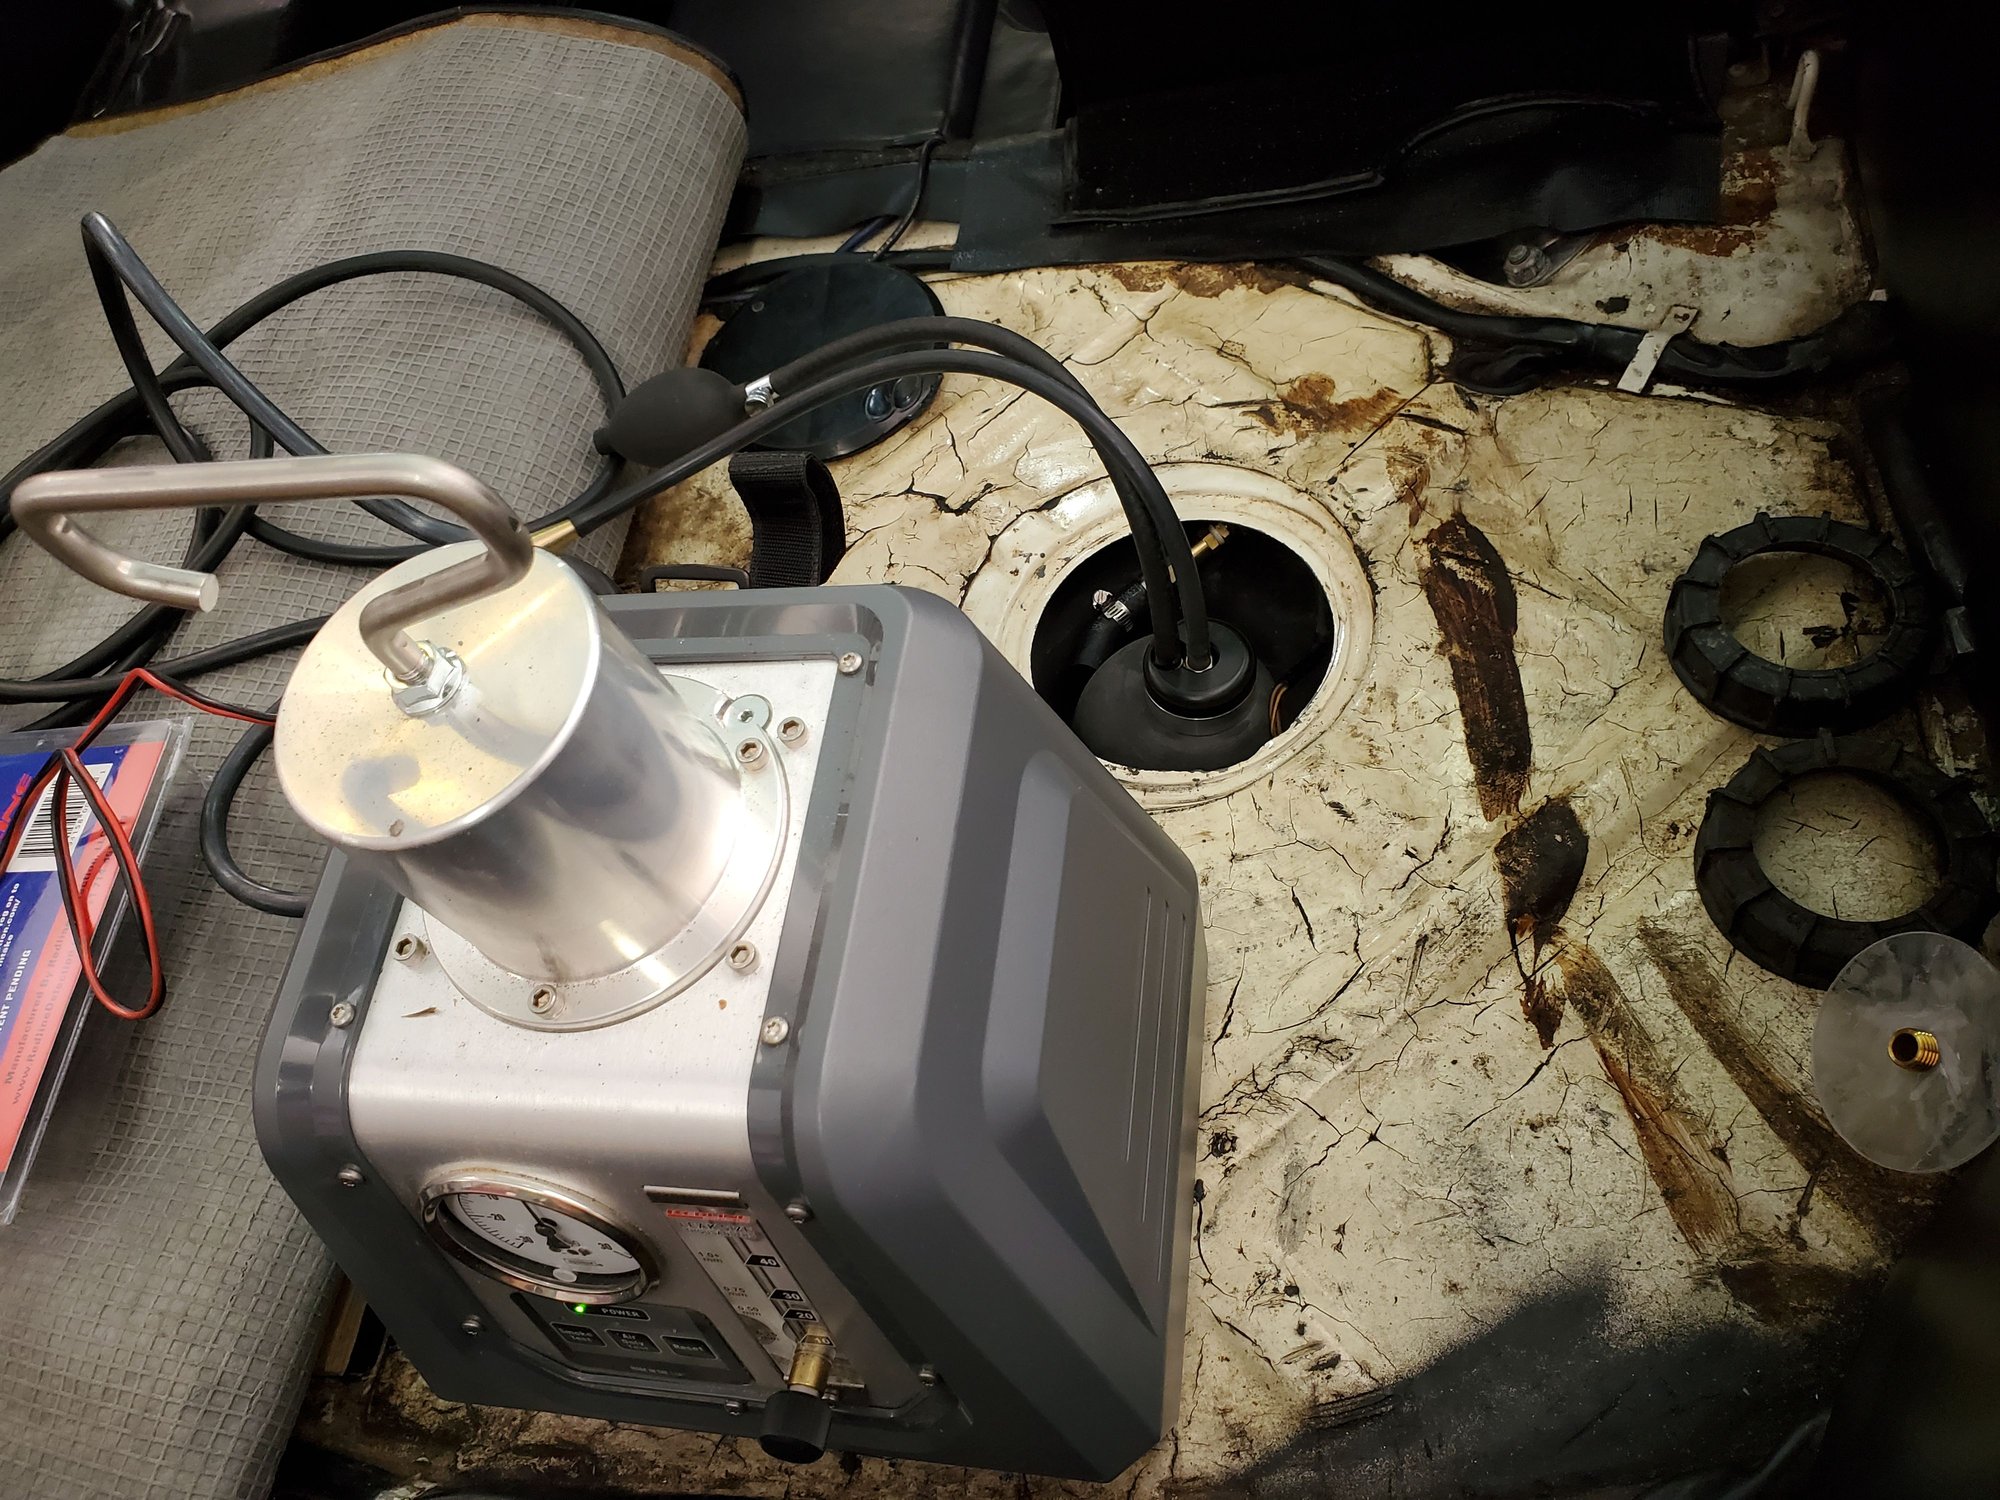
Once I get the new outlet installed, I wonder if I should try to pressuring the tank with air and see if it holds air pressure. I could cut s piece of plexiglass with an air fitting on it that I could secure to the sender unit location using that threaded cap, close off the end of the new outlet, install.the gas cap, and hook up the compressor. Is this a good idea or a bad idea to test the tank and if a good idea, what is a safe pressure to test at?
I like the idea. It shouldn�t require much pressure. Just enough to hear any air leaks. Also, I didn�t use foam on the cradle but a thick rubberized tape. I can�t remember off hand the name but I bought over at Home Depot. Worked great and it�s exact width needed.
Also verified my tank vent works before blocking it off with a plastic bag and rubber bands.
No leaks, so continuing with reassembly now that I've repainted and reformed the cradle where the gas leak lifted my previous paint on the bottom and dissolved the foam adhesive.
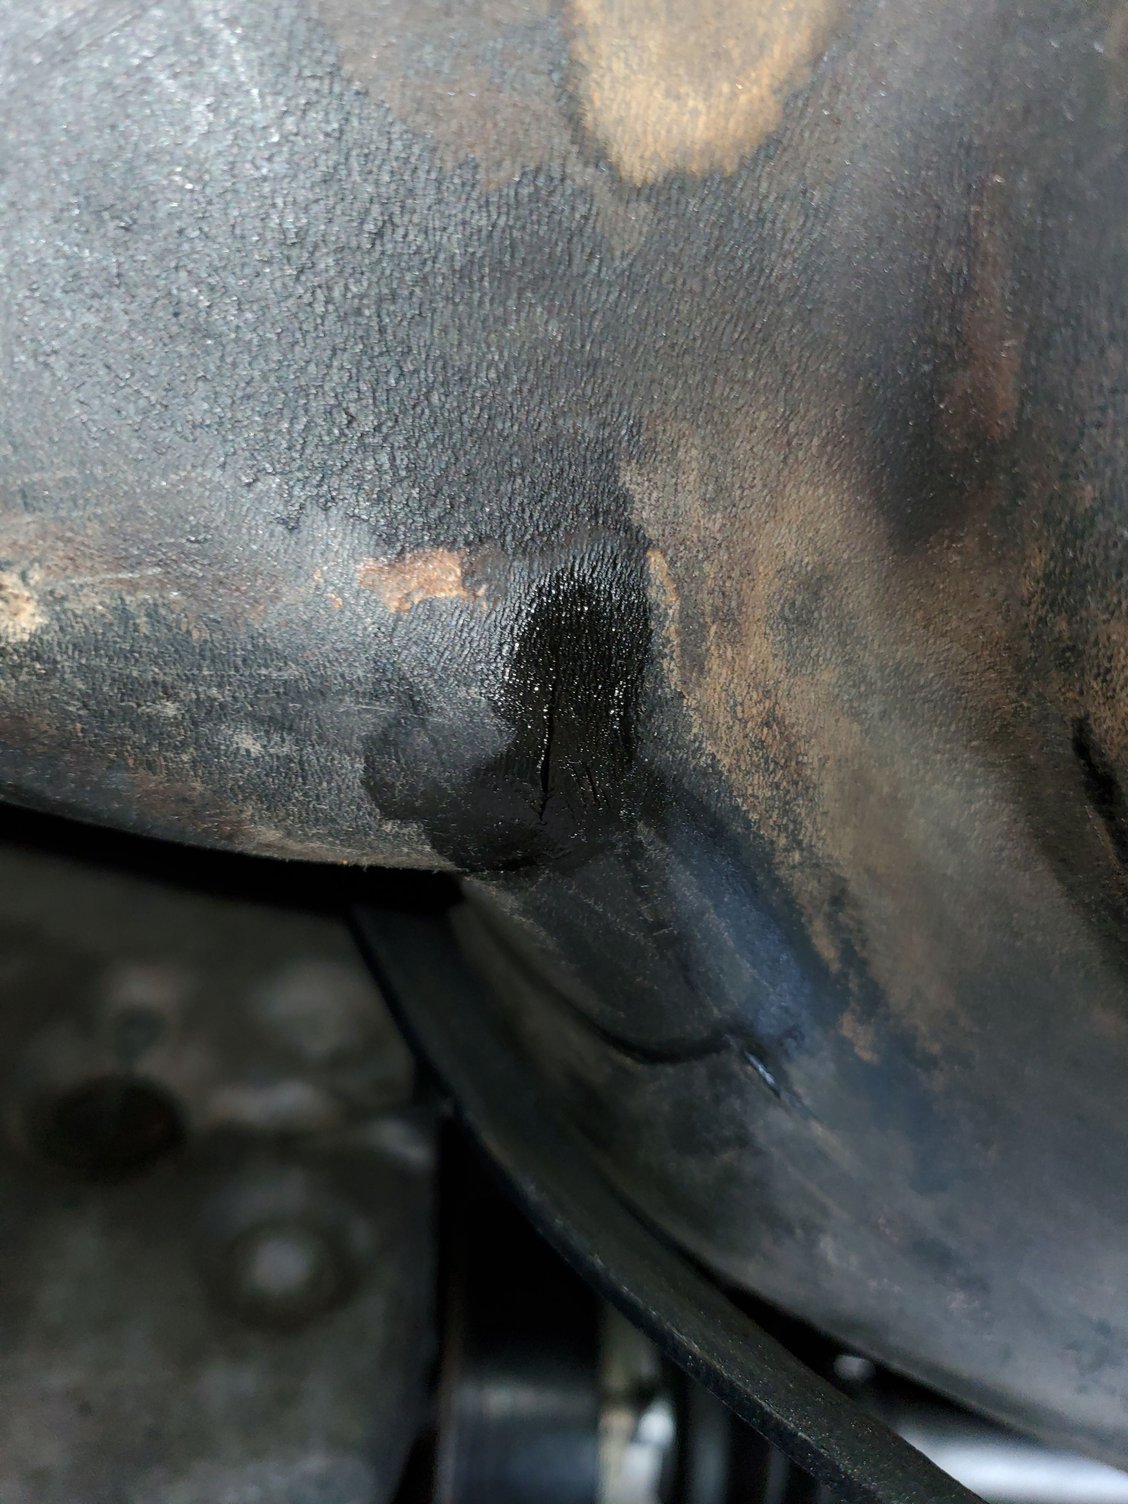
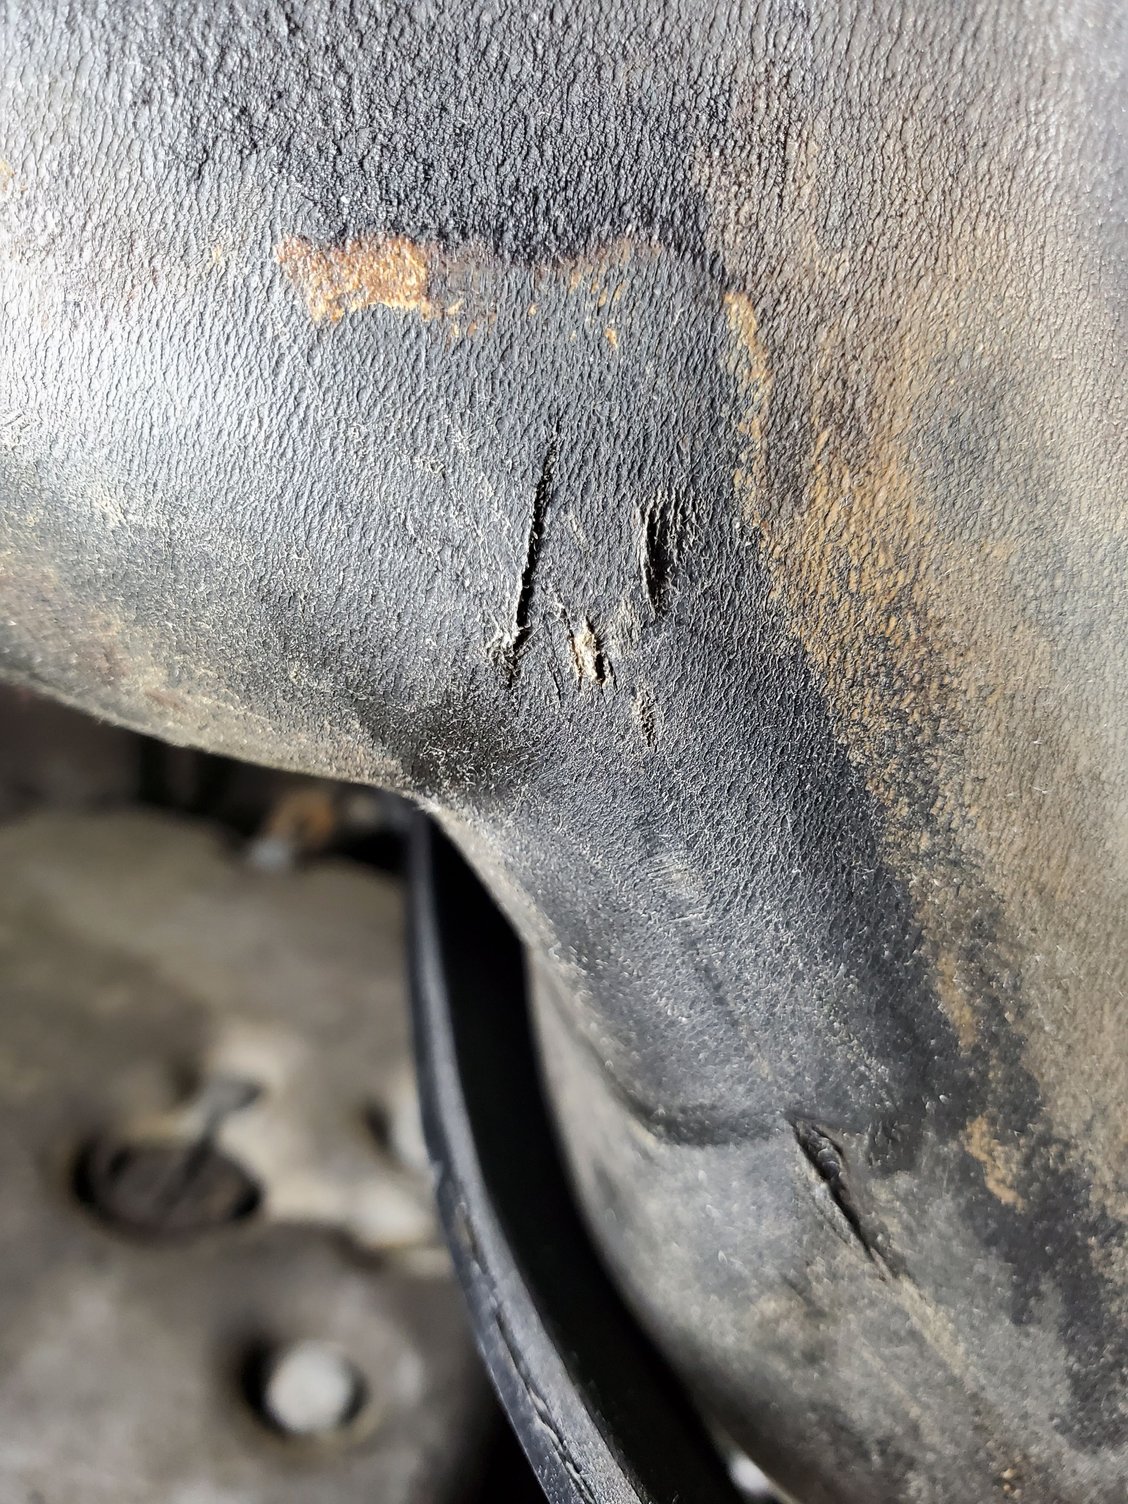
All out back together with 2 gallons in and this tank has a crack in that wet area I saw when taking it apart.
Drained the gas and took the cradle loose on that side and the small crack (3/8"long) is now pretty evident. Will anything allow me to patch this in place without taking the tank out again, maybe Marine JB Weld or some type of silicone sealant that's fuel resistant that people have used successfully?
And the crack in this tank is in the same exact spot as the crack in the tank I removed because it was leaking now that I've chipped away all the epoxy they had applied to that one..
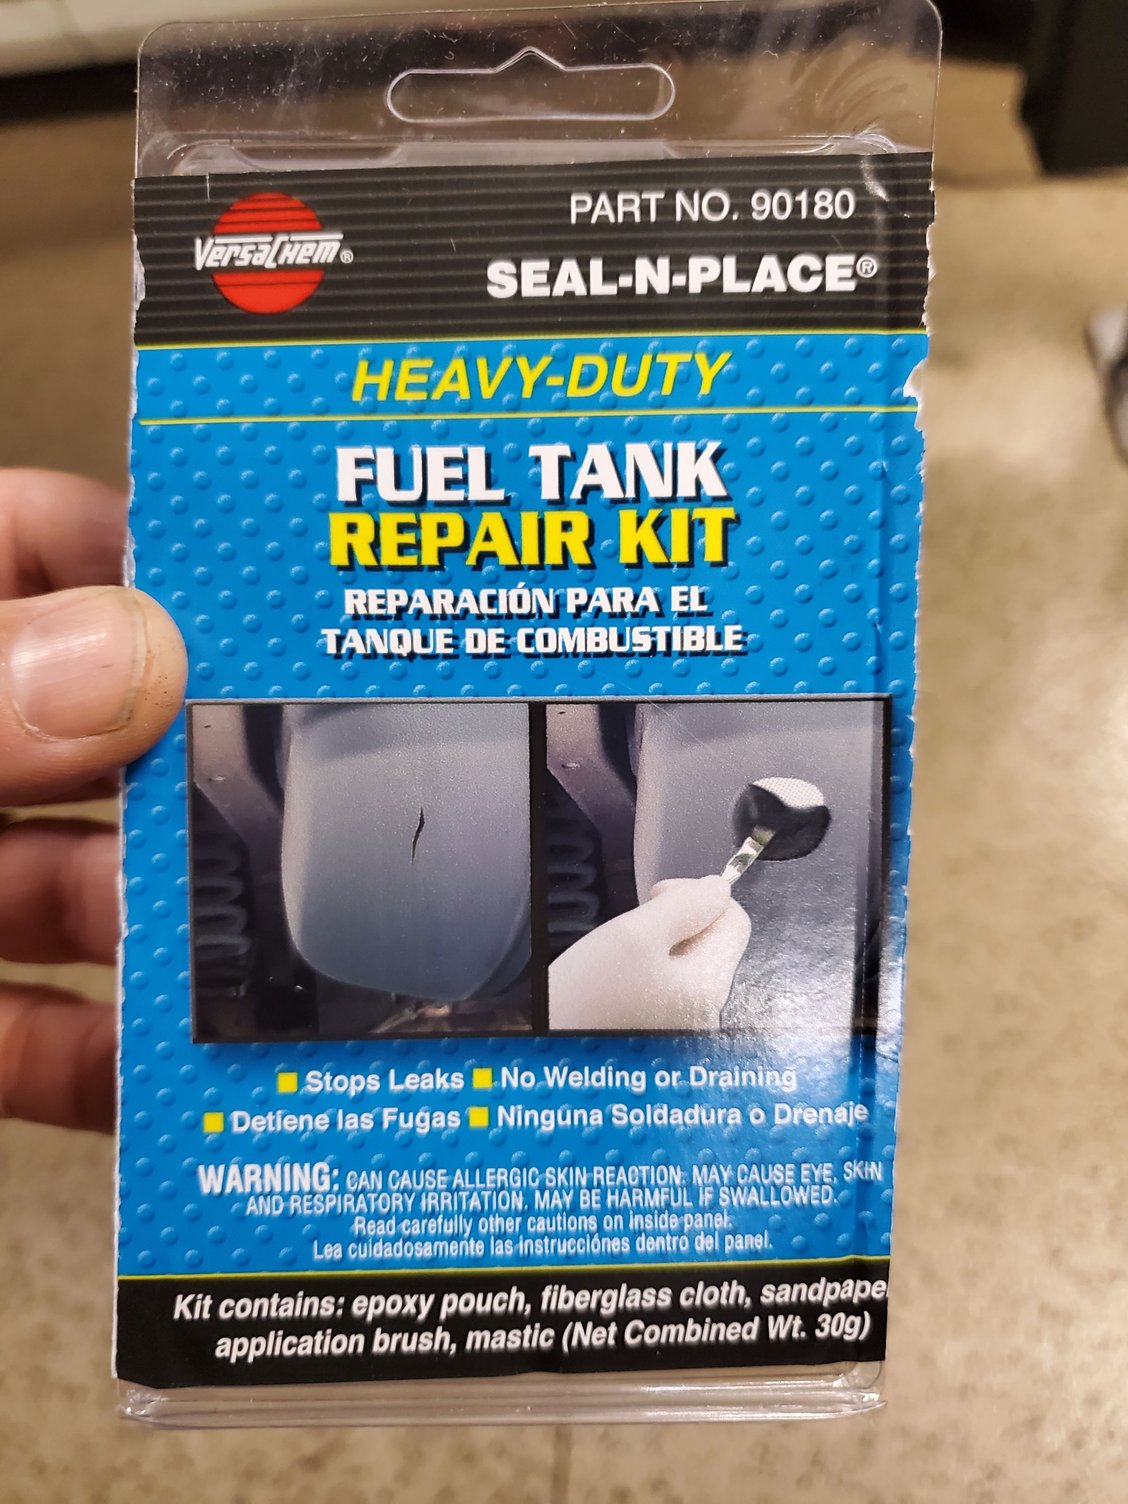
Tank repair kit arrived yesterday. It's a 2 part epoxy with a 5 minute working time and 24 hour cure time. You rough up the area with the coarse sandpaper, mix the two sides of the packet, apply a coat of the epoxy over the area, apply the fiberglass patch onto that base coat, then apply a too coat over the fiberglas patch. I wanted to top coat a little more, but could feel the epoxy gelling and know better than to continue working with it past that point.
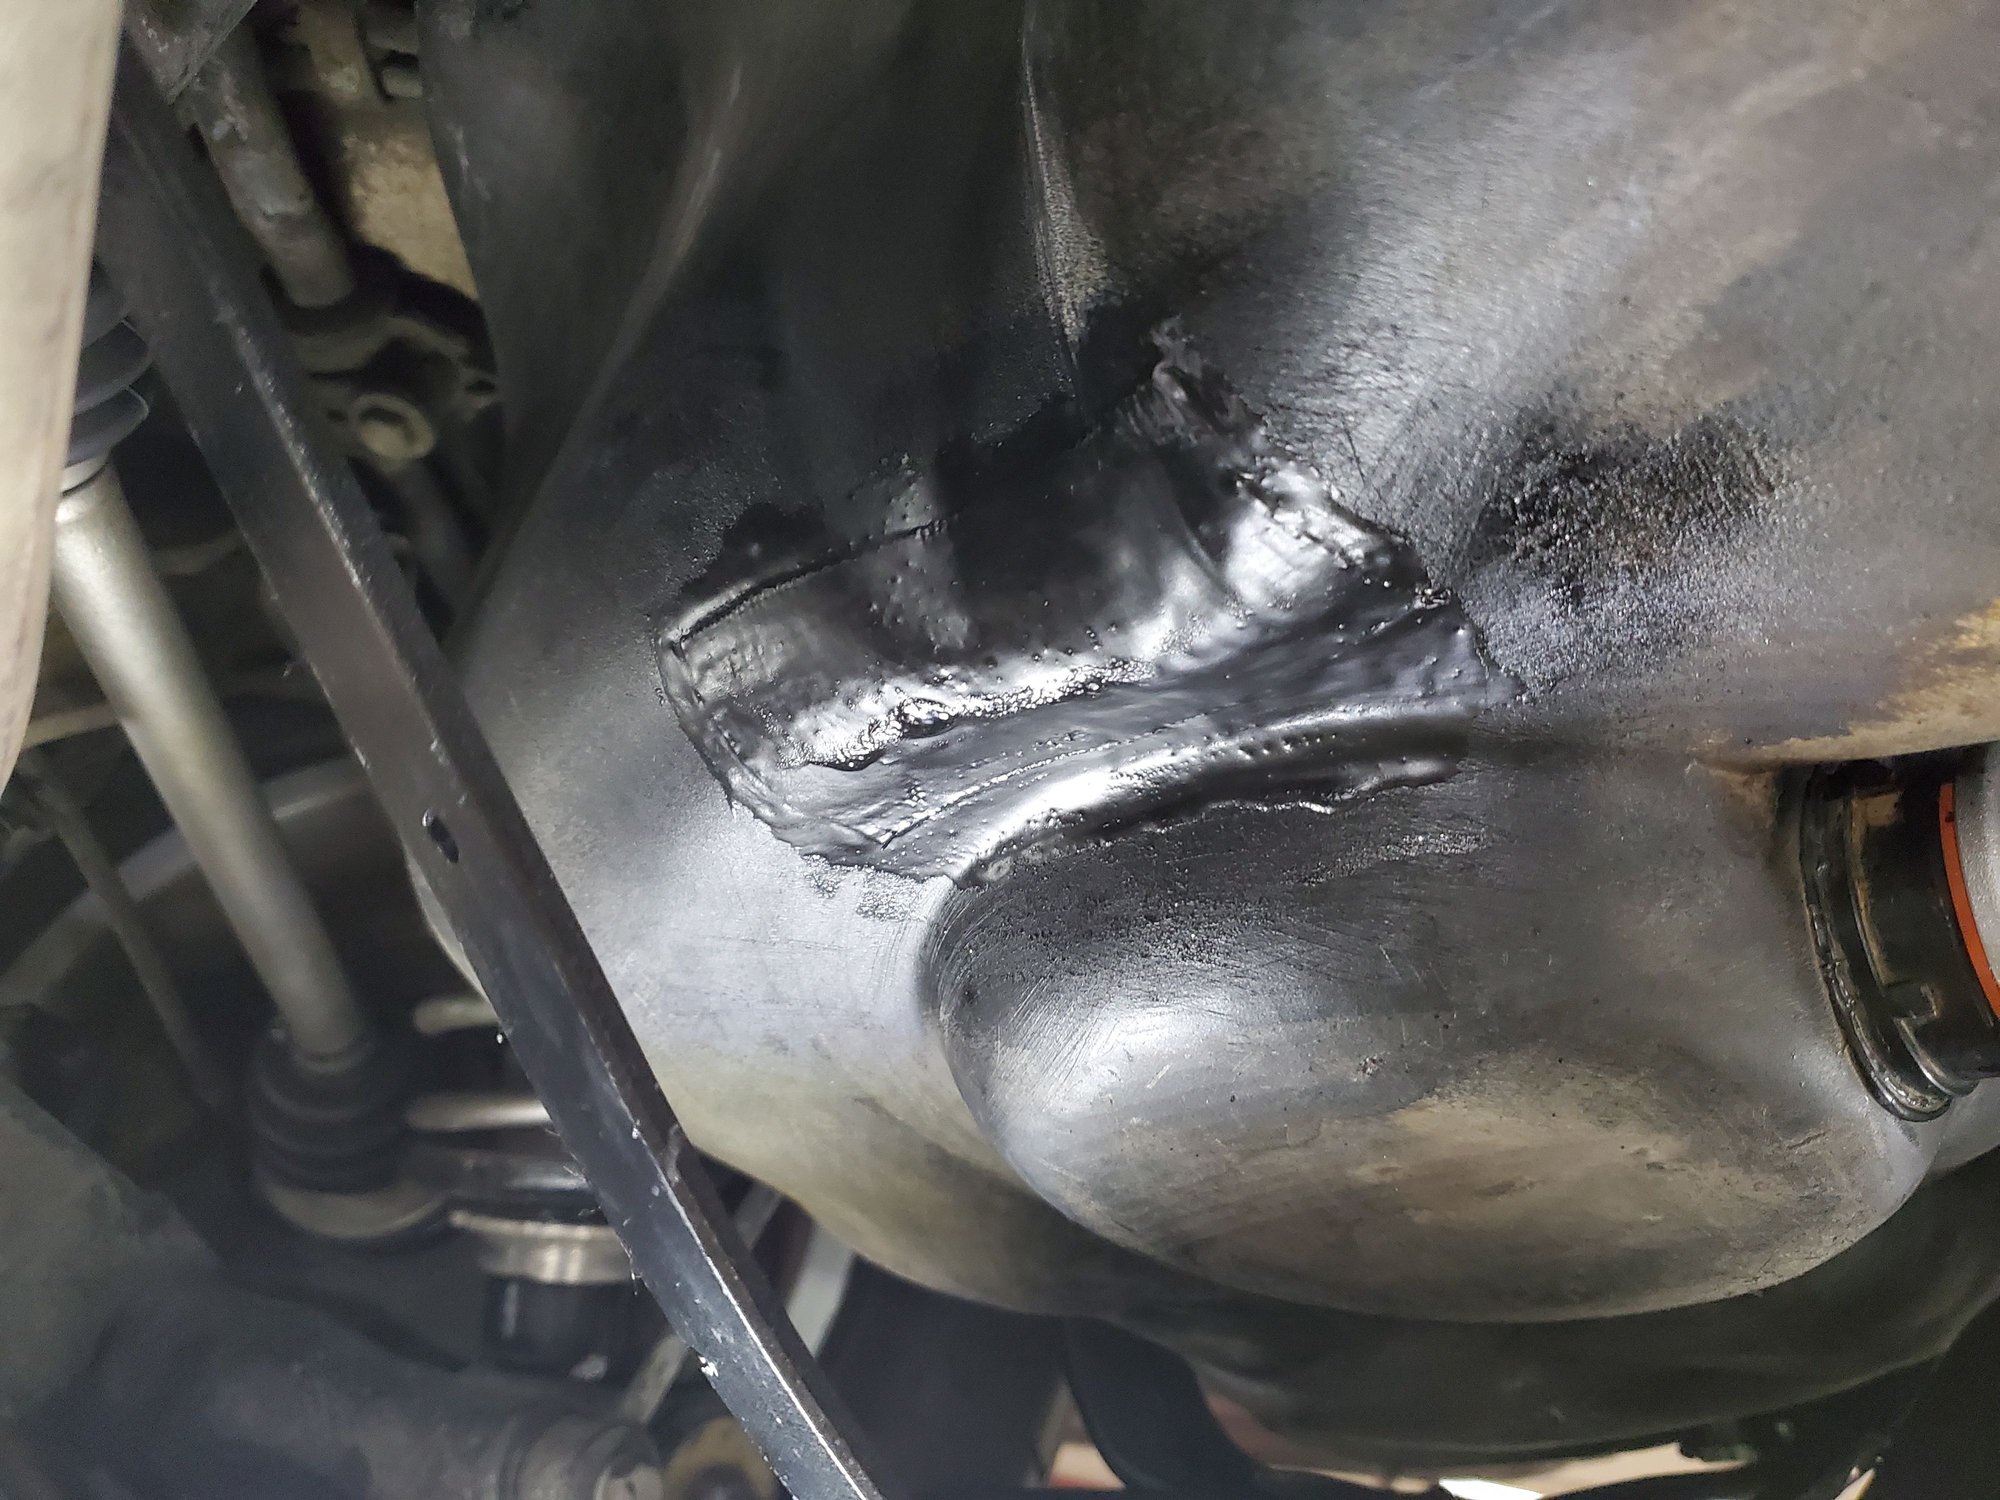
Just did it last night so still curing, but seems like a solid repair. We'll see if it leaks, but my 2 little cracks were so thin, I'm hoping this does the trick. If it does, I may buy a second kit and fix the other tank to keep as a spare. May also hit it with some matte black paint to make it less noticeable before reattaching the cradle.
Let it cure for 2 days, sprayed a little.matte black textured paint over the patch to make it.blend in better and put In a half gallon of fuel while the cradle.is still held away so I can easily see any weeping. 🤞


 10-17-2021, 03:56 PM