When you click on links to various merchants on this site and make a purchase, this can result in this site earning a commission. Affiliate programs and affiliations include, but are not limited to, the eBay Partner Network.
The Ultimate (next step) in Hyper-authentic Porsche Repaints (Cont.)
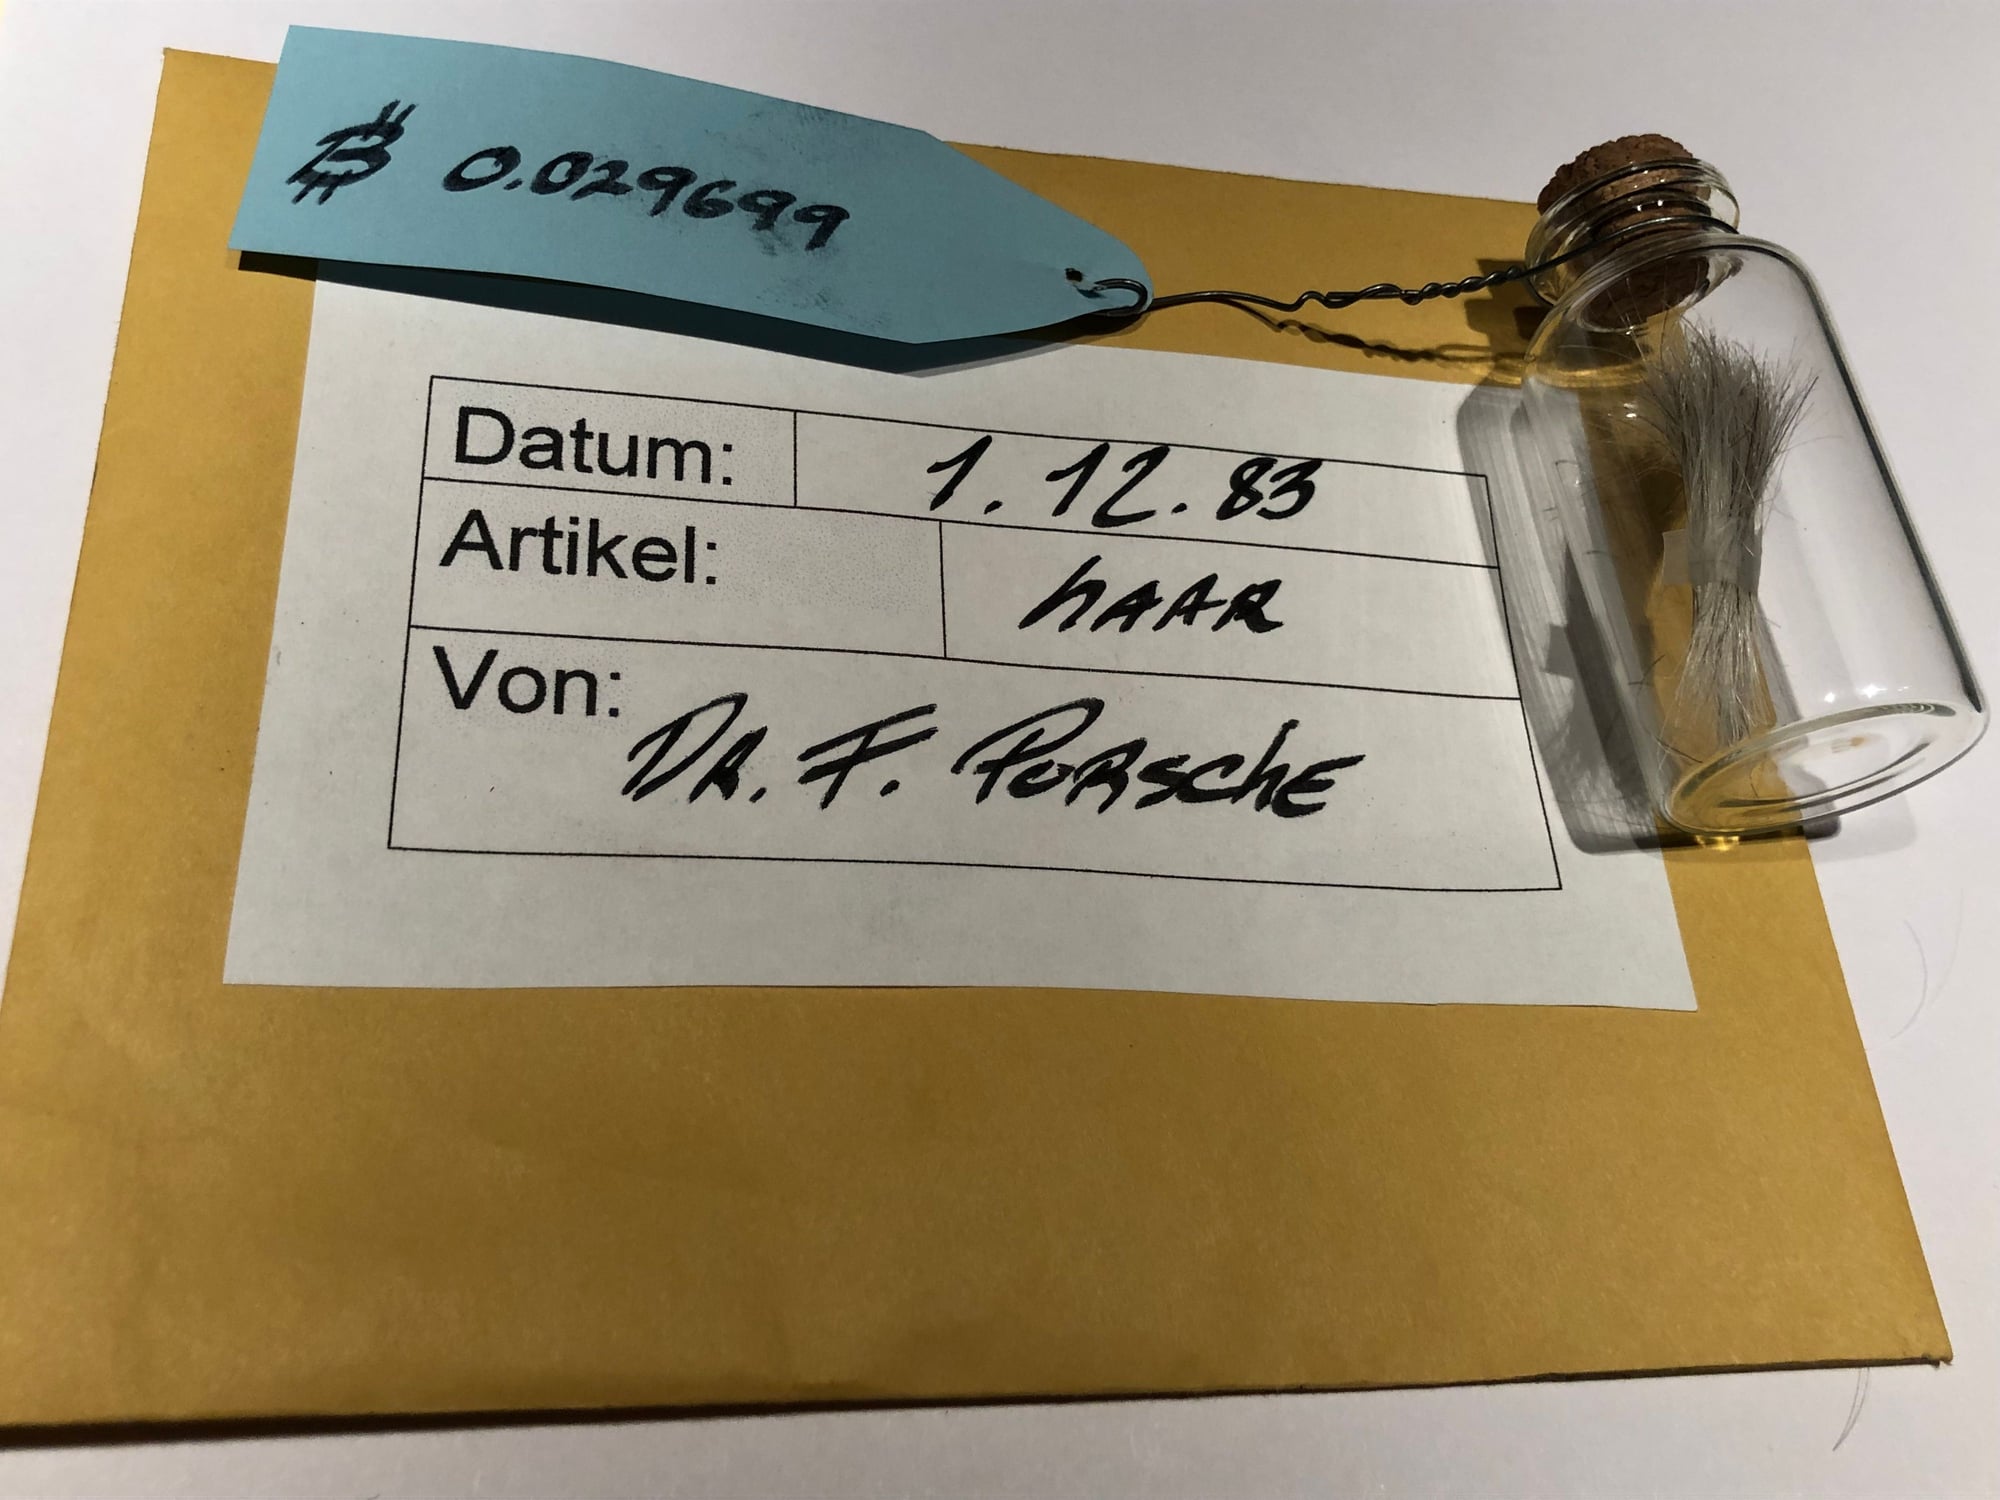
OK, we got lucky. The dark web delivered just in the nick of time. Today I received the shipment of Ferry Porsche's hair sample. I feel a bit ripped off at $300 USD It is a small amount of hair. (We had to pay in Bitcoin at 0.029284). However it is enough for a DNA infusion for one Porsche.
Here is what arrived:
Just as it came out of the DHL package from Germany.
Here is a close up......
We spend a lot of time today chopping the hair into fine enough particles to pass through the paint filters.
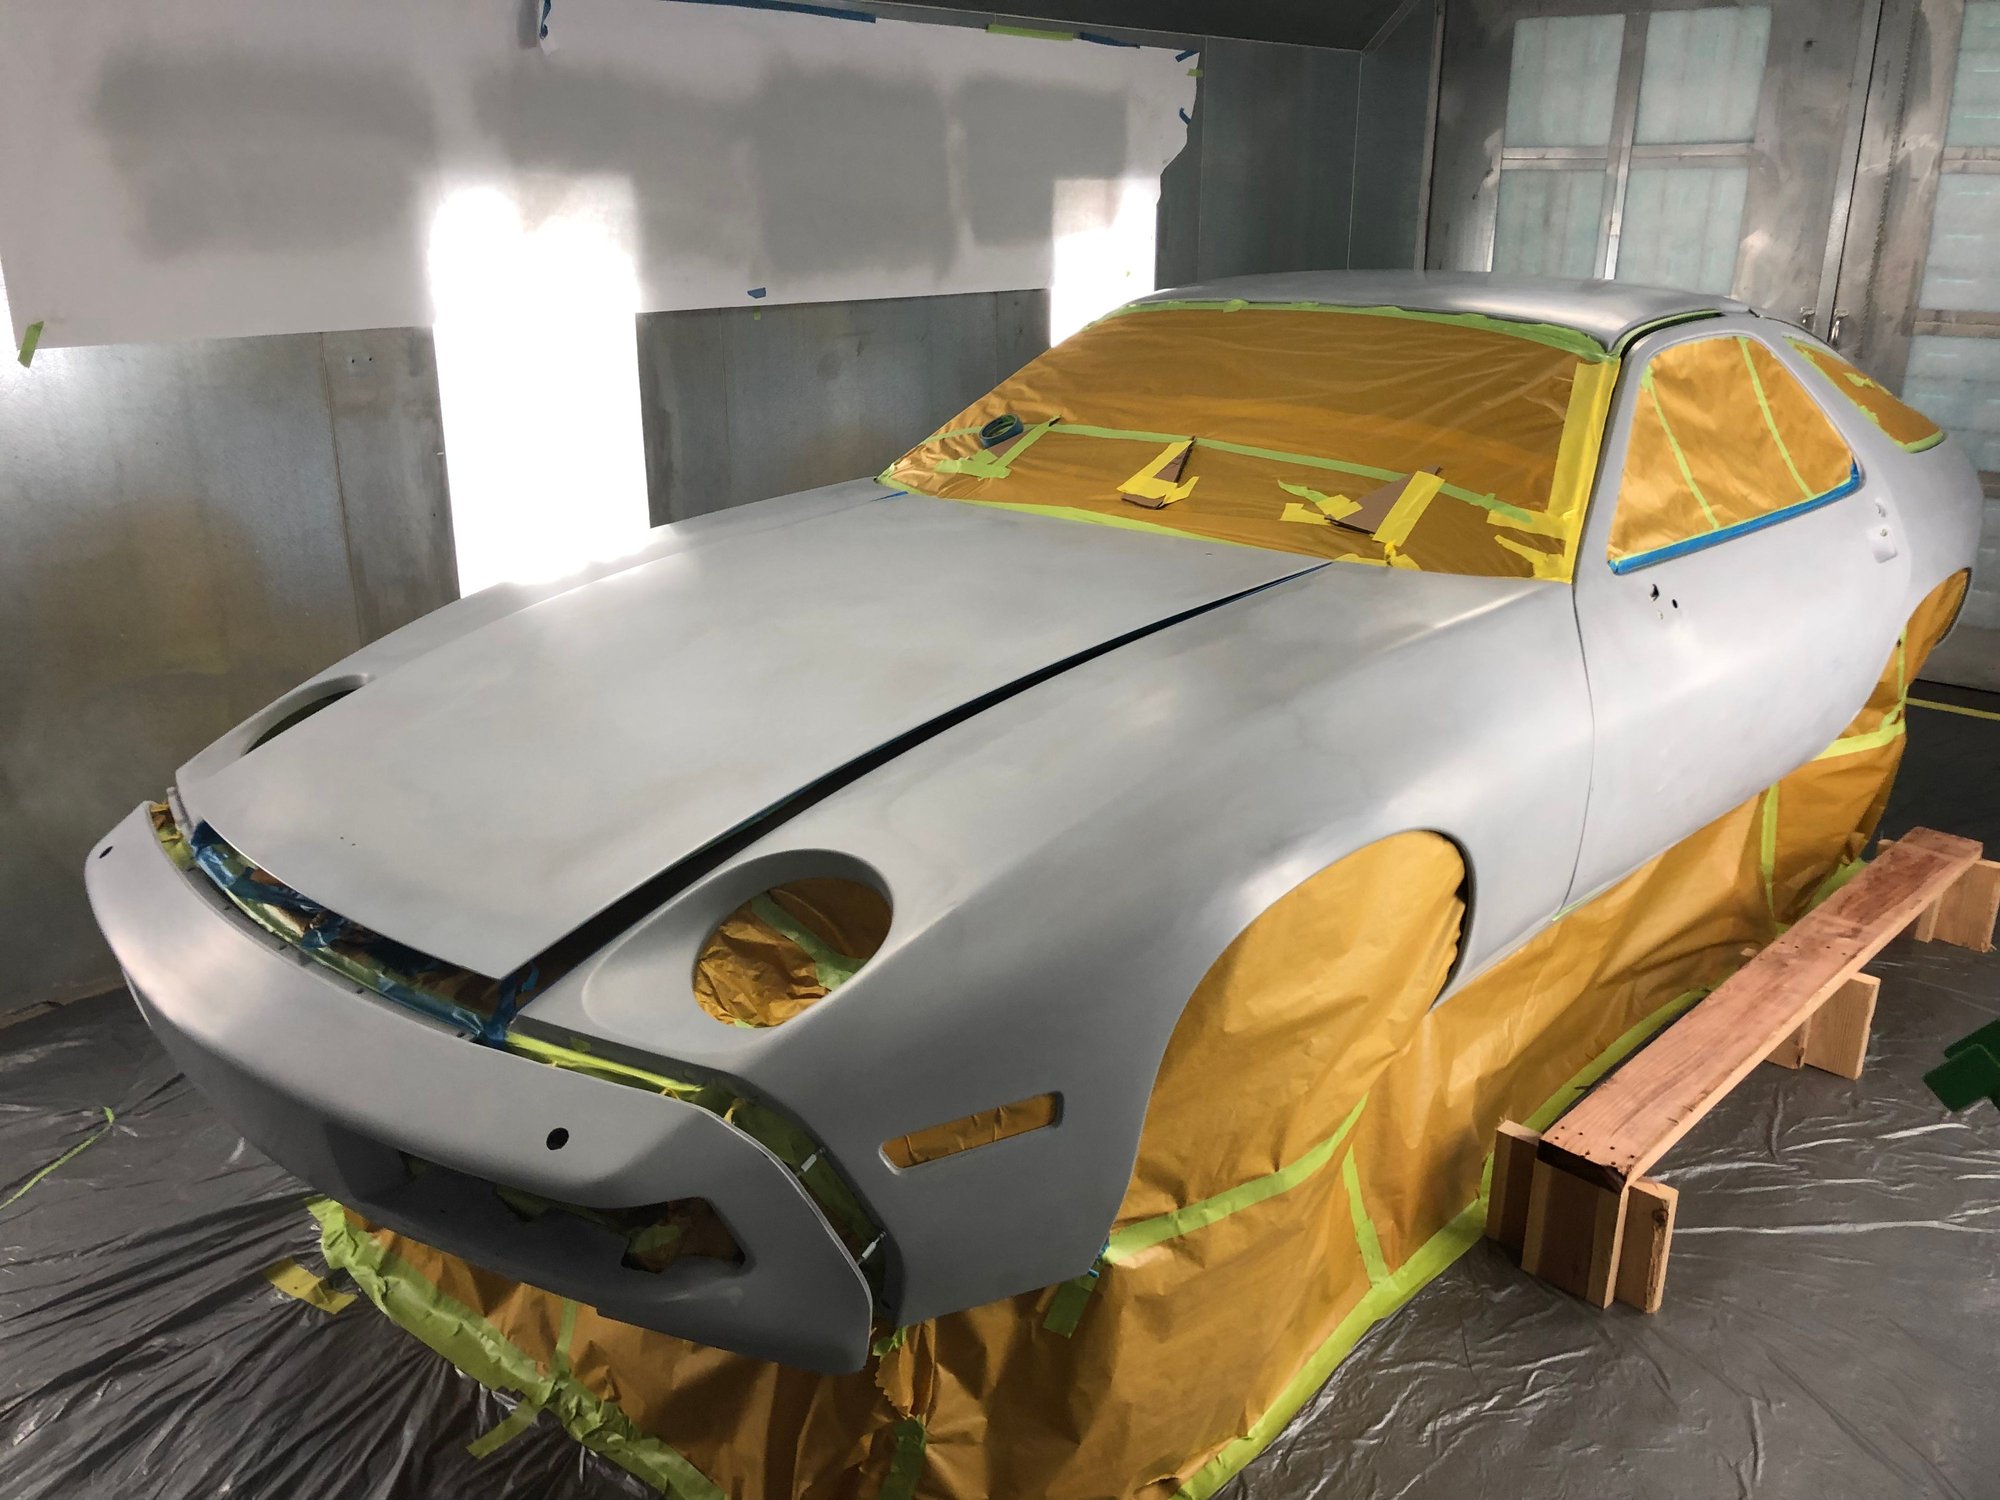
Tomorrow is the day we will do the DNA infusion into the Porsche 936 Silver Metallic base coat.
Question. I regards to the flash off timing for each of the base coats. Instead of having the cross flow air being turned on, I was thinking of turning the air off. And just let the base coat kick slower with still air. that way we dont get any extra dirt in the paint.
Too many variables for me to give you any guidance on this strategy. The only thing I can tell you is that it would be painfully slow. This is not much different than painting outside of the cabinet. Believe it or not, it's not impossible to get a clean job with no air flow. No air flow is better than the wrong air flow, though.
I would absolutely start with painting my removed parts first so that I could learn the booth. If you get a little dirt in the base, just knock it down with
. There is nothing better for sanding flashed waterborne basecoats. Just dry sand with them. Your paint store should be open this morning.
I don't like the blowers that have the screen in them. It's not even worth it to use them, if you've ever seen the hand held blowers I'm talking about. I like the type made by Anest Iwata.. Iwata WindJet
Since there is a real chance that you will be spraying with no air movement, you will have to force dry by some means. The WindJet is the best when used correctly. Use an HVLP fitting on the blower. You will barely crack the valve open before you notice tremendous volumes of air coming through. The blower should be very quiet (little outlet pressure). Don't aim the blower directly at the face of what you want to dry. You want to be blowing across the area to be dried at a 45� angle.
Retire the WindJet any time the booth is turned on.
On Saturday morning we had the car in the booth. Ready. Paint and reducer on the counter. Spray gun (3) -Ready. Dry air -ready. Hardners, reducers, breathing equipment, bunny suits, Tape, tack rags, cleaning Solvents water based, clean solvents oil based, temp guns, custom step ladders, clean filters
Joining us on Saturday was an expert with over 25 years of experience. Who started out with a simple comment 'I don't like these sanding marks'. reply: but this last coat was done in all block / guide coat / 600 grit.??
Closer inspection revealed two types of sanding marks. One was finer than the other. It was all over the car. In hindsight I had used two brands of 600 grit. Turns out I should have only used the 3M 600 cloth.
The concern was that the rougher of the two marks would actually bleed through the silver base coat and leave scratch marks.
The only solution was to stop and find apply the correct sealer.
The expert consensus was that not just any sealer would be sufficient.
A decision was taken not to paint the car.
The search was on to find a quart of Axalta sealer. On a Saturday. With the correct harder It was 92 degrees outside.
Sterile field, Dr. Edwards? Oh that's right, Pathologists don't have to worry about such things as gloves, and scrubbing takes place after their procedures.
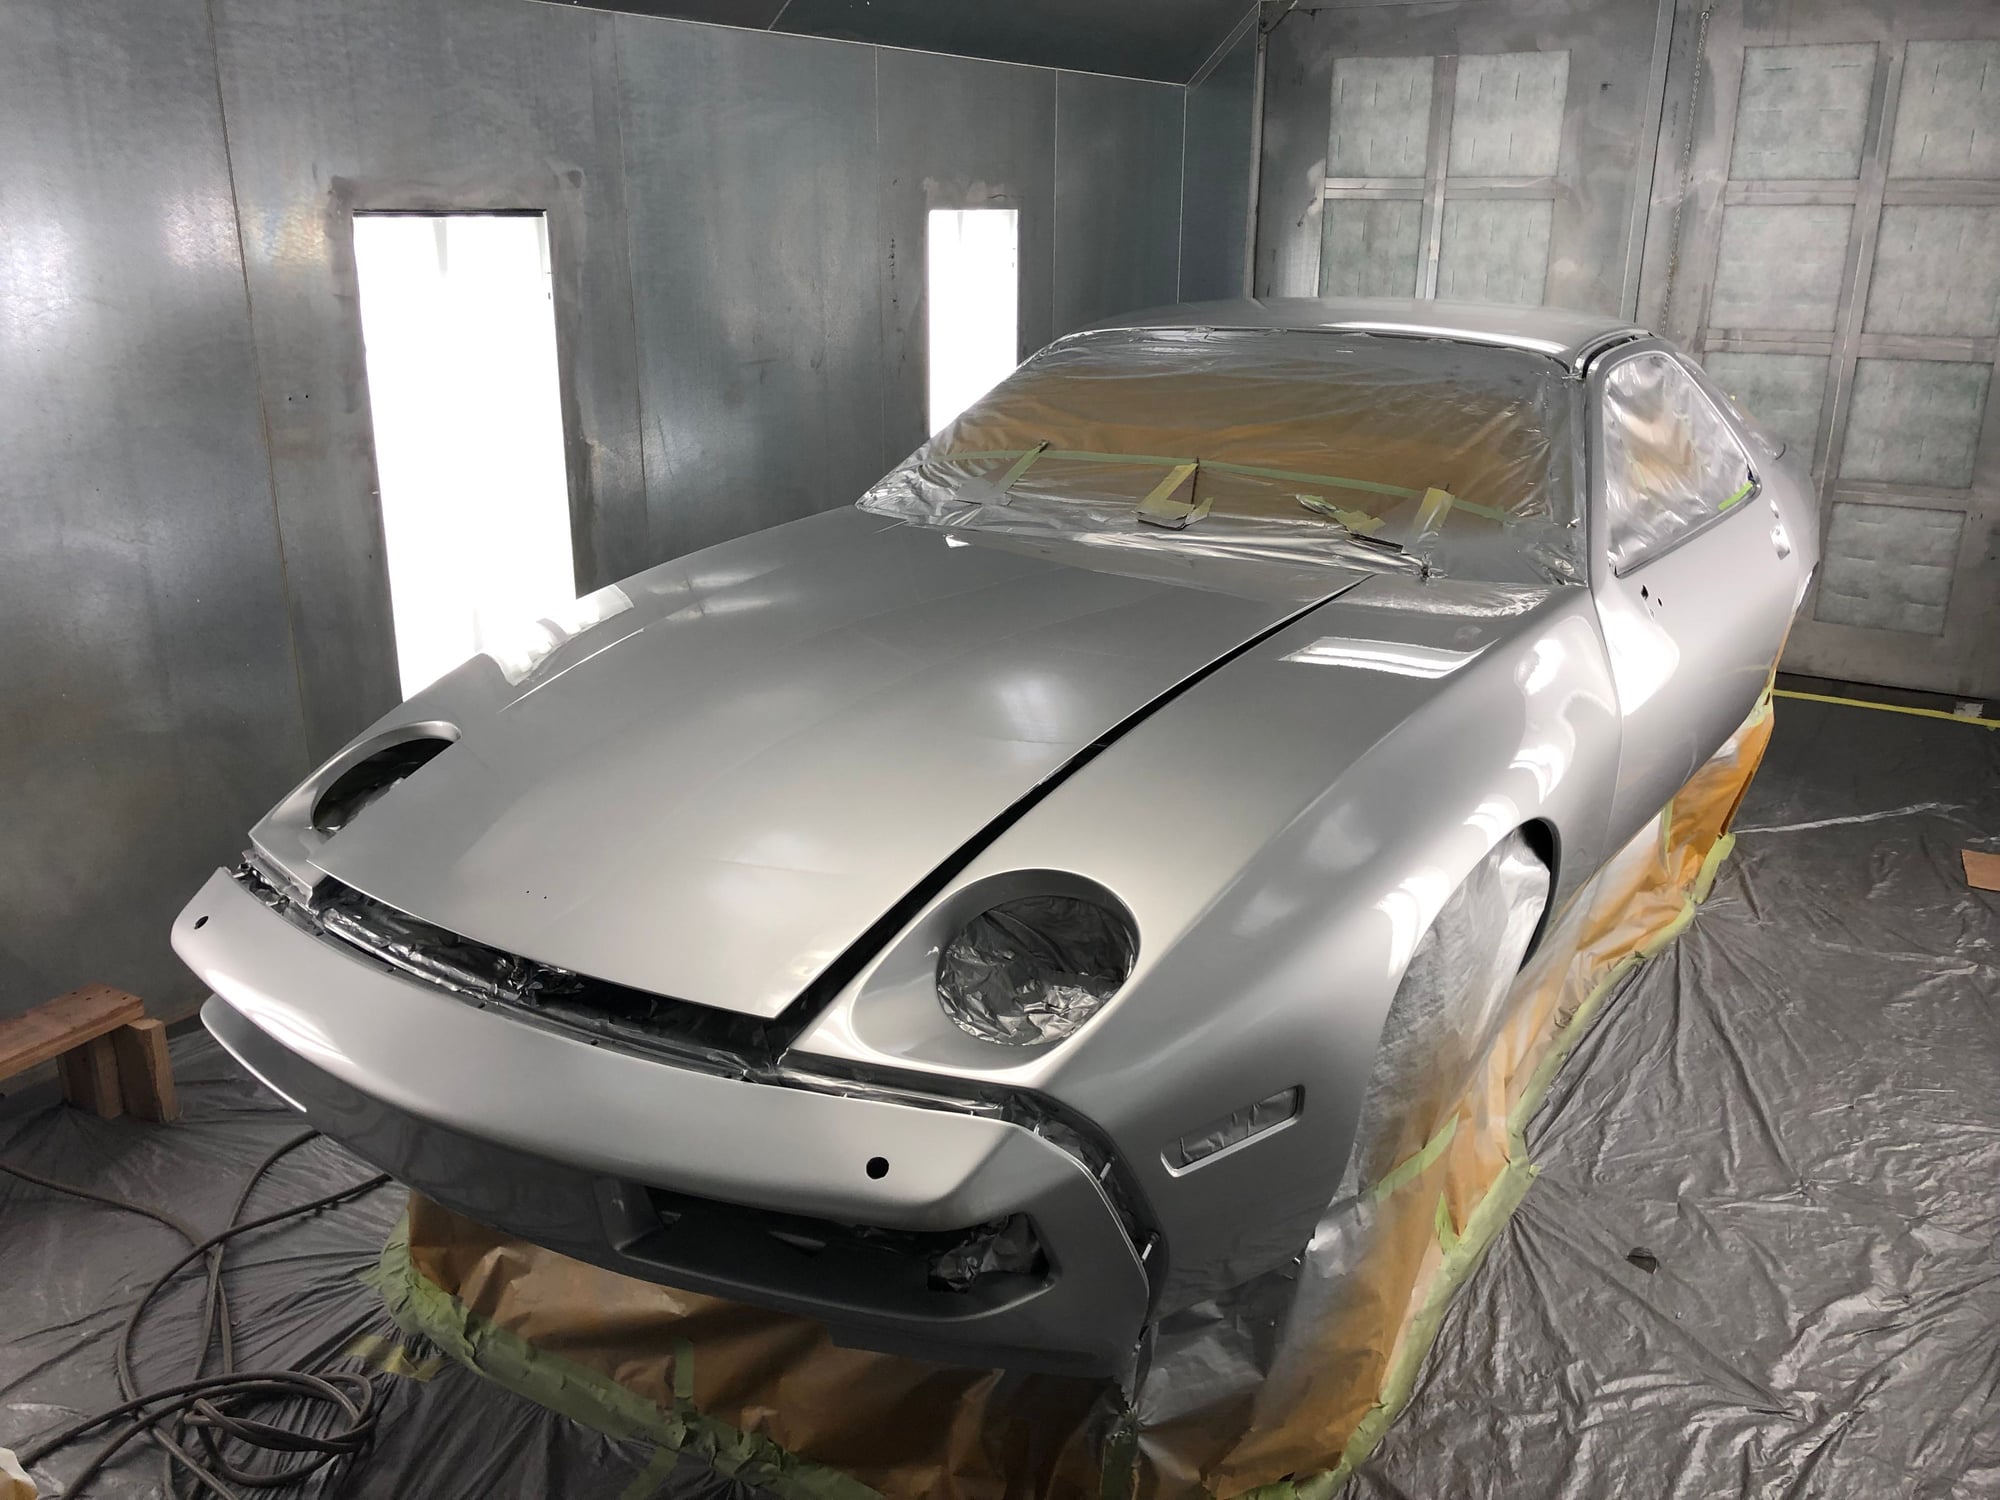
It�s painted. It turned out great. It did not go to plan.
As noted earlier in the thread, the original plan was to ‘paint it ourselves’. This quickly unraveled at the application of sealer coat where yours truly did not demonstrate smooth enough gun control and technique for even coverage. This would have been ok for a sealer coat. The expert observer in attendance (Mario) noted that it would be a disaster at silver base coat application. His direct quote was “this is not going to turn out well’’.
At that moment, I turned the gun over to professional and employed him on a 10 hour journey of base and clear application.
Second coat of base. Mario reloading up front Bumpers were 'floated' off the body to ensure they got the exact same 'lay down' of metallic, so as to avoid color differences between the two panels. No flex agents were used.
The novices donned breathing equipment, parked in the corner of the booth, and got a massive education in the (correct) process of base and clear application. It is a matrix of a dozen or more variables. Any one variable that is not correct can have a disastrous effect on the outcome. This results in fast decision making as…..once the process has started, there is no turning back. It is critical path decision making with landmines at each node. Mario is the professional who took over and guided us on a very long day of making decisions on modifications to the reducer ratios, (outside temp was 92 F that day) booth temperature vs. surface temperature, contamination control, controlling dripping sweat on the fenders, adding water to the base coat, throttling the thickness on each application, monitoring cure times, avoiding ‘solvent pops’, all while demonstrating flawless gun control. Like all professionals, they make it look easy.
The sealer went on at 1pm. We finished the last coat of clear application at 9;45 pm.
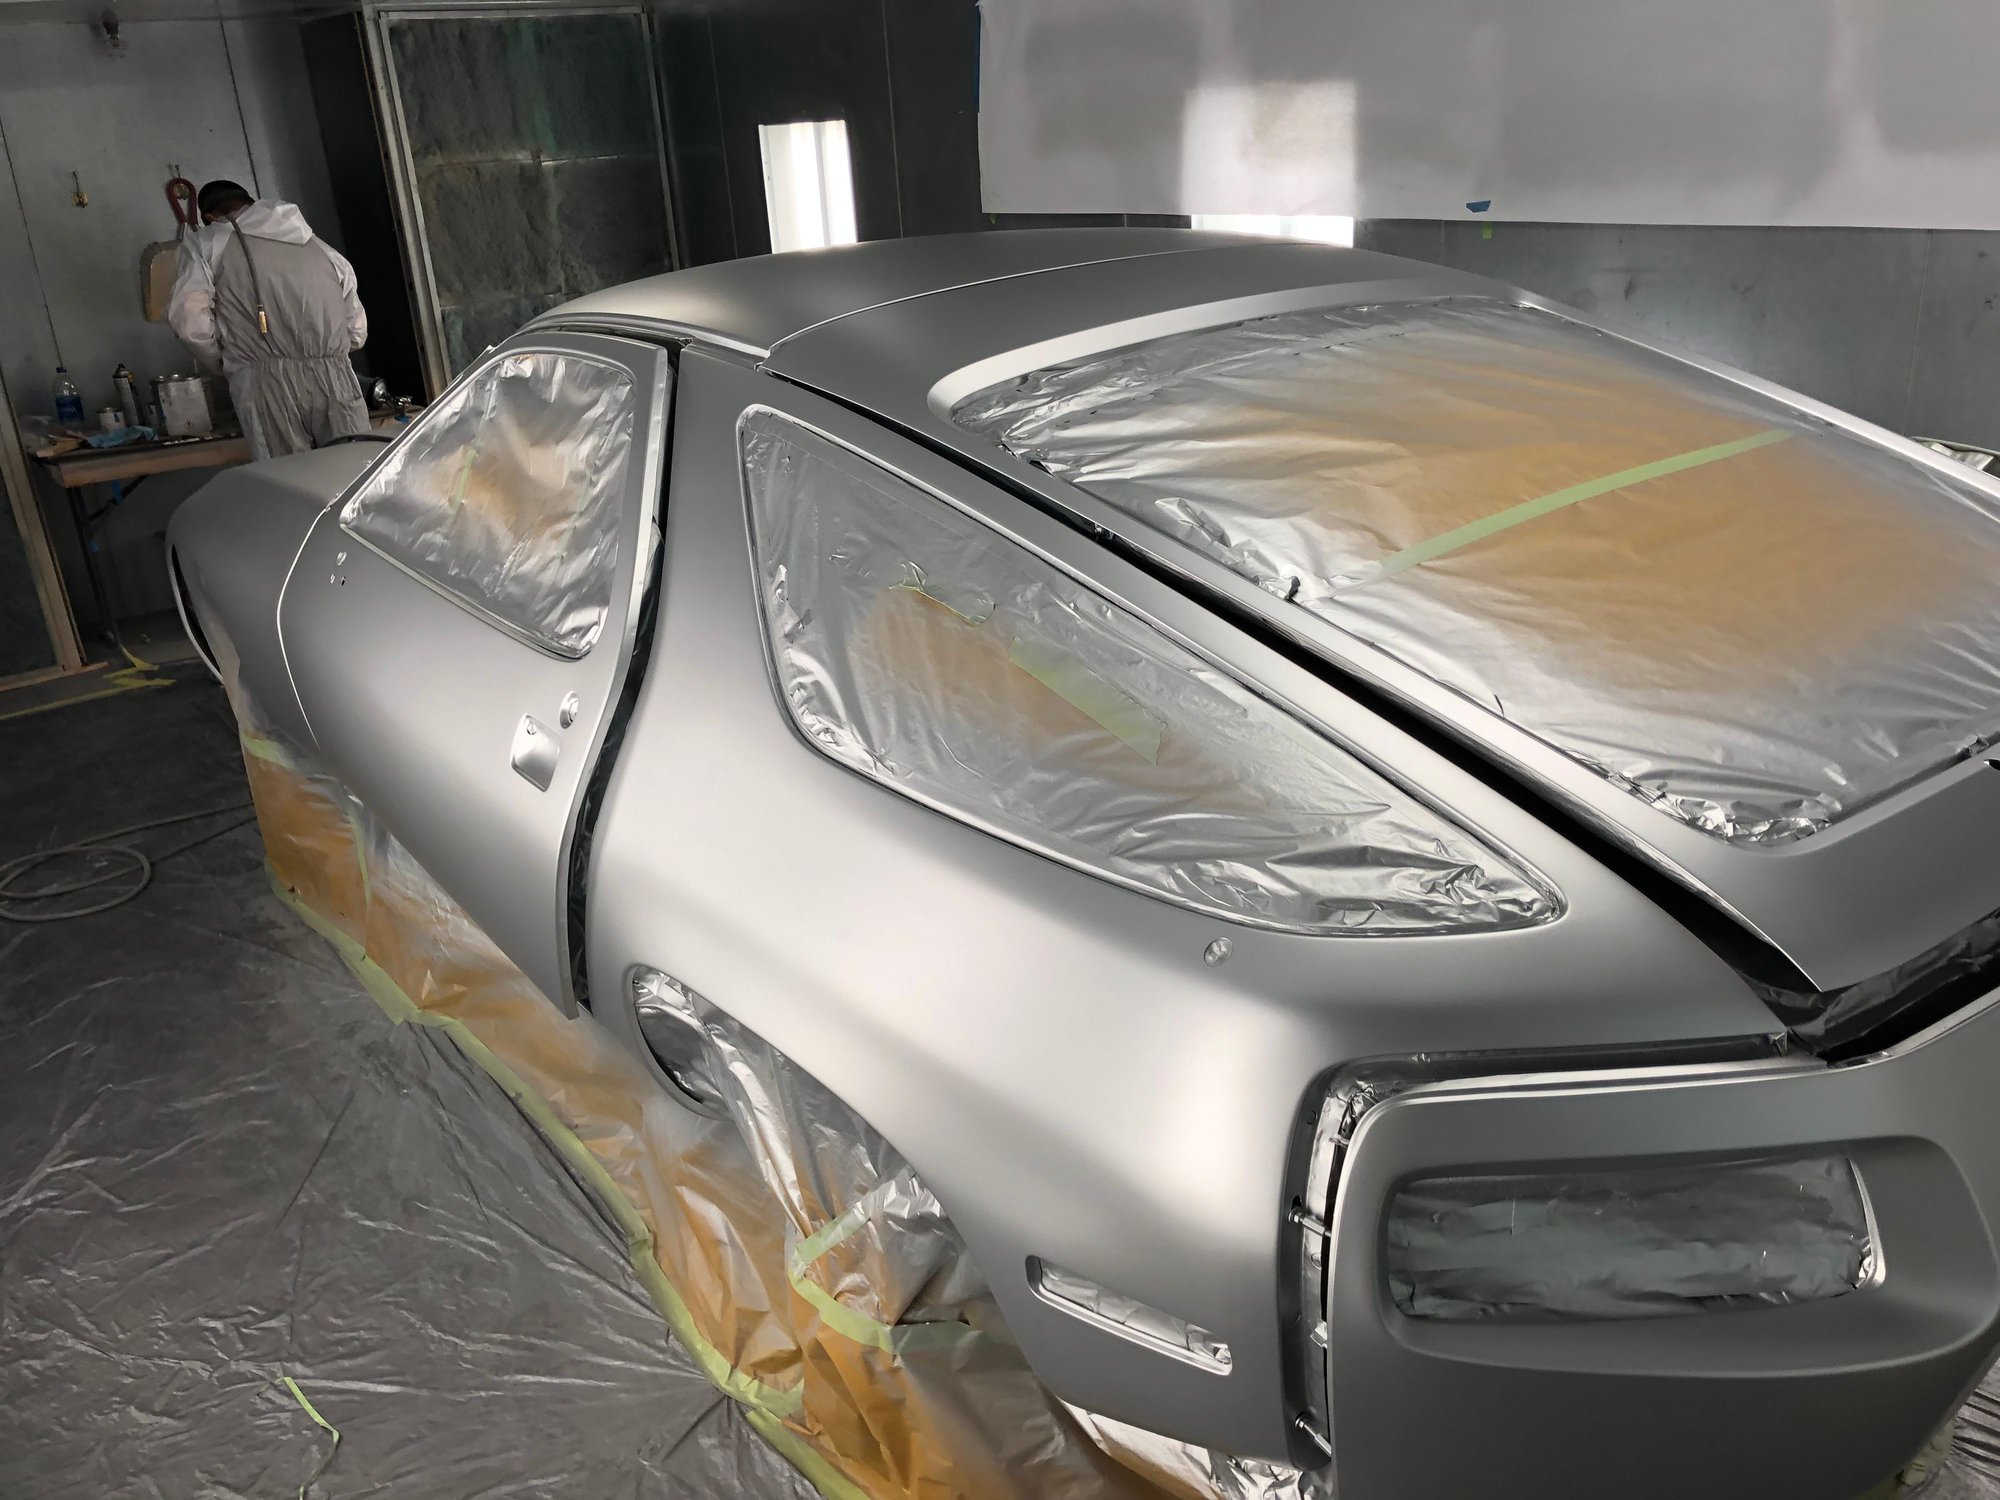
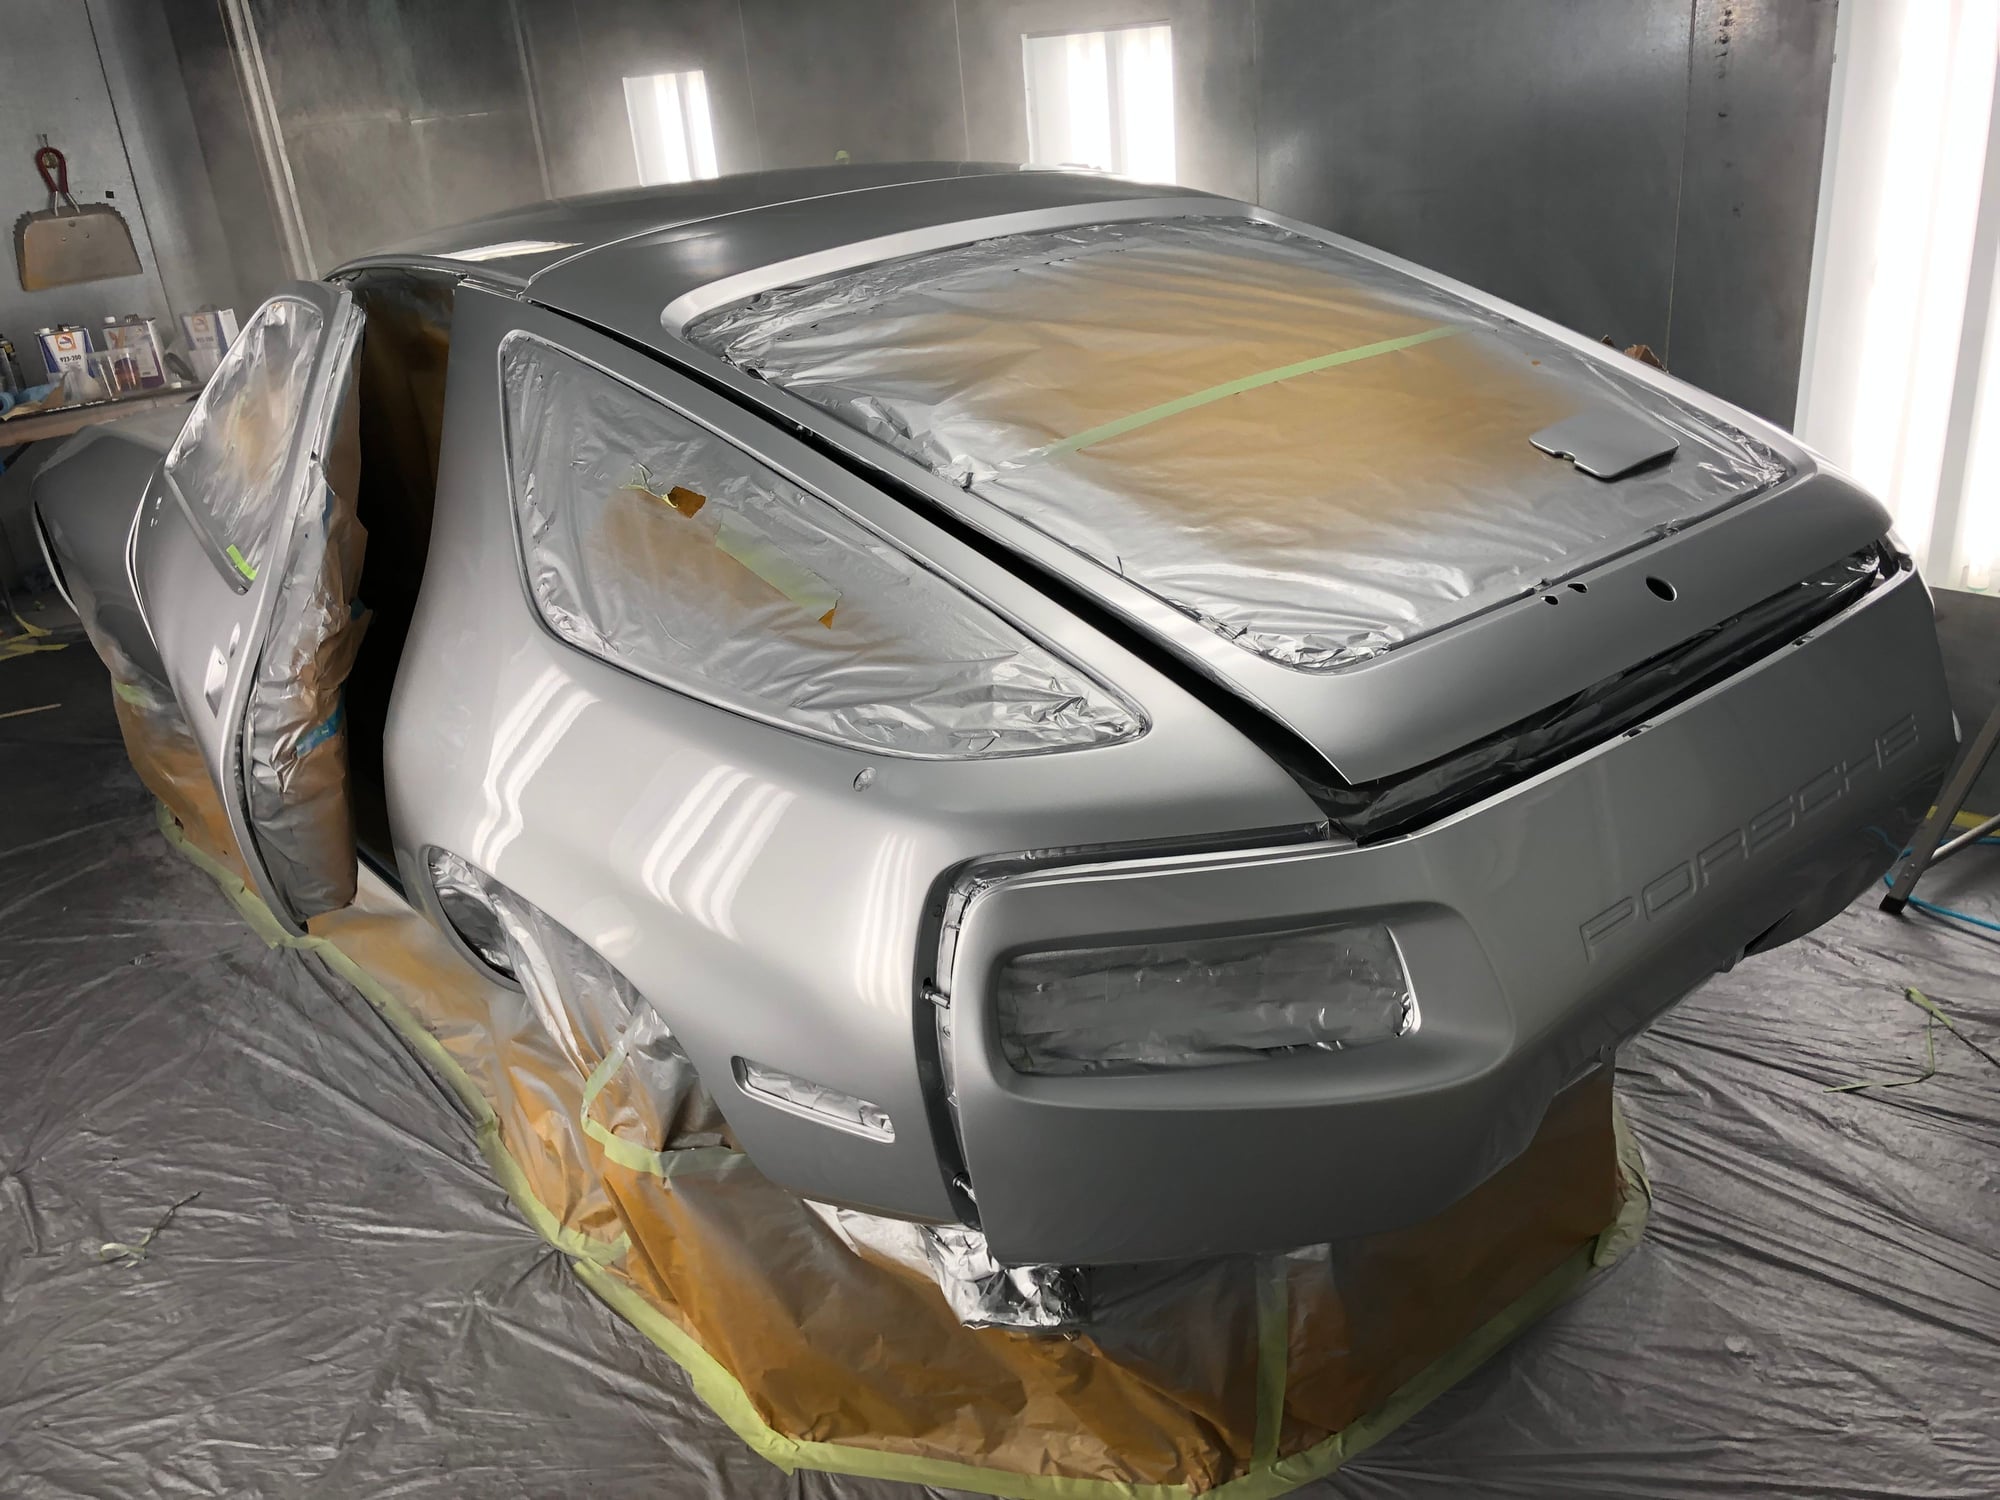
After almost three months, here is the result, beautiful consistent silver on flat surfaces
Three coats of Glasurit clear. Third coat was very heavy. 6 quarts of clear were applied over the three applications
The outcome is an extremely consistent application of the silver base coat. Mario’s technique was flawless with no zebra stripes, modeling or splotchy sections. Three coats of base were applied equating to about three quarts of paint.
Once the base coat had flashed off, three coats of clear were applied. Each coat was thicker than the prior coat. The third quote was very heavy and not applied until the first two coats had completely flashed.
The results are a very even application of clear with a modest amount of surface dirt in the clear. This we learned is common with almost all cross flow booths. All these small dirt particles will be removed at color sanding. Mario applied a heavy third coat with lots of orange peal. Deliberately vs. a thinner third coat with a smoother surface that would be easier to color sand. More clear is preferred on this job to give us plenty of buffer for color sanding.
All the body colored small parts were based coated early in the process, removed from the booth and clear coated after final work was done on the body.
SUMMARY
The entire painting process was a massive education in complex chemistry decisions and process control. William, Rob and I were similarly floored at just how complex this type of painting is to control. We are humbled by the talent of real professionals who do this every day and tip our hat to the Mario’s and Kiln_Red’s that make this look easy. It is physically exhausting and requires great skill and experience. We are elated with the results on 01117 and are very excited to begin color sanding to see the real finish product. We will never complain about the cost of doing correct restoration repaints every again.
Thanks for tuning in with us on this long, immensely gratifying journey.
It was like being an observer in a birthing room. Lots of expectant waiting, periodic bursts of pain, drenching sweat, dread over uncertain outcome. Once finished, Paul's face was as close to new mother who has just given birth that any man can achieve. On his way home, he didn't even know if he was going North or South on the freeway to home, and he didn't care!
Without giving it away, it is now "clear" that Paul's paint result will be stunning.
Man, I am relieved to hear that Mario was on hand to wield the paint gun and dial in the equipment setups! I'll be honest...
I was terrified when I saw the first cabinet photo posted by Rob Edwards. That is not a user-friendly environment for a first-time complete respray effort. Add in the requirement for 2K sealer and you're talking about a lot of potential for disaster with a metallic. I don't like wet-on-wet products for any use other than new, OE sheet metal.
If you got a 'buffable' job considering those challenges and variables, then Mario did an outstanding job of executing a good strategy to refinish 01117!


 09-14-2019, 03:40 AM