When you click on links to various merchants on this site and make a purchase, this can result in this site earning a commission. Affiliate programs and affiliations include, but are not limited to, the eBay Partner Network.
01117 / Restoration / Phase II / Engine & front Suspension
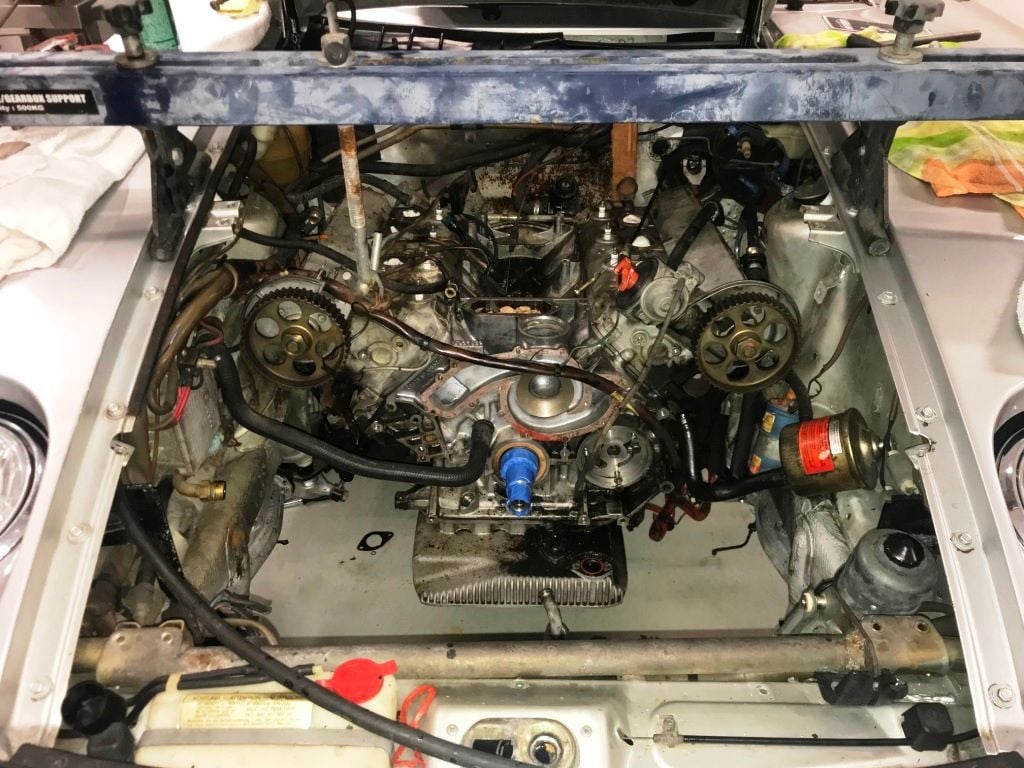
Phase II ENGINE and FRONT SUSPENSION
I purchased 9288201117 with the intent to restore it back to its as delivered condition. It is a numbers matching 1978 5 speed. slick top, specifically, Silver with black leather, US market with Production specifications including Calif. smog equipment.
Phase I is already well underway, covering the rear suspension, transaxle, TT and shift linkage. This will be a 'rolling restoration' with all of the mechanical work being undertaken first. Then, back as a driver, phase III (paint and body) cannot start until Phase I and II are complete. Phase IV will cover interior. Phase V is were the heavy lifting begins - making it all work together.
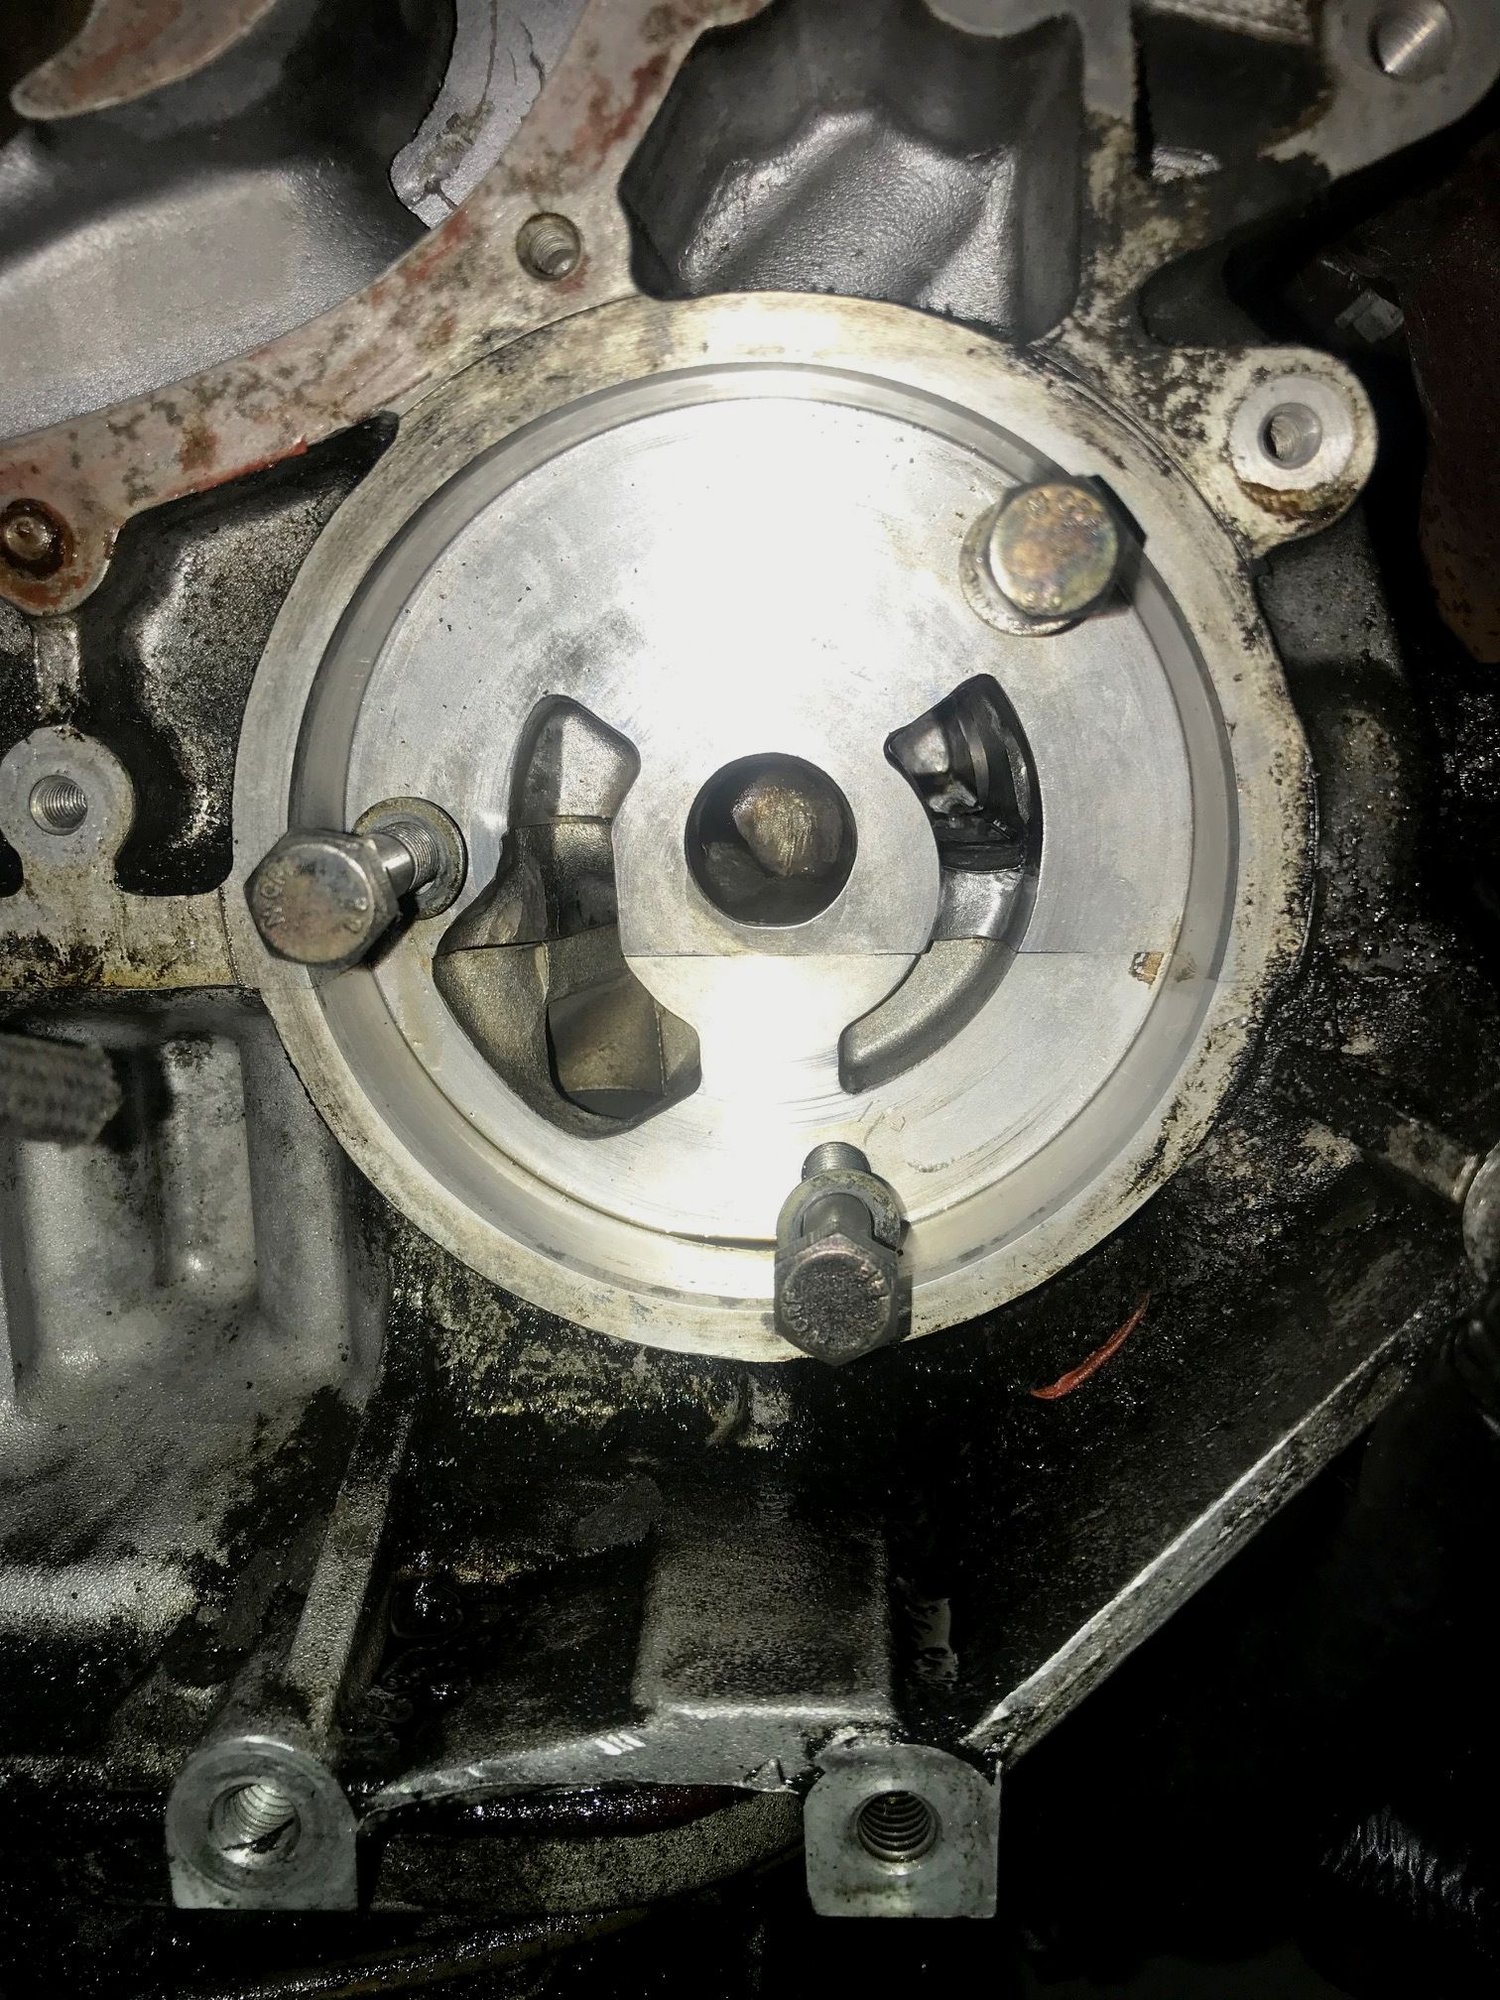
This car has 54k on the working odometer. Prior service records are not substantial, so we are documenting every possible wear indicator at disassembly that support or questions the mileage. First item for today's images: notice the water jackets that surround cylinder bores and the water pump mating surfaces on the block. Also the inner oil passage cavities directly behind the oil pump. Yes. We have one broken bolt at the water pump.
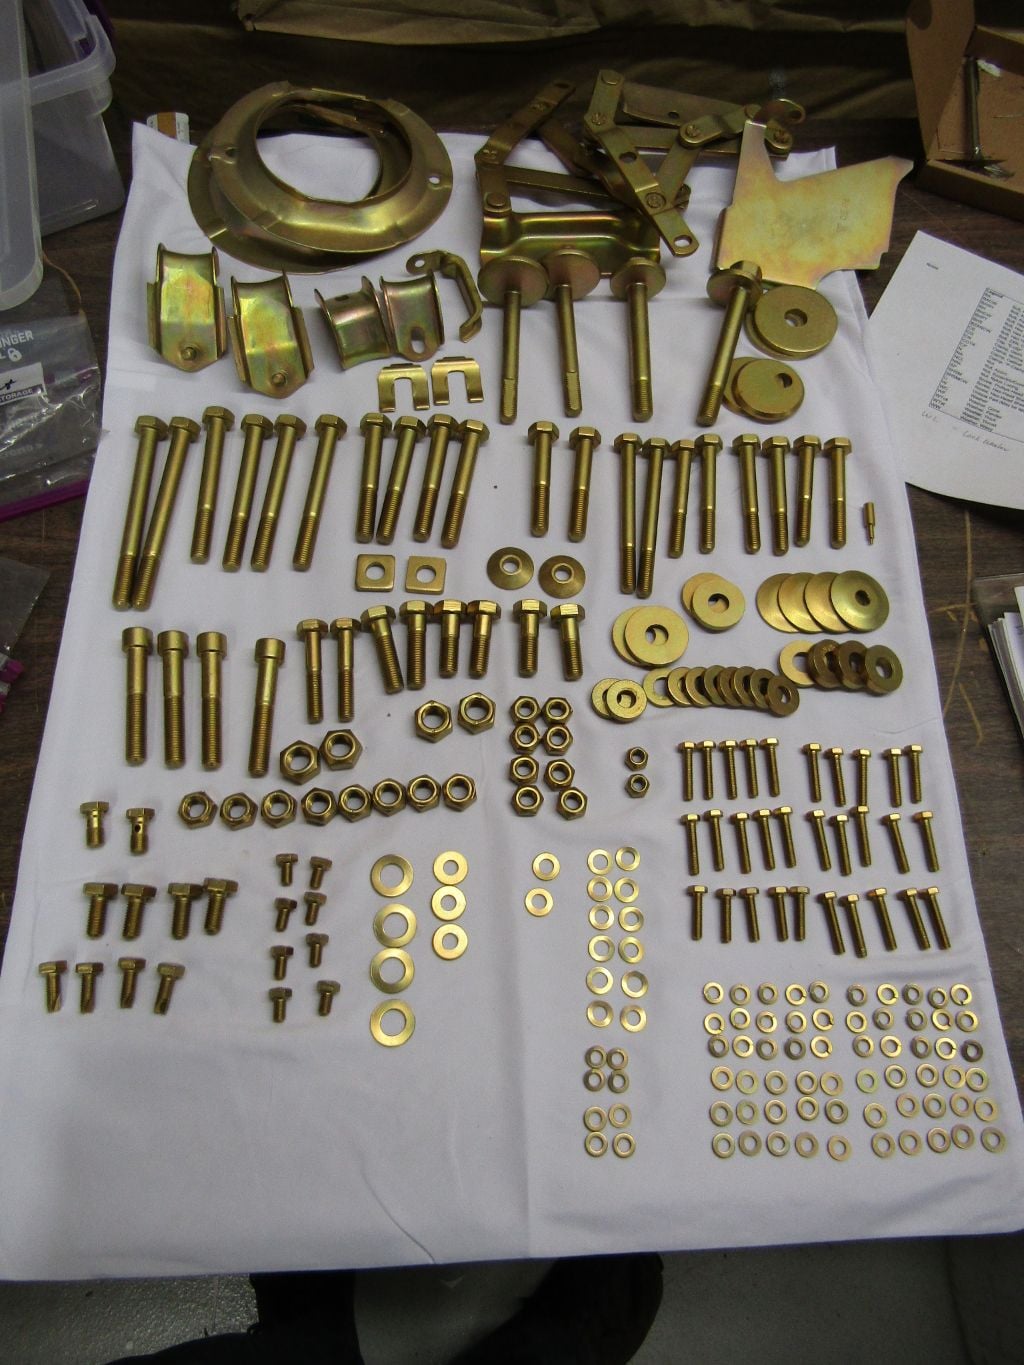
Particular efforts will be made to replicate and / or protect the surface finish on all items.
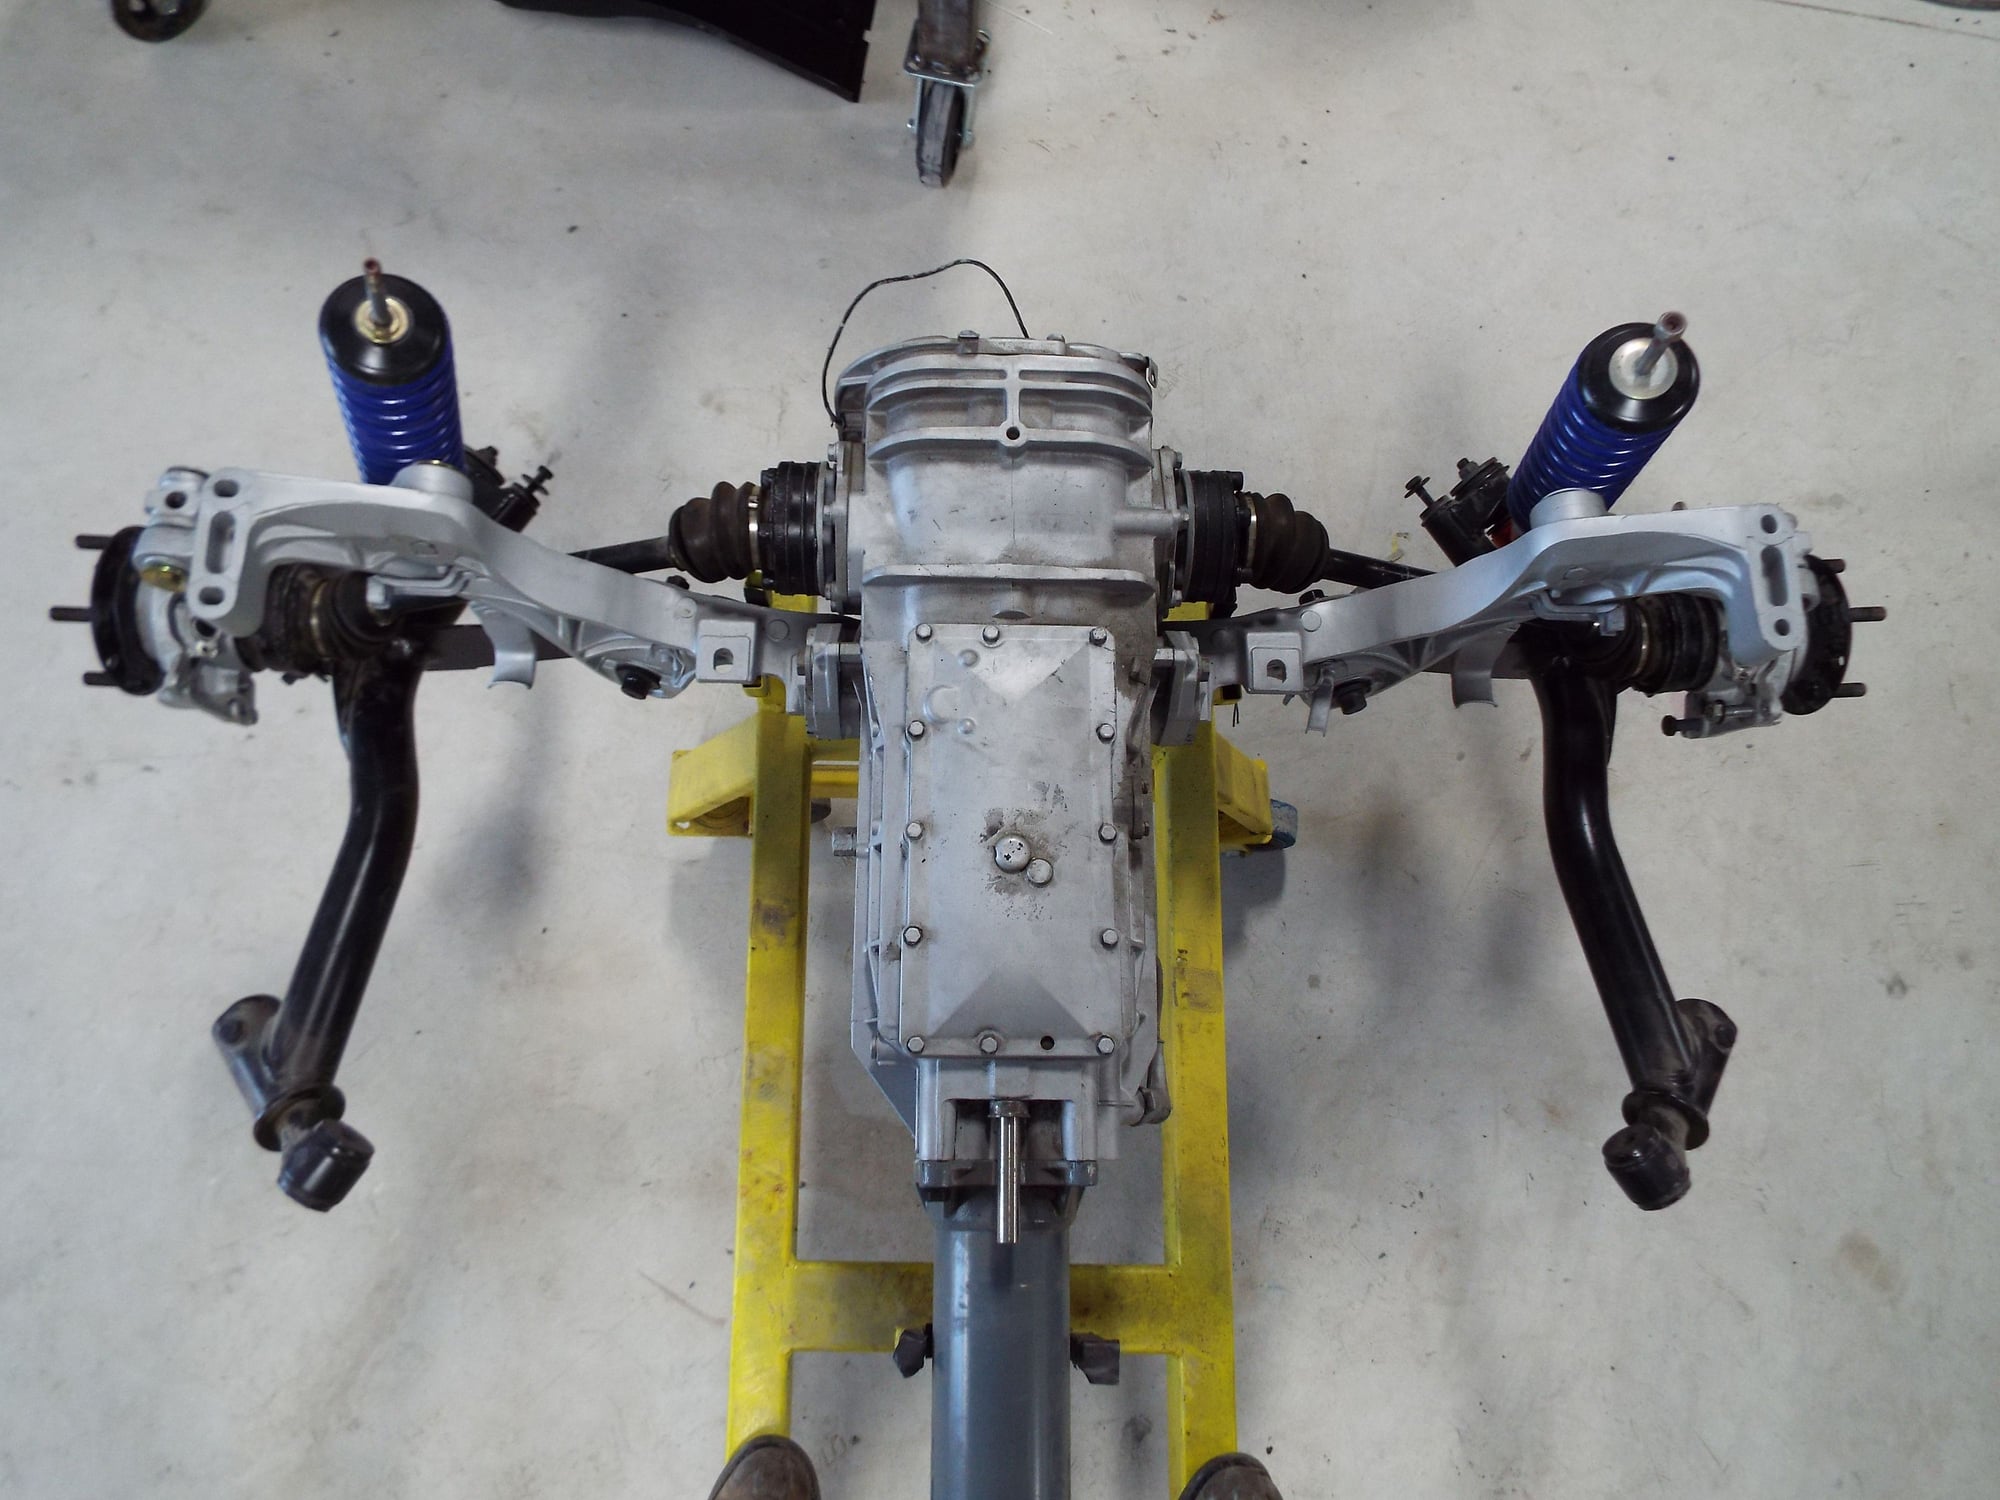
Out of respect and admiration for the suspension engineers at Porsche (1972-76), we will be focusing on rebuilding and restoring the rear suspension to a very high standard. The sophisticated geometry, beautiful hub carrier and cross member castings and control arm construction methods deserve no less.
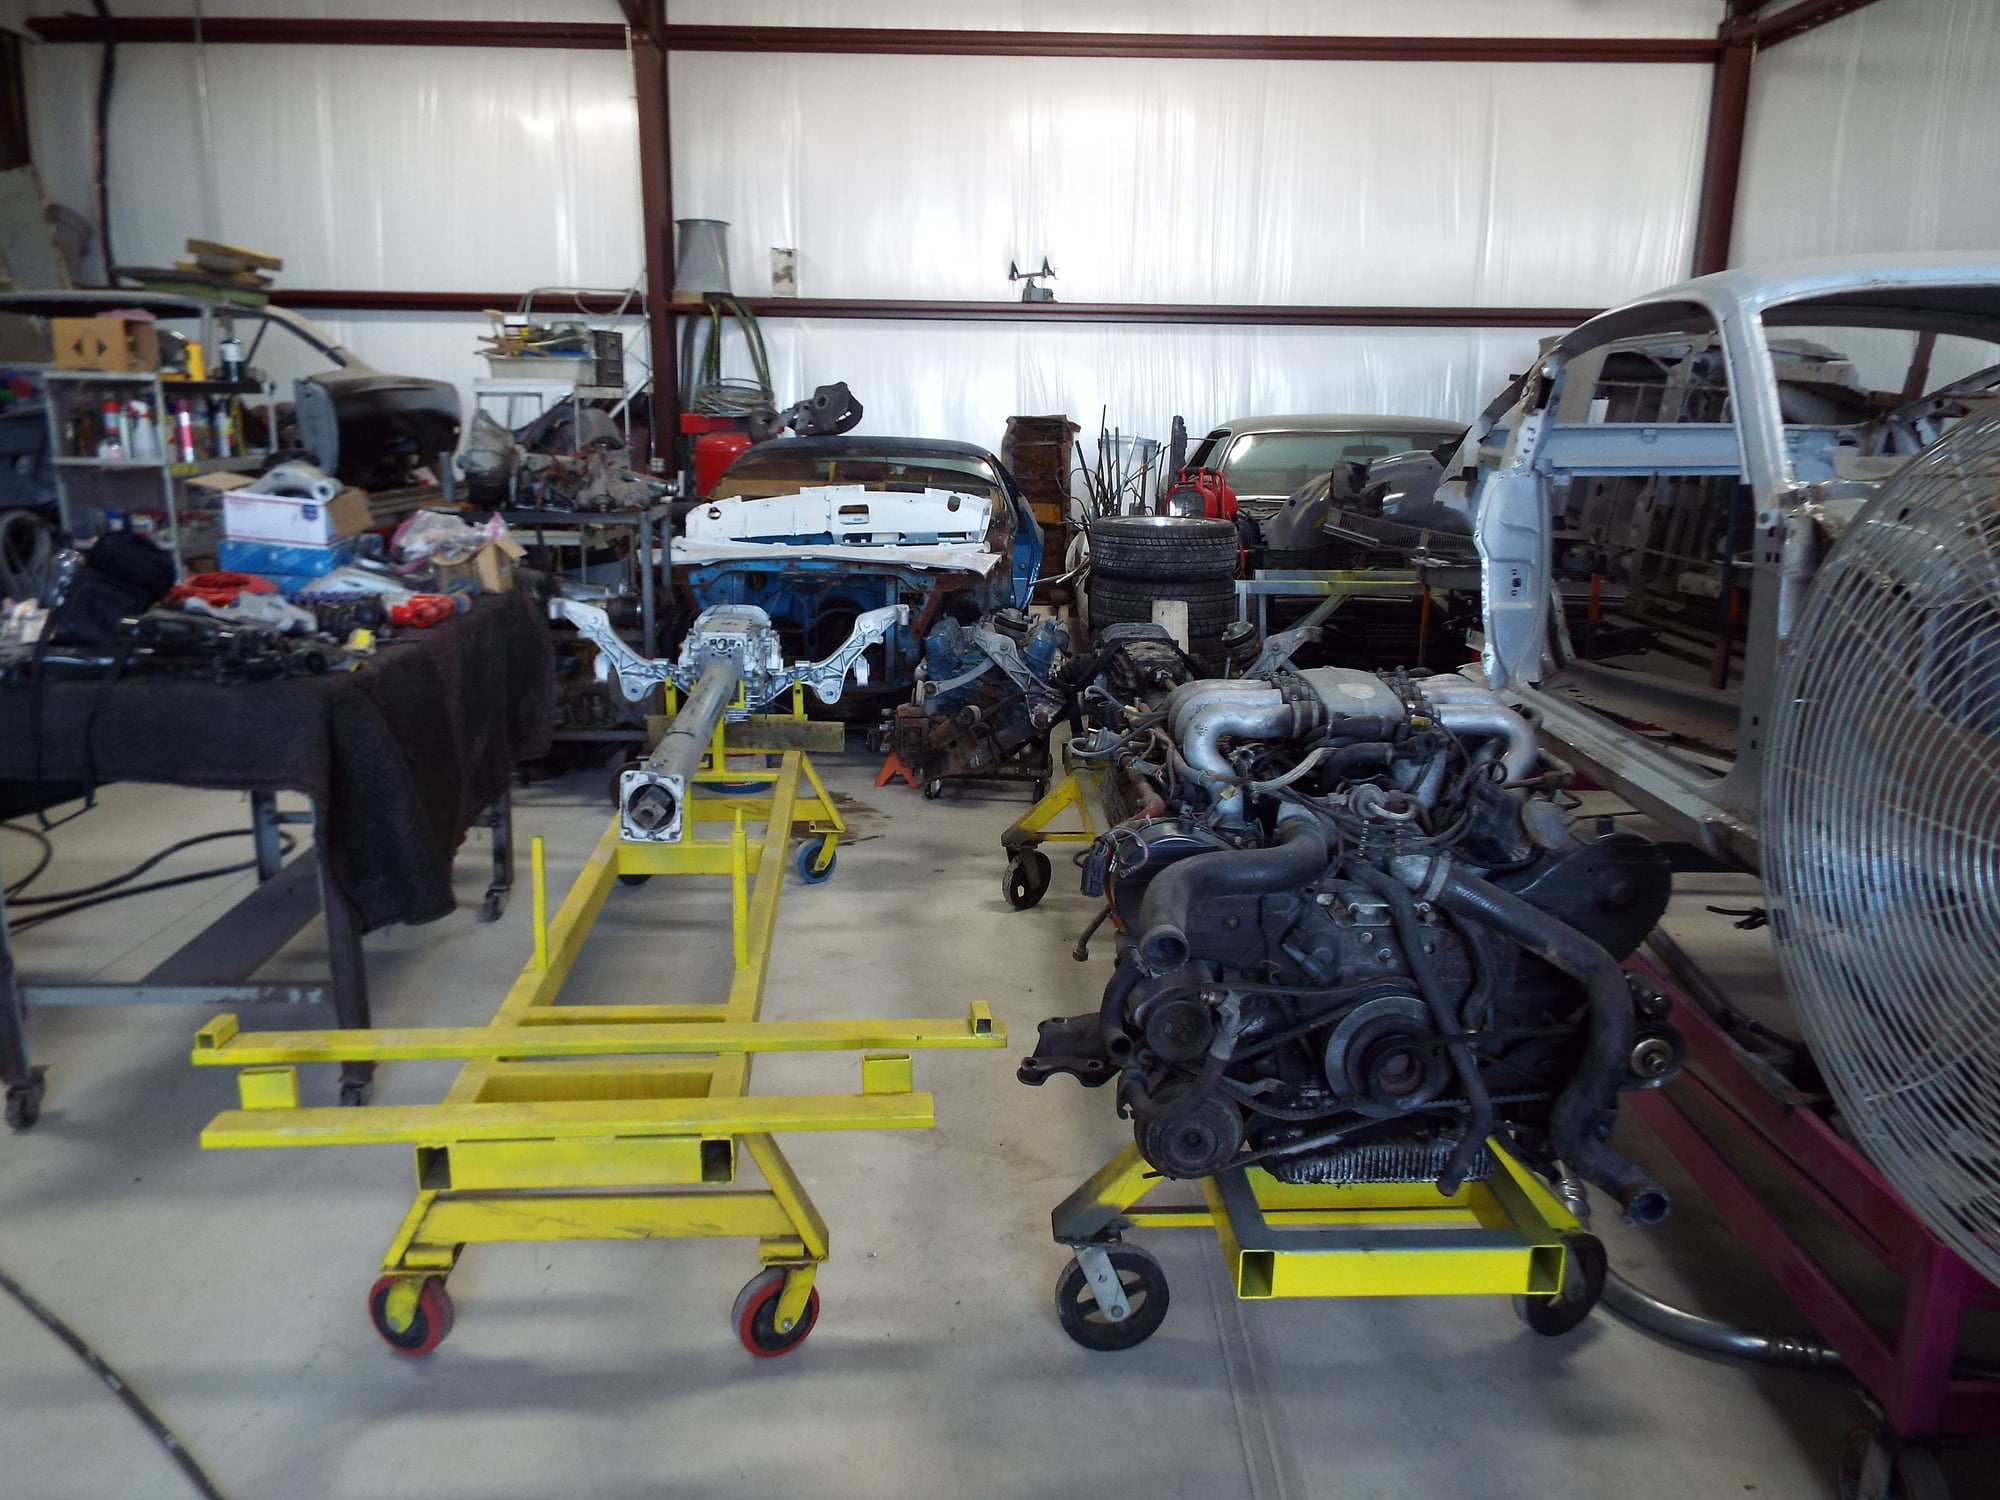
This thread starts with Phase II the engine compartment and the front suspension.
Today was a massive head-start with disassembly. I was extremely lucky to have some expert help.
January 12, 2019 -Game On.
Good morning mit Wasser, I'm sure you will post lots of photos of your process. You are right, the rear suspension is indeed a thing of beauty when cleaned up and reassembled. Here's my S4 rear suspension almost done - just need time to finish it all up - hard to do when I have so much paying work - but I'm not complaining!
Hello Donald. Thanks for joining project. And for your inspirational images. You've done a beautiful job on the rear cross member. Is that just blasted or is there a coating on it?
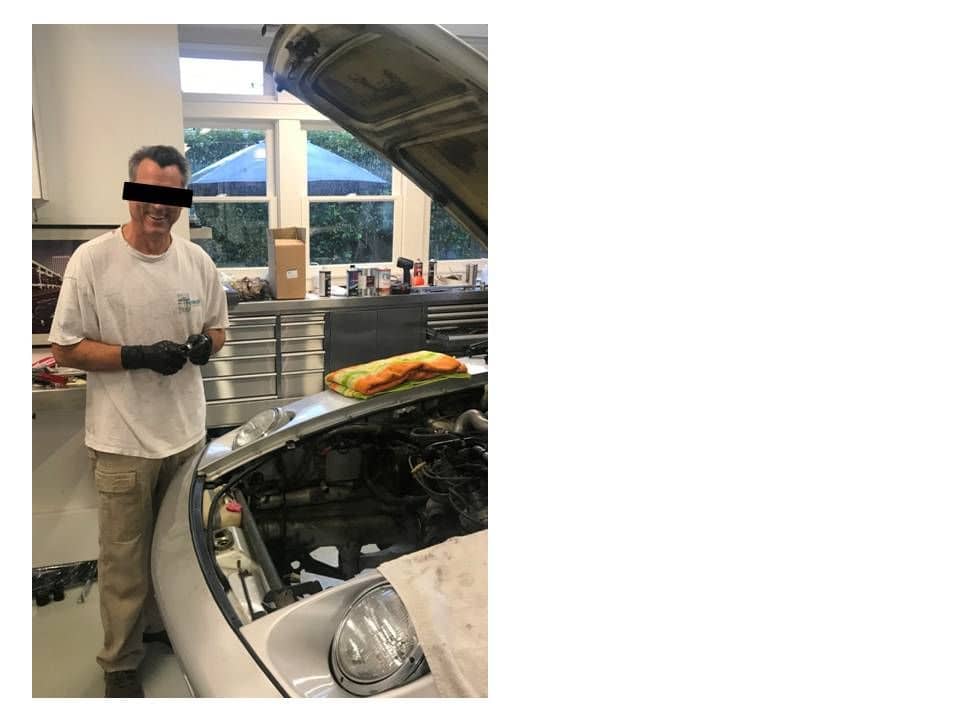
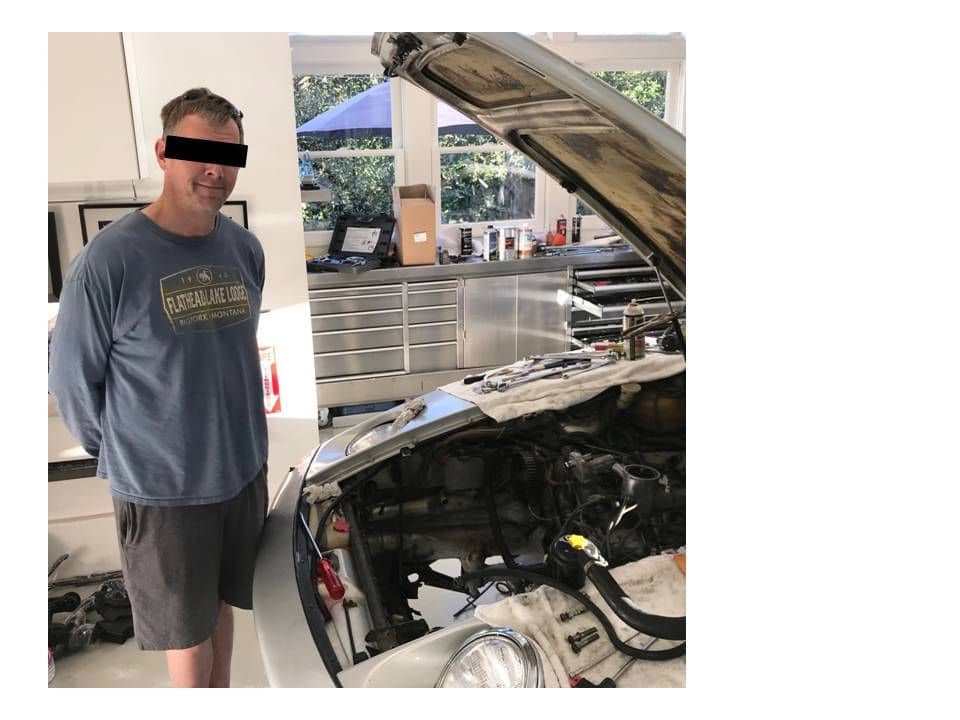
Another big day of disassembly. Phase II disassembly is complete. There were two individuals this weekend who where highly instrumental in getting the motor fully (un)dressed and the front suspension fully disassembled. My understanding is that both individuals have professional positions outside the world of 928 restoration, so, to protect the innocent, their images have been disguised. Awesome powerful talent. A a great time on both Saturday and Sunday. Thank you.
I'm in the middle of a similar project, although mine is a '87 S4 auto; are you also planning on painting the car?
Hopefully as a little encouragement: this is my rear suspension temporarily bolted back under the car (the gearbox, sway bar and driveshafts aren't mounted yet)…..:
Now working on the doors (taking everything off to prep them for paint, write up will follow... ) and also the front suspension, so I will be following your "quest" closely, mit Wasser !
Manfred,
Thanks for joining our journey. Is it just me or is everyone using Koni's? the suspension looks great. Are those new fuel lines we see?
Mit Wasser
Another very productive night over at Rob's House of Porsche Tooling. We pressed out the front wheel bearings and seals, disassembled the front struts and pressed out the spring perch collars. The original Boge shocks into the rubbish bin.
The big item for the night was to install the new rear wheel bearings into the rear hubs that had just come back from media blasting. Rob double checked the WSM and had the Porsche tool 415a and 422 ready and in hand. The 20 ton press - ready.
Like all good bakery chef's Rob had preheated the families oven to 400� F and had placed the sterile clean hubs in 45 minutes earlier. The new bearings went in with the ice cream. A final wipe down with mineral spirits to ensure the bore was clean and we were ready for the big fight.
But it all happened in two seconds. Rob, in an out of body experience that combined The Hand of God with an elderly grunting samurai warrior, made quick work of the task. Take a look.....
Manfred,
Thanks for joining our journey. Is it just me or is everyone using Koni's? the suspension looks great. Are those new fuel lines we see?
Mit Wasser
Hi Mit Wasser,
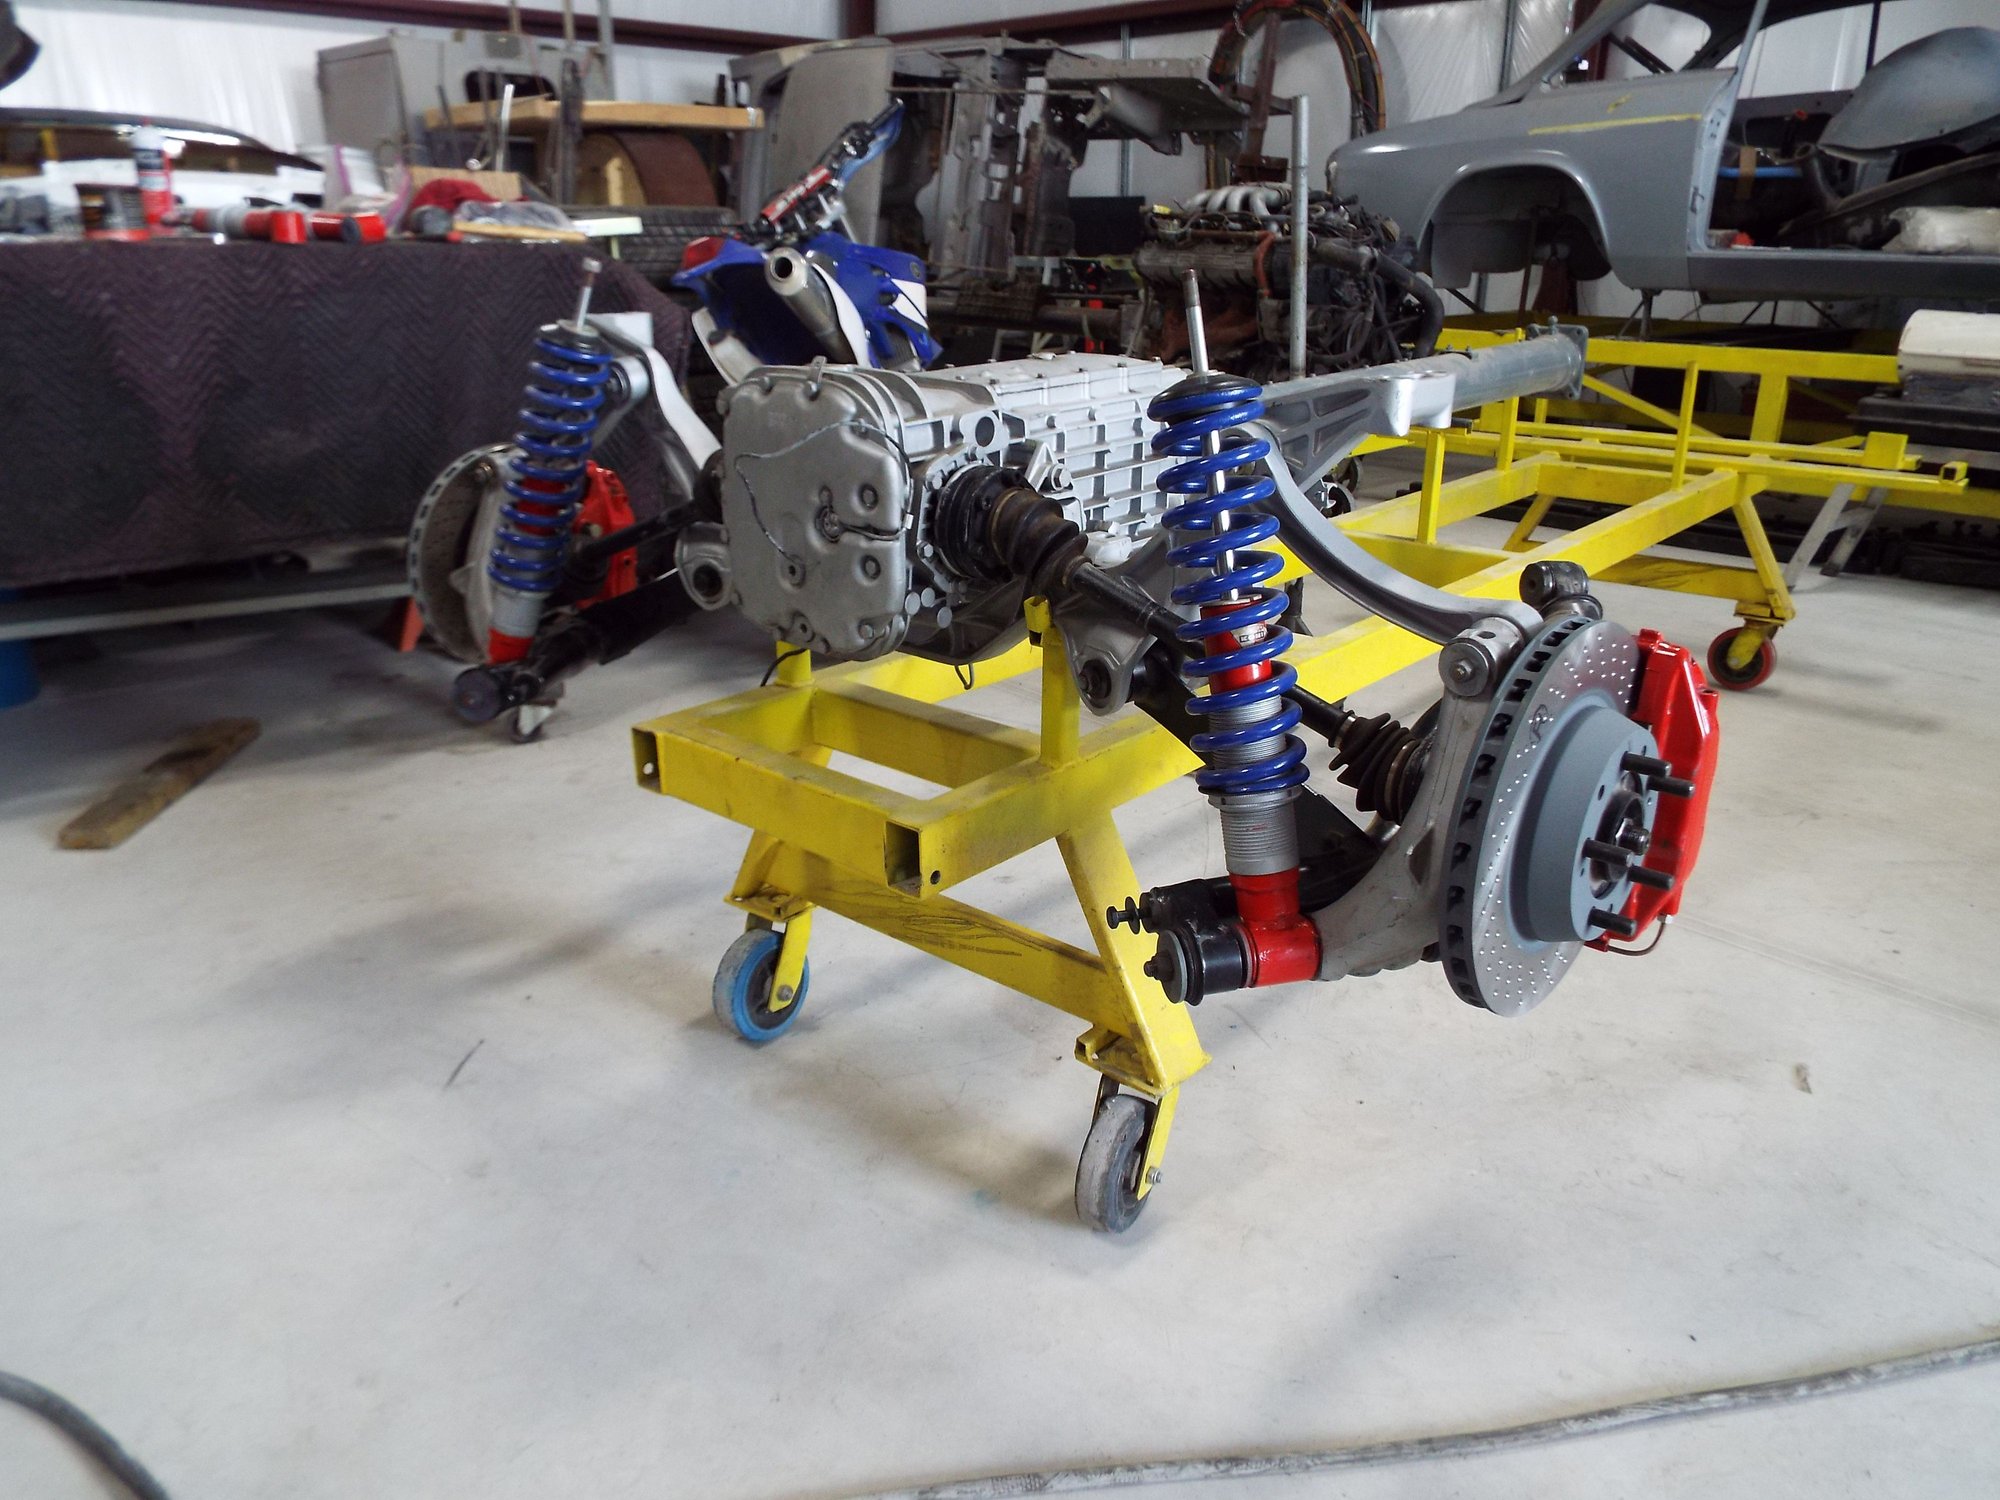
I replaced the original shocks with Koni's for 2 reasons: they are a Dutch company and I was able to visit the factory a few years ago (very impressive, really nice people) and also I read some of the posts here on Rennlist and figured the Koni reds would work just fine for me. I adjusted them to the middle setting prior to installing them on the coilover.
And yes: your eagle-eye spotted it right..... you can see one new fuel line that we put under there for a test fit. I decided to replace all fuel lines from front to back as everything was off the back of car. My first plan was to replace the fuel lines, then put the overhauled Torque Tube (with Superbearings) and overhauled gearbox back in and then move to the front to lift the engine. Problem was that some of those fuel lines are quite long (over 2 meters) so getting them in place at the front required some bending and fiddling which needed the car further of the floor then was possible at my home garage.
We then decided to take the engine out first and then have plenty of room to put the fuel lines in.
Here is a patchwork picture of the old fuel lines under my car that I use for reference:
My parts supplier (Alpo in Haarlem, The Netherlands - great guys) told me I was the first one to ever order these replacement fuel lines�..
Still interested in wether you plan on painting the car��


 01-13-2019, 01:45 AM


 ) and also the front suspension, so I will be following your "quest" closely, mit Wasser
  !
!

