When you click on links to various merchants on this site and make a purchase, this can result in this site earning a commission. Affiliate programs and affiliations include, but are not limited to, the eBay Partner Network.
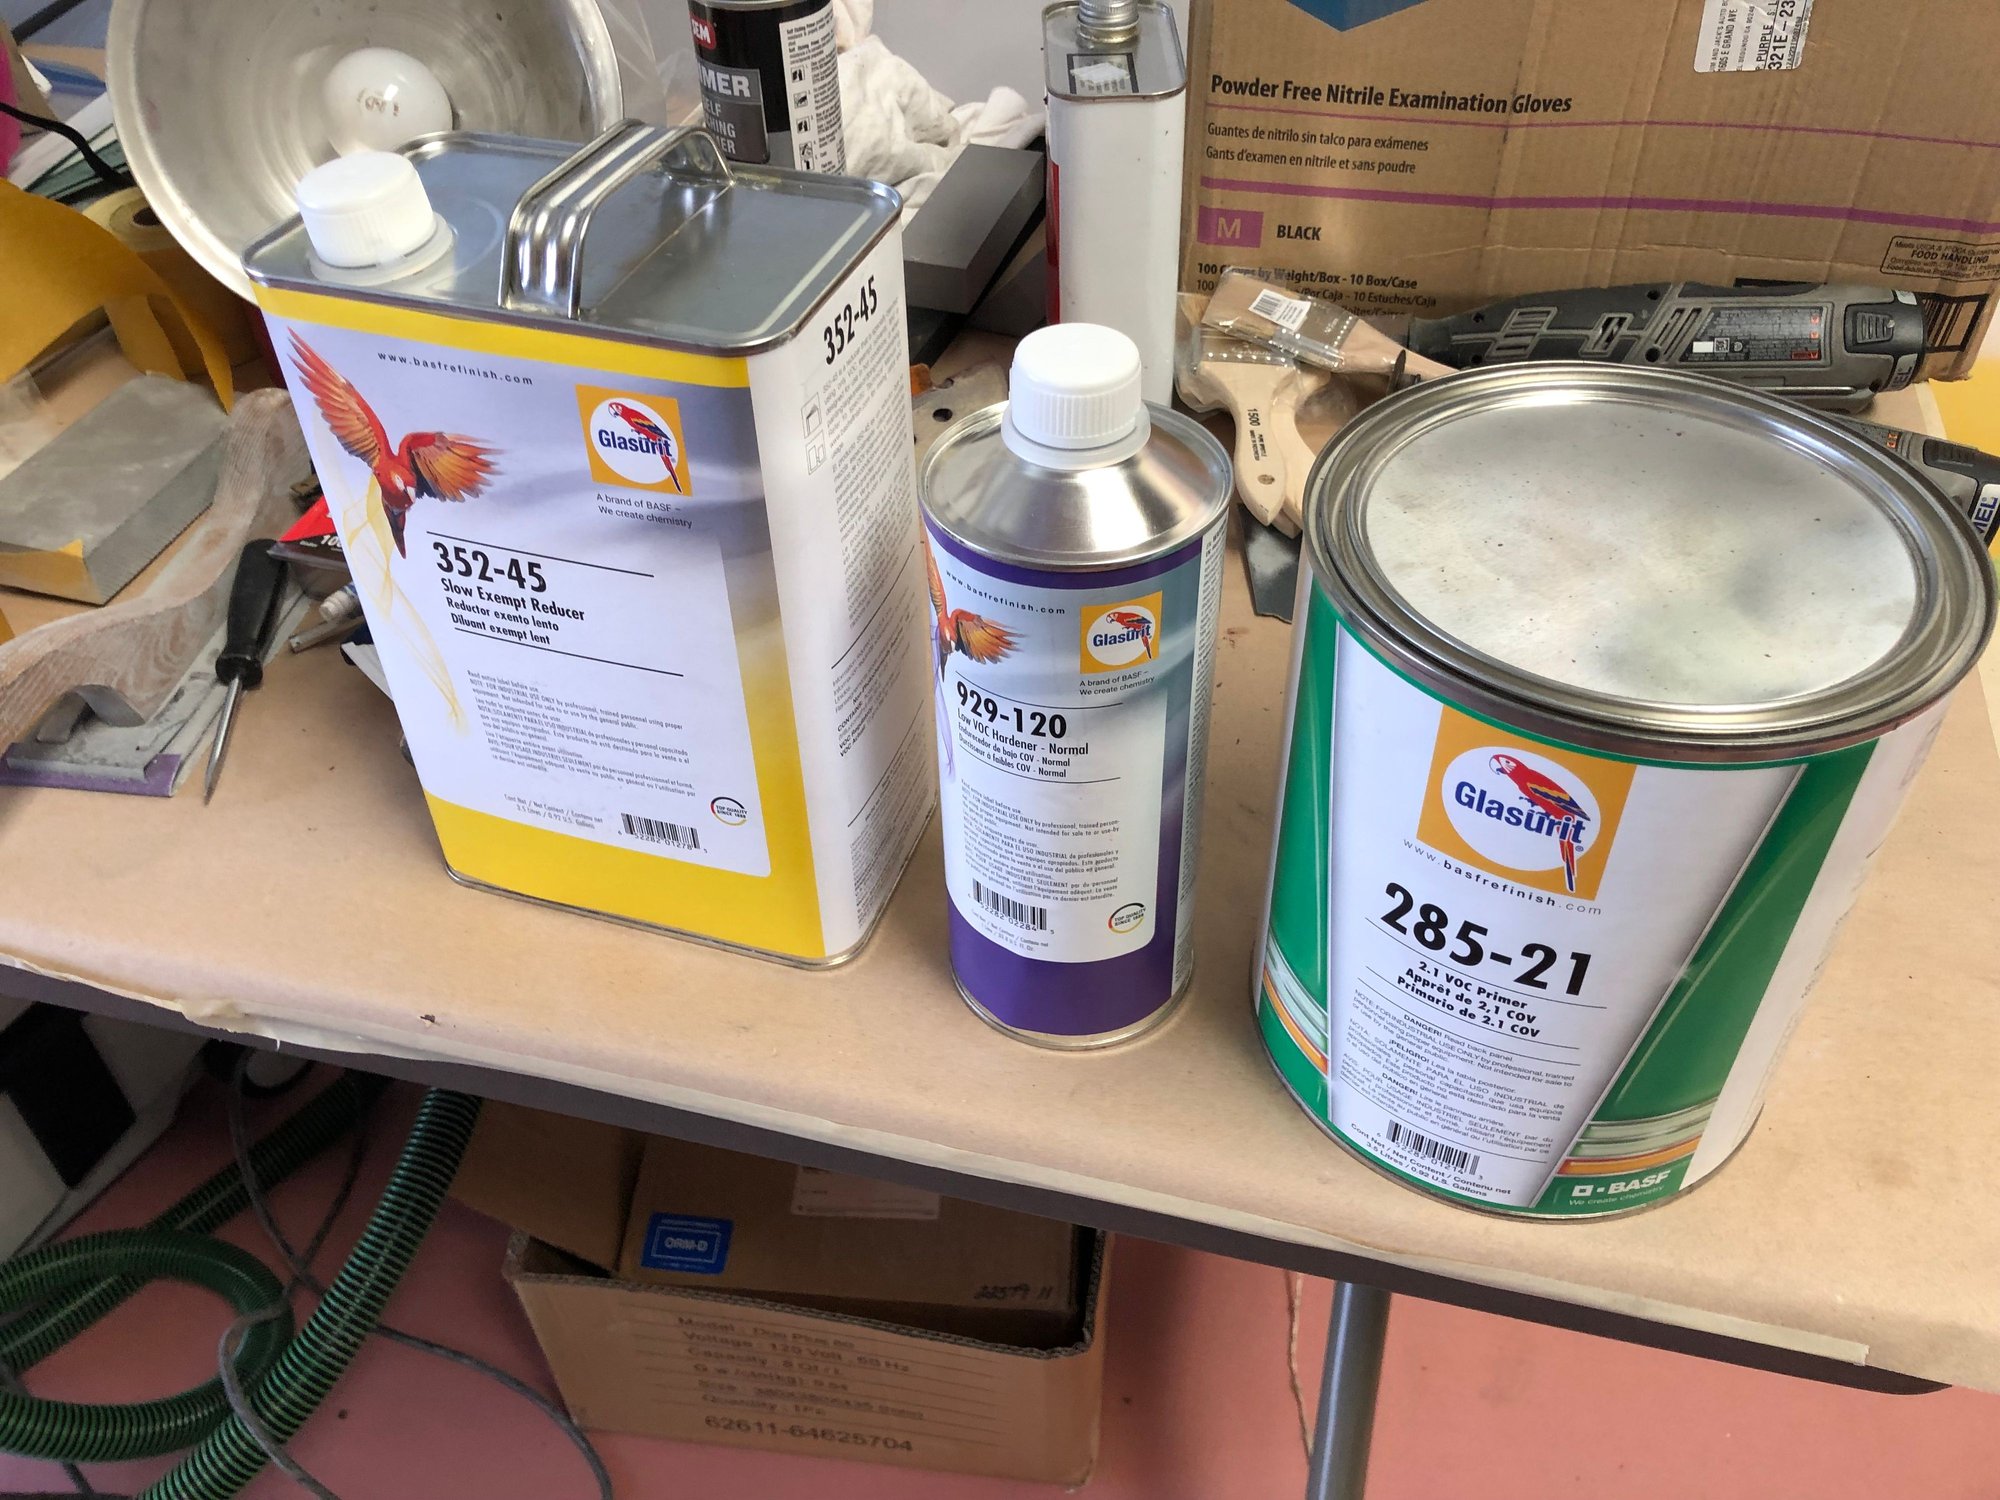
As mentioned at the beginning of Phase III we a shooting high for a very professional finish. Given that the labor is free, (if you take away the Tab, water and sandwiches) then use the best materials available. I don't think there is much debate as to Glasurit. I got the discount on this primer. Only $734 out the door with hardener and reducer. \
Don't think of it as one gallon of paint. The viewpoint is that it is THE most stable and robust substrate surface to apply top coat and clear to. It's beautiful to sand and there is particular OCD gratification in guidecoating each panel. There are no excuses -you are controlling the paint job quality in one sqr inch increments with each stroke of the block sander.
Stripping it down to bare metal(s), etc., does have it's challenges. The original paint on the donor car for Just Peachy was horizon blue, then white, red...twice, and now Nordic Gold. May want to check in with RL member kiln_red (pro-painter) before proceeding to make sure you don't overlook anything. (wish I did). Love whats going on here^^and keep up the great work. T
It looks like you guys are doing a very good job! There is light at the end of the tunnel.
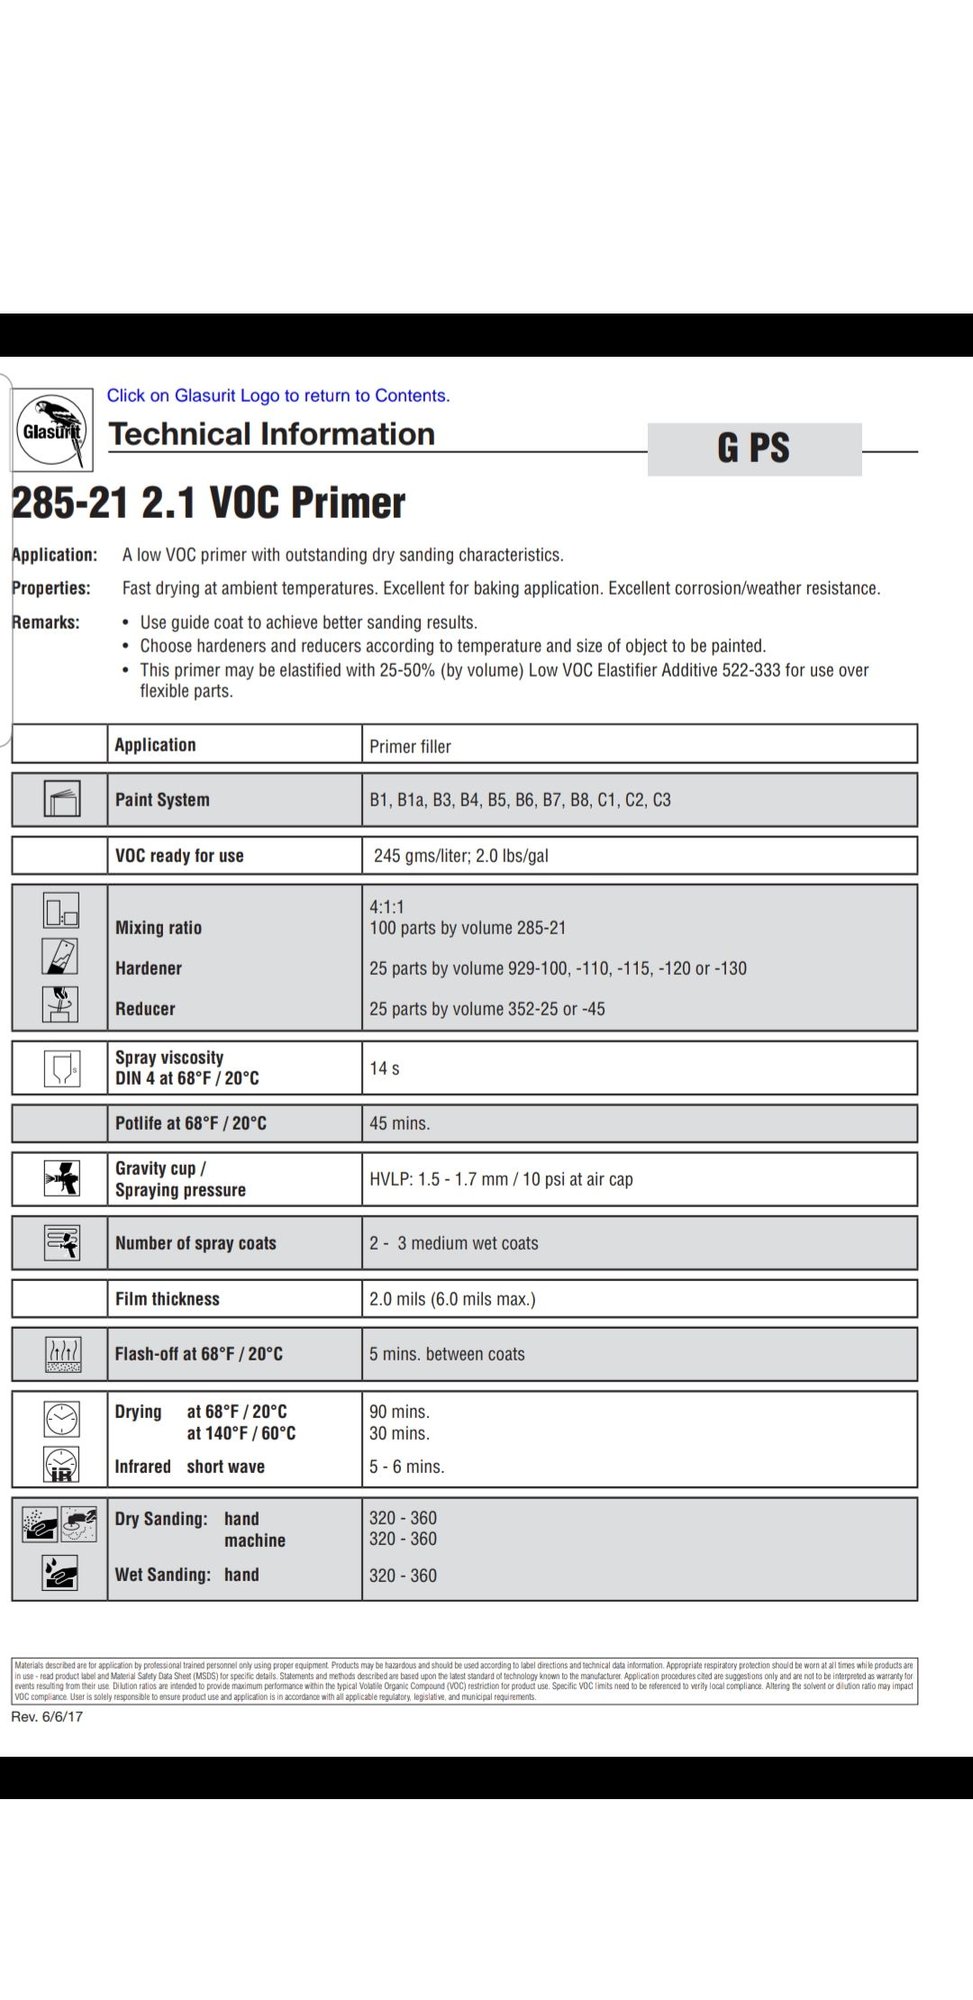
Before it's too late, I STRONGLY urge you to exchange primers. 285-21 is not a suitable DTM (direct-to-metal) primer. You are limited in your undercoat availability because of your location, but I am happy to assist with finding a low VOC solution under the BASF umbrella with sufficient DTM qualities if low VOC is, in fact, a requirement for you.
As good a job as you are doing with this car, you ought to rope those 1/4 glasses out. They're not too bad. If you're using Glasurit clear, it's just about a must-do to prevent unsightly bridging during topcoating. It isn't impossible to get a good job with them in place, but it will definitely eliminate one more variable in preventing a less than top quality finish to have them removed.
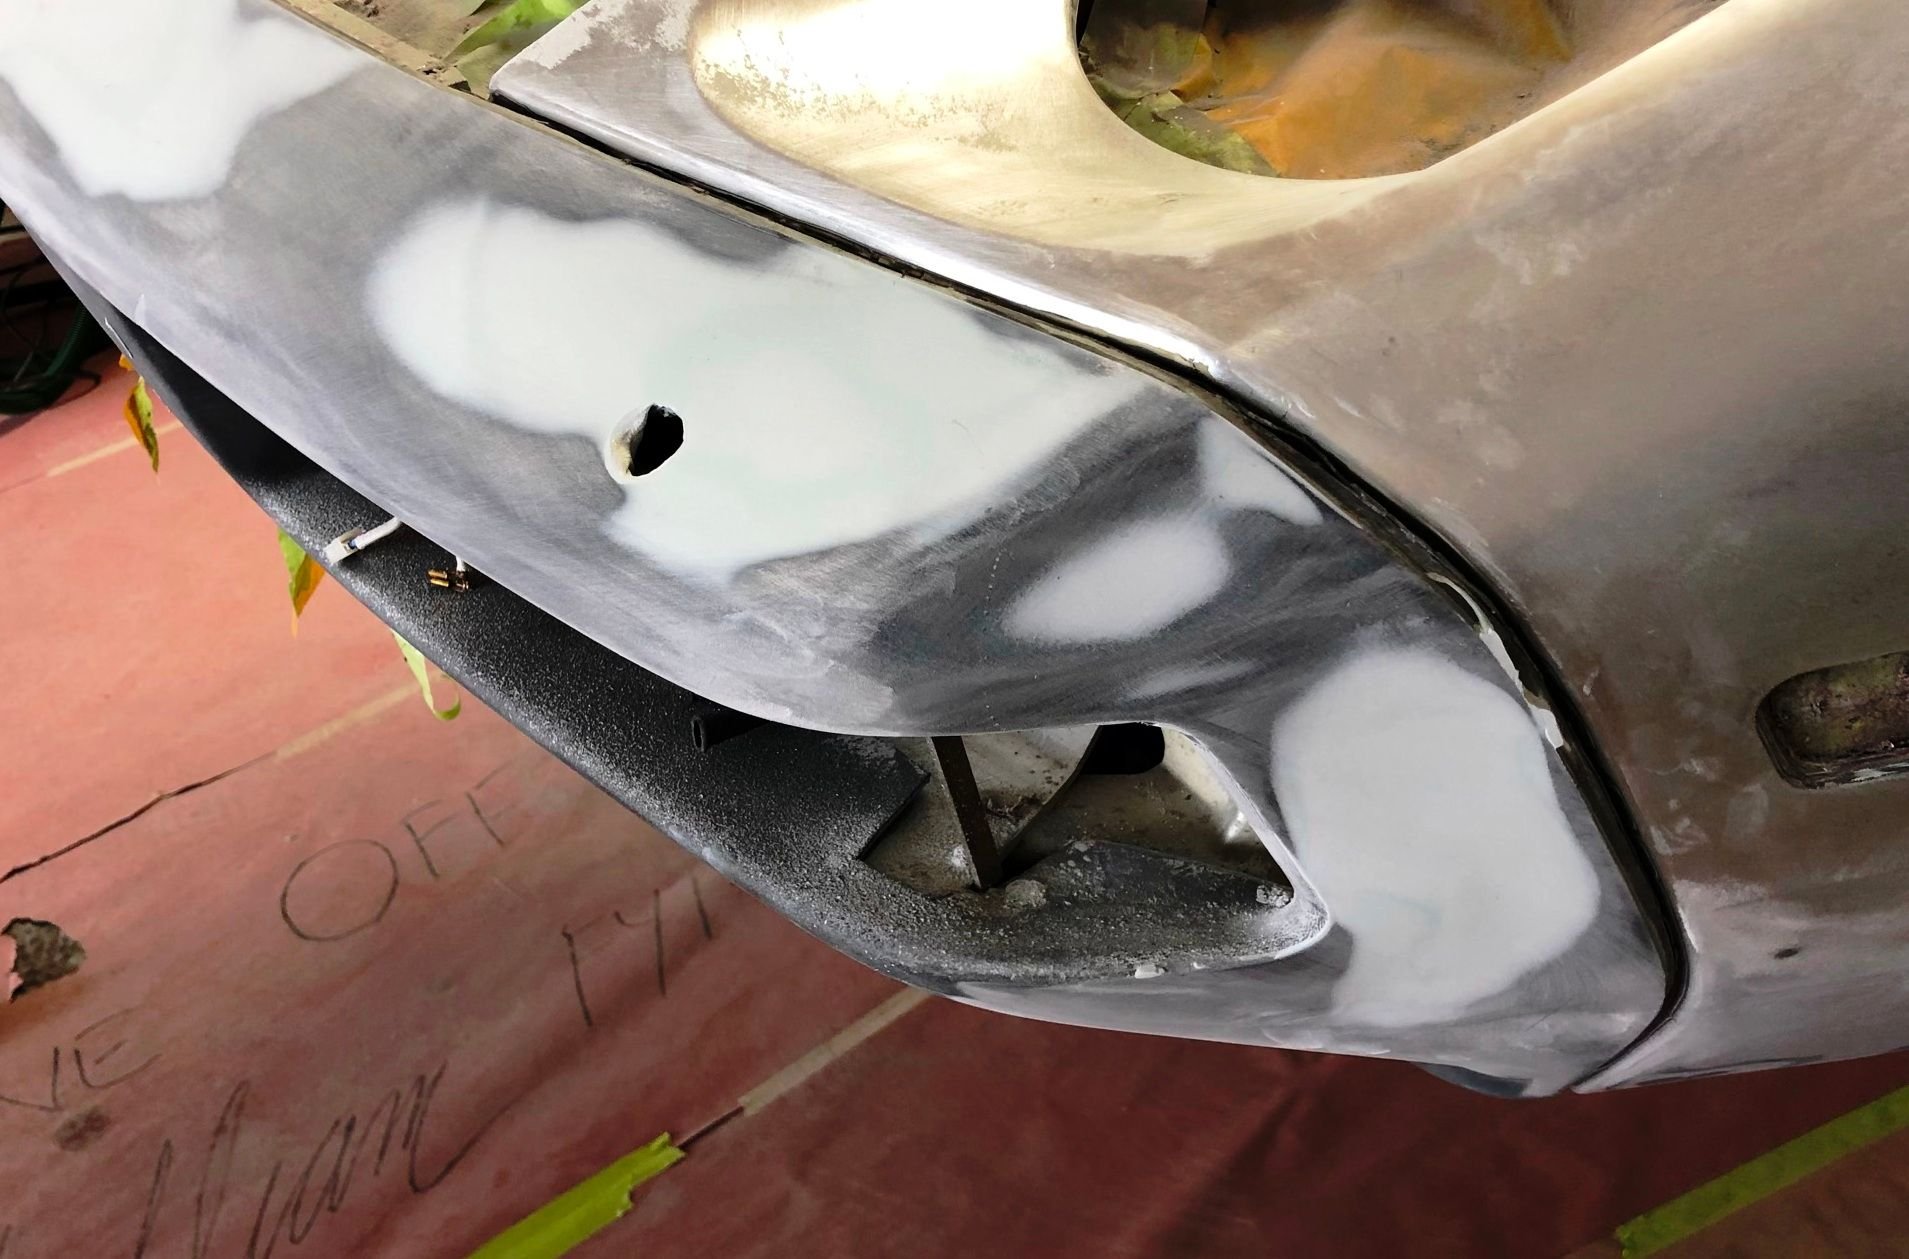
After 41 years the sheet metal and aluminum retains its exact shape -like the day it came out of the stamping press. The polyurethane bumper covers? -not so much.
Four decades of thermal cycling any plastic has its consequences. So like the beautiful people in Hollywood, at age 41 you get a little help. In this case using a flexible spot filler designed for such materials. The surface area is large but the material is actually quite thin once sanded down. The idea is get rid of the puckered cheeks look after the fasteners have been stressing the corners of the bumper. The bumpers by now have 'taken their set' to this car. Before applying the filler, all of the studs on the back side have been torqued down. We cut the black gasket back enough to remain stapled and -in the sandwich - to the body but cut short enough not get in the way of sanders. You can now 'bridge' both panels when sanding and get it nice and flat, carrying the convex contour of the fender into the bumper. Prep work was having the both bumpers soda blasted. (yes, the pin holes will be filled before priming)
Thank you Kiln Red. We are using an etching primer before the 285. However your comment is noted and appreciated and I will bring up this primer issue with our supplier.
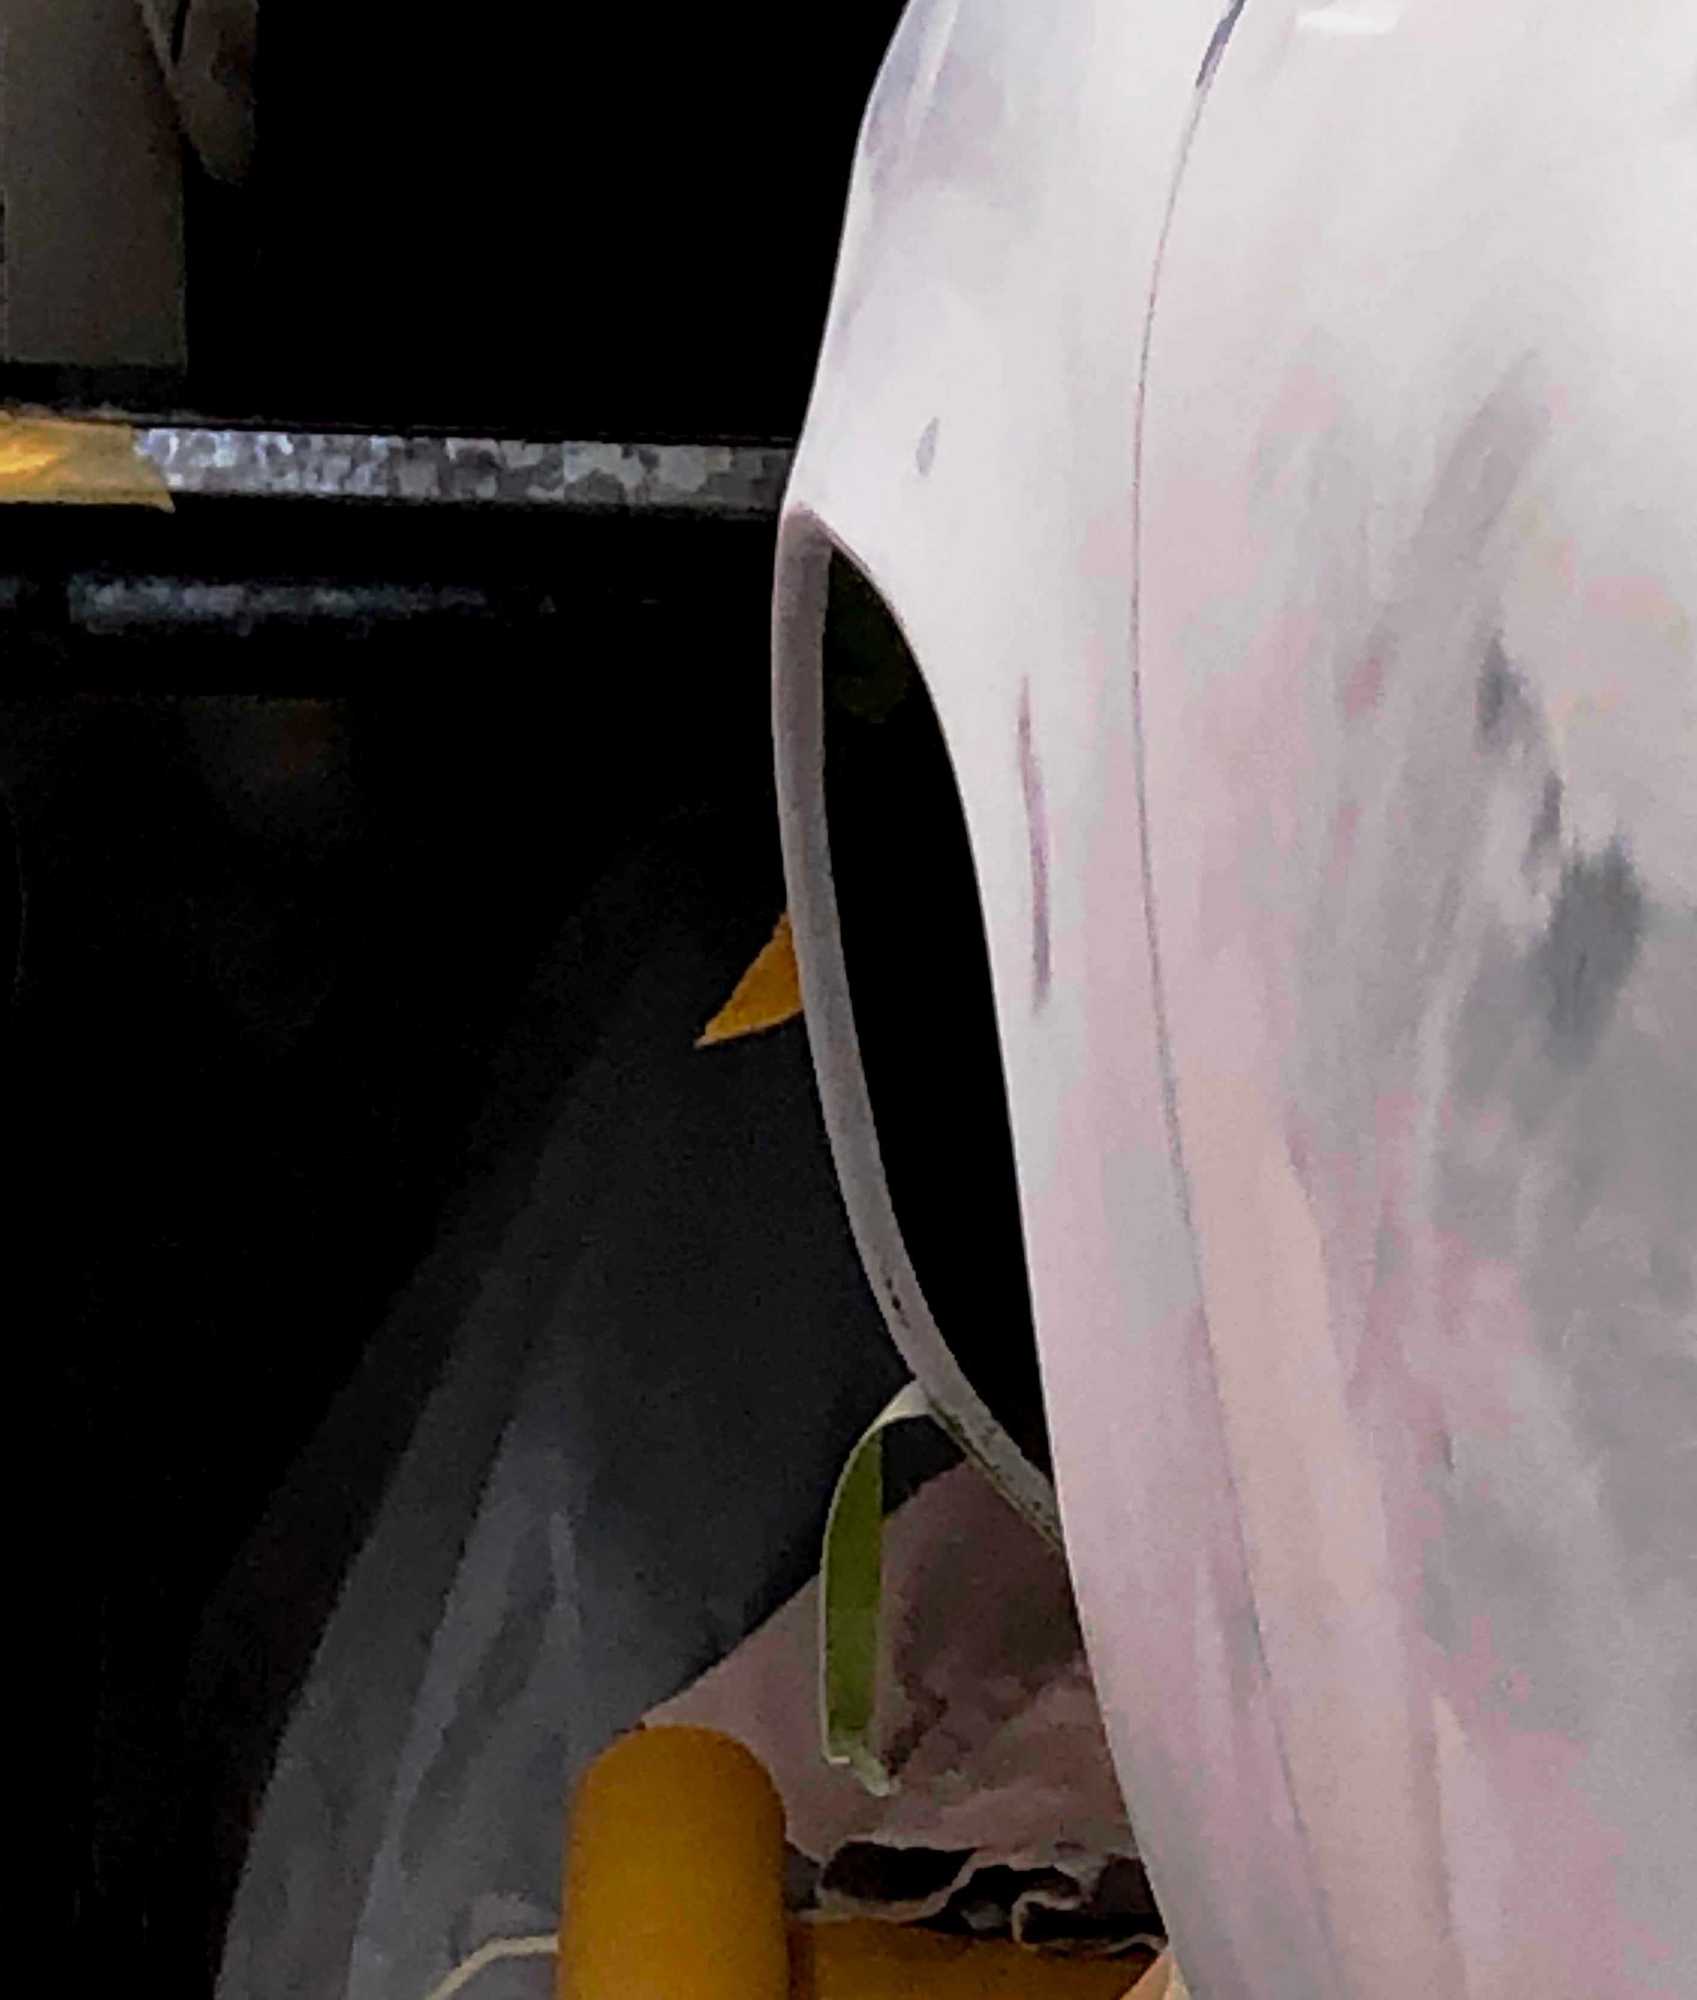
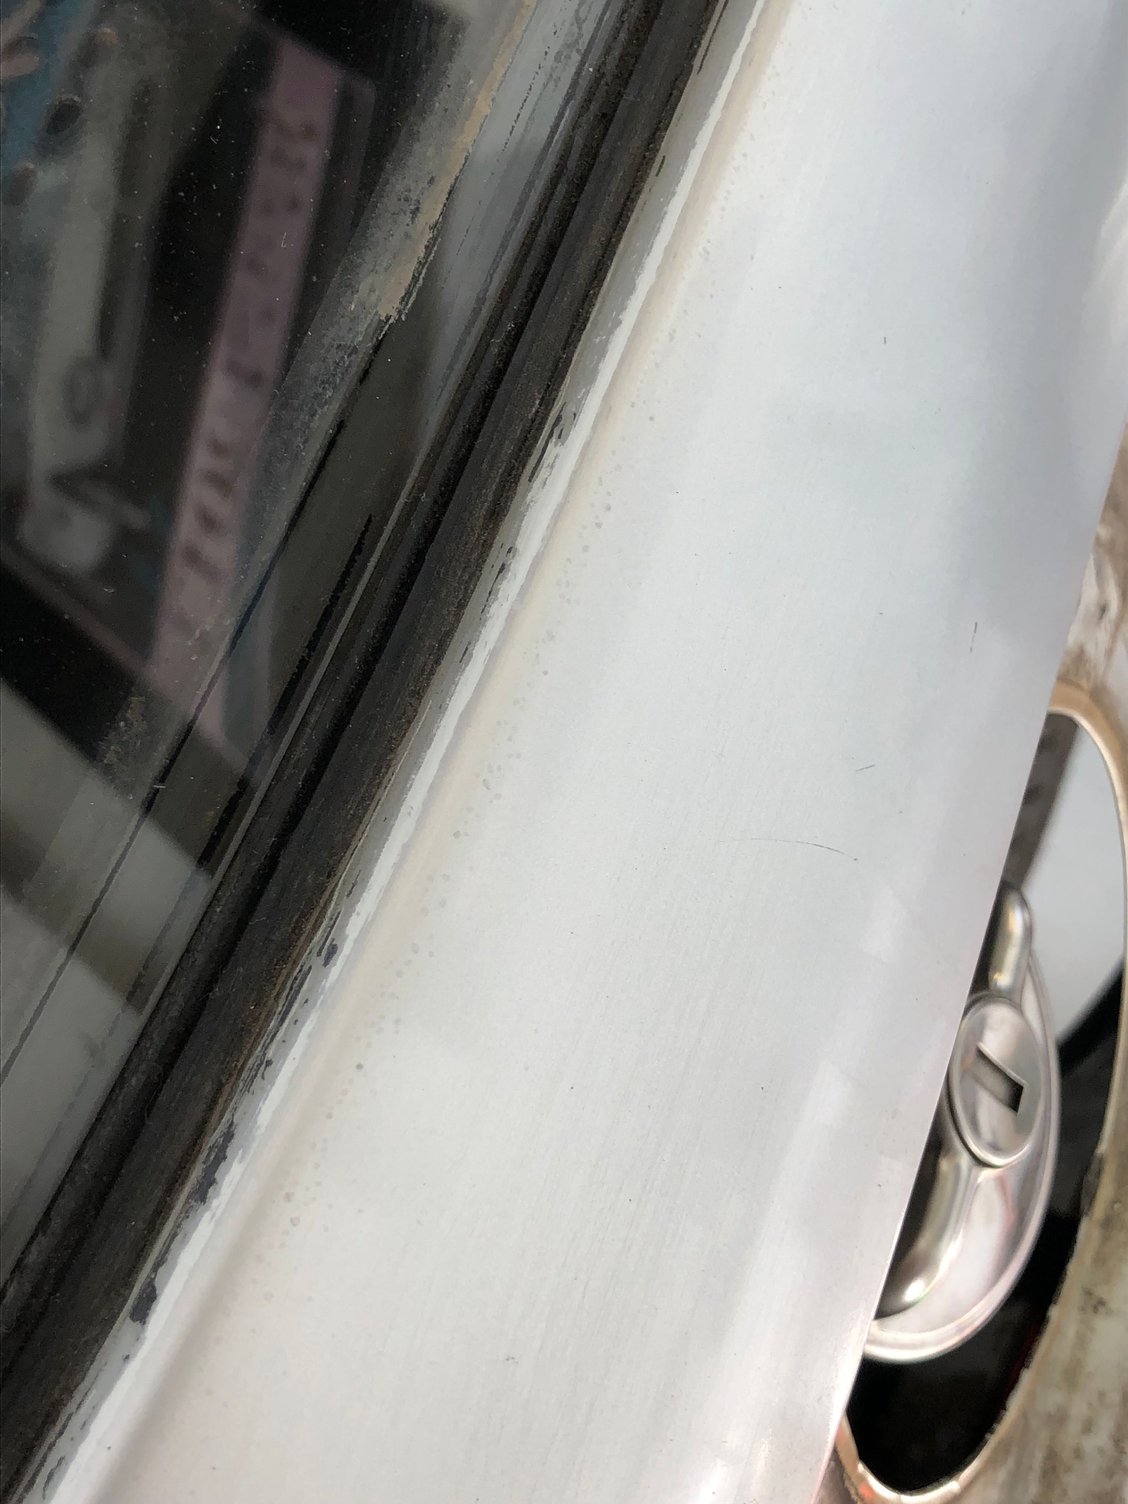
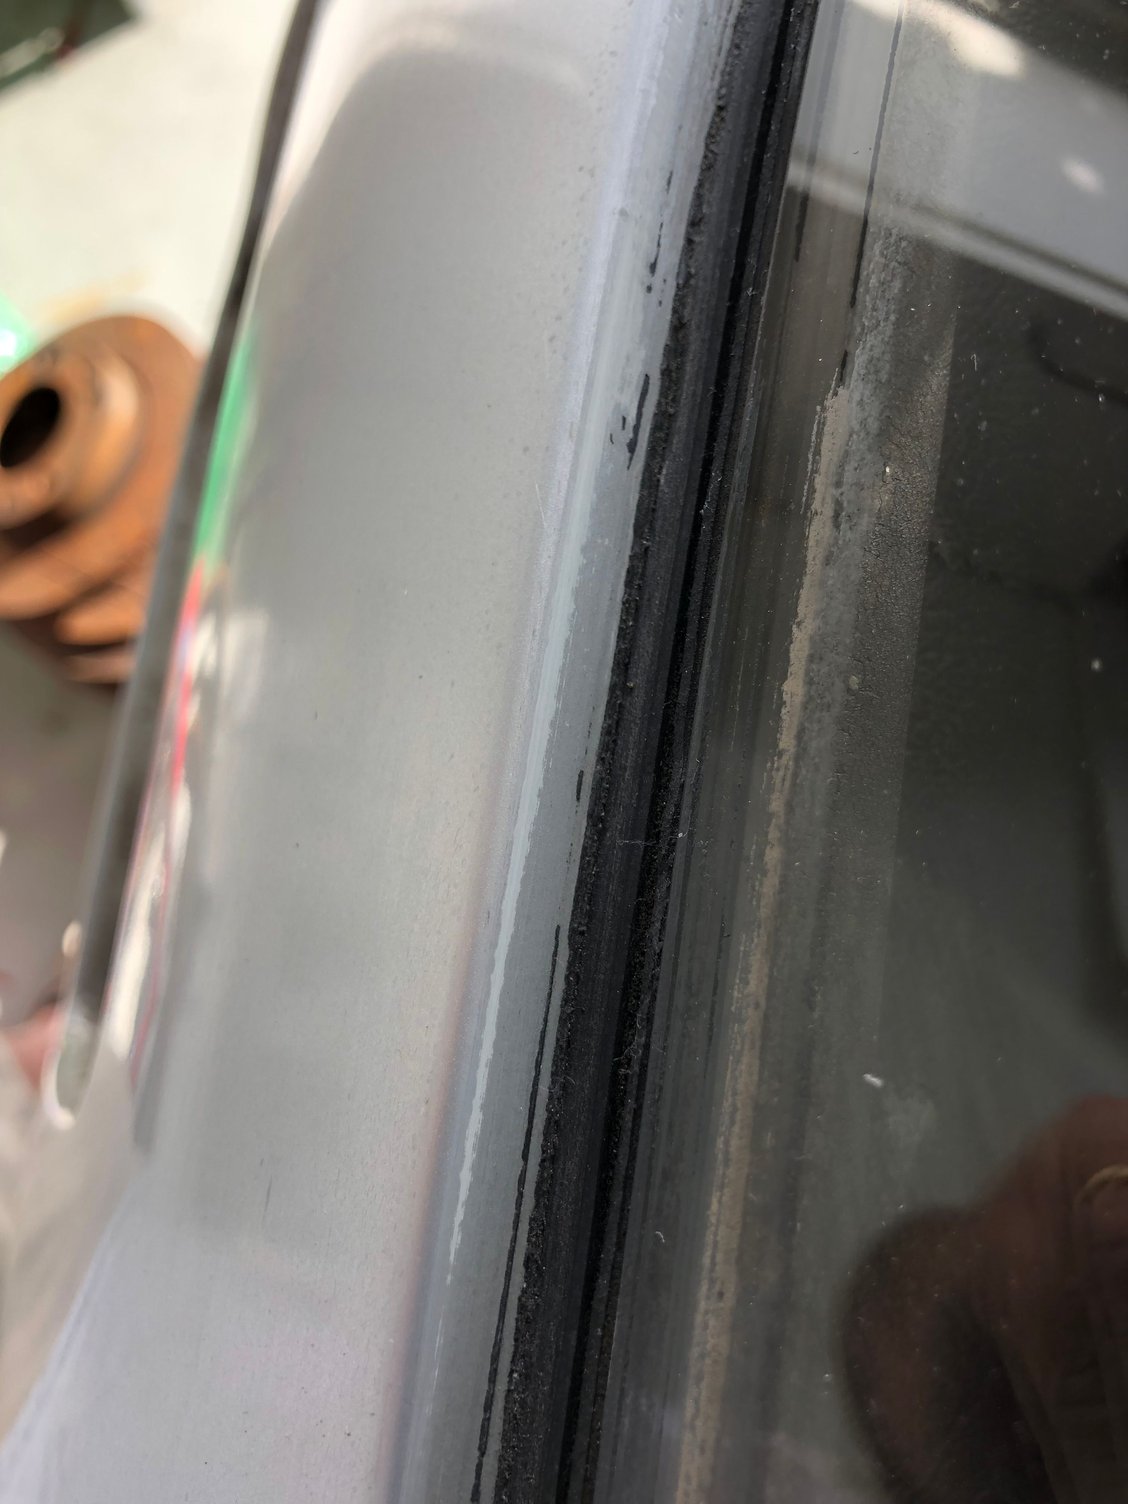
Regarding the rear quarter windows. We have cut away all of the exterior rubber on the glass. The glass will now be removed by pushing them in (later). see attached image of this gutter . New gaskets will be used at assy.
285 series are excellent quality.. As good as any undercoat collection by any manufacturer. There are a lot of better (economically and performance) options within the 285 series primers than 285-21. 285-21 is an excellent primer "filler". That's why it doesn't contain the DTM qualities. If it did, then it would be problematic for use where primer "fillers" are needed instead of "surfacers". It's the way that it was designed. 1K etch primers will help, but it won't be nearly as good as using a better suited primer surfacer.
77Tony.
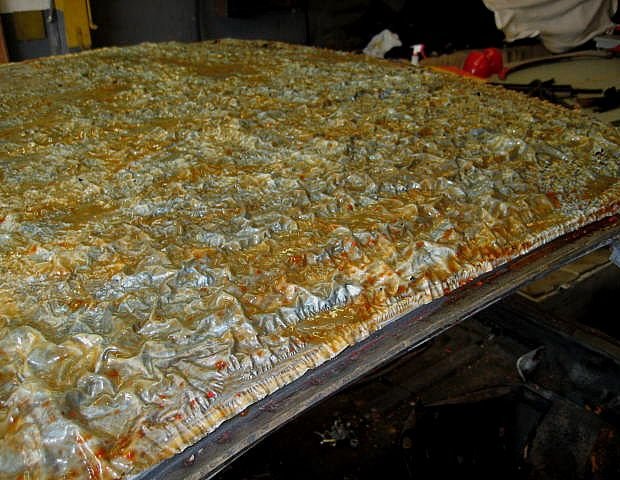
That is an impressive brew! It looks line you got all three layers in one application. I am guessing that AZ still has access to a stripping chemical that are more powerful that was is allowed in Calif? Thanks for sending.
77Tony.
That is an impressive brew! It looks line you got all three layers in one application. I am guessing that AZ still has access to a stripping chemical that are more powerful that was is allowed in Calif? Thanks for sending.
car was stripped while living in TX years back....where you can't legally smoke a measly joint but can buy any strength caustic chemical know to man, then pour all over your car Be sure to thoroughly wash all parts with a baking soda solution after chemically stripping before proceeding (unless Austin says different) Like the way your filling in the ebbs & flows of the FBC T
Be sure to thoroughly wash all parts with a baking soda solution after chemically stripping before proceeding (unless Austin says different)
I have no issue with that process. Just need to be able to get the undercoat application started within 15 minutes of final touch. The aluminum panels are the highest priority so that you will have displaced as much oxidation as possible.
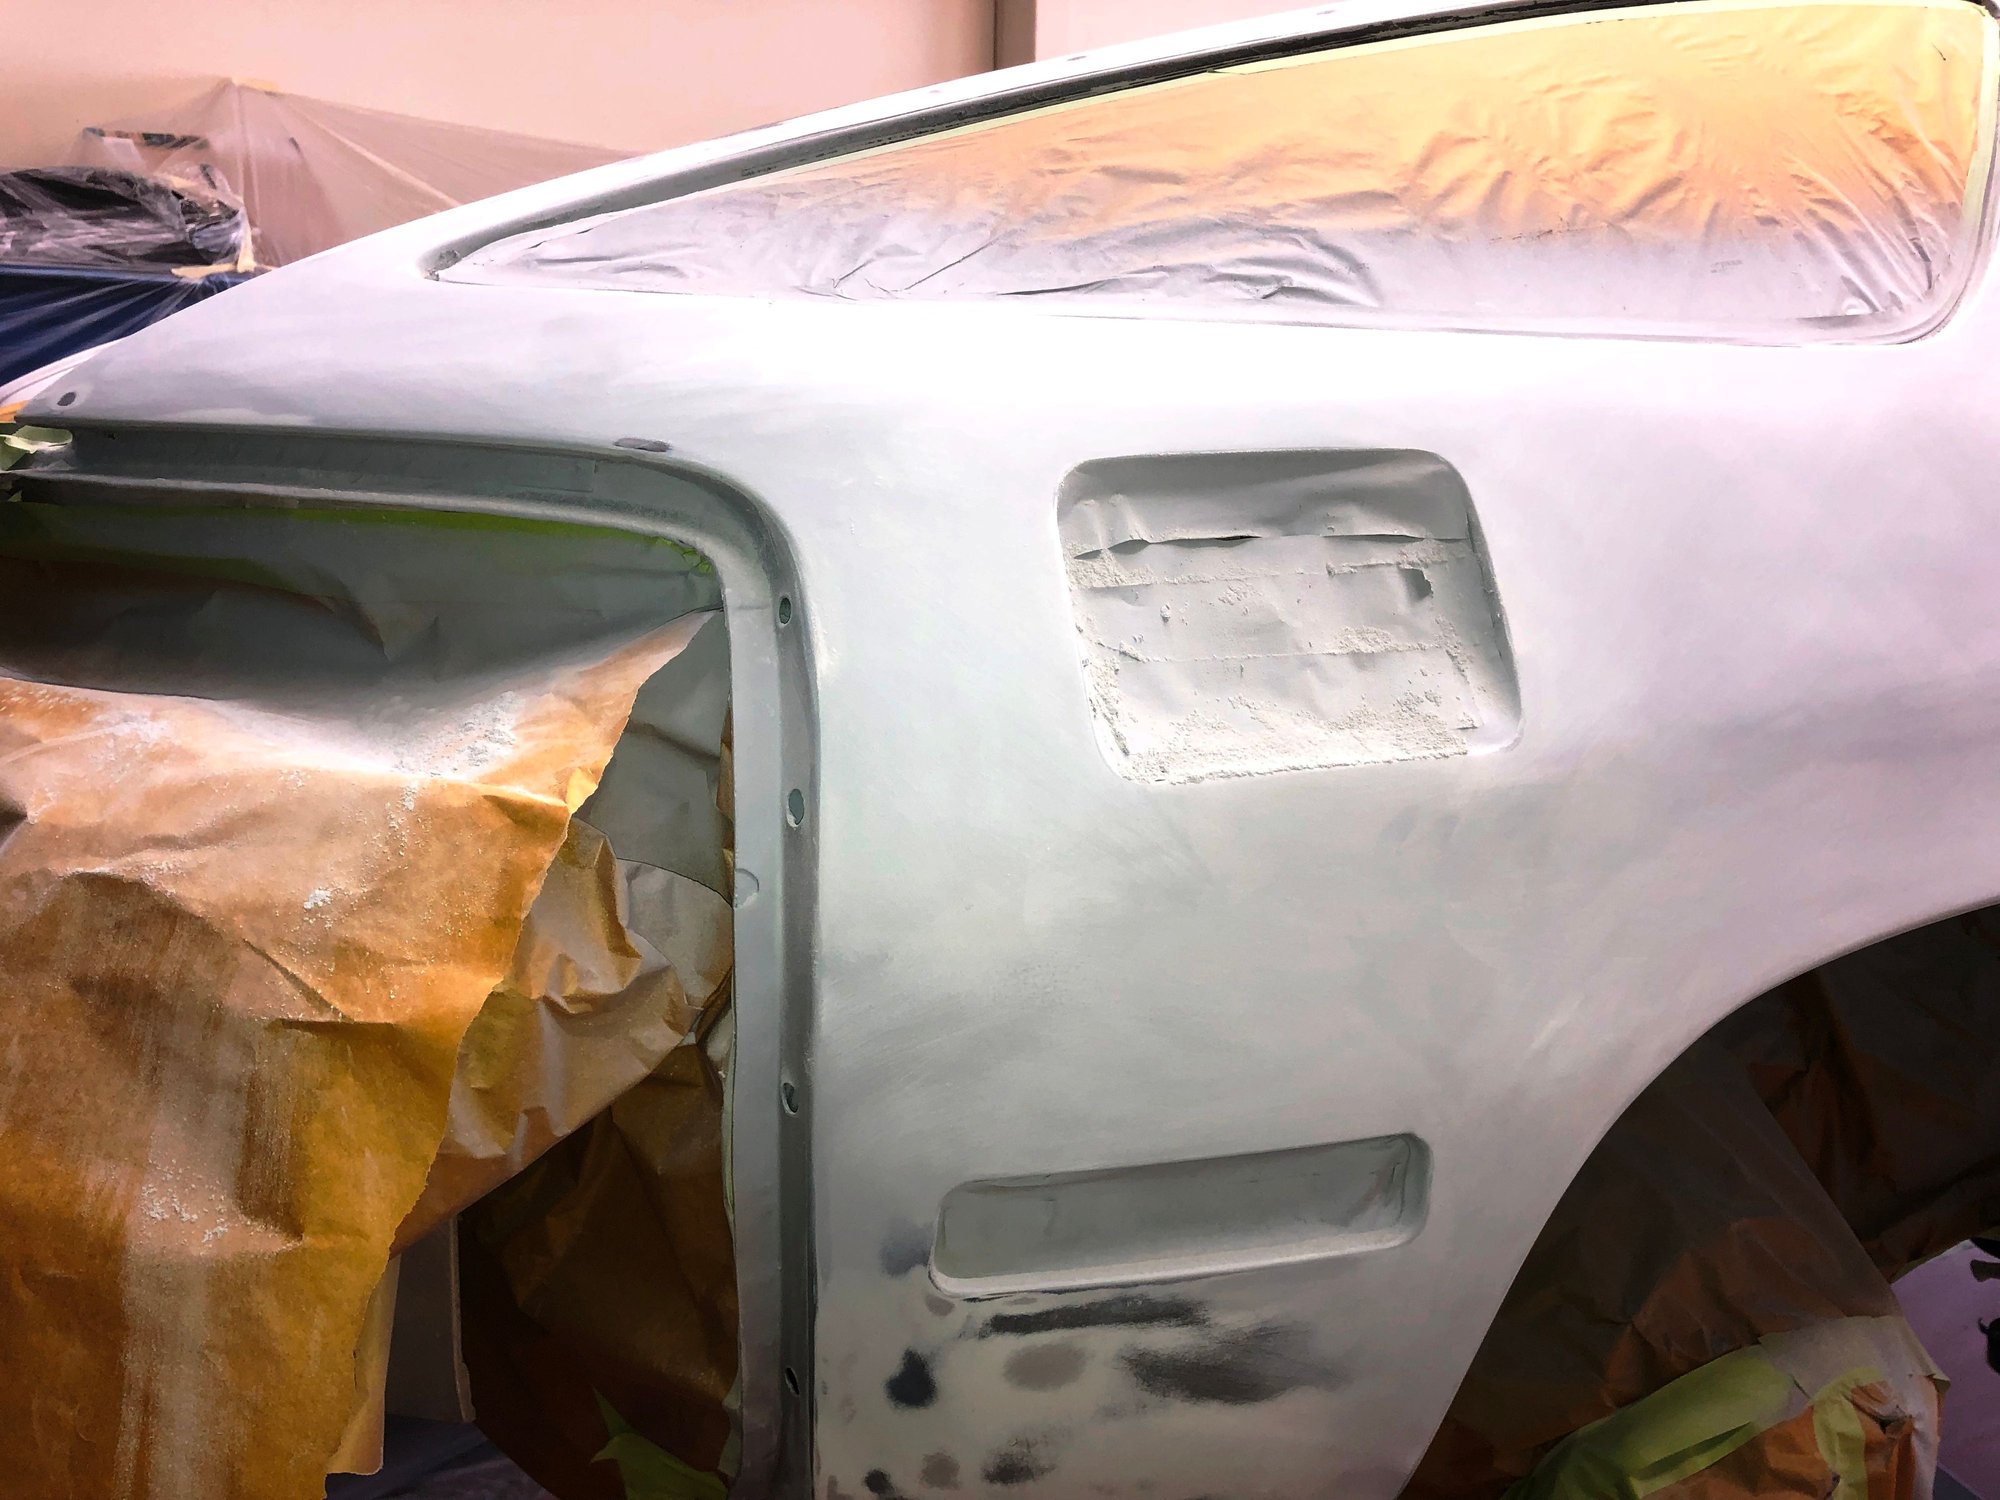
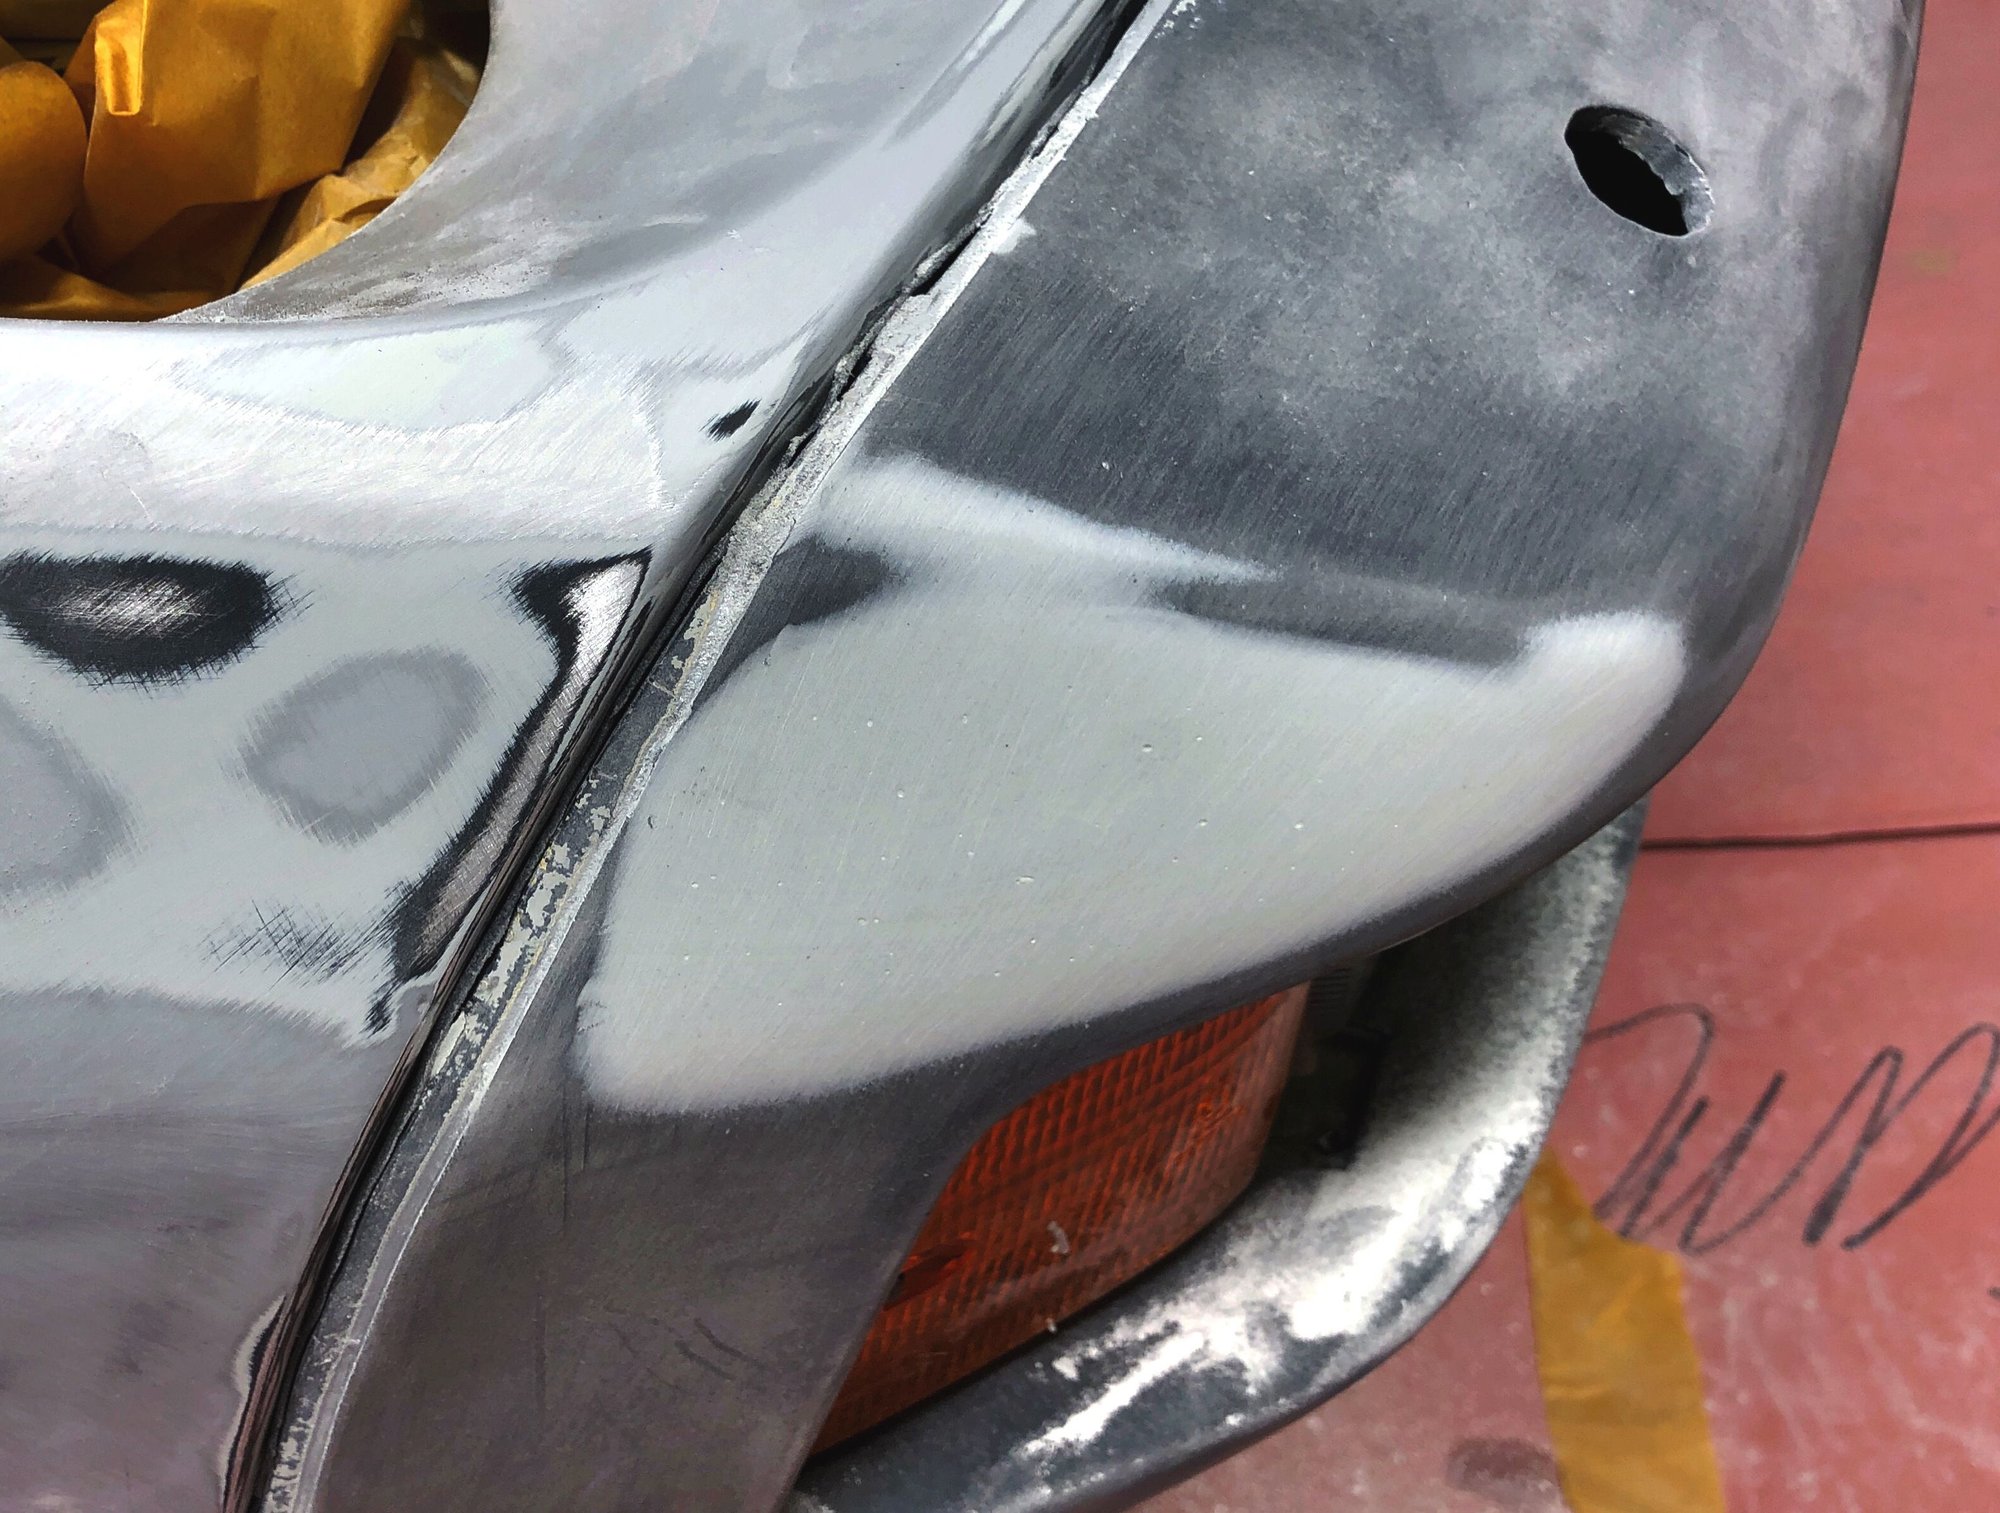
We've started to experiment with the Glasurit primer. One more time.......you get what you pay for. It is sublime to sand. No clogging and provides a high build with two coats. We've been working the FBC and the pass rear fender and pass door. I got hit on the way home from Sharkfest last year with a punk texting will driving his Subaru into the passenger door "sorry dude". Before we cover the entire car in high build we want to get all of the imperfections out of every panel. The pass door is now totally straight. Progress is extremely gratifying but really slow. Day four on rough sanding and only these three panels are done. This fender had a small dent at the front / top of the fender lip. We've spend a lot of time reshaping the concave curve above this lip.
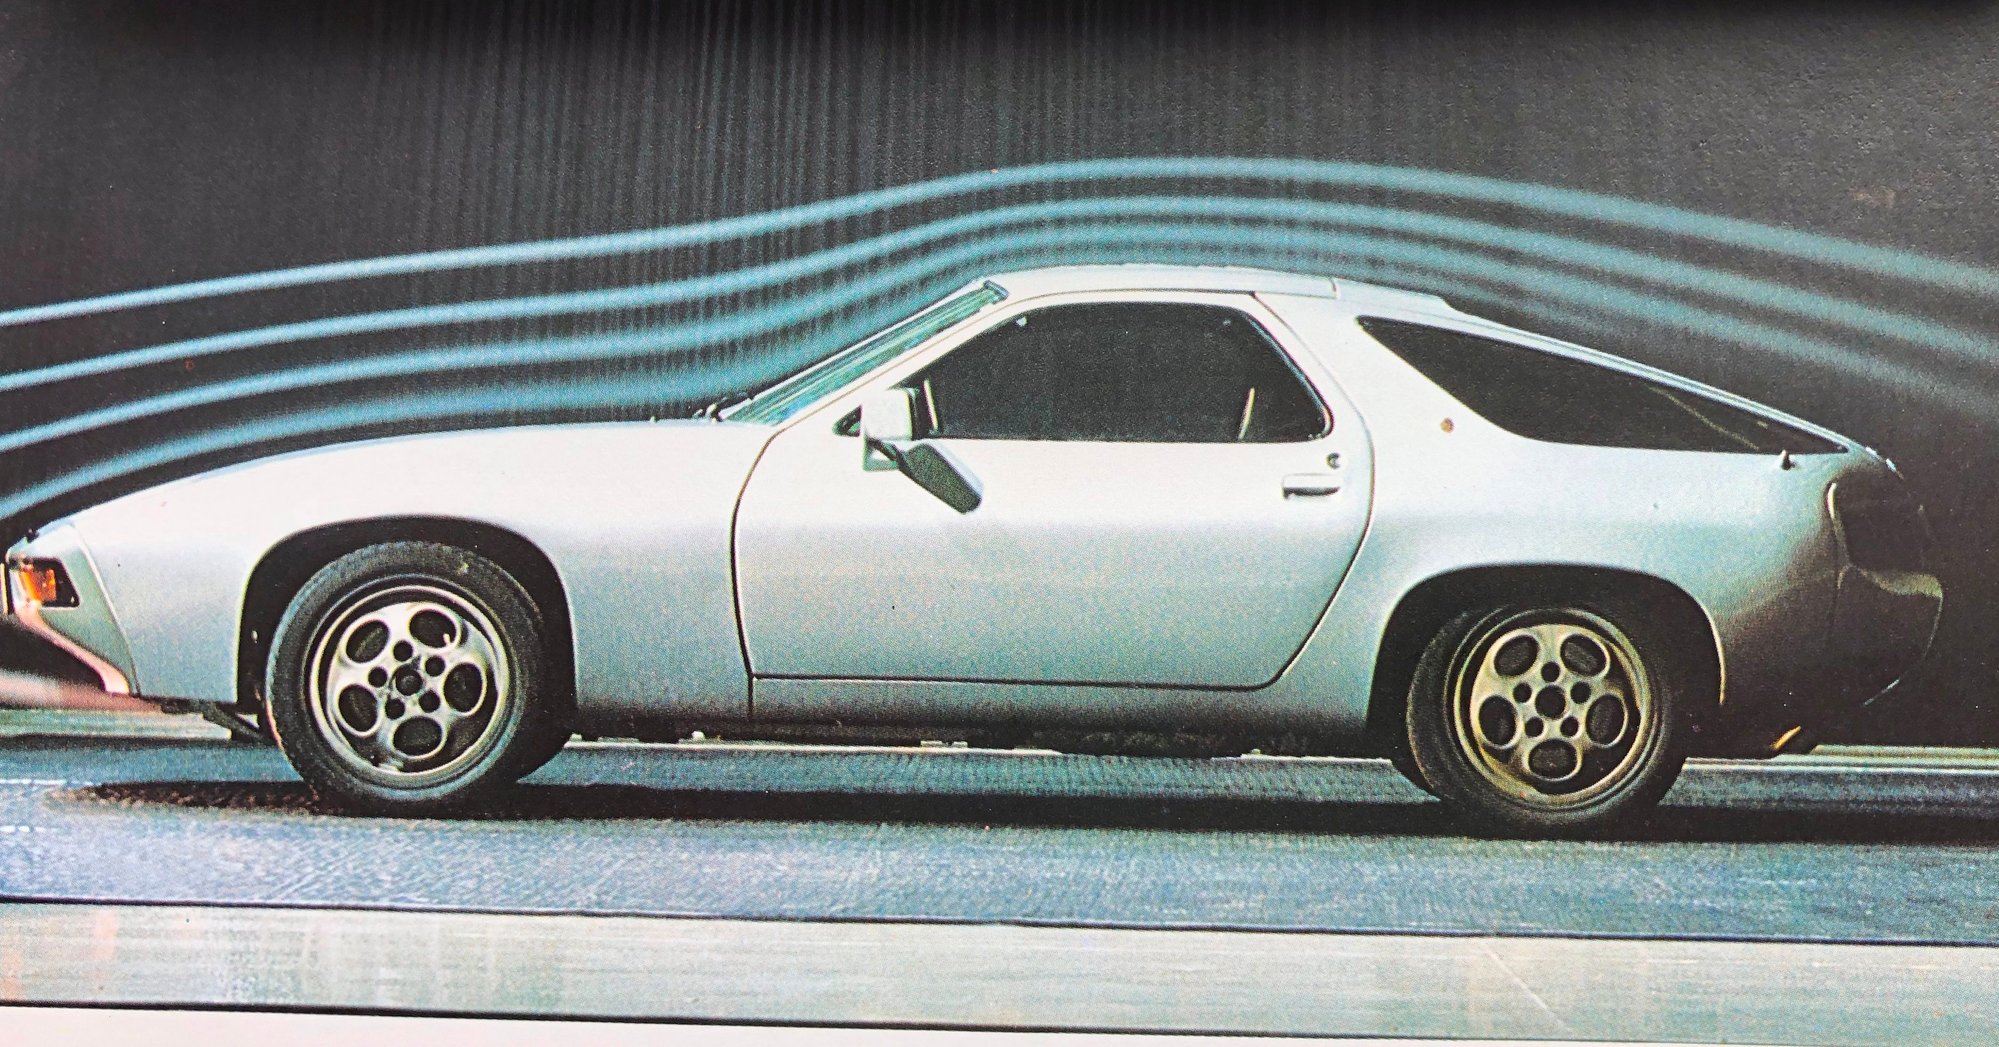
ref. the original concepts in sharpening the shape on 001117
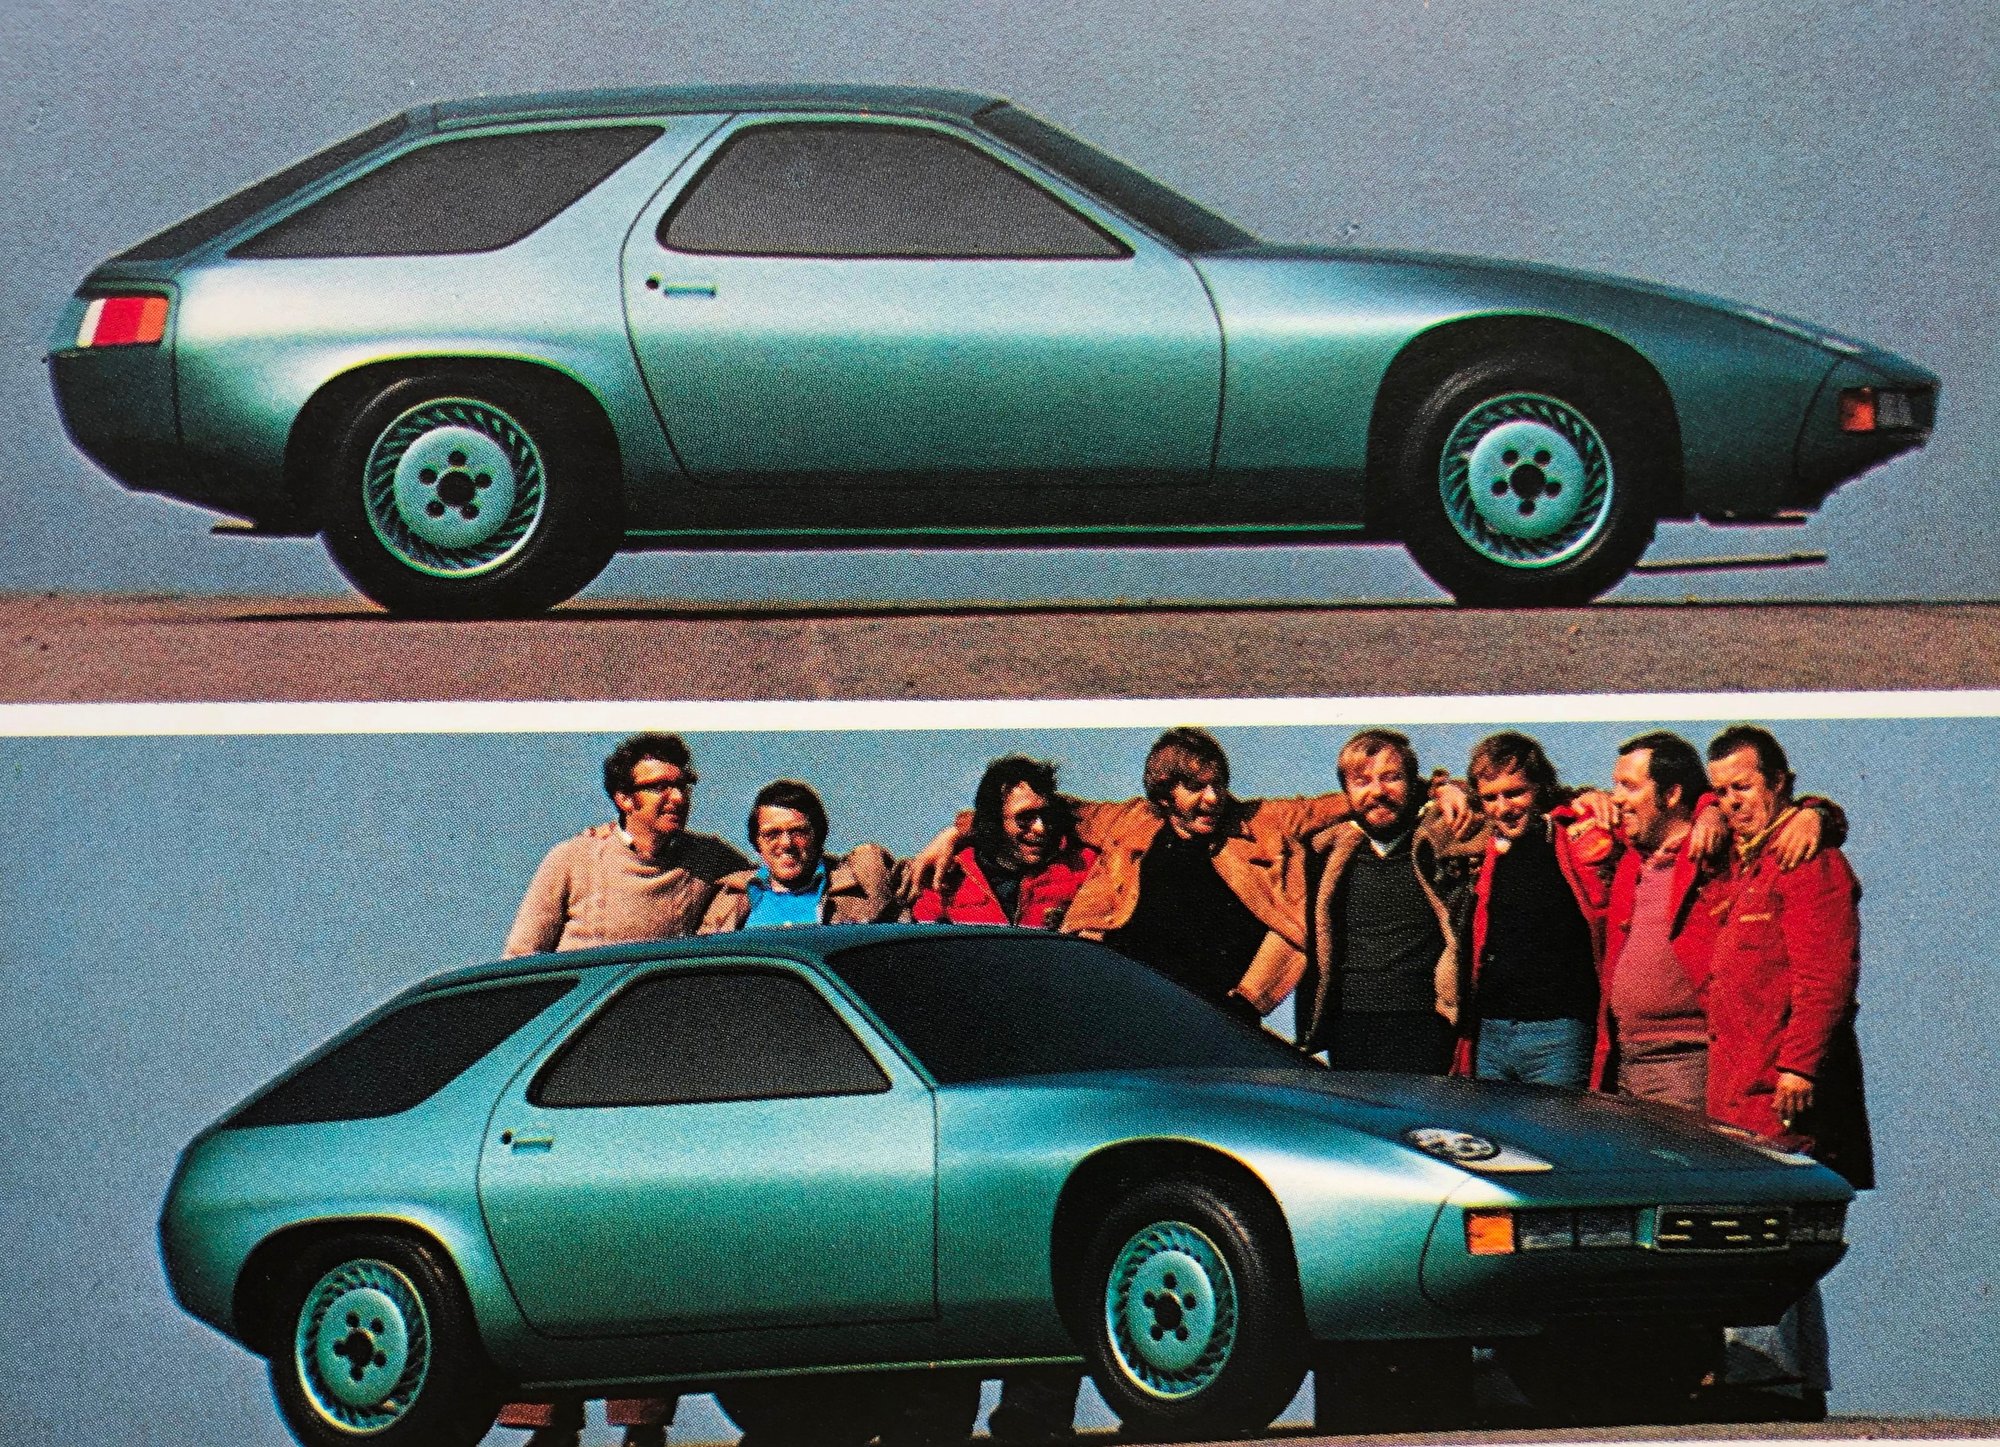
We keep referencing the "PROJECT'' book for exact shape of this rear fender lip. We want to make Mr. Lapine proud it getting it right. The transition of the fender lip forward into the door is very subtle and the swage line above the fender lip is actually up much higher than on this early 1974 concept. note the concave feature on front fenders as the blister transitions into the slab side. Keeping this definition is a high priority using the noodle.
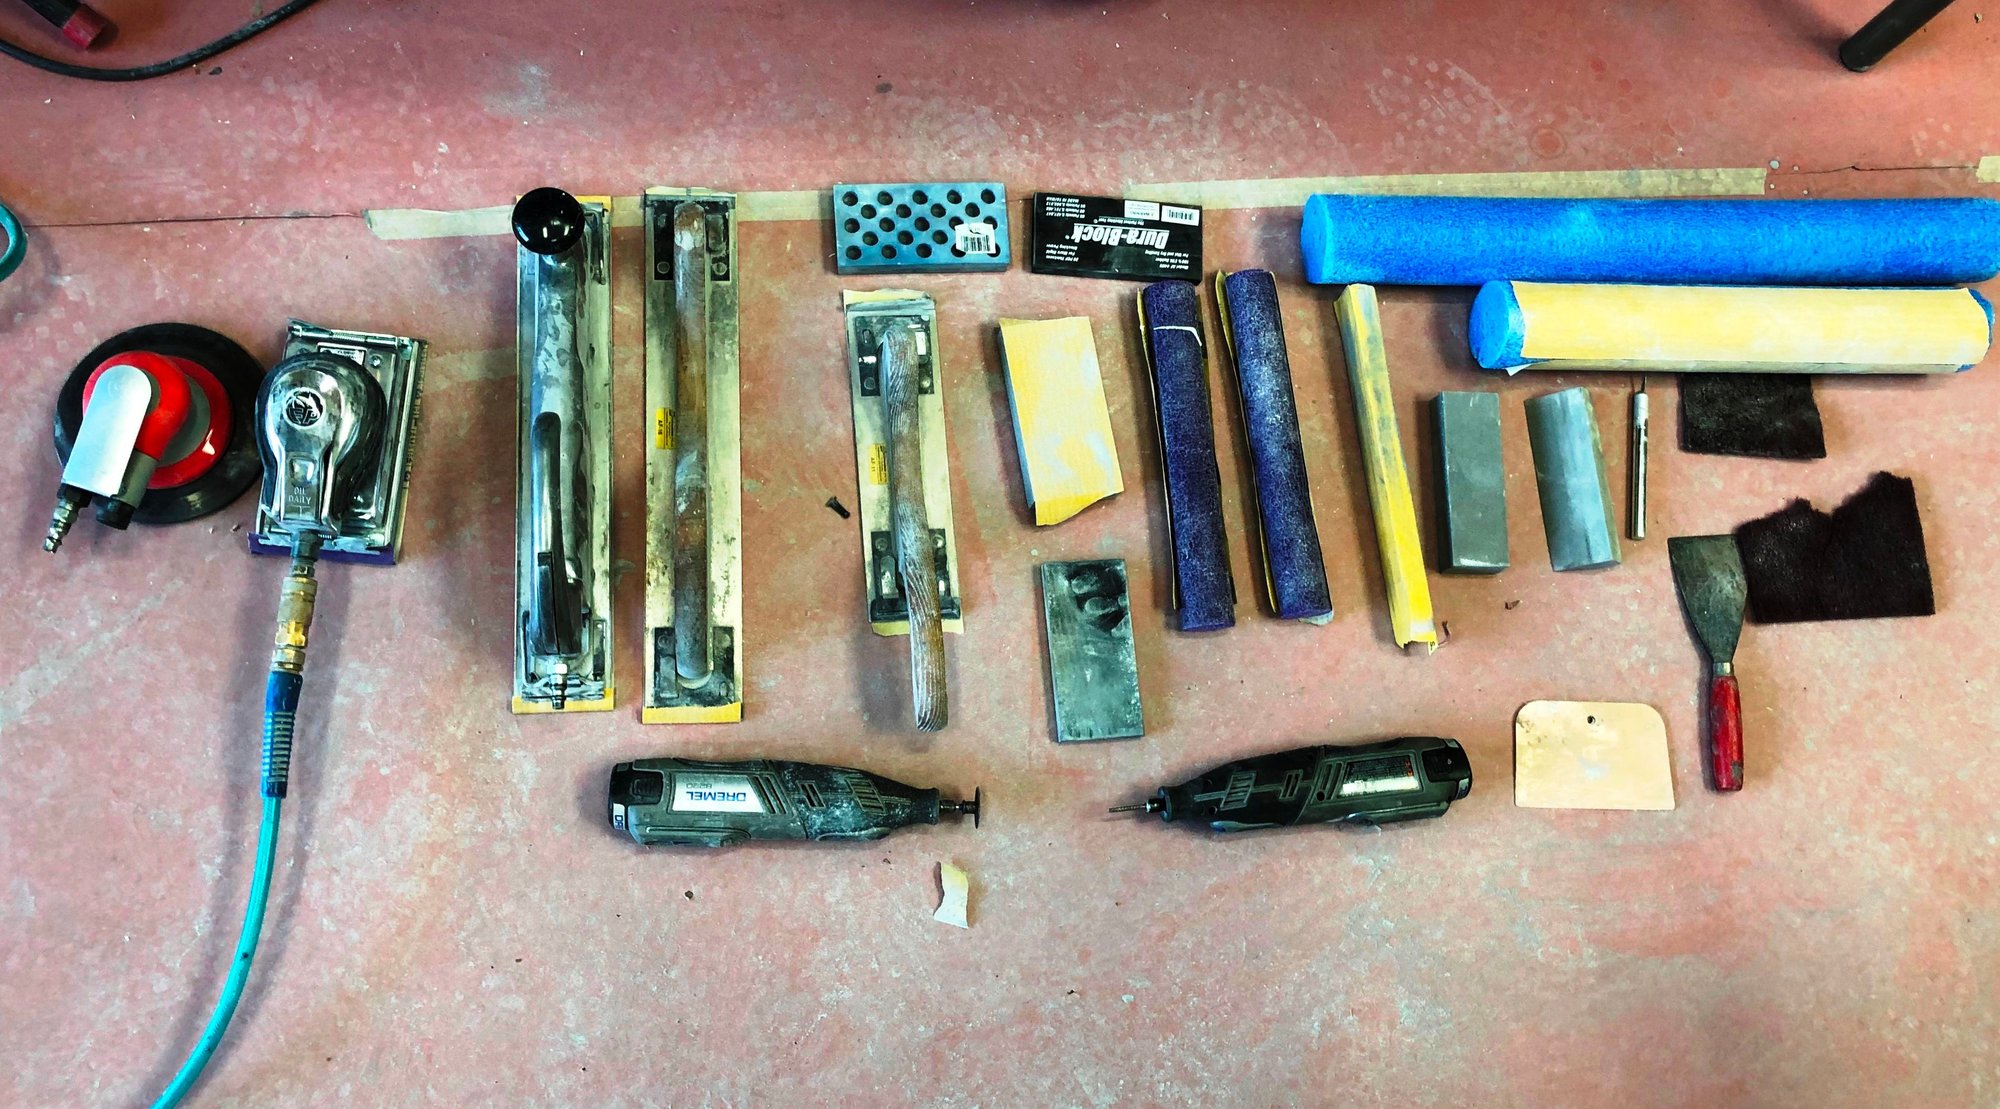
These are quickly becoming the favorite shaping tools. The "noodle'' is cut down to a 1 ft length pool floaty (in blue) and is ideal (in diameter and hardness) to shape the concave features on the front and rear fenders. We are mostly using 120 grit (block & noodle) to get the original clear and base off of each panel. Then immediately transitioning to 220 grit with smaller black sanders and getting into the corners and detail work.
ref. the original concepts in sharpening the shape on 001117
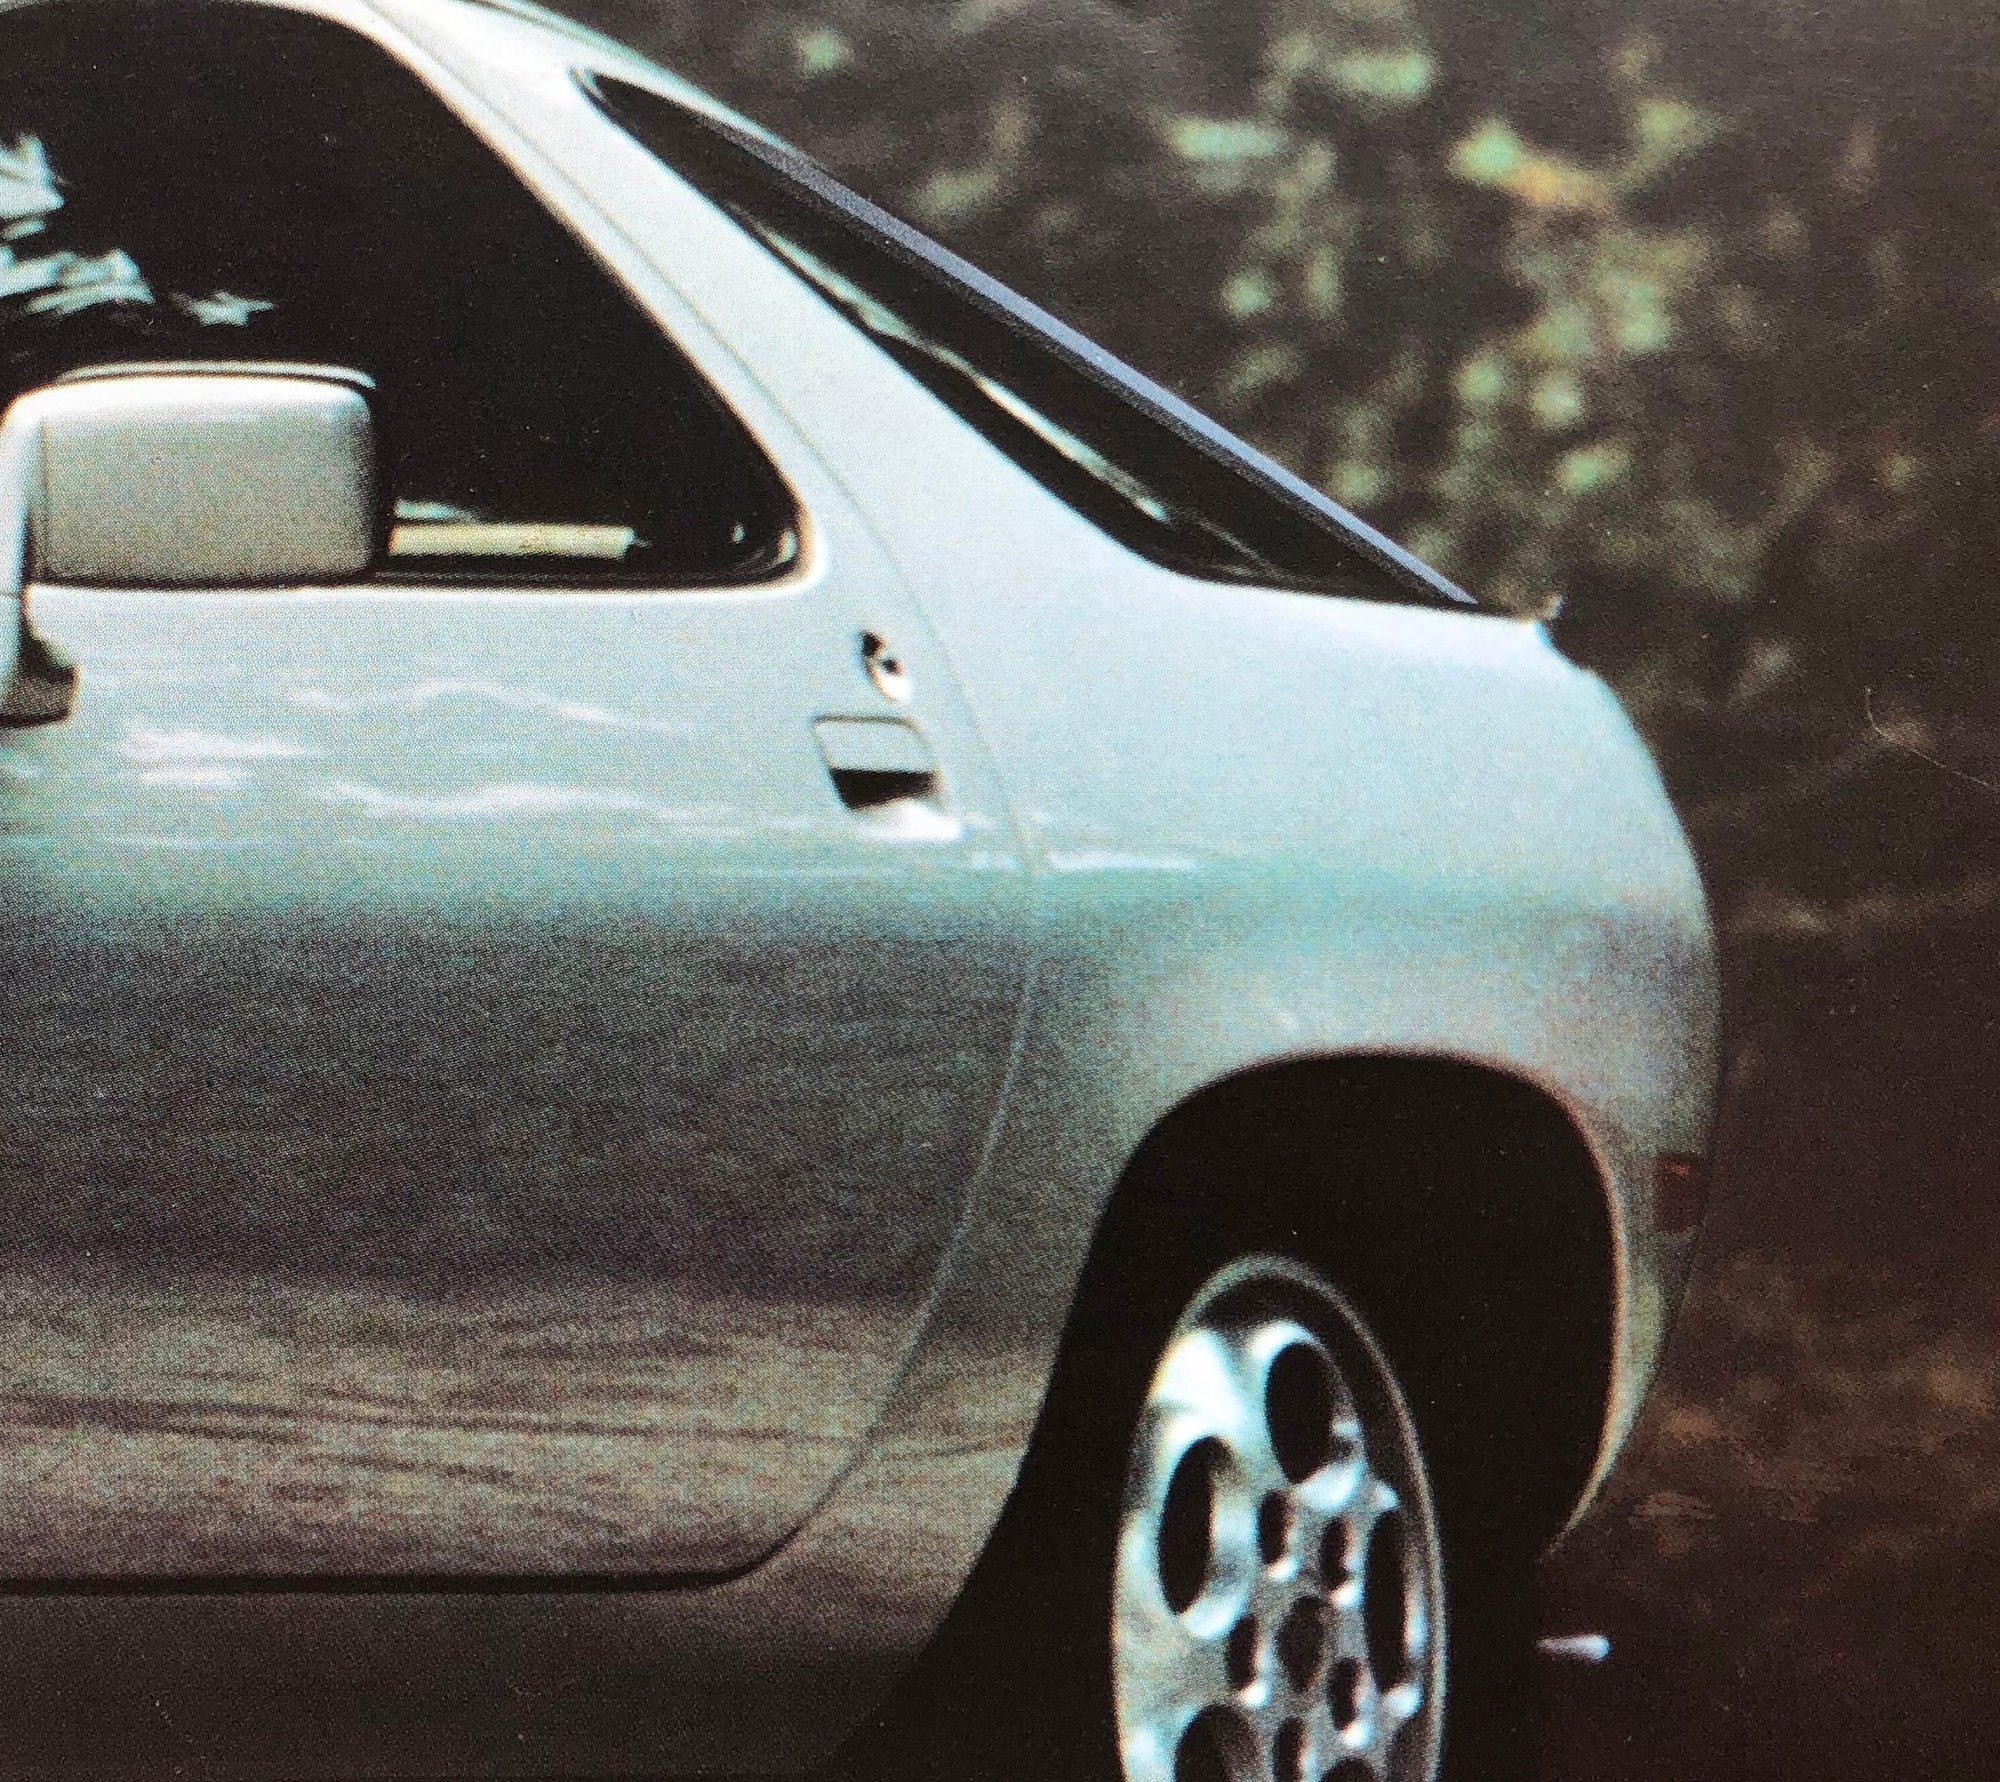
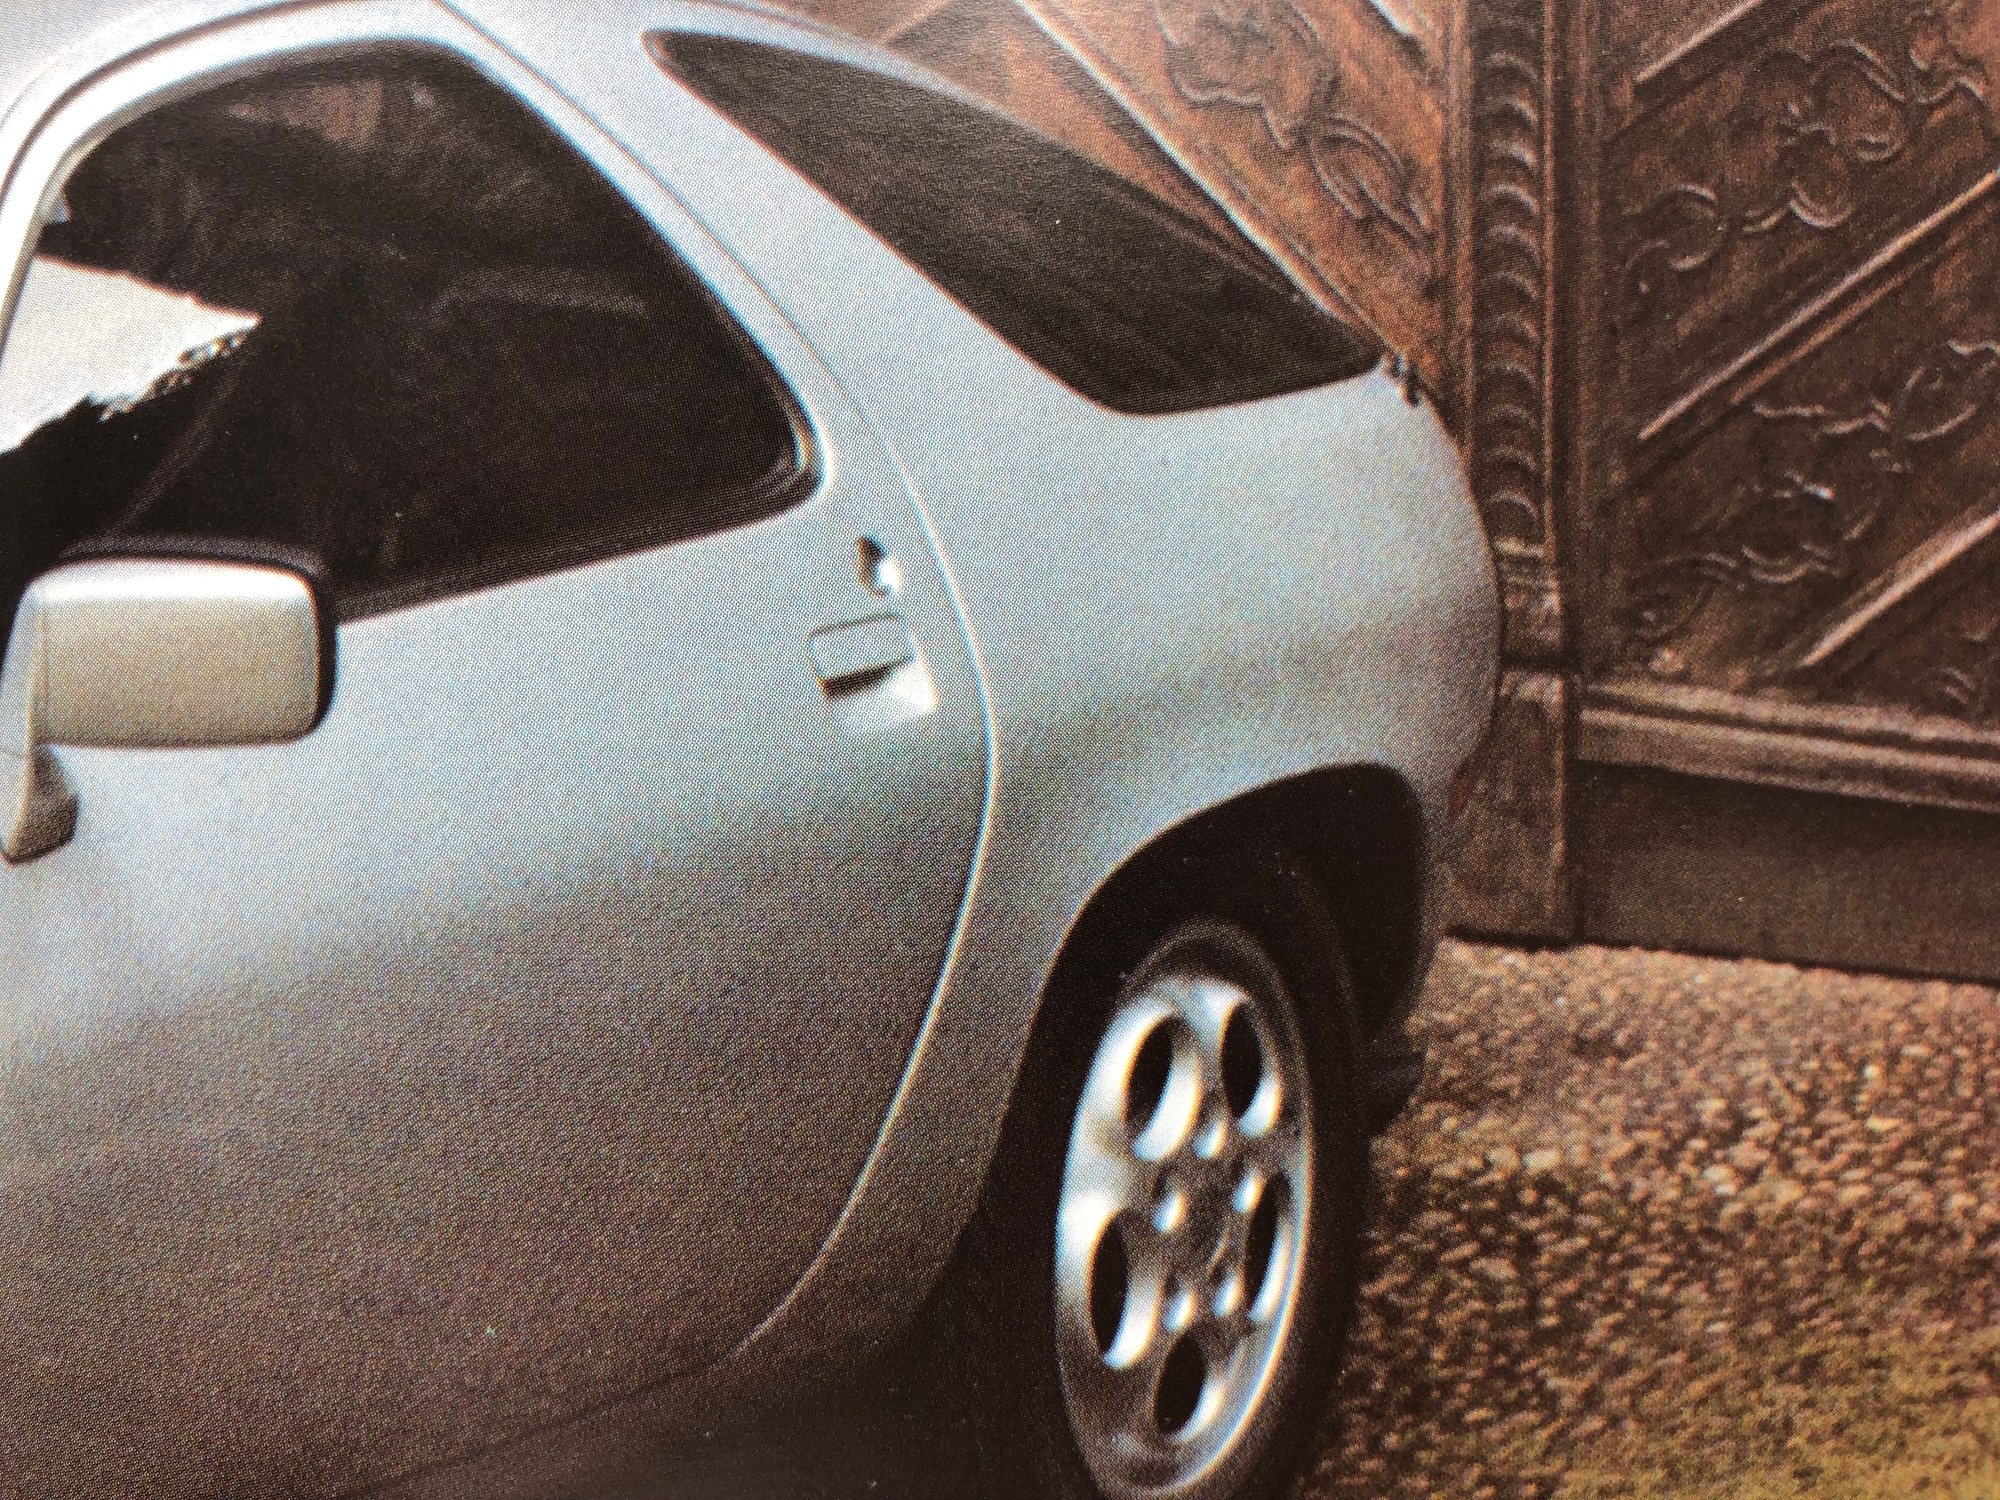
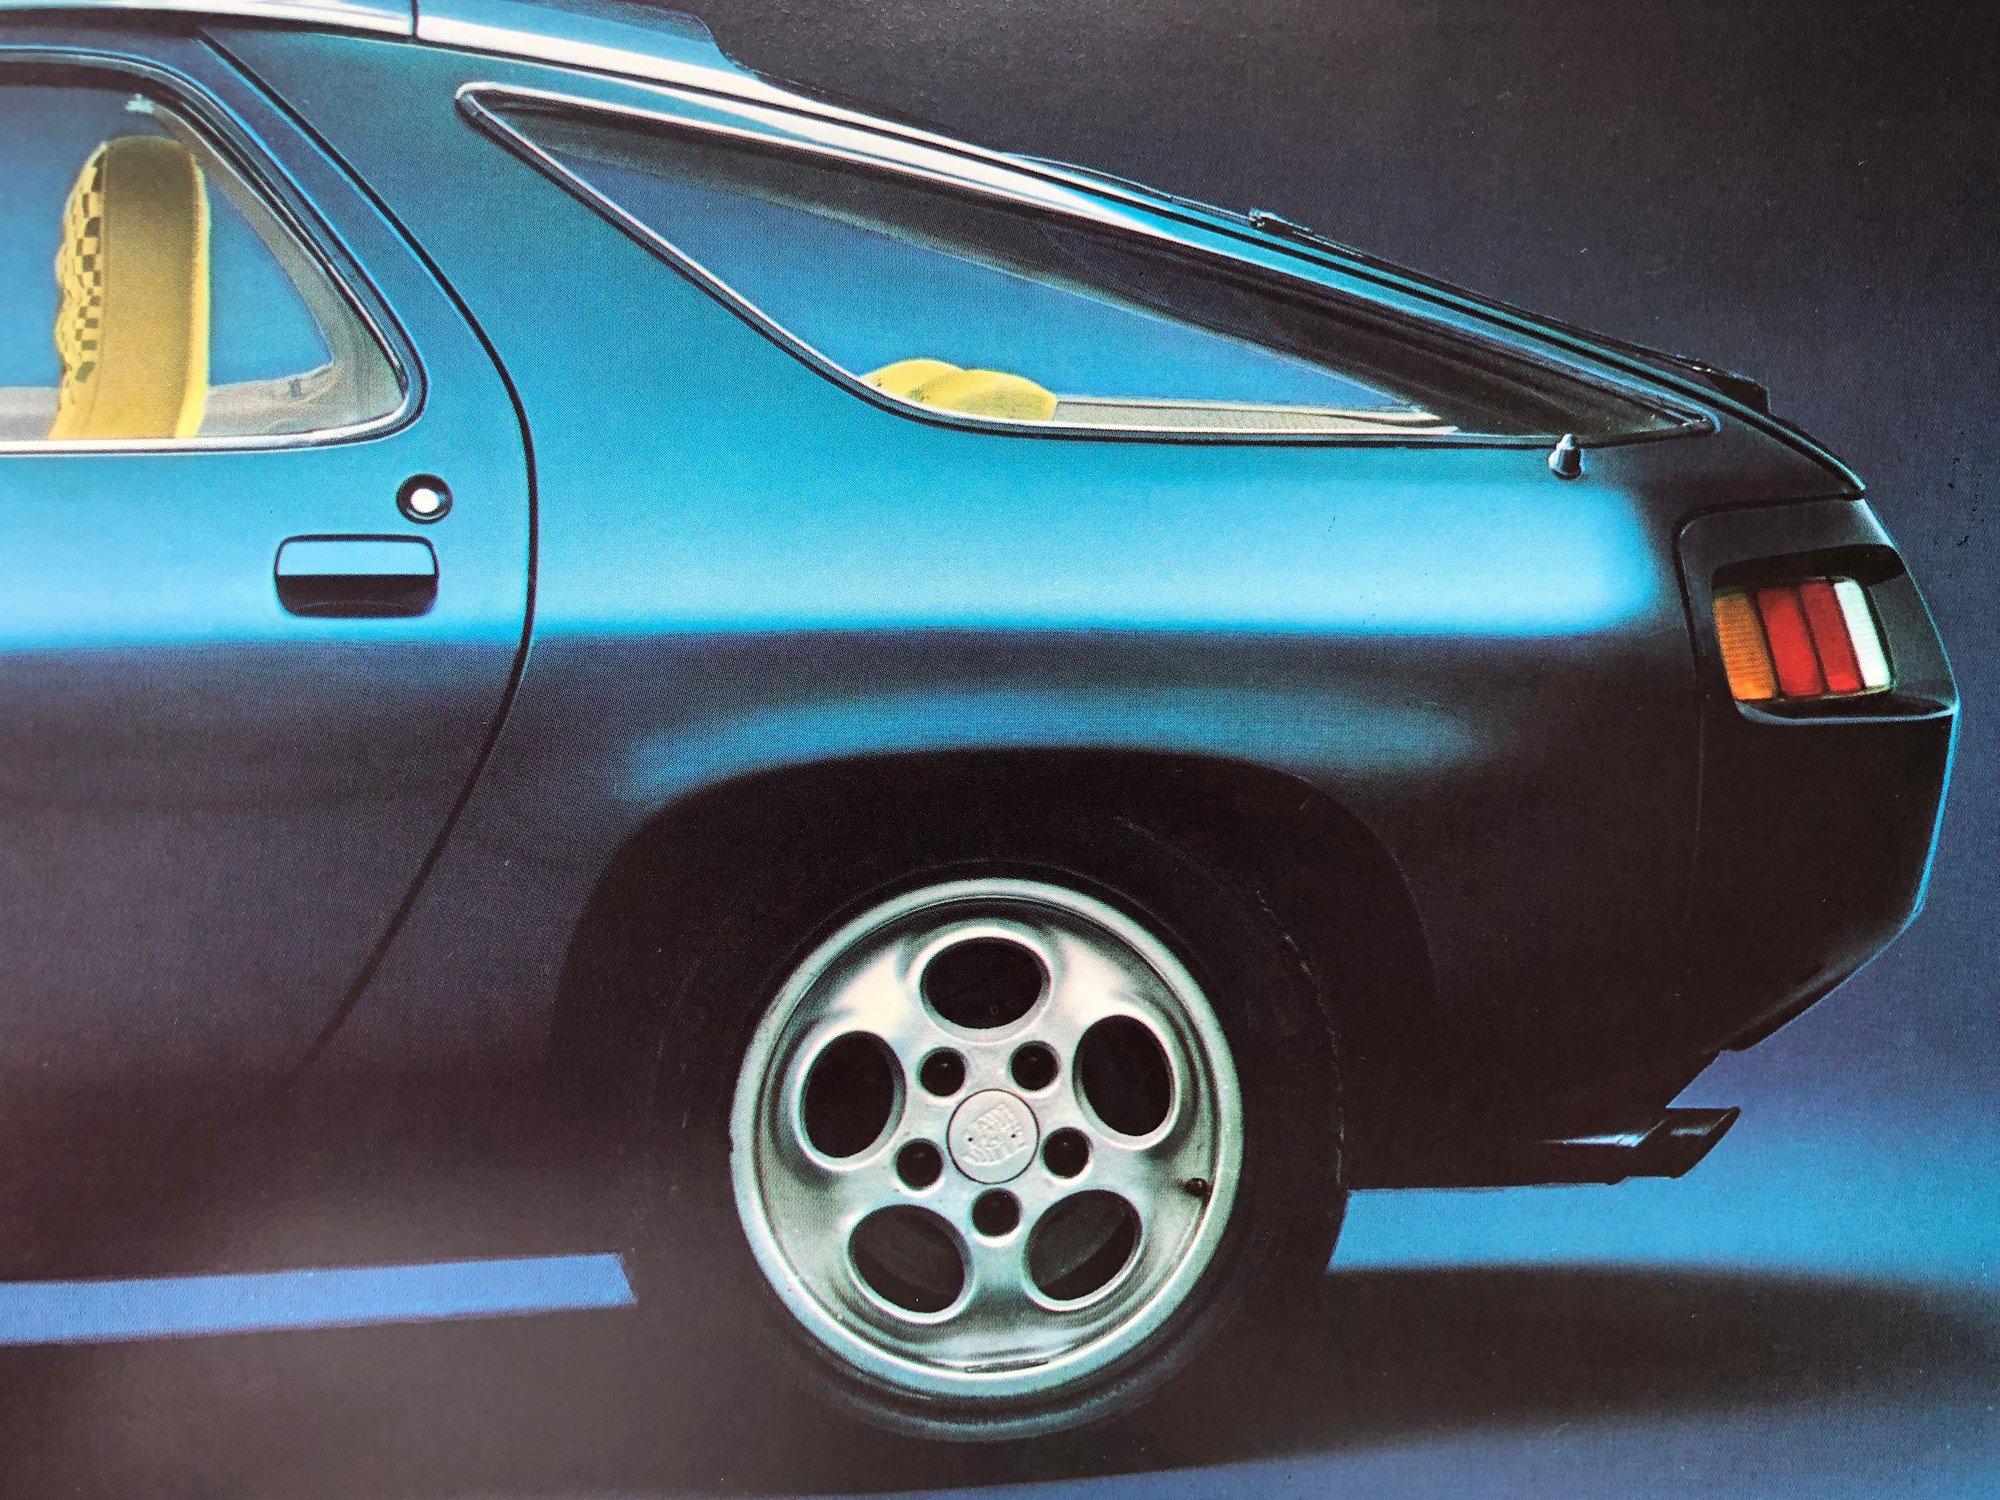
Here are some more images. The differences are pretty significant. Again, these are taken from early (preproduction) literature and Project. almost no definition as the lip transitions into the rear quarter swage line Better image of production reality Exaggerated image with down lighting / dark color. The most subtle. The most beautiful IMO.


 07-19-2019, 03:32 PM


 Be sure to thoroughly wash all parts with a baking soda solution after chemically stripping before proceeding (unless Austin says different) Like the way your filling in the ebbs & flows of the FBC
  T
T