When you click on links to various merchants on this site and make a purchase, this can result in this site earning a commission. Affiliate programs and affiliations include, but are not limited to, the eBay Partner Network.
Paul,
I was just re-reviewing some of your work on the suspension at the beginning of the thread. I like the black paint you used on many of the suspension parts (springs, rear lower control arm, etc.) May I ask what you used?
Your car is looking fantastic, and it's almost DONE!!! You must be super excited!!
Thanks for sharing the project,
Rick
Rick,
Happy to share. The lower control arms (rear) was powder coated in satin black. Ditto the front and rear sway bars. The springs are trickier-you don't send those through a 400 degree heat cycle. Sanded wet with 280 grit then black etching primer (SEM) then UPOL satin black.
Thanks for your kind words on the project and encouragement. Yes, hoping to finish by xmas.
mit, would have loved to have seen^^on our recent trip to Sharktoberfest. Eight years ago, one of the two donor 928's was trailered to 3rd Coast in shambles. Peep's walked right past our the freshly painted Minerva Blue MY94 GTS without a look to get to the wrecked car. Appears people like to view/sit in the 928 in pieces ...as Dan Heber says:" A Pascha Frenzy" outstanding work BTW^^and look forward to seeing her sooner than later T
Herman&Barb 3rd Coast 2011^^ Drifter^^ Dinsdale&Rich^^ Roger/928sRus^^ Da man^^
77Tony,
Thanks for sharing the history on your project. Time flies eh? It is great to put a face to all these name.
A massive THANK YOU to Rob Edwards who put in an afternoon of Passenger door assy. It was slow goin' to get the sequence correct: glass in / glass out, plastic slides in / out / oriented. Then the critical hammering home the extruded aluminum door glass surrounds. After 4 hours we had the glass moving up and down. Continual reflection on the poor bastards on the assy line in June of 1978, doing this over and over. One door kit. This is for the passenger side. Making sure the orientation of the plastic sliders is correct. Drivers side on the left as a reference before installing the new plastic mounts.
The door glass trim really is no joke to install. Glad you all were successful. Sometimes I only need a mallet. I have a set of rubber panel shapers made by Steck that chuck into an air hammer. Sometimes I have to step up to the air hammer. Quite nerve-racking!
Kiln_Red,
I can't image using an impact tool, even with the soft shapers. It is staggering how much force is required to press the window trim into place.
Then the hard work begins - pressing in the edge of the door gaskets into the tiny cavity the entire length of the aluminum extrusion(s). Wow that is slow going. It gives you time to reflect on the seriousness in the design intent. High confidence sealing of a moving piece of glass -at high speed. The door trim / weatherstripping system on the 928 is some exceedingly impressive engineering.
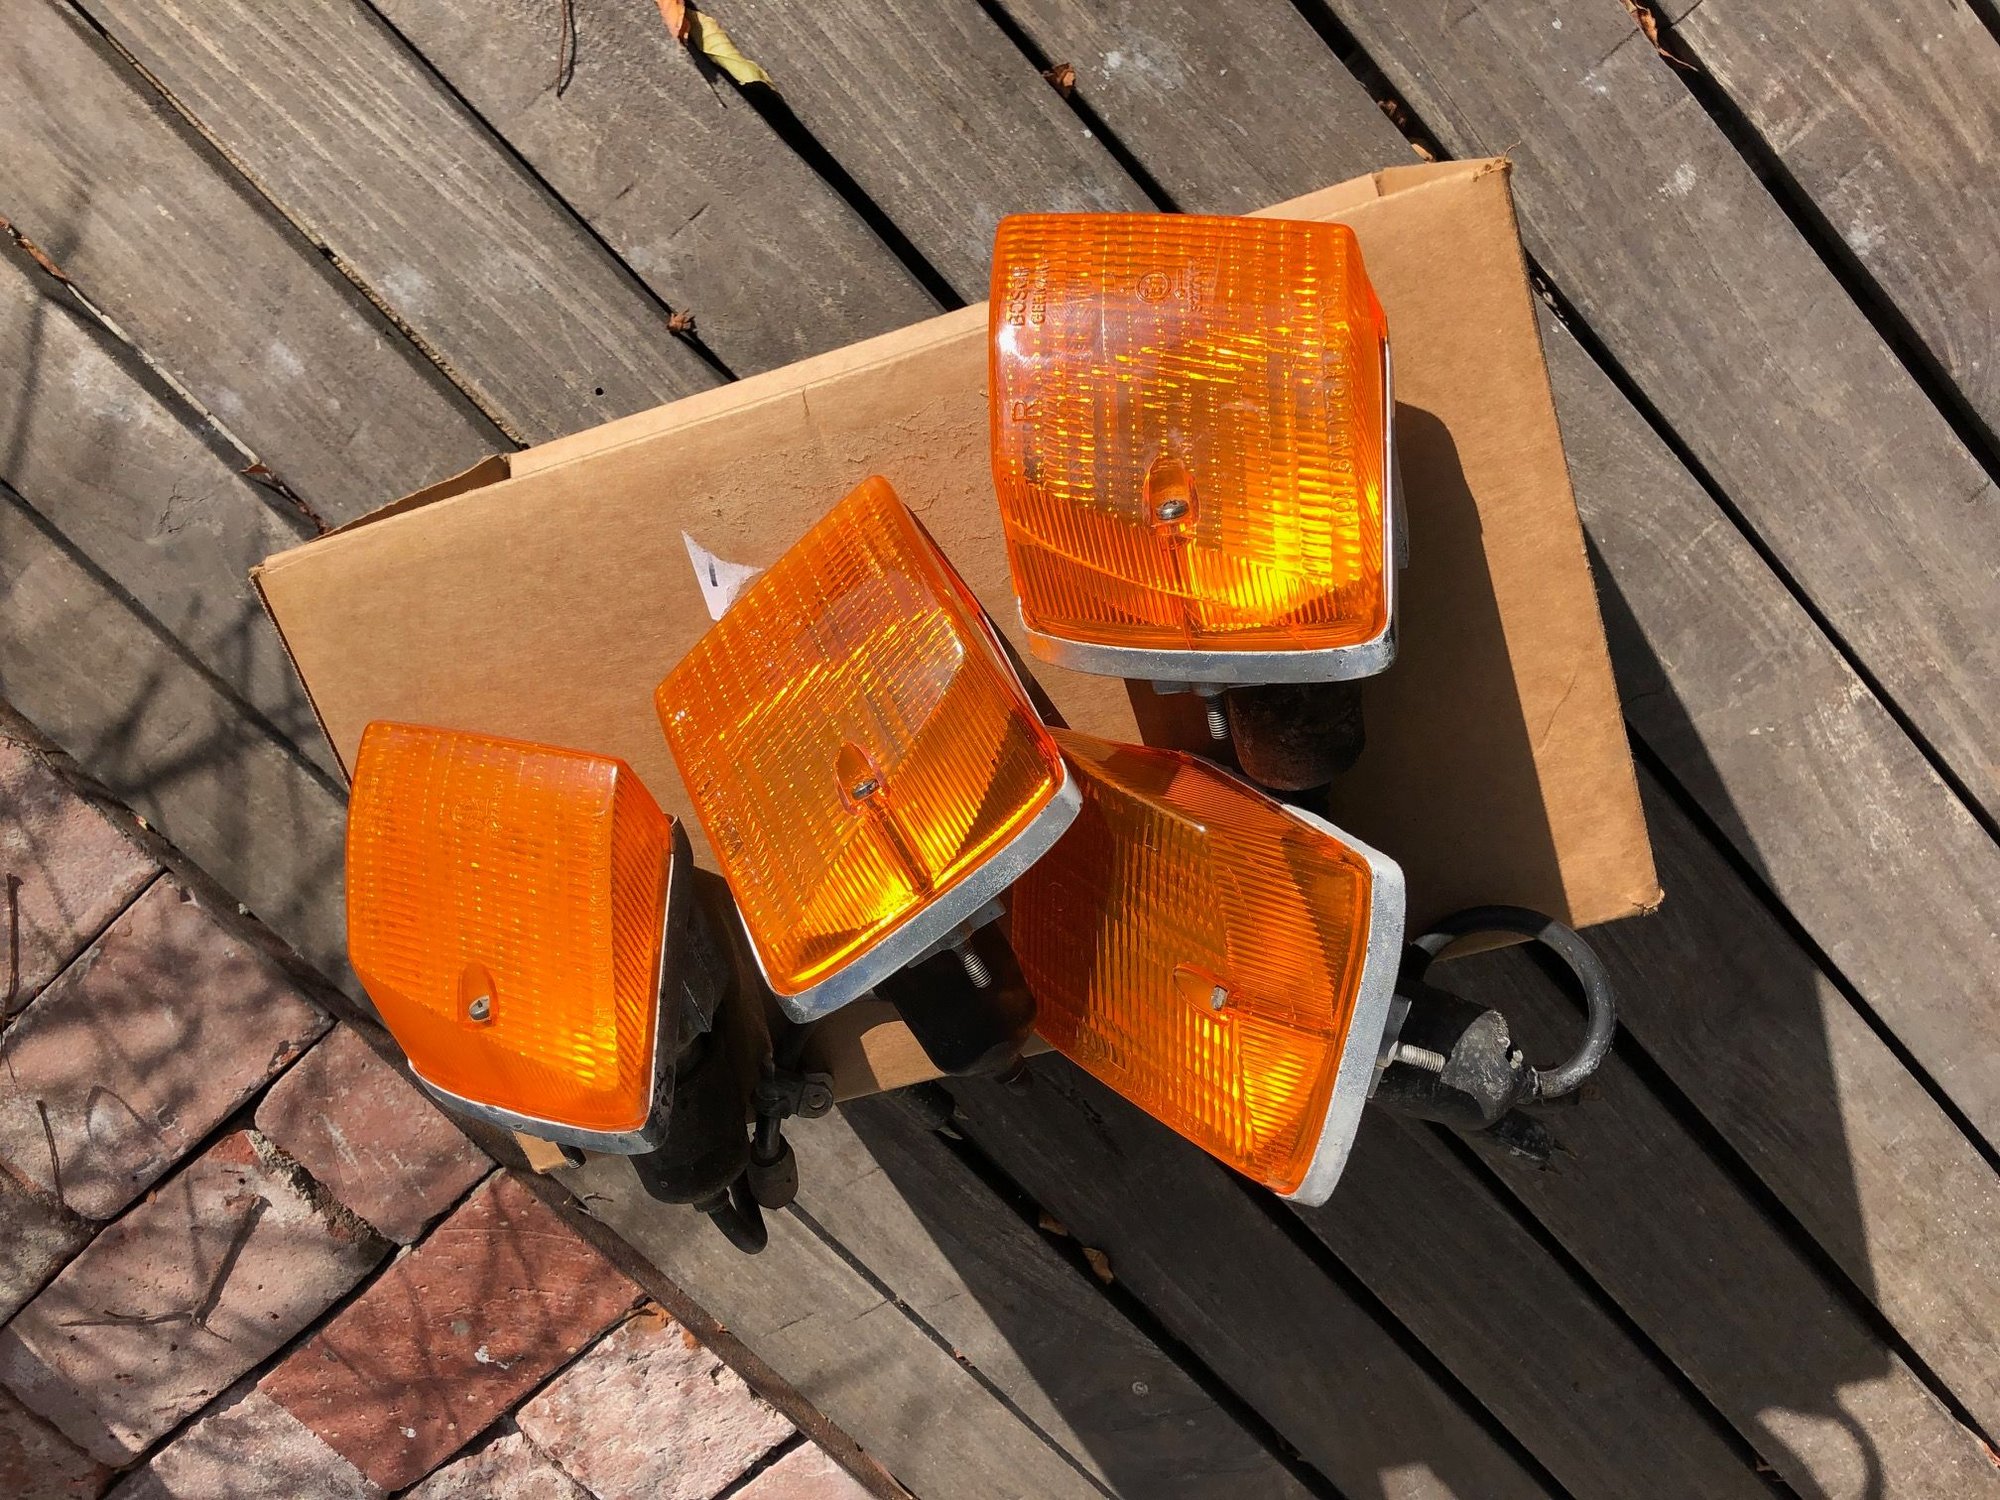
Mark and Tom at 928 Intl let me sort the two boxes of early OB blinker assy. I was trying to find a pair better than what was on 01117. They had at least 30 of each side. I sorted this down to six pieces and took them back to the shop for some polishing. The six pieces became the two for install. Tom now has four very nice pieces back in stock if you are in the market for blinker assemblies. Having this much to chose from is so rare in restorations. Mighty tight to fit these. Removing the lens is mandatory. The final two Extra pairs that have been polished, have no cracks and are back in stock at 928 Intl.
We all recognize the William (Minerva) as the expert in installing rear quarter windows in the 928. It was with some fear that Rob and I attempted this without Williams trial and error experience. William got a hall pass as he was out flogging his GTV across Mexico.
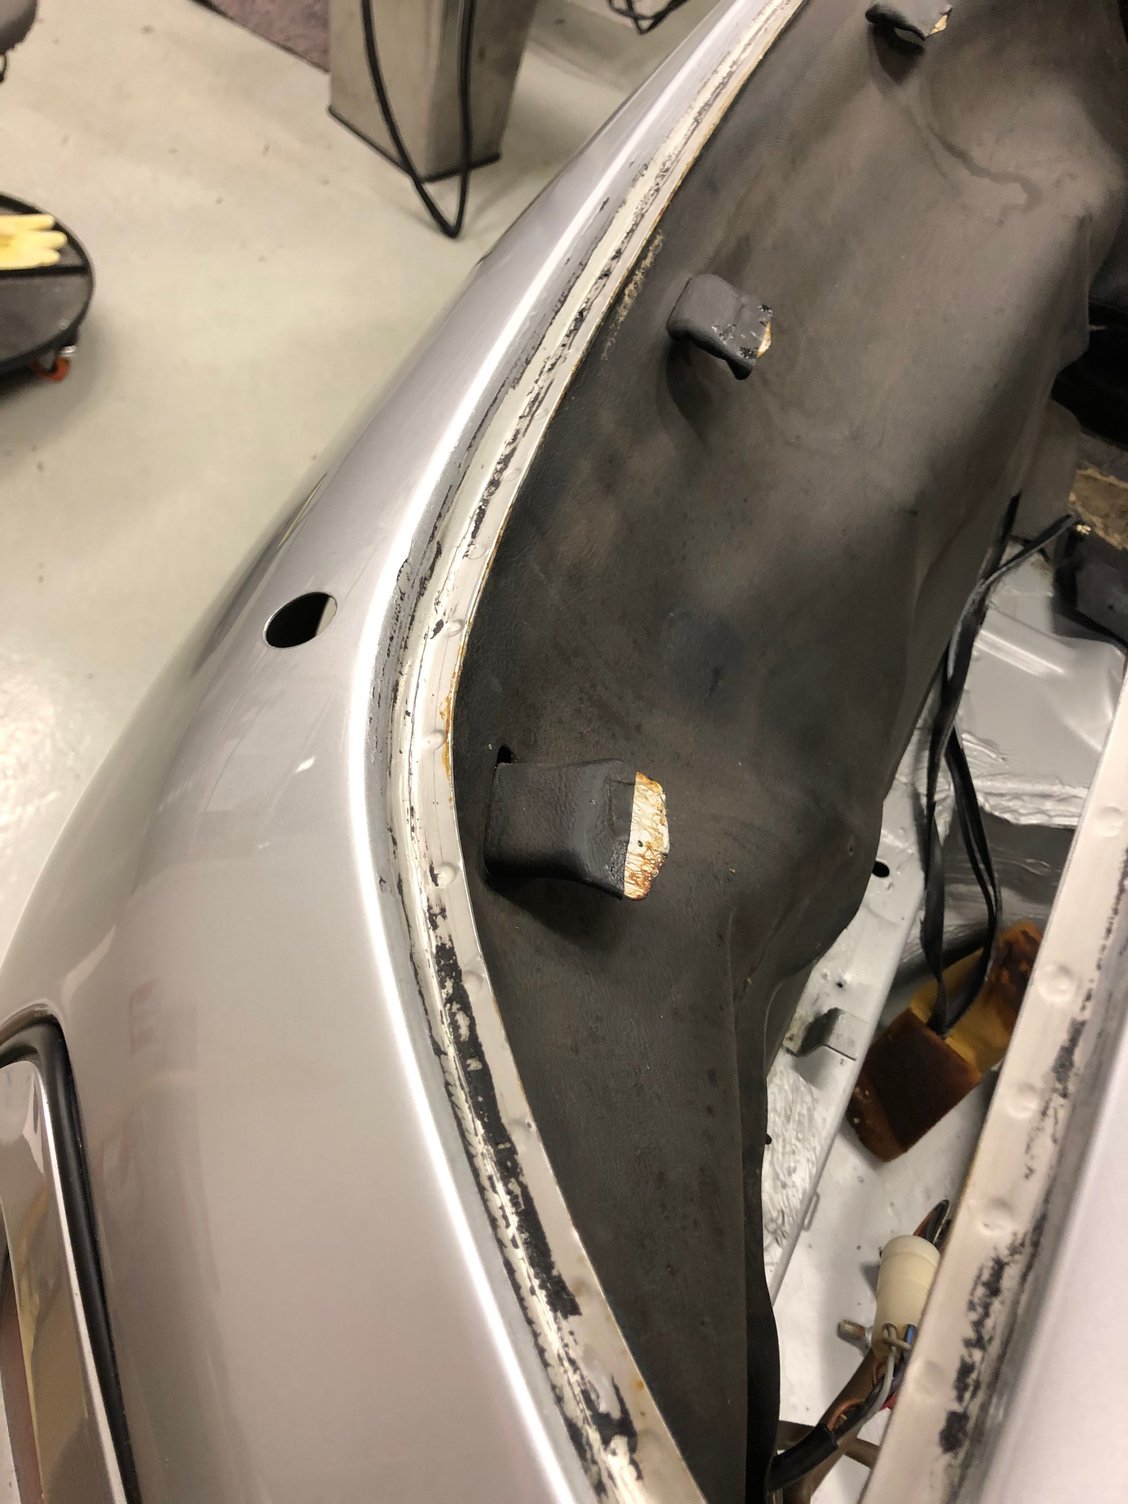
First step was clean out the gutters. There was a concern months ago that there would be rust in the lower edge of these gutters. Happy to report its not an issue. See attached.
After two goes on each side we had them in. All the 'new' black trim was already in place.
Driver side rear quarter window gutter
And done. It was about 4 1/2 hours to do the two windows. We used a 1/8 '' thick rope on the back side to pull the lip over the metal gutters. Tons of p-80 lubricant and all hands on the trim while installing. Weatherstripping adhesive cured overnight and it kept the rear most edge laying down. And done.
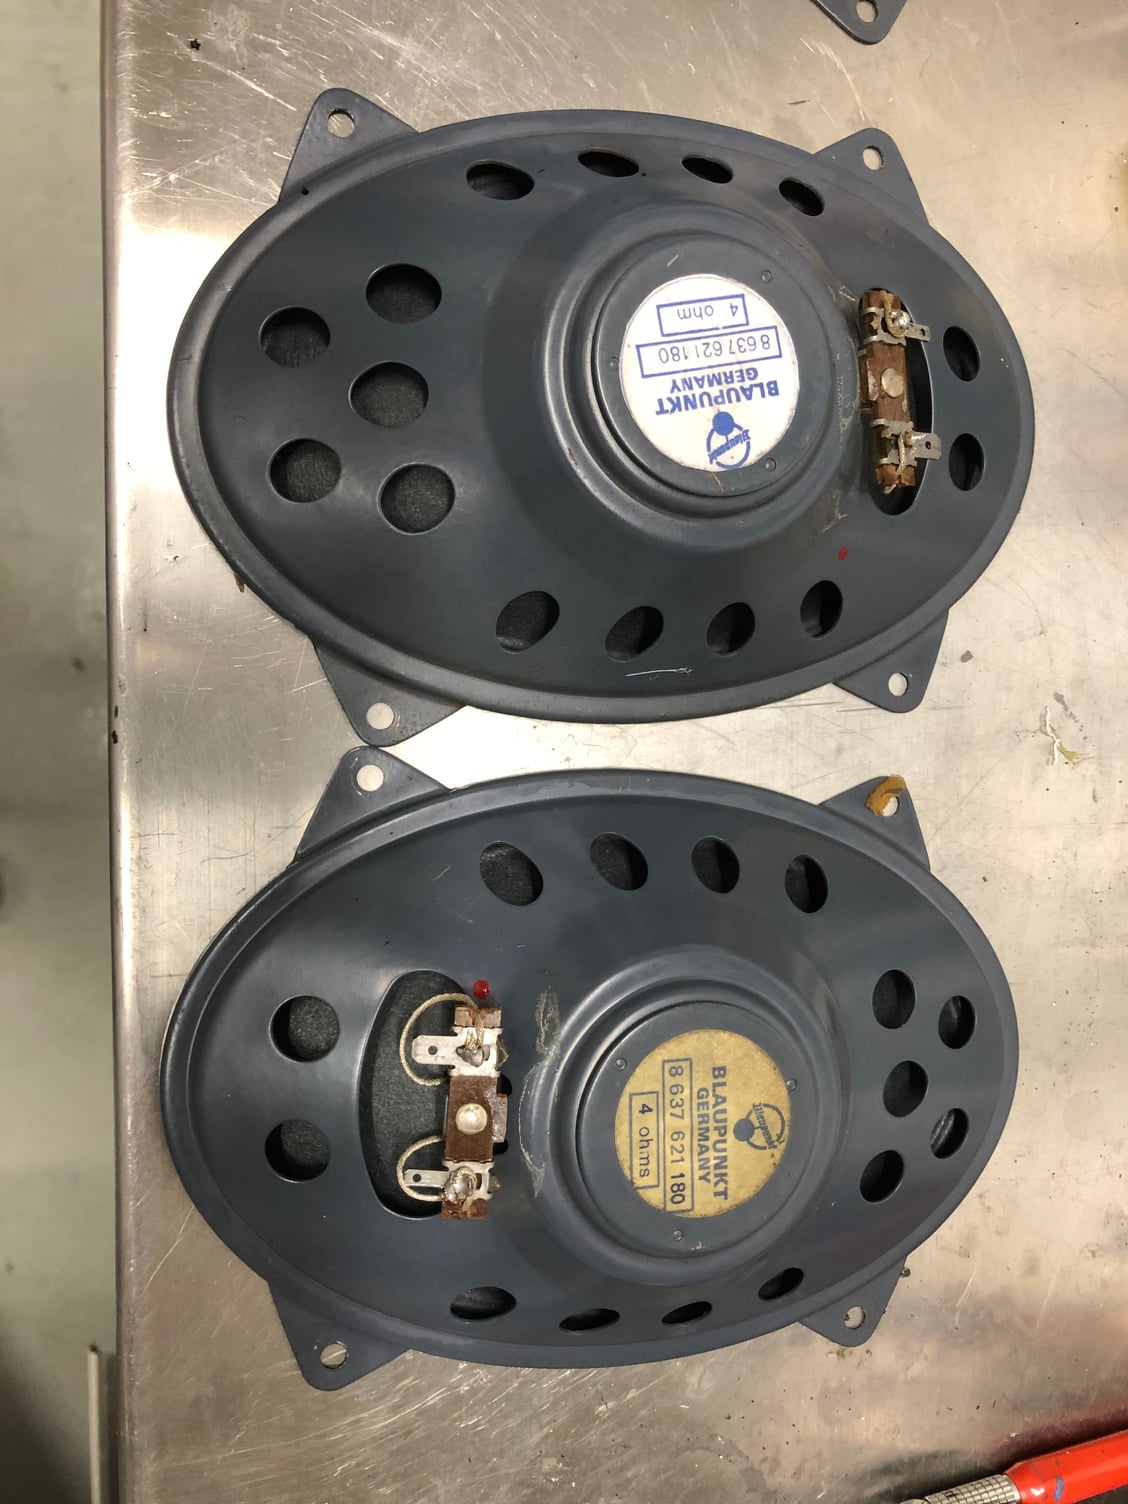
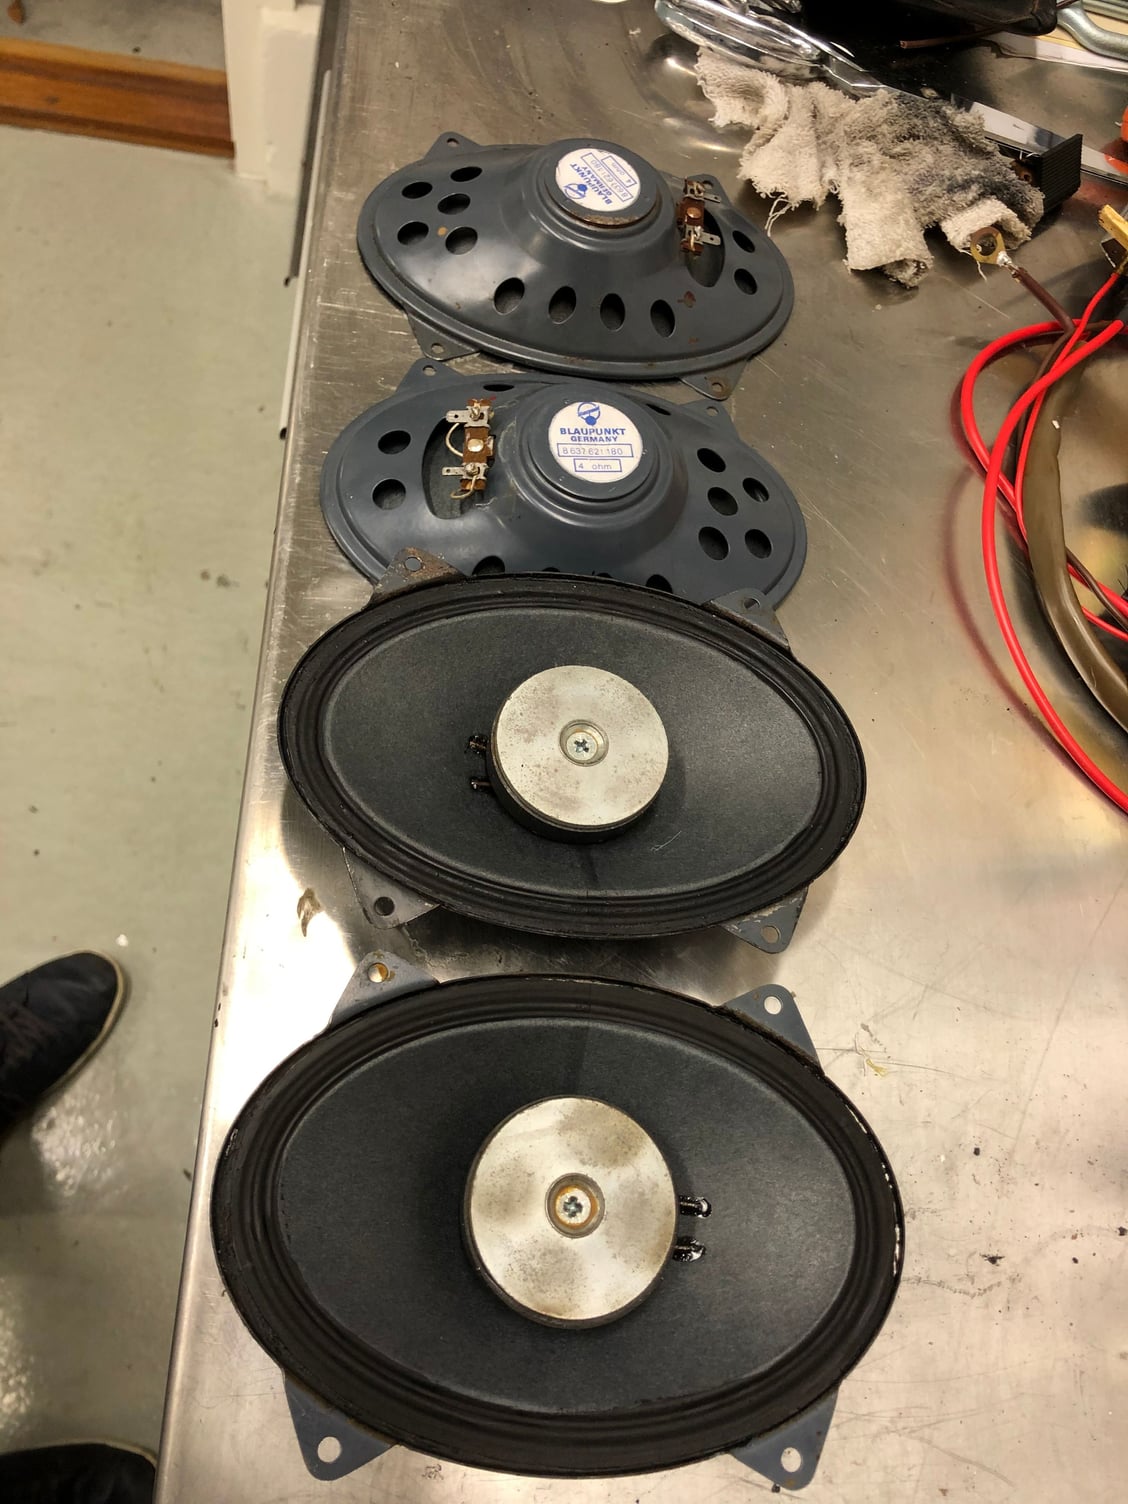
Got the speakers back from the rebuilder (Don Ramon Pico Rivera, Calif.). Rob created the beautiful replacement Blaupunkt speaker stickers. New foam gaskets to eliminate the buziness with deep bass in this 10 amp stereo system (Ha!). The original is on the bottom Rebuilding is $55 each. leadtime was 12 weeks. New foam gaskets and ready to install
I had trouble with the initial rebuild on the correct Marchal alternator. So, I took it the real expert in So. Cal. -Star Auto Electric in Monrovia. Micheal really tore into it. New copper windings, new bearings, new brushes, new regulator and new diode boards. I mentioned it was a boarderline performer at 75 amps. Michael took it to task and redesigned the diode boards. Replacing the 1.5 amp diodes with 3.0 amp diodes. The resulting performance is perfect, the flickering alternator light at idle is completely gone. Michael tests all of his final products. See below output graph. Star is not the low cost provider, but be very wary of ebay rebuilders who only stock two things: new brushes and rattle can paint. Bravo Michael. In position with correct metal air duct.
91 amps at 14.1 volts.
What's better than a French alternator? A Hypo French alternator! Copper plate is the diode board showing the 'hypo' 3.0 amp diodes. Le Fantastique! Starting to position the air duct hose into inner fender well.


 10-24-2019, 06:20 PM


 ...as Dan Heber says:" A Pascha Frenzy" outstanding work BTW^^and look forward to seeing her sooner than later

 ^^
^^