When you click on links to various merchants on this site and make a purchase, this can result in this site earning a commission. Affiliate programs and affiliations include, but are not limited to, the eBay Partner Network.
The amount of dirt trapped in the superficial layer of the clear is a little bit terrifying to look at, but Mario is confident that it'll all polish out. Lots of sanding left to do! Like Paul said, this experience has completely recalibrated my perspective on A) what a 'quality' paint job entails, B), how much skill it takes, and C) how much it costs. The effort is staggering.
The amount of dirt trapped in the superficial layer of the clear is a little bit terrifying to look at, but Mario is confident that it'll all polish out. Lots of sanding left to do! Like Paul said, this experience has completely recalibrated my perspective on A) what a 'quality' paint job entails, B), how much skill it takes, and C) how much it costs. The effort is staggering.
Mario is probably spot on. He will know what will and won't buff. I have been known to throw down an additional 'flooder' coat as buffing insurance later, when necessary. I don't know if you guys have seen a lot of out-of-the-gun jobs, but there are almost always imperfections that will need post cure attention. In a cross flow booth, the expectation has to be that each panel will be completely cut and buffed. Of course I can't score this from pictures, but I would likely say the results were very good!
Speaking to the effort... I still sometimes ask myself why I enjoy what I do. I do genuinely love it.. and hate it. I'm sure I have an irreversible psychological disability of some type.
You guys should be feeling A LOT of reward from your extraordinary efforts to this point!! This will be a beautiful early example once completed.
Fantabulicious and curious why a flex addidtive was not used on the FBC & RBC ? T
IMO there is no need and I don't like adding variables for no reason. The bumpers don't need it. THE RUB STRIPS ARE A DIFFERENT STORY, if applicable.
There is a ton of misinformation about flex additives out there. It leaves the panel as the paint cures and a lot of people don't realize this. Flex additives should be classified for what they really are. They are retarders. Super flexible parts such as the rub strips need flex agents in the primer and clear coat application, so as to buy time for the body man to reinstall them without having the dry film crack.
Man, I am relieved to hear that Mario was on hand to wield the paint gun and dial in the equipment setups! I'll be honest...
I was terrified when I saw the first cabinet photo posted by Rob Edwards. That is not a user-friendly environment for a first-time complete respray effort. Add in the requirement for 2K sealer and you're talking about a lot of potential for disaster with a metallic. I don't like wet-on-wet products for any use other than new, OE sheet metal.
If you got a 'buffable' job considering those challenges and variables, then Mario did an outstanding job of executing a good strategy to refinish 01117!
Bravo!!
Kiln_Red,
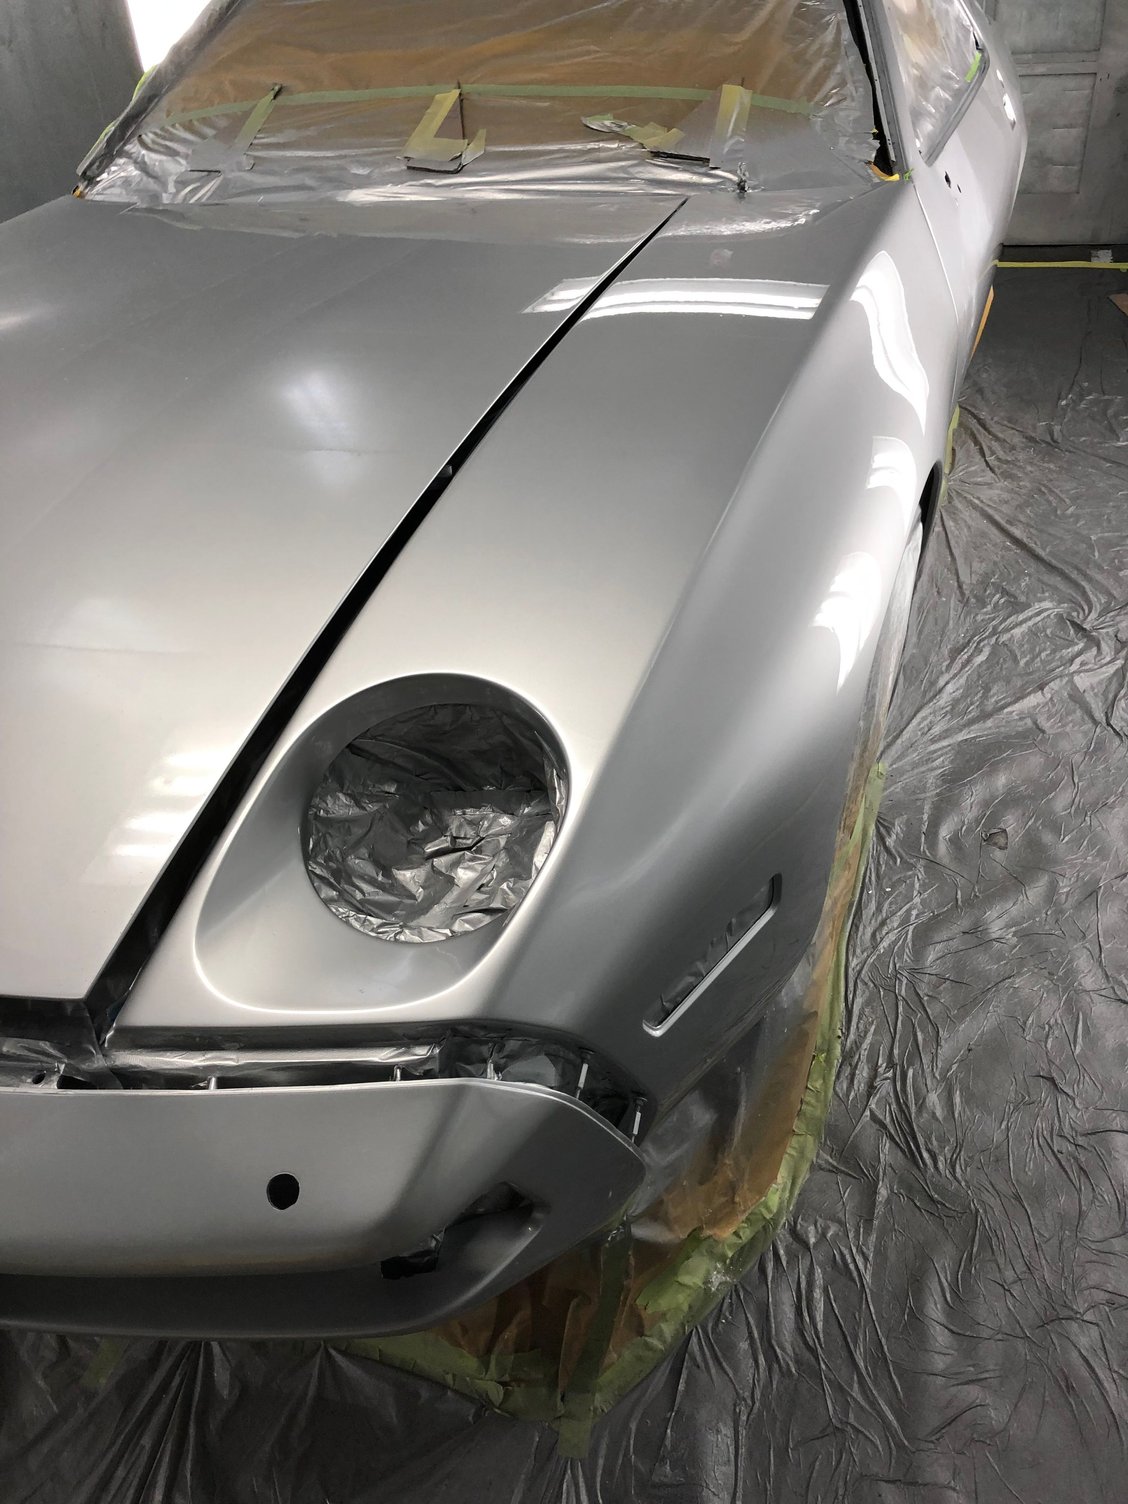
Thanks for feedback. Yes, we watched Mario pull about 4 miracles out of his hat throughout the day. last night, we buffed a small corner of the front fender and the finished look is super flat, super clear and a very even brightness on the base silver. With this peak on the buffed surface the finish exceeded all expectations in looking like an OEM Finish. With all that clear on it now we can be aggressive with the color sanding and get it flatter than the factory finish. Now the fun part begins.
Fantabulicious and curious why a flex addidtive was not used on the FBC & RBC ? T
77 Tony,
Flex agents were eliminated early in this process. The Glasurit primer is very compliant and has a very high adhesion to the plastic bumper covers. The glasurit clear coat is like rubber when cured. We took a risk but abandoned flex agents due mostly to their modifications to the clarity of the silver paint. (I really dislike the sloppiness of the OEM (think Corvette) finishes where it comes out as two different colors. Further Kiln_Red's comments are spot on as to the (no) need on the bumper covers.
Silver is particularly susceptible to the slightest tinting modifications. The goal was really good gap and panel alignment(s) and both panels having the exact same color. The next few weeks should be telling if we nailed it.
We are experimenting with two methods color sanding. 3M™ Trizact™ 3000 grit, then 5000 then 8000 Grit abrasives and 2) a dry process involving block sanding and 3000 grit finish with DA microfiber polishing.
This front fender got the (above) full 3M treatment. This process is: DA sand with 1500 grit dry, wet send 2000 Grit, Dry sand 3000, Wet sand with 5000 grit and 8000 grit. Finish with white foam pad and 3M polish. This results in an extremely glossy surface with tiny micro waves remaining in the clear coat surface. Its not totally flat. With this process you sand to the absolute edge of the panel. Frightening to do at first, but with this much clear coat its not a problem.
Today we will be experimenting with an all dry process on the DS door using a small block sander (hand sanding) and a DA orbital microfiber finish.
I may be old school but I�ve always done hand block sanding, wet, with multiple grades before moving to polishing (also with multiple grades). I�m curious as to the 3m process why they would start with the machine (faster but less control) AND also use any dry sanding, to me that would instantly clog the paper. But I would also be deferential to whatever 3m says! Just for reference, can you post the 3m source for the instructions you are following?
Cheers and looks FANTASTIC so far!!!
It just depends on what you're going for. I think the OP is going for more of an original quality based on the steps outlined from his polishing effort. He is de-nibbing the debris, then sanding the entire panel to restore the finish to a level of consistency that does leave some amount of natural orange peel. This is the process I now prefer. I use to flatten everything out and I thought there was nothing that could top it. Now, I want to see a finish that is just slightly slicker than original. Nothing beats a Glasurit 923 series CC gloss with such a finish as I describe IMHO.
It just depends on what you're going for. I think the OP is going for more of an original quality based on the steps outlined from his polishing effort. He is de-nibbing the debris, then sanding the entire panel to restore the finish to a level of consistency that does leave some amount of natural orange peel. This is the process I now prefer. I use to flatten everything out and I thought there was nothing that could top it. Now, I want to see a finish that is just slightly slicker than original. Nothing beats a Glasurit 923 series CC gloss with such a finish as I describe IMHO.
Reply re: flatness. I have to admit, we are going to deviate from the OEM specification re: typical factory orange peal. The goal on this is to get the finished surface as flat as possible. If you just sand it with 2000,3000 etc. -its nice -but not totally flat. It will retain very small ripples in the surface.
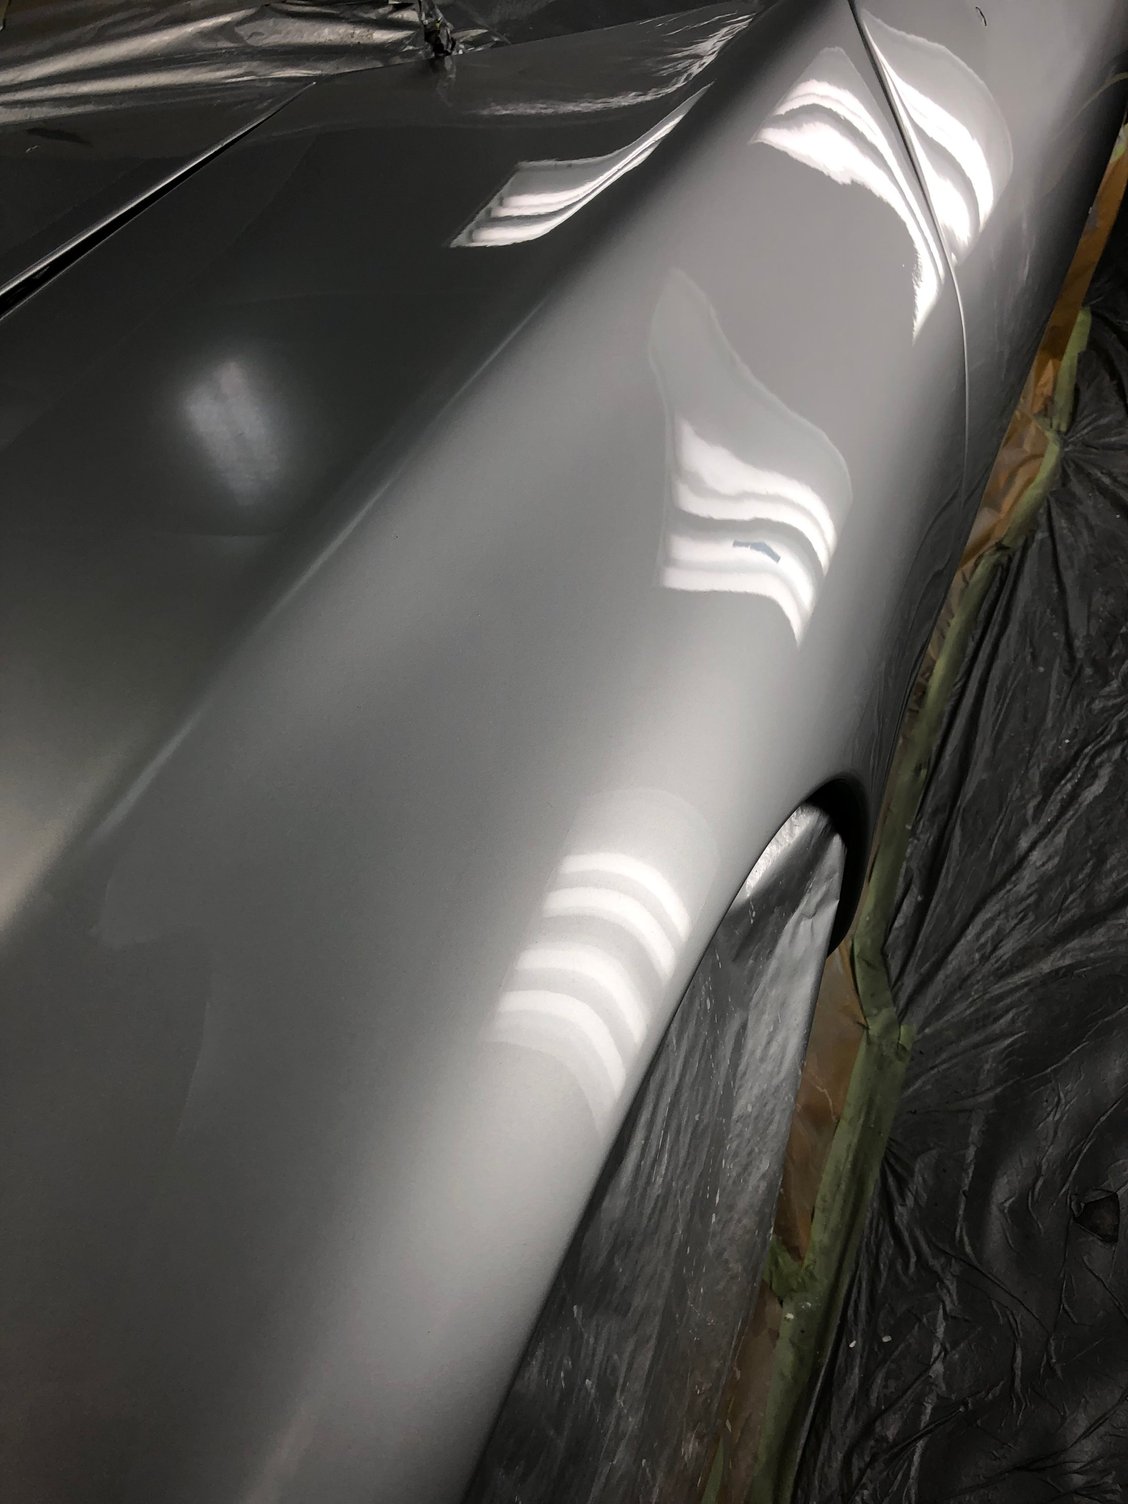
The extremely generous owner of the spray booth is quite expert in finishing work on clear coats. He divulged the real trick in getting it ultra-flat. Method: is block sanding the entire surface again with 1200 grit. This is done by backing the 1200 grit with a small wood block that is ultra flat. cross hatch everything. After the 1200 you DA the entire surface with 1500, again with 2000, 3000, 5000 and 8000 grit. Then buff. At 8000 the paint is already shiny. Buffing takes seconds. One panel takes about 3-4 hours.
Here is an image of the entire hood done up to 1200 grit, I 'tested' the flatness with a center section buffed to a gloss. It passes the test as to final flatness. Zoom in on the center of the buffed area. It is the clarity of neon tube edges as the indicator of how flat the surface really is. This lighting is wonderfully brutal.
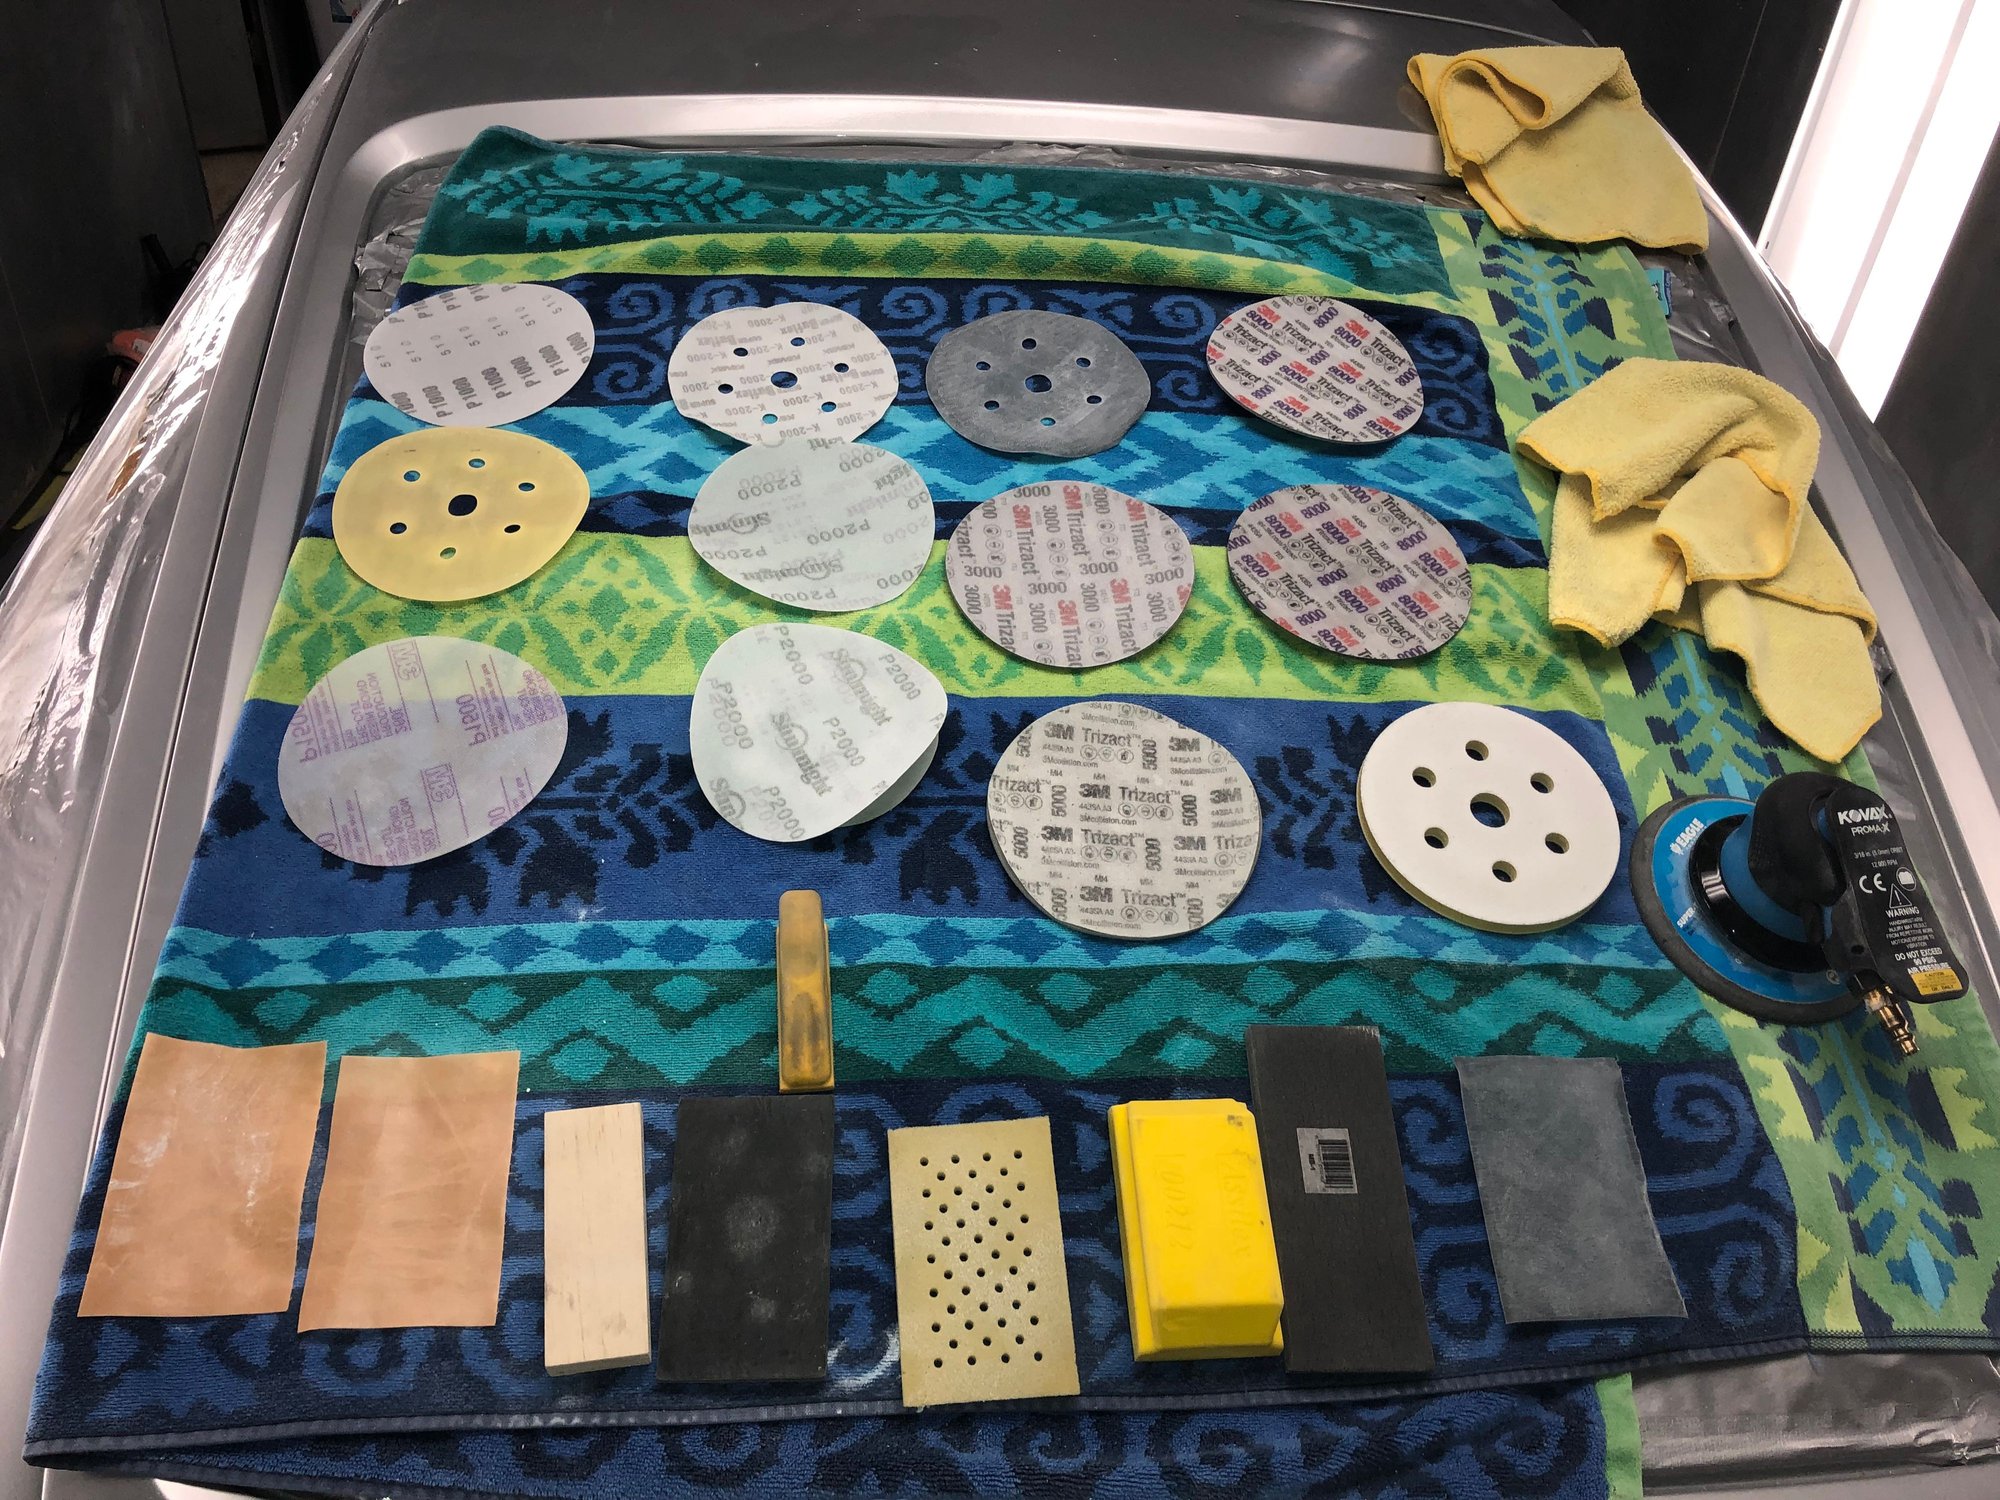
Here are the tools we are using to sand the clear coat:
It is usually the simple solutions; We can't emphasize enough the effectiveness of the small wood block. You can spend thousands on detailing equipment. The block is key.
Note hood is the last panel to be finished on the car. Surface finish is at 1200 grit. This is progress as of last night..... Both bumper covers are finished. Whew!


 09-17-2019, 04:14 PM