When you click on links to various merchants on this site and make a purchase, this can result in this site earning a commission. Affiliate programs and affiliations include, but are not limited to, the eBay Partner Network.
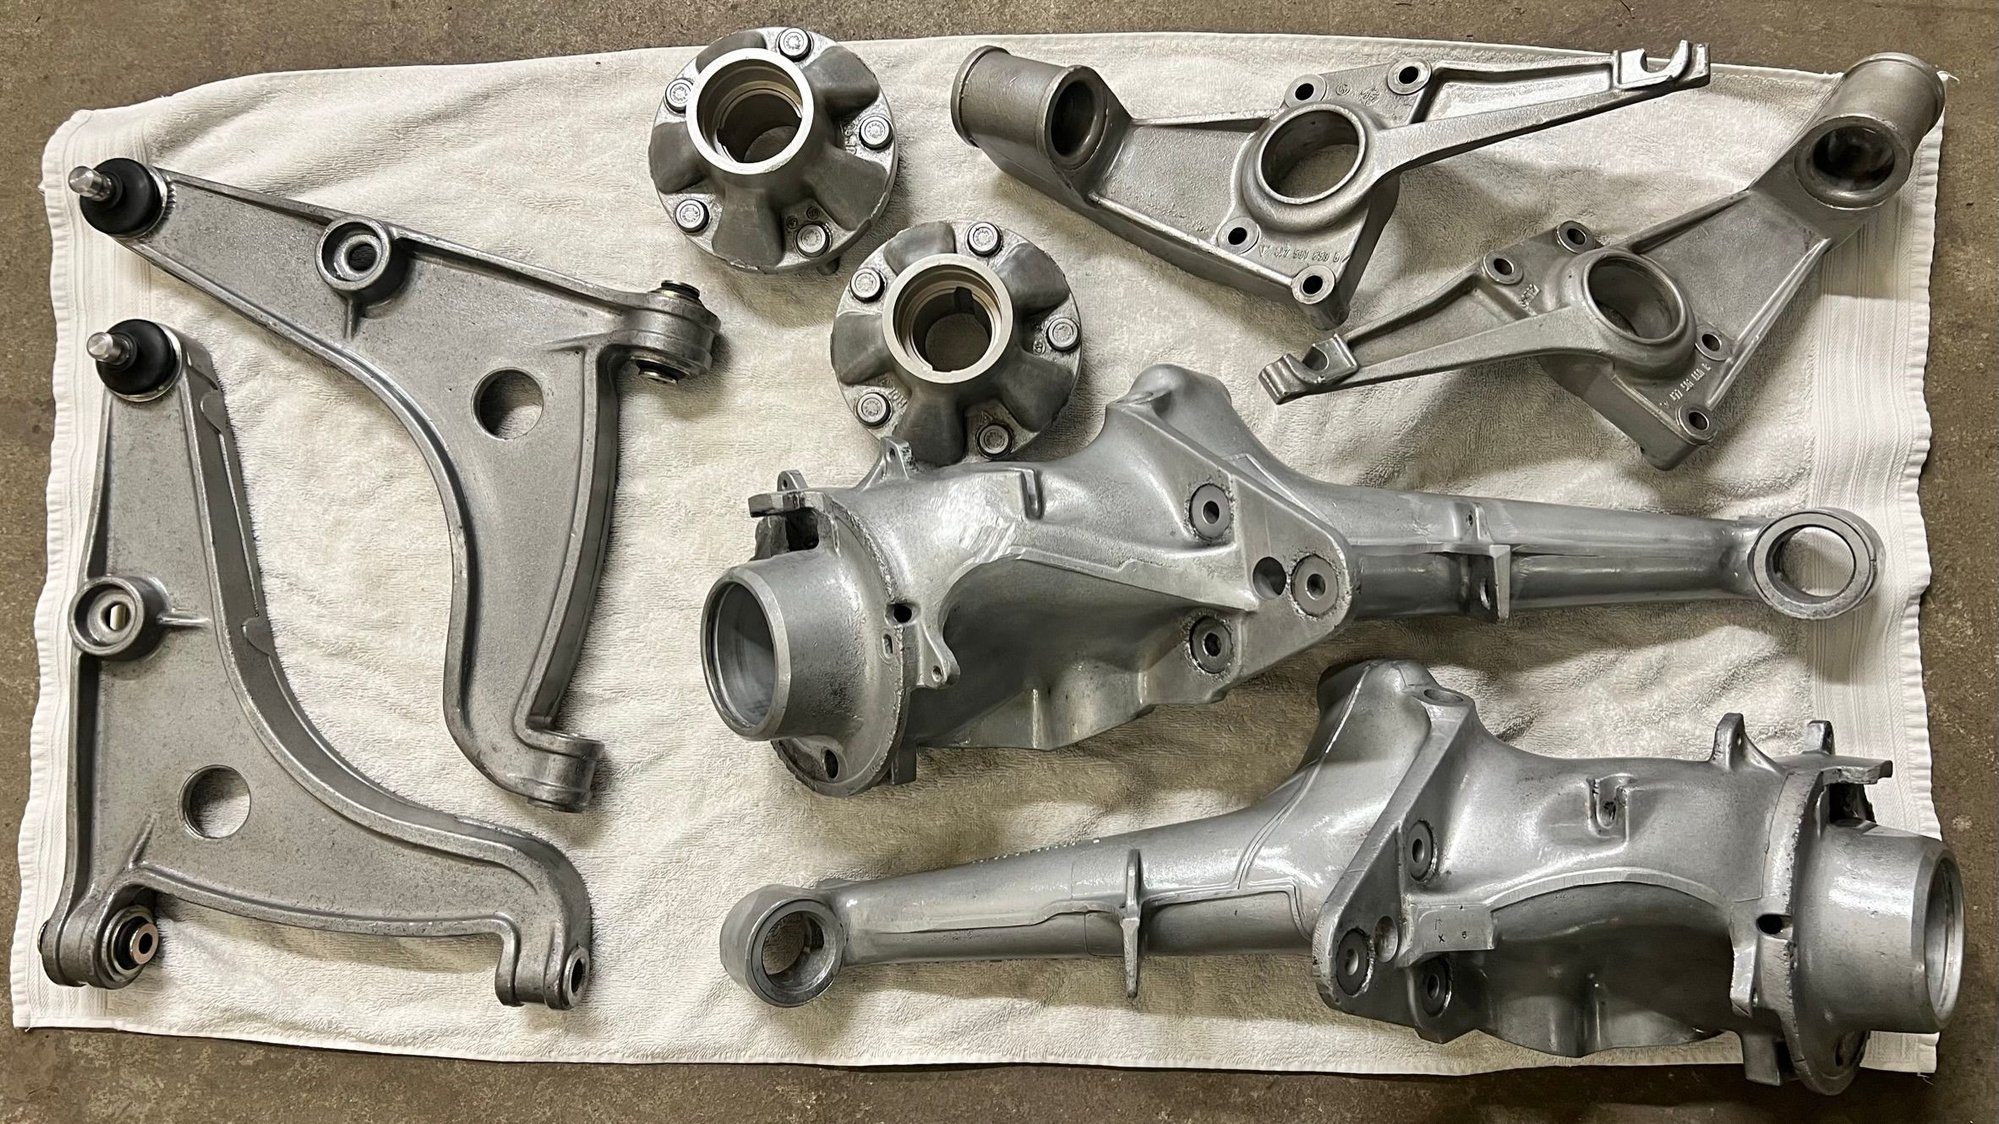
All the aluminium suspension bits are ready for final assembly. They'll never be as clean as this for some time (ever?).
Leveled up in the game of car hobbies yesterday, and bought a car transport trailer. Only some 8 months old. So I guess I paid my way out of wrenching on anything but the 944 project
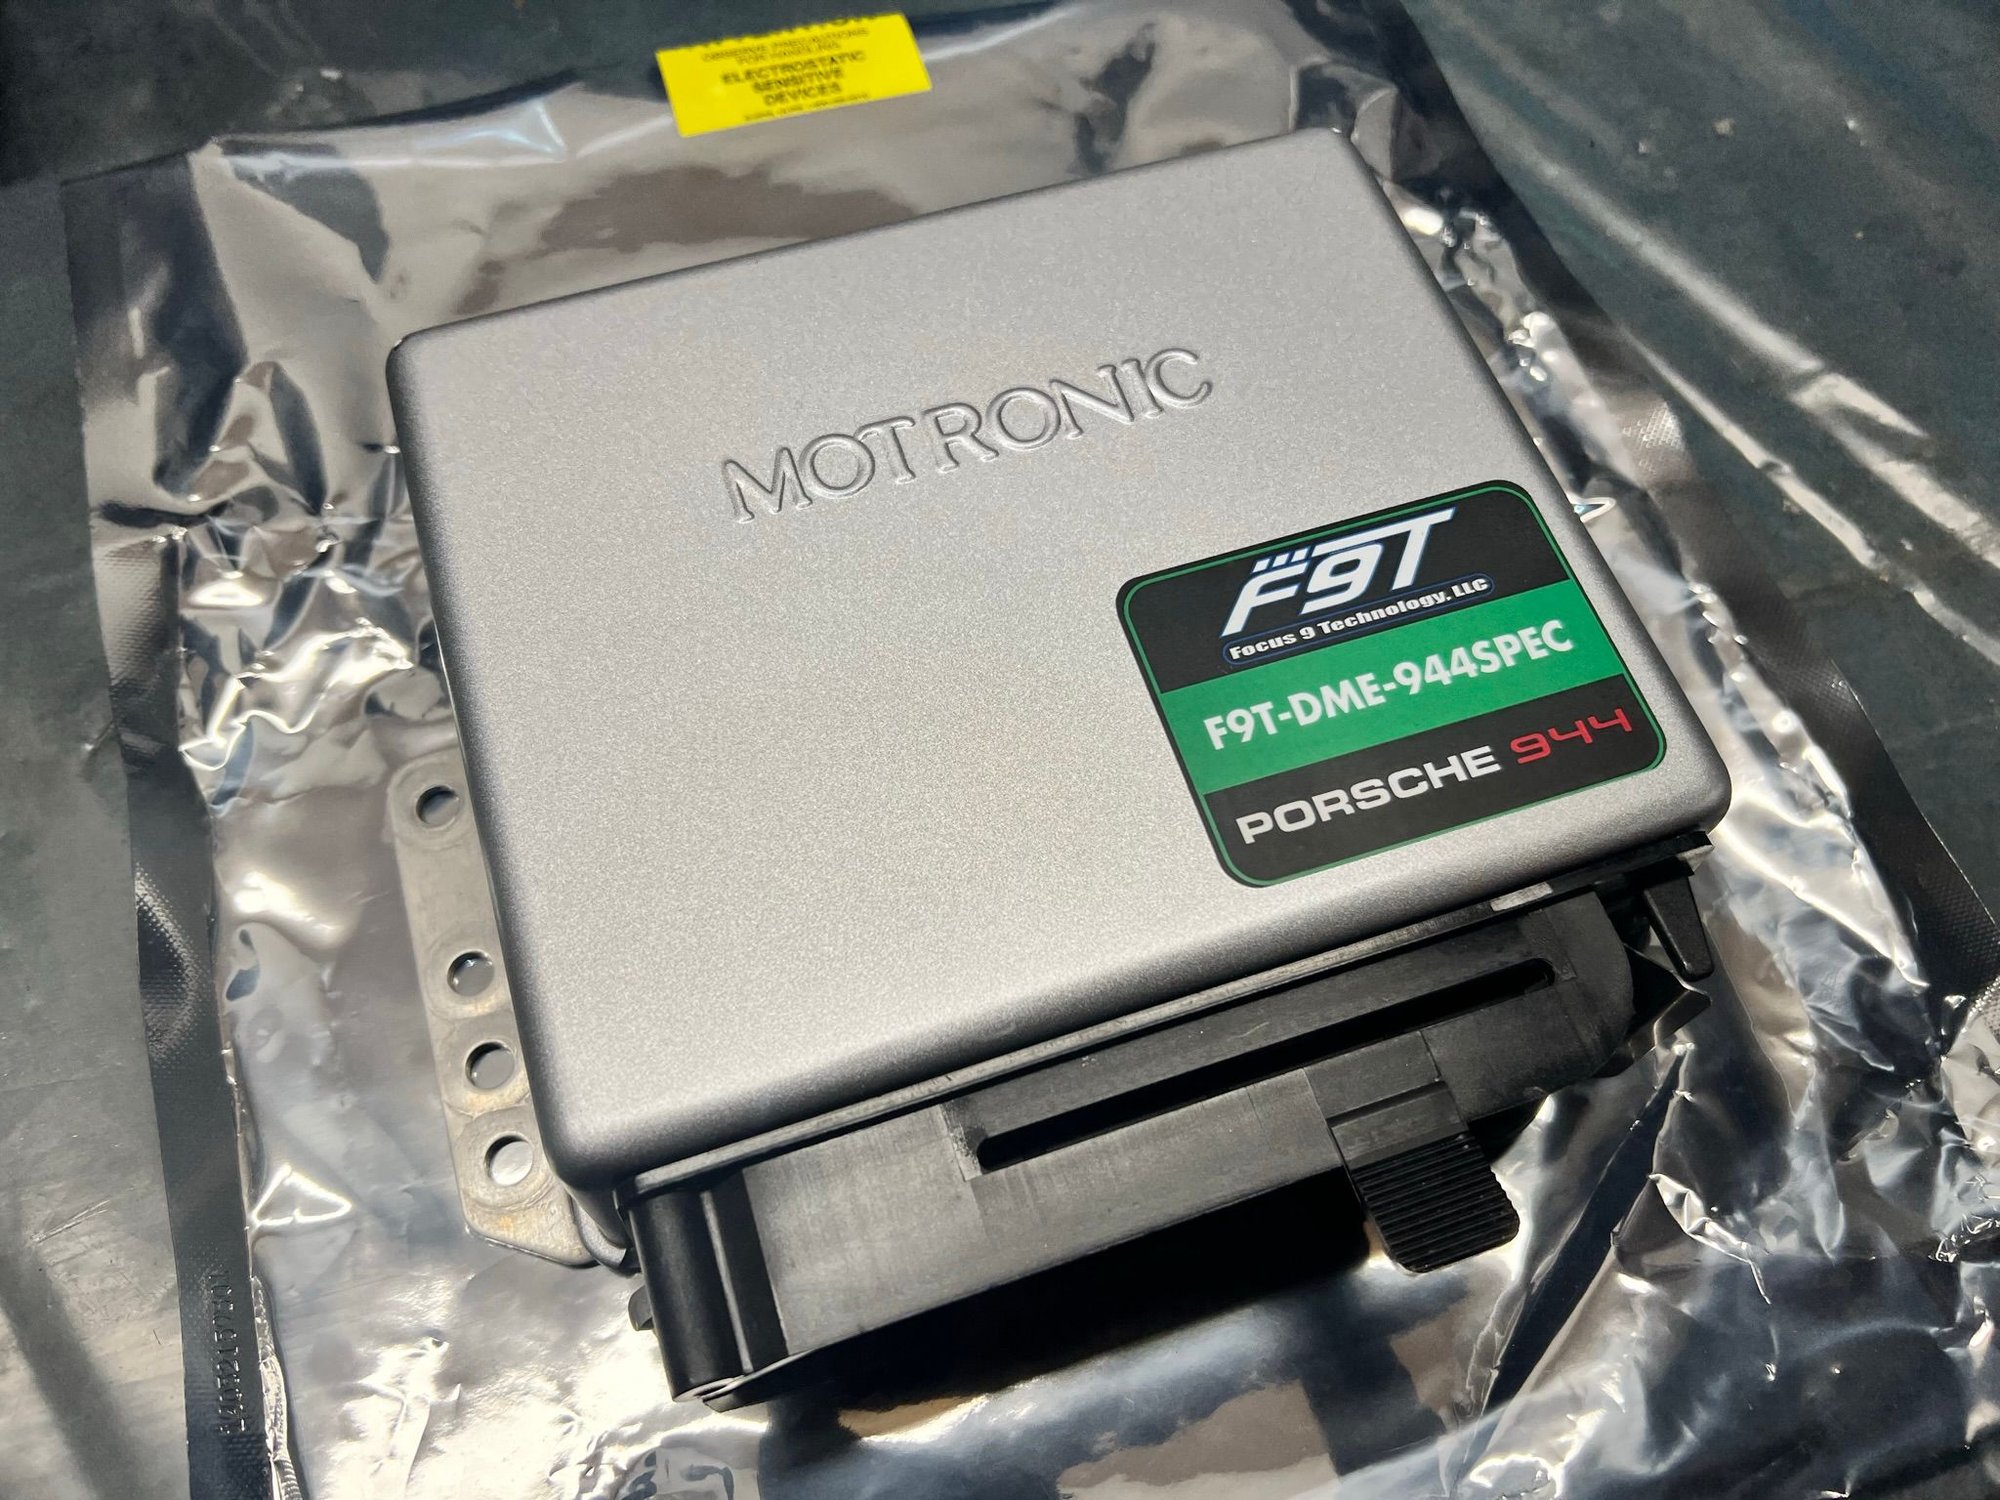
Received my Ftech9 Spec DME. Finally. After a one month journey with UPS Express from Phoenix to Oslo. UPS just deleted the first character of my last name due to it being a Scandinavian � (O slash). And messed up the Norwegian address formatting. Getting stuck in an adress updating loop, where I both emailed and called them a couple times.
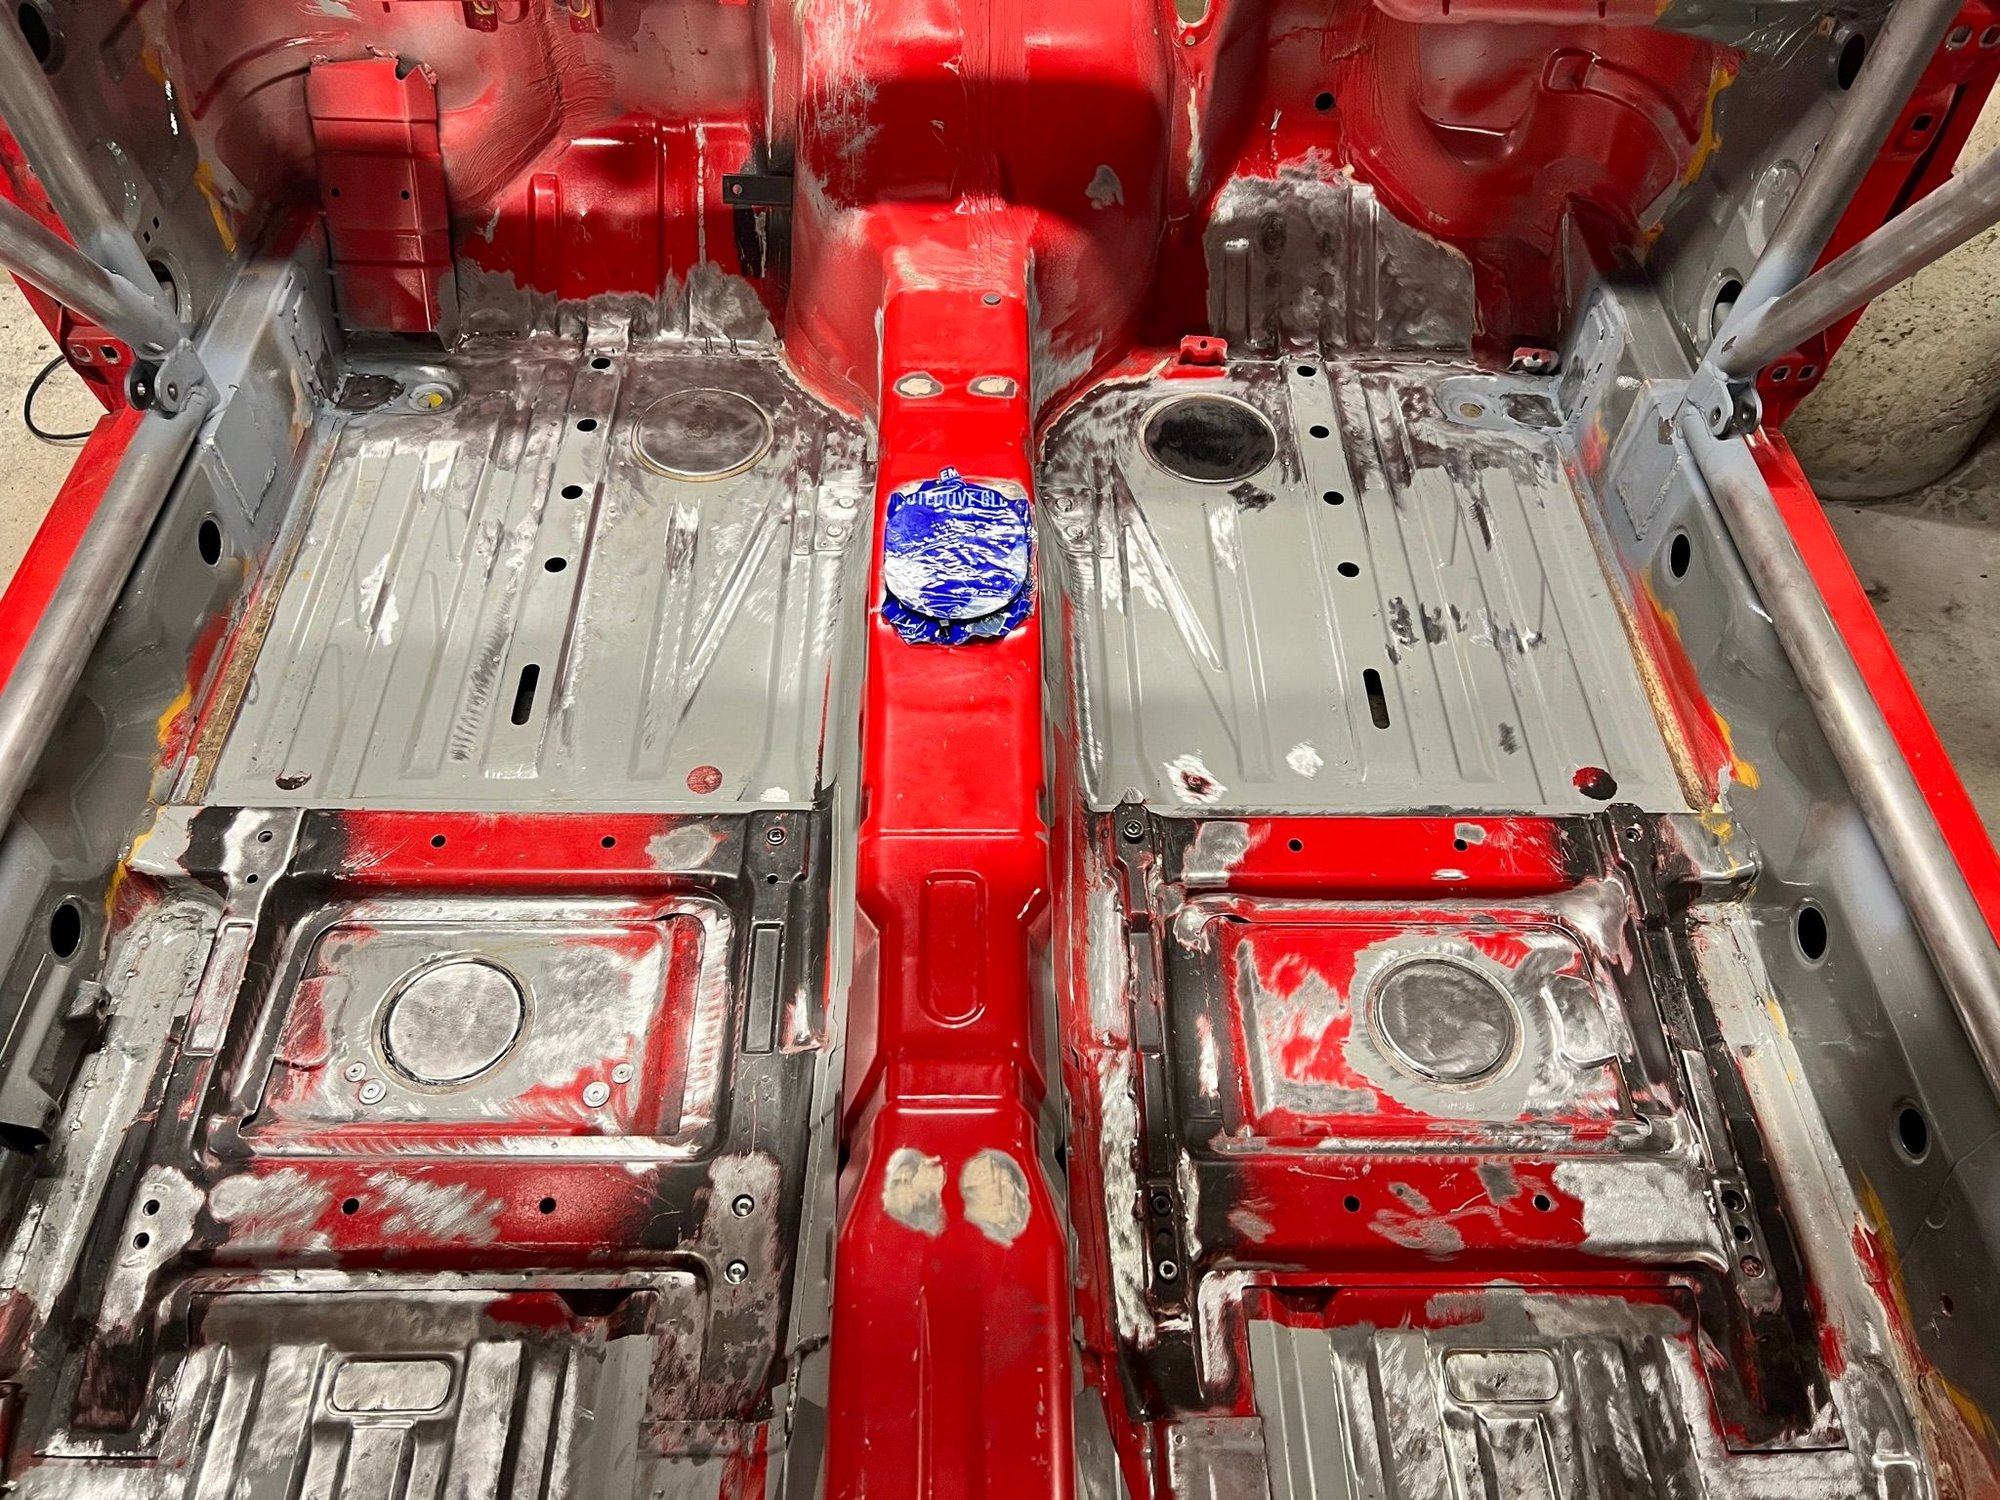
All glue is now gone from the floor and behind the dashboard. The floor is mostly ready for primer.
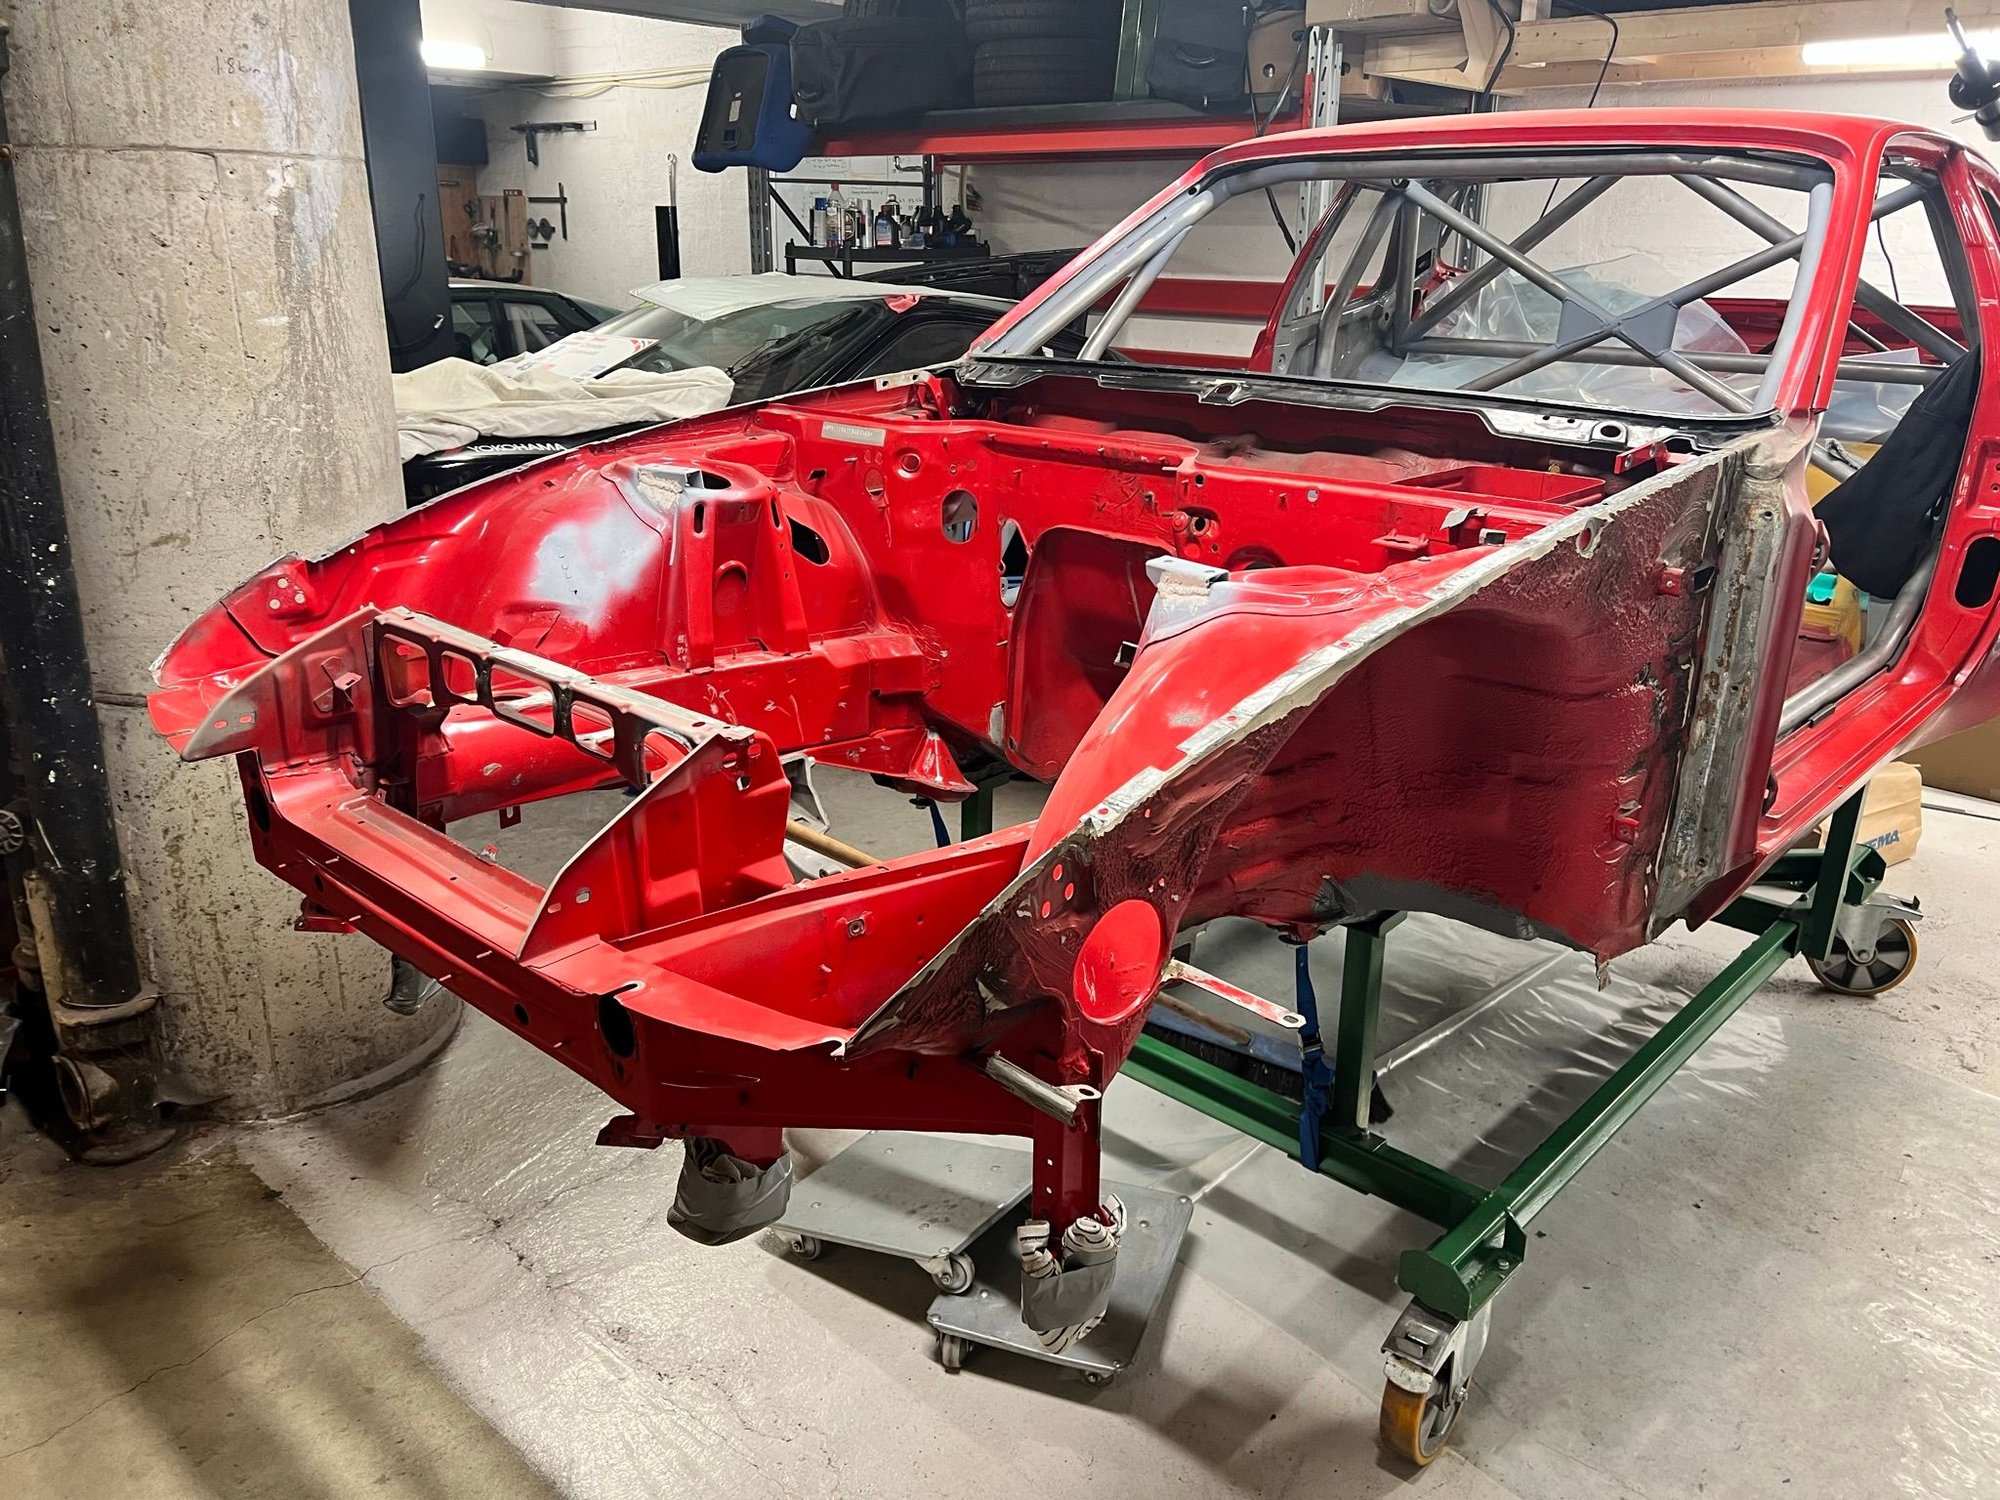
There is a possible opening, locally, for getting the car painted. But there is some uncertainty both if and when this come to fruition. But in case this happens sooner than later, I am prioritizing the activities needed to prepare the body for paint. And I ended up taking off the fenders. Even if that wasn't the original plan.
I am getting help from my buddy in the garage collective. He will help me leveling out som minor dents in both fenders and in the front panel. He is well versed in metal shaping, being an avid hot rod builder. Found only some minor surface rust under the A-pillar, where the fender is attached.
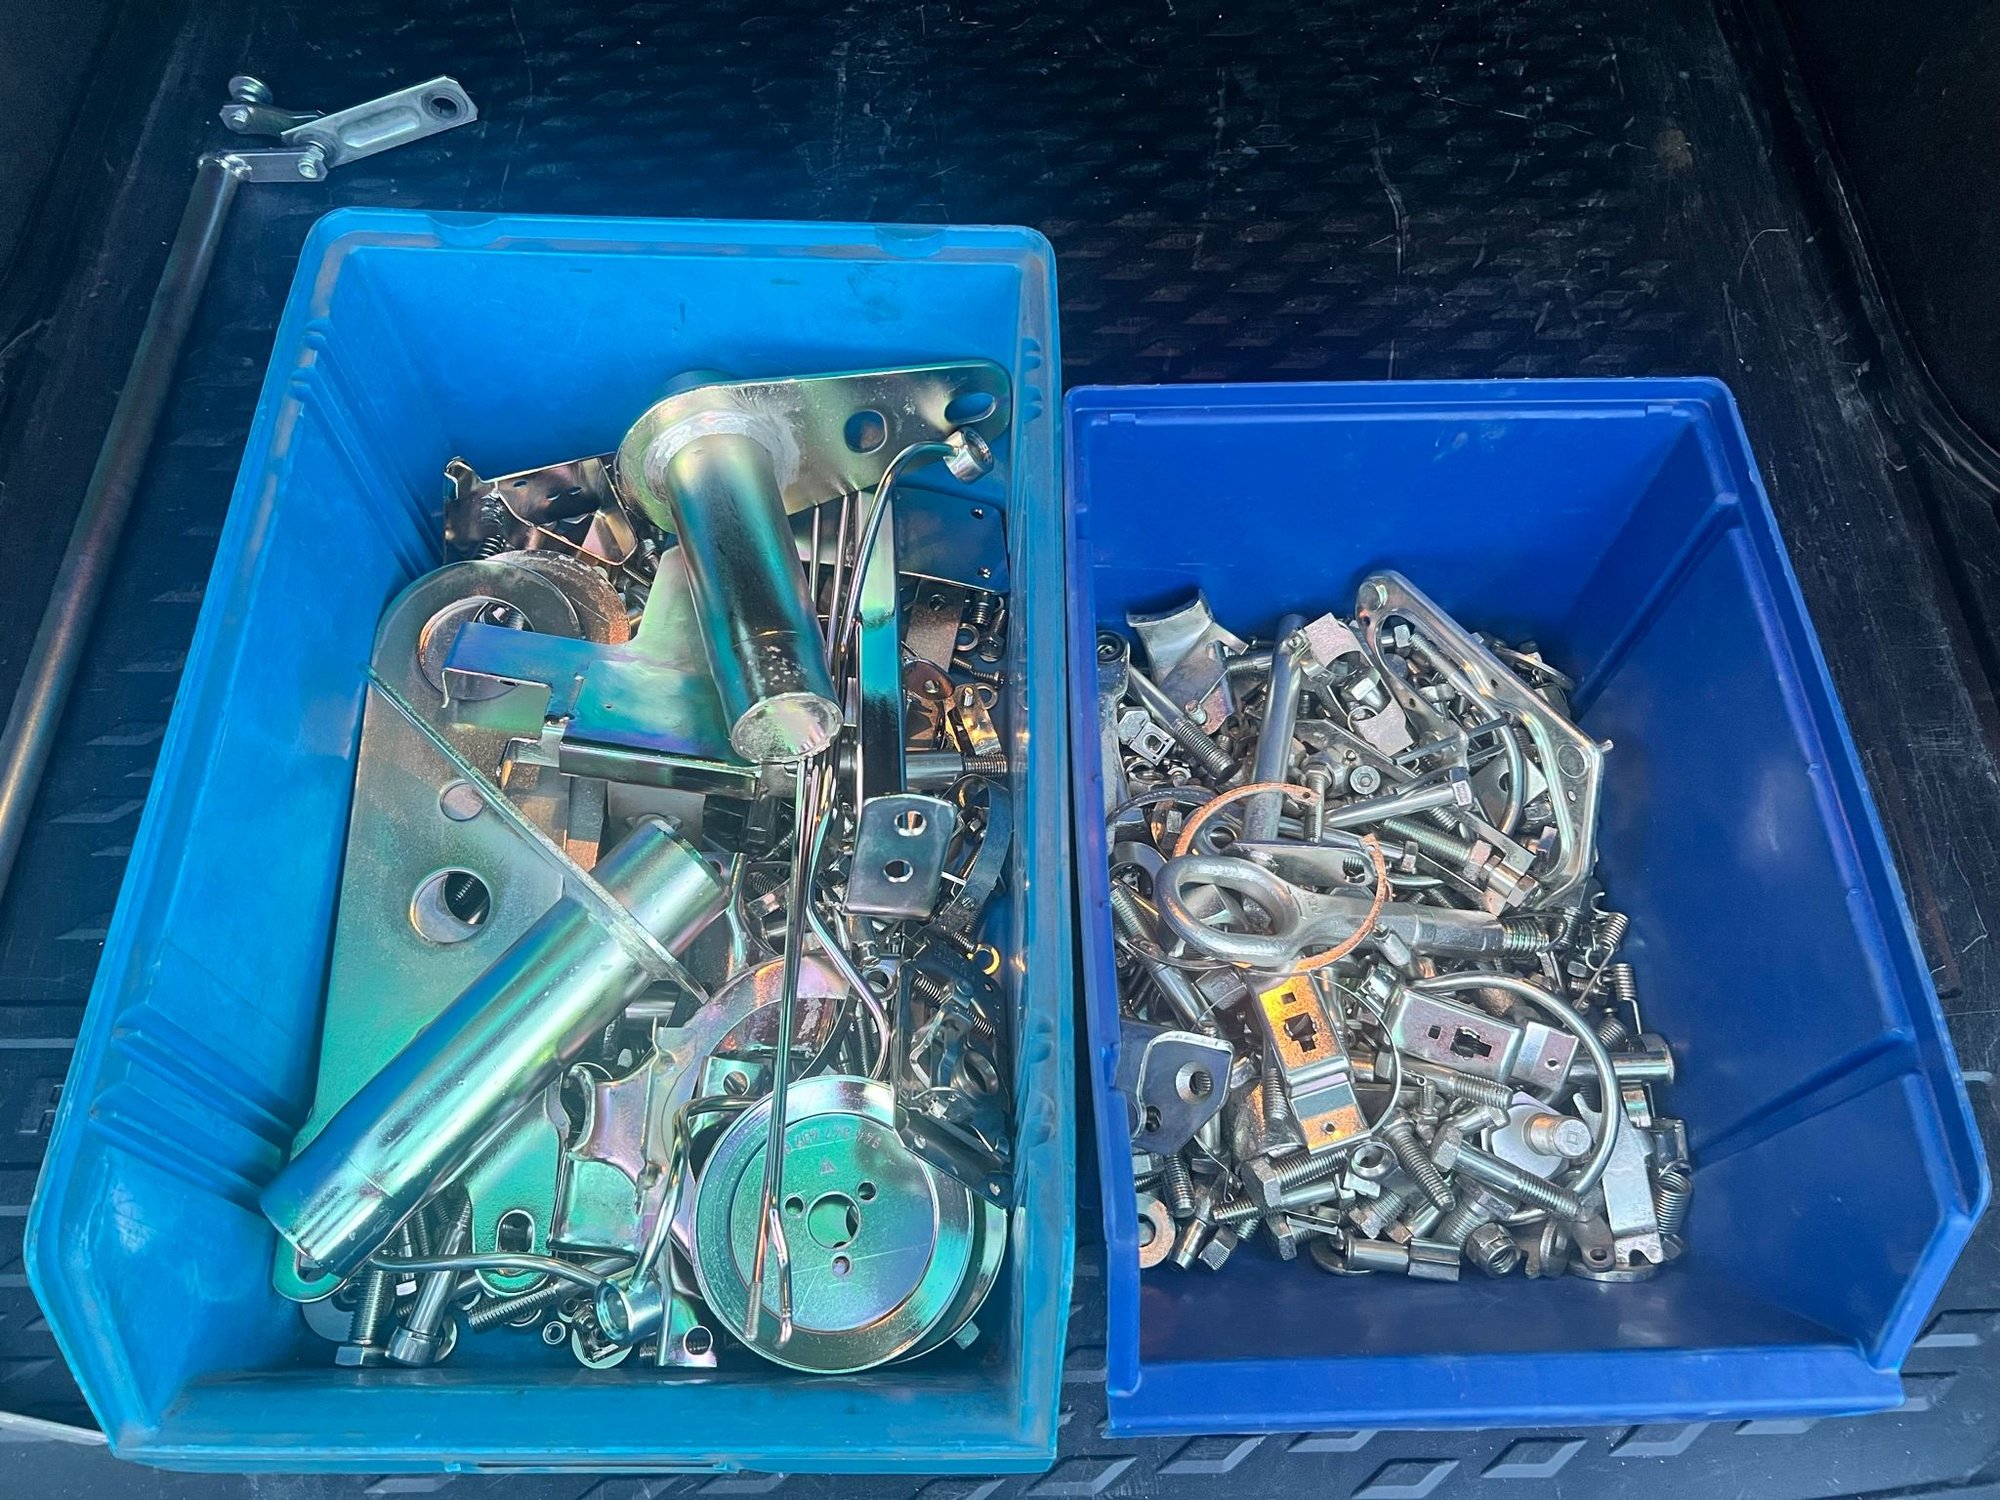
And I have picked up 20kg of shiny metal bolts and brackets, with fresh yellow zinc plating. Looking forward to assemblying the car with clean and shiny bolts.
.
Been focusing on preparing the car and panels for paint, in case the lead i got on paint materializes. I want to be ready in case it does.
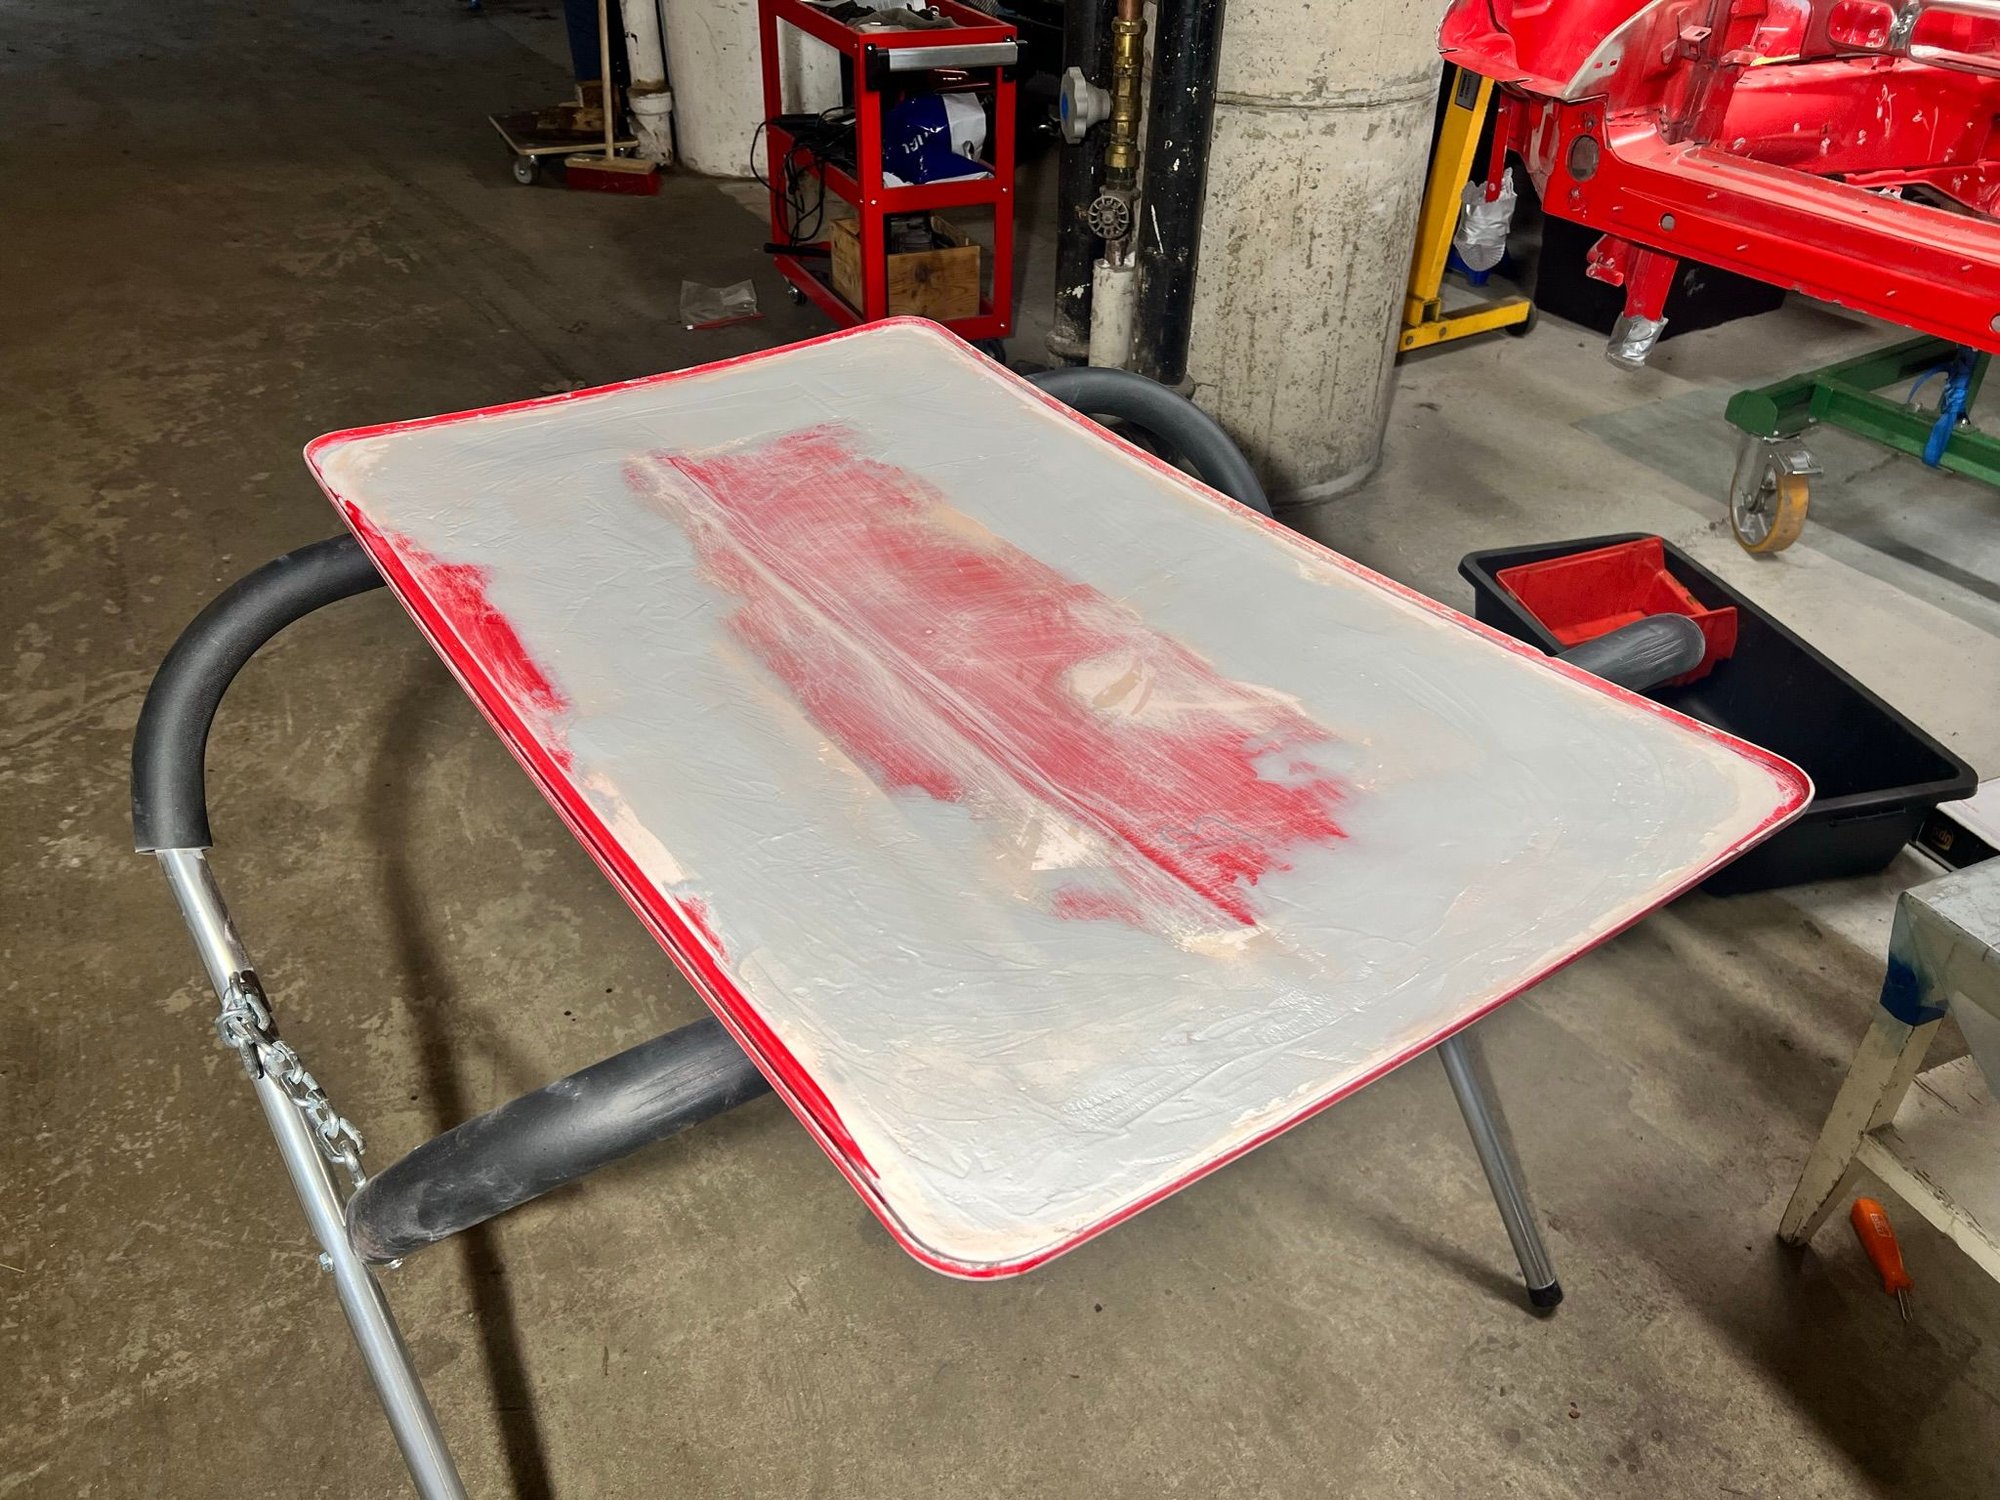
Removed all the ribs and aluminium profiles from the targa lid. Added some epoxy filler to smooth things out. Still needs to sand it smooth before paint.
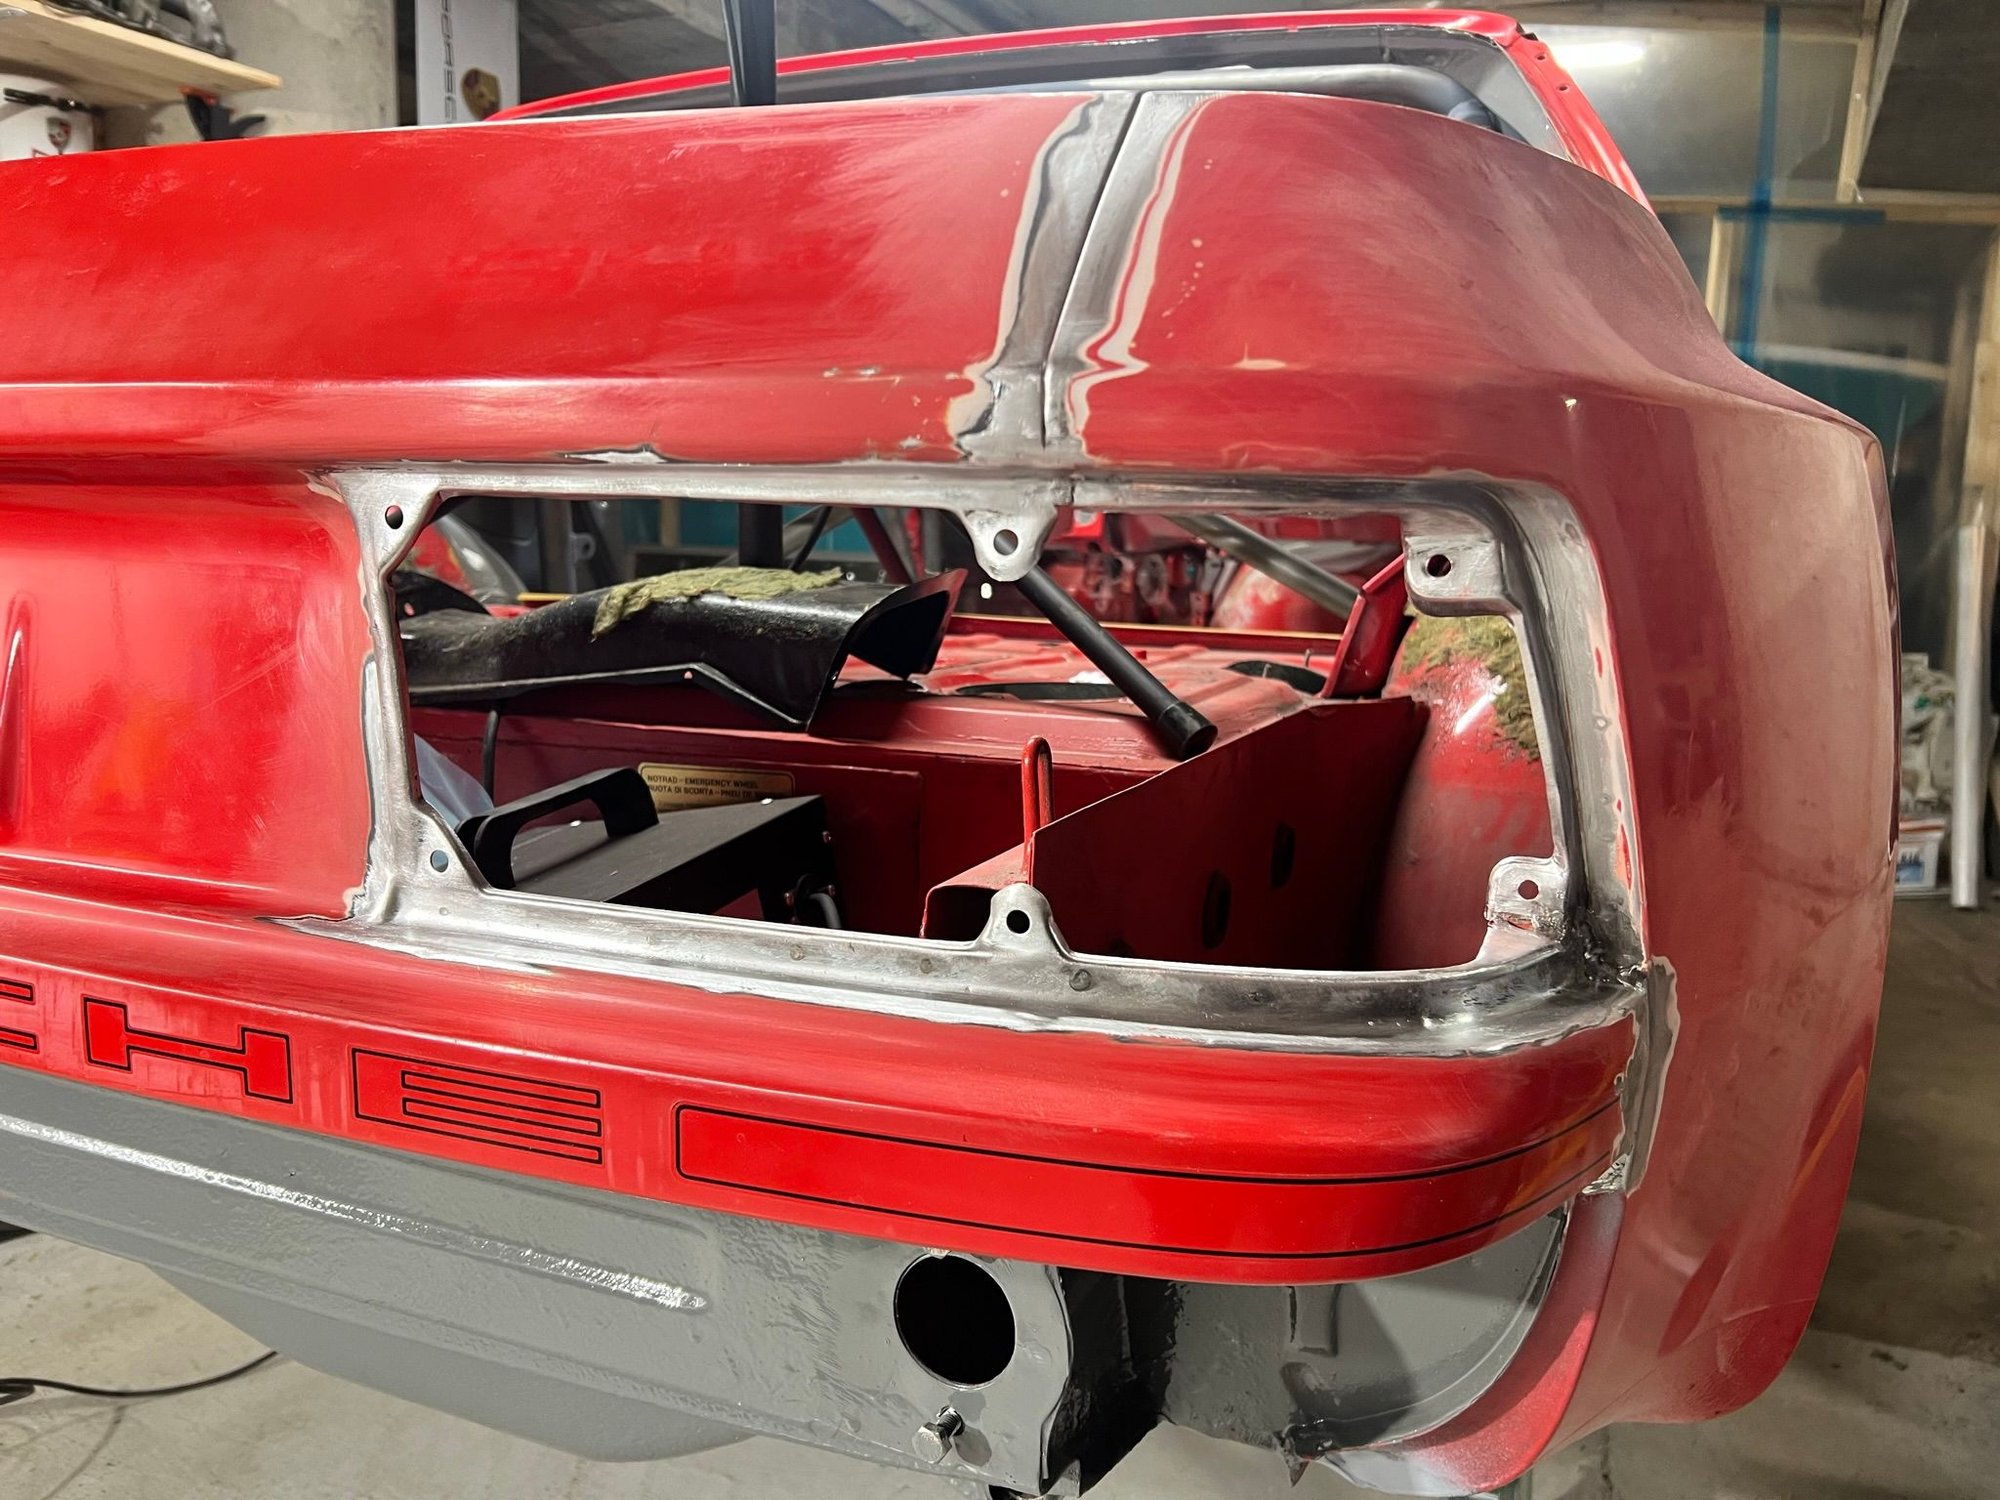
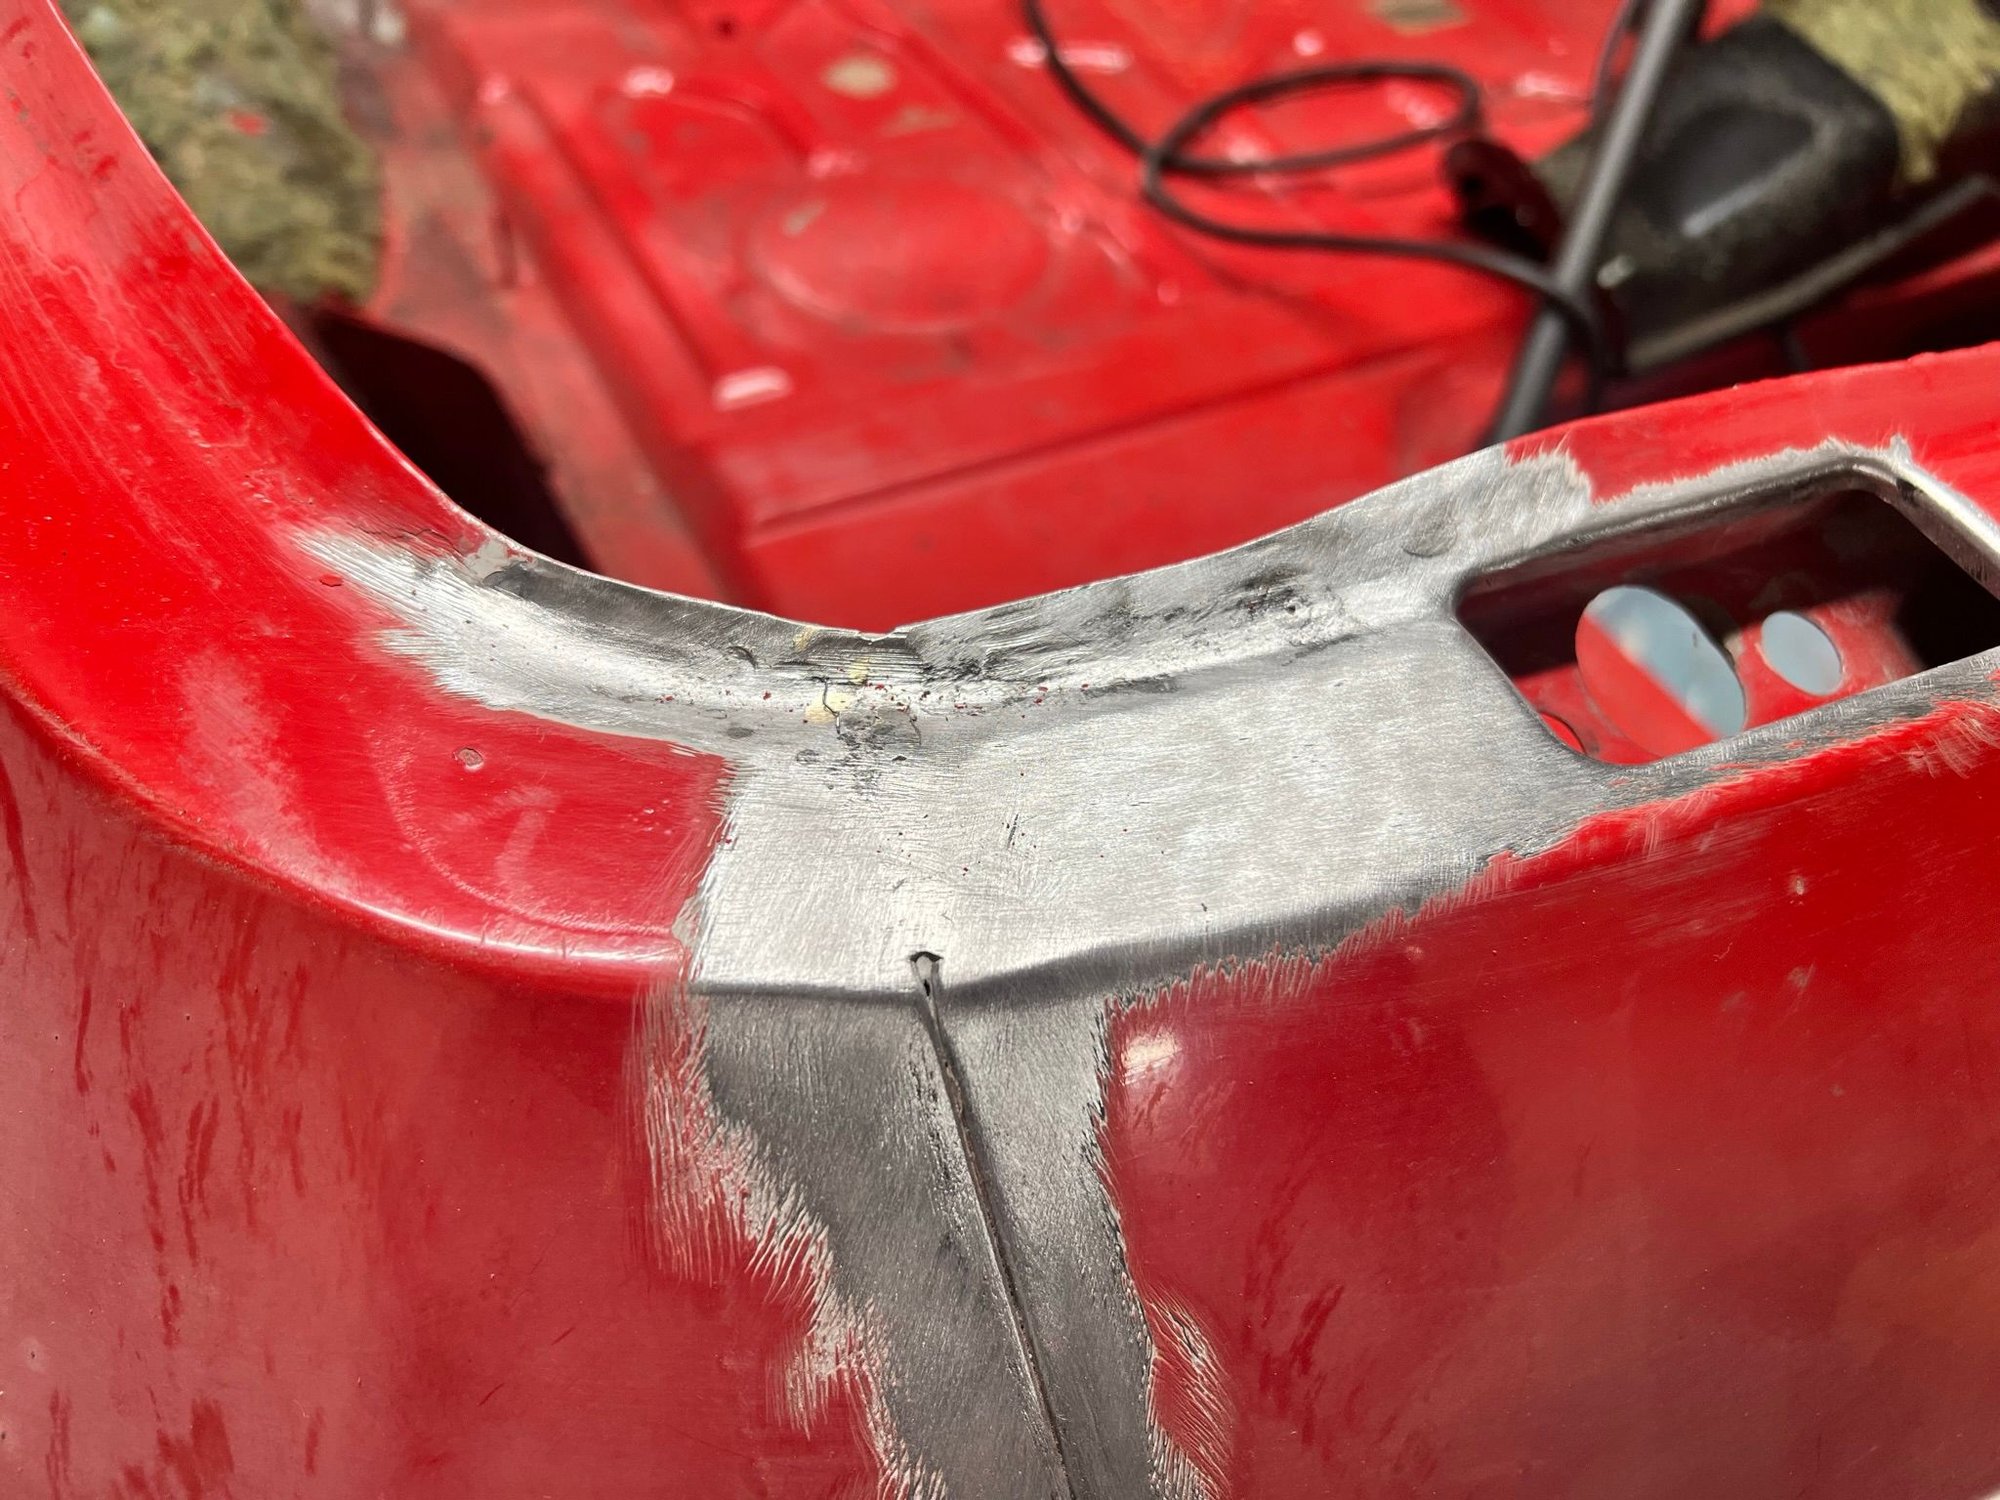
Used a steel brush, sand paper and elbow grease on the area around the rear lights. A previous owner had used silikone glue to seal the lights. A big mess. And there was surface rust where the rear panel meets the rear fender. On both sides. I got confirmation that all the rear panels have been changed at some point in the cars life, from the rear hatch, down to the spare wheel well. Nice and straight. But a bit of surface rust to be handled.
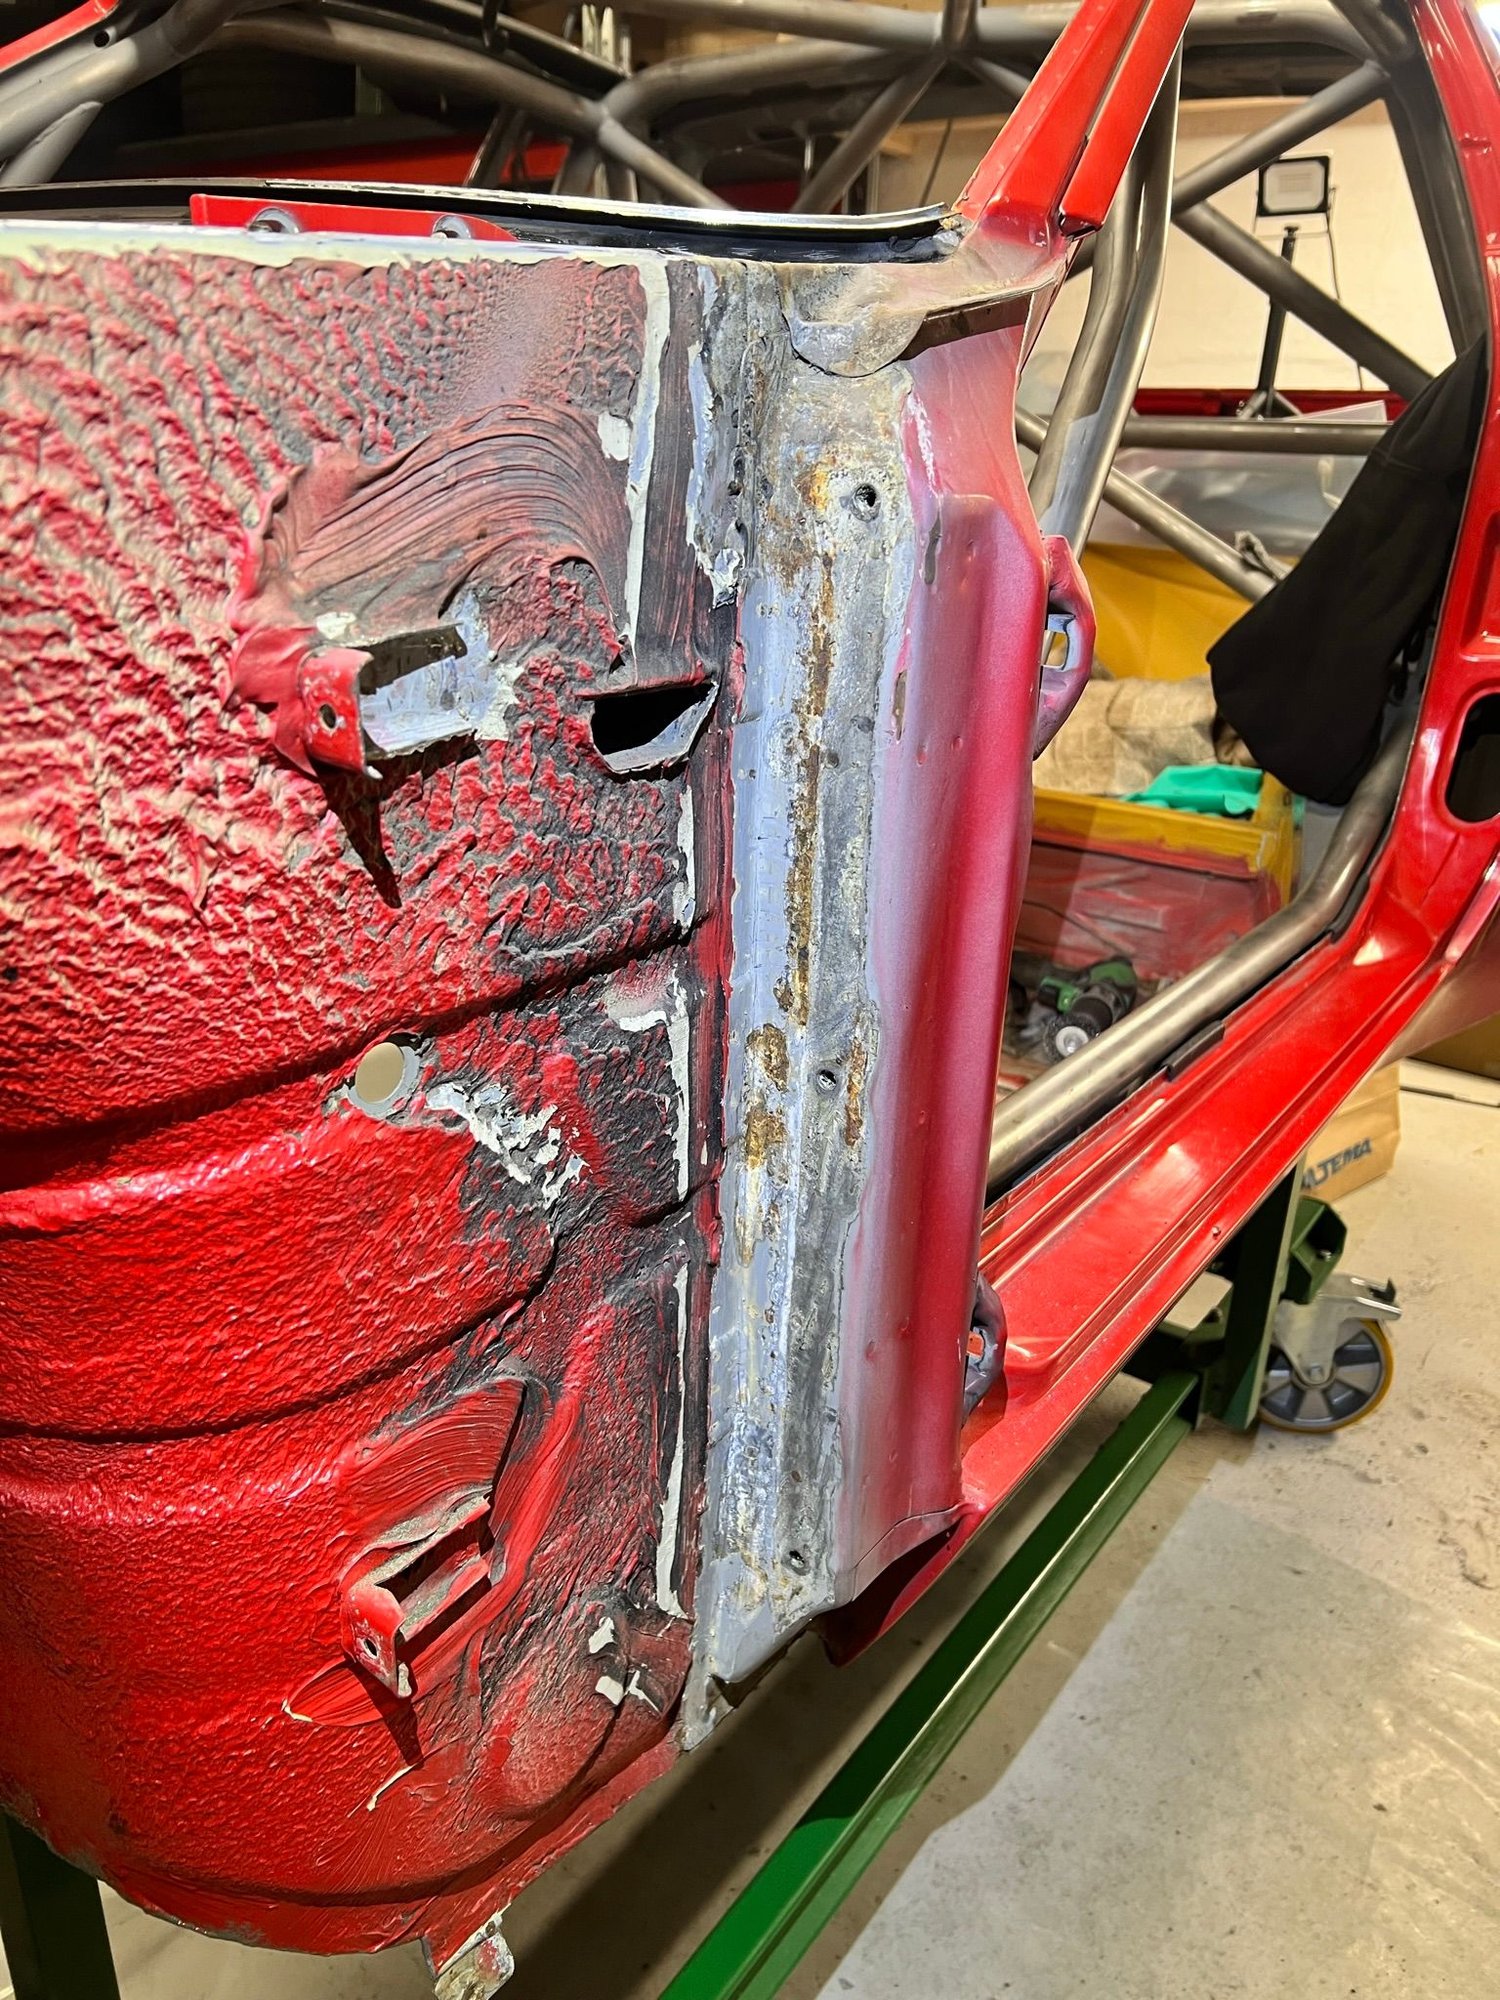
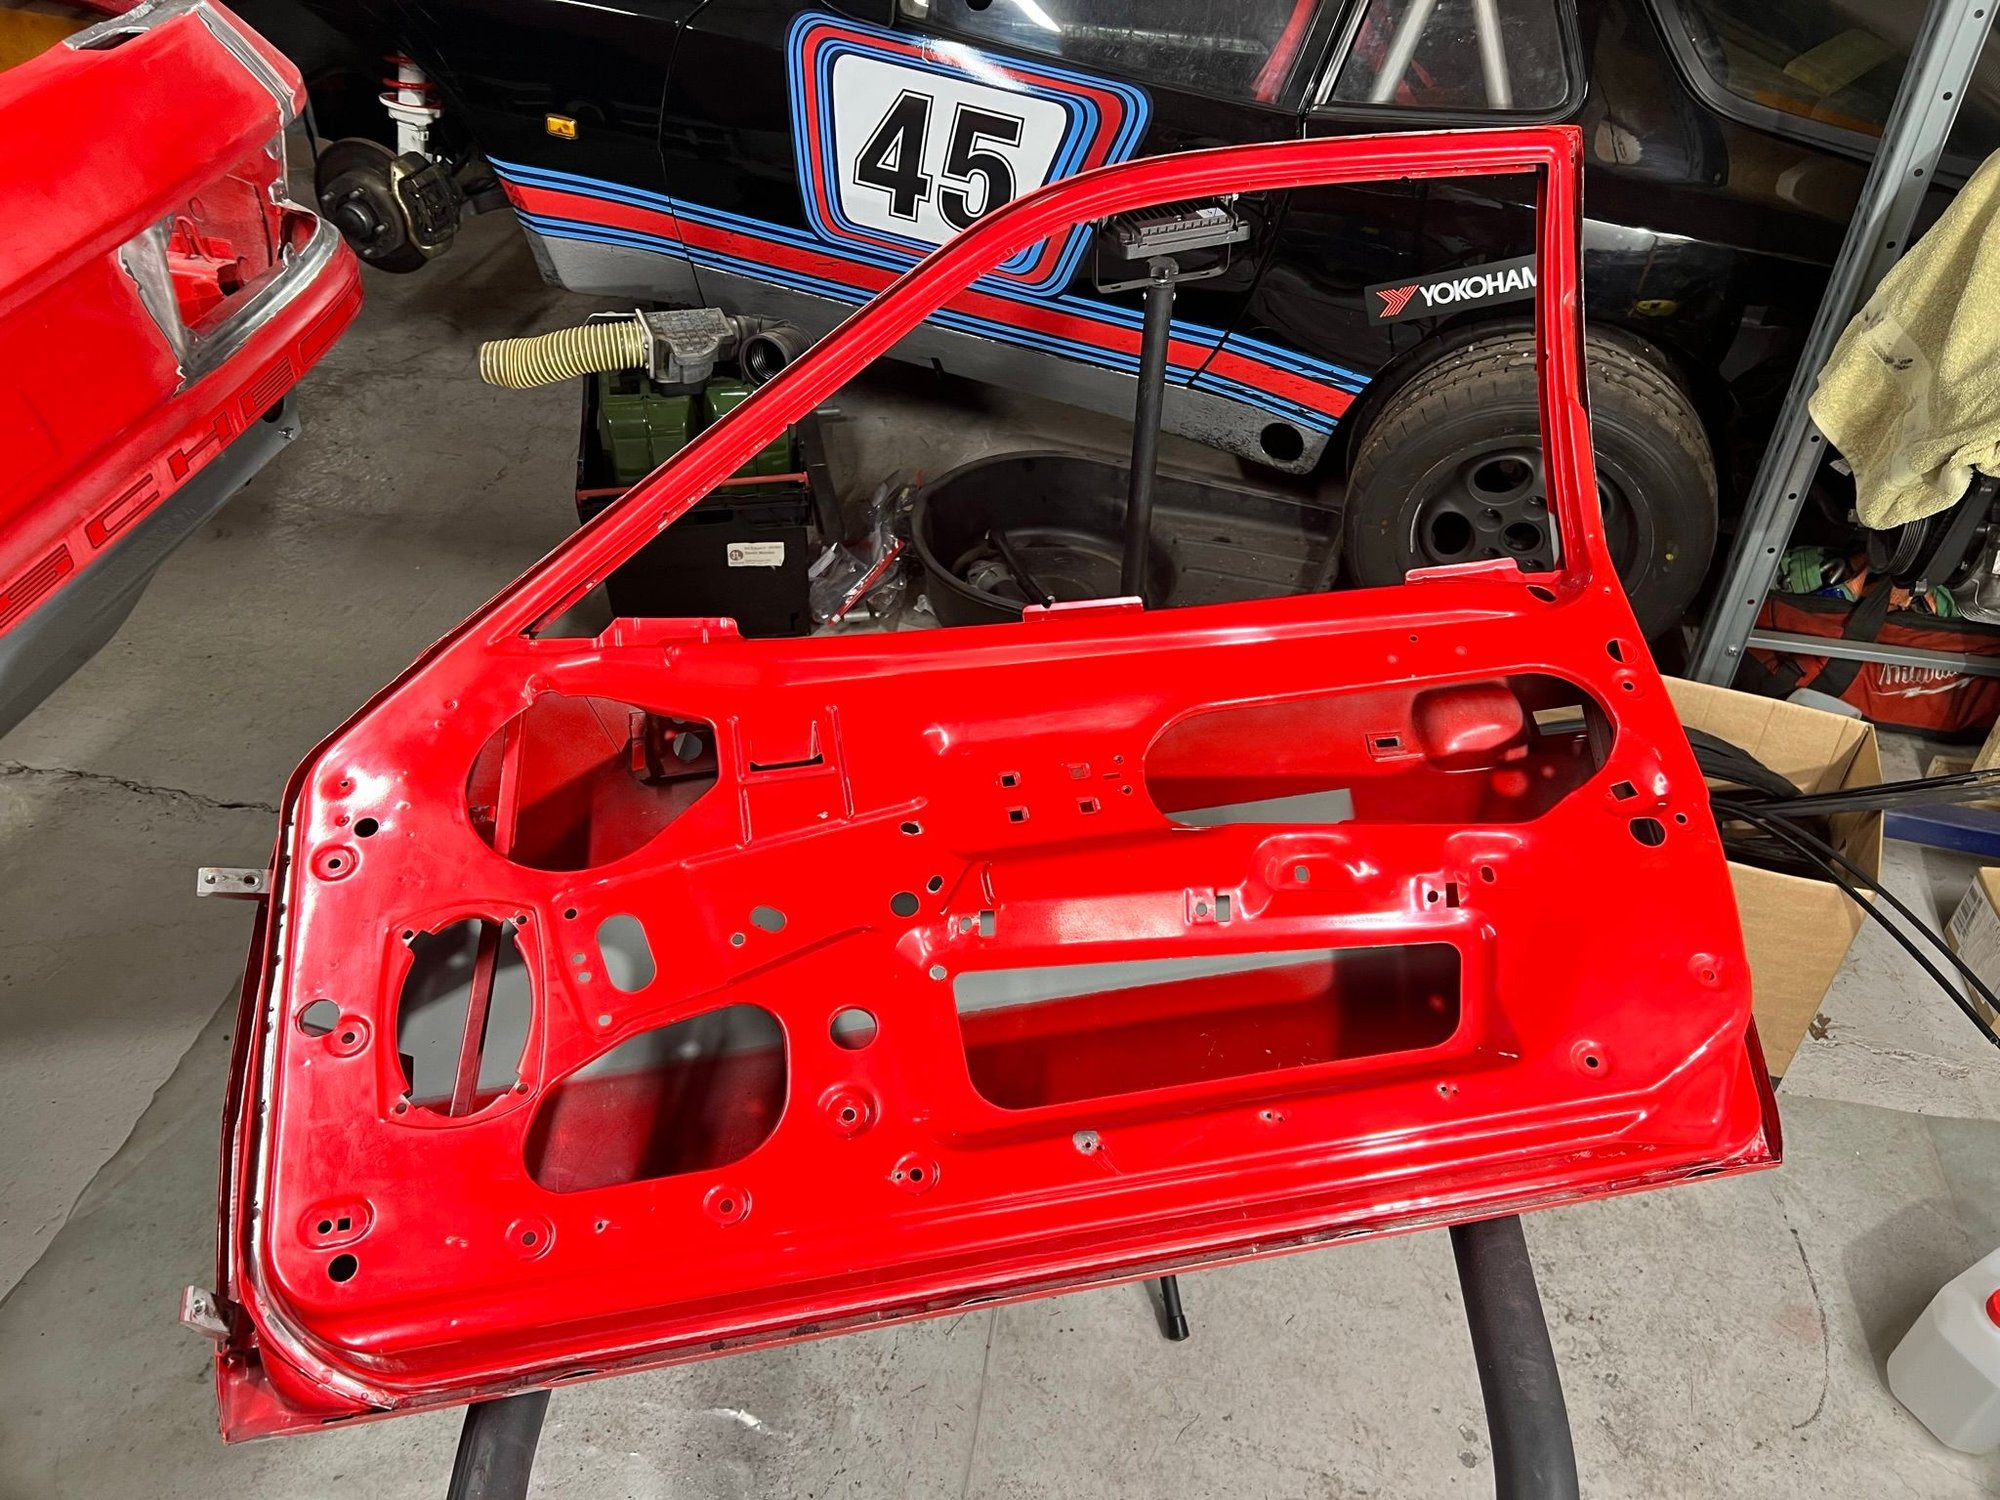
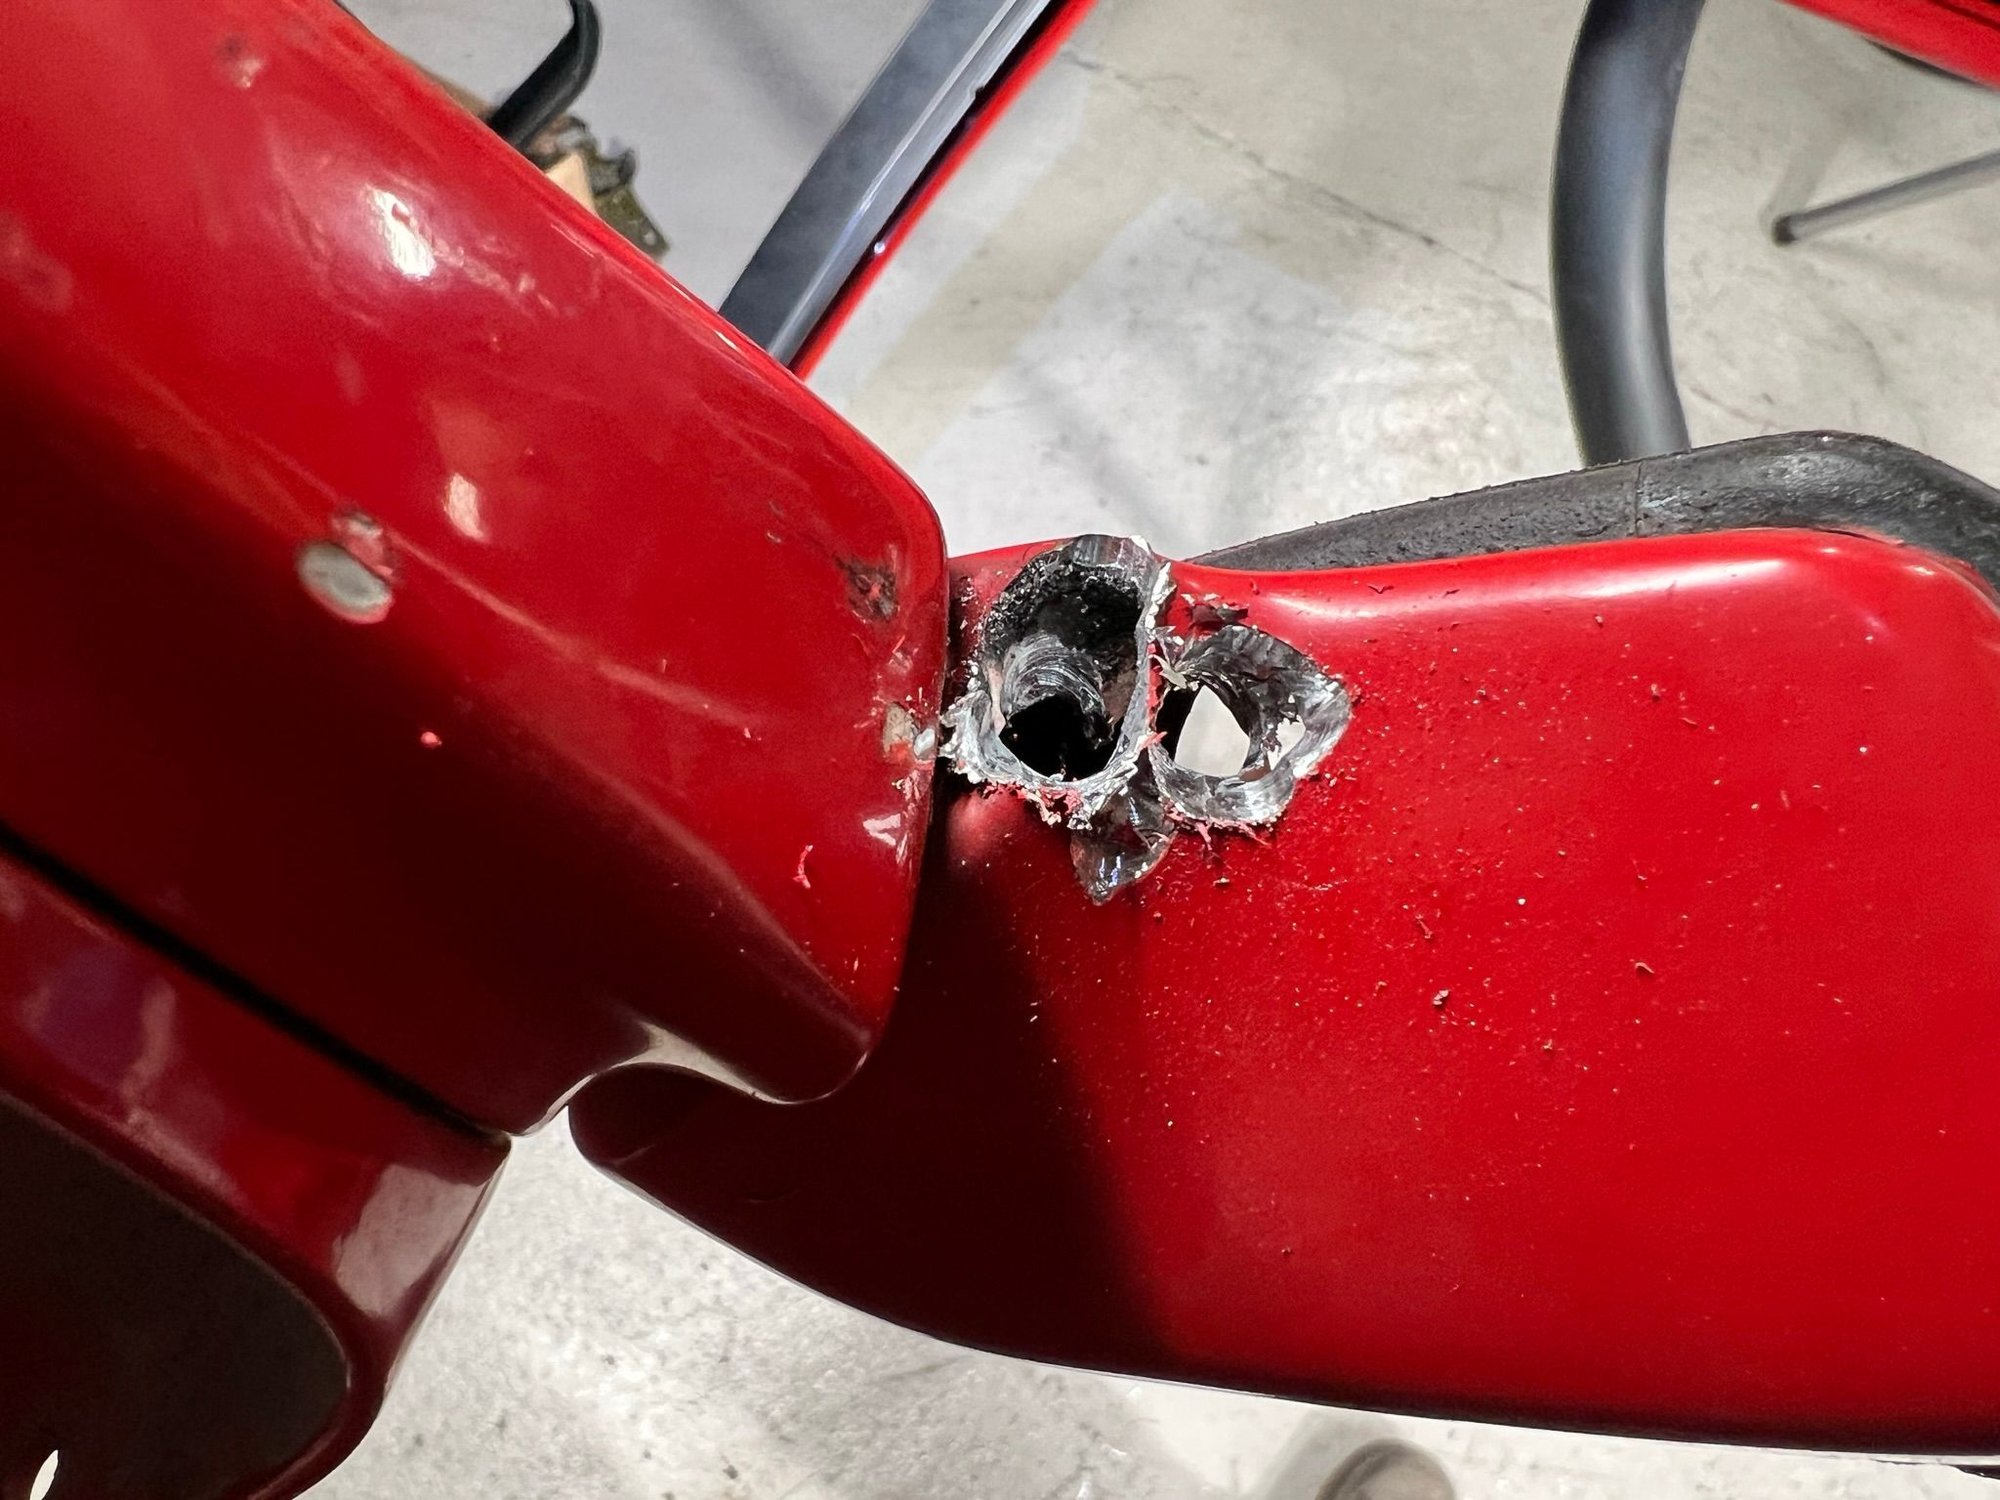
I have torn down the doors. Had to go bananas on the screw for both side mirrors. I used a hand drill to dig through the foot of the mirror, to avoid damaging the door panel. Would normally have used the (very noisy) angle grinder. But it was close to bedtime... It looks messy, but got the job done. Removed all sound deadening and glue remnants. Both inside the doors, on the door card surfaces and in the channels for the door gasket. That last bit was a pretty tedious job.
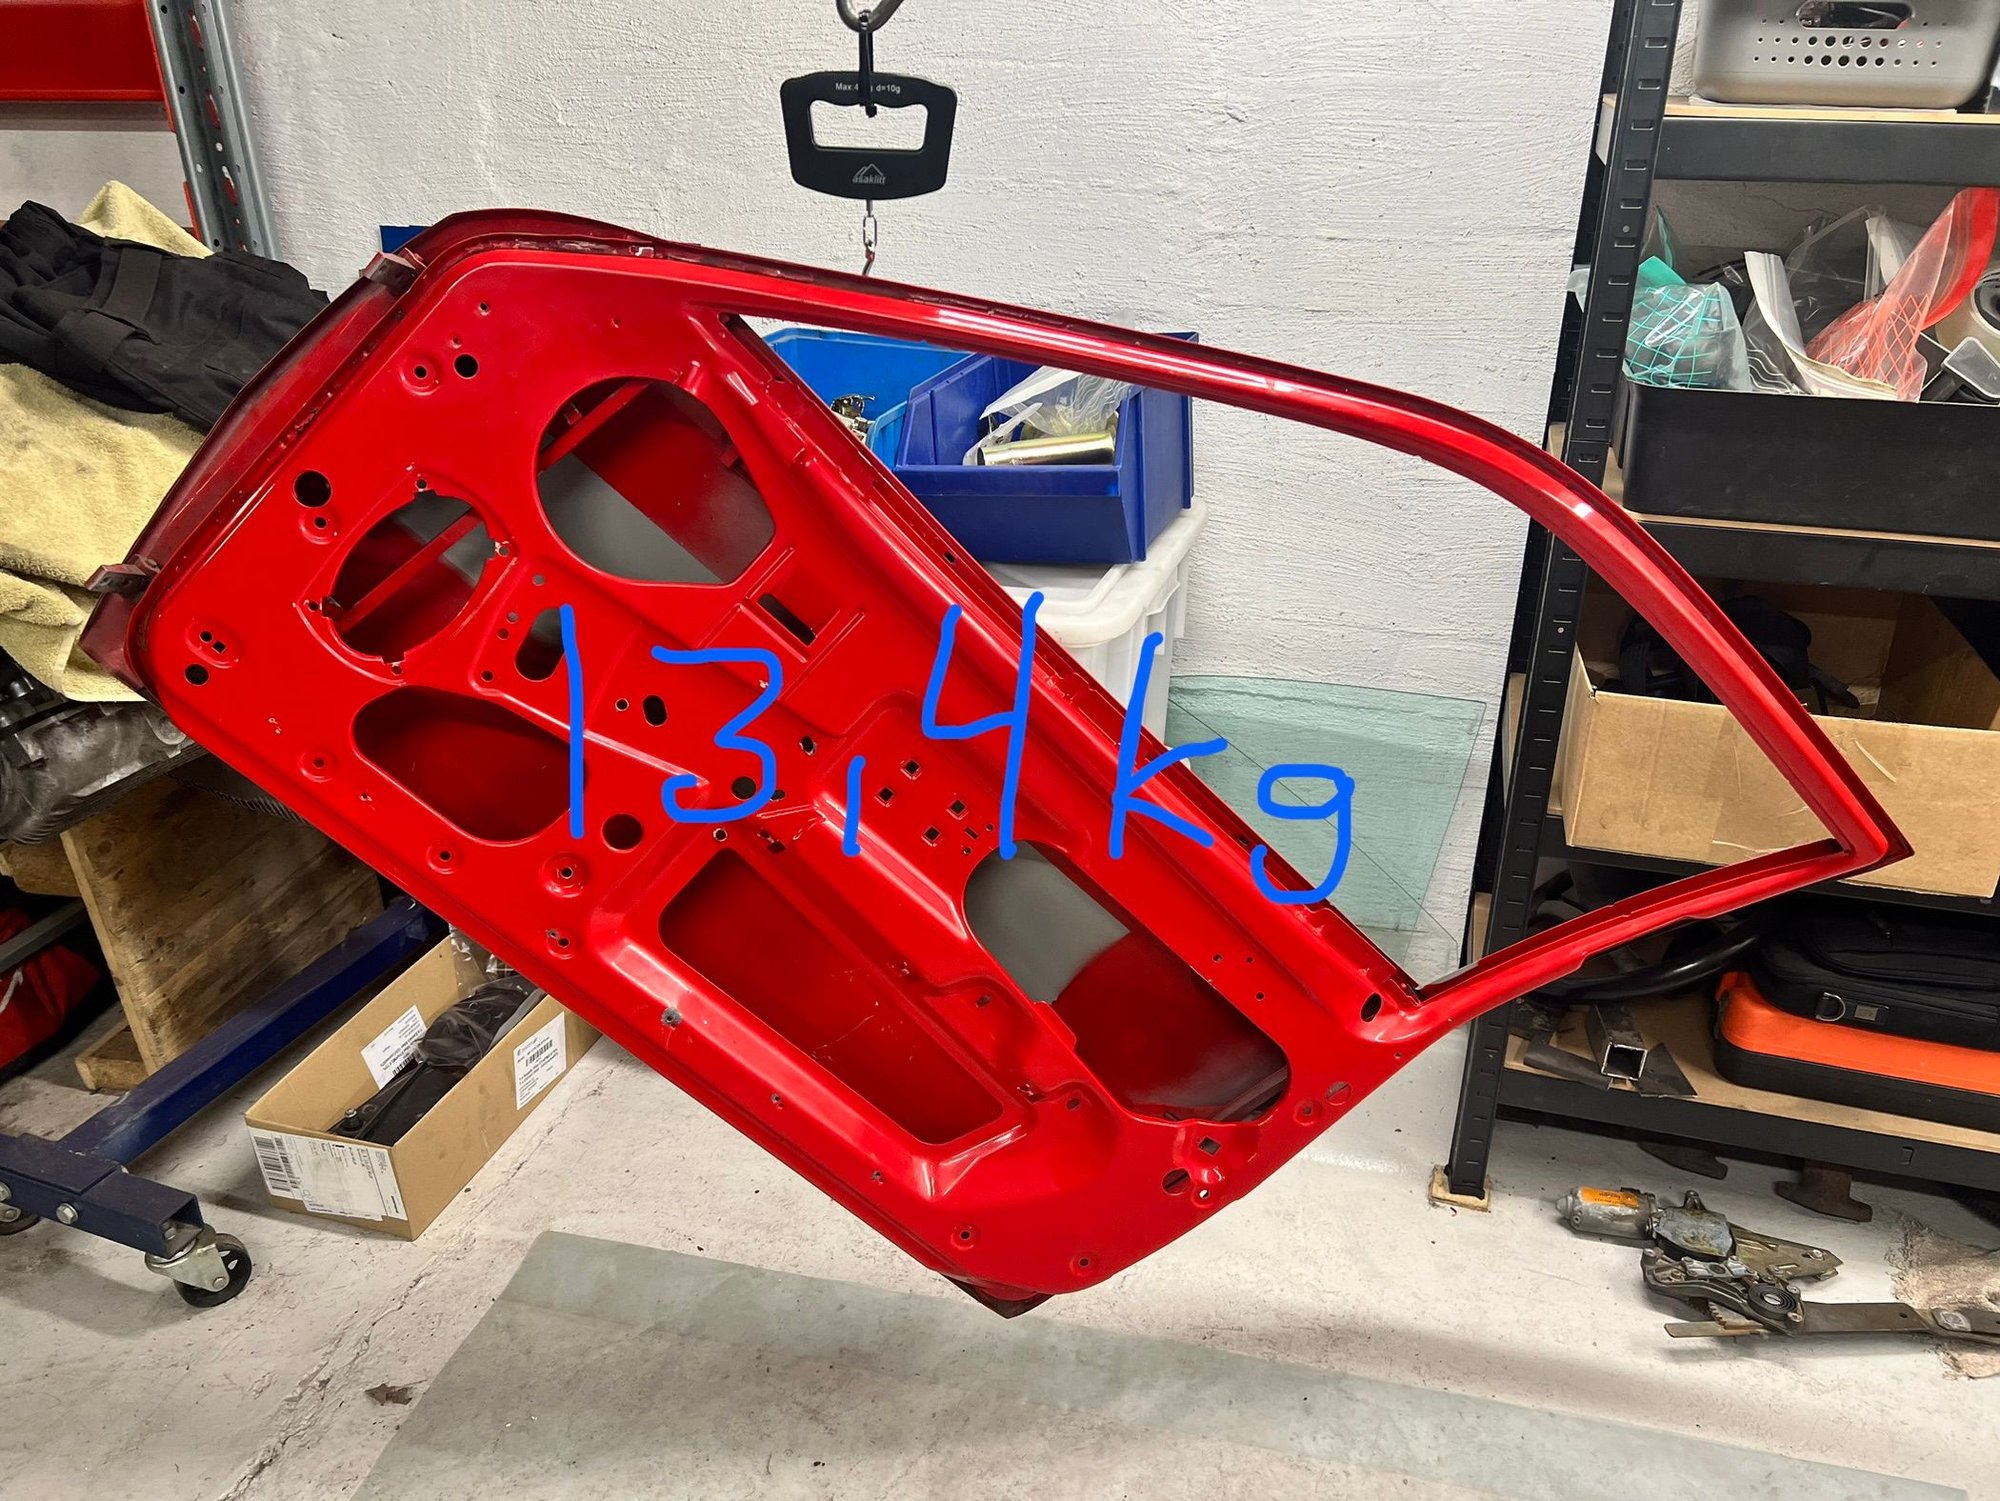
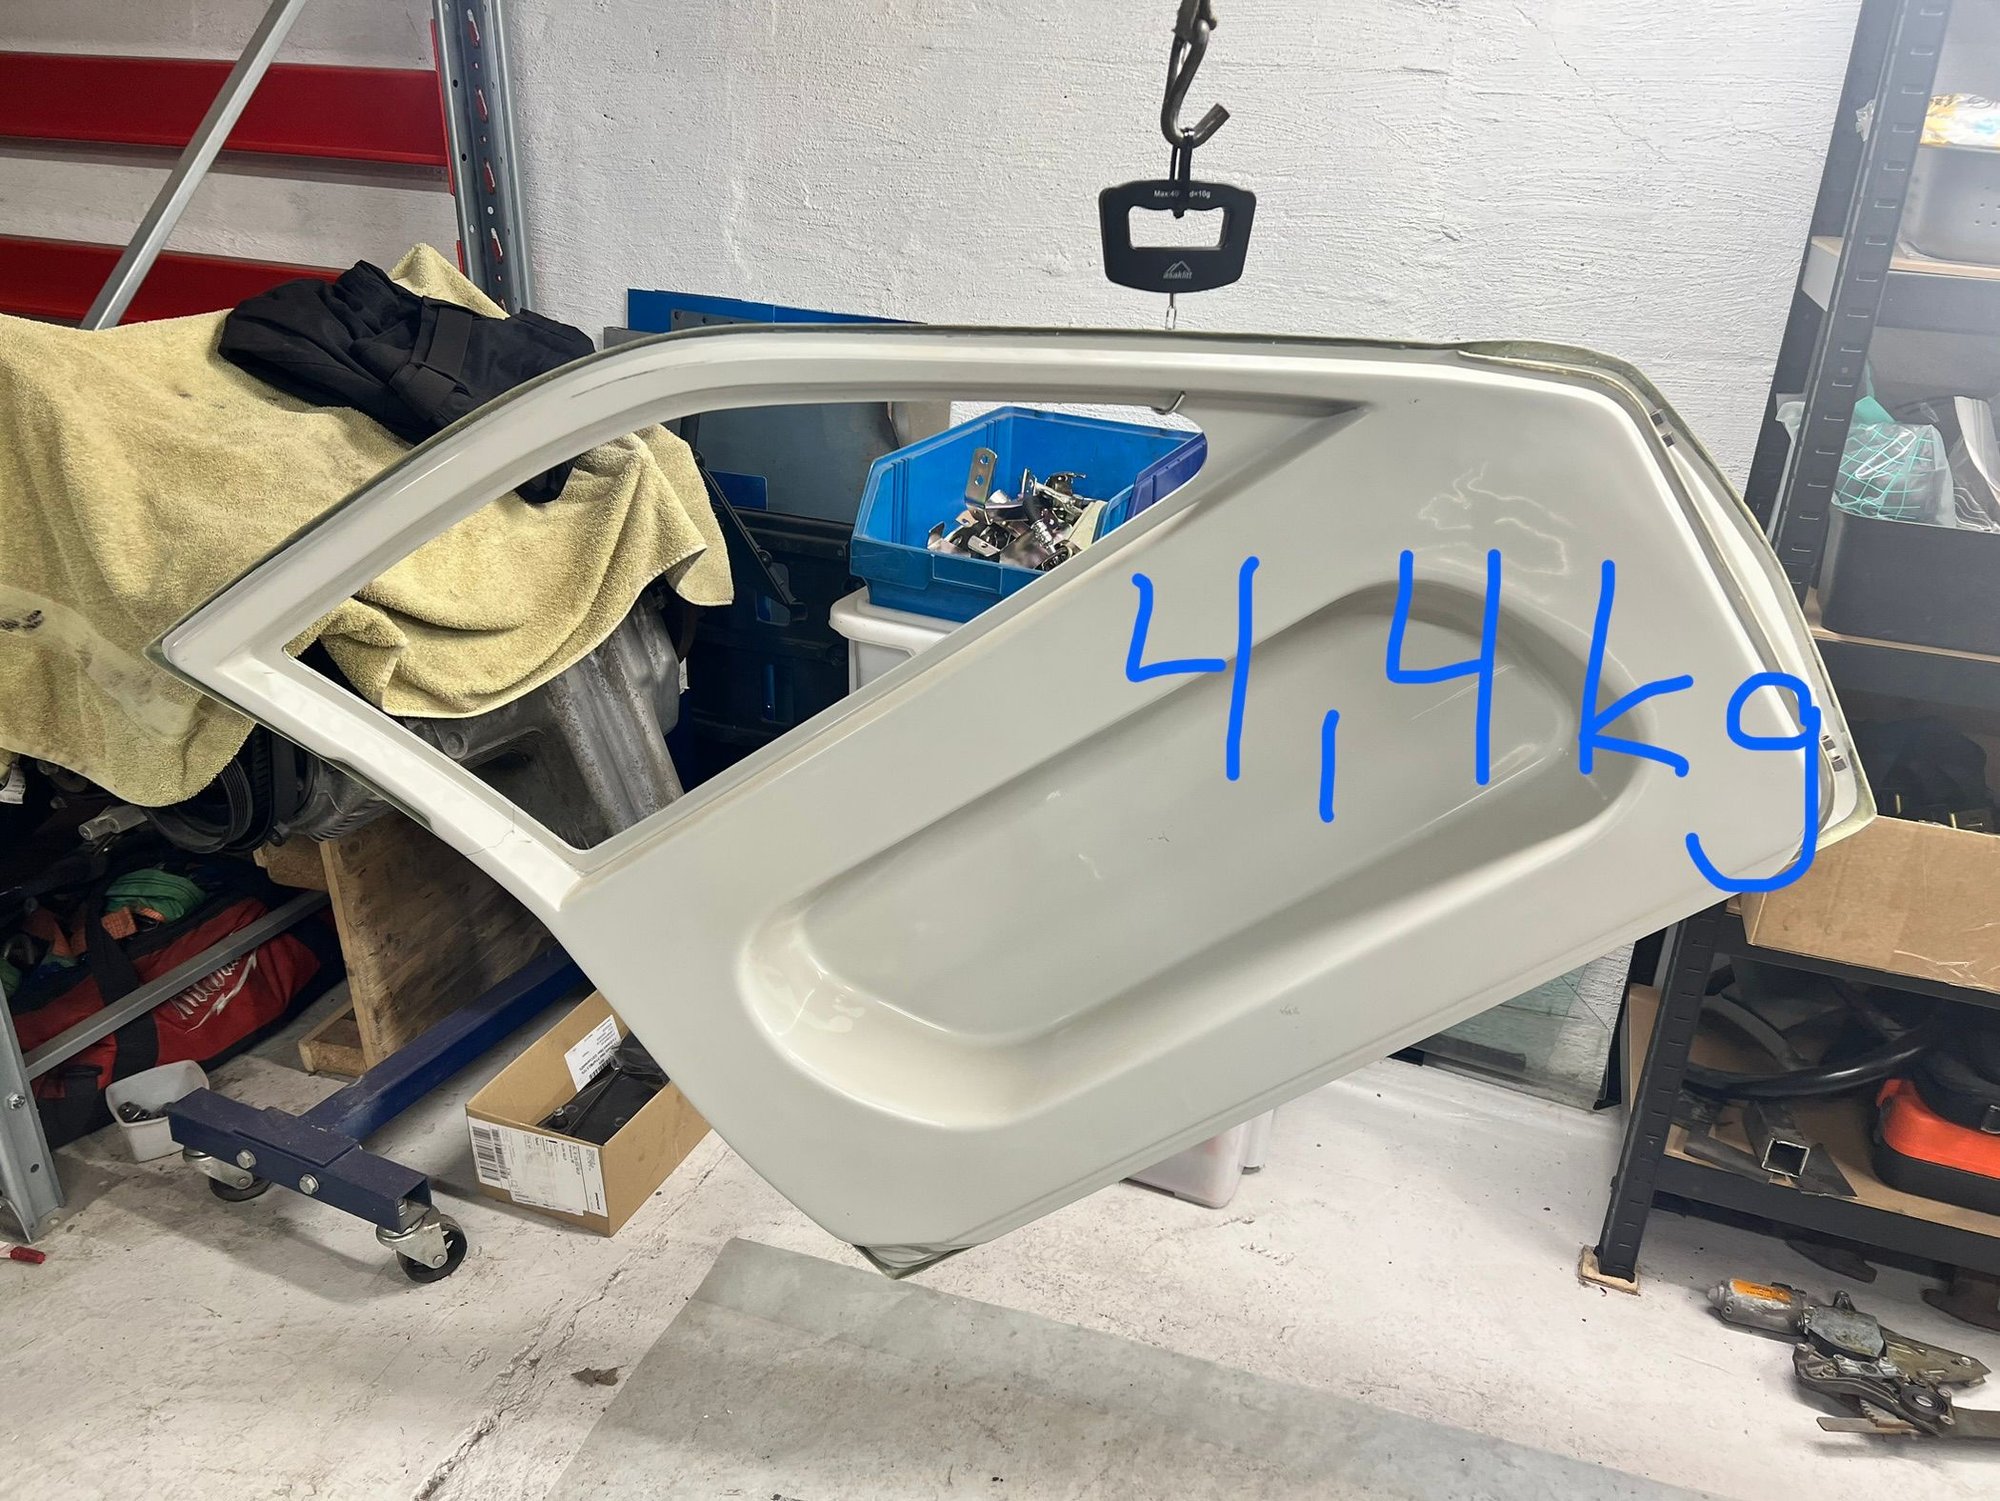
Compared the weight of the original doors (without impact bar) to the fiberglass doors my buddy has laying around. To learn how much weight can be saved.
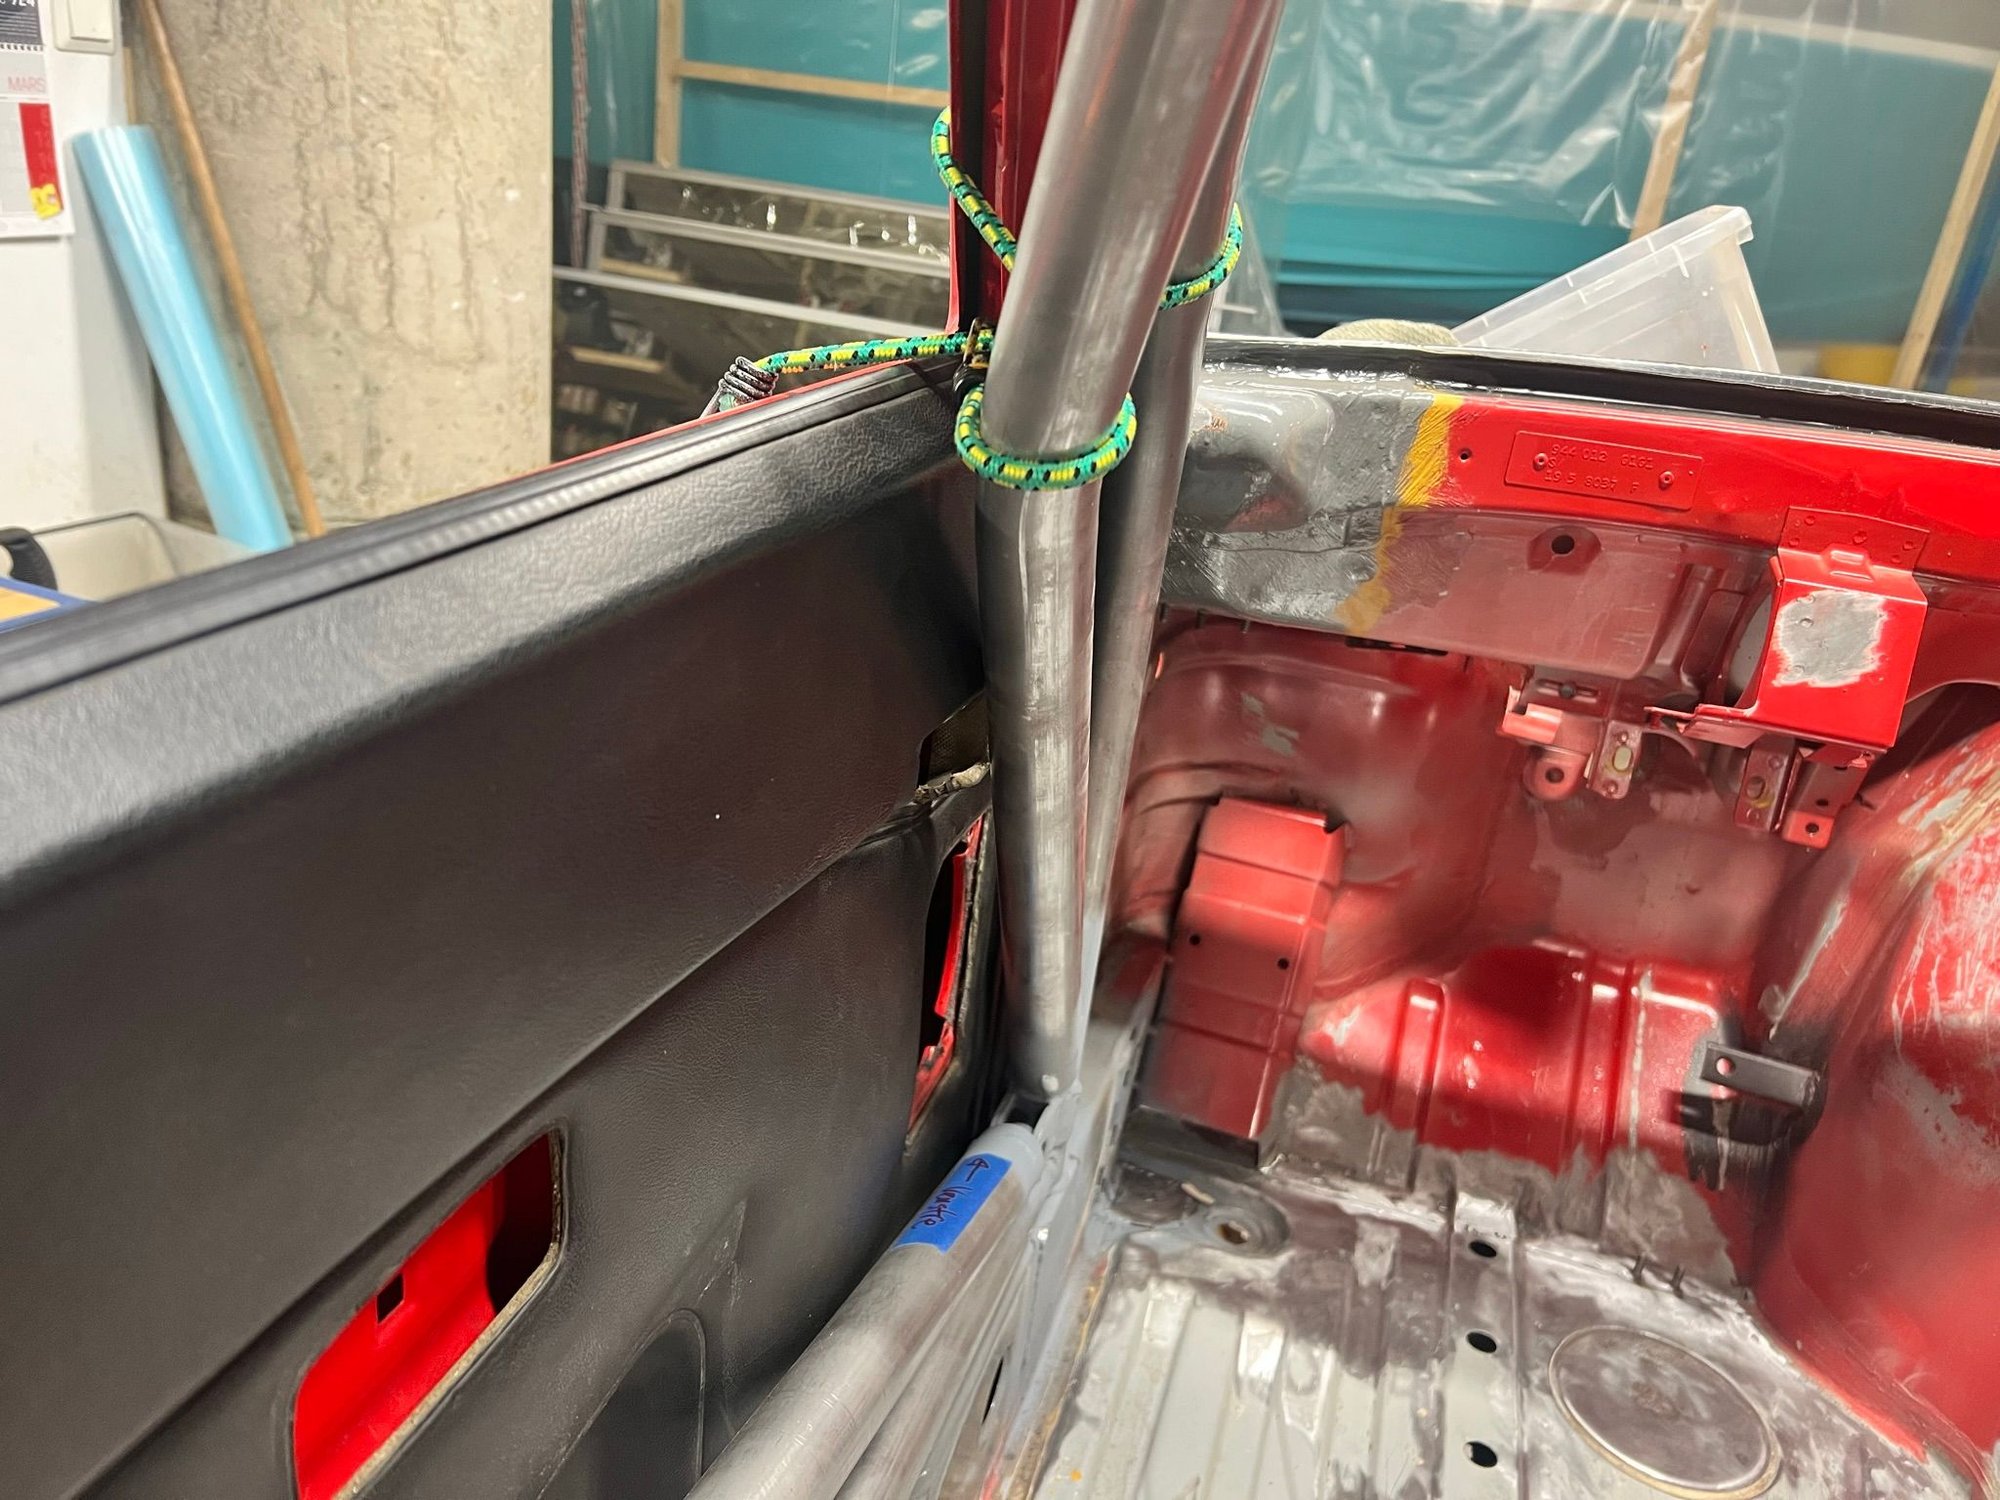
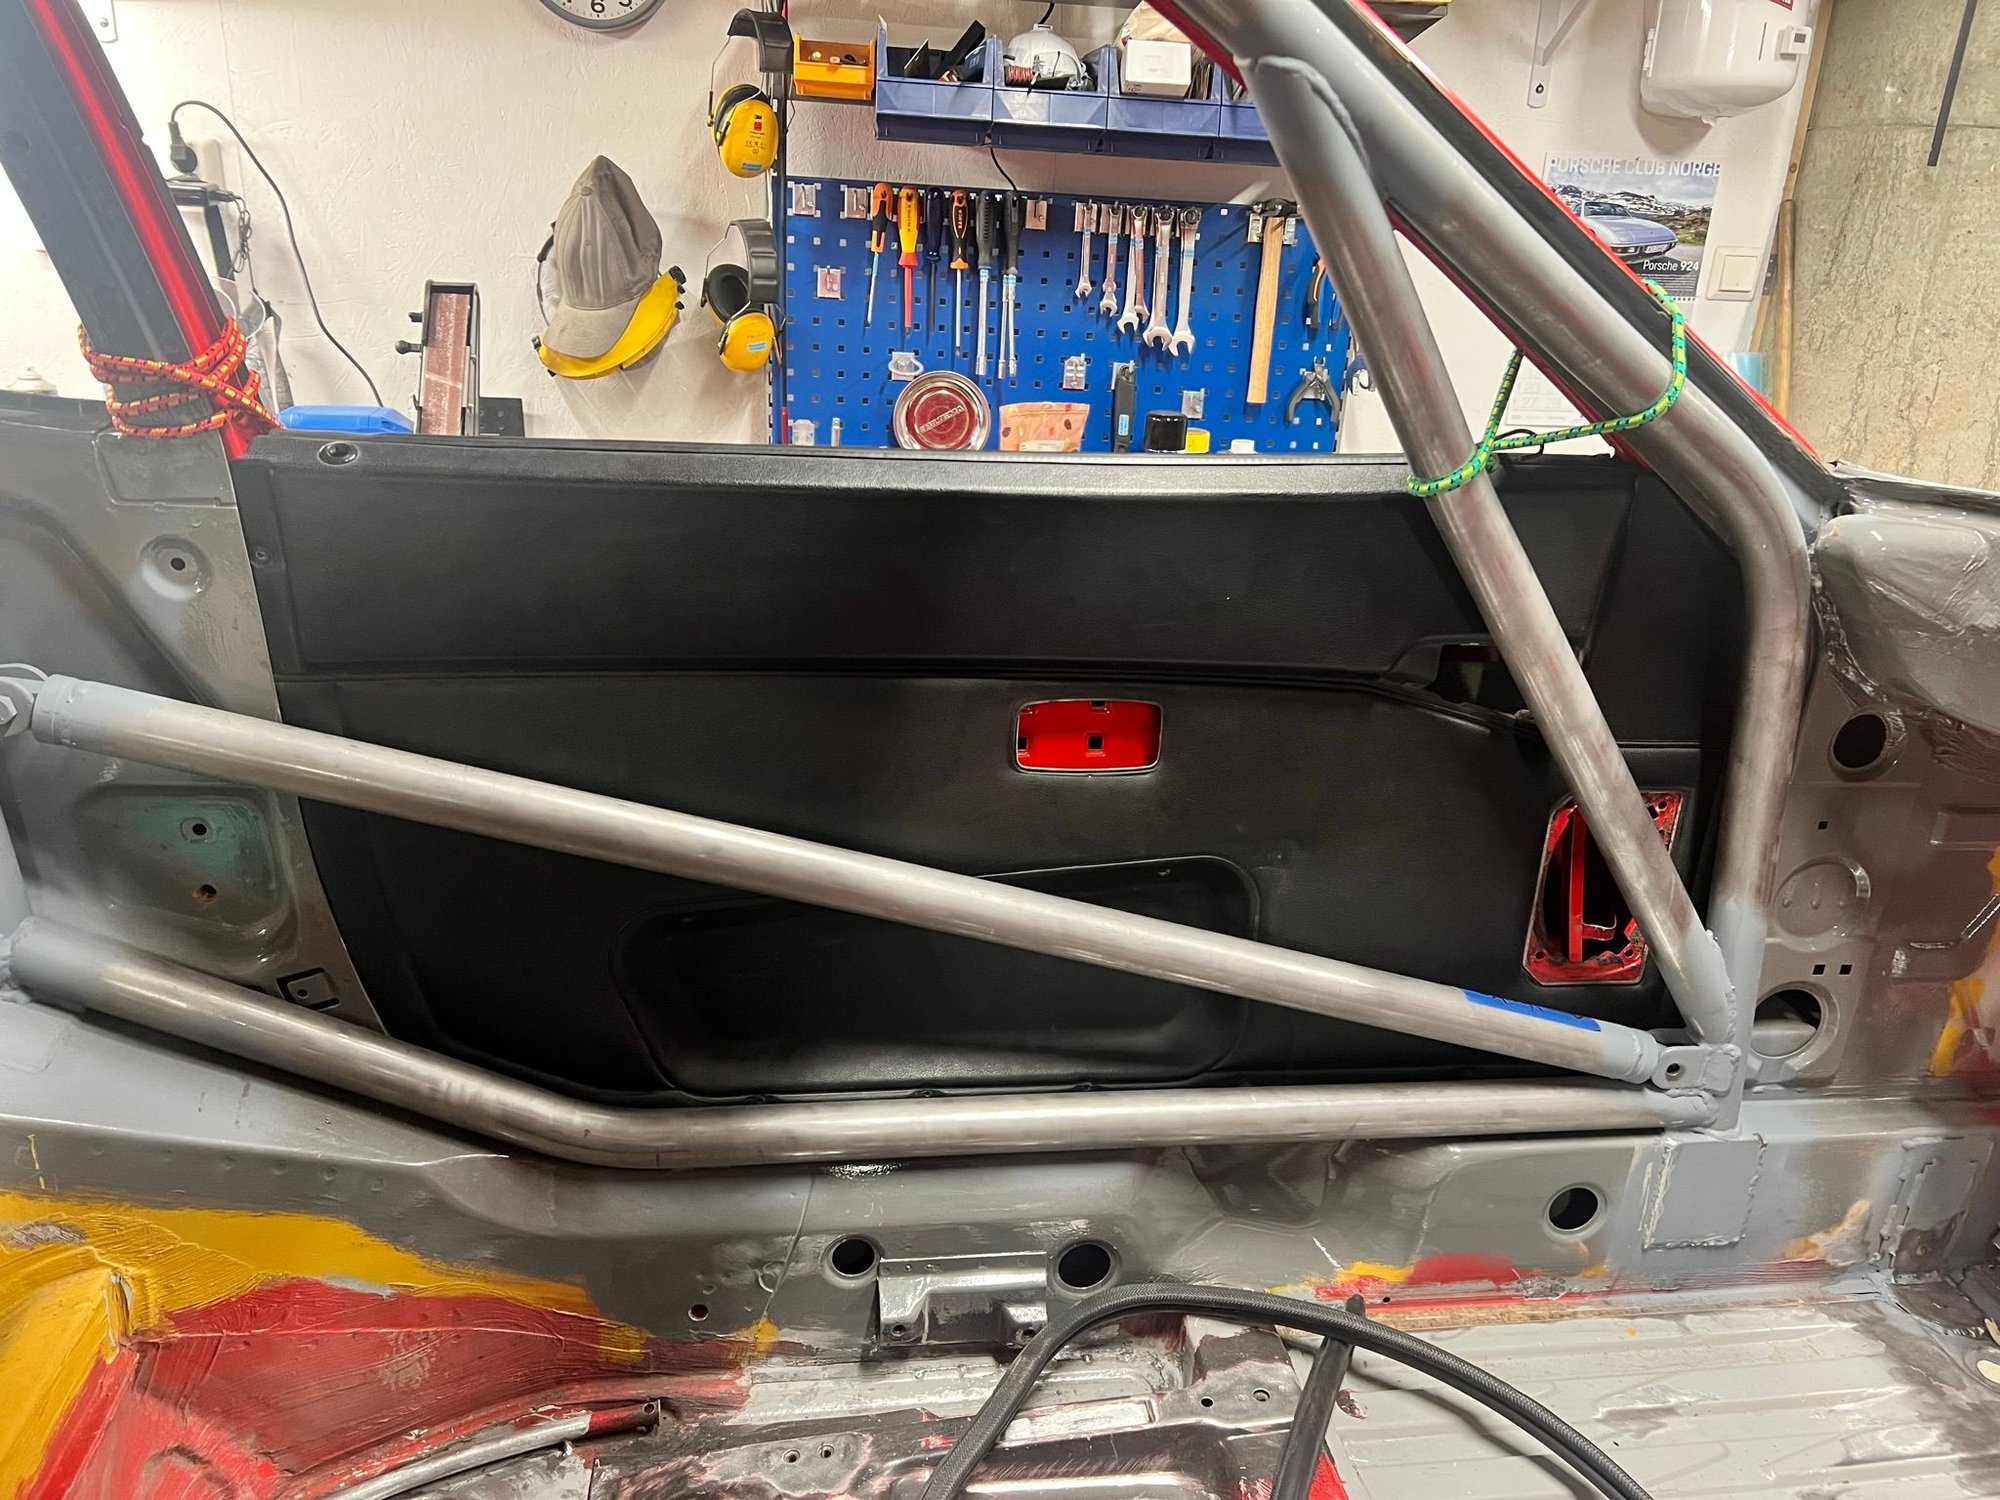
To my surprise, and joy, the door card still fit. It touches the cage very slightly. But not too much. One less thing to fabricate. And it will be a clean look.
.
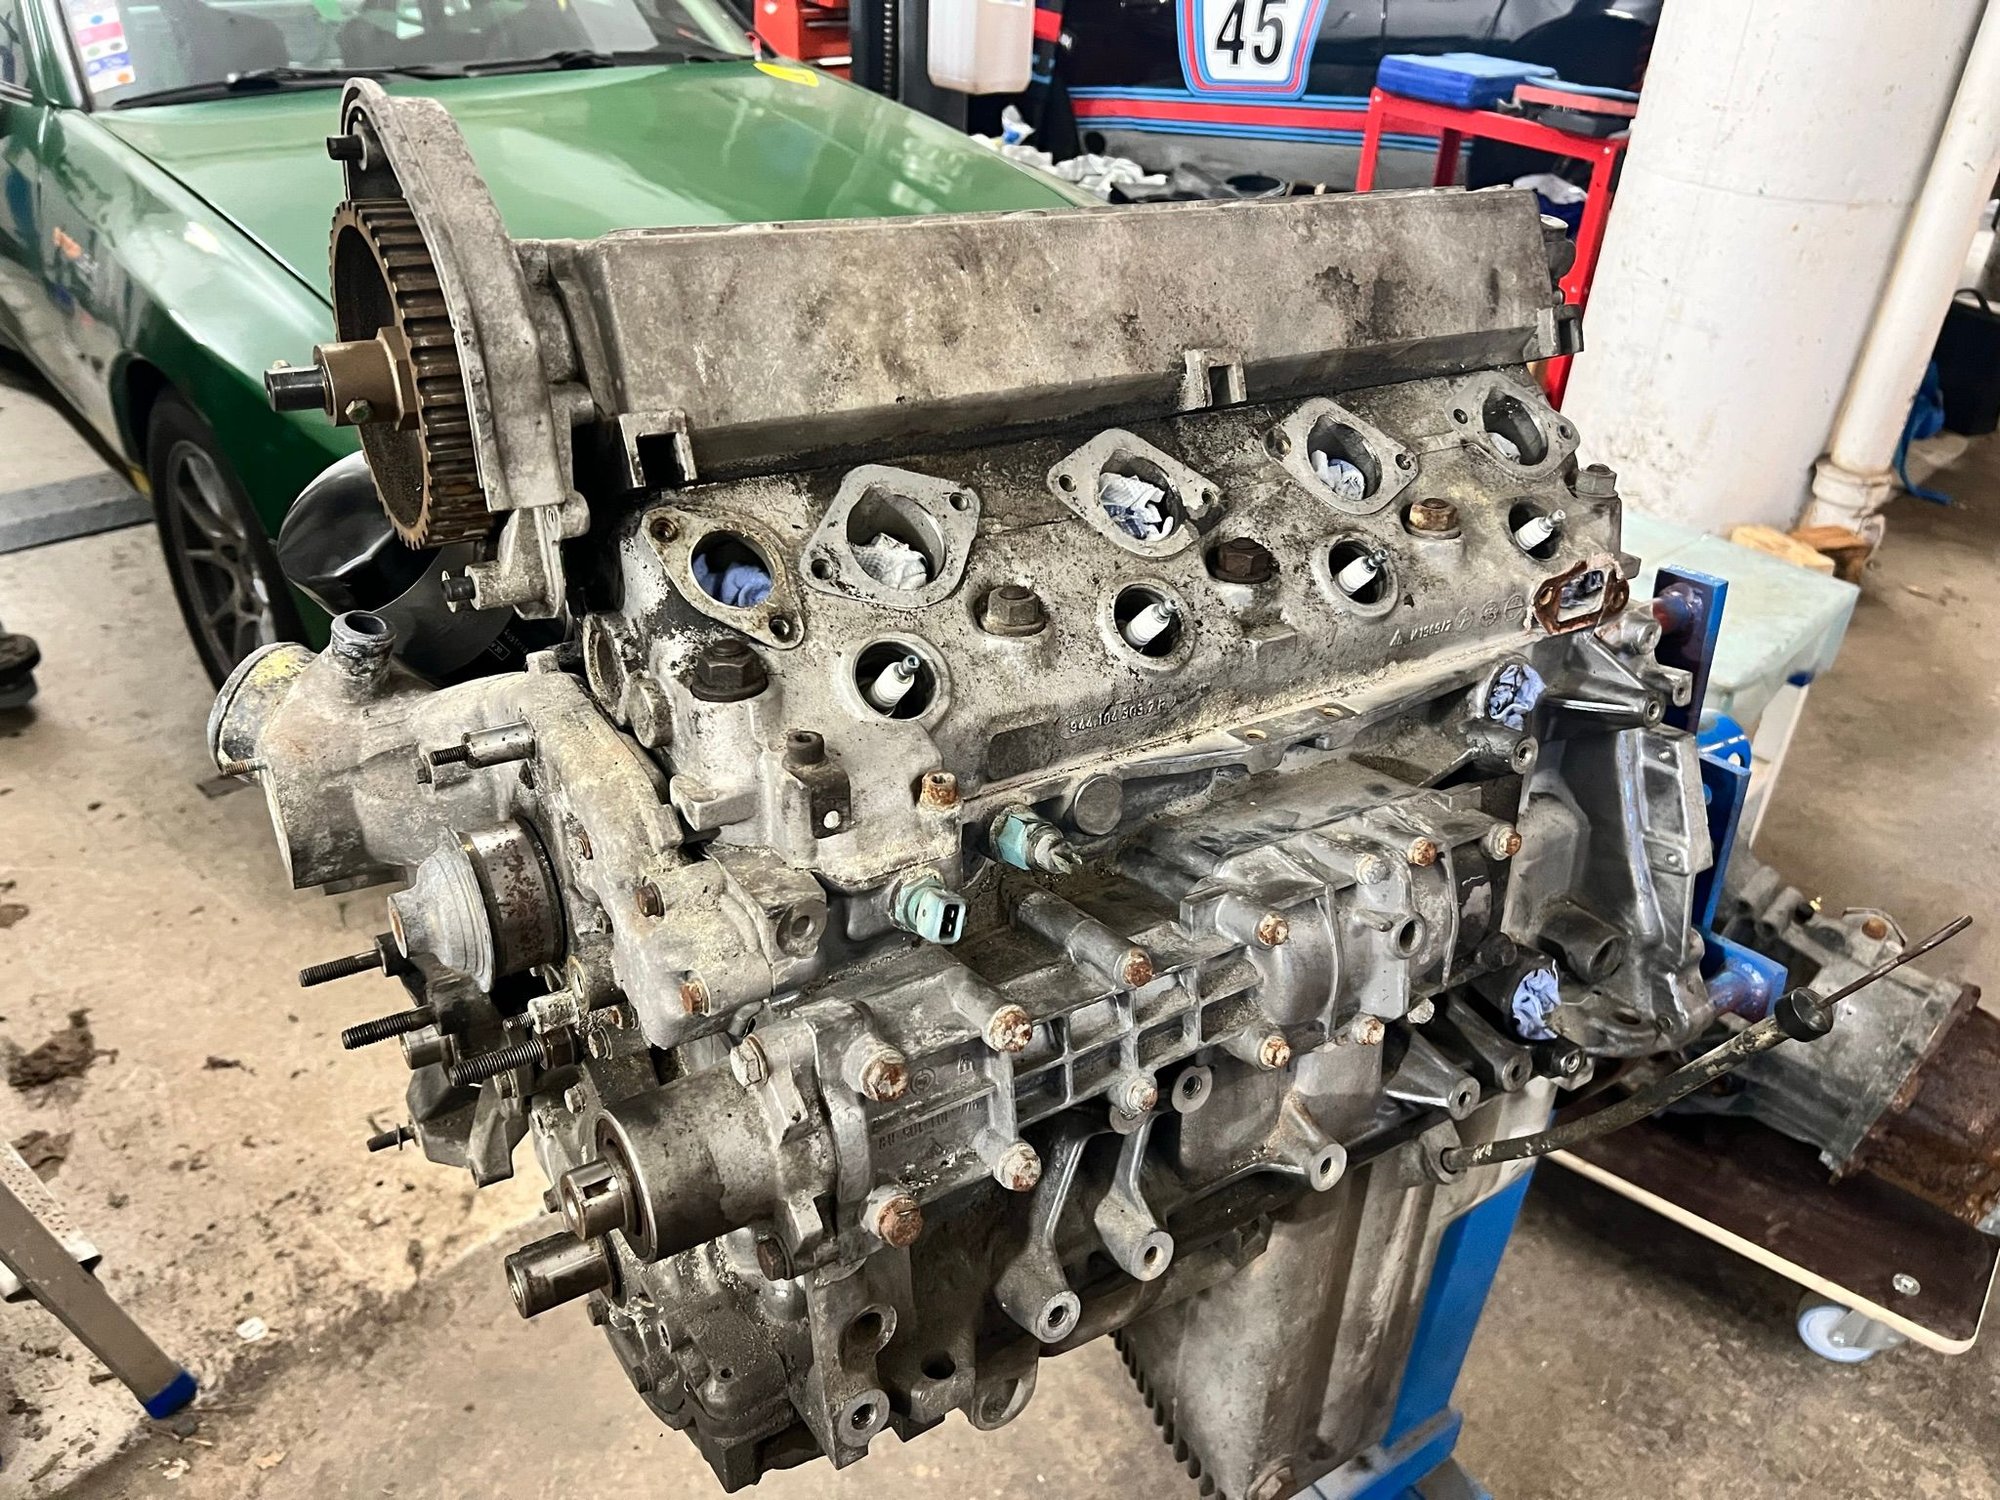
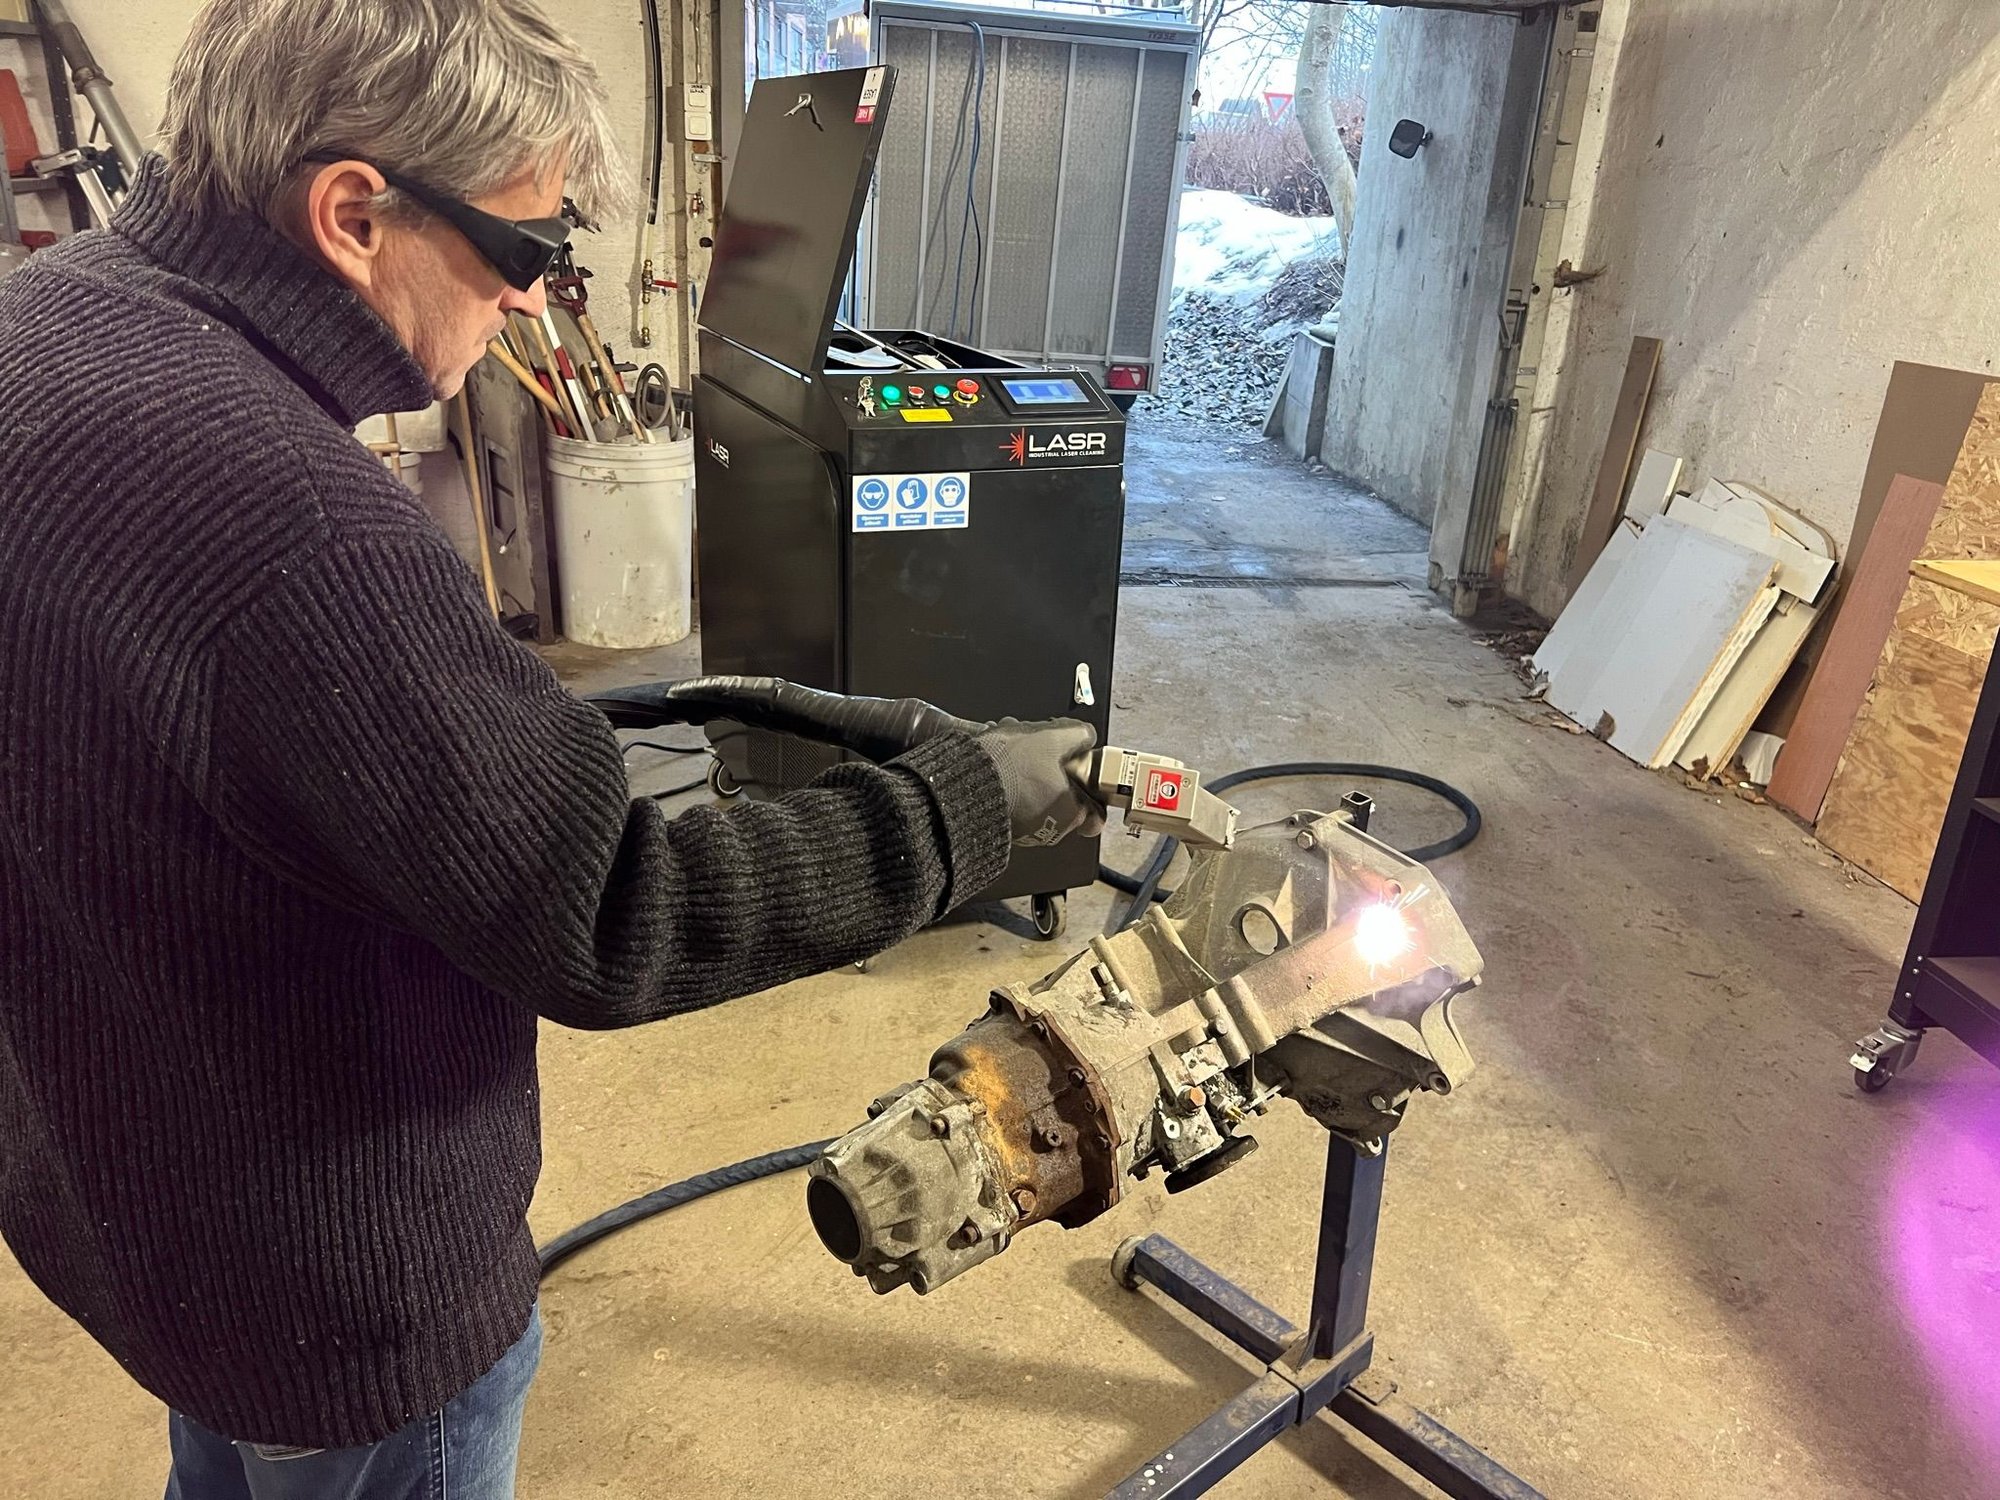
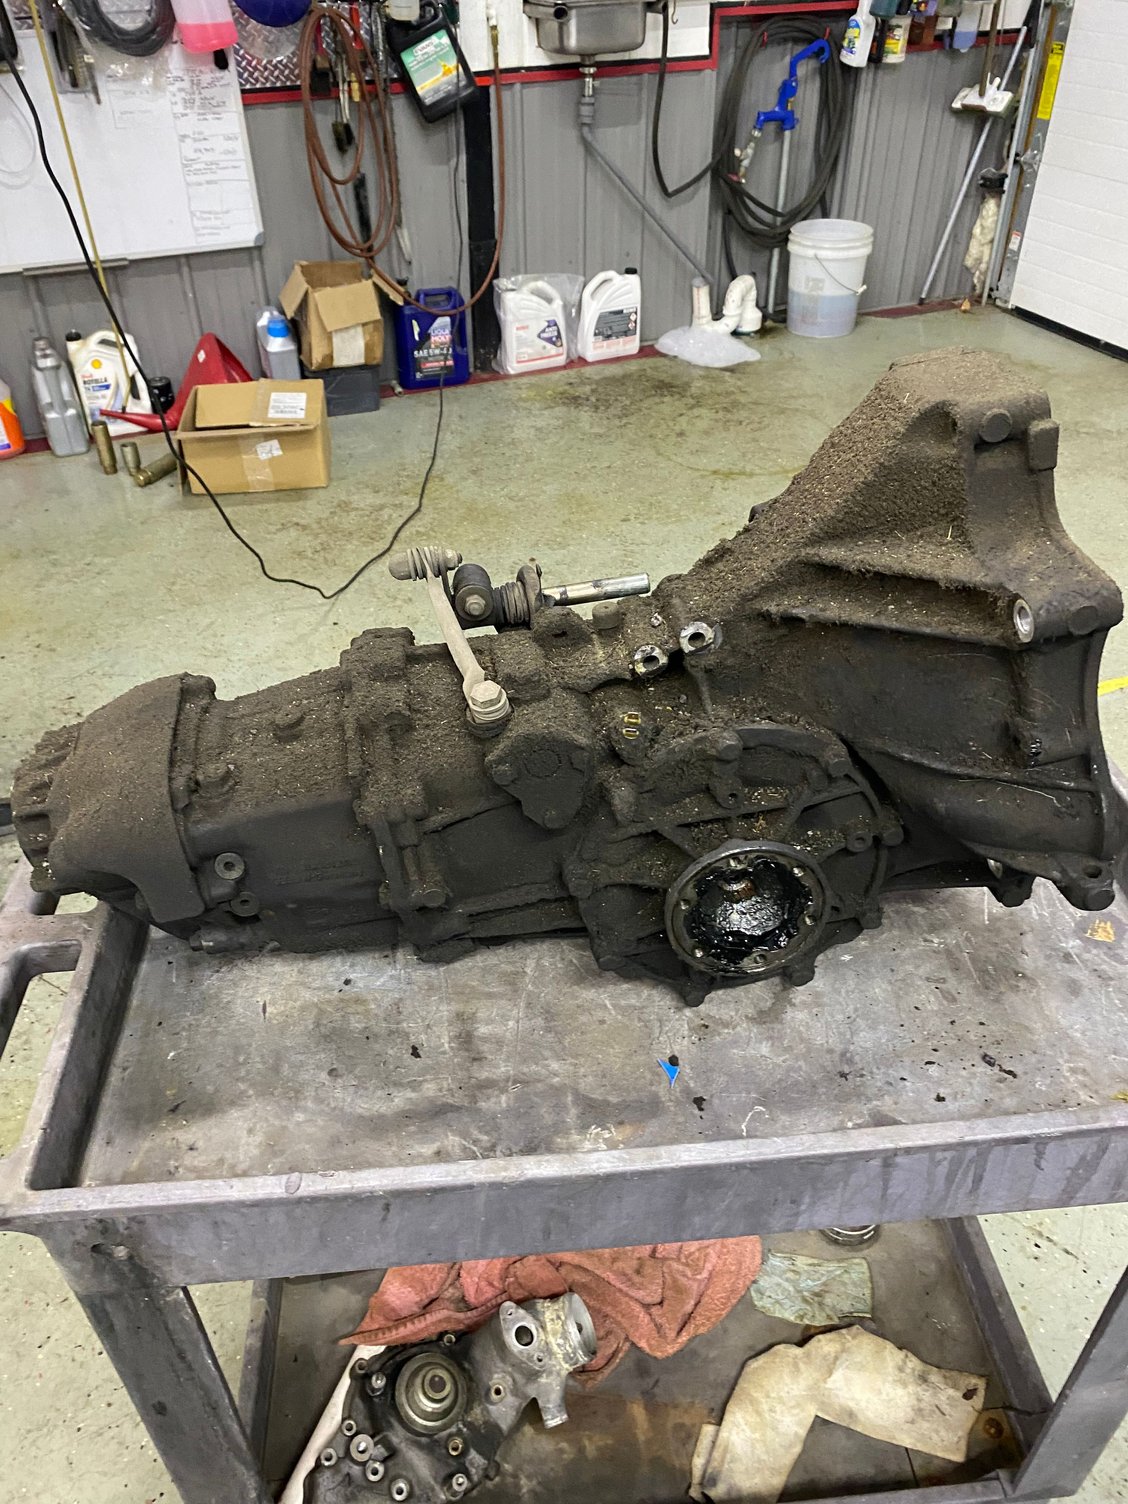
I have been looking to clean the transaxle, torqe tube and engine. As all of those have been sitting, rather untouched since they were removed from the car.
Through a car enthusiast neighbour I got in touch with a friend of his, a guy who had just started up as an area representative for laser cleaning company. We talked on the phone and he would take on the cleaning of my stuff partly as practice and I would get a nice-price on the job.
So he showed up with a large box trailer, rolled out a (very expensive) laser machine, and fired up a major diesel driven power generator. And we got to work on my drivetrain.
The laser works best on darker material as the (very) rapid absorption of laser light (i.e. heating) leads to the material evaporating. As you know dark coloured material absorbs light, whereas the lighter material reflects light. But it eats decently into the oxidisation on alumium as well. And it "eats" rust for breakfast.
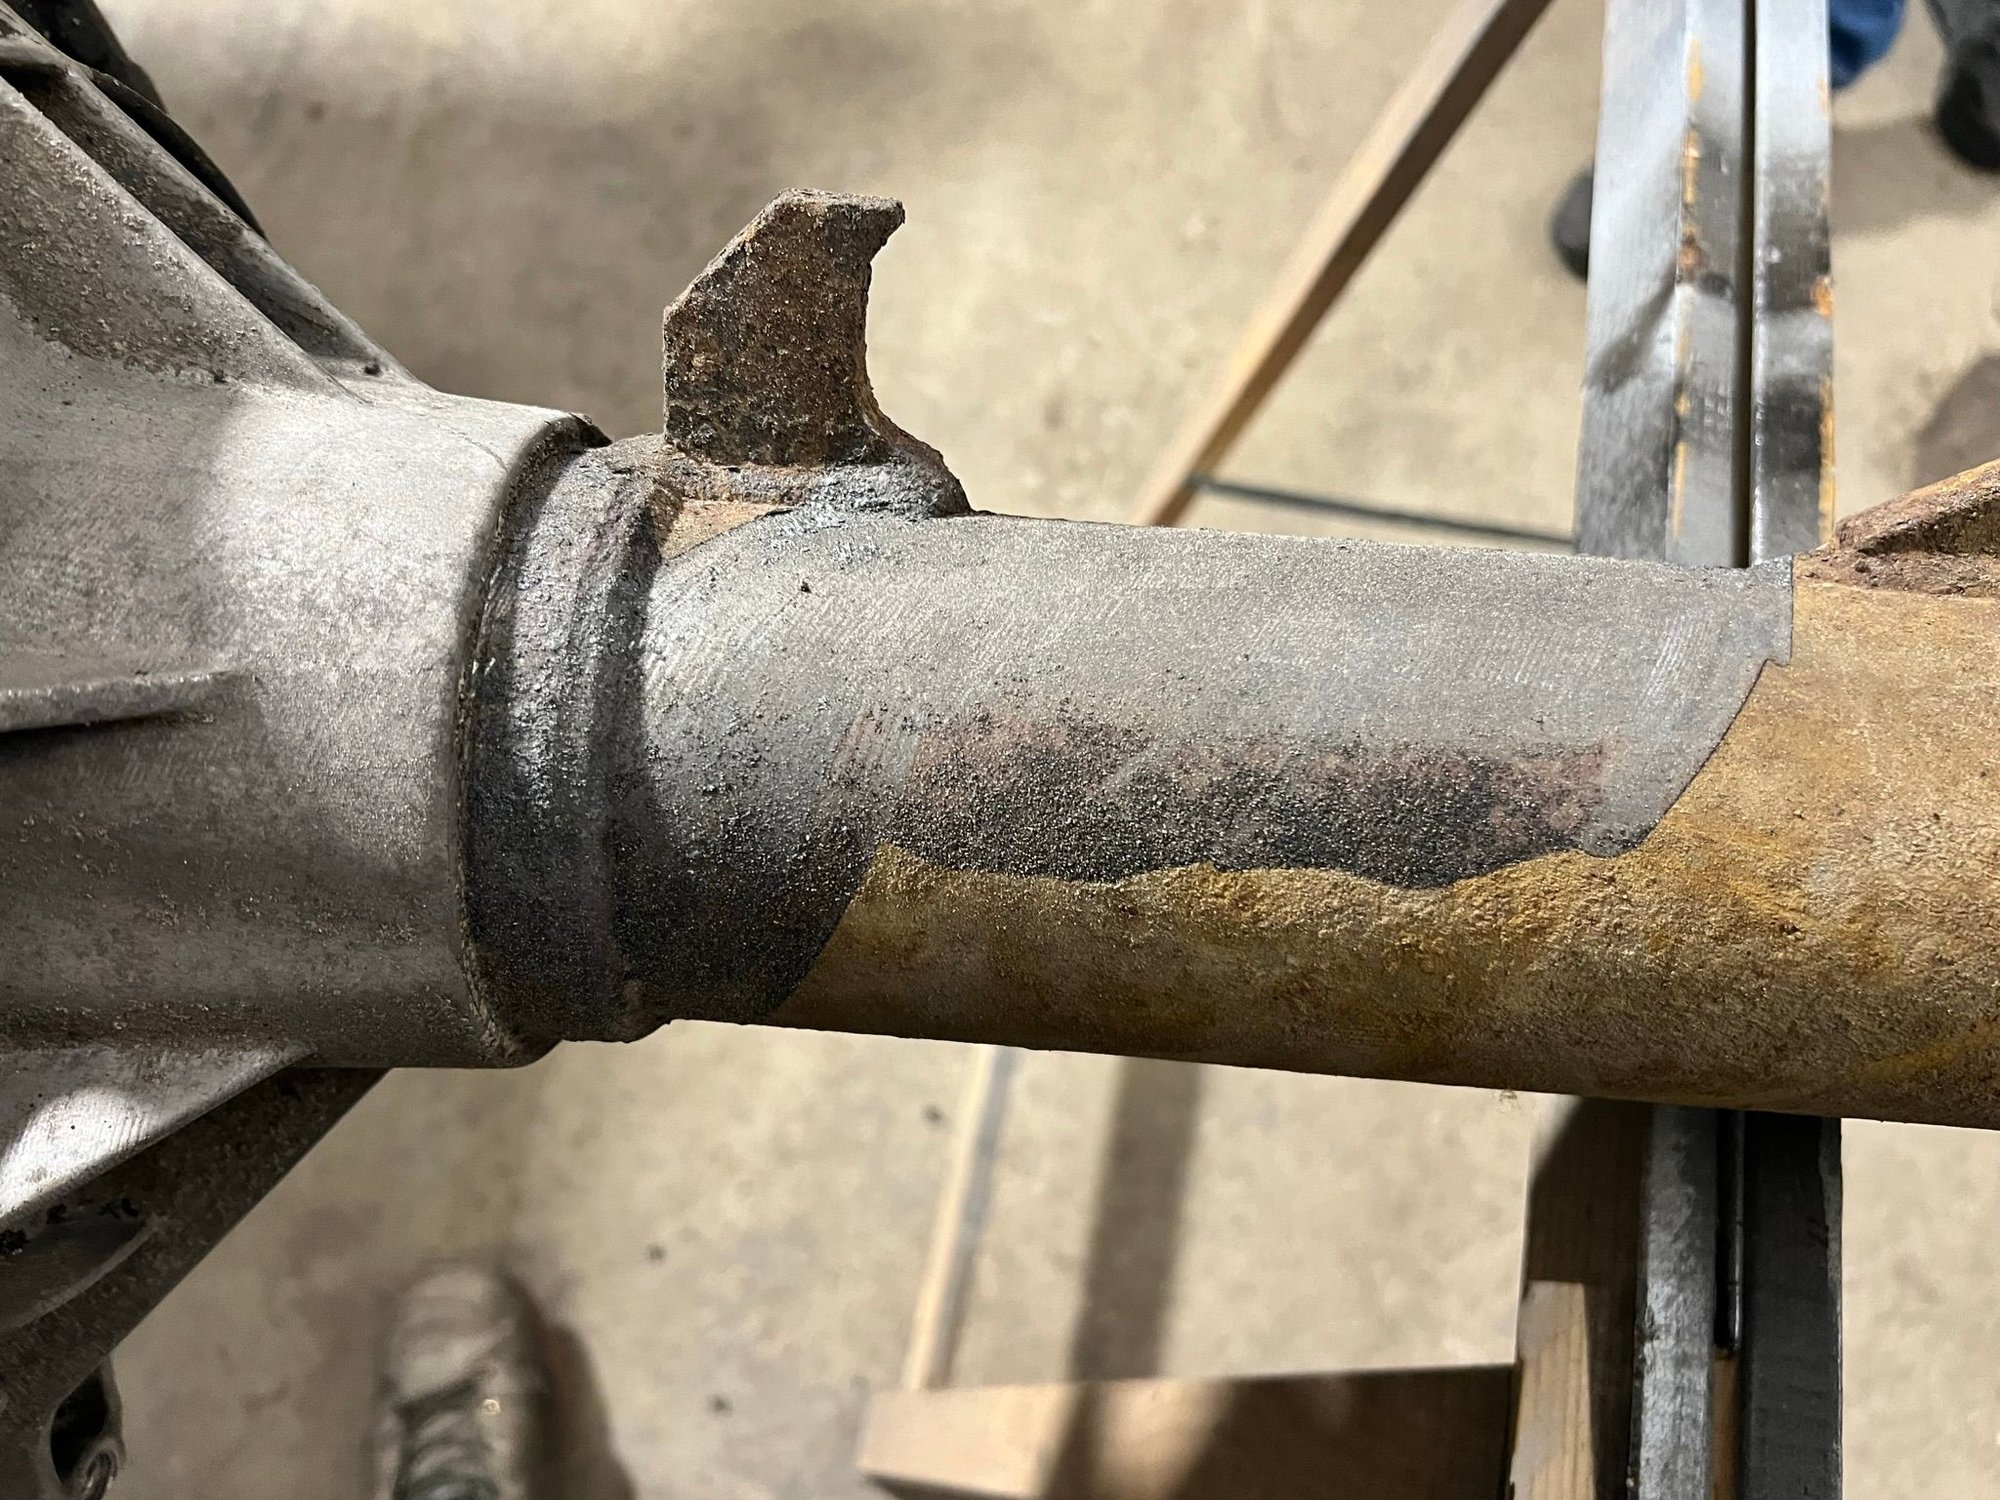
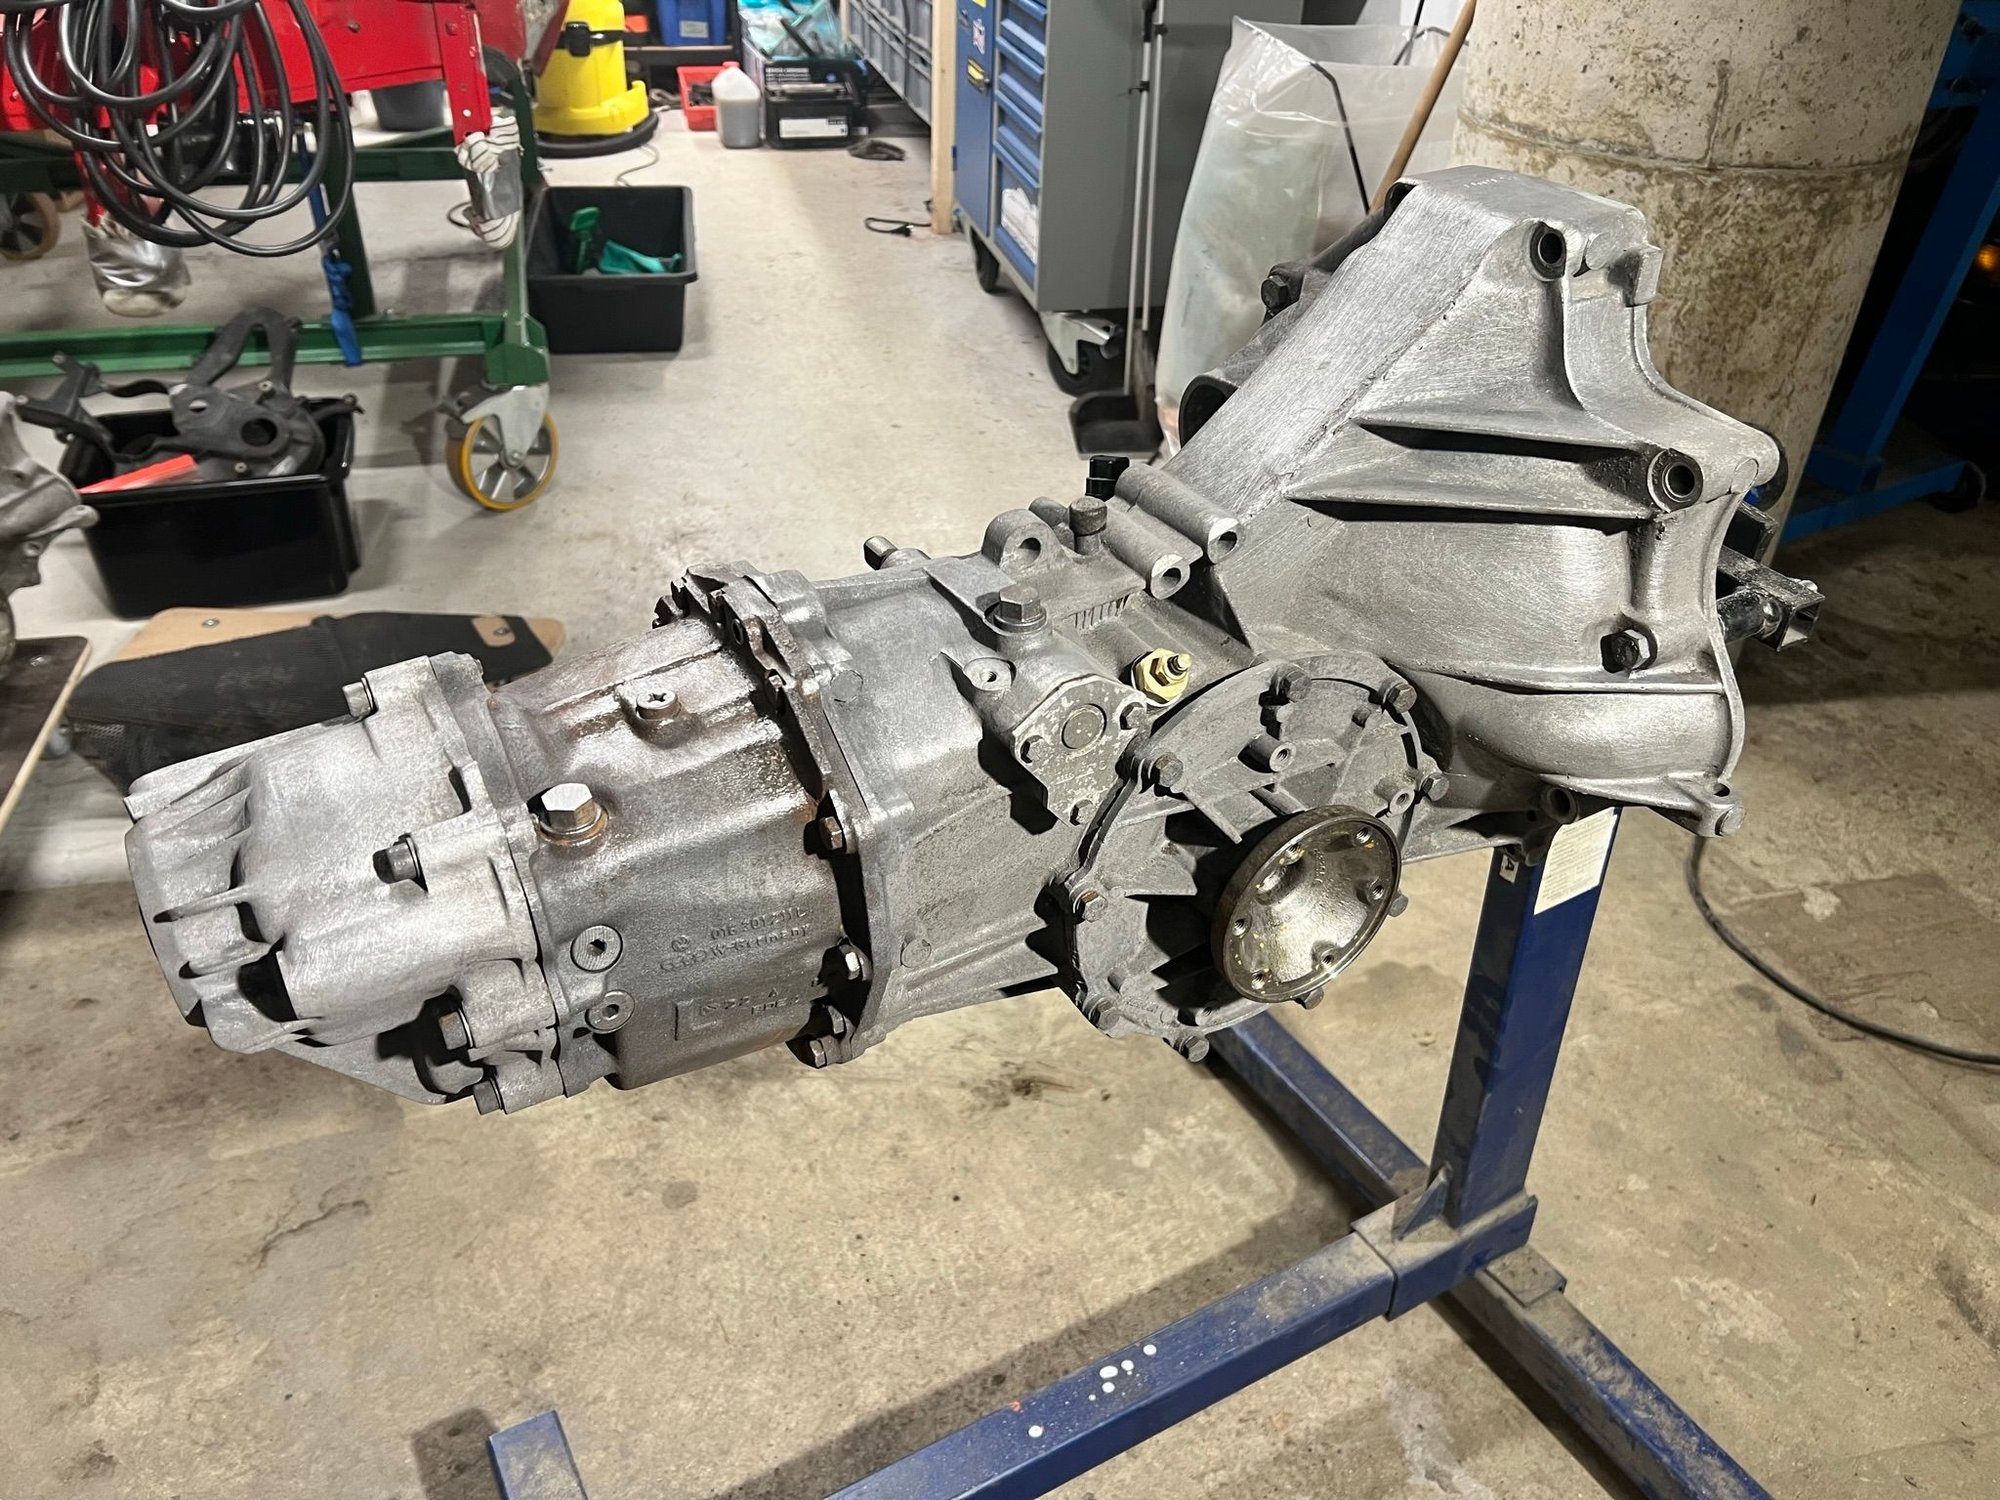
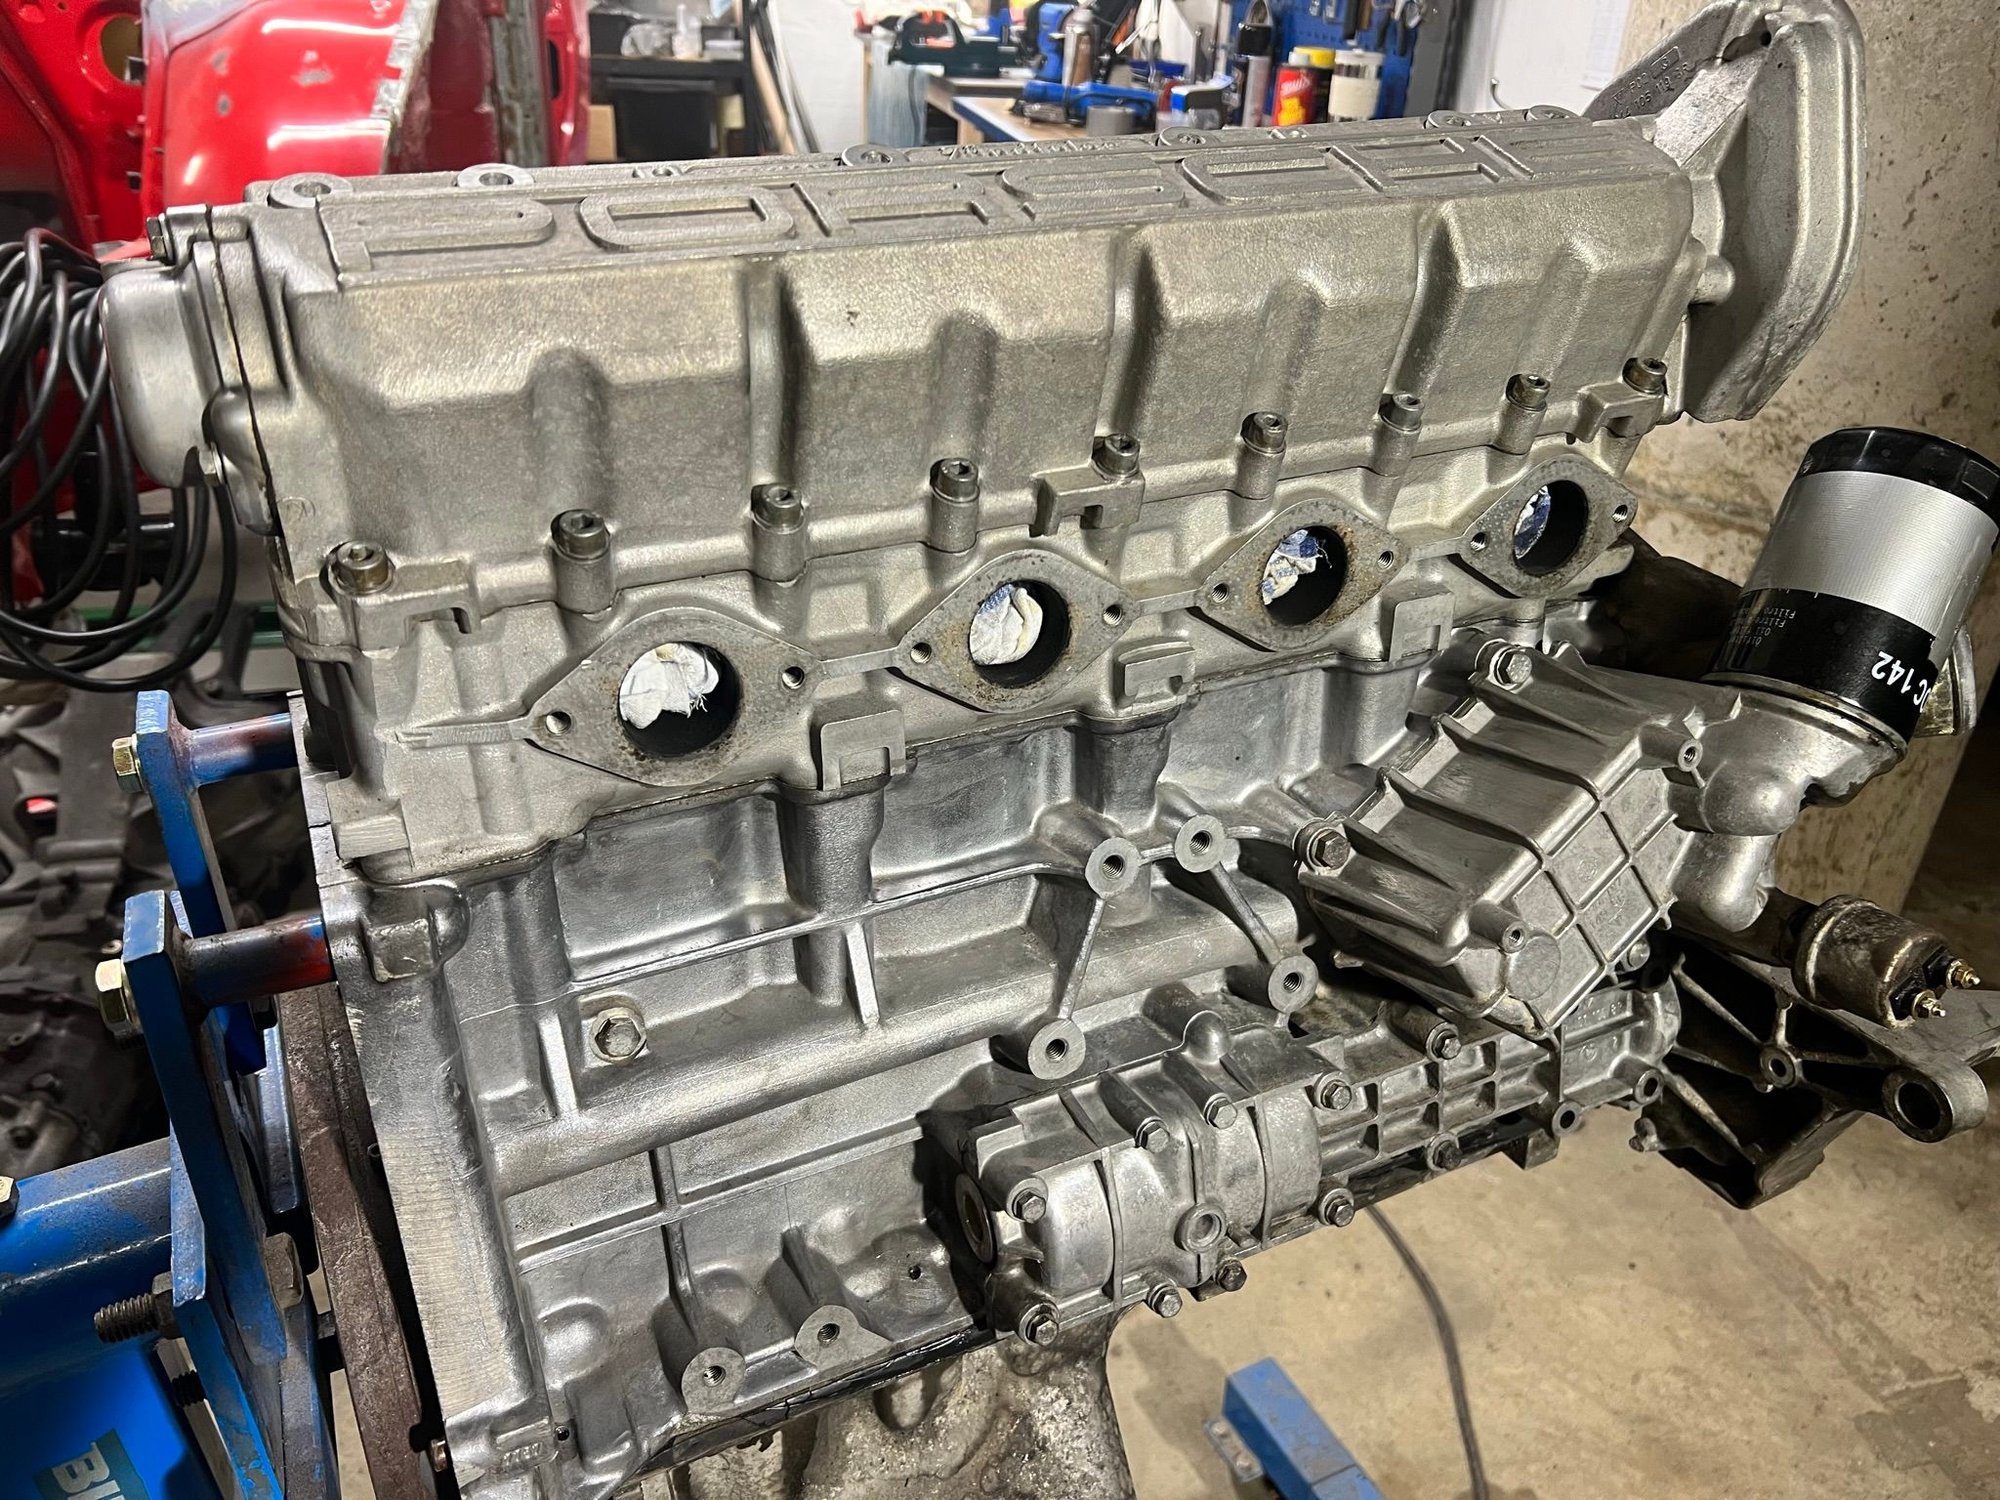
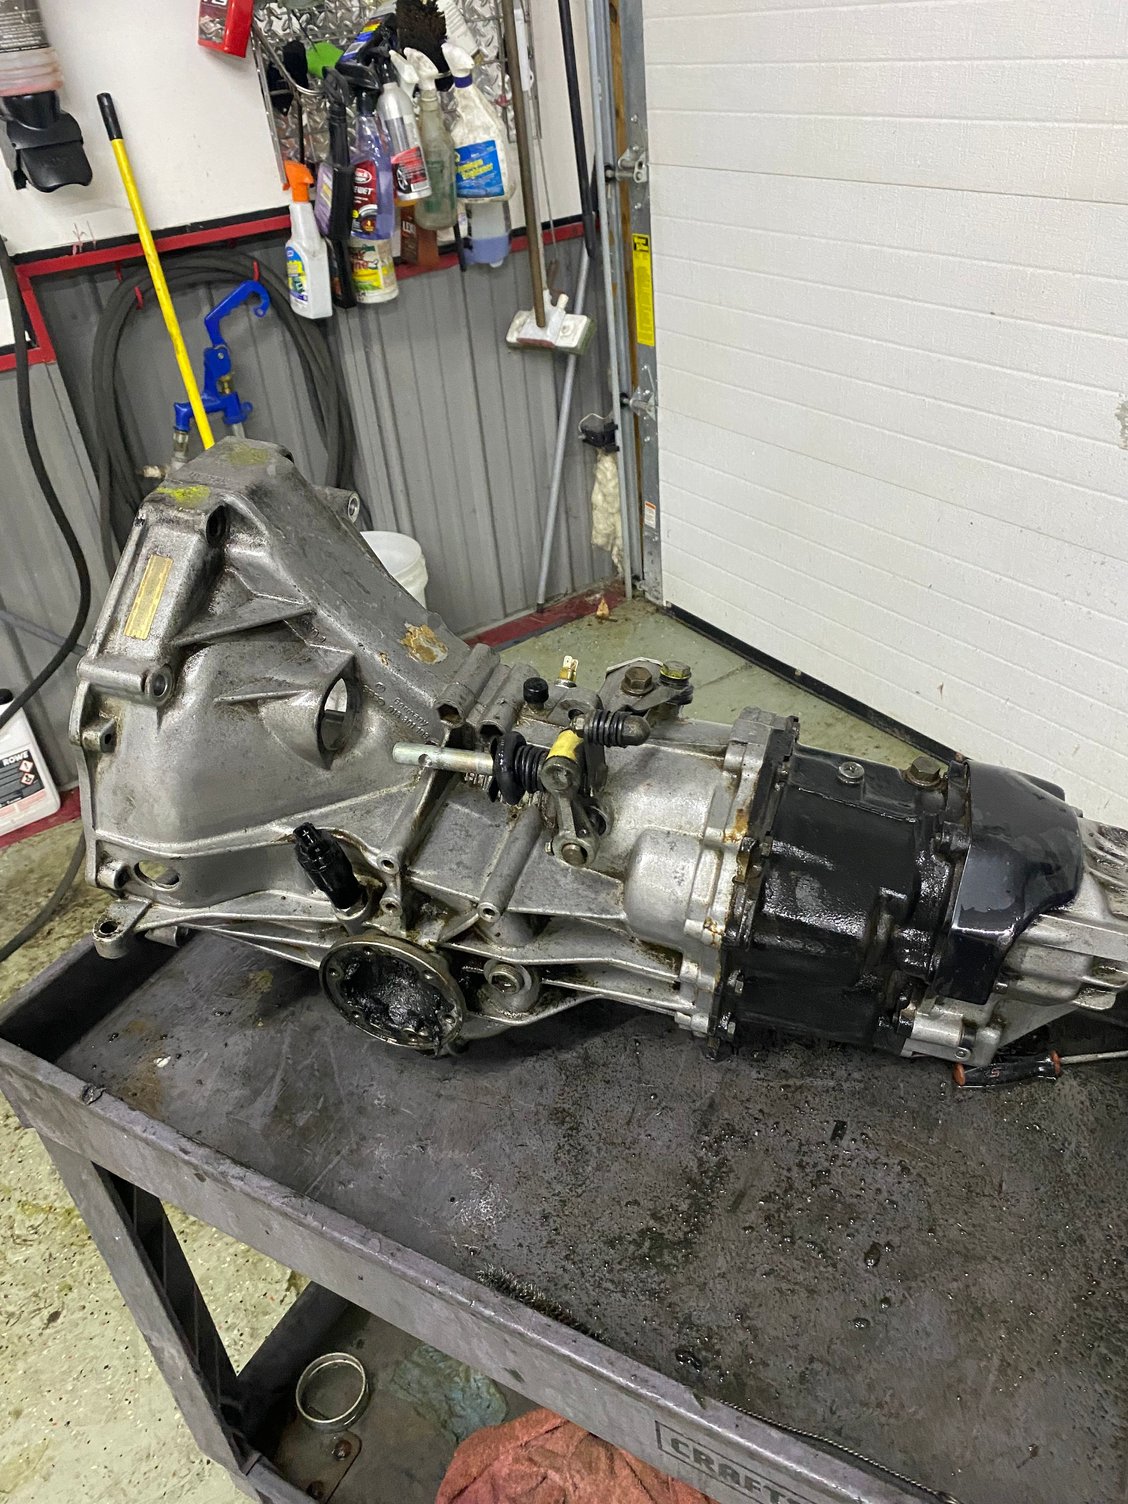
So following a couple hours of laser treatment, and a couple hours with various steel brushes and some brake cleaner. The engine, transaxle and torque tube looks much nicer
. Before Before After laser + steel brush + brake cleaner After laser + steel brush + brake cleaner
I wanted to clean the transaxle and engine without tearing them apart. The options for complete gearboxes/engines are water and soap, pressure washer, (metal) brushes, various chemicals, dry ice blasting, scraping with plastic/metal tools. And laser. I think laser did just as good a job as many of the others if you look at the time only. But the cost of the laser is ridiculous. Had I torned the gearbox down, water jet polishing would have been the way to go.
I think the laser has its place in the "tool box" for removing dark materials like paint, soot, bitumen, underbody protection, asphalt, oil mixed with road grime and the like. On surfaces where it is hard to reach with mechanical tools/brushes. Like heavly structured surfaces, ribbed structures, small pockets and simmilar. Here is the YT profile for the entrepreneur/founder of the laser the guy used on my stuff. Showing some examples. https://www.youtube.com/@uffelaugejensen1818/videos
It was fun trying. And I know a lot more about laser cleaning than I did just a few days ago
I found that chemical cleaning agents that contain phosphoric acid cleans the aluminum very well. I start with a degreaser por15 Then move on the napa brand � aluminum brightner� works well. Not sure if anything like that is available to you
Hmmmm.
I like the idea of using that composite roll cart as a parts cleaning table!
I have a regular Safety-Kleen style parts washer, but the larger items always splash solvent across the shop.
Gots to be buyin' me one!
I found that chemical cleaning agents that contain phosphoric acid cleans the aluminum very well. I start with a degreaser por15 Then move on the napa brand “ aluminum brightner” works well. Not sure if anything like that is available to you
I haven't found por15 here. But Google'ing "phosphoric acid" it appears to be a key ingredient in the cleaning agents for equipment used for home brewing beer. And I've found various cleaning agents for aluminium boats. It appears they typically use sulpheric acid as the active ingredient.
Must say I haven't really thought a lot about dedicated chemicals for aluminium. Rather having used "general" stuff for cars. But it makes a lot of sense to be more specific with regards to what chemical to reach for.
Been focusing on preparing the car and panels for paint, in case the lead i got on paint materializes. I want to be ready in case it does.
Removed all the ribs and aluminium profiles from the targa lid. Added some epoxy filler to smooth things out. Still needs to sand it smooth before paint.
Used a steel brush, sand paper and elbow grease on the area around the rear lights. A previous owner had used silikone glue to seal the lights. A big mess. And there was surface rust where the rear panel meets the rear fender. On both sides. I got confirmation that all the rear panels have been changed at some point in the cars life, from the rear hatch, down to the spare wheel well. Nice and straight. But a bit of surface rust to be handled.
I have torn down the doors. Had to go bananas on the screw for both side mirrors. I used a hand drill to dig through the foot of the mirror, to avoid damaging the door panel. Would normally have used the (very noisy) angle grinder. But it was close to bedtime... It looks messy, but got the job done. Removed all sound deadening and glue remnants. Both inside the doors, on the door card surfaces and in the channels for the door gasket. That last bit was a pretty tedious job.
Compared the weight of the original doors (without impact bar) to the fiberglass doors my buddy has laying around. To learn how much weight can be saved.
To my surprise, and joy, the door card still fit. It touches the cage very slightly. But not too much. One less thing to fabricate. And it will be a clean look.
.

 03-03-2023, 07:35 AM