When you click on links to various merchants on this site and make a purchase, this can result in this site earning a commission. Affiliate programs and affiliations include, but are not limited to, the eBay Partner Network.
At some point in the cars life there must have been excess oil coming from the AOS, because the J-boot, throttle body and intake manifold was pretty gunked up with black oily stuff. So I dismatled the throttle body to molecules and cleaned it thoroughly. The intake I left sitting in degreaser for a couple weeks, before attacking it with a solid bottle brush. Unfortunately I have noe images of this.
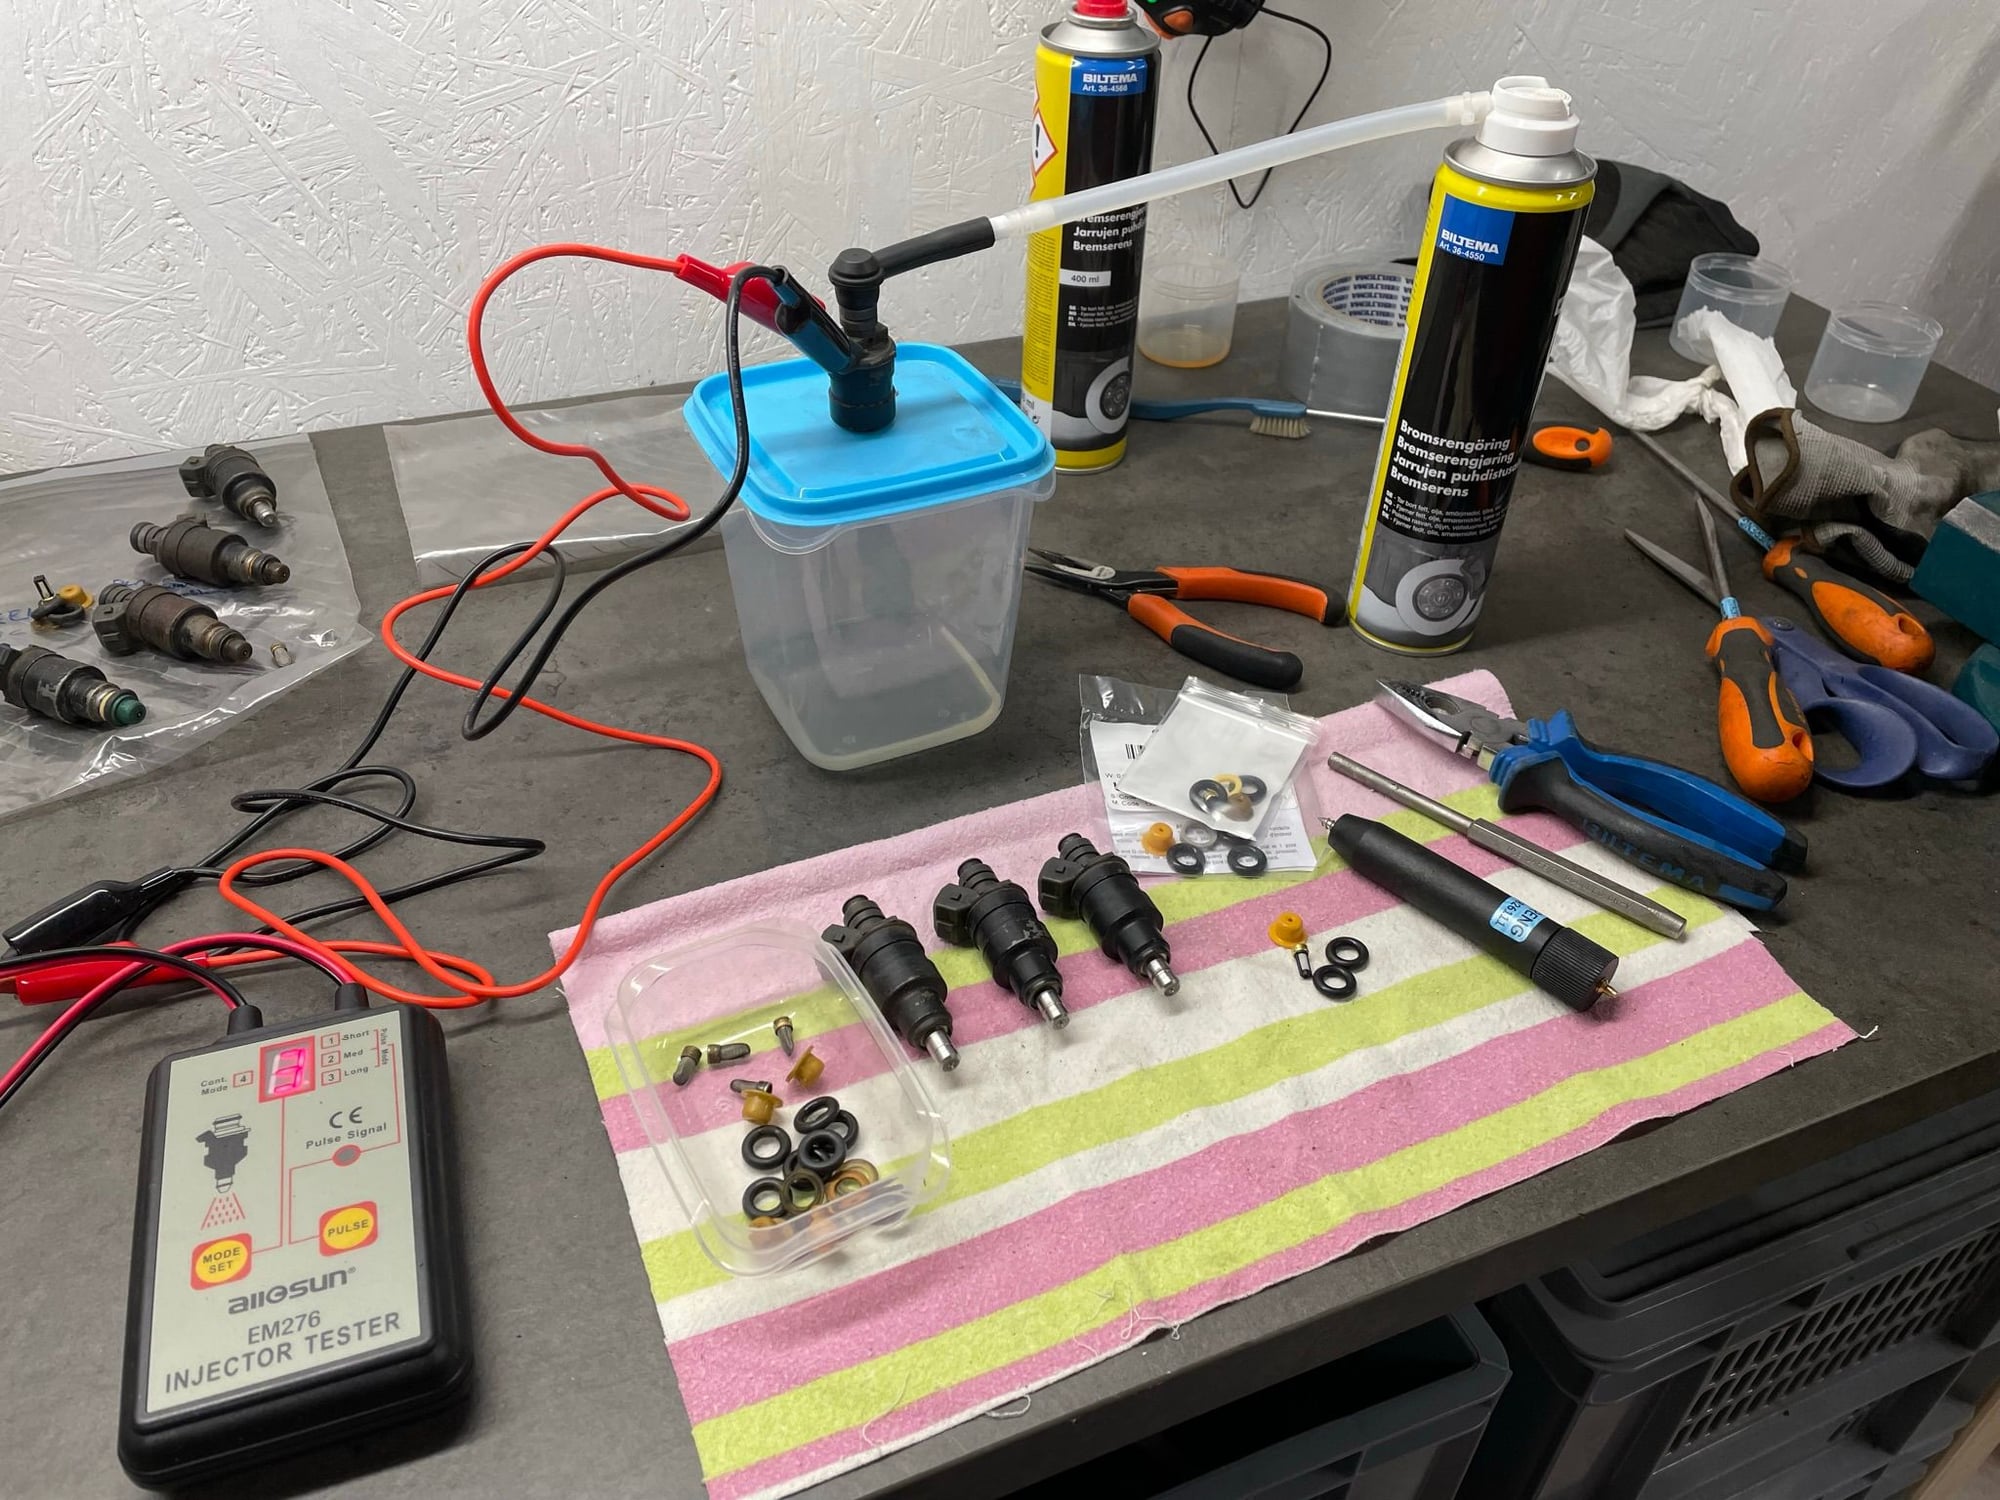
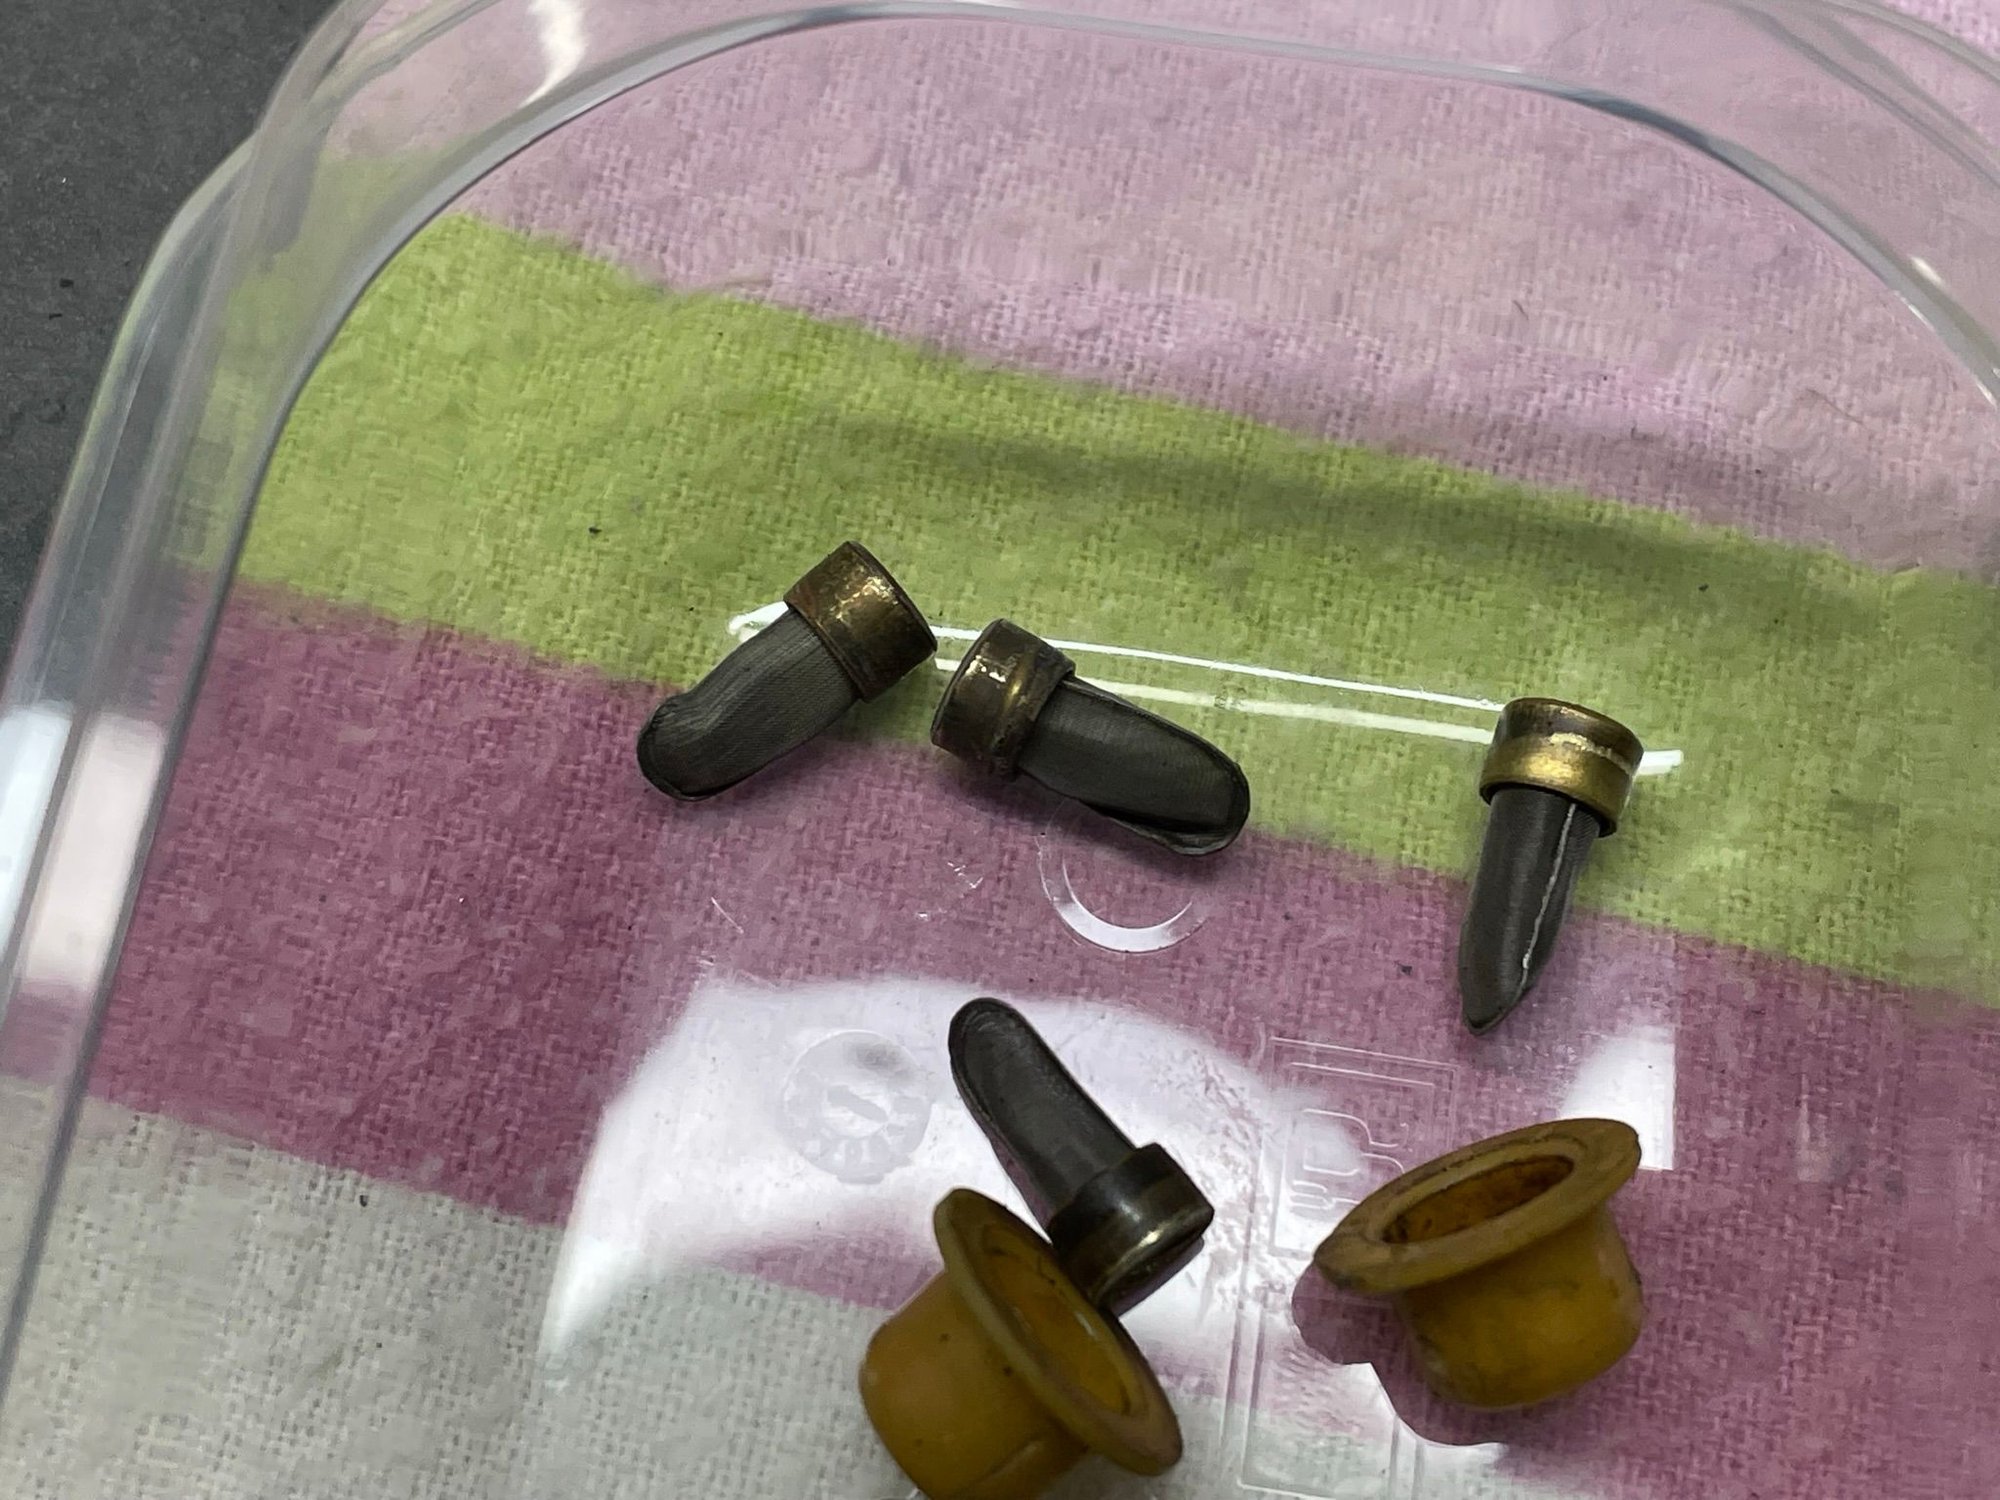
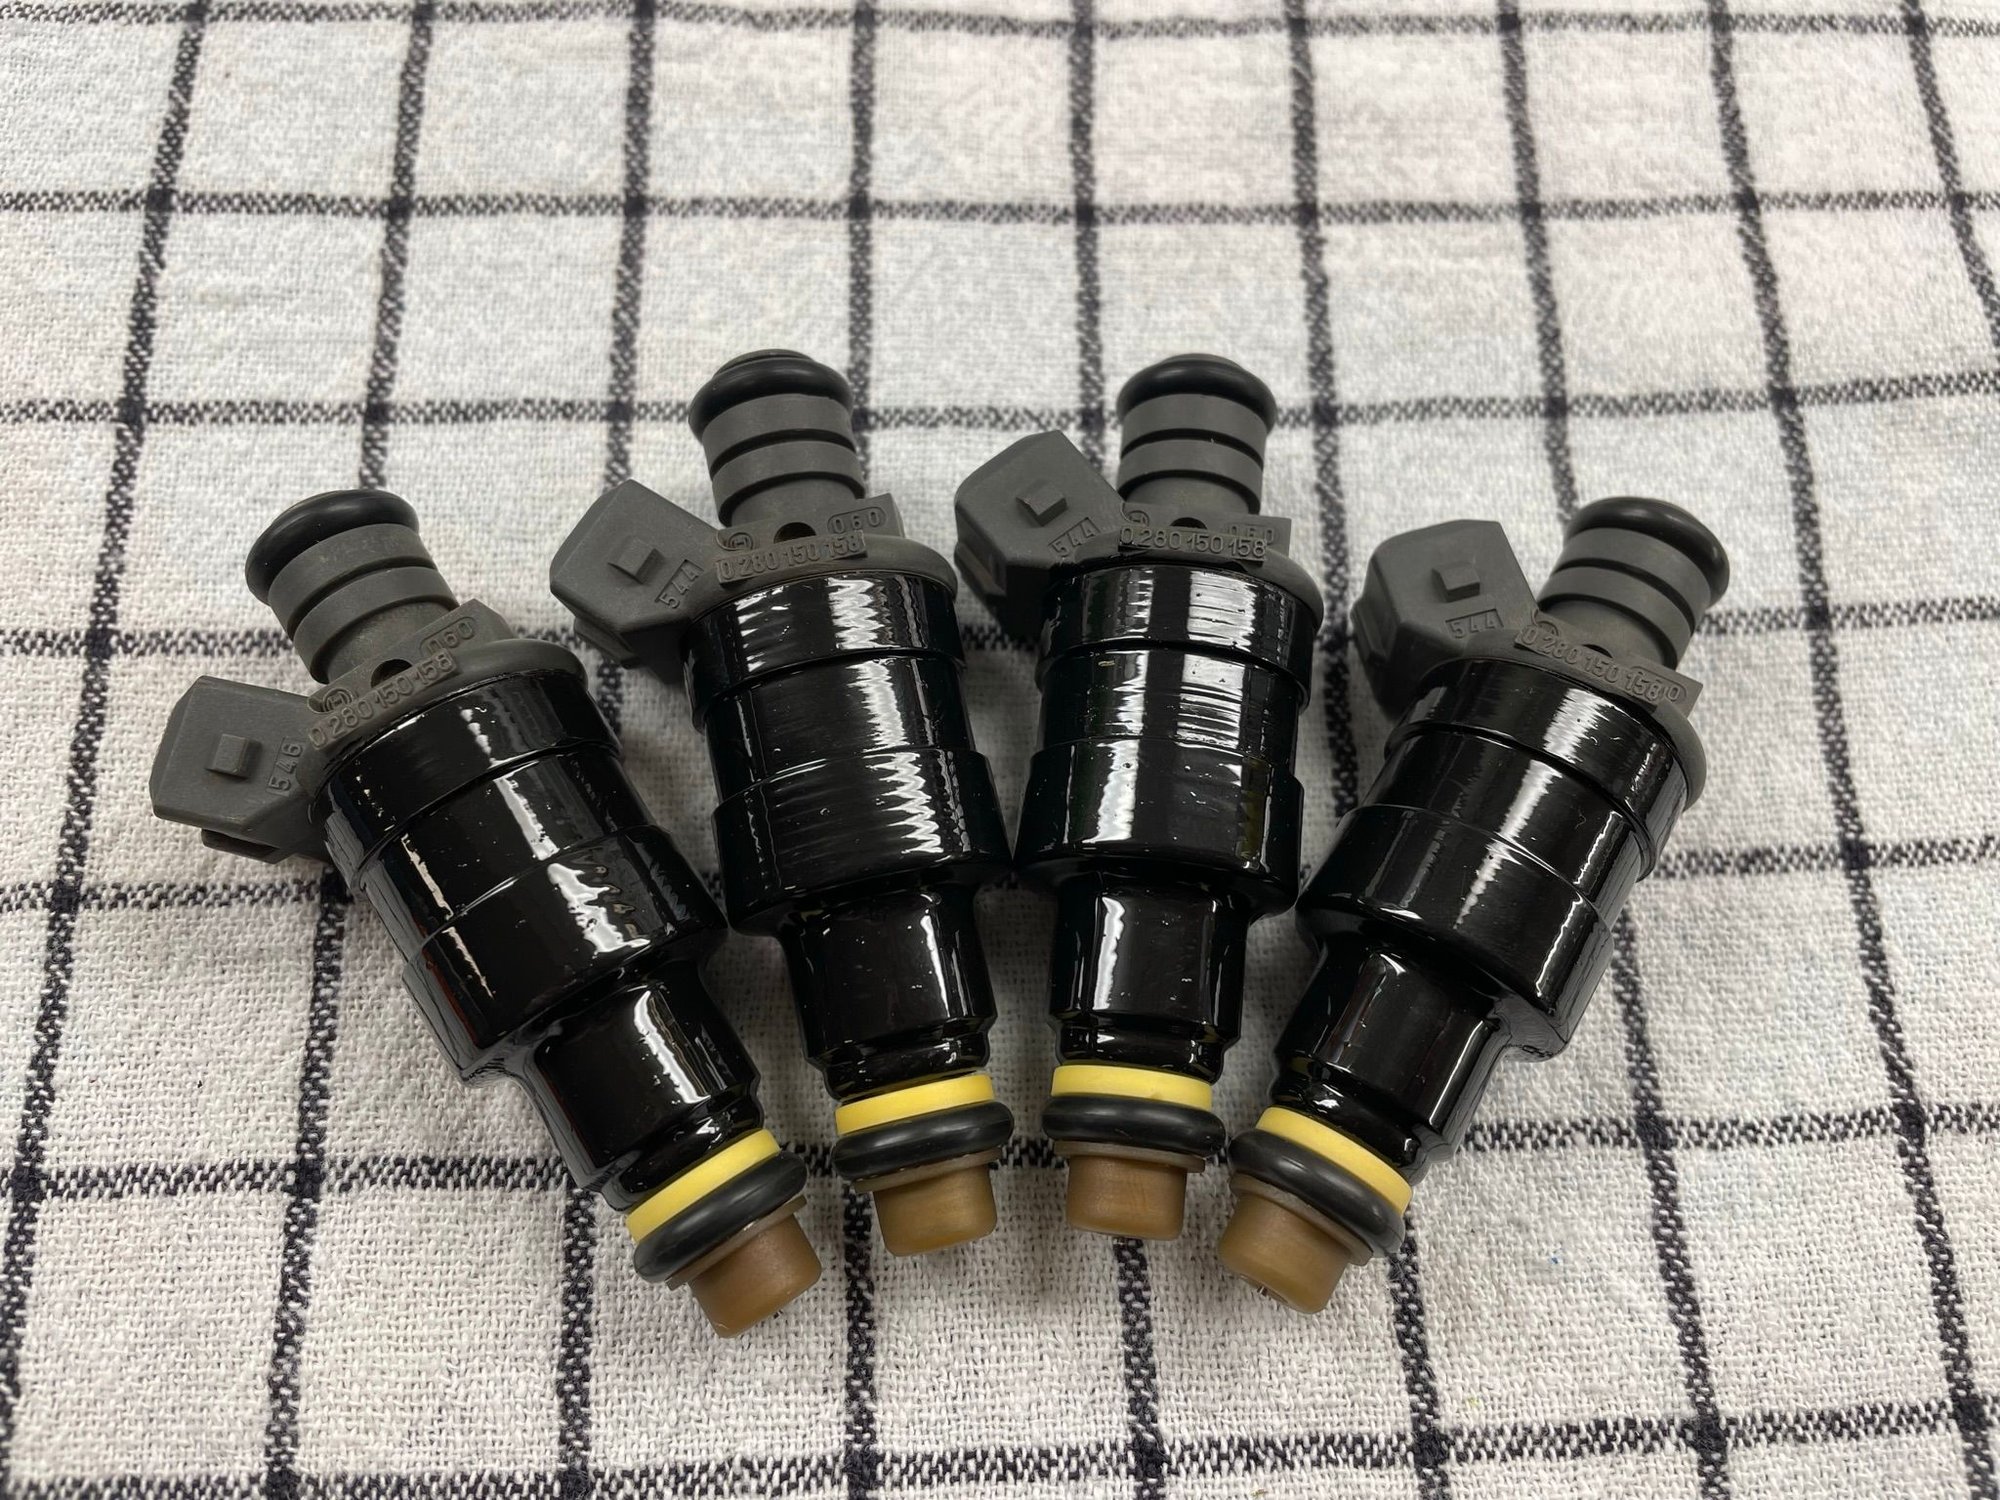
But I got some images of testing and cleaning the injectors. Changing O-rings & filters.
.
I wanted to convert my car to late offset. Both because I want a wider track, but also because it looks better when the wheels are closer to the fender edge.
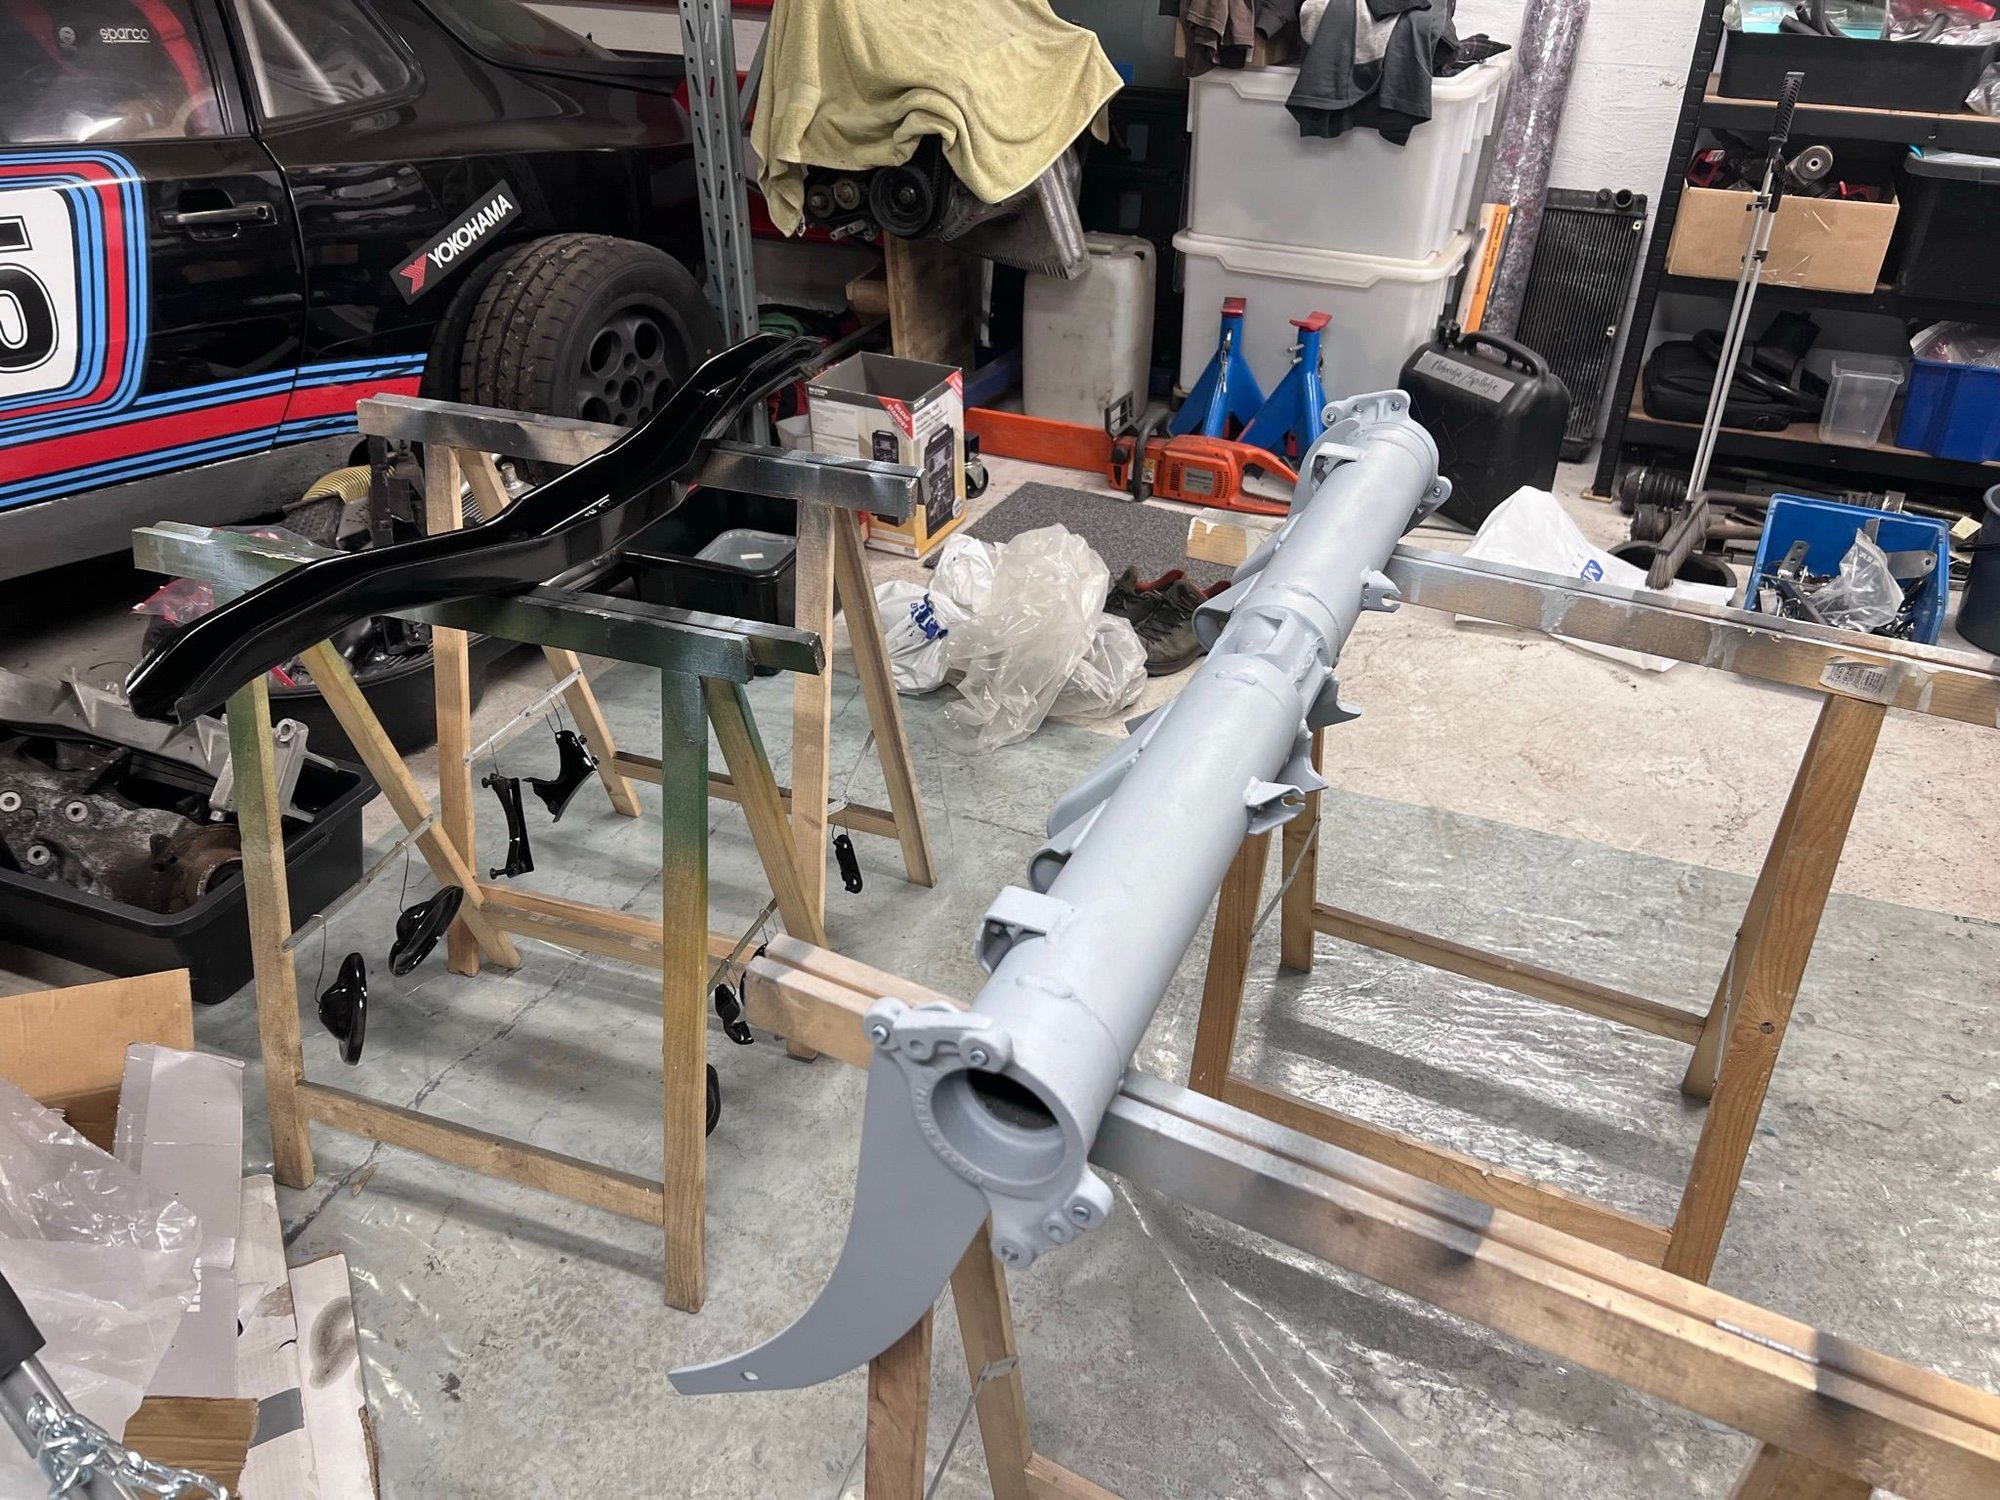
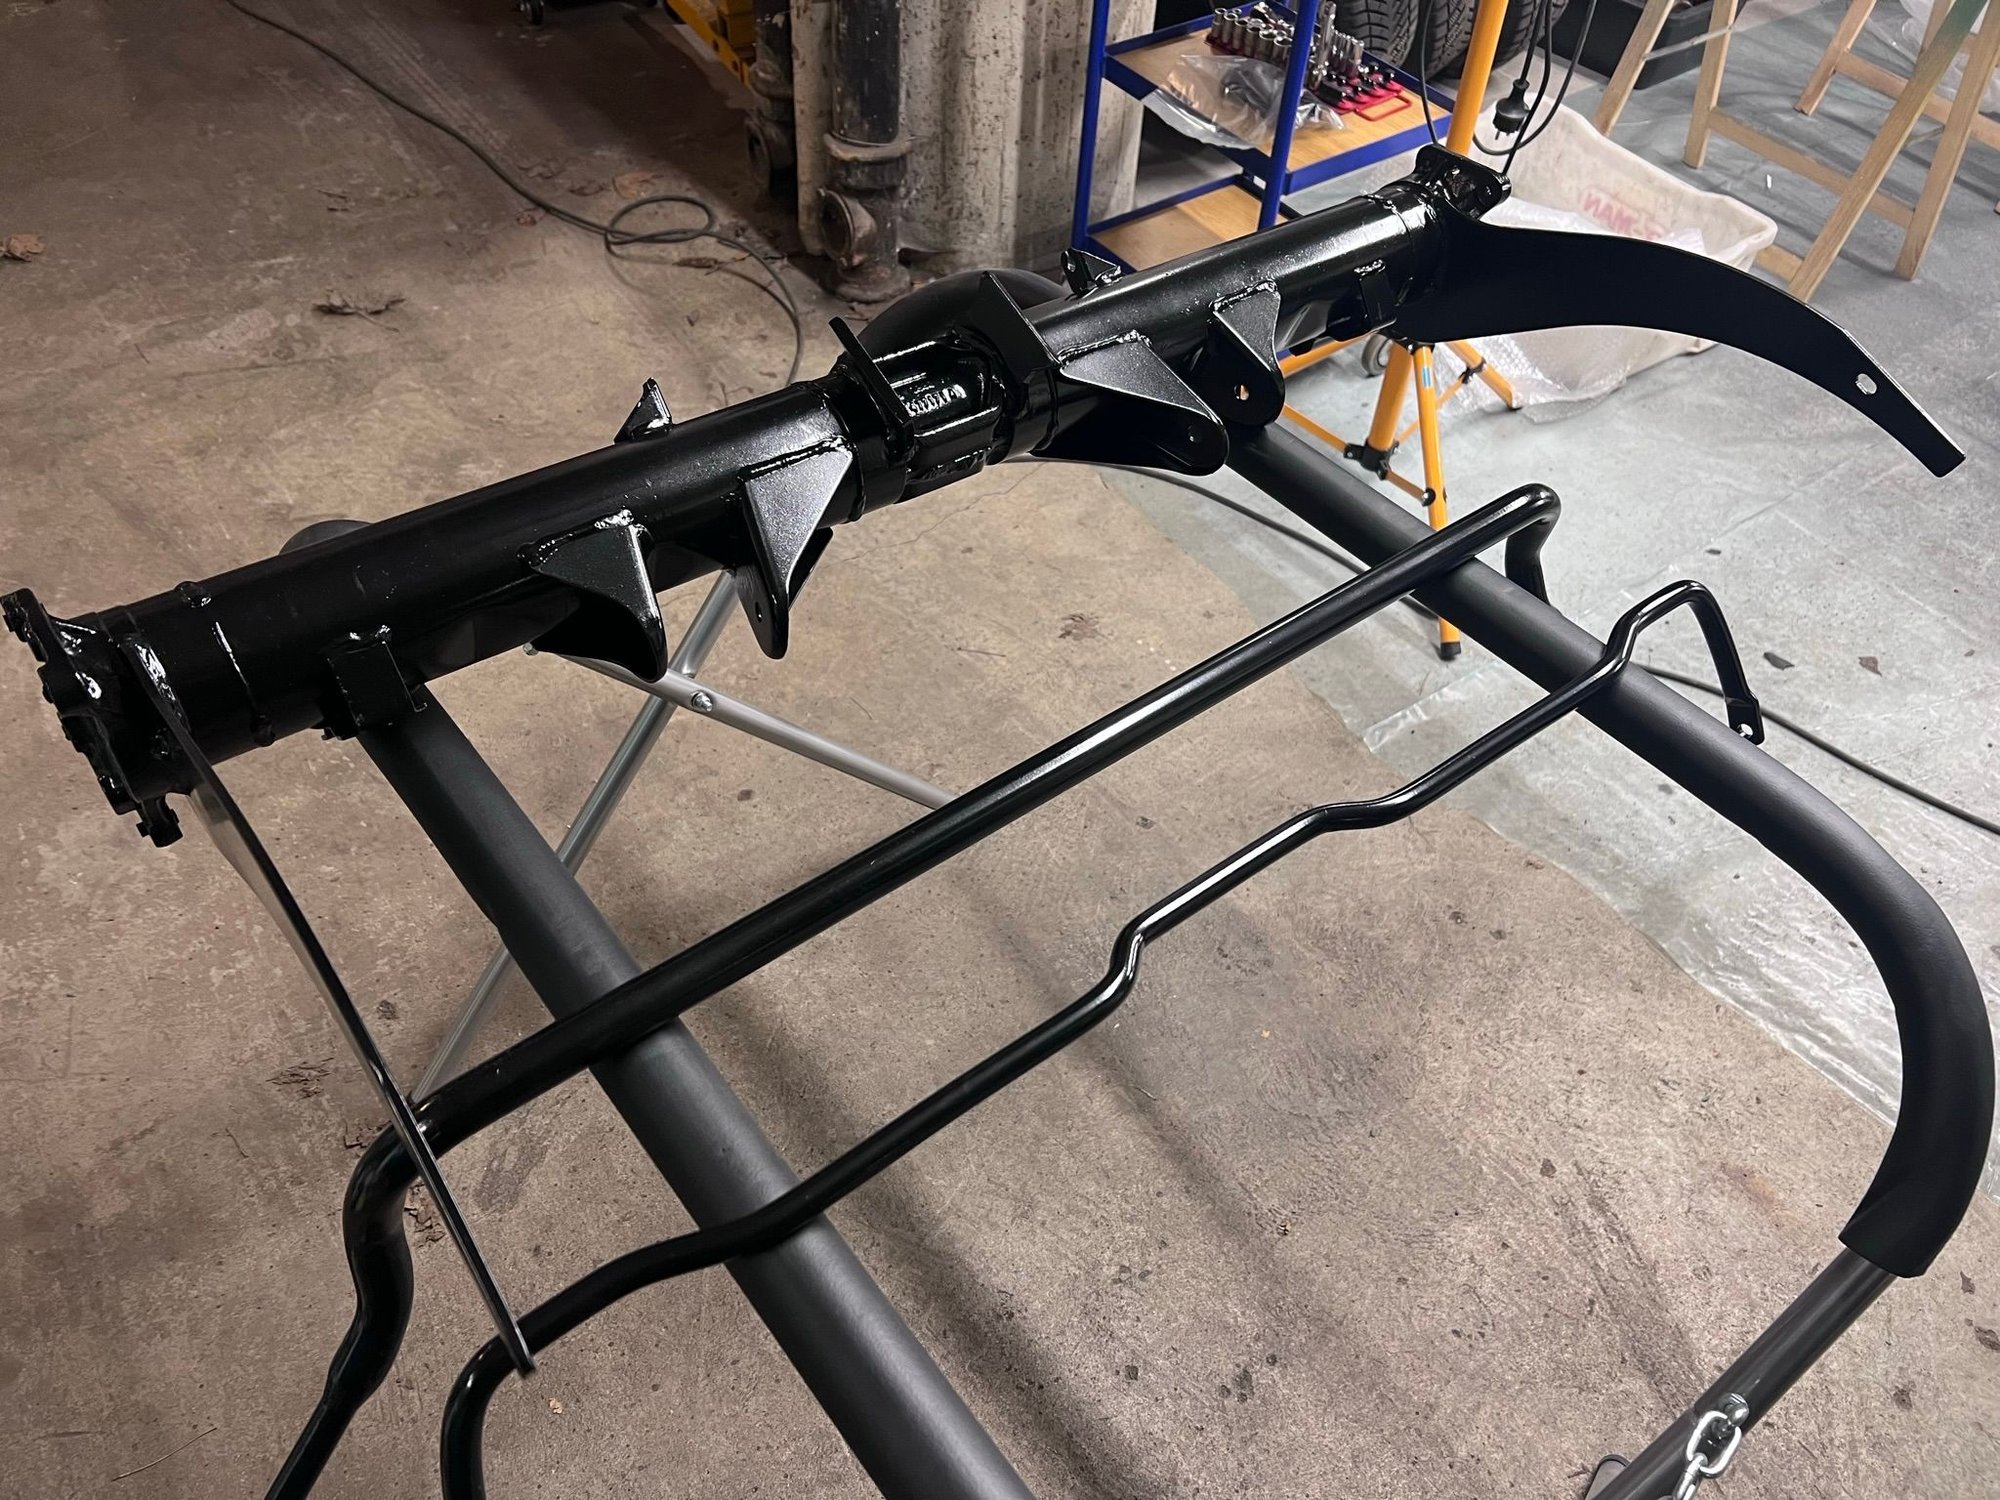
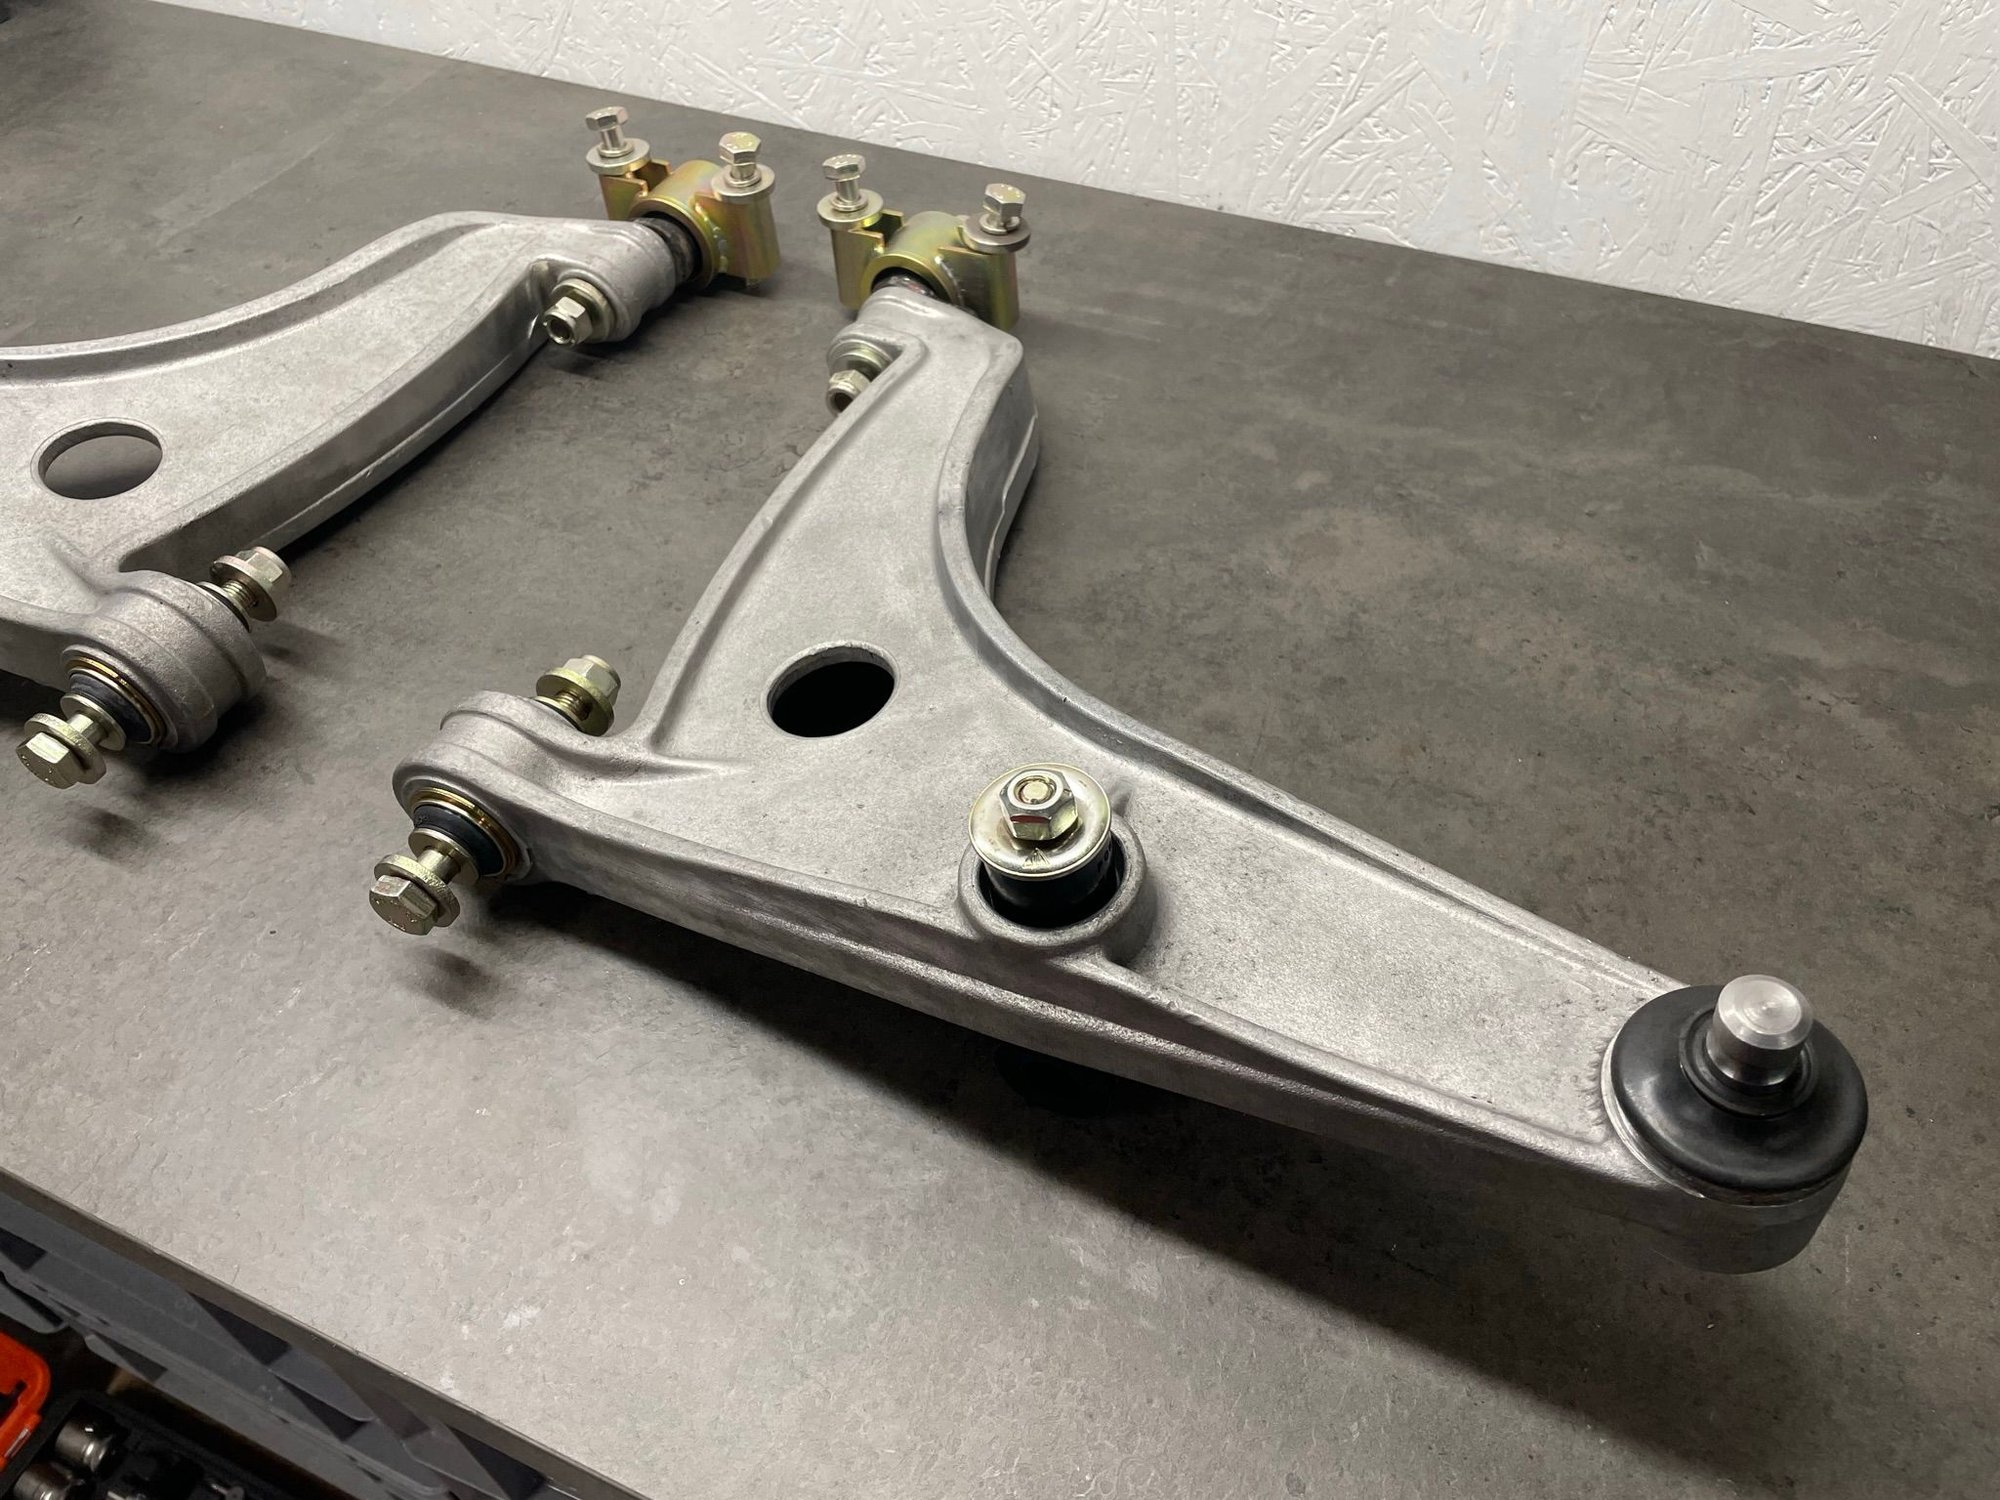
With late offset front arms you can use early offset cookies and phone dials in 15x7 (as per 944 Cup regulations) and have the tire right at the edge of the front fender. Avoiding spacers. So I sourced a set of late offset front arms. Chose the S2/turbo type control arms, as I wanted to rebuild the ball joint with a Rennbay kit. With the 968 type front arms, you cannot use that kit.
Sourced the uniball kit made by the Slovenian company Prekom, that specialize in aftermarket suspension components for vintage Porsches. Prekom is the company who makes the suspension bushings, spring plates and other stuff marketed by Rennline and others. http://prekom.si/ The kit looks nice in my view. I like the original-like visuals. And the uniballs had rubber weather seals on both sides. I don't know anything on the longevity. Time will tell.
I rebuilt the ball joint, pressed in the uniball bushing, added freshly plated hardware and a set of sway bar poly bushings. Ready for final assembly.
I wanted to convert my car to late offset. Both because I want a wider track, but also because it looks better when the wheels are closer to the fender edge.
With late offset front arms you can use early offset cookies and phone dials in 15x7 (as per 944 Cup regulations) and have the tire right at the edge of the front fender. Avoiding spacers. So I sourced a set of late offset front arms. Chose the S2/turbo type control arms, as I wanted to rebuild the ball joint with a Rennbay kit. With the 968 type front arms, you cannot use that kit.
Sourced the uniball kit made by the Slovenian company Prekom, that specialize in aftermarket suspension components for vintage Porsches. Prekom is the company who makes the suspension bushings, spring plates and other stuff marketed by Rennline and others. http://prekom.si/ The kit looks nice in my view. I like the original-like visuals. And the uniballs had rubber weather seals on both sides. I don't know anything on the longevity. Time will tell.
I rebuilt the ball joint, pressed in the uniball bushing, added freshly plated hardware and a set of sway bar poly bushings. Ready for final assembly.
Very nice, i have a set of late offset banana arms for sale if you are interested.
Very nice, i have a set of late offset banana arms for sale if you are interested.
You should know me by now. The rear aluminium control arms are identical inoffset, regardless of year. But the rear hubs are different. And a set of those are sitting on the shelf already
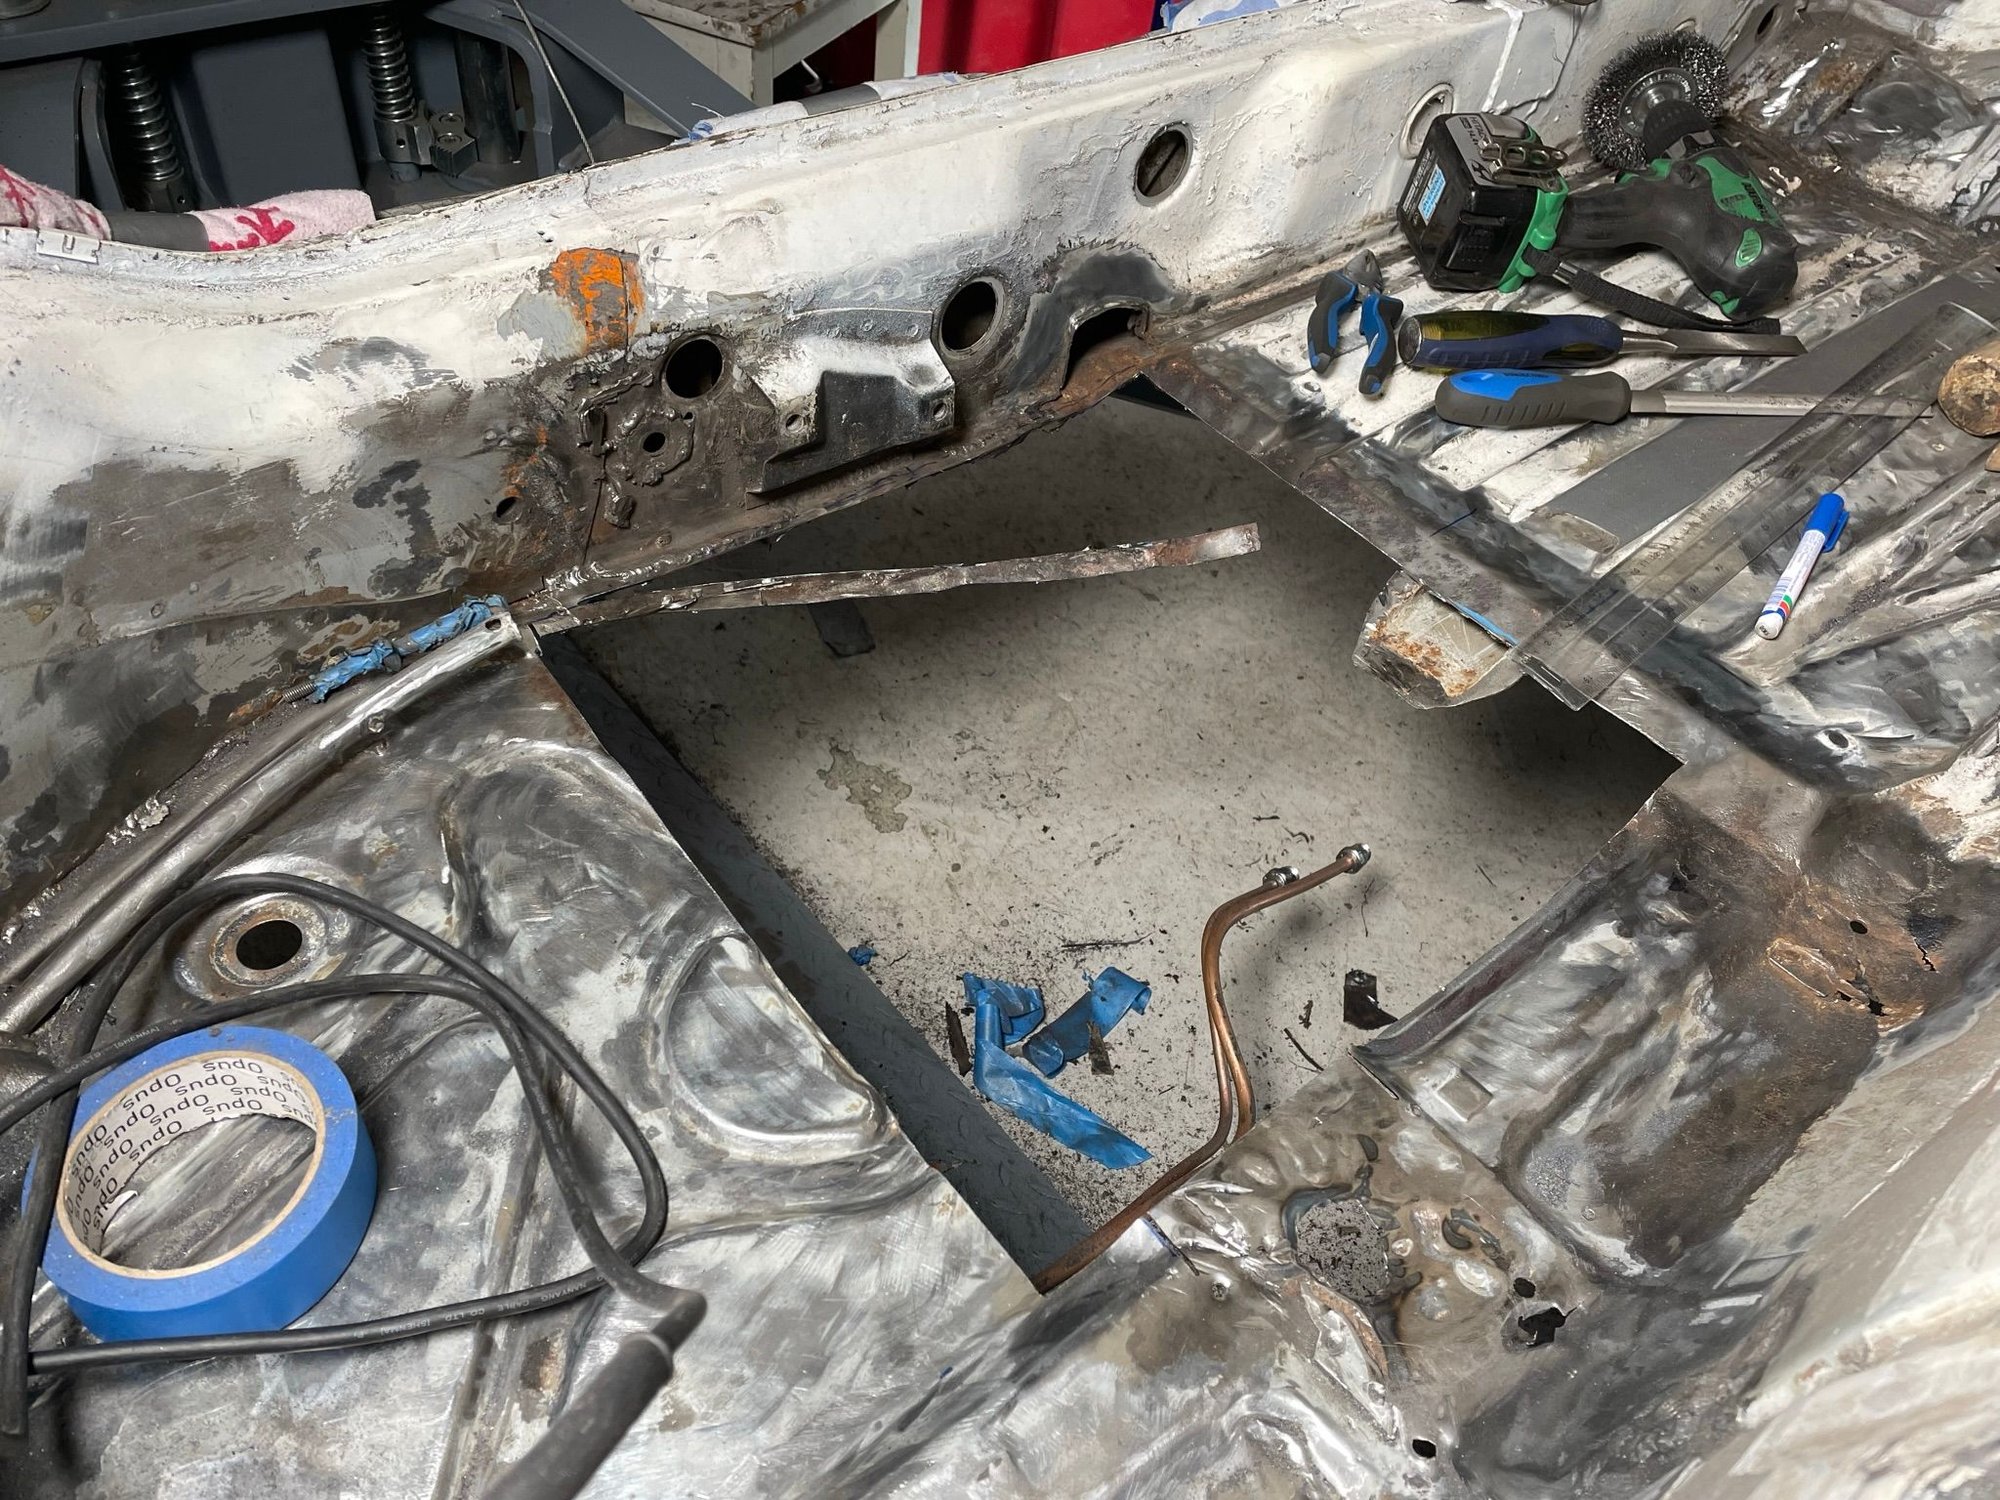
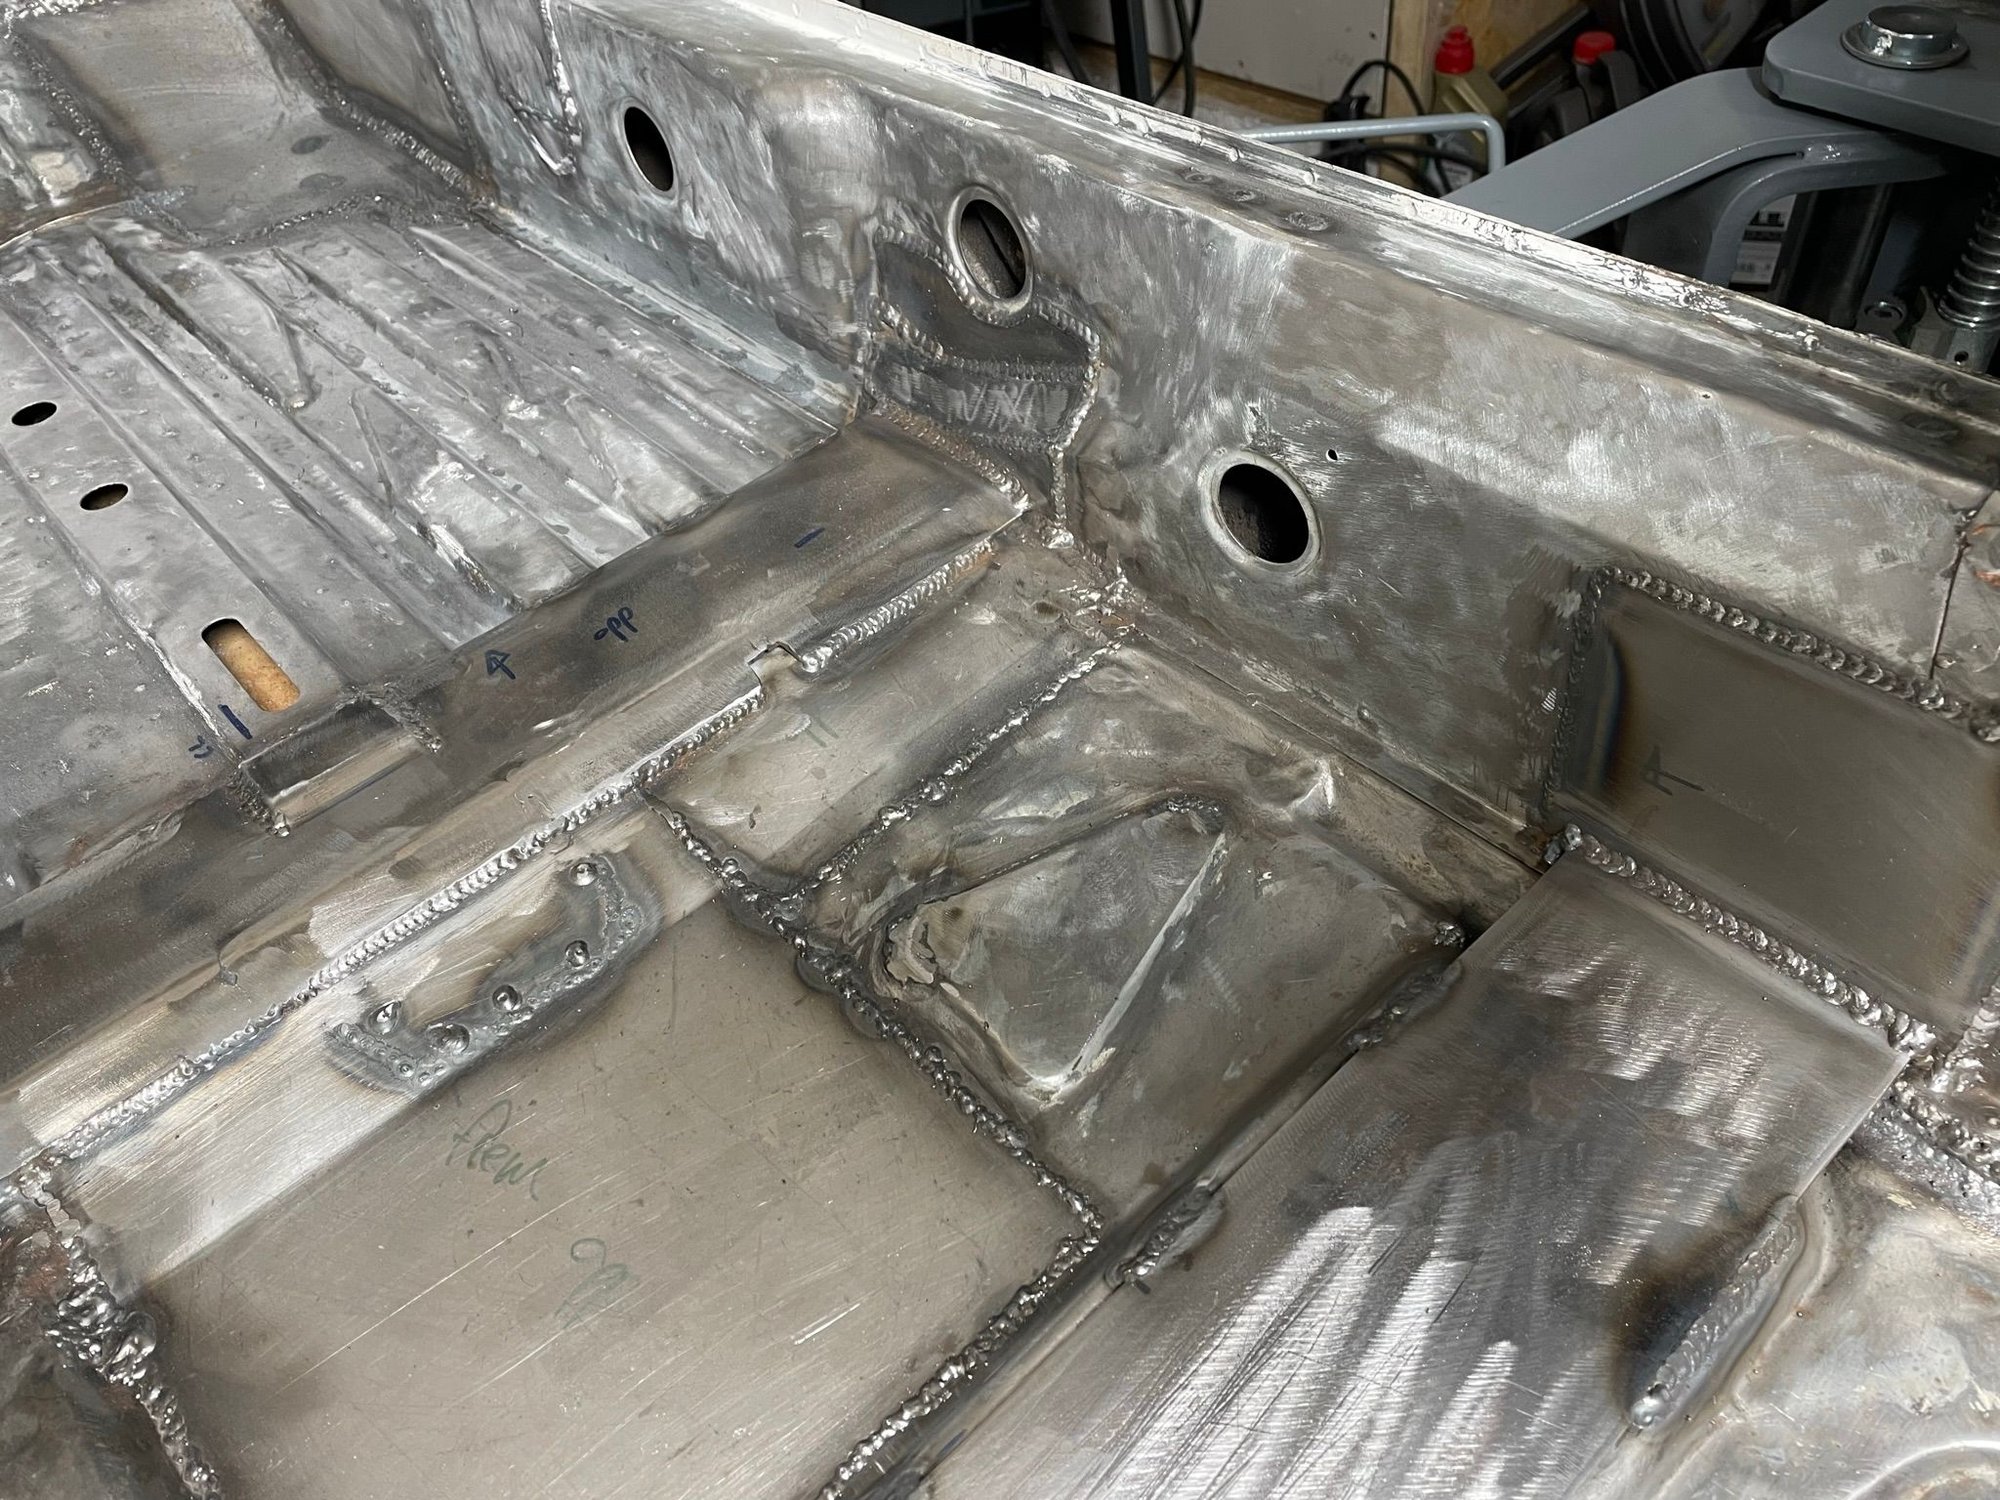
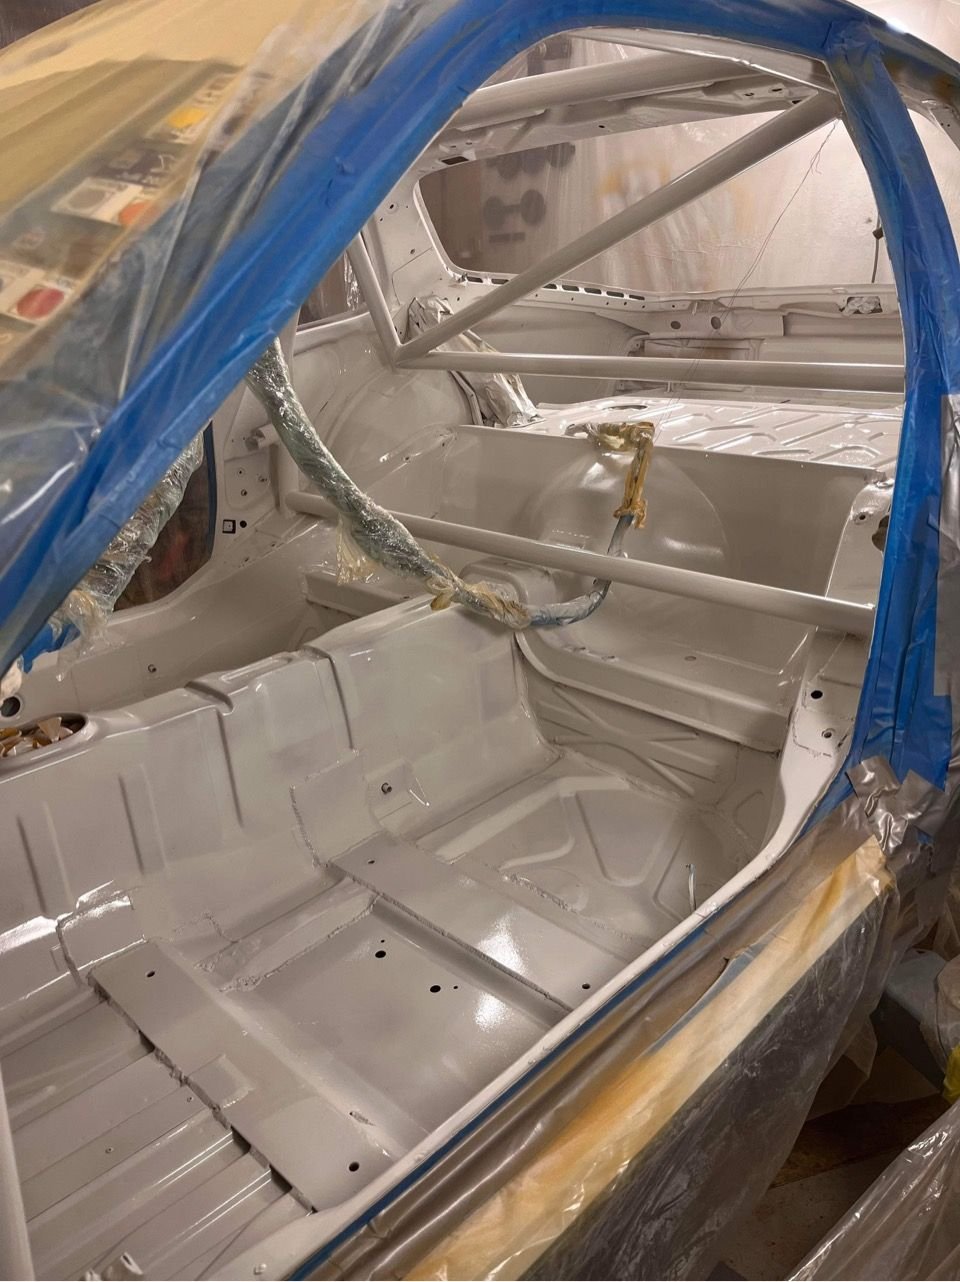
During the winter and early spring of 2022 the project had little too no progress, due to me helping my buddy on his 944 Cup racer. I spent many many many hours replacing and welding larger sections of the floor with new metal under both the driver and passanger. Rebuilding the seat mounts to racing spec, fixed a major hole in the passenger footwell, and finishing up with fresh paint. The engine was out, the interior wiring loom needed more than a little attention, and quite a few other fixes and improvements Here are some pictures.
.
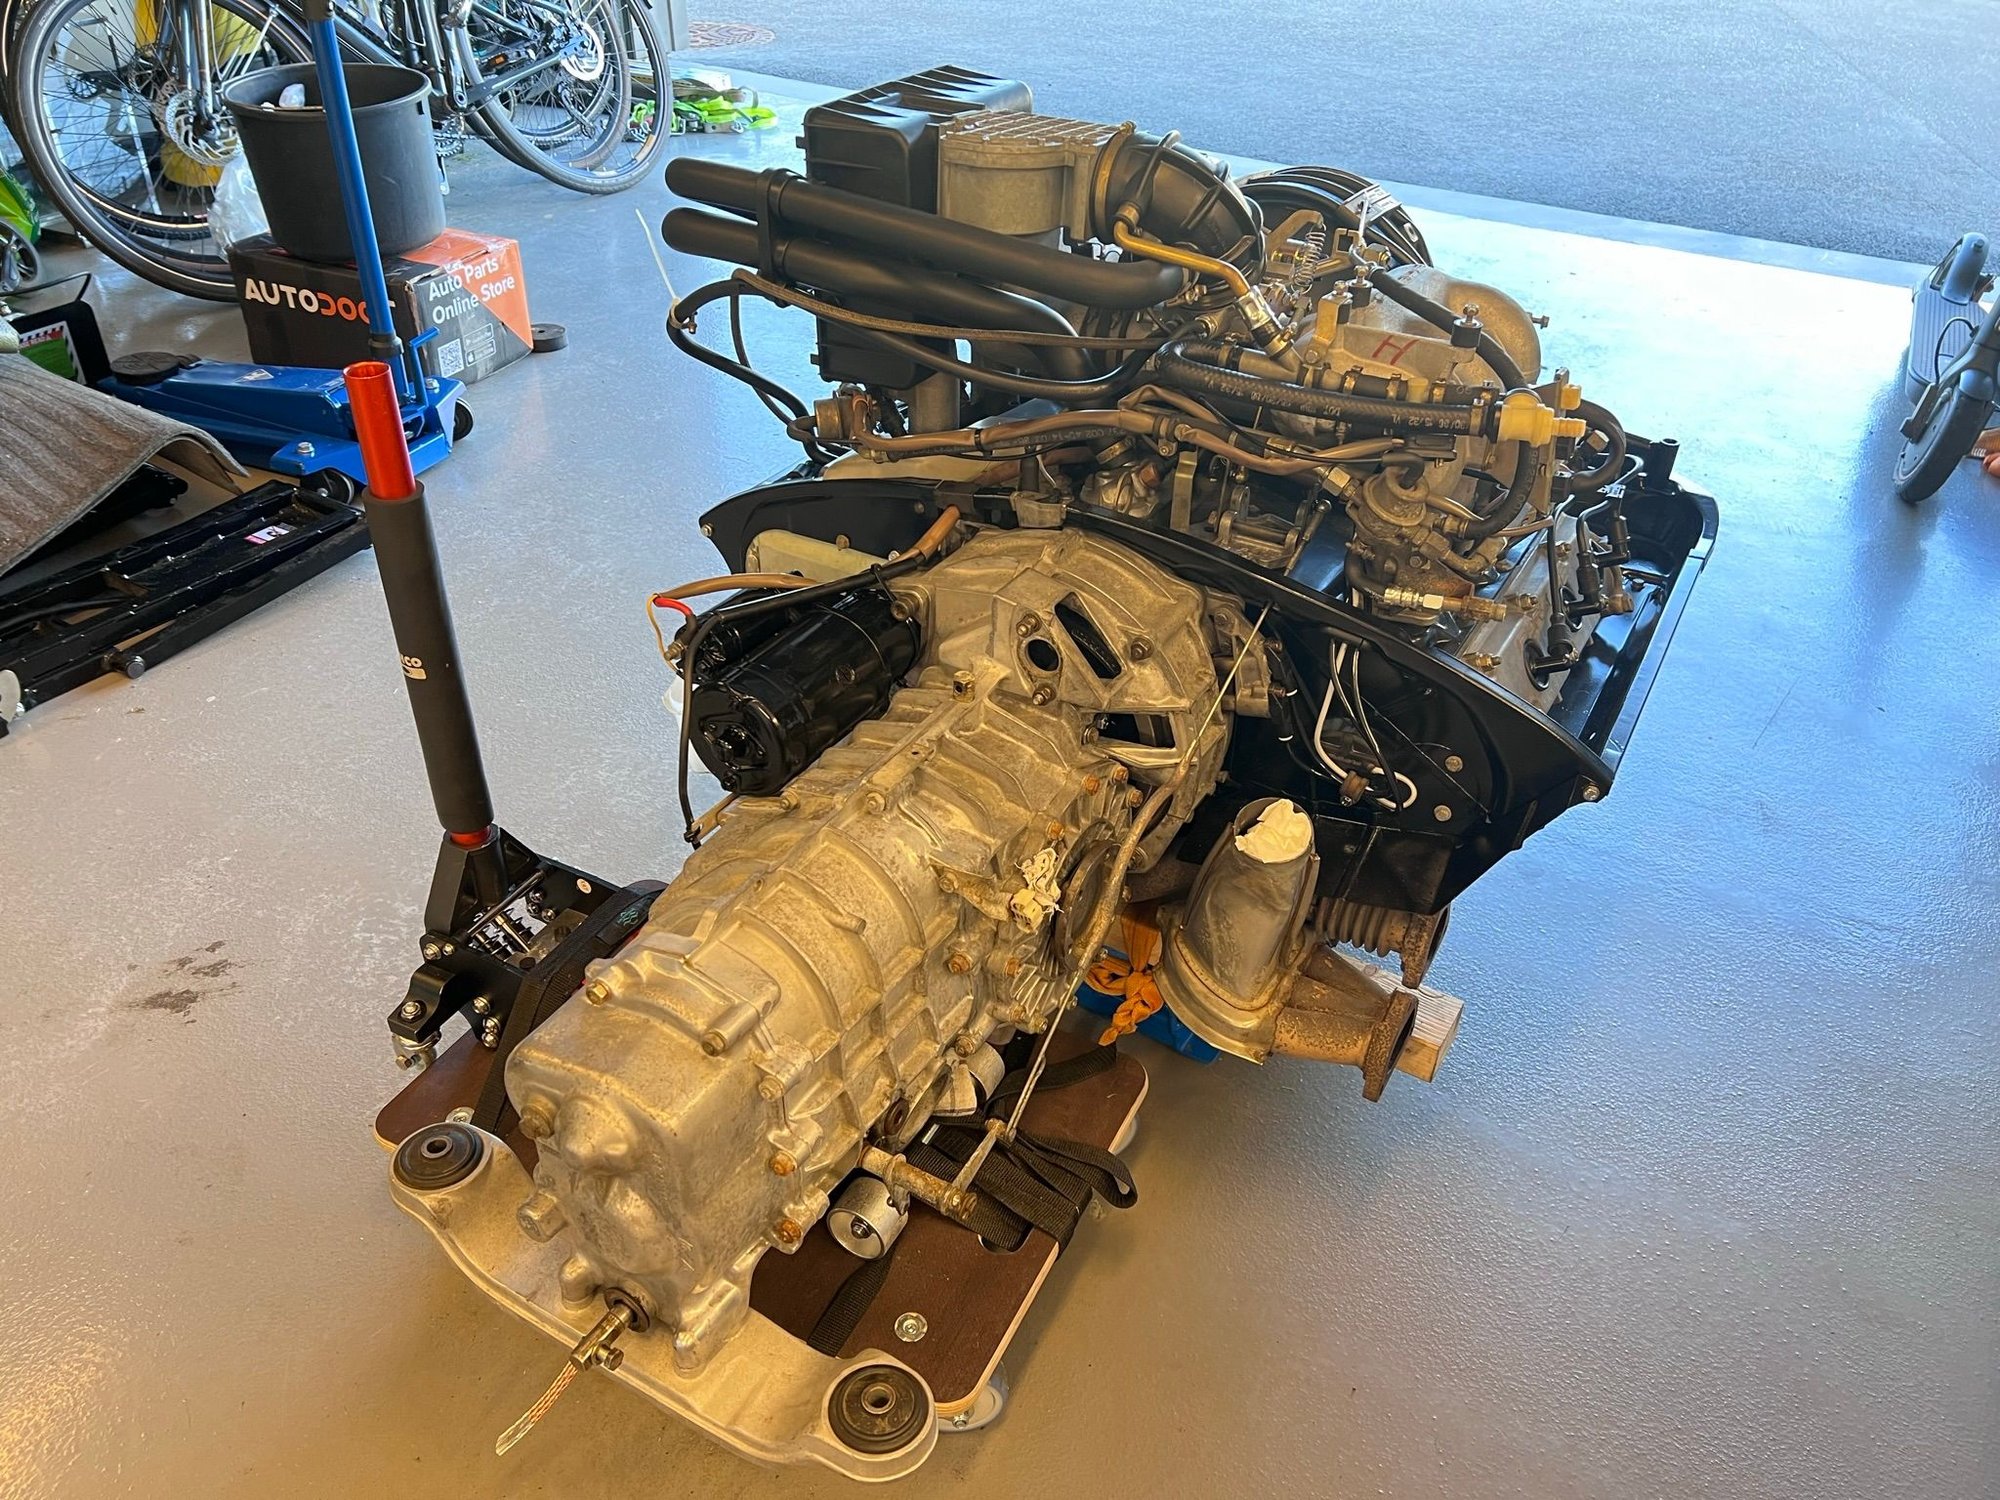
Then… I was planning on selling my all original '87 Carrera 3.2, but there was a bad noise from what I and many other experience people believed was the clutch. So I had to drop the engine and gearbox. And as a good Porsche enthusiast owner, and this apparently being the first time the engine had been dropped in this car, I fixed a lot of stuff. So I spent the late summer of 2022 putting in new sensors, new hoses, painting tinware, valve adjustment, and lot's of general cleaning. A new clutch, pressure plate, clutch fork, and on and on.
Long story short. The 911 is now in winter storage and the engine is sitting besides it. The gearbox is at a renowned Porsche workshop. It wasn't the clutch…
.
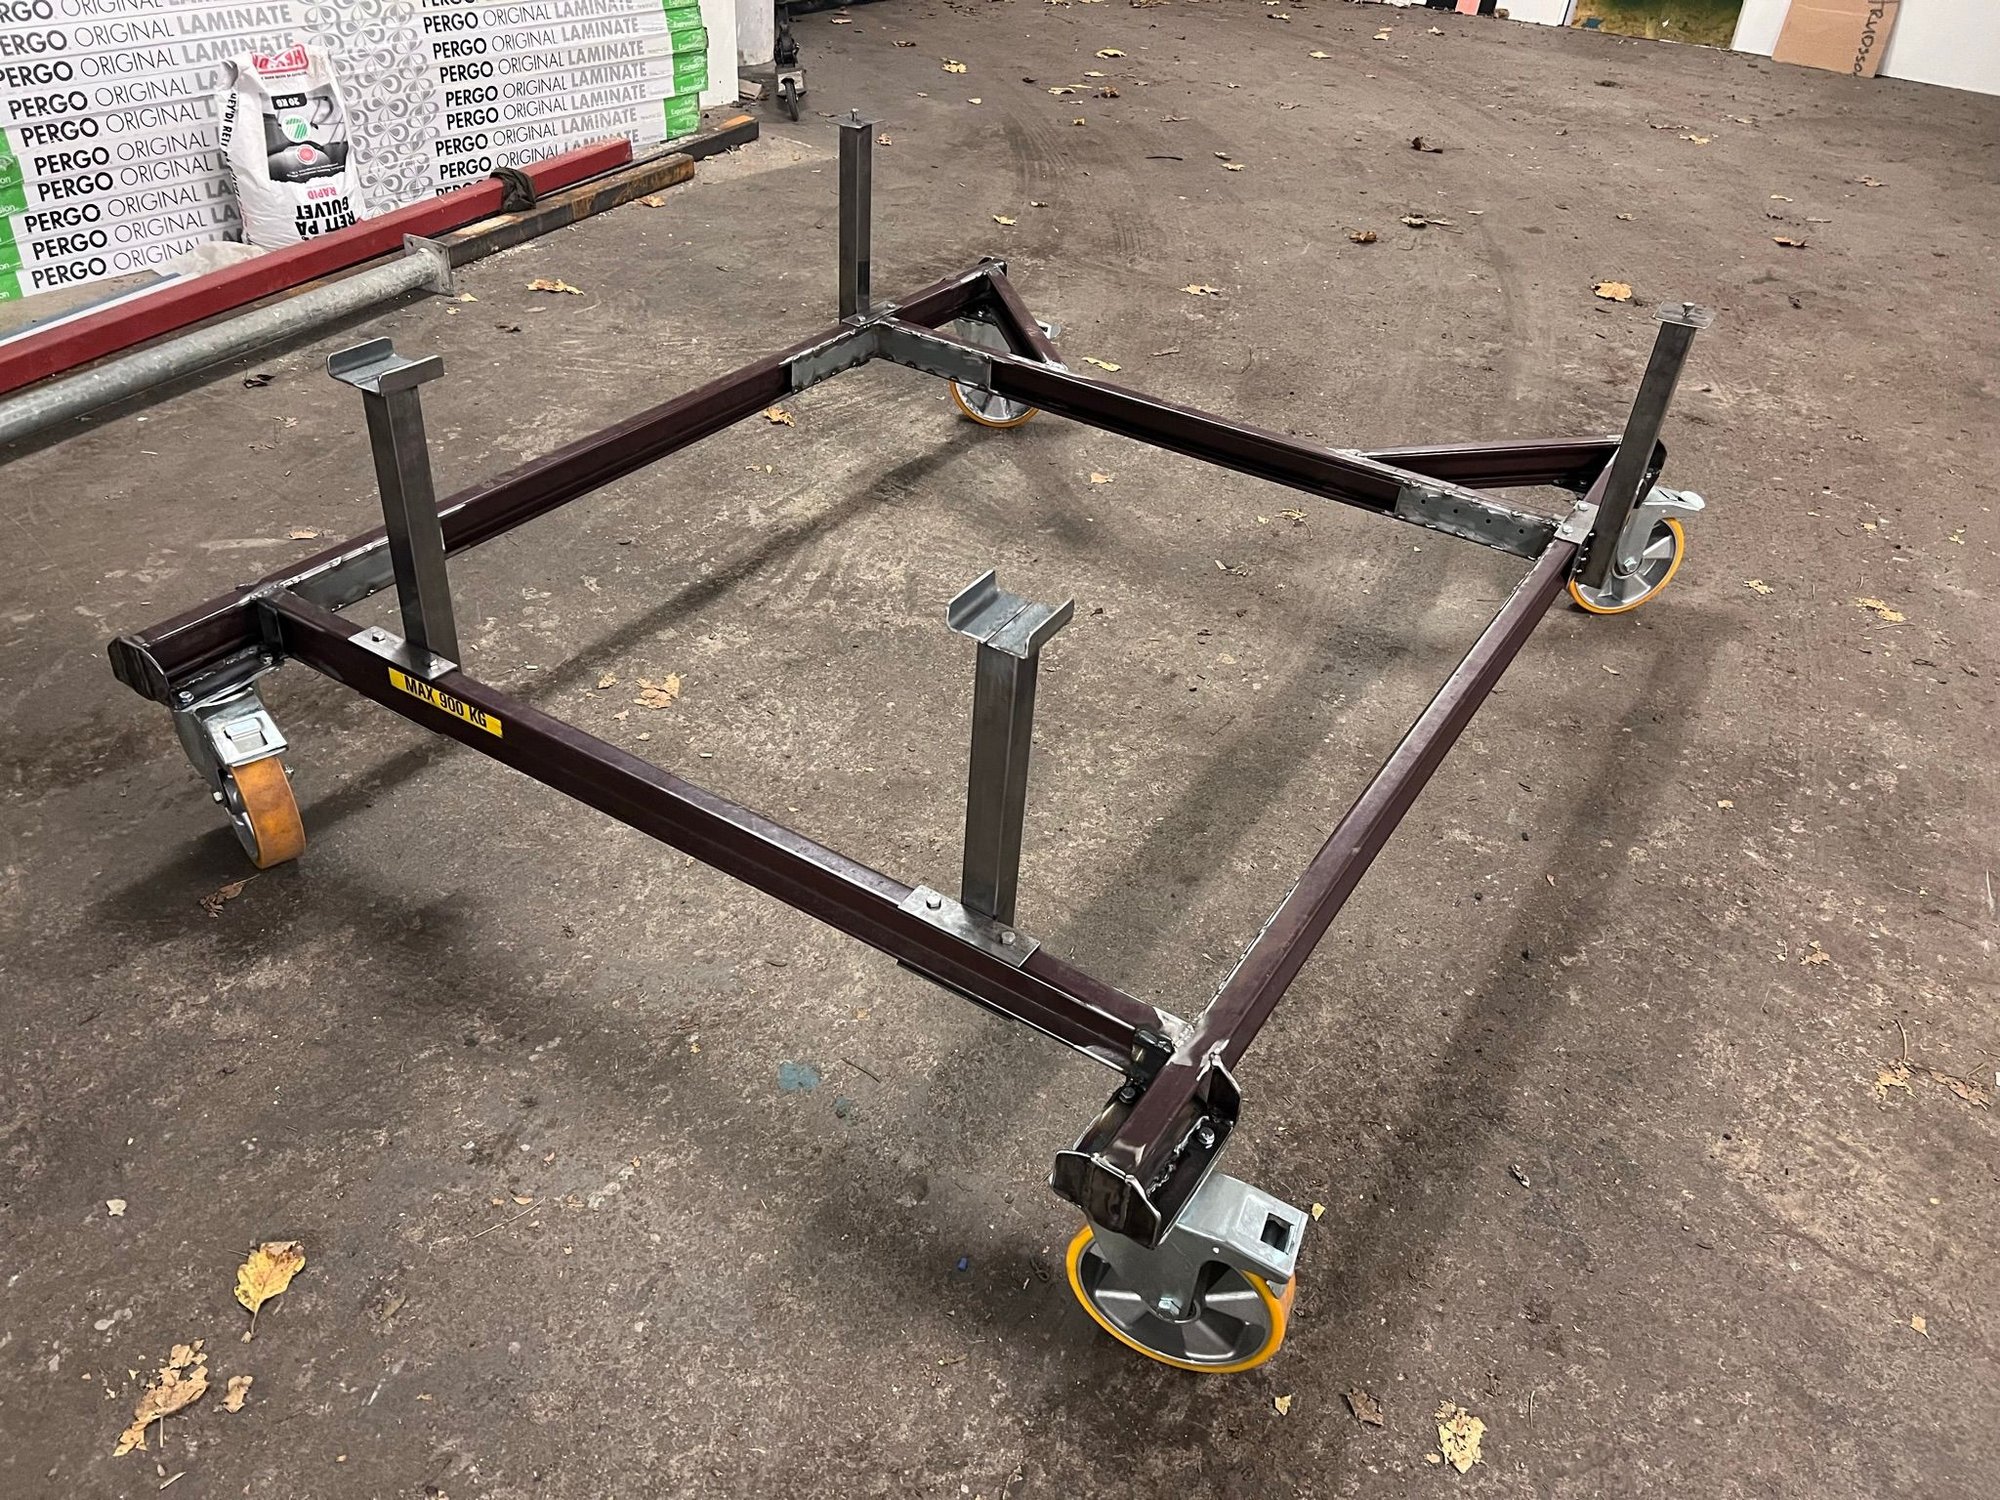
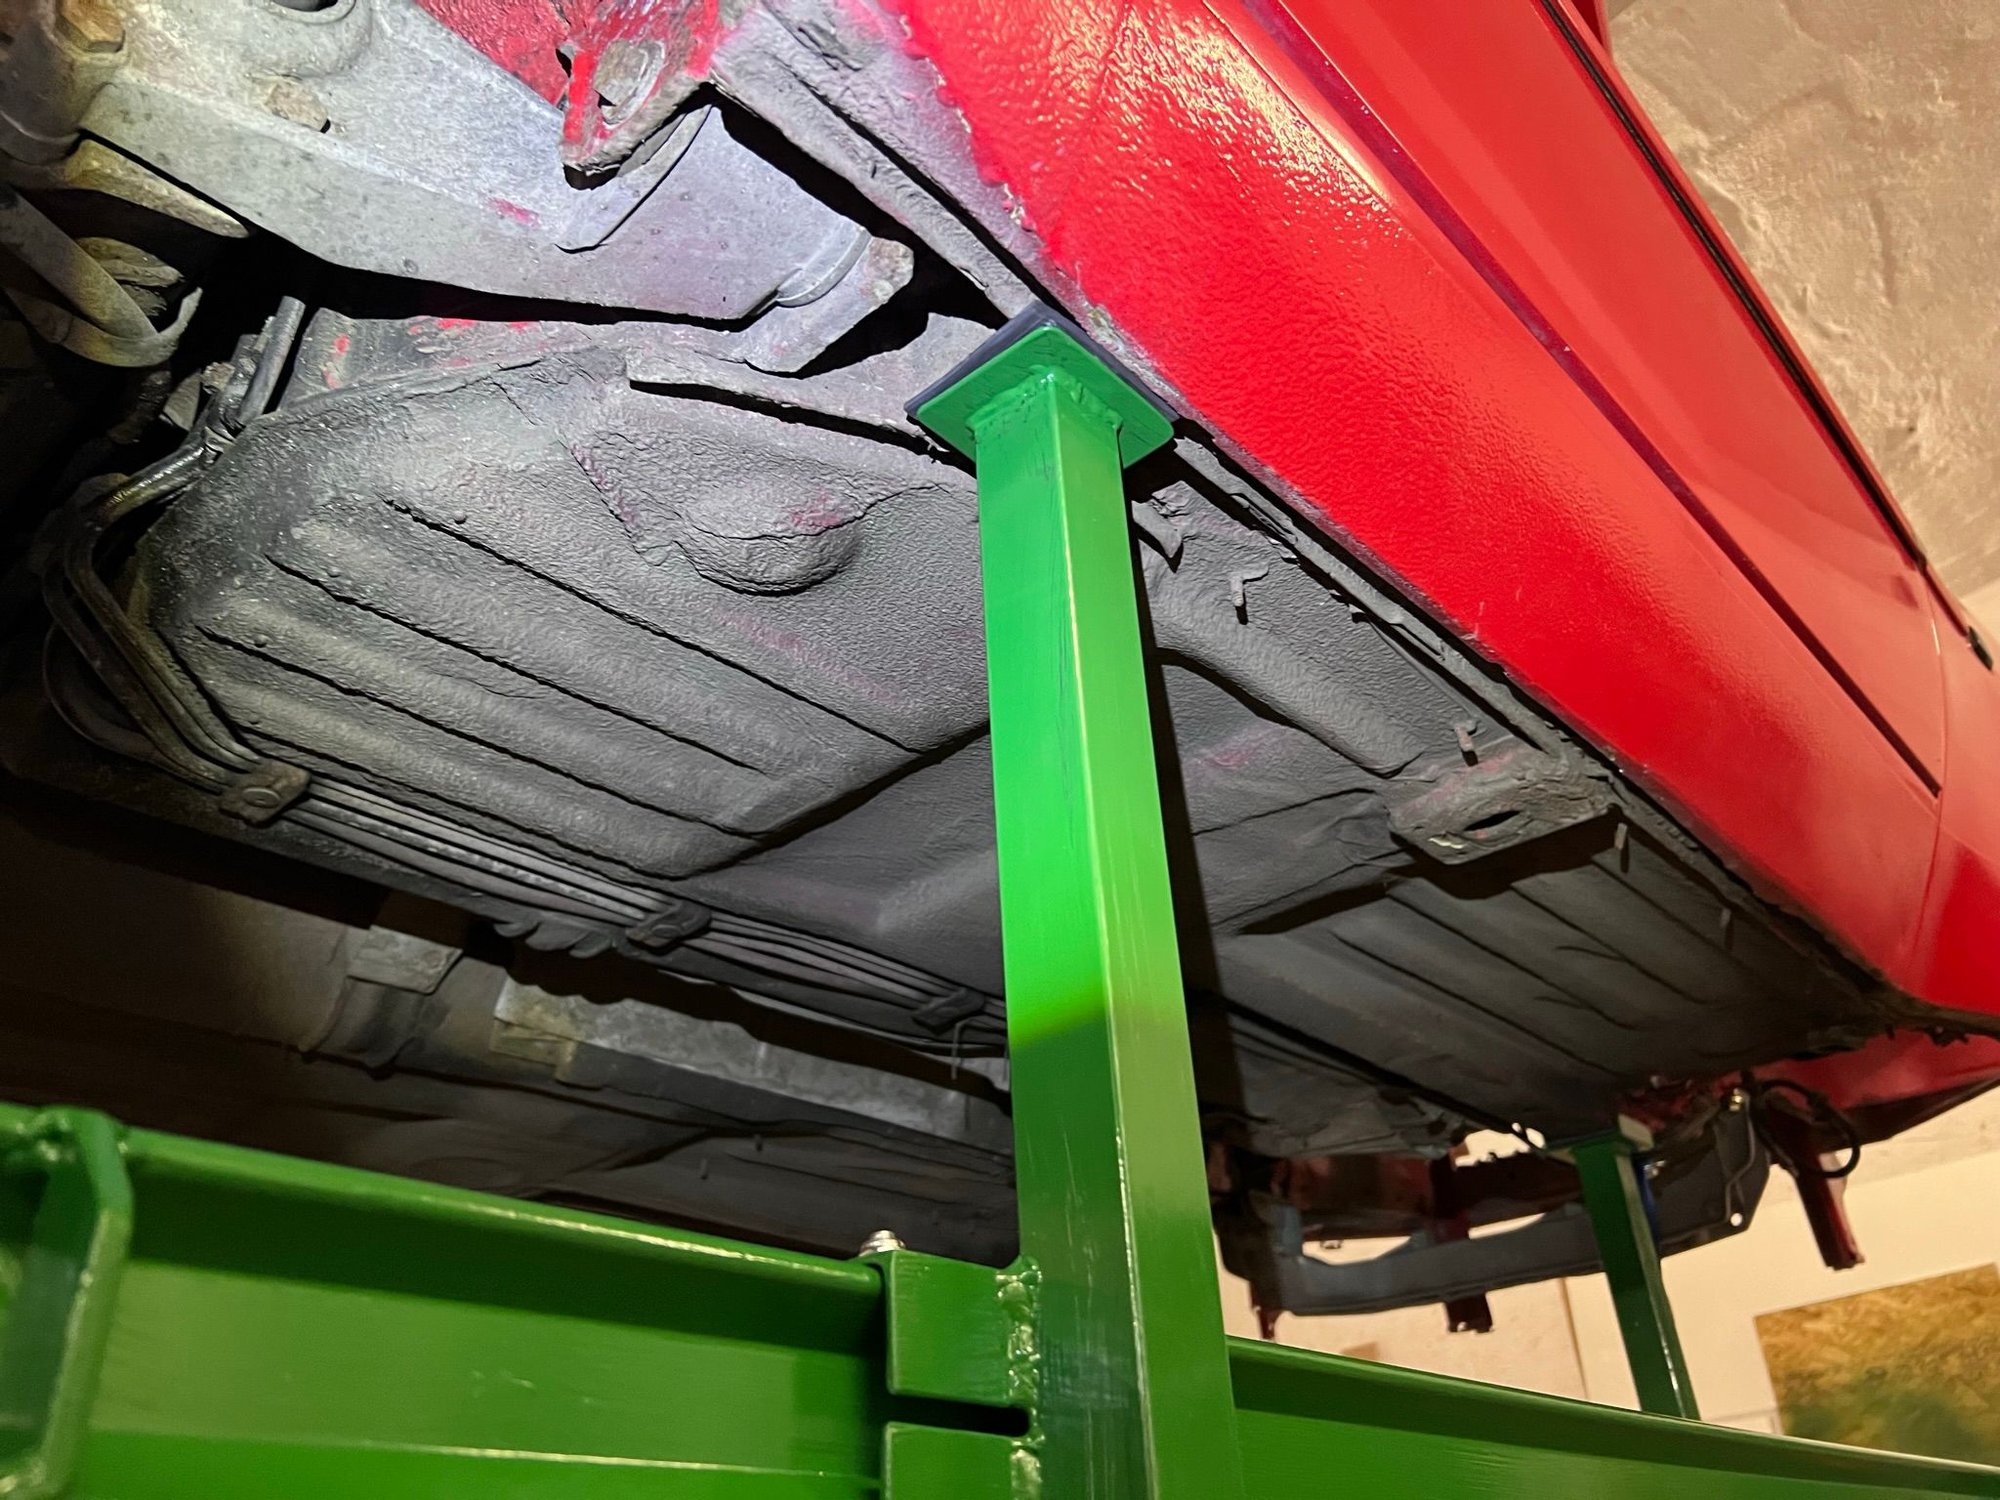
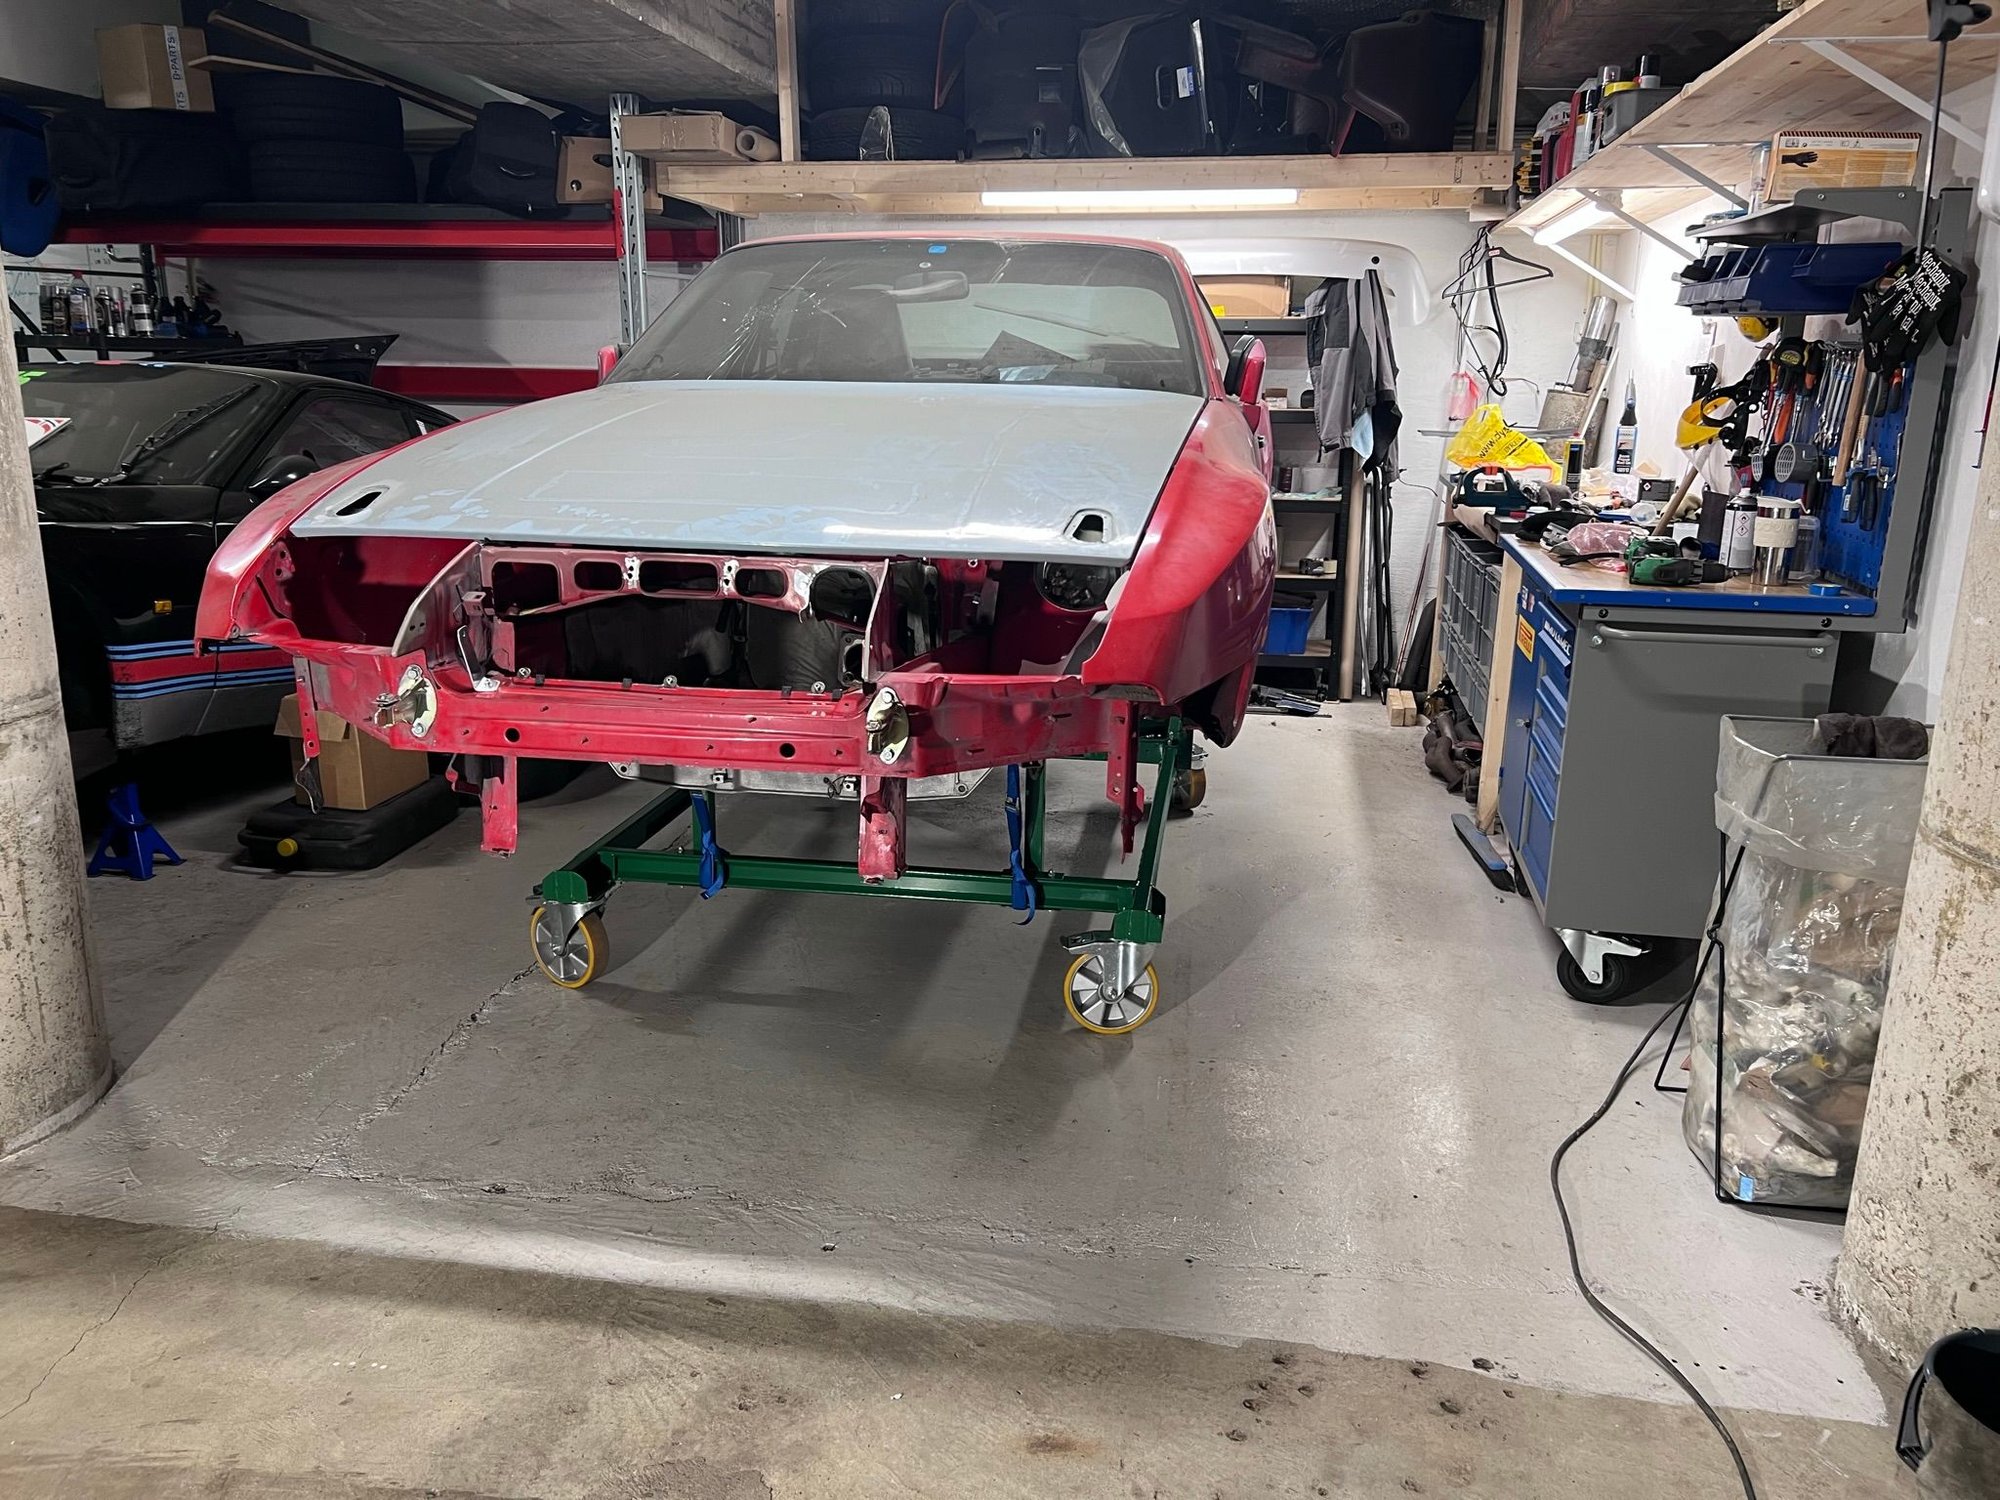
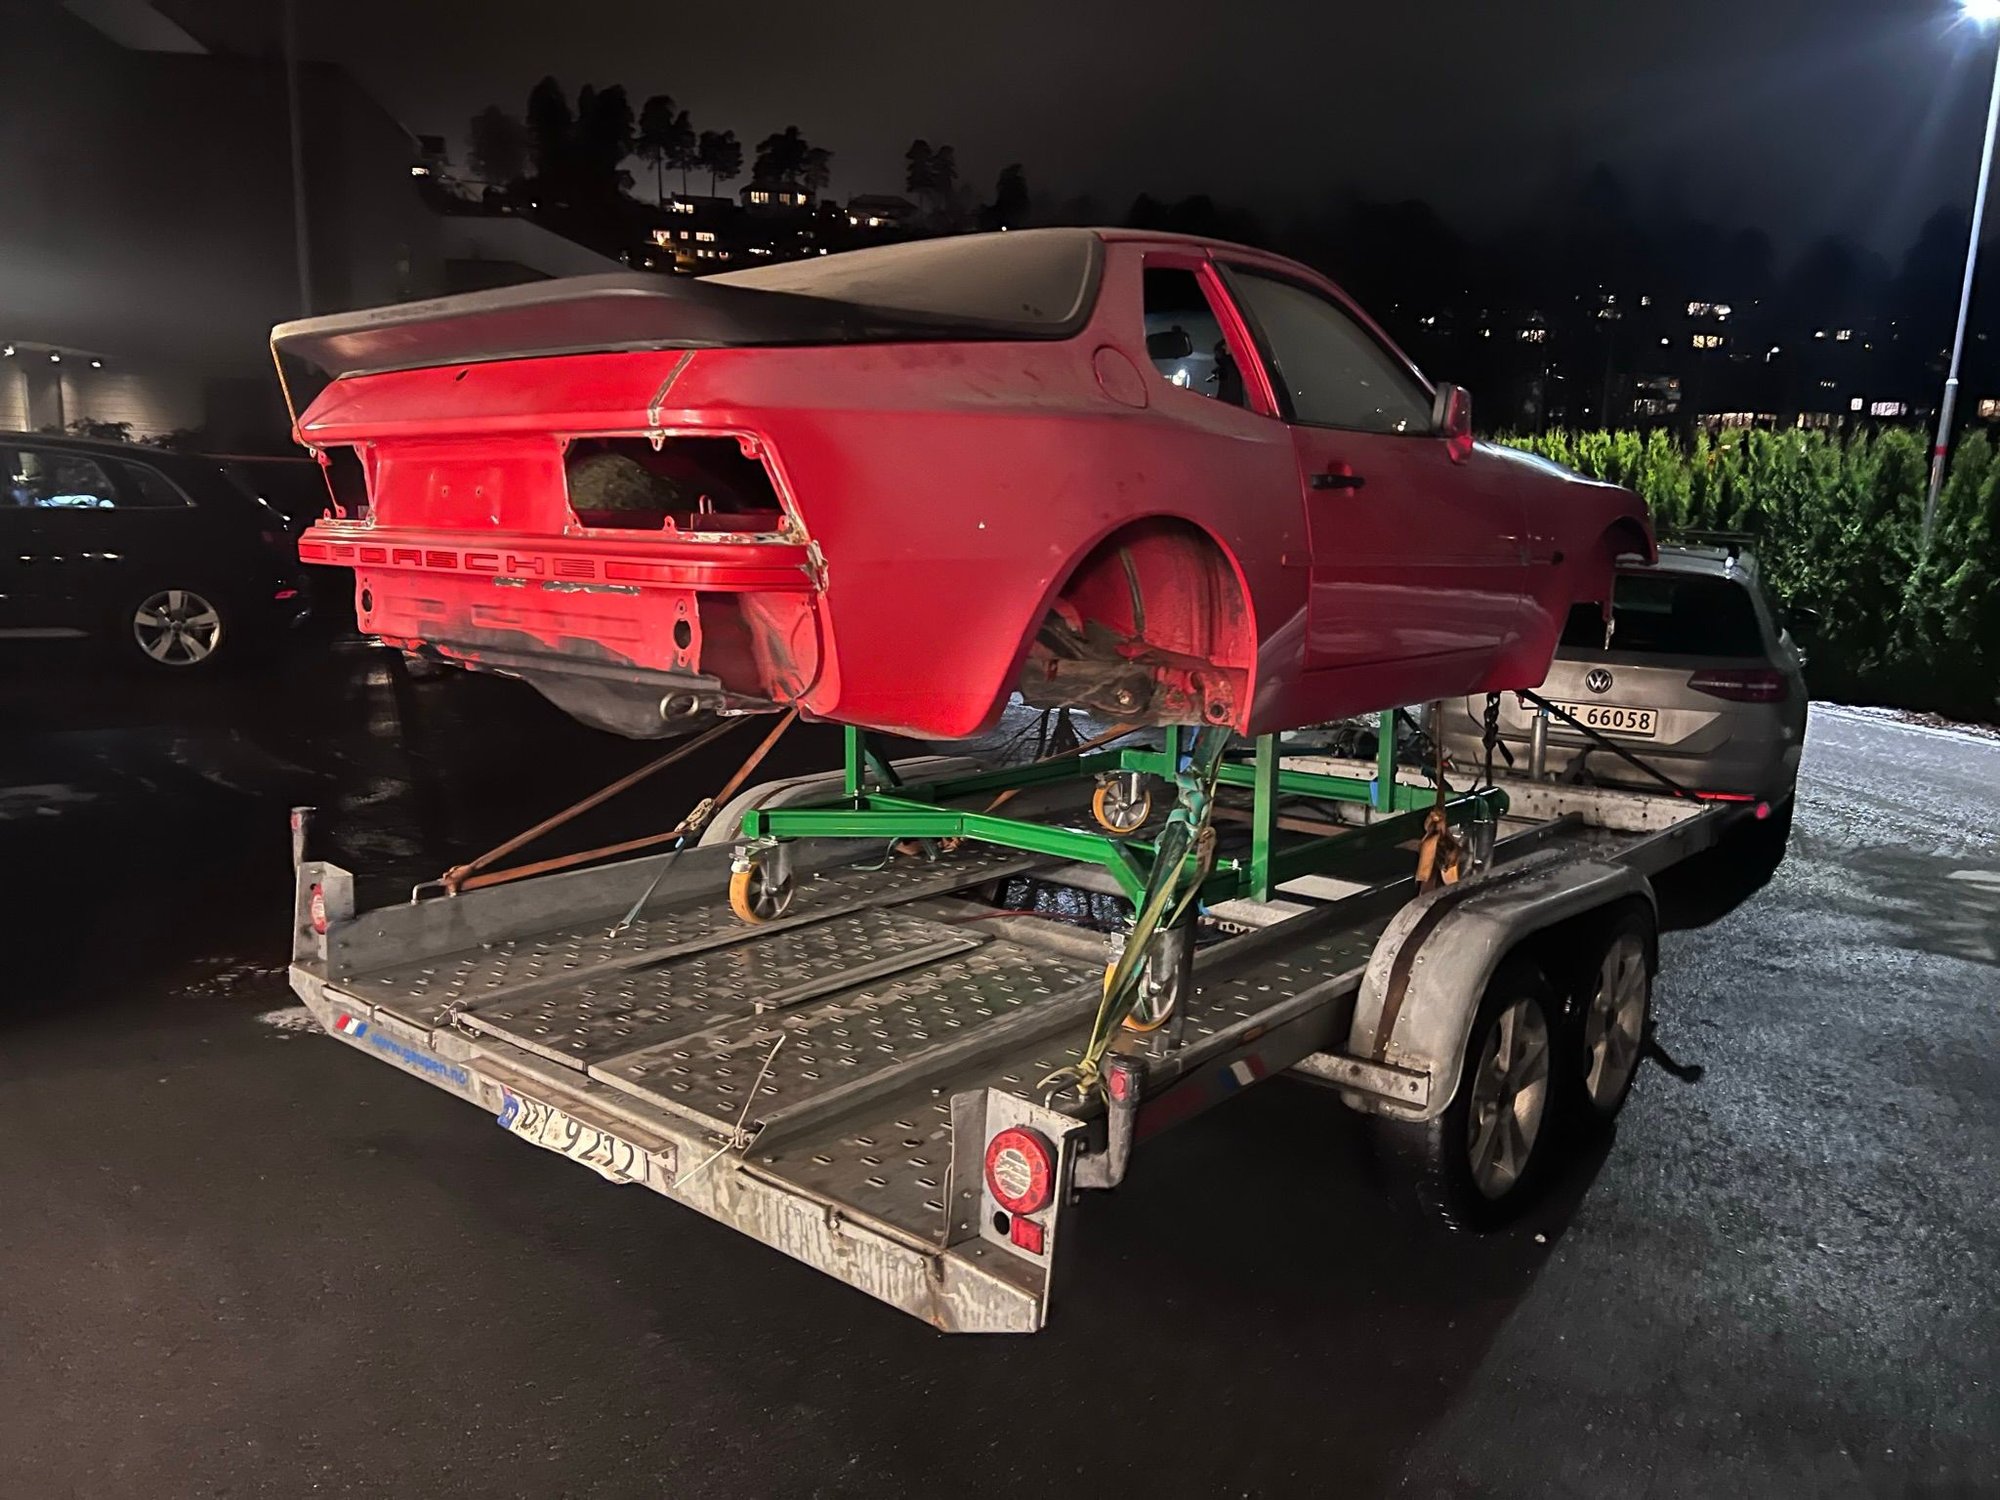
When the 911 had gotten into it's pajamas, in the fall of 2022, it was time to get some progress on the 944 project. Next step was to build a dolly for the body. Something I had planned for some time. Placing the body high enough to be able to work underneath the car. And short enough to be able to do work on both ends reasonably easy. Strong enough to be able to transport the body on a car transporter. And modular, so it can be stored flat packed. Needed tie-downs in the front due to the weight of the rear suspension and transaxle tilting the body backwards over the rear stand-off's.
.
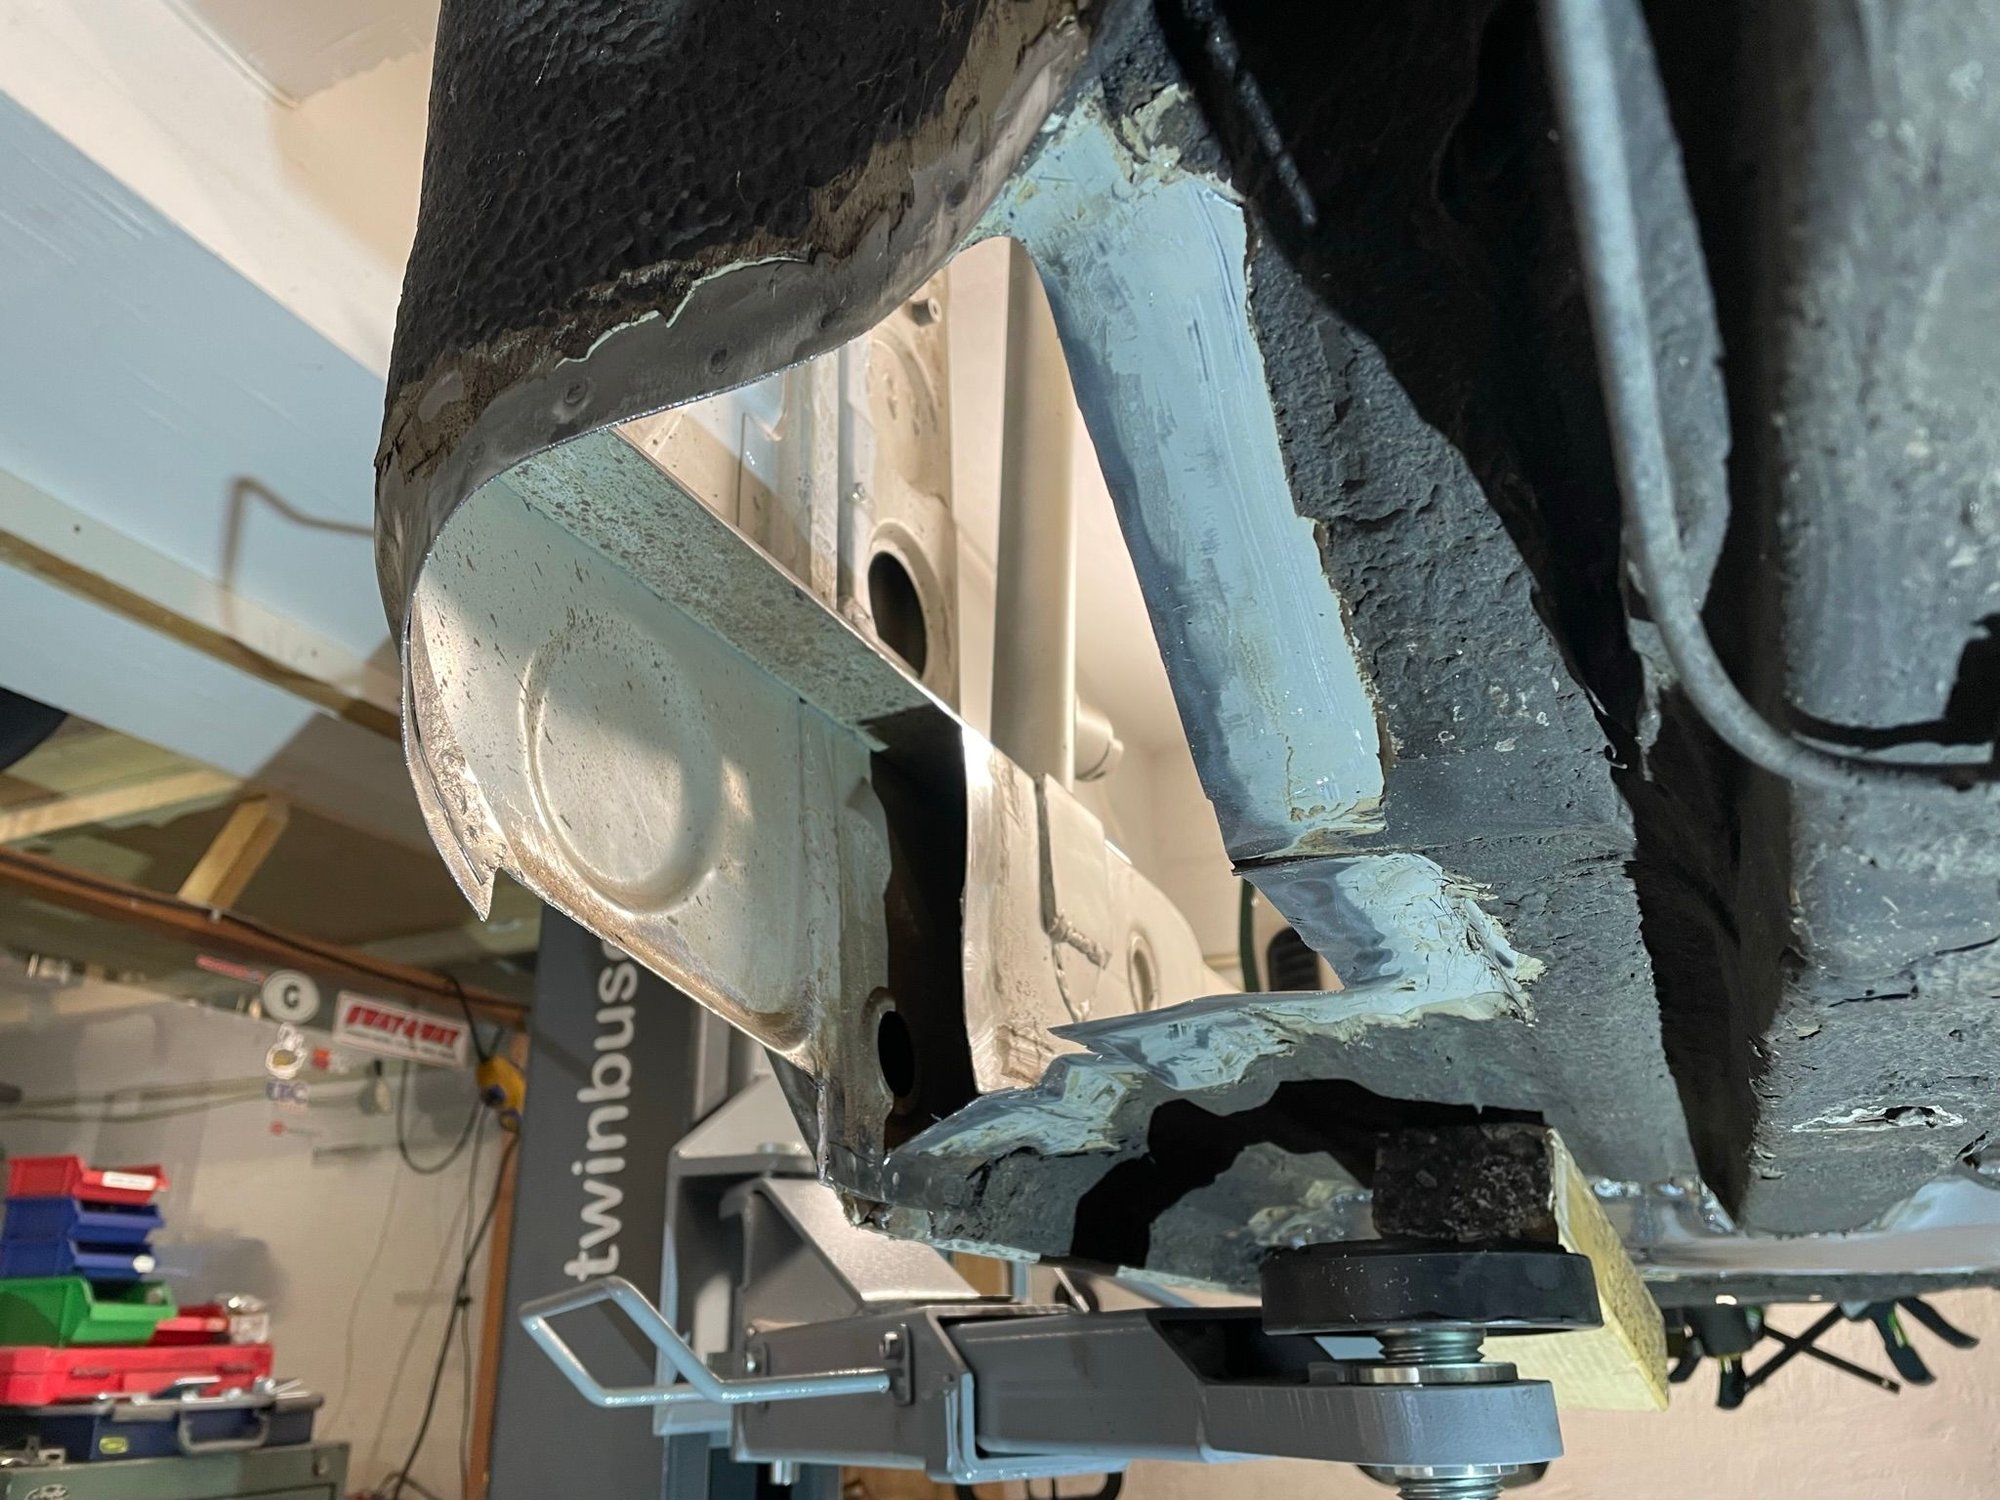
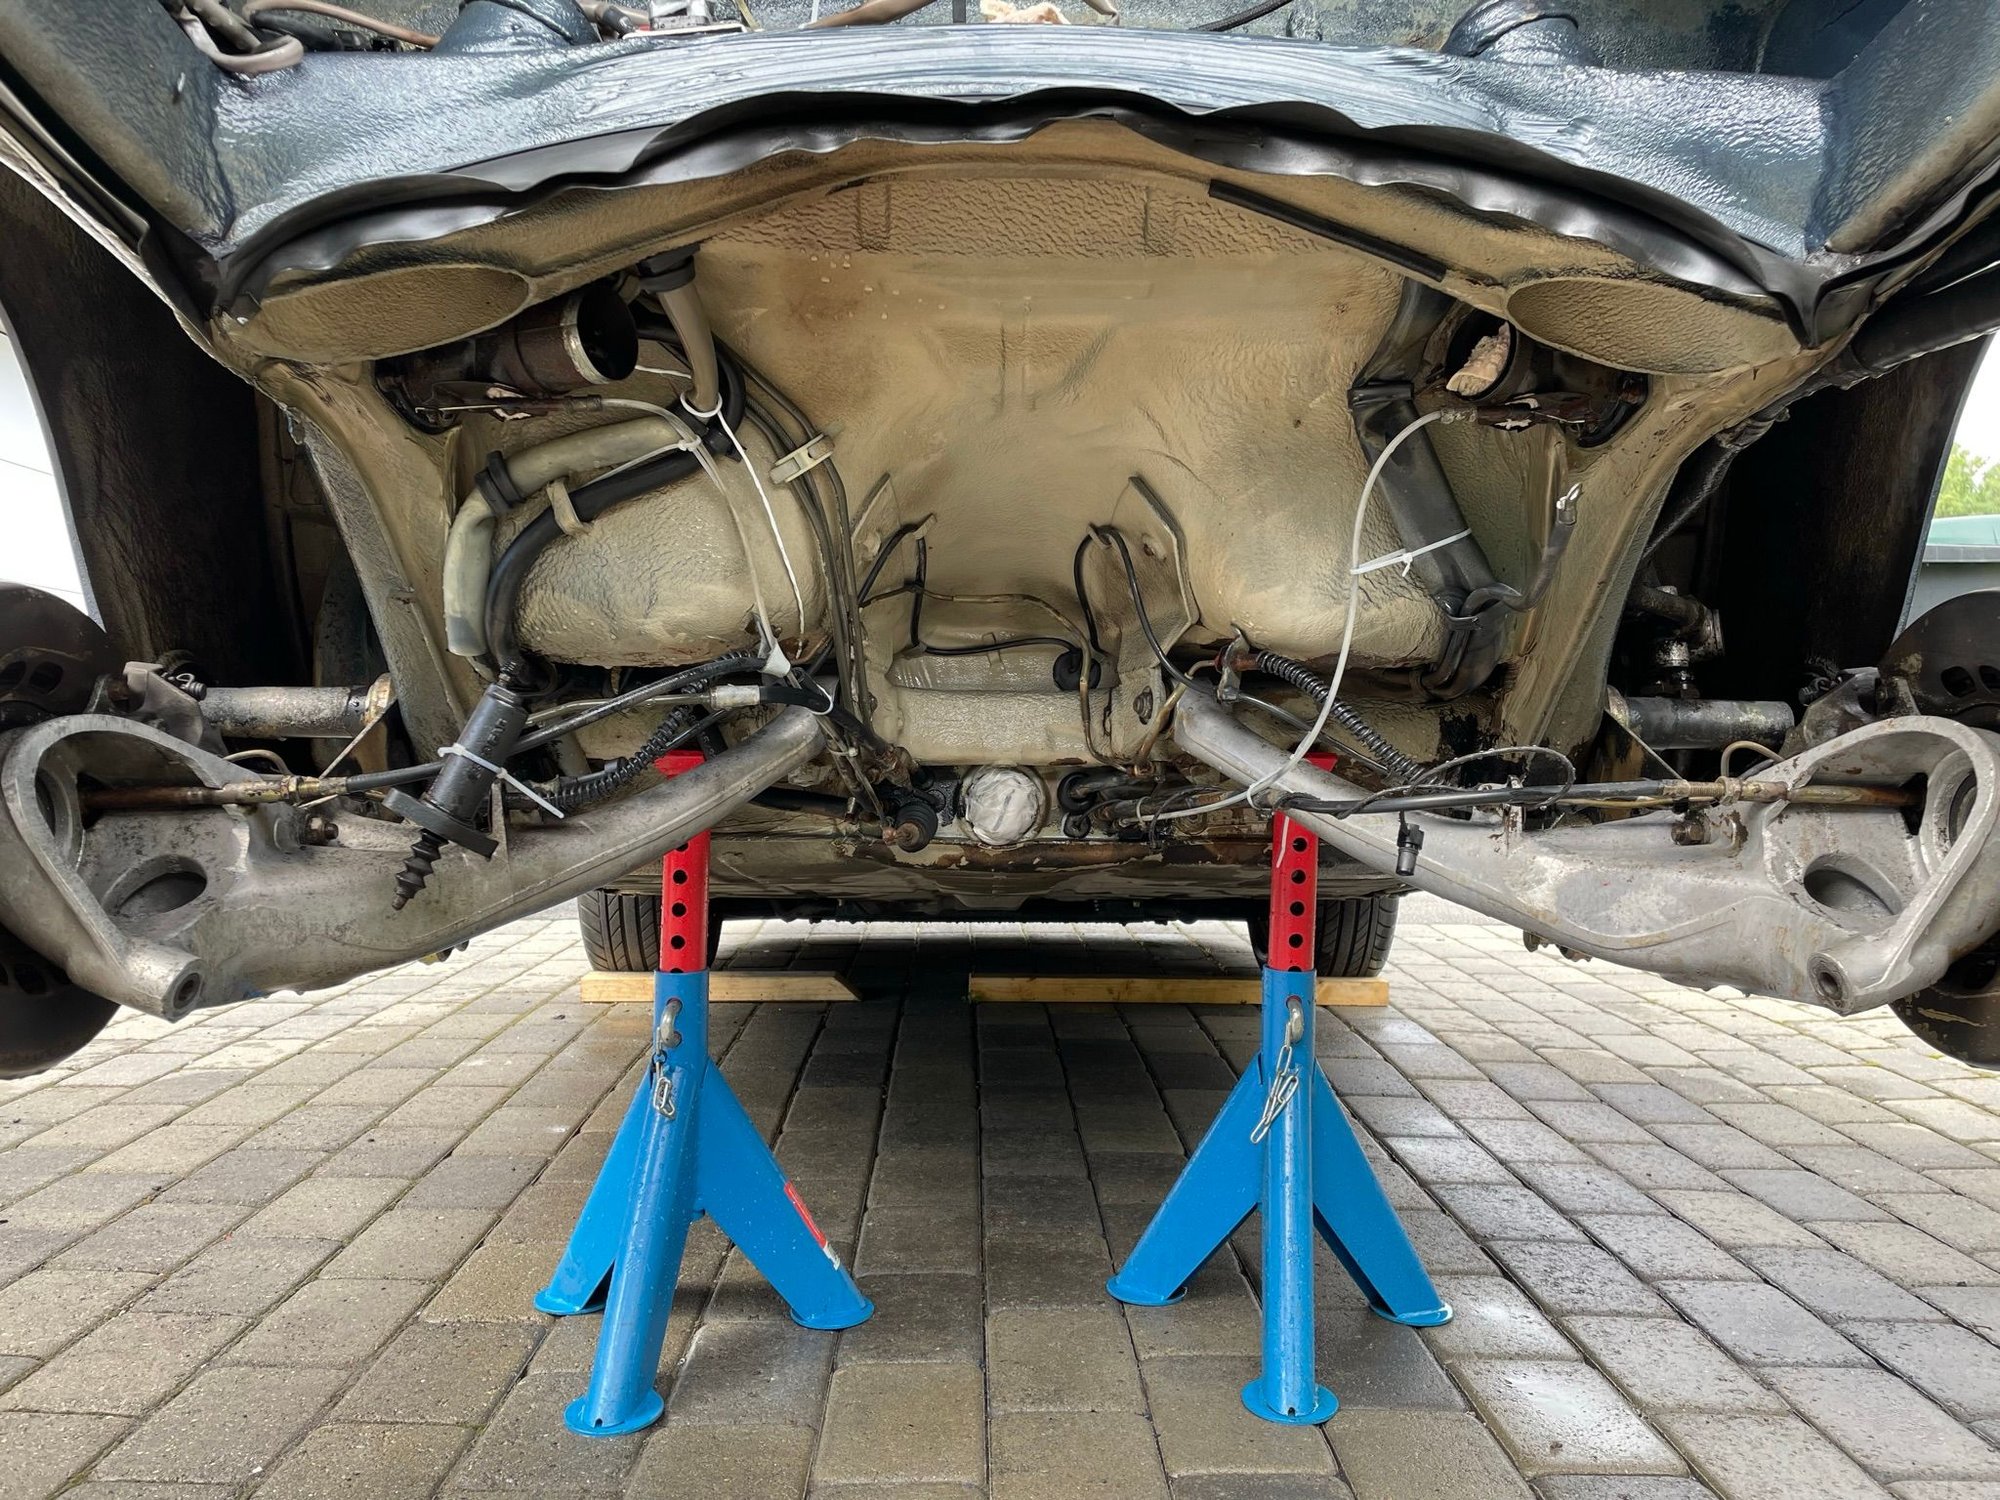
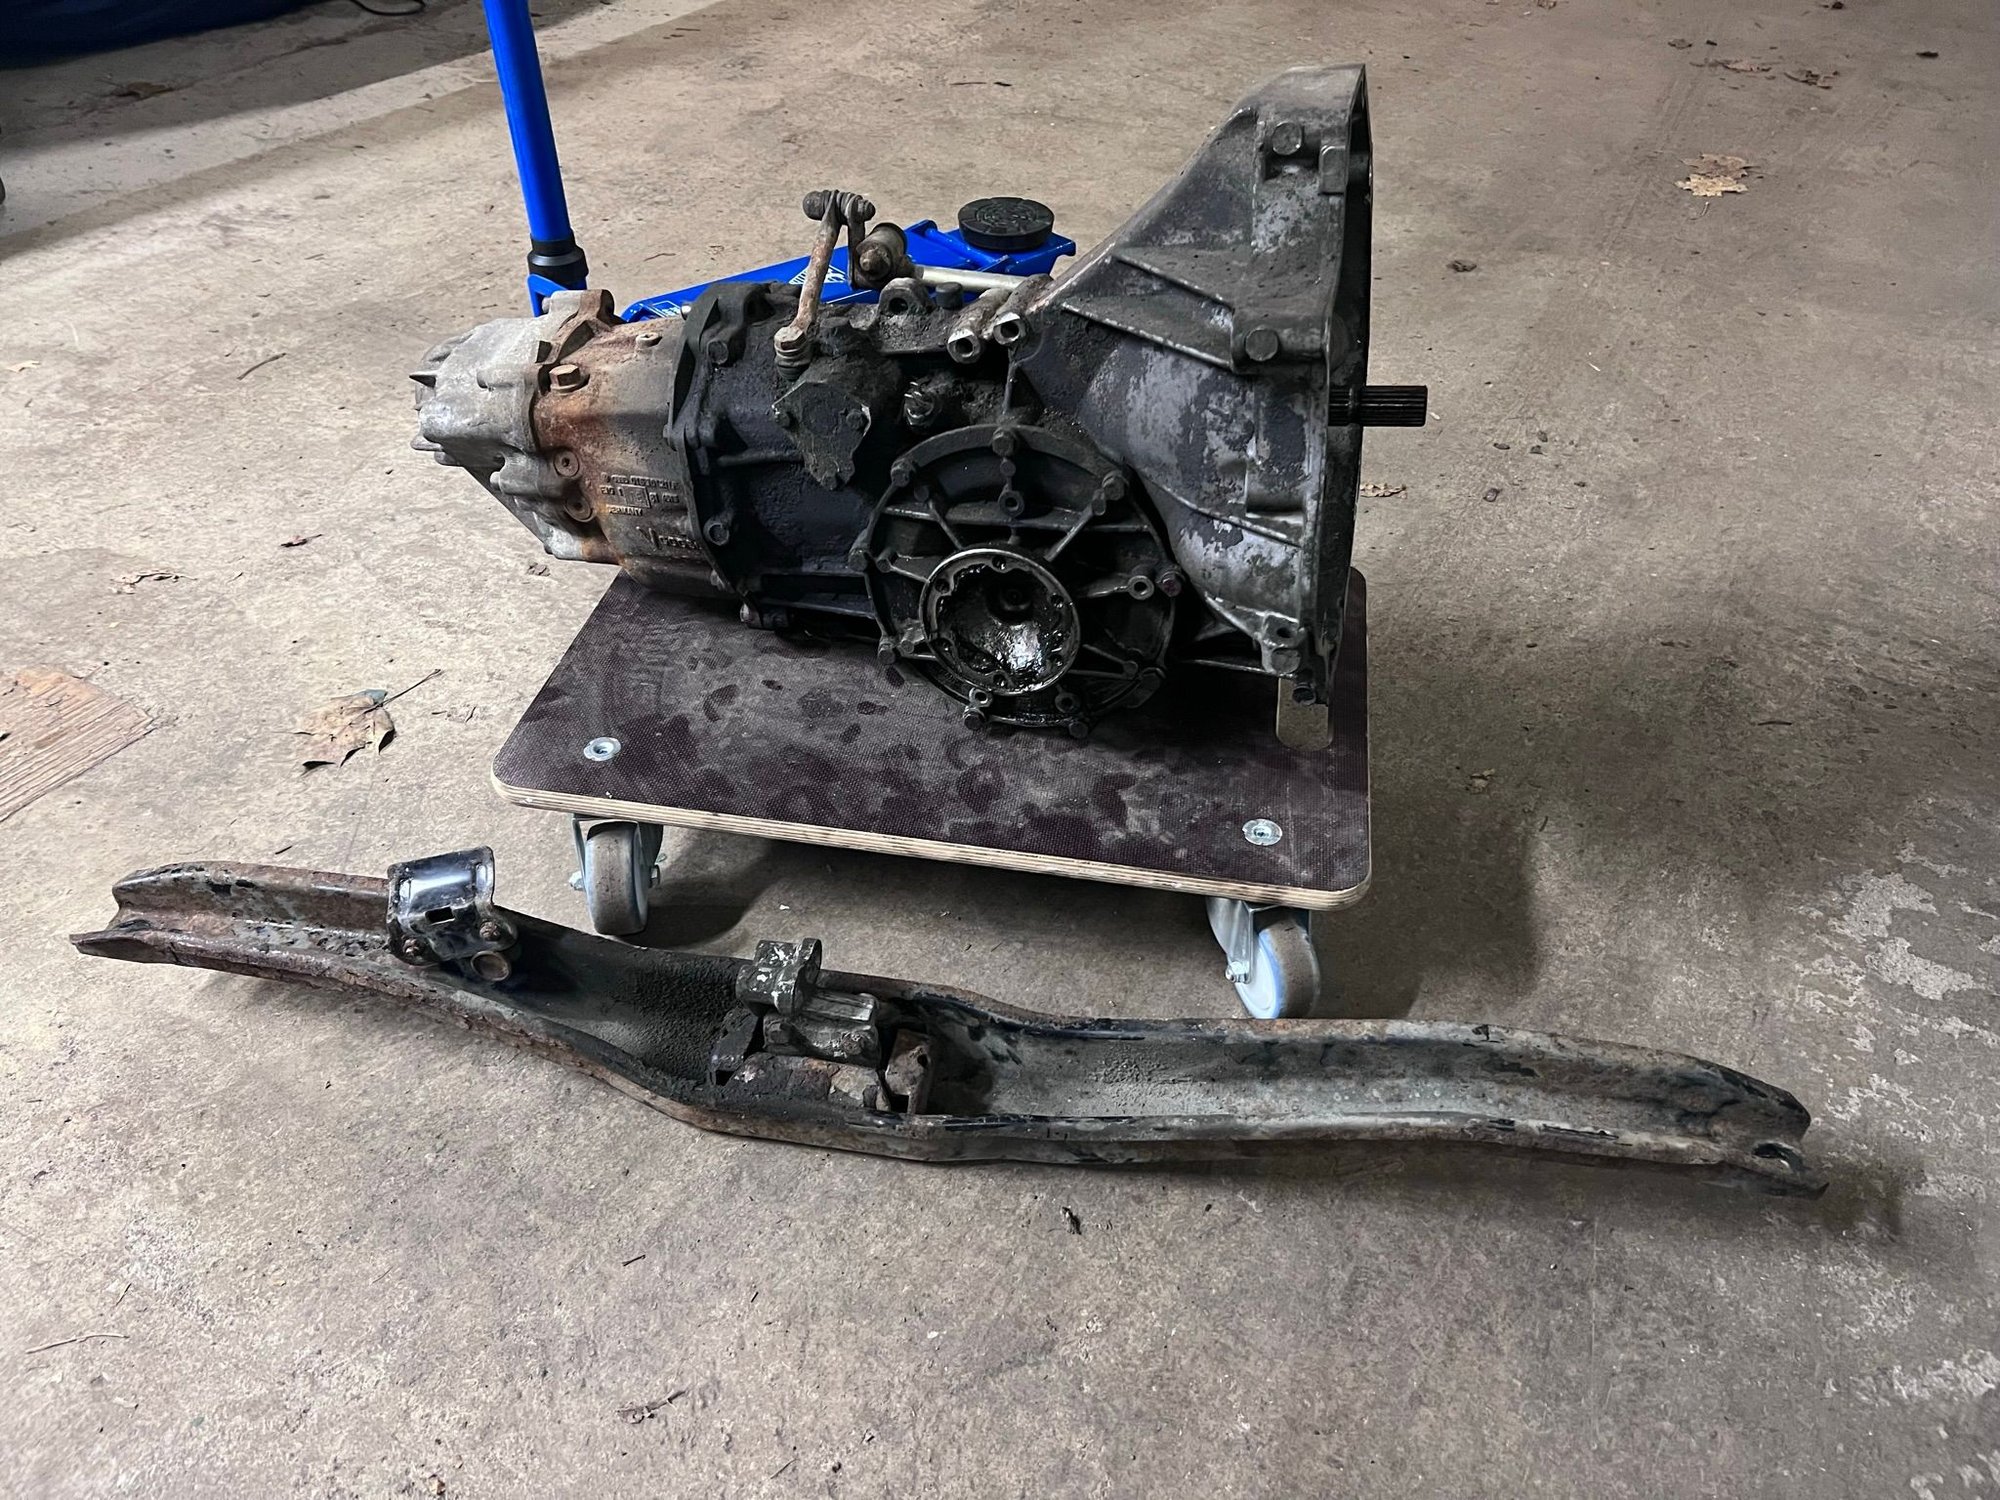
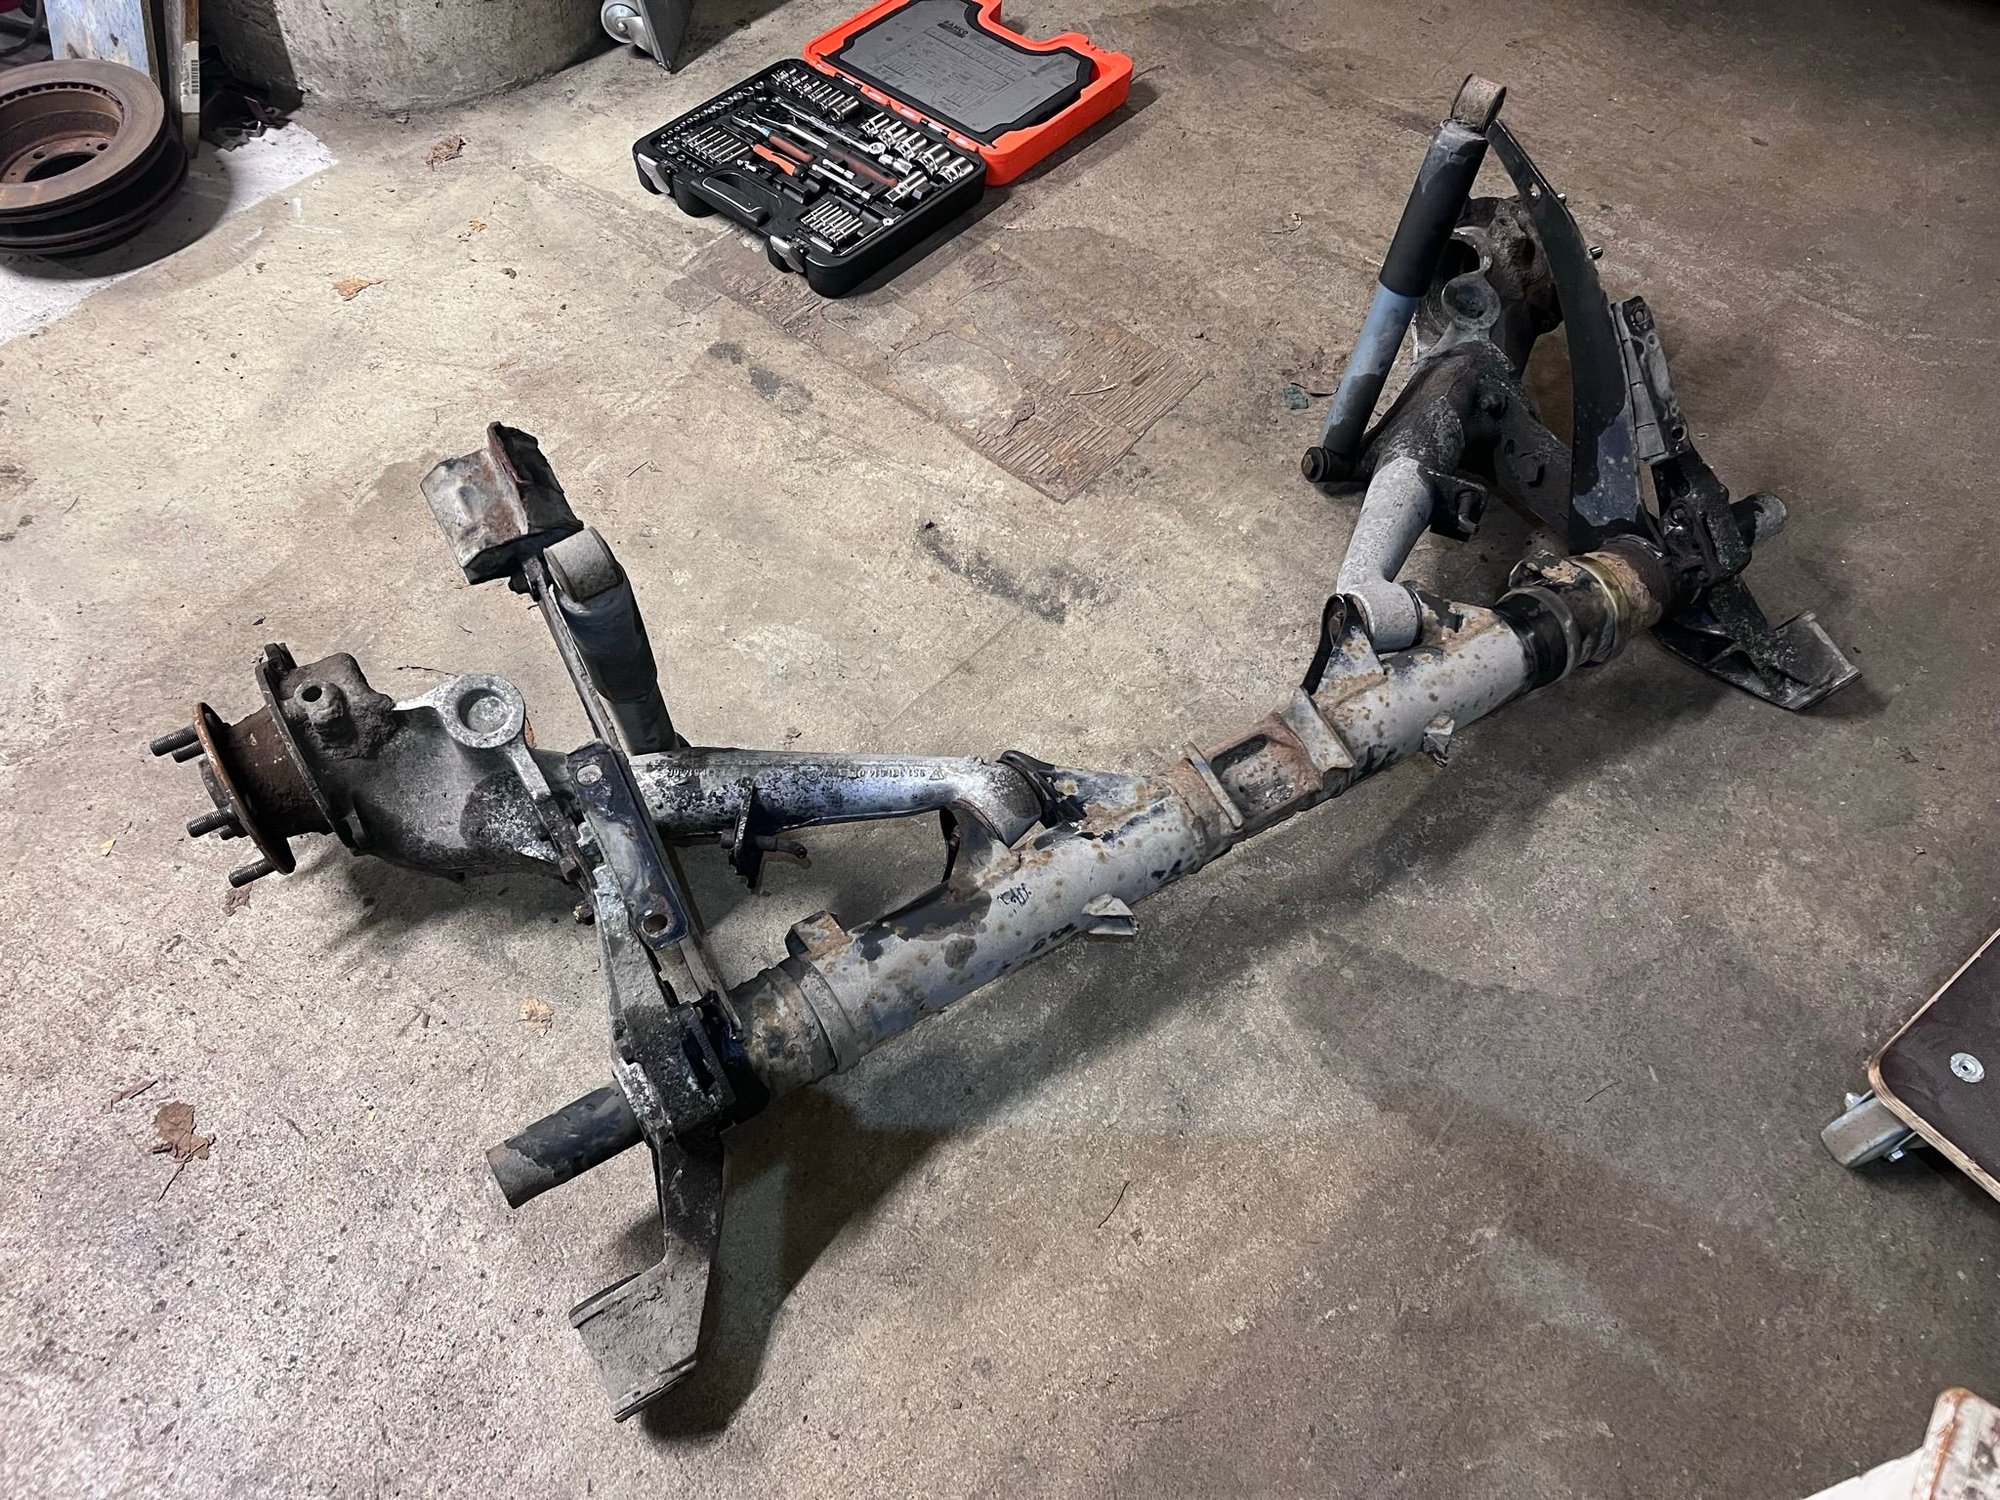
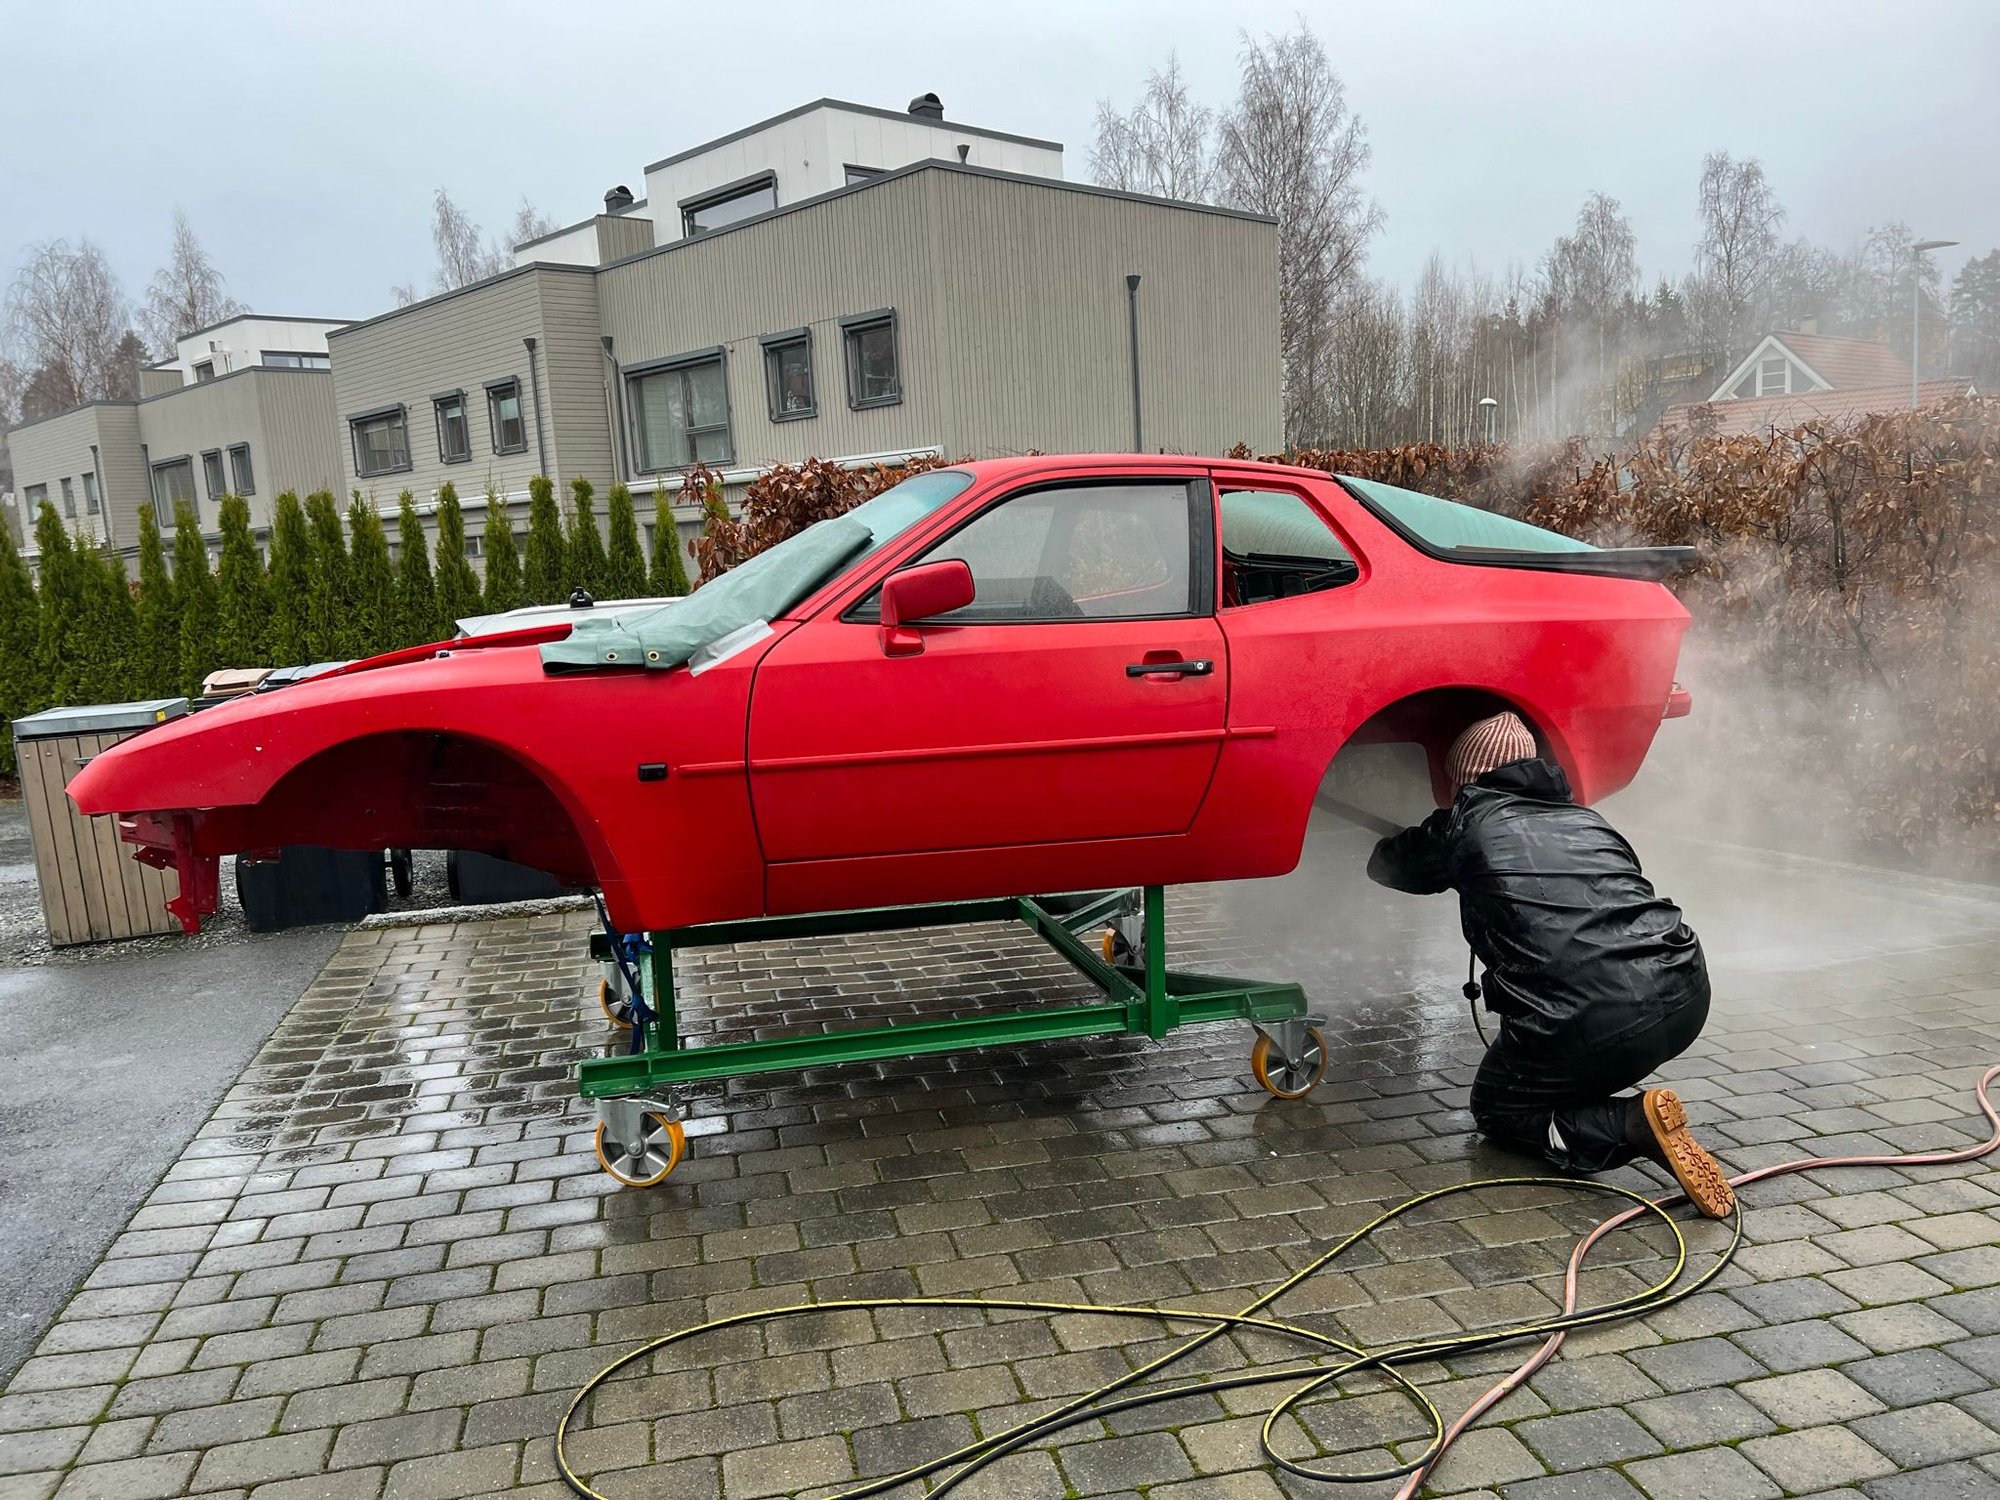
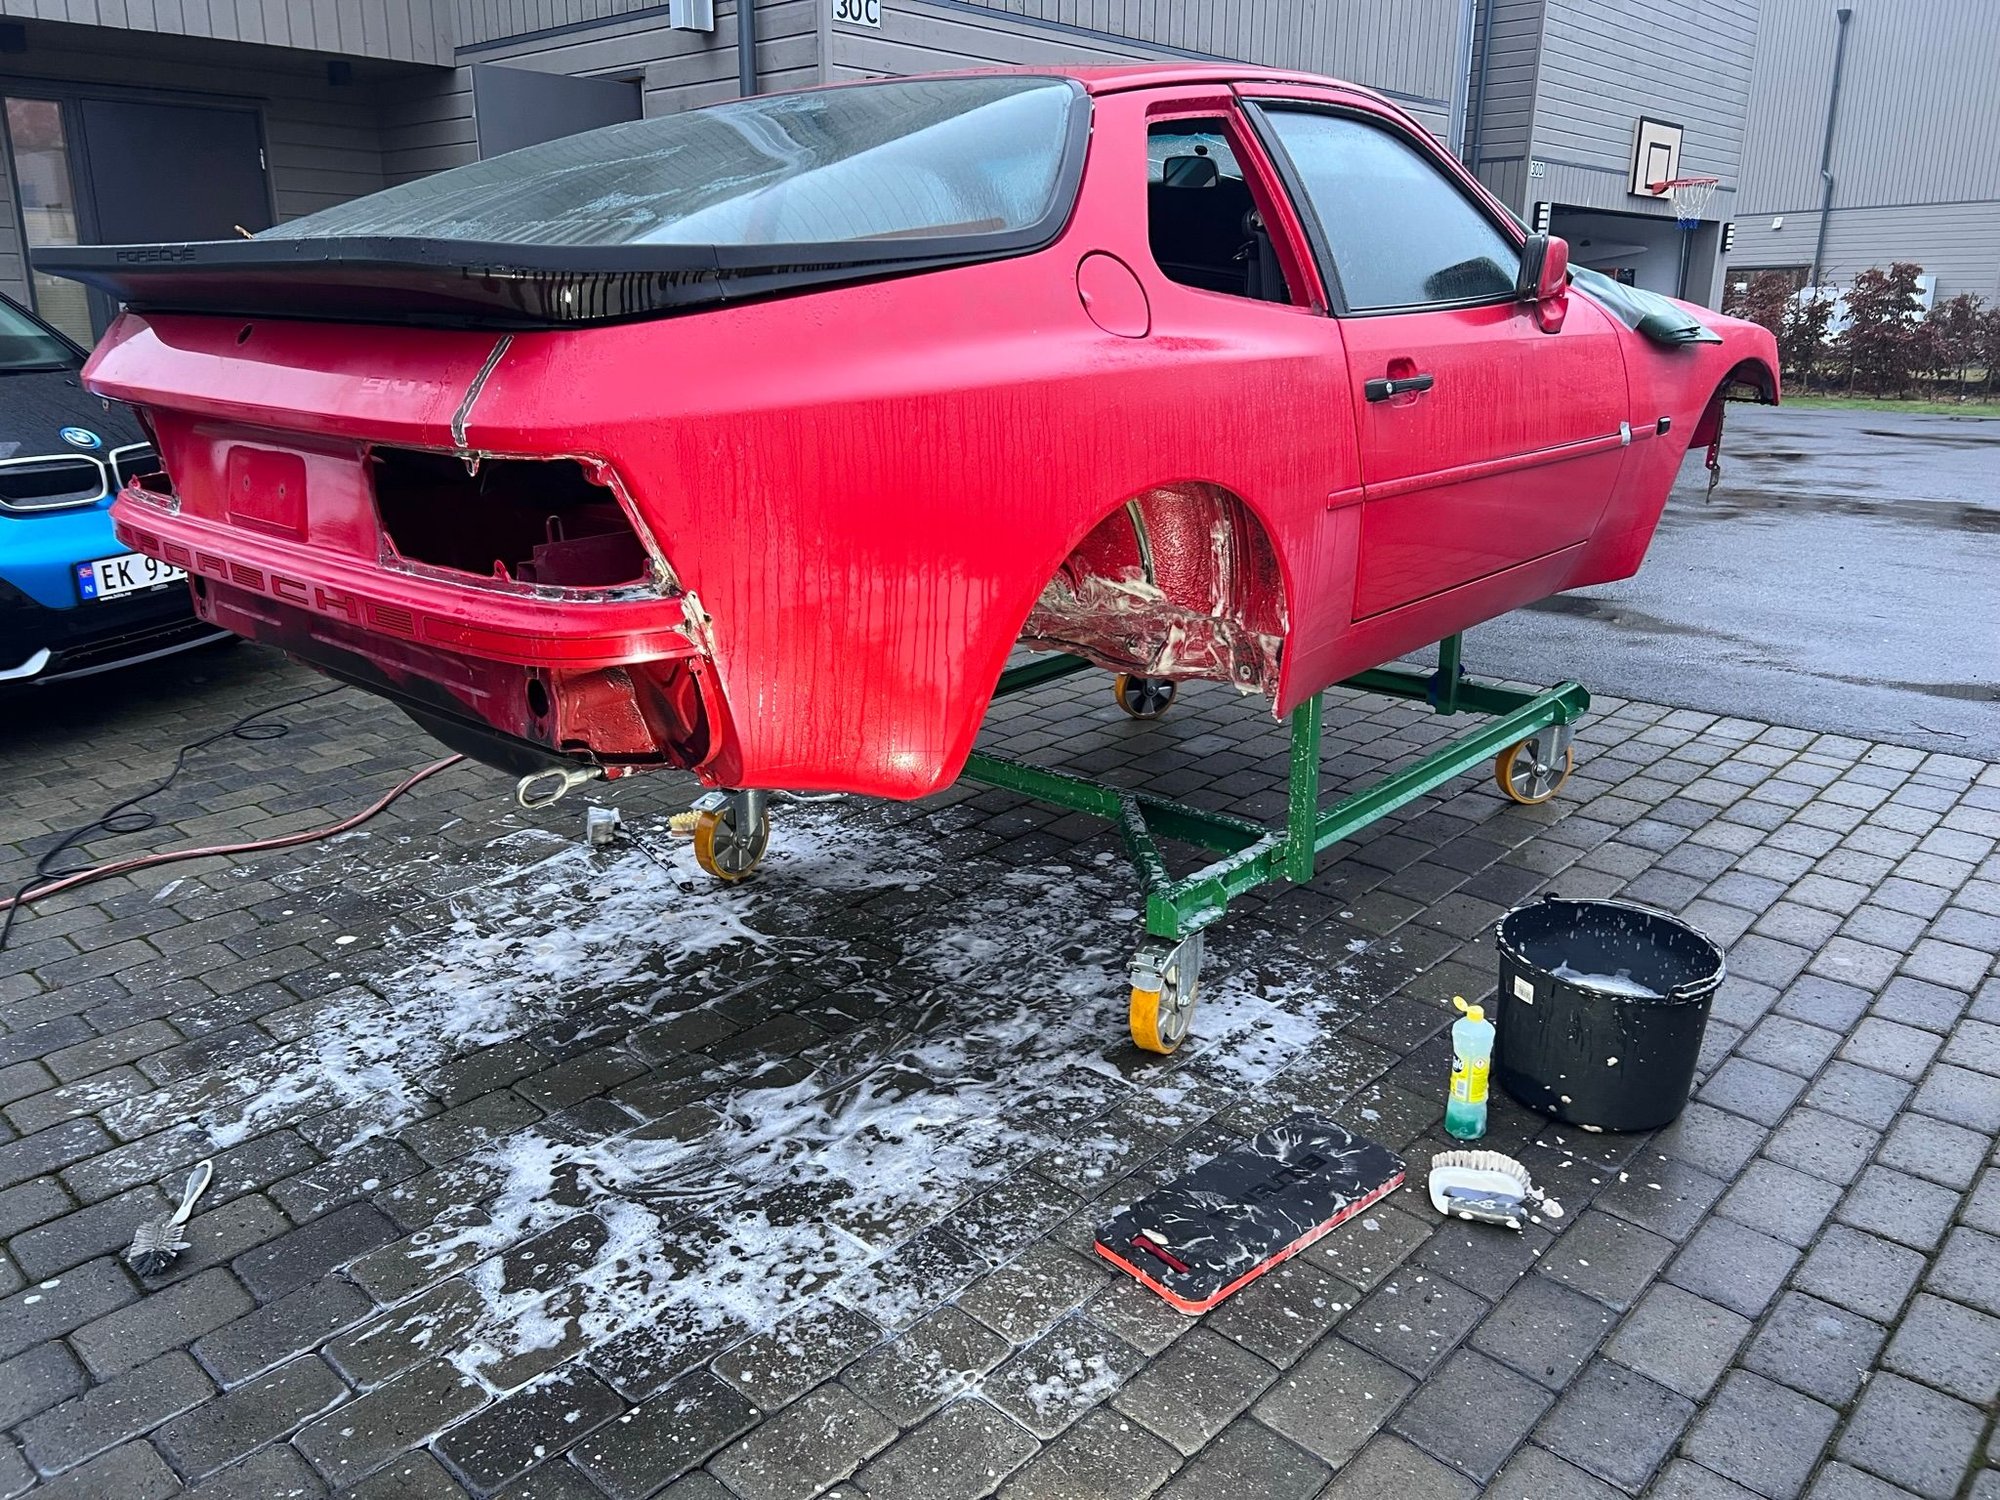
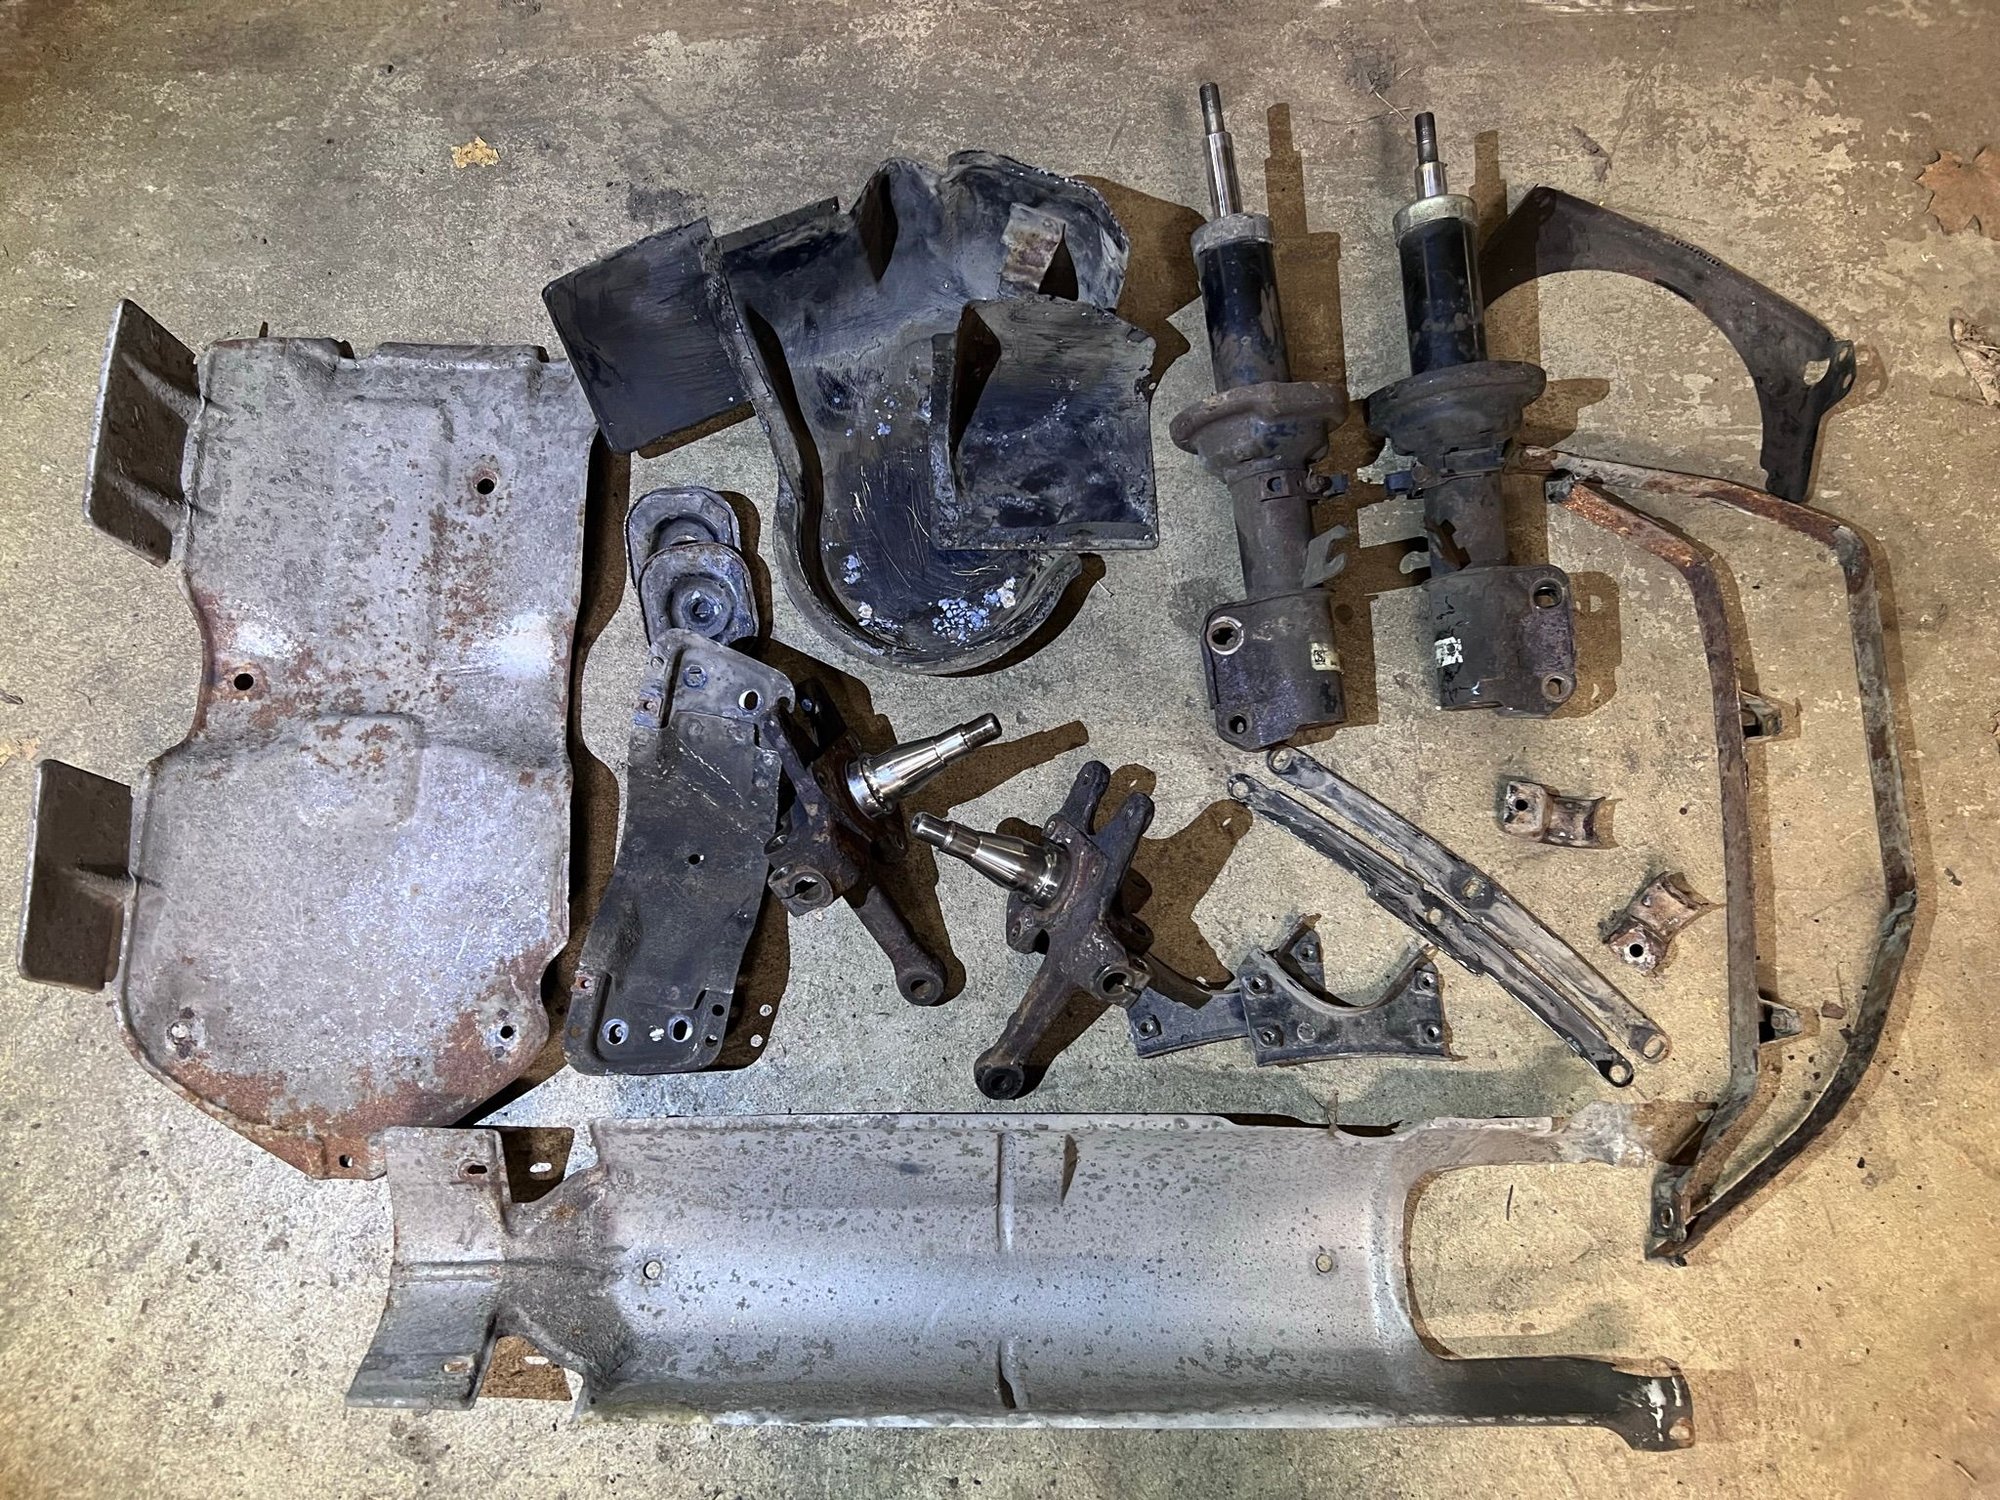
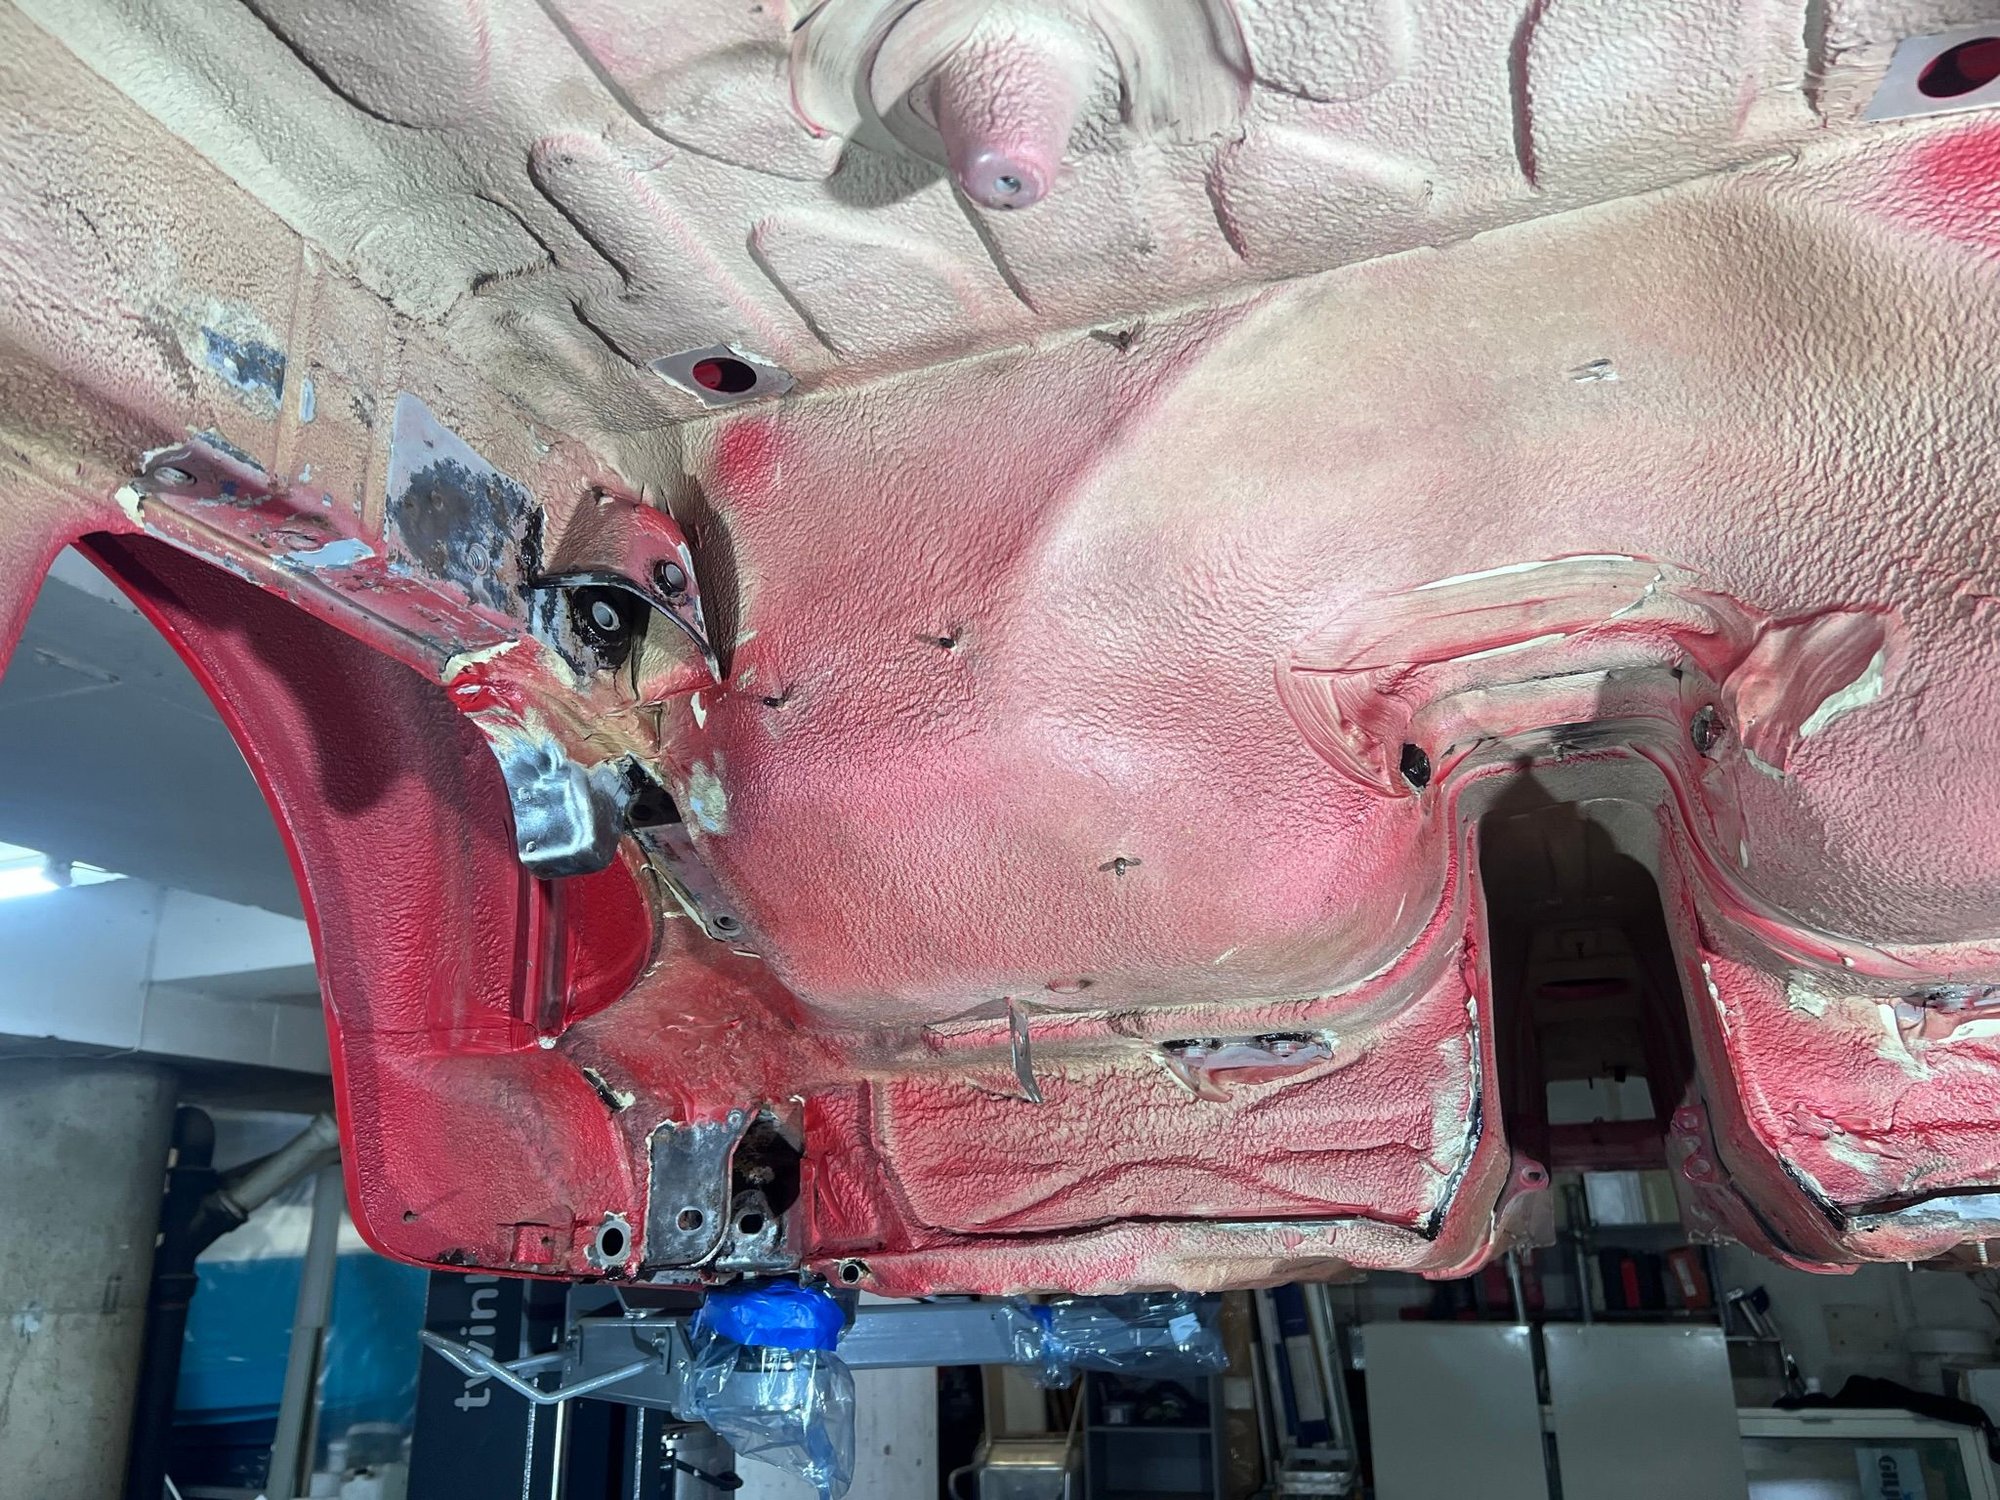
Next up was to drop everything in the rear, and have the whole underside of the car thoroughly cleaned. I discovered that both the fuel and brake hardlines were too corroded to save. So every last bolt and bracket was removed.
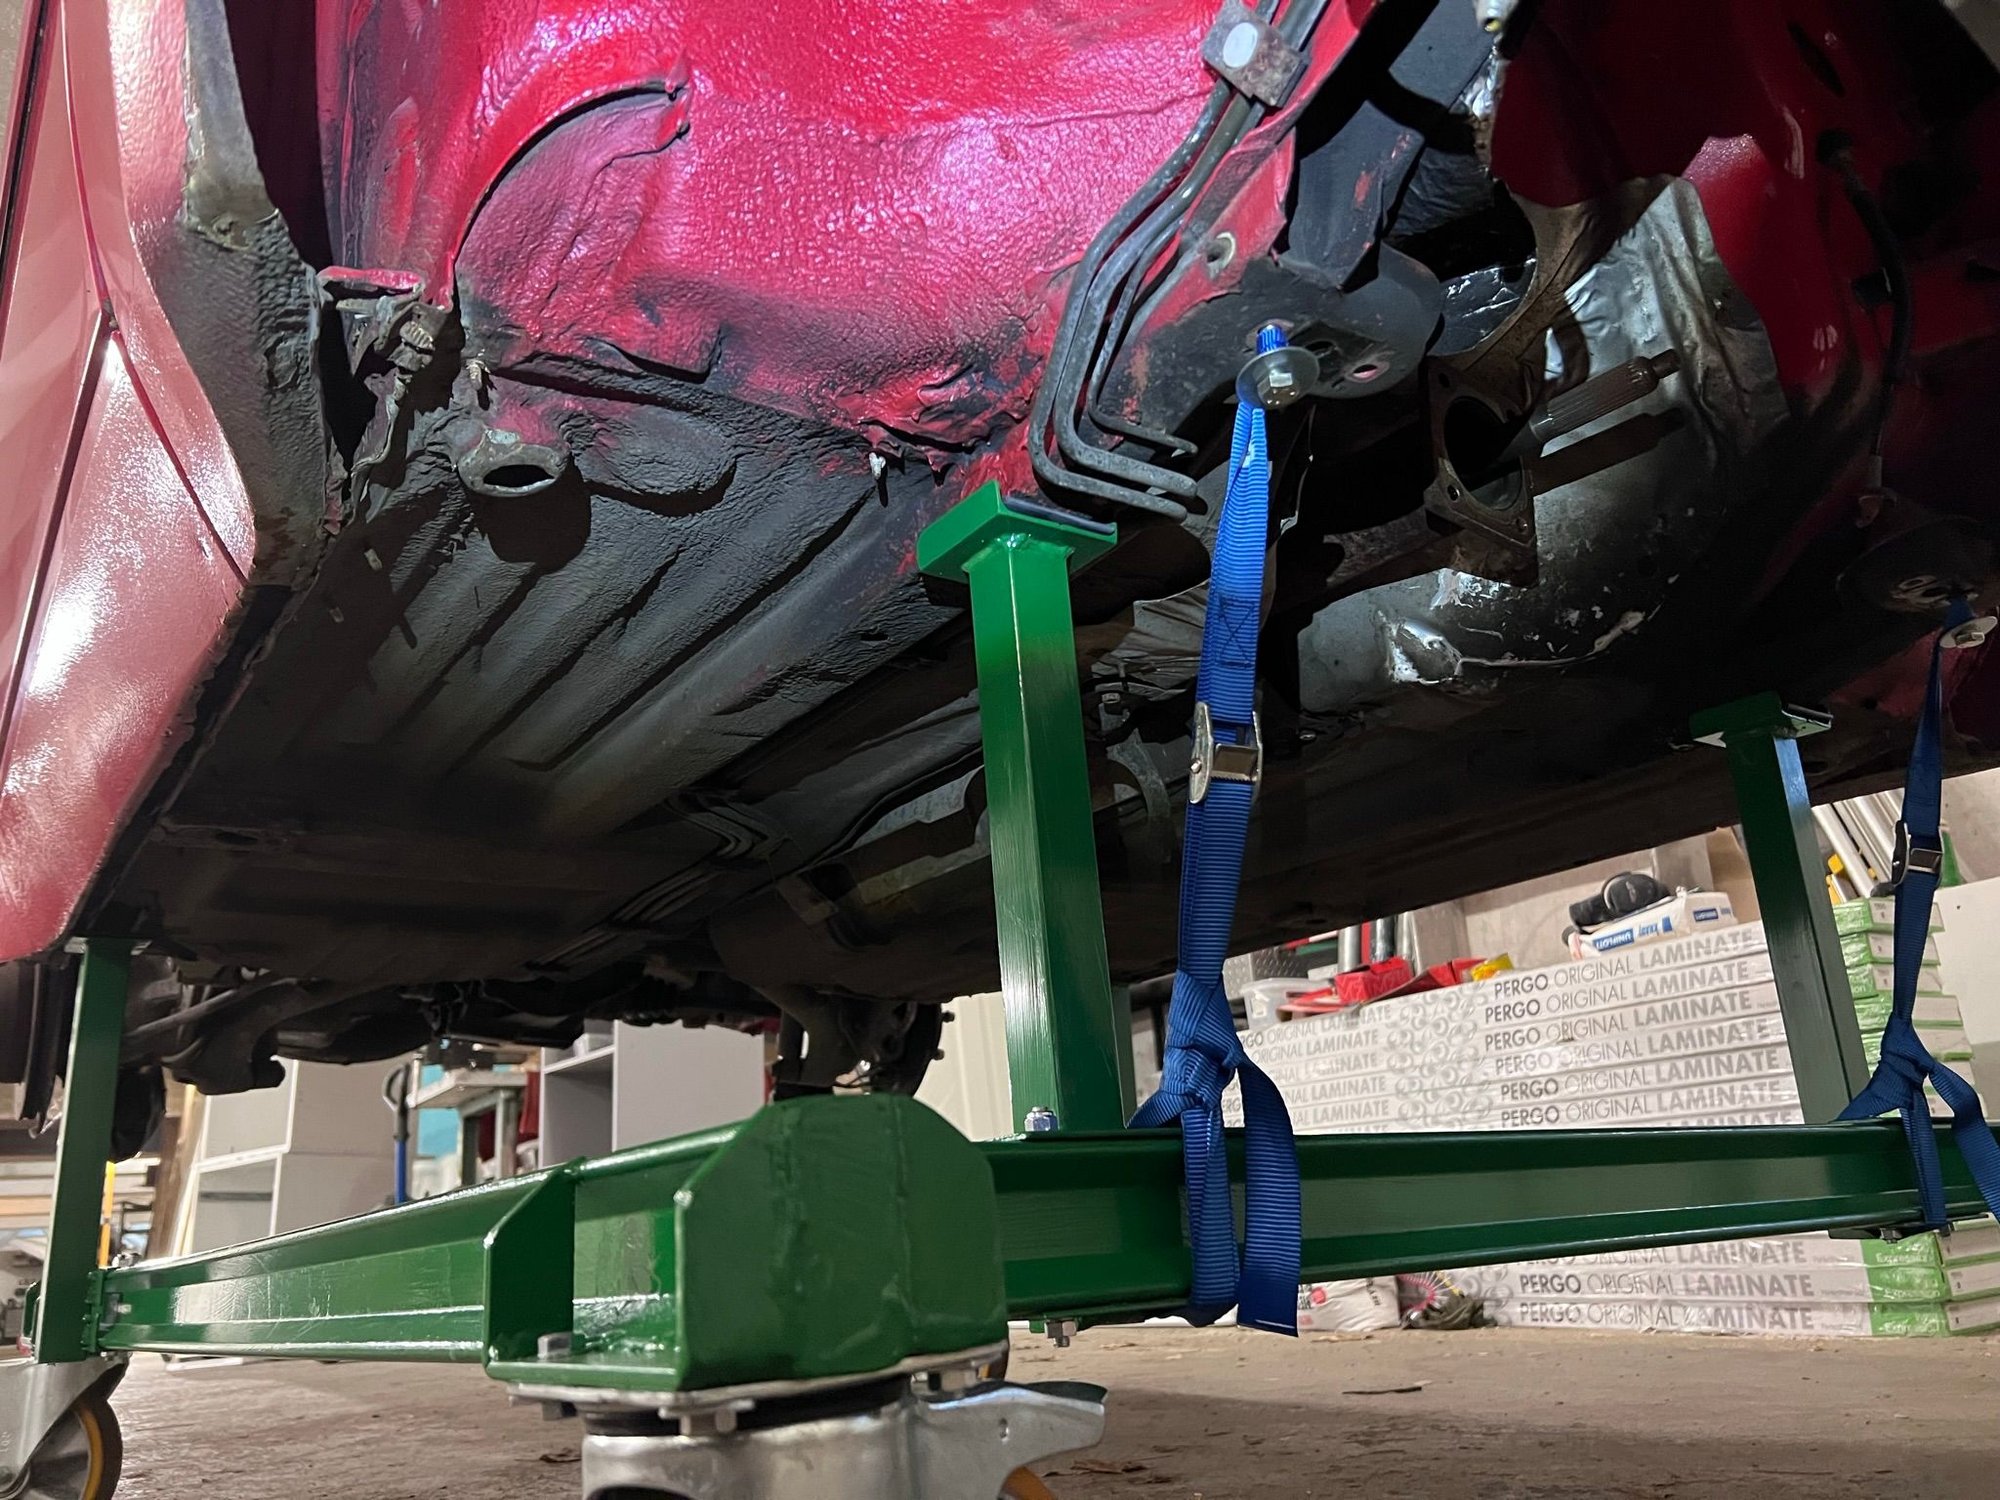
I was somewhat on a clock due to the frost arriving in Norway. And I had no other option than doing the cleaning outdoors. And the best place to do so was in the front yard of my home. So I got to test the trailer'ability of the car dolly. Transporting the car from the workshop, home, and back. All good.
The neighbours think of course I'm a lunatic. With all my strange projects. And this one just added to that, by laying on my back on the ground, scrubbing an old car like it was the dishes, in close to freezing weather.
.
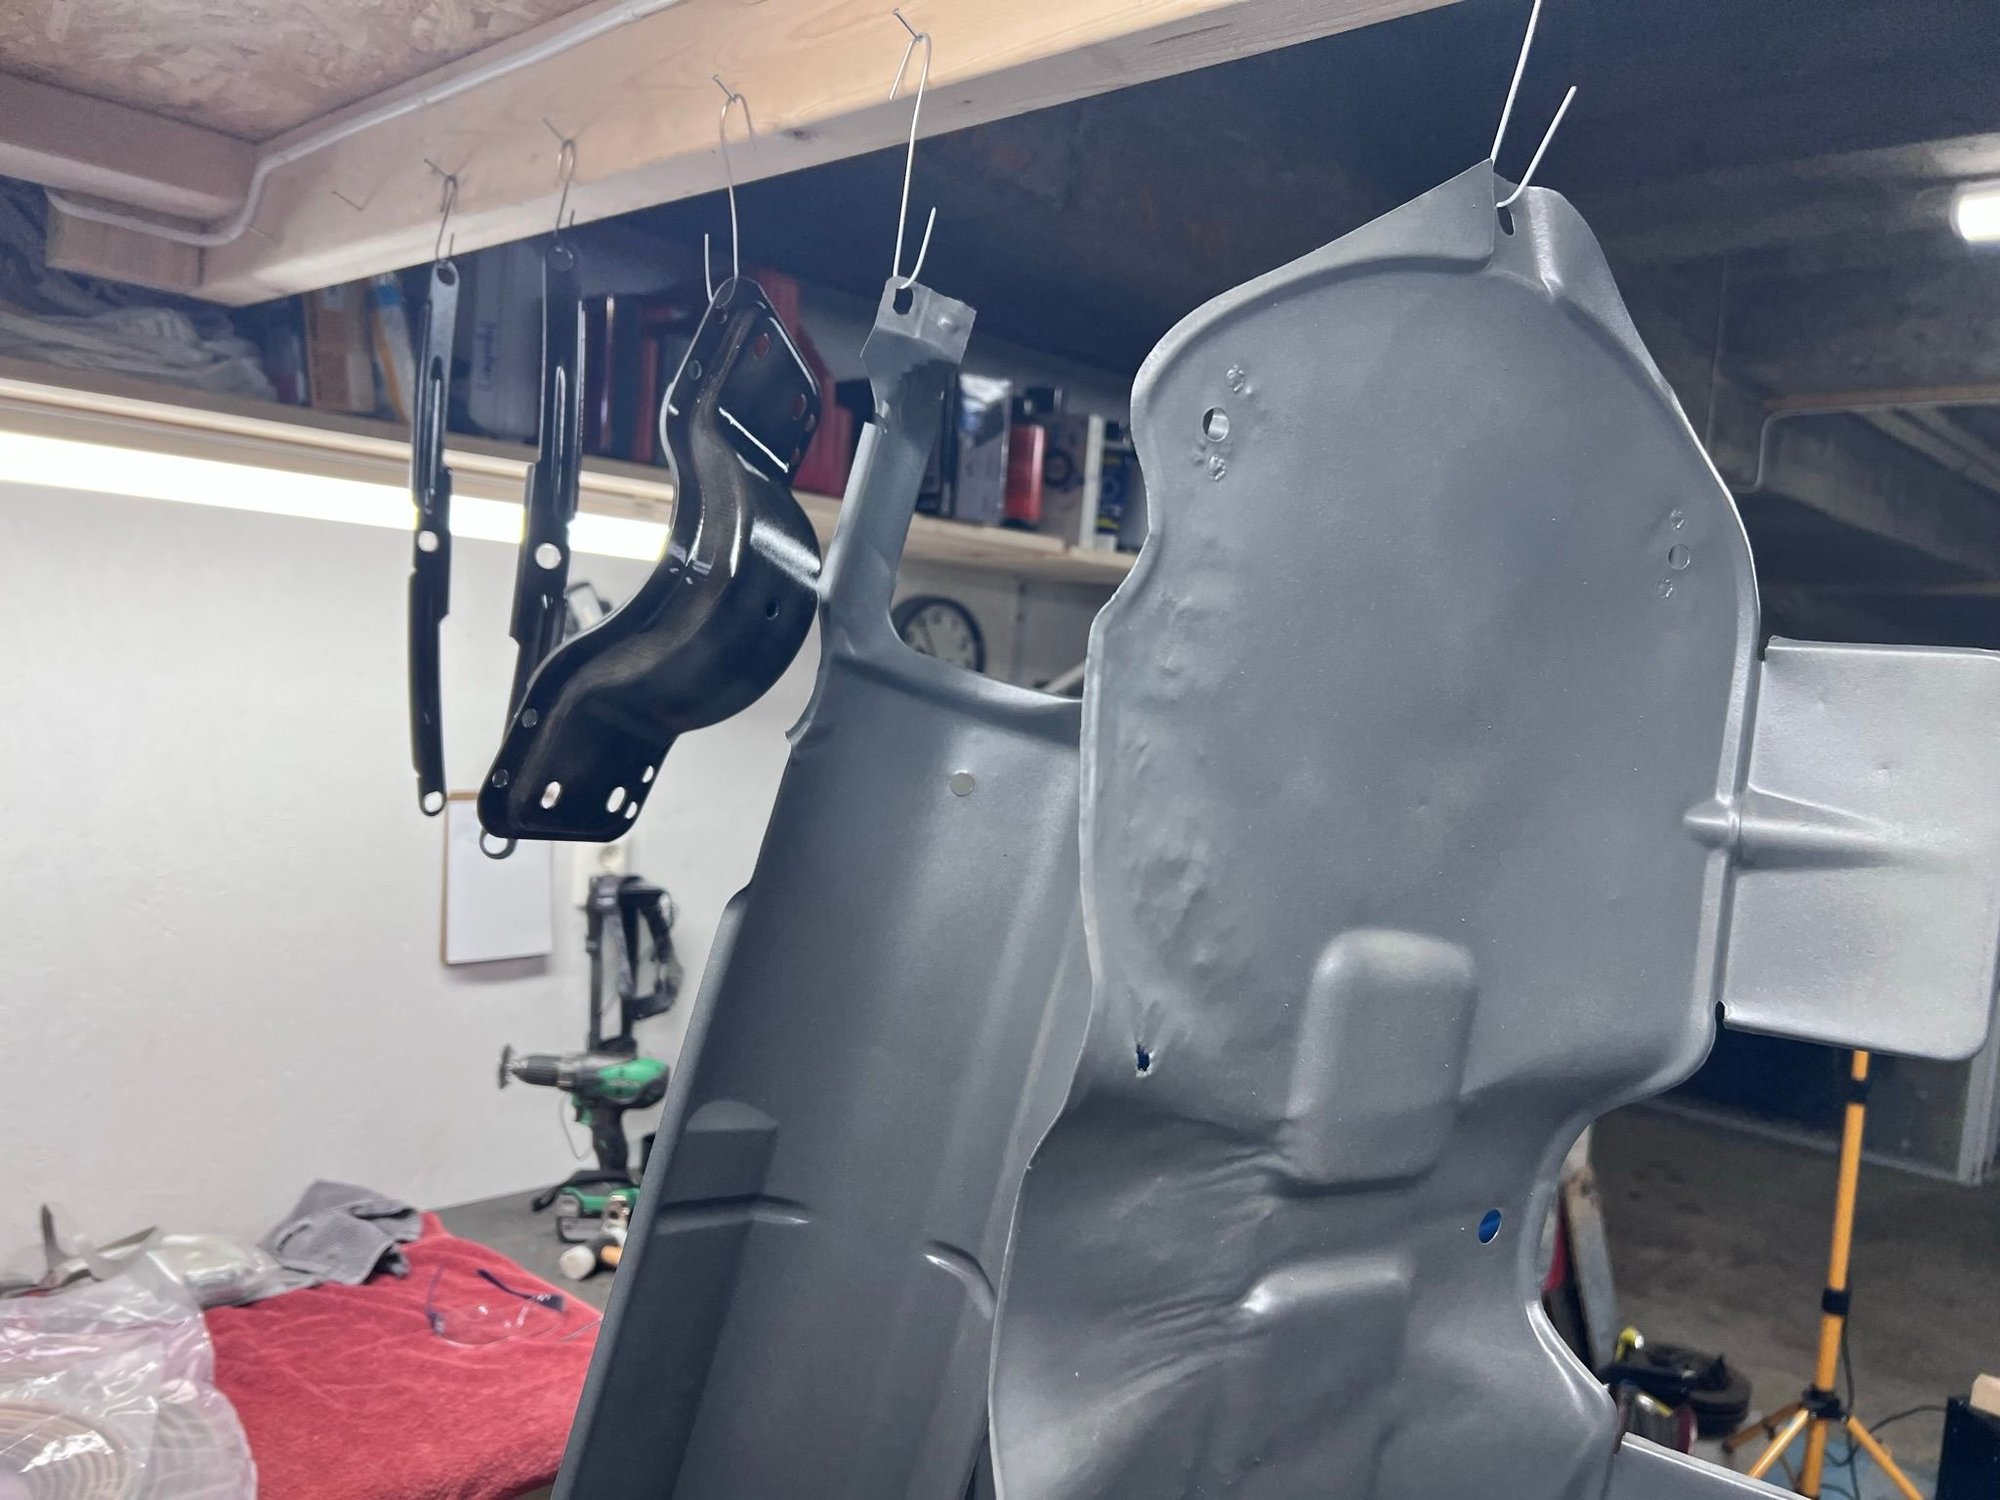
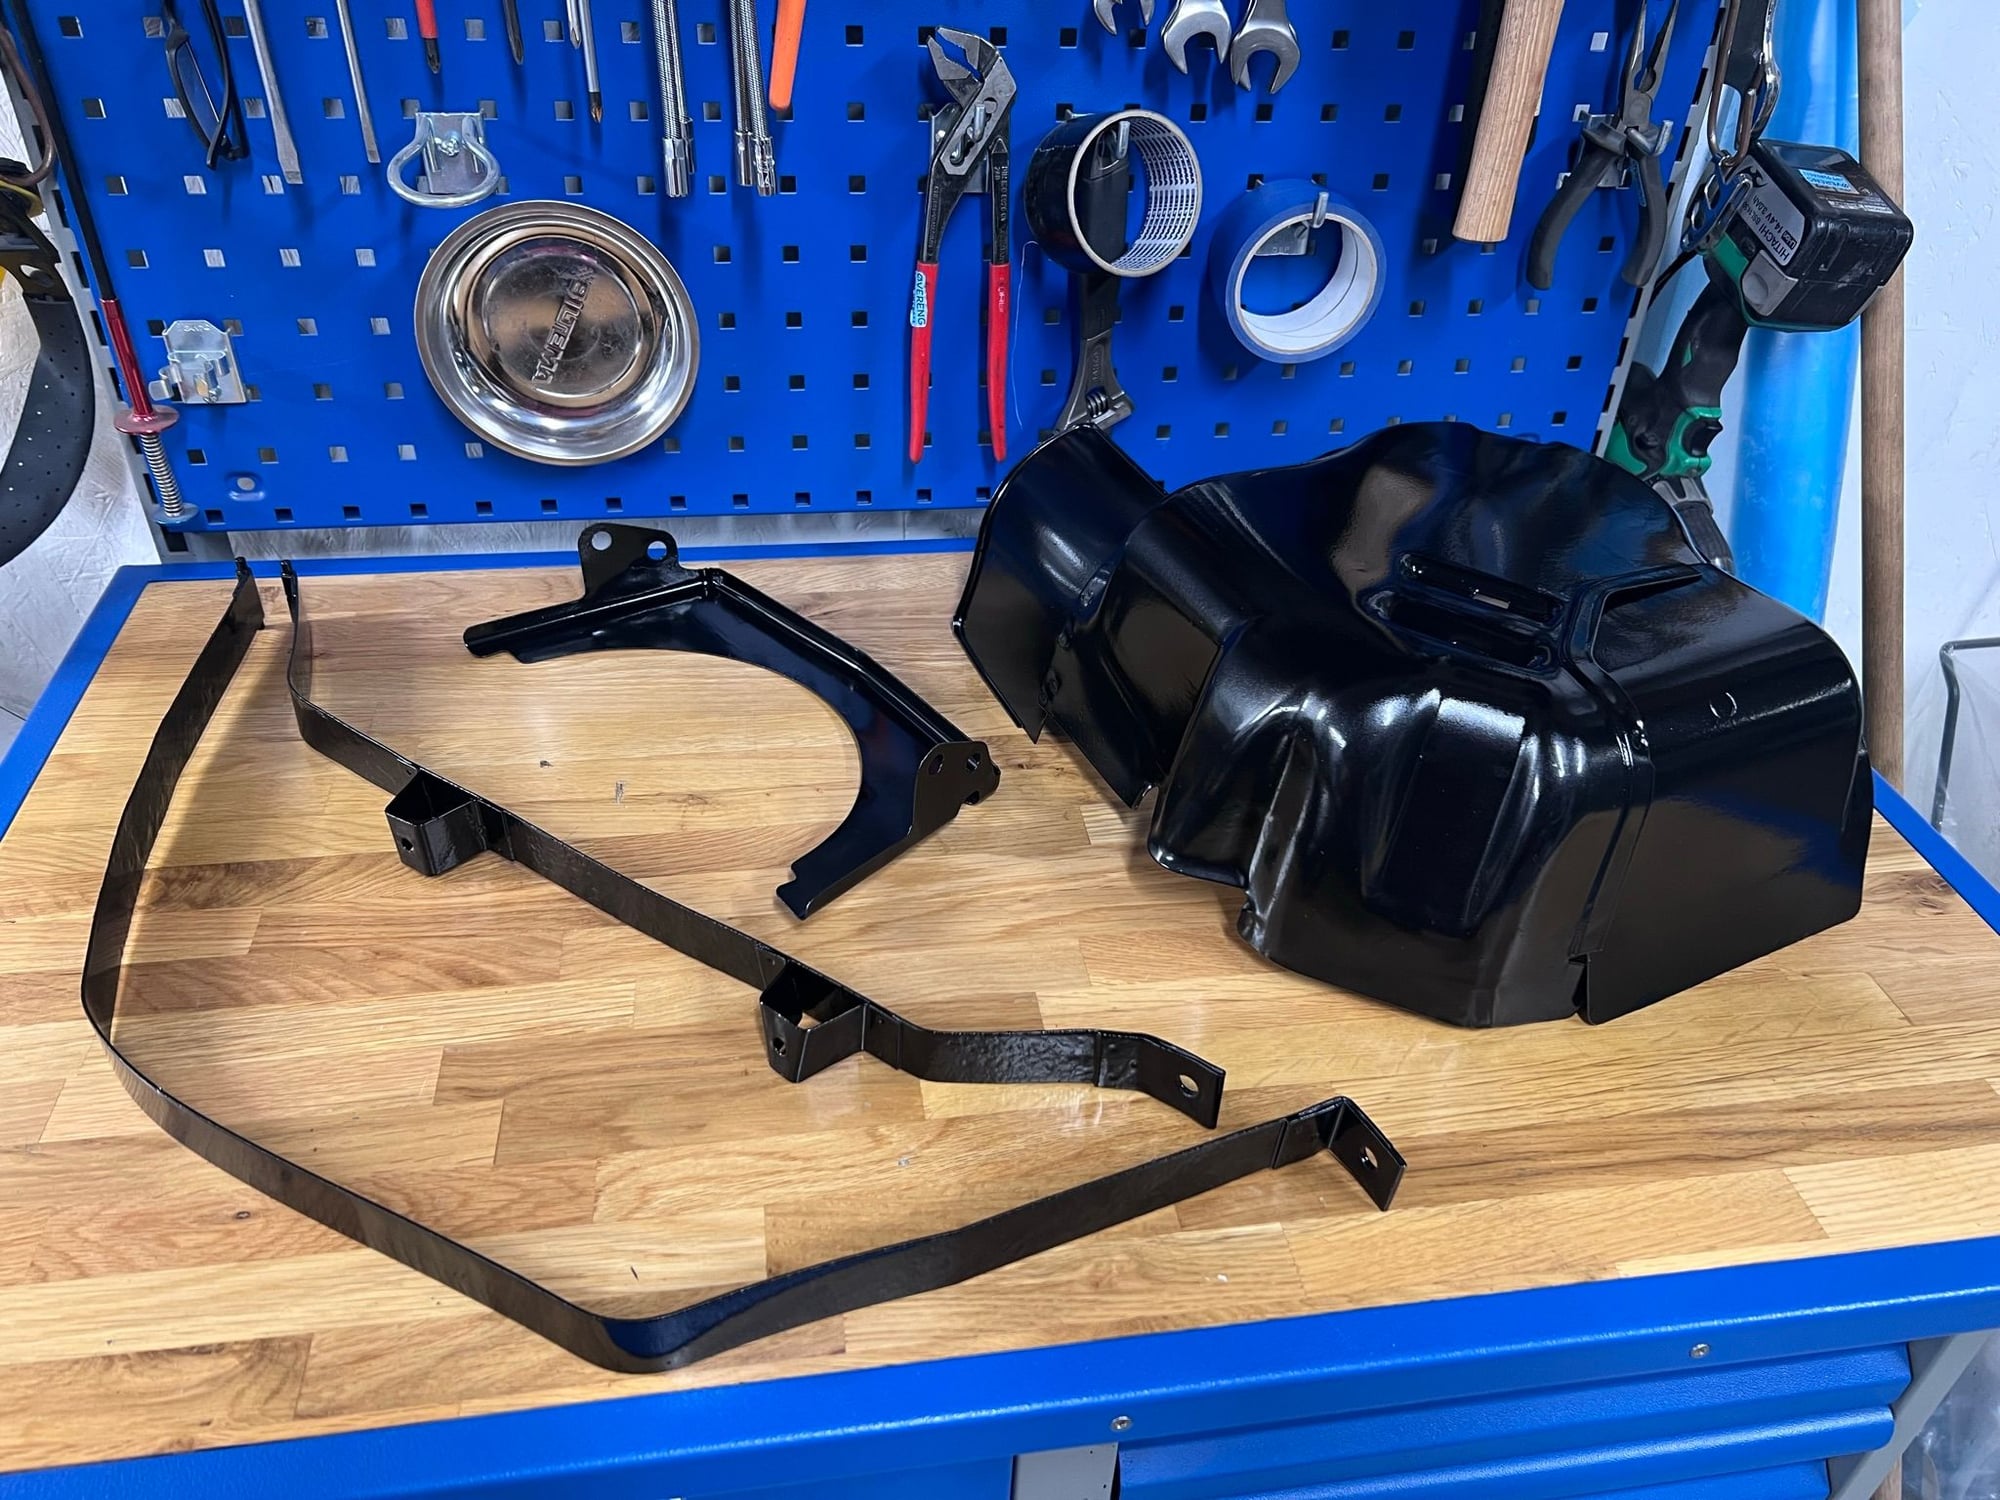
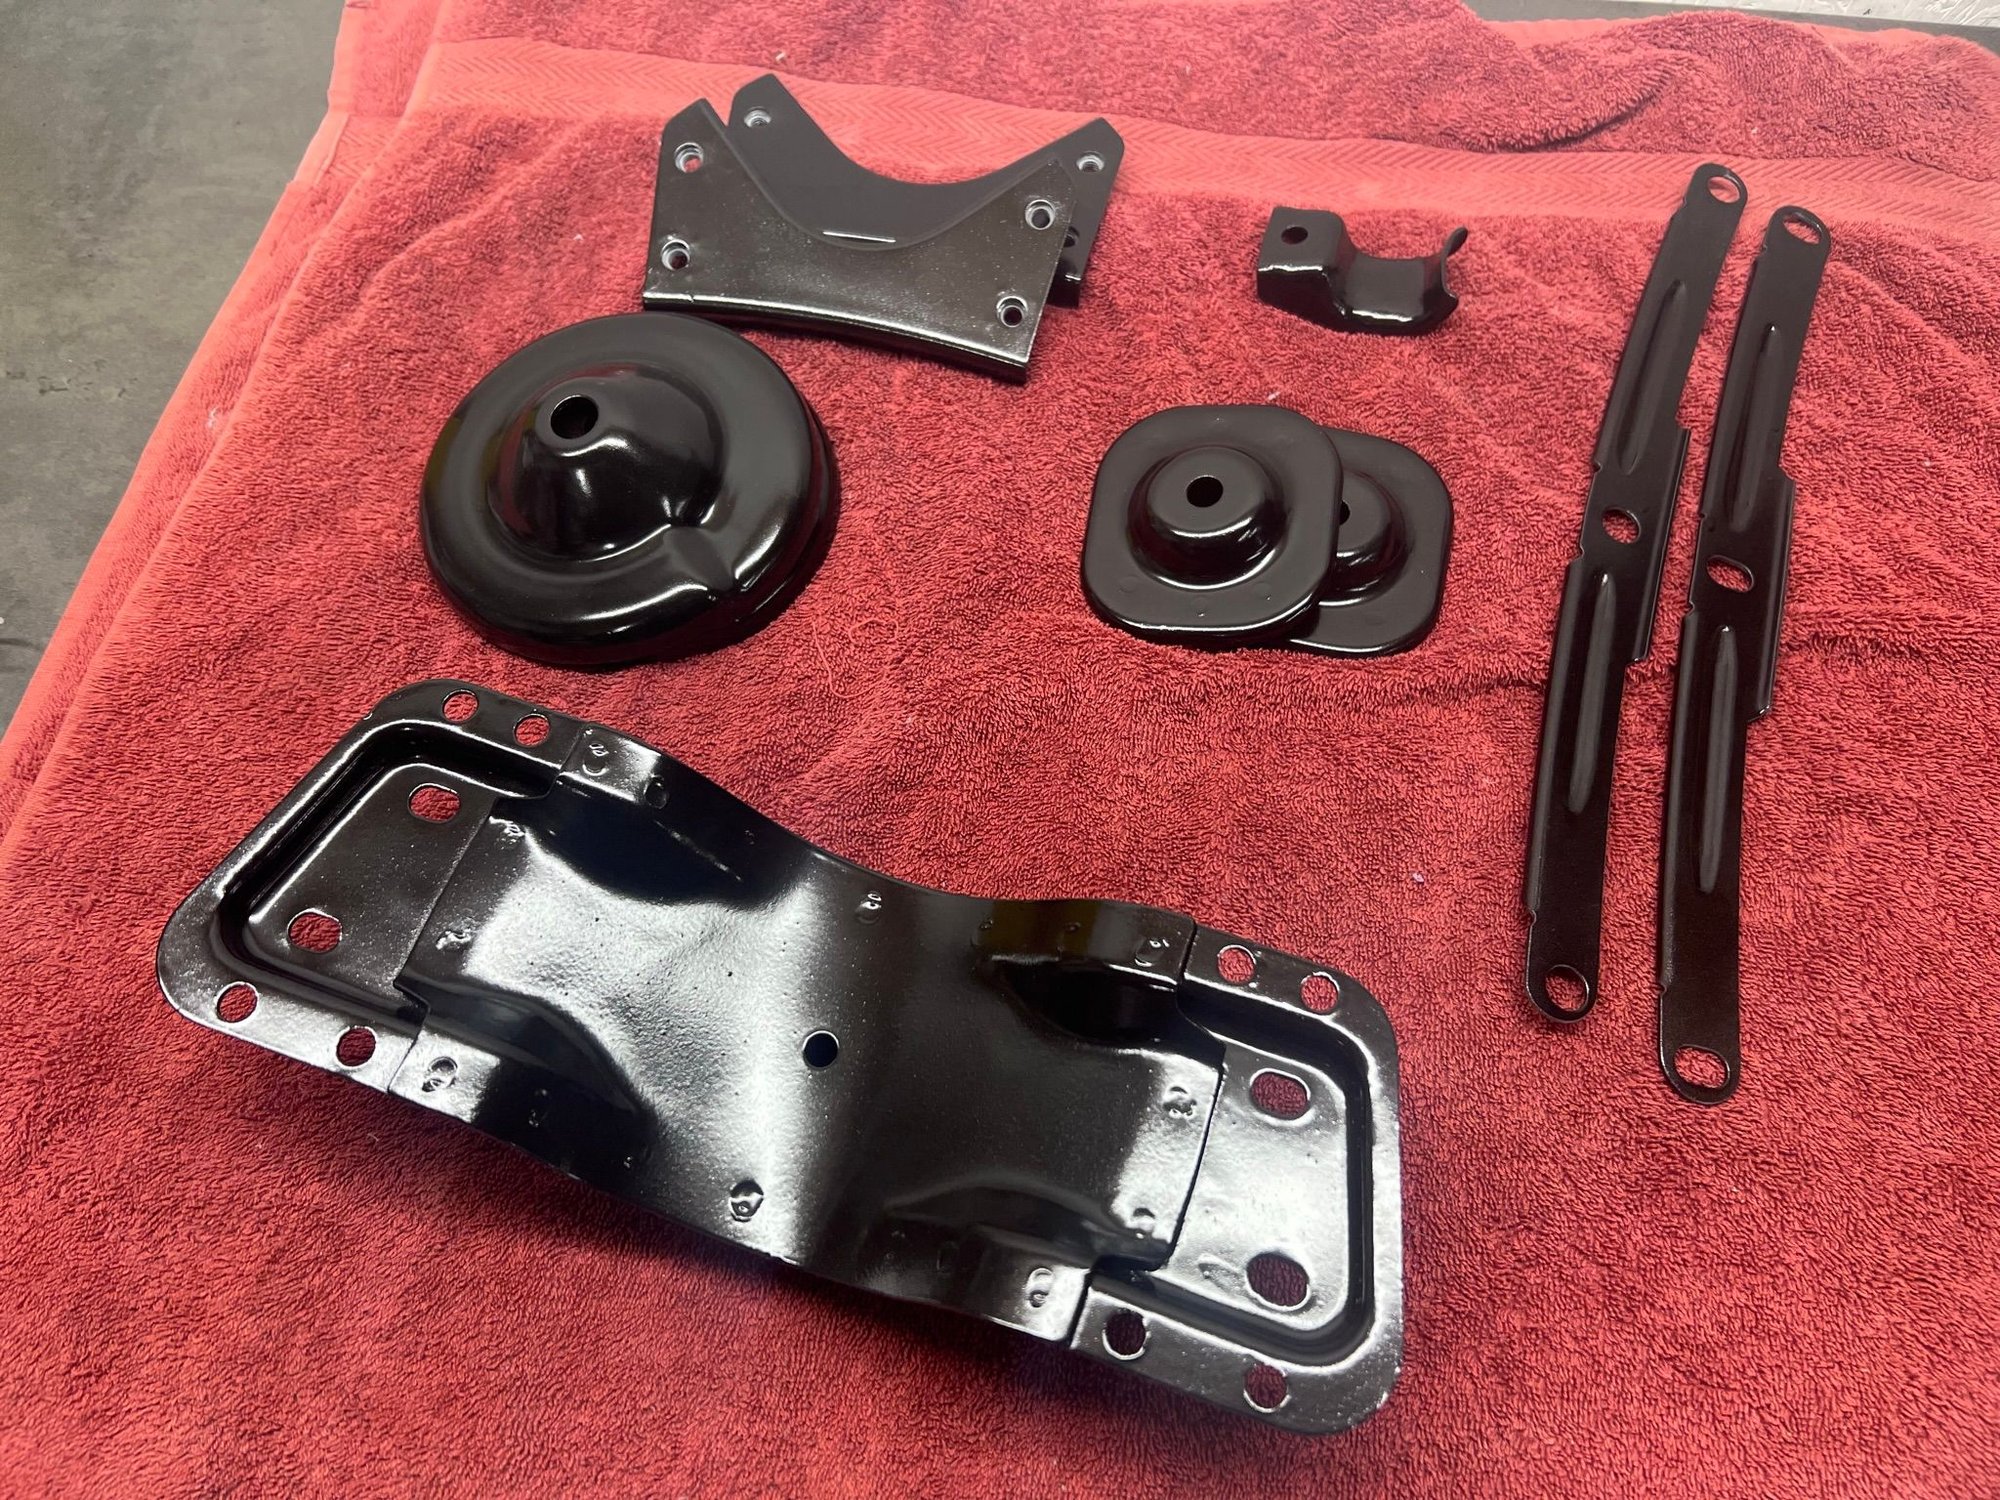
Sent som stuff to get sand blasted. Didn't take a photo of the freshly blasted parts. But got some snap's after etch primer and a couple coats of rattle can black. Heat resistant paint for the exhaust shields.
The painting takes more time than you would expect, as you need at least three layers per side (etch primer, pluss 2-3x paint). Spray, wait, turn over, repeat.
But I am really looking forward to assemble clean and freshly painted parts
.
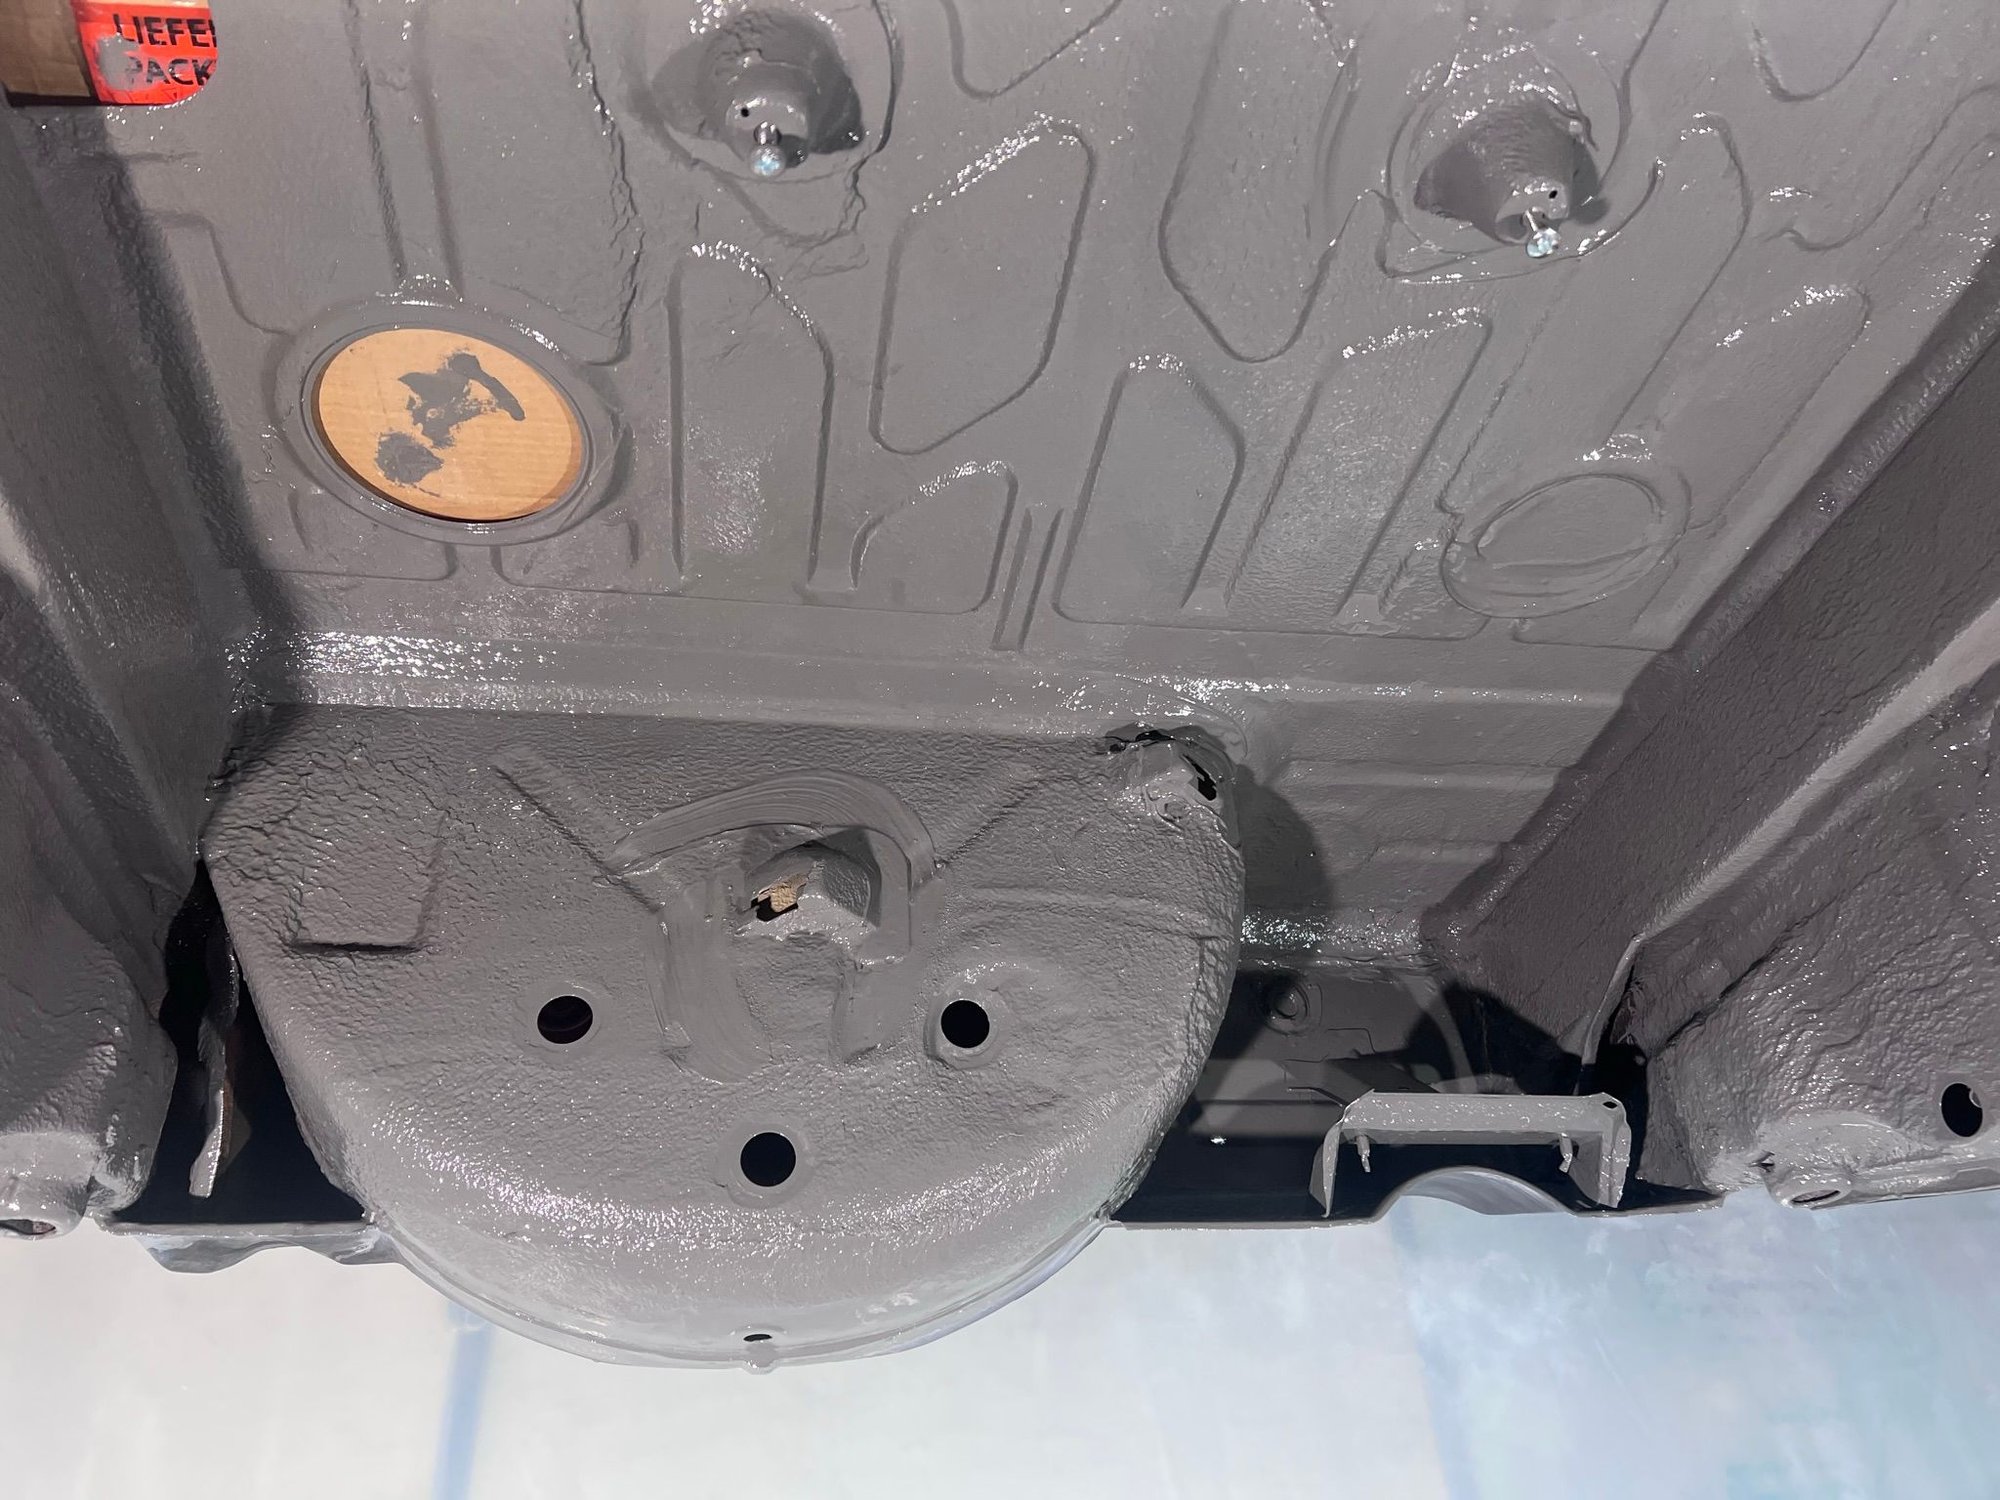
After cleaning the underside of the car it was time to continue the job. Fortunately I was able to use my buddy's two-post lift for the duration of December.
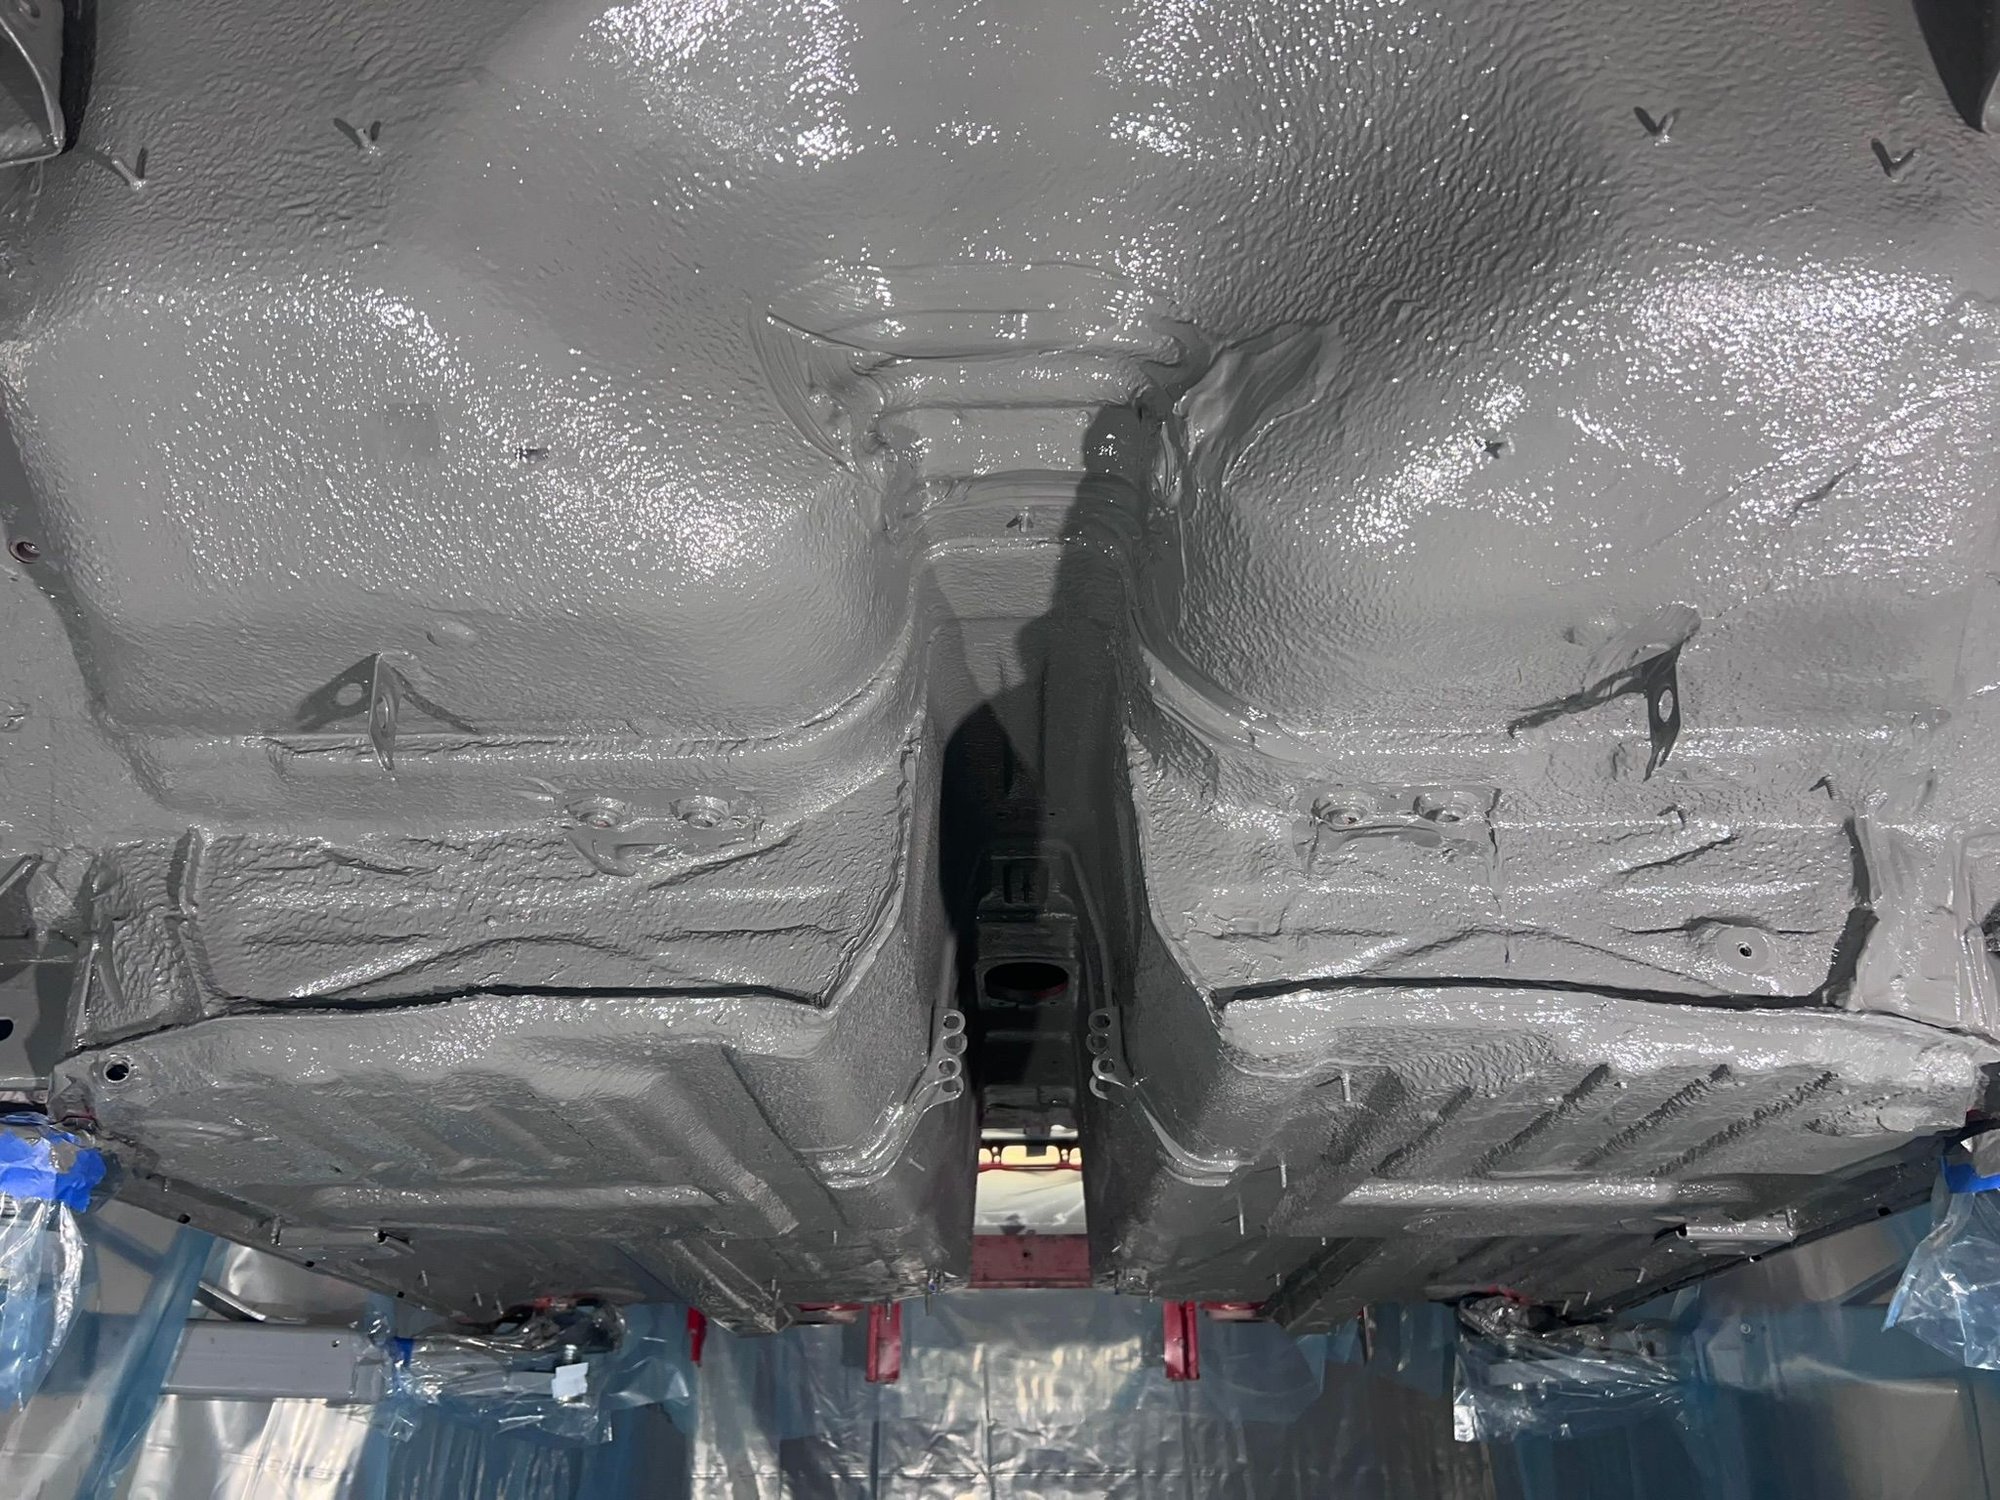
Firstly scraping off the loose bits of the underbody protectant. Then using copious amounts of brake cleaner in combination with nylon and steel brushes. Then some rust converter (Brunox) on the smaller areas where that was needed. Then some etch primer on the areas I had ground to bare steel. Then some seam sealer. Then roughing up the surface with a combination of steel brush and sand paper. Then wipe down with paint thinner, for the last degreasing. And finally... Rolling and brushing on 1K car paint (Monopol 604) in the VW color "Nardo Gray". From the rear to the engine bay. And in the rear wheel wells.
Yes..! I did use a proper 3M respirator face mask. With organic vapor filters. Always do.
I will paint the area forward of the windshield later. Possibly using 2K paint, rather then the 1K stuff. In the same Nardo Gray color.
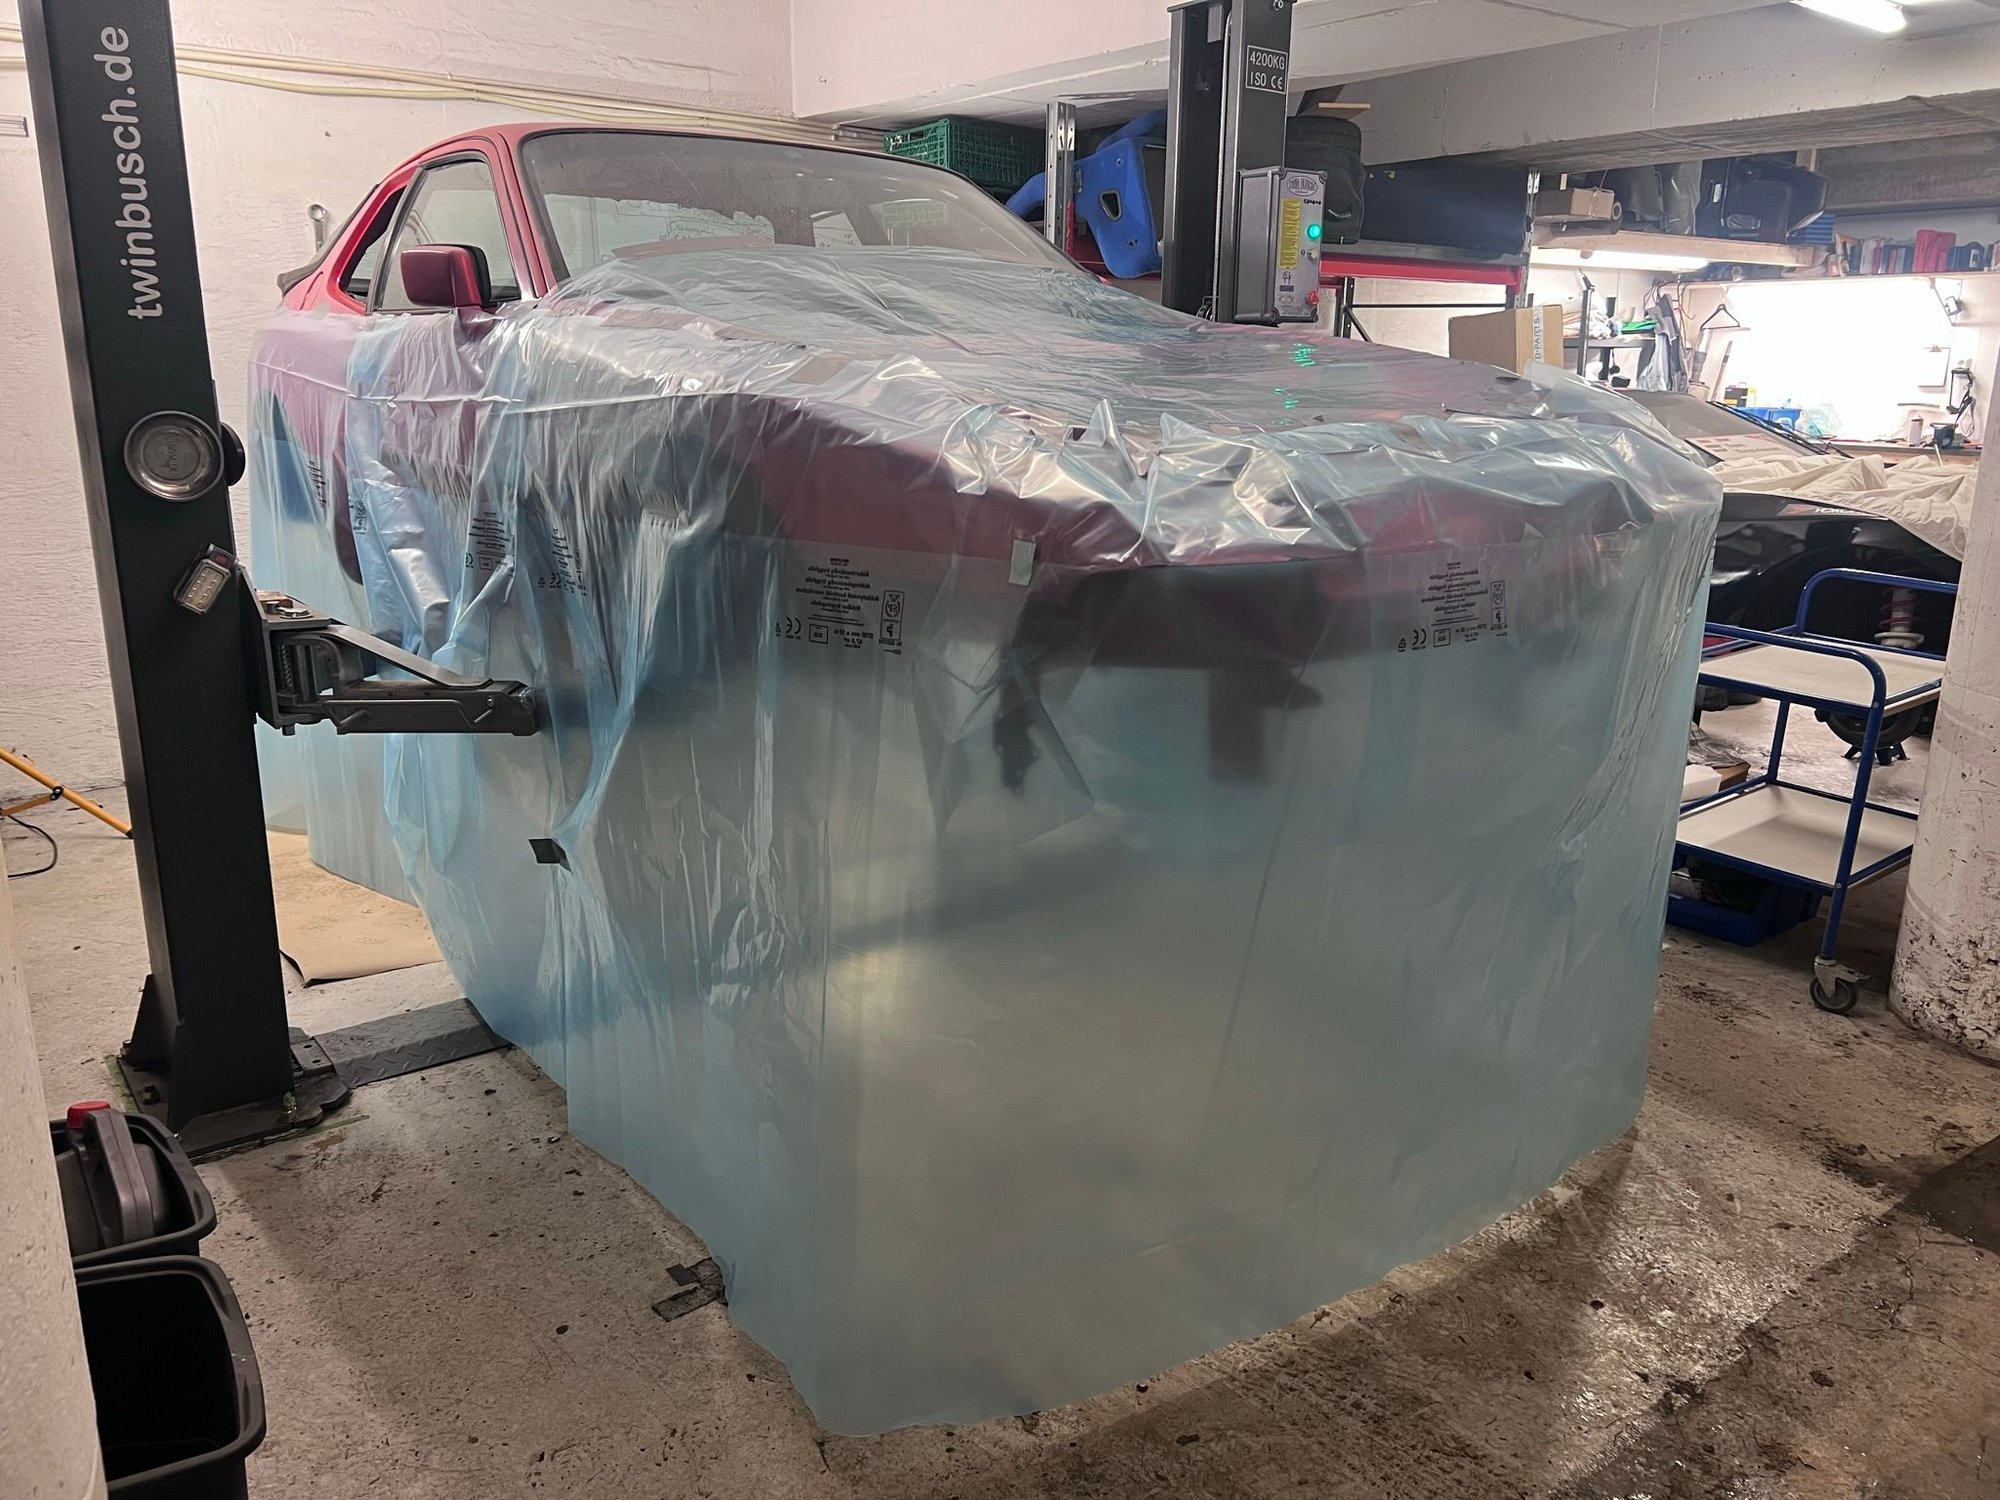
I planned on trying to make the area under the car hotter than the rest of the garage. Closer to 20C, rather than the usual 12C we have during winter. So I created a "skirt" for the car. Planning on having a small electrical oven underneath, to speed up the drying/hardening of the paint. But in the end i didn't dare to leave the oven on overnight. Being worried things might not end well. But the supplier of the paint said the paint will dry eventually. It just takes more time.
My shoulders, arms and neck was pretty much gone when entering the Holiday Season. But the result was really satisfying
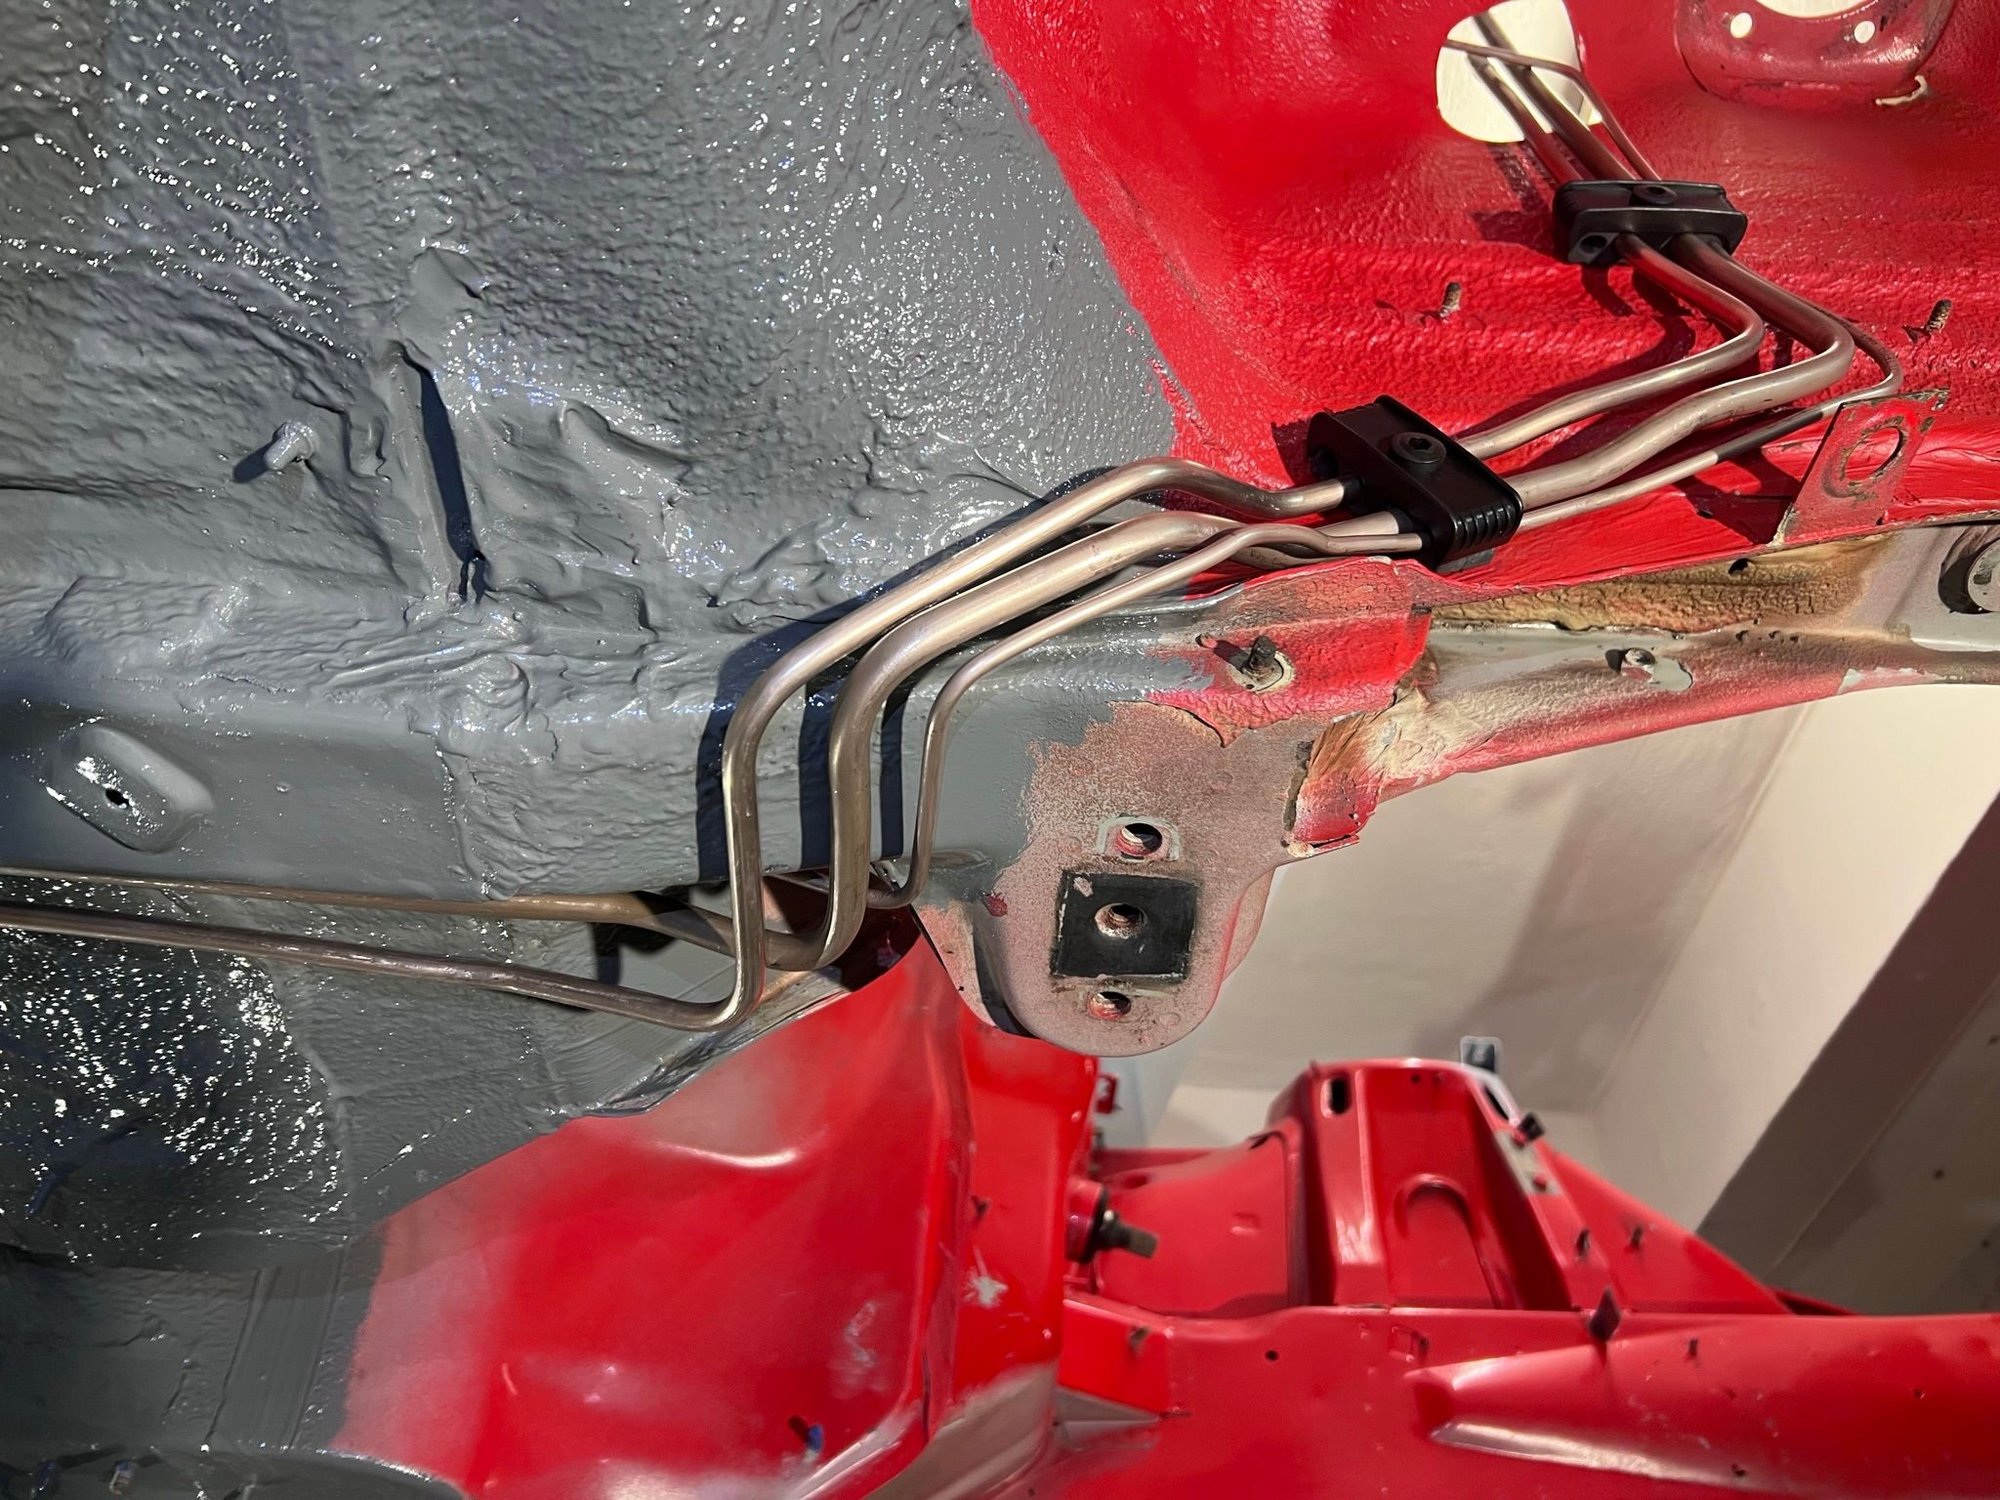
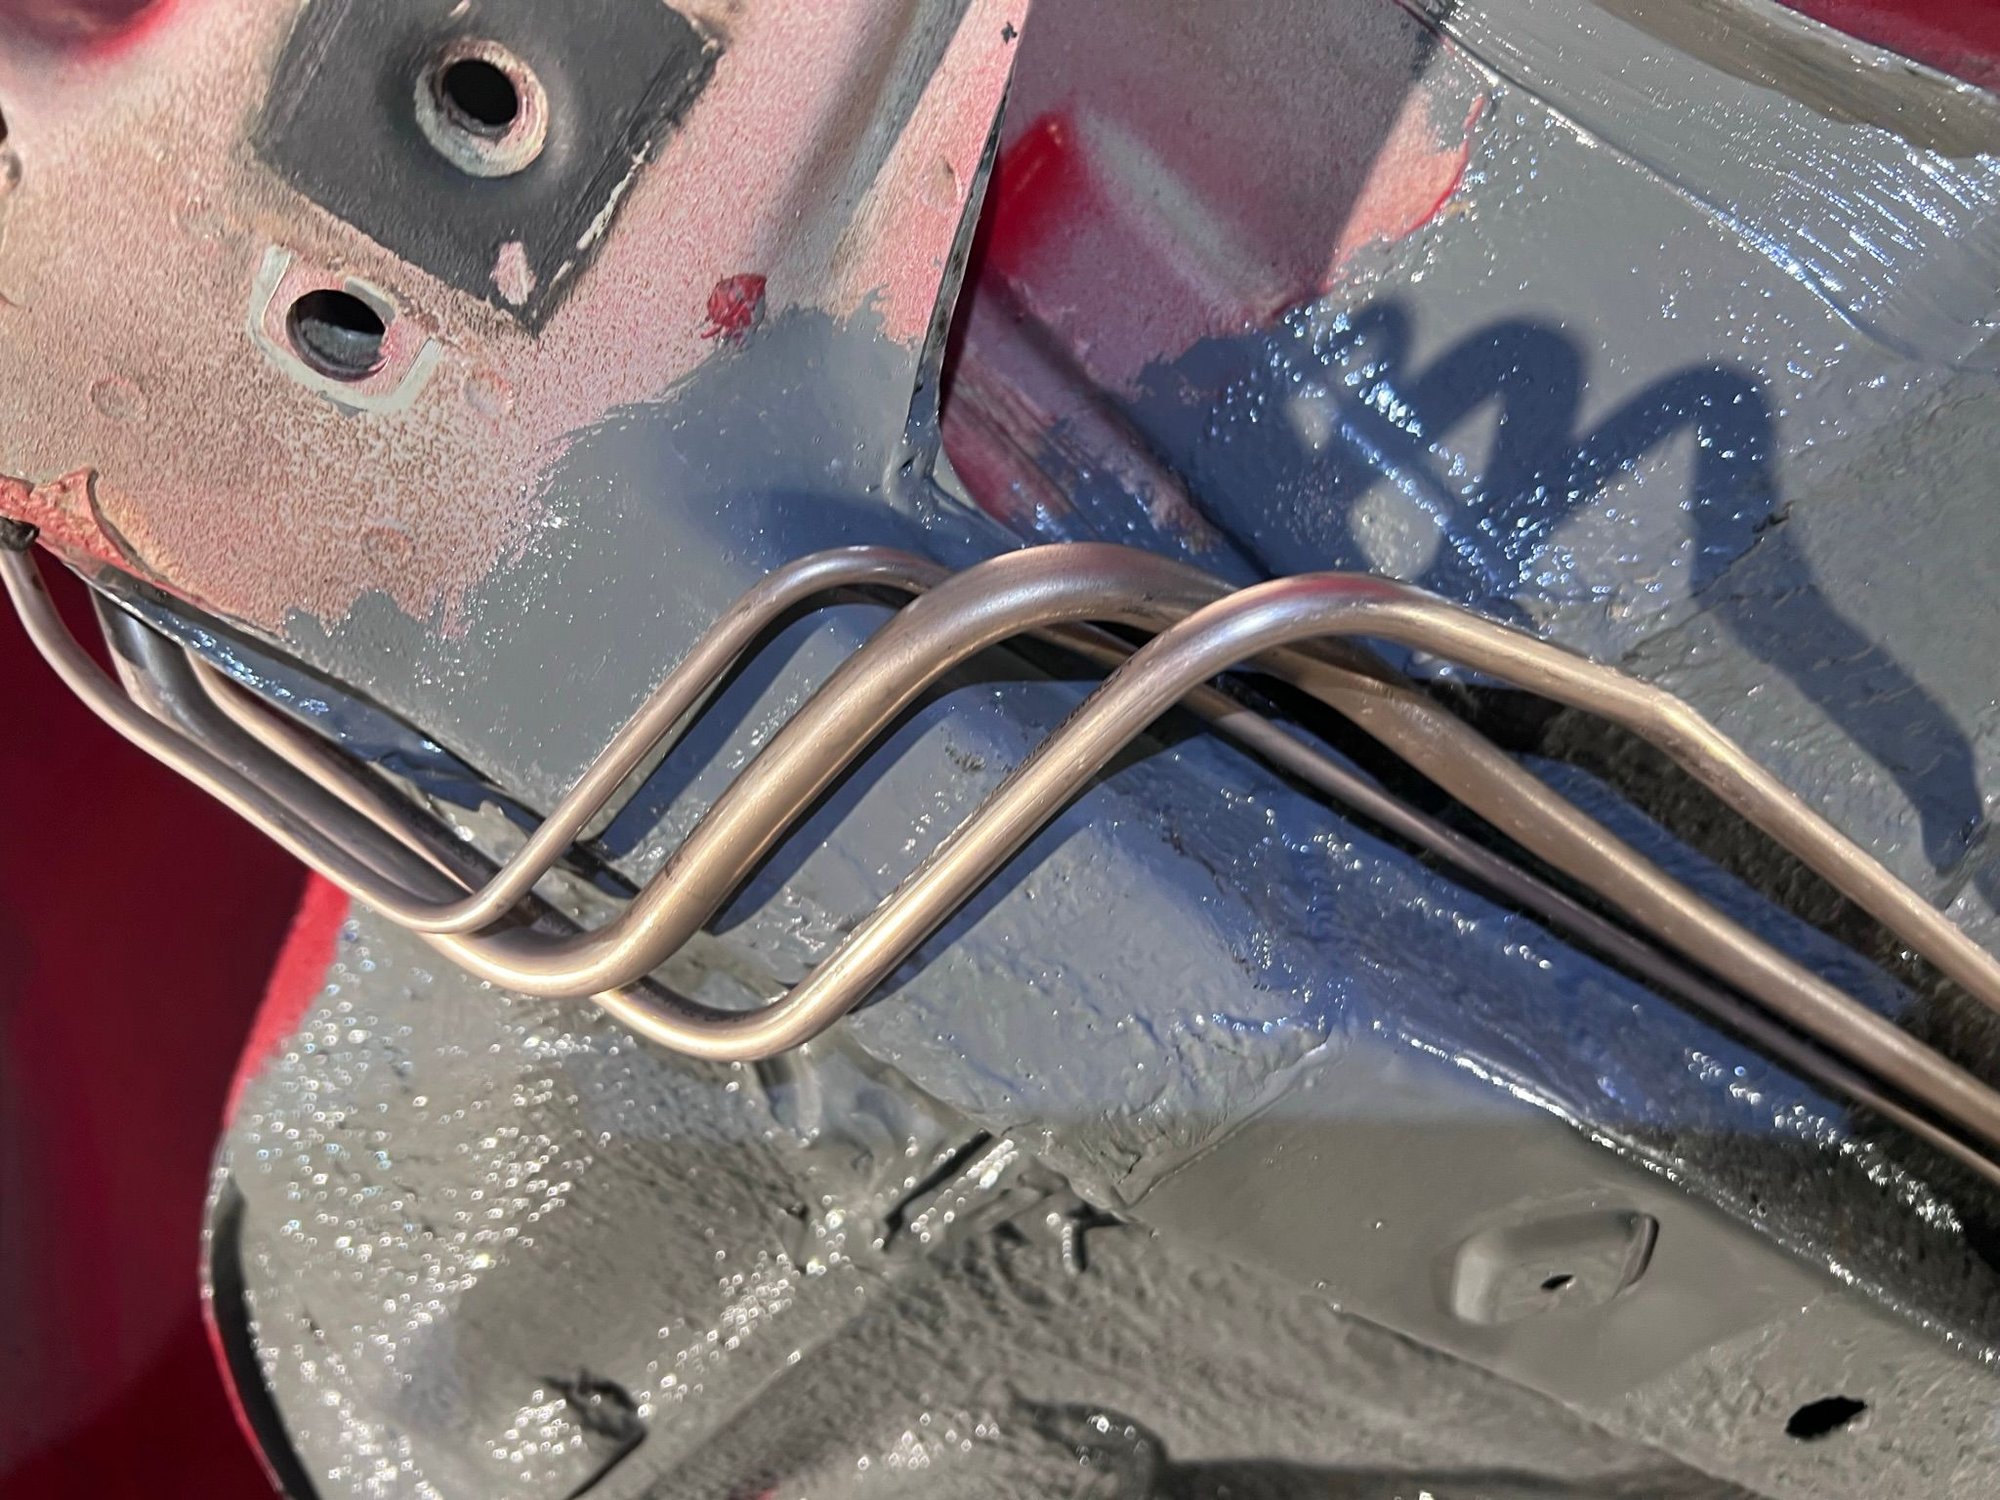
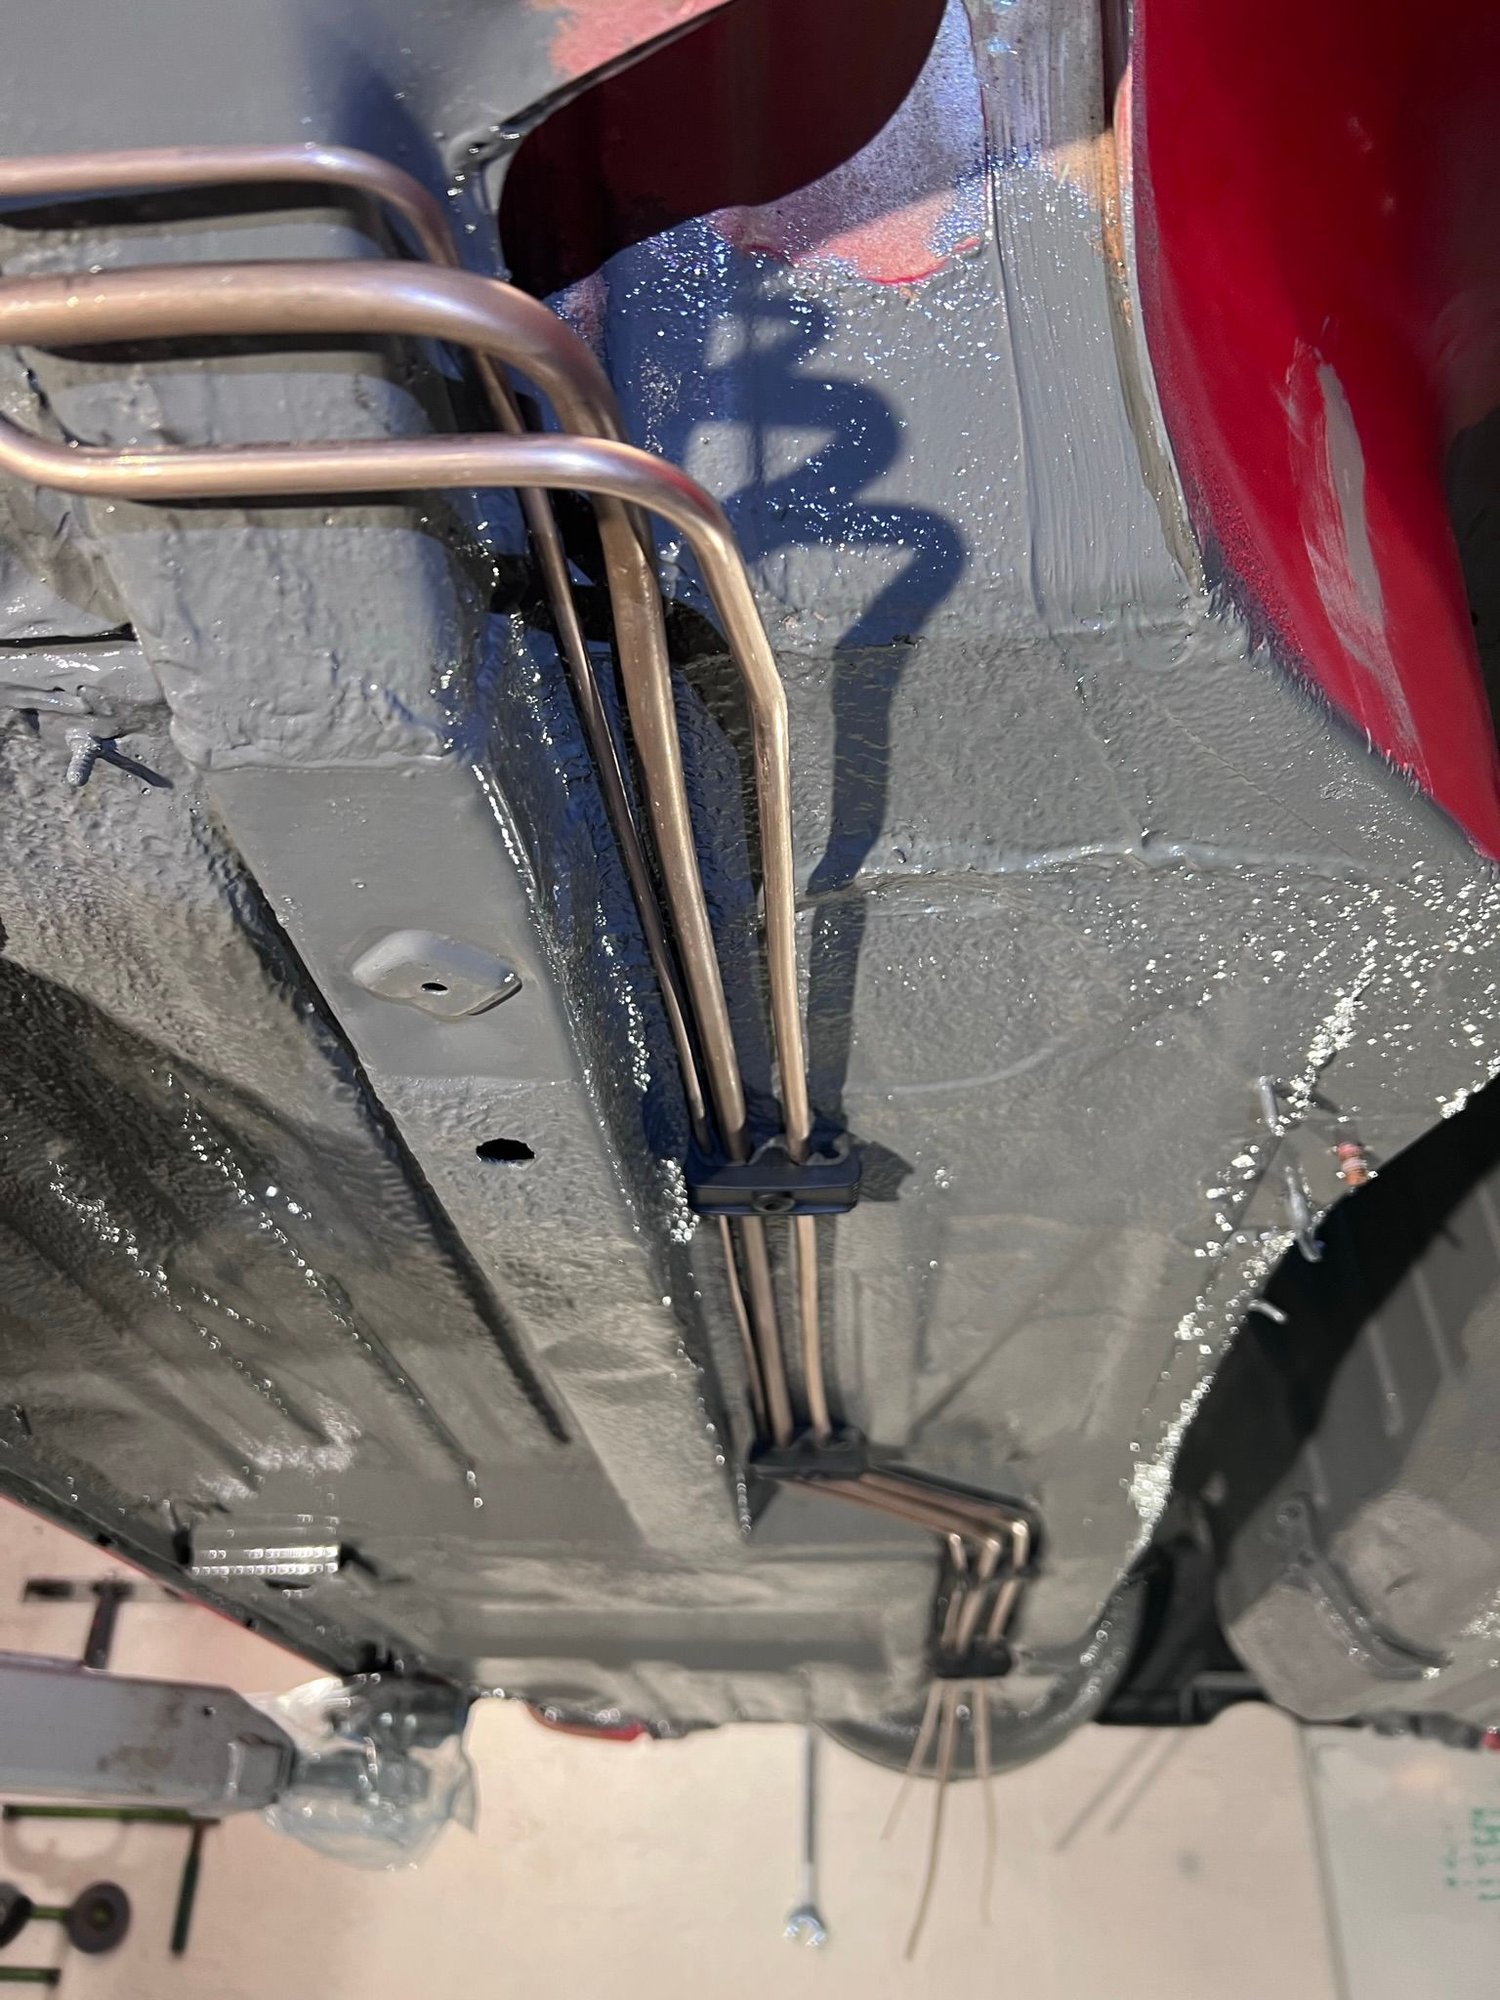
I had to get the car down from the two-post lift by January, so between Christmas and New Year I recruited a buddy to help me make new fuel and brake hardlines. Better to to this job in the lift, rather than sitting on the dolly.
Sourced some bending tools and copper-nickel brake hardline from the local hardware store (Biltema) and copper-nickel 8mm and 10mm fuel hardlines from a german eBay store. The original steel holder brackets was not in line with the now shiny looks. So I sourced new plastic ones from Rosepassion.
I chose to not bend the sections towards the rear just yet. But we did cut the lines with extra length. Reason being that I am considering converting the last bit towards the tank from hardline to rubber lines.
I'll add the fittings and flares in the ends, once I get more bits and pieces assembled.
.
 01-06-2023, 07:48 AM


 Here are some pictures.