When you click on links to various merchants on this site and make a purchase, this can result in this site earning a commission. Affiliate programs and affiliations include, but are not limited to, the eBay Partner Network.
And with this post we are at present day. What you have read and seen up until now is the result of 1,5 yrs of ownership of this car, but with hardly any progress at all in the period January '22 until October '22.
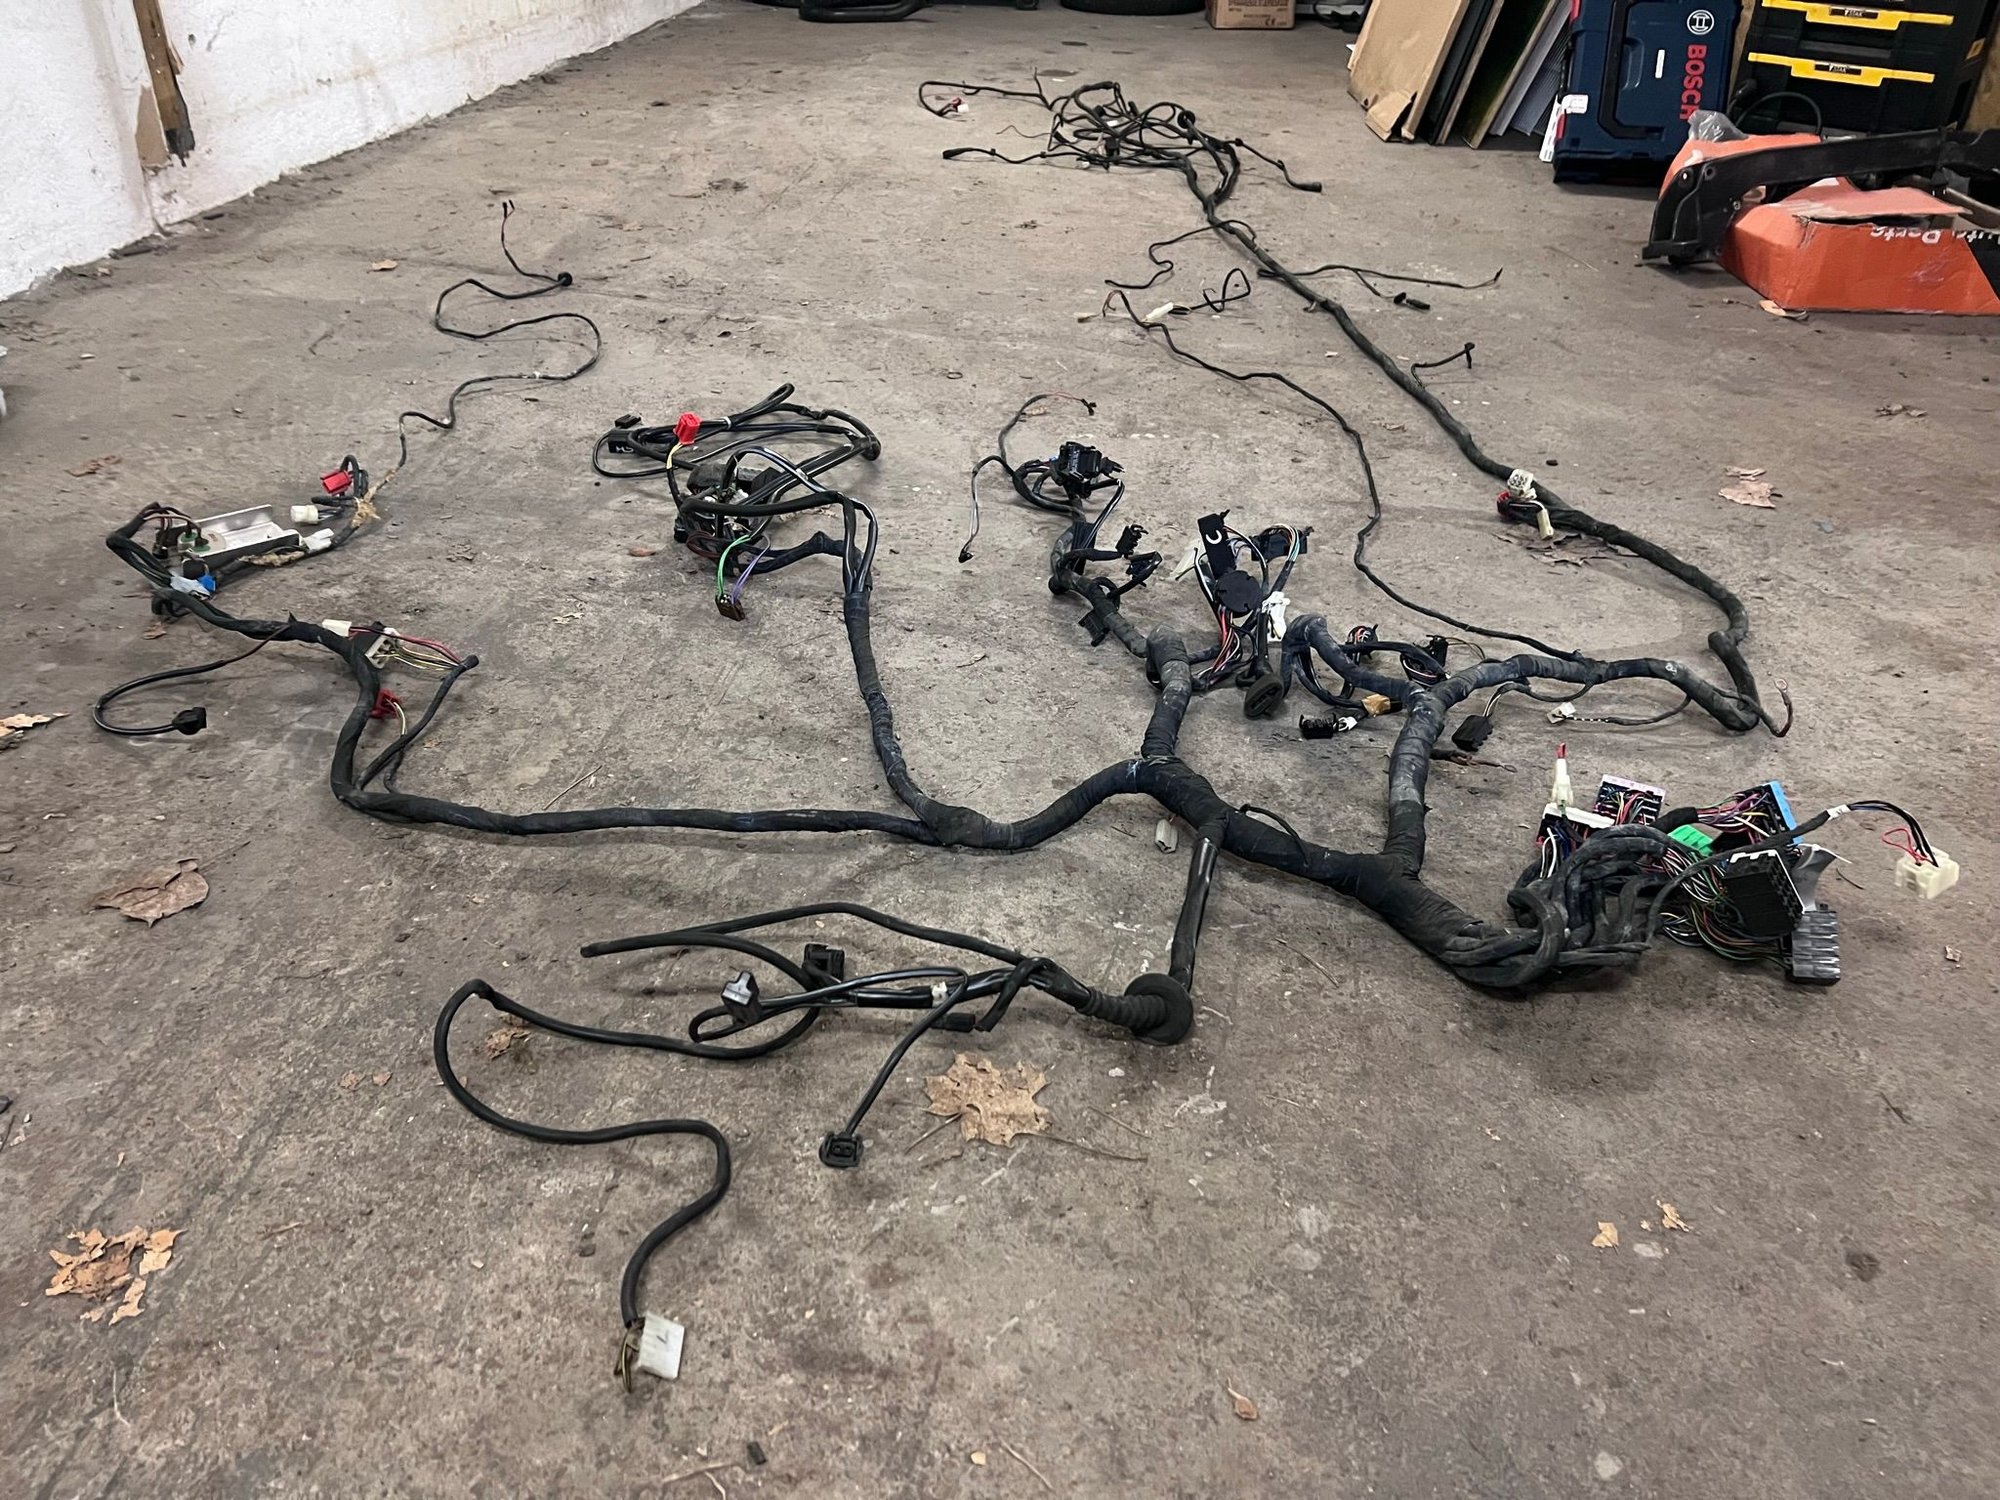
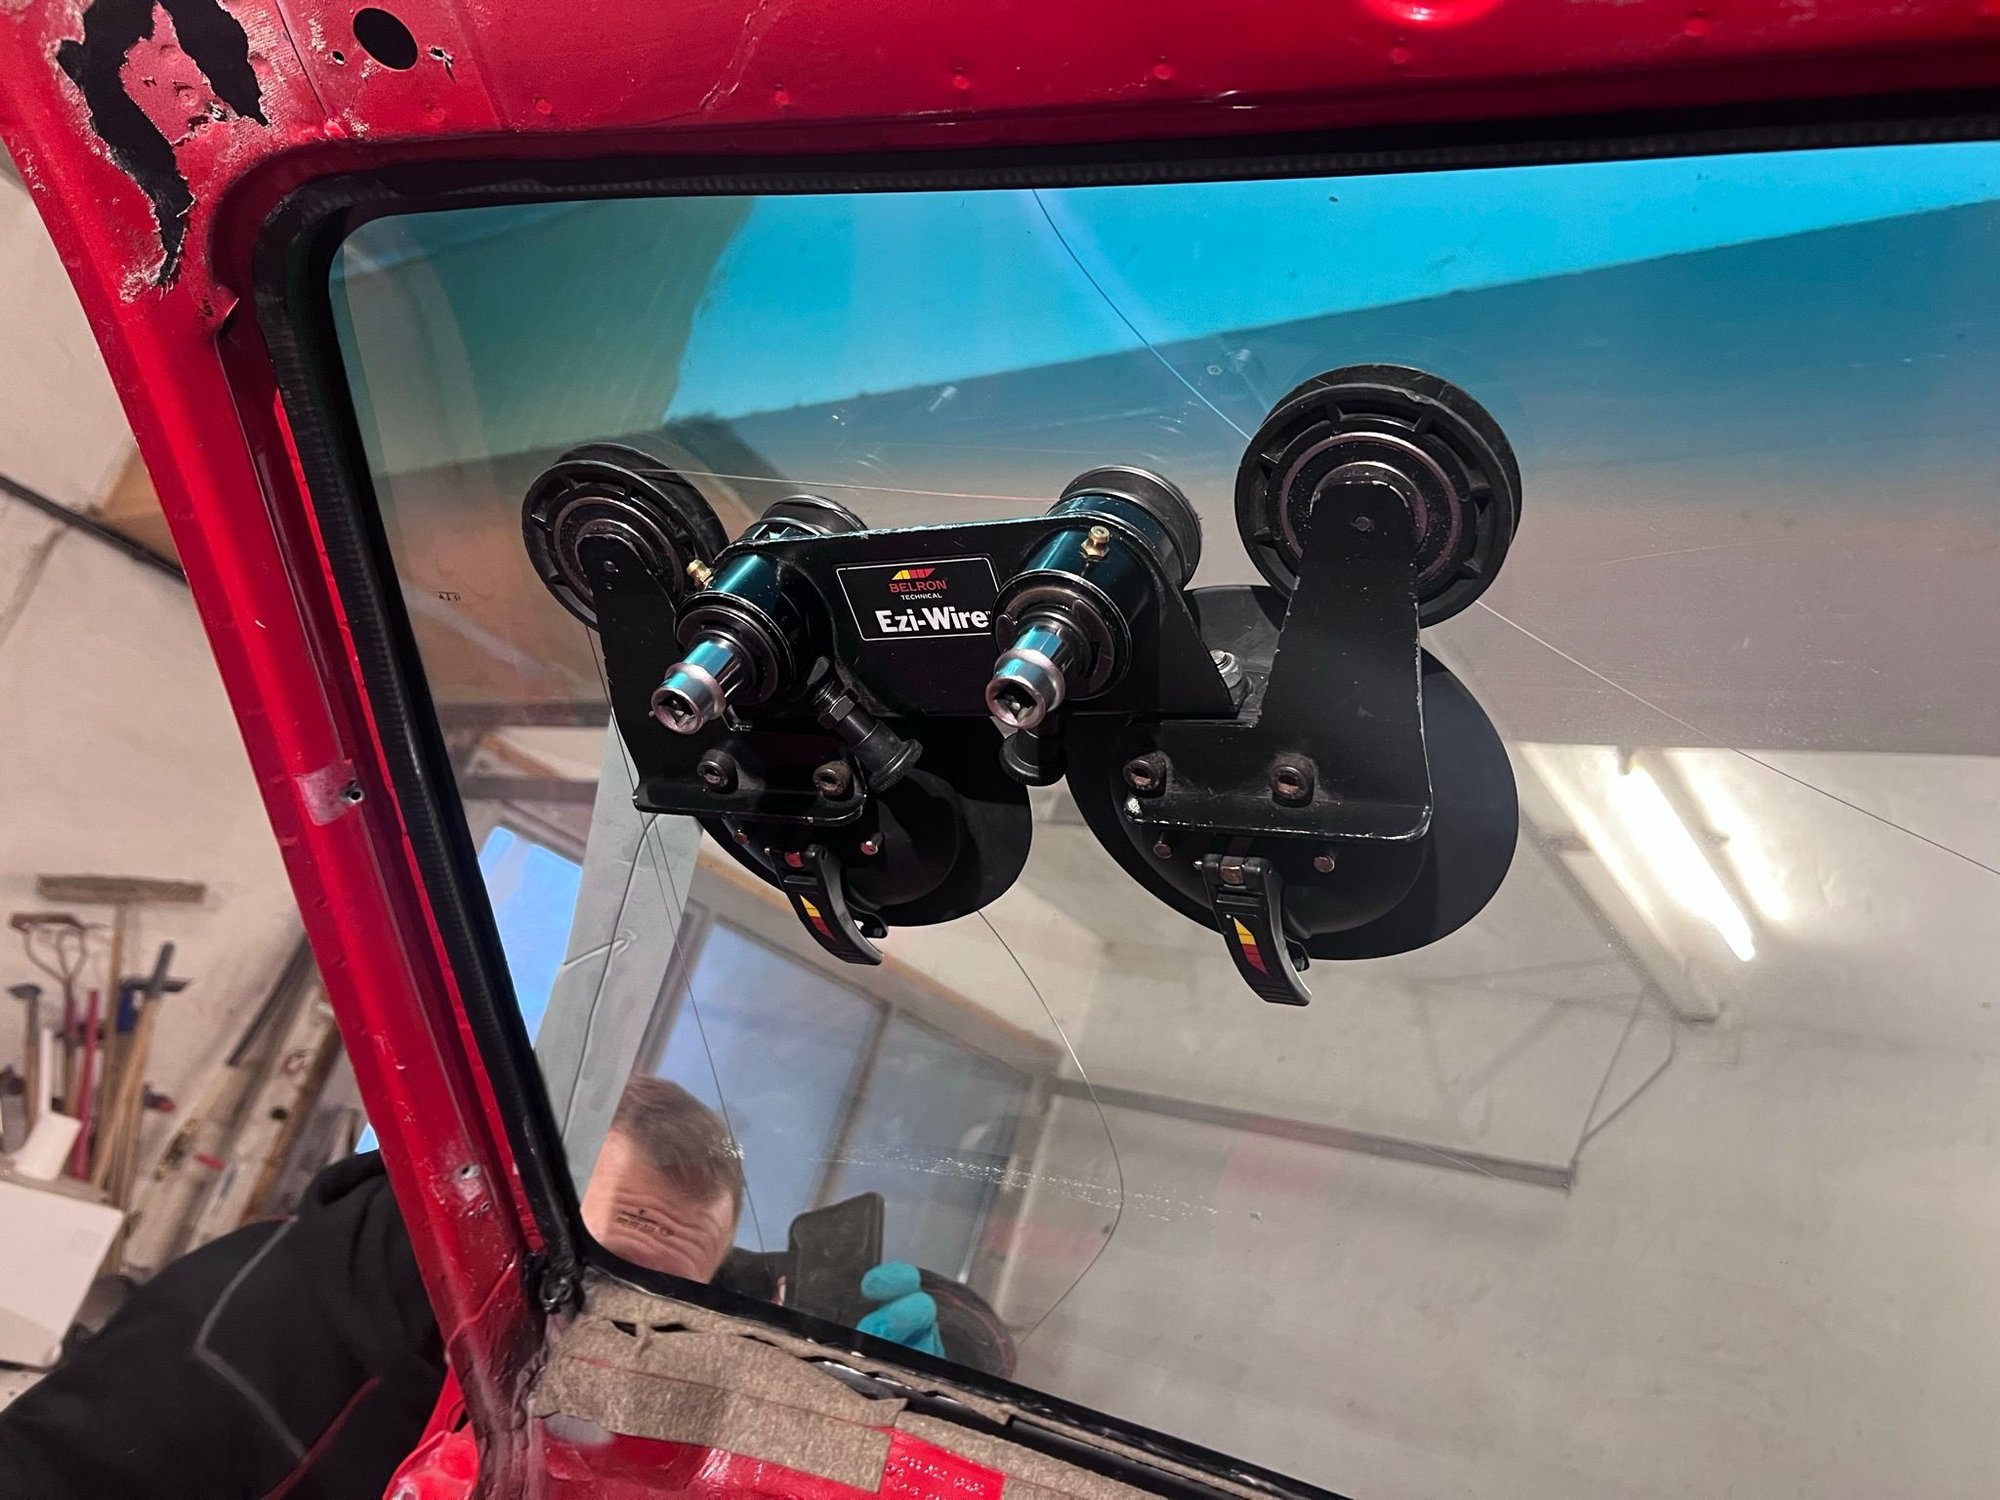
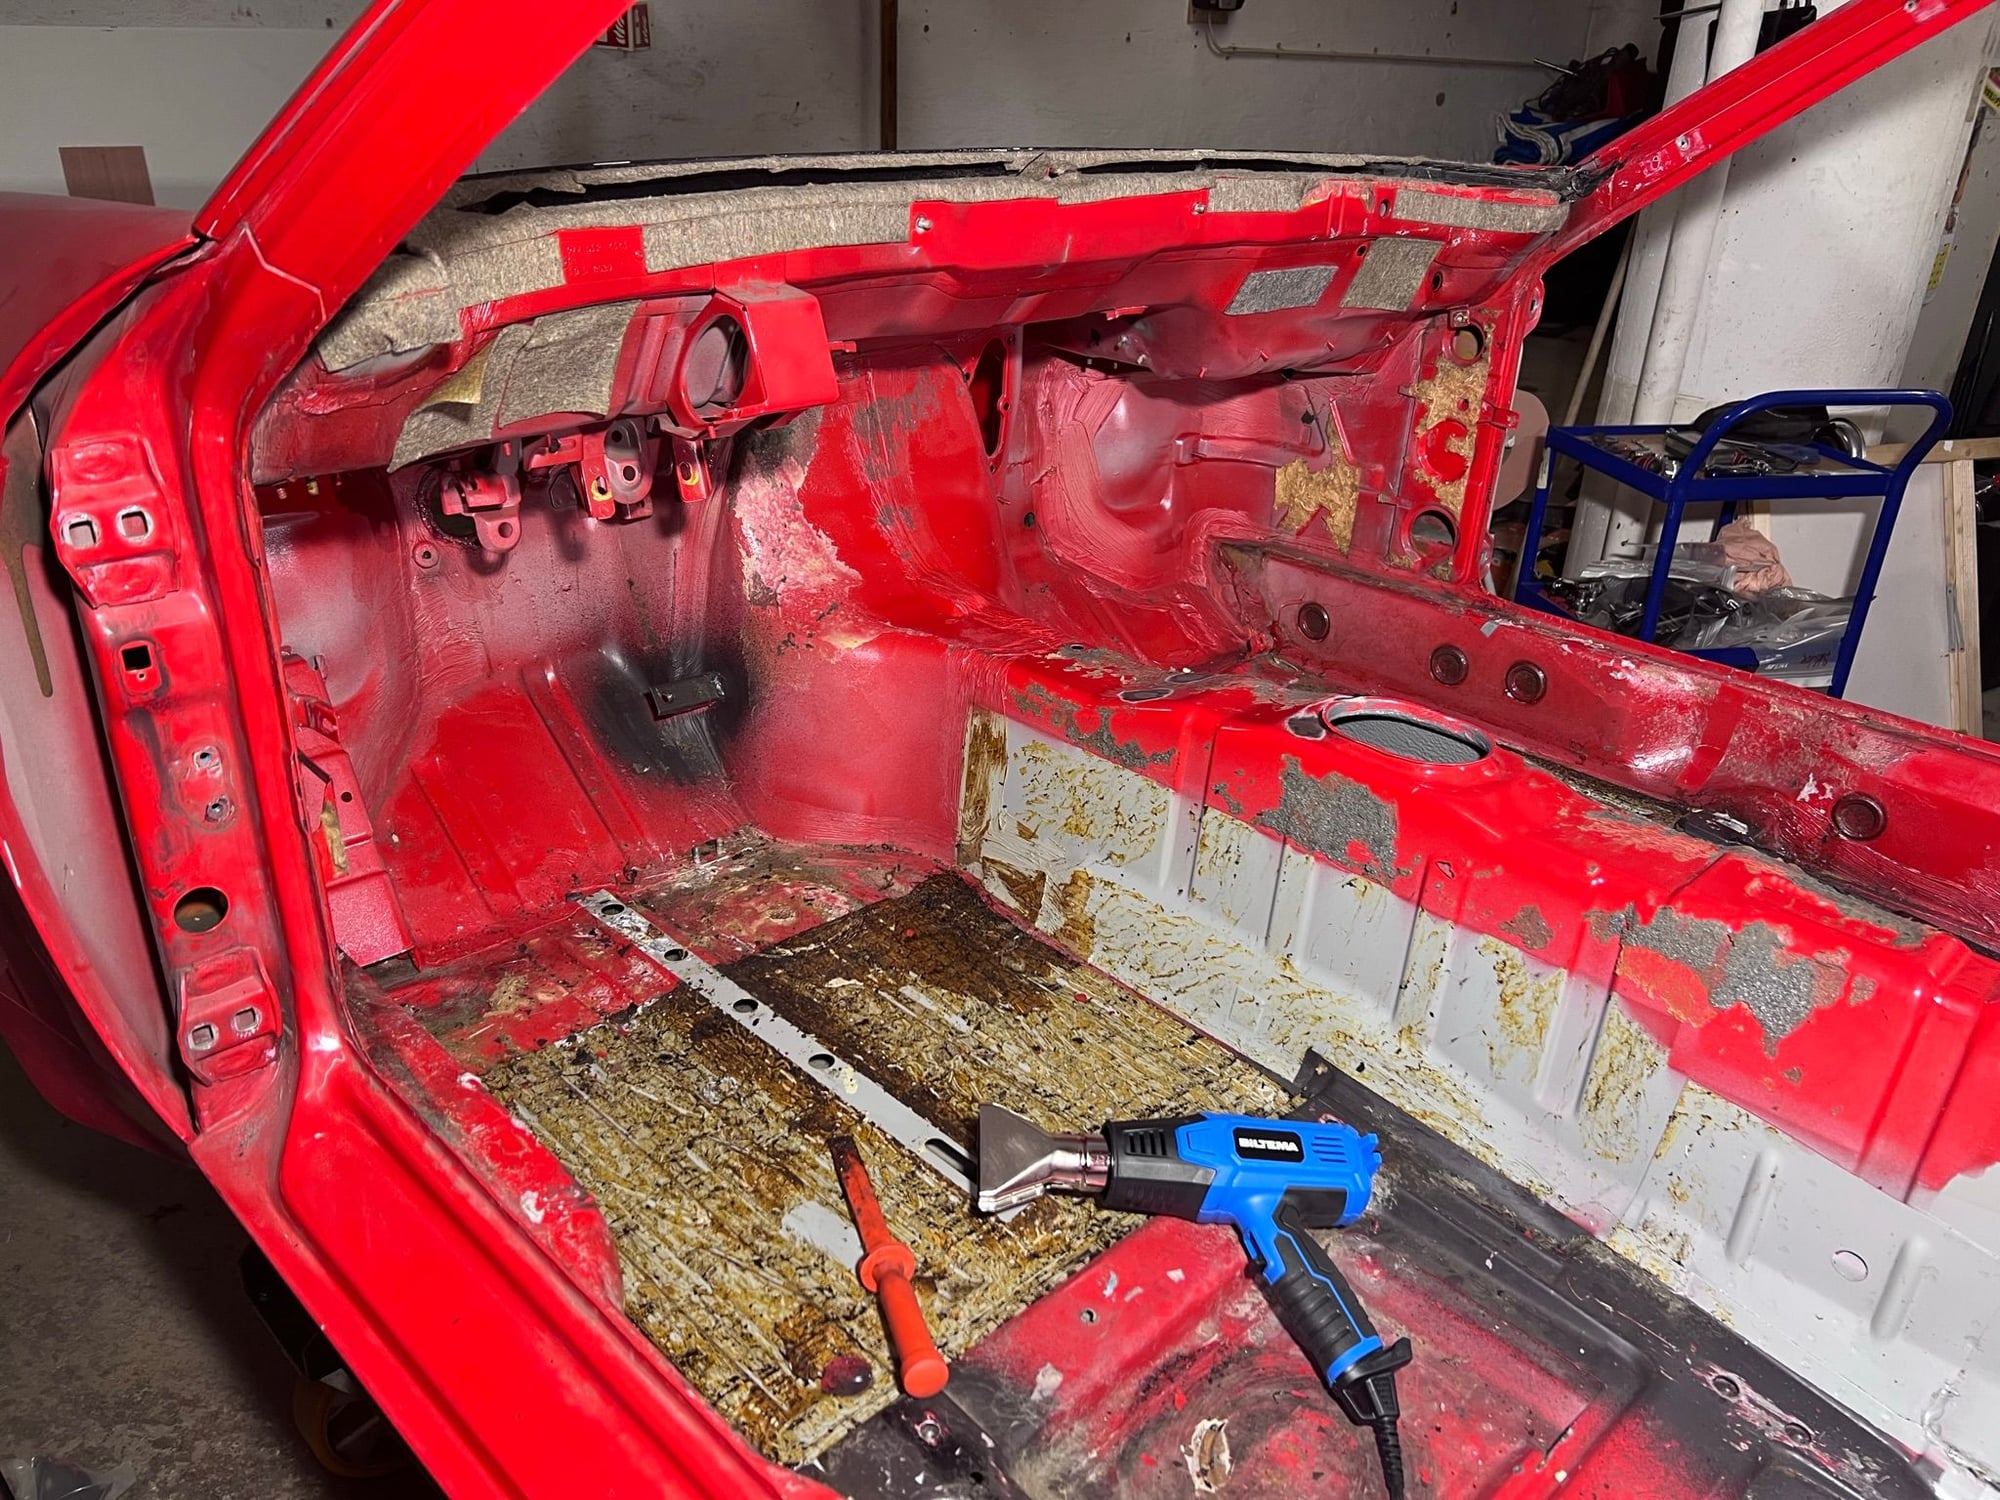
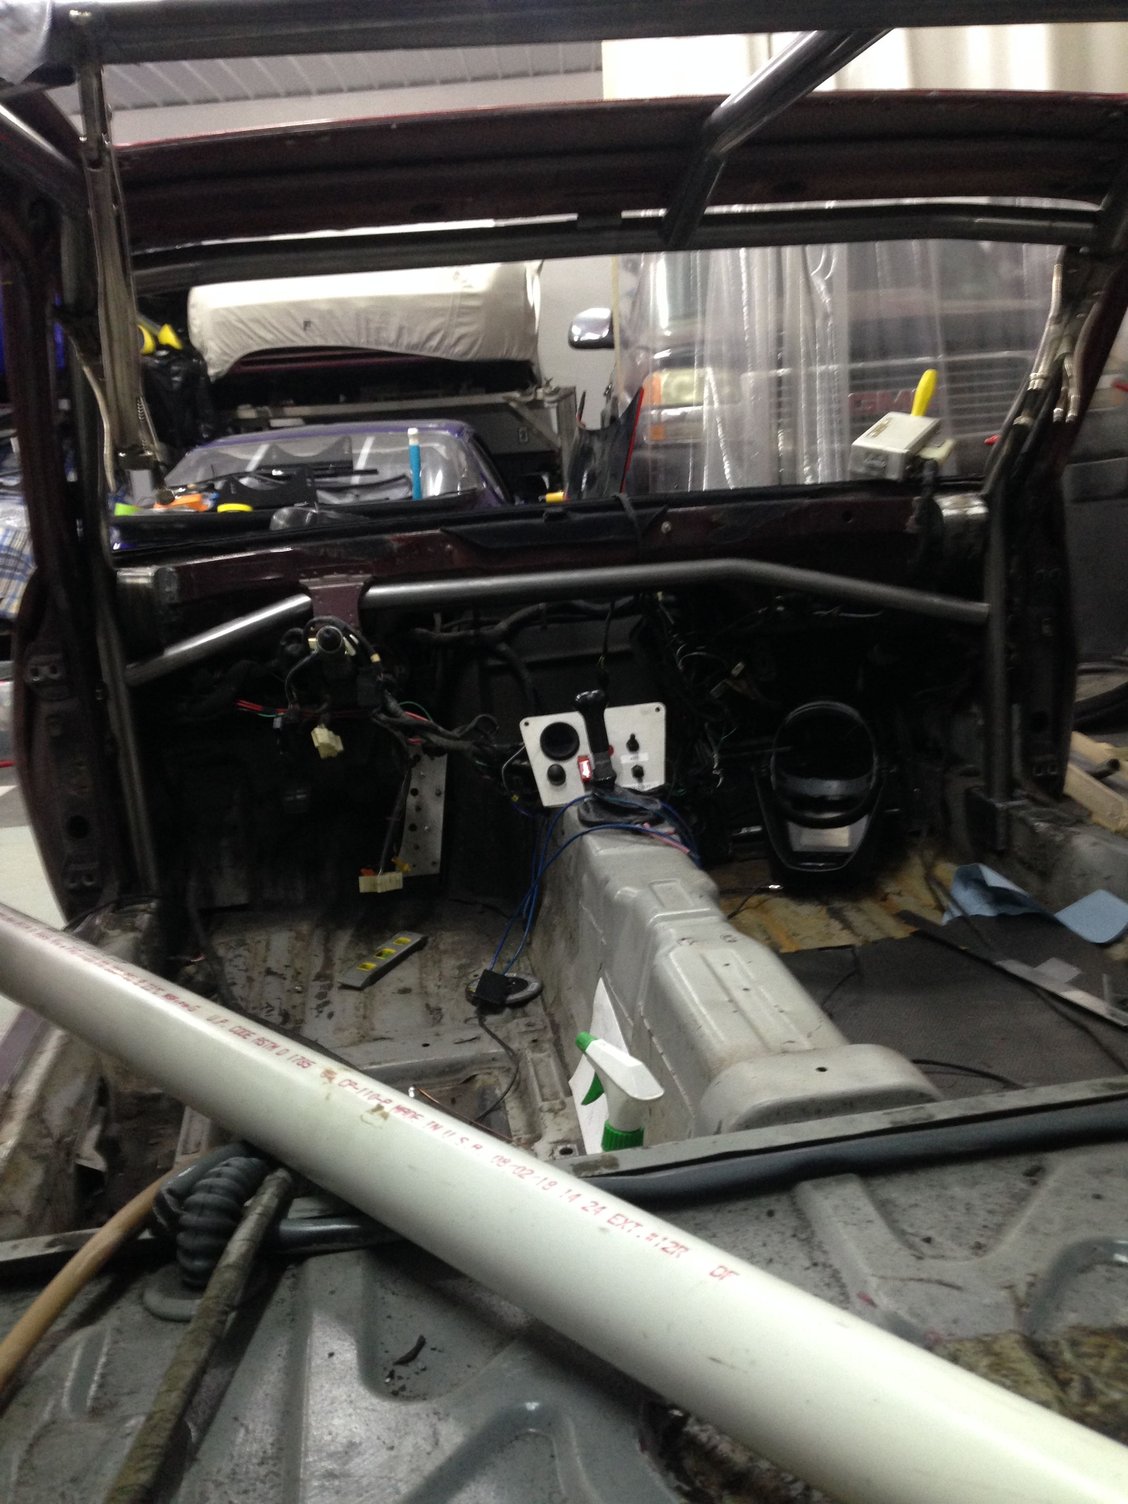
The interior is getting prepped for the building of the roll cage. Took off the doors and hatch. Had a glass guy come and remove the windshield. The dashboard, HVAC unit and the wire harness all came out. Removed the steering column and padals as well. The only fasteners you'll find on this tub now, are those holding the front fenders Working on removing the remains of the padding and carpeting. And removing the bitumen plates from the tunnel and floor.
To get the glue remnants off I am covering the working area with an old fluffy towel soaked in Xylene, and covering it with plastic film. Letting it sit for 30 minutes or so. This makes makes the glue come off much easier. But still there is a need for lots of elbow grease. Rags soaked in Xylene, various scrapers and brushes. The glue remnants on the areas with seam sealer is particularly hard to remove.
I got the tip on using Xylene from a post here on Rennline. And found that Xylene is the active ingredient in a thinner found at the local hardware store. (Biltema. "Thinner nr. 2". In the boat section) Quite expensive though. But effective.
The bitumen areas I warm up with a heat gun, then scrape off with a plastic scraper. Found that heating so much that the bitumen itself gets quite gooey is better, as the glue underneath is heated as well. At least on those mounted to the floor. If you scrape the bitumen as soon as it comes off (with kess heat), there is more glue remnants left behind. The glue under the bitumen comes off as described above.
I am cutting off all little brackets I don't need in a race car without rear seats or interior, other than the dashboard. Welding up pinholes from self tapping screws.
A little more prep now, and it is ready to get transported to the roll cage builder.
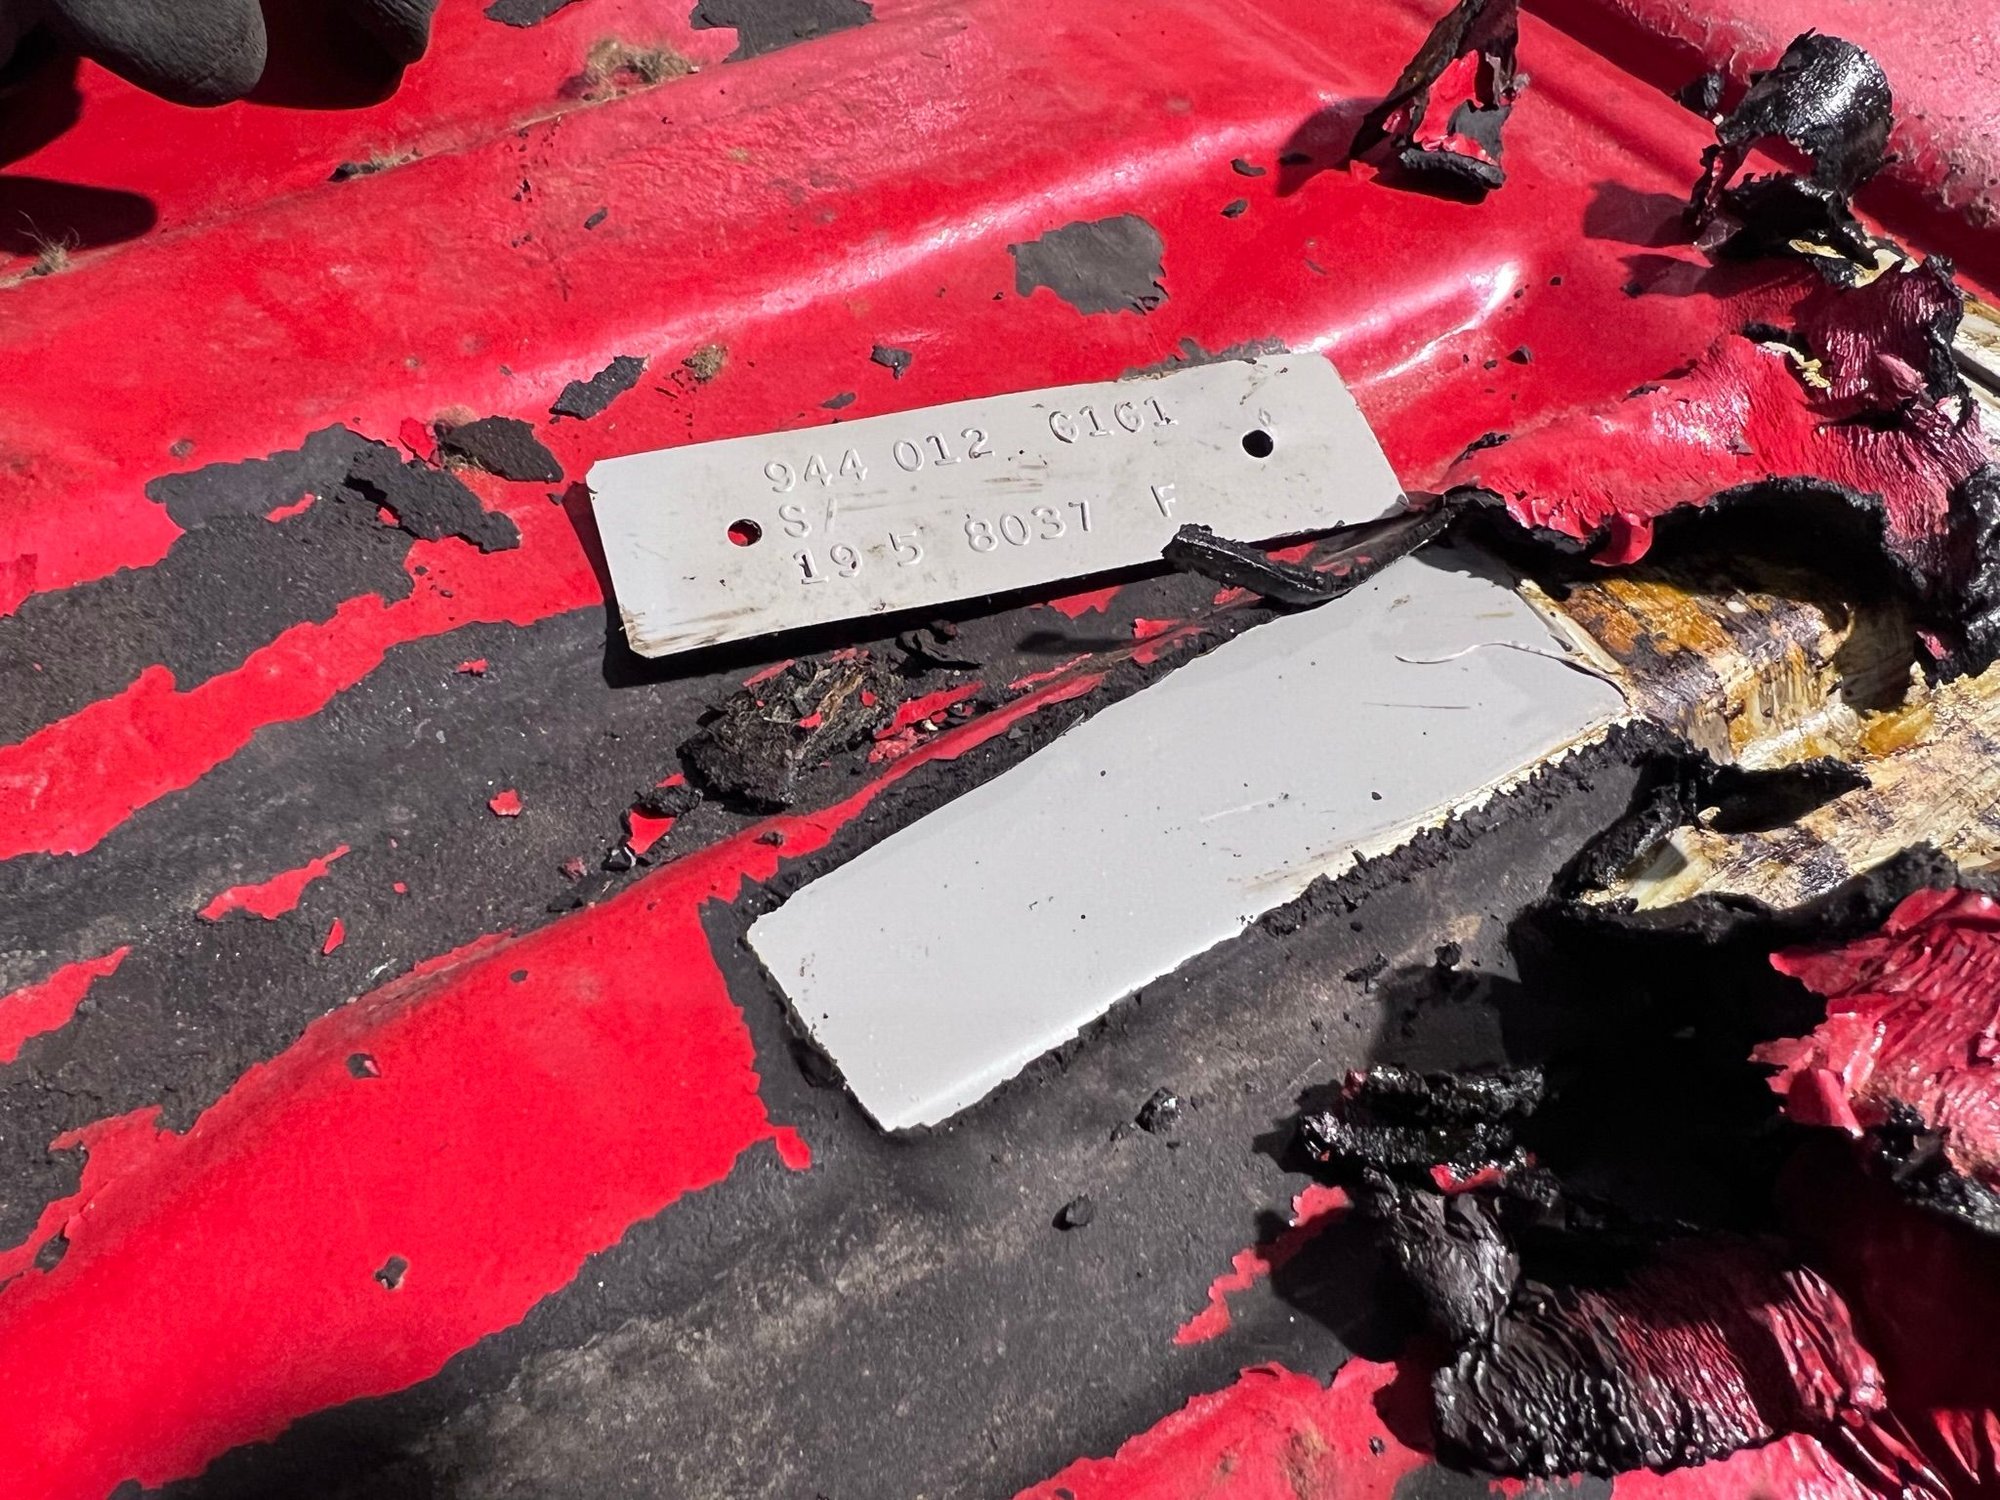
I also found an extra id plate underneath the bitumen plate on the drivers side. The germans must have been disturbed by the deviation in their stock keeping following that blunder
.
What a mess. Will I be able to get this back together? Wirewinch. For removing the windshield. Cumbersome and time consuming Extra ID plate. Similar to the one mounted on the tub, behind the dashboard.
With the ambition to both make this car to be a licensed race car, as well as pass the requirements of the road authorities, it feels like the target is no larger than a pinhole. I have to have the OK from the following:
The Norwegian Car Sport Federation (Bilsportforbundet)
The Norwegian Public Roads Administration (Statens Vegvesen)
The roll cage builder (JH Linnerud)
Application to the Norwegian Public Roads Administration (Statens Vegvesen)
Firstly a sent in an application to The Norwegian Public Roads Administration, as I expected that process to take some time. I sent the application in September 2021. The application included an appendix including images of the cage I wanted, already built in a friend's 944. More or less immediately I got automatic confirmation that my application was received.
However, after 4 months I was tired of waiting and got hold of a local representative on the phone informing me that he was going to discuss my application on the online "Friday-meeting" with the central special group (SFOOR) handling this type of alteration of the car (Ie. Adding roll cage). After a few days I got info that the special SFOOR group had received my application.
Time went by. And in January 2022 I started my monthly follow-up email + call routine, to my local road authorities representative. I did that once a month, for seven months…
When the answer came from central SFOOR, the reply essentially said that the local representative should evaluate my car according to a new regulation SFOOR had sent out to the local authorities a few months earlier. OK... This conclusion came in July 2022.
The answer itself was positive. And the new regulations was quite thorough and provided relevant guiding for adding a roll cage, and was fortunately open enough for me to find a solution that would suit me. But did that have to take 10 months…
The Norwegian Car Sport Federation (Bilsportforbundet)
As of 1/1-2022 there were new regulations in place for roll cages in GT racing cars. The new regulations follow the FIA requirements. More tubes are added, compared to earlier regulations. https://www.fia.com/sites/default/fi...2020.10.09.pdf
For my case the challenge are the door bars and the windscreen pillar reinforcement. Both which may obstruct the escaping out of the car in case of an emergency. When I am driving the car on public roads.
Finding the door bar solution that solution that was suitable for all three "players" in this saga was another topic. Having mechanical engineering background I tried to read and understand the new cage regulations, desktop developed alternate solutions, and drew them up (2D) in Photoshop. In total I sketched up five different solutions and sent the illustration to Bilsportforbundet for feedback.
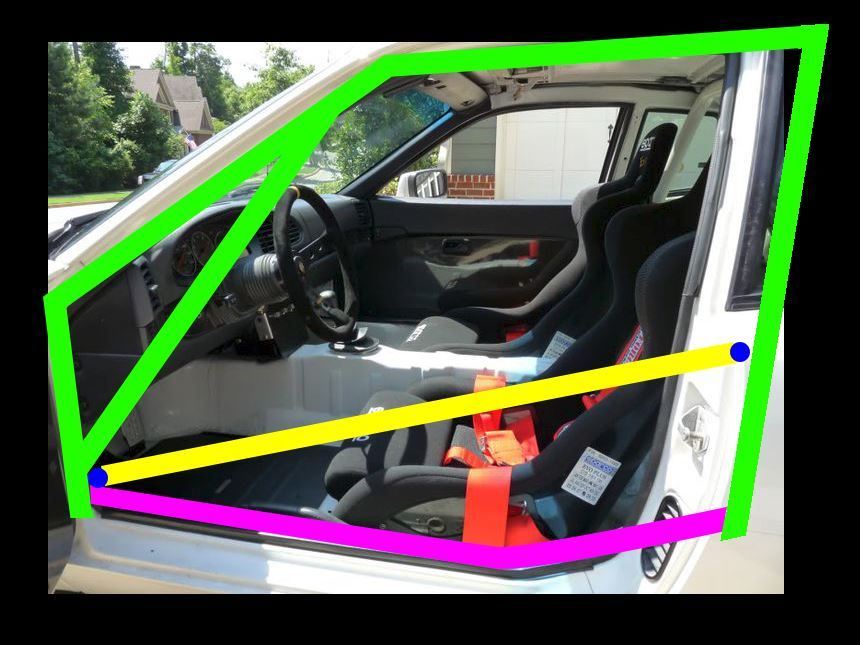
The conclusion finally came, just recently, when the representative from Bilsportforbundet had a meeting at the cage builder (JH Linnerud) and they found a solution that satisfied all needs and regulatory safety requirements. See image below.
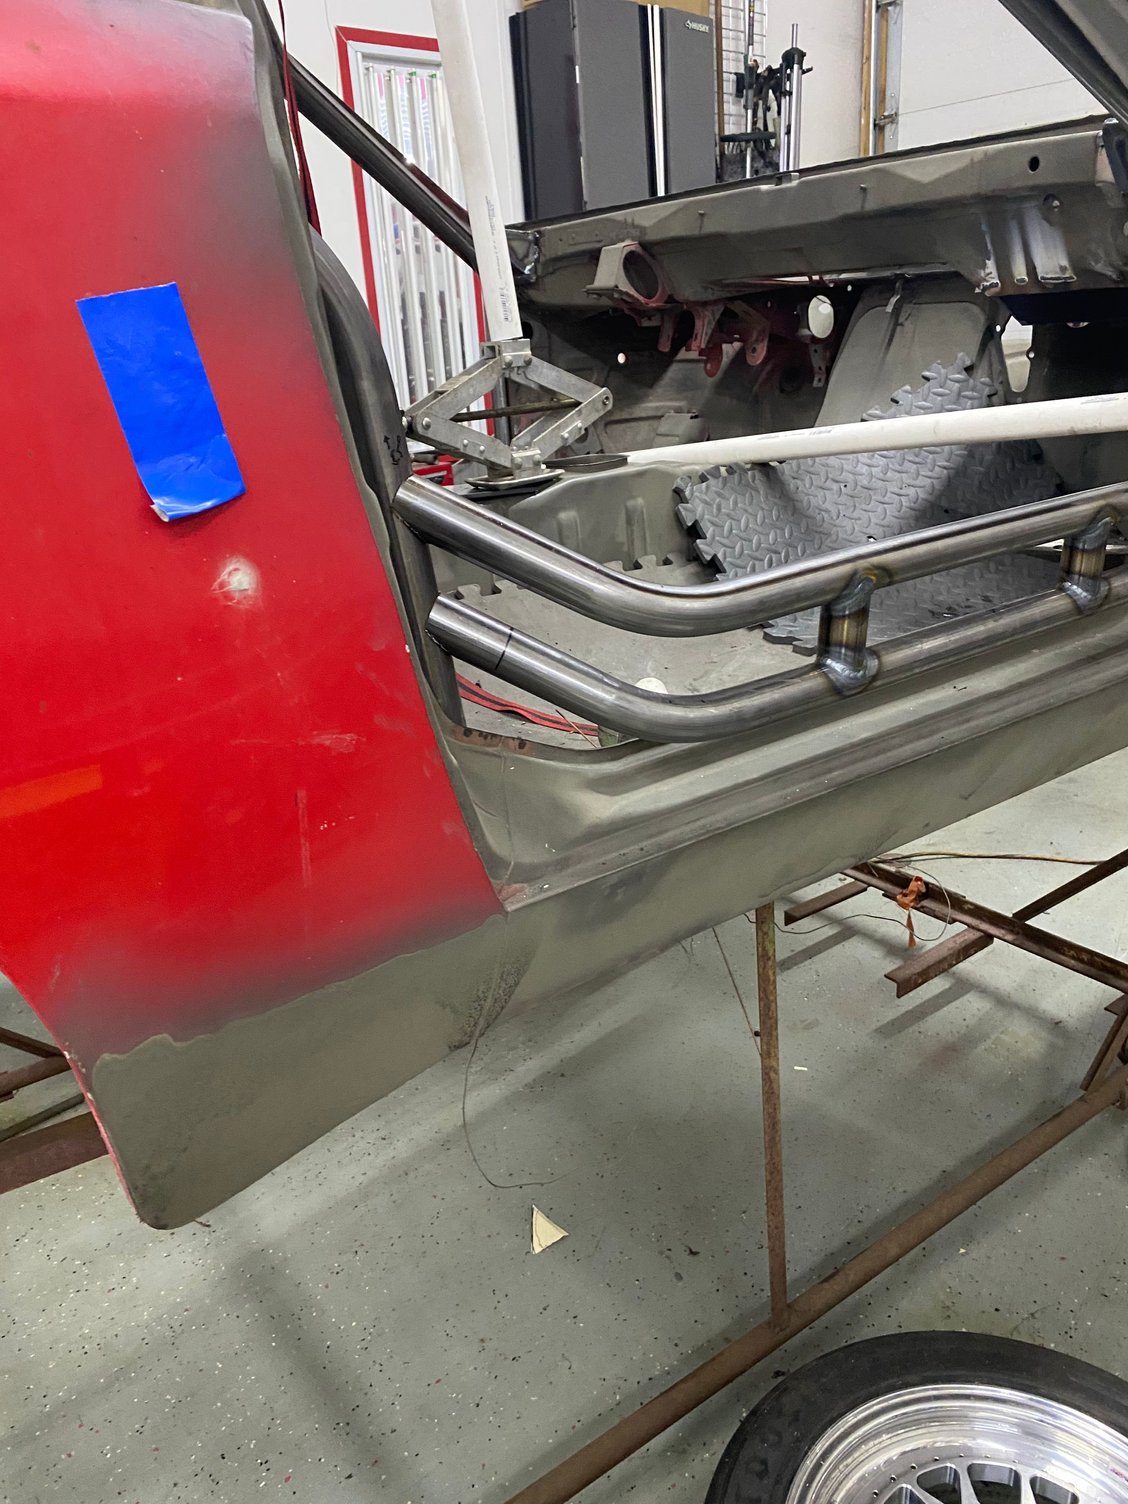
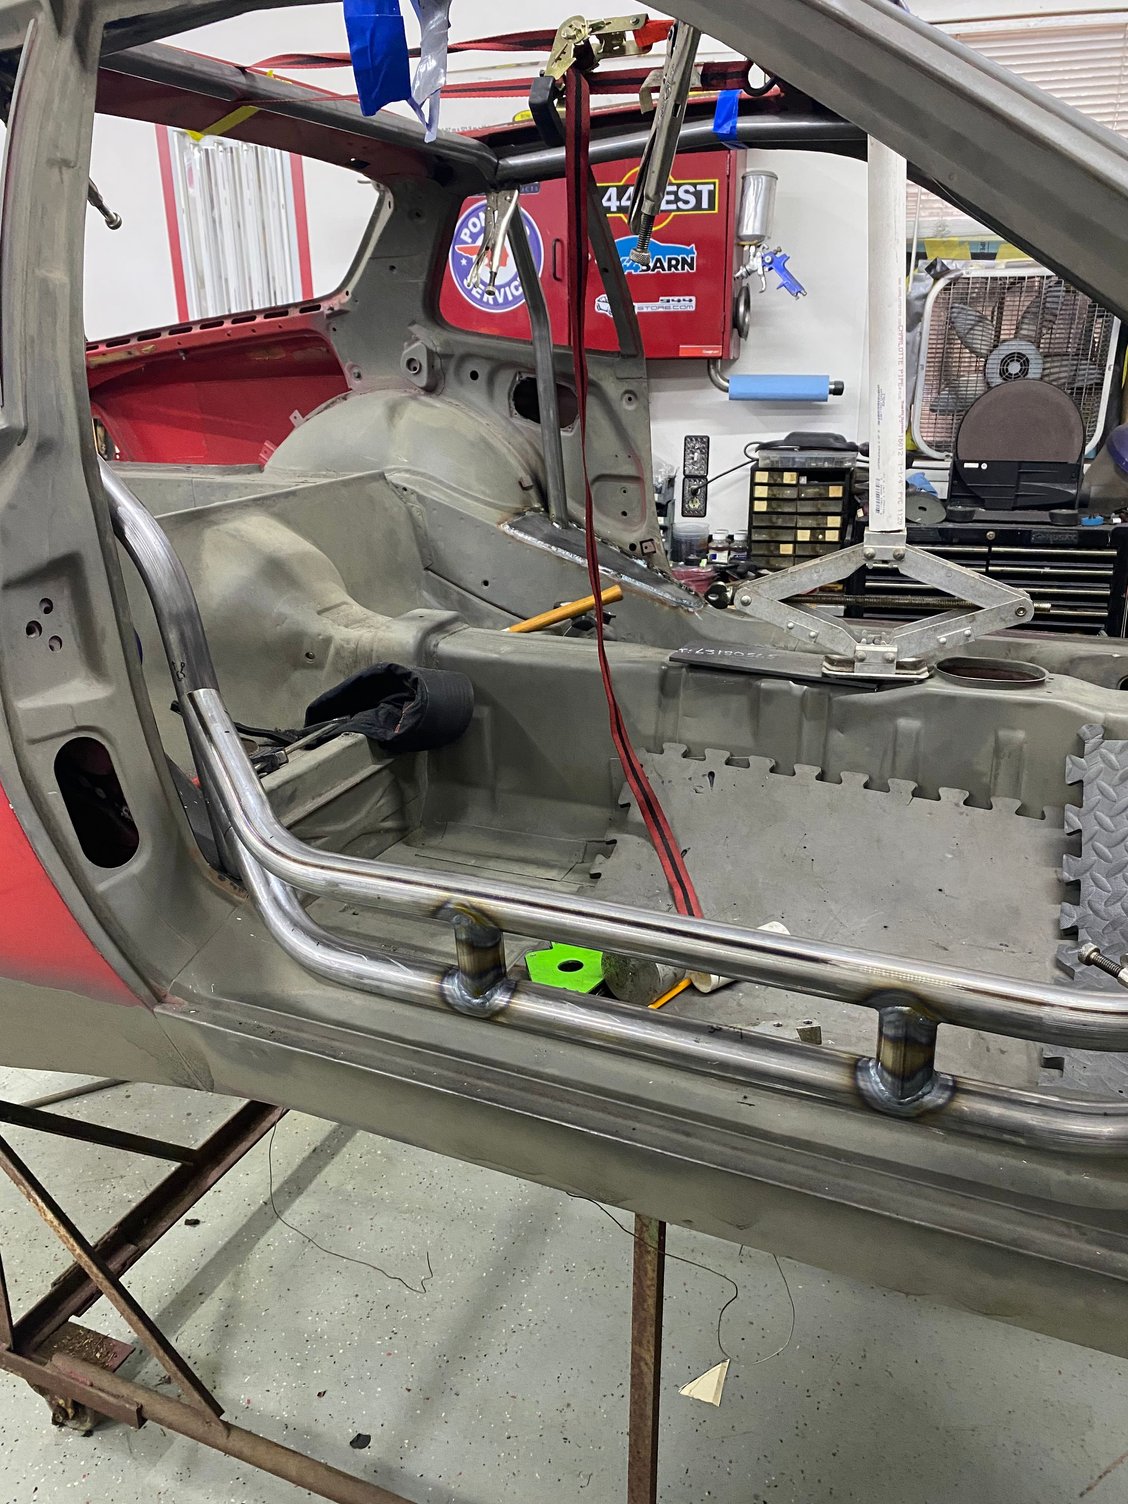
The design that will be built in my car actually deviates from the principle that the new FIA regulatory requirements specify, that door bars should be completely straight. No bends. If the door bars intersect each other they should be heavily gusseted. In my case the lower door bar has a bend to it, due to the design of the 944 sill bending upwards behind the door. The main guy on car safety from Bilsportforundet concluded that with uprated material specifications in the lower door bar, and with the build quality of JH Linnerud (FIA certified builder), the lower door bar -can- have a bend to it. It will be attached to the sill at multiple points. (Purple bar in the image below)
The guy from Bilsportforbundet explicitly informed that this is not a solution that is allowed for "home mechanics". It is the uprated material specifications, in combination with the FIA certified builder that makes this solution comply with the regulations.
The conclusion
Well... After 1,5 yrs and numerous emails, illustrations and phone calls. It appears I am able to hit the pinhole target I set out to hit. I am 100% confident that this solution is OK for both the cage builder and Bilsportforbundet. And 98% confident the road authorities are OK as well. Time will tell if this is a bullseye or not.
Of course... The upper door bar must be removed when using the car on the road. (Yellow bar in image below)
.
Green and purple bars are welded into the tub. The yellow bar is bolted in, and must be removed when driving on public roads.
Amazing work! Even if people don�t comment much, you can be assured we�re enjoying the updates. The body cart looks great. How is it attached to the body?
Thx! I'm hoping the Rennlisters enjoy the build log. I'm enjoying the build process
The tub just sits on the dolly by it's own weight, on the four uprights. The rear ones have a welded nut under the top plate, where I have placed a bolt. This bolt is then captured inside the rear jack point, ensuring the tub don't slide neither sideways in the rear or forward/backwards. The front uprights have U-shaped holders around the floor rails (under the driver/passenger feet). Ensuring the front don't slide sideways.
If I add the fuel tank, gearbox and rear suspesion, but not the engine, I would have to use tie-down's in the front. Or in the opposite end if I had the engine in, but nothing in the rear to counterbalance.
.
Welded M8 nut under the rear top plate. With a bolt inserted. The bolt is captured in the middle of the rear jack point. Front uprights have U-shaped holders around the "rails" under the floor of the tub.
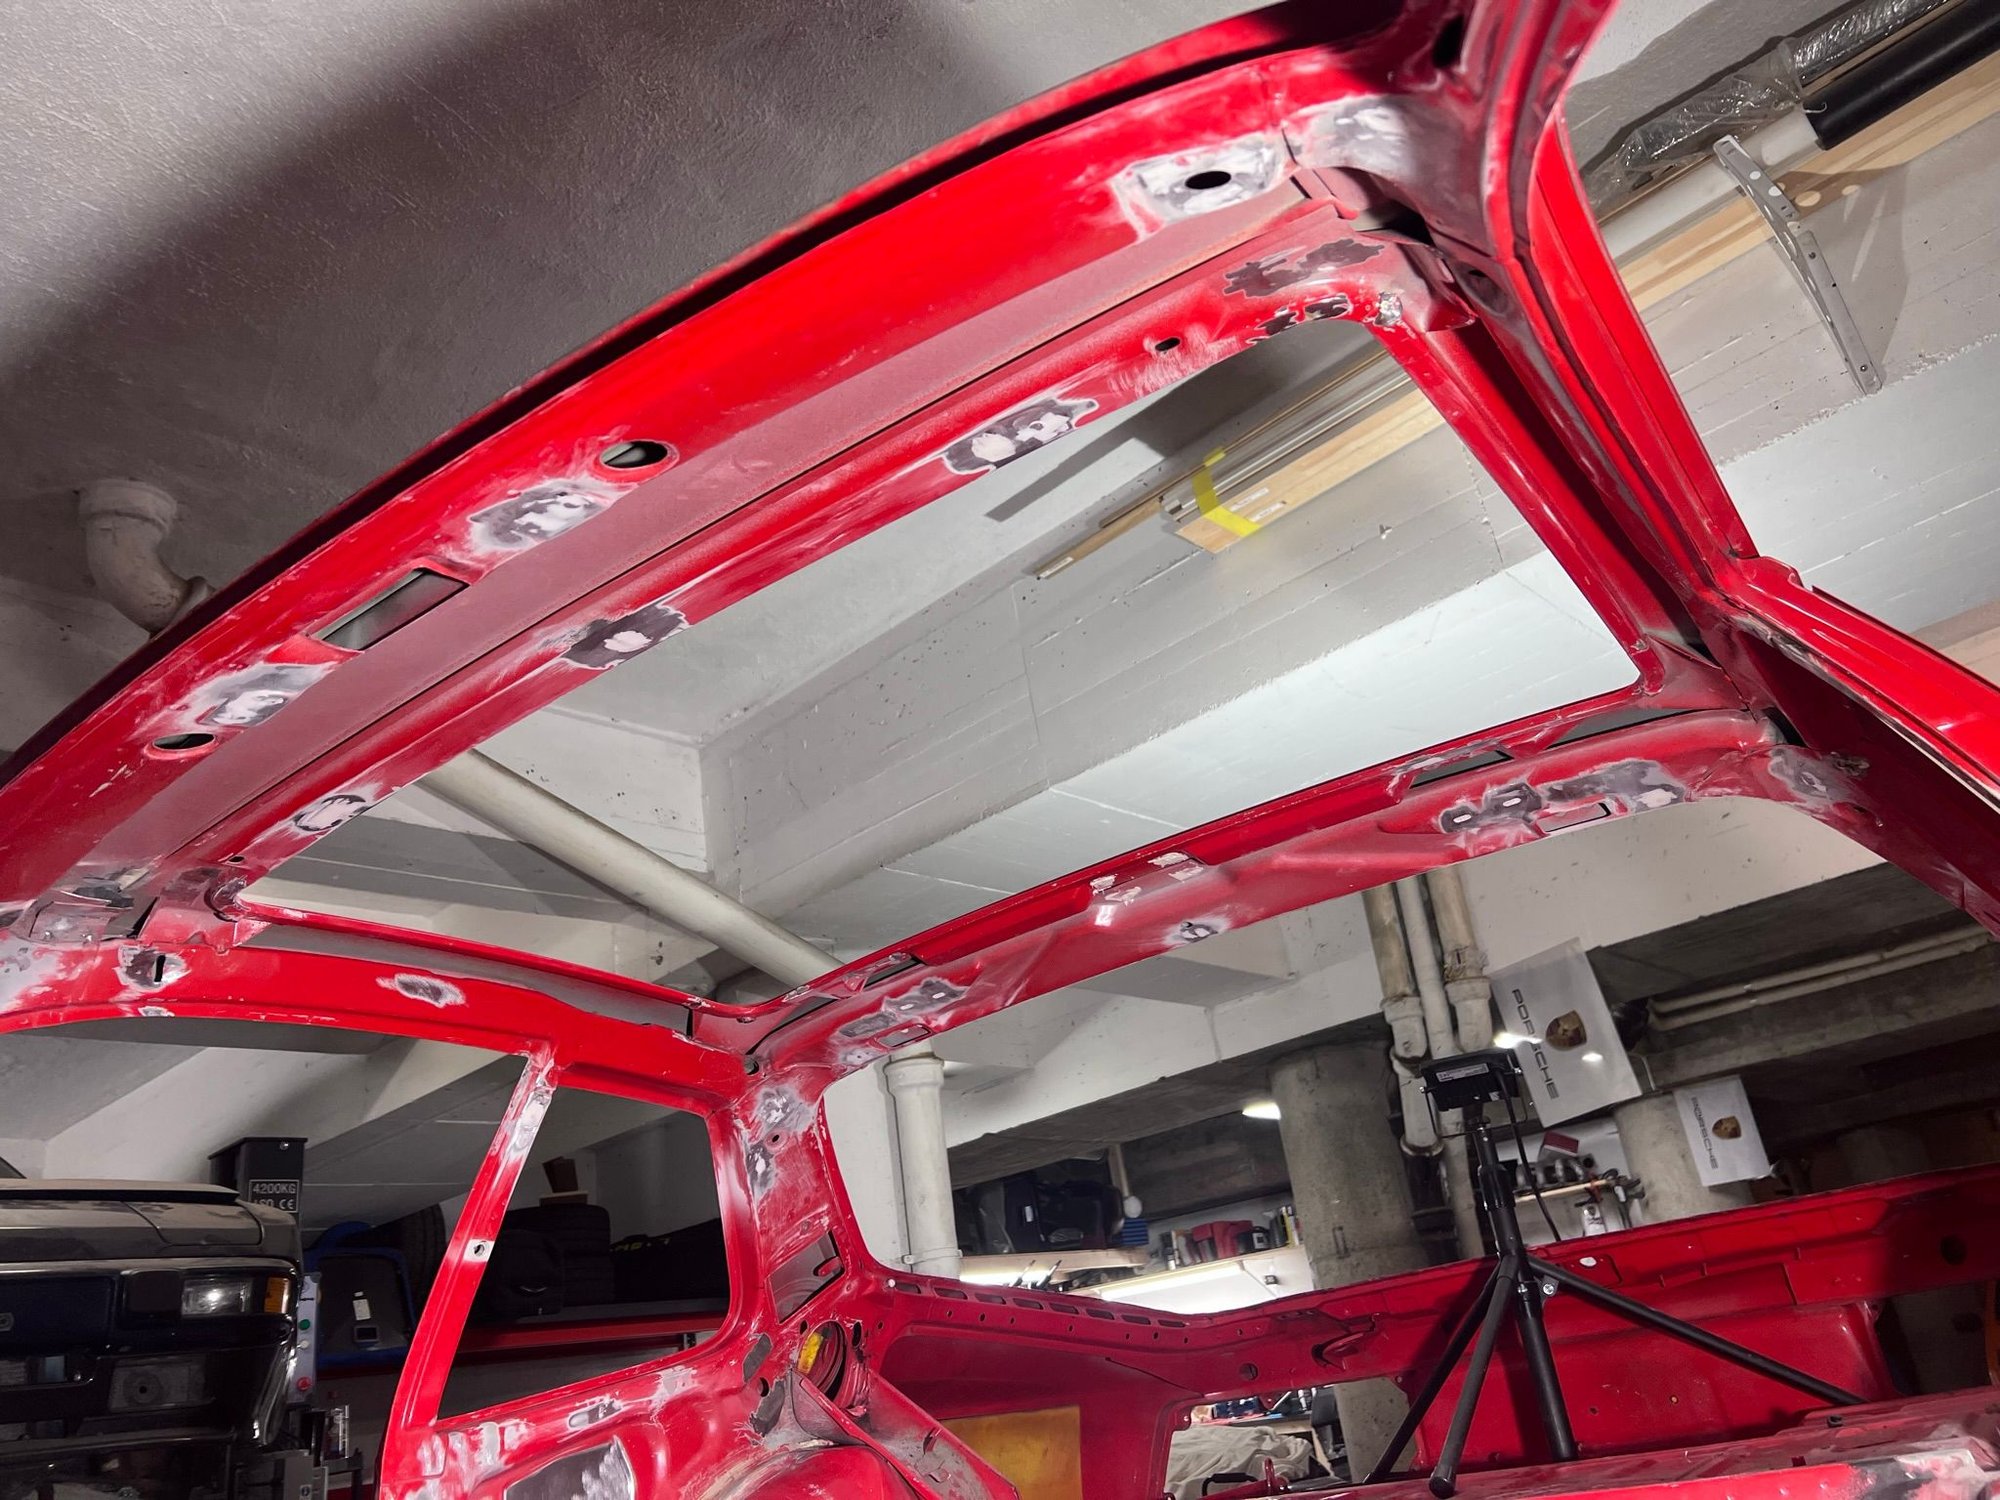
In preparation for the cage build I "smoothed out" the surfaces that will be harder to reach once the cage is in. I welded the small holes from self tapping screws. Filled the holes for the rear seat belts and the captured nuts for the targa mechanism with seam sealer. Cut away the tube ends for the targa "gutter" drains. And smoothed stuff over with a epoxy putty. Made lids for the cutouts for the rear speakers, and glued those in place with tec7.
Masked off the areas where the cage builder will be welding reinforcement plates, for the cage attachment points to the tub. Removed the rubberized underbody protectant where that was needed. So it doesn't catch fire when the cage guy is welding on the inside. ( How do I know this happens... )
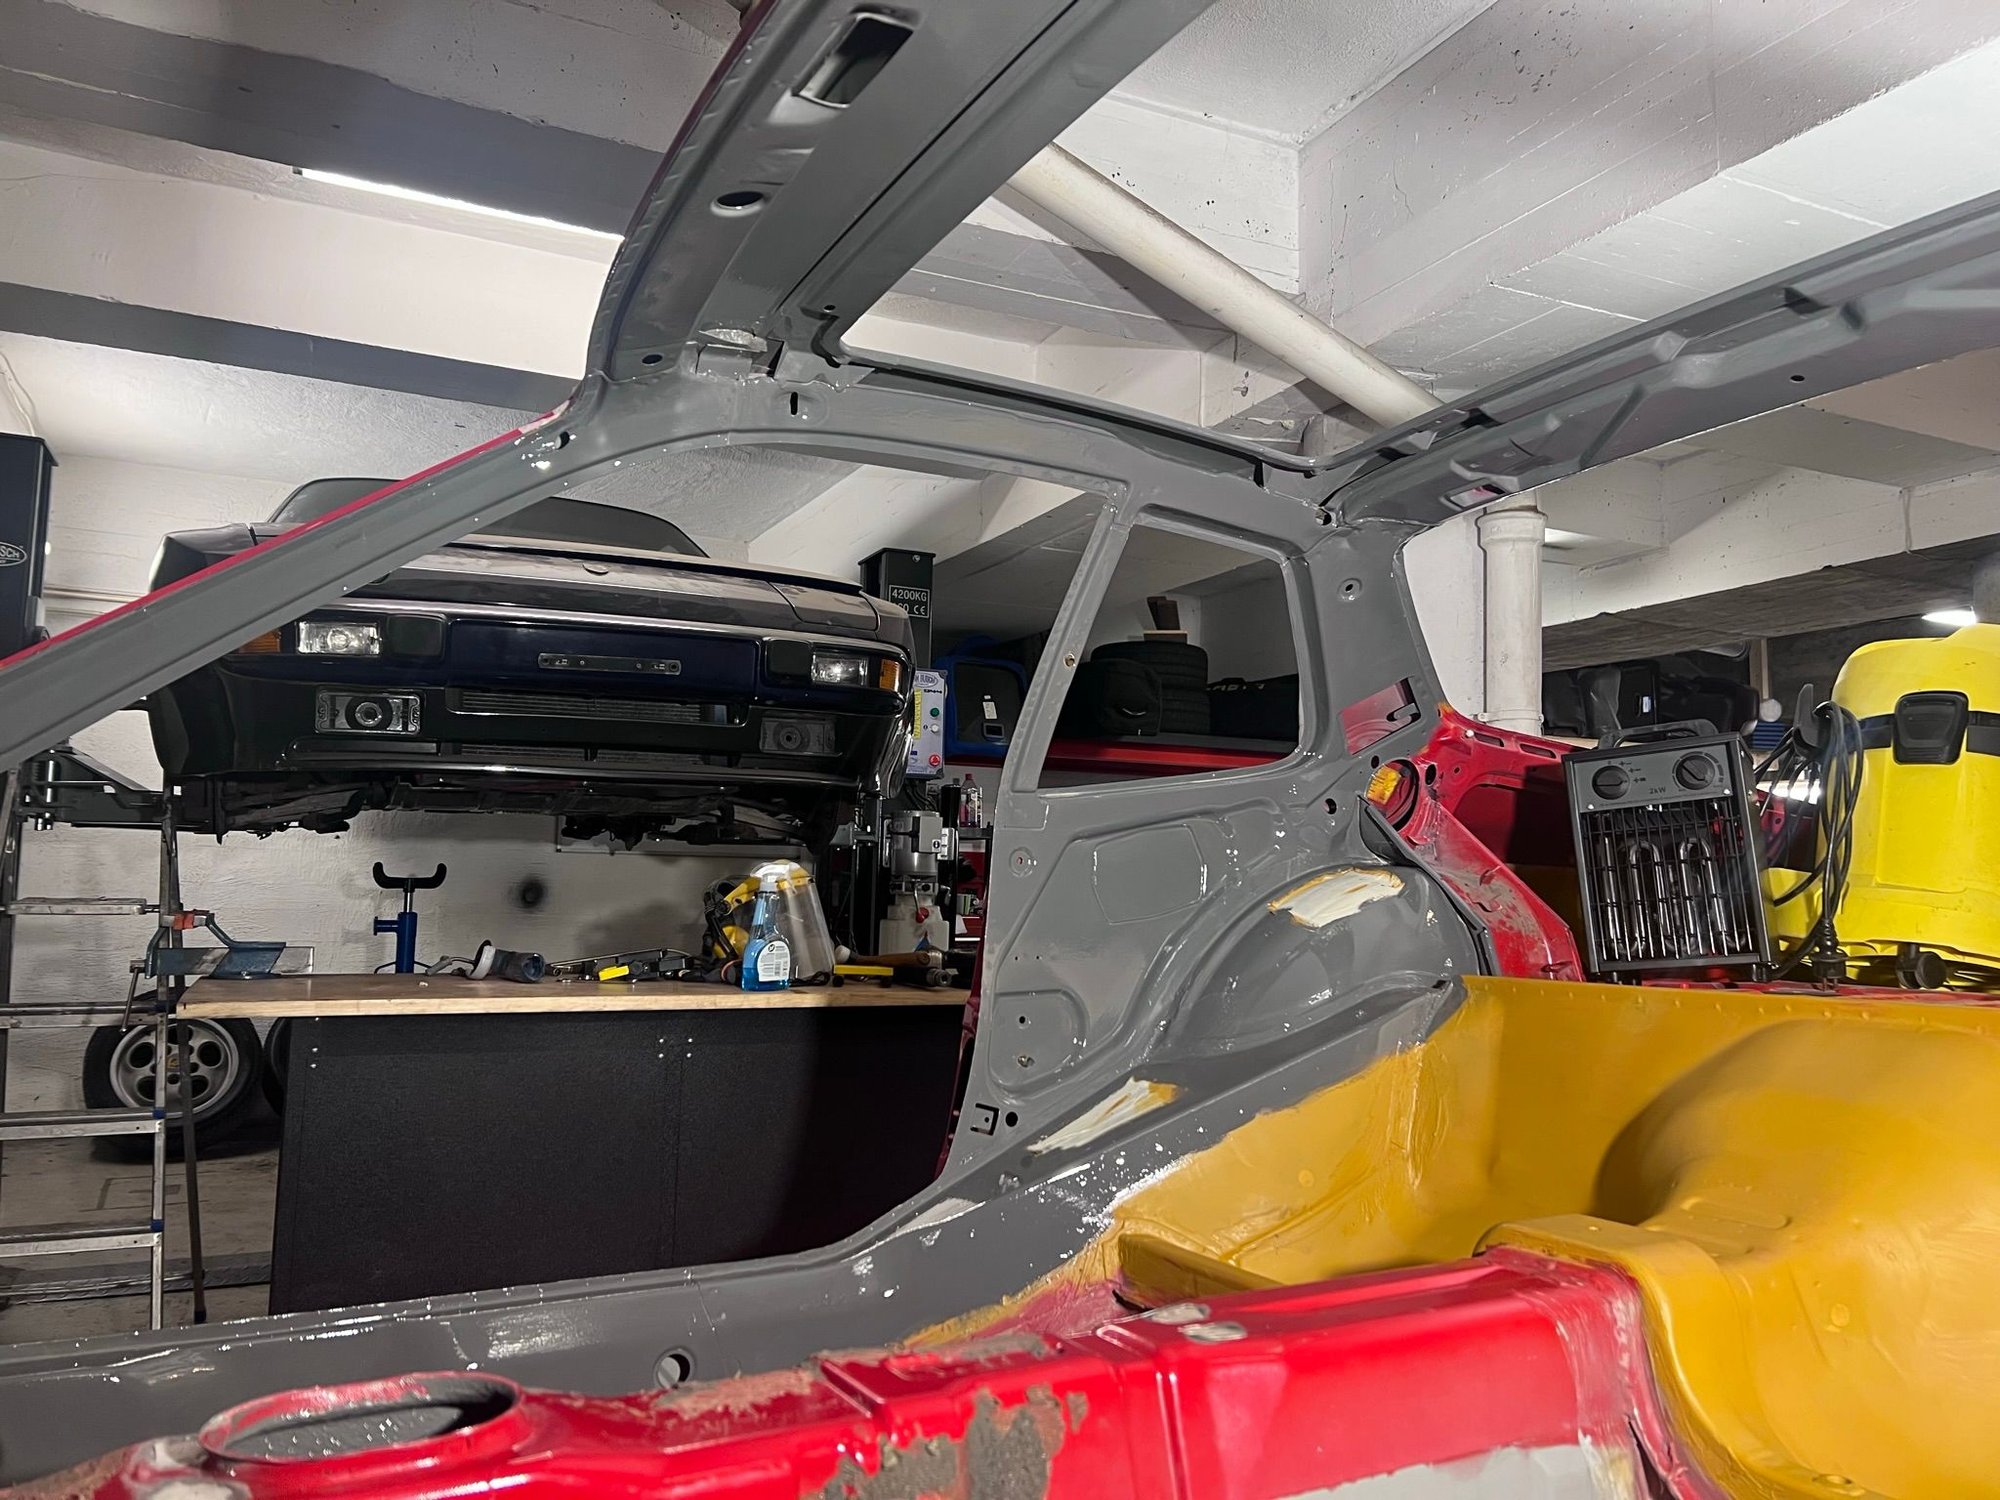
Applied 2K epoxy primer using a fine laquer brush (Hagmans St�lplast CA 2-komponent Epoxy Primer). Let it cure a for some time. Painted one layer of 2K polyurethane car paint in the color Nardo Gray (Monopol 701 2K industrial polyurethane topcoat). Again with a fine laquer brush. All sourced from a local dealer in Oslo (Billakkspesialisten A/S St.Hanshaugen Farvehandel). I chose 2K stuff because it is more durable than 1K stuff. And handle chemicals way better. Planning on doing the second layer once the cage is in.
Painting the 2K stuff with a brush, and not with spray gun is really hard and time consuming. Both the primer and topcoat has the consistency of water. So when painting upside down, with lots of little corners and edges and whatnot, it is really hard to not get runs. But I do not have the facilities to paint with a gun, so a brush will have to do.
It would of course be good to clean the entire inside of the car in one go. Paint it all with primer. And so forth. But the time available, and the date for delivery of the tub to the cage guy did not permit that. So I'll have to do this in a somwhat broken process.
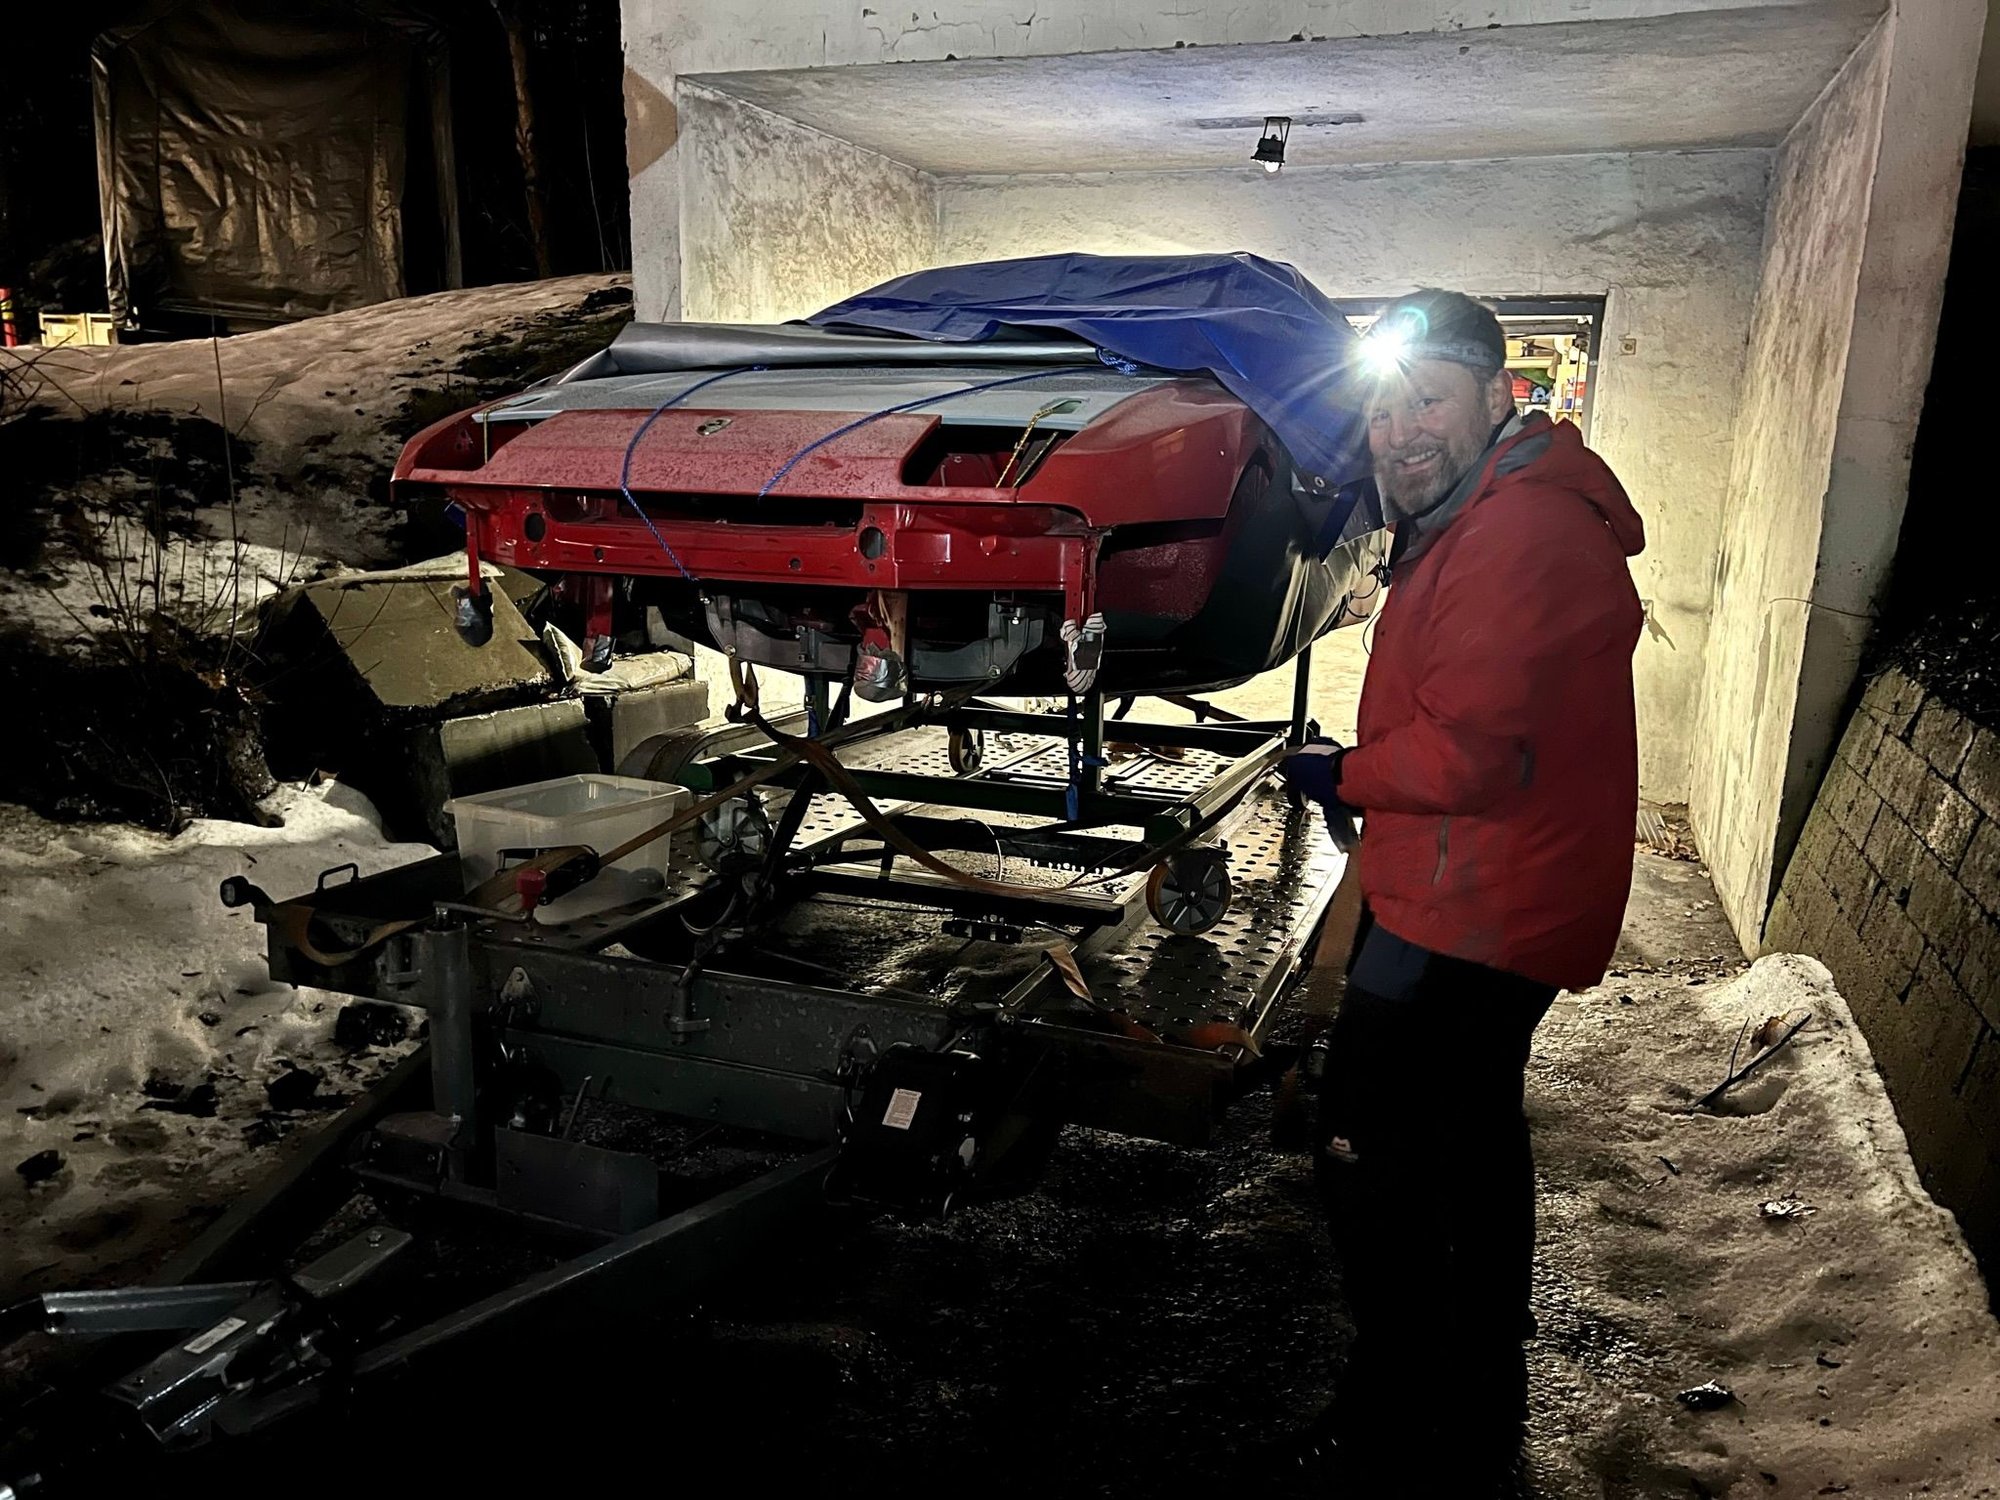
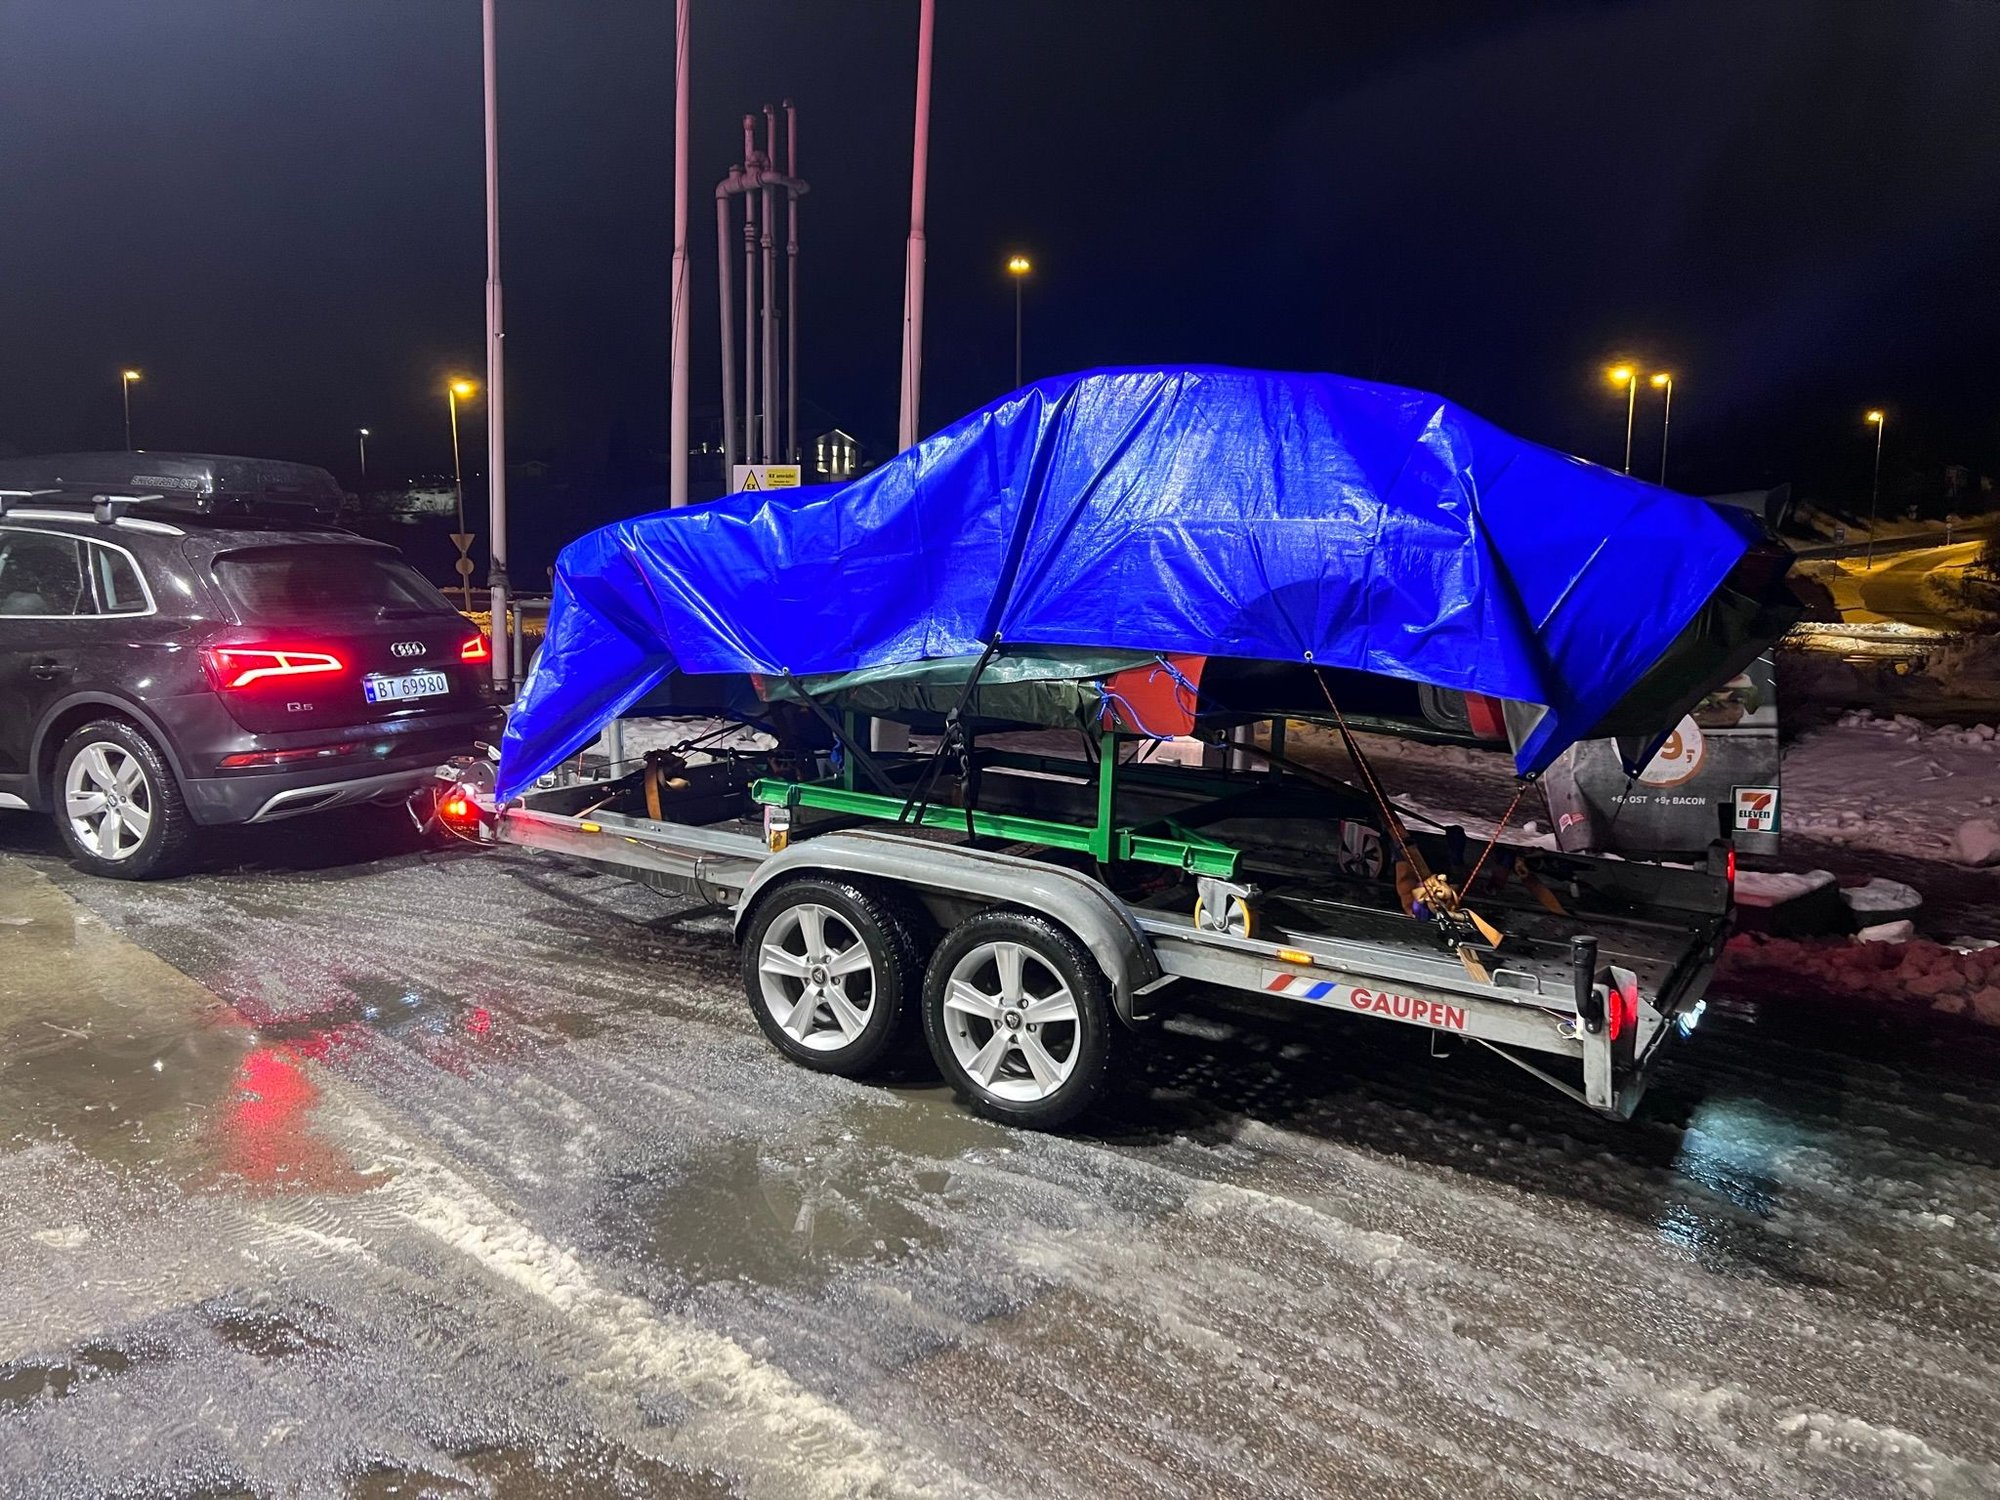
Transported the tub to the cage builder yesterday. The weather did not play nicely, with plus/minus freezing, sleet, rain and snow. And it was dark
I had not managed to get hold of a closed transporter, so I wrapped the tub like a big present. With some help from my wife. Trying to avoid getting it too dirty, and keep it somewhat dry. It worked. The inside was dry when I arrived.
I was of course an idiot, following the guiding of Google Maps, onto the minor roads. Passing Fetsund and Bj�rkelangen on my way to Magnor. Snow covered, twisting and turning. Rather than the much larger roads passing through by Kongsvinger. Got there in one piece though.
Had prepared a little bulleted list of topics to discuss with the cage builder. All good.
.
Not sure what the exact requirements are but there are numerous �botl together� options for door bars. I was thinking of that myself because my racecar is tecnically on the road. But i will show you what i do with the passenger bars . Makes working on the car much easier. Knee bar behind the dash
Not sure what the exact requirements are but there are numerous �botl together� options for door bars. I was thinking of that myself because my racecar is tecnically on the road. But i will show you what i do with the passenger bars . Makes working on the car much easier.
That's a nice setup you have there Unfortunately that solution does not comply with neither the The Norwegian Car Sport Federation, that follow the regulations of FIA, or the Norwegian Public Roads Administration.
To comply with the FIA / Norwegian Car Sport Federation regulations the door bars must be completely straight. No bends up/down or outwards. See the illustration below. And to comply with the Norwegian Public Roads Administration, the door bars must not even be there. Fortunately FIA allow door bars that are removable.
But... With uprated mechanical properties, and built by a certified FIA cage builder, the soulution with the bent lower door bar (illustrated in a previous post) is OK in this particular car (Porsche 944). According to the head technical guy in The Norwegian Car Sport Federation (and thus OK with FIA).
The Norwegian Public Roads Administration is OK as well, as the lower door bar is just barely higher then the sill itself, and does not limit the driver or passenger from exiting the car. The upper door bar must be taken out when using the car on the road.
Thats very interesting with regard to fia� over here EVERY rulebook that ive read.. champcar-lucky dog- pca club racing ect all recommend the � NASCAR� style door bars.
if you think about it, the most � crashing� happens in nascar as well..
i always get funny looks driving my race-car on the road, especially when i pull up to a gas station and have to crawl out like Bo Duke,, lol

 01-13-2023, 04:53 AM

 Working on removing the remains of the padding and carpeting. And removing the bitumen plates from the tunnel and floor.
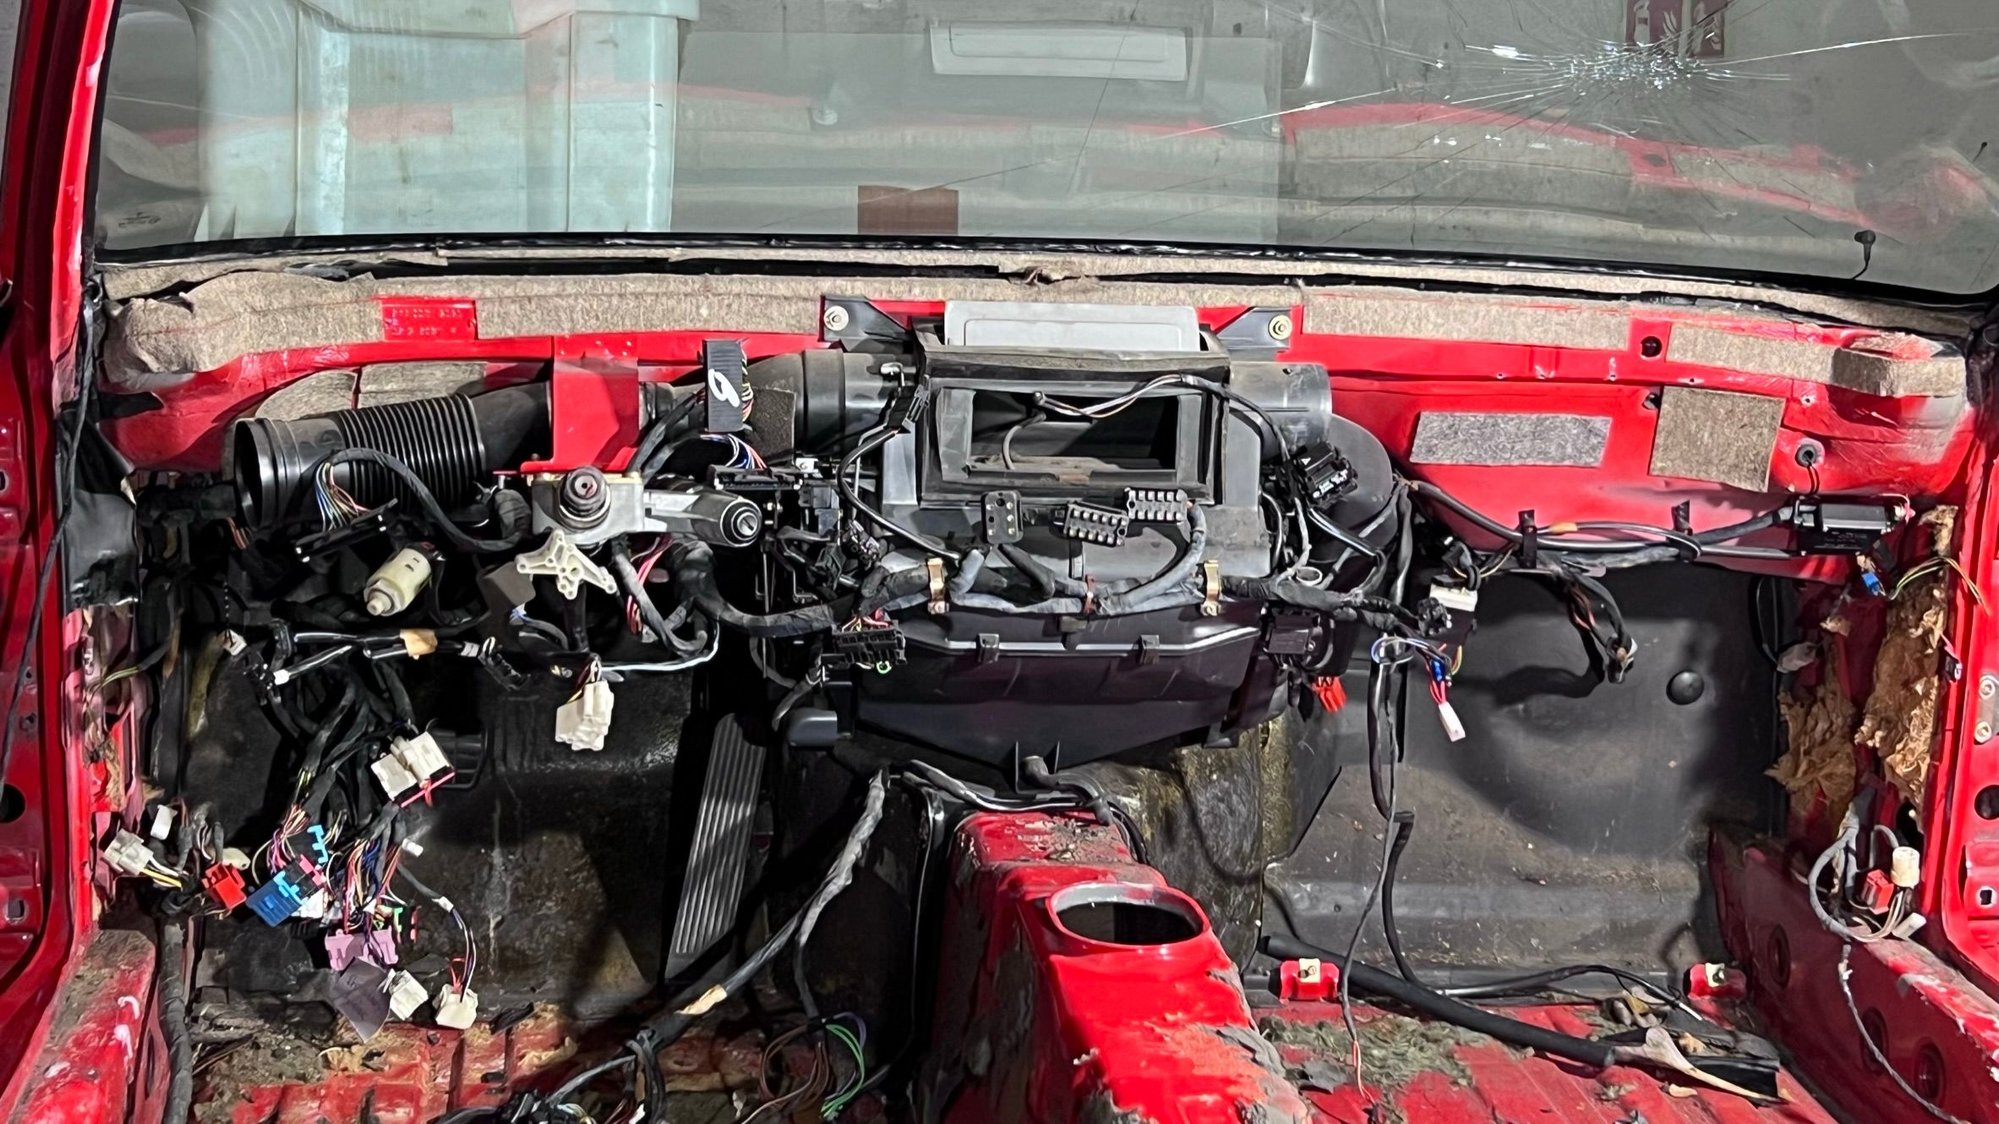


 Unfortunately that solution does not comply with neither the The Norwegian Car Sport Federation, that follow the regulations of FIA, or the Norwegian Public Roads Administration.

