When you click on links to various merchants on this site and make a purchase, this can result in this site earning a commission. Affiliate programs and affiliations include, but are not limited to, the eBay Partner Network.
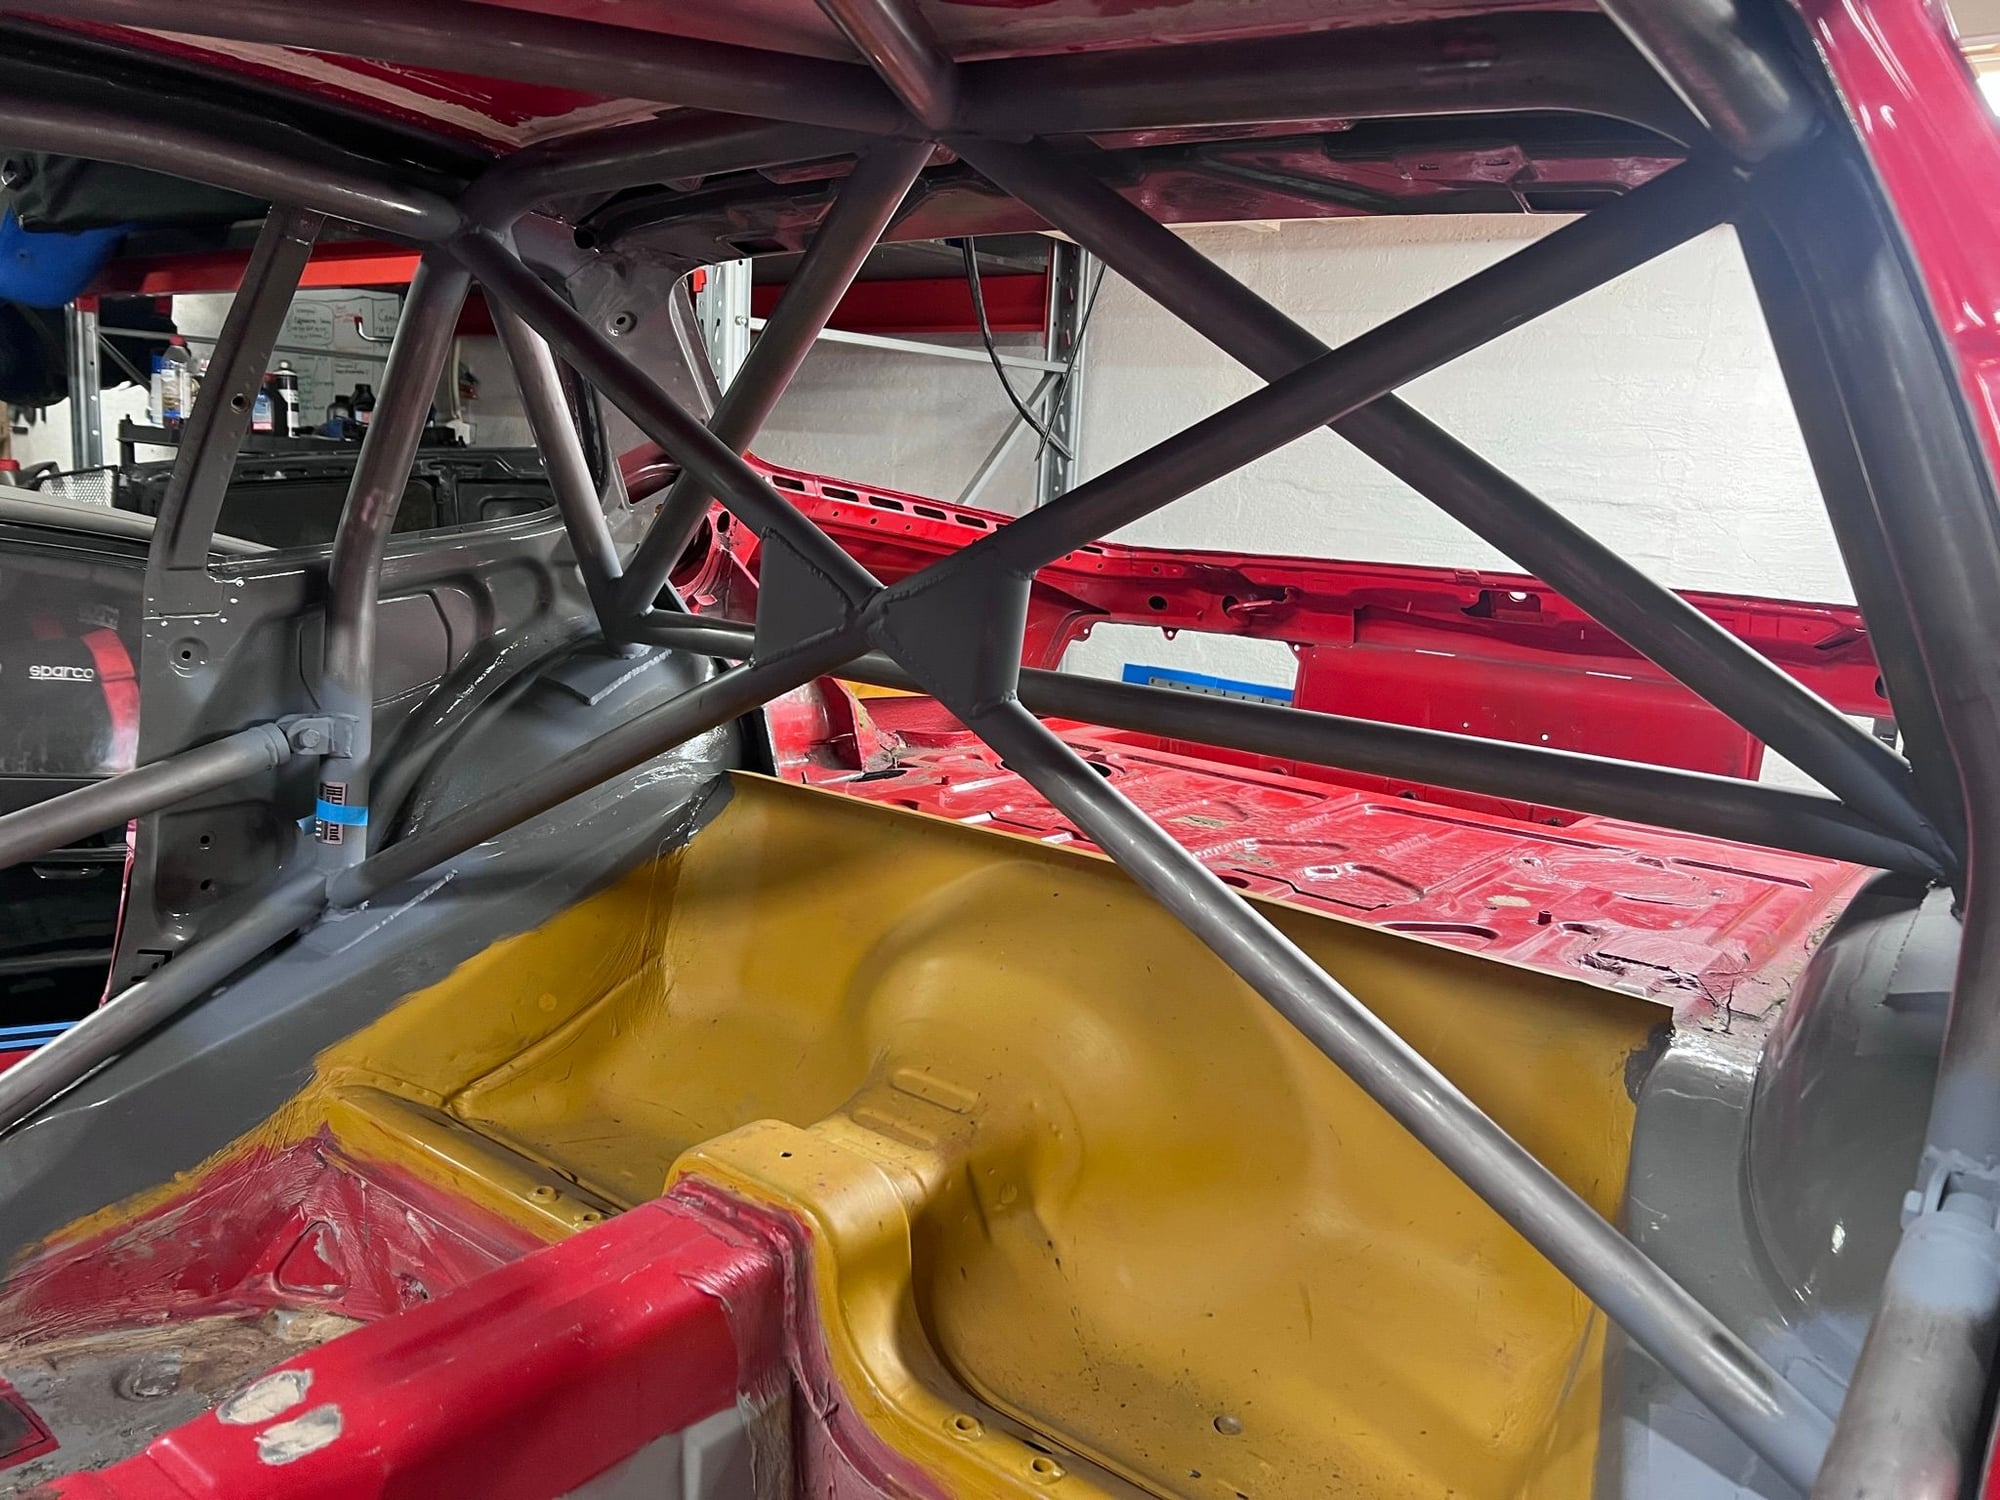
Thats very interesting with regard to fia� over here EVERY rulebook that ive read.. champcar-lucky dog- pca club racing ect all recommend the � NASCAR� style door bars.
if you think about it, the most � crashing� happens in nascar as well..
I believe the theory behind the straight bars vs NASCAR style bars is that if you consider a serious hit from the side. The force neded to "reverse" a nascar style bar from an outward bend to an inward bend into the occupant space of the car is -lower- than the force needed to stretching a straight bar long enough to reach the same distance into the passenger room. Given the same dimensions and mechanical properties of the tube itself. Ie. the distances into the occupant space great enough to inflict serious, life threatening, injuries.
That's how i got that explained by the head tech guy at The Norwegian Car Sport Federation. I do believe this guy has som trust with the FIA. Because I learned through a podkast that he was summuned to scrutinize during one of the Formula 2 races in the 2022 season. Not that Formula 2 is linked much to a straight forward Porsche 944. But anyways...
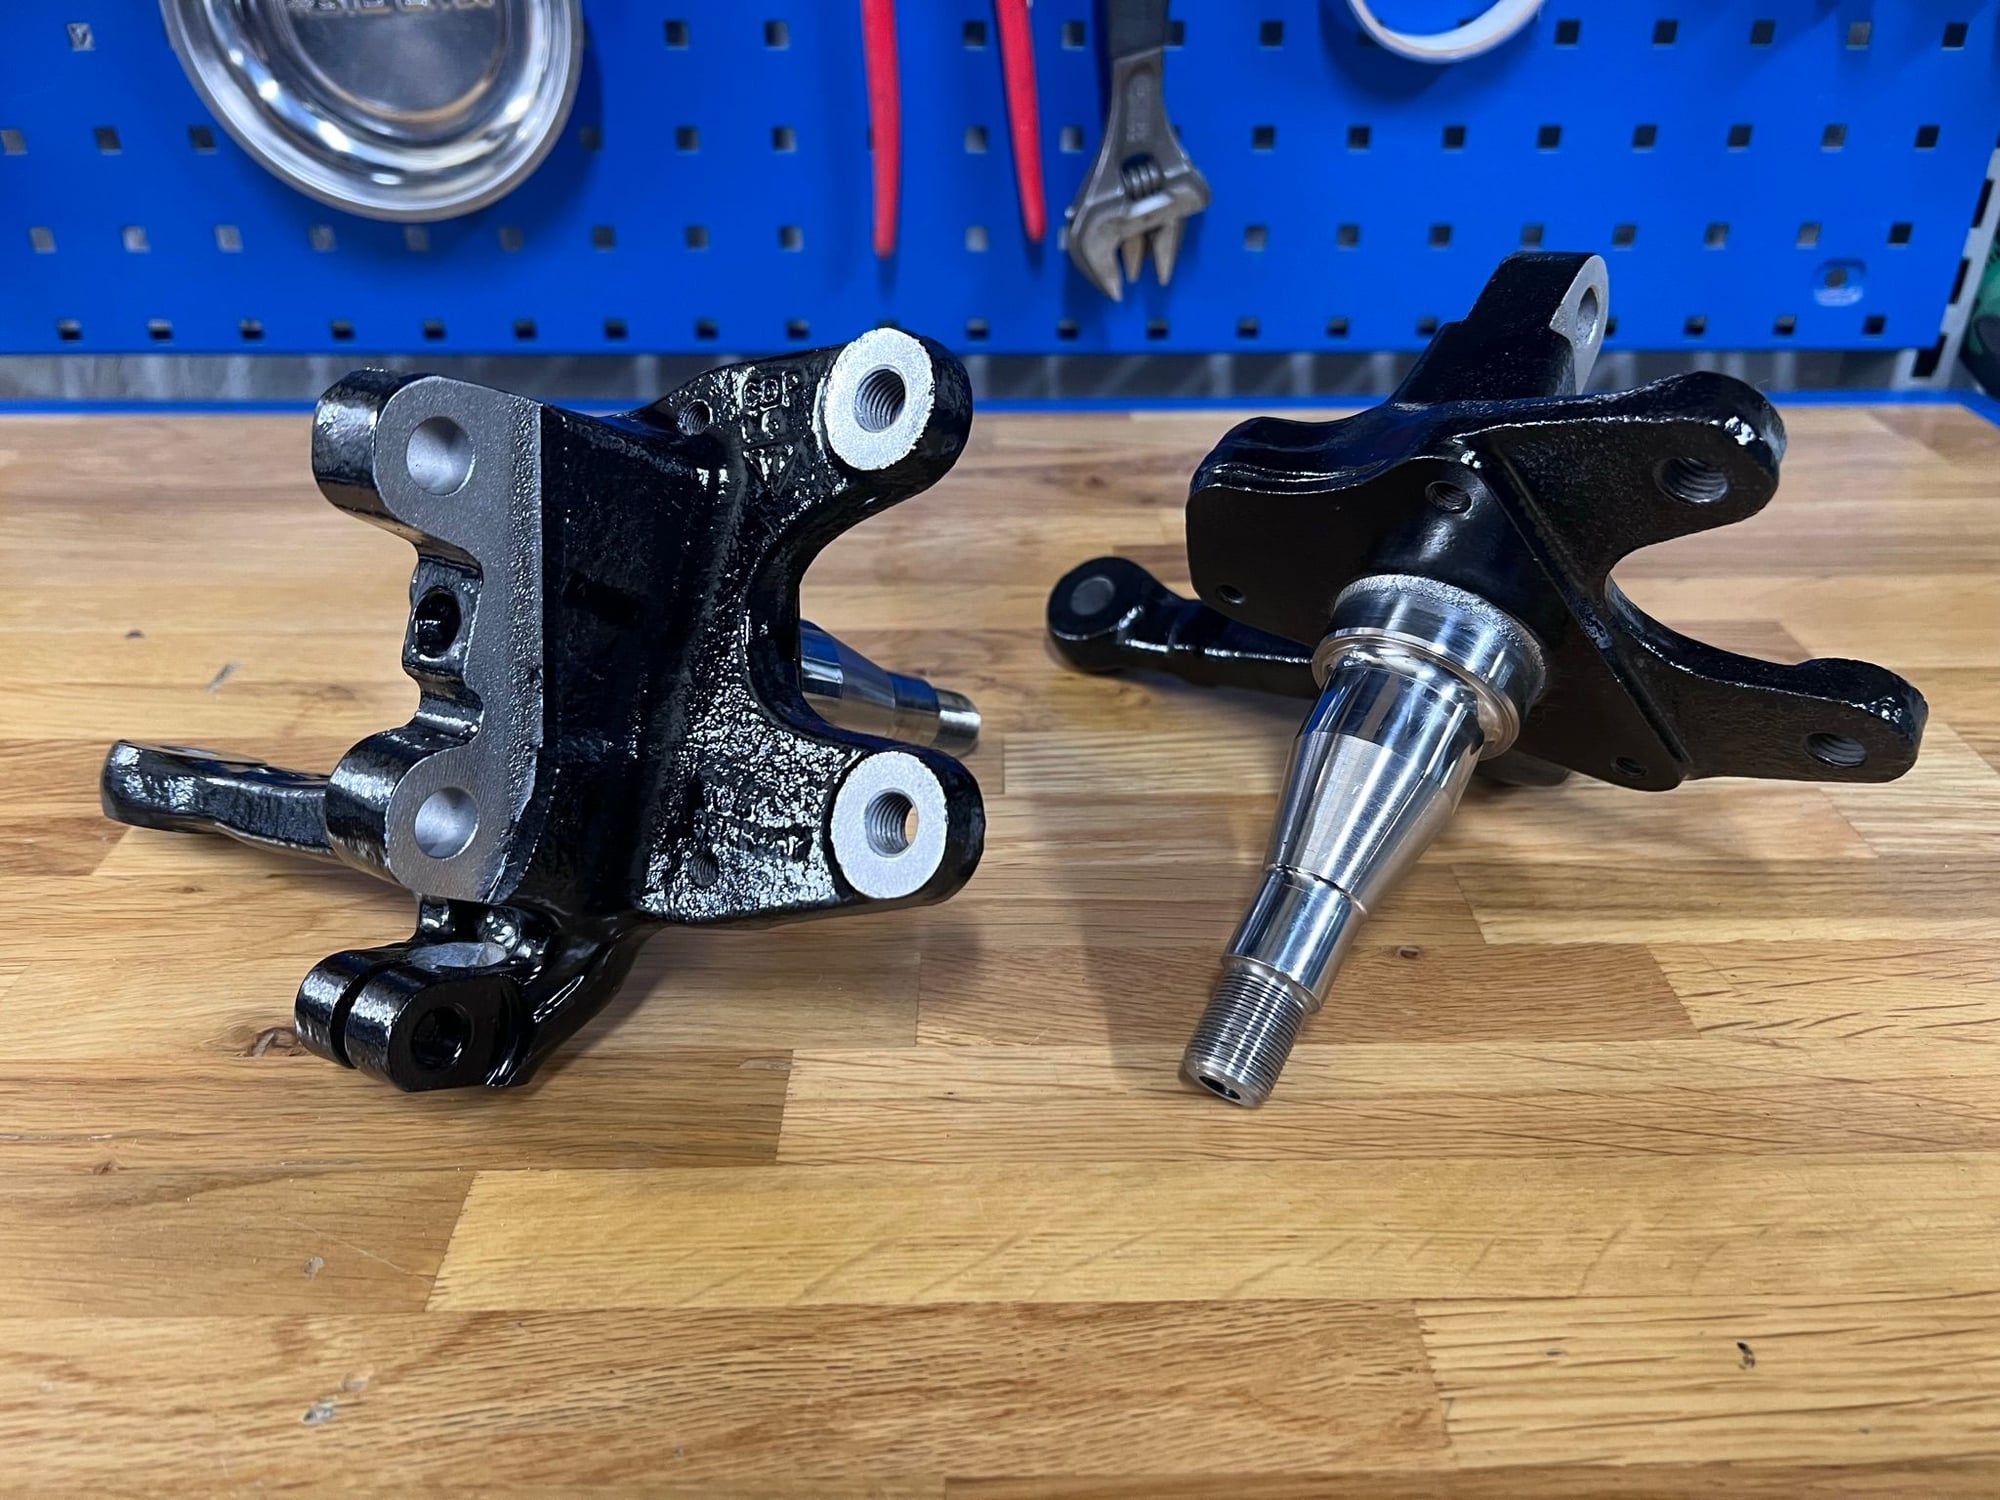
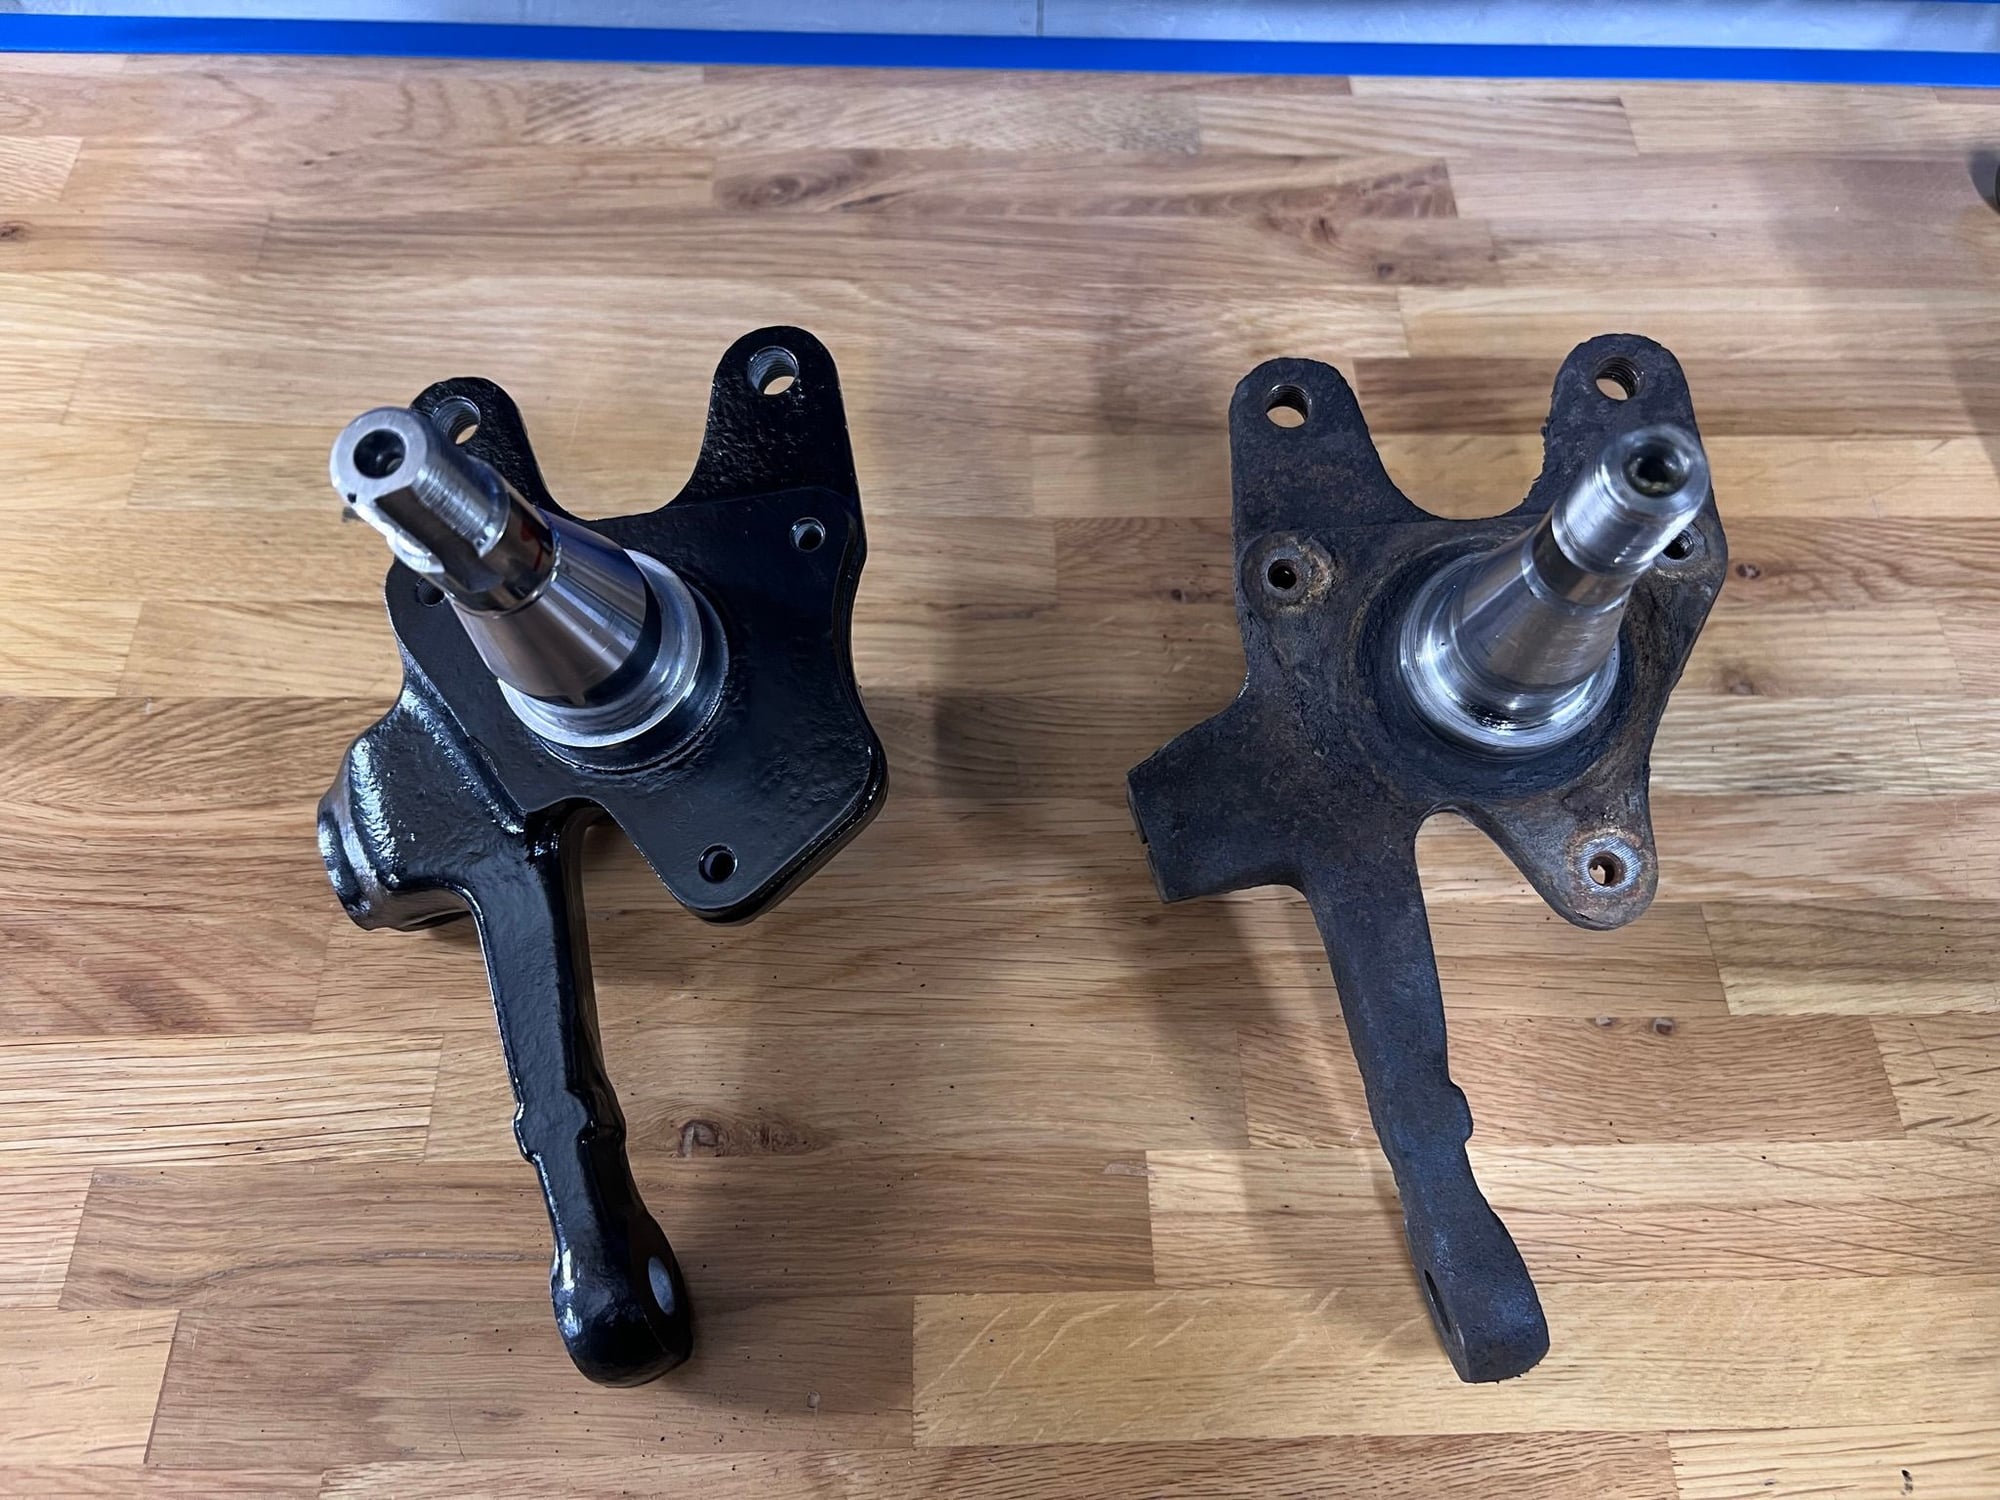
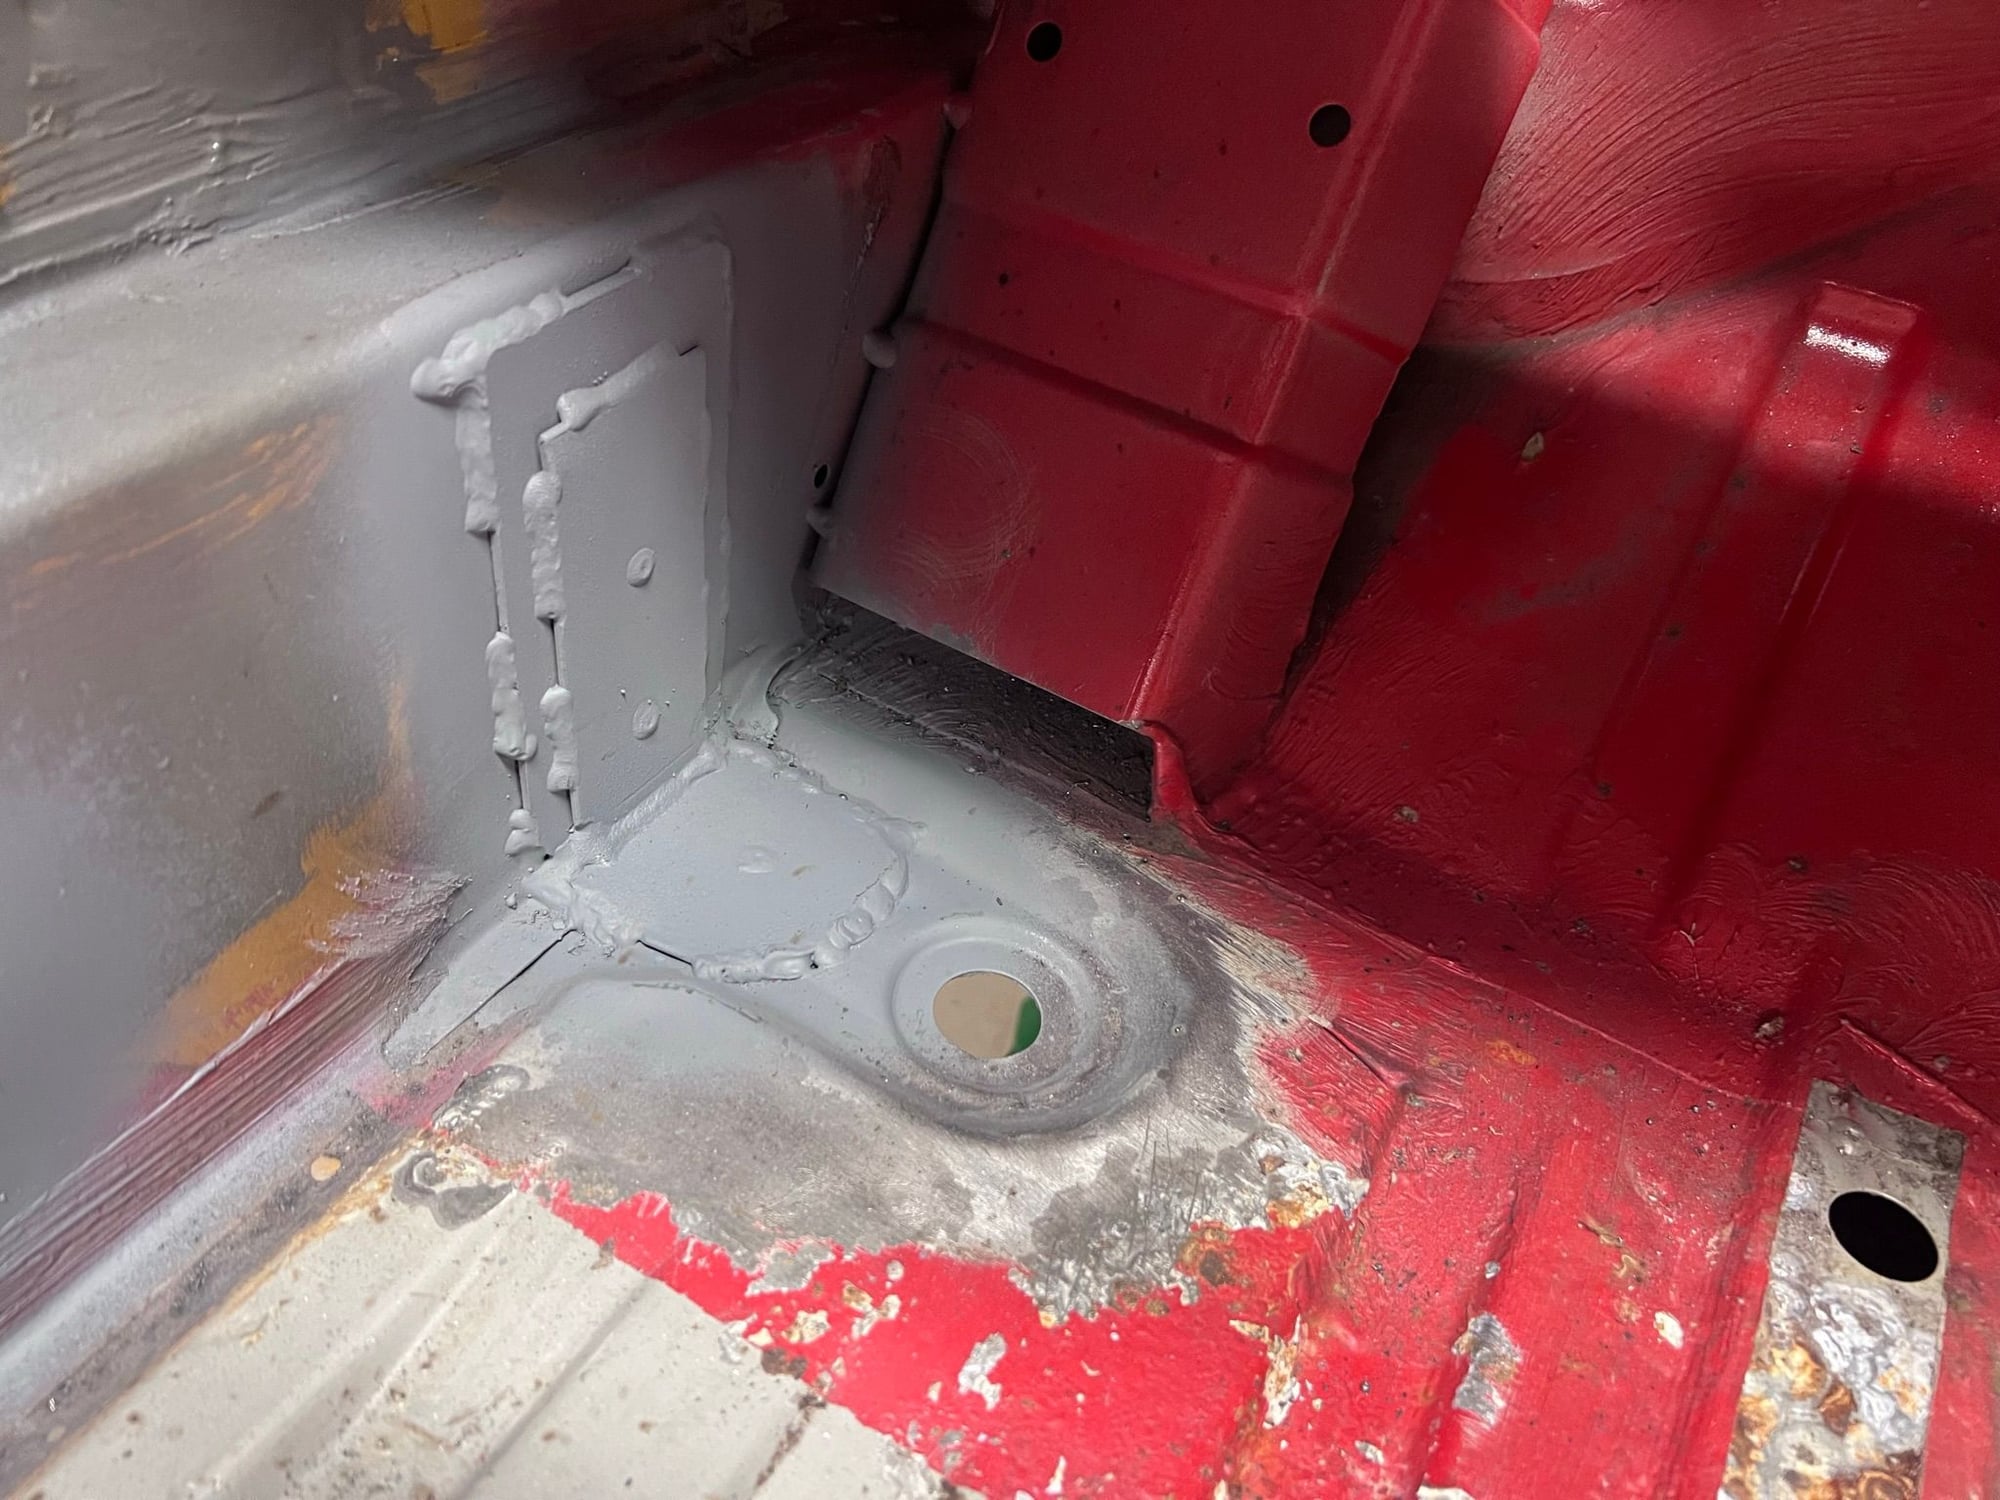
Now that the tub is at the cage builder, there was time to clean my space. And finish the last bits that was sand blasted. The blaster guy had touched the surface for the rear seal, but fortunately one of the other guys in the garage collective has a polishing wheel. Had masked off the machined interfaces towards the ball joint, strut, brakes and steering linkage.
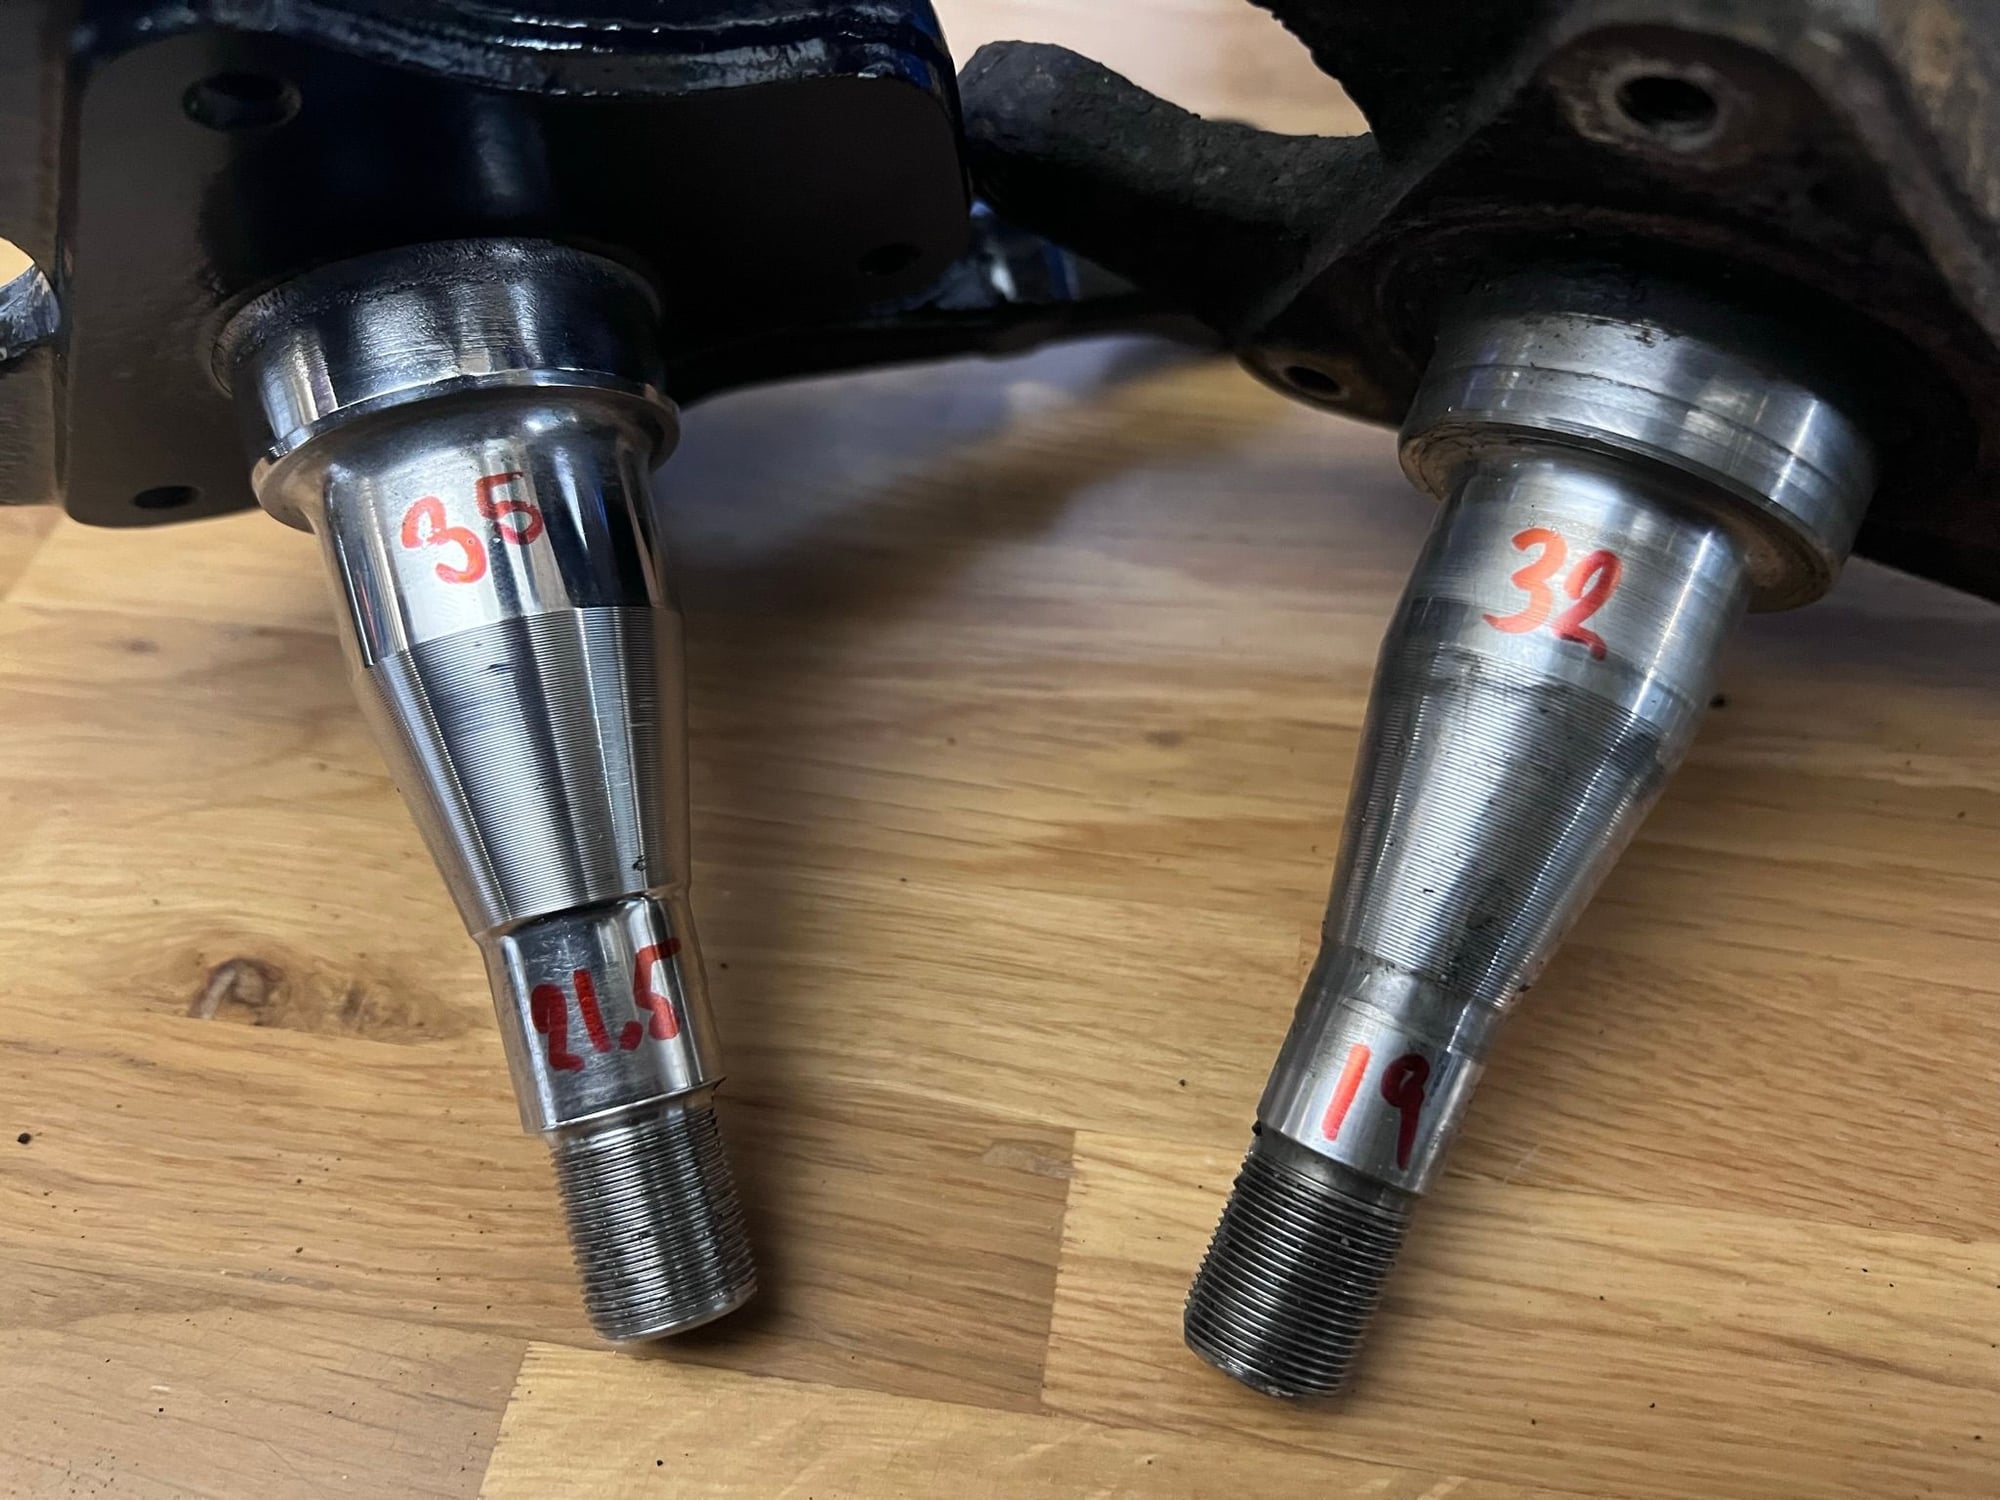
The spindles are from an 87+ na that I got hold of, including the hubs. So all the front suspension components will now be late offset (87+). With brake discs assembled from the outside, and slightly larger bearings as well.
.
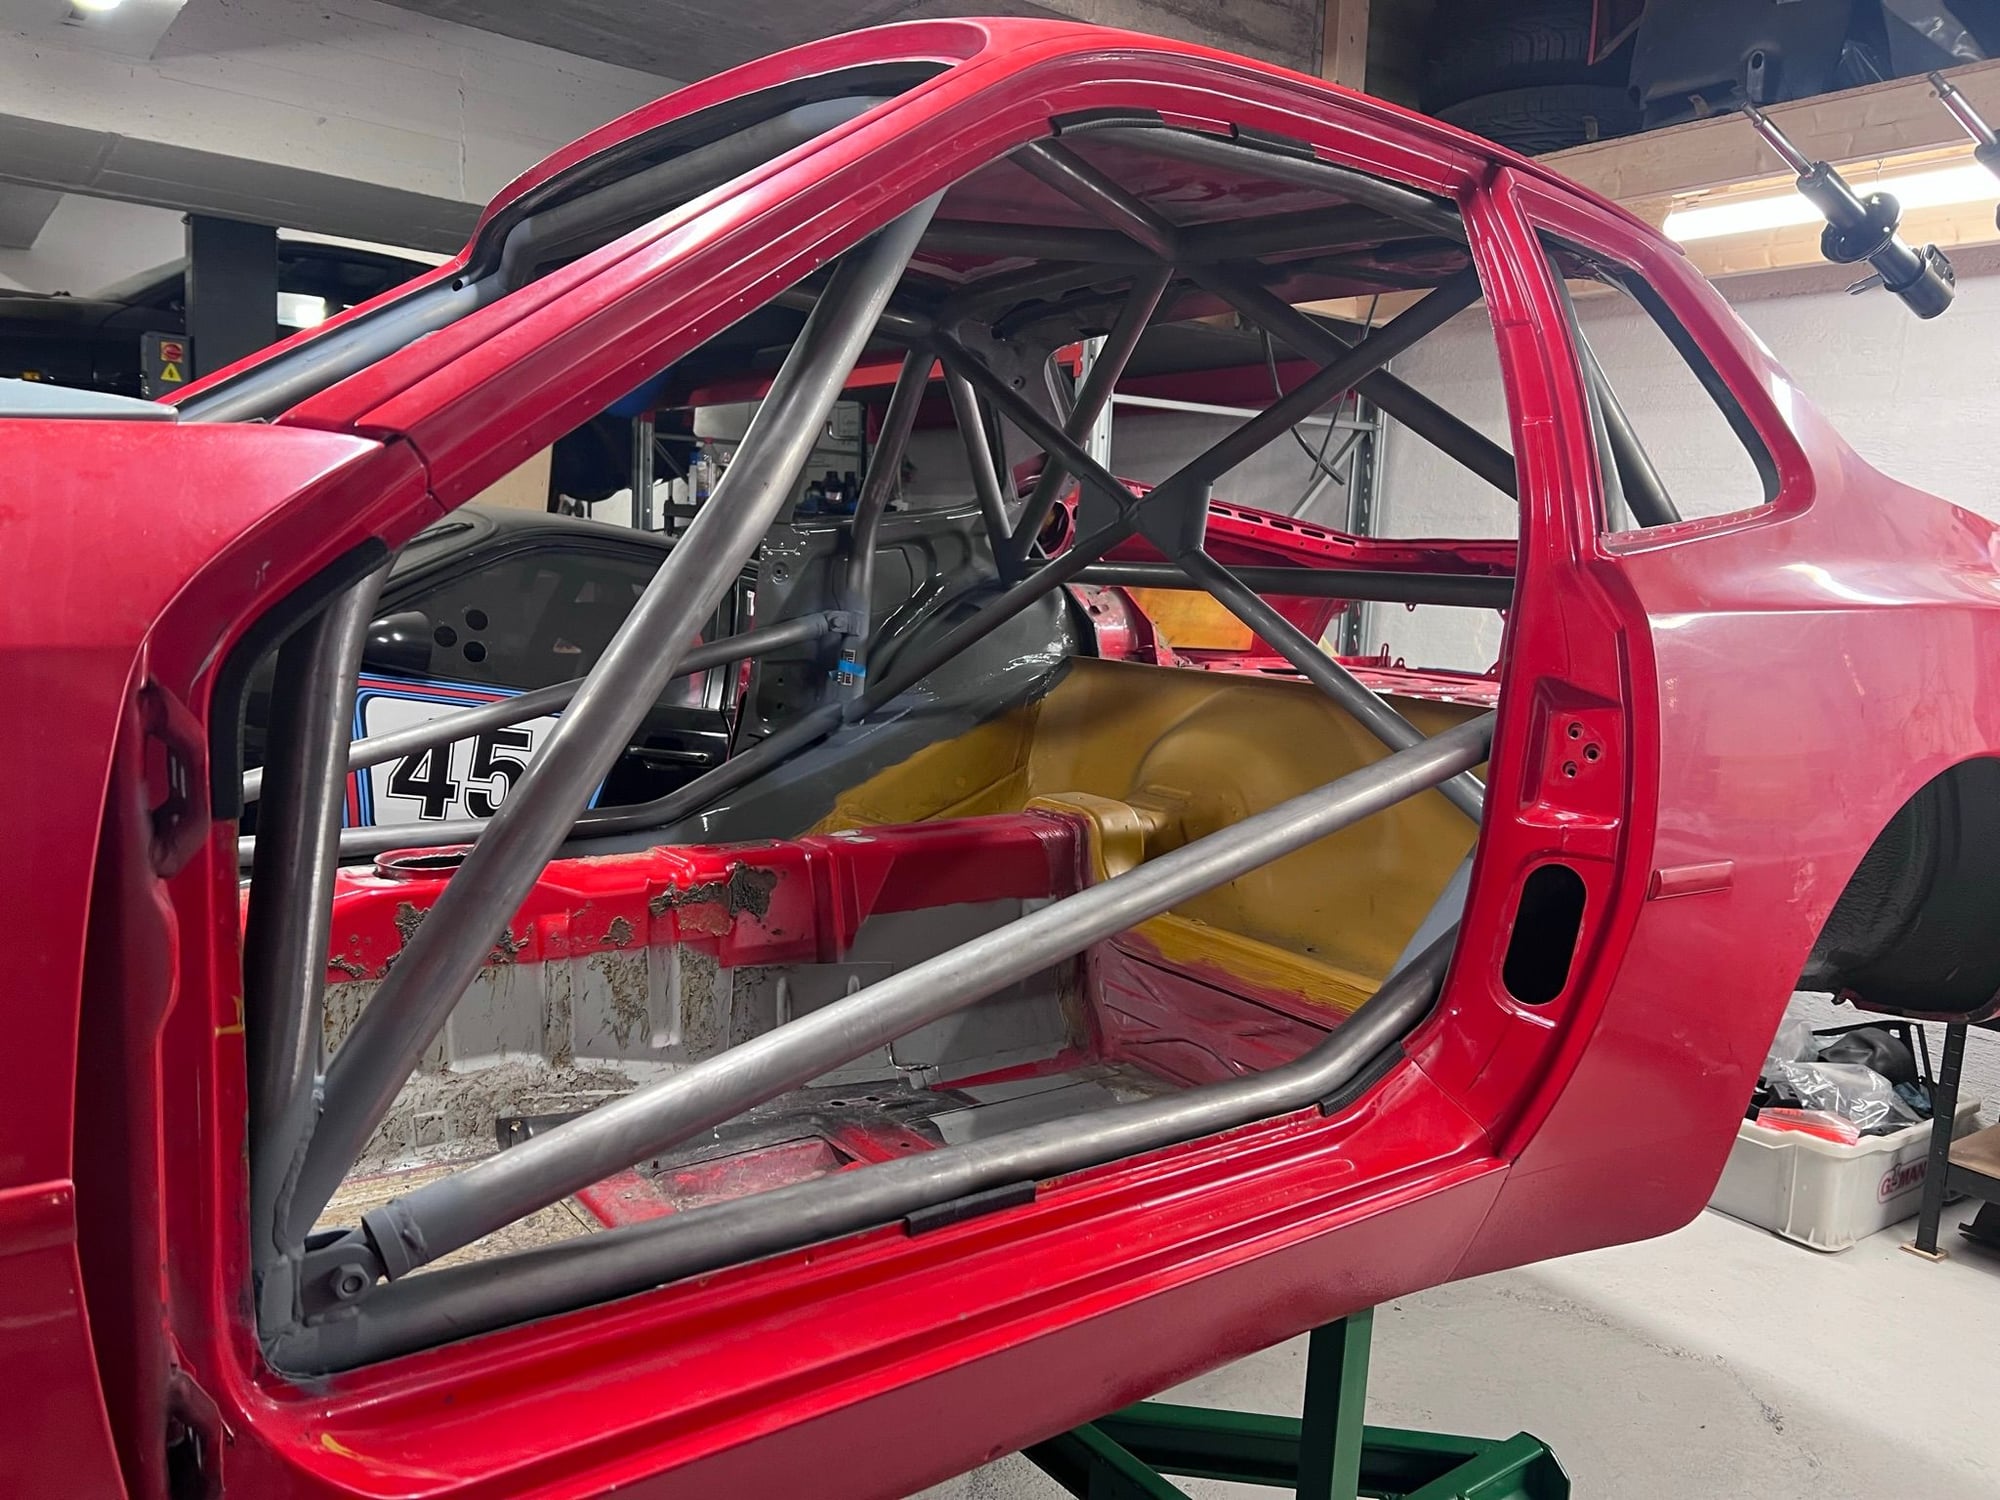
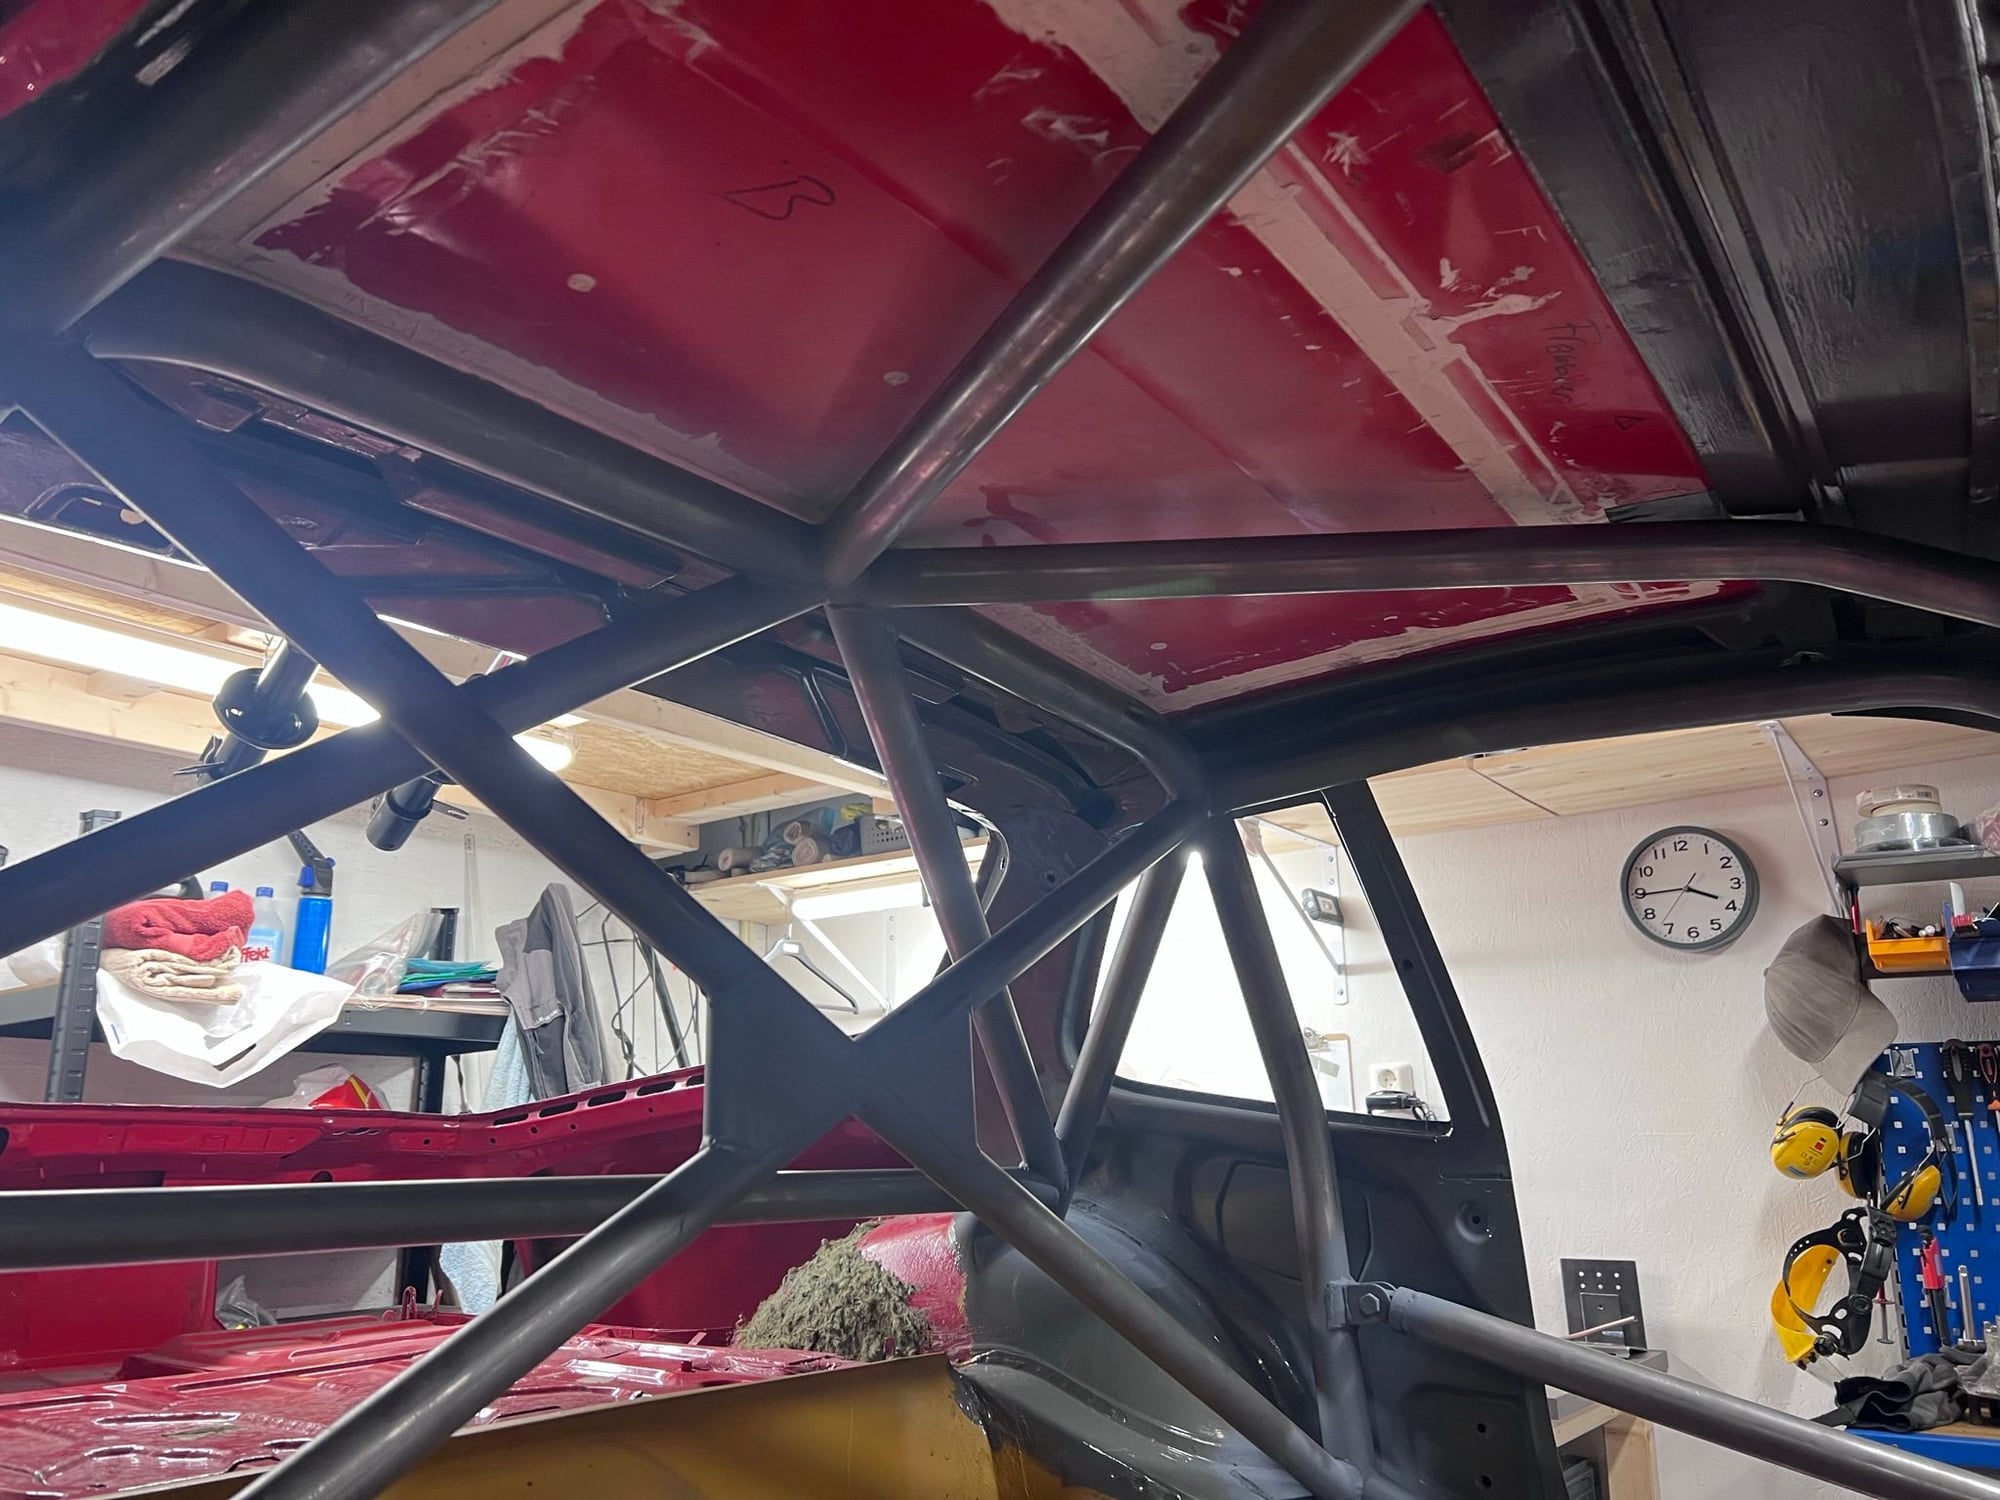
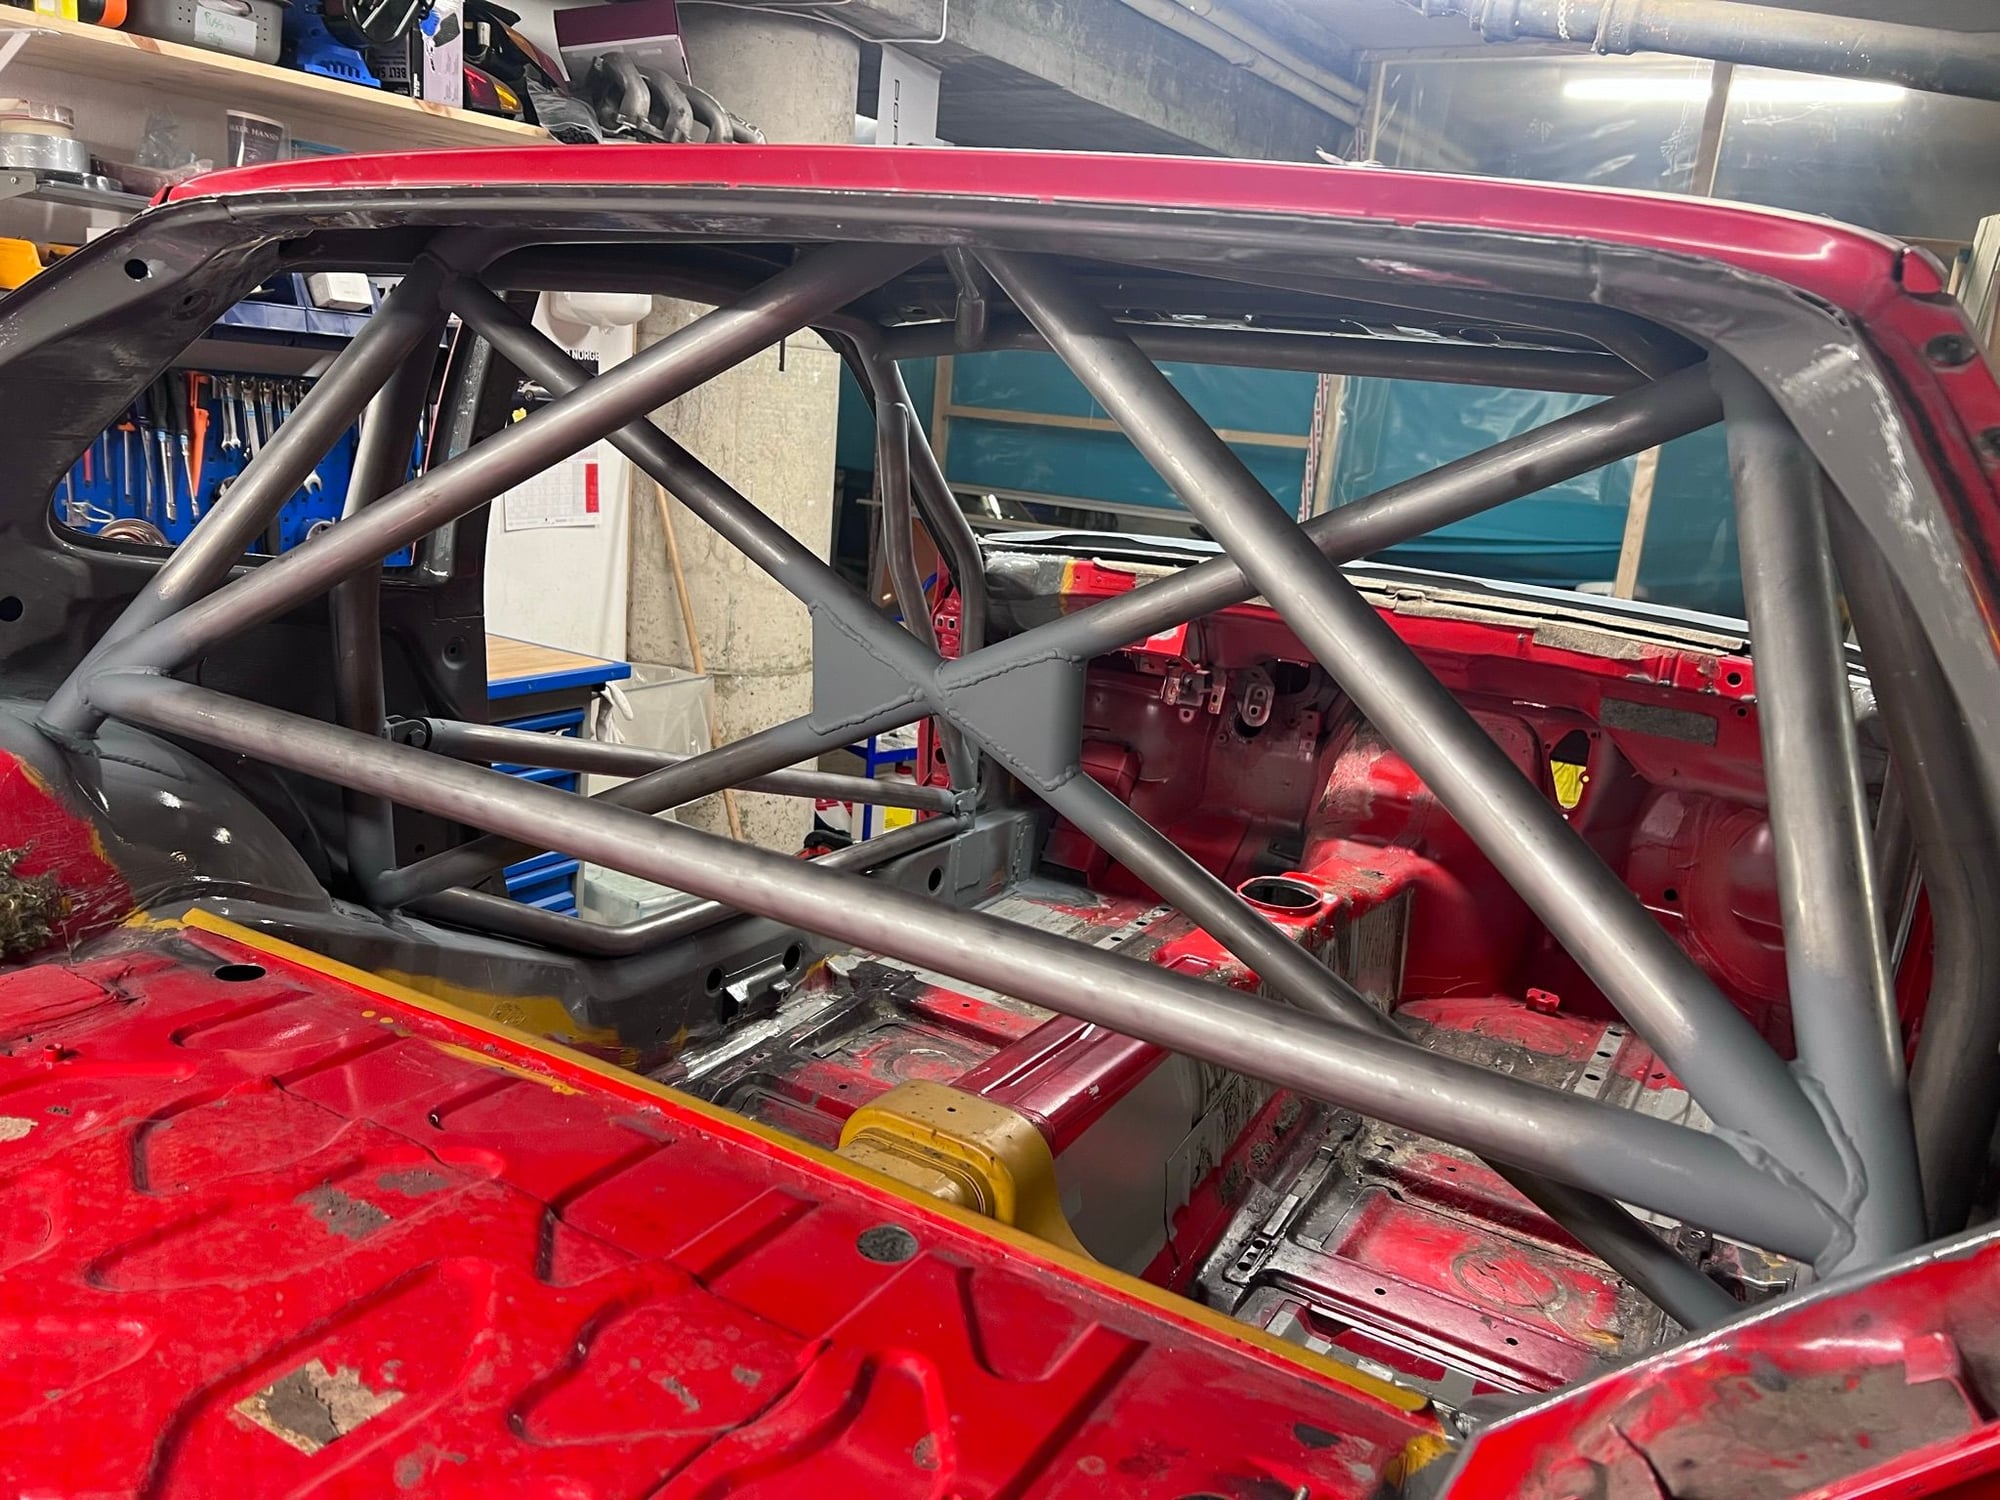
Now I have a cage that is FIA certified for GT racing. In a straight and rust free 944 Type 2 tub. Meaning; I can keep my 944na engine and race in the 944 spec class, or national clubsport. Or I can, over time, put more engine into the car and race in other classes. Or other countries. Keeping the dream of driving and racing my -own- car on some of the European tracks alive. Time will tell. But there are lots of options.
I won't get a definitive answer from the road authorities for some time. They need to see a complete car before I get the thumbs up. Or thumbs down. So that's still an uncertain topic.
That cage looks great!
It's frustrating when you need to ask permission from some petty bureaucrat for anything.
My experiences in California were uniformly bad, with the hired help interpreting written law to suit their whim-of-the-day.
Hopefully the bureaucrats in Norway are less power mad.
Good luck!
Steve
That cage looks great! It's frustrating when you need to ask permission from some petty bureaucrat for anything.
My experiences in California were uniformly bad, with the hired help interpreting written law to suit their whim-of-the-day.
Hopefully the bureaucrats in Norway are less power mad. Good luck! Steve
Thx! I am happy myself
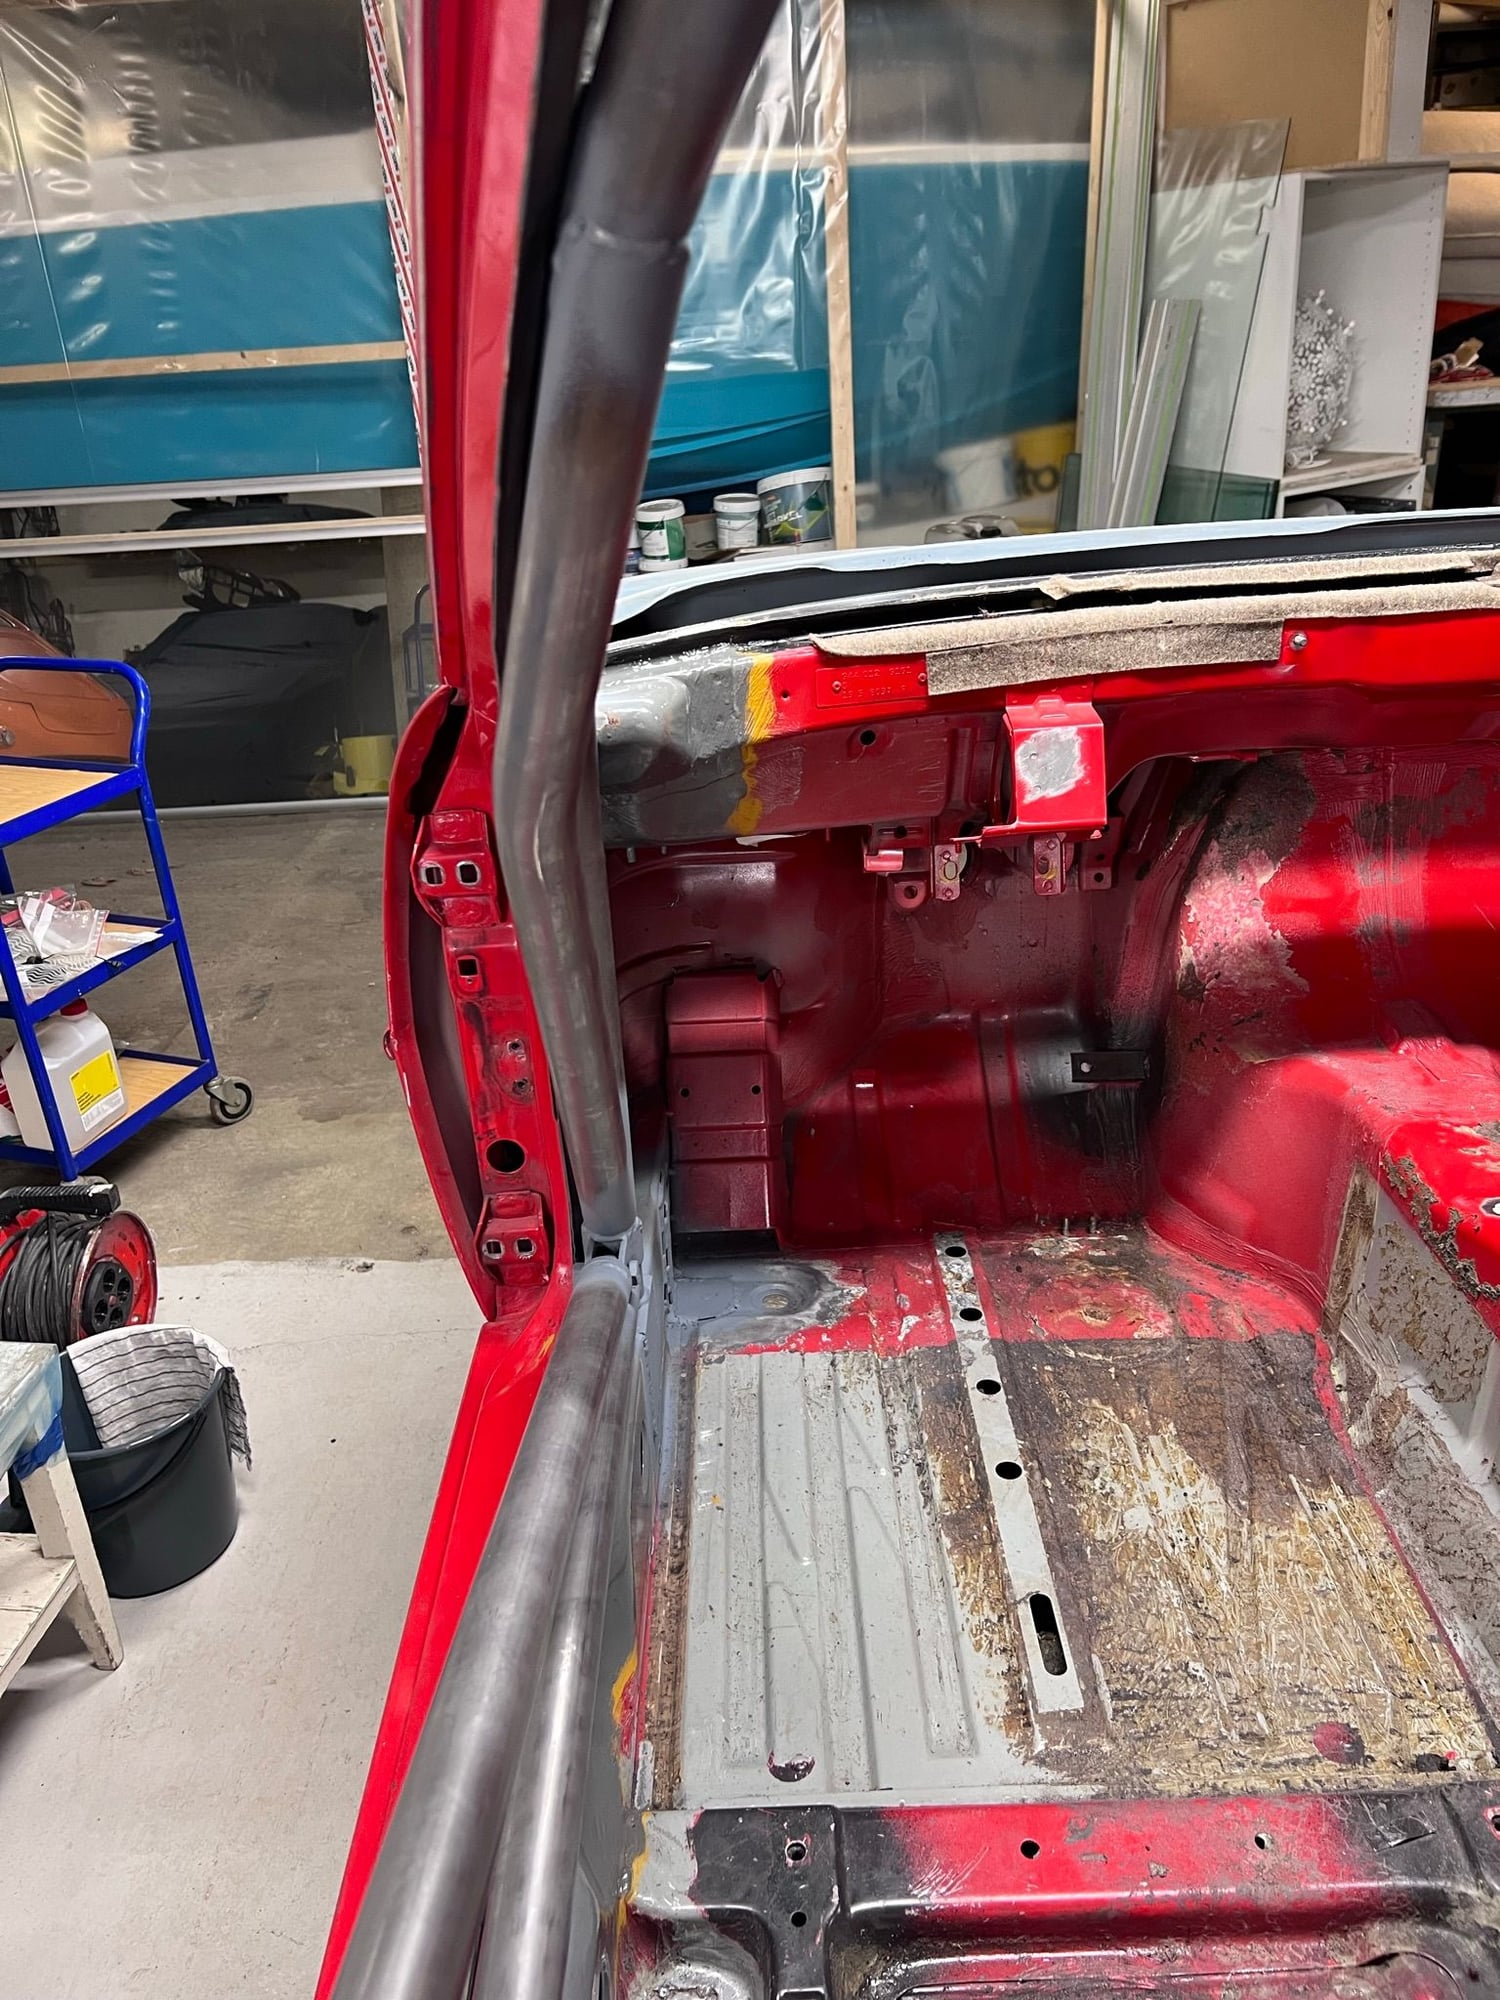
I believe I have control when it comes to the road authorities. I have maintained the dialogue with the same guy for some time. He seems OK. Planning on sending him some photos of the cage as it sits right now, to get his feedback.
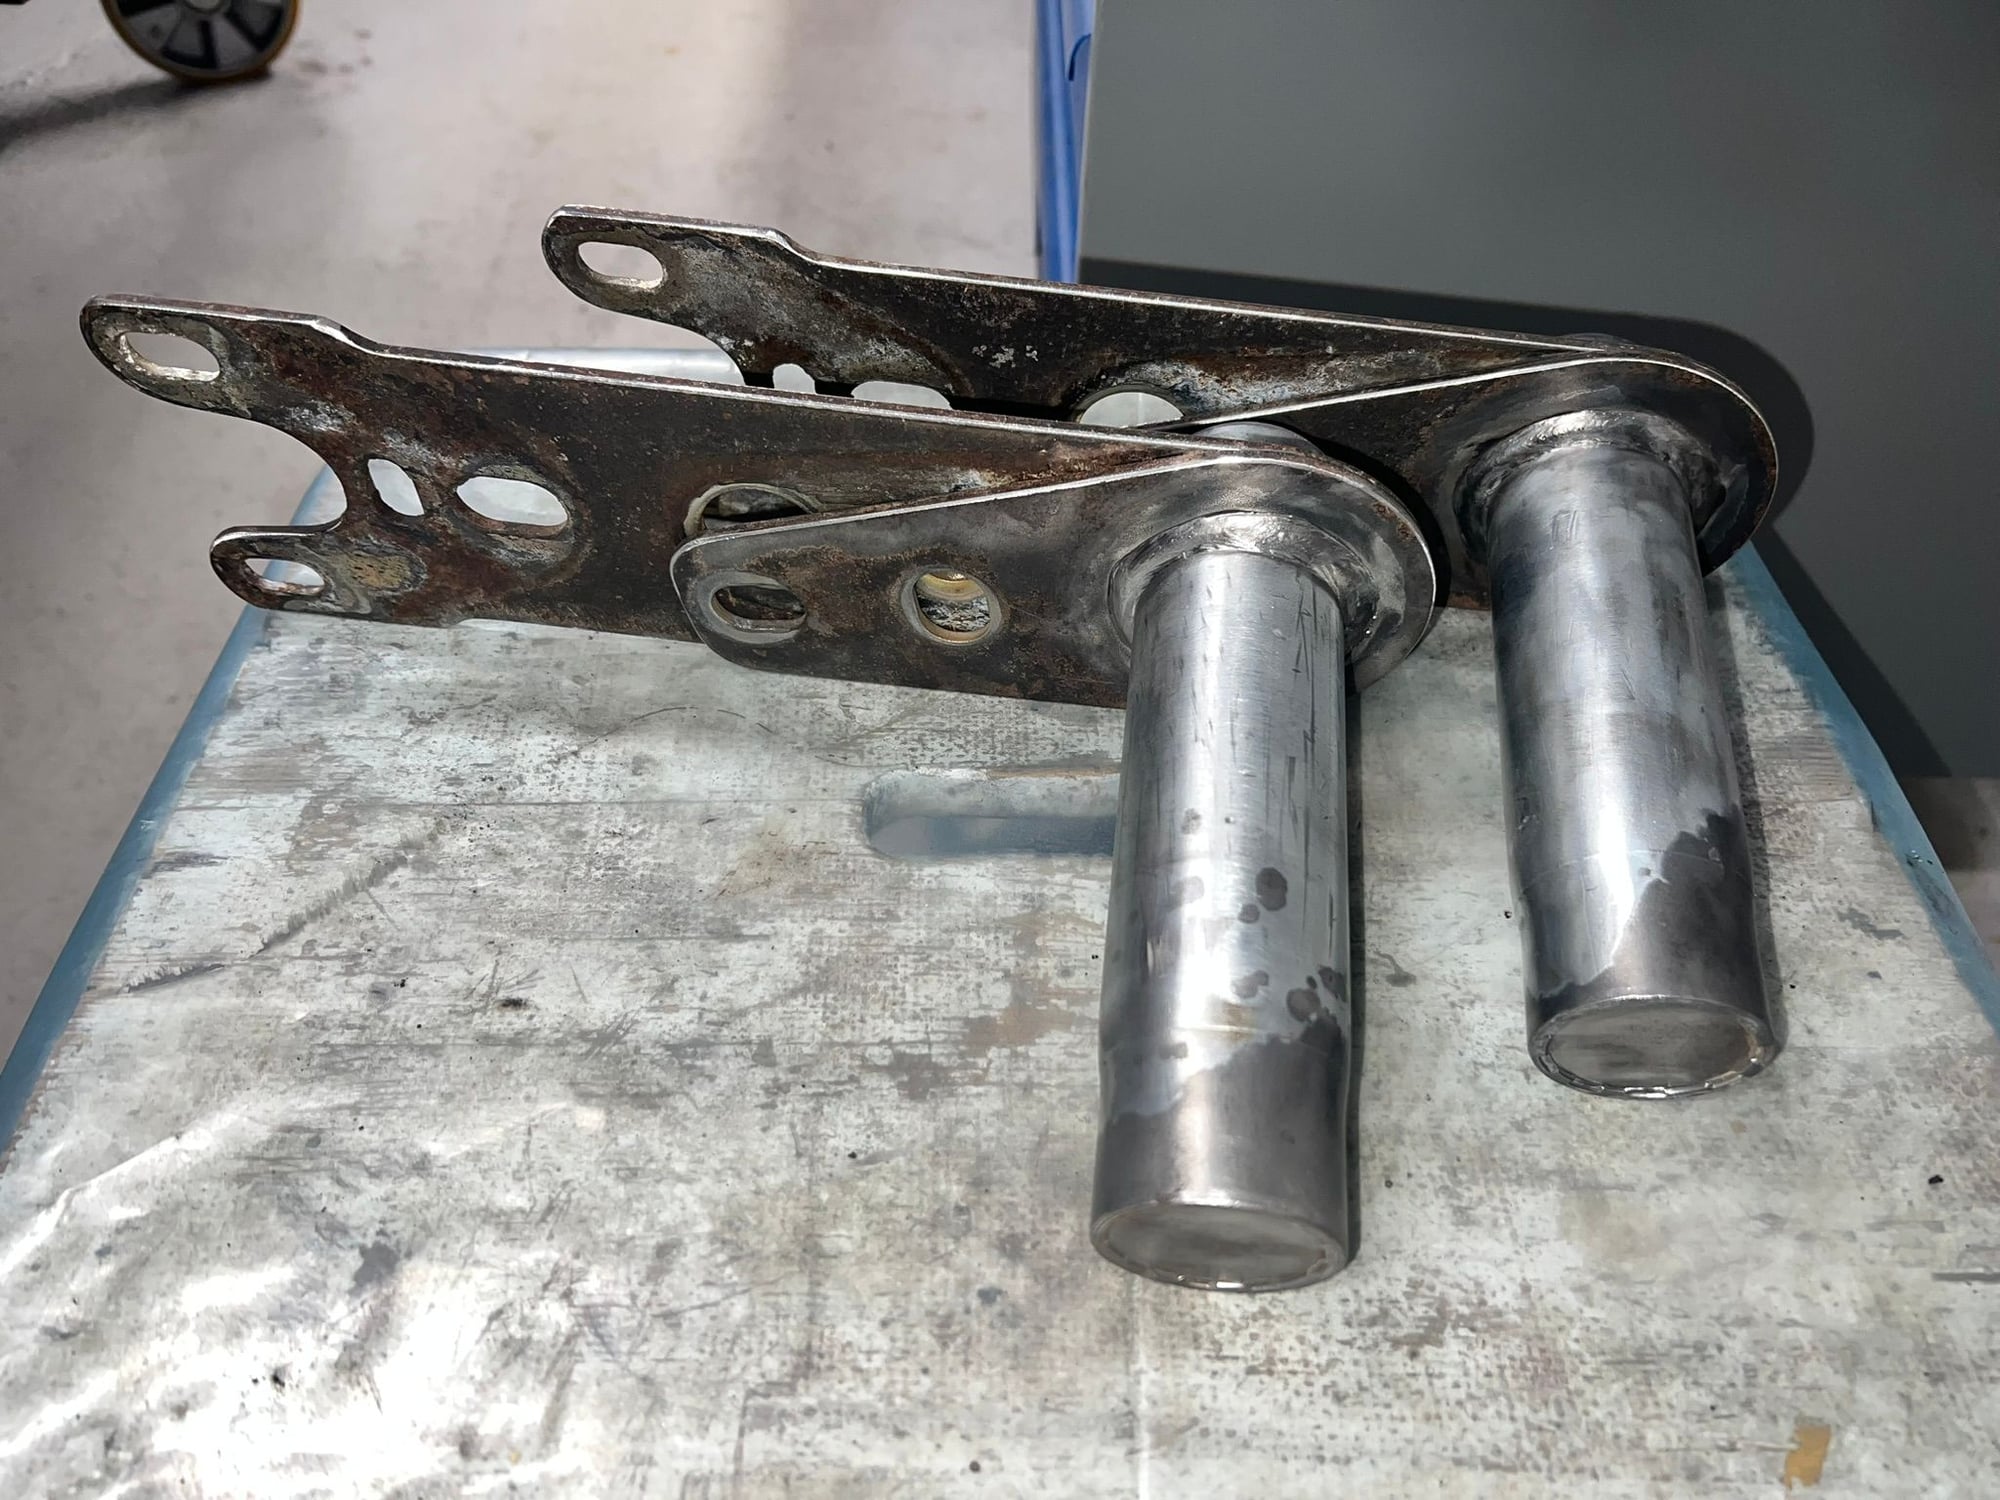
A friend saw some pictures online. He reached out and said he could help with those bad looking aluminium suspension components. So I've prepared the suspension bits for wet blasting. Arms, torsion tube outer consoles and the front hubs.
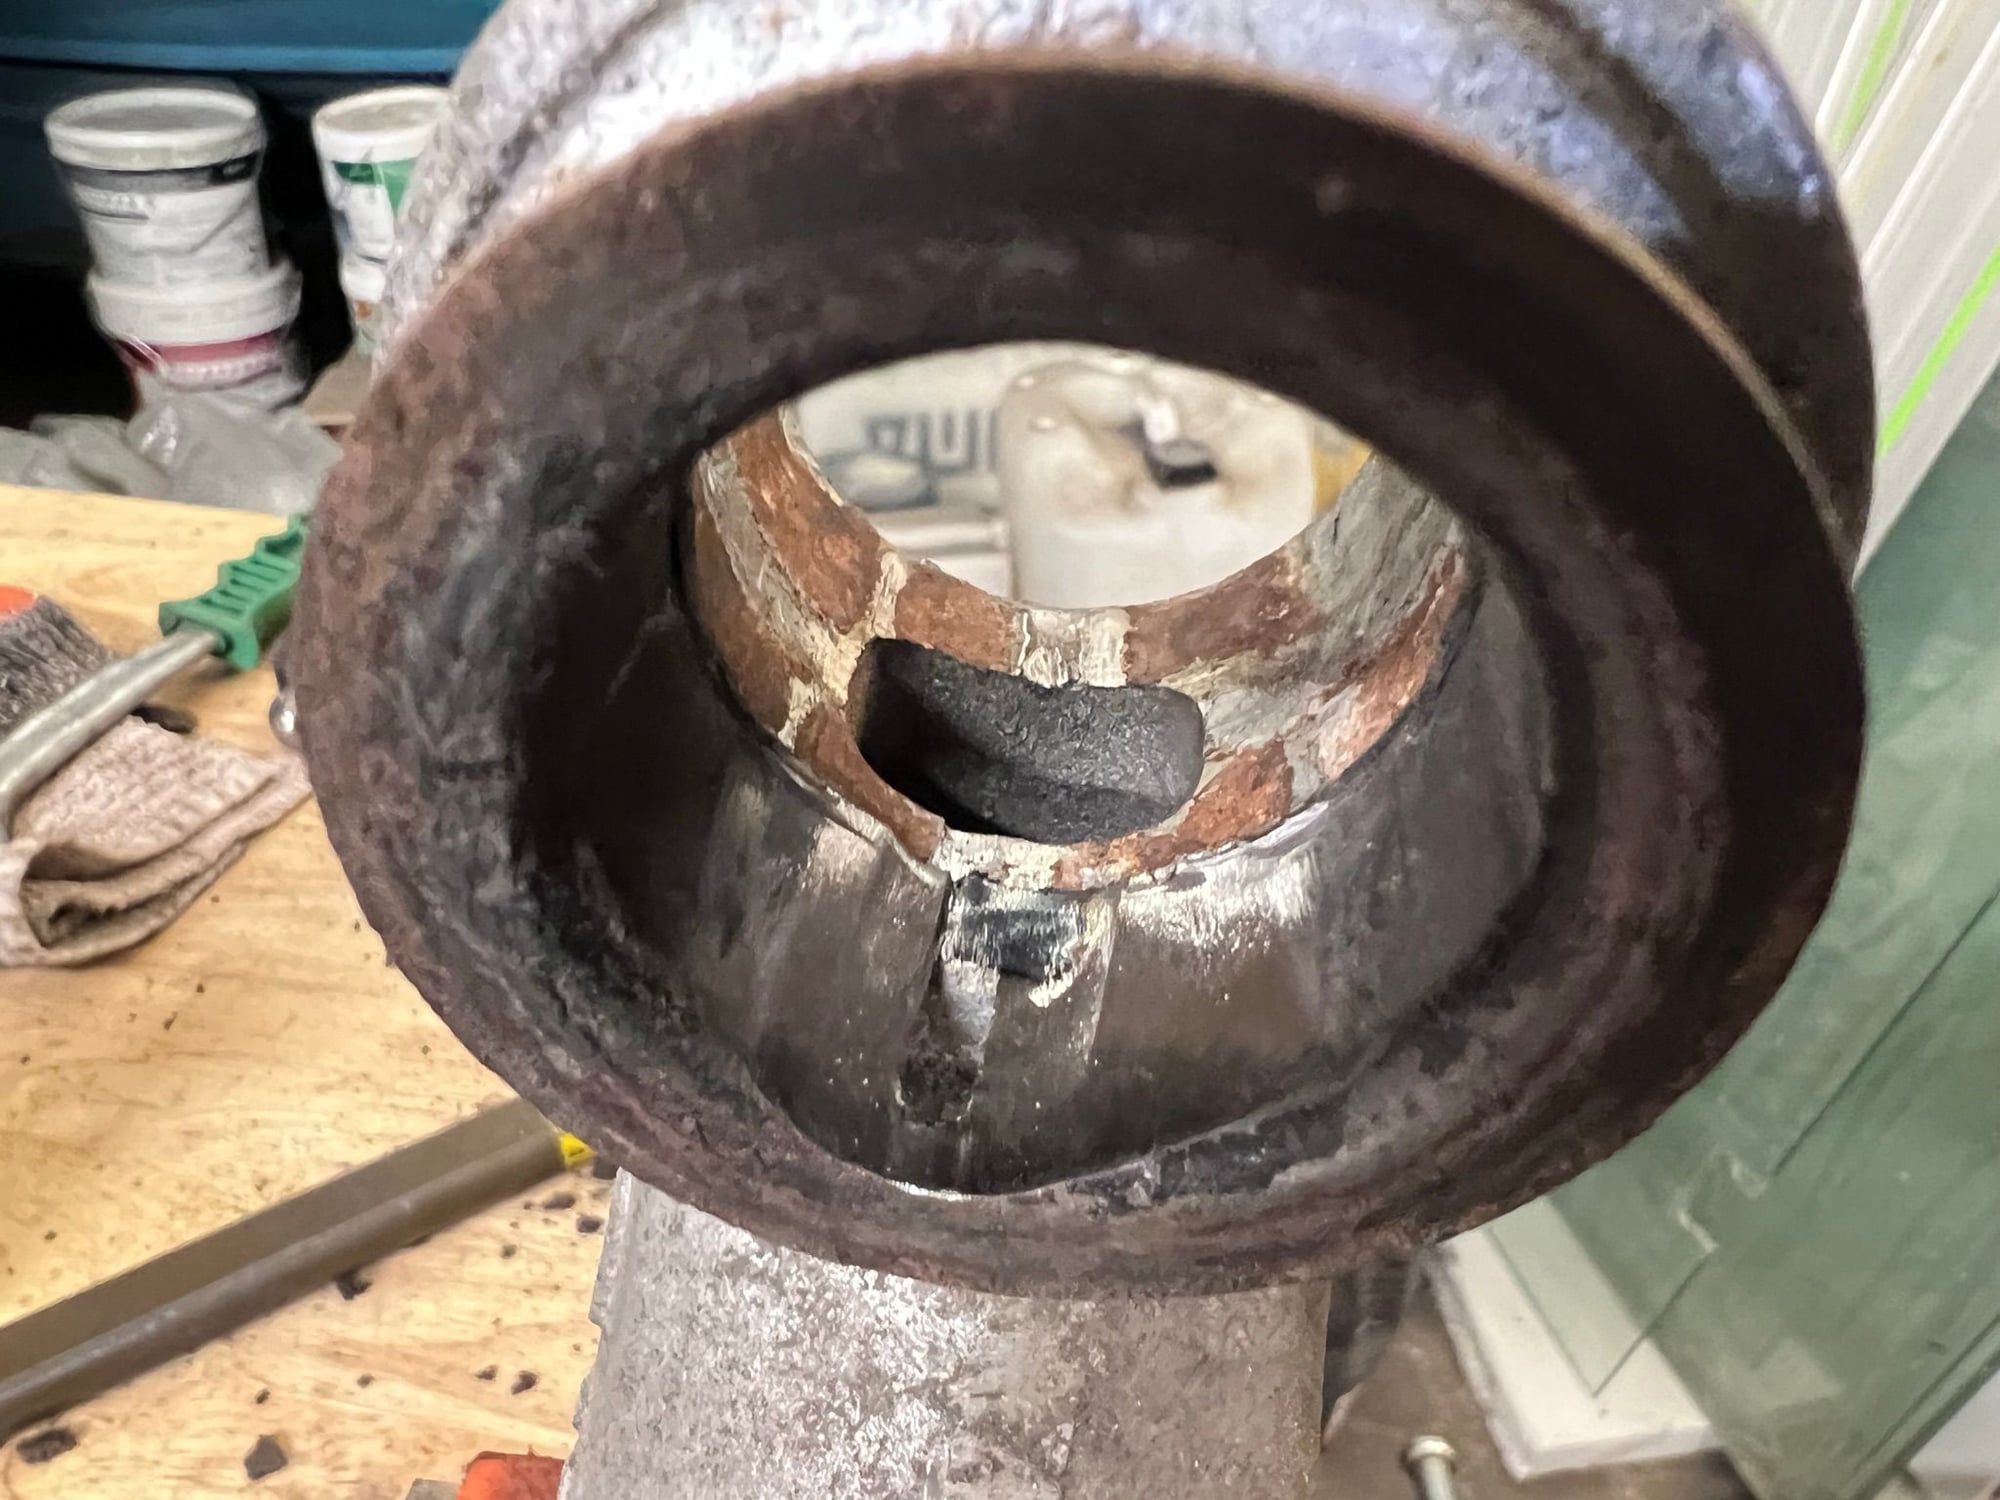
The best technique I have found for removing the original rubber bushings from both front and rear control arms is to first pry out the inner steel part along with the rubber. Sometimes using a bit of heat from a propane torch. The metal sleeve that is pressed into the aluminium casting I remove by using a hand held belt grinder to weaken the sleeve before tapping it out. Since it is a risk of grinding a (very tiny) bit into the aluminium, I grind the steel sleeve where the aluminium casting is strongest, at the point where the rest of the arm is attached to the circular sleeve housing. I've tried various tecniques, including (breaking) an expensive Elephant Racing bushing extractor tool. What have described above works nicely every time.
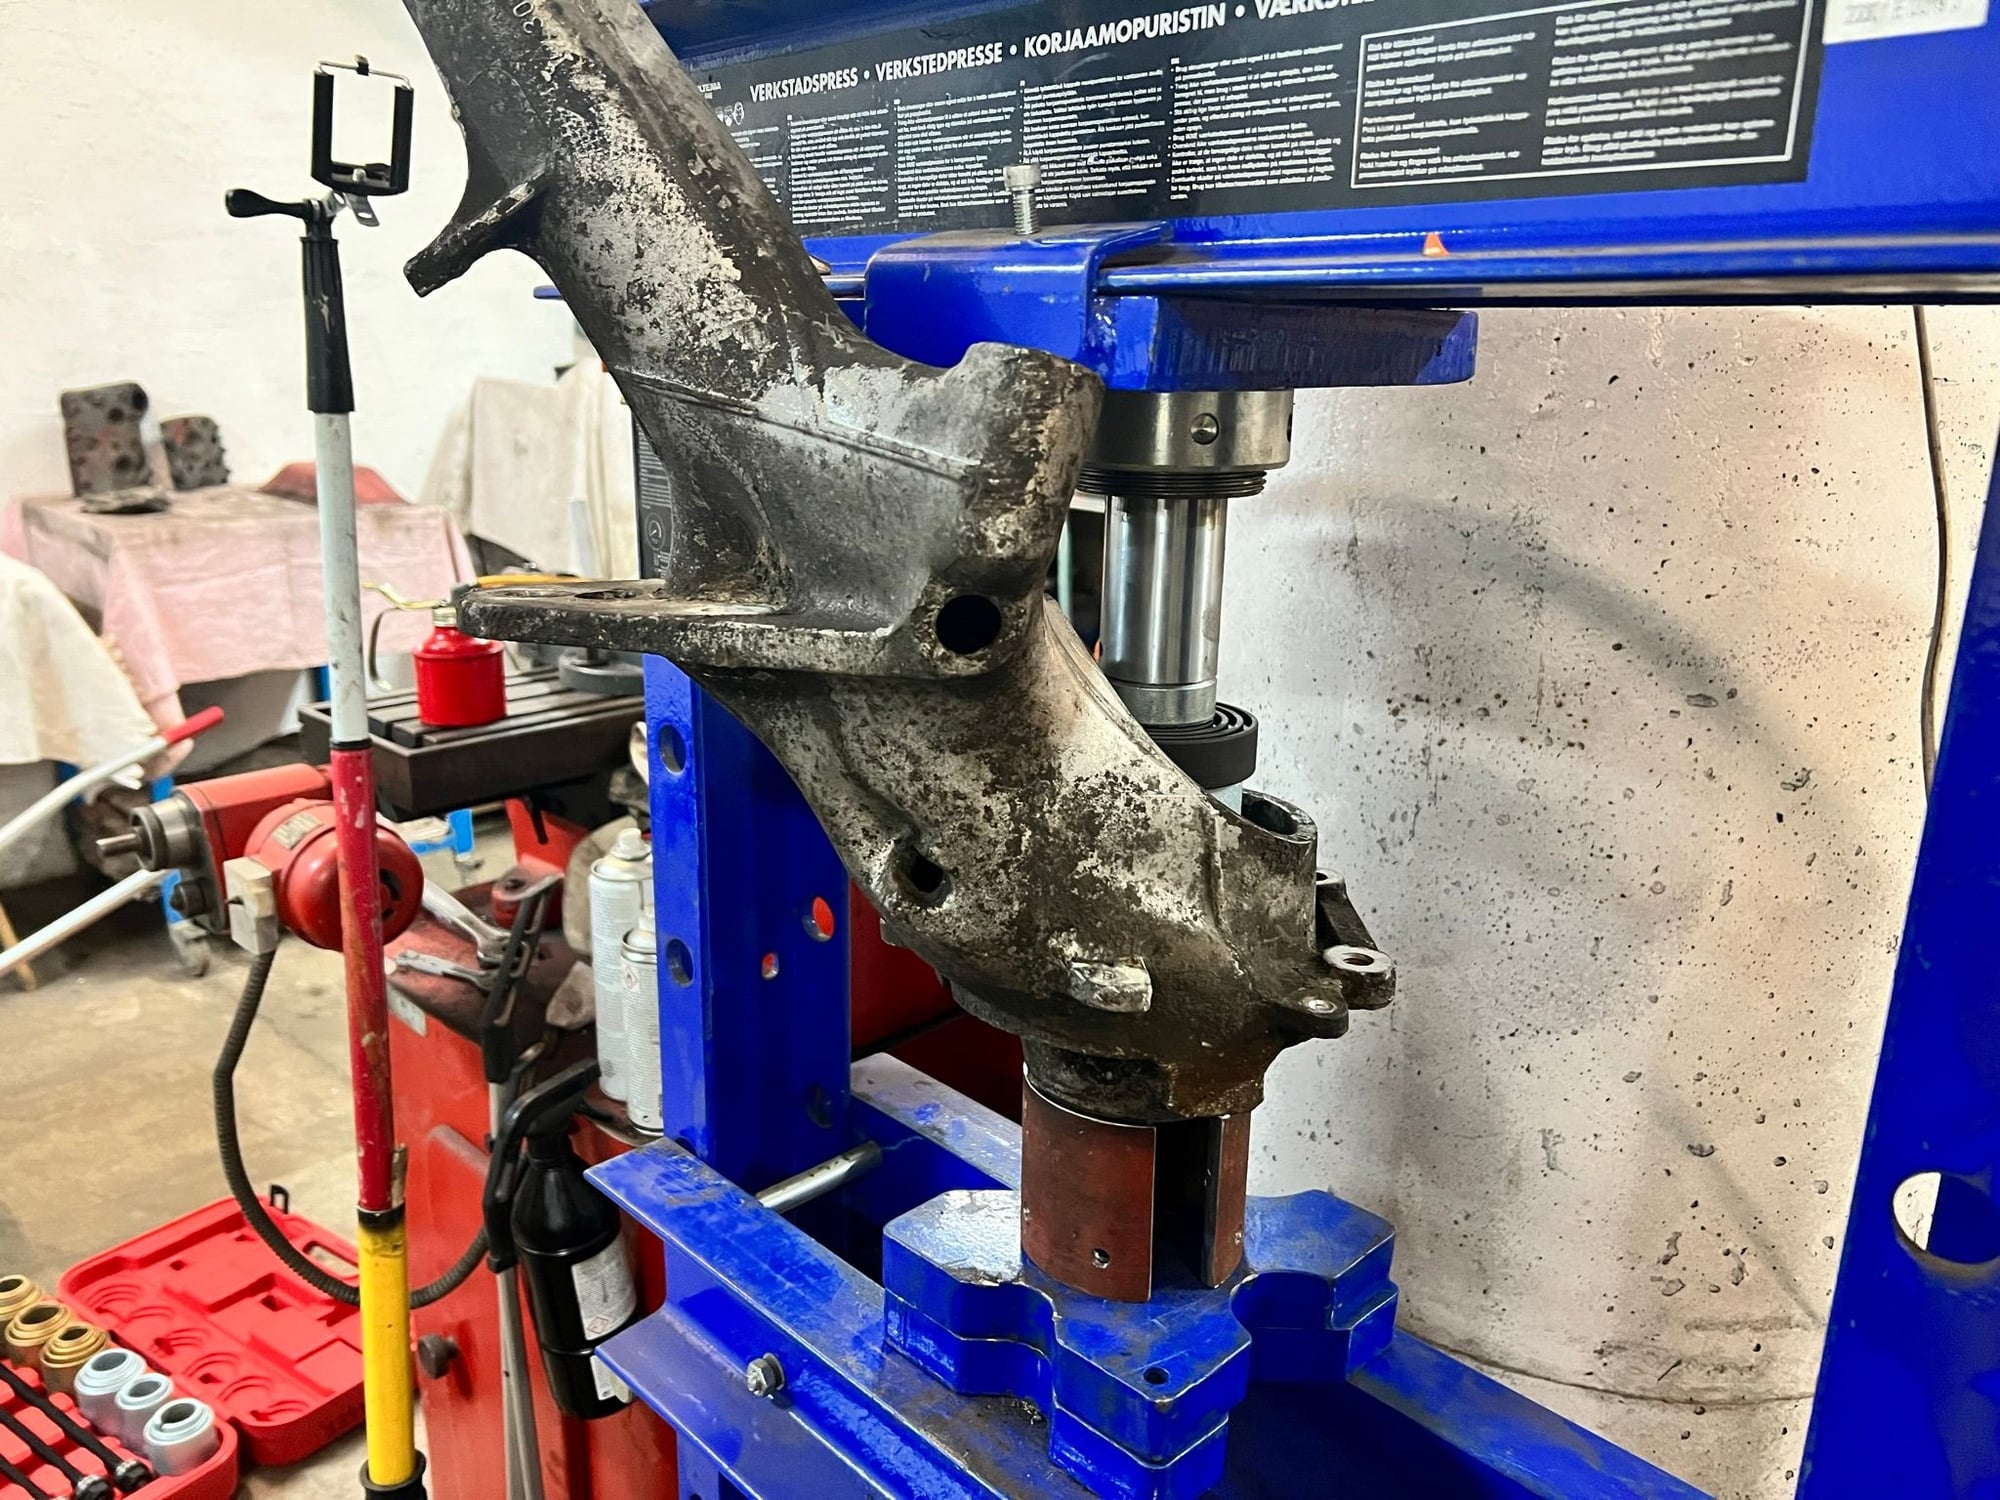
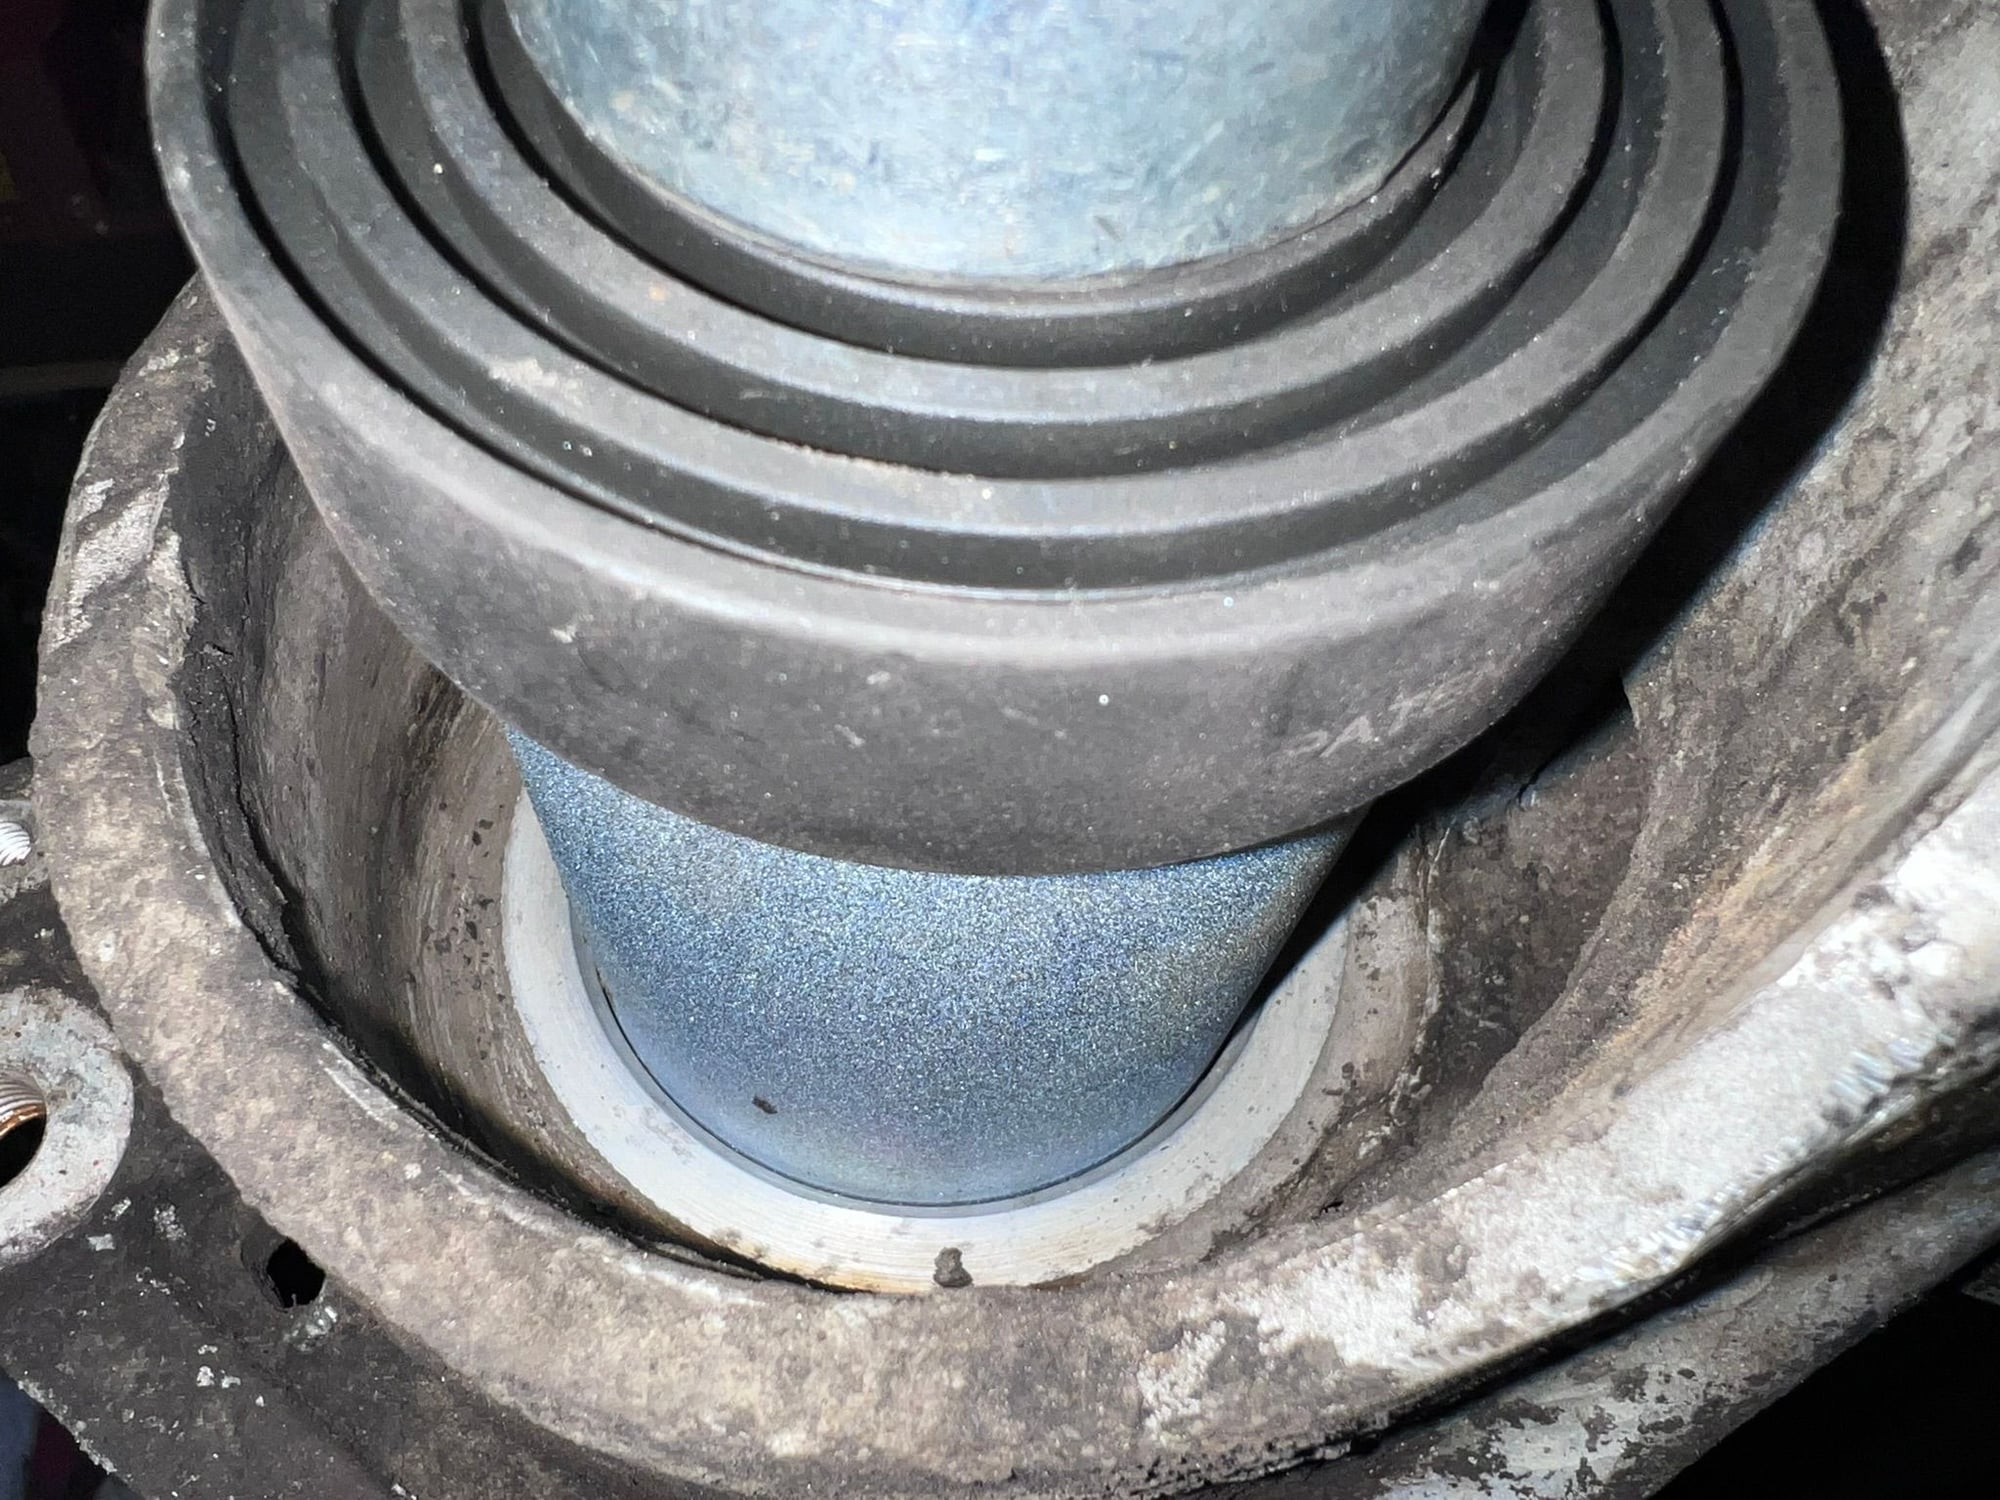
To remove the wheel bearing I borrowed the shop press from a buddy in the garage collective. I found a suitable thick walled pipe and made nice a support for the arm. Combined this with a sleeve from a bearing extractor tool kit on the other side. Added a bit of heat to the aluminium casting. With proper preparations the job went silky smooth.
Delivered the bits to my buddy with the wet blaster. Looking forward to receiving them back. Nice and shiny
.
The garage co op is a great idea and pretty cool to have.
MUCH more efficient than stocking your own spaces individually.
Shop equipment is outrageously expensive, for something that you'll only use infrequently.
The key is finding people that are truly cooperative...
I was lucky enough (stupid enough?!) to have my own repair shop.
Kept all the equipment when I retired!
The garage co op is a great idea and pretty cool to have.
Very much so. Good to have someone to hang with and share experiences. Borrow tools and equipment. And an availability of experience. The hot rod guys are particularly experienced with all things rusty and stuck
Not a whole lot to report from the garage. Nothing that is very interesting anyway. I am currently preparing a whole lot of nuts, bolts, bits and pieces for re-plating. So there is a lot of cleaning, sorting and general preparations to be done.
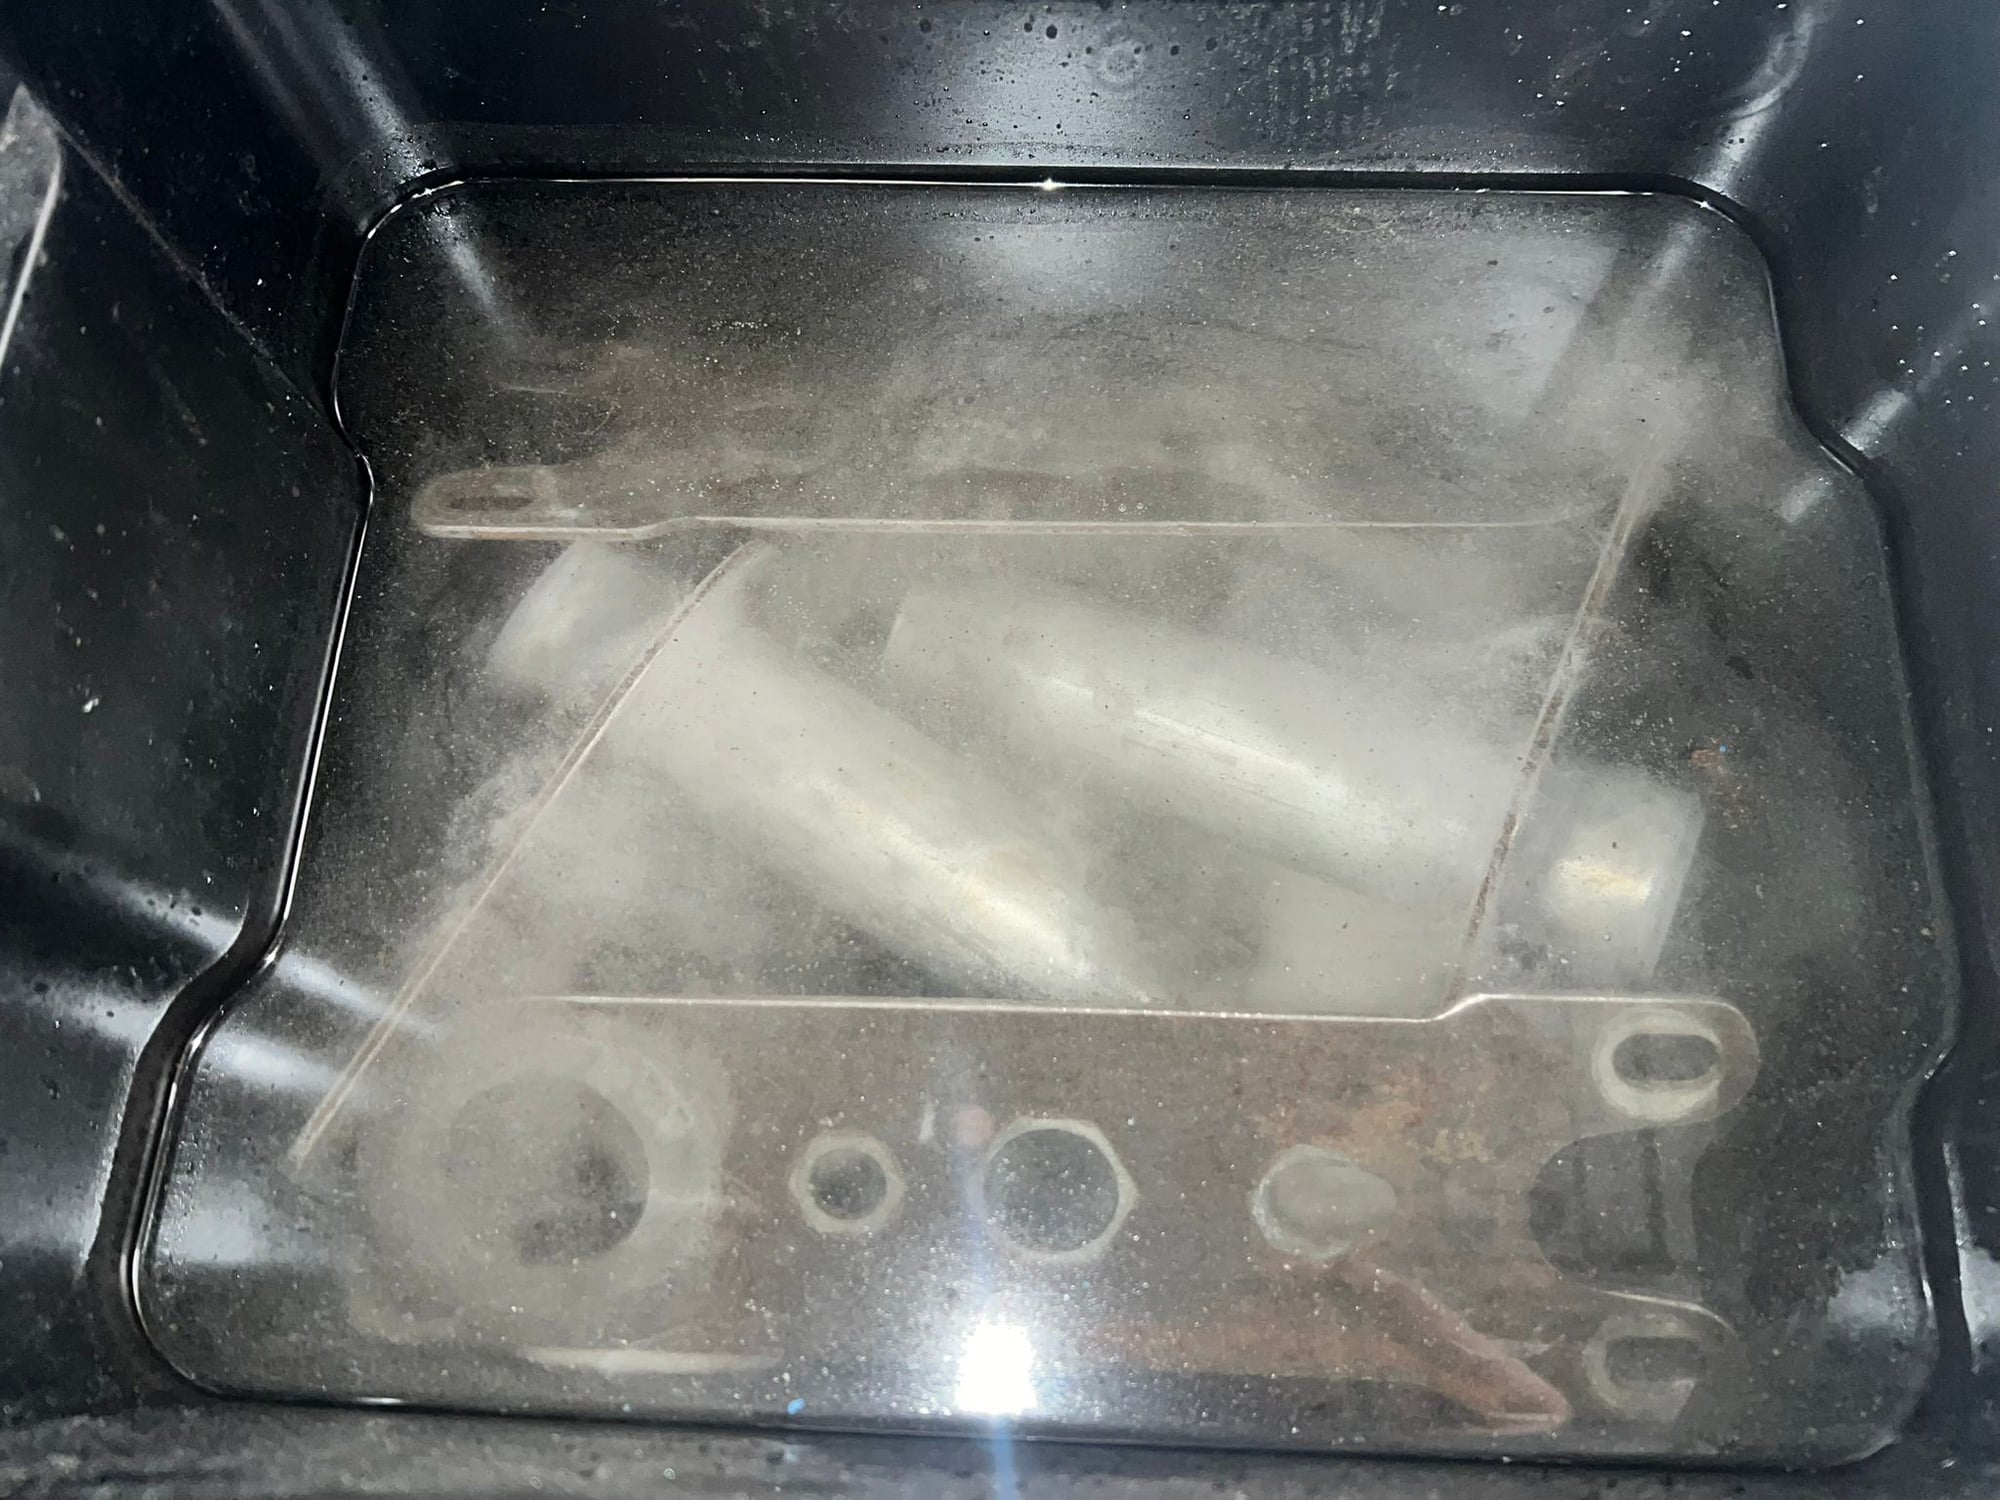
I am planning on using elephant racing PolyBronze bearings on the spring plates. So the original rubber bushings had to be removed. A really messy job. I had to grind the welds a bit to get the inner part of the bearing properly seated. And as I the spring plates are getting re-plated, I am removing rust by giving them a bath in a mix of table salt and acetic acid. I use the acetic acid (eddiksyre) that can be bought at Europris here in Norway. As this is both strong (35%) and relatively cheap.
.
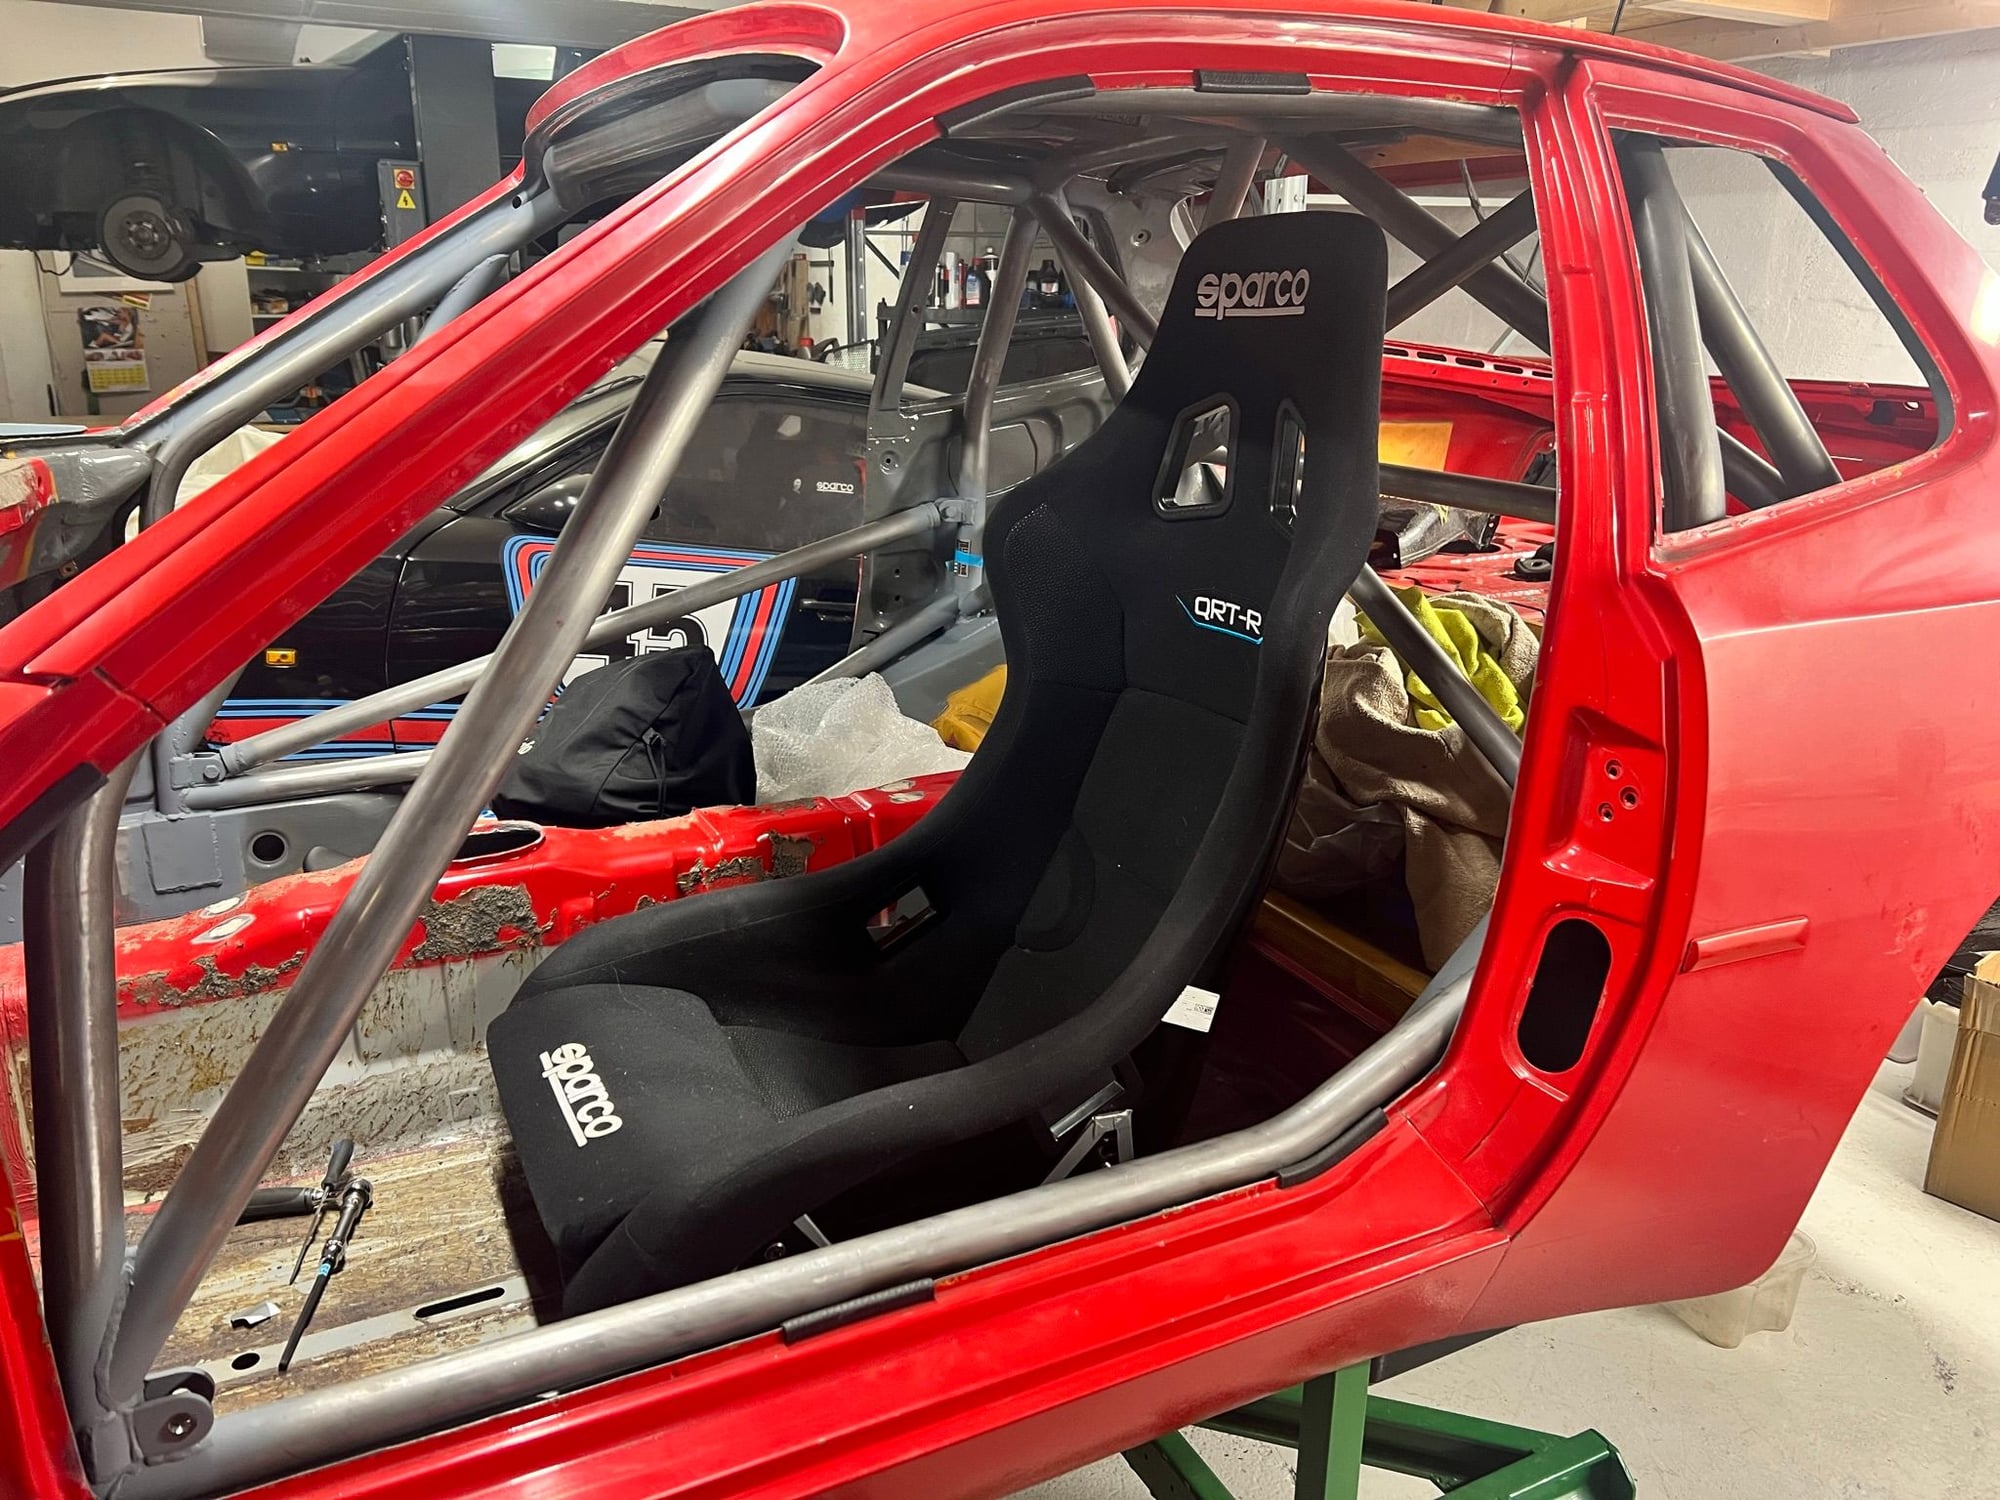
I am tinkering on in the garage. Many small steps. Working on the DCI (Driver Car Interface)
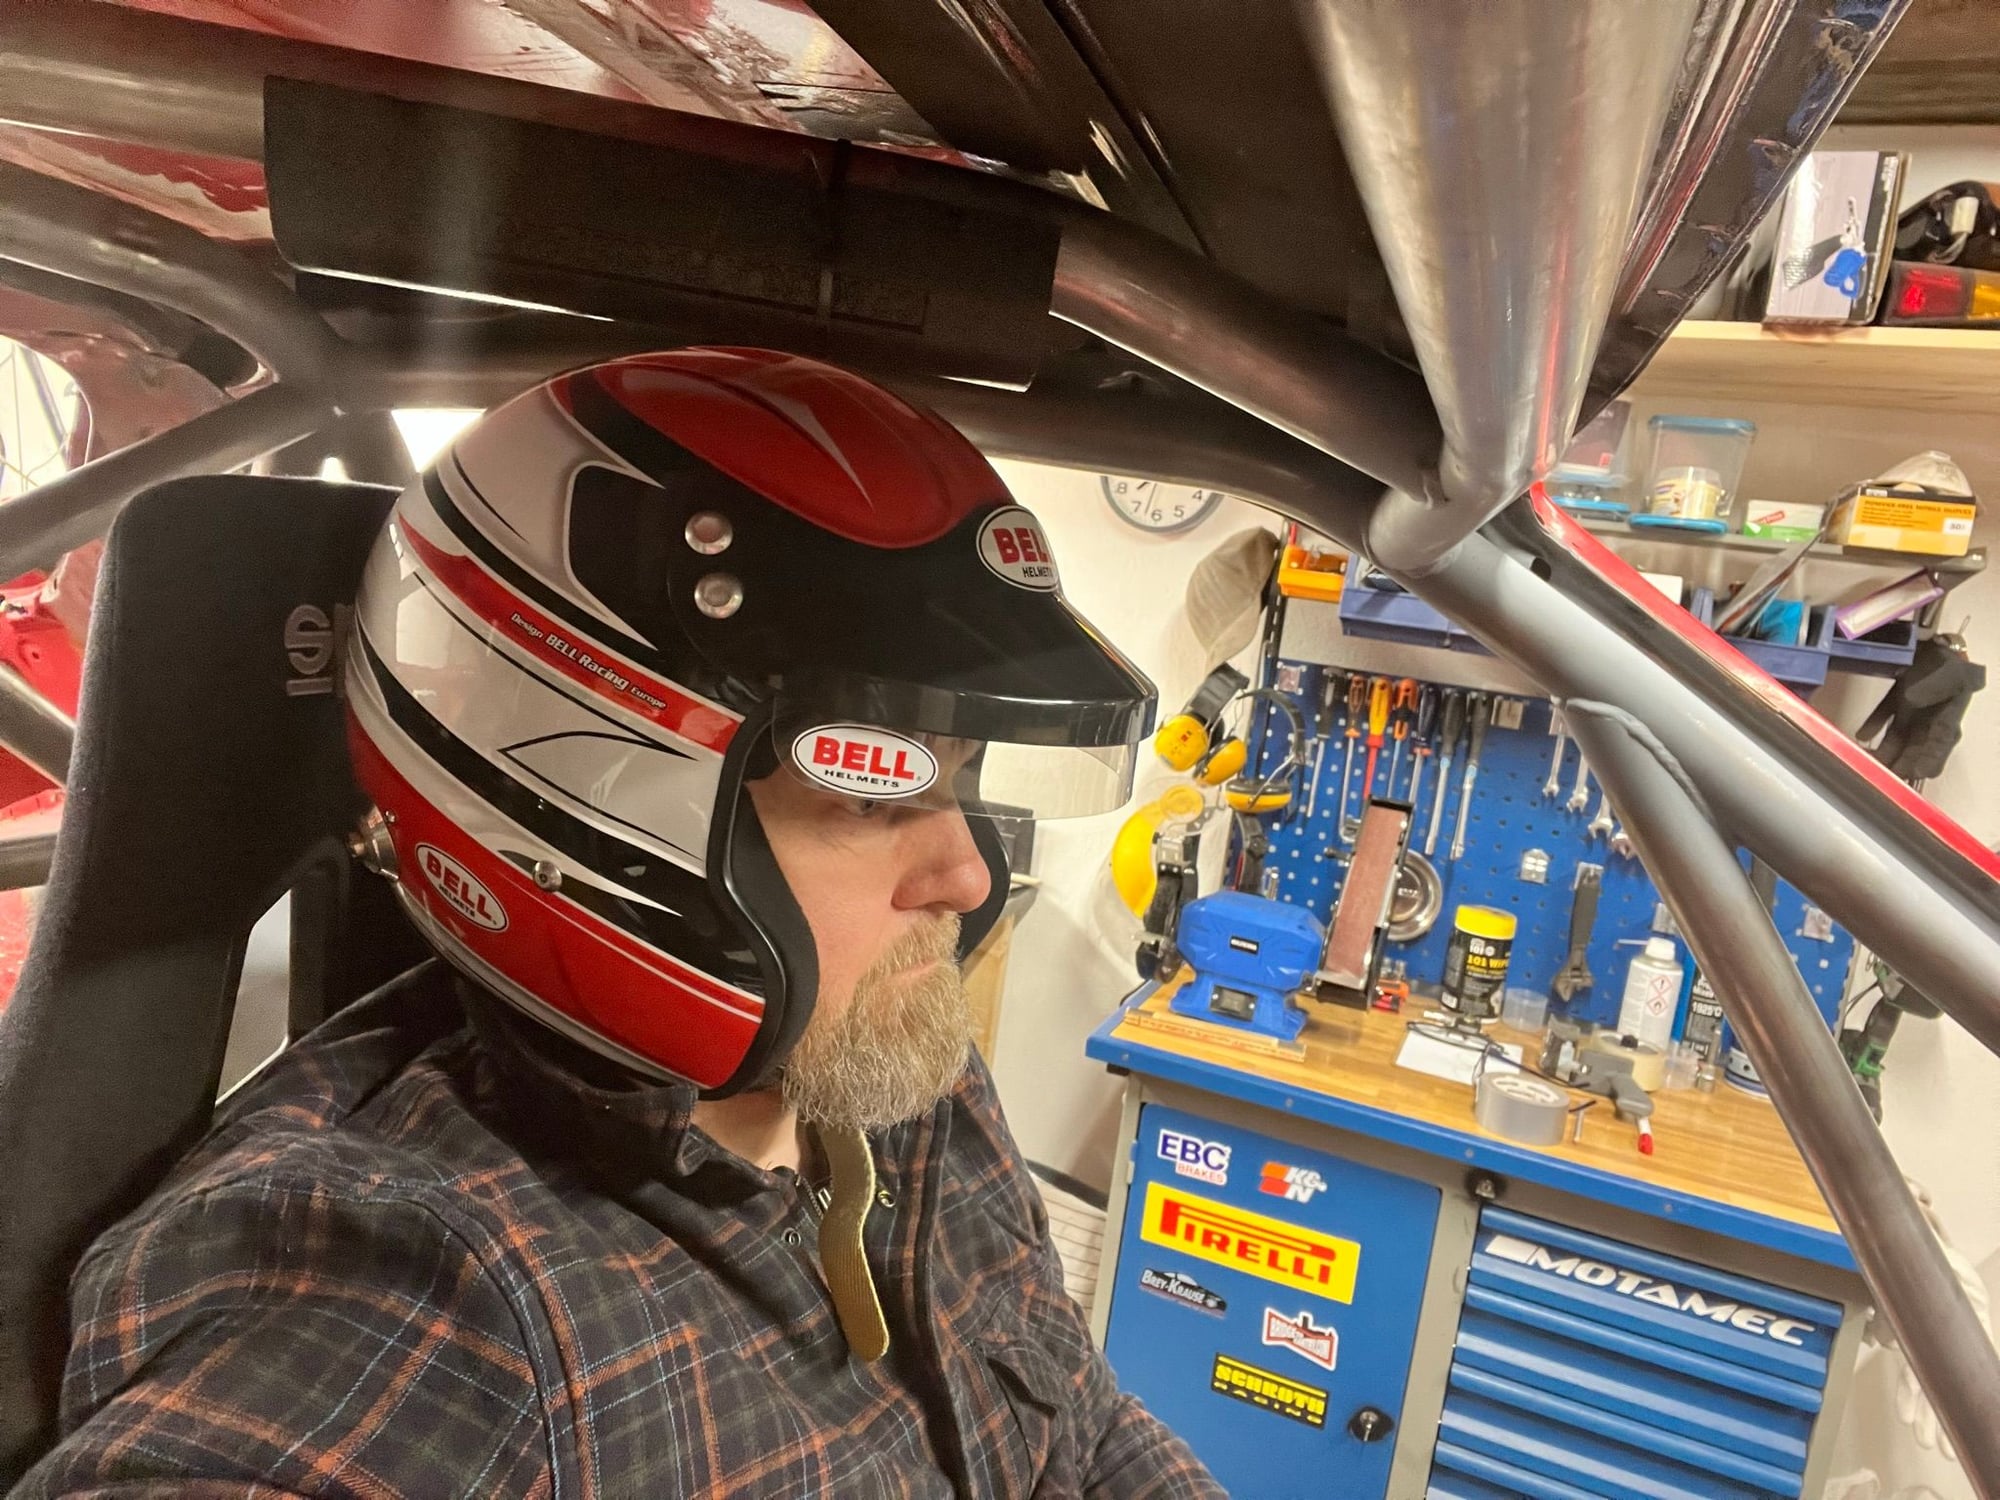
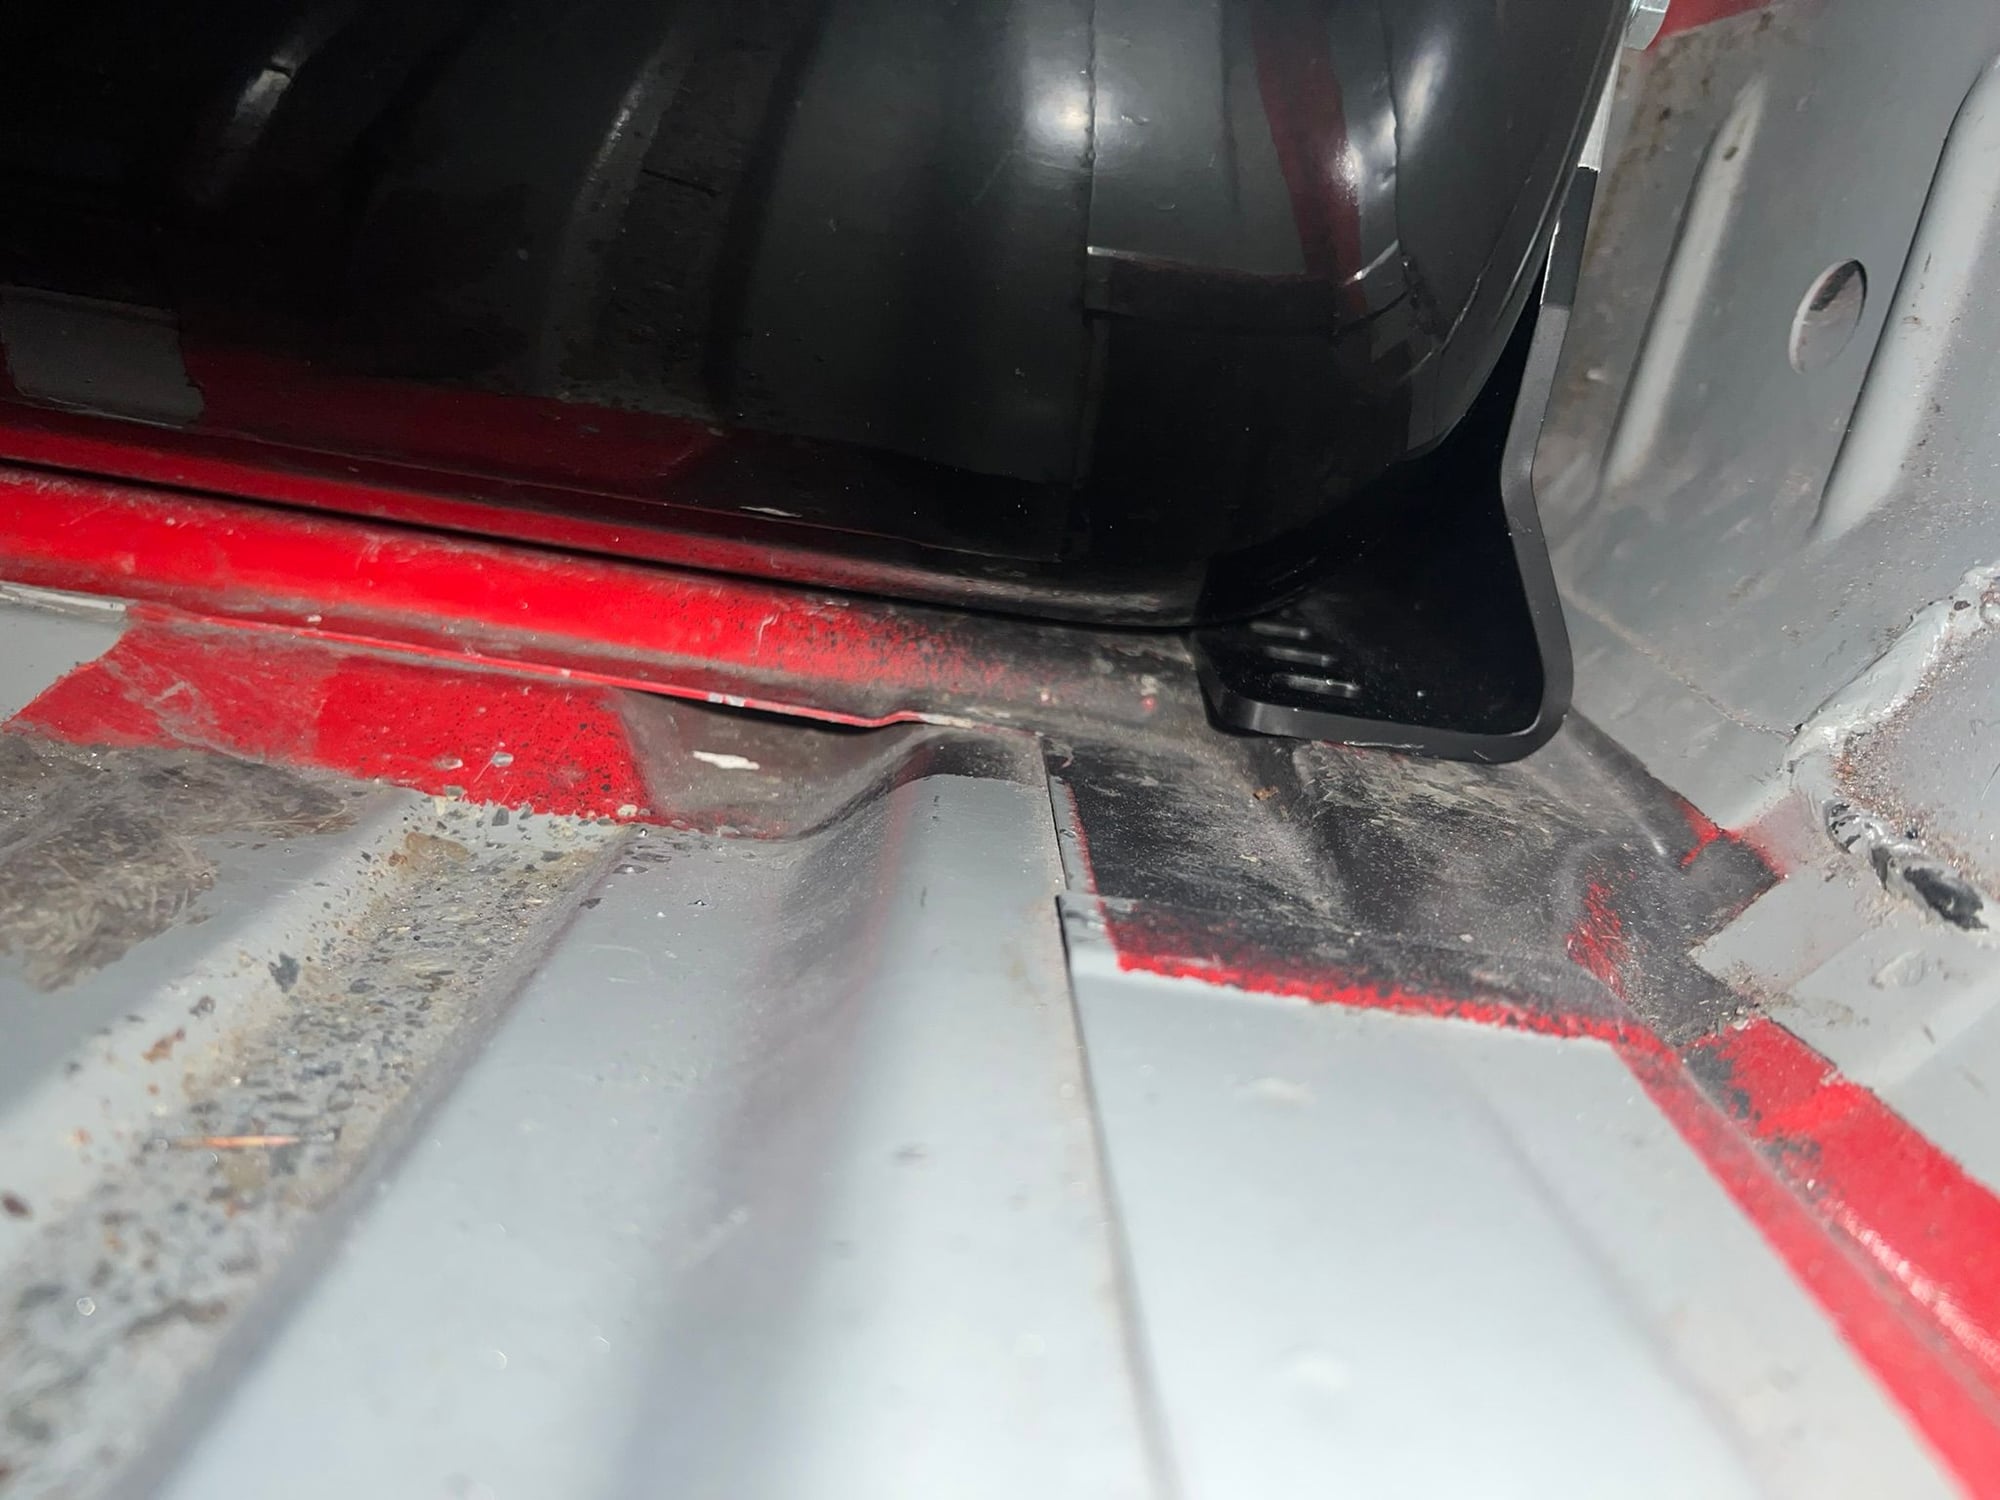
Spent a couple sessions on the sitting. With this many bars in the cage, it's a bit of a challenge. I had to get a different racing seat, with thinner seat padding, to get low enough to not hit the required FIA cage protection. Seat shell is now touching the steel structure under the seat. I'm only 178cm (5-ft-10), but with short legs and long upper body. A combo I believe suits a heavily caged 944 badly. Also had a look at the steering wheel, wheel hub and quick-release combo.
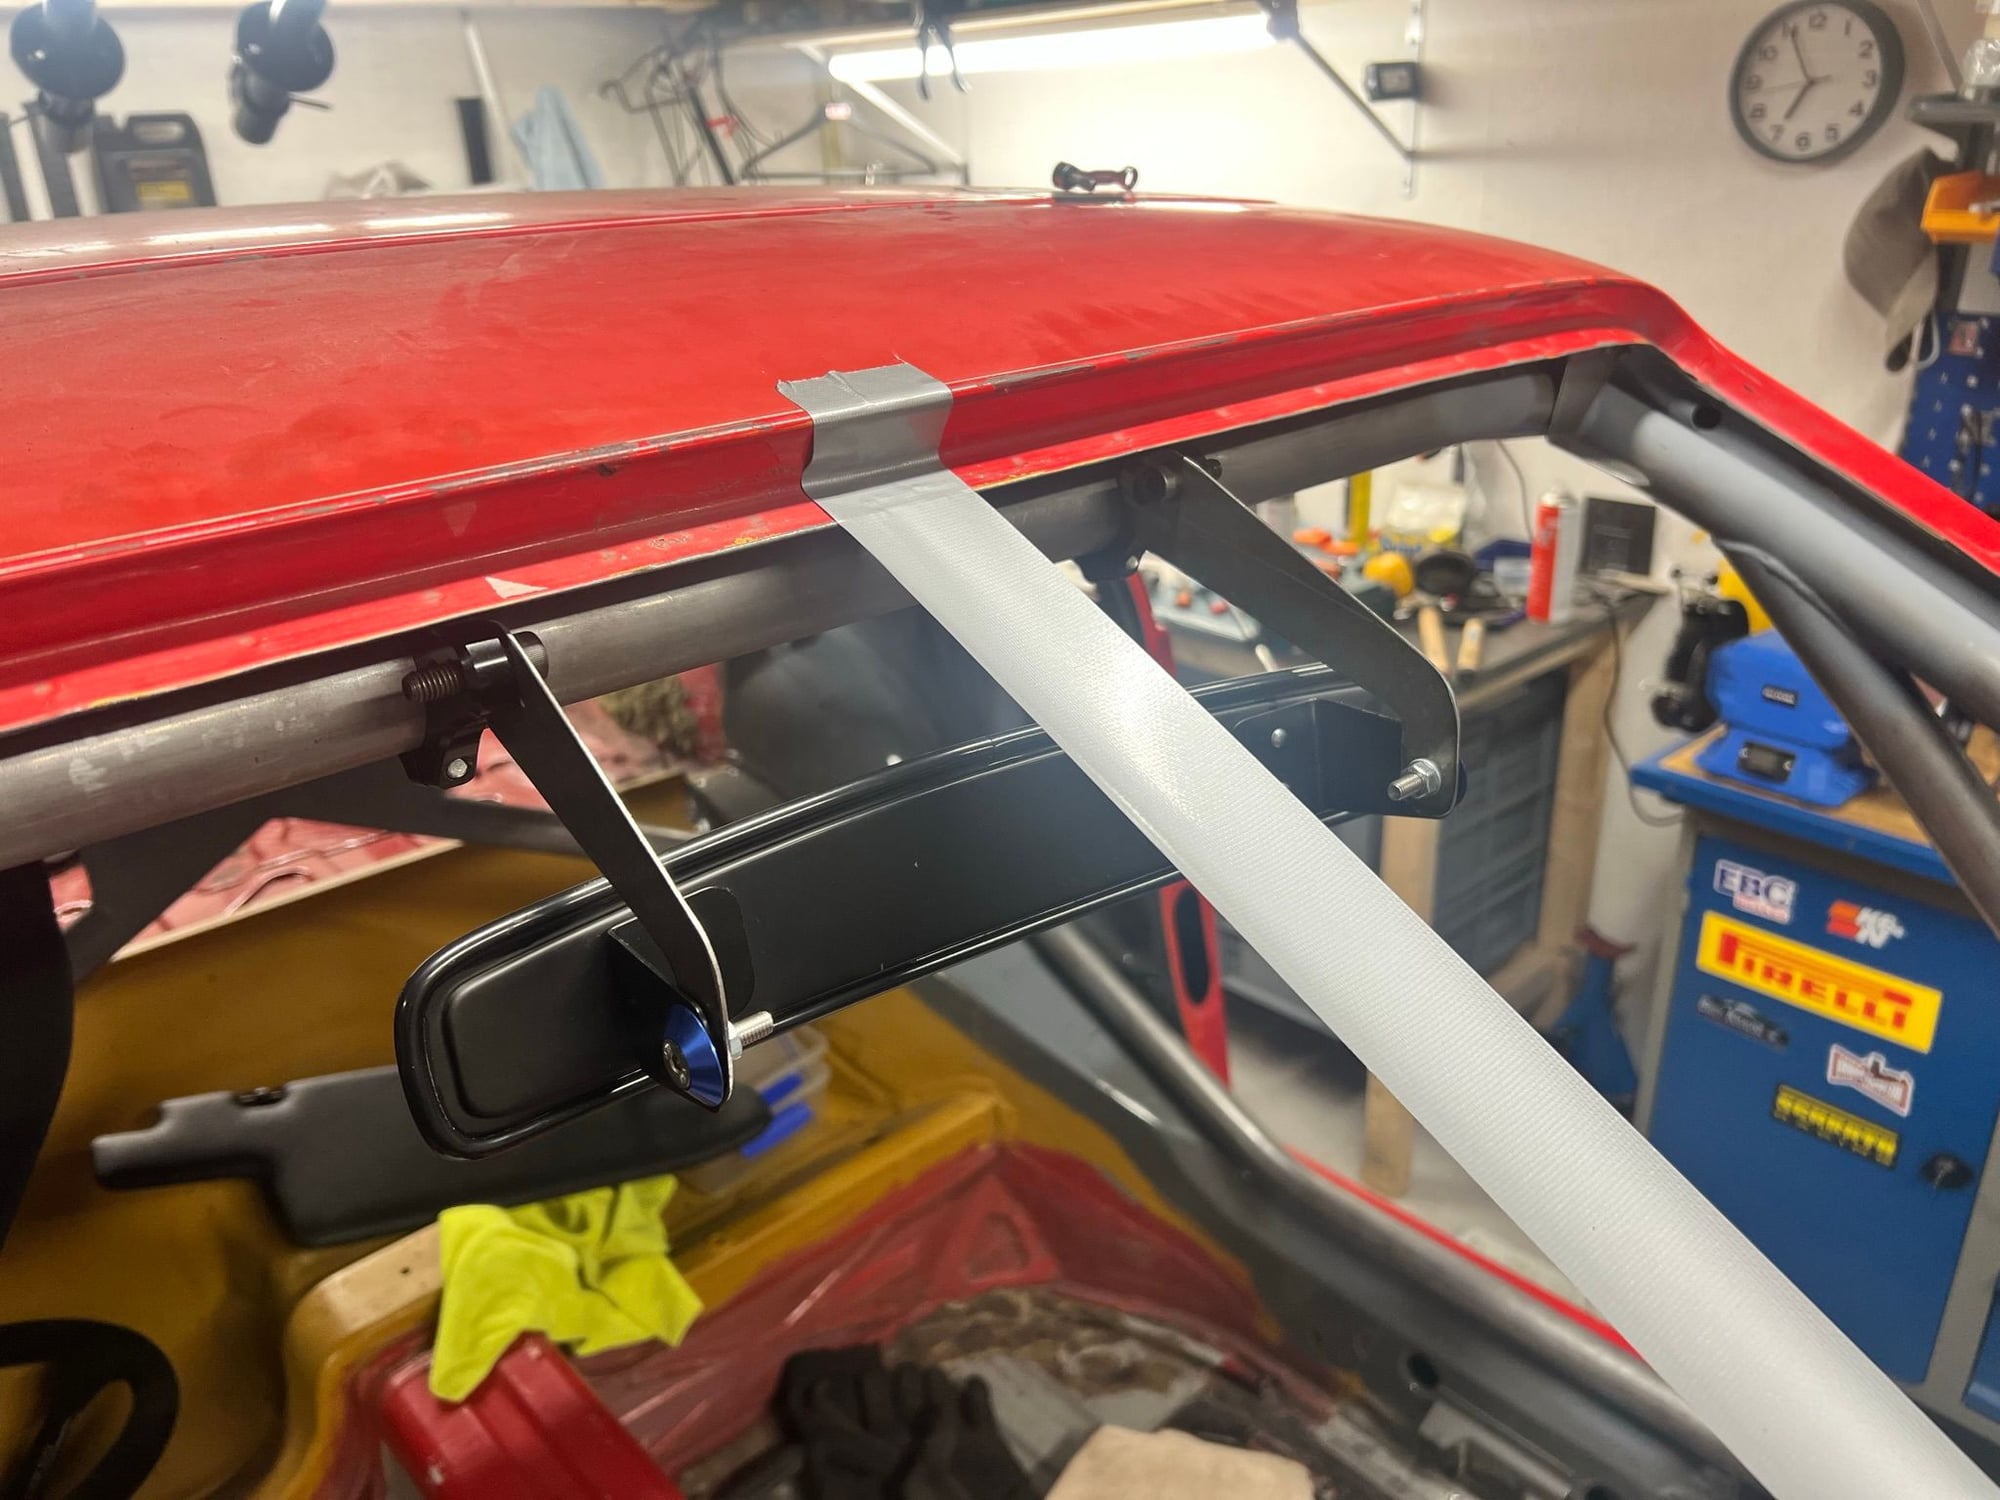
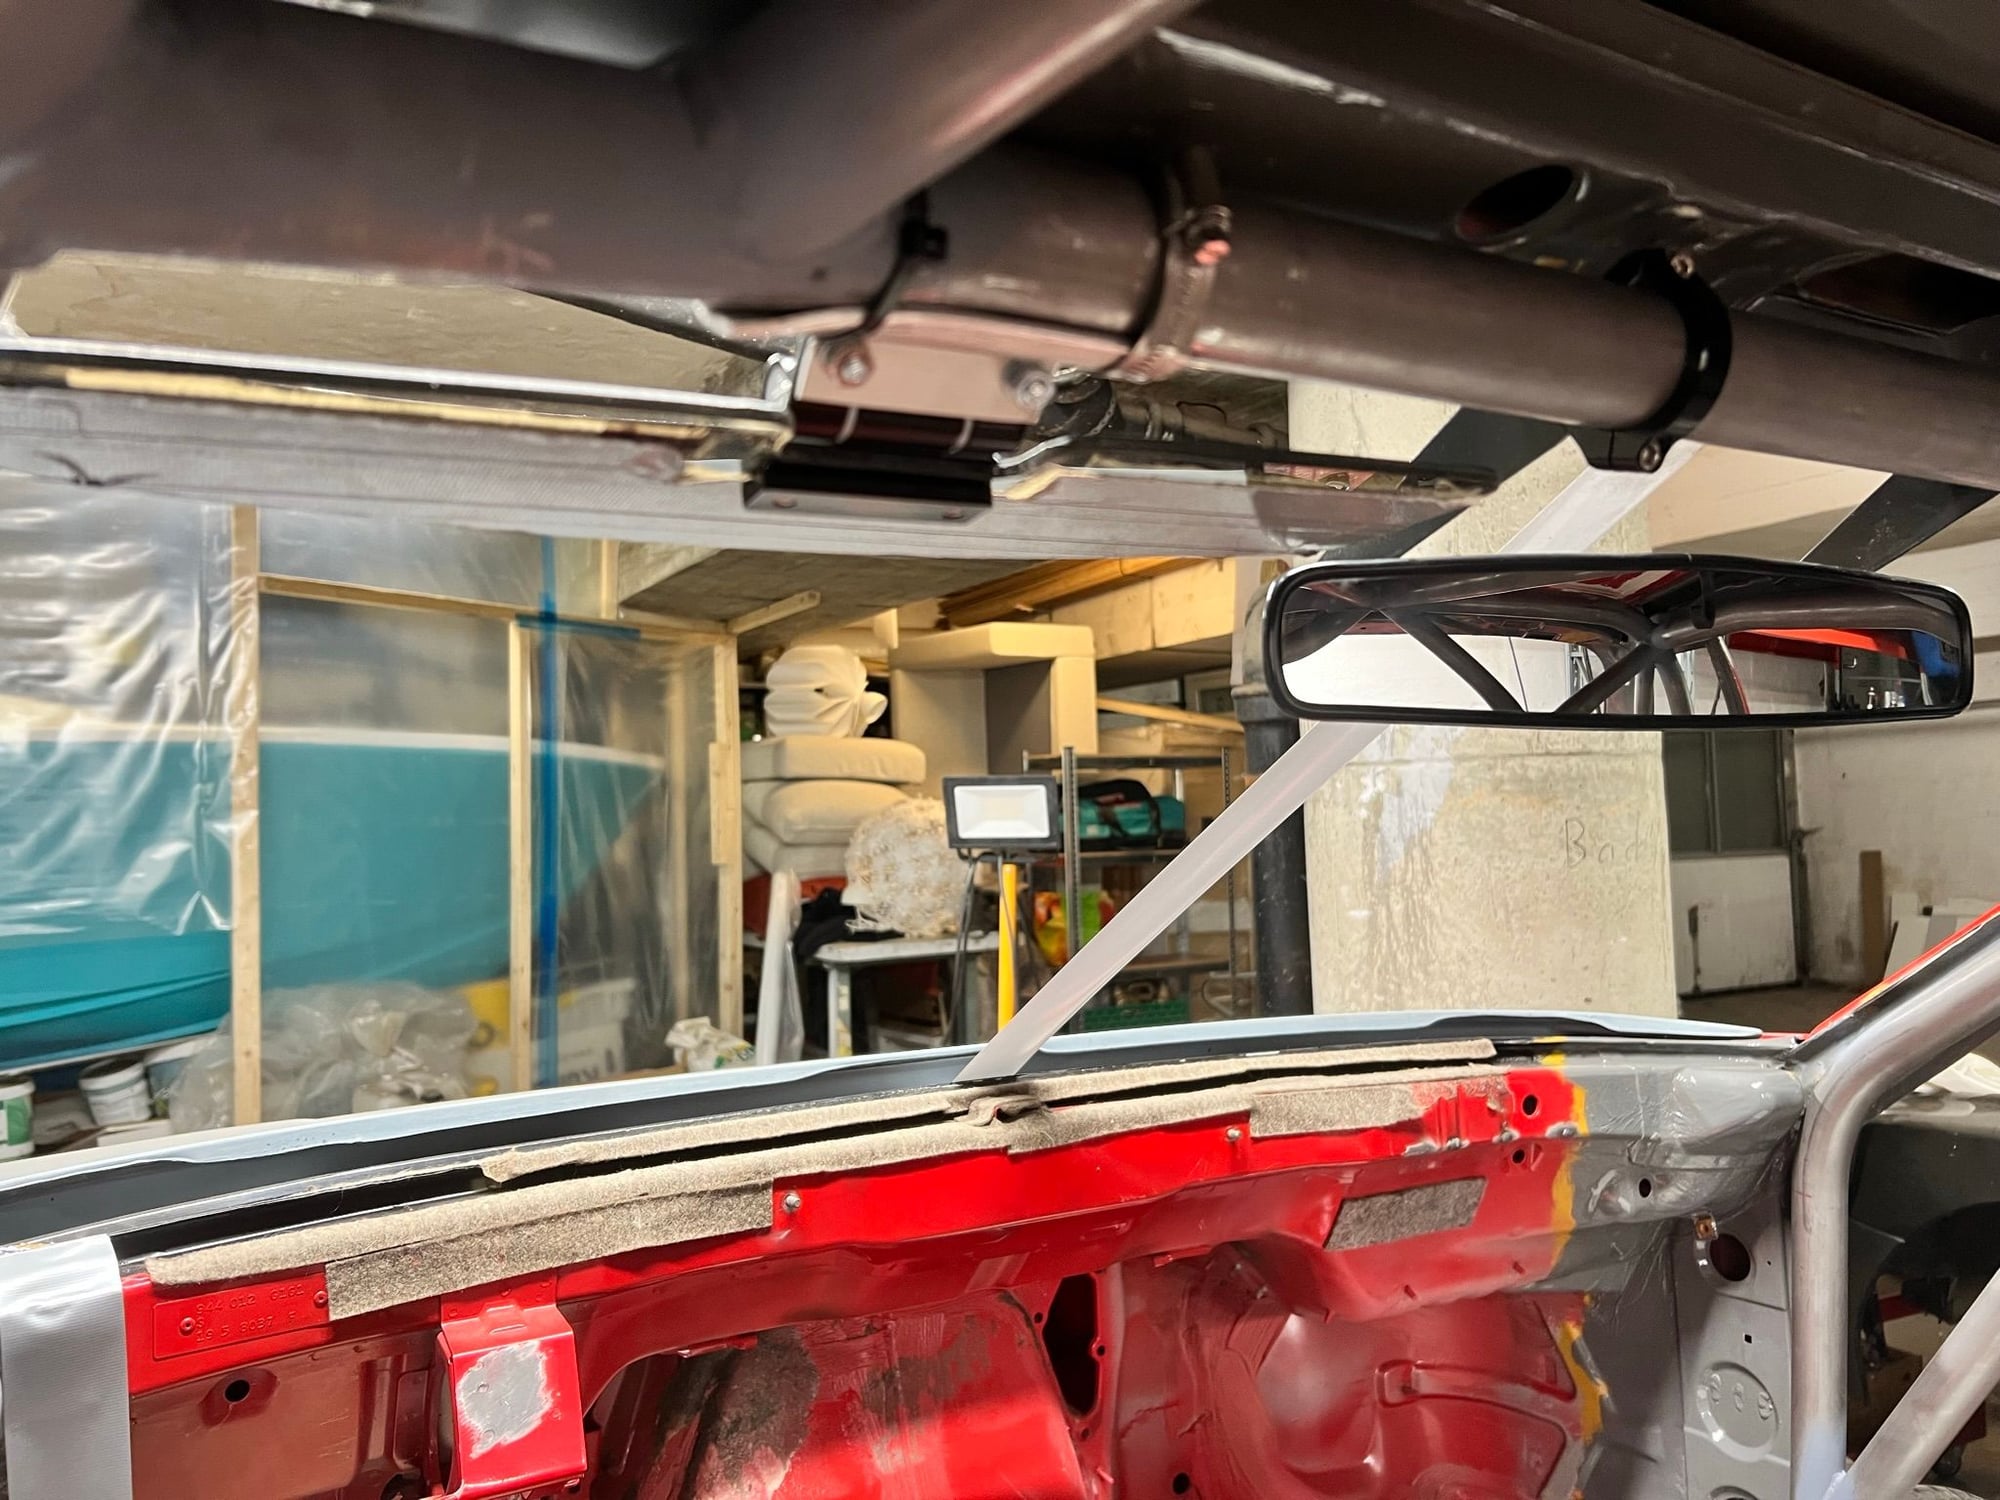
Got hold of some cage brackets, to hold the rear view mirror. Not a whole lot of bracket options available for the European 40mm diameter bars. Had to shape the sheet metal somewhat, to fit the brackets between the car shell and the cross bar over the windshield. Made some custom steel arms to complete the package.
Spent two sessions trying to make the original sun visor work with my caged car. As the road authorities require a sun visor for the driver. Tried a couple of solutions, including making various little brackets. Didn't turn out good enough for my liking. So I scrapped what I had. And I am now awaiting delivery of som bits that might be a better solution.
Small steps. But I want to complete all the "solution development" inside the car, prior to doing the paint.
Have also sourced new hoses for the fuel tank and its ancillaries. And the suspension components are back from water polishing. I'll try to take more pictures
.
More minor steps here in my garage. Continuing the DCI (Driver Car Interface). And... some finishing touches on the aluminium suspension components.
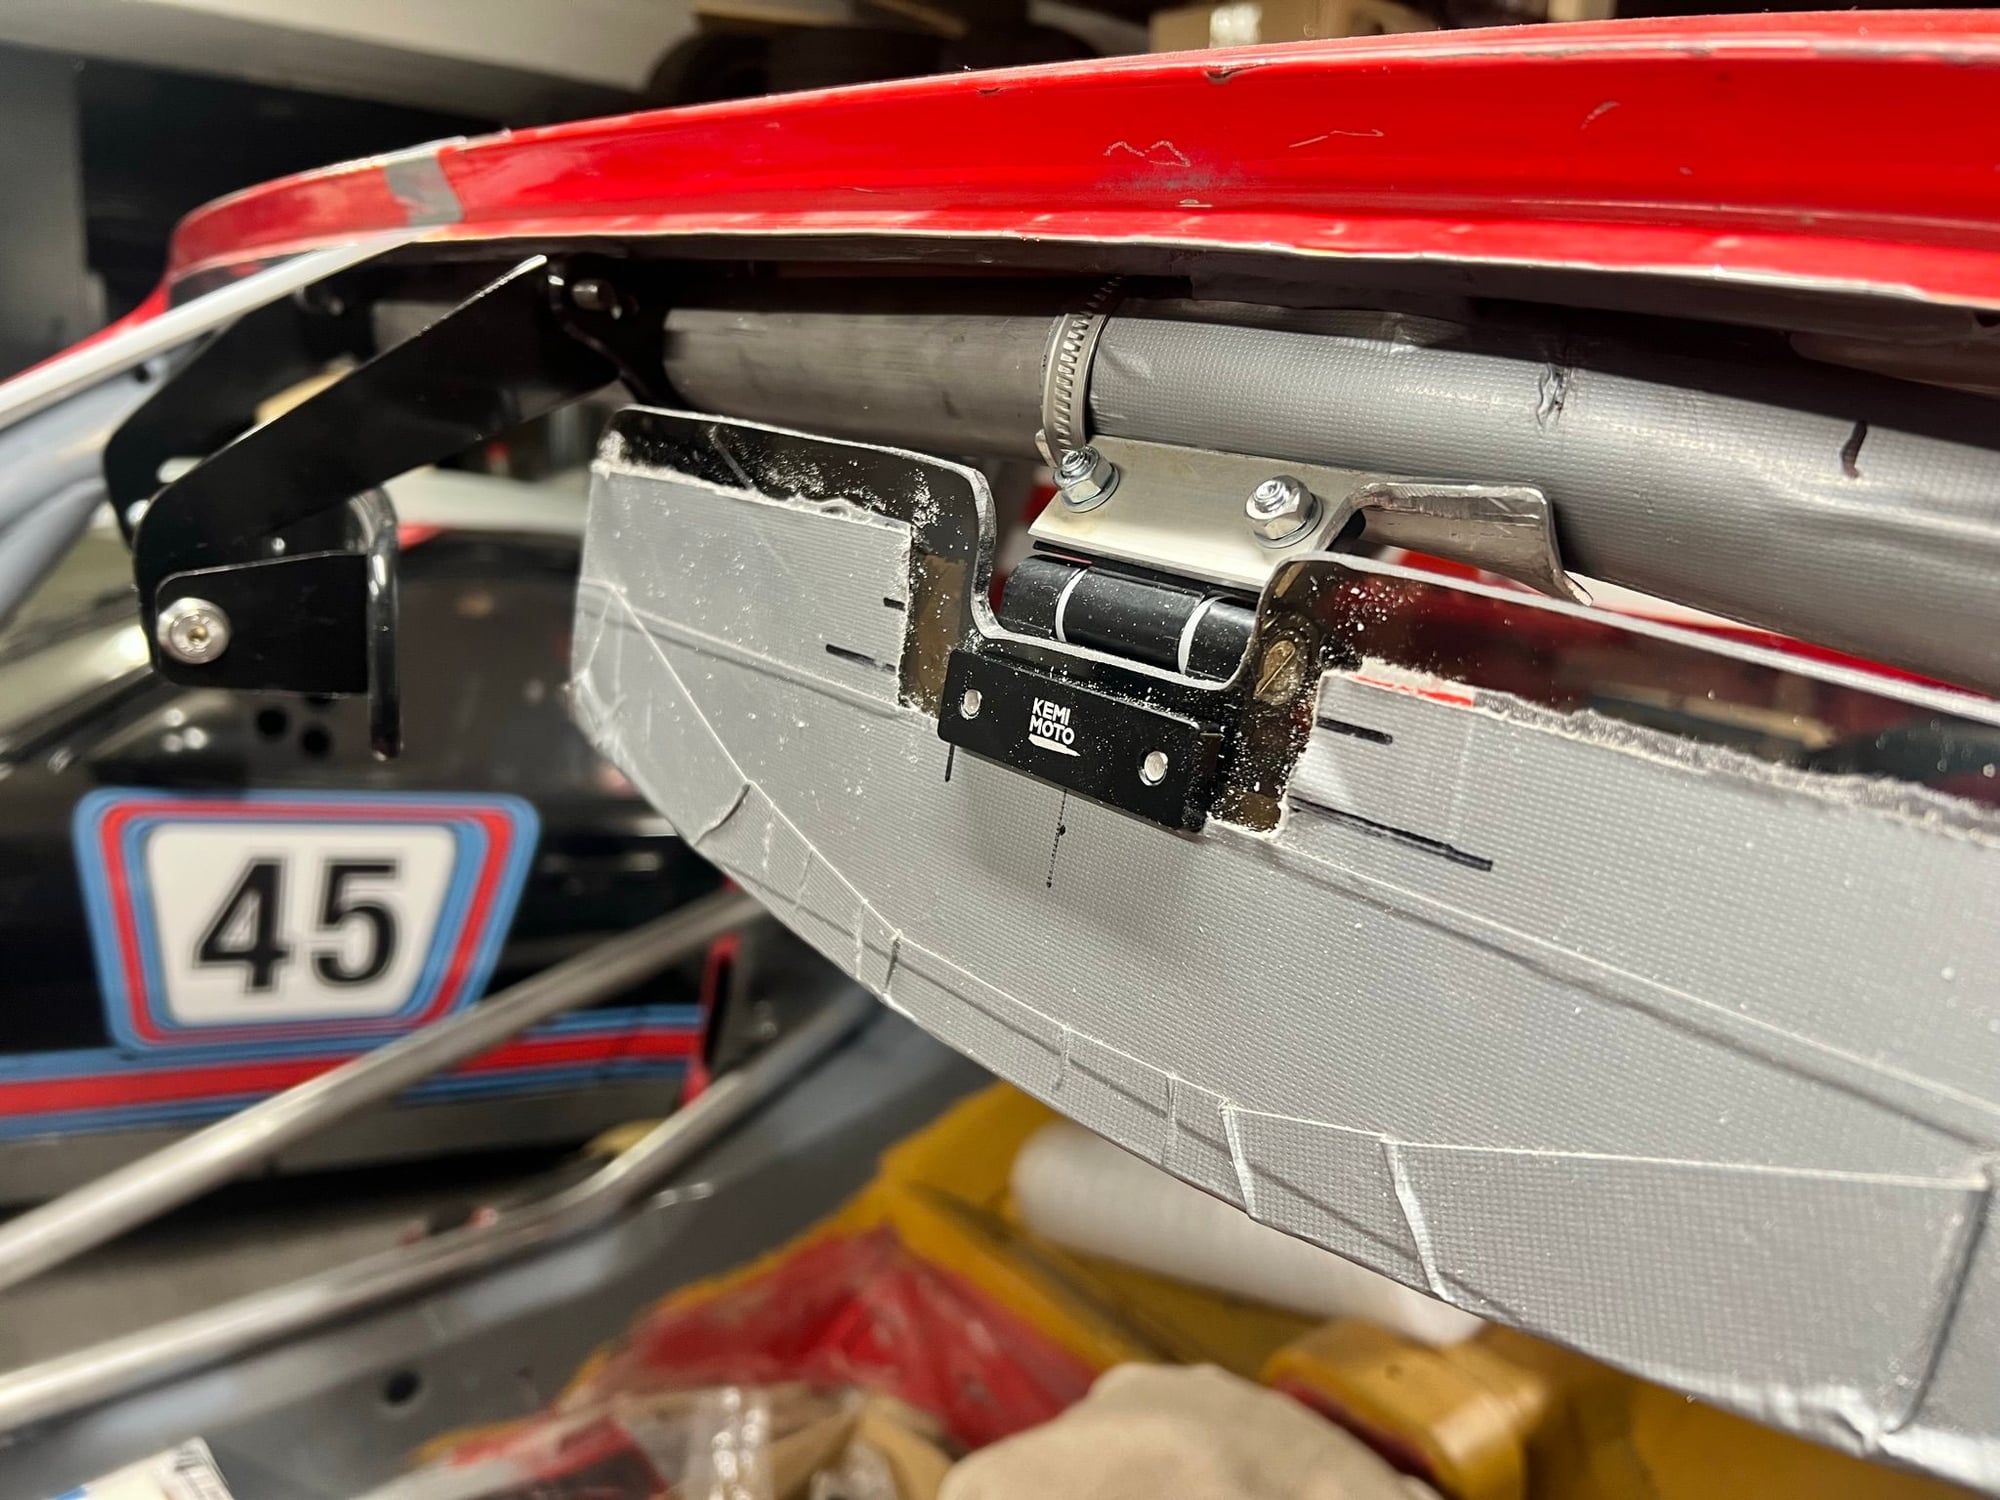
After numerous attempts I have a sun visor solution that both I and my contact with the road authorities are happy with. I wanted a clean and functional solution. And my guy with the road authrities wanted something that provided enough shade, without obstructing the view too much when "stored". And no sharp edges. The final solution is a modified unit, originally designed for use on caged UTV's.
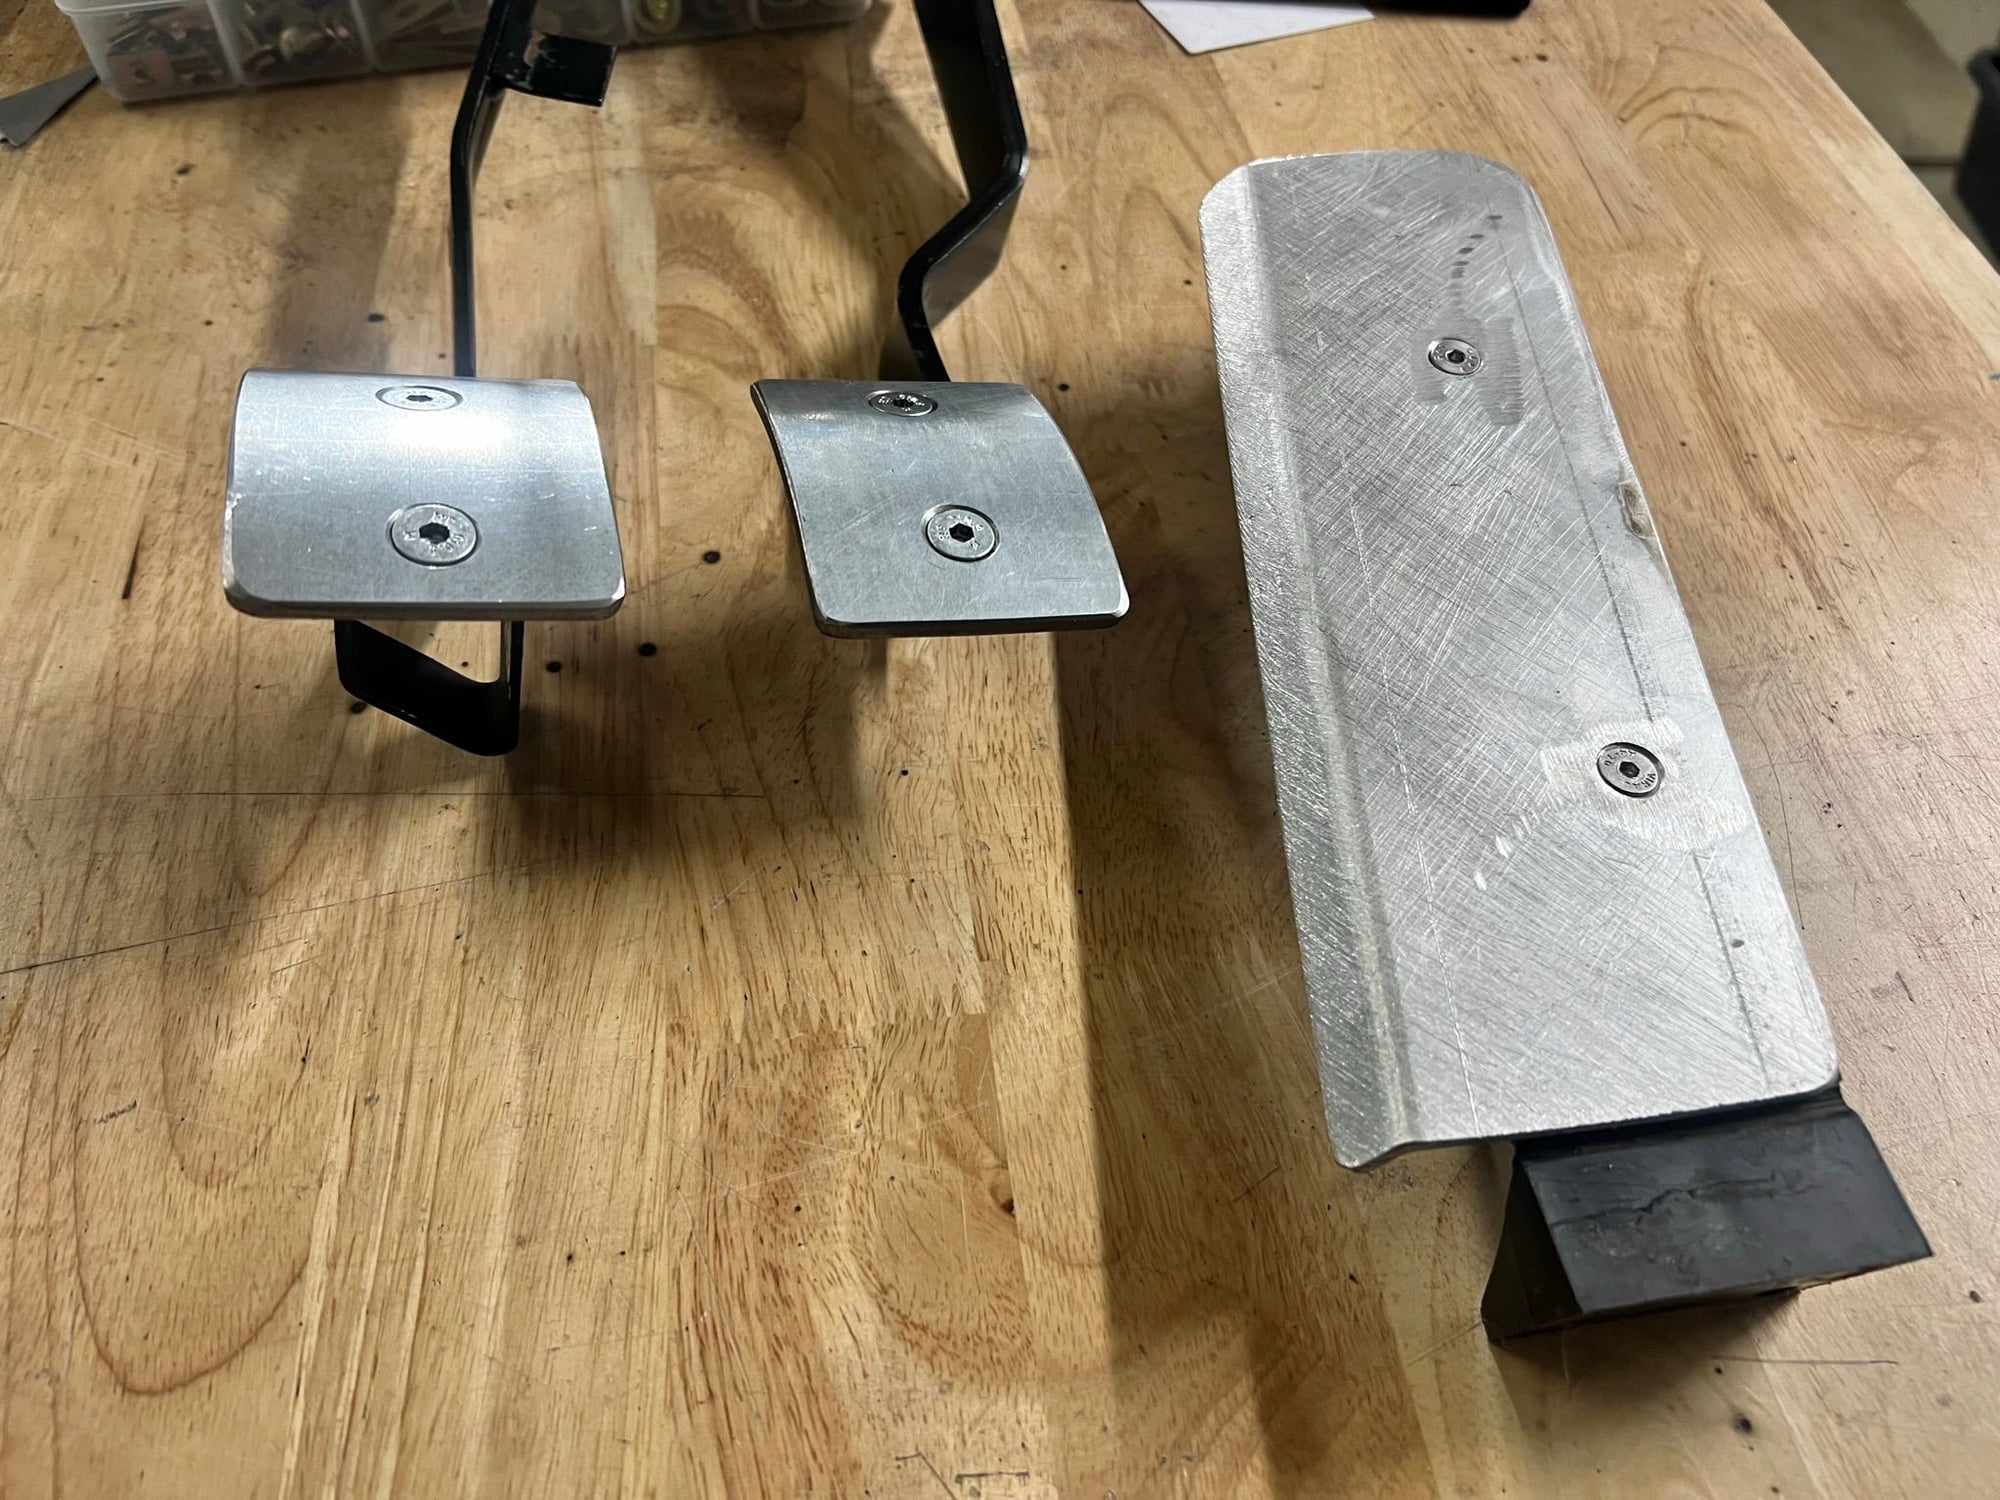
I made some pedal faces, to replace the rubber originals. The front faces will be covered with skateboard grip tape. The extra width of the accelerator is to help with the heel-and-toe down-shifts. Of course, driving with wide sneakers or winter boots will be a bit more challenging. But I'm optimizing for race boots. #becauseracecar
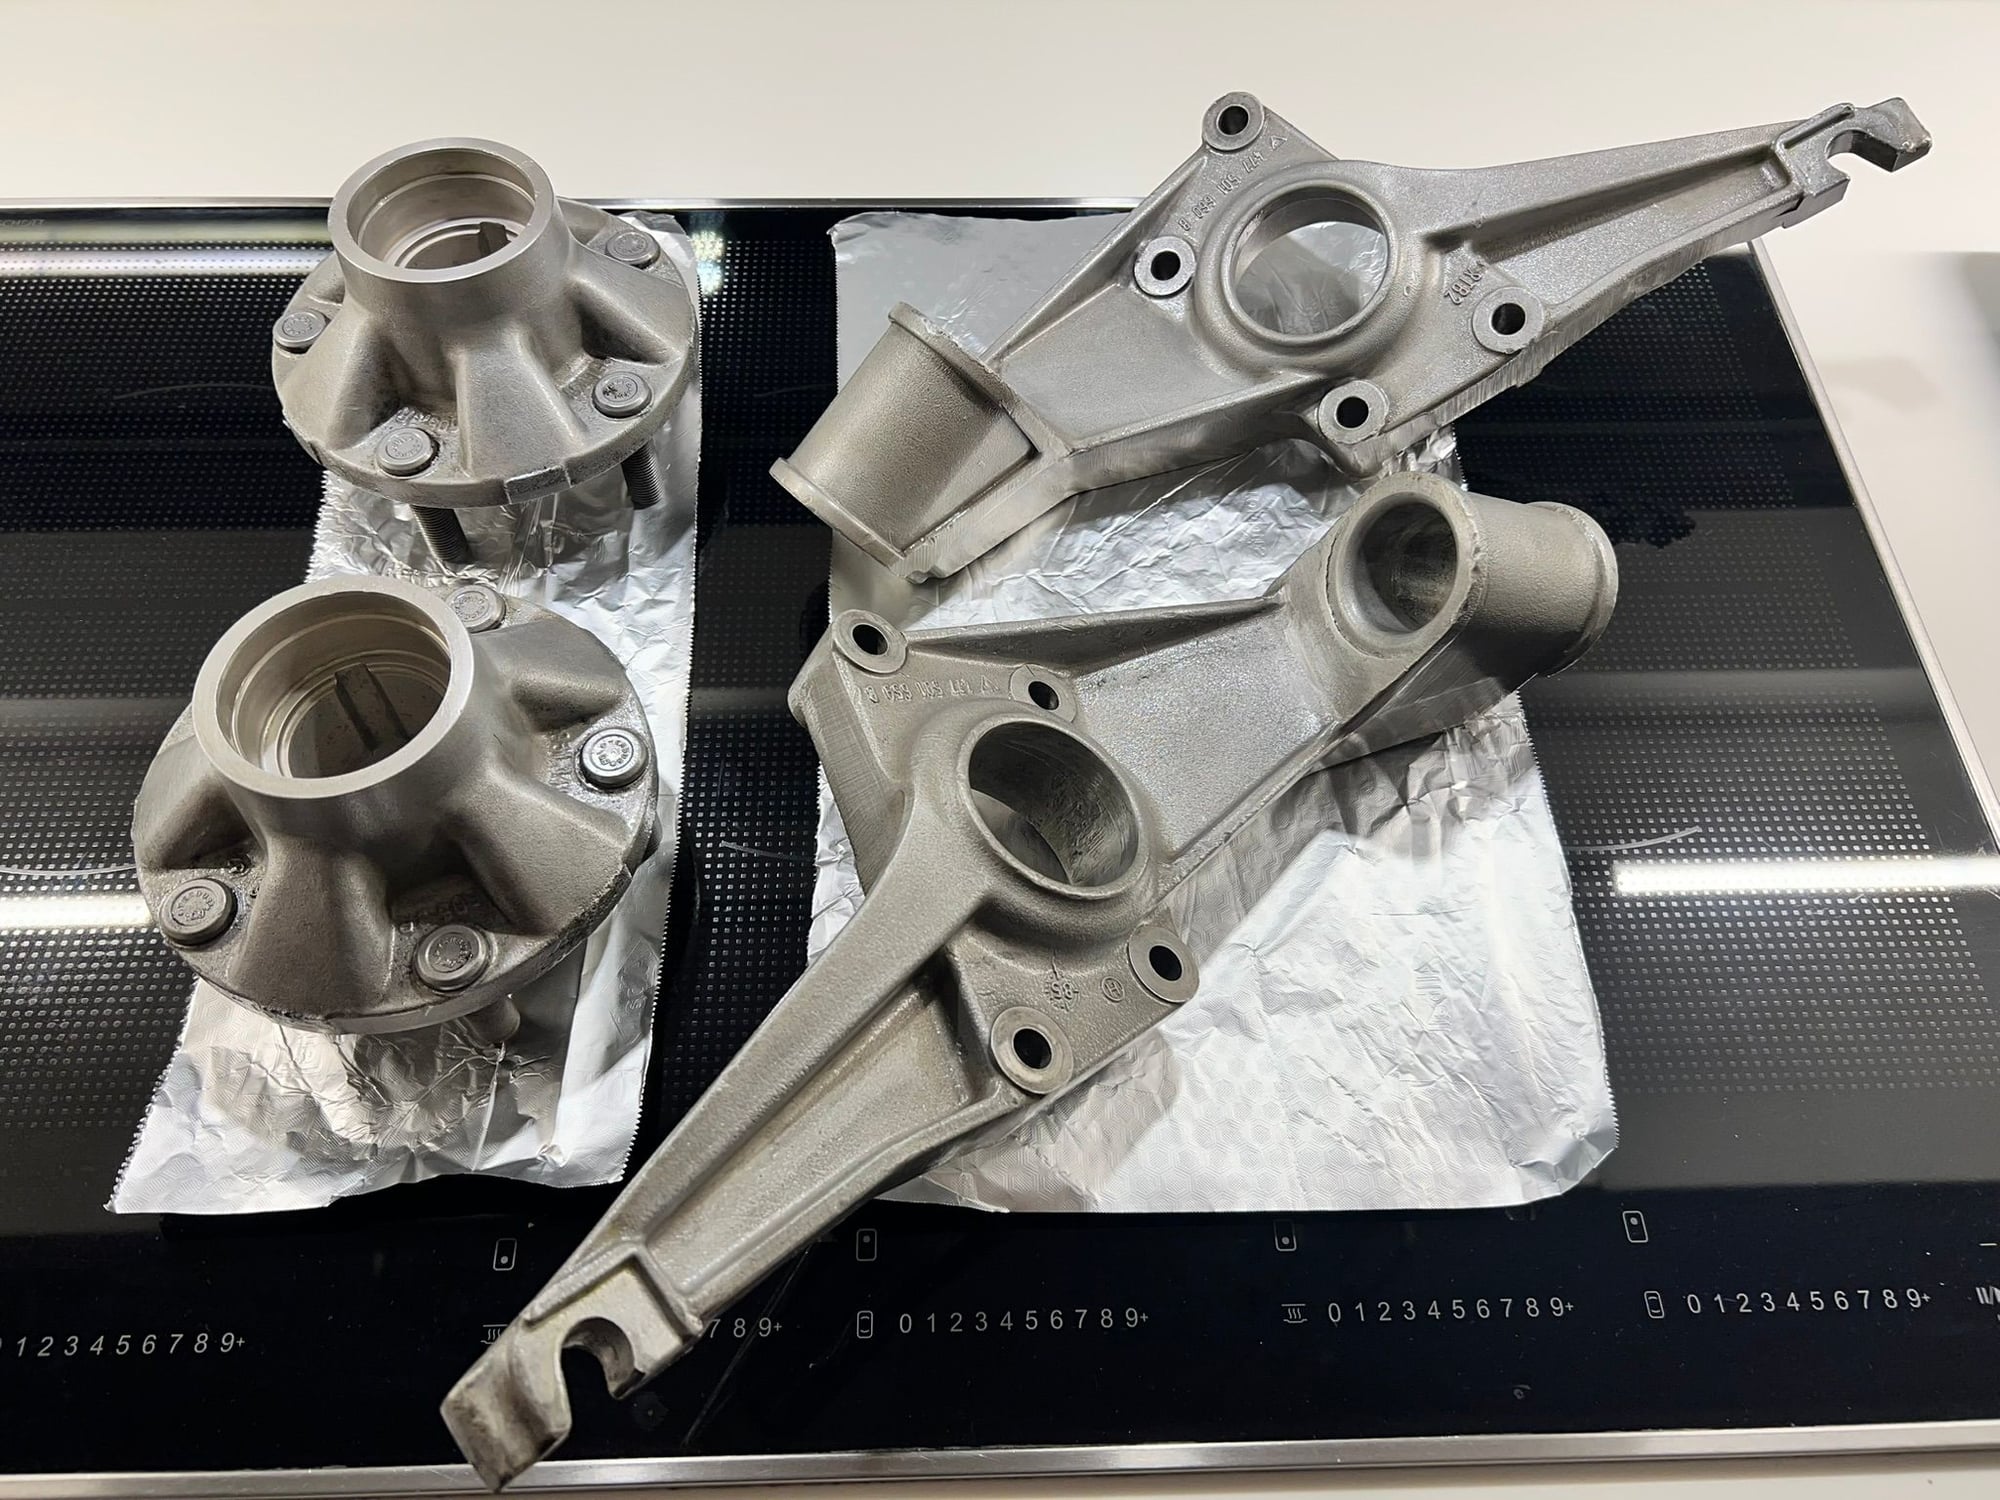
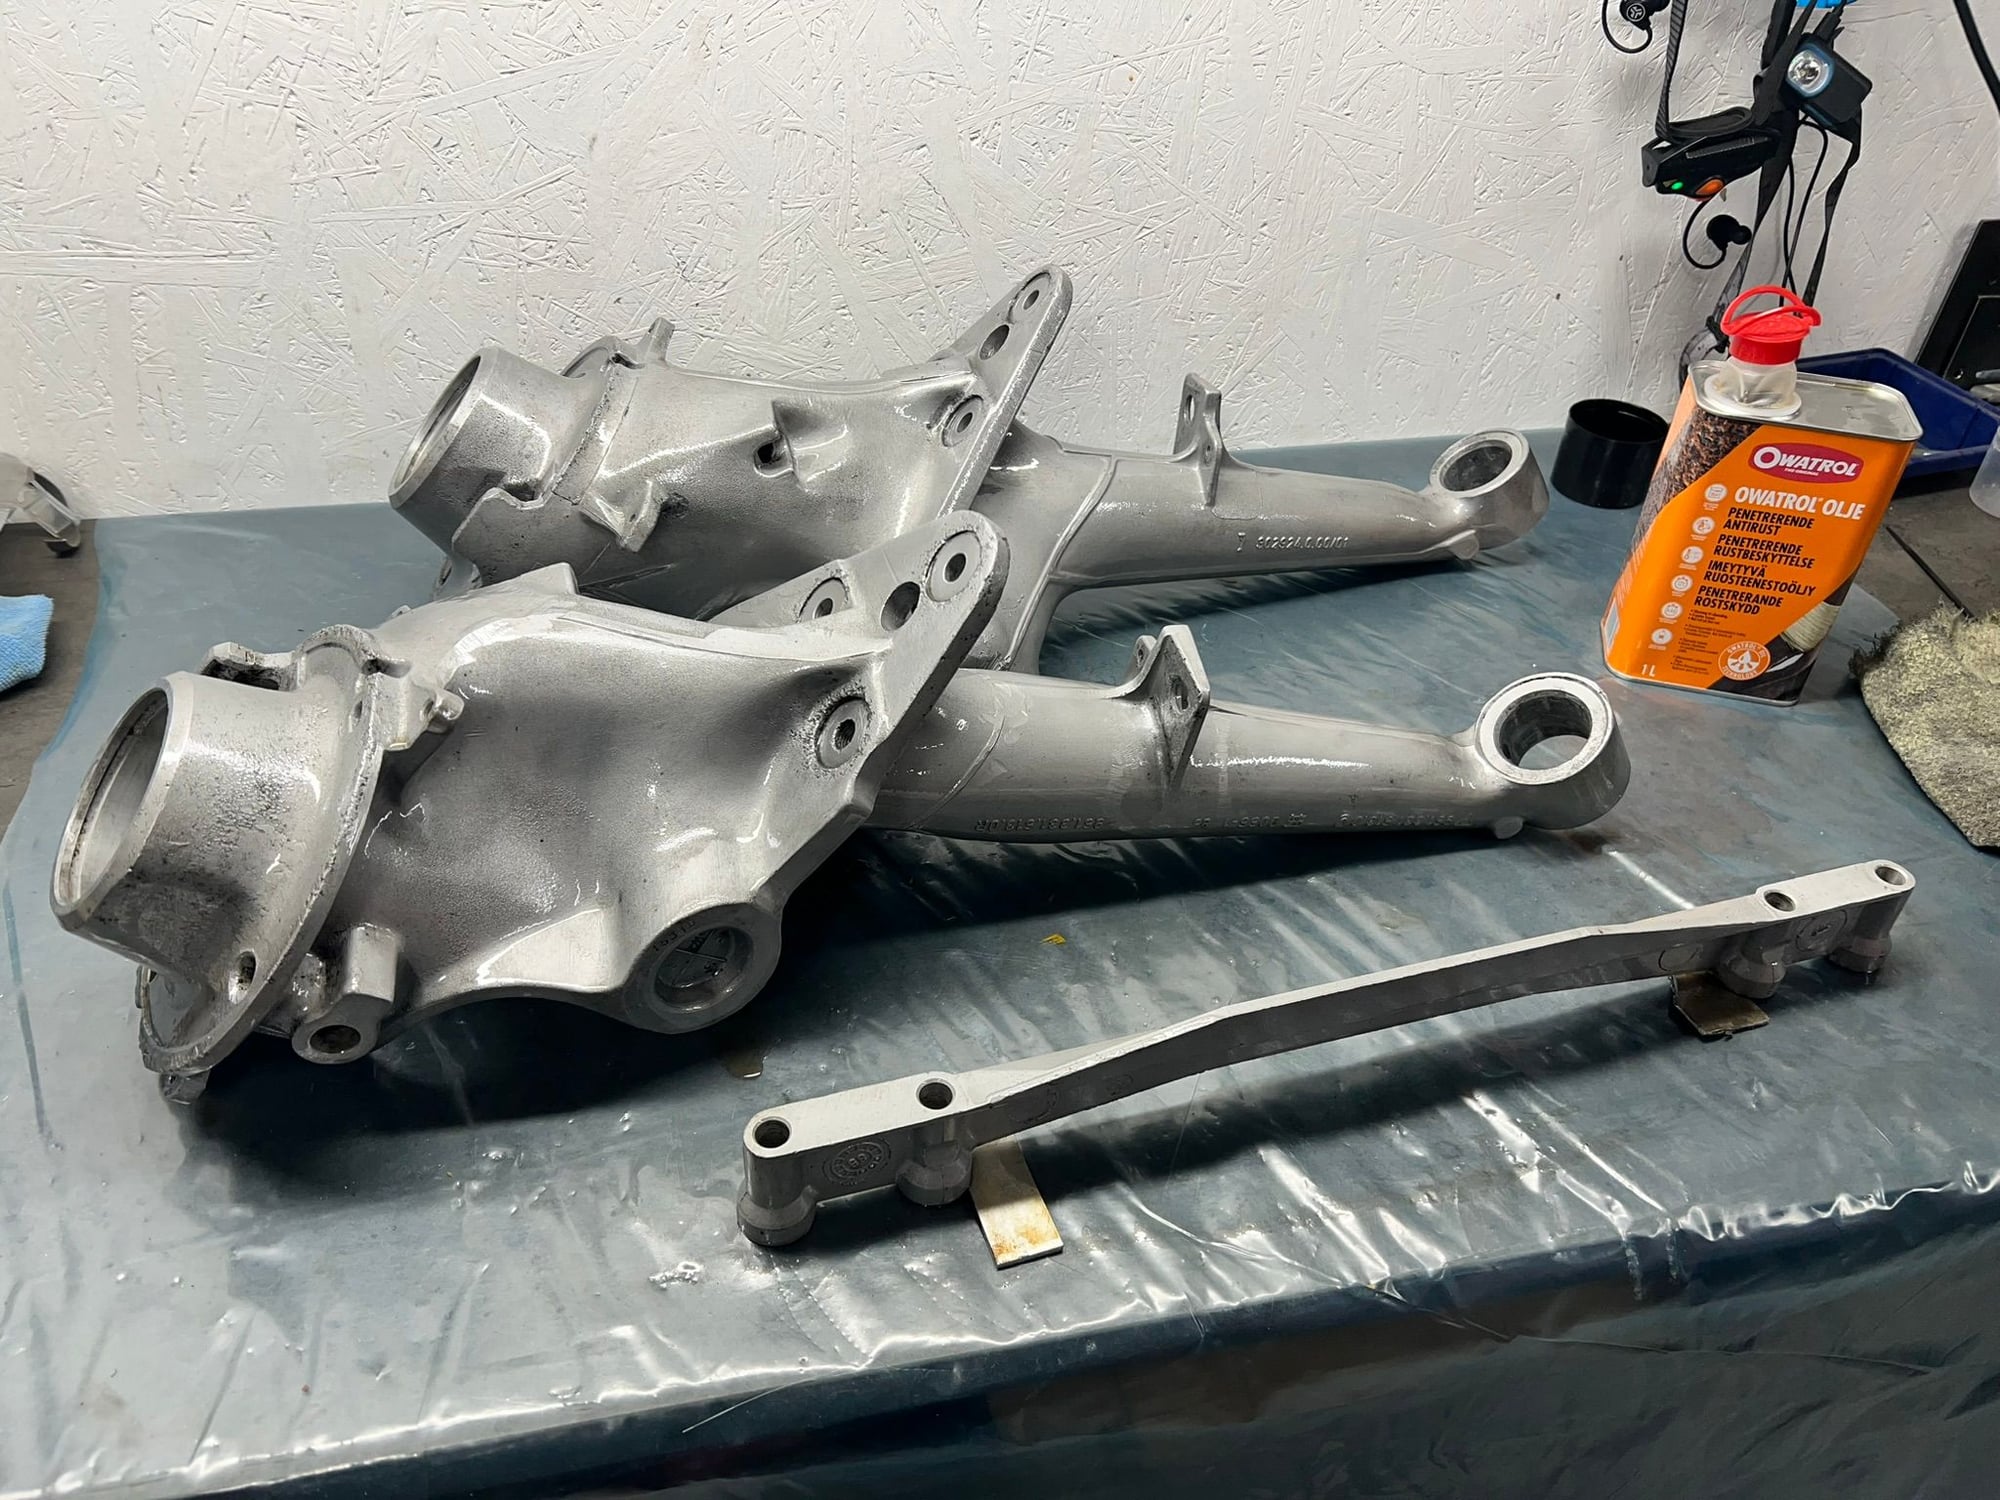
Got a tip on using Owatrol penetrating oil (Mix of boiled and raw linseed oil) to surface treat my water-polished aluminium suspension components. Tried the front hub and side console of the rear suspension first. Including baking at 100C for an hour. Happy with the results. So I did both the front and rear control arms as well.
.
I ended up flipping the hing. To make it protrude less towards the driver. This means the shade -must- be store forwards facing. As the hing is limited in movement the other direction. Due to the tightness between the cage and body, there is only room for one clamp. But it's solid enough. Front faces will be covered with skateboard grip tape. Home baking of car parts
 01-18-2023, 05:17 PM