Notices
914/914-6 Forum 1969-1976
Sponsored by:
Sponsored by:

After a 25 Year Break, 914 Ownership Again

Thread Tools
 
Search this Thread
 
Old 12-09-2019, 09:33 PM
  #61  
bkrantz
Rennlist Member
Thread Starter
 
bkrantz's Avatar
 
Join Date: Oct 2012
Location: SW Colorado
Posts: 6,012
Likes: 0
Received 1,091 Likes on 652 Posts
Default

Originally Posted by dr914
very nice work, you have a job here or at our body shop any time you want!
Thanks, George--learning as I go.

And more fun to do this as play.
Old 12-09-2019, 09:37 PM
  #62  
bkrantz
Rennlist Member
Thread Starter
 
bkrantz's Avatar
 
Join Date: Oct 2012
Location: SW Colorado
Posts: 6,012
Likes: 0
Received 1,091 Likes on 652 Posts
Default

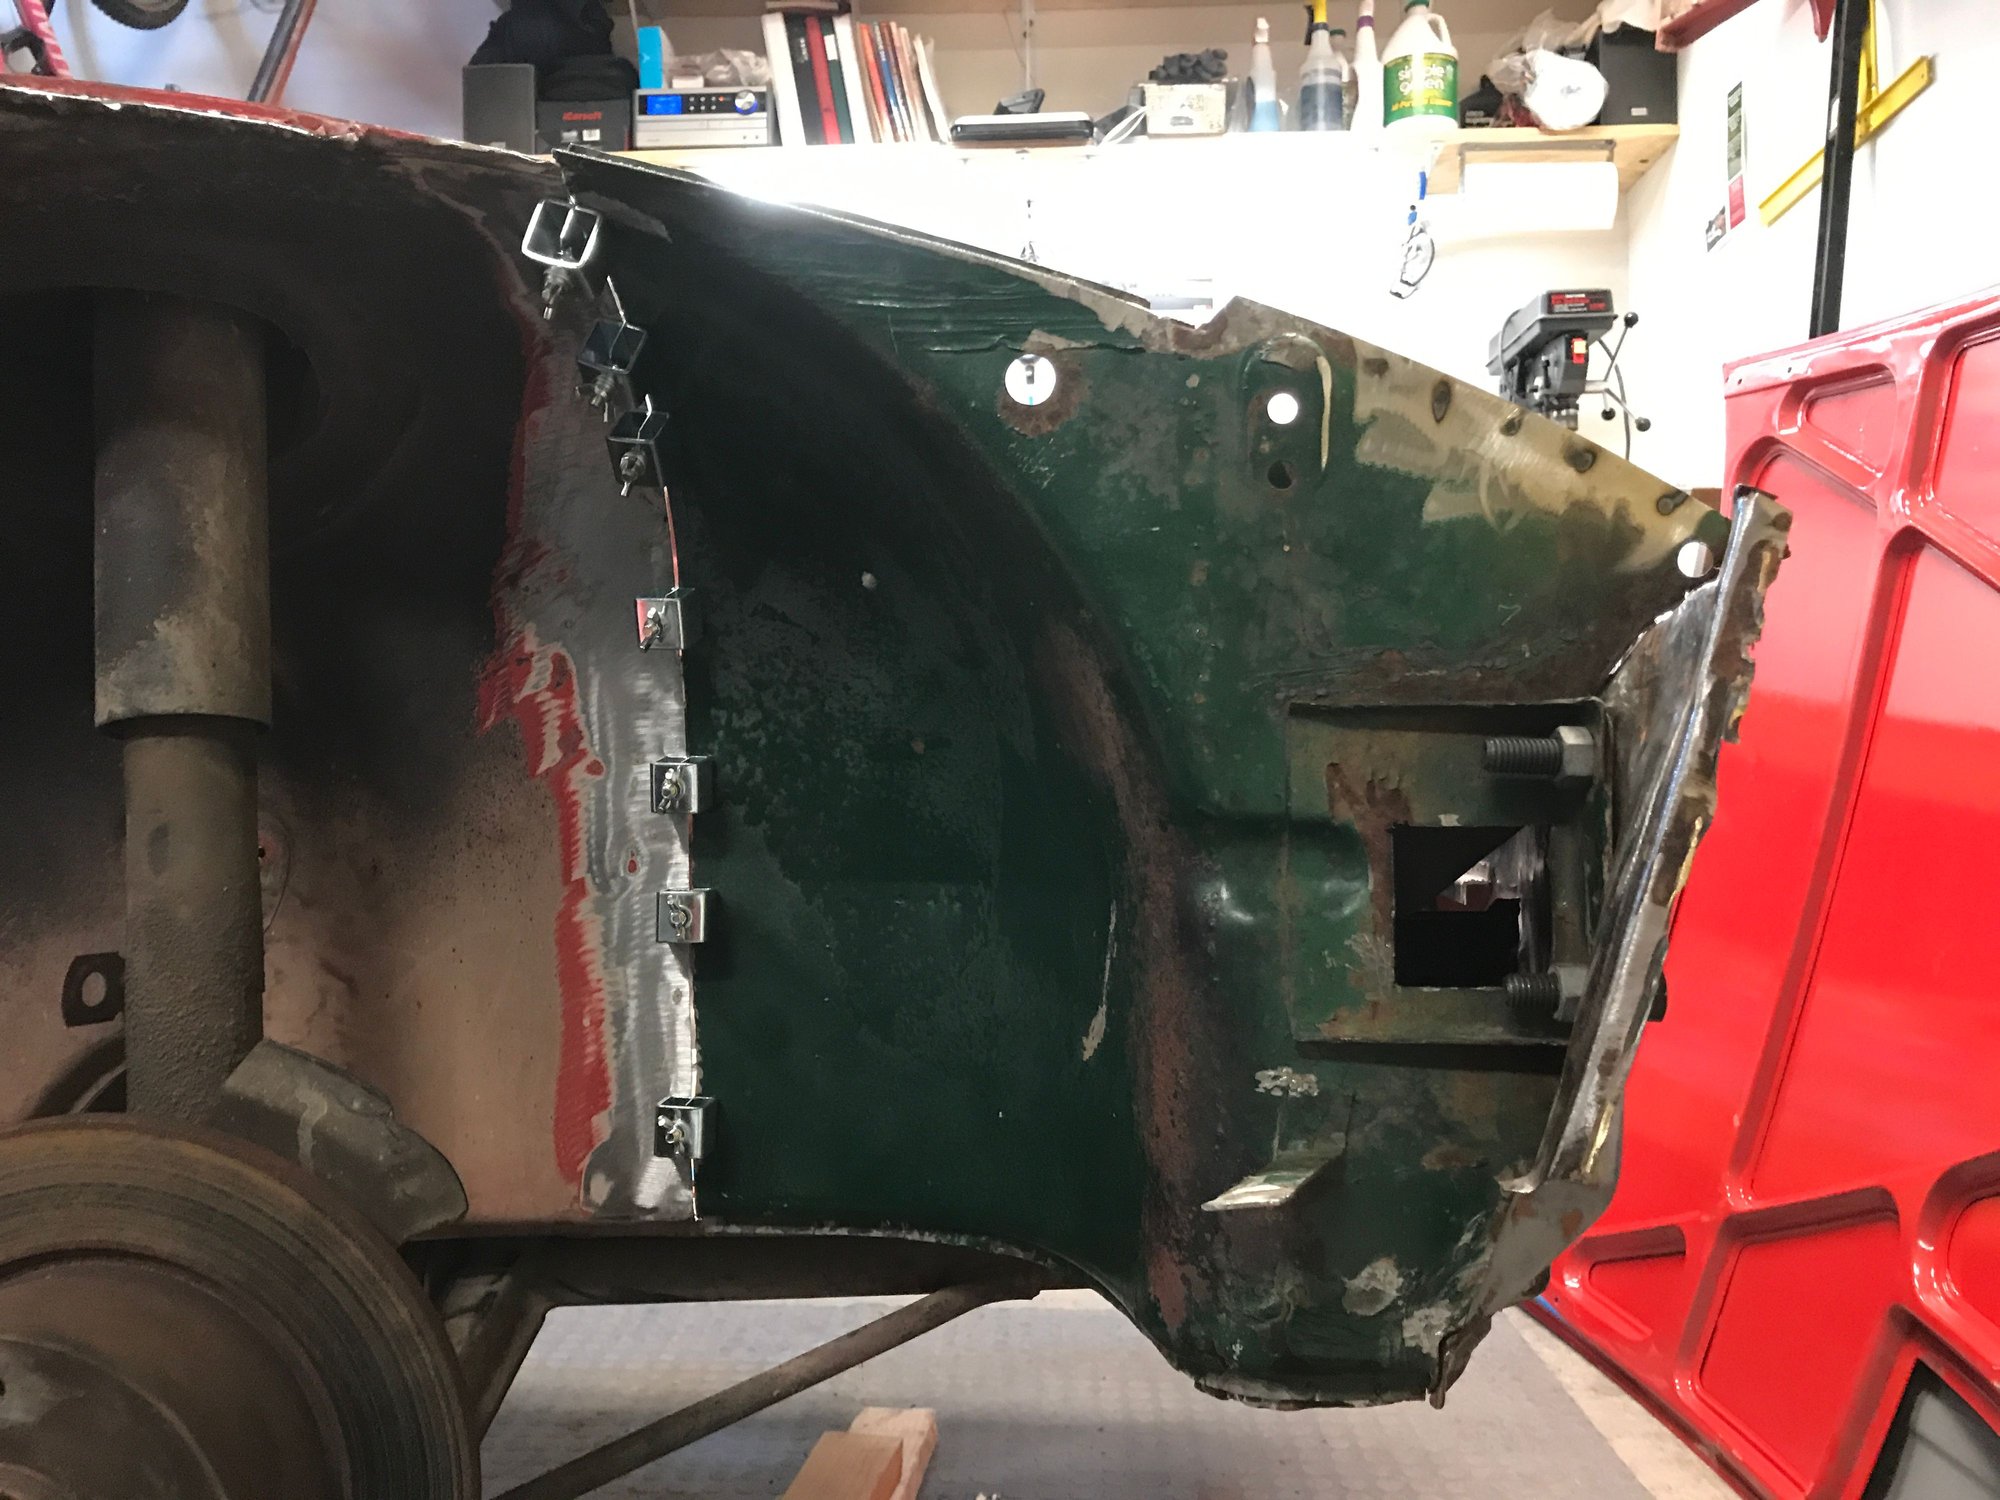
I am declaring victory on this, since I need to get started on the rear. All the gaps are within 1/16 inch, all the measurements are also as close as I can get, and the angles are within a degree.


Old 12-09-2019, 09:40 PM
  #63  
bkrantz
Rennlist Member
Thread Starter
 
bkrantz's Avatar
 
Join Date: Oct 2012
Location: SW Colorado
Posts: 6,012
Likes: 0
Received 1,091 Likes on 652 Posts
Default

Of course, I might come back and tap on things just a bit more for cosmetics!


Old 12-10-2019, 10:41 PM
  #64  
bkrantz
Rennlist Member
Thread Starter
 
bkrantz's Avatar
 
Join Date: Oct 2012
Location: SW Colorado
Posts: 6,012
Likes: 0
Received 1,091 Likes on 652 Posts
Default

Starting on the rear. I cut out the rear panel, which had been replaced (poorly) in the past. The right inner fender looks pretty lumpy.


Old 12-11-2019, 09:58 PM
  #65  
bkrantz
Rennlist Member
Thread Starter
 
bkrantz's Avatar
 
Join Date: Oct 2012
Location: SW Colorado
Posts: 6,012
Likes: 0
Received 1,091 Likes on 652 Posts
Default

Here's my initial rough reshape. Left side did not need much. Right side needs more.


Old 12-12-2019, 11:29 PM
  #66  
bkrantz
Rennlist Member
Thread Starter
 
bkrantz's Avatar
 
Join Date: Oct 2012
Location: SW Colorado
Posts: 6,012
Likes: 0
Received 1,091 Likes on 652 Posts
Default

Call the right side done enough for now. Next is the rear panel.


Old 12-17-2019, 10:37 PM
  #67  
bkrantz
Rennlist Member
Thread Starter
 
bkrantz's Avatar
 
Join Date: Oct 2012
Location: SW Colorado
Posts: 6,012
Likes: 0
Received 1,091 Likes on 652 Posts
Default

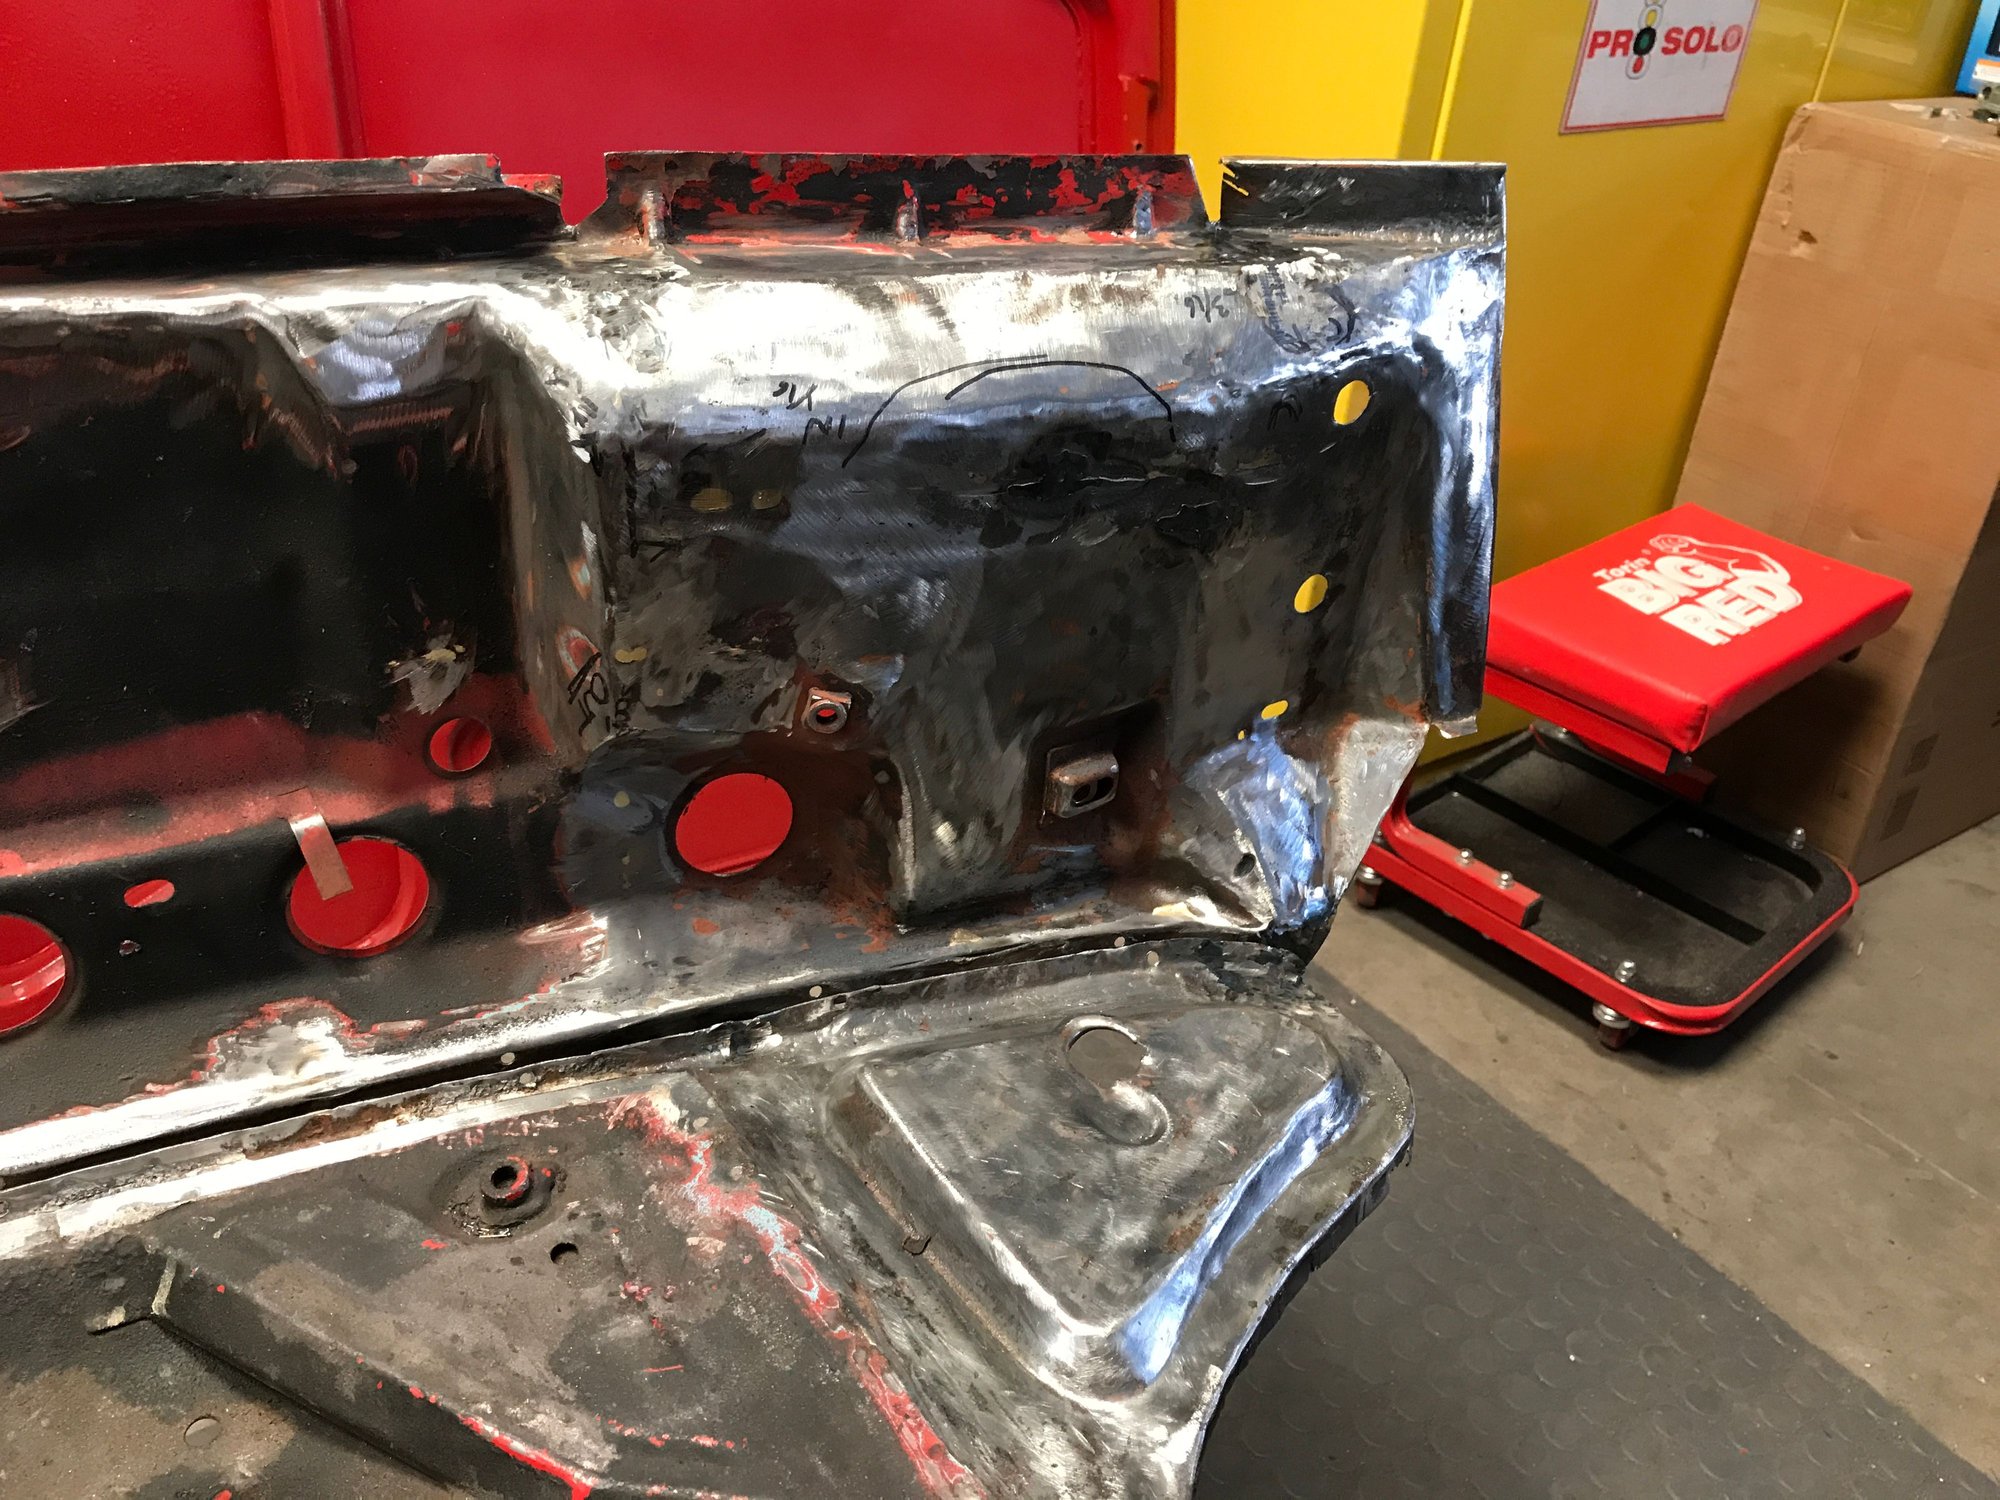
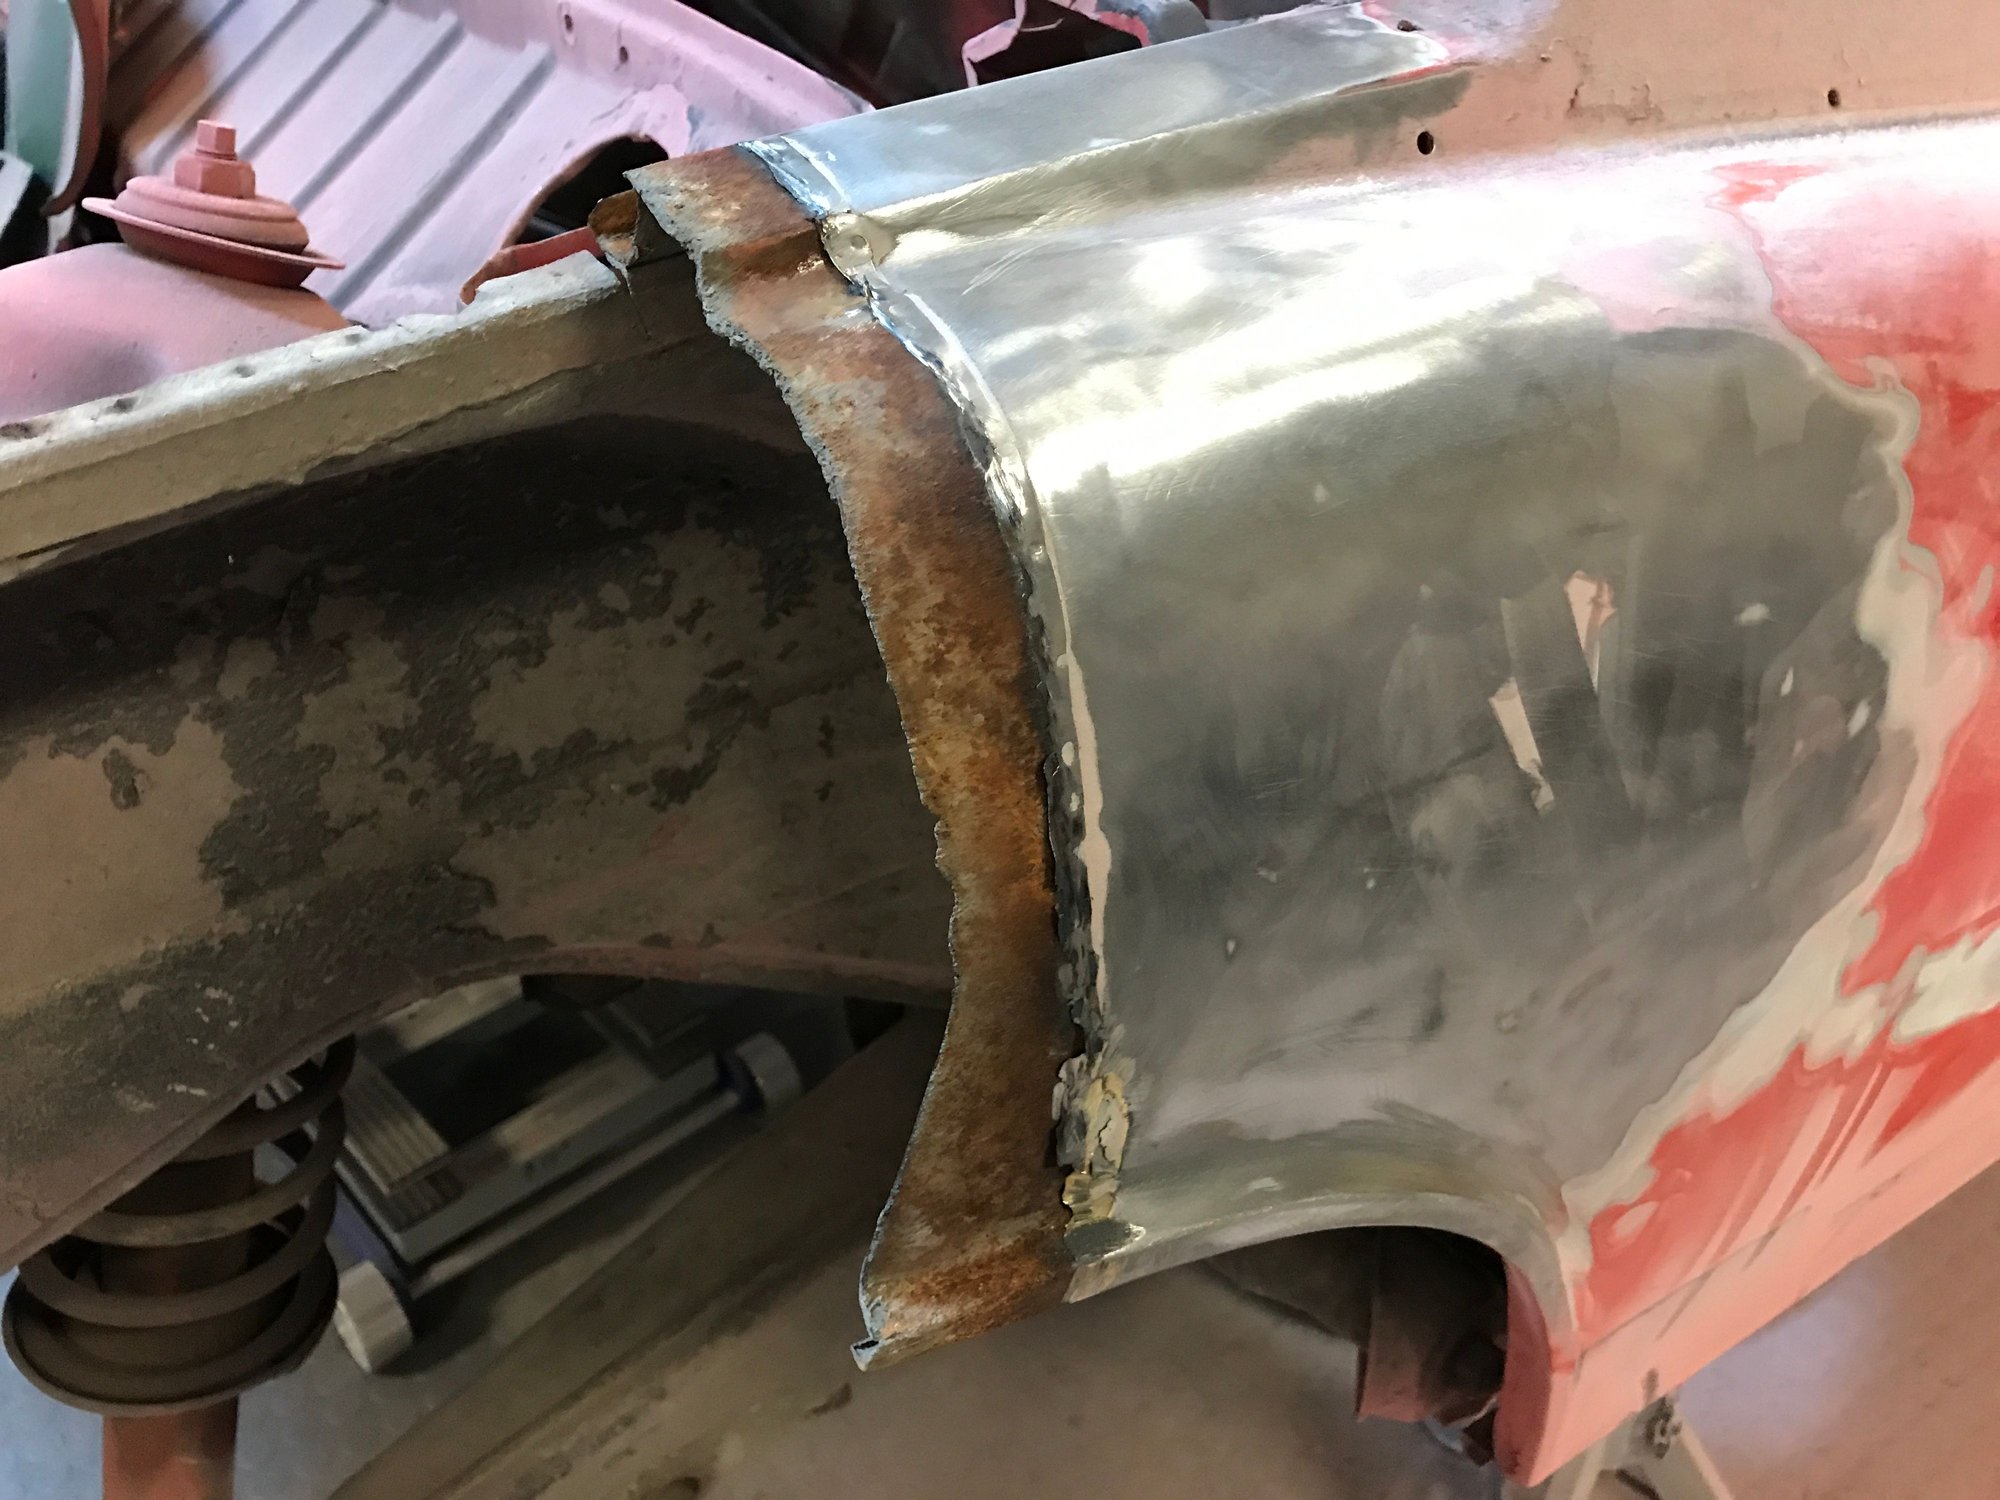
Getting back to work. This does not look like much, but after welding up some holes and grinding flat, this is the first step of adding metal to the car.


Old 12-17-2019, 10:39 PM
  #68  
bkrantz
Rennlist Member
Thread Starter
 
bkrantz's Avatar
 
Join Date: Oct 2012
Location: SW Colorado
Posts: 6,012
Likes: 0
Received 1,091 Likes on 652 Posts
Default

Plus the first part of bracing for the body shell, in prep for eventually mounting the car on the rotisserie.


Old 12-18-2019, 02:20 AM
  #69  
skl
Official Wednesday AM Red Bull F1 test driver
Rennlist Member
 
skl's Avatar
 
Join Date: Apr 2003
Location: North Scottsdale
Posts: 10,002
Received 953 Likes on 580 Posts
Default

Too bad they left that stupid moisture holding pad on the bulkhead in the engine compartment! Ouch!!
Old 12-19-2019, 01:00 AM
  #70  
bkrantz
Rennlist Member
Thread Starter
 
bkrantz's Avatar
 
Join Date: Oct 2012
Location: SW Colorado
Posts: 6,012
Likes: 0
Received 1,091 Likes on 652 Posts
Default

Originally Posted by skl
Too bad they left that stupid moisture holding pad on the bulkhead in the engine compartment! Ouch!!
Yeah. Even worse was putting the battery in a position exposed to weather and draining onto the main chassis components.
Old 12-19-2019, 07:10 PM
  #71  
skl
Official Wednesday AM Red Bull F1 test driver
Rennlist Member
 
skl's Avatar
 
Join Date: Apr 2003
Location: North Scottsdale
Posts: 10,002
Received 953 Likes on 580 Posts
Default

Yeah, that was not one of Porsche's great design ideas... (along with lead weights in the front bumper of early SWB 911's...)
The following users liked this post:
Superdave312 (07-27-2020)
Old 12-22-2019, 11:04 PM
  #72  
bkrantz
Rennlist Member
Thread Starter
 
bkrantz's Avatar
 
Join Date: Oct 2012
Location: SW Colorado
Posts: 6,012
Likes: 0
Received 1,091 Likes on 652 Posts
Default

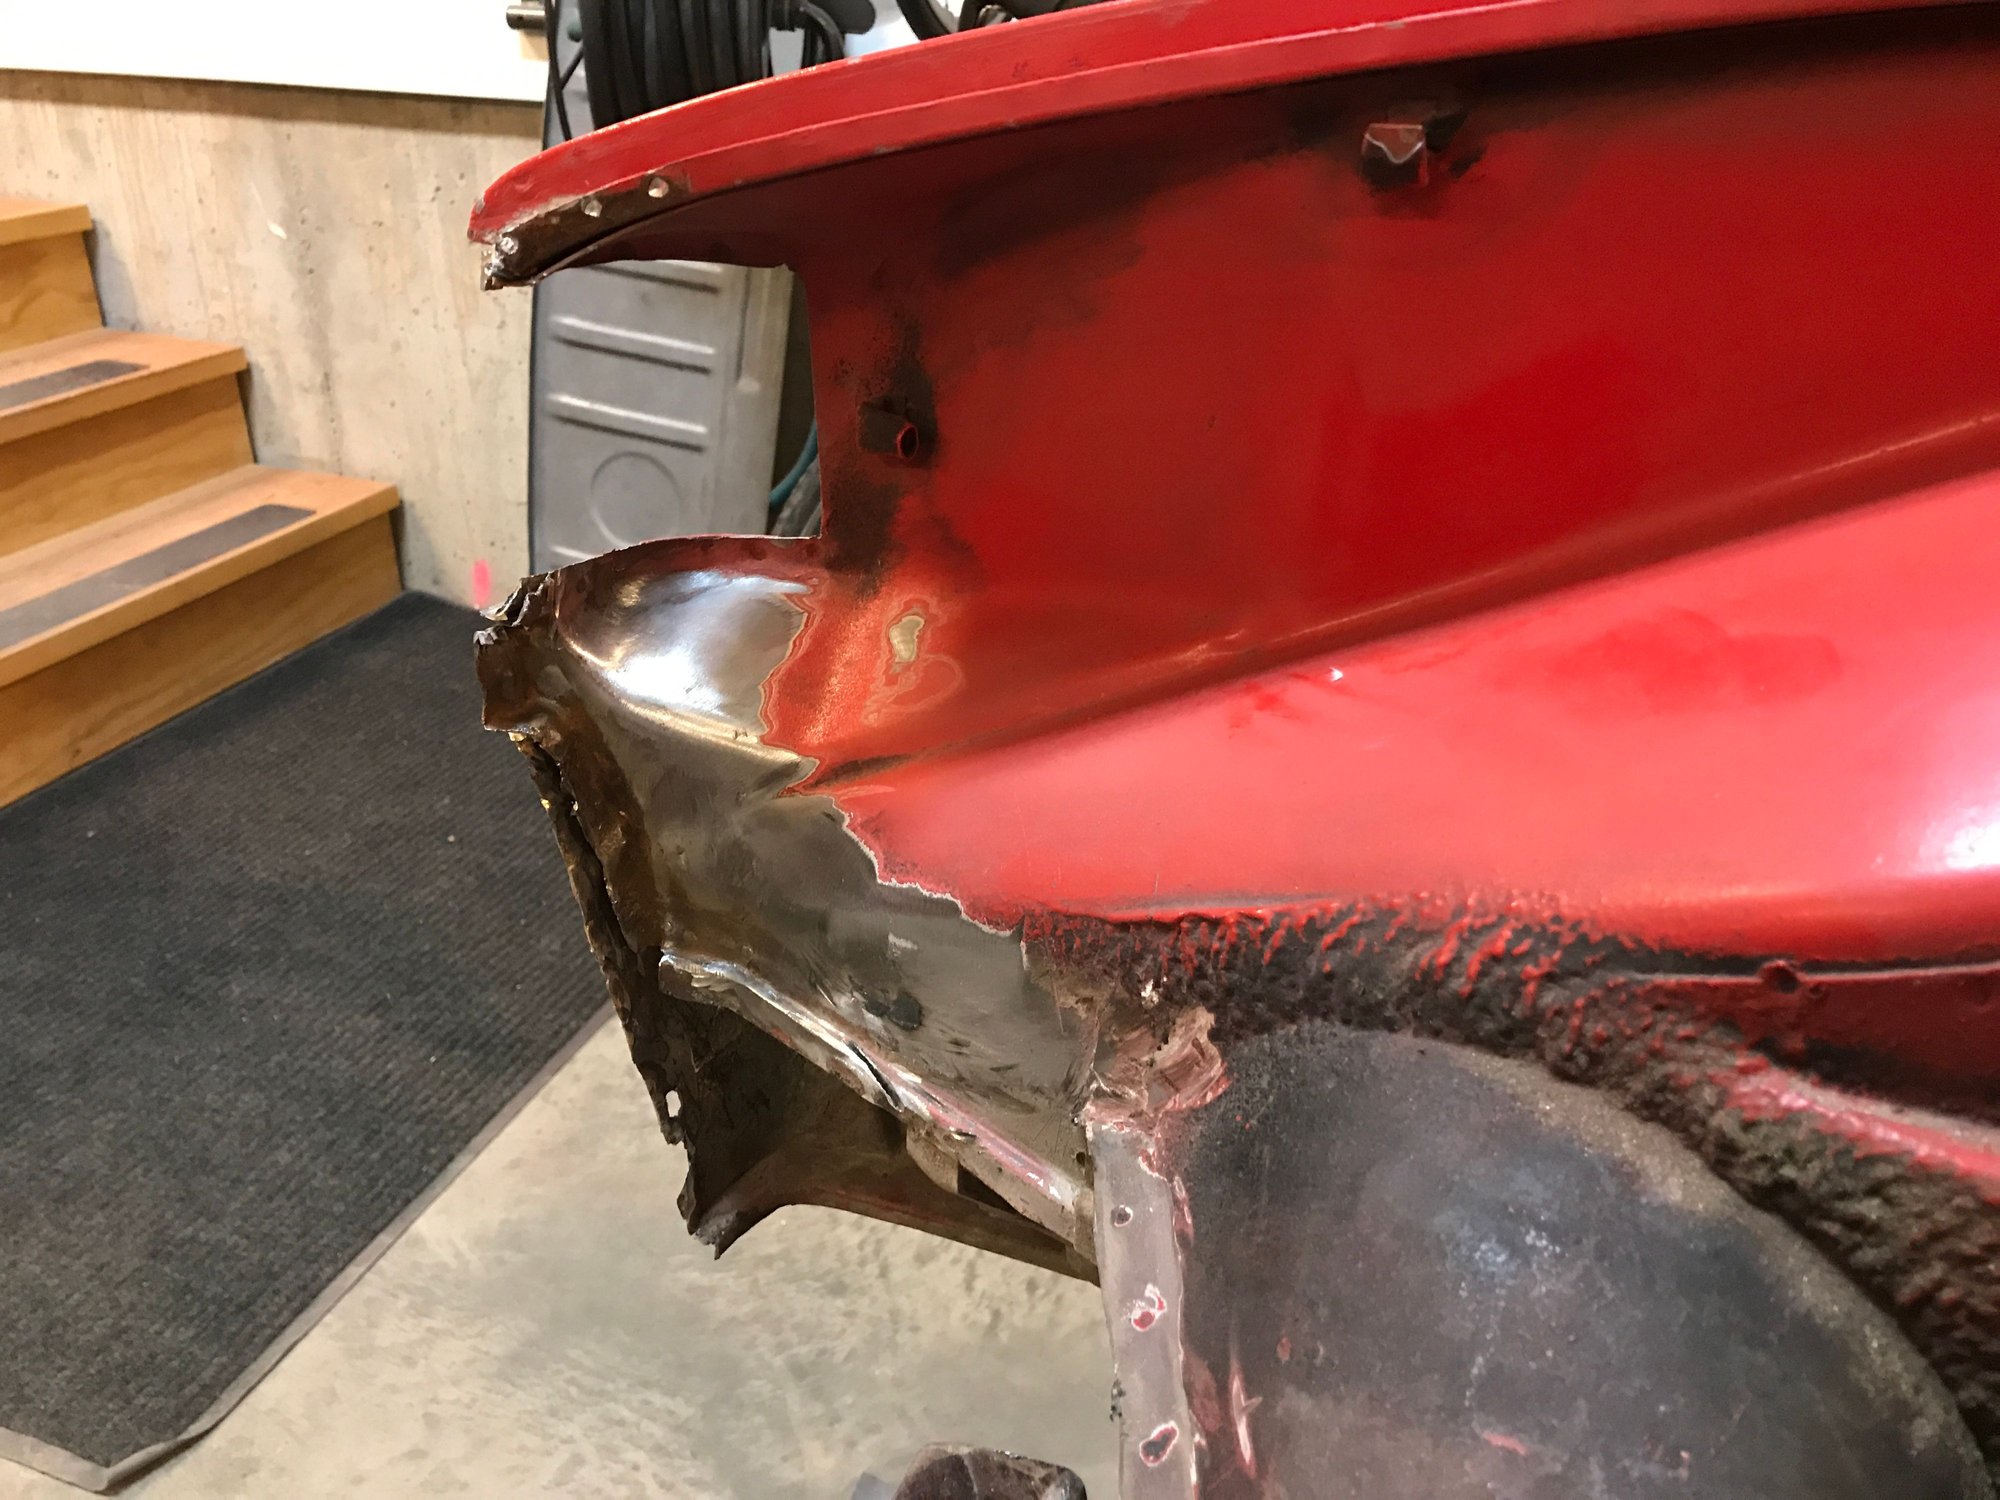
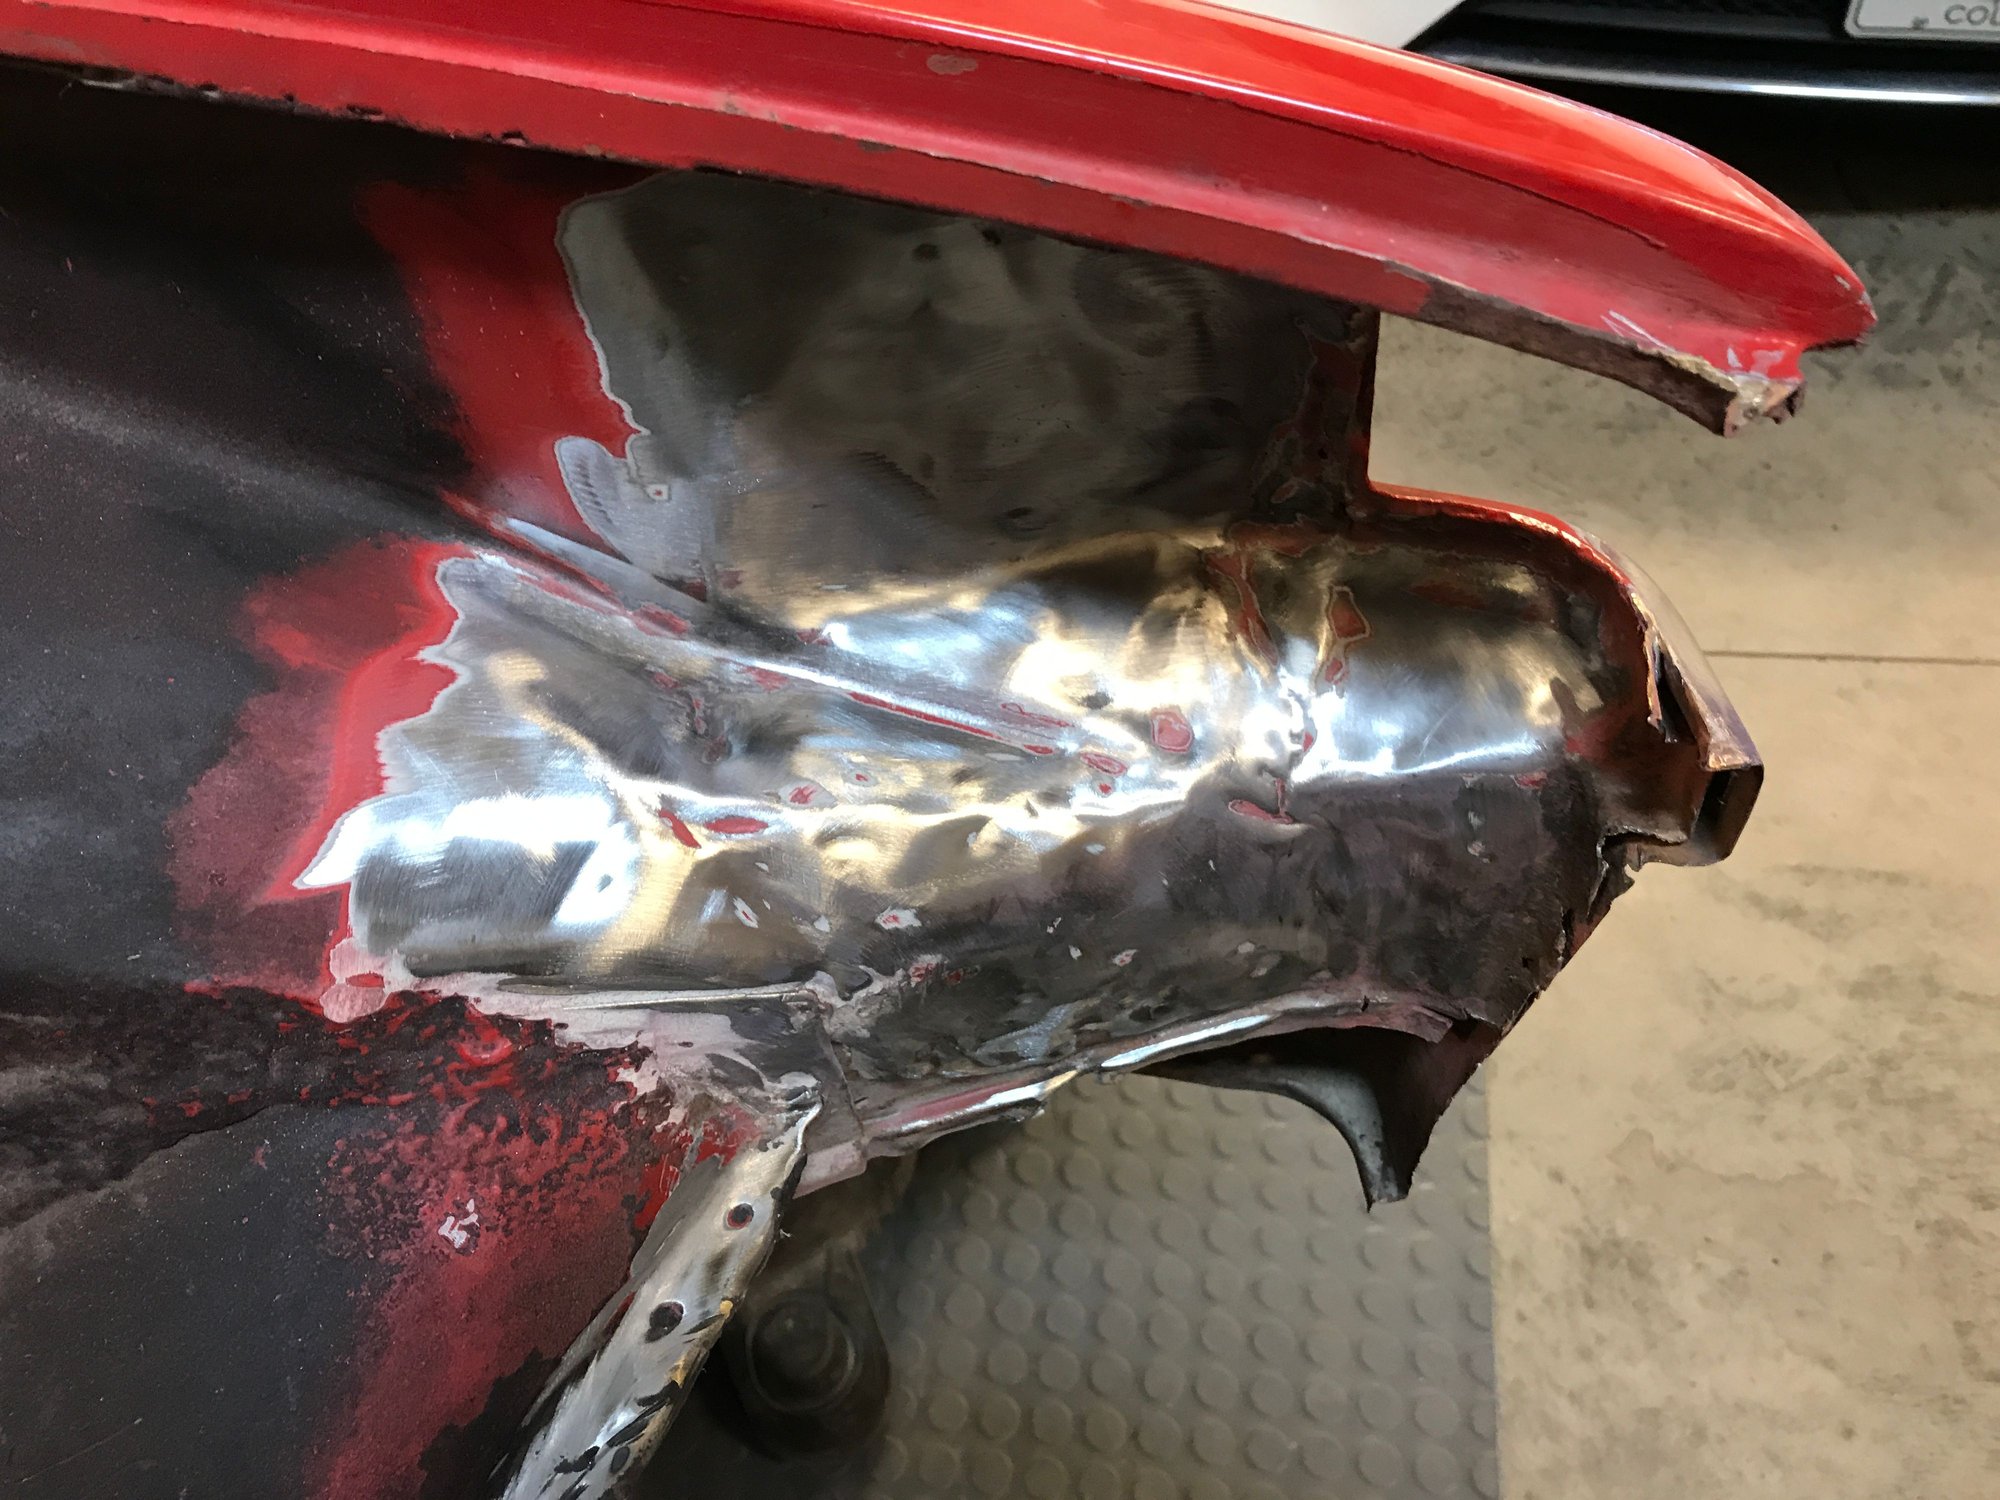
Another "surprise". I knew about the spliced fender, and ignored it as long as possible. But the previous crappy lap joint was just too awful. Plus taking off the rear part of the outer fender gives me better access to the inner fender. Pretty easy to remove, since the fender section was attached only along the outer edge of the lap joint, some brazing around the tail light opening, and one spot of brazing along the upper seam where the outer and inner fenders meet.


Old 12-22-2019, 11:09 PM
  #73  
bkrantz
Rennlist Member
Thread Starter
 
bkrantz's Avatar
 
Join Date: Oct 2012
Location: SW Colorado
Posts: 6,012
Likes: 0
Received 1,091 Likes on 652 Posts
Default

Meanwhile, I put my son to work fabricating braces for the passenger compartment.


Old 12-22-2019, 11:10 PM
  #74  
bkrantz
Rennlist Member
Thread Starter
 
bkrantz's Avatar
 
Join Date: Oct 2012
Location: SW Colorado
Posts: 6,012
Likes: 0
Received 1,091 Likes on 652 Posts
Default


And the patch work is done on the splice for the front right inner fender.
Old 12-23-2019, 02:16 AM
  #75  
skl
Official Wednesday AM Red Bull F1 test driver
Rennlist Member
 
skl's Avatar
 
Join Date: Apr 2003
Location: North Scottsdale
Posts: 10,002
Received 953 Likes on 580 Posts
Default

I'm impressed- the "kid" can weld too!!!


Quick Reply: After a 25 Year Break, 914 Ownership Again


All times are GMT -3. The time now is 11:49 AM.