When you click on links to various merchants on this site and make a purchase, this can result in this site earning a commission. Affiliate programs and affiliations include, but are not limited to, the eBay Partner Network.
^actually I didn't until you mentioned it. Just read some threads on Pelican. My floorboard is in good shape but will give it another once over. The rubber stop is intact and shows some but little wear. I'll certainly be sure to measure travel etc when I reinstall the trans and clutch cable. I recently readjusted my clutch cable on my SC per the procedures so some recent experience there.
Unlike classic American cars, or even the 356, I am glad there isn't much chrome on Porsche 911's. I took the few pieces requiring new chrome plating to the plater today and was surprised how pricey it was. Oh well, I continue to slide down the resto-mod slope.
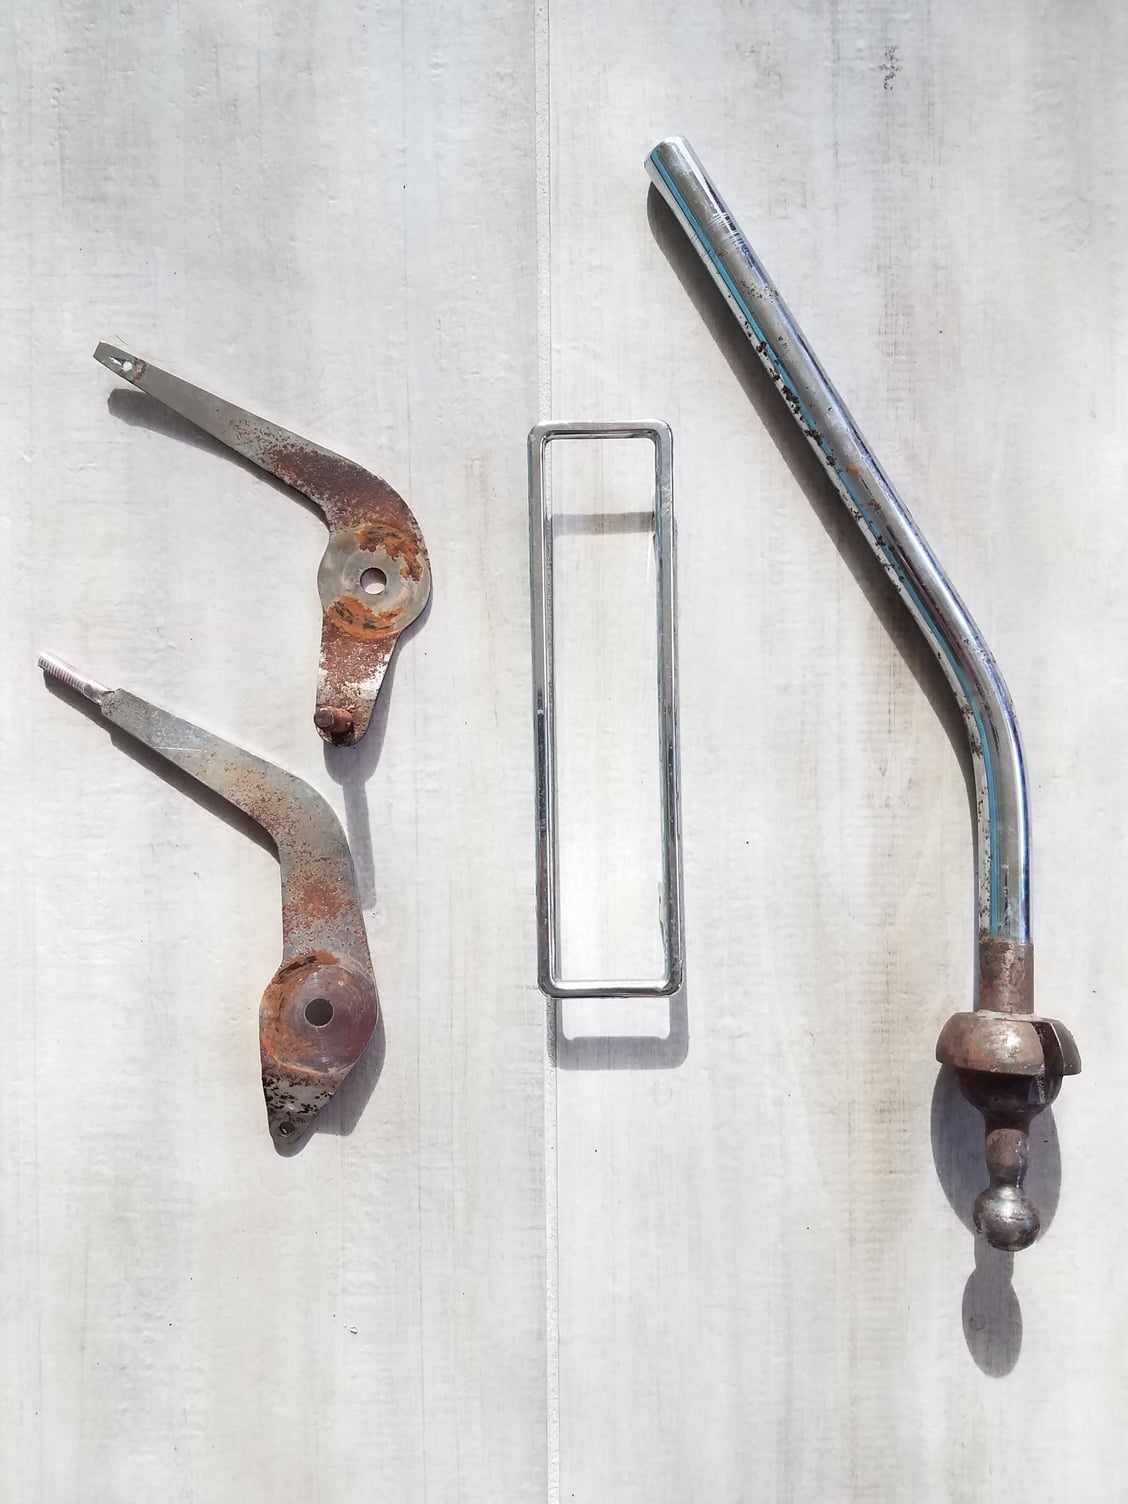
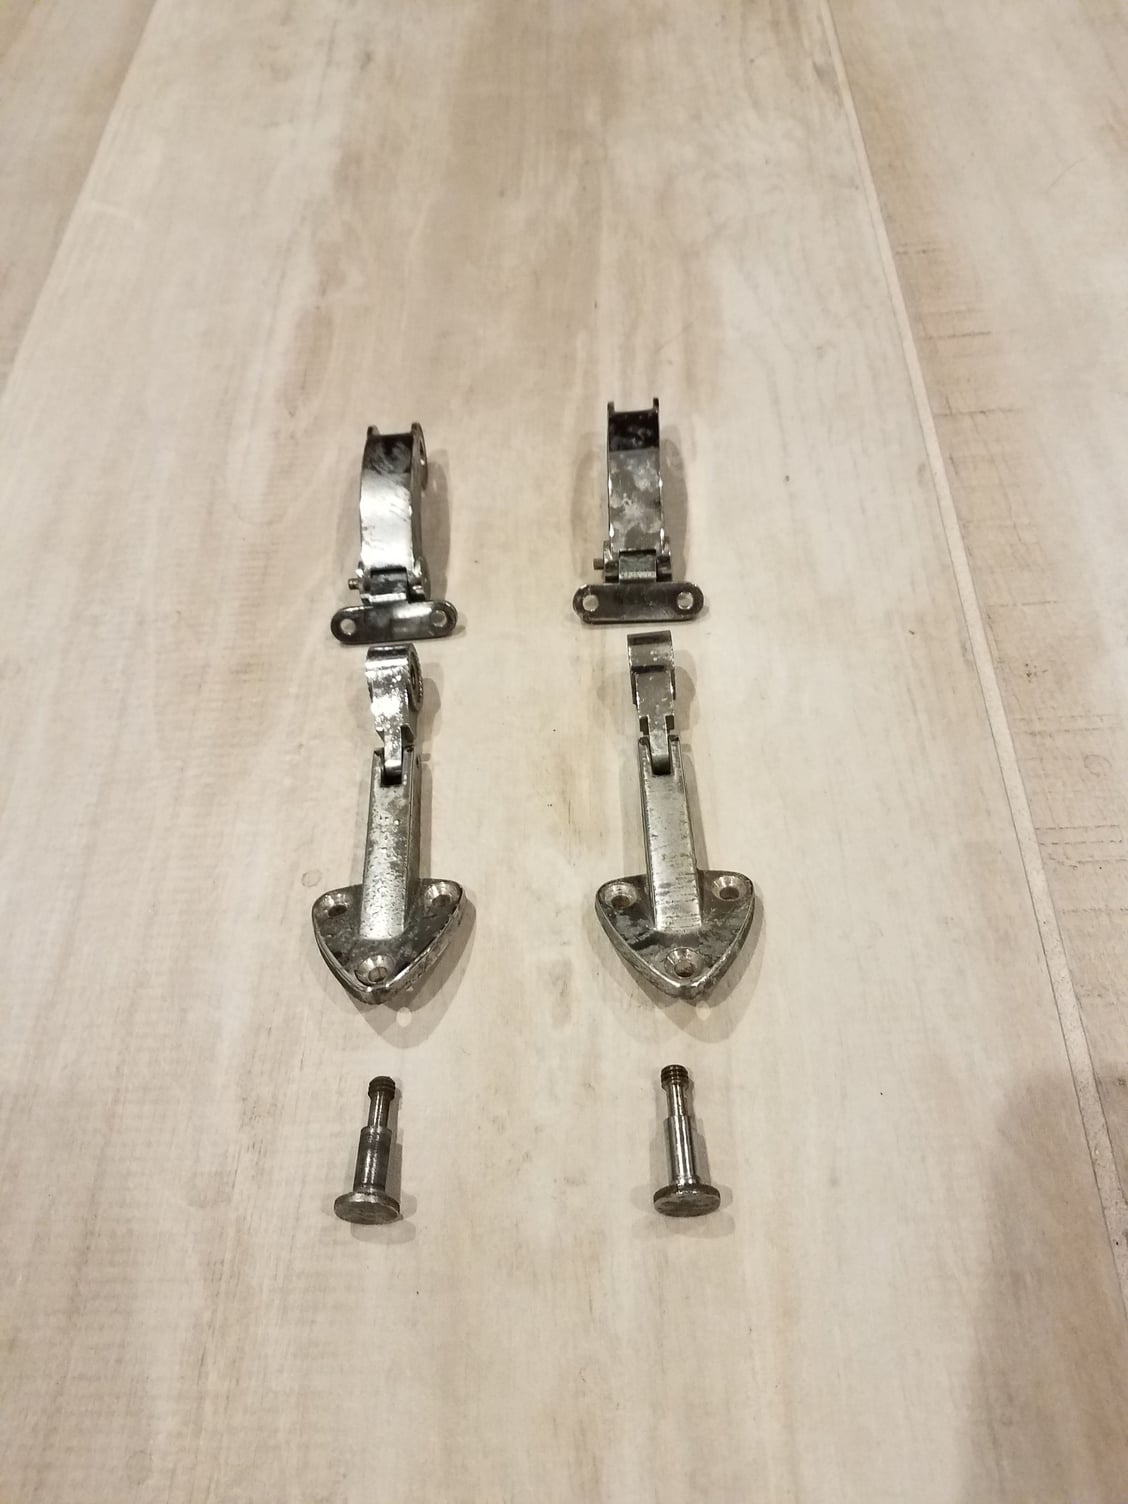
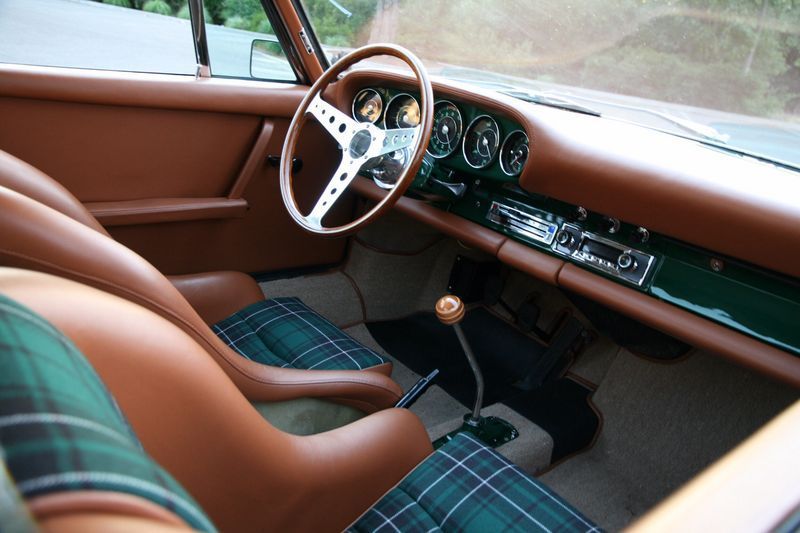
I am restoring my e-brake assembly so I dropped of the e-brake levers (throttle and heater). I have decided to stick with my stock shifter since it is unique to the '72 915 - another one of the 1 year only features of the '72. So I dropped off the shift lever for shiny new chrome. I plan to refinish the shifter base and leave it exposed (instead of under carpet - see photo below of another car that did this) and without the rubber boot so it will have a hot rod look. I also dropped off the vent control surround and the rear window hinges. All of this stuff was in ratty condition. Let's see how they look in a couple weeks.
Here is a photo of a car that I saw that gave me the idea of the "exposed" gear shift assembly. I hope whoever's car this is isn't offended that I am stealing the idea!
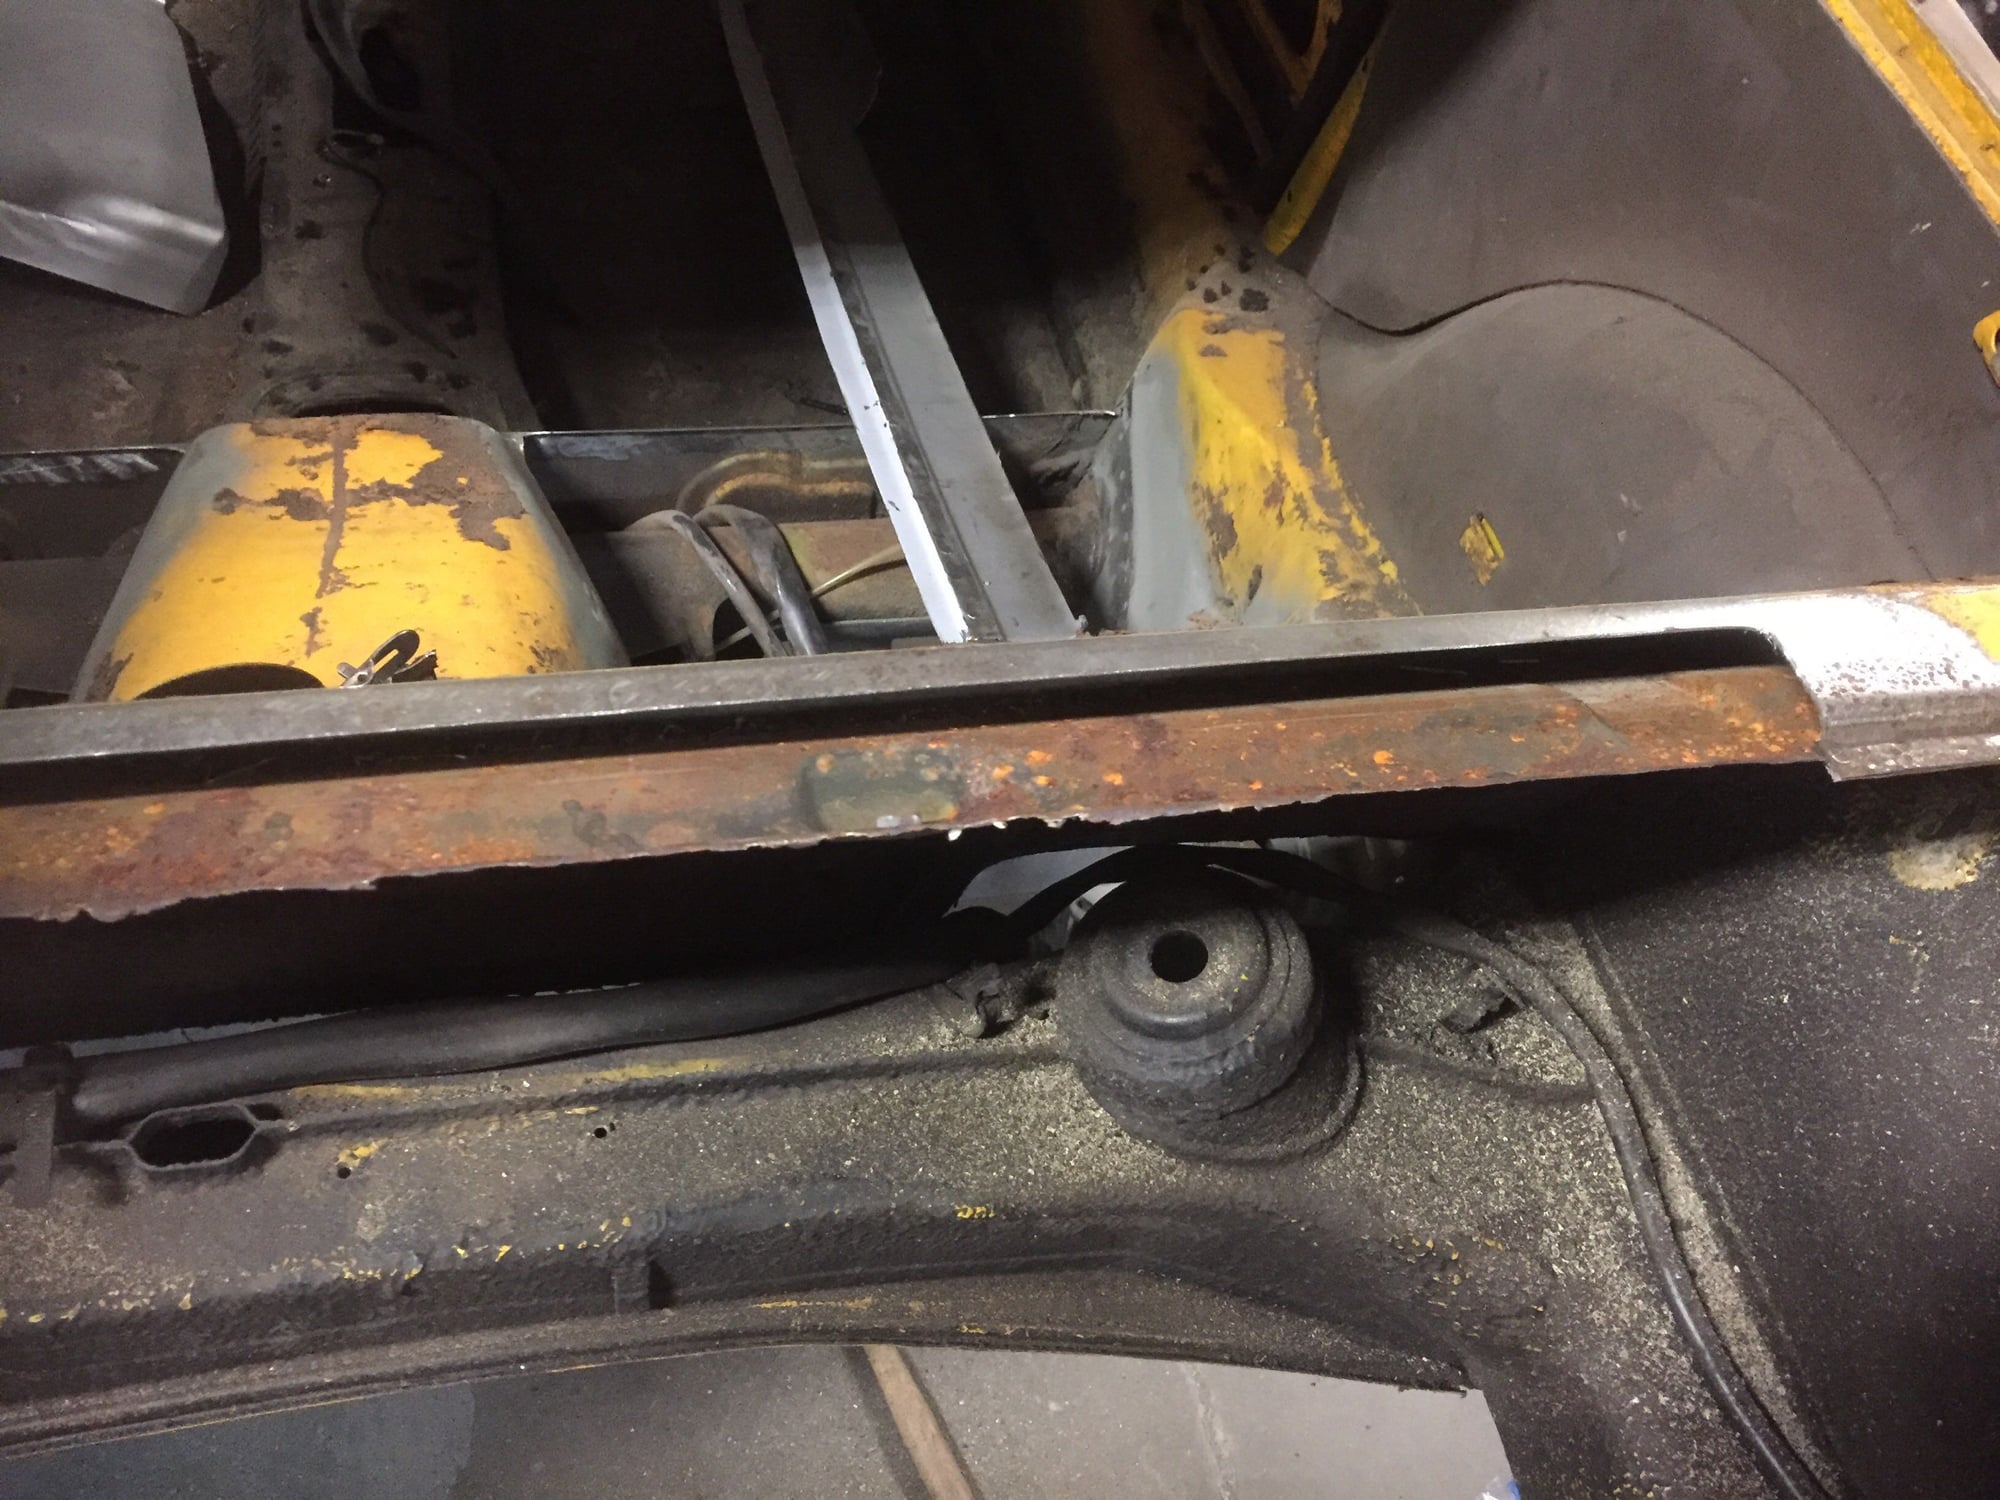
A couple days ago Andy sent me a text with a lovely photo attached (see below). We were trying to graft in the rear parcel shelf by retaining as much of the original sheet metal as possible - well this isn't going to work. After cutting the area where the rear bulkhead area attaches to the parcel shelf, you can see there is more rust that was exposed. So, the entire parcel shelf will be replaced and a section of the bulkhead area as well. These longhoods seem to have little rust surprises everywhere you look! Anyway, I just want the sheet metal work to be done right and remove/replace rust so this car can live many more decades. Hoping to get to his shop this week to get more photos of the progress.
^ true - that guy is a master. Andy has cars way beyond what you would think could be rescued but when they are valuable enough, I guess it is worth it.
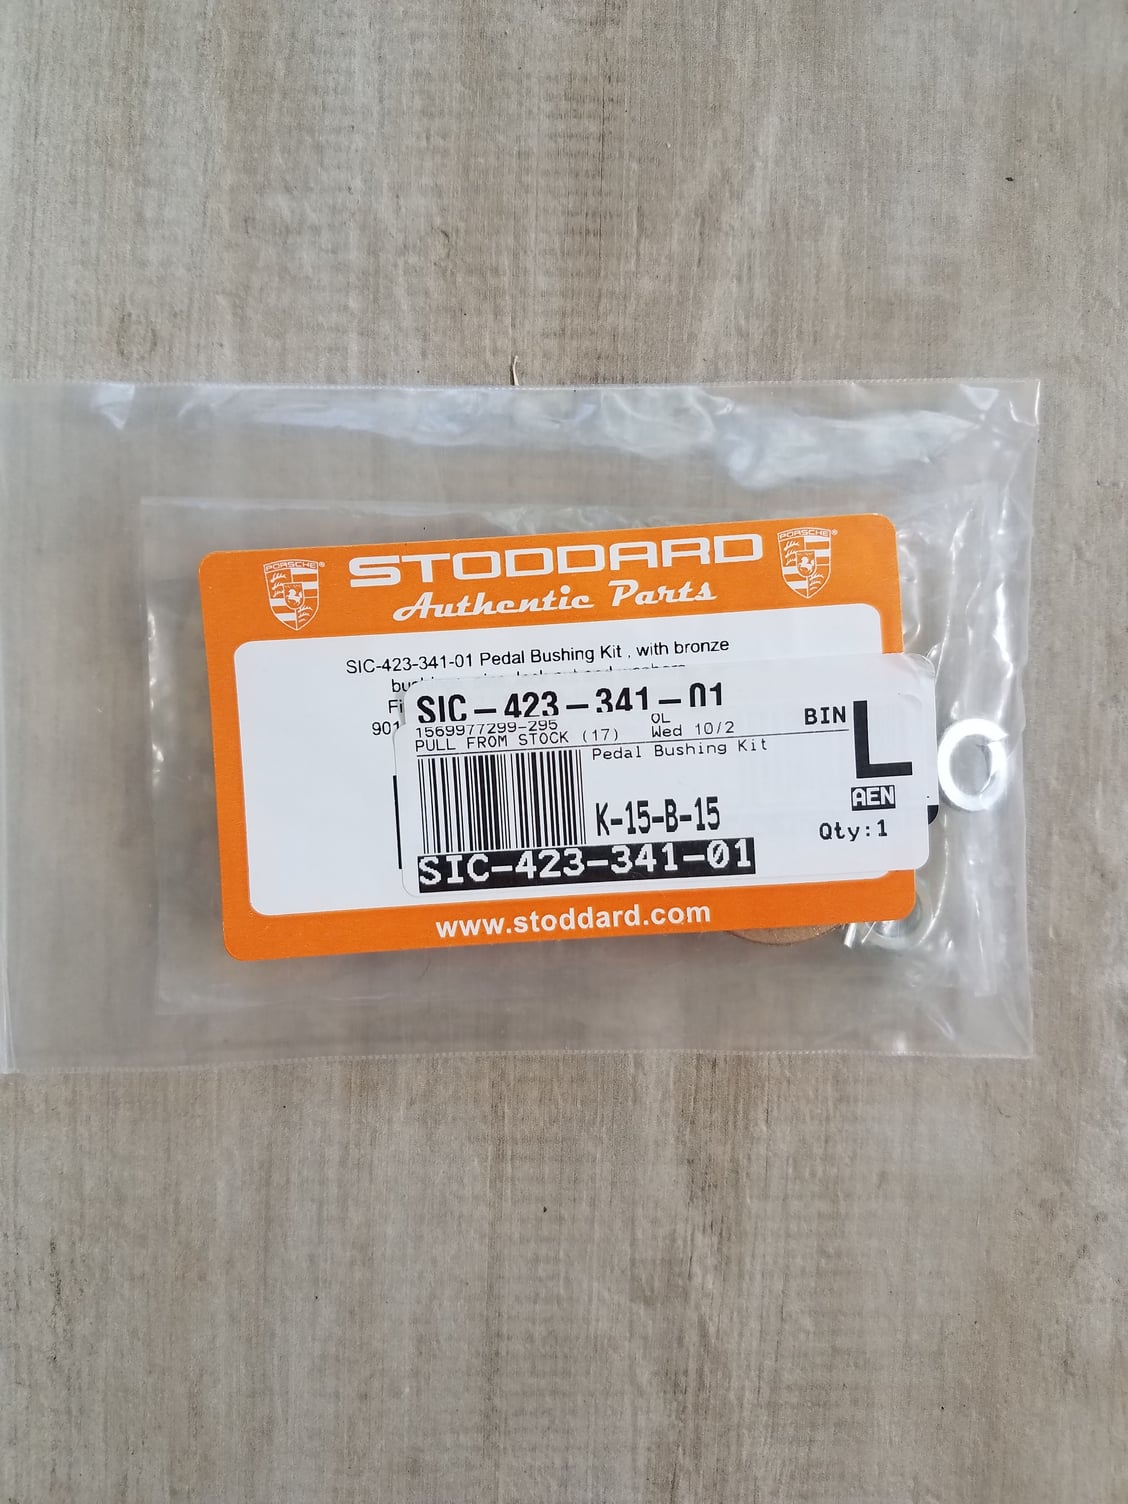
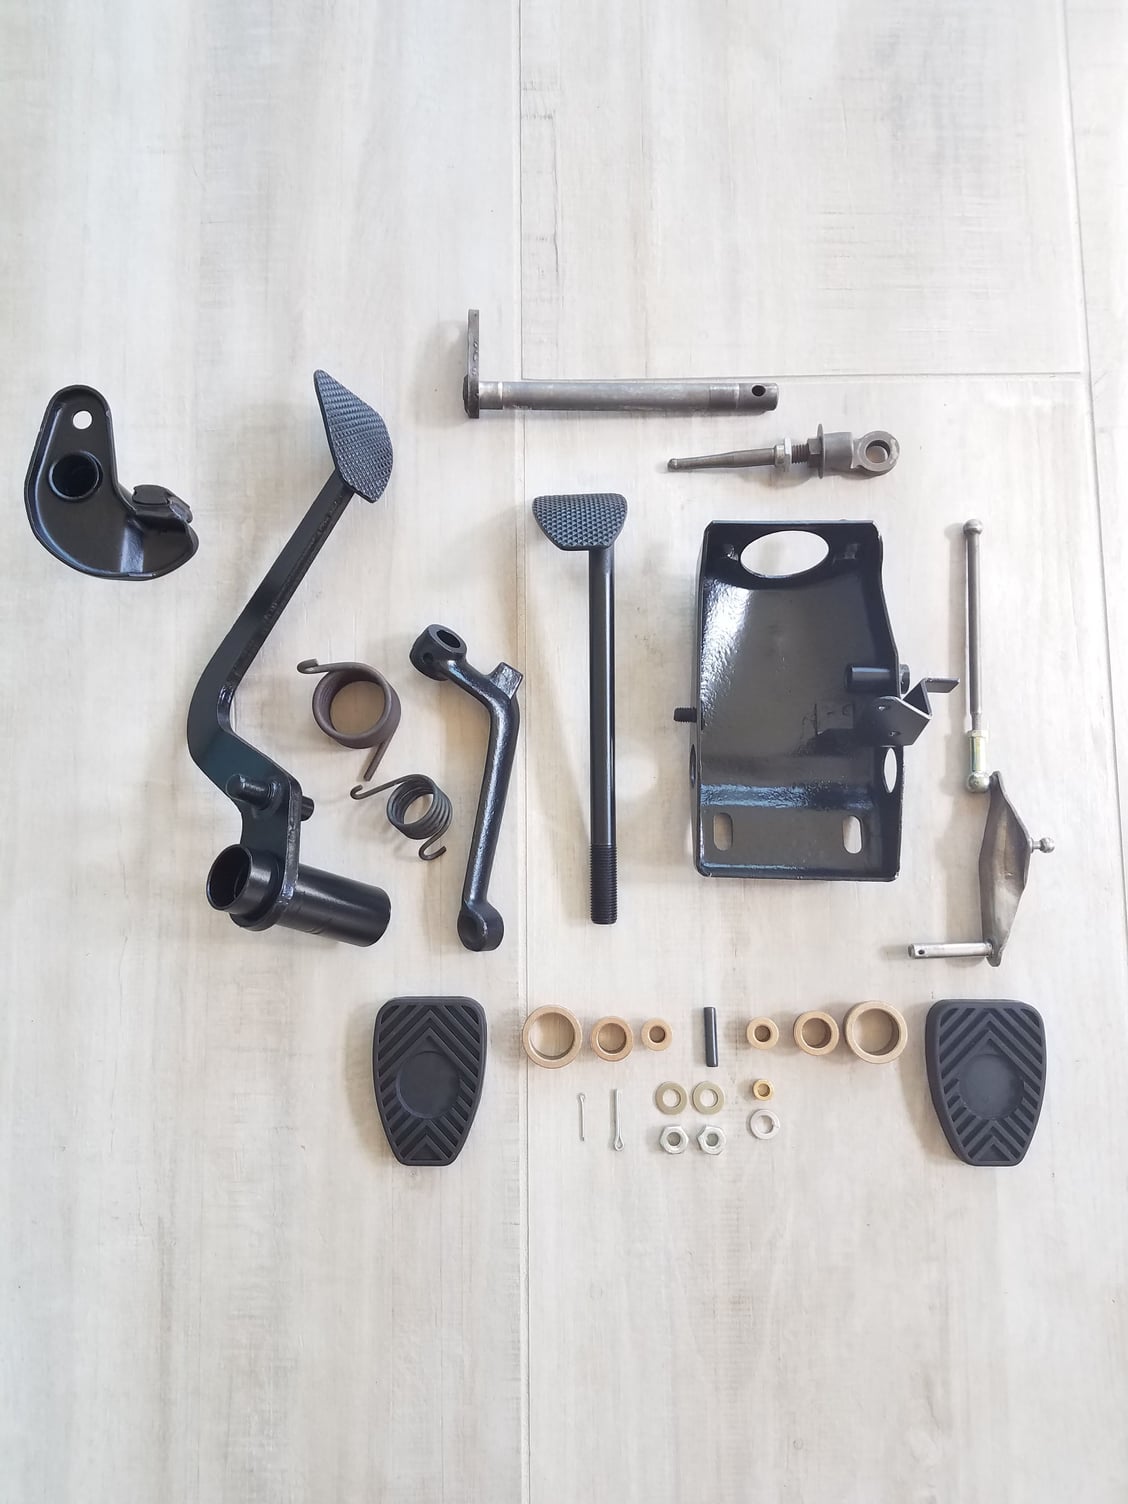
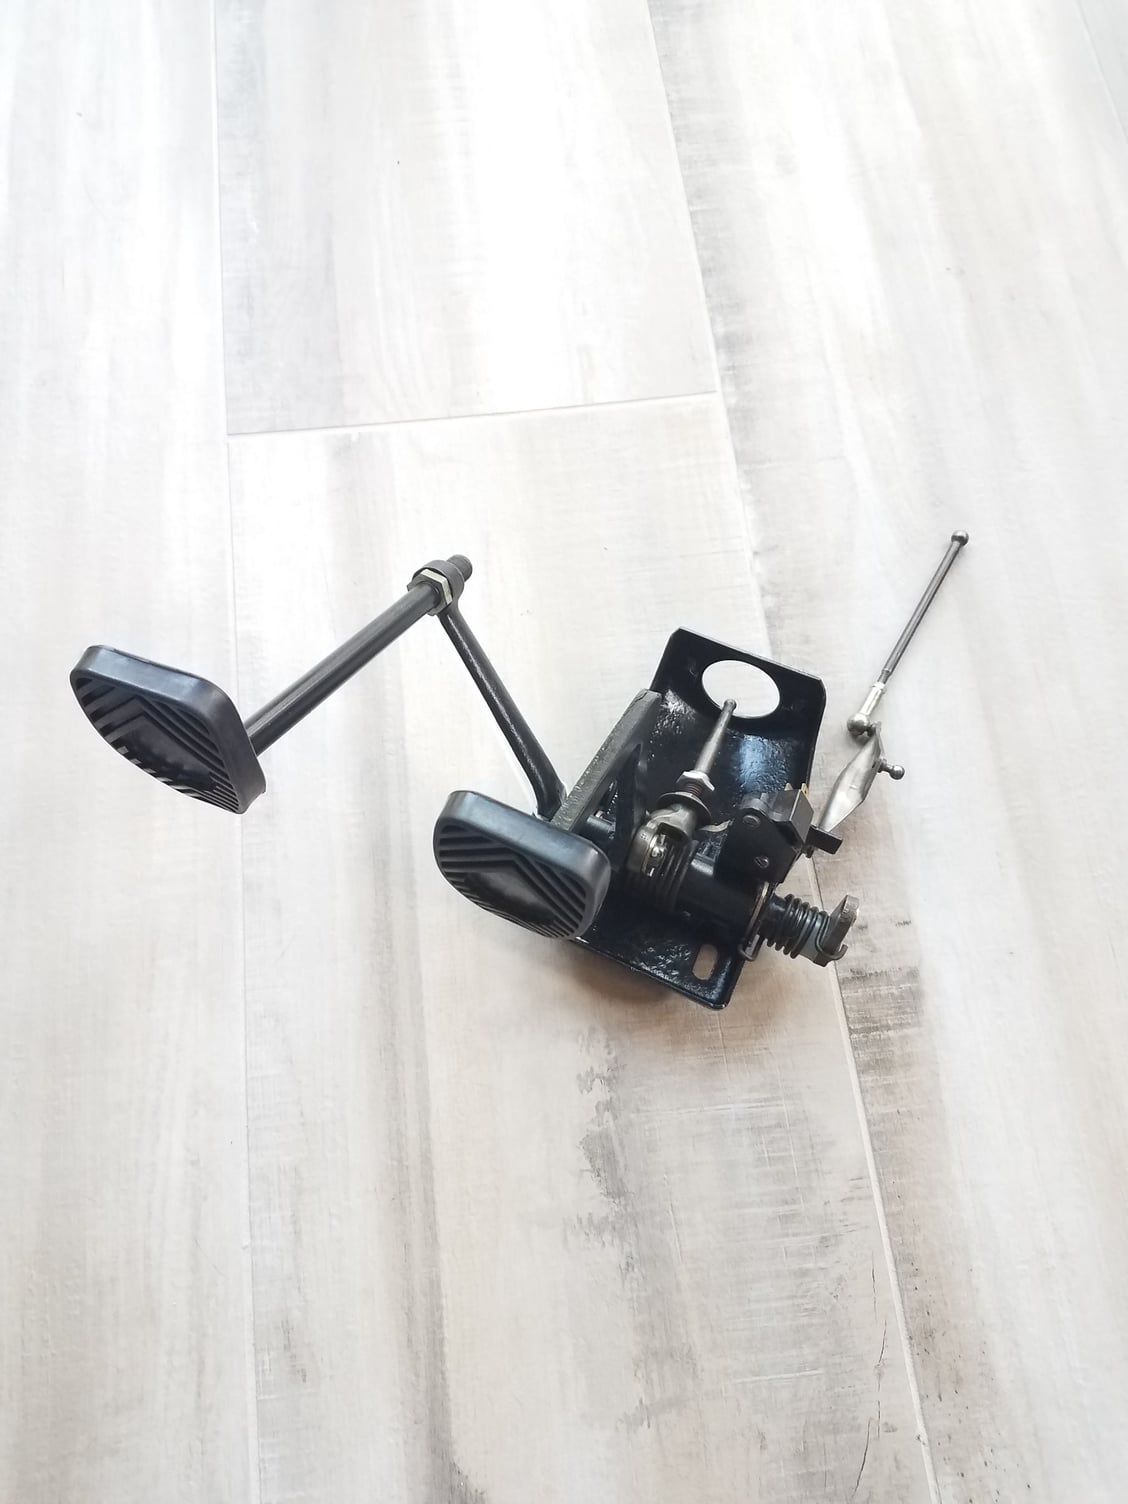
Pedal cluster is back together. According to Wayne Demspey's book this was supposed one of the easier projects to do. Figures it wasn't smooth and easy for me. Figured I would pass along some tips for those looking to do this. Keep in mind this is the pedal set for an early car - they changed slightly in later years (clutch return spring in particular).
Tips to avoid being an idiot like me:
1) don't attempt to drill out the roll pin holding everything together. My roll pin wasn't budging at all even hitting my 4mm punch really hard. So I tried to drill it out like many recommended in forum threads. My bit broke and guess what - that made getting that roll pin out even harder. Took it to a shop with a press and even that took work - oh and they cursed me for breaking a drill bit inside the roll pin.
2) don't throw away the white plastic spacer on the clutch shaft (under the return spring). That thing doesn't come in the bushing kits. That was dumb on my part. Cheap part that I just reordered but had to wait for.
3) the white spacer mentioned above needs to be adjusted to allow the hole for the roll pin to line up on the clutch pedal and clutch shaft. The brass bushings stick out a tad more than the stock plastic ones which caused issues getting the holes aligned for the new roll pin. I ground the spacer down a bit until the holes lined up.
4) make sure #3 above is done to give enough clearance before pressing in the new roll pin. In my case, once I pressed the new pin in it tightened things up (squeezing the clutch shaft assembly together) that it was a bit too tight for the clutch lever to move freely. Then you will be forced to press out the pin again - or do what I did which was to carefully heat the plastic bushings and compress it against the clutch arm to get a smidgen of clearance.
Since this was supposed to be 'easy' I certainly felt like an idiot. Maybe the tips above will help another idiot or maybe this isn't normally how this goes
Looks pretty and everything moves very smoothly now. I should have taken before pictures before media blasting and refinishing - this thing was a mess and the bushings were original.
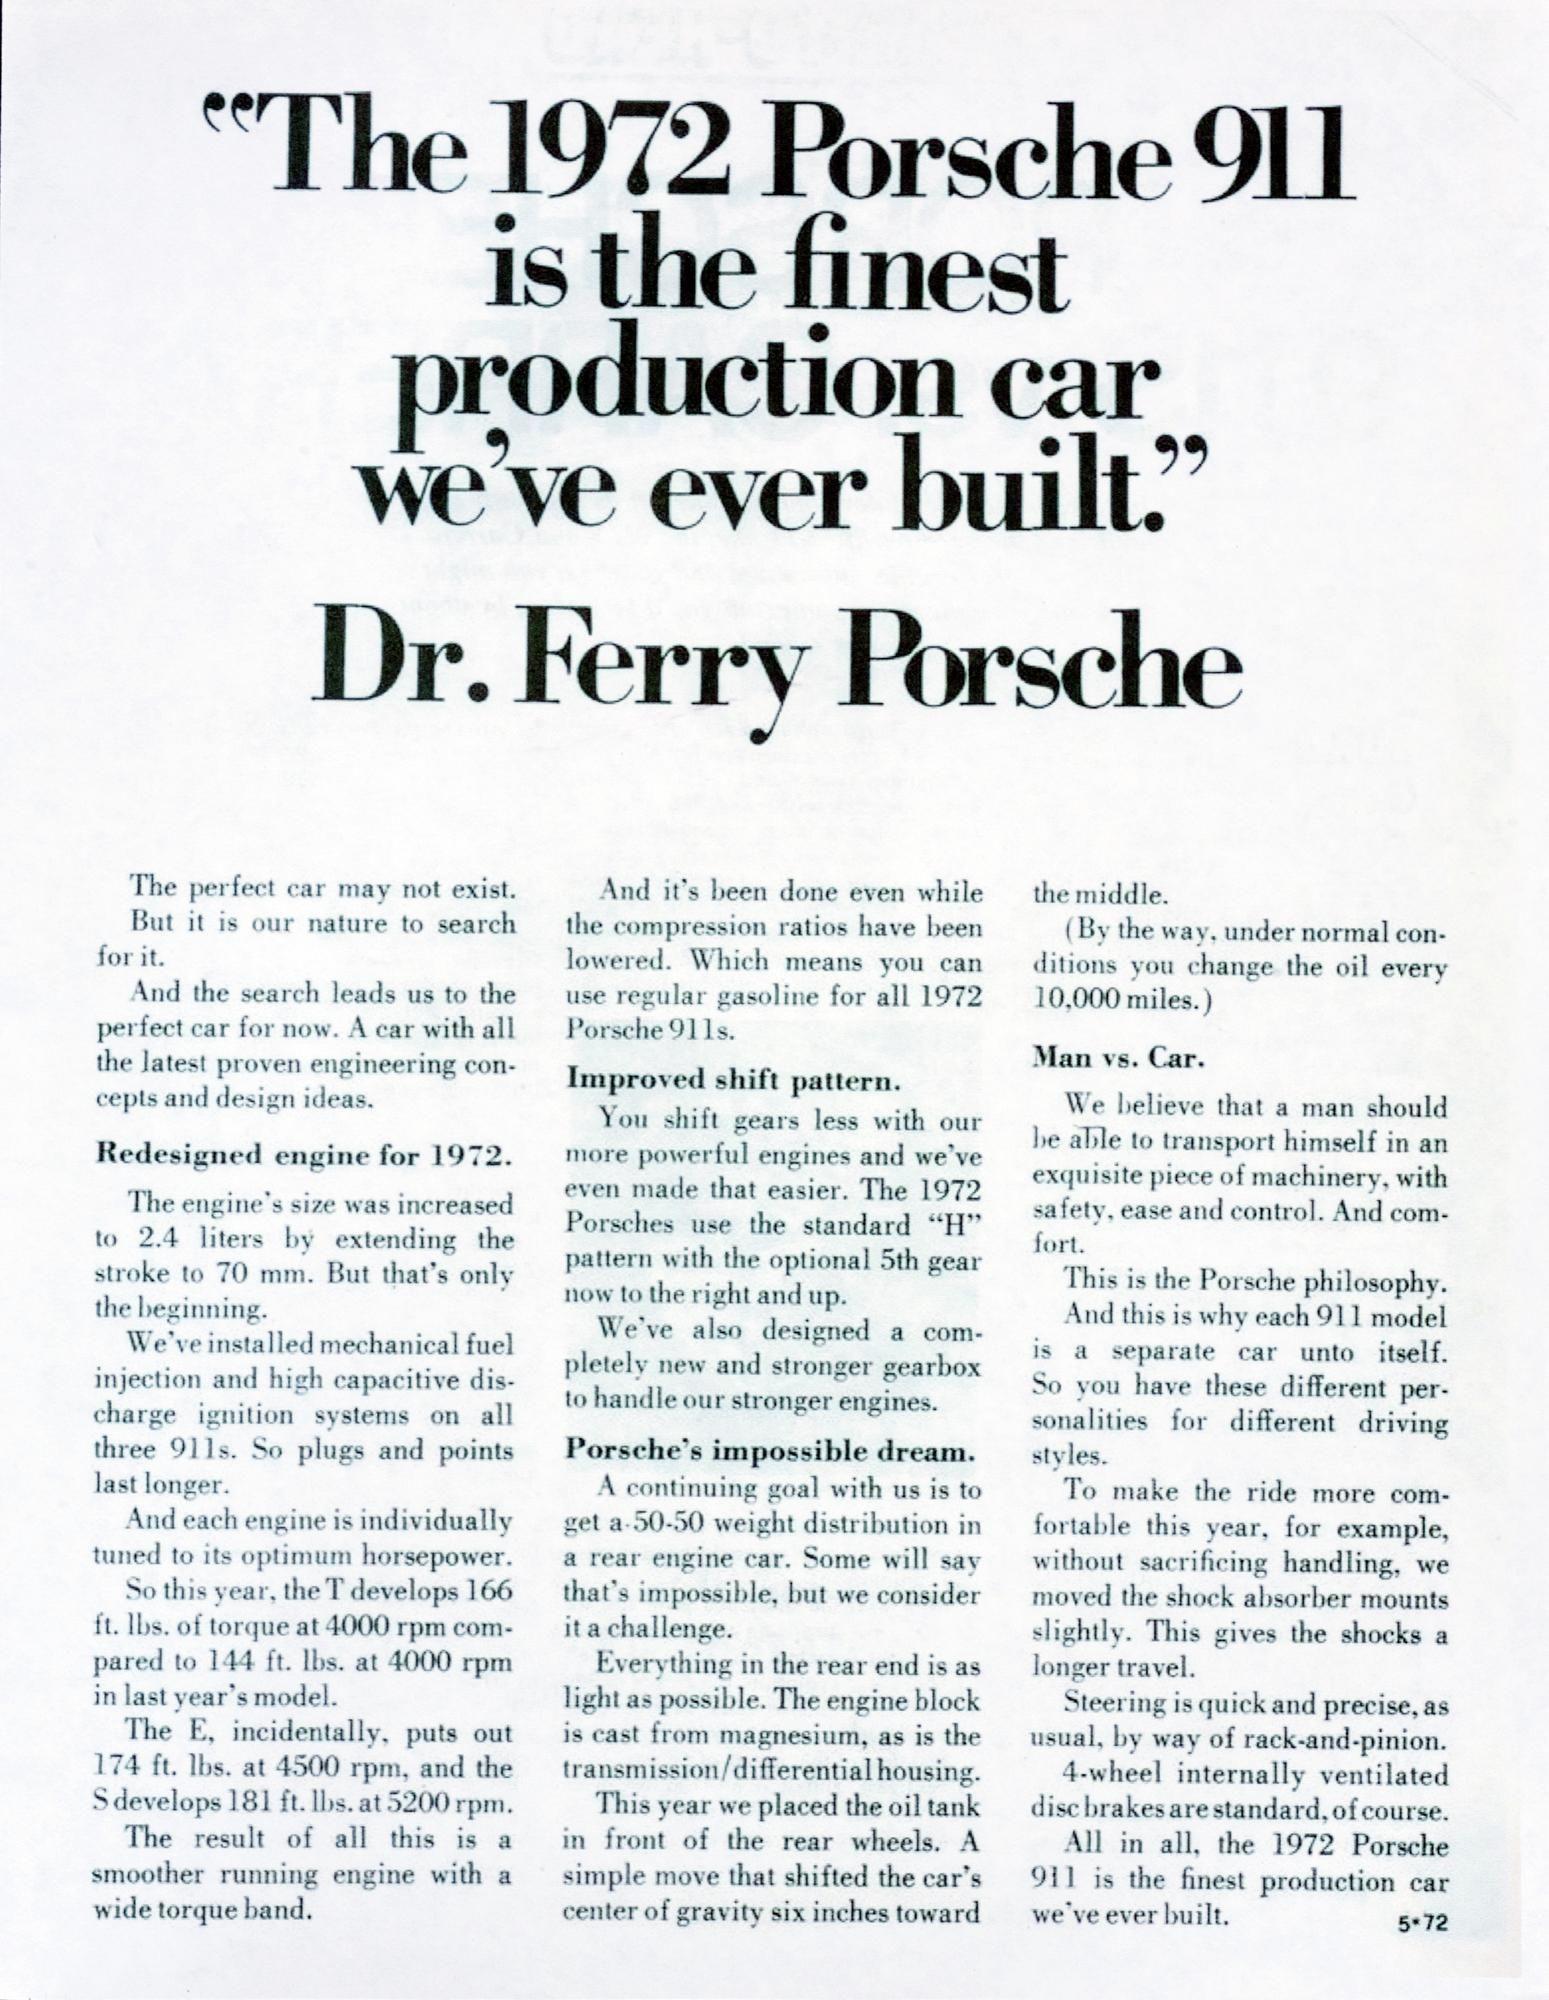
I came across this article recently. Pretty cool - the 1972 911 is special as it has many 1-year unique features. This is the first time I have read the measured effect of moving the oil tank forward of the axle - this says it moves the car's center of gravity 6 inches forward. Also discusses the revised angling for the shocks (I was aware of this, but it isn't discussed much), MFI and of course the new 915 transmission. Well, as cool as the 1972 911 is, I have learned about 1 very unfortunate trait of the 1972 (and some early '73's) - the dreaded input shaft seal. For the first generation 915, the input shaft seal is attached from the backside (inside) of the transmission housing - this means that you need to completely disassemble the transmission to replace this seal! Clearly a bad design by a Porsche engineer, which was very quickly rectified for all future 915 iterations. So, I am now debating what I should do. The transmission actually shifted remarkably well - I have owned my SC for 20 years and know how 915's shift - and the 915 in my '72 shifted very well. Being an early 915, it also has the 7.3:1 R&P, which should suit my build well. So, I was not planning on tearing my transmission apart yet - I figured I would drive it until it really needed a rebuild, and then I would tear it down and even upgrade it where needed (once I had a feel for gearing, etc)....trying to use the "if it ain't broke don't fix it" approach. But, the transmission is out of the car right now...hmmm...
This article is pretty cool - but I wish the '72 didn't have this stupid input shaft seal design!
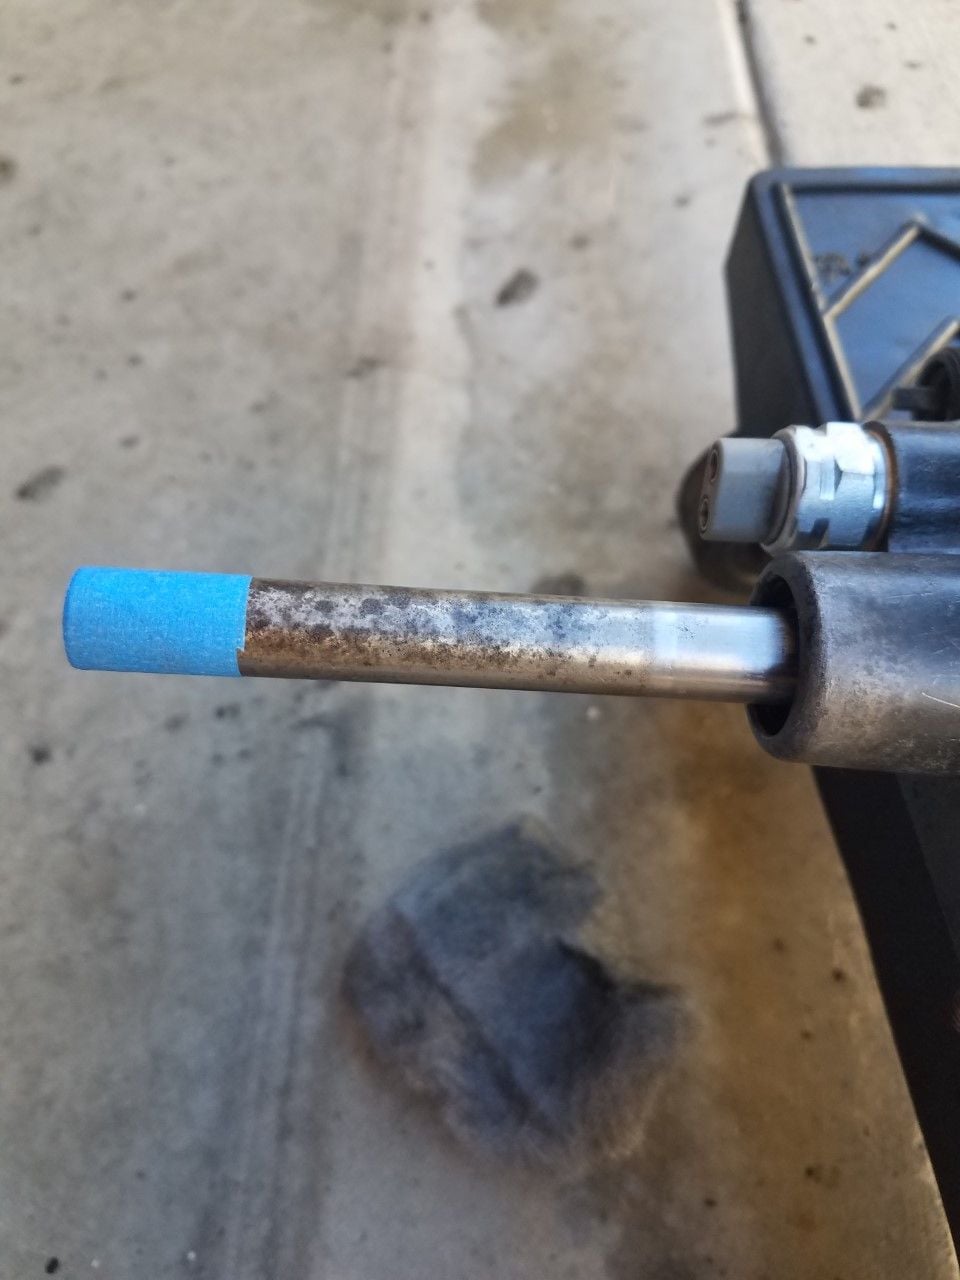
I wanted to drain the trans fluid since I had washed down my transmission (which was extremely caked in all kinds of grime) just to make sure nothing entered the case from washing. I also figured I would replace the shift rod seal (which did appear to be leaking) and the clutch arm release lever seal (which fell apart when cleaning the trans) and fill up with new Swepco. These two seals are fairly easy to do with the transmission out.
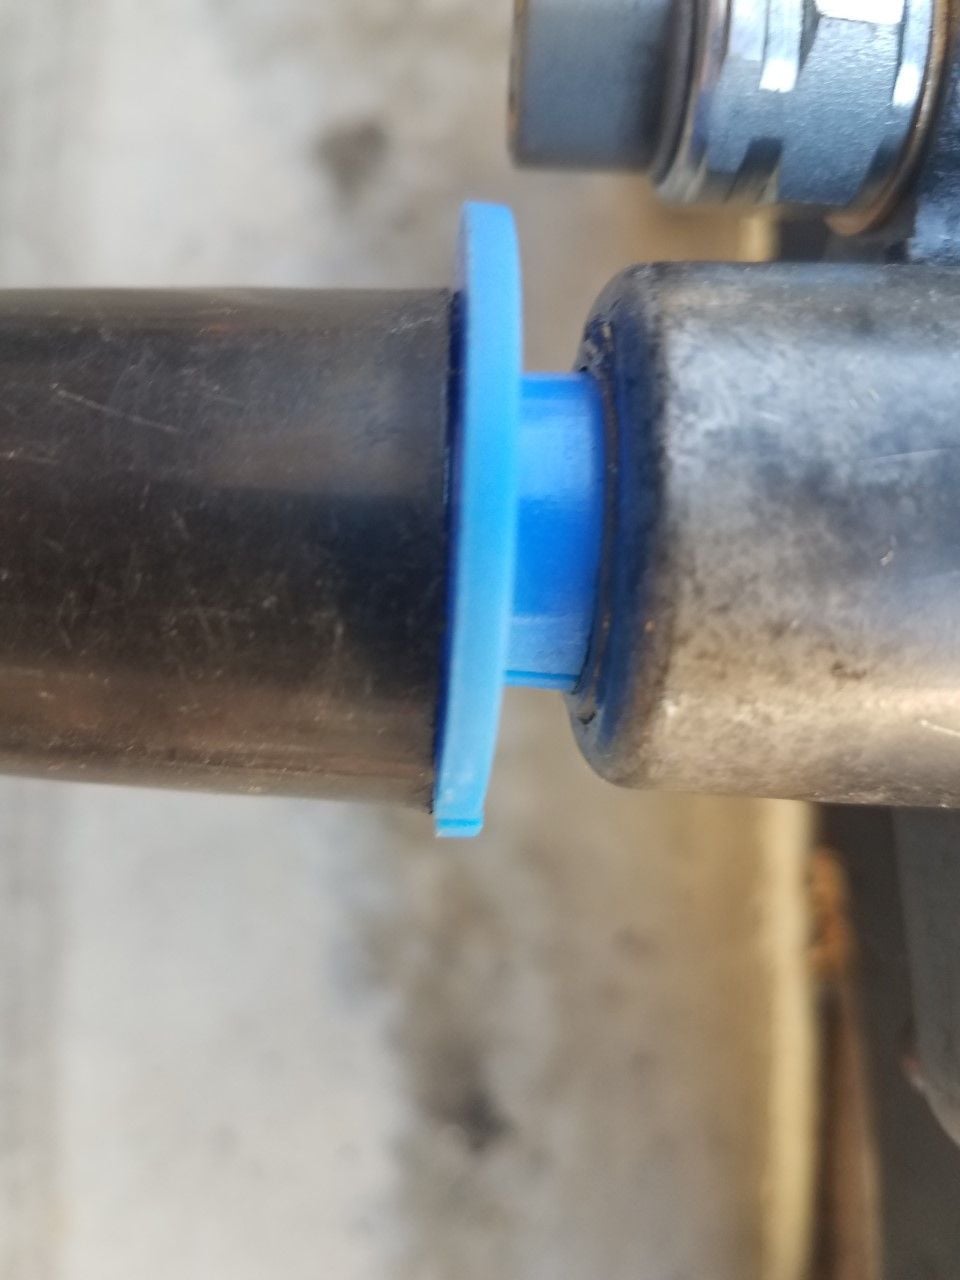
Removed the old shift rod seal carefully. Before installing the new seal, I rubbed the shift rod down with oil and steel wool - just to make sure any rough areas from the surface corrosion were smoothed out. I then taped the end of the shaft where the coupler attaches, since the mounting hole has slightly rough edges. After applying a light coat of lithium grease, I slid the new seal into place and then dug up a couple parts from my tool box that were the right size to press the seal in (plastic tubing and fuel line removal tool) and lightly tapped until the seal fit snug into the housing.
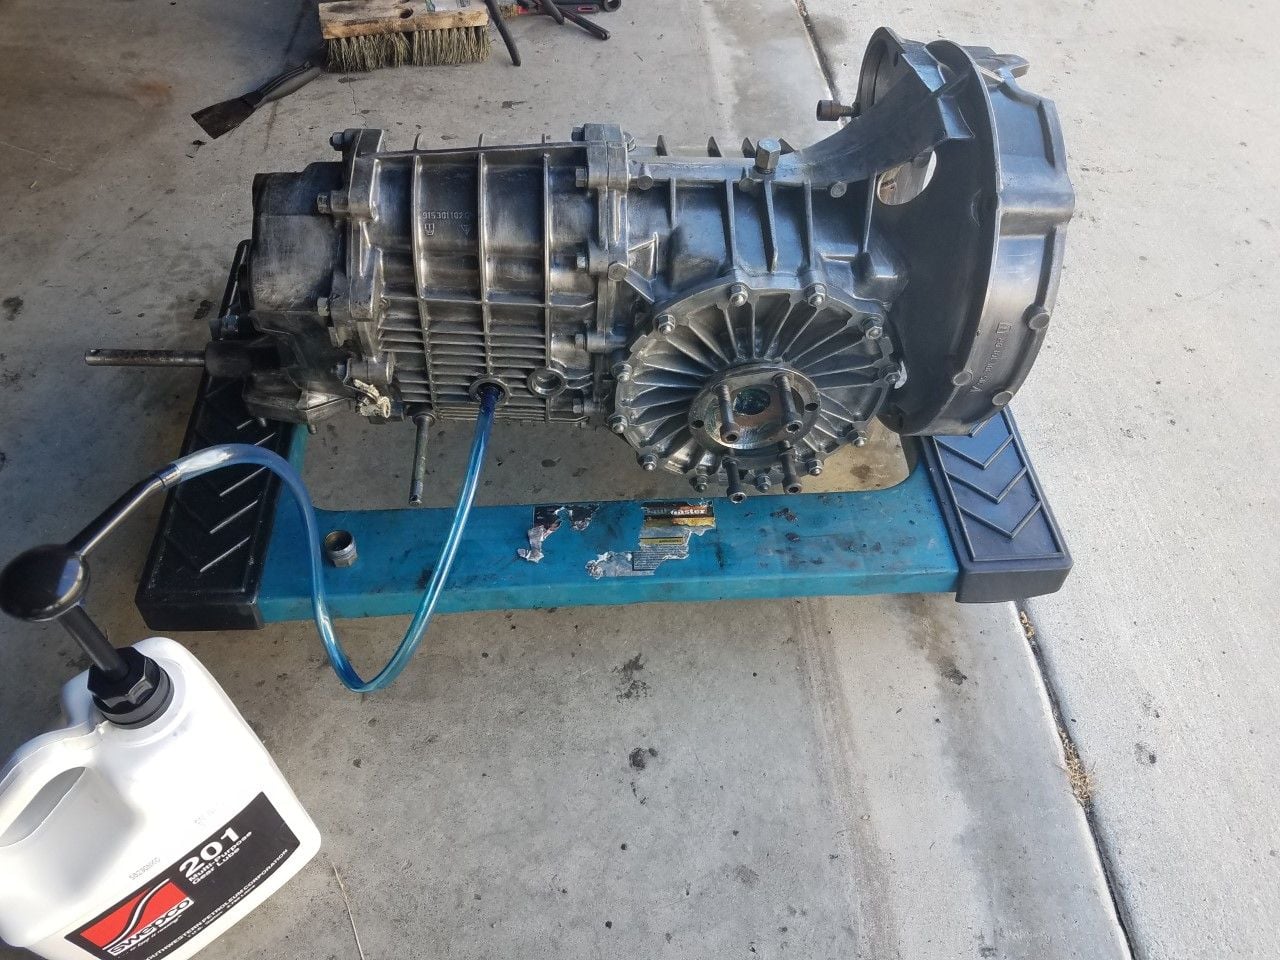
I filled with Swepco to keep everything lubricated inside while the transmission sits in my garage waiting for the rest of this build to be done. It will also give me time to figure out what I will do with the main/input shaft seal and any other upgrades. I have read about doing the "Dam Seal" mod to help - so I may at least do this if I don't tear down the trans entirely. I am pretty happy with how clean the trans came out - it now has that Magnesium patina to it - not as bright as the aluminum cases. I did identify some areas of corrosion on the case and was worried that I may have removed some of the protective coating when I cleaned it up, so I finished it in a clear coat made for engine blocks. I am sending some pieces to be replated with gold cad as well, so that will give it a little bling.


 10-08-2019 | 07:46 PM