When you click on links to various merchants on this site and make a purchase, this can result in this site earning a commission. Affiliate programs and affiliations include, but are not limited to, the eBay Partner Network.
I stopped by to drop off more sheetmetal parts at Andy's shop today. There were a couple pieces I hadn't ordered yet - seems like half the car is being replaced with new sheetmetal now lol
Here is the list of new sheetmetal I had to purchase:
Front latch panel
Front suspension pan
Lower flange sections below both battery boxes
Front tank support
Left and right lateral tank supports
Both rear seat buckets
Rear parcel shelf
Rear parcel shelf support bracket
Both rear bumpers
Anyway, I took a couple photos of the car although there isn't much to share quite yet. Most of the work that has been done since the car arrived at the shop has been to clean up my cuts, remove one additional piece I decided not to remove (was tired of drilling out spot welds lol) and prep the areas for welding (e.g. remove under coating and grind surrounding metal).
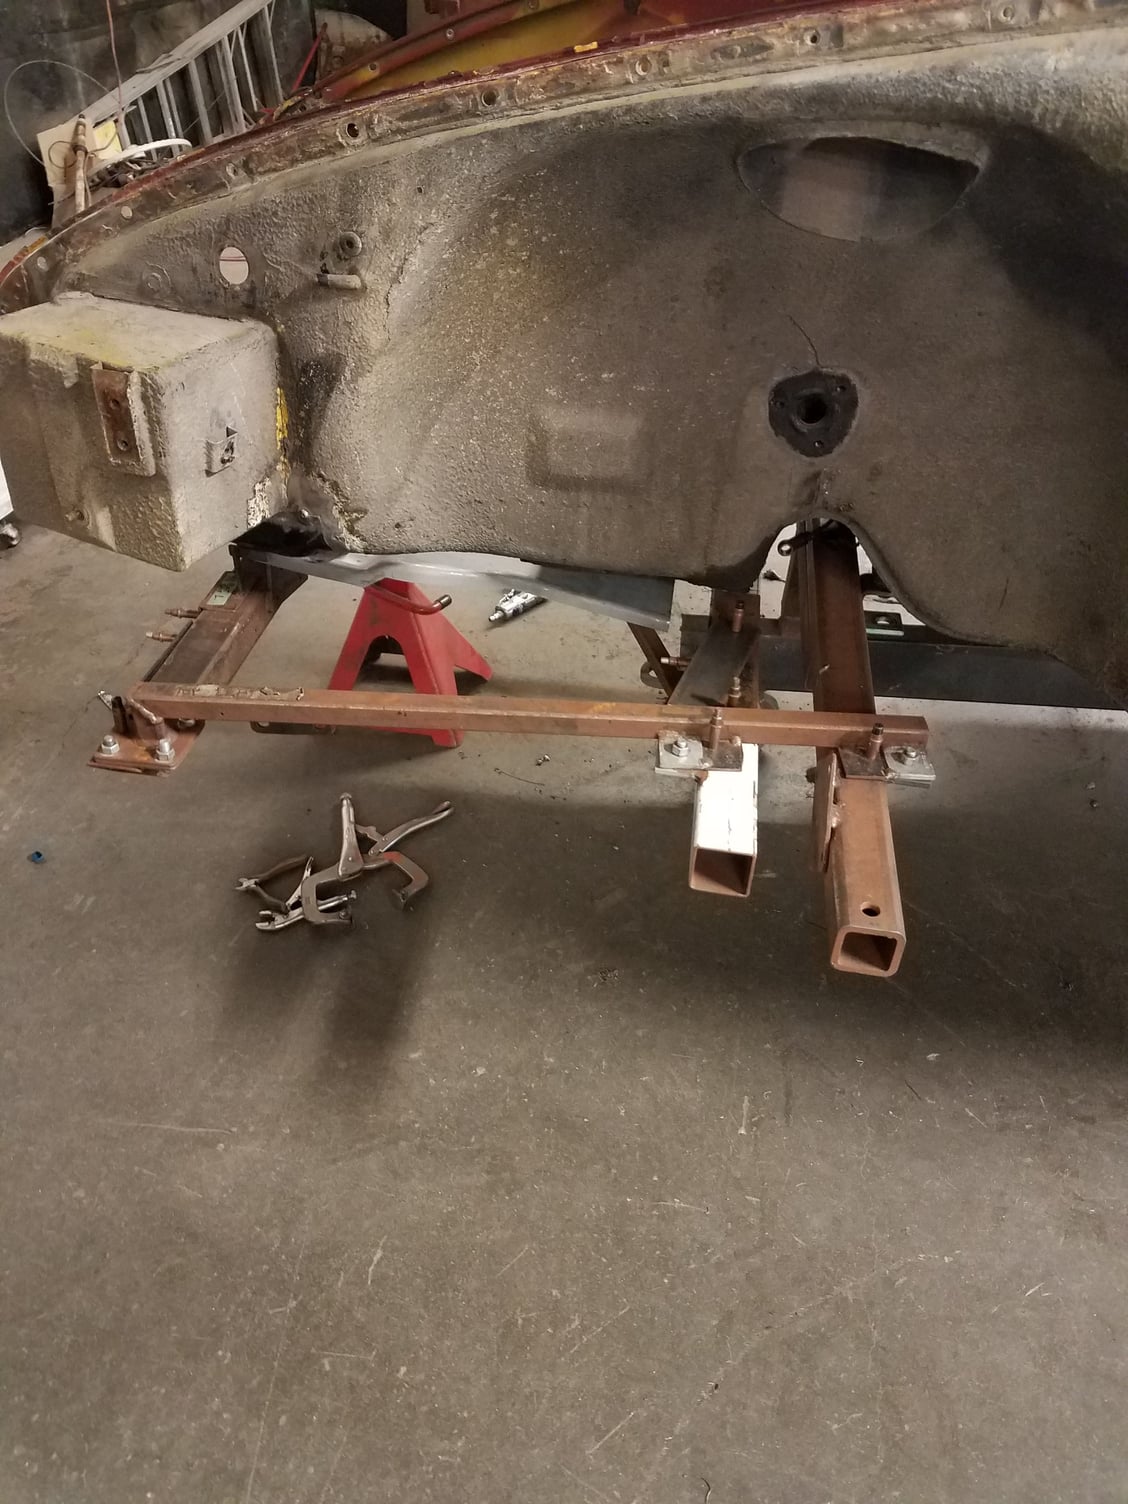
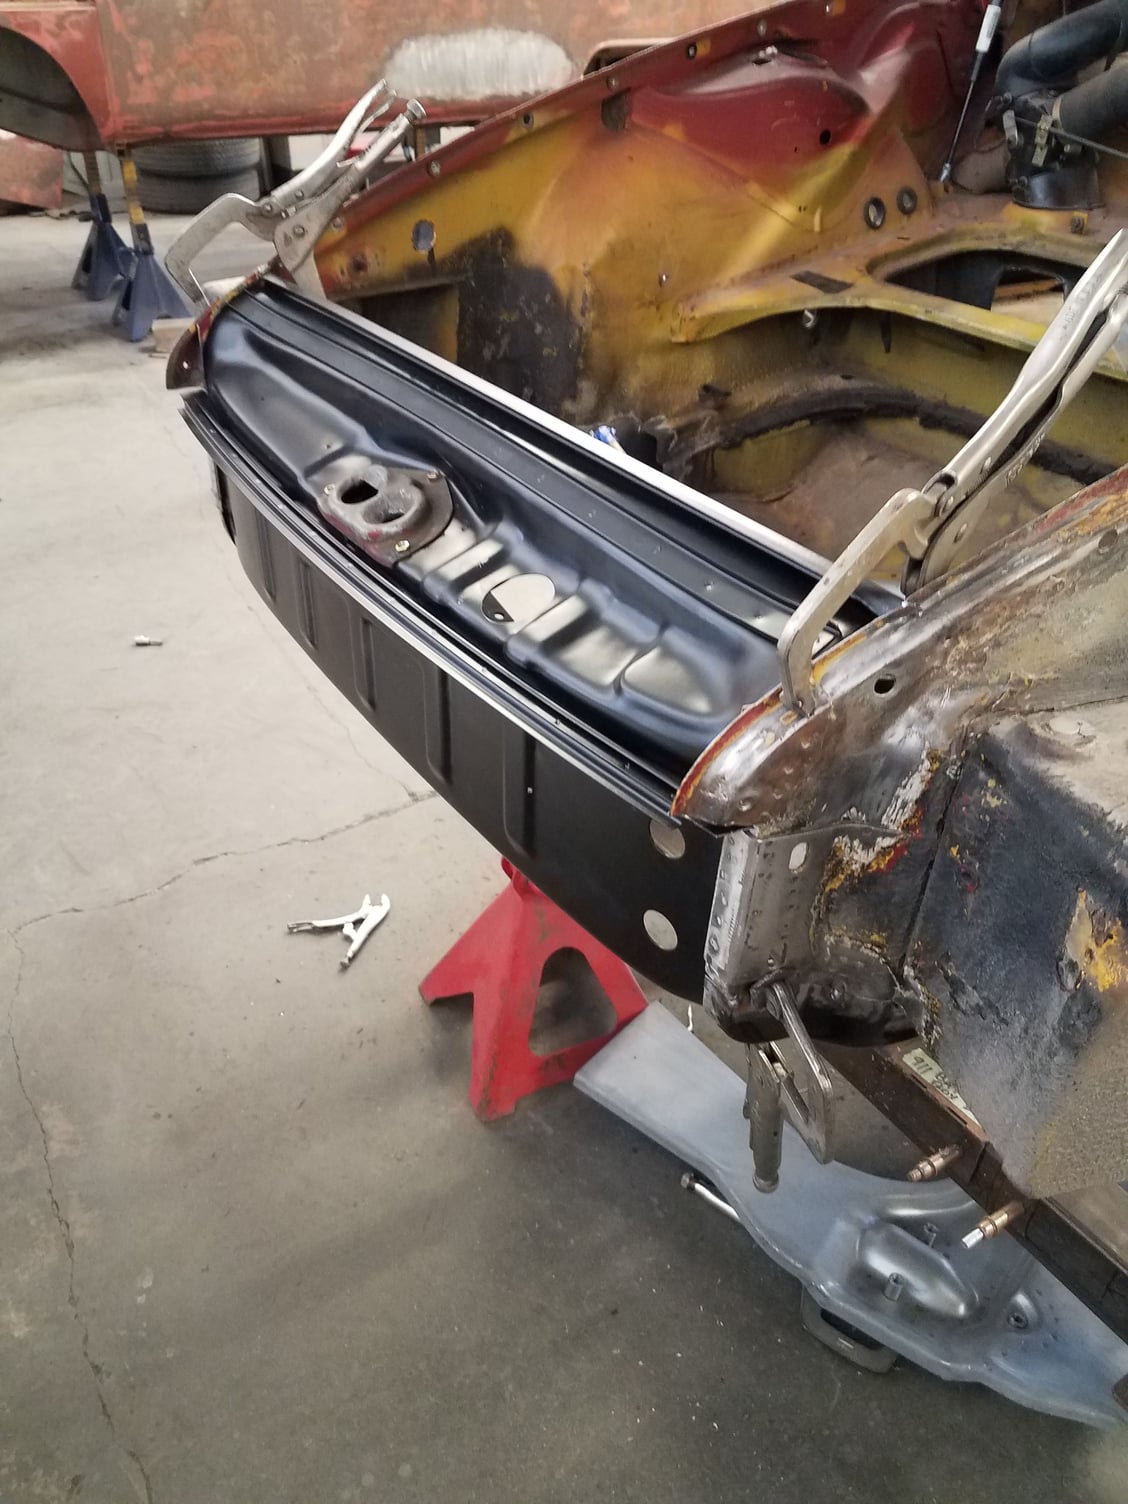
When I arrived today they had set up the suspension pan jig (make sure everything is aligned perfectly) and started fitting parts. Even though this doesn't show much work, I wanted to post some photos today!
I'm sure that's true. I think most of these cars suffer from rust in the same places. Andy said my car was 'average' when it came to rust issues. Part of purchasing a longhood I suppose!
My car did have a very poorly done suspension pan replacement which is causing more work up front than if it had been left alone. Andy said he is always replacing suspension pans that were done poorly previously.
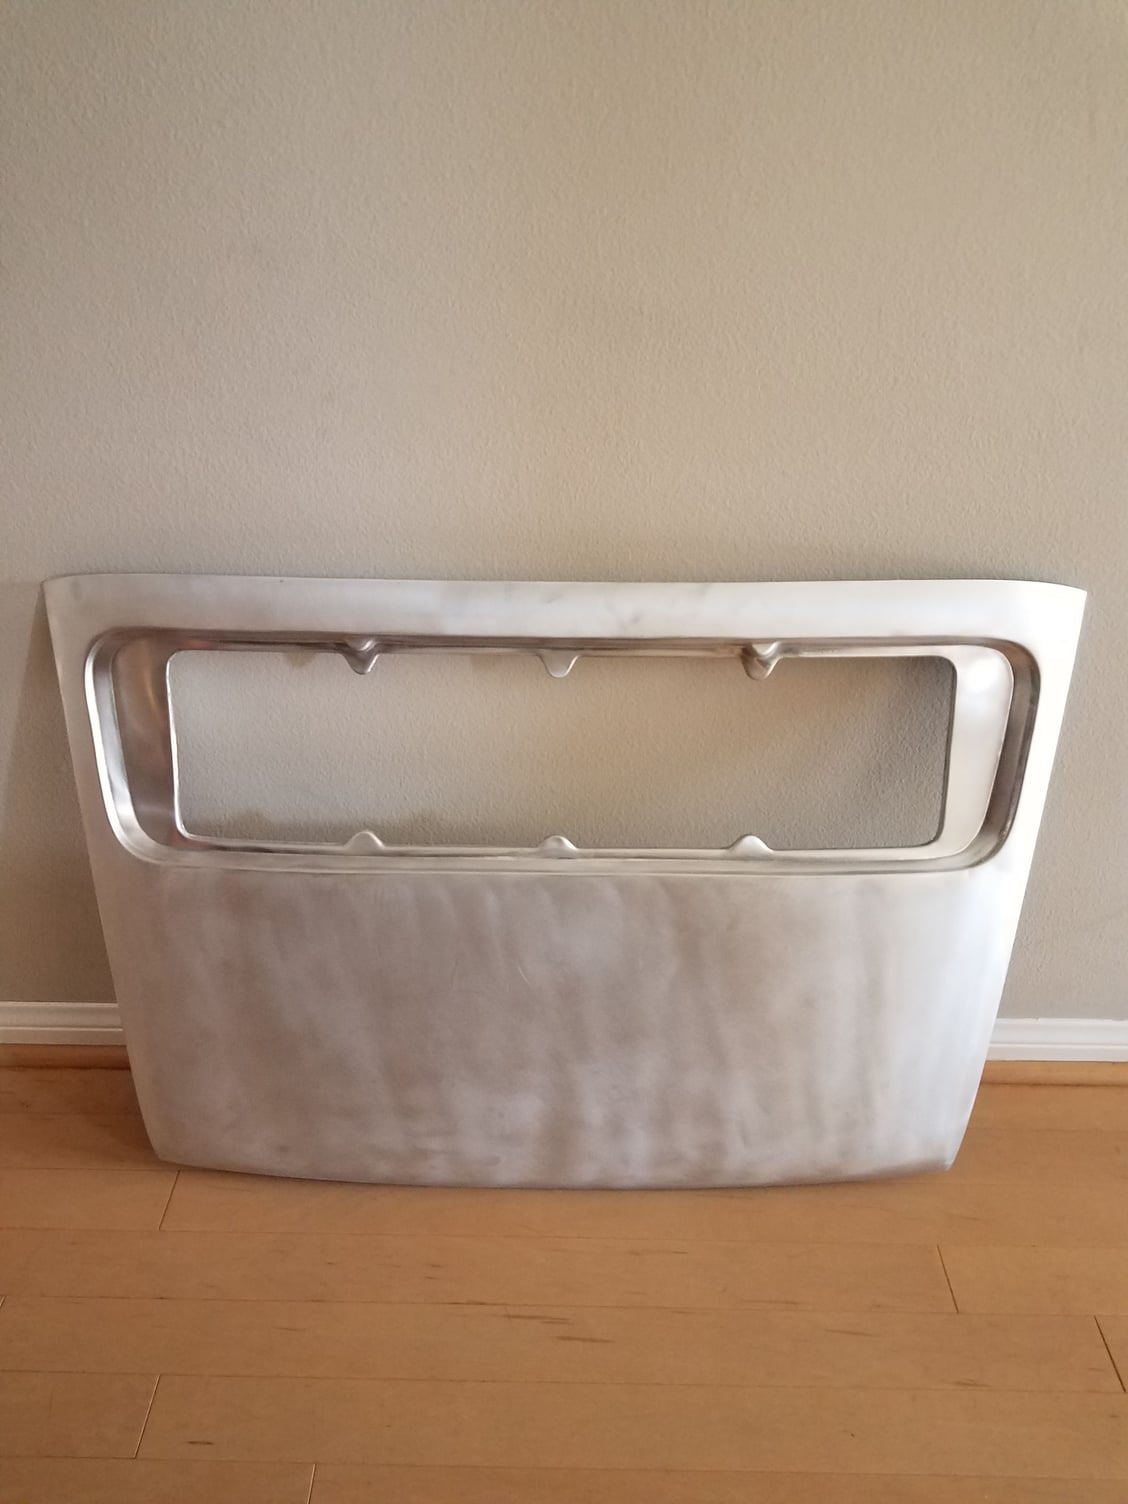
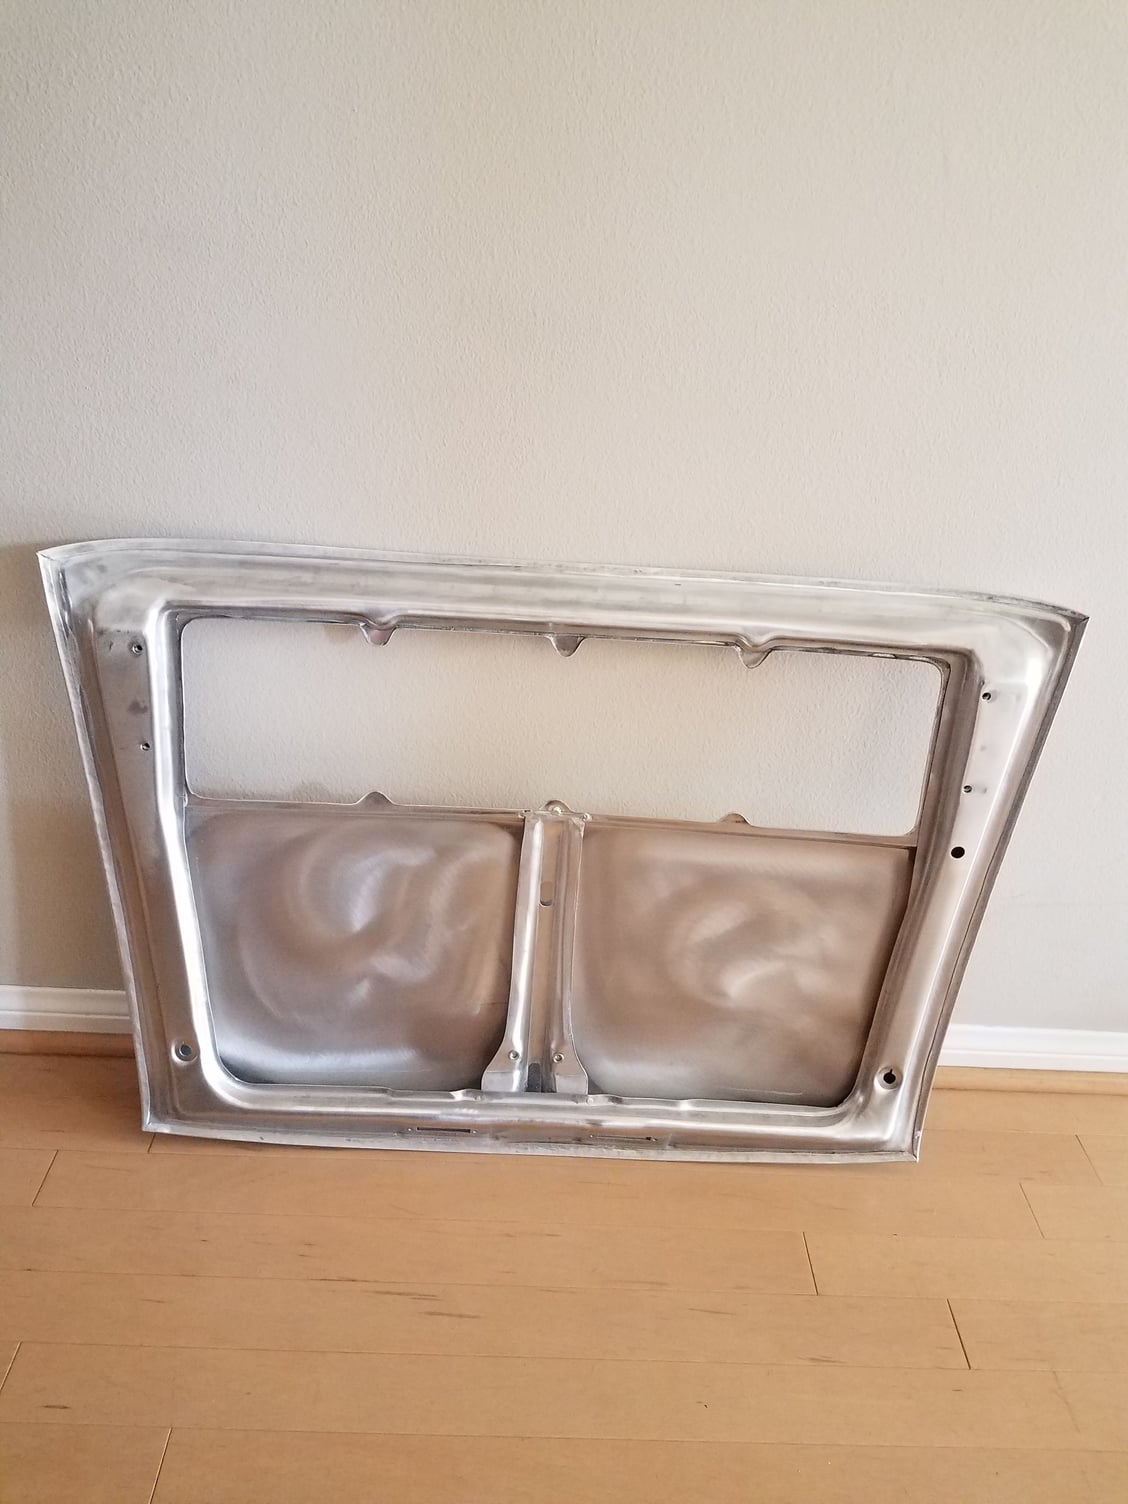
I finally obtained an aluminum decklid. It is incredibly light at just 5lbs. Less than half the weight of the steel lid (saves ~7lbs) and lighter than the fiberglass duck tail that was on my car. The plan is to paint the outside and clear coat the inside of the lid to keep some aluminum exposed. I am also going with an aluminum license plate panel. Using these aluminum panels like the earlier S cars and keeping with my '72ST 2.5 'inspired' build.
I need to get this over to Andy's shop so they can align with the parcel shelf before it is all welded in (hinges mount to the underside of the parcel shelf). He will also do whatever is needed for nice fitment and even gaps.
Fair question. With this build I am trying to balance desirability to lower weight and my tastes/decisions for what I feel I will be happy with long term and doesn't steer too far away from becoming heavily modded. Nothing wrong with fg for sure - especially that lightweight fg/balsa hood (so thin and light that it actually flexes inward at high speed!) but I want the car to be easily returned to stock someday if desired and al passes for 'stock' a little more as they were even found on very early '72 S cars. Plus my paintwork will not be cheap so I need to be sure I am very happy with my choices long term before they get painted. All opinion I guess. I will also run a steel S bumper up front and steel rear bumper corners for the same reason. I do plan to replace the rear steel bumper over riders with lighter al versions - they are kinda heavy (and easy to go back to steel someday if desired). Fg would help with my budget as al lid, license panel and steel bumpers aren't cheap - oh well.
Heck, my son may want a project of returning this car to stock someday when I'm gone and it is his
Oh, and my fg ducktail wasn't really light. I'm sure there are more expensive fg lids out there that would be lighter but this al lid is only 5lbs!
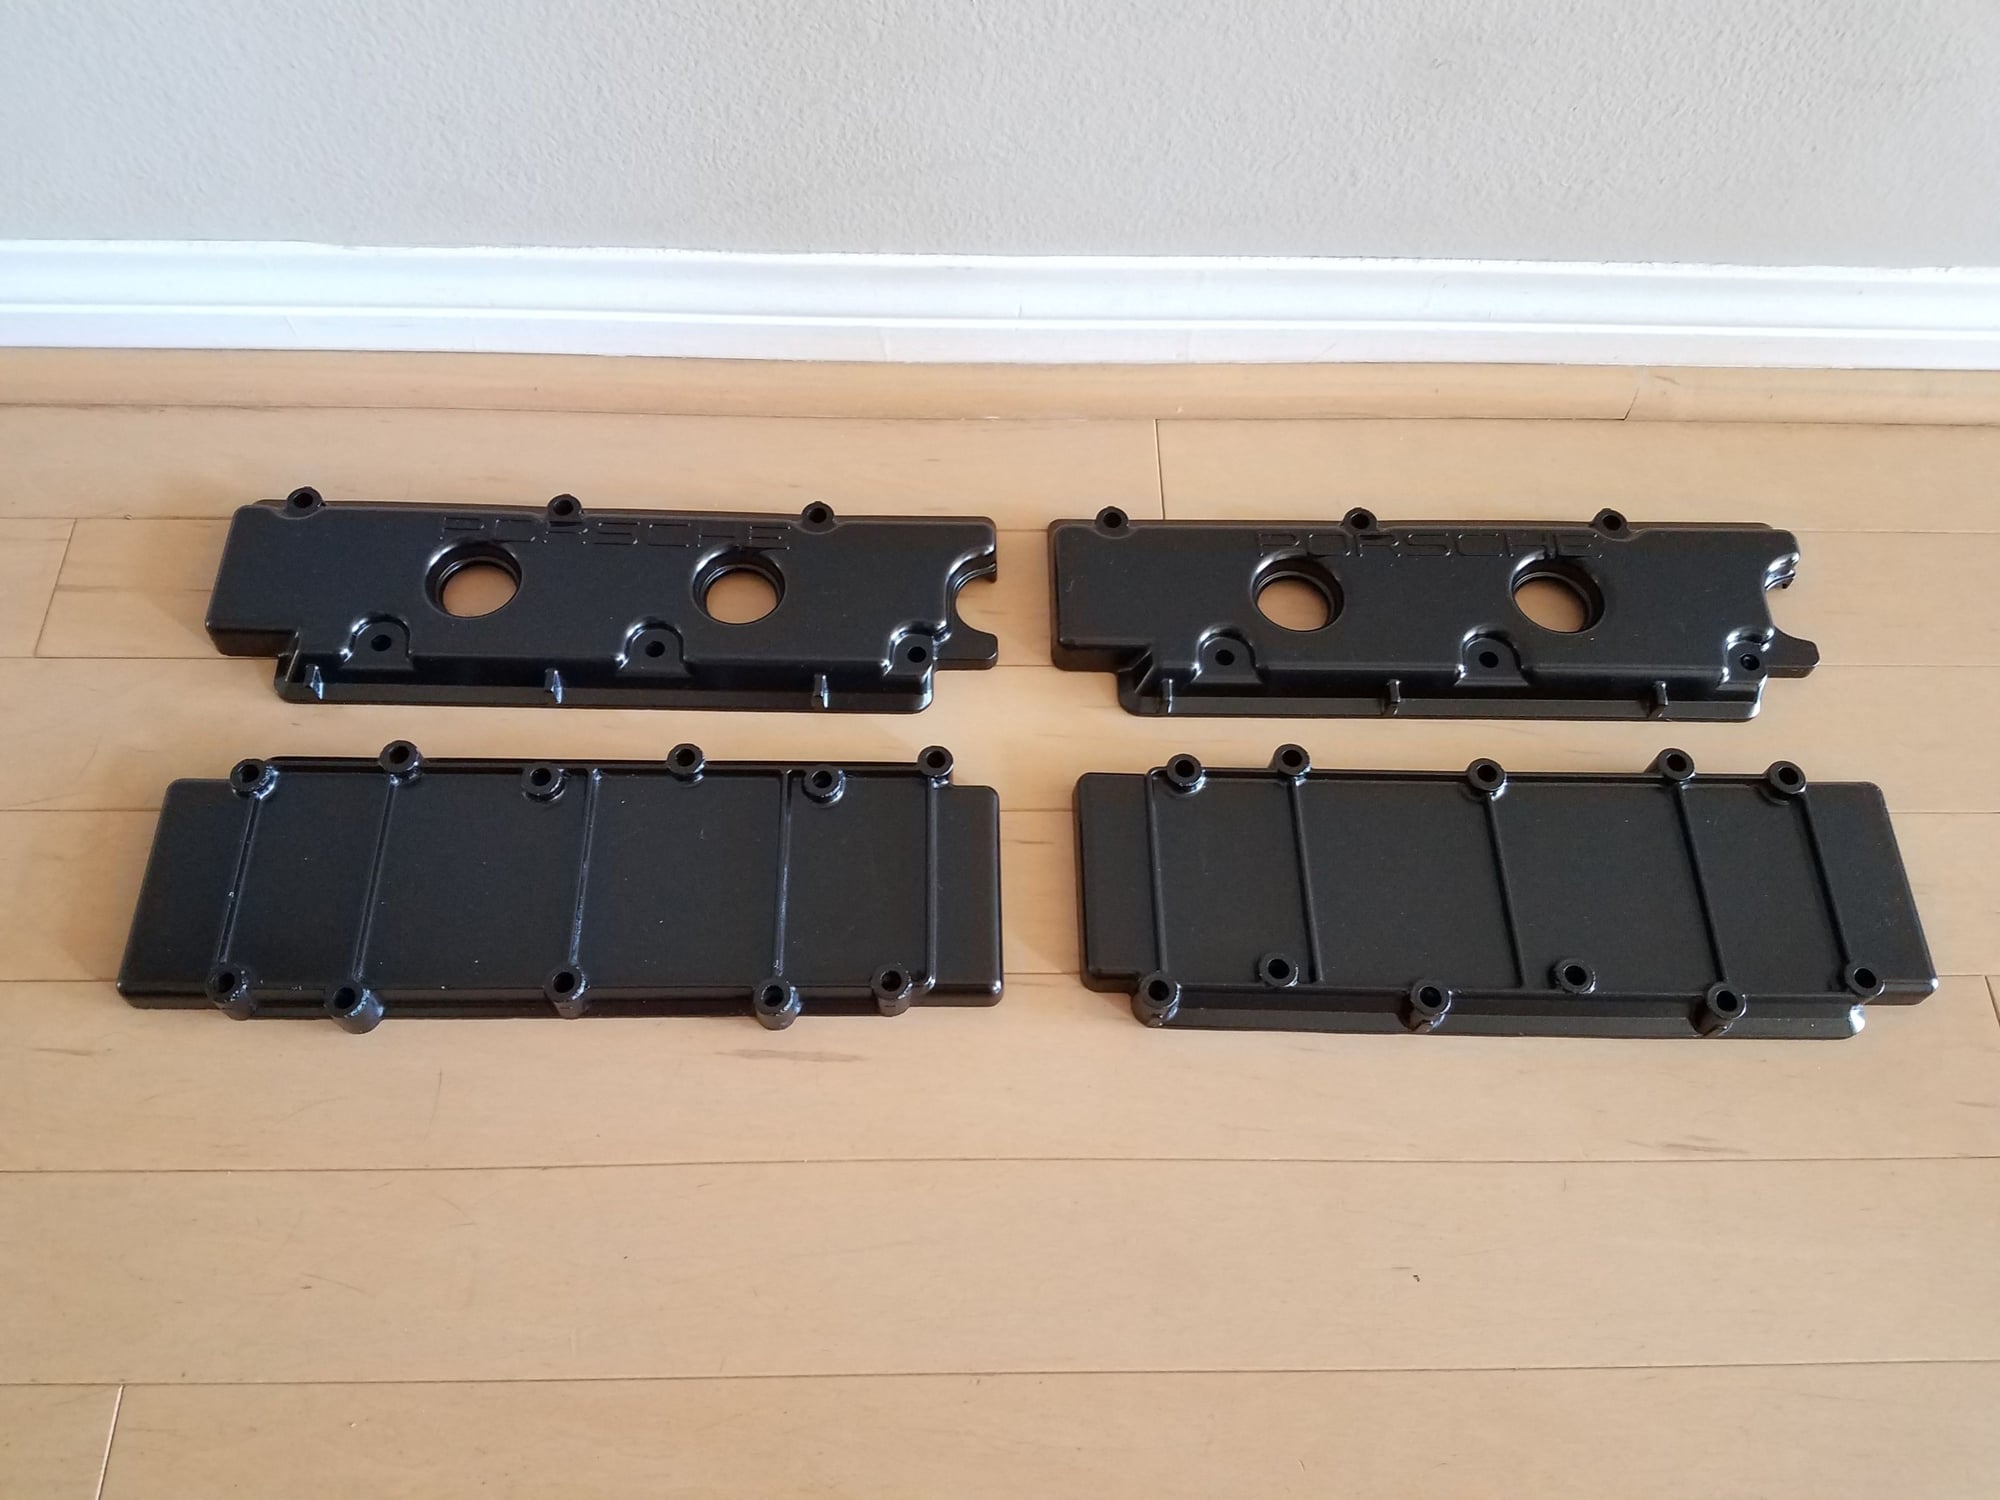
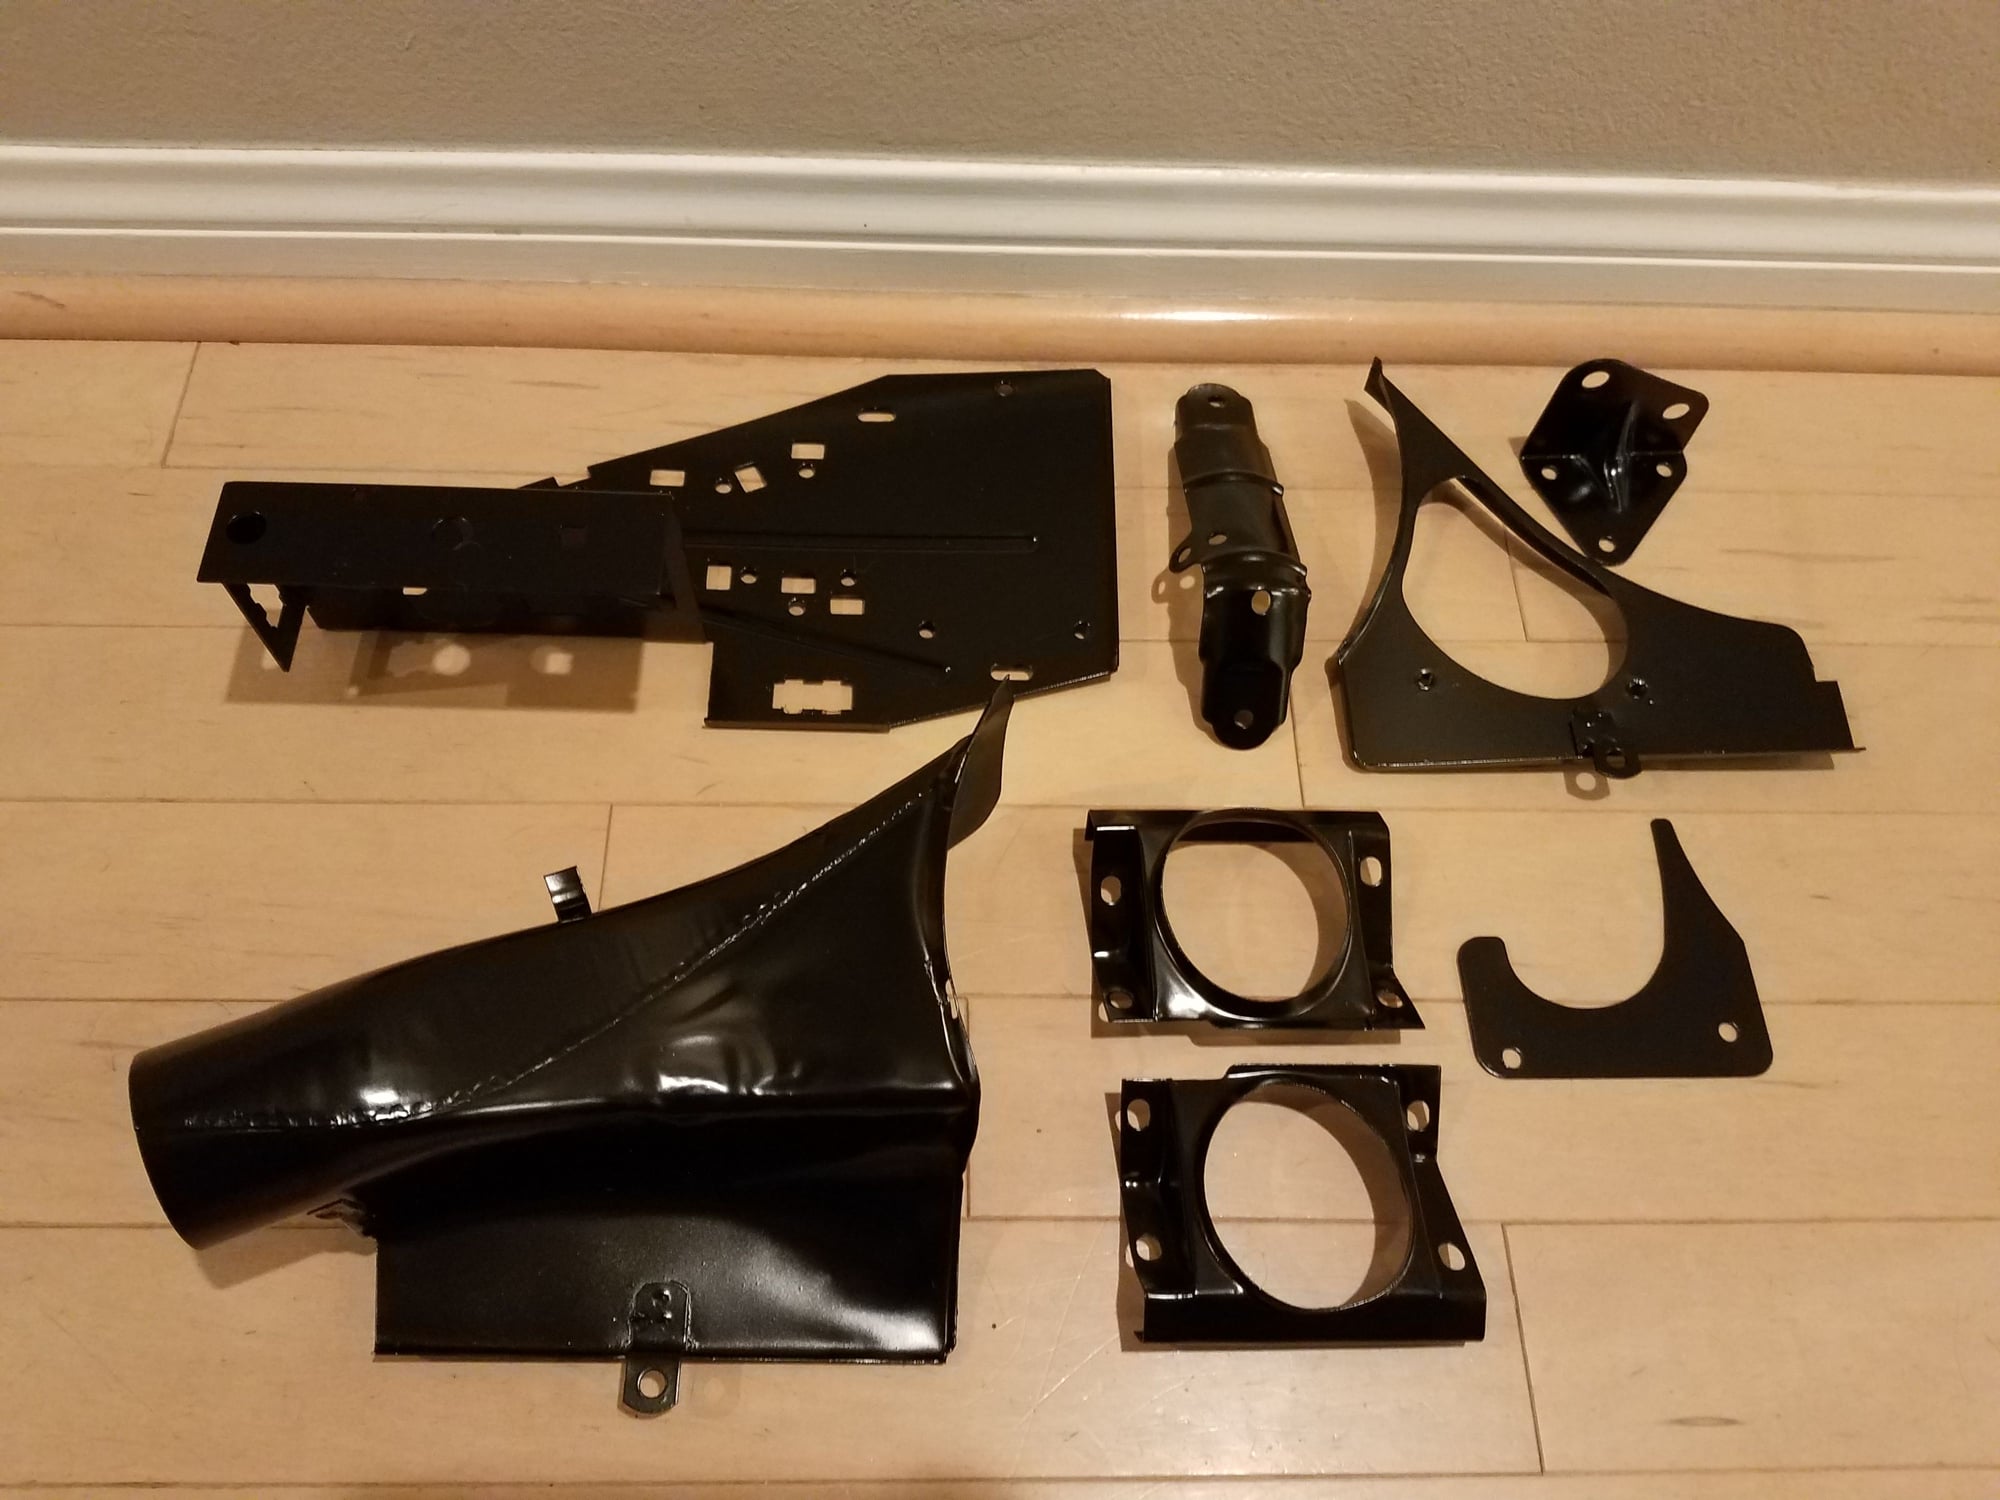
Spent some time cleaning up some parts for restoration. I completely stripped the upper and lower Mag valve covers and refinished them with a durable high temp paint. I may go with the upgraded Al lower 'turbo' valve covers, but honestly the original covers I removed do not appear to be warped at all and weren't leaking on the motor. Sticking with the old Mag covers finished in black will keep the motor looking period correct - although I may polish/remove the black from the Porsche script on the upper covers for a nice look. Also stripped and wire wheeled to remove rust on various pieces of engine tin and the fuel pump bracket, as well as the electrical panel and treated with the same high temp black finish. Small progress, but felt good to get something done as I have been very busy with work
Made another trip to Andy's shop today to drop off my aluminum decklid, hinges and the water bottle bracket that welds to the suspension pan. While there I took some photos of the car - my car is moving a little more slowly than the high dollar cars she is sharing garage space with - which is ok with me if it is done right.
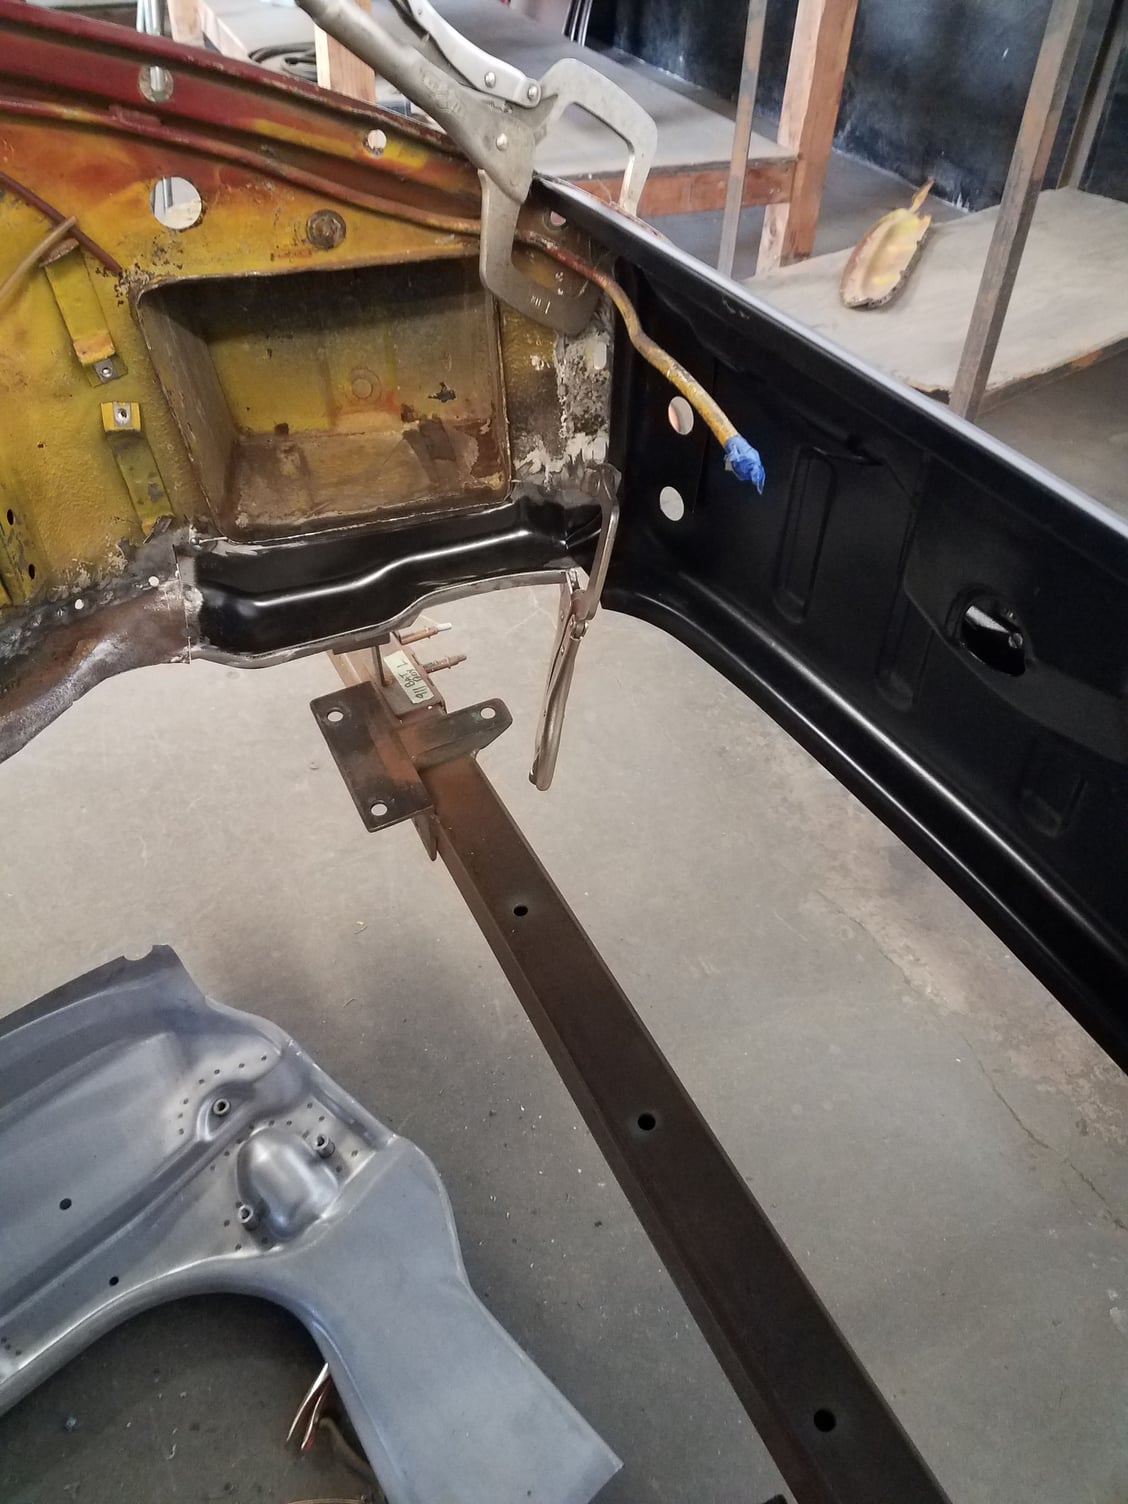
They continue to fit the front replacement pieces before everything gets welded up.
Front latch panel fitted:
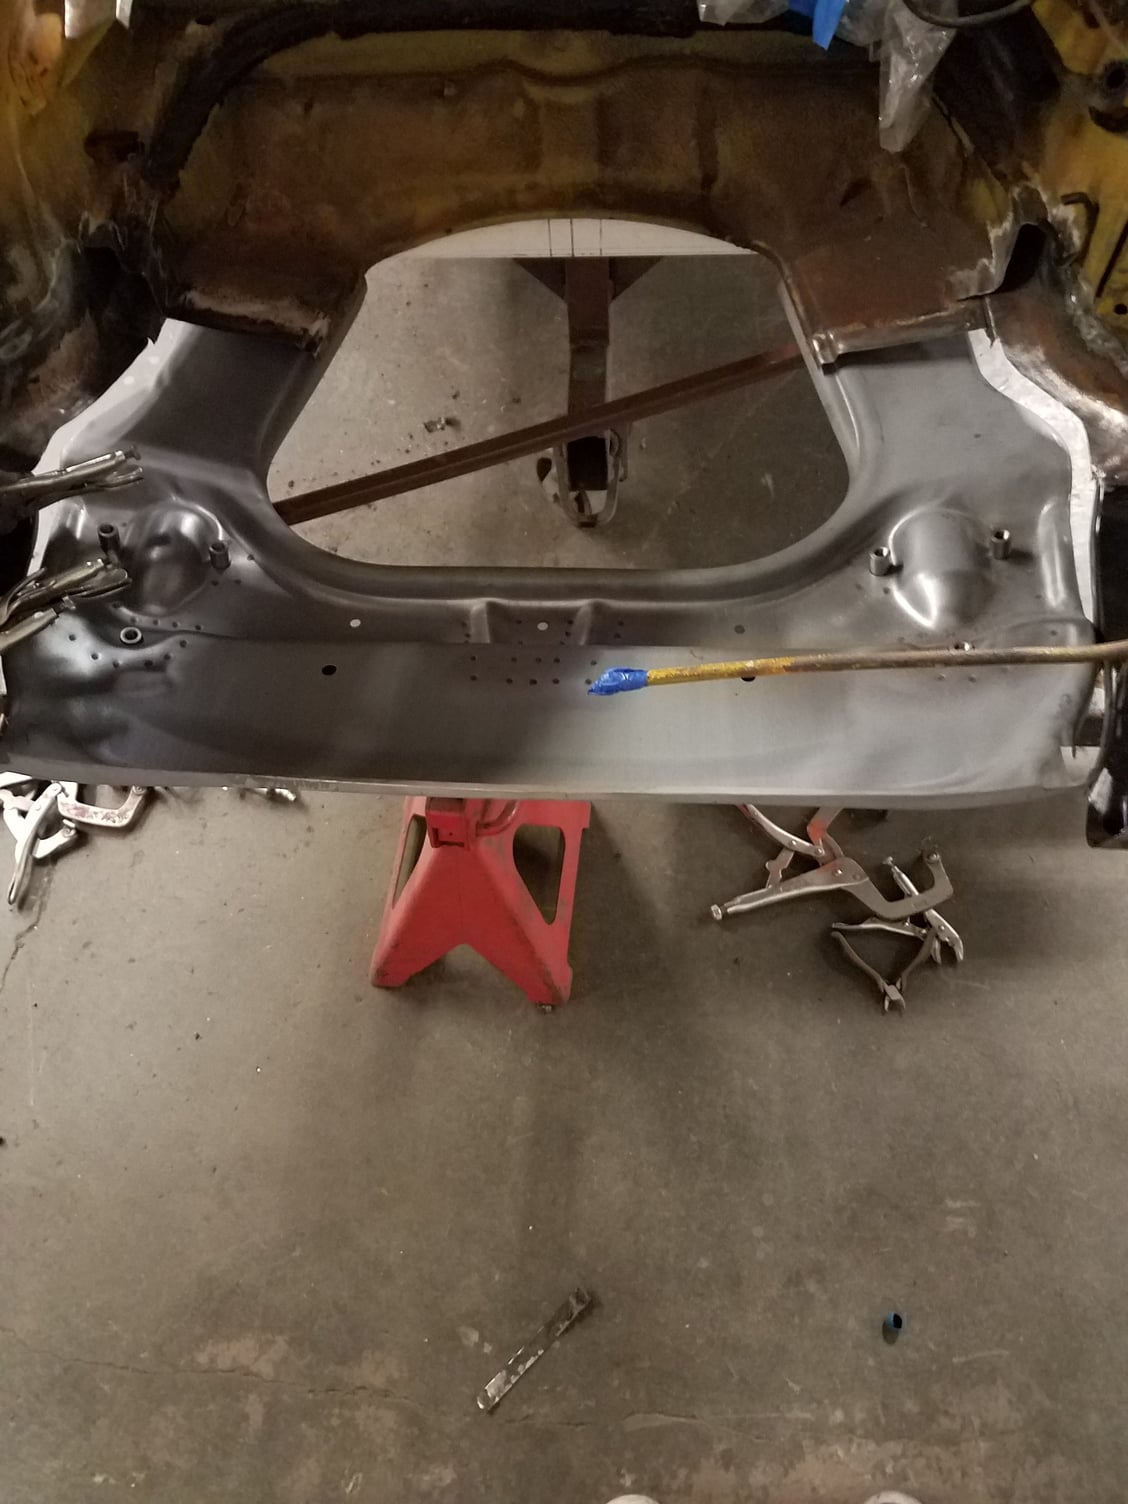
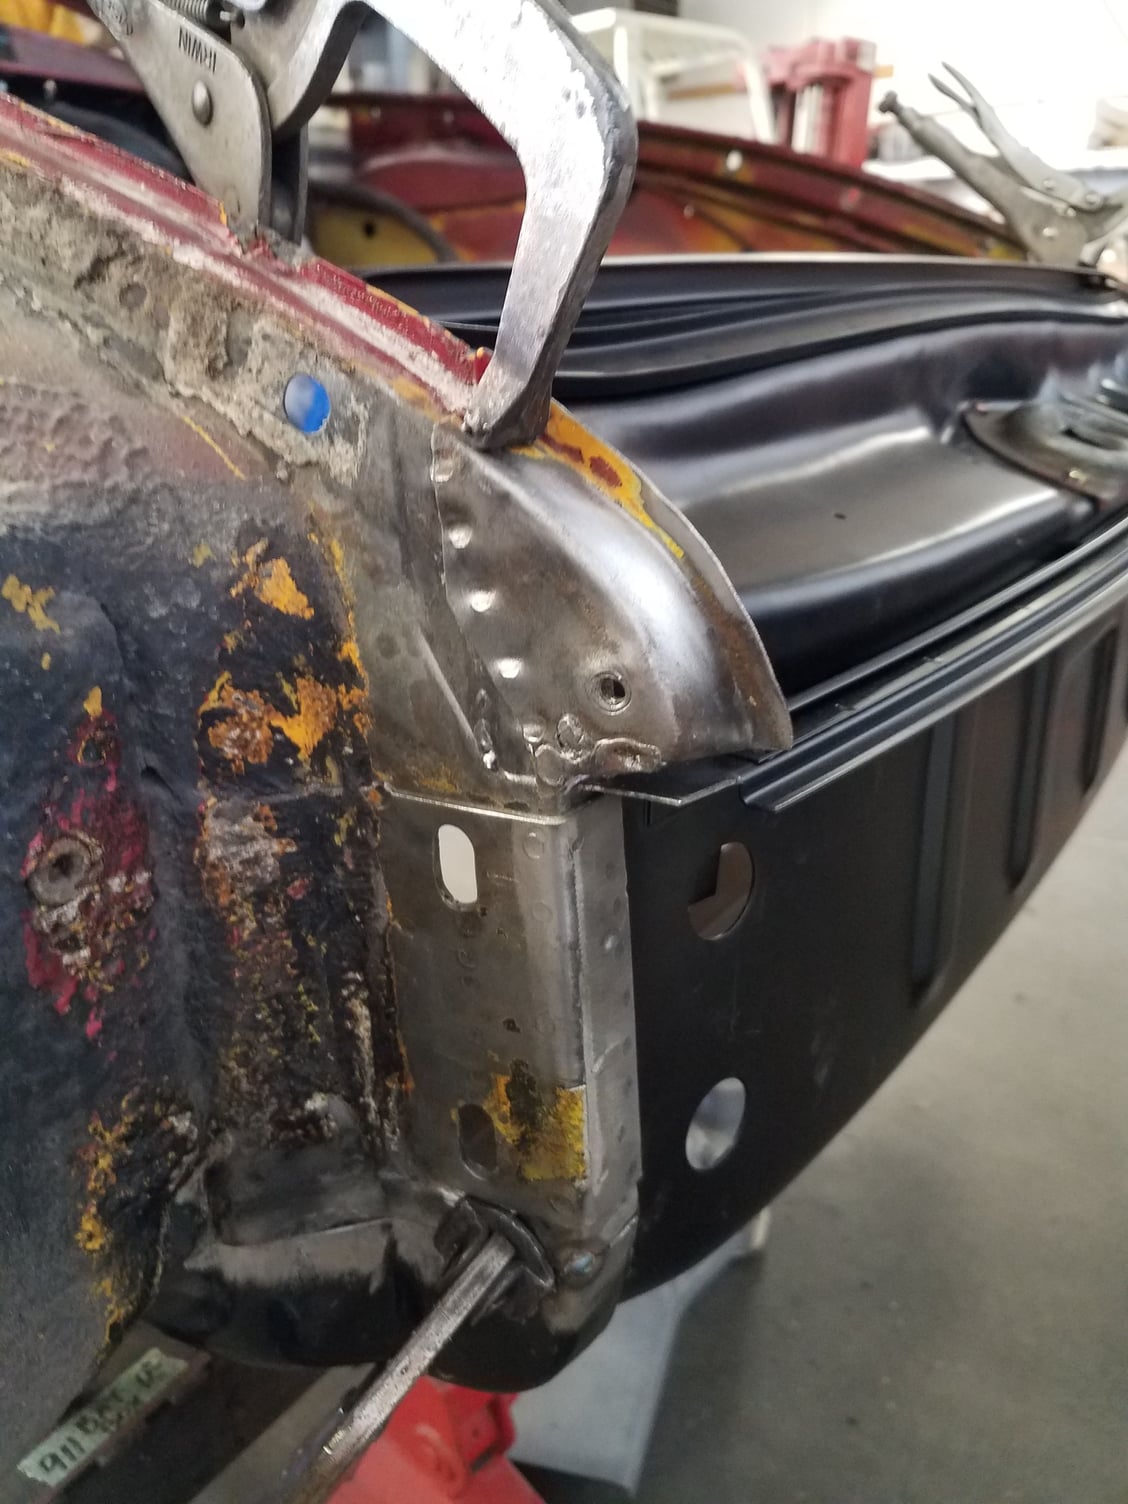
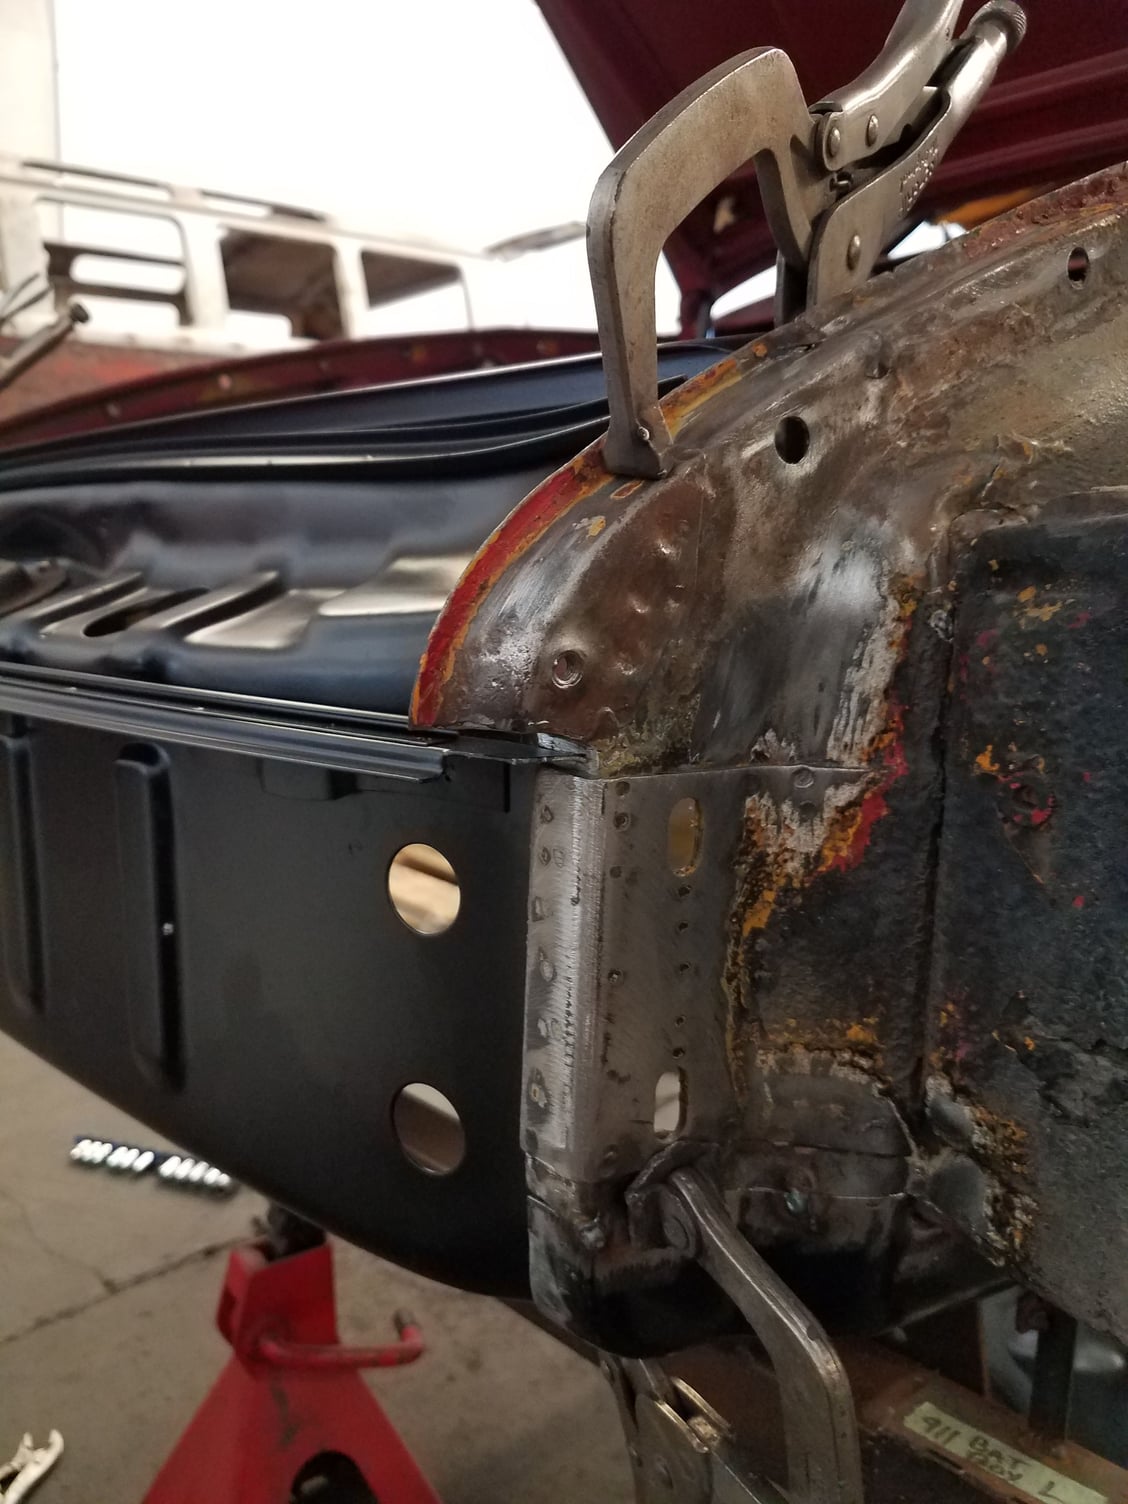
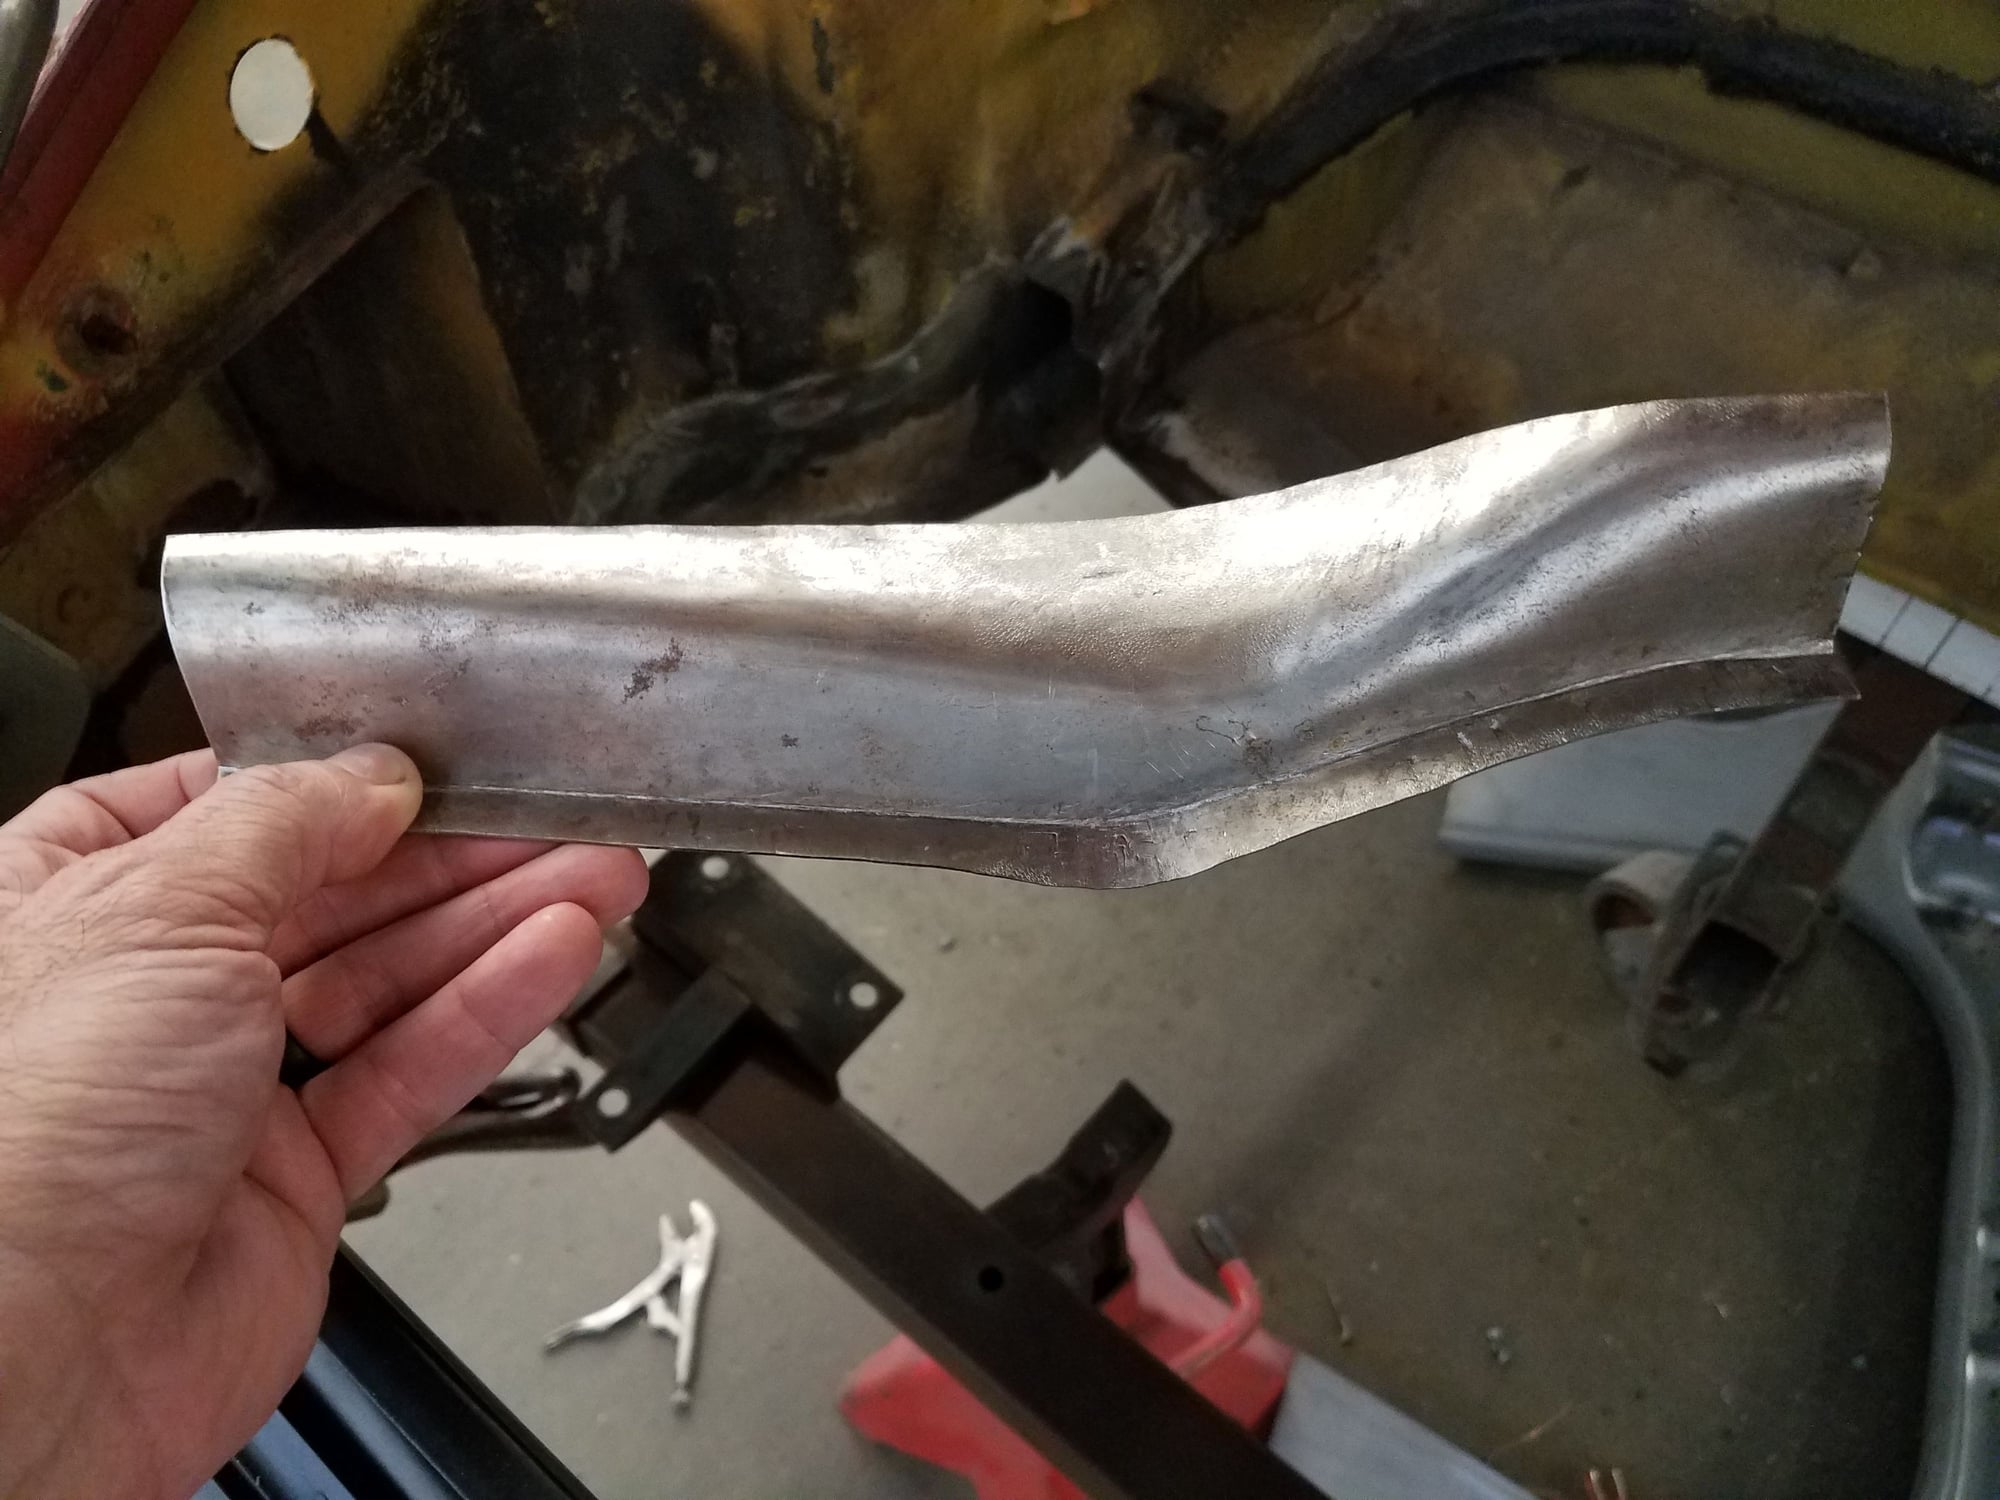
My car had a poorly done suspension pan replacement which lead to needing to cut out most of the flange that connect from the lateral/lower inner fender to the suspension pan. Here you can see the beginning of a section of the replacement flange (will need 2 of these - one for each side) that Andy is making himself. I certainly appreciate this craftsmanship.
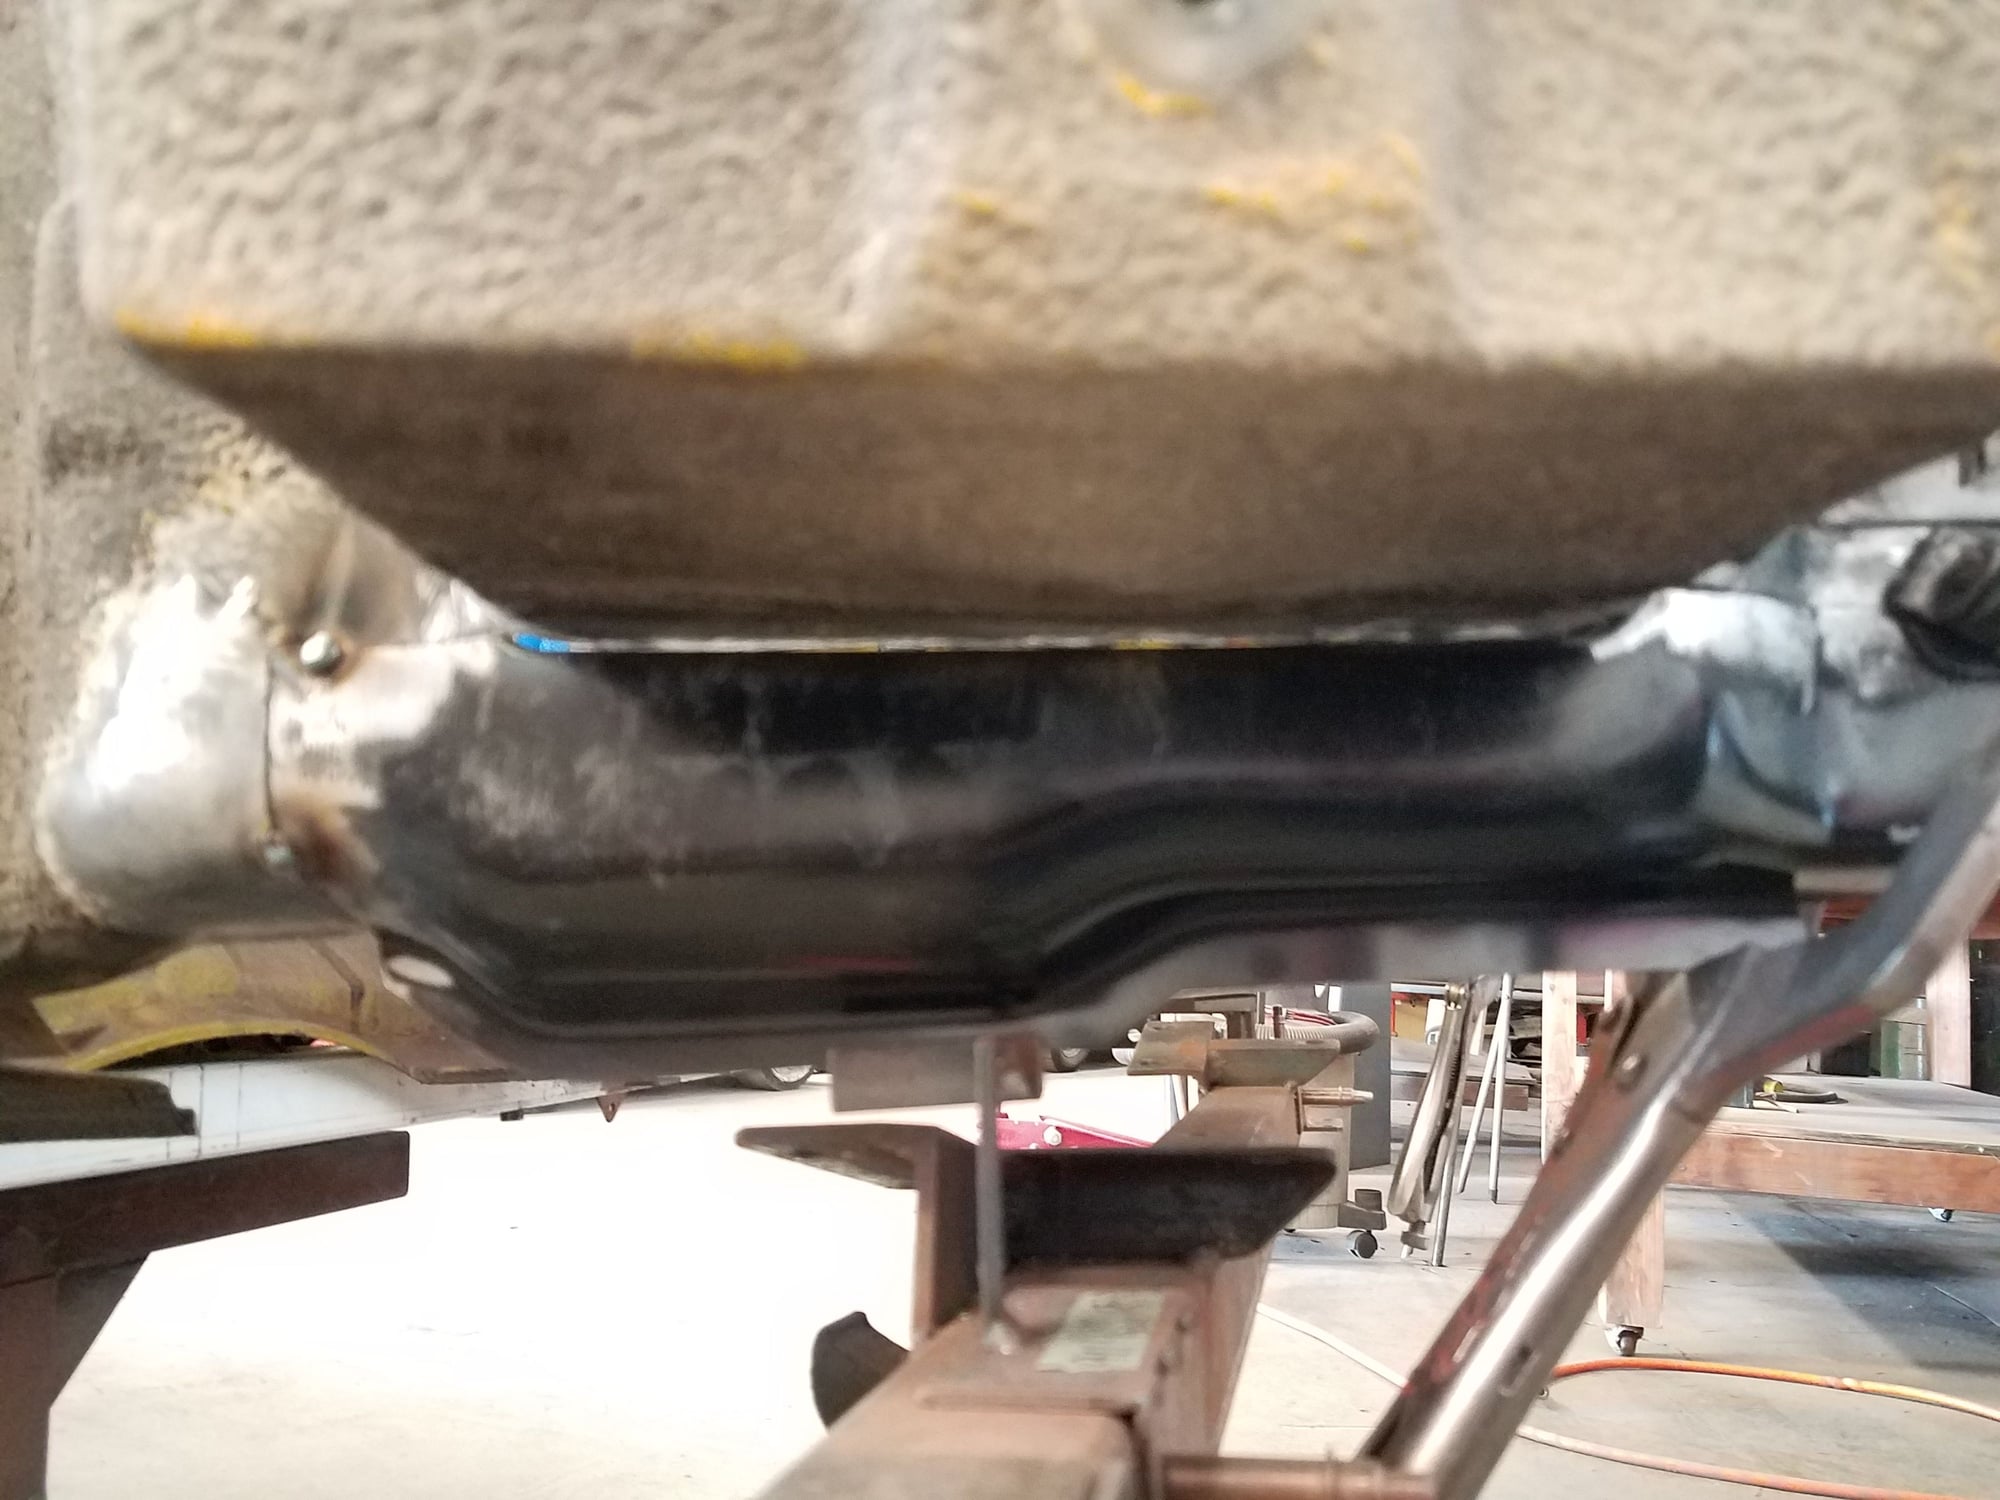
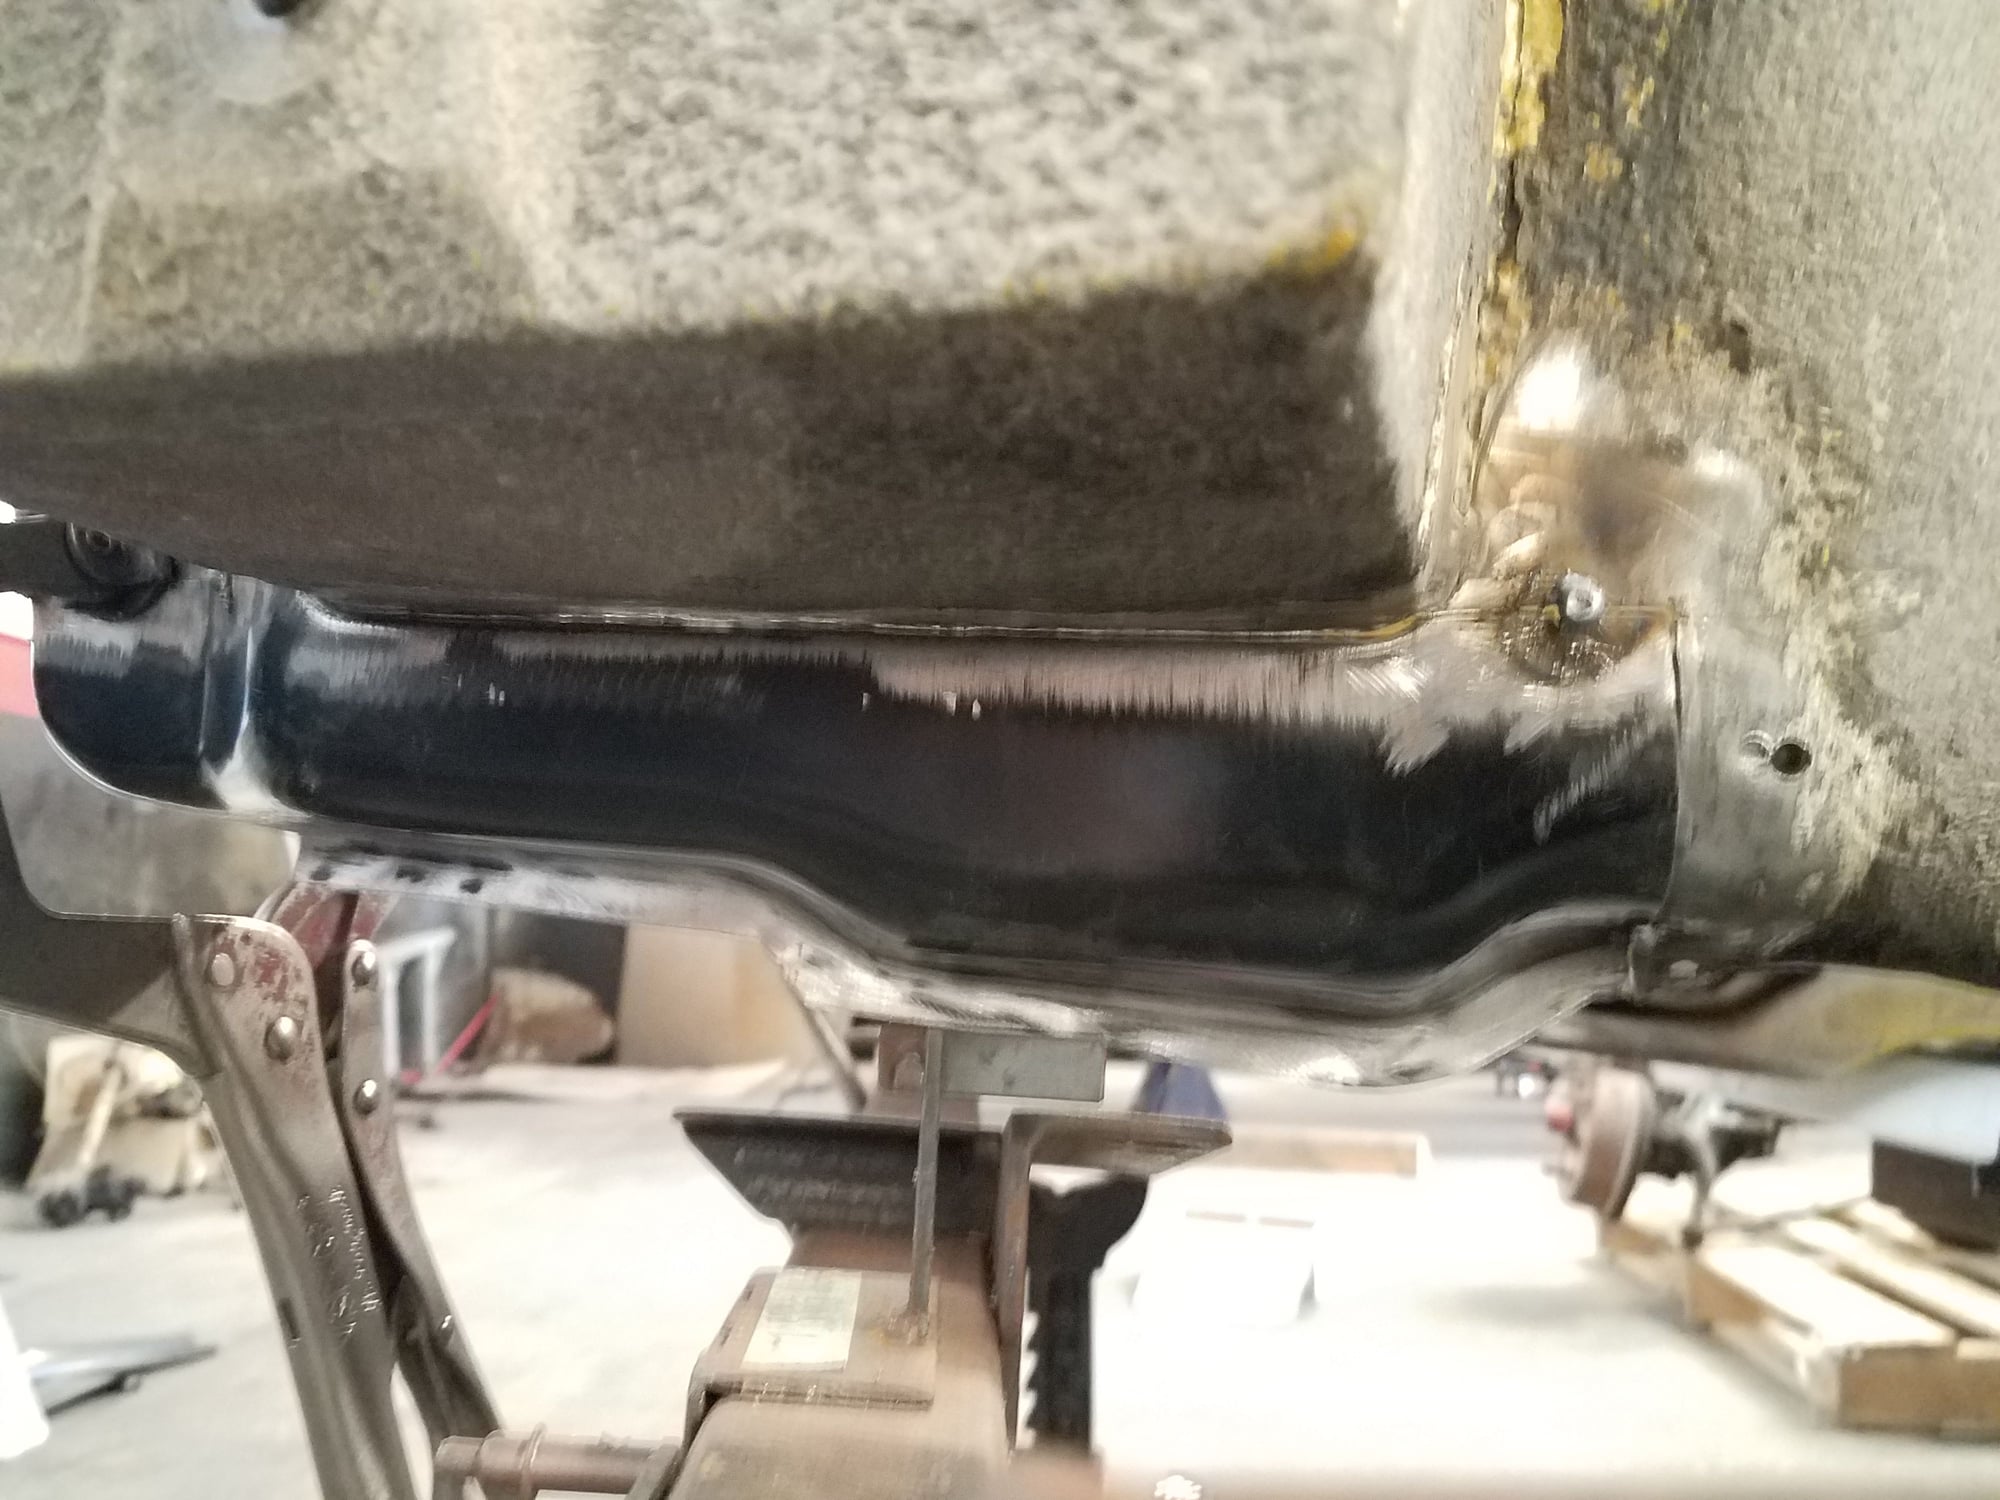
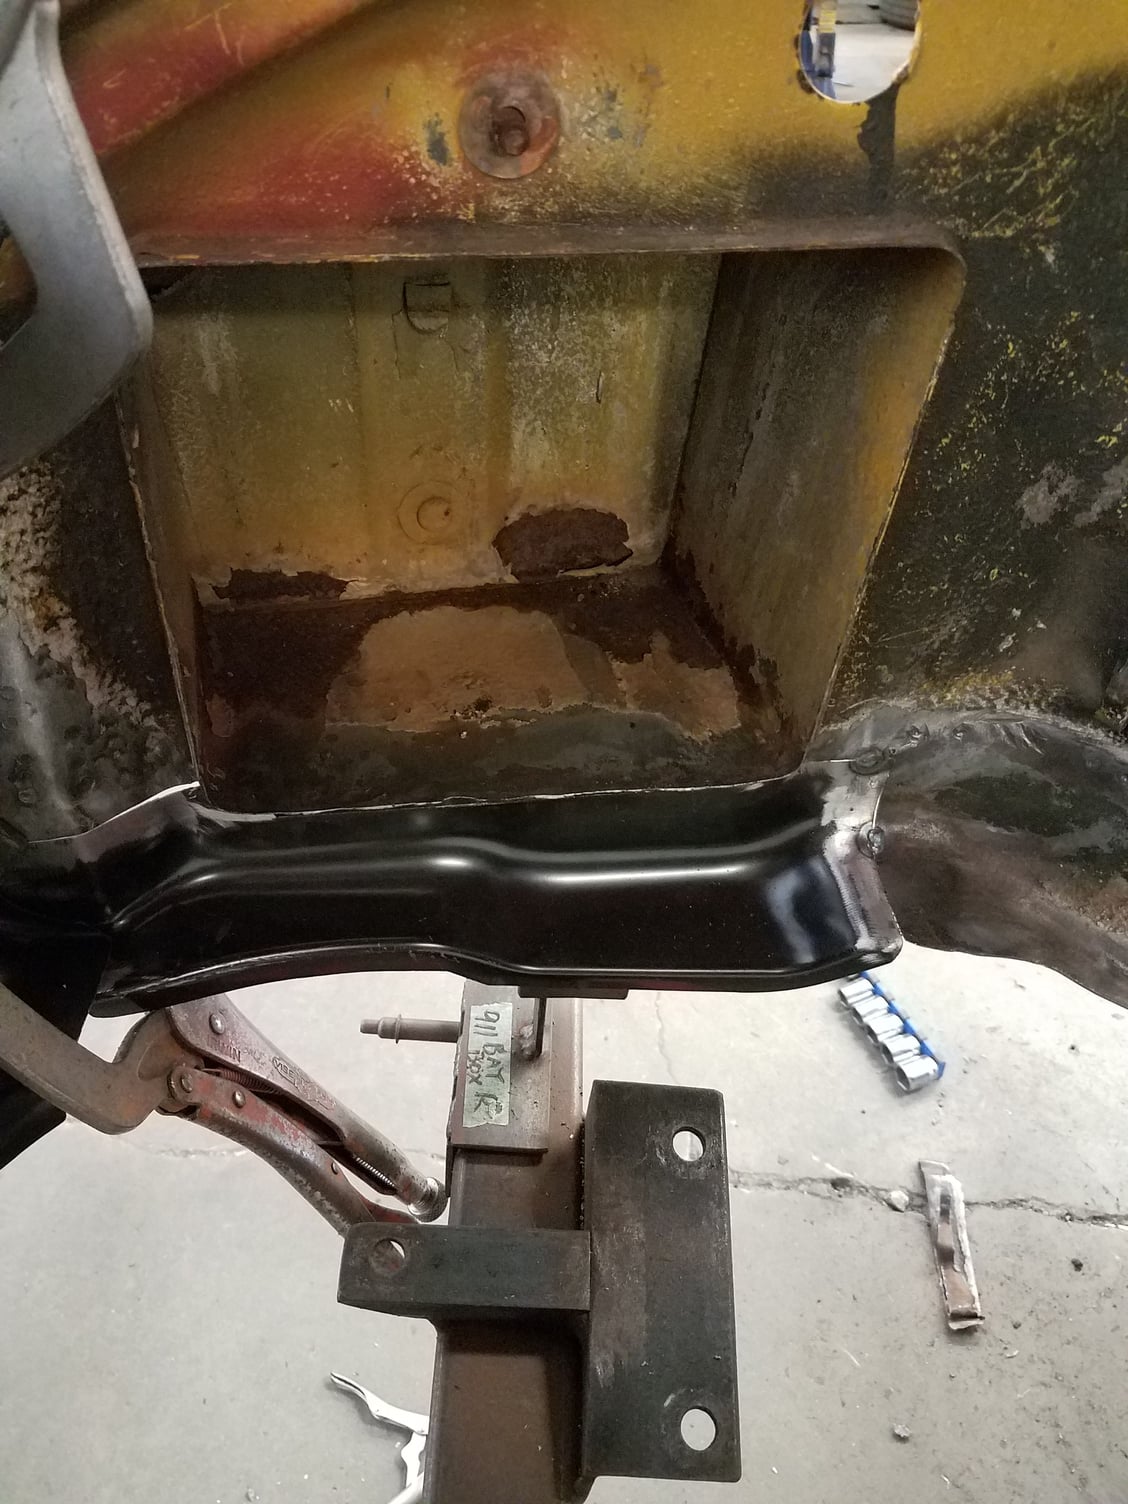
Here you can see more of this lower flange being replaced on both sides below the battery box. Just tack welded for now until all of the pieces are fitted and ready for final welding.
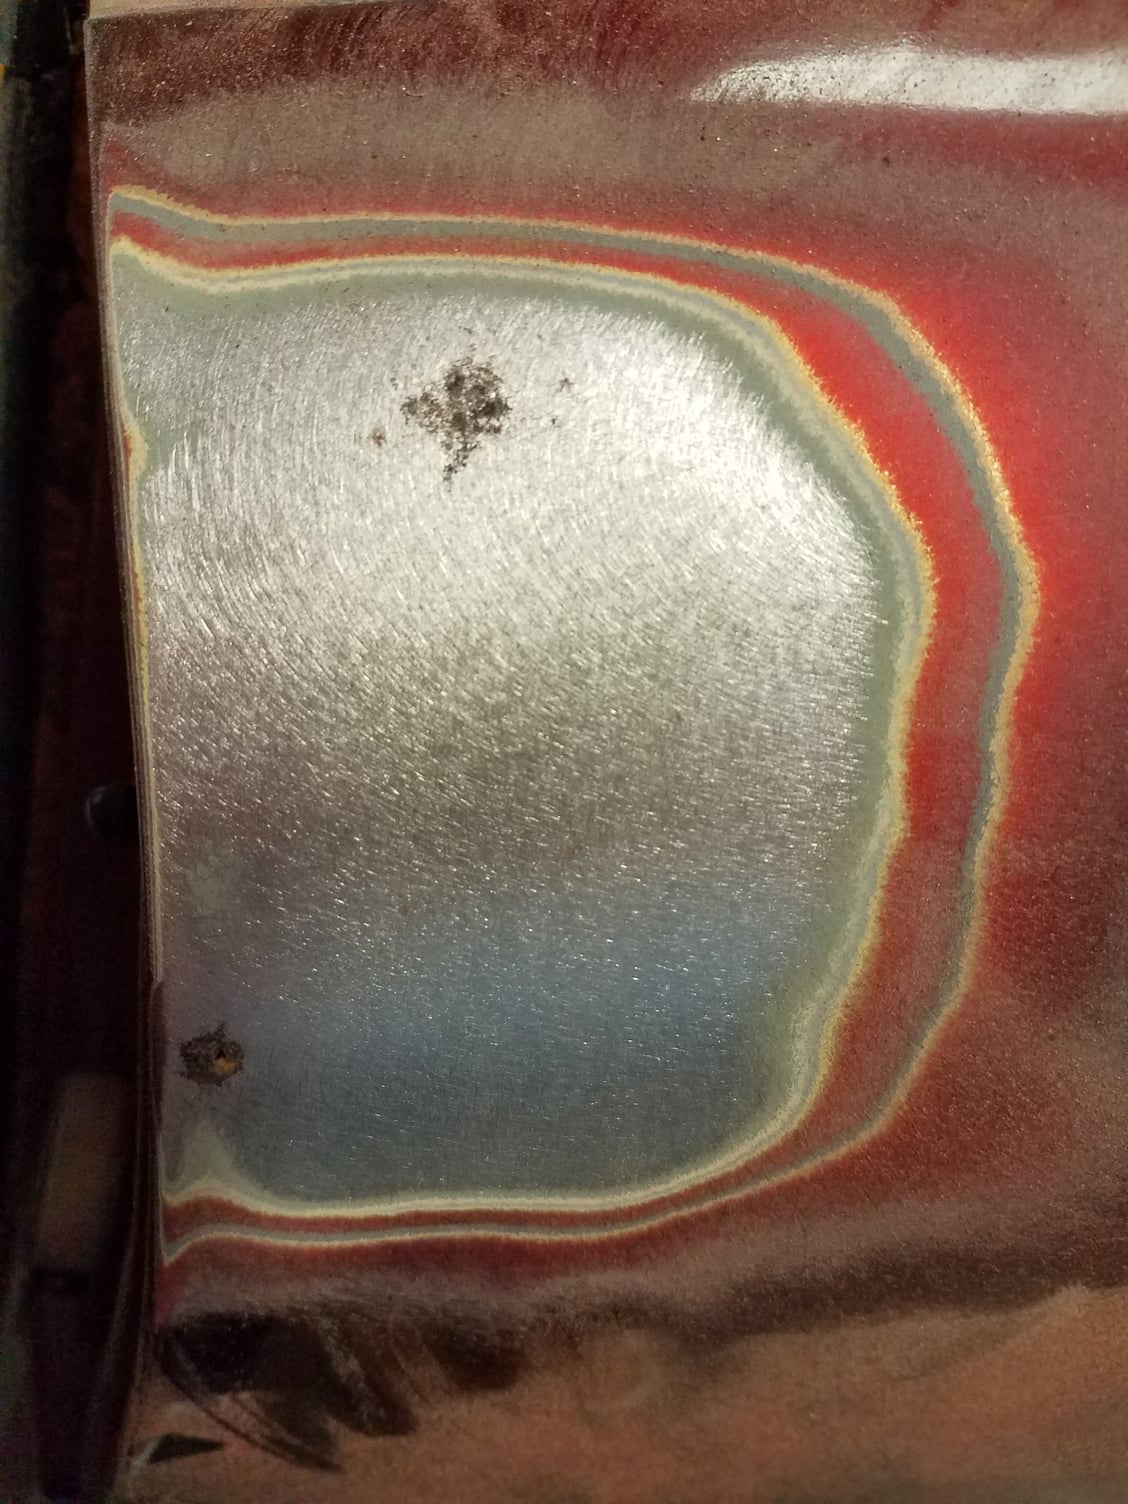
Thought I would share this. Like counting the rings of a tree! The car appears to have been repainted at least 3 times. To me I see primer, then yellow, then primer, then red, then primer, then yellow and finally primer and red. The car was originally Signal Yellow but its crazy that it appears that someone painted it red, then back to yellow and then back to red again!? This is the one area on the body where I had two rust bubbles - the paint was removed to see how widely spread the rust was, which thankfully it was contained to the two small areas (inner side was also checked). They will cut out and repair these two small rust areas.


 09-07-2019, 07:08 PM