When you click on links to various merchants on this site and make a purchase, this can result in this site earning a commission. Affiliate programs and affiliations include, but are not limited to, the eBay Partner Network.
Have you tried restarting the PCM without the update disks in the DVD drive? My guess is - CustomBootscreen_001.bin isn't a critical file, and it might just ignore it on booting up.
I don't quite know what you're telling us in the following:
Originally Posted by johanna
I
replace the hard drive disk and put it in the cloning SSD... the update did pass the previous error but got stopped in the new error
Is there a new disk drive in the PCM?
Is the new disk drive a solid-state-drive (SSD) or a mechanical one like the original?
Was the original drive cloned to this new drive before putting it into the PCM?
If the HDD clone was 100% then looks like filesystem corruption on the HDD to me and without debugging in person, its fairly cumbersome and involves some amount of trial and error.
Easier if you are comfortable with linux and fdisk (or clonezilla and fdisk). Would suggest keeping the original HDD safe and continuing your attempts with the cloned SSD. But first need to understand if the clone was successful for certain. Can you post a screenshot of the disk partitions using any free disk partitioning tool?
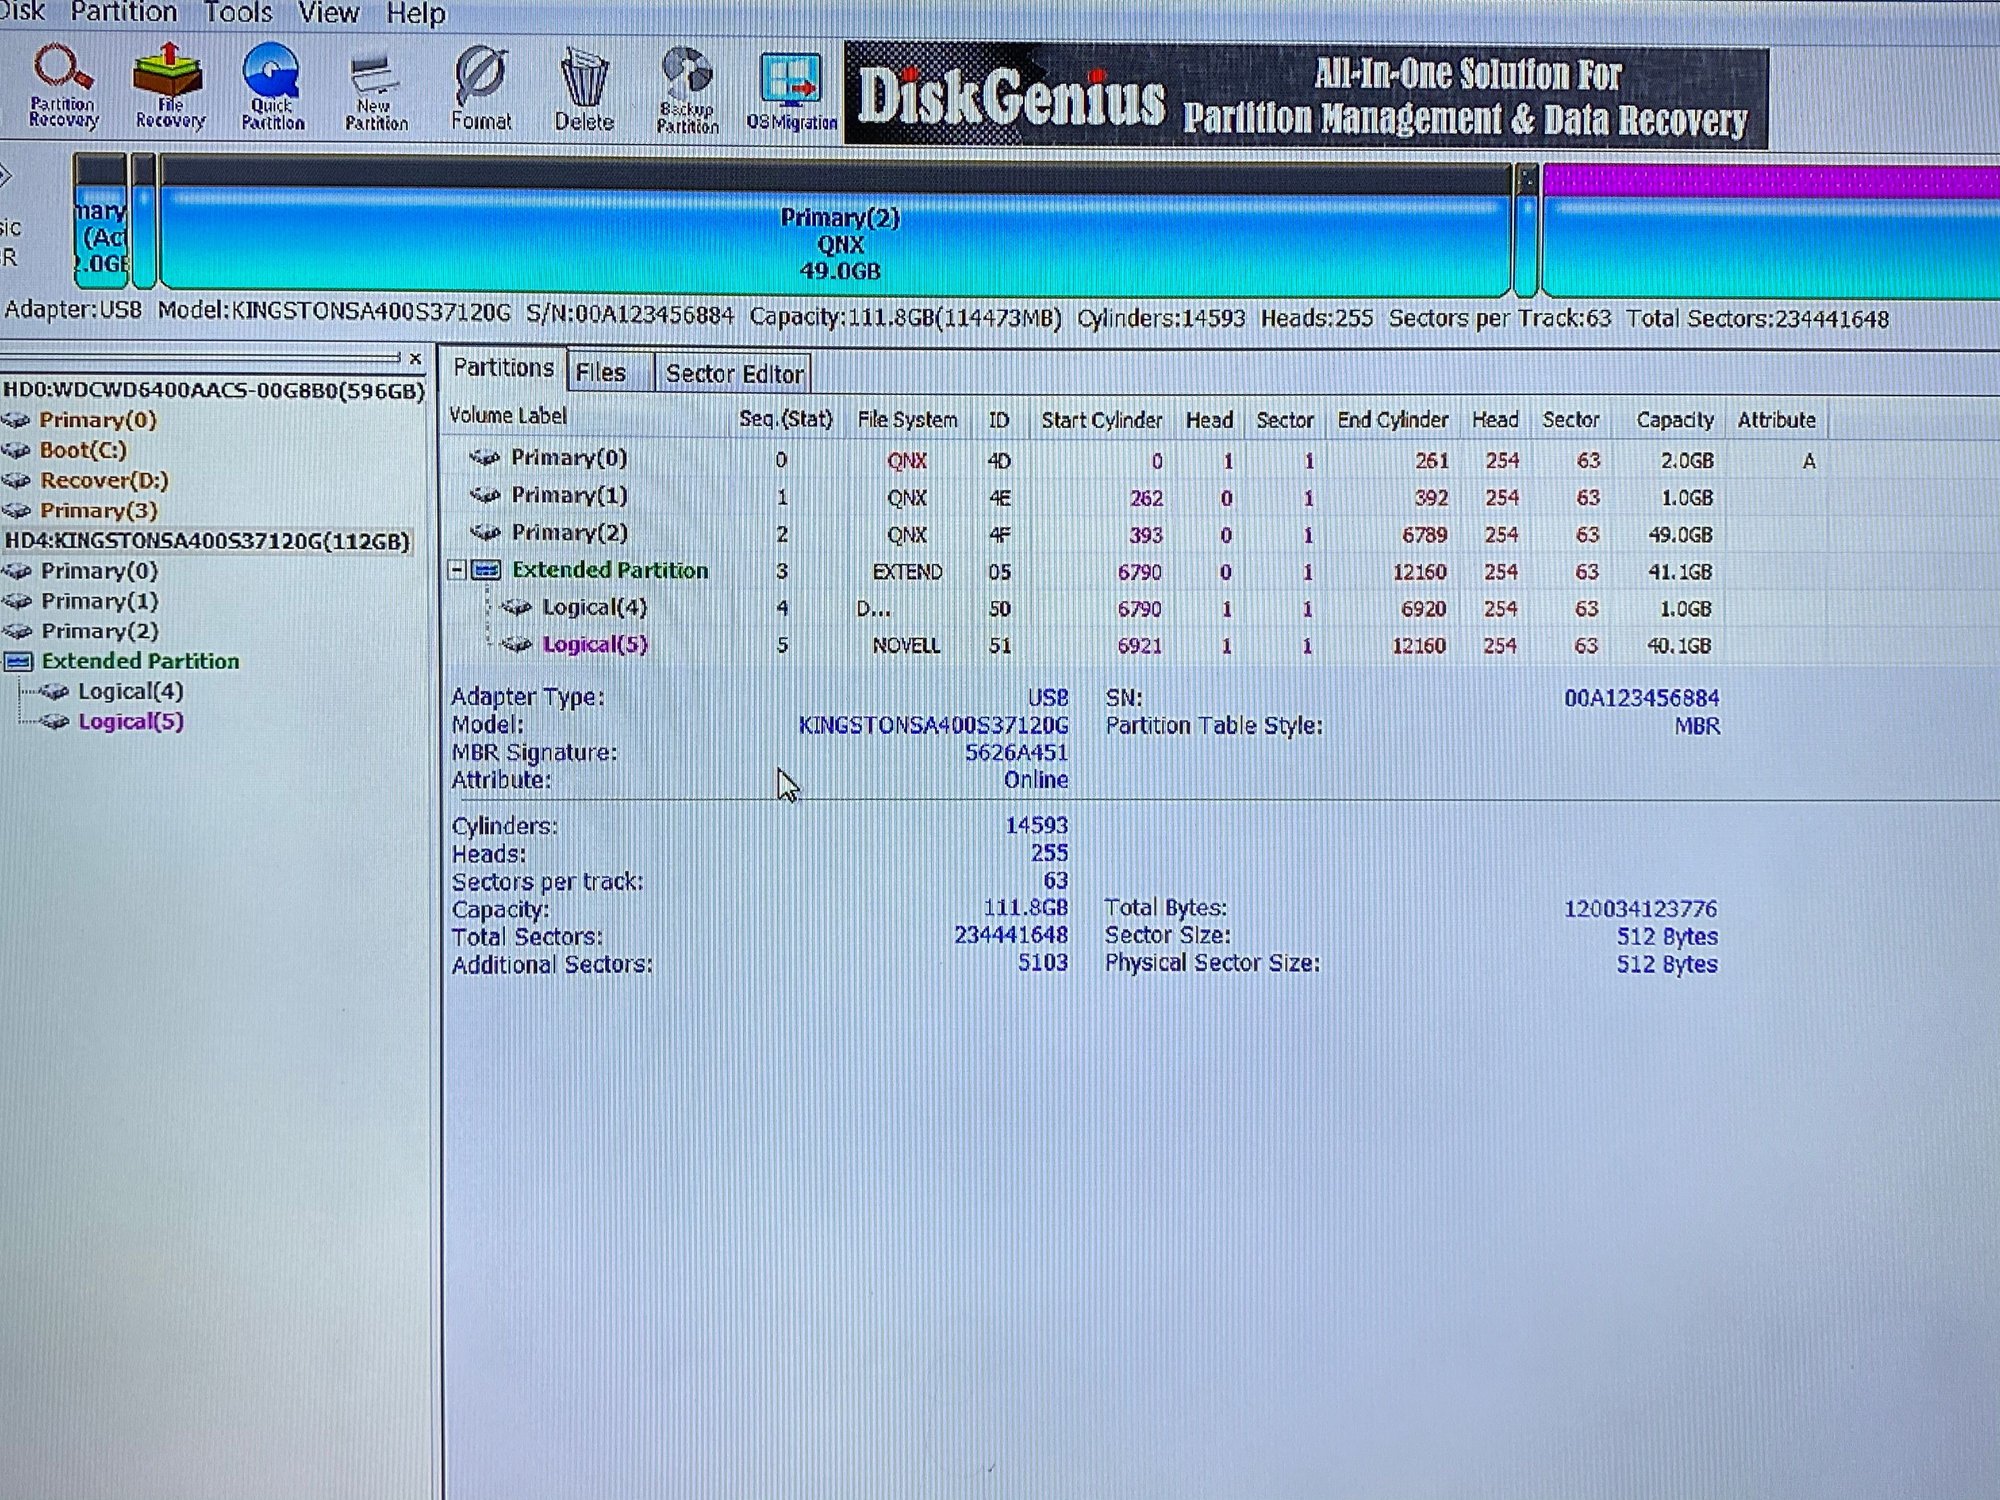
Just connect the SSD to your computer after installing a free version of tool like DiskGenius Free (https://www.diskgenius.com/editions.php) and share the screenshot of the partitions you see?
Disclaimer: I found DiskGenius via google and was able to use it ok - but use at your own risk...
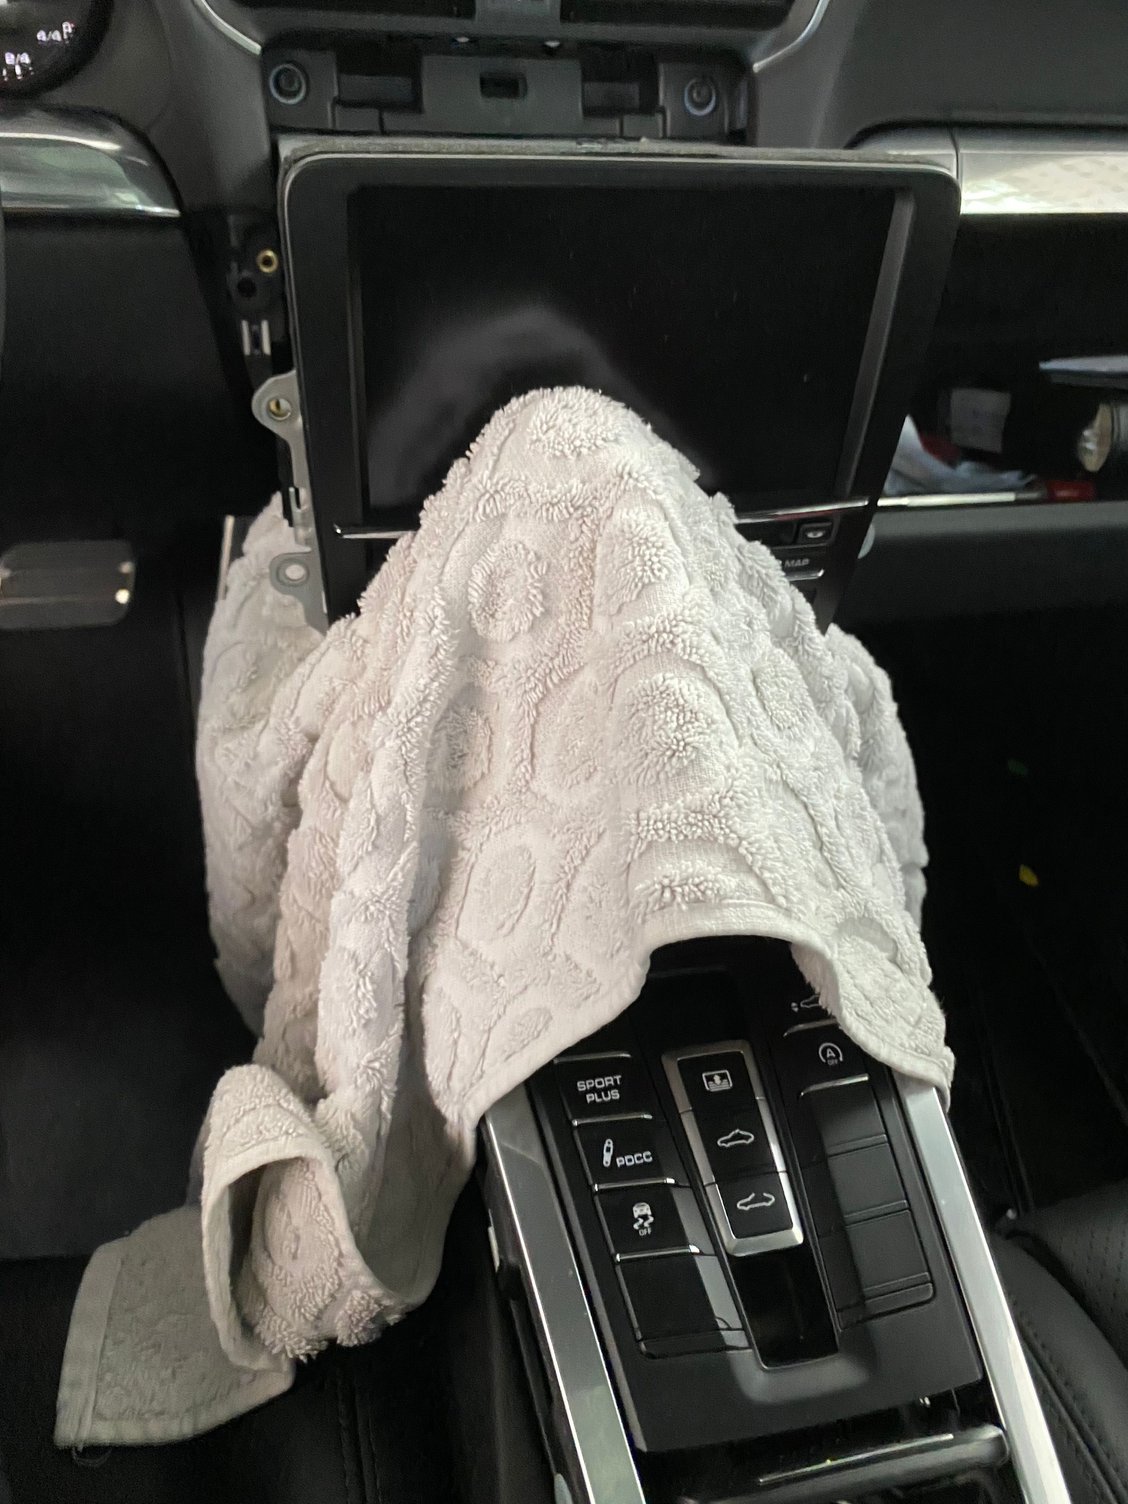
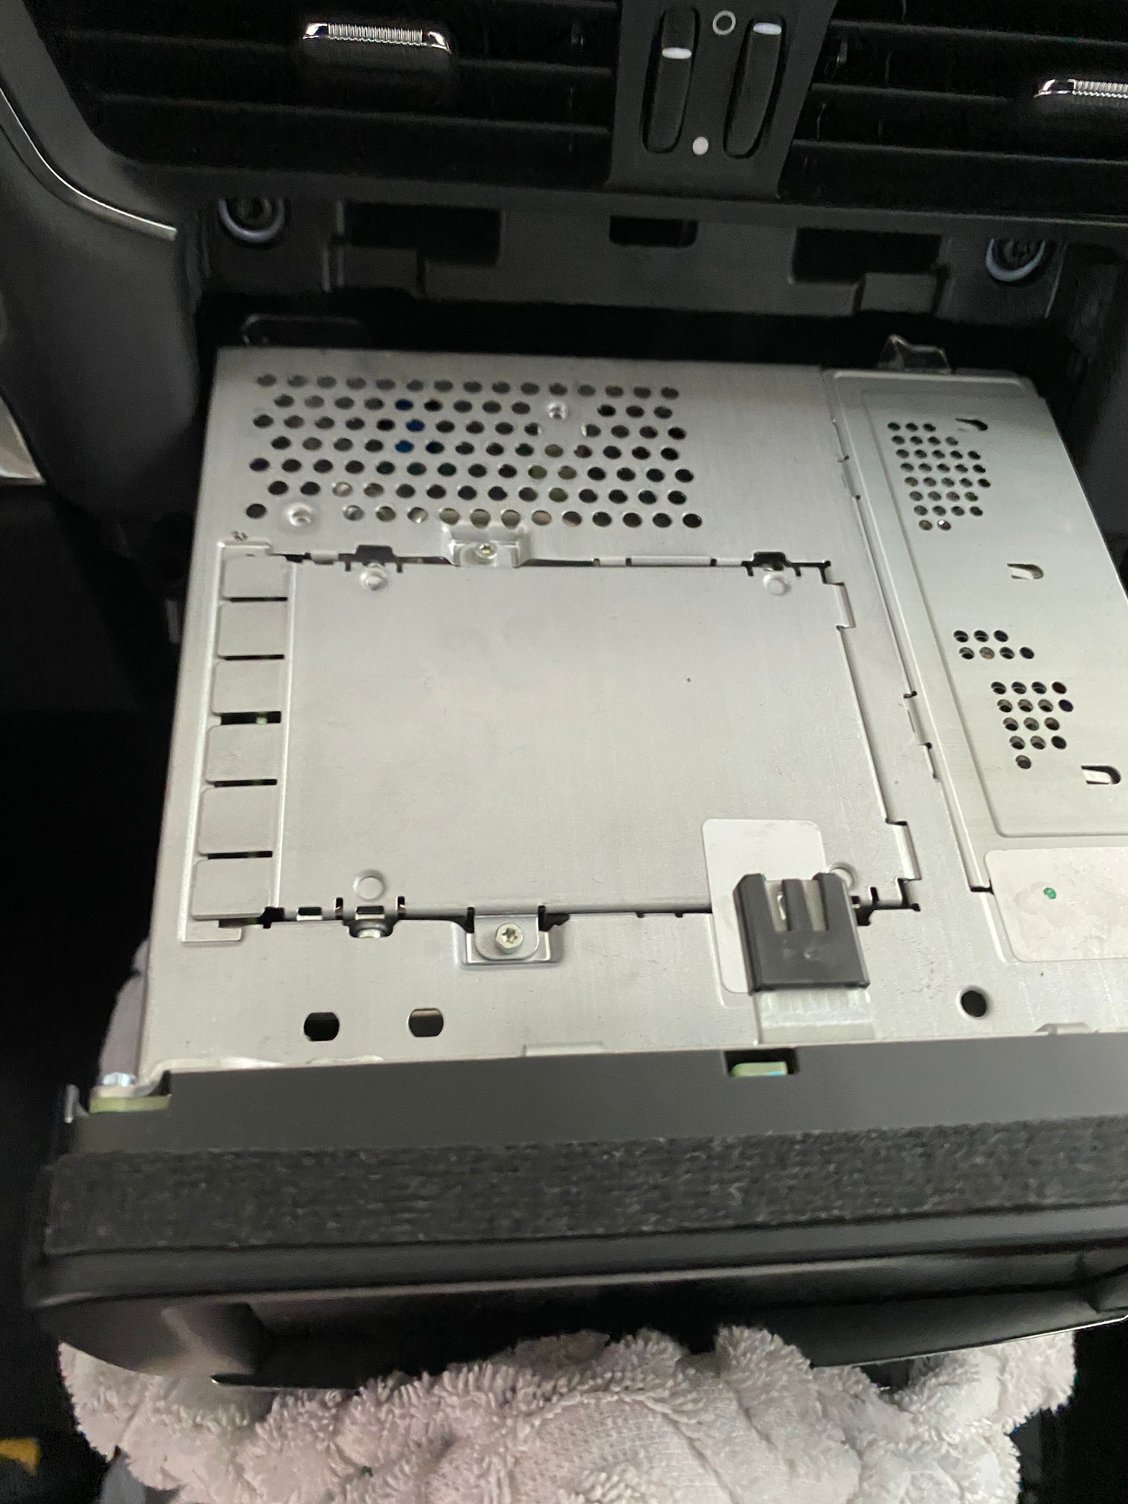
1 ) I took out the PCM hard drive
2) I Used Scalar to Clone the Hard Drive to SSD
3 ) put the new SSD to PCM
4 ) put the PCM 3,1 V4,76 Update DVD
5 ) upload was runing and did upload even the Moment when "PLACEHOLDER� came ( I say moment because here did PCM stop uploading . Before I did took out PCM 3.1 HDD and cloned )
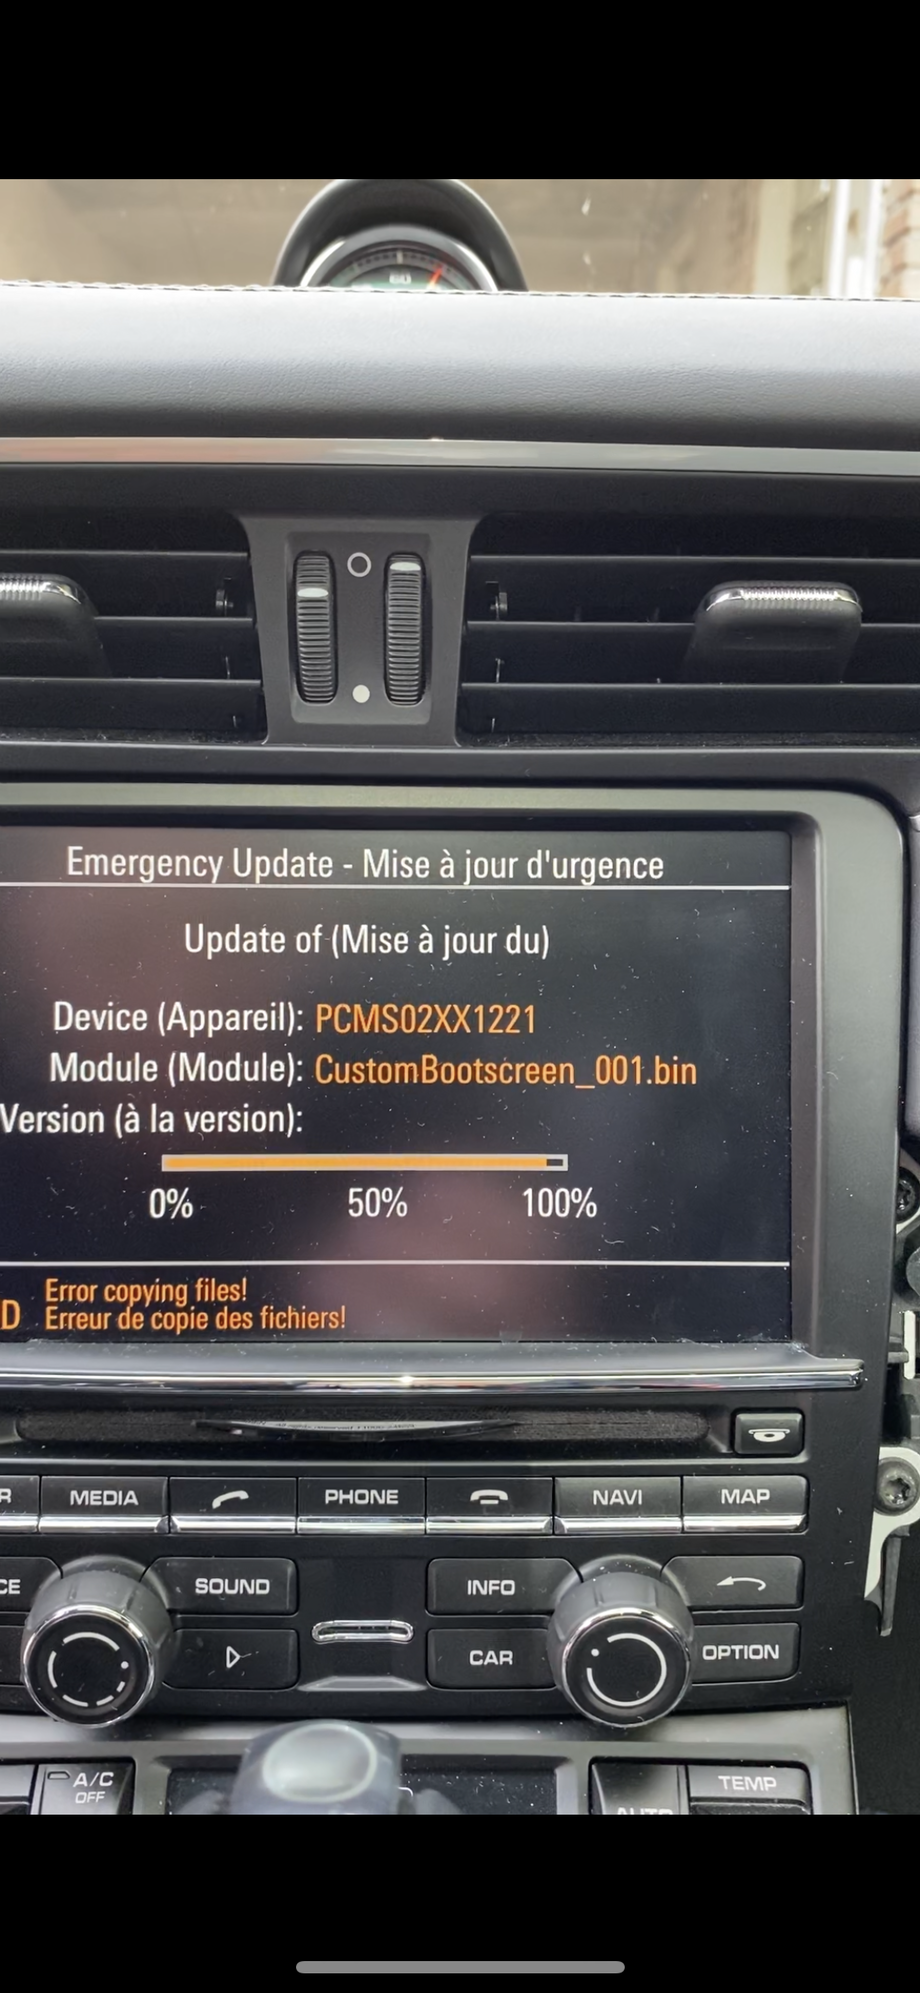
6 ) uploading stops by "COSTUMBOOTSCREEM _001.bin
nothing is new in PCM except the SSD card wich replaced The original HDD of PCM...
I SEND THE PICS OF SSD and SCALAR cloner
Is there a new disk drive in the PCM?
No , nothing new, except The SSD
Is the new disk drive a solid-state-drive (SSD) or a mechanical one like the original?
I show you the pics of SSD because don�t know what is what 🤷♀️🙈
Was the original drive cloned to this new drive before putting it into the PCM?
When I took out for first time the Original Hard Drive of PCM . Did cloning with scalar to SSD
I did direct After cloning put in the SSD in PCM and started the V4.76 upload!....I did not use the Original Hard Drive!
I see you found what I had suggested earlier - a hardware based cloning device. That's the "Scalar" device? Good move.
The SSD is a disk drive made up of memory chips instead of hardware (disks and heads). Since nothing in it moves it should be much more reliable. It won't get mechanically corrupted.
One thing I didn't see was your trying to run the PCM with the cloned disk (the SSD drive) BEFORE starting any upgrade.
My experience is - in cases where the operating system gets stuck on a bad sector or block in a drive - the operating system will mark that block as "bad" and generally refuse to continue. When you clone the drive to a new drive - whatever is in that block is simply copied over to the new drive, and the location is NOT marked as a bad sector or block, and in many cases the operating system can continue right past the "flaw" since it doesn't see it as a flaw.
I've rescued a number of laptops this way. After getting it running with the old software cloned to the new drive - I'll usually install a system update, or use some tools that check system files and repair broken ones.
What we want to do is see if the PCM will boot off the newly cloned drive - with whatever operating system was on the drive at the time this thing failed. If we can get that to happen, then I'd have some confidence in installing the new operating system.
I see you found what I had suggested earlier - a hardware based cloning device. That's the "Scalar" device? Good move.
The SSD is a disk drive made up of memory chips instead of hardware (disks and heads). Since nothing in it moves it should be much more reliable. It won't get mechanically corrupted.
One thing I didn't see was your trying to run the PCM with the cloned disk (the SSD drive) BEFORE starting any upgrade.
My experience is - in cases where the operating system gets stuck on a bad sector or block in a drive - the operating system will mark that block as "bad" and generally refuse to continue. When you clone the drive to a new drive - whatever is in that block is simply copied over to the new drive, and the location is NOT marked as a bad sector or block, and in many cases the operating system can continue right past the "flaw" since it doesn't see it as a flaw.
I've rescued a number of laptops this way. After getting it running with the old software cloned to the new drive - I'll usually install a system update, or use some tools that check system files and repair broken
What we want to do is see if the PCM will boot off the newly cloned drive - with whatever operating system was on the drive at the time this thing failed. If we can get that to happen, then I'd have some confidence in installing the new operating system.
so how can I understand it better " What we want to do is see if the PCM will boot off the newly cloned drive� ...what is the next step I have to do with:
�with whatever operating system was on the drive at the time this thing failed. If we can get that to happen, then I'd have some confidence in installing the new operating system� ?! ... I should do what 🤷♀️🙈
(the Original PCM 3.1 was the V4.73 .... like I Explained In beginn the Problem of Emergency Updaten came when I put in for update the WRONG PCM 3.0 V2.23 dvd 🙈
I agree that bad info/data due to bad sectors could persist the cloning and this may be causing this problem to persist. However, i want to call out 2 points.
1) Boot sequence , software update process and emergency screen:
I mentioned this in an earlier post in a different thread: https://rennlist.com/forums/audio-an...l#post16521020
The PCM system does not boot off the hard drive - it is an embedded RTOS and all the firmware required to run the system is embedded in image files (IFS) that are loaded into the flash/ROM chips on the internal mother board. What the HDD has is a bunch of utilities, the maps (if one has navi), user storage for jukebox and temp space for log files . (If you have used an old Garmin GPS then, just like the actual OS and logic is within the GPS unit but you plug in a larger memory card for the latest maps, setting and icons etc., in the PCM unit the HDD stores these updated maps, icons etc... but the actual OS is within the embedded flash/rom memory.)
The moment an update starts, the update bootloader takes over and this is what displays the 'update' screen and the progress updates as all the modules in the update are loaded. Even if a single module fails, then the update bootloader does not seem to hand the control back to the regular bootloader. That is why you continue to see the 'update' screen. Does not matter if you reboot or restart the system, disconnect the fuse, take the SSD/HDD disk out or not, once the system is in the control of the update bootloader , this is what gets triggered everytime the PCM system is powered up and the only way out is to get the update to complete or 'fool' the update loader to terminate and return the control back to the main bootloader.
This is what I did when i first ran into the 'update' screen and got out of the boot loop. For my scenario, module 4 was failing, so I modified the update file to only update the first 3 modules - on successful completion, control returned to the regular bootloader and the basic functionality (Radio, CD, Bluetooth, Aux etc..) returned. (See post 21 in this thread: https://rennlist.com/forums/cayenne-...l#post16510863 for the steps) Navigation and other stuff that required components from Module 4 no longer worked because that part of the update was partial and the files were messed up. At the end of the day, i recovered full functionality after 'reinitializing' the partition that was causing my update to fail. All the options being discussed here be it cloning disks, trying to create partitions etc are all attempts to reinitialize the failed partition in some way to allow the update to continue
2) Software update disk and filesystem issues or corruption:
The update disk (be it version 4.76, or 4.75 or earlier) is a complete package that updates everything relevant in the PCM - so in regular PC terms, think of this package as a full install of complete OS+Utilities+Applications as a whole. Having analyzed the update disk there are basically 5 modules - EMR, IOC, APP, HDD and CFG. The first 3 contain IFS files or related OS components like drivers etc - so these are files that are flashed into the embedded memory/ROM within the PCM unit. (On a side note, note that any power outage or fluctuation while updating these areas of your PCM unit could lead to the unit itself getting bricked! So always run the update with a full battery or better still a running engine or a battery tender. If there is any failure in the flashing process or embedded memory issue, then the unit requires hardware repair which is beyond this thread and my knowledge )
If the update has progressed to a level where its updating files to the HDD (as i can see from all the screenshots), then the OS and other core components loaded to the flash memory are already updated to the latest software version and everything is good from that perspective.
With the HDD module, the update just copies all the required files over the the relevant partitions. ( to know the file sequence, you can open up the file with name ending in xxxRDW400.def -it has the names of all the files including CustomBootscreen_001.bin and order of the files loading and unlike the IFS packages which are images, these are primarily individual files).
While the existing HDD could have bad sectors causing this simple file copy to fail, the fact that the SSD is also preventing a copy of the file atleast to me indicates a problem with the filesystem in that partition itself. The QNX filesystems (based on POSIX) are based on inodes and pointers. Any corruption here be it physical or logical, will mess up that partition preventing any file reads/writes. Check this link out for the type of filesystem corruption i am referring to http://www.qnx.com/developers/docs/6...ml?cp=13_10_19 (So sudden power outages like pulling the fuse or a loose power wire could trigger filesystem corruption iif the disk is being written to when this occured, not just bad sectors). Even with the qnx6fs there are posts on the net of filesystem corruption albeit to a lesser extent (https://openqnx.com/phpbbforum/viewt...hp?f=7&t=16038, https://openqnx.com/phpbbforum/viewt...hp?f=7&t=16115). QNX has utilities (equivalent to the early windows chkdsk and fdisk utilities) ex: chkfsys and dinit or mkqnx6fs that one could run to resolve corruption/format disks but these are not accessible from the UI and unless you plug the disk into a system running QNX you cannot run these utilities to check the disk or format it so that the software update can reinstall - i.e copy the files to this partition again.
Joanna,
If you are tired of the cloning and want to take a break, follow the steps in post 21 above and you will get back atleast the basics like Radio/CD etc. You can still continue with your investigations but this will get you off the blue screen
If you want to fix this specific partition and recover full functionality, then any options i suggest or anyone else suggests will involve fixing the partition tables (including options like remaking/re-initializing i.e formatting) of that specific partition and ensuring that the update disk copies the files back to that partition after it is fixed. If you want to go down this path, please share the partition details as per my recent post #64
Last edited by kari; 05-05-2020 at 12:24 PM.
Reason: minor cleanup for better readability..
If you are tired of the cloning and want to take a break, follow the steps in post 21 above and you will get back atleast the basics like Radio/CD etc. You can still continue with your investigations but this will get you off the blue screen
If you want to fix this specific partition and recover full functionality, then any options i suggest or anyone else suggests will involve fixing the partition tables (including options like remaking/re-initializing i.e formatting) of that specific partition and ensuring that the update disk copies the files back to that partition after it is fixed. If you want to go down this path, please share the partition details as per my recent post #64[/QUOTE]
The way you explain the steps makes me very comfortable to go for FIXING THIS SPECIFIC PARTITION!
I will go for post # 64
1 )install the software DiscGeniu on my computer
2 ) SSD connecting to come and browsing it with The software DiscGenius
3) making screenshots and let you see them!
... waiting for your further instruction! how to modify the file
I agree that bad sectors if any could persist the cloning and this is what is causing this problem to persist. However, i want to call out 2 points.
1) Boot sequence , software update process and emergency screen:
I mentioned this in an earlier post in a different thread: https://rennlist.com/forums/audio-an...l#post16521020
The PCM system does not boot off the hard drive - it is an embedded RTOS and all the firmware required to run the system is embedded in image files (IFS) that are loaded into the flash/ROM chips on the internal mother board. What the HDD has is a bunch of utilities, the maps (if one has navi), user storage for jukebox and temp space for log files . (If you have used an old Garmin GPS then, just like the actual OS and logic is within the GPS unit but you plug in a larger memory card for the latest maps, setting and icons etc., in the PCM unit the HDD stores these updated maps, icons etc... but the actual OS is within the embedded flash/rom memory.)
The moment an update starts, the update bootloader takes over and this is what displays the blue screen and the progress updates as all the modules in the update are loaded. Even if a single module fails, then the update bootloader does not seem to hand the control back to the regular bootloader. That is why you continue to see the blue screen. Does not matter if you reboot or restart the system, disconnect the fuse, take the SSD/HDD disk out or not, once the system is in the control of the update bootloader , this is what gets triggered everytime the PCM system is powered up and the only way out is to get the update to complete or 'fool' the update loader to terminate and return the control back to the main bootloader.
This is what I did when i first ran into the blue screen and got out of the boot loop. For my scenario, module 4 was failing, so I modified the update file to only update the first 3 modules - on successful completion, control returned to the regular bootloader and the basic functionality (Radio, CD, Bluetooth, Aux etc..) returned. (See post 21 in this thread: https://rennlist.com/forums/cayenne-...l#post16510863 for the steps) Navigation and other stuff that required components from Module 4 no longer worked because that part of the update was partial and the files were messed up. At the end of the day, i recovered full functionality after 'reinitializing' the partition that was causing my update to fail. All the options being discussed here be it cloning disks, trying to create partitions etc are all attempts to reinitialize the failed partition in some way to allow the update to continue
2) Software update disk and filesystem issues or corruption:
The update disk (be it version 4.76, or 4.75 or earlier) is a complete package that updates everything relevant in the PCM - so in regular PC terms, think of this package as a full install of complete OS+Utilities+Applications as a whole. Having analyzed the update disk there are basically 5 modules - EMR, IOC, APP, HDD and CFG. The first 3 contain IFS files or related OS components like drivers etc - so these are files that are flashed into the embedded memory/ROM within the PCM unit. (On a side note, note that any power outage or fluctuation while updating these areas of your PCM unit could lead to the unit itself getting bricked! So always run the update with a full battery or better still a running engine or a battery tender. If there is any failure in the flashing process or embedded memory issue, then the unit requires hardware repair which is beyond this thread and my knowledge )
If the update has progressed to a level where its updating files to the HDD (as i can see from all the screenshots), then the OS and other core components loaded to the flash memory are already updated to the latest software version and everything is good from that perspective.
With the HDD module, the update just copies all the required files over the the relevant partitions. ( to know the file sequence, you can open up the file with name ending in xxxRDW400.def -it has the names of all the files including CustomBootscreen_001.bin and order of the files loading and unlike the IFS packages which are images, these are primarily individual files).
While the existing HDD could have bad sectors causing this simple file copy to fail, the fact that the SSD is also preventing a copy of the file atleast to me indicates a problem with the filesystem in that partition itself. The QNX filesystems (based on POSIX) are based on inodes and pointers. Any corruption here be it physical or logical, will mess up that partition preventing any file reads/writes. Check this link out for the type of filesystem corruption i am referring to http://www.qnx.com/developers/docs/6...ml?cp=13_10_19 (So sudden power outages like pulling the fuse or a loose power wire could trigger filesystem corruption iif the disk is being written to when this occured, not just bad sectors). QNX has utilities (equivalent to the early windows chkdsk and fdisk utilities) ex: chkfsys and dinit or mkqnx6fs that one could run to resolve corruption but these are not accessible from the UI and unless you plug the disk into a system running QNX you cannot run these utilities to check the disk or format it so that the software update can reinstall - i.e copy the files to this partition again.
Joanna,
If you are tired of the cloning and want to take a break, follow the steps in post 21 above and you will get back atleast the basics like Radio/CD etc. You can still continue with your investigations but this will get you off the blue screen
If you want to fix this specific partition and recover full functionality, then any options i suggest or anyone else suggests will involve fixing the partition tables (including options like remaking/re-initializing i.e formatting) of that specific partition and ensuring that the update disk copies the files back to that partition after it is fixed. If you want to go down this path, please share the partition details as per my recent post #64
Good, disk clone seems successful! - atleast I can see all the partitions and the sizes (capacity) matches what i have on my backup disk. S
Considering that the updated failed at CustomBootscreen_001.bin with the new SSD, my suggestion is to look at Partition (1) with ID 4E in the picture and explore ways to fix only that partition (ID = 4E). Be careful not to touch any other partition especially the large partitions with capacity 49G and 40.1G
I�m doing now step copy dvd 4.76 to usb memory stick are 3 in total P31RDW400 a folder pcm_update.disc PCM31RDW400.def now are all this in usb stic...
[QUOTE=kari;16592410]Good, disk clone seems successful! - atleast I can see all the partitions and the sizes (capacity) matches what i have on my backup disk. S
Considering that the updated failed atCustomBootscreen_001.bin with the new SSD, my suggestion is to look at Partition (1) with ID 4E in the picture and explore ways to fix only that partition (ID = 4E). Be careful not to touch any other partition especially the large partitions with capacity 49G an
A special thanks to Kari
After a long journey and very detailed explanation and Advices from Kari I did to fix the PCM 3.1 emergency update And restarting every 3 minutes.
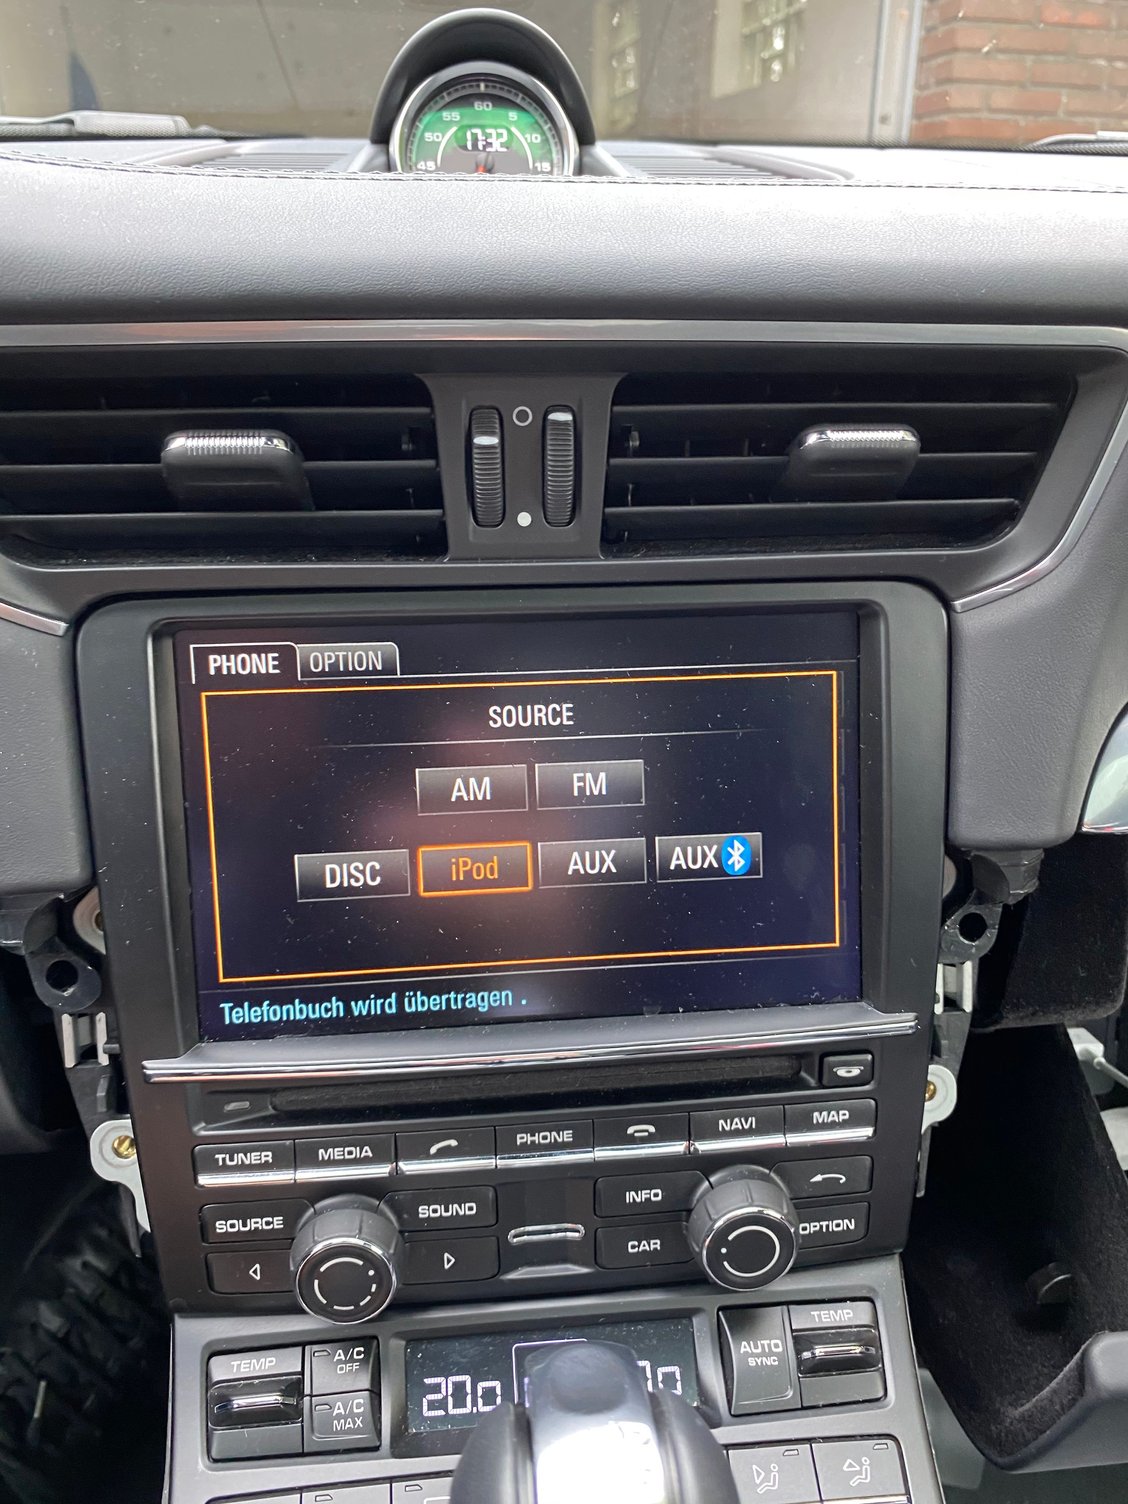
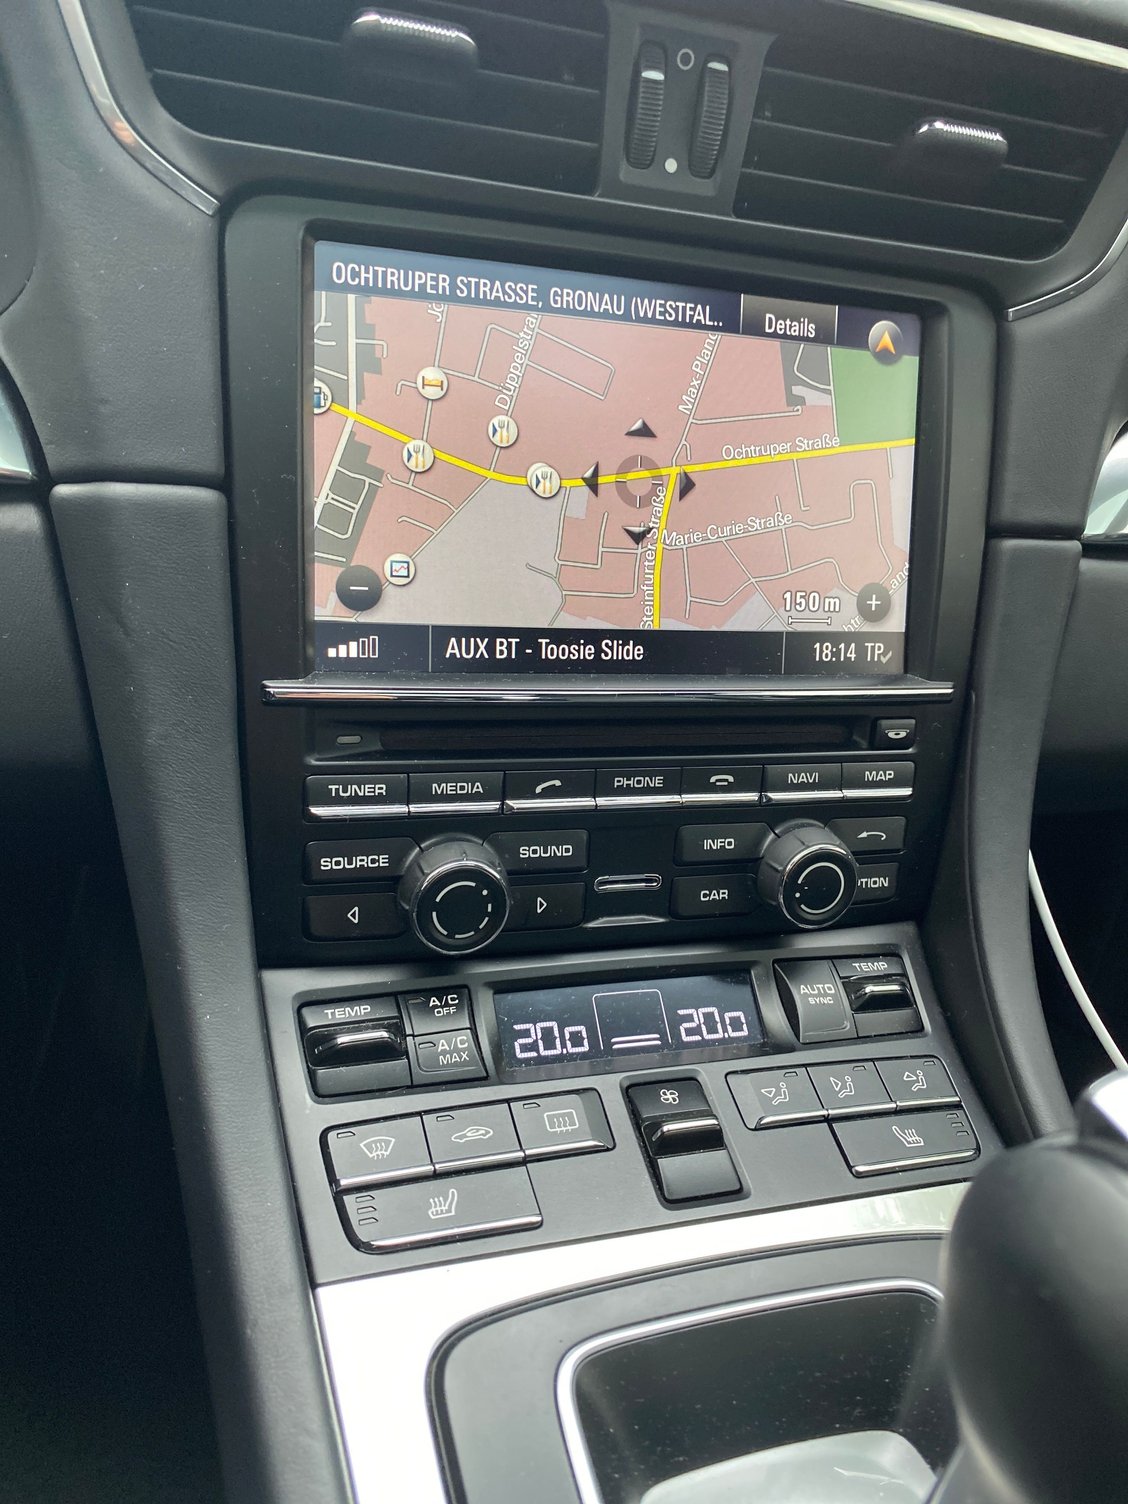
now all functions are there!! Party 🎉 🎈 🥳....
i don�t have any skills in cars or computer but Kari explaided and found the problem and also the solution.
thank you all you here in this forum 🤗🤗🤗
Quote:
Originally Posted by johannaKarlsson YOU ARE A ANGEL 😇🤗😘👍👍👍🍾🥂
Quote: Originally Posted by kari Quote: Originally Posted by johannaKarlsson
i am now on primary 1 what shull I do? I send the video in the forum From your video, i see that you have already found Partition 1 (ID = 4E)
Step 1: Select Primary 1 (ID = 4E) and right-click your mouse for options. Select 'Format Current Partition'
Step 2: in popup select: File System = Ext2 , Cluster Size = Default(1024) and Volume Label = Blank ; Click 'Format' and then 'Yes'
Step 3: After format is successful, the Primary 1 will show up with (ID = 83) . Click the Save All button and save
Step 4: Select Primary 1 (ID = 83) now and right click mouse for options. Select 'Modify Partition Parameters(F11)'
Step 5: in popup select System Identifier = 4E (Pick option 4E: QNX 4.2 Secondary from dropdown) and click OK and Yes
Step 6: Primary (1) will be updated with ID = 4E. Click 'Save All' button again
Step 7: Insert updated disk into PCM unit and run 4.76 update DVD - ensure there is no power failure while running update disk


 04-30-2020, 01:28 PM


 )
)