When you click on links to various merchants on this site and make a purchase, this can result in this site earning a commission. Affiliate programs and affiliations include, but are not limited to, the eBay Partner Network.
Just bought and and received my pack from NM the other day! I am away this weekend doing motorcycle stuff, so no fitting it this weekend. But looking forward to getting it to done next weekend. I will post my feedback.
One thjng i woukd say is that the instructions that Nick sent over are complete. Very complete! 40 pages with explanations and pictures. Impressed so far.
no harm in asking if you found him through Rennlist
Just bought and and received my pack from NM the other day! I am away this weekend doing motorcycle stuff, so no fitting it this weekend. But looking forward to getting it to done next weekend. I will post my feedback.
One thjng i woukd say is that the instructions that Nick sent over are complete. Very complete! 40 pages with explanations and pictures. Impressed so far.
Nick is very professional, helped me out through out the firmware and system updates, as i did have a problem with flash drive bigger than 16GB, good luck i am sure you will like it
I have a 2014 Porsche Cayenne S which does not have voice command. (The button that is on the end of the turn indicator.) Since it is a 2014 it has PCM 3.1 Generation1 which does not have the option for an after production upgrade that is available with PCM 3.1 Generation 2 that comes on 2015-2016 Cayenne's. I am looking at adding an aftermarket product made by Lsailt MODEL LLT-BSJ-VER1.5.4 that provides Apple Carplay for both Gen 1 and Gen 2 PCM 3.1's. Has anyone successfully done this and who did you have install it?
What is this PCM 3.2.2 upgrade you mention?
Software? Are you saying I could upgrade my '15s PCM to have car play? (Assuming they can fix the damn thing!)
So I decided to give it a go and get the NM Automotive CarPlay kit installed. A couple of things to note:
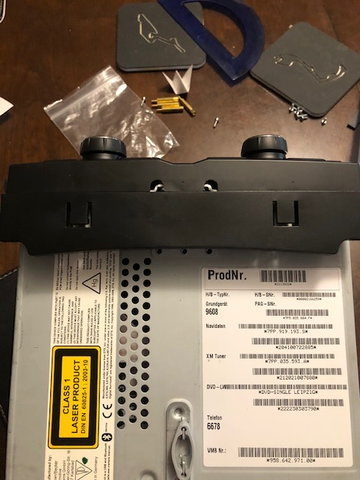
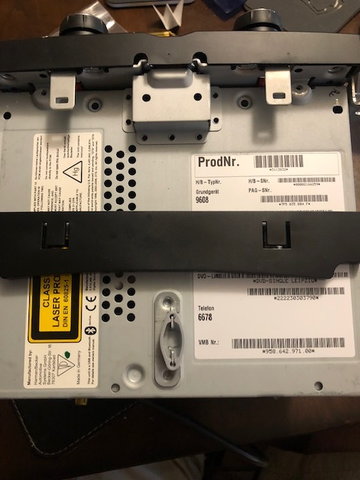
1) The instructions are very complete but they are slightly incorrect for my car (2011 Cayenne S USA model). First thing is that to remove the DVD player from the PCM itself, it says you can just slide it out when you remove 3 screws on the back. However, there is an additional plastic unit under the screen that you need to remove:
Just gently remove the plastic to expose the other two screws:
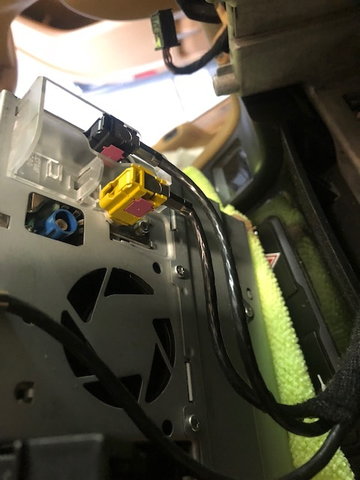
2) The colors at the back of the PCM differed slightly. Not a big thing, but at least it was consistent and coded to the back of the PCM
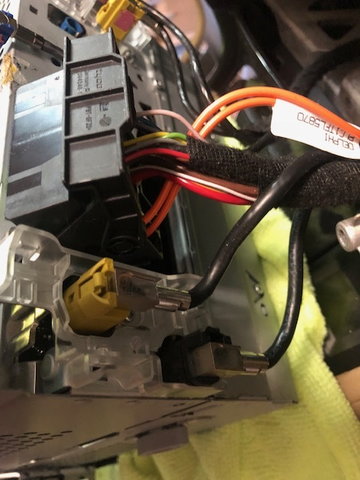
And on the other side:
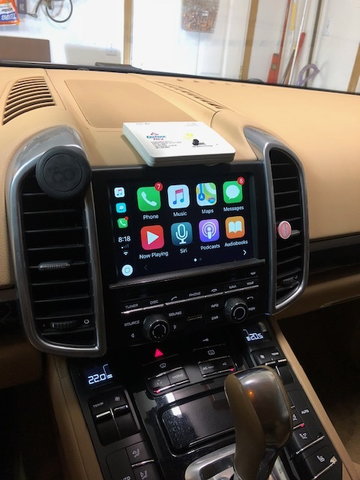
3) And its in!
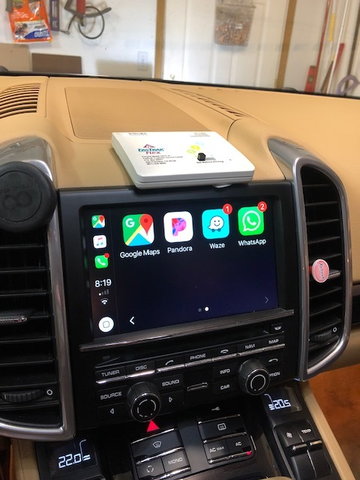
And with iOS 12 you get Waze and Google Maps support:
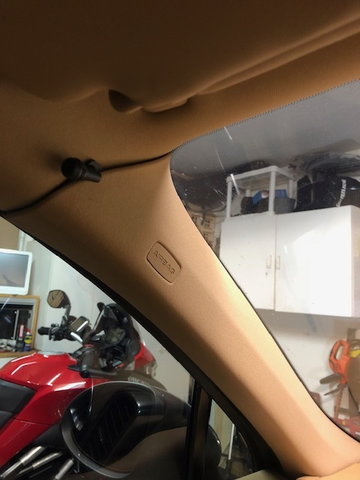
4) And you need to use a separate mic, but thats OK:
General feedback:
Took about 4 hours to complete, which seems about right. I have done the aircon fan before, so I knew how to remove the vents etc. Not that difficult though.
There is actually plenty of room at the back of the PCM unit, so not a squeeze and easy. I chose to fit the unit below the glovebox though
You need to press and hold INFO to switch to the CarPlay view, but thats OK. Nothing worse than other standard fit systems I have used
You can customize volume settings, which is nice - a common problem with some standard fit CarPlay systems
Remember CarPlay in this implementation is USB wired only, so you need to plug it in, but thats OK too
The unit takes over the AUX input, so you must set the AUX to be the input so you get sound from the phone, so no AUX Bluetooth
I understand you need to update the unit for some bug fixes - which I will try shortly.
Otherwise, really pleased and looks great. Pleased I did it and I will get it tested out tomorrow on a 3 hour drive.
Damn it, forgot to mention a couple of things (last post was late at night).
1) You will need a 10mm triple square socket to remove the bolts for the seat - its not a normal Torx, but a triple square one. I consider myself a basic fixer on cars, but I didnt have one of those!
2) Yep, you need to remove the seat to get to the battery - WHY put the battery under the seat? Anyway, you need to remove it to get to the cover and hence battery to disconnect it
3) Once disconnected and reconnected, I cant seem to set the time - anyone know how to set the time on a 2011 Cayenne S?
;-)
1. Hopefully, you bought an entire set. There are other triple-square bolts scattered around a Cayenne (top engine strut mount for one..) If you're a basic-fixer - you'll need these tools.
2. If you just want to disconnect the battery - it's much easier to open the little carpet flap in front of the driver's seat and disconnect the ground cable from the battery to the chassis. One acorn nut. Takes maybe 60 seconds. No heavy lifting. After you take it off the stud to the chassis, put it in something so it doesn't accidentally come in contact with the stud again (I use a short length of 1/2" ID tubing.)
3. It's buried in one of the PCM menus. The owner's manual or PCM manual will tell you how.
I just ordered one from Nick and I will be installing shortly. Thanks for the notes Offagain.
no worries.
It really wasnt that hard to do. Just take your time, follow the instructions and double check what you are doing. Not going to say it�s easy, as it might freak out some when you start disconnecting components inside the PCM. But it�s all pretty straightforward and you don�t need to break anything.
Took me a while to figure out how to get the vents out though. A torch, small flat head screwdriver and a bit of patience is all you need. You will see the hooks and you can pull them out from there. Done it a few times now and it�s easier once you have done it before. Makes sense when you see it.
My PCM has XMRadio and when i removed that i lost Radio Audio (and no carplay audio when i swapped them).. so i need to keep both in, but waiting for some longer standoffs so i can jam both in! im getting good at taking everything apart!
My PCM has XMRadio and when i removed that i lost Radio Audio (and no carplay audio when i swapped them).. so i need to keep both in, but waiting for some longer standoffs so i can jam both in! im getting good at taking everything apart!

 10-06-2018, 02:30 AM