When you click on links to various merchants on this site and make a purchase, this can result in this site earning a commission. Affiliate programs and affiliations include, but are not limited to, the eBay Partner Network.
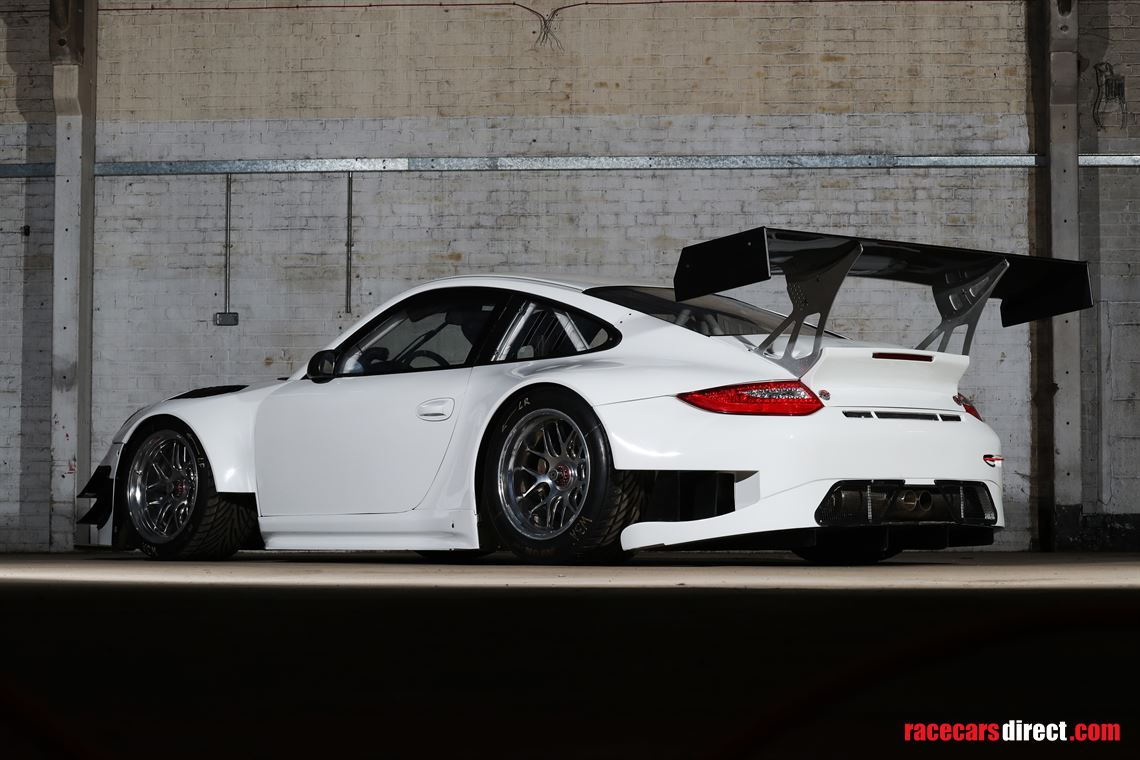
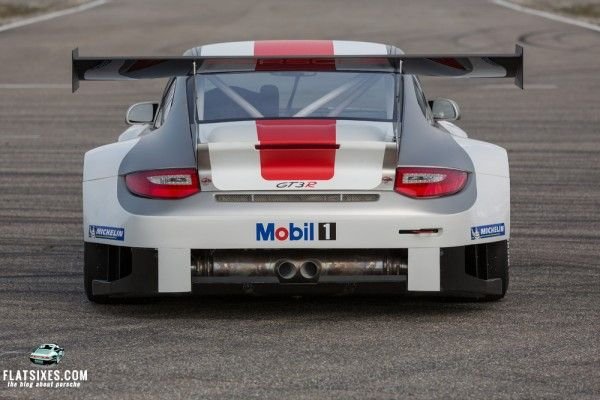
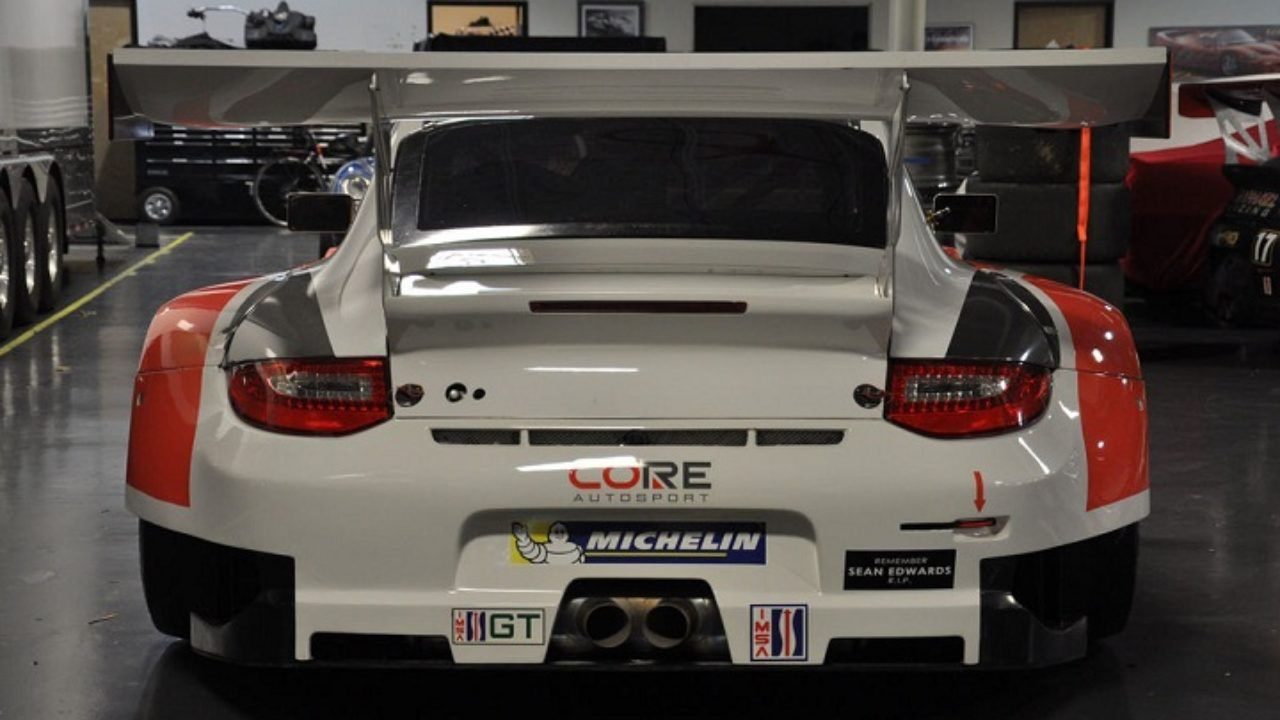
This would be badass. Have you seen another 997 owner do this yet?
Can't say I have. Variations of "open muffler" rear bumper designs seem to be popular on factory race cars with aero under tray. I'd do it simply to look badass.
__________________
PCA National Instructor
TPC Racing stats:
2023 Porsche Sprint Challenge 992 Cup Am Champion
2023 Porsche Sprint Challenge GT4 Pro-Am Team Champion
2022 Porsche Sprint Challenge 992 Cup & 991 Cup Champion
2020 IMSA GT3 Cup Challenge 2nd Championship
2018 IMSA GT3 Cup Challenge 2nd Championship
2016 IMSA GT3 Cup Challenge Champion
2013 IMSA GT3 Cup Challenge Champion
2006 Rolex-24 @ Daytona GT Champion
2004 Grand-Am SGS Class Champion
Here's my report from 3 days at Summit Point with PCA Potomac-
With last season ended for me on a high note with a personal best of 1:18.4 at this track, I must admit I had high expectations for the car, the recent mods, and for myself to do better. High hopes is one thing, high expectations is another. We'll talk about that later in the post.
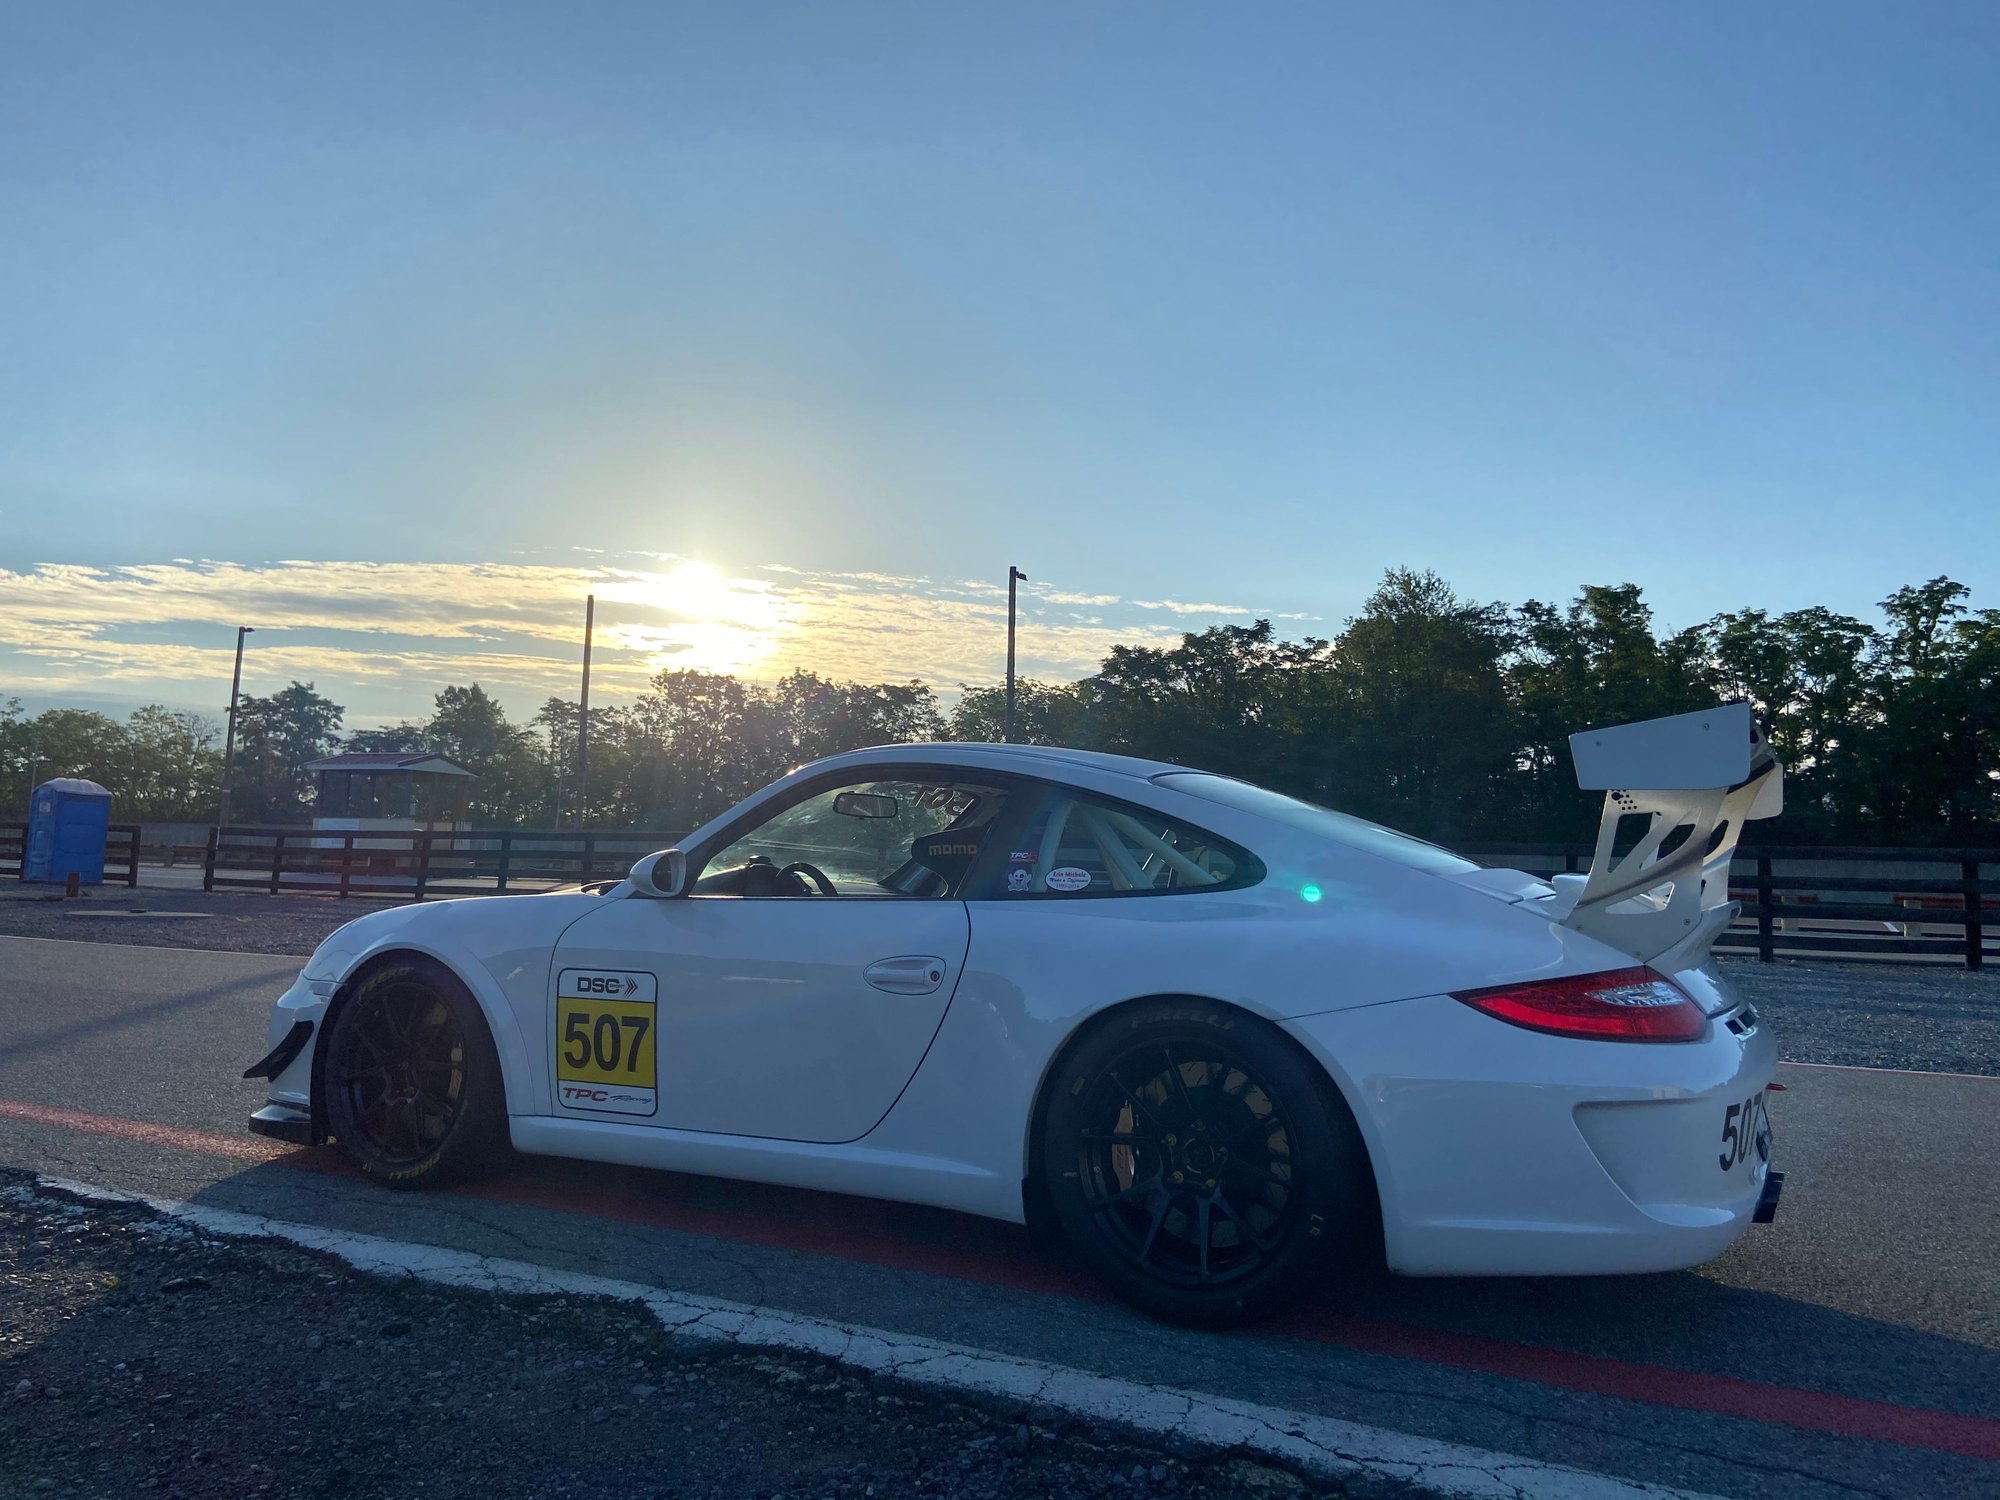
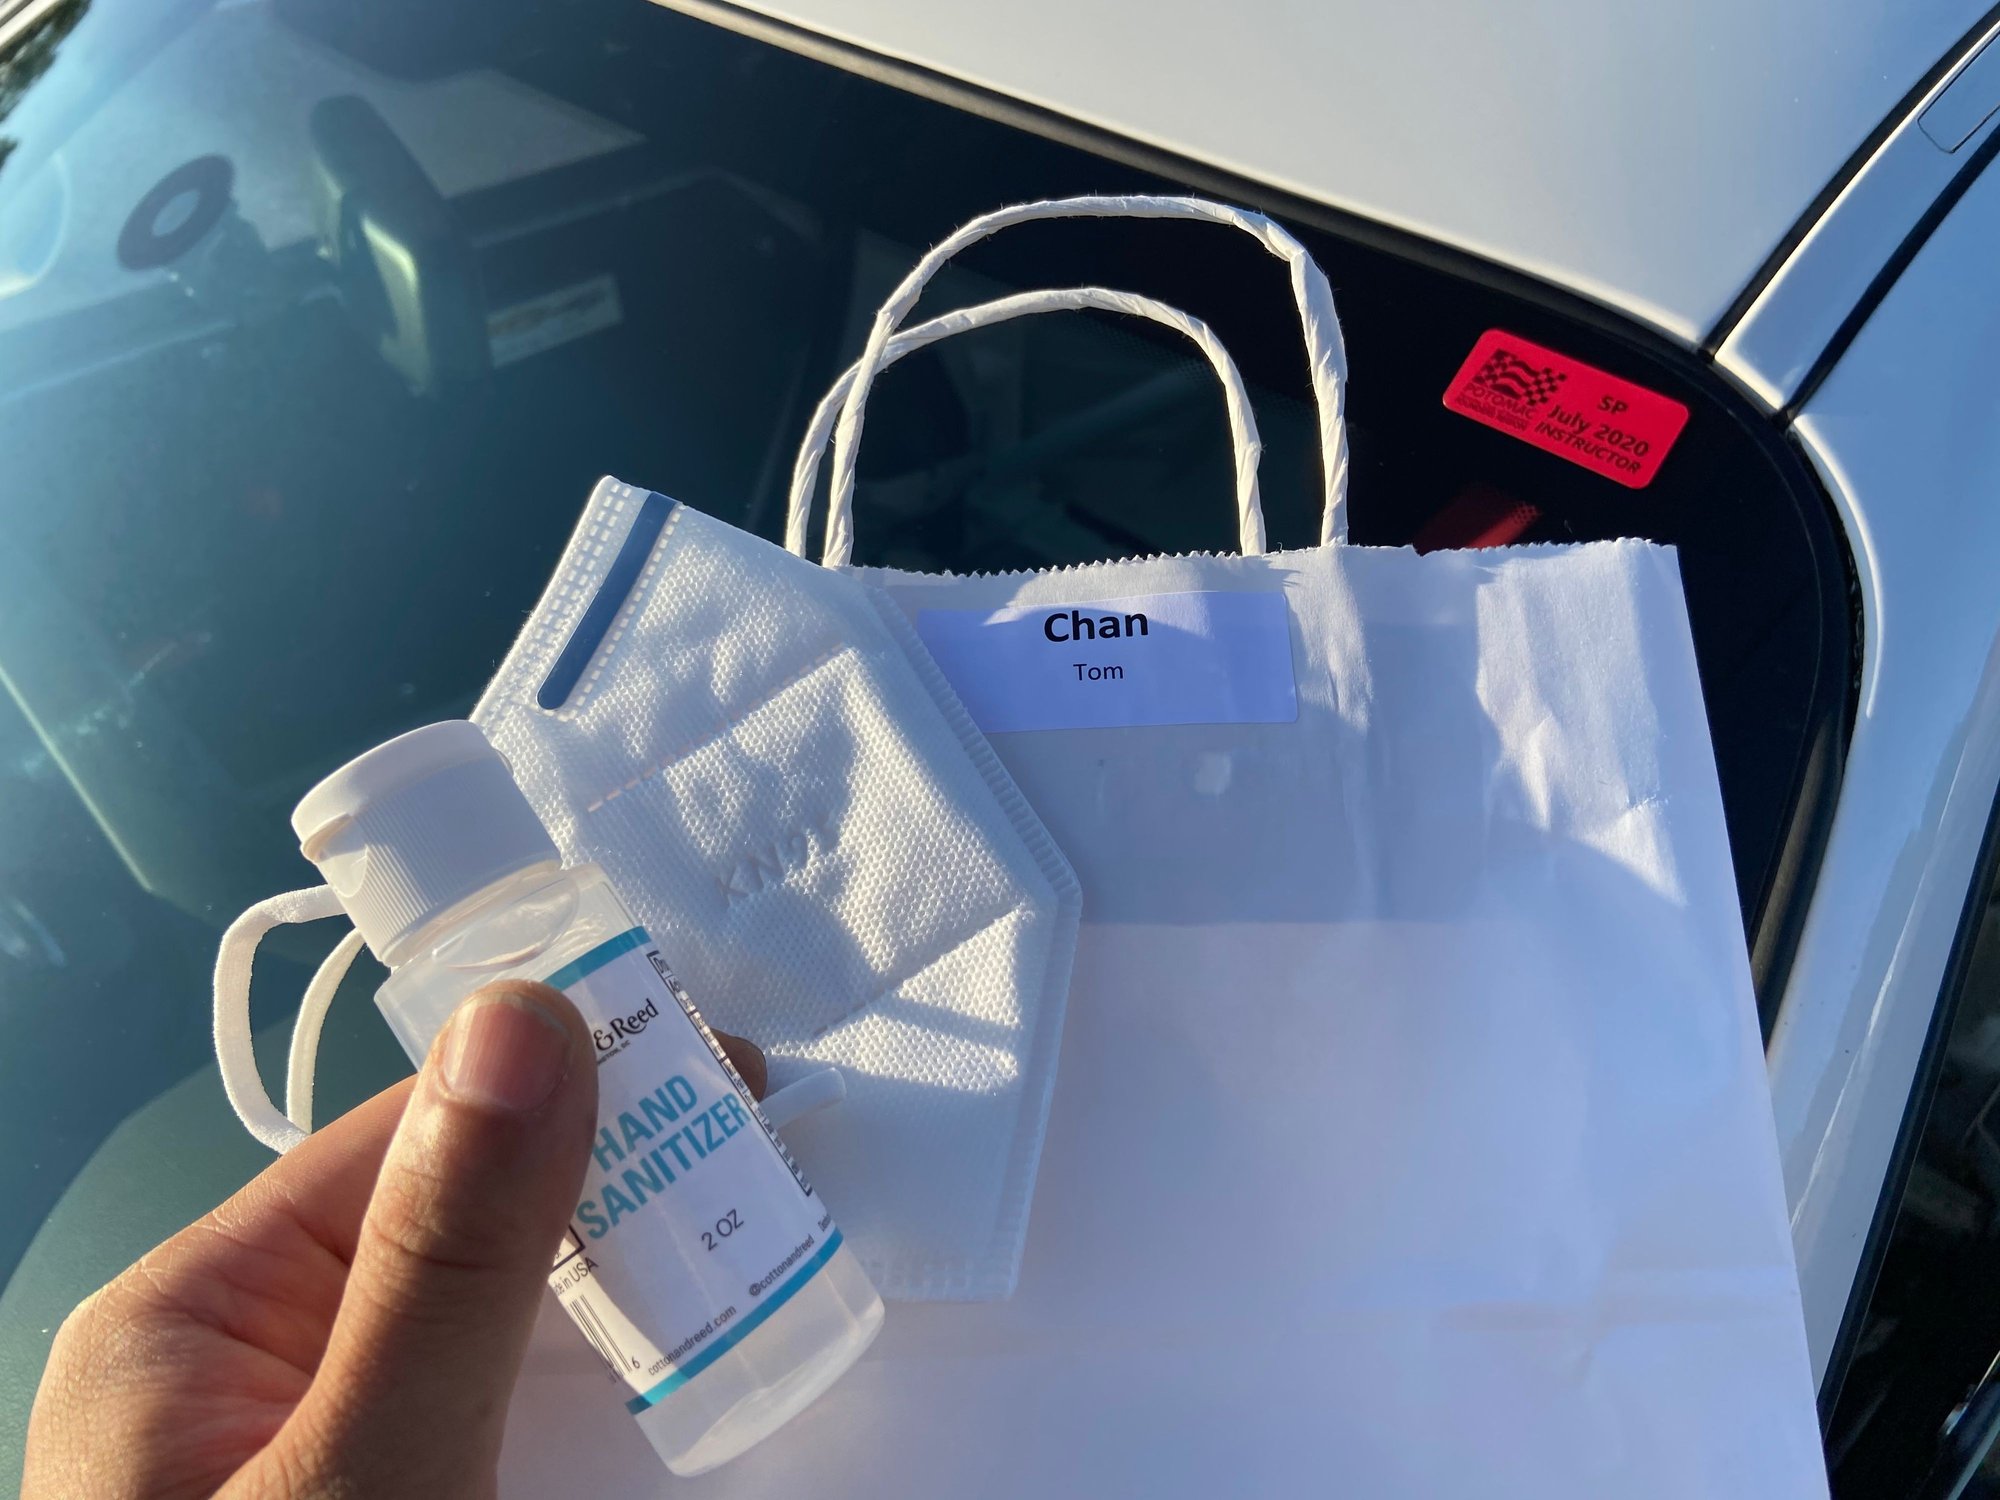
This is the first track event of 2020 at Summit Point for PCA Potomac. First track event for me since last October. Got here at 6:15am to occupy a good spot and to watch the sunrise.
Thanks to PCA Potomac for organizing the track event during COVID times and providing instructors with a care package consisting for sanitizer, wipes, and KN95 masks.
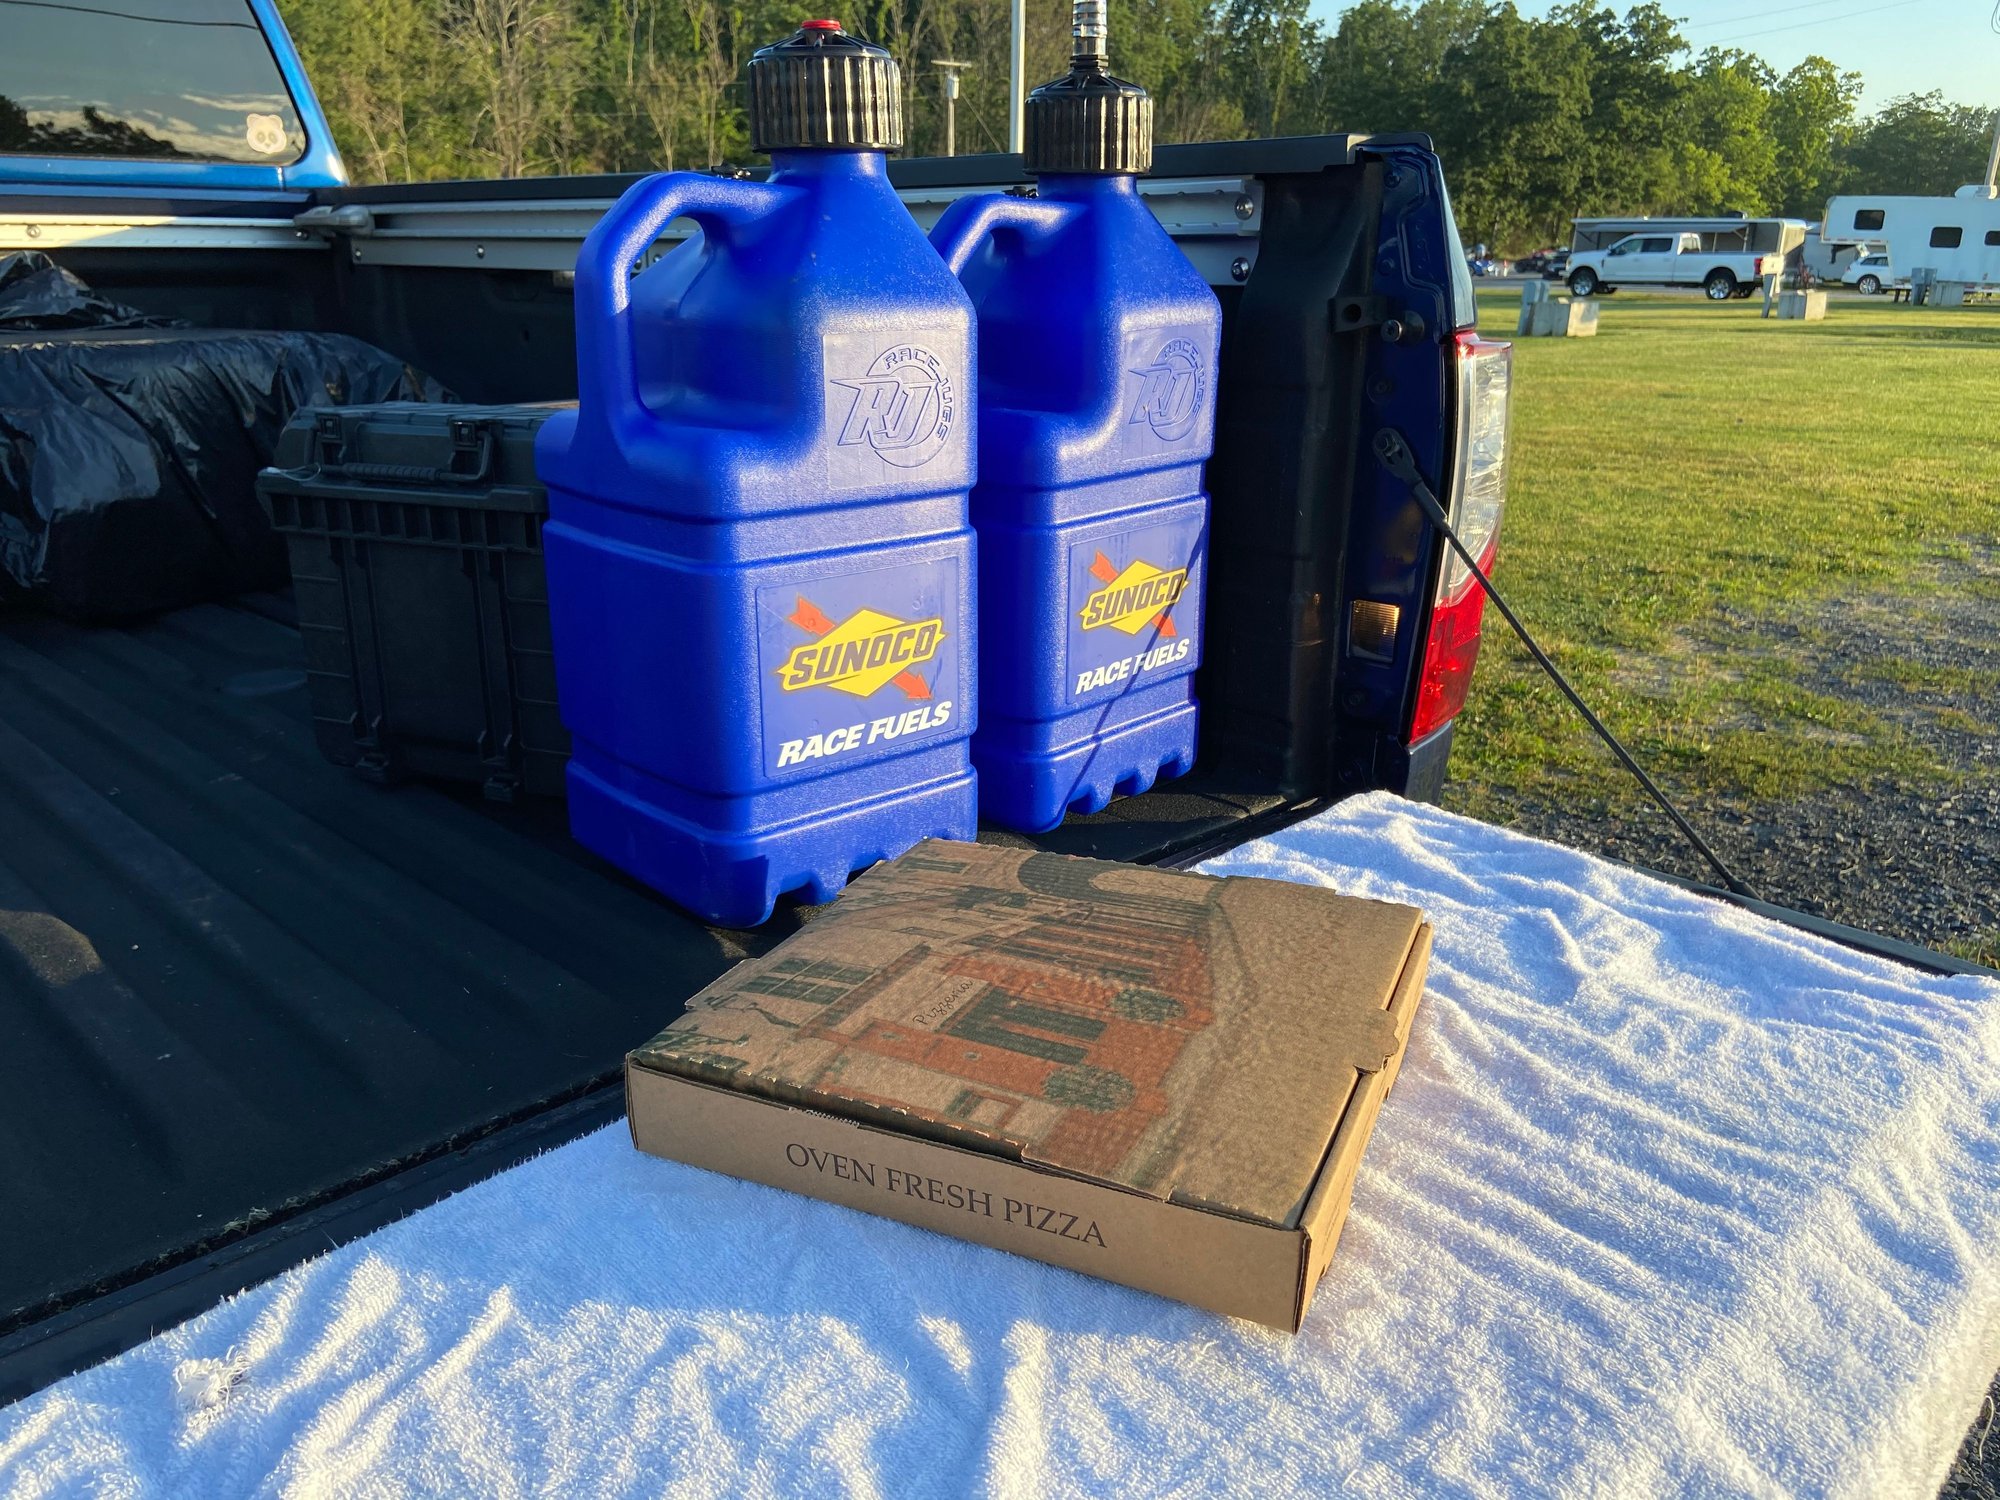
It was a scorcher that weekend with ambient temp in the mid-90F and hot sun baking the pavement. My frozen pizza got hot in no time!
So, about expectations. I had expected myself to better my personal best within 8 sessions. Why 8? Because that's the number of tire heat cycles to 20. Which is the max I'd want to run these Pirelli DH tires. These tires on the car were the same tires from last season. At the end of last season they had 12 heat cycles and sat through Winter and Spring. My logic was I had a total of 8 heat cycles(or run sessions) to make it happen! With the 100+ lb weight reduction, front strut brace, and new brakes, it should be an easy task to bang out a good lap, right?
Not so easy of a task as it turned out. The hours and hours I did on my race simulator over the Winter was a good exercise for relaxes and trying out different lines and techniques but the actual g-force and other real life sensations of track driving triggers survival instincts that's difficult to overcome. It took me 6 sessions to get comfortable driving at a decent pace again and get used to driving with the new mods. The front strut tower brace made the front end feel "tighter" on street. On track, I felt I had to turn the steering more than I remember from last year. The brakes...are Awesome...
Actually, too Awesome! It took 2 days for me to register to the fact that I cannot use muscle memory for the braking zones.
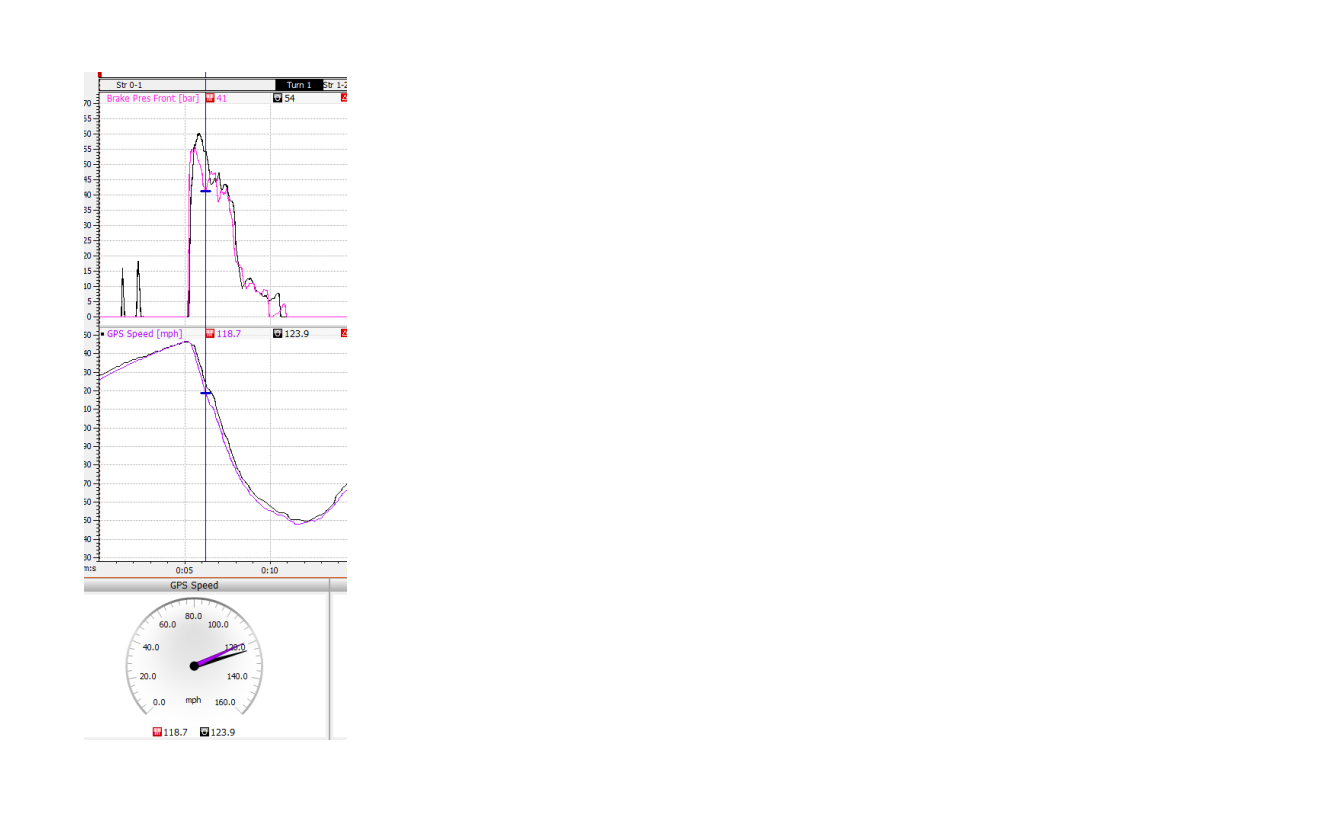
I wished for more powerful brakes and I got it! Check out the graph below.
With the PFC brakes I am applying 13 Bar(191 psi) less brake line pressure than the old brakes yet the PFC brakes is slowing down the car 5+mph more!
This was causing the car to be over-slowed for corners, thus not good lap times.
I struggled with changing reference points for braking and subsequently mess up corner entry and exit.
On one particular turn I was double-slowed trailing off the brake while doing a blip to downshift (you guys with PDK and Rev-matching don't have to deal with this, LOL). During this blip the braking was very minimal(brake pedal pretty high) so the blip triggers a slight unwanted "second" brake application that was frustrating. Need to raise the gas pedal, or down shift during max braking pressure...
By day 3, heat cycle #9 (total of 21 heat cycles), I was finally getting my driving confidence back and started to go the right direction with timing the braking and shifts to the new ultra-powerful brakes. I ran a 1:19.4, which is one second off my personal best, but average one second quicker than I was all weekend. And I am out of tires. Car was sliding, no grip.
Even though I didn't beat my personal best from last October's cooler running condition and on the same set but fresher tires, I am glad that the brake work. Extremely well, in fact. I just needed to take the time to get comfortable and get acclimated to them. Huge potential.
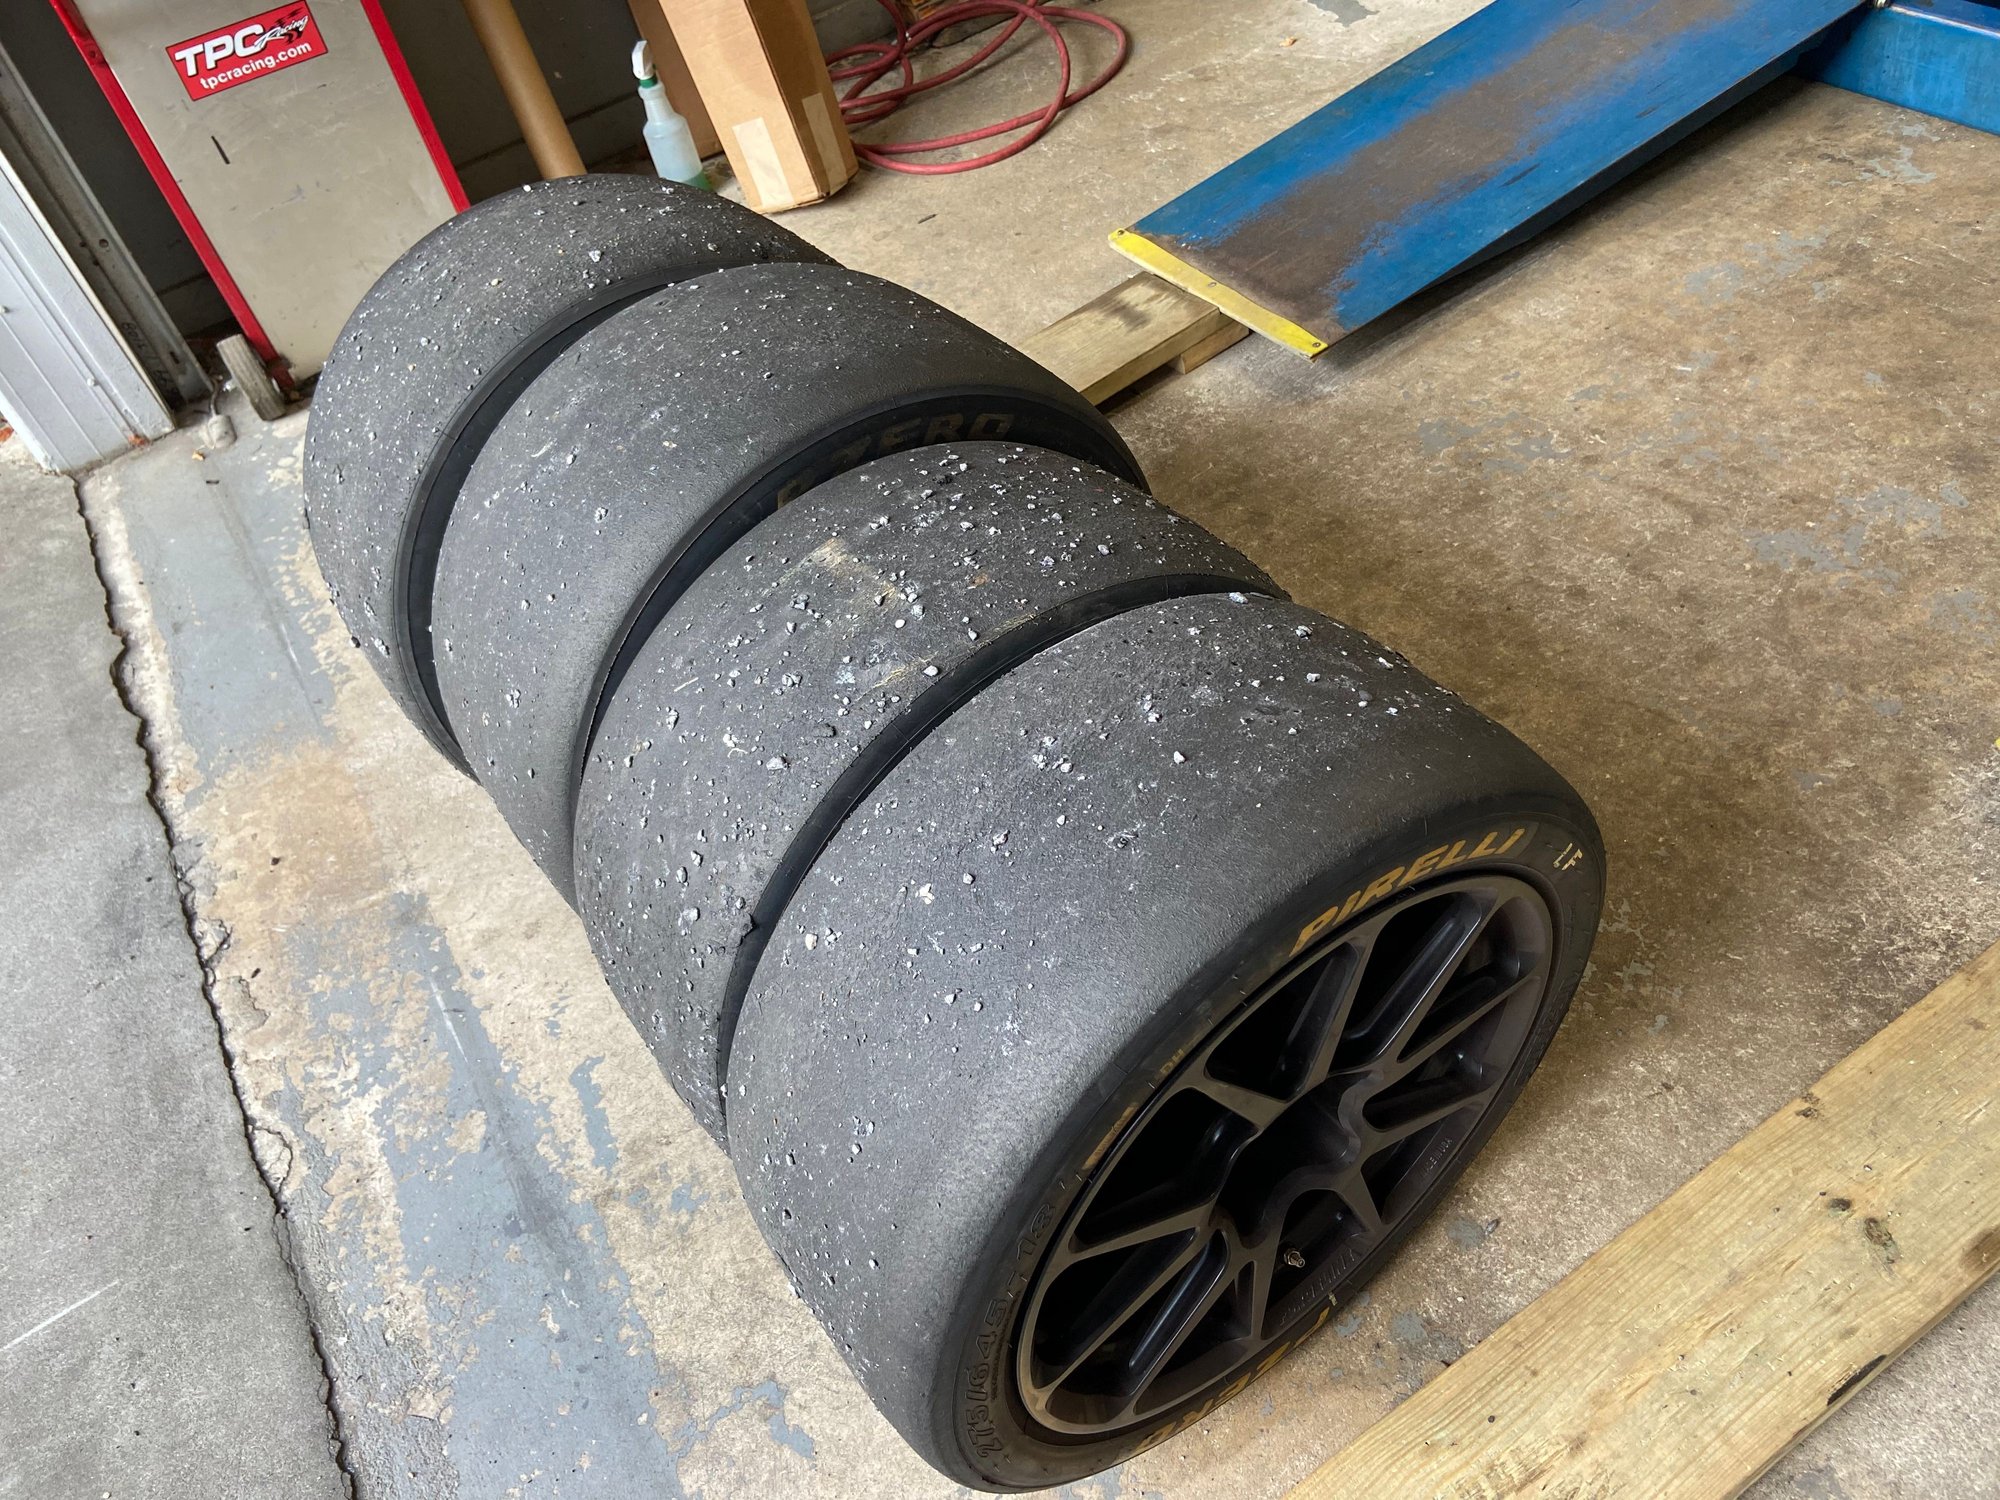
The tire wear after 21 heat cycles is pretty good. They aren't perfectly worn across but I am good with that for 20+ cycles. They're heat cycled out.
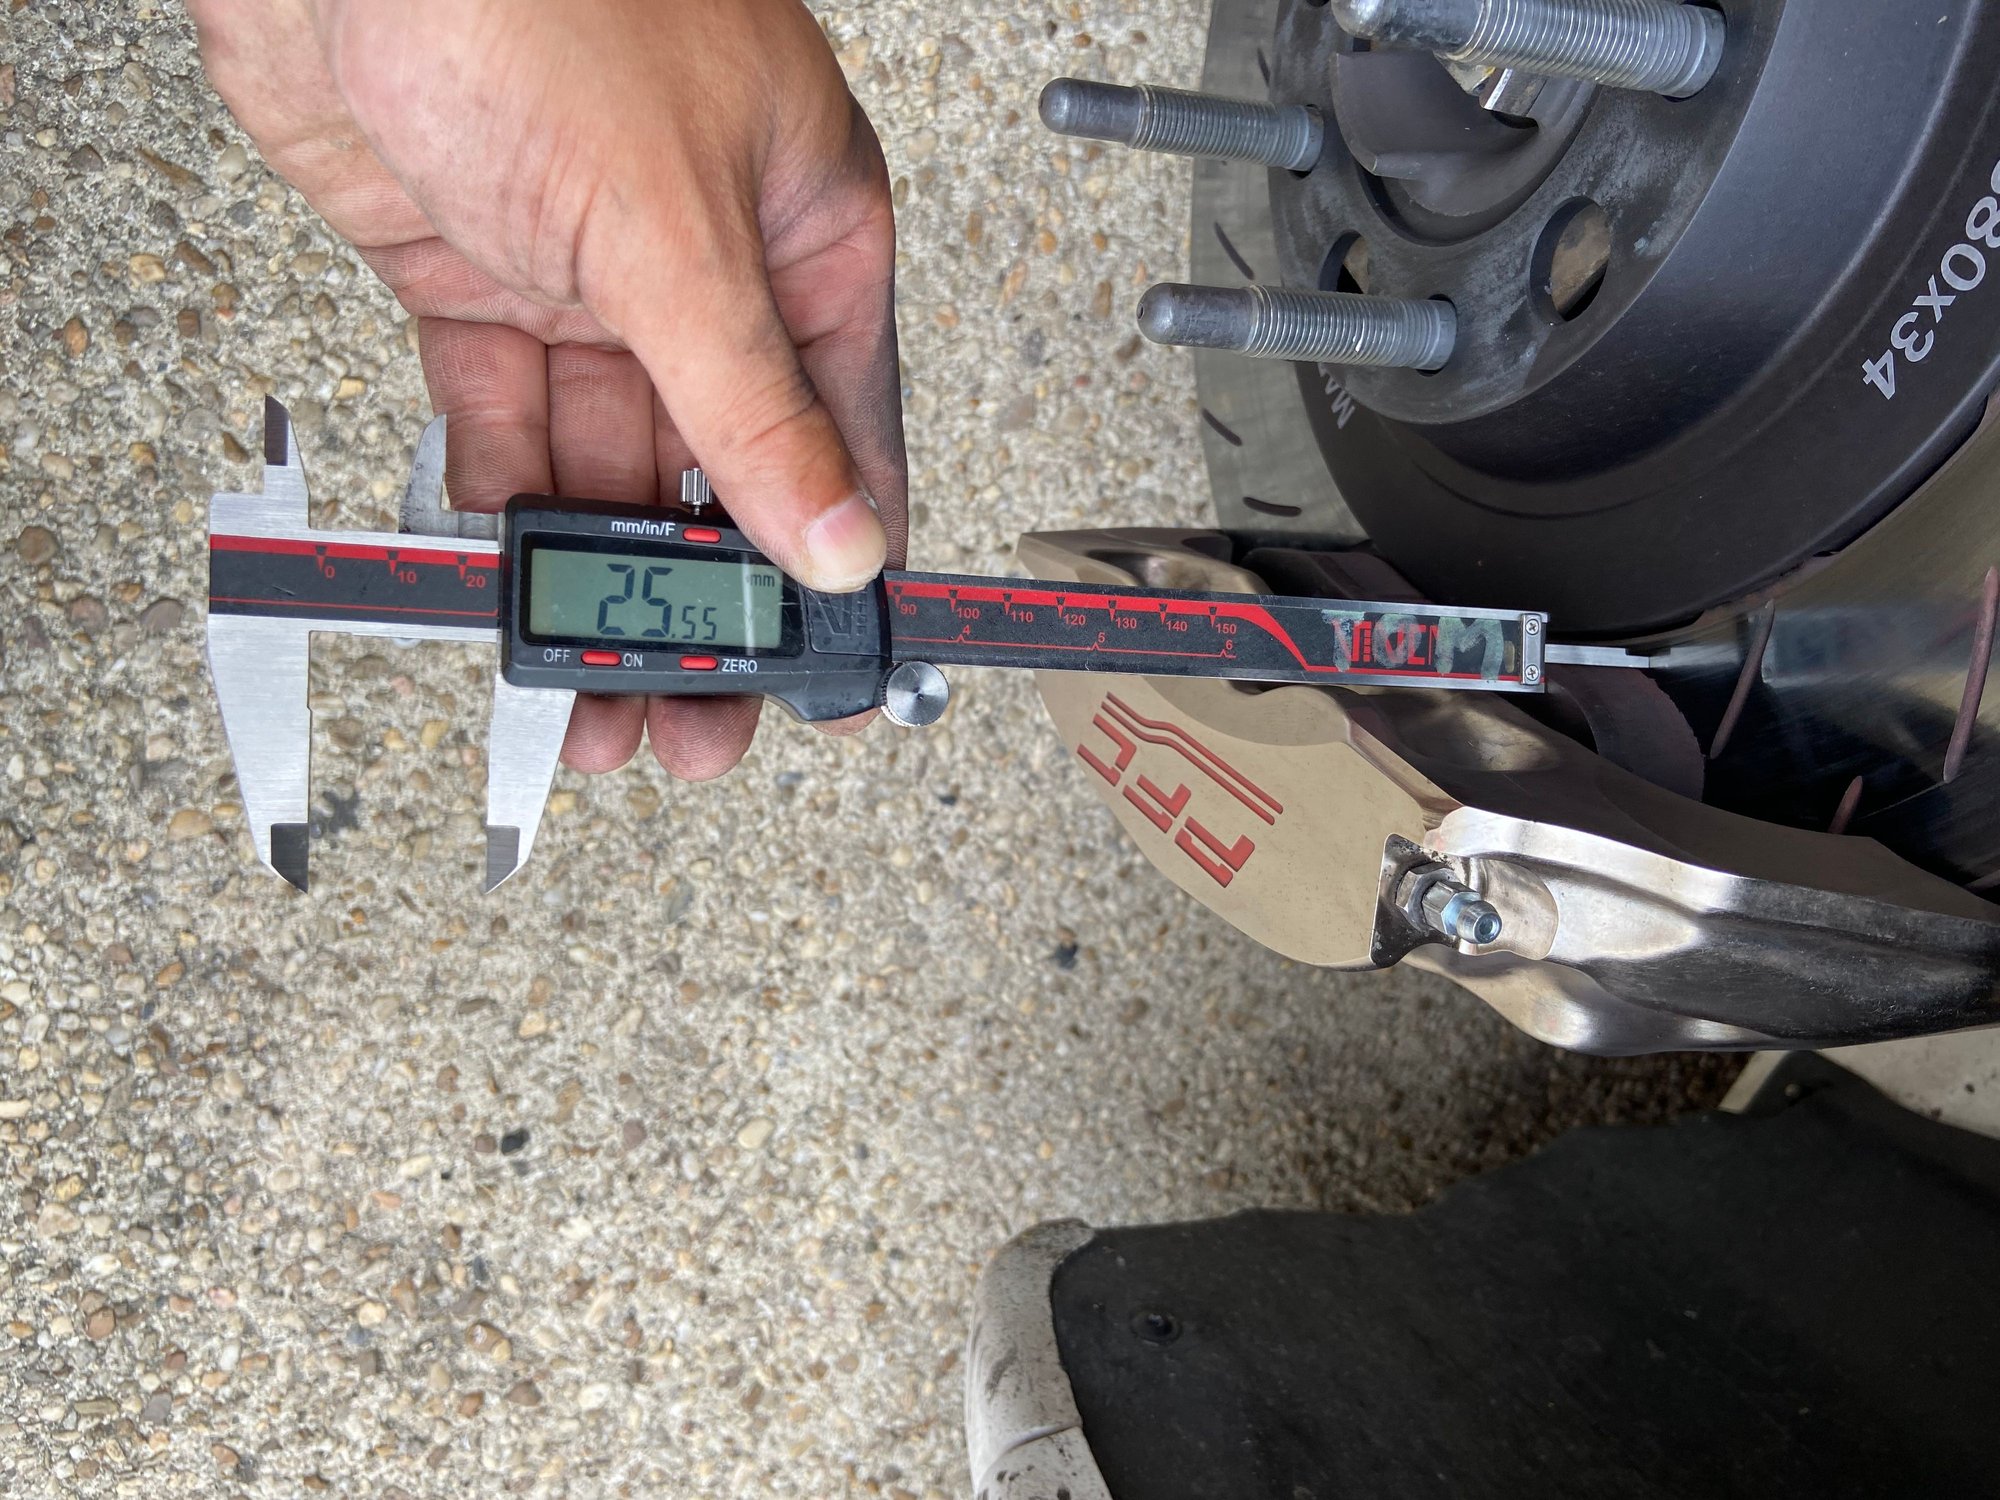
For the PFC brake pads, they were 26mm thick new, only 0.5mm wear after 9 x 25-minute sessions. That's over 3 hours of track time. Amazing.
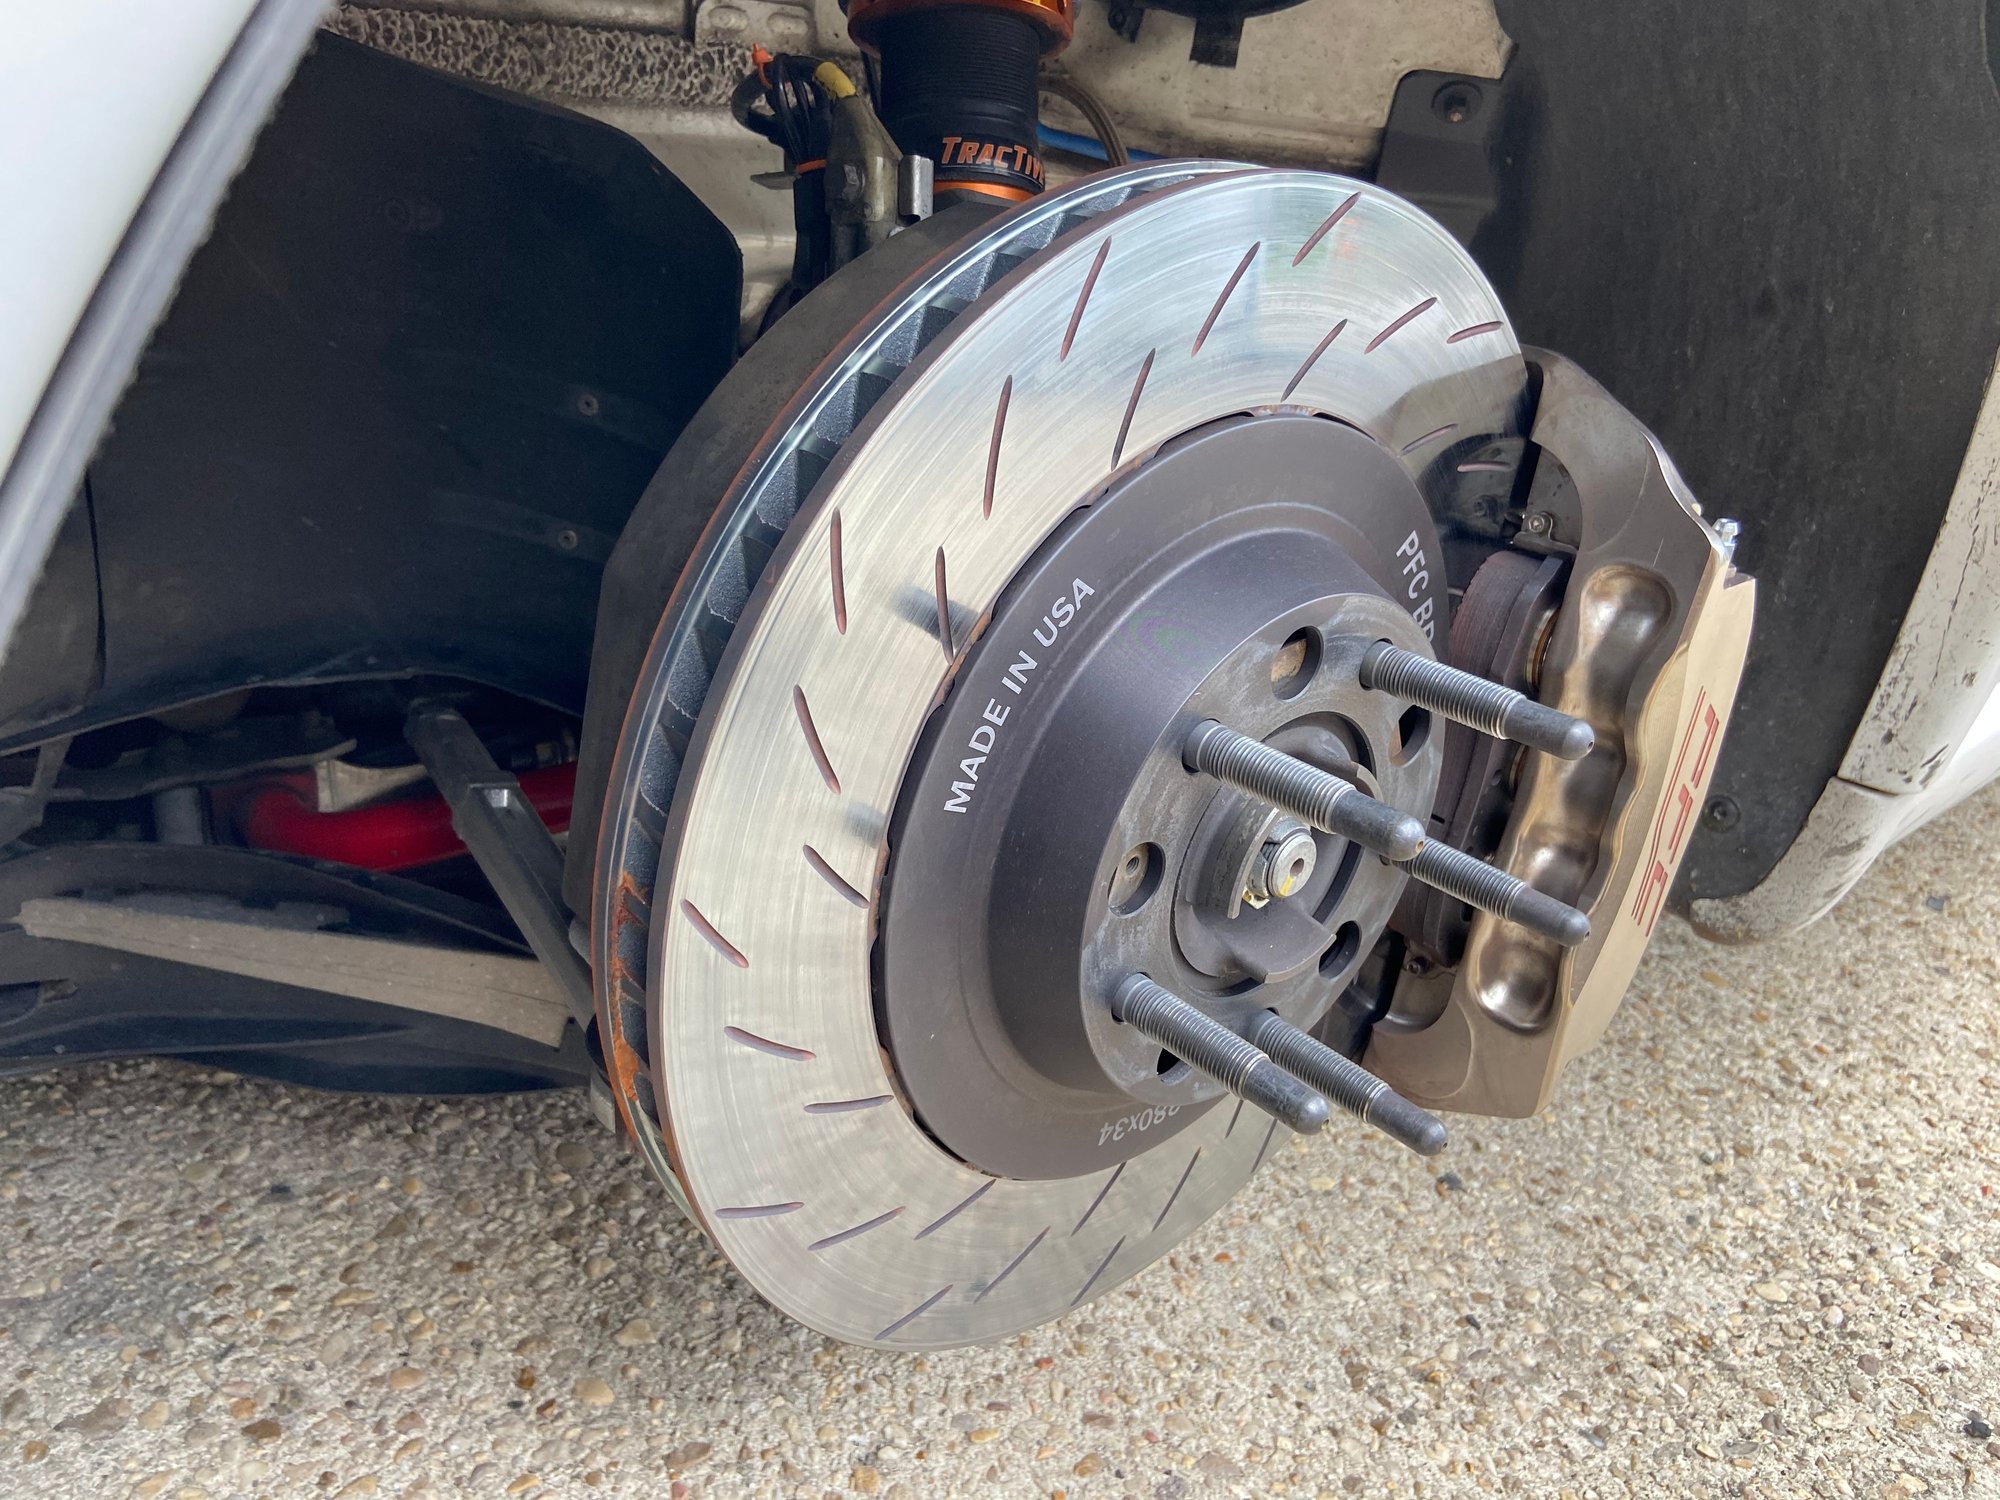
Rotor surface looks perfect. Zero hairline crack.
I mentioned that this was likely the only track event I'll do year. Well, it would be a big let-down to myself if I don't do another event to keep the momentum going for a perishable(for me) skill. So I will scrap up the pennies and do another one more event this year. Thanks for reading.
Last edited by Tom@TPC Racing; 07-14-2020 at 08:06 PM.
Tom, do you have the piston diameter specifications for the PFC calipers, front and rear? The rotors are 380F/350R?
Yes, I have compiled the data below. Hope my layout of the numbers make sense. The PFC kit rotor diameter is 380/380mm, same as 991 Cup.
Piston sizes , Red = Piston total value in mm-Square , Blue = Effective rotor size @ pad depth centerline (with 0.00 multiplier) , Green = F/R Delta(for numeric value comparison) , Purple = Rear % relative to Front
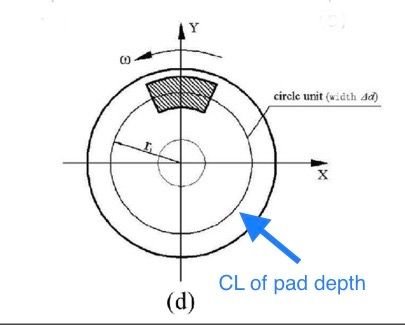
How I came up with the Blue color value = Effective rotor size @ pad depth centerline was by using the overall diameter of the rotor subtracted by the depth of the pad, which put the "effective" diameter in the middle(Center Line) of the pad where the caliper piston pressure is exerted. See example images below.
I also used 0.00 multiplier, which moves the decimal point 2 digits to the right to make the sum easier to read as a 3-digit whole number. Hope this makes sense of my mess of numbers.
Great thread. How many track days on this car at this point?
-Ken
Hi Ken.
Thanks.
I've have driven a total of 56 track days in this car. 11 track days since the engine rebuild.
Last weekend I had a fellow PCA instructor in a 991.1 GT3 said to me "What the hack kind of motor do you have!? You pull away from me easily. I had a 997.2 GT3 but it never pulled this hard" . LOL
There was also a 991.2 RS in the Red run group. Coming out of T10 at same pace to front straight my car hangs with the 991.2 RS... until I up shift and lose a car length to his PDK.
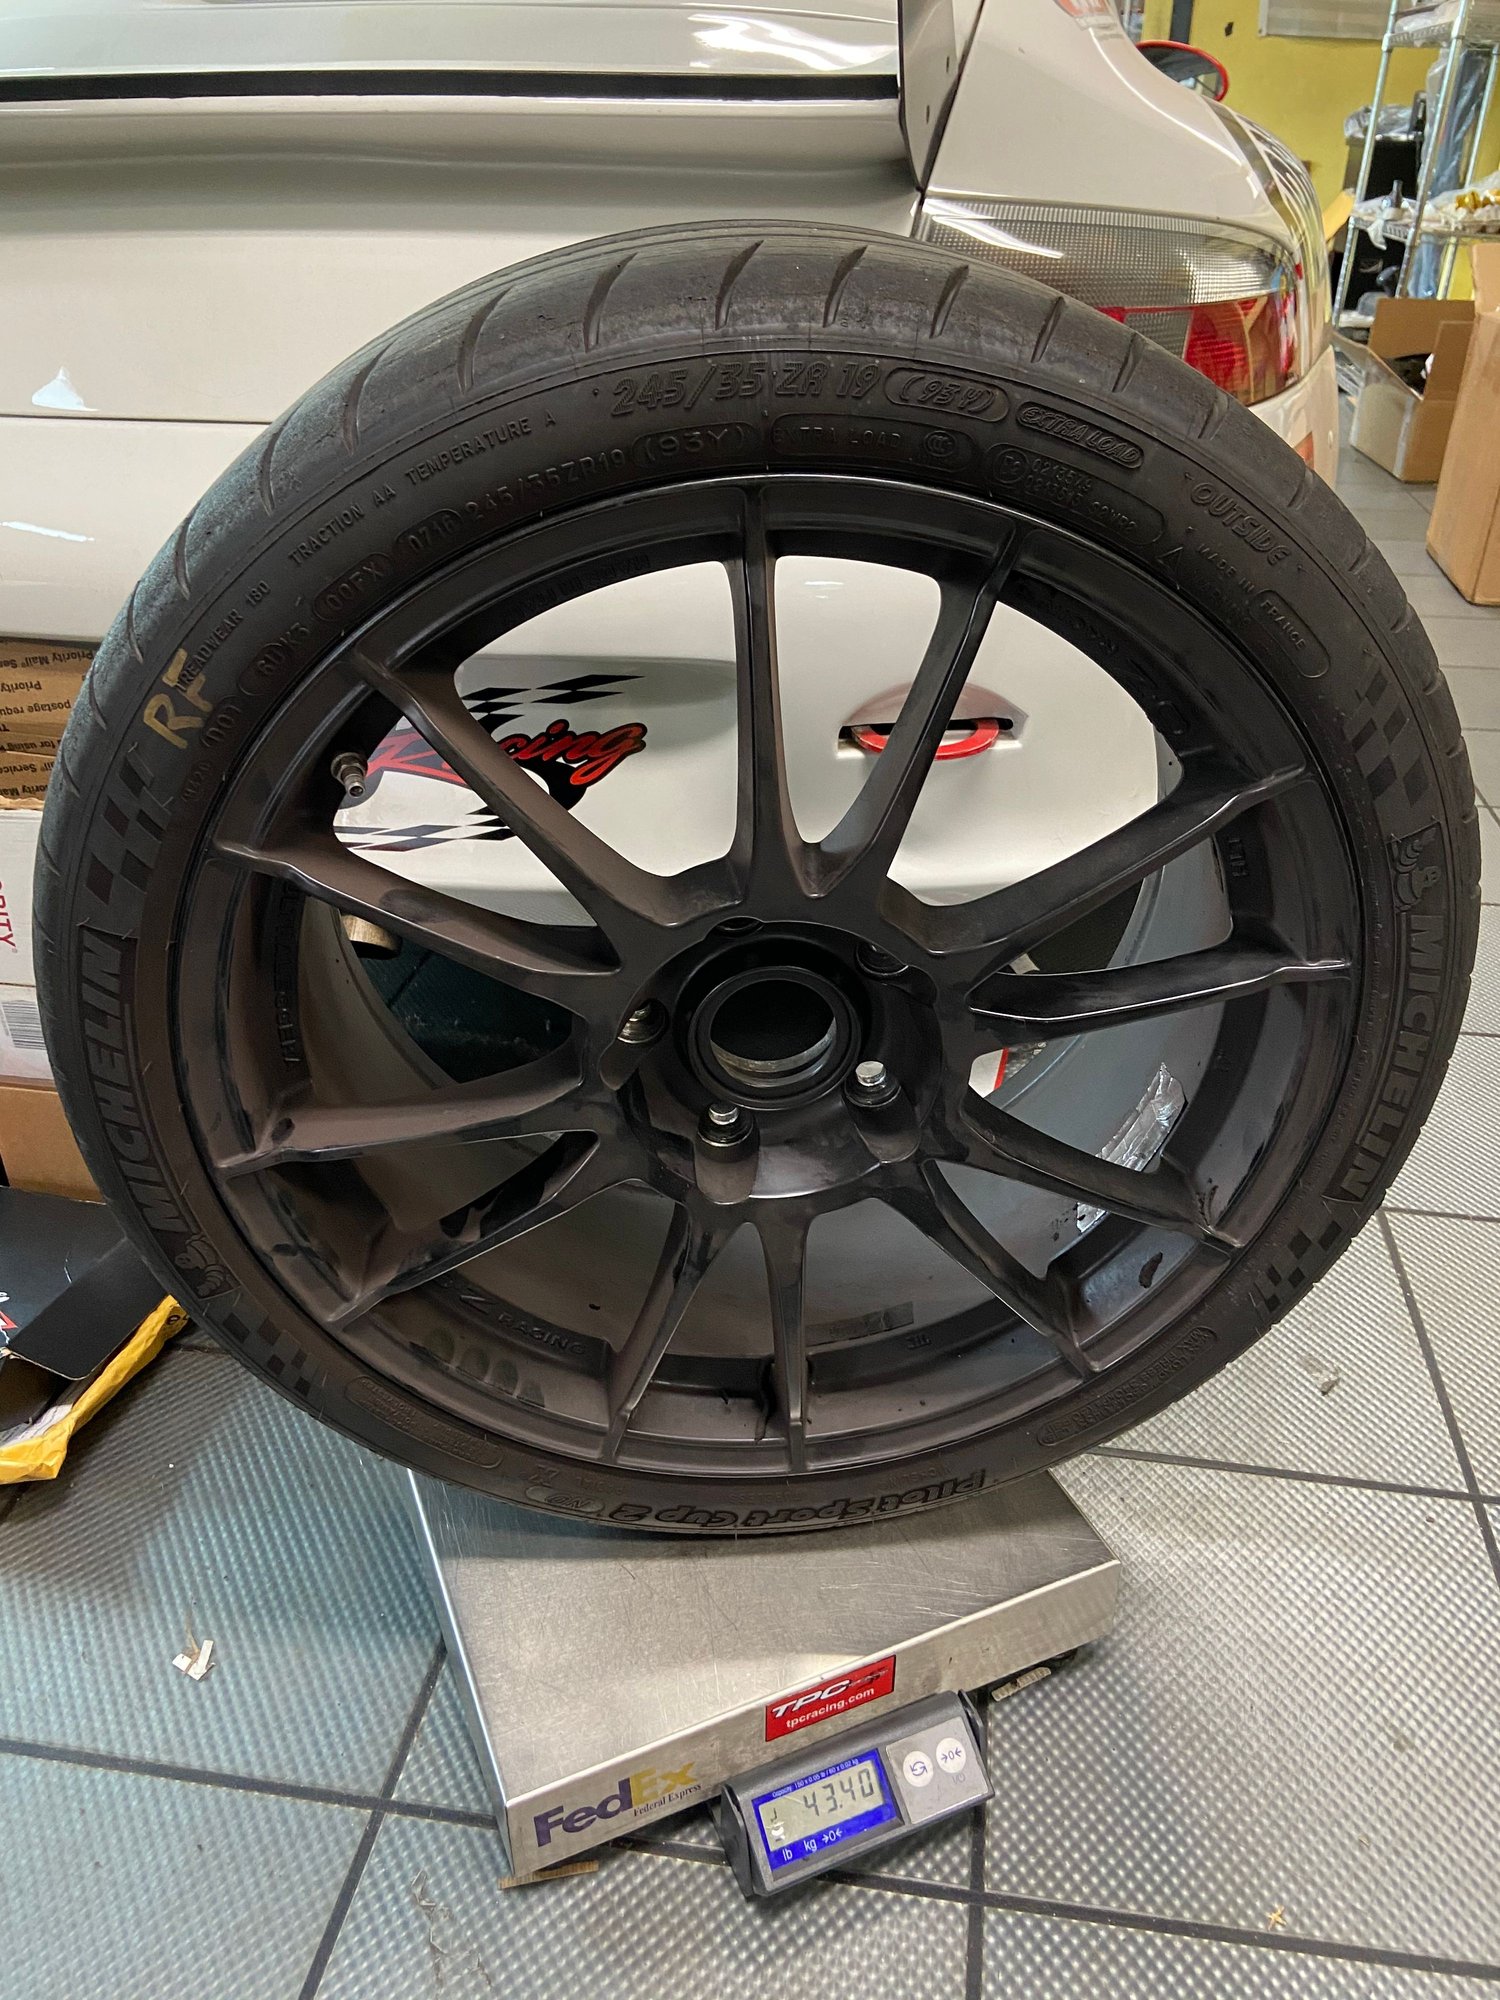
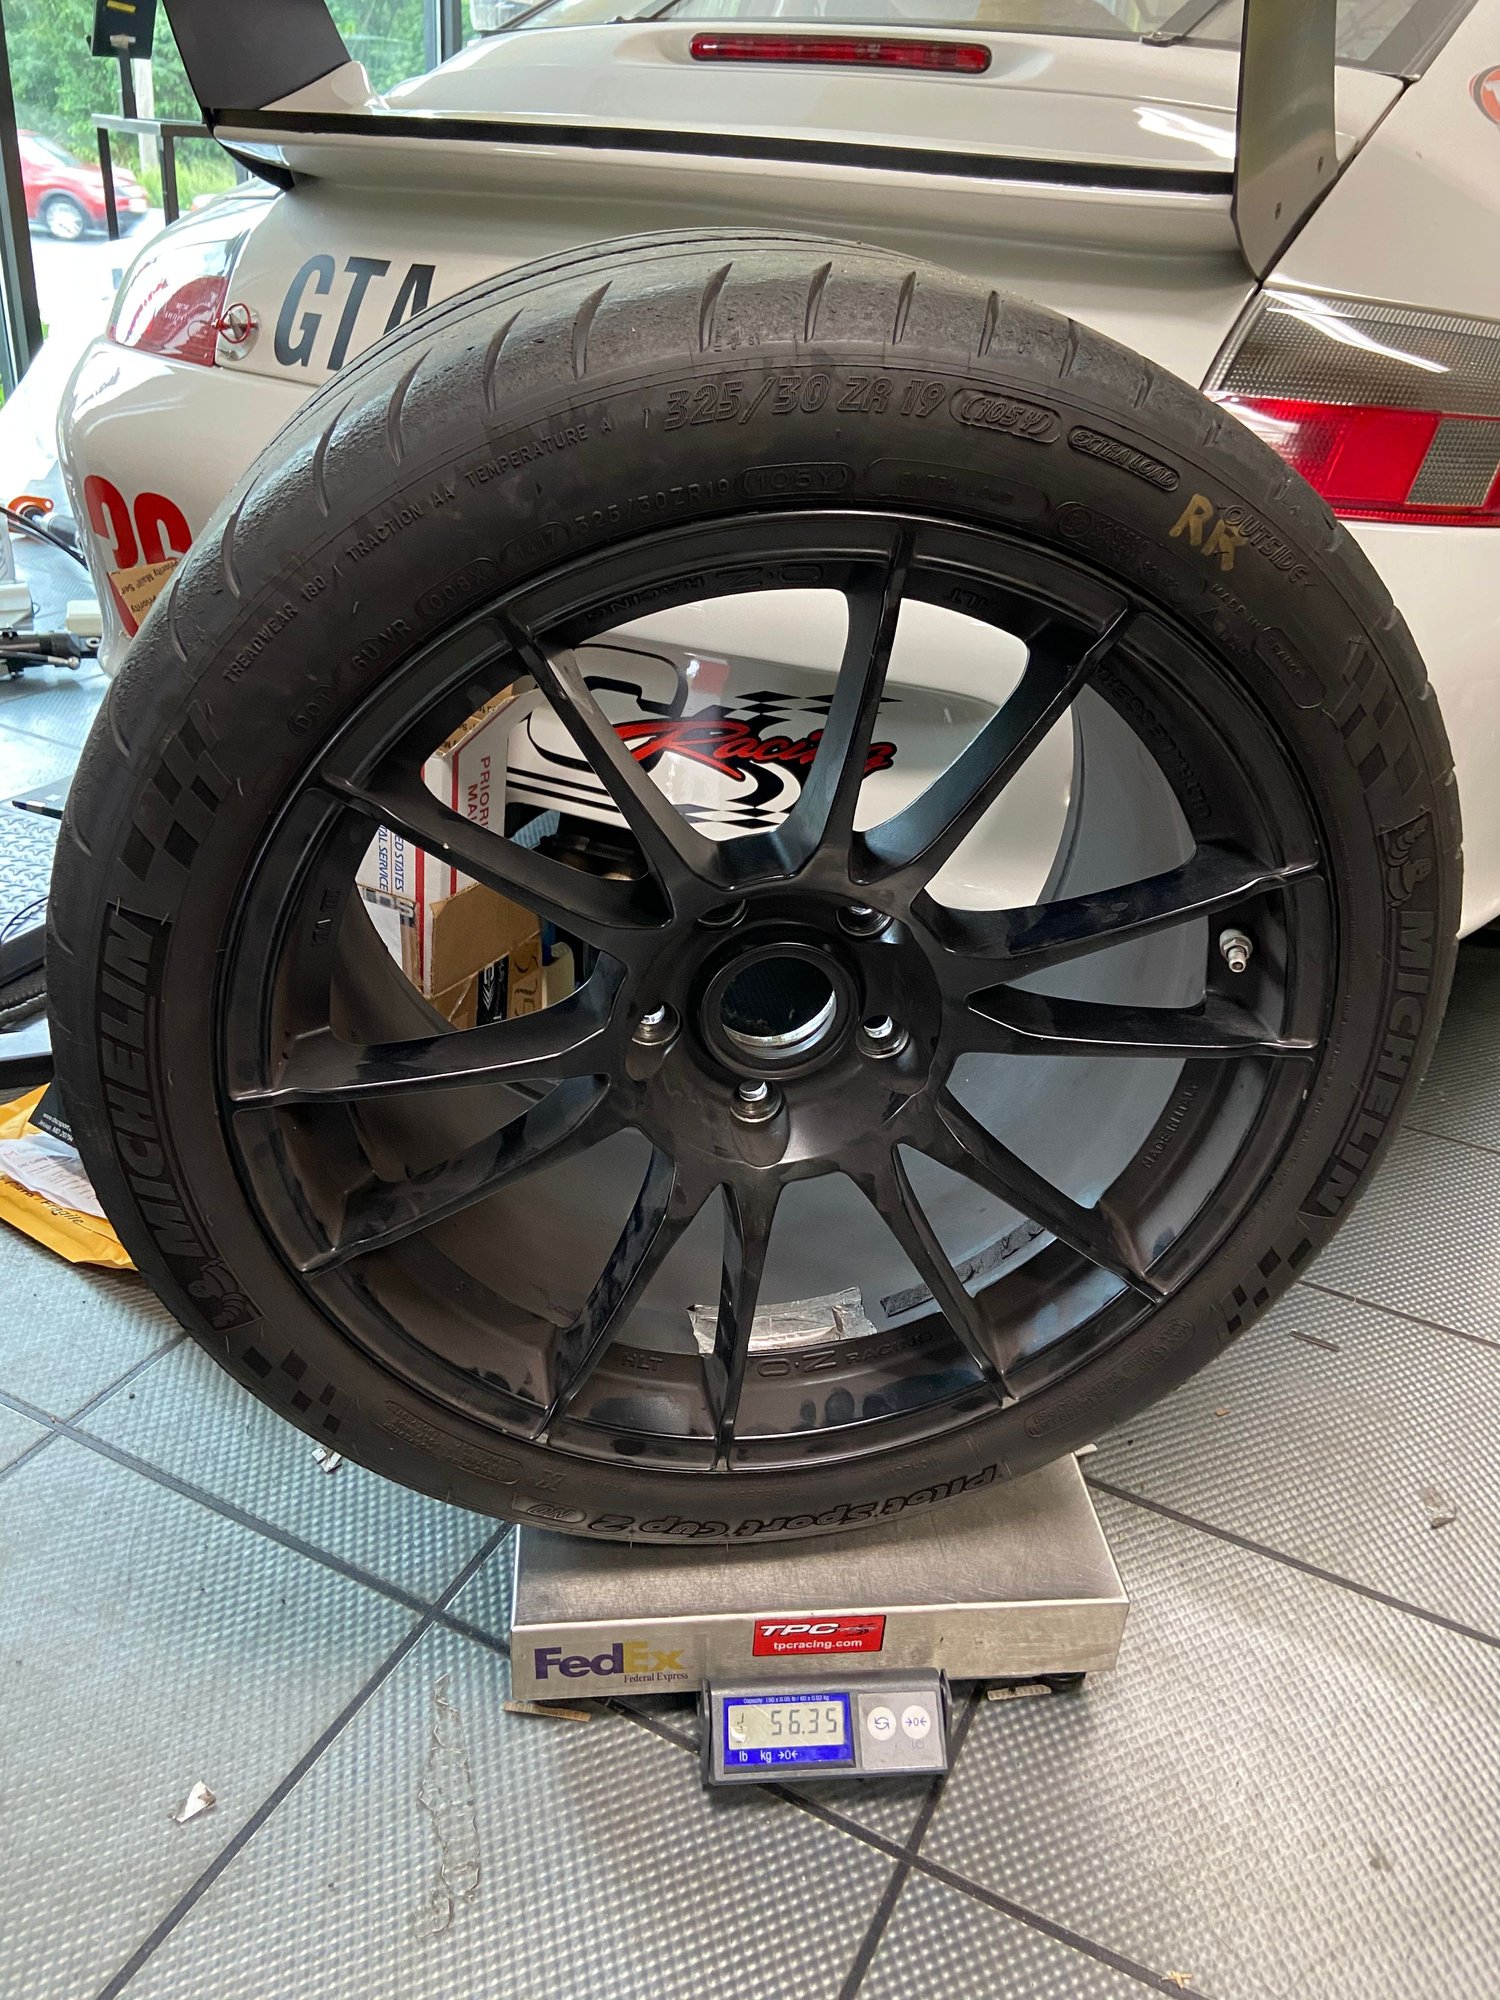
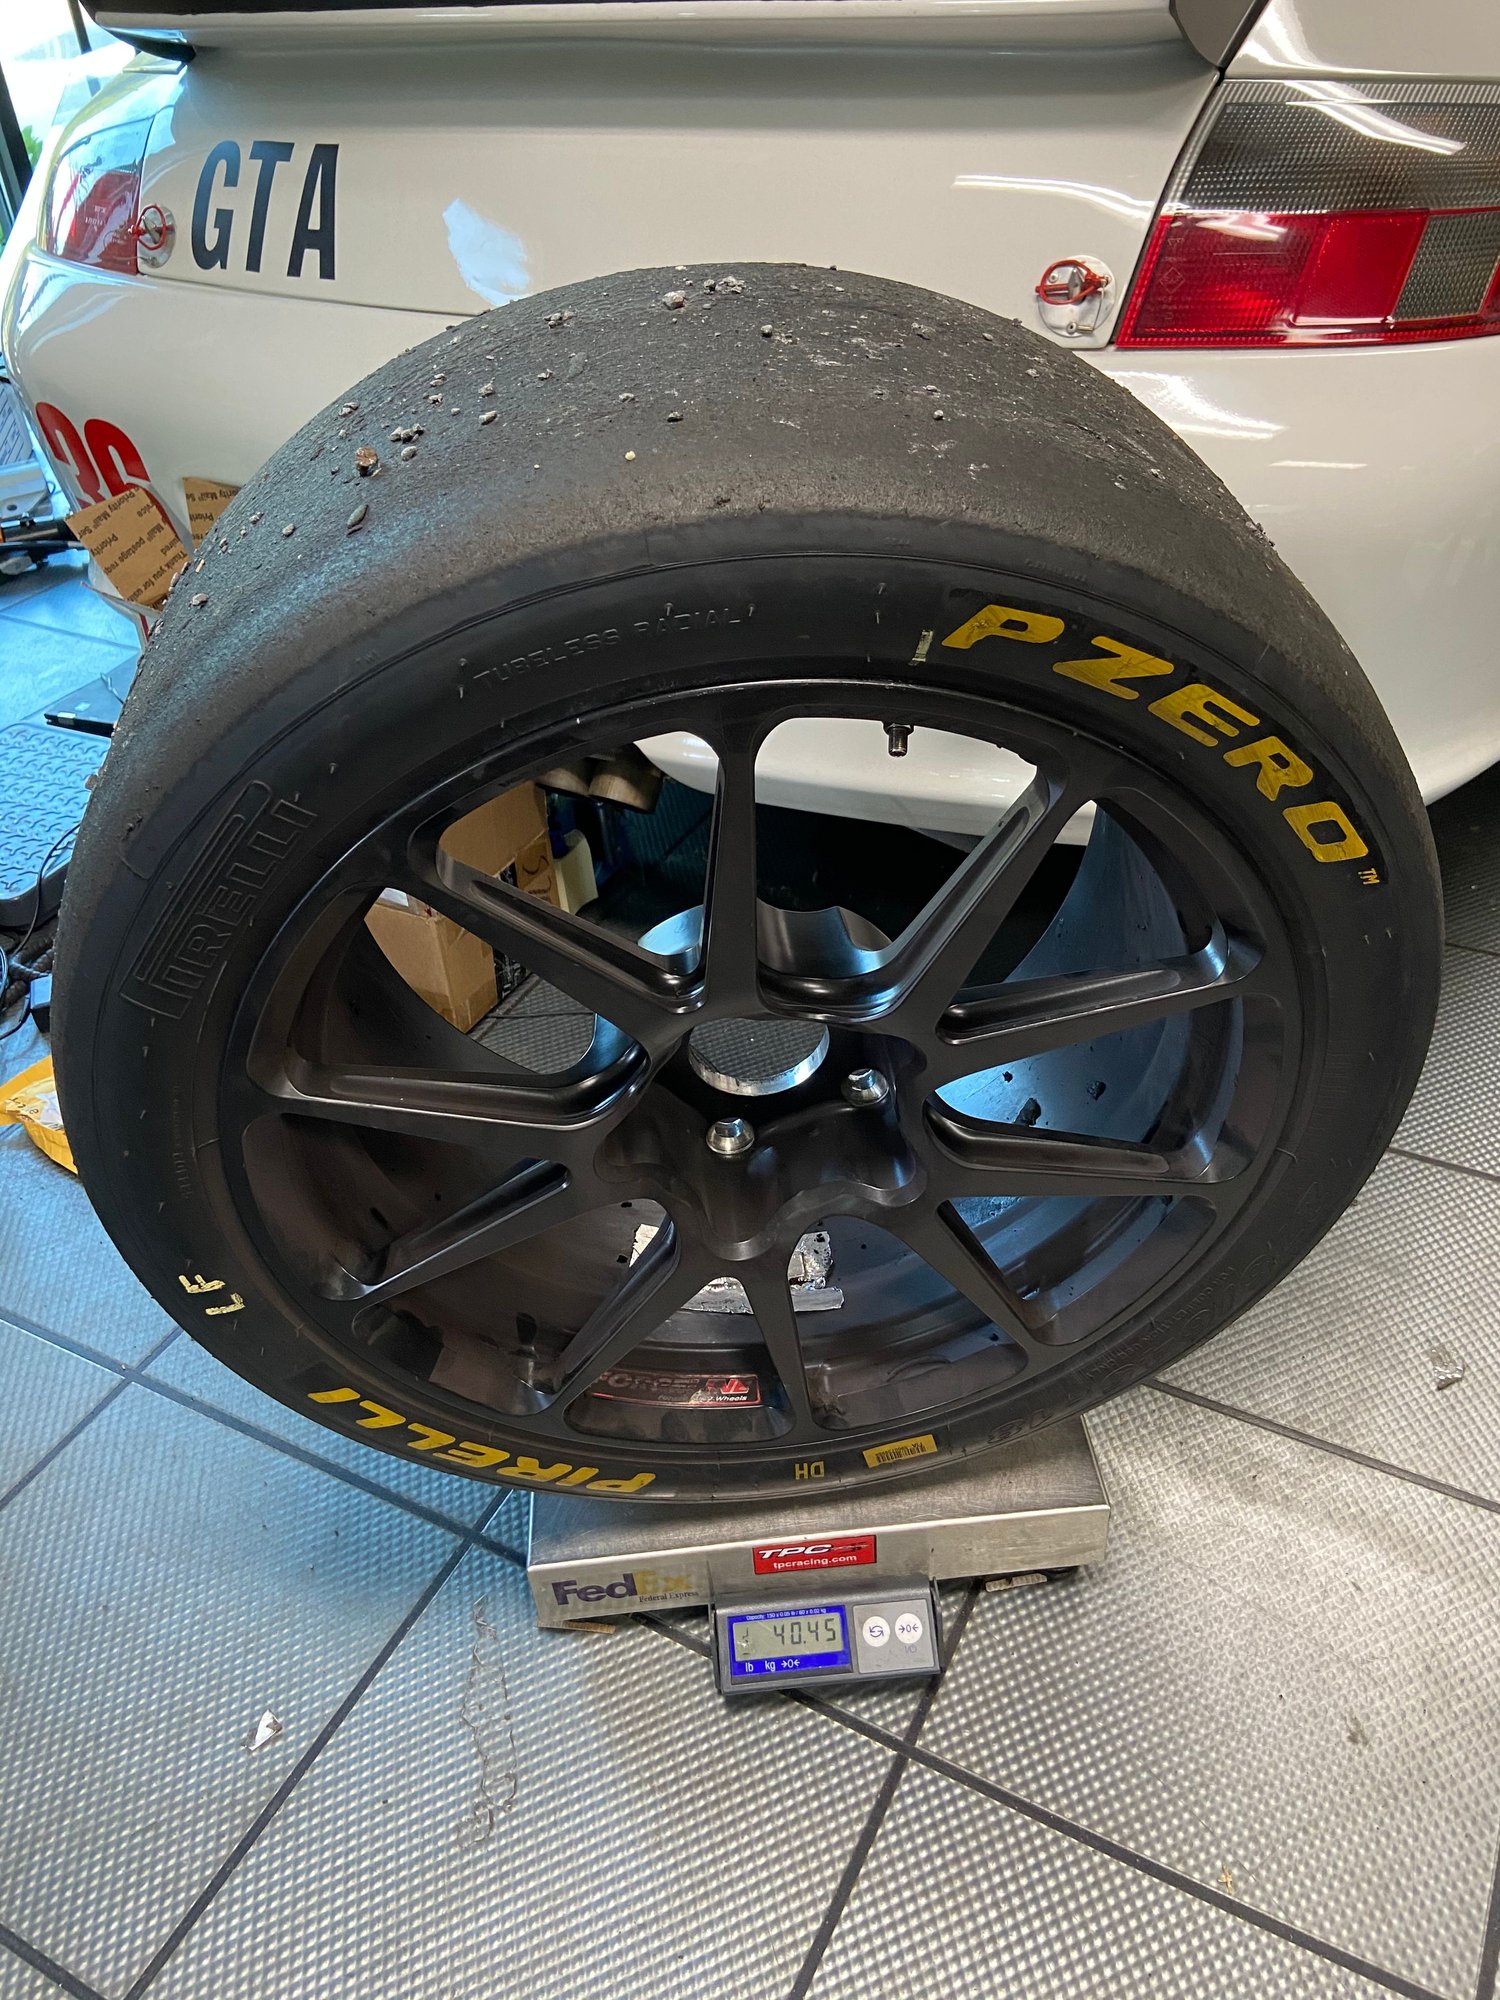
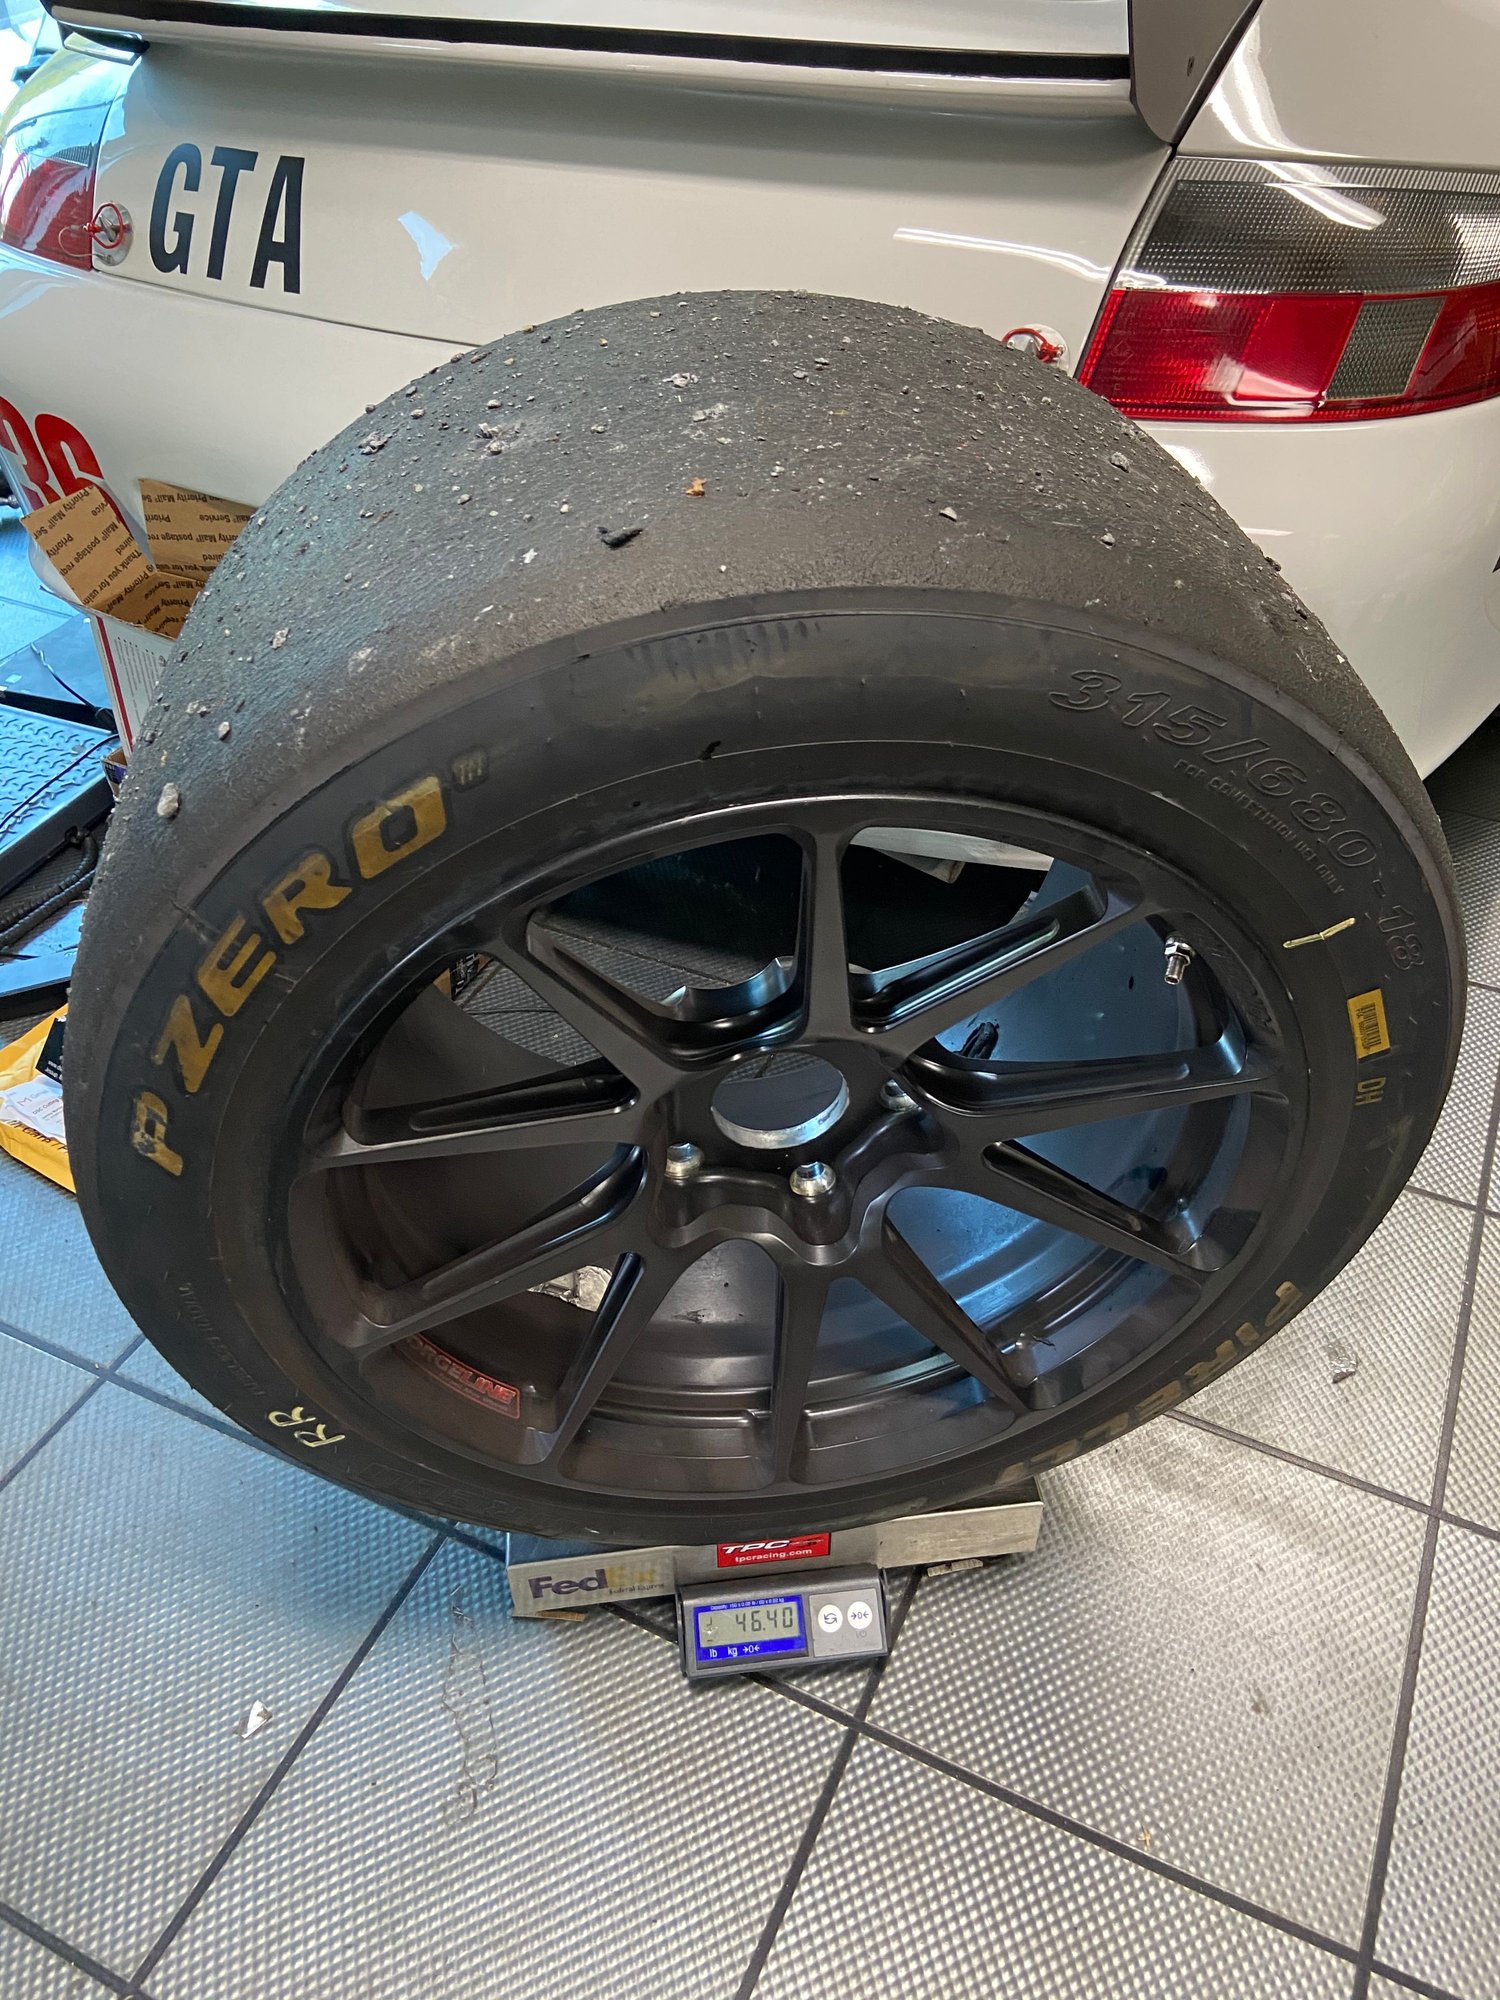
I've been wanting to know the weight difference between my Street wheel/tire setup vs.Track. Finally got around to weighing them. Here are the numbers.
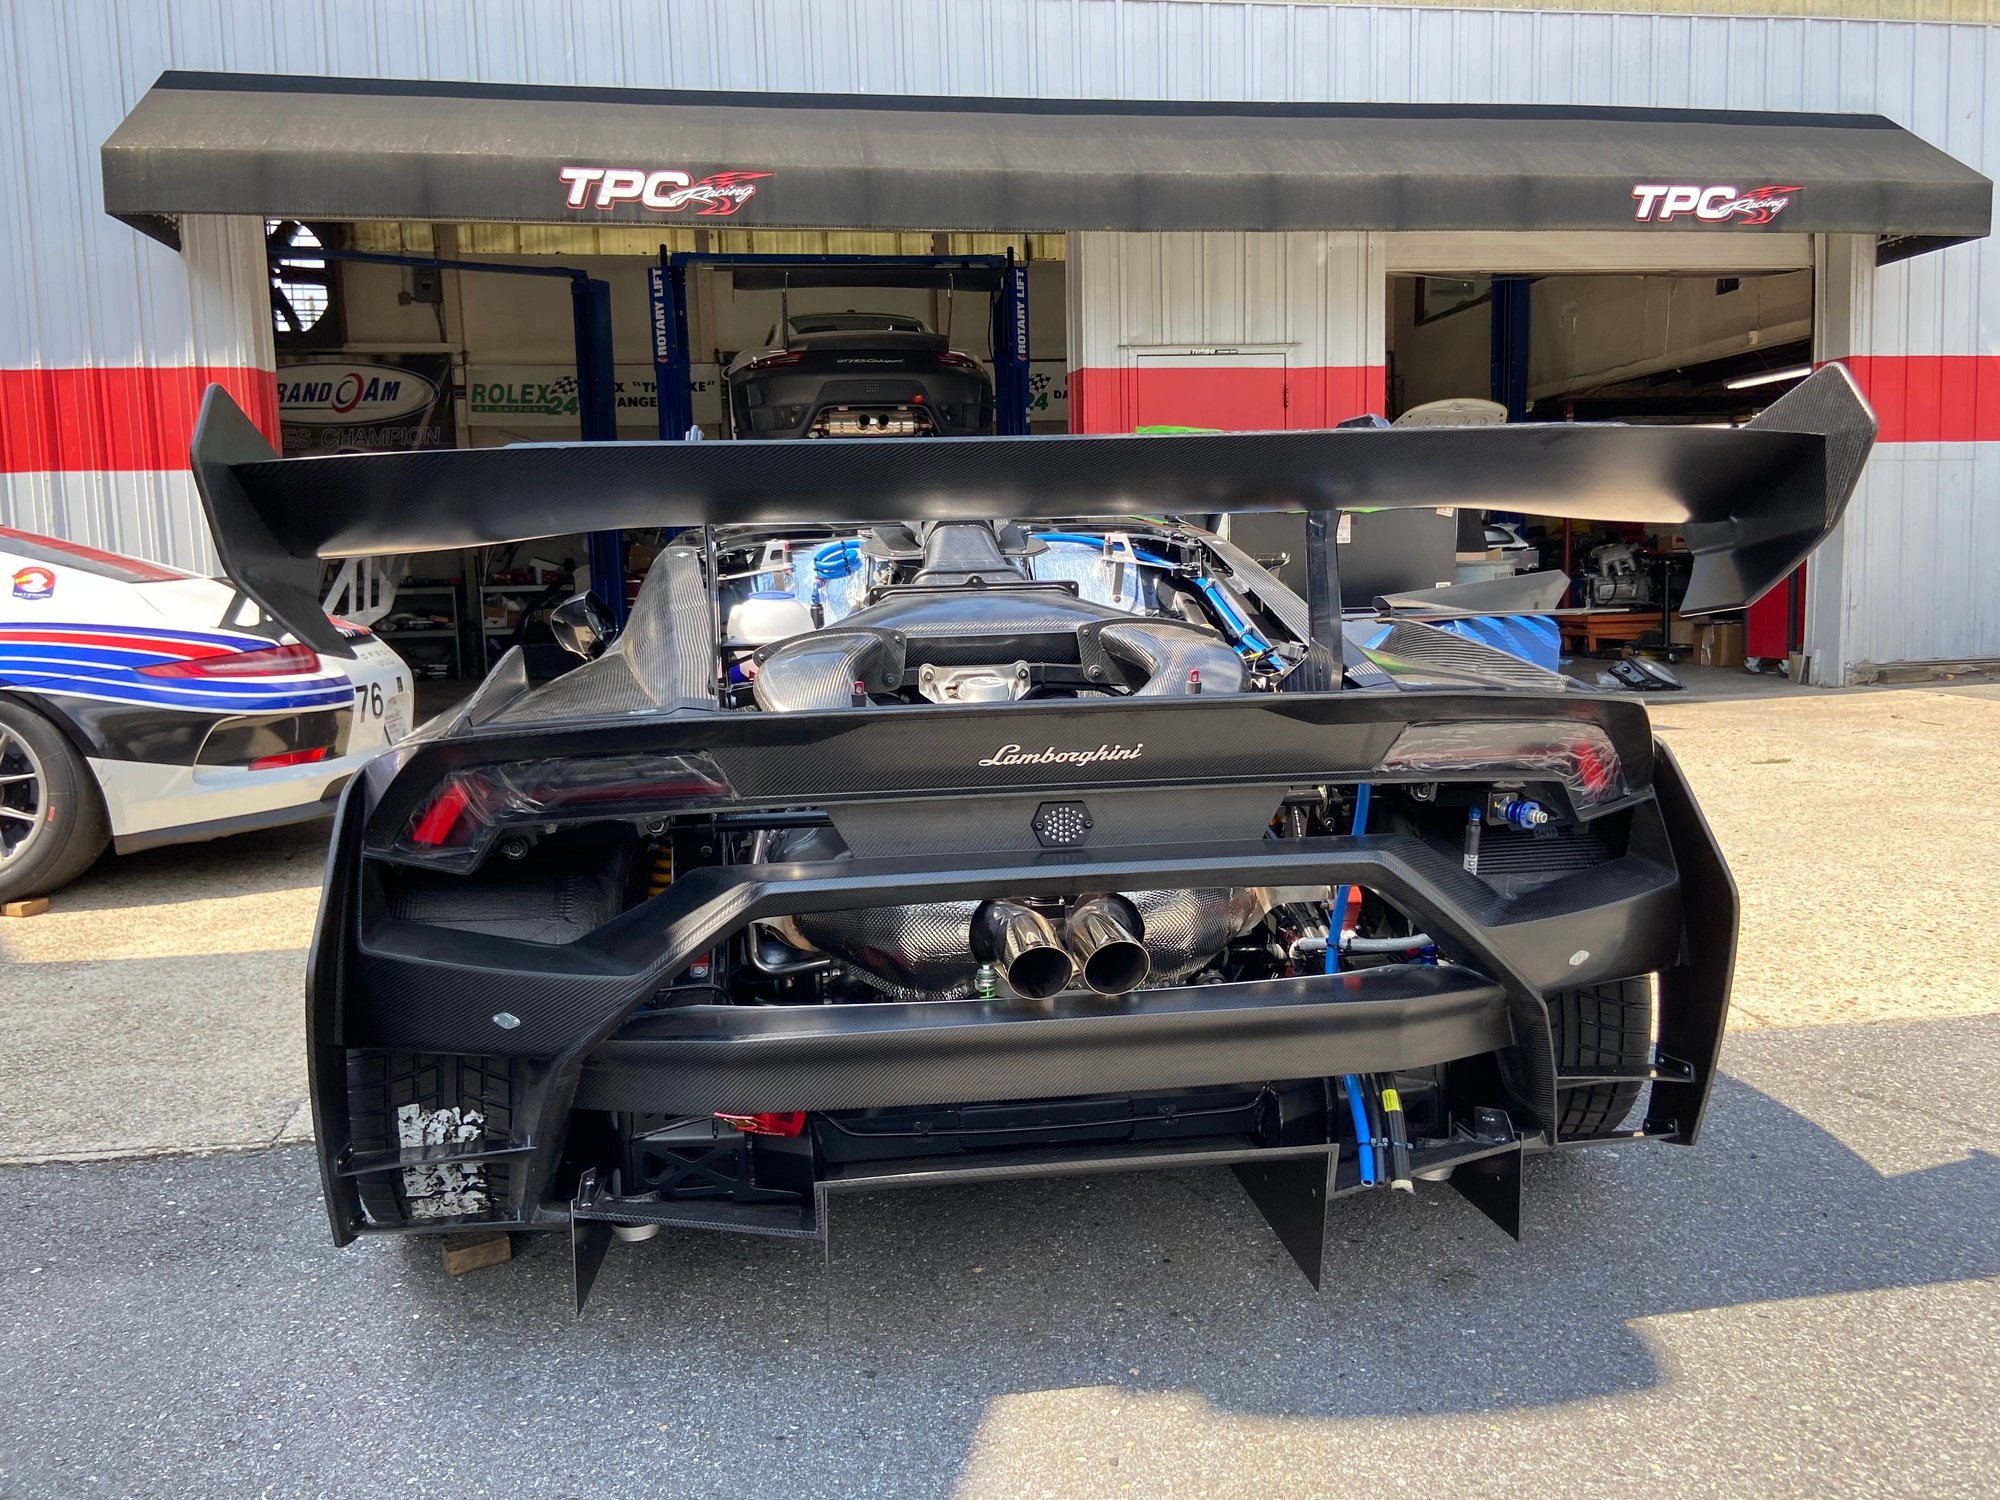
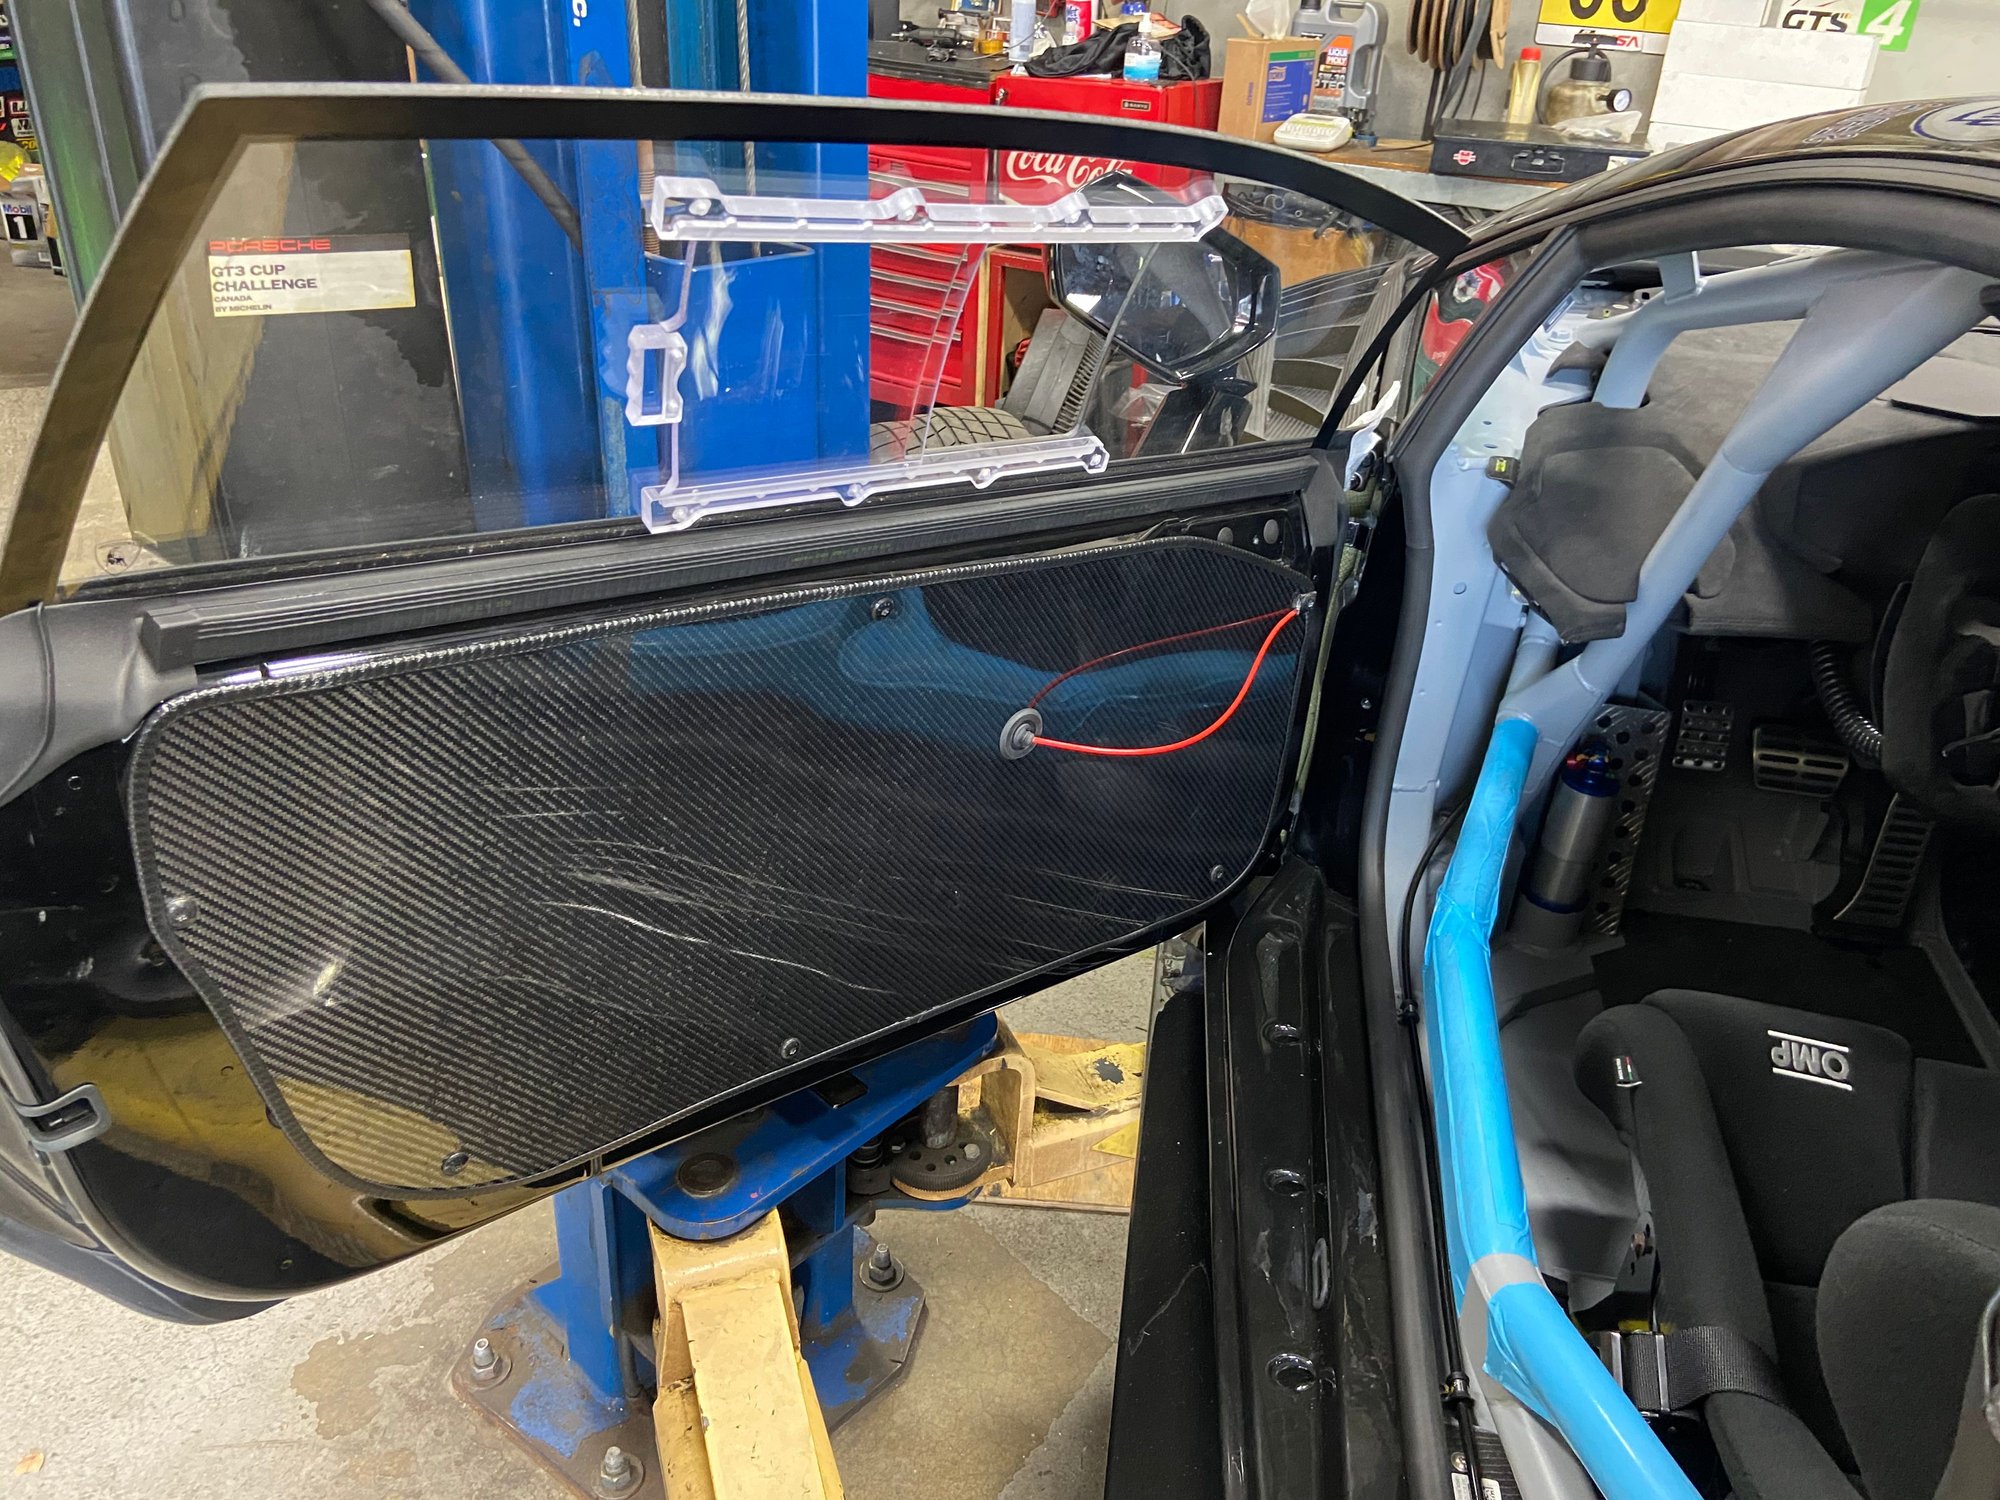
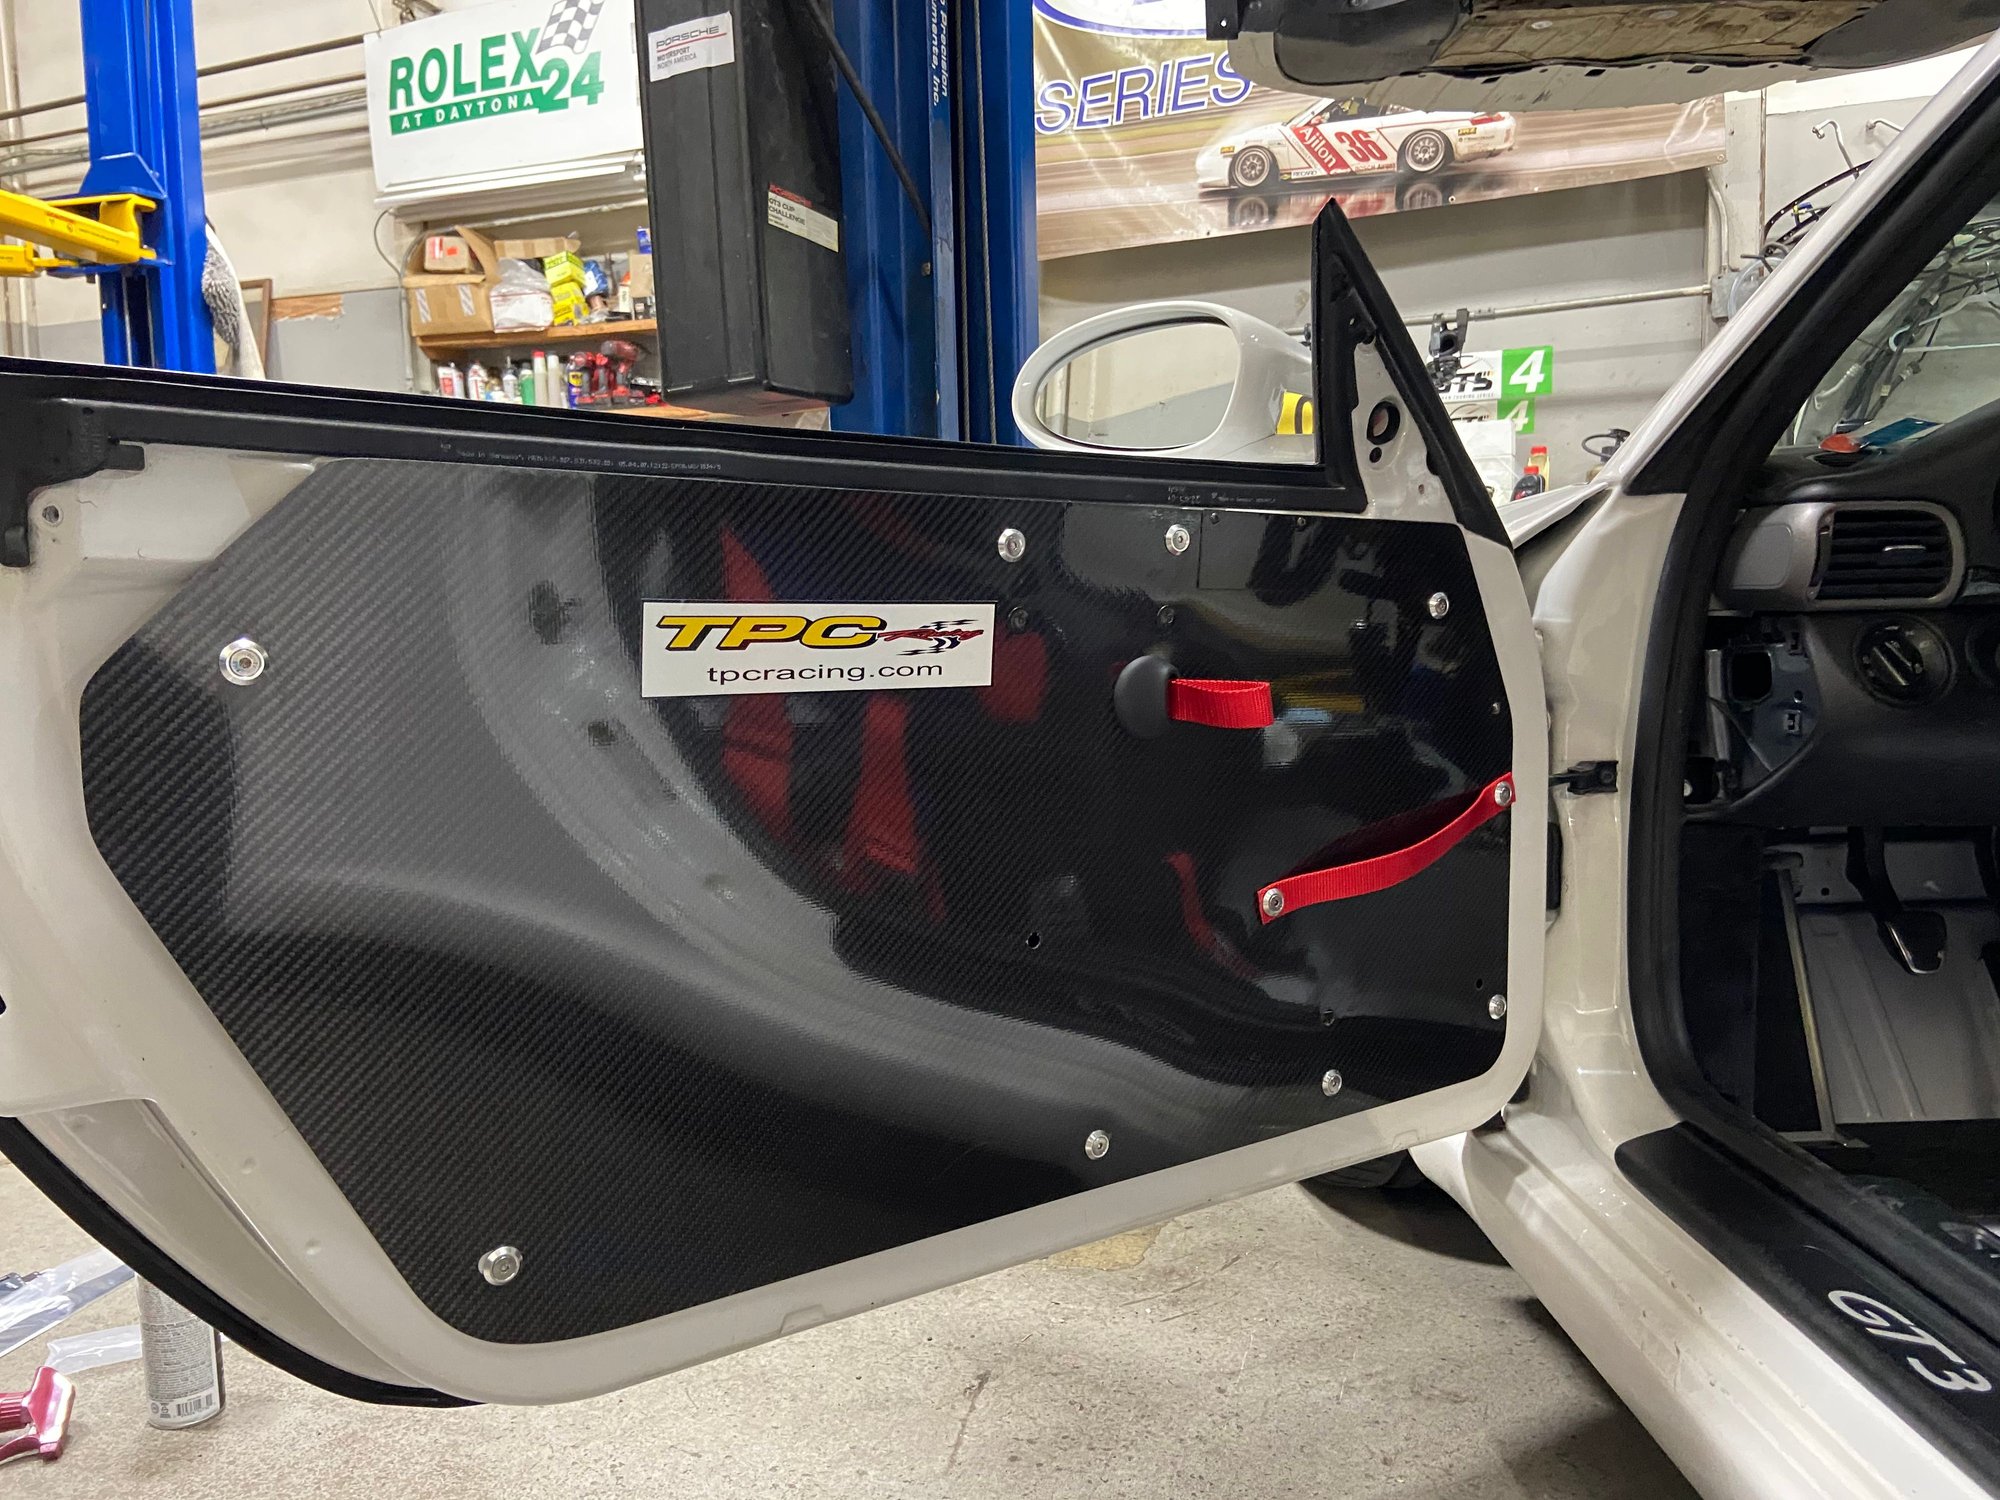
I haven't had time to do anything on my car lately. I did get an opportunity to have an up close experience with a Lamborghini Super Trofeo Huracan Evo. It is by all account an incredible piece of machinery! However, I must point out that, to me, my door panels are a little bit nicer.
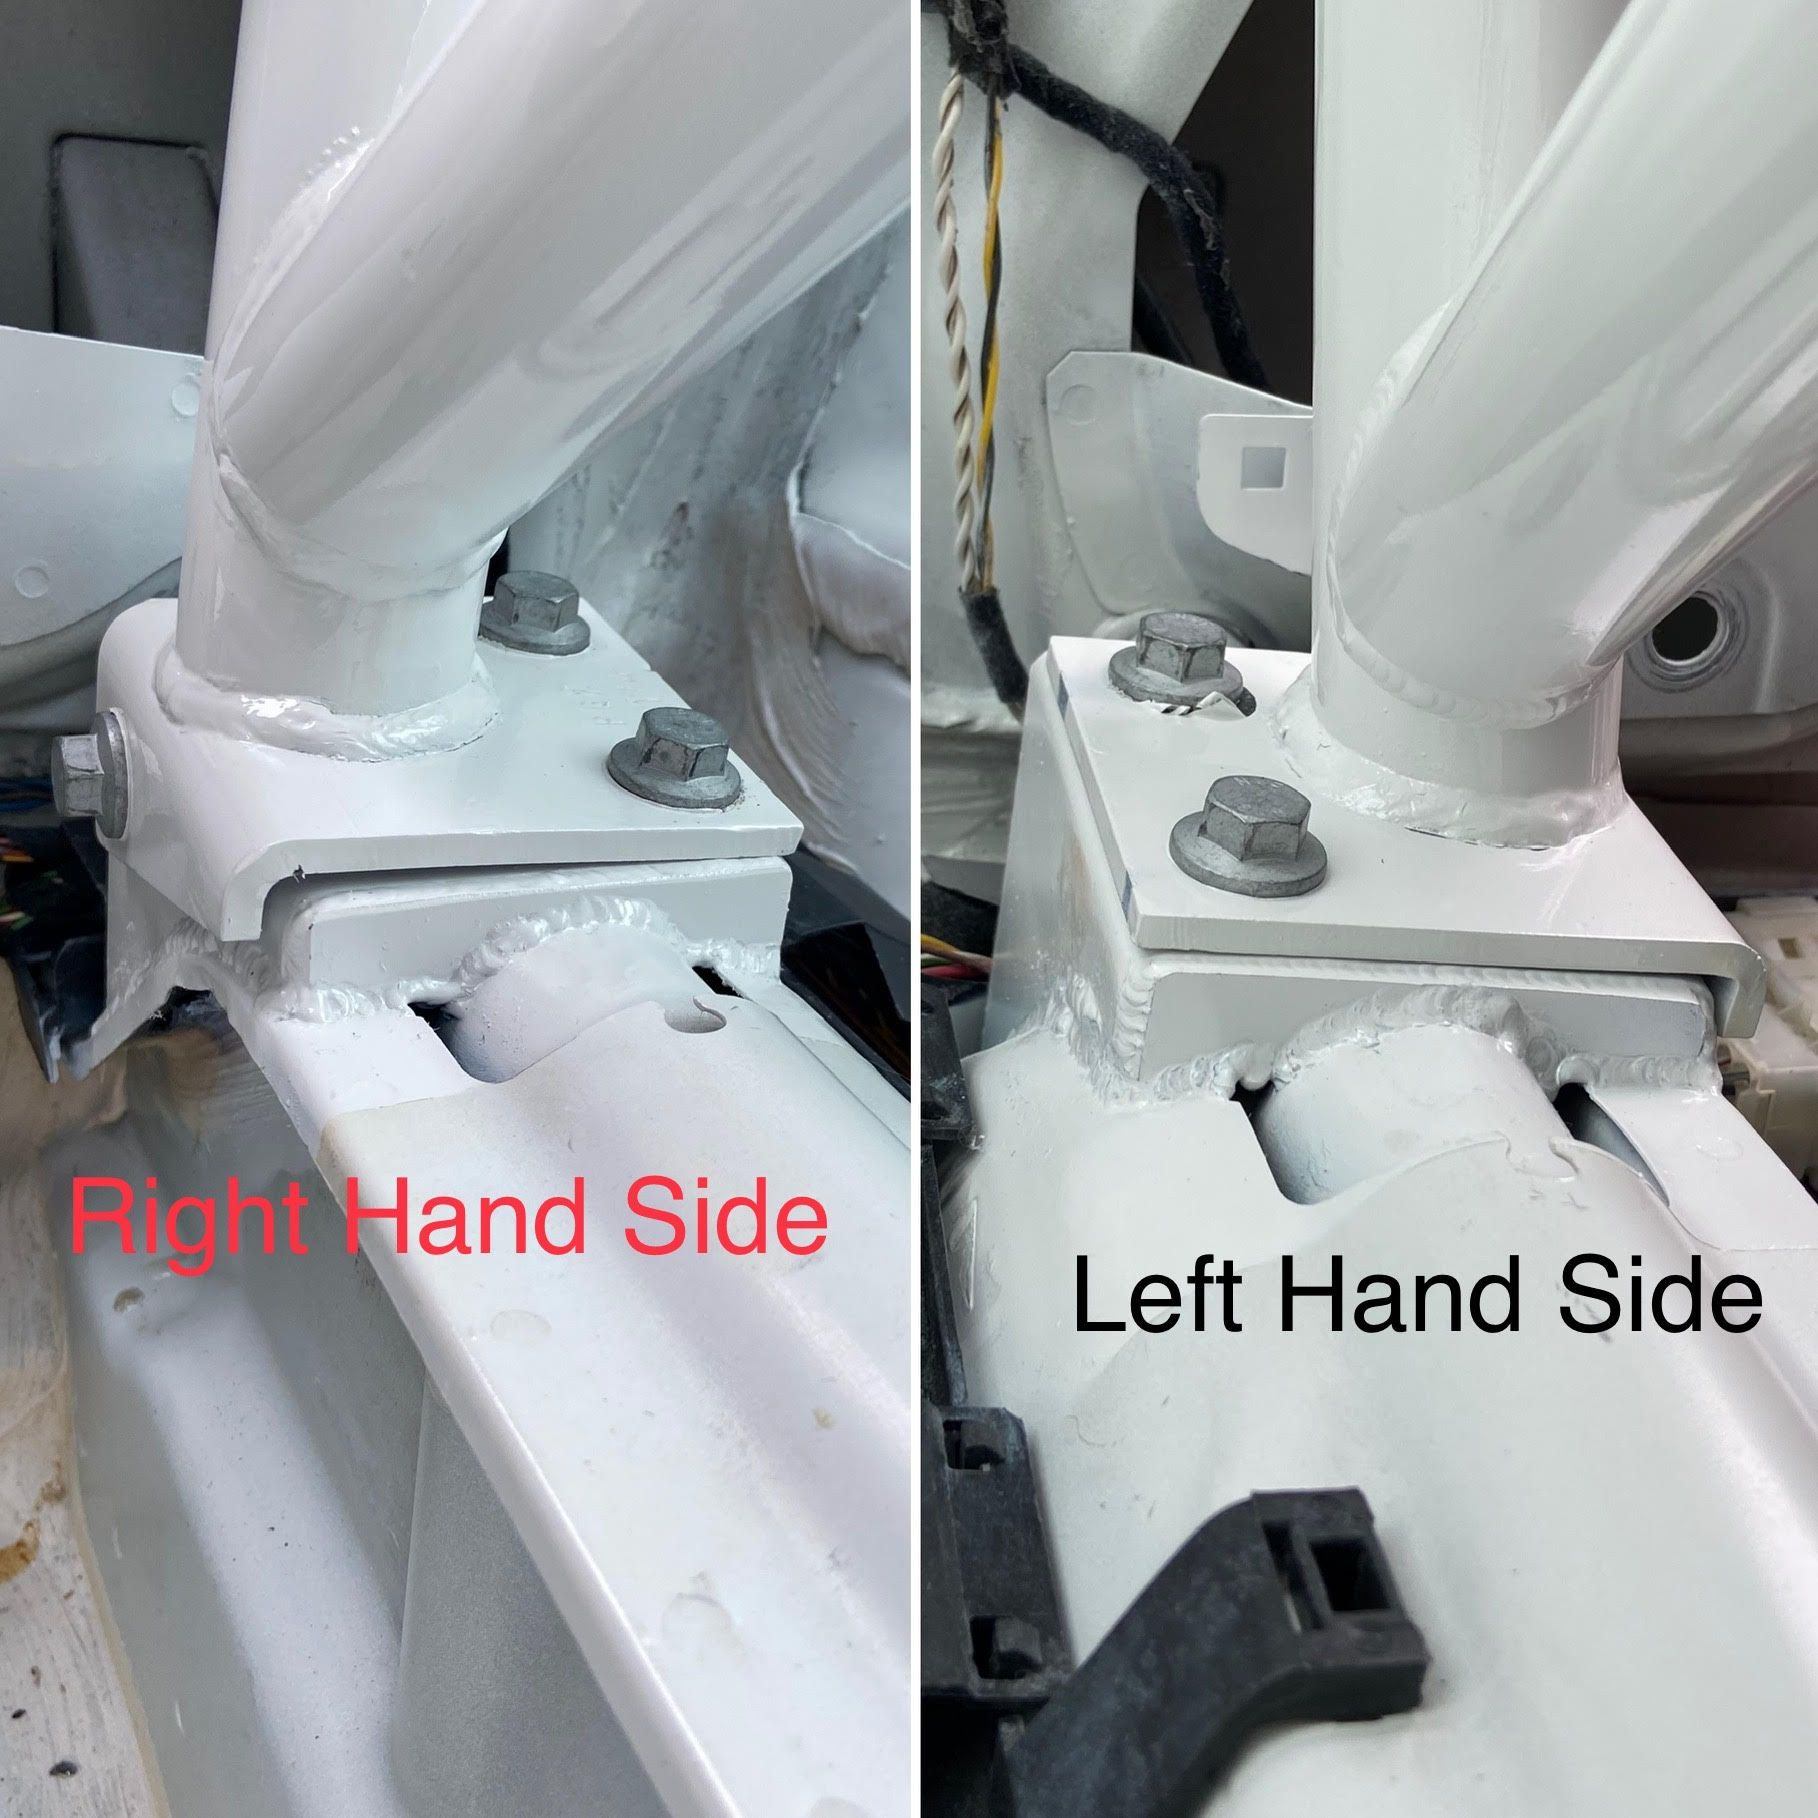
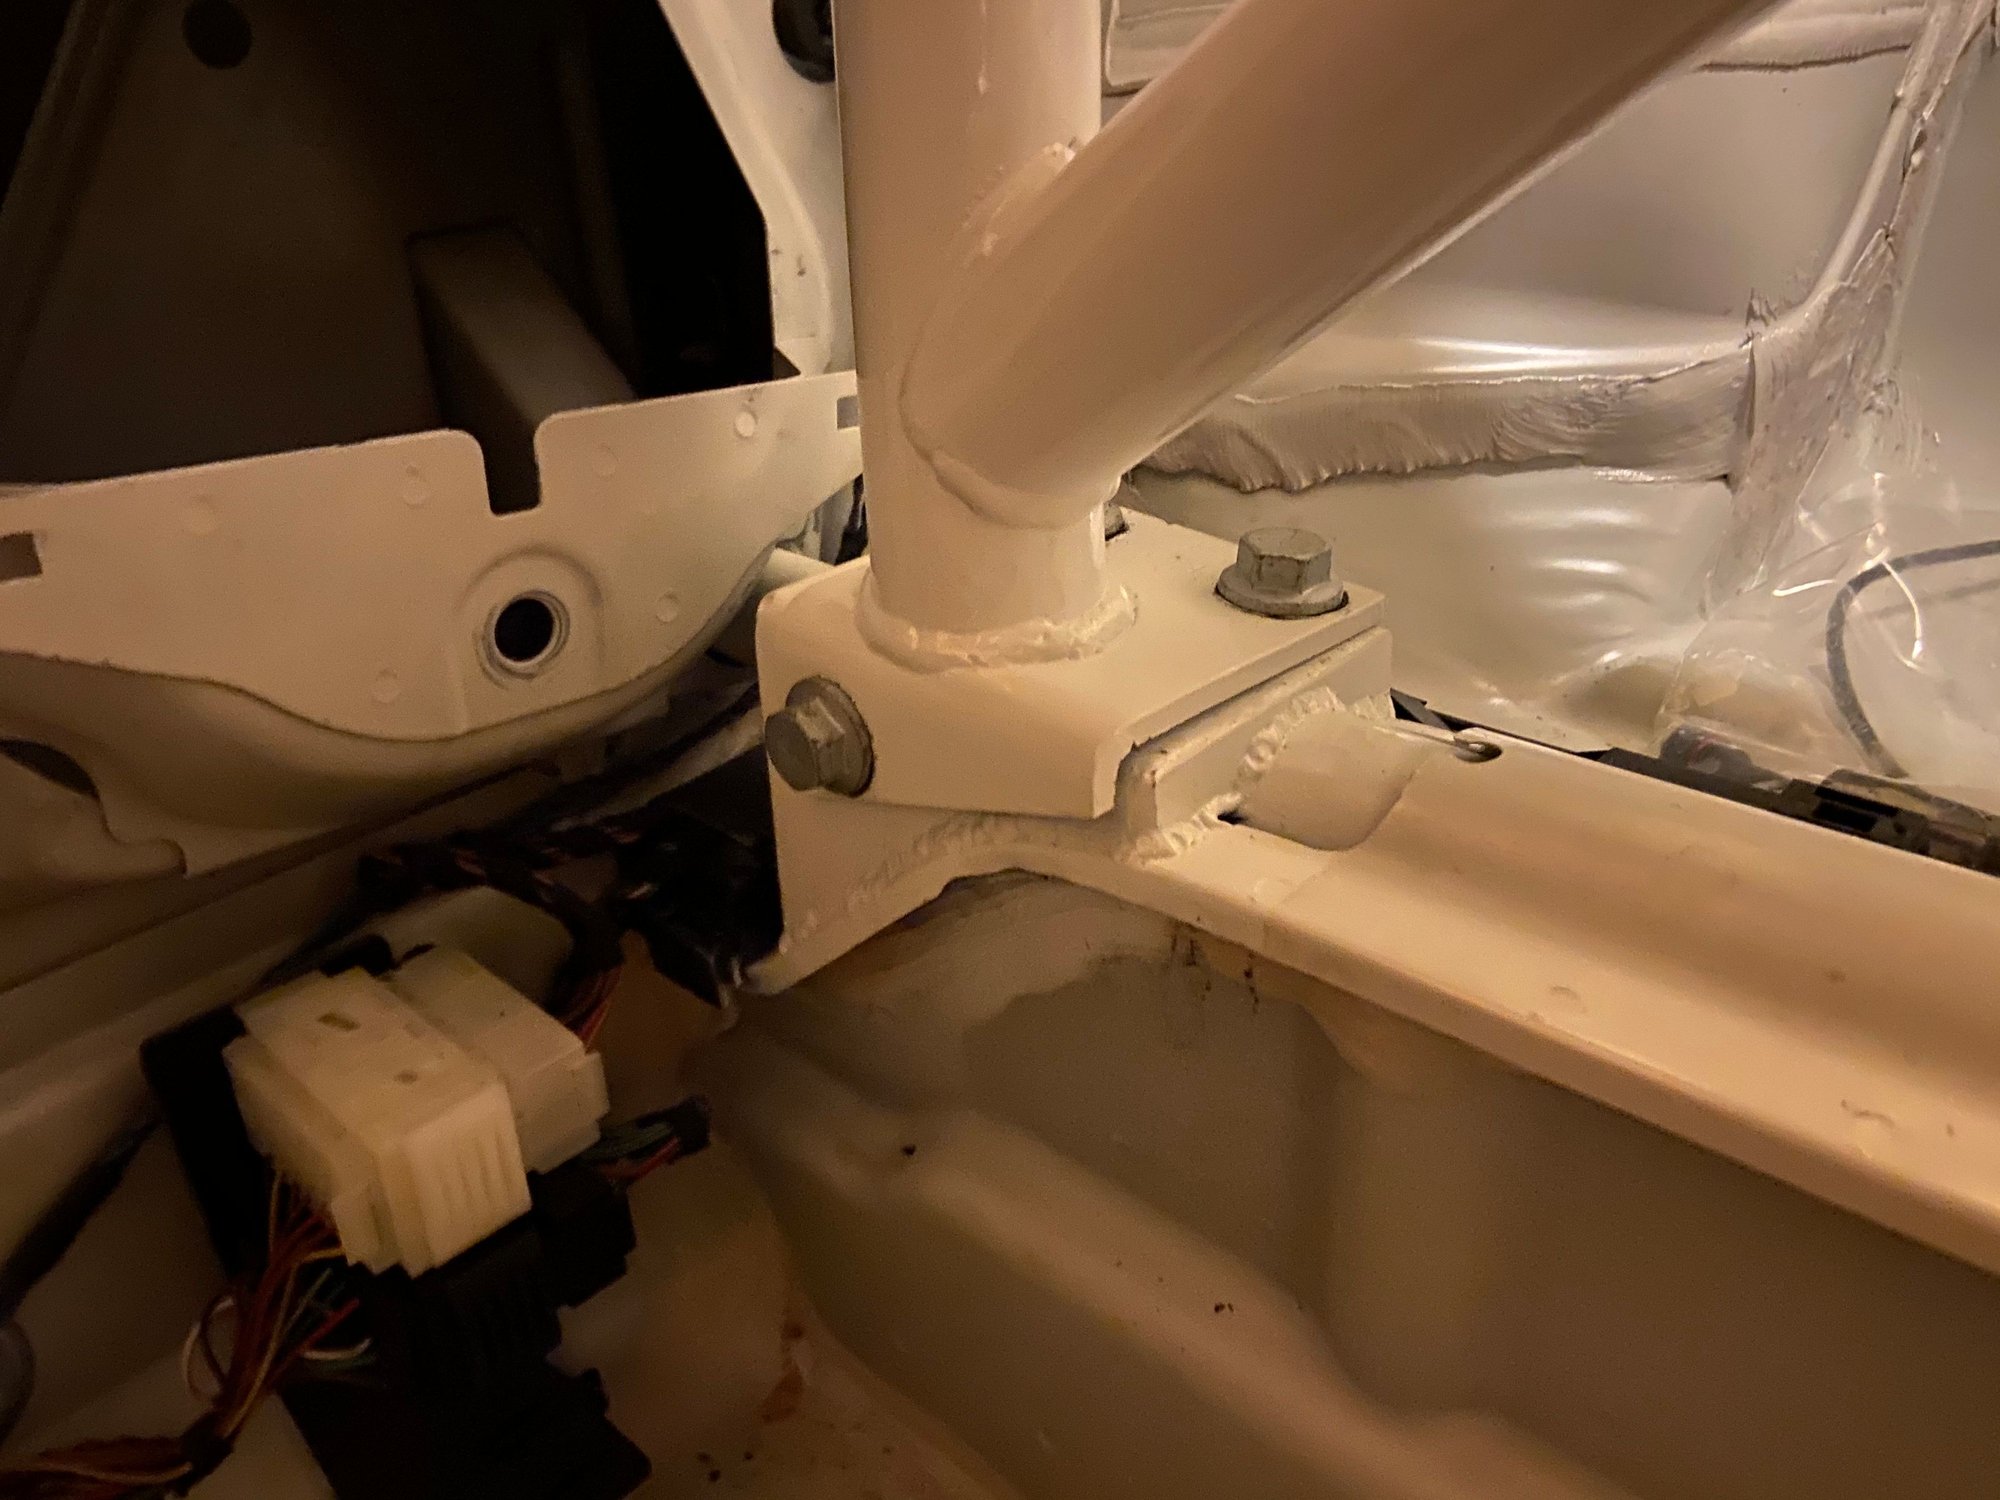
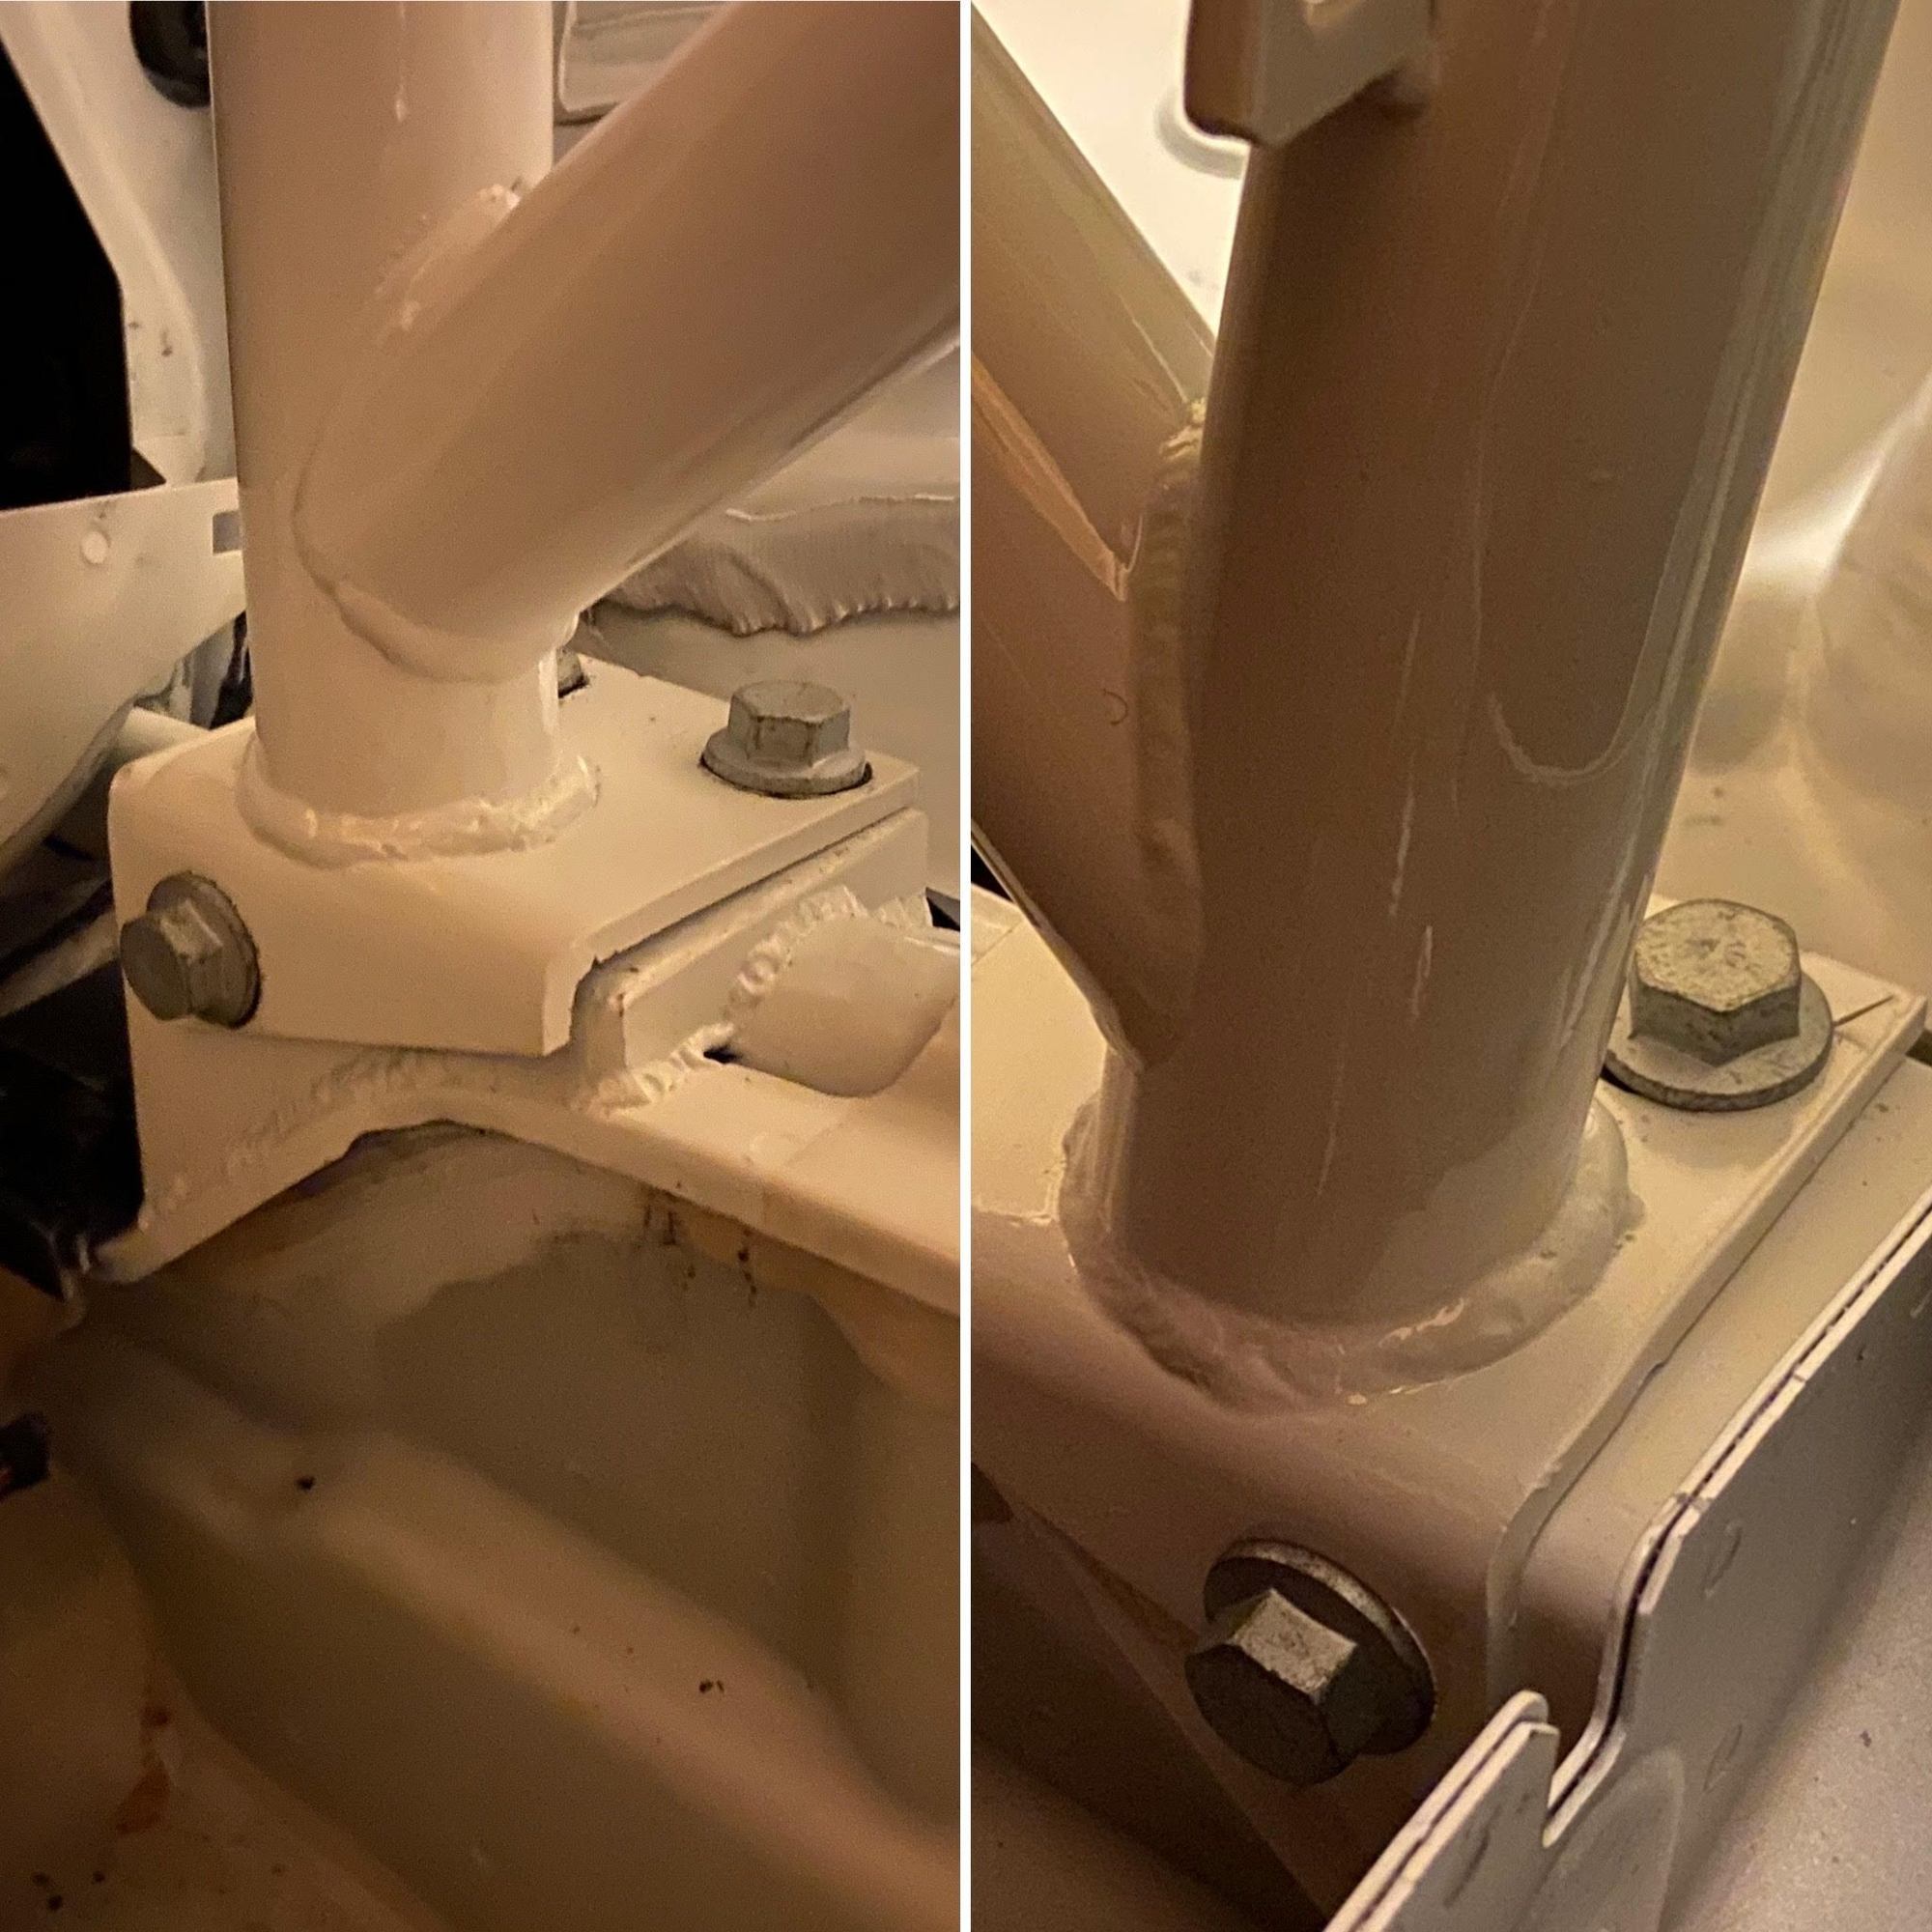
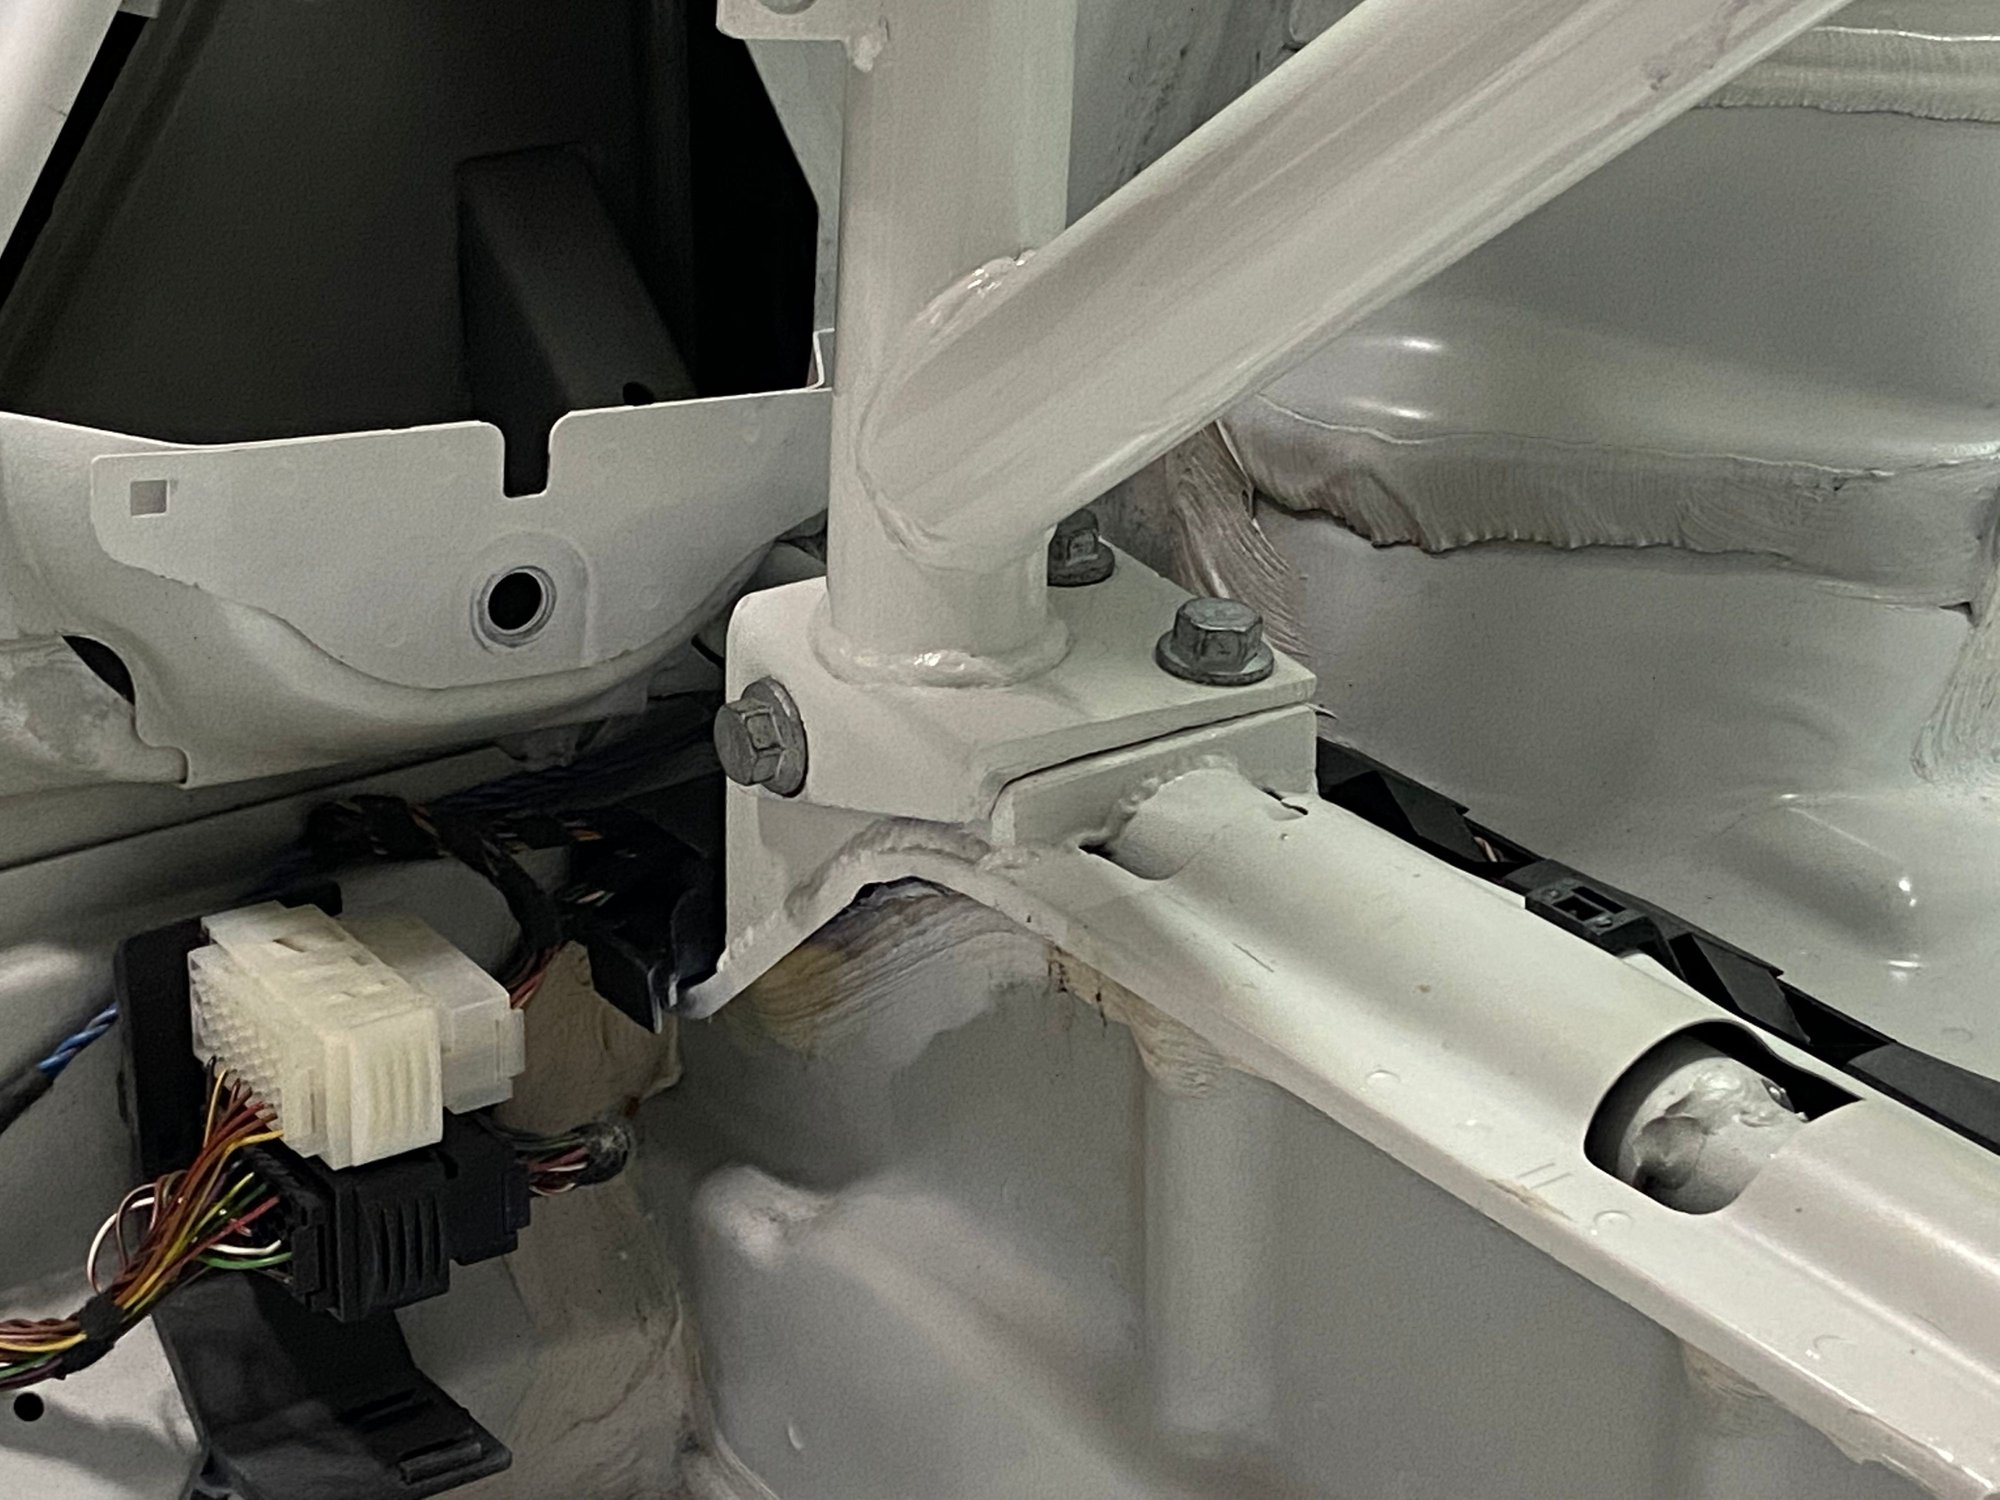
After installing the back half cage, there is something that's been irritating me. Its the RH side of the cage footing not sitting flush to the base. This pic below shows both sides. The LH side is totally acceptable. The RH side not so much. The cage footings were bolted to the bases prior to welding, then the bases were tack welded with the base is making maximum contact to the car's structural tube. The heat from welding must have tweaked the metal. The gap irradiates me more than the paint chipping off.
I am not going to cut the base off and re-weld it because that's just ridiculous and the same thing might happen again from welding. And I just don't feel like cutting off the foot plate and re-welding it either.
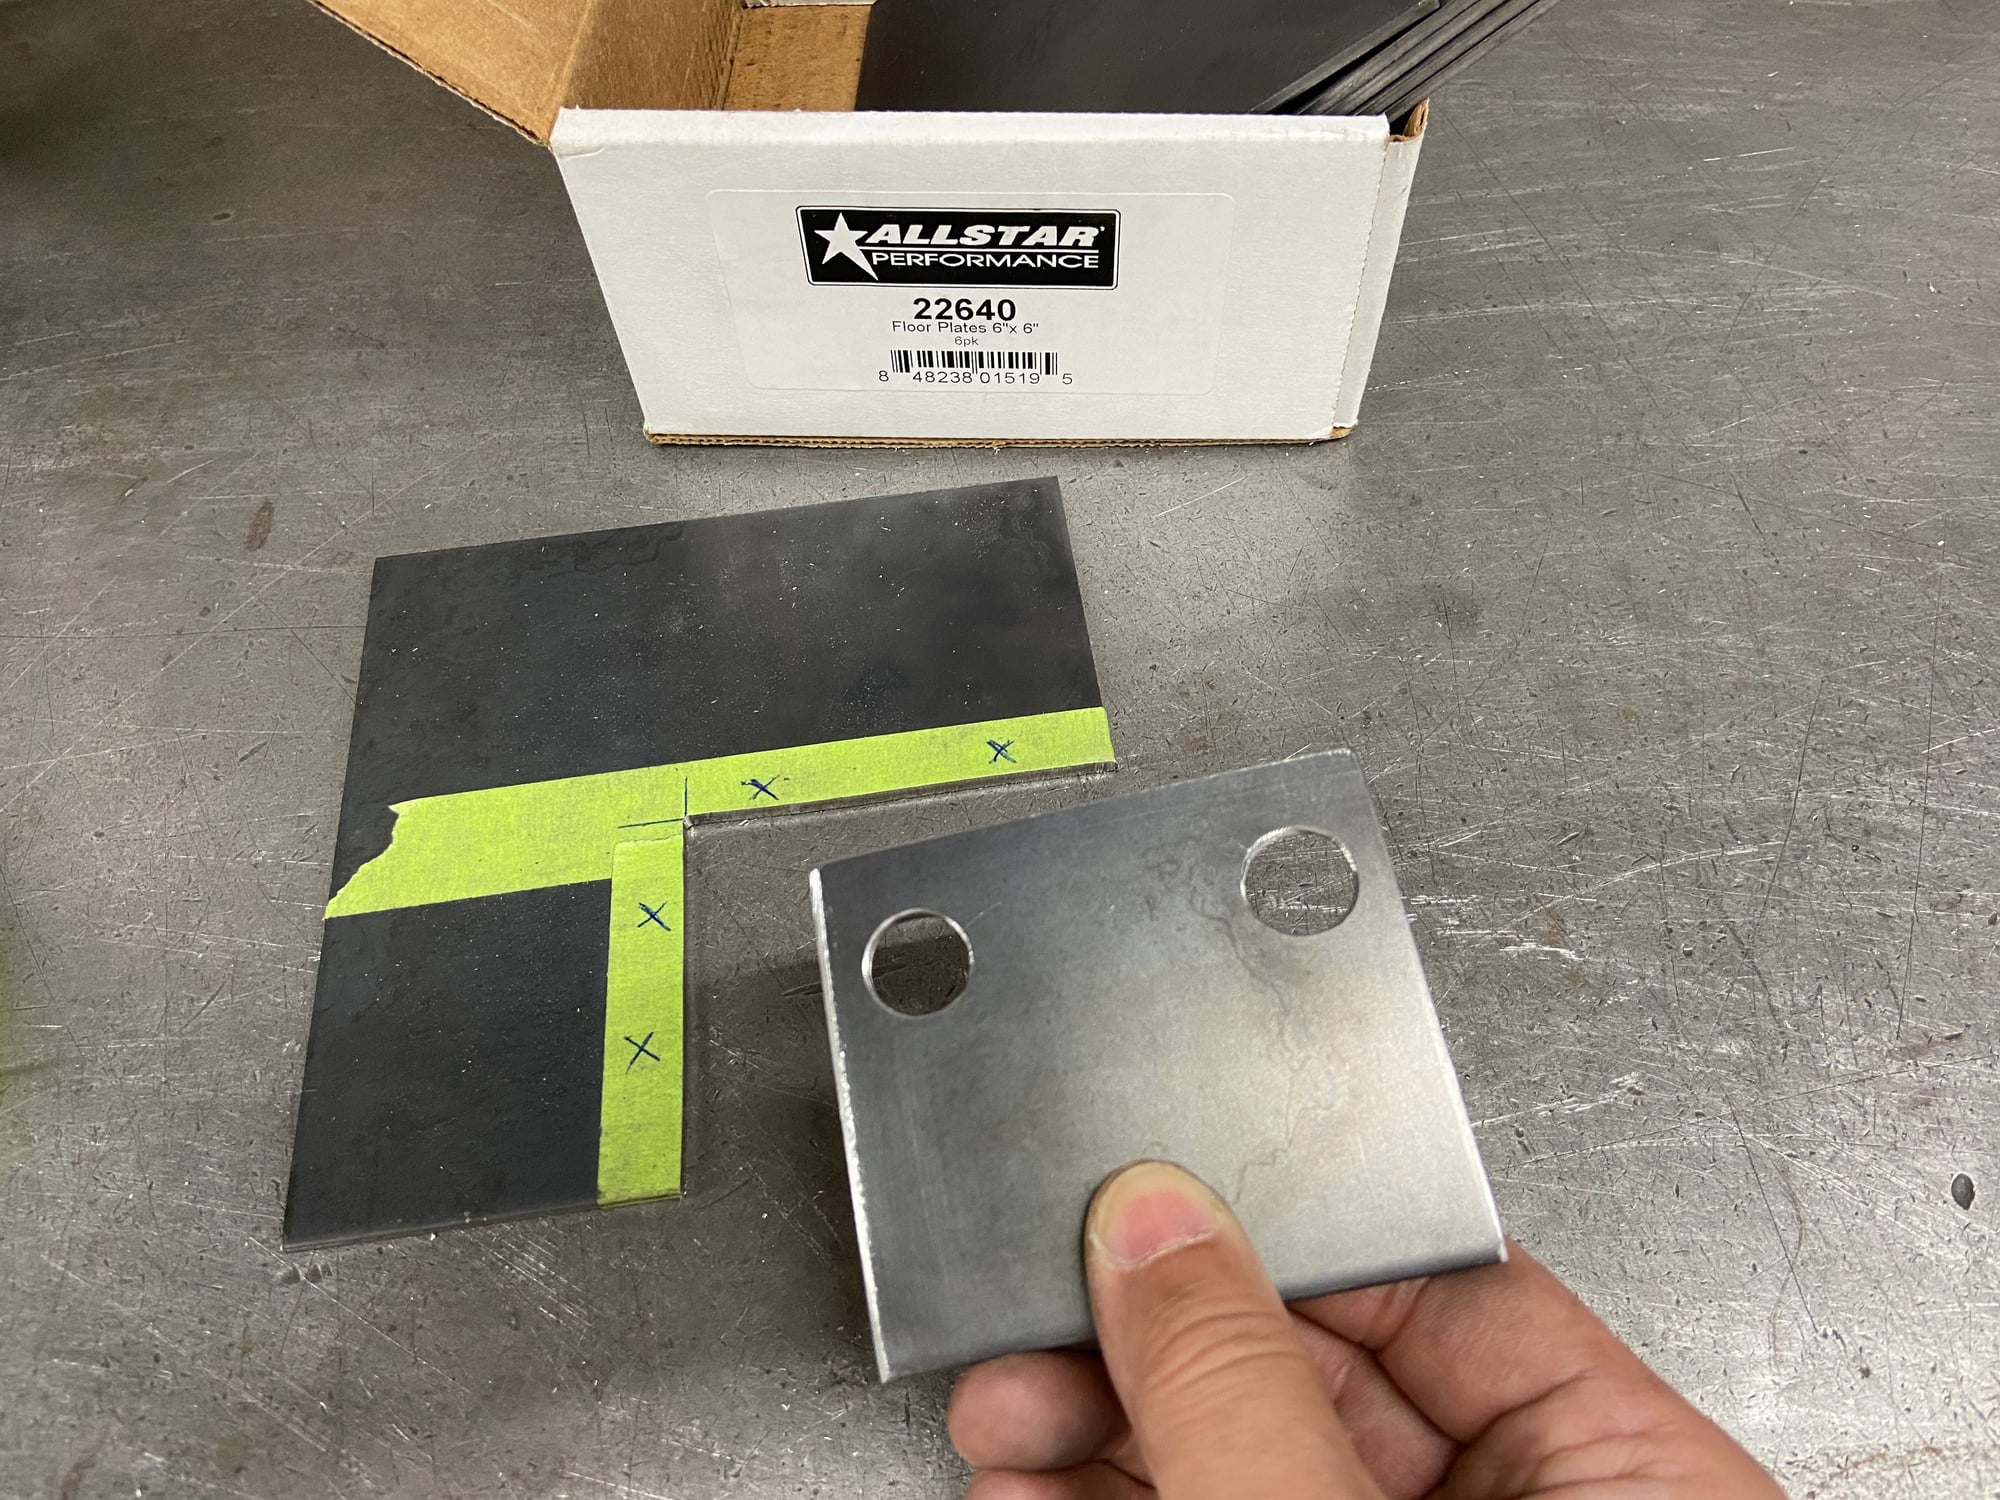
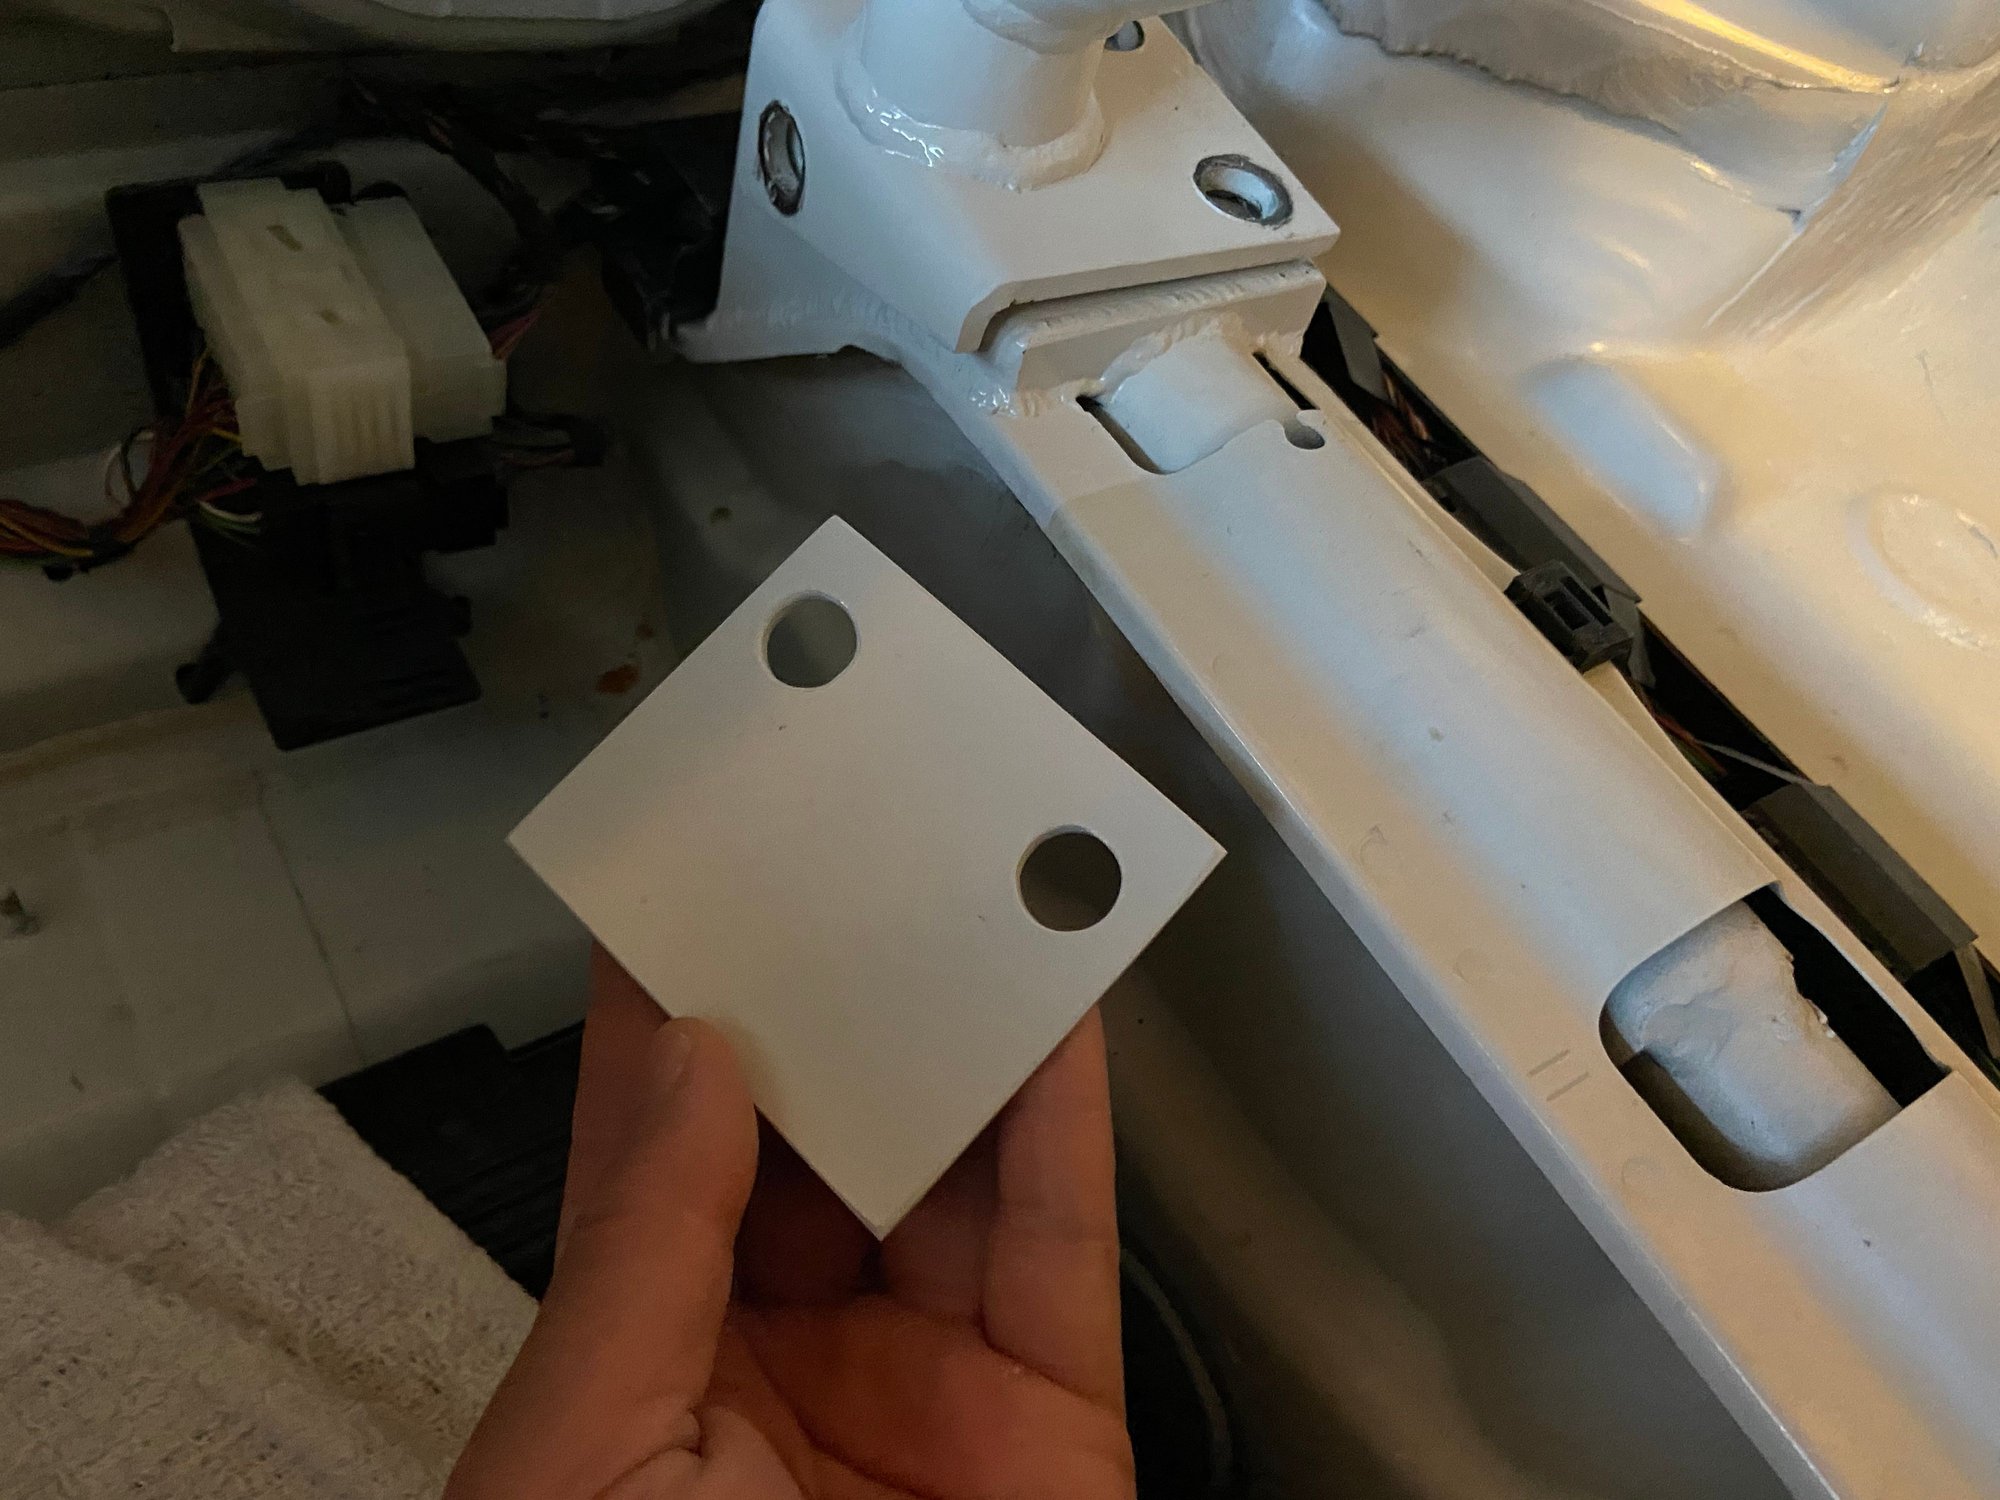
So what came next was my brilliant idea to make a shim, using proper roll cage constructor material of course.
Version 1 of shimming- It was a fail. 3.3mm was too thick, the front hole won't line up, and I am not going to grind the front hole bigger. Version 2- I drove back to the shop to clamp the shim in a vice and milled it down to 2.7mm. It took 2 machining ops to mill down the surface completely because it had to be clamped in 2 different axis for each op to mill the surface completely after the shim was already made. BTW, my car is at my house's garage, the door doesn't open all the way, I crawled in the car to do this). V2 was a fail, still to thick. Version 3- Milled it down to 2.0mm. V3 was also a fail because I realized at that point the shim needed to be angled (wedged) and not a rectangle shape. A flat rectangular shim created high and low spots between the two non-parallel contacting surfaces. Version 4- I made a whole new piece and it was a trapezoid with difference thickness at different sections that was sanded on a belt sander. V4 bolted up fine and filled the gap fine on the side that's shown in the image but created a gap on the opposite side where there was no gap before. Version 5 - Went back to the shop and cut V4 in half and then wedged it some more to only fill the gap on the one side that's shown in the image. It fit, but it just seemed "not right" to me.
Somehow I spent 8 hours on shimming(not counting commute time to the shop) and end up even more irritated than before. In my opinion, the manufacturer of this product really should recommend welding the footing to the base...or provide a heavy duty split clamp that actually "bolts on" to the car's structural tubes. I decided at this point to do the best I can and just let it go, which is loosen up all the nuts and bolts use my body to ram, punch, and kick the cage in anger to may be settle it the footing better.
Fortunately, after loosening, tightening, and kicking a number of times the gap got smaller. The opposite side and the back side makes full contact, so in event of a compression force event the base should take the load. This is the best I can do at this time and I convinced myself that's acceptable so I can go to sleep. I might weld in the future. Moving on.
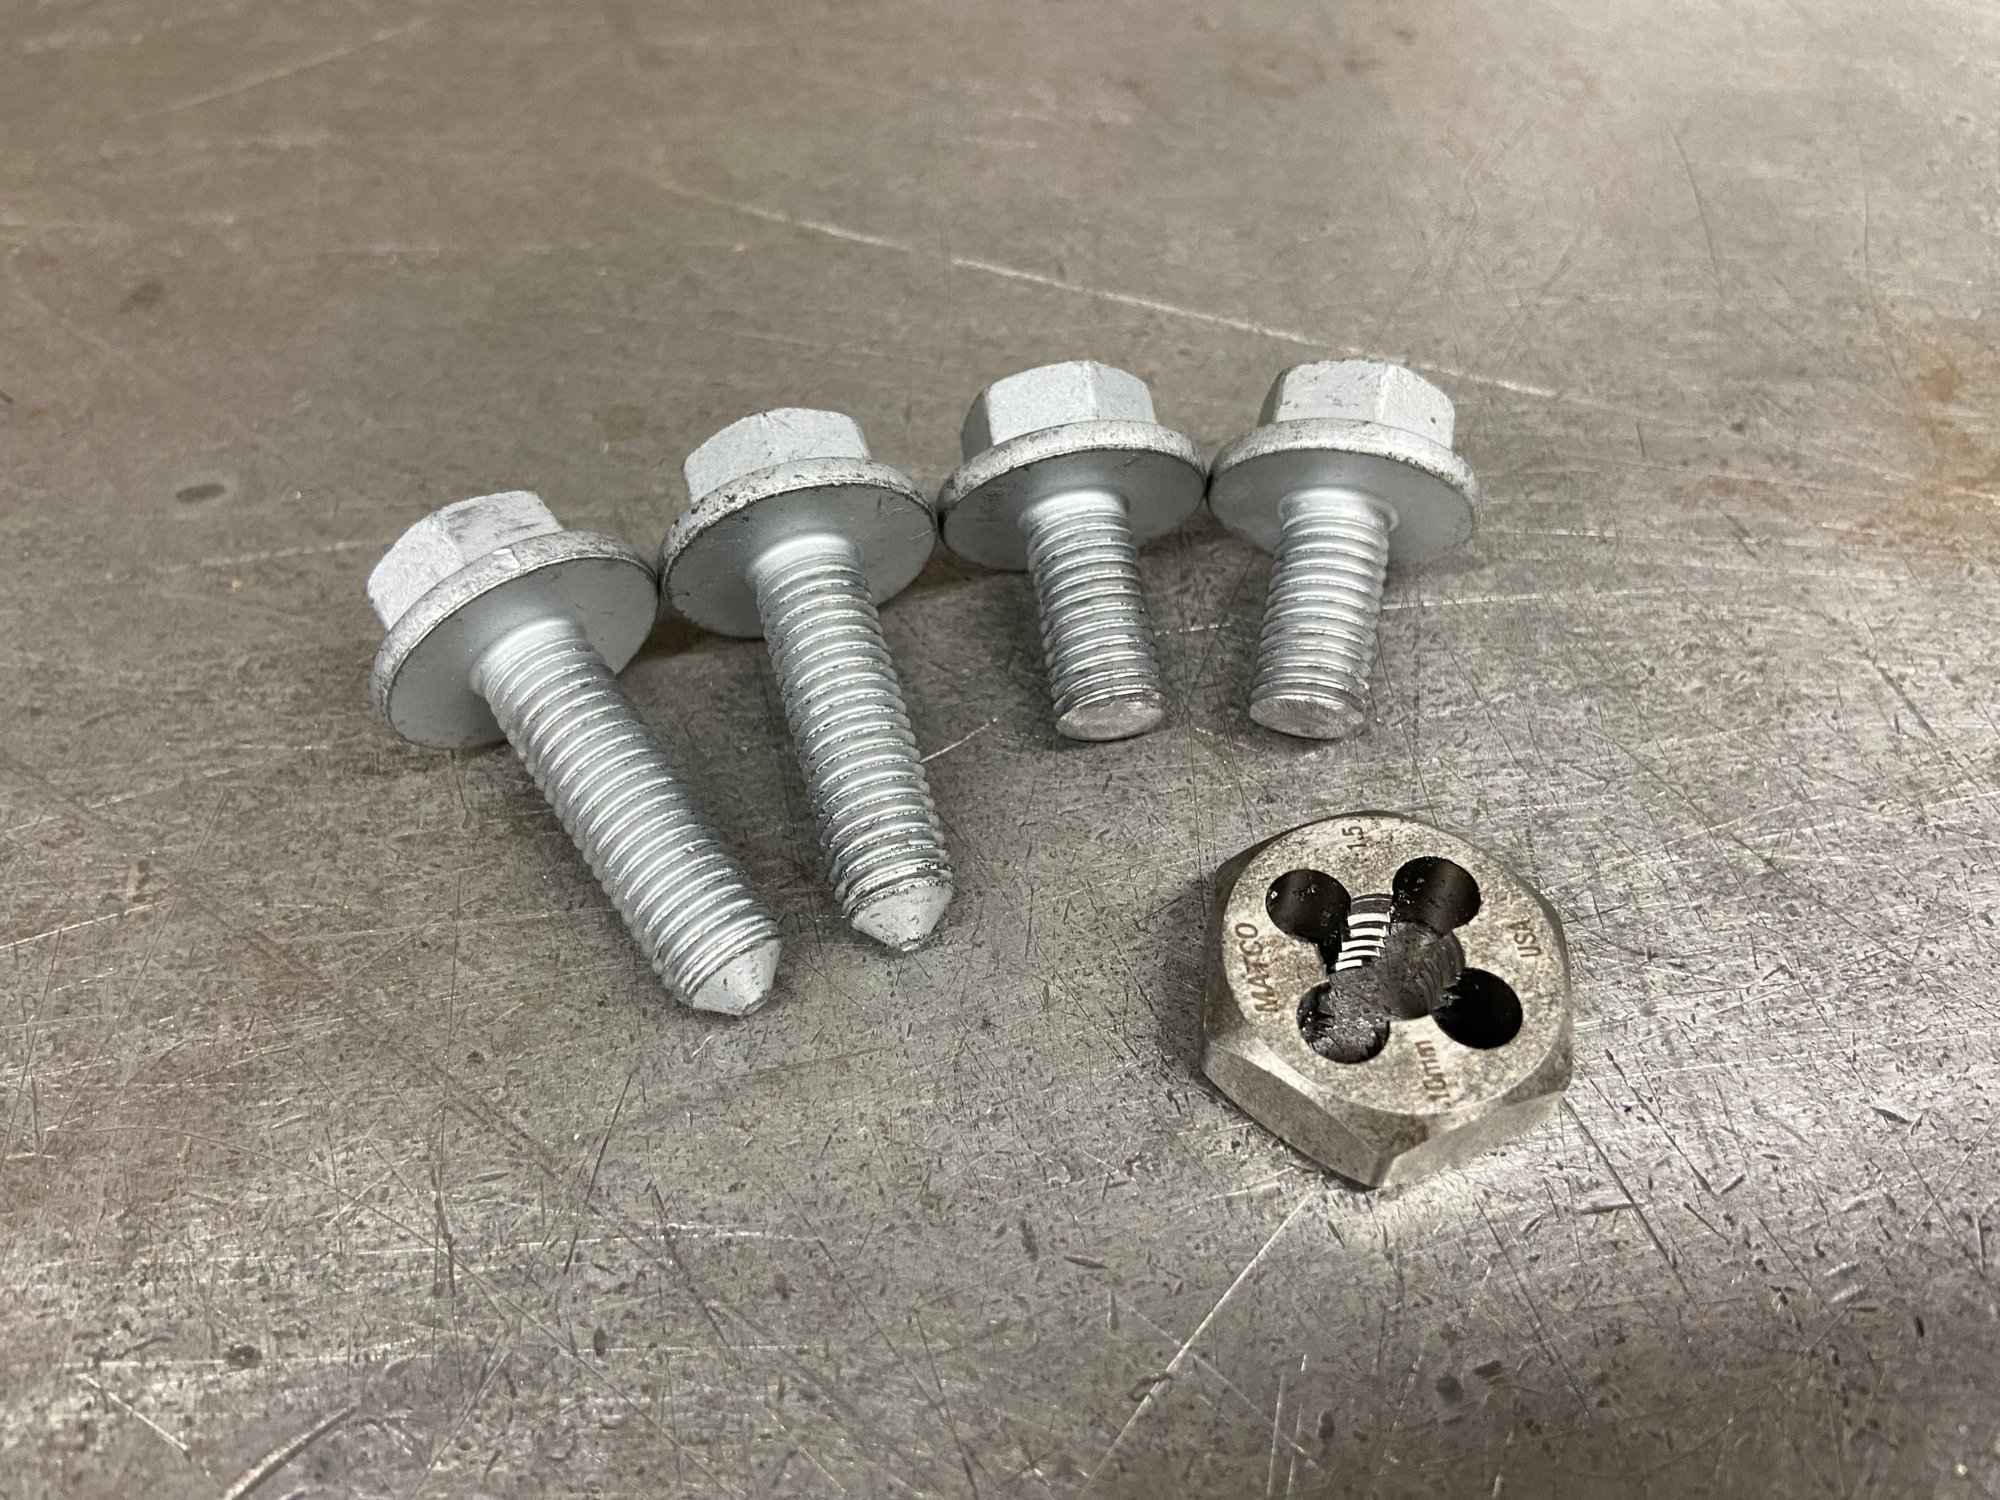
On the bright side, I did find OEM bolts with 24mm flange. These are grade 10.9 suspension control arm bolts from Audi A8.
These bolts are 30mm length so they were cut down to 20mm and had the leading threads re-cut.
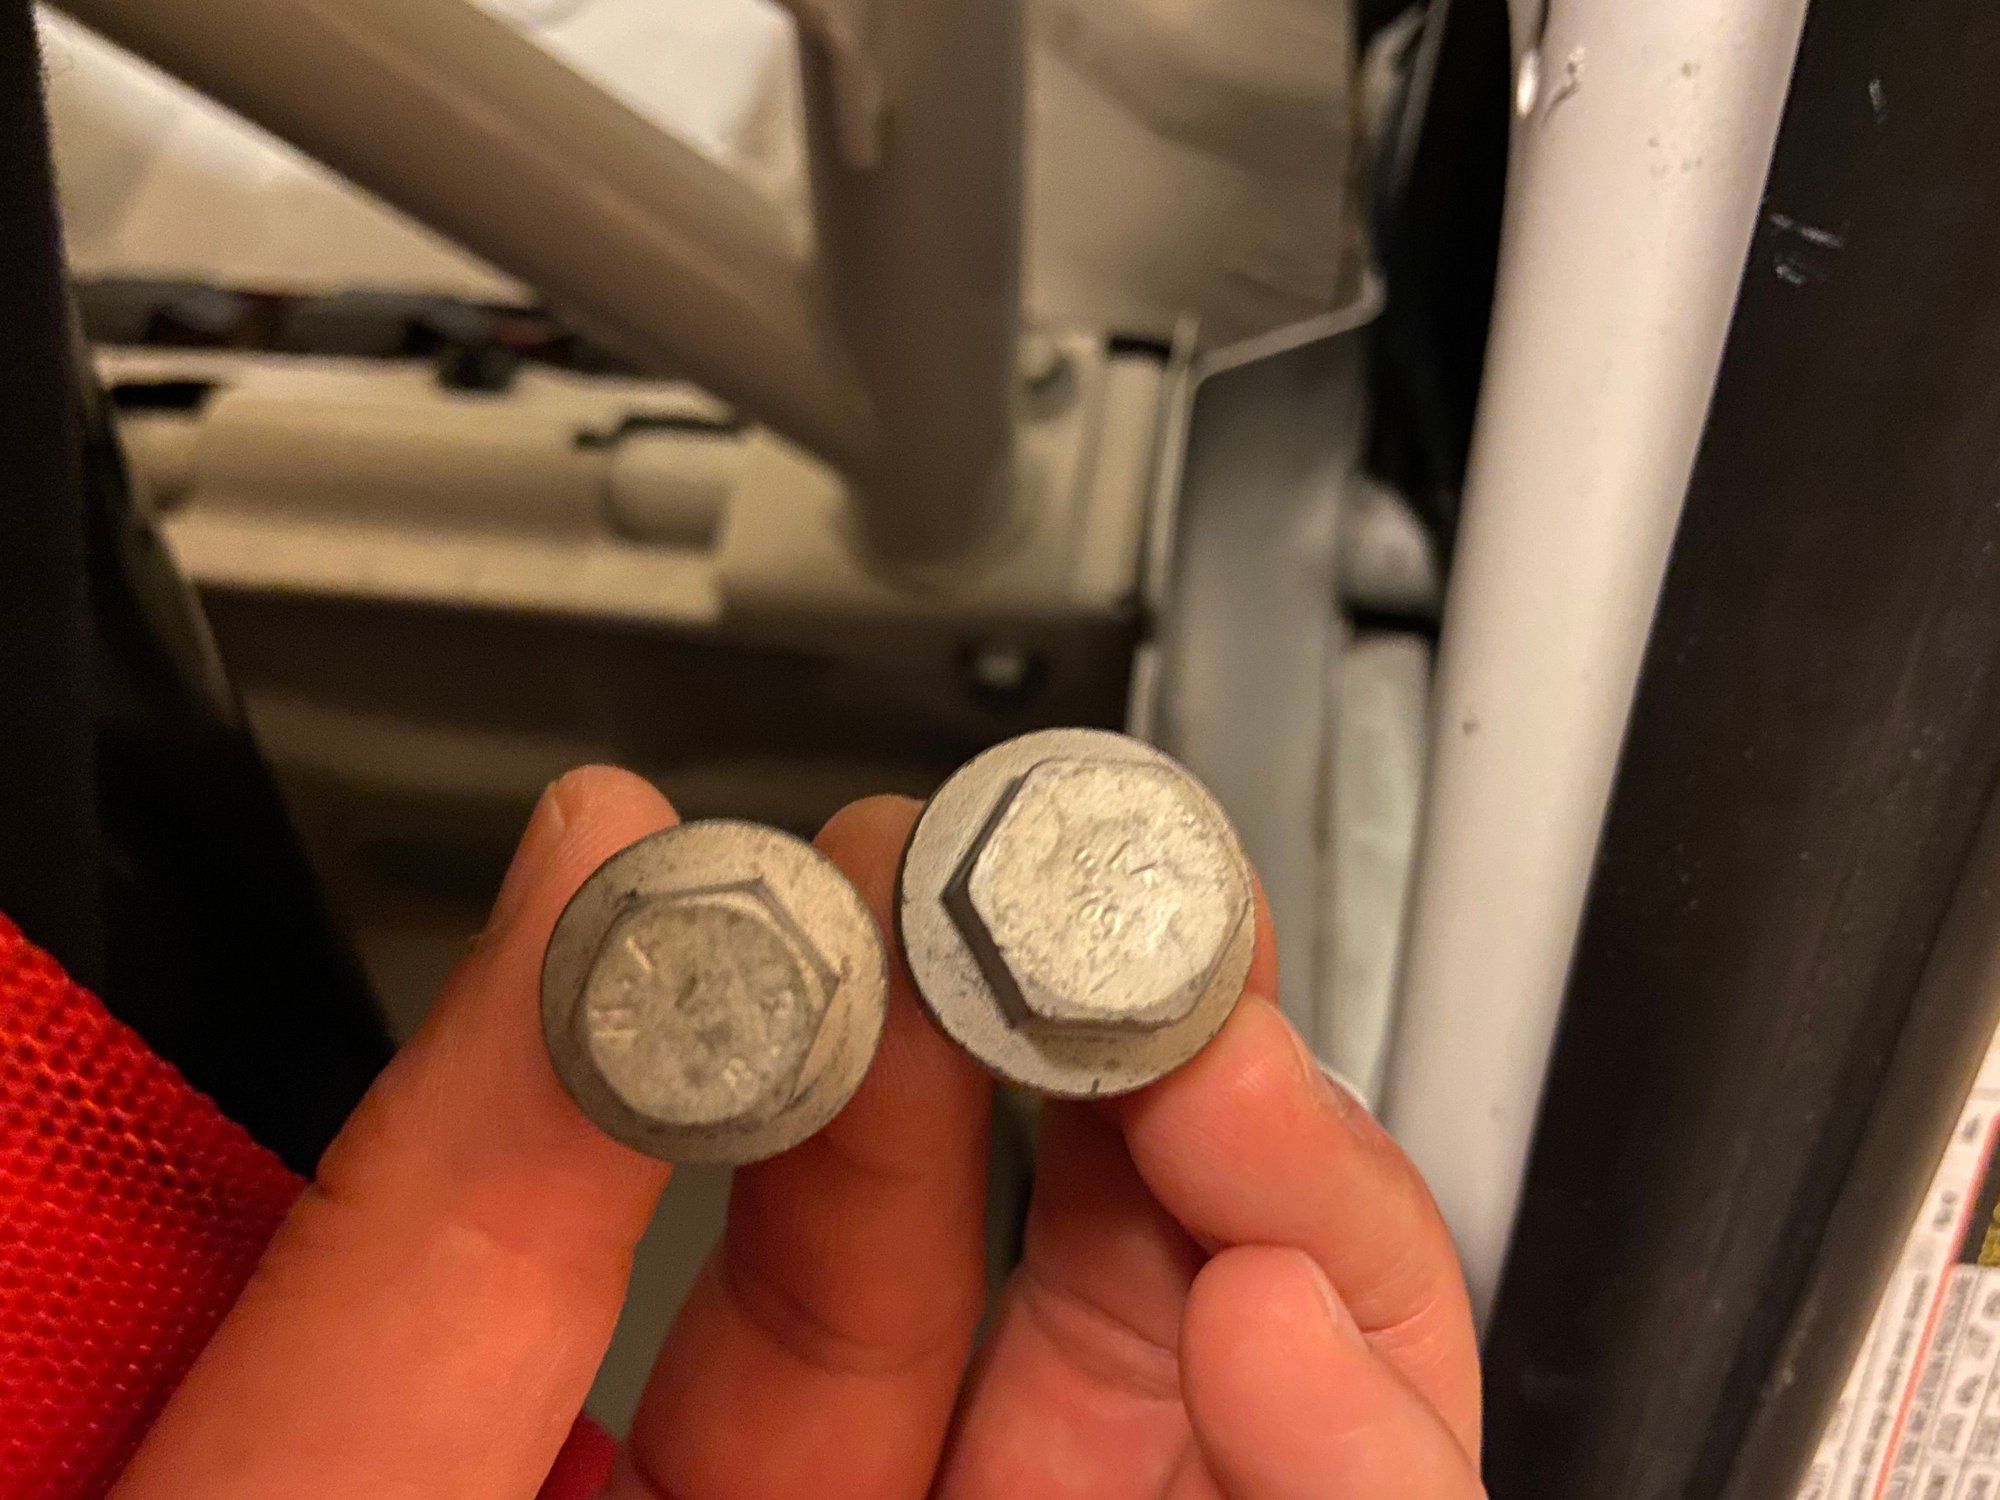
The flange OD increase of 4mm doesn't sound like much but that 4mm looks more substantial side by side. That's the power of Pi.
I am okay with this. I have to be, to keep myself sane. I have some paint touch up to do.
I promise the next mod will be more upbeat!
Recap- Back in June I installed this back half cage. While this cage is structurally more substantial than the previous, the gap on the right side footing has been bothering me for months. As per the quoted post above, I tried making a shim to fill the gap but it was not fruitful. Rennlist member Powdrhound suggested that I use 3M #07333 Impact Resistant Structural Adhesive and wax paper. So, here we are.
Out goes the cage again. I have lost count how many times I have taken this cage in and out of the car. LOL
Very thankful for the mild weather in October so I can do this outside at night. The shop has been full and been keeping me busy during the days.
Prepping the surface.
Here's the base layered with wax paper. Man, I really hope this doesn't turn into a giant mess. Fingers crossed.
Here's the stuff. It was 80 bucks. Once the stuff comes out of the tube the set time is approximately 10 minutes so I better be on the hustle putting the cage back in. The shop had the gun from doing 991 Cup body repair.
I rolled up the wax paper into three plugs to plug the bolt holes to prevent the adhesive from getting in the threads.
I wrestled with this thing for what seemed like half hour! I was sweating profusely and stressing out about the adhesive setting before having the footing lined up to the base. I ended up tightening and then loosening the rear shock tower nuts twice and lifted the 60-lb cage upward with my shoulder while using a needle nose pliers to pull the wax paper plugs out. During the first attempt the footing didn't line up and covered the wax paper plugs. I didn't really keep track of time as I was frustrated but knew what must be done to save the project. Fortunately I got the plugs out without smearing the adhesive all over the place and before it set. This was one of the most difficult things I ever done! BIG PHEW. Youcan see my sweat droplets. LOL
The easier part now- scraping off the overhang.
Looks better than before. Letting it sit overnight. Then taking the cage out again for finish sanding and paint. Really Really hope the wax paper will peel off easy. After all this excitement, I am wiped out! Time to say good night.
Last edited by Tom@TPC Racing; 10-14-2020 at 11:43 PM.
The following 6 users liked this post by Tom@TPC Racing:
fc-racer (10-15-2020),FruitFly (10-15-2020),halo777 (10-15-2020),jonwb (10-15-2020),Mfezi (10-15-2020),monk46 (10-15-2020) and 1 others liked this post. (Show less...)
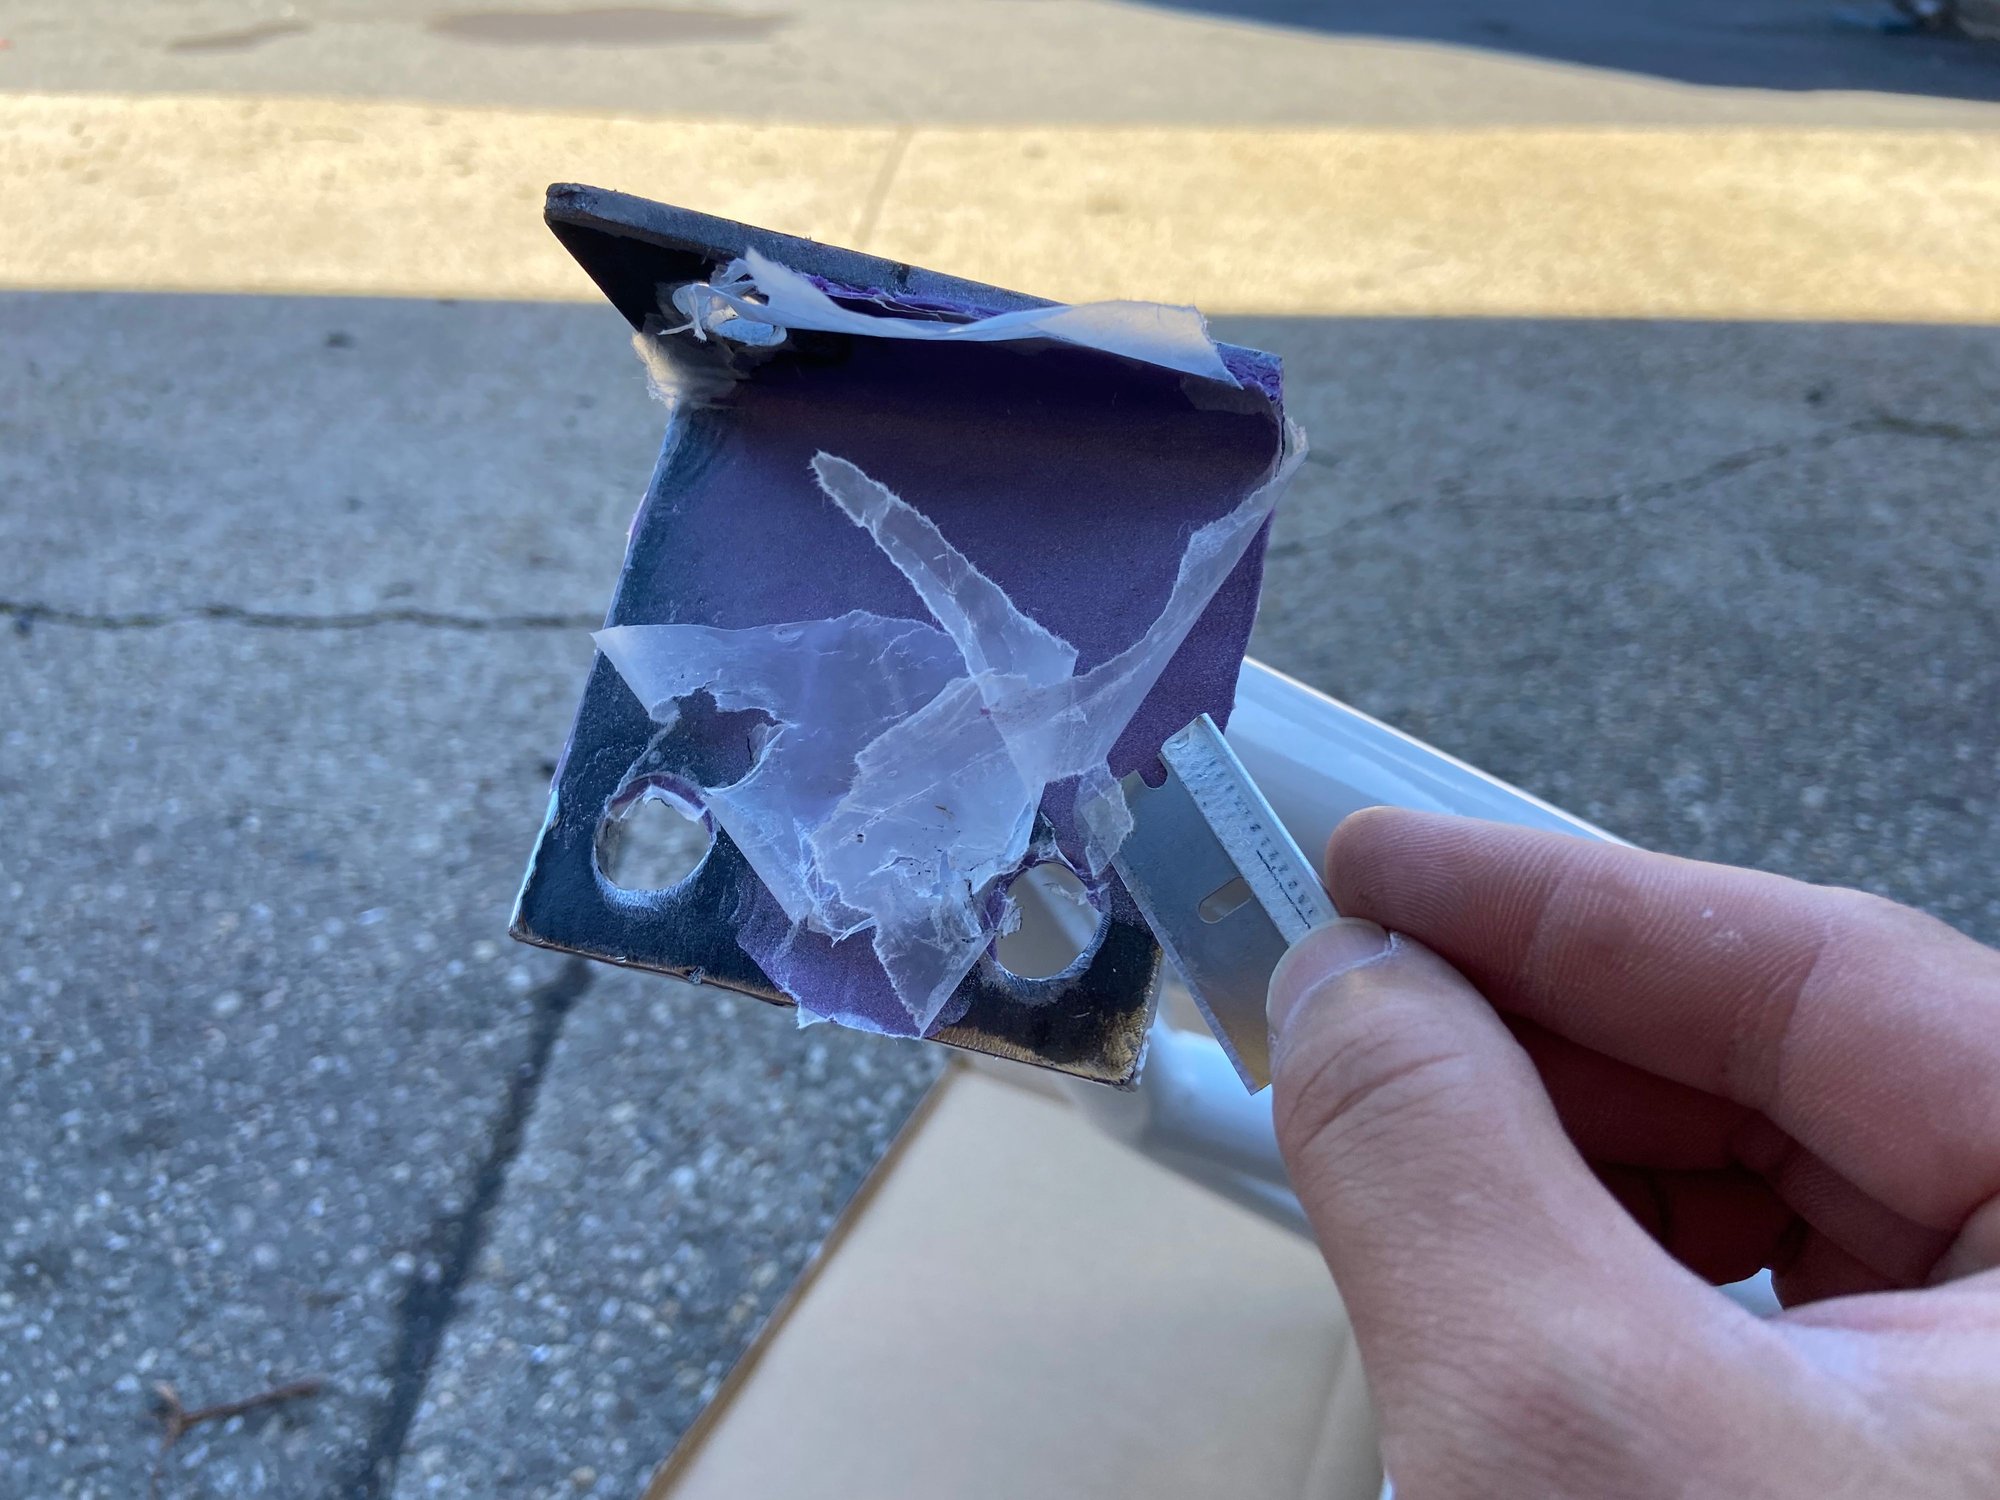
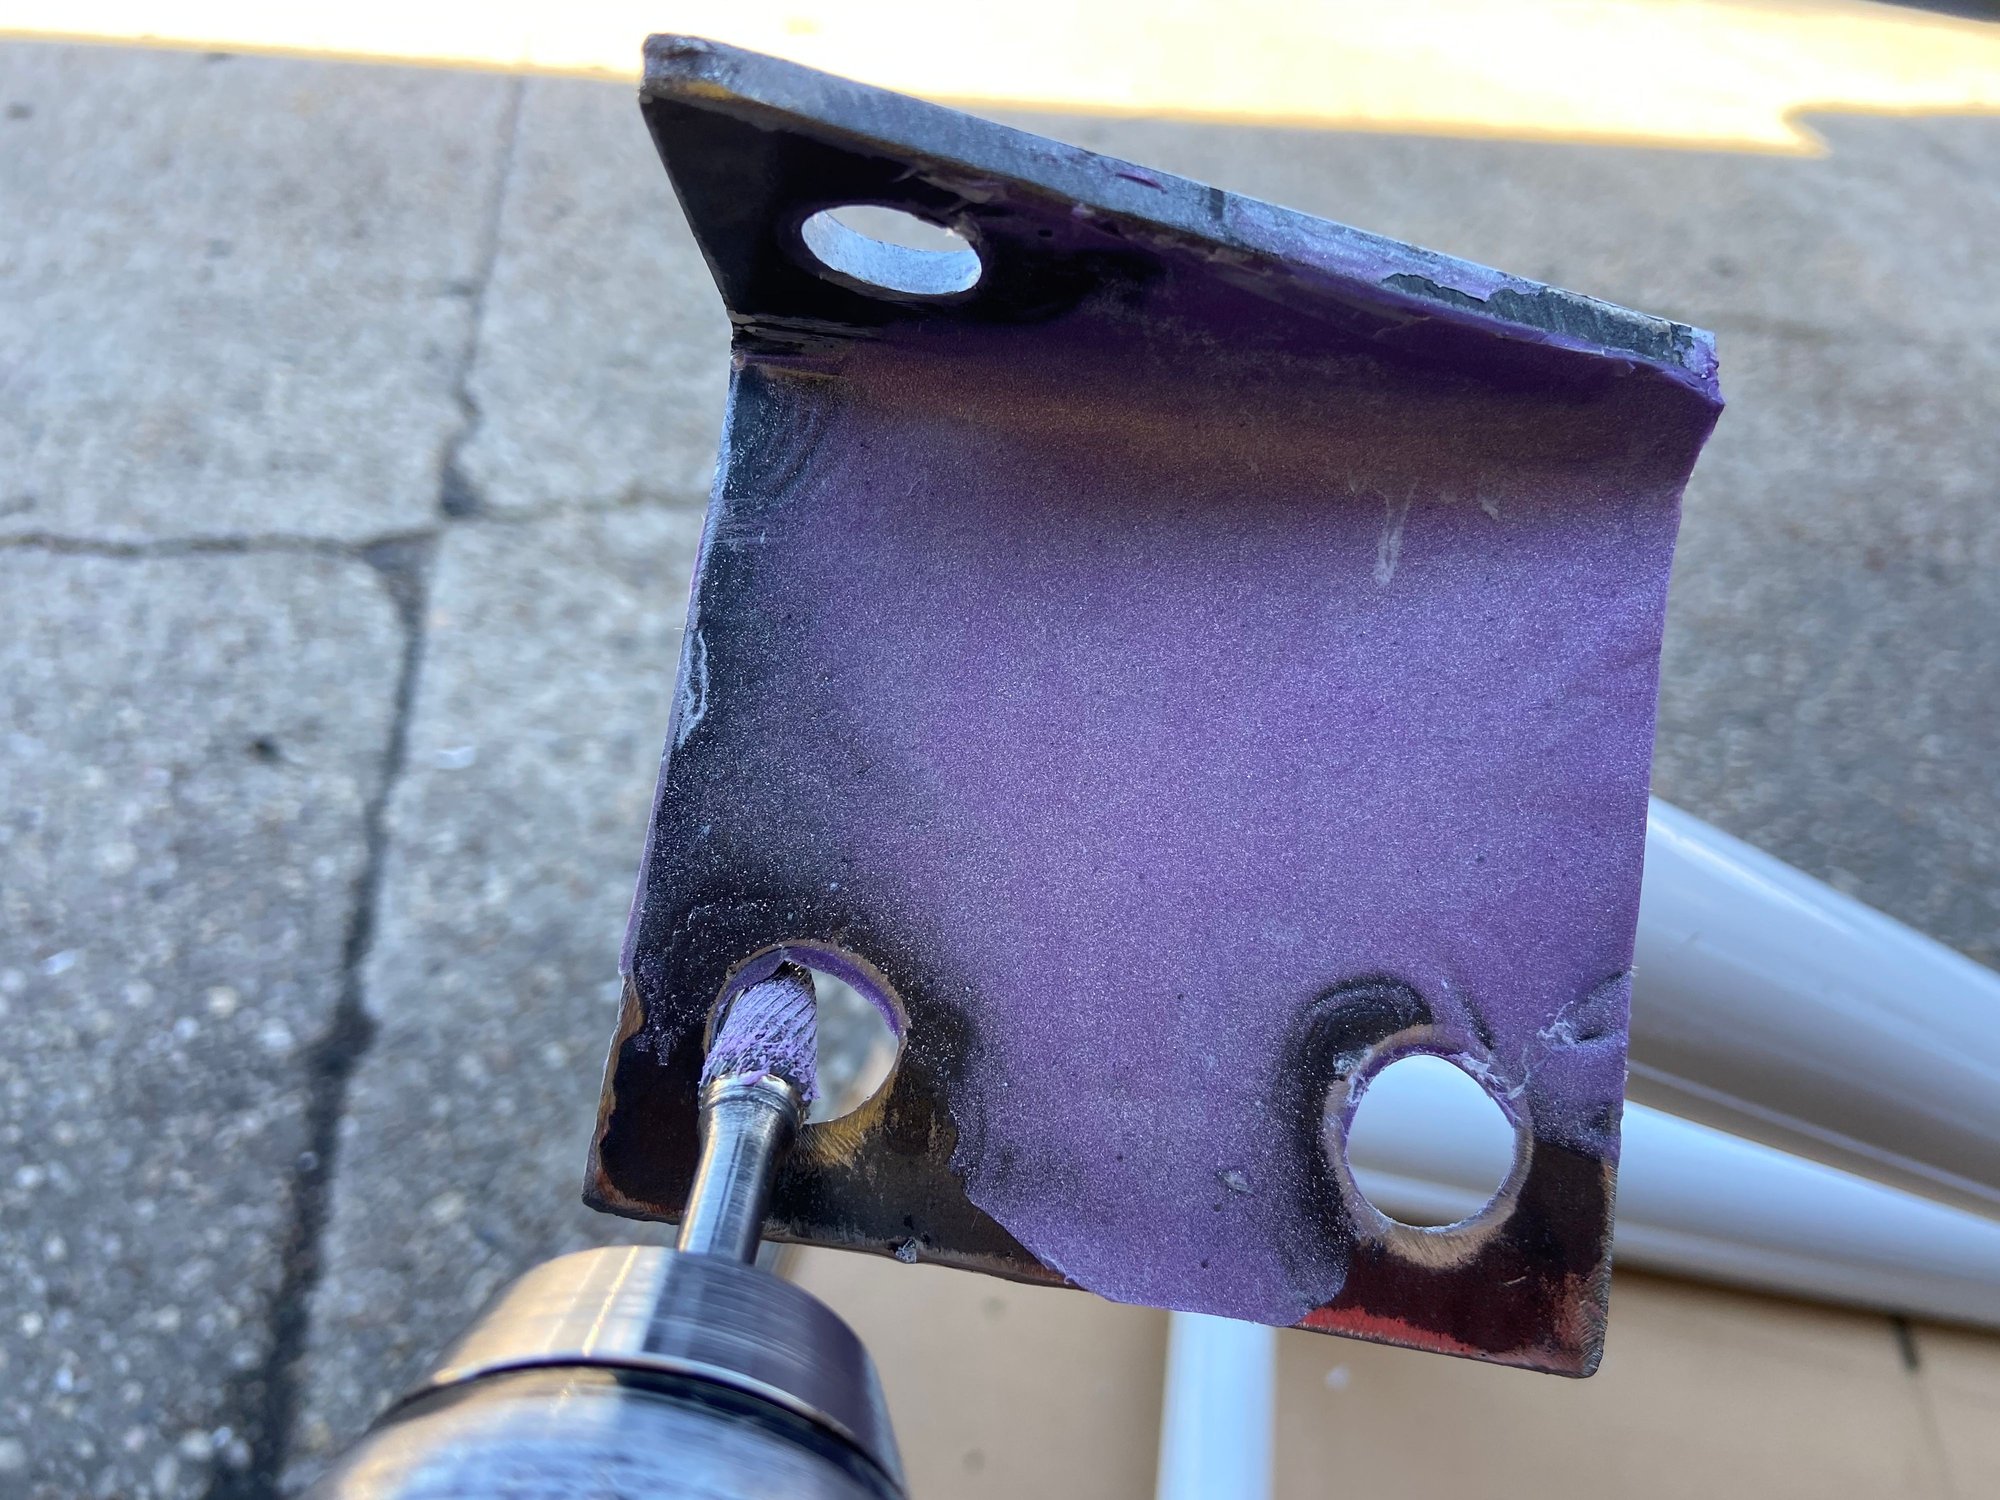
The next day...The 3M Structural Adhesive has cured to the cage footing. It started out a grey color. The purple color as the indication that it has cured. A razor blade helps to separate the wax paper starting at the corners.
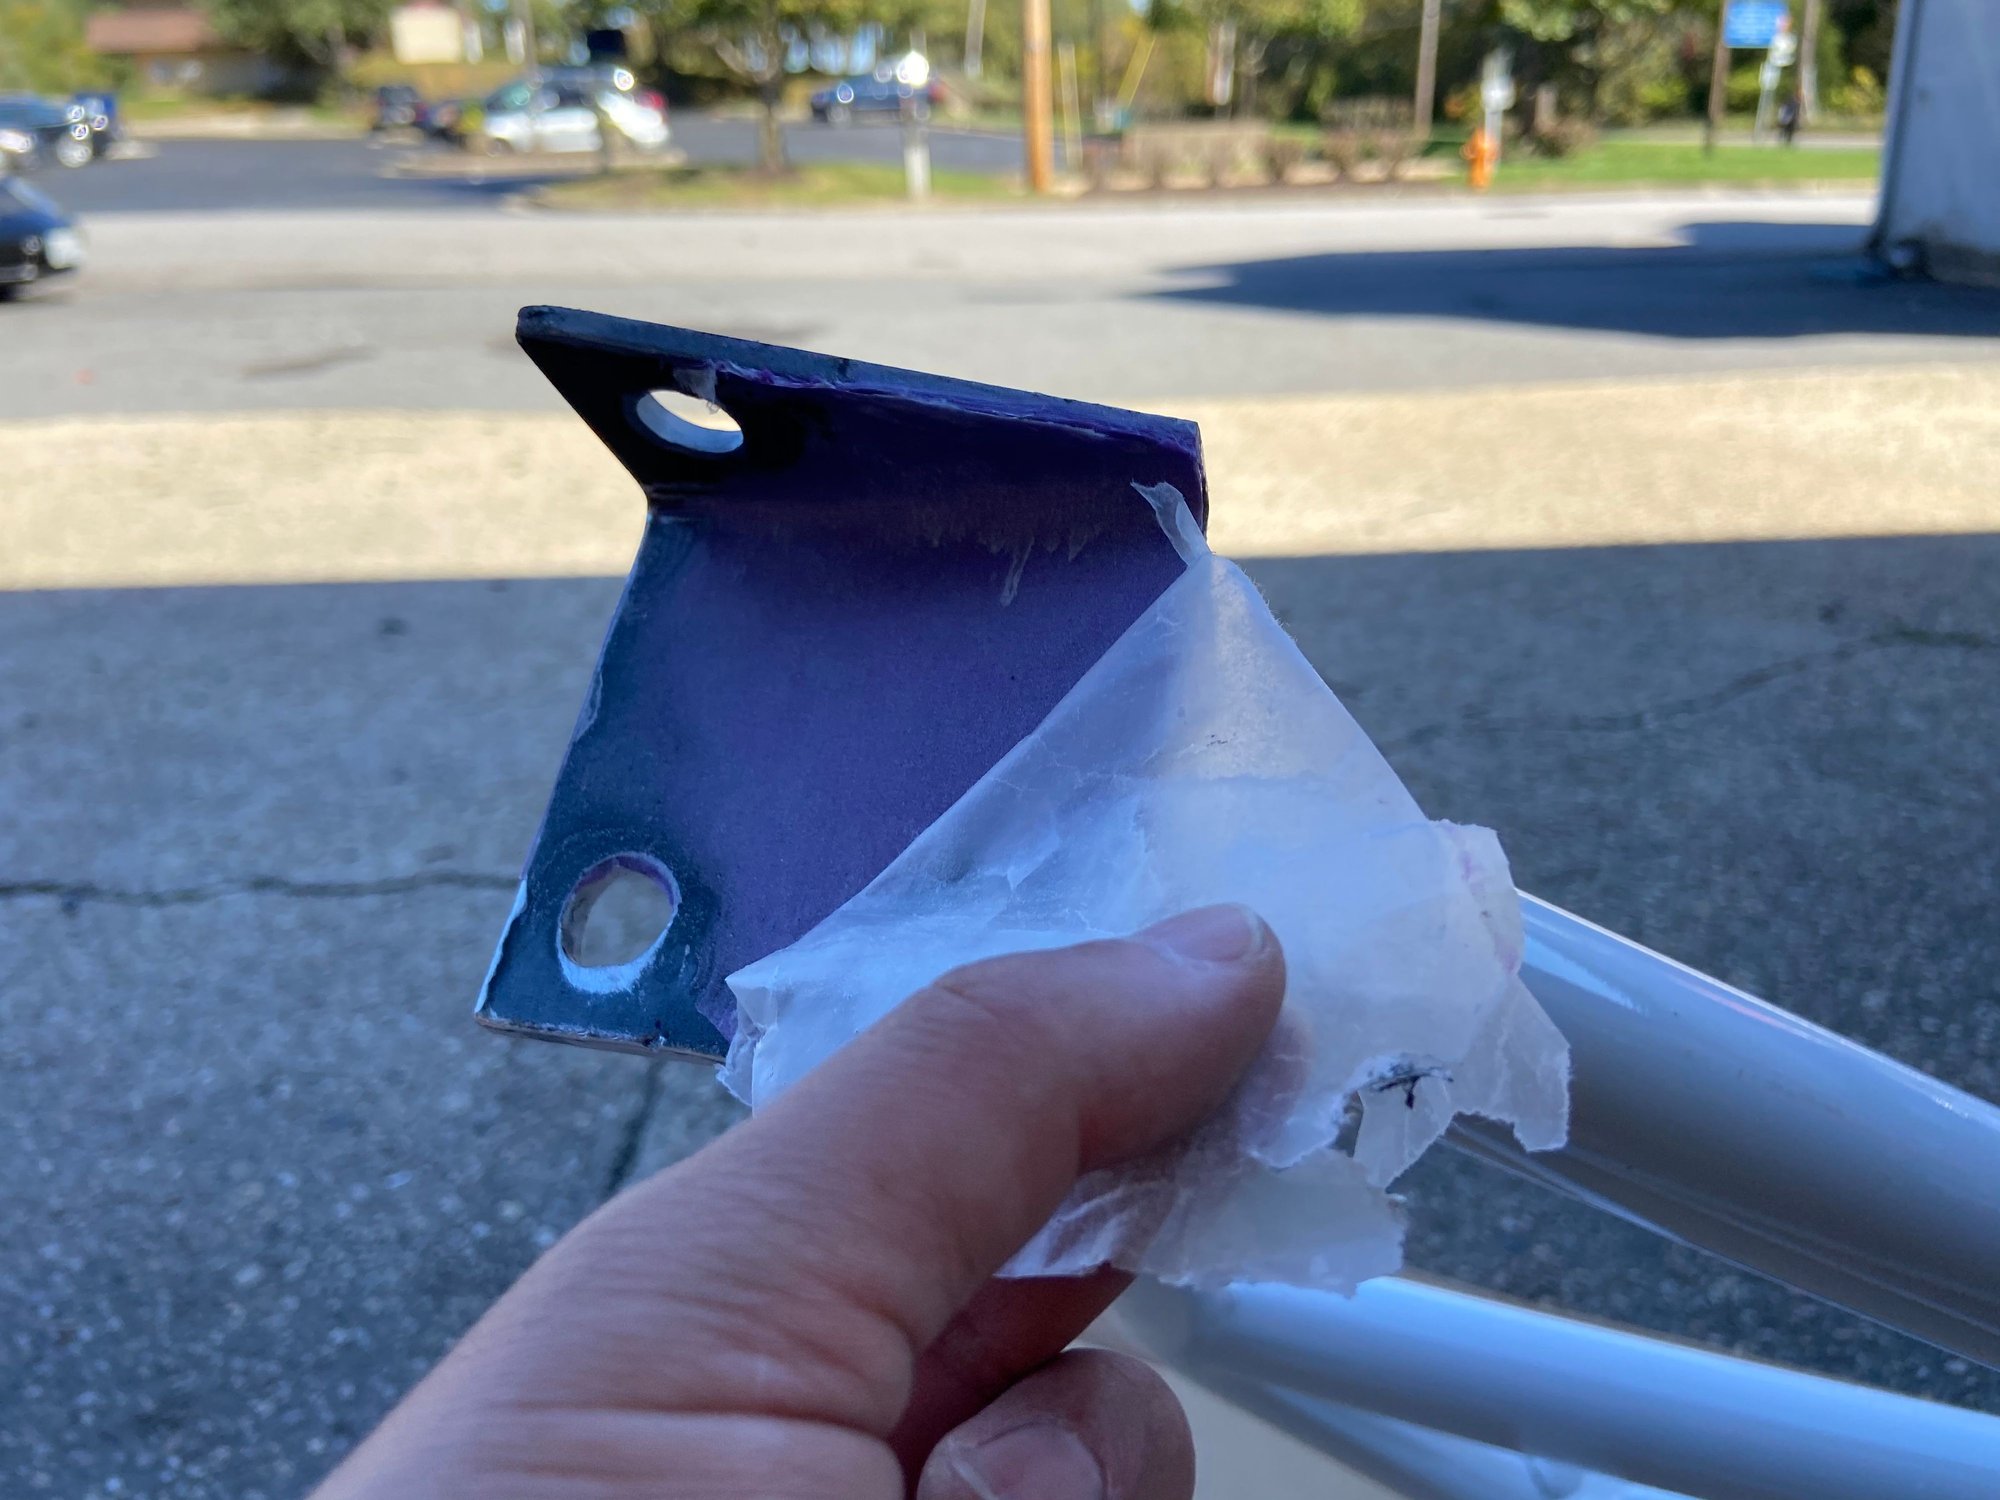
Once the corners are started with a razor blade, the wax paper peels off nicely.
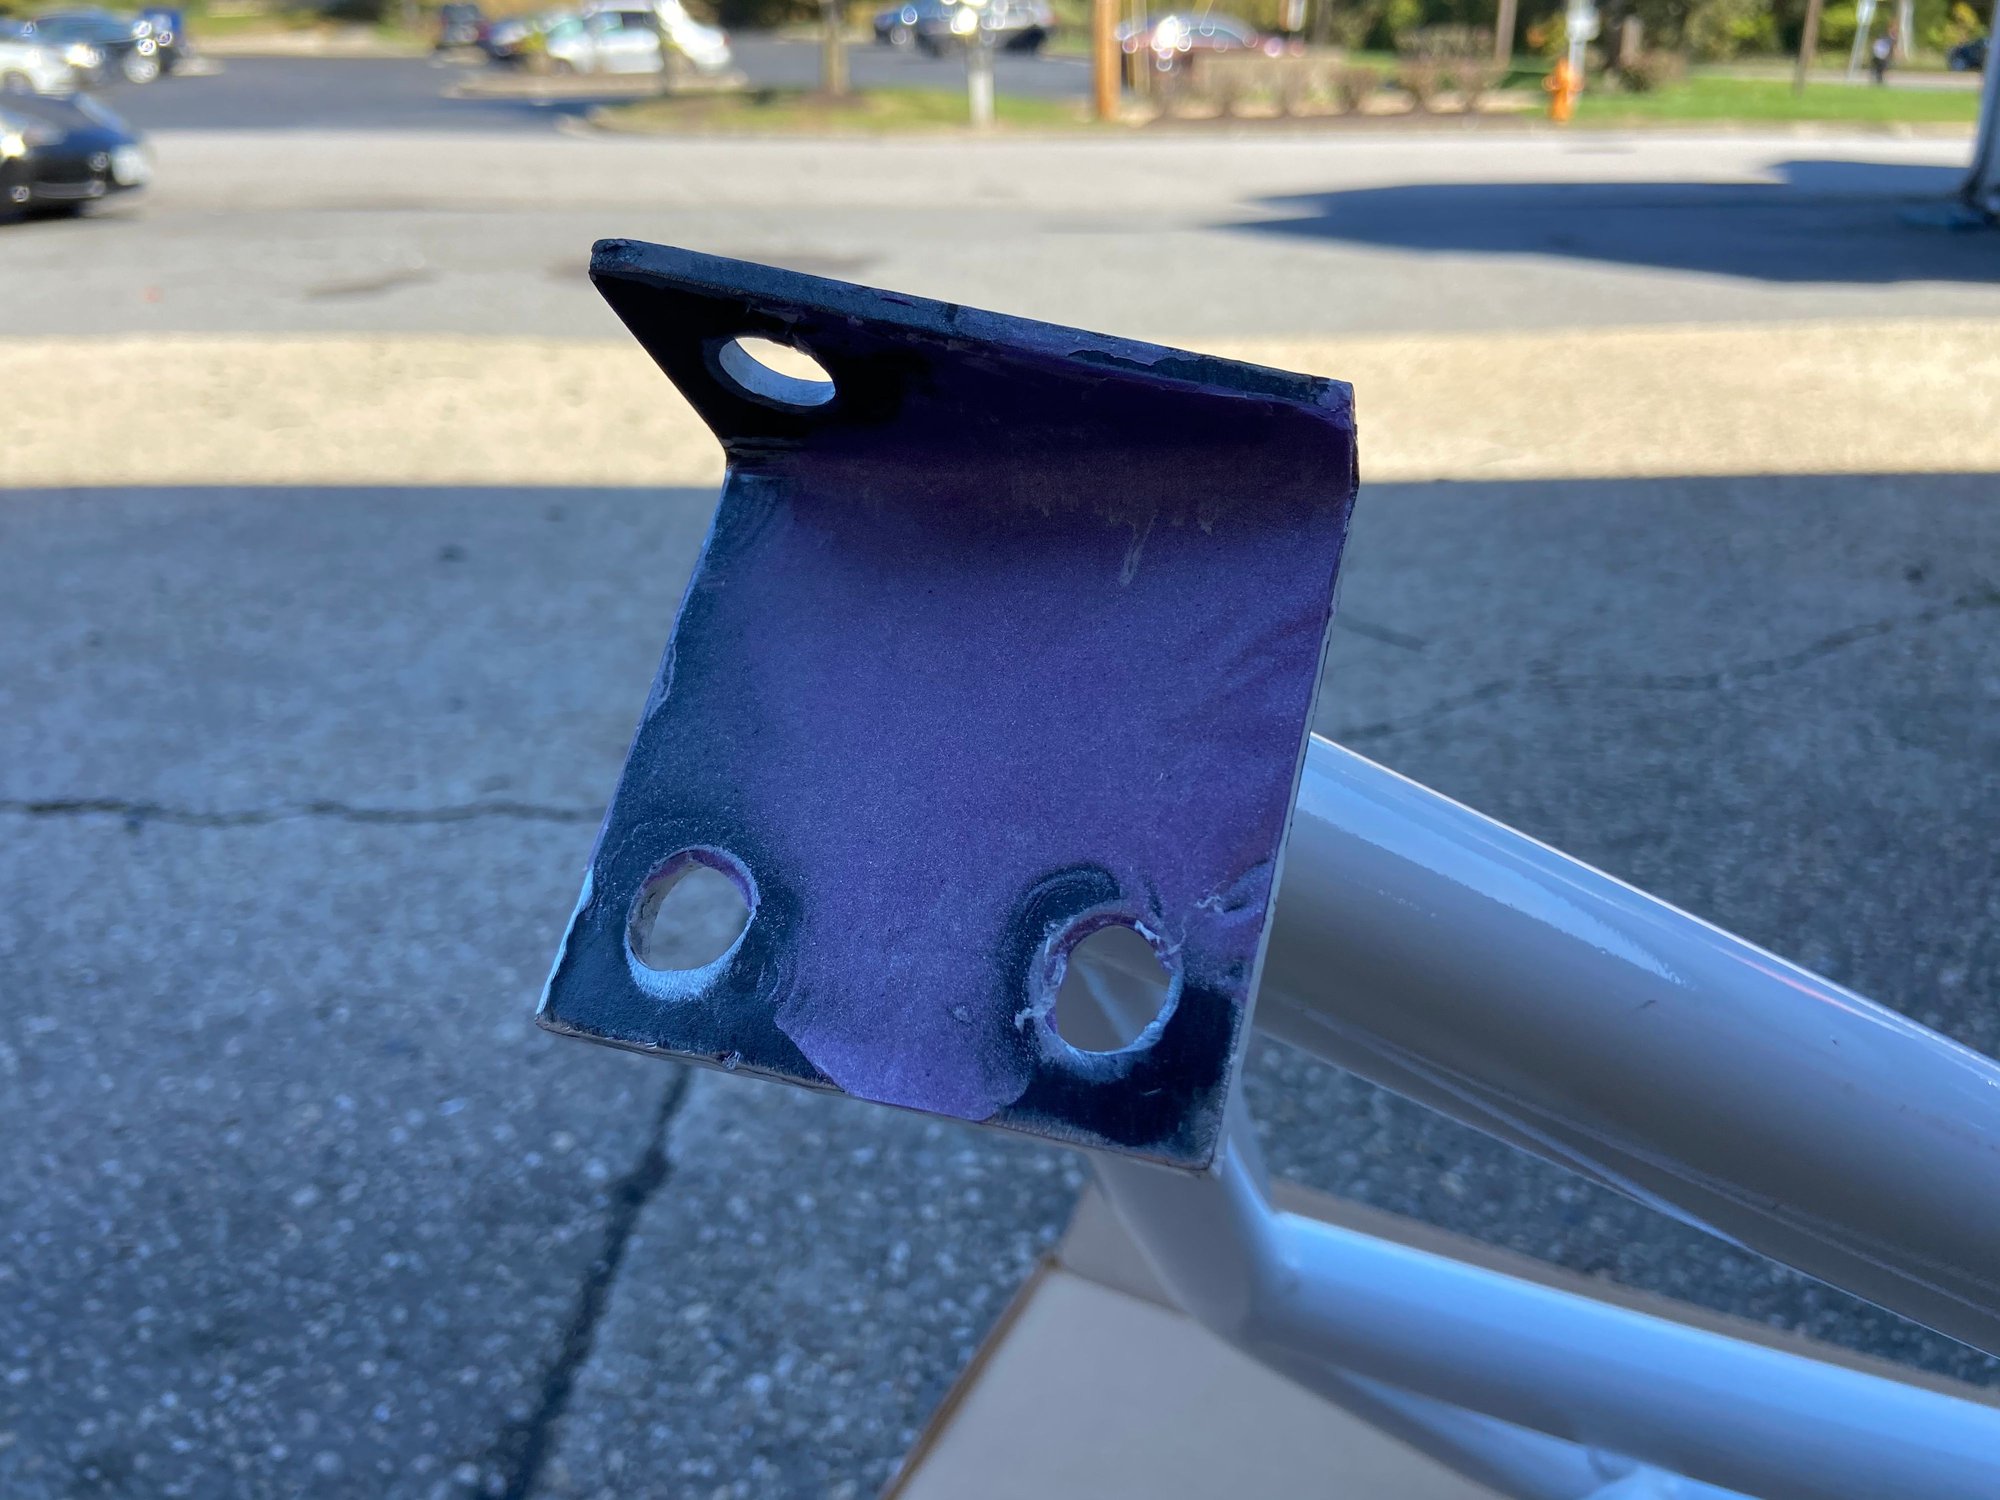
The purple color is the imprint of the contact area. The contact area is much larger than before.
Removing the slags that interferes with the bolts.
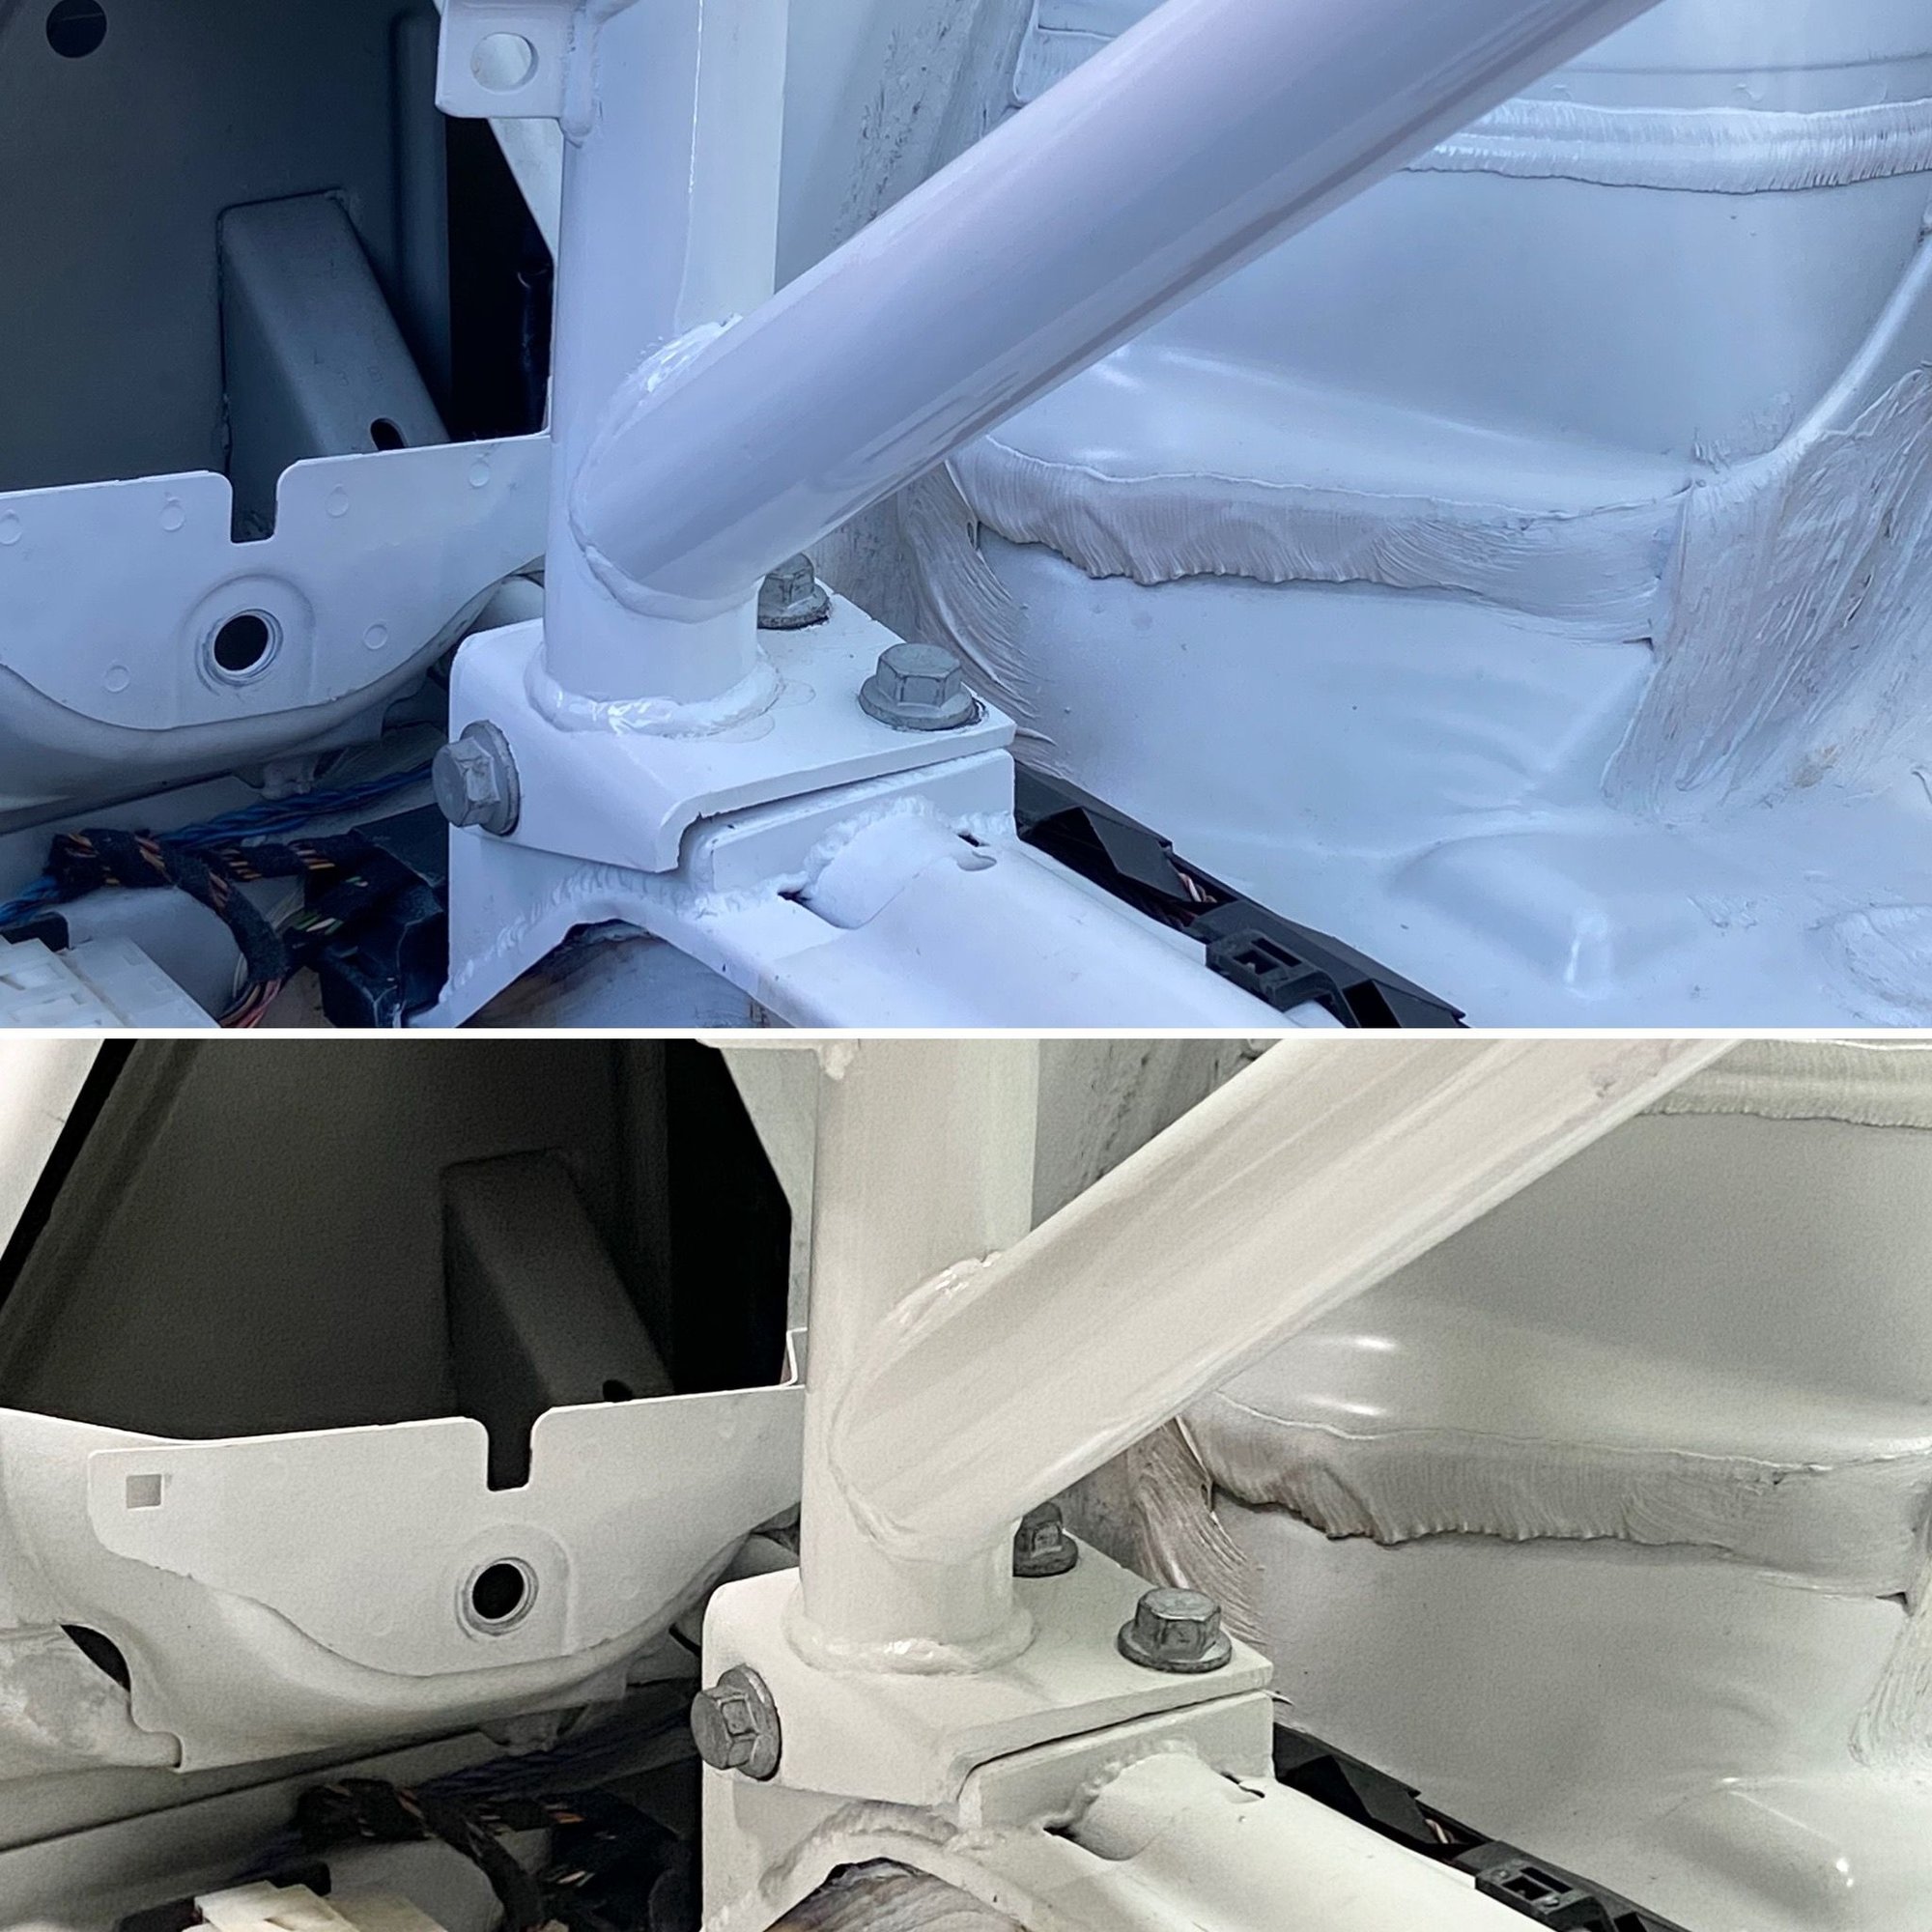
This was A LOT of work to fill a gap! All in all it turned out pretty well.
Here's the before and after. Thank you for the idea, Powdrhound!
Last edited by Tom@TPC Racing; 10-15-2020 at 11:12 PM.

 07-13-2020, 12:24 PM