When you click on links to various merchants on this site and make a purchase, this can result in this site earning a commission. Affiliate programs and affiliations include, but are not limited to, the eBay Partner Network.
Pardon me for going back and forth between working on the front end and the rear end of the car. Normally I prefer to "button up" one section of the car before moving on to another but given some constraints this is the only way.
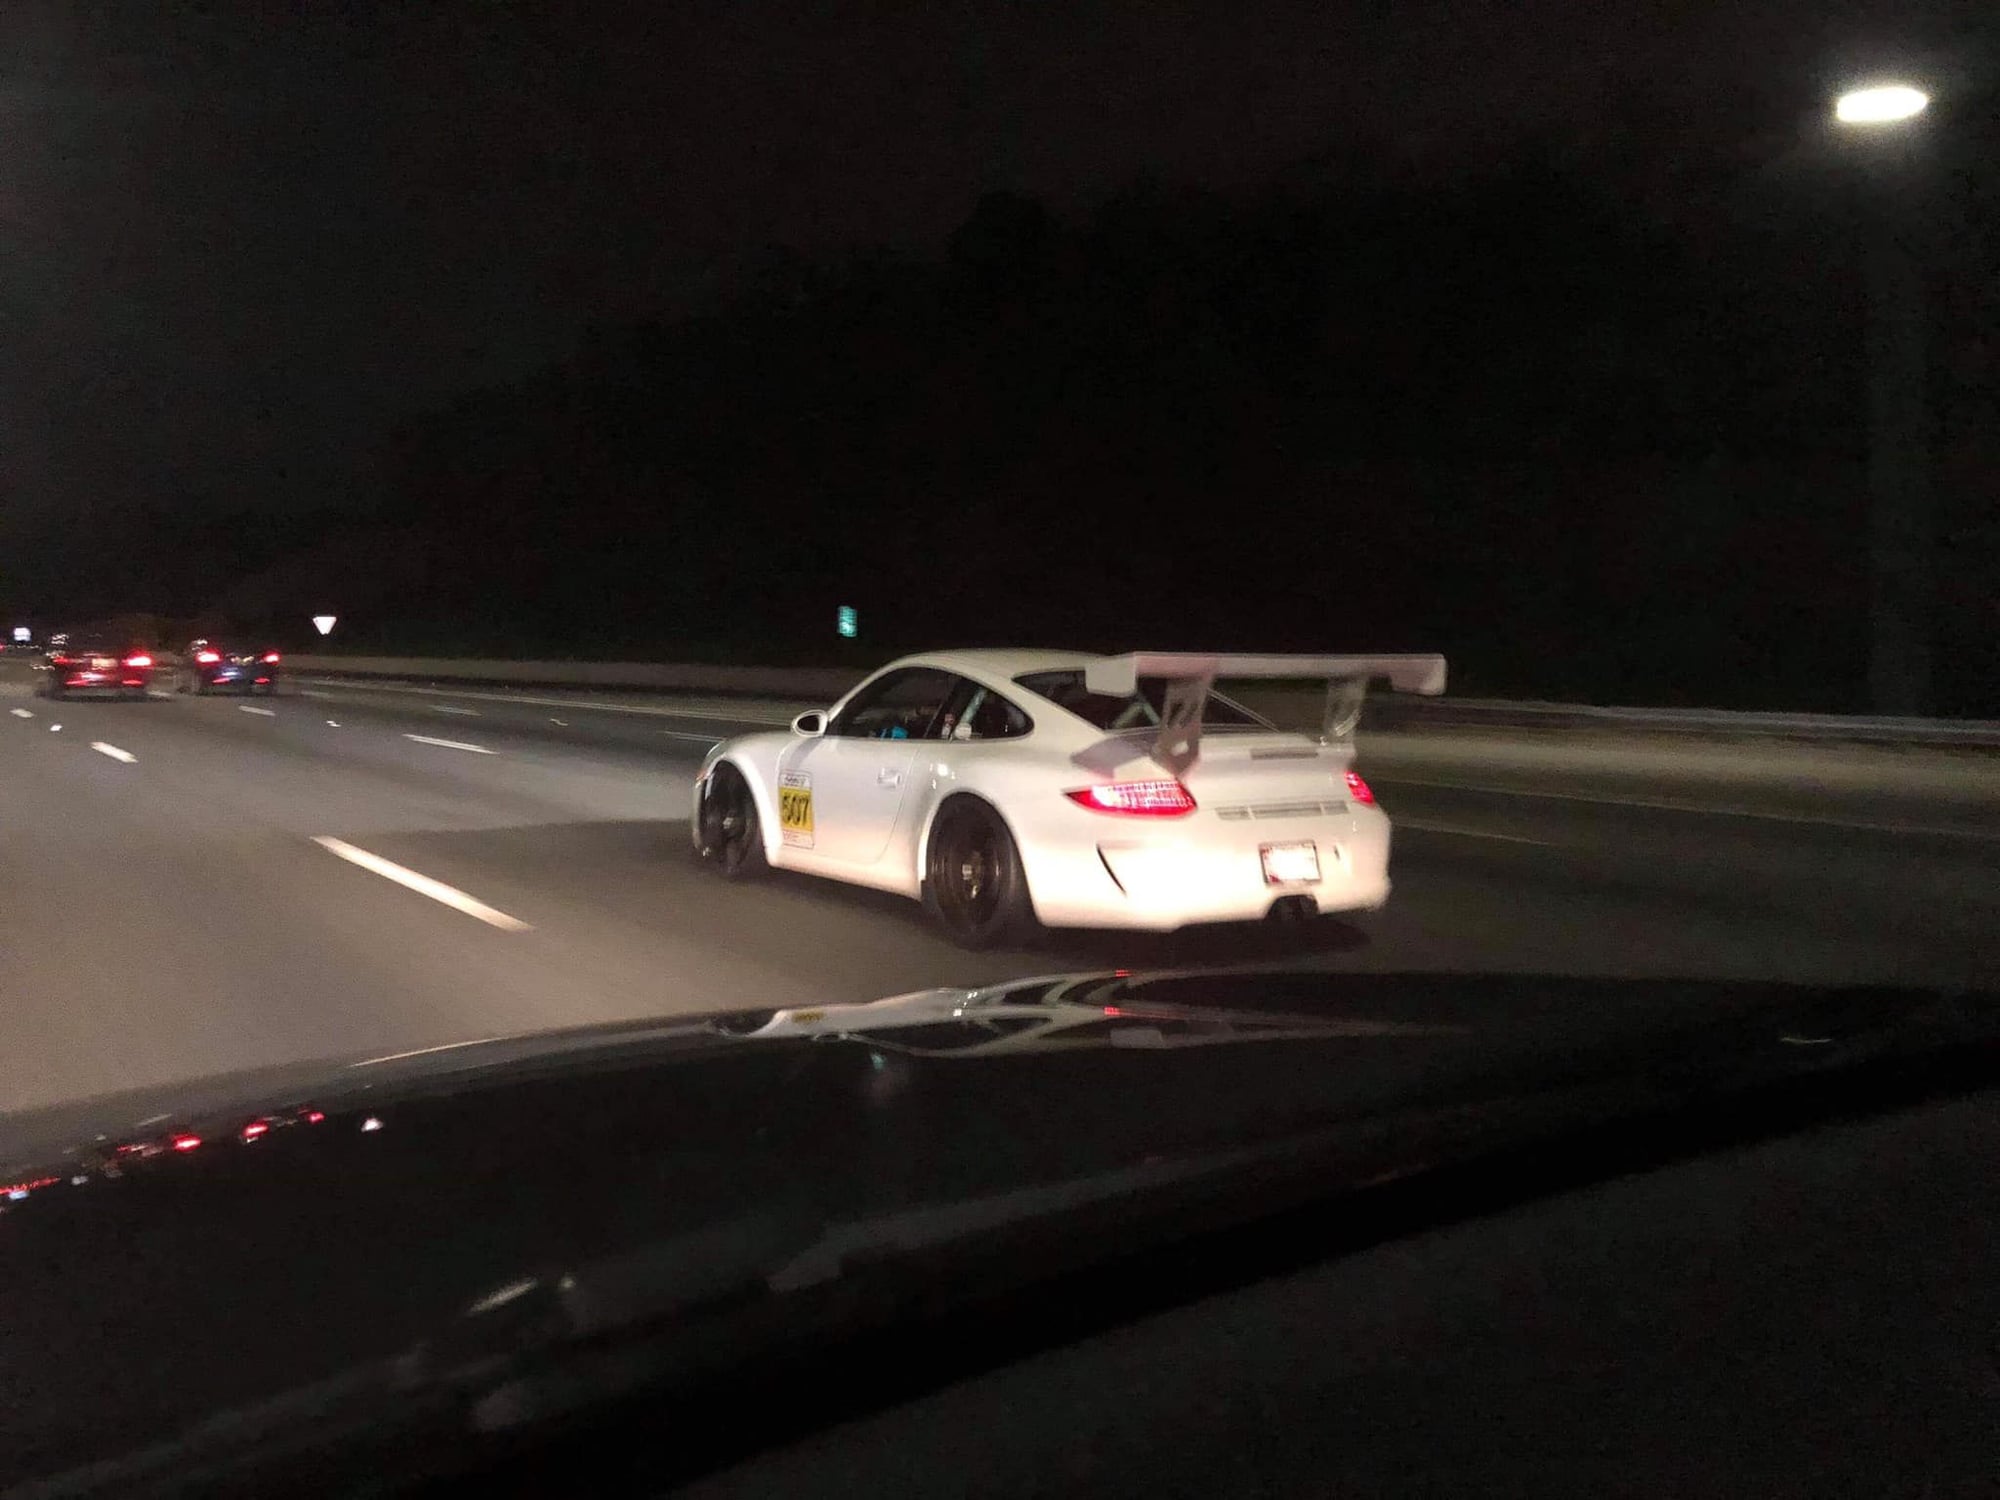
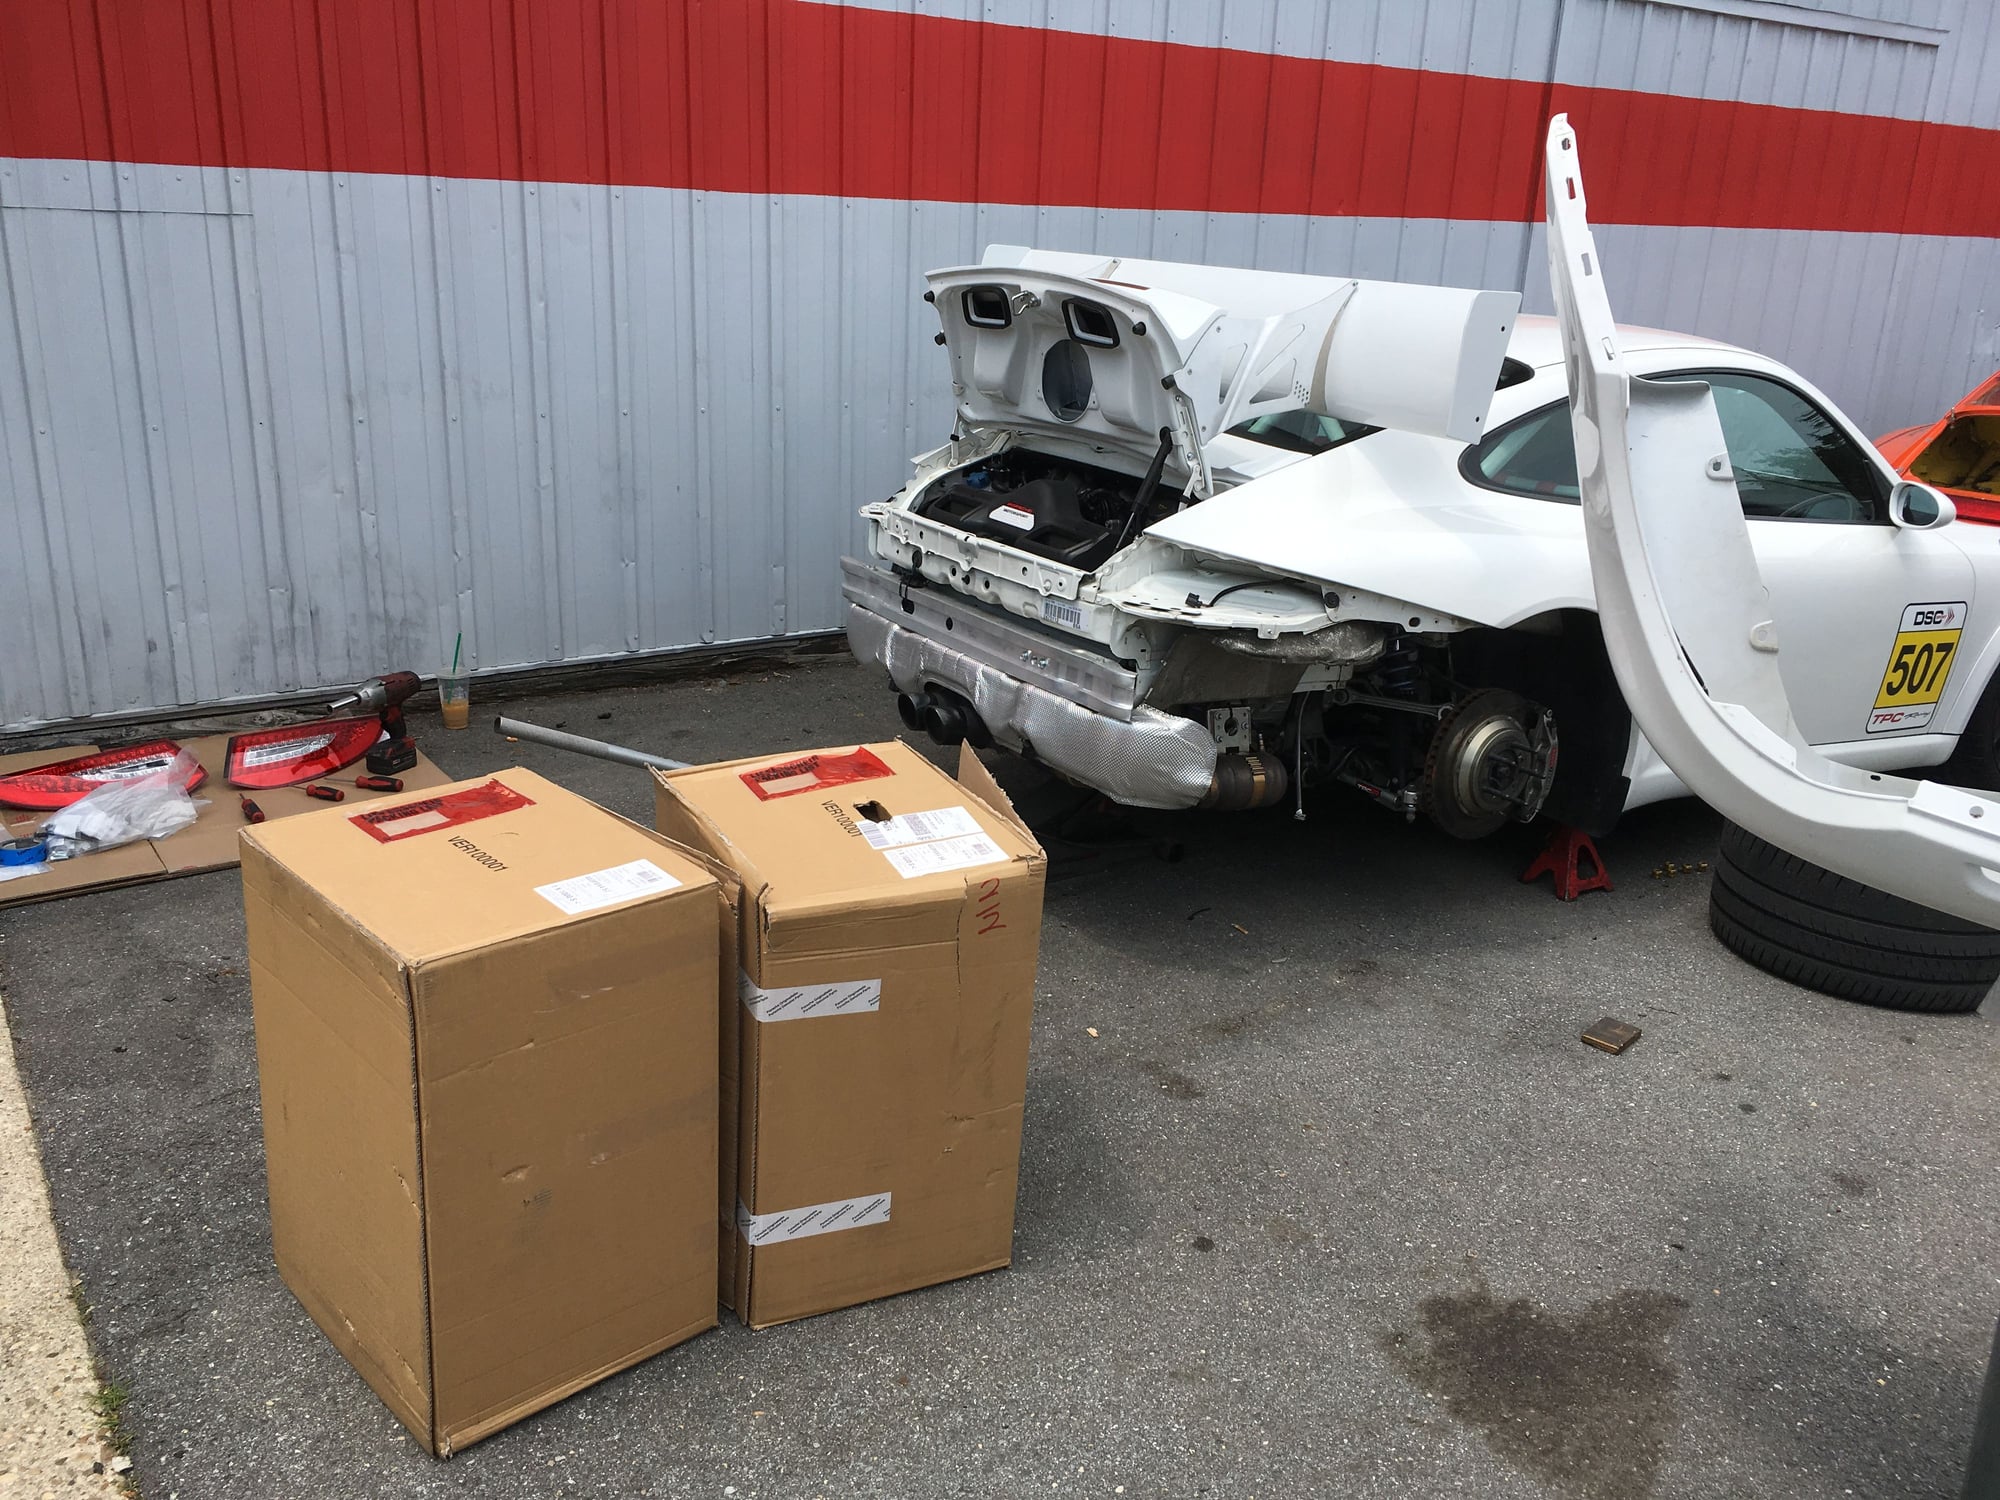
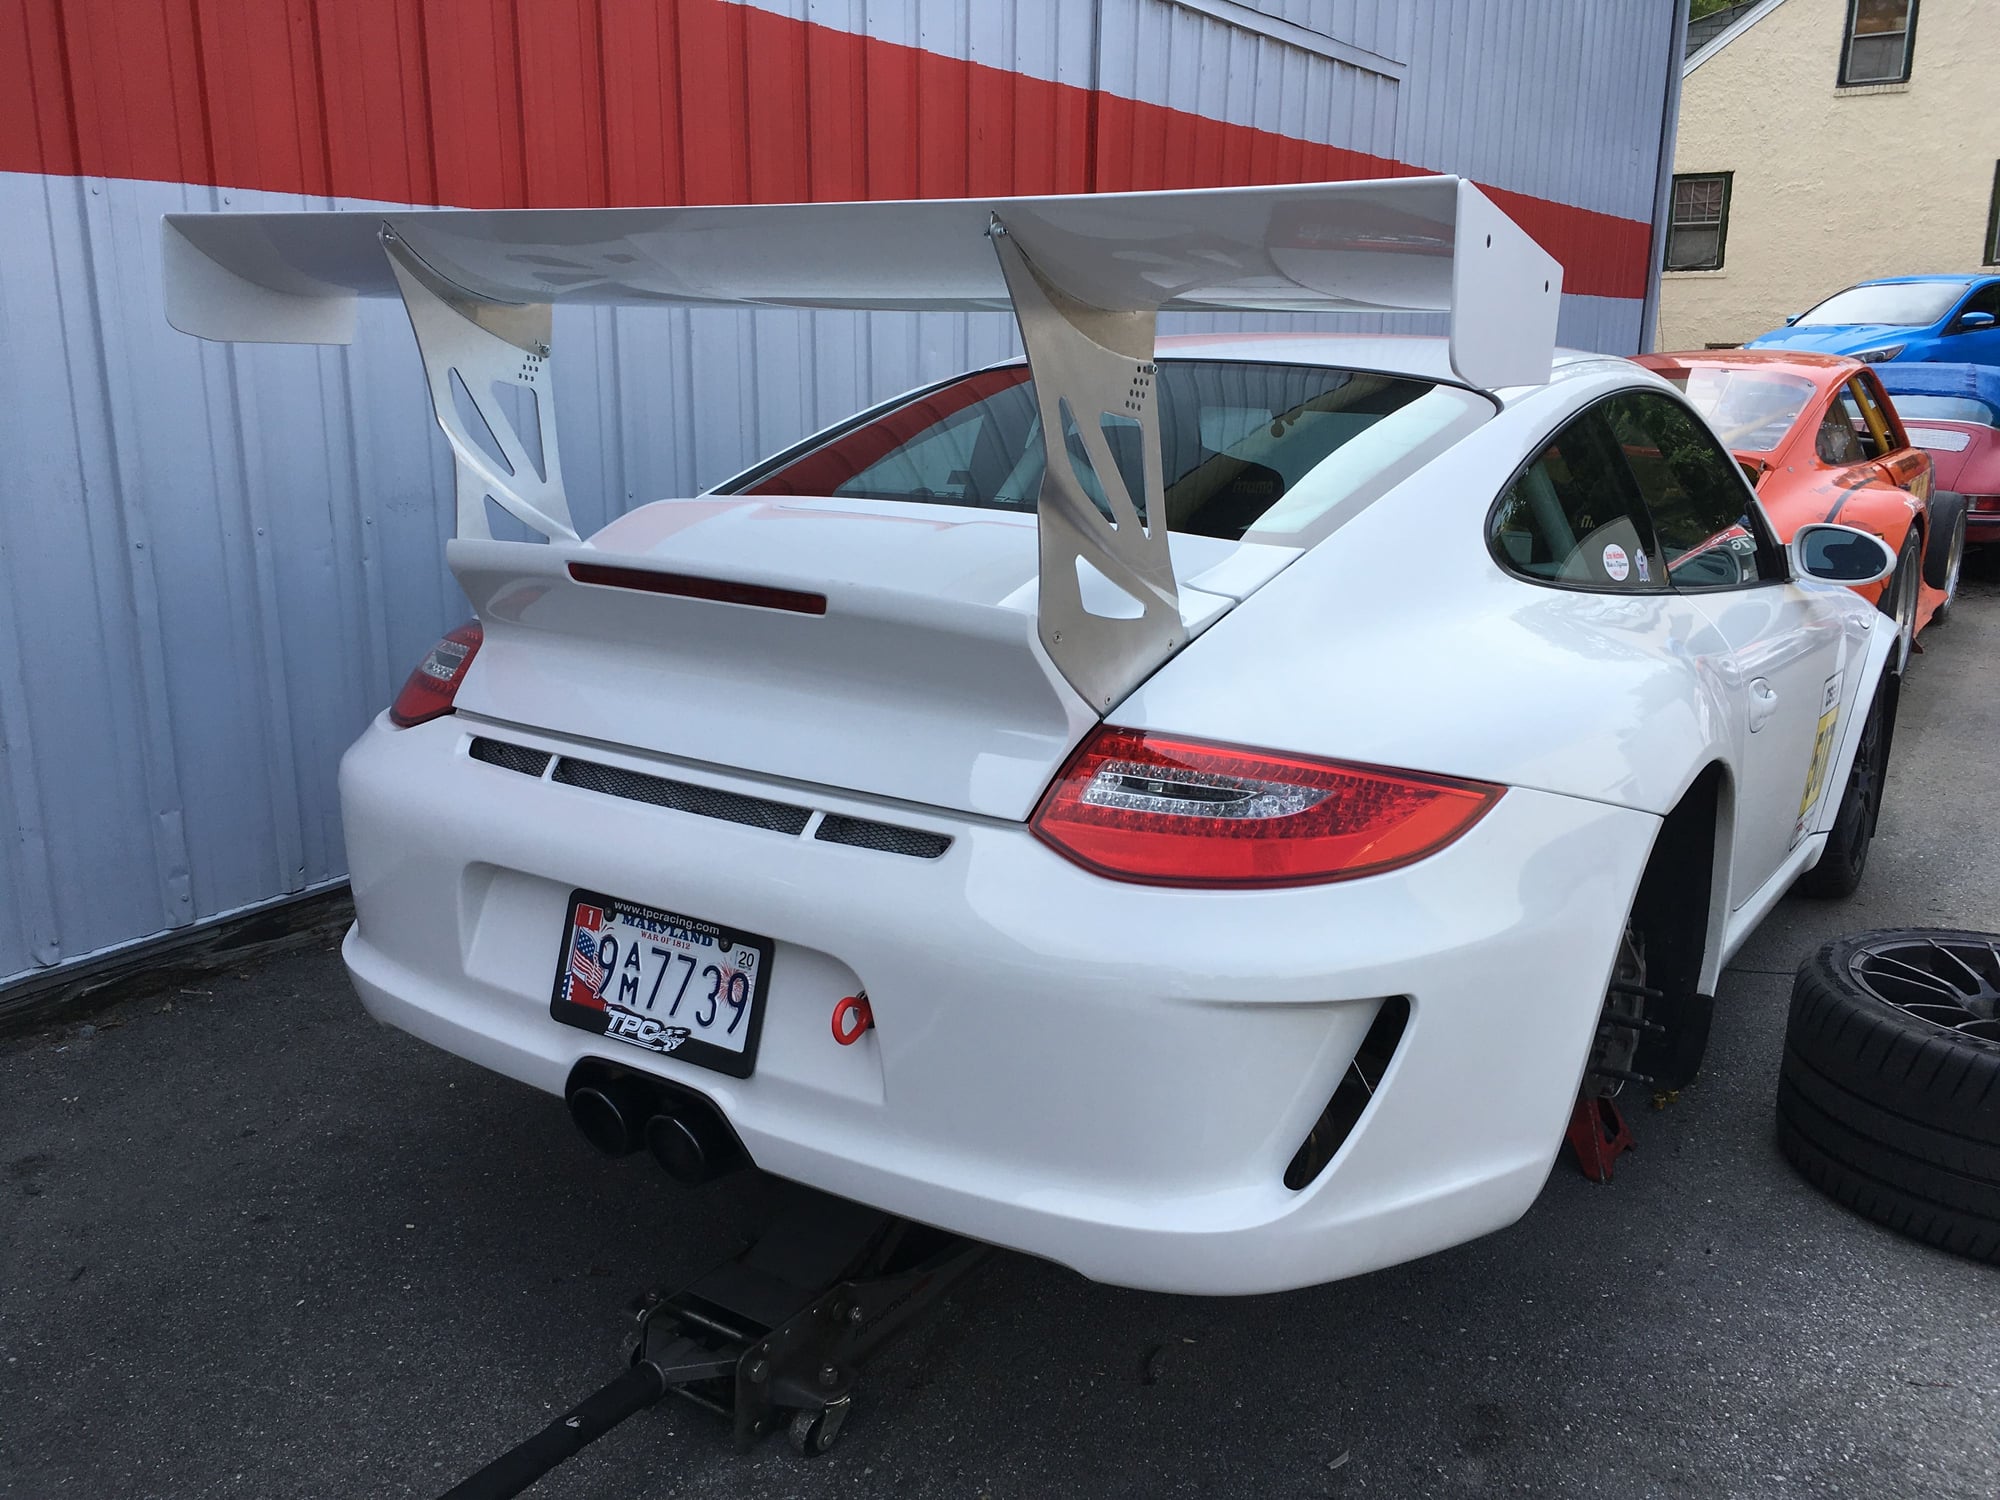
I've been driving my GT3 to and from work. It is not track-ready because the rear bumper has only been held in place by five 4mm screws(not secure enough for track speeds) and the essential heat shields are missing.
A friend sent this pic when he saw me driving home from work one night. (Thanks, Shane H.)
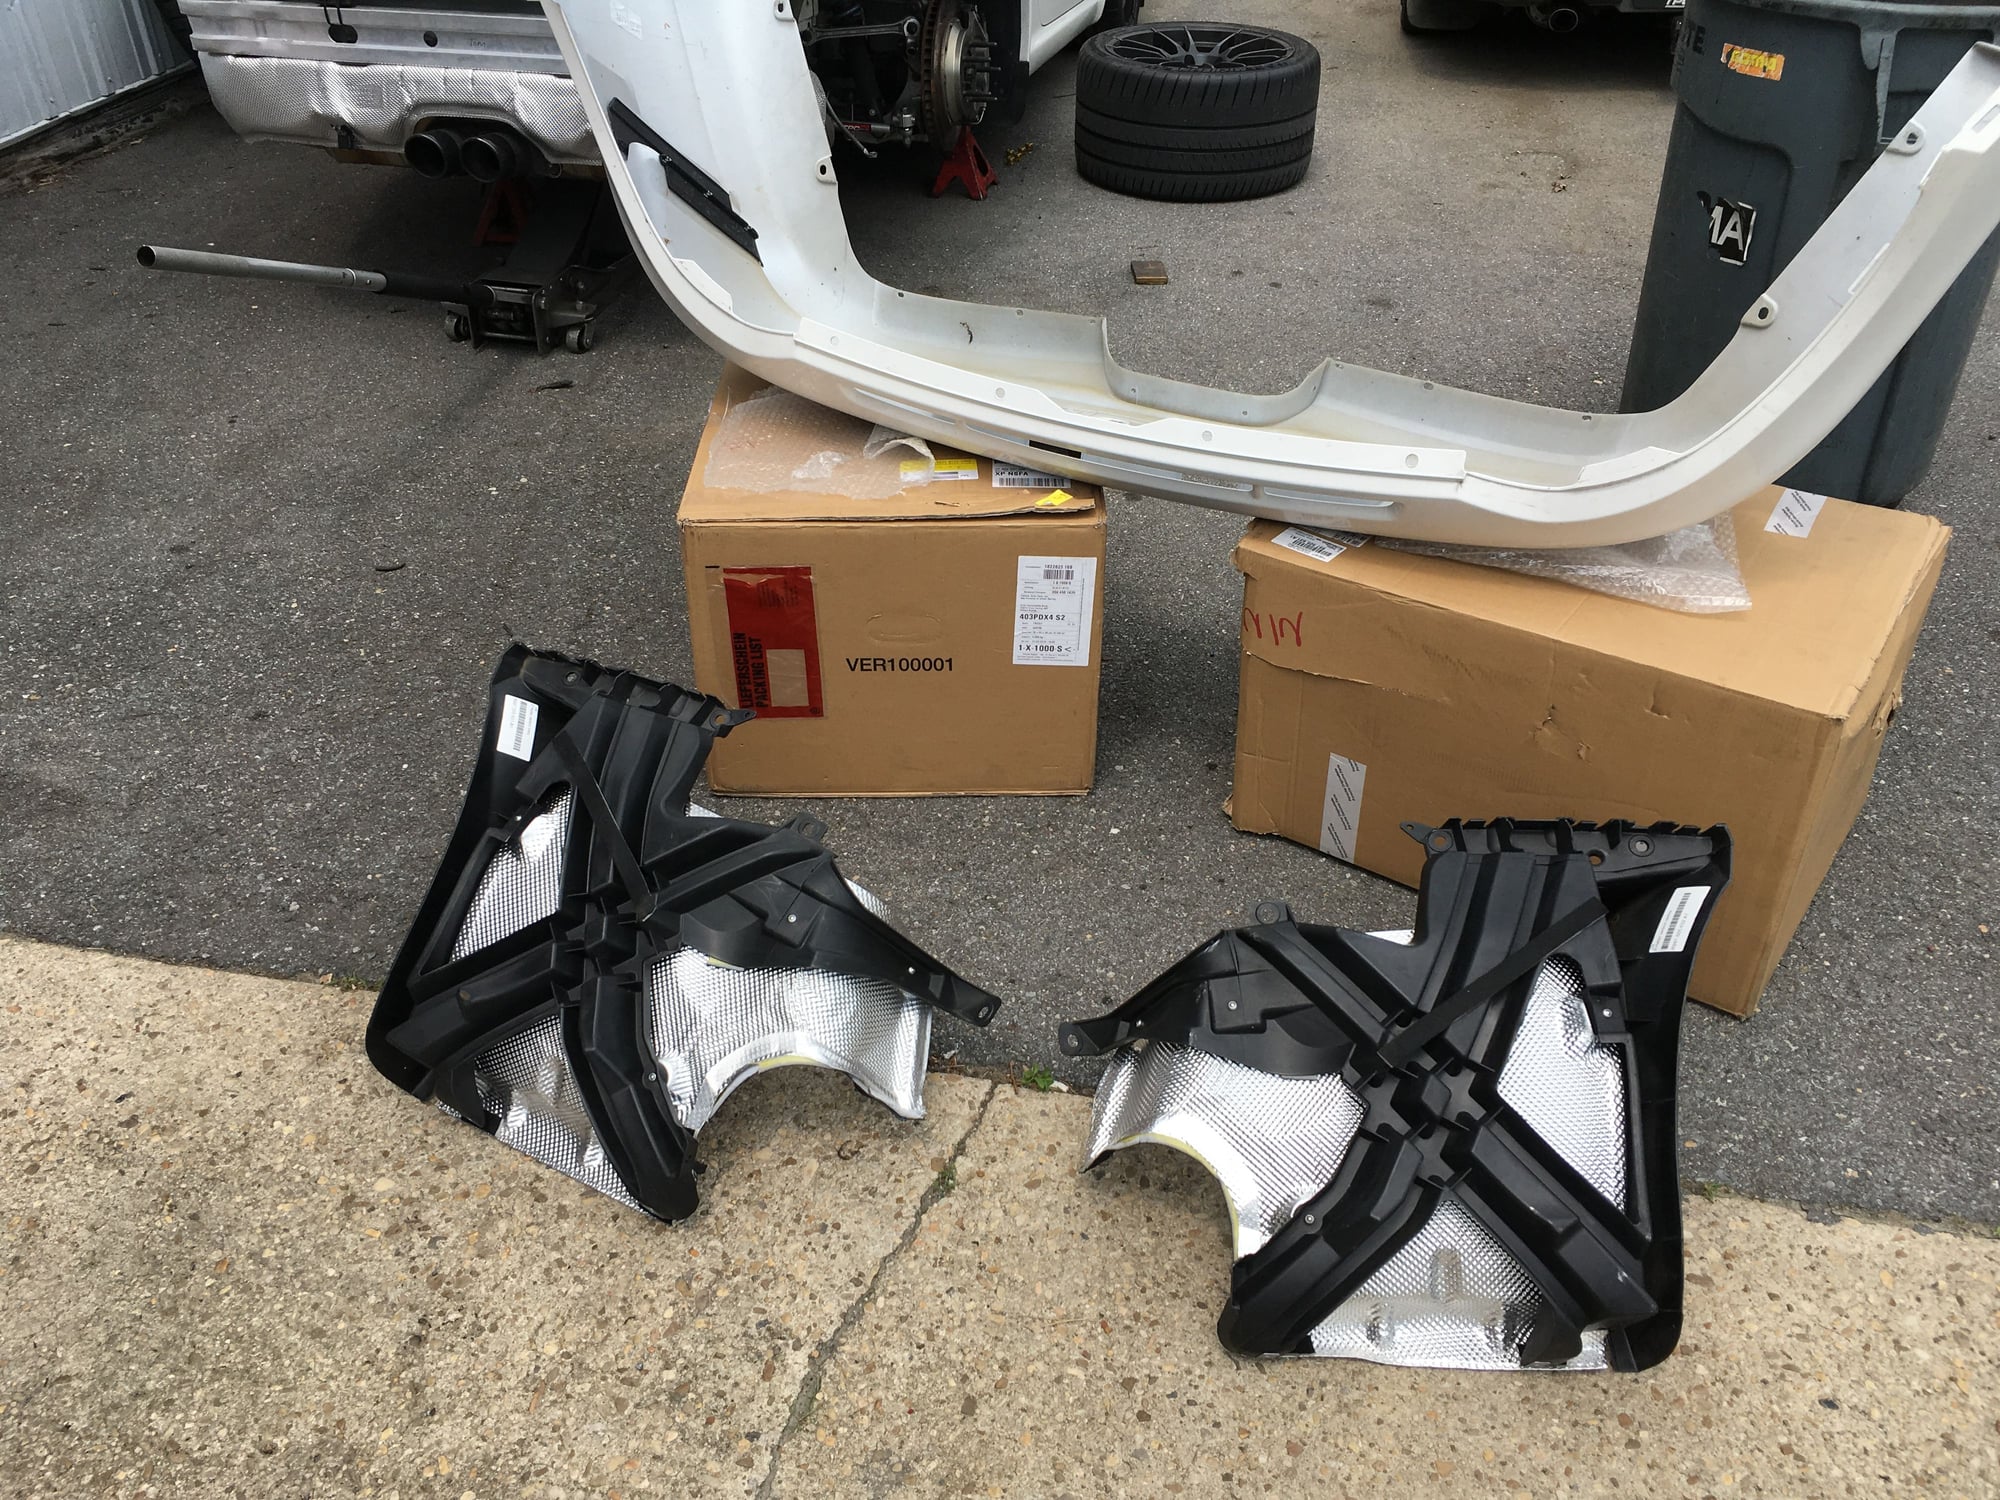
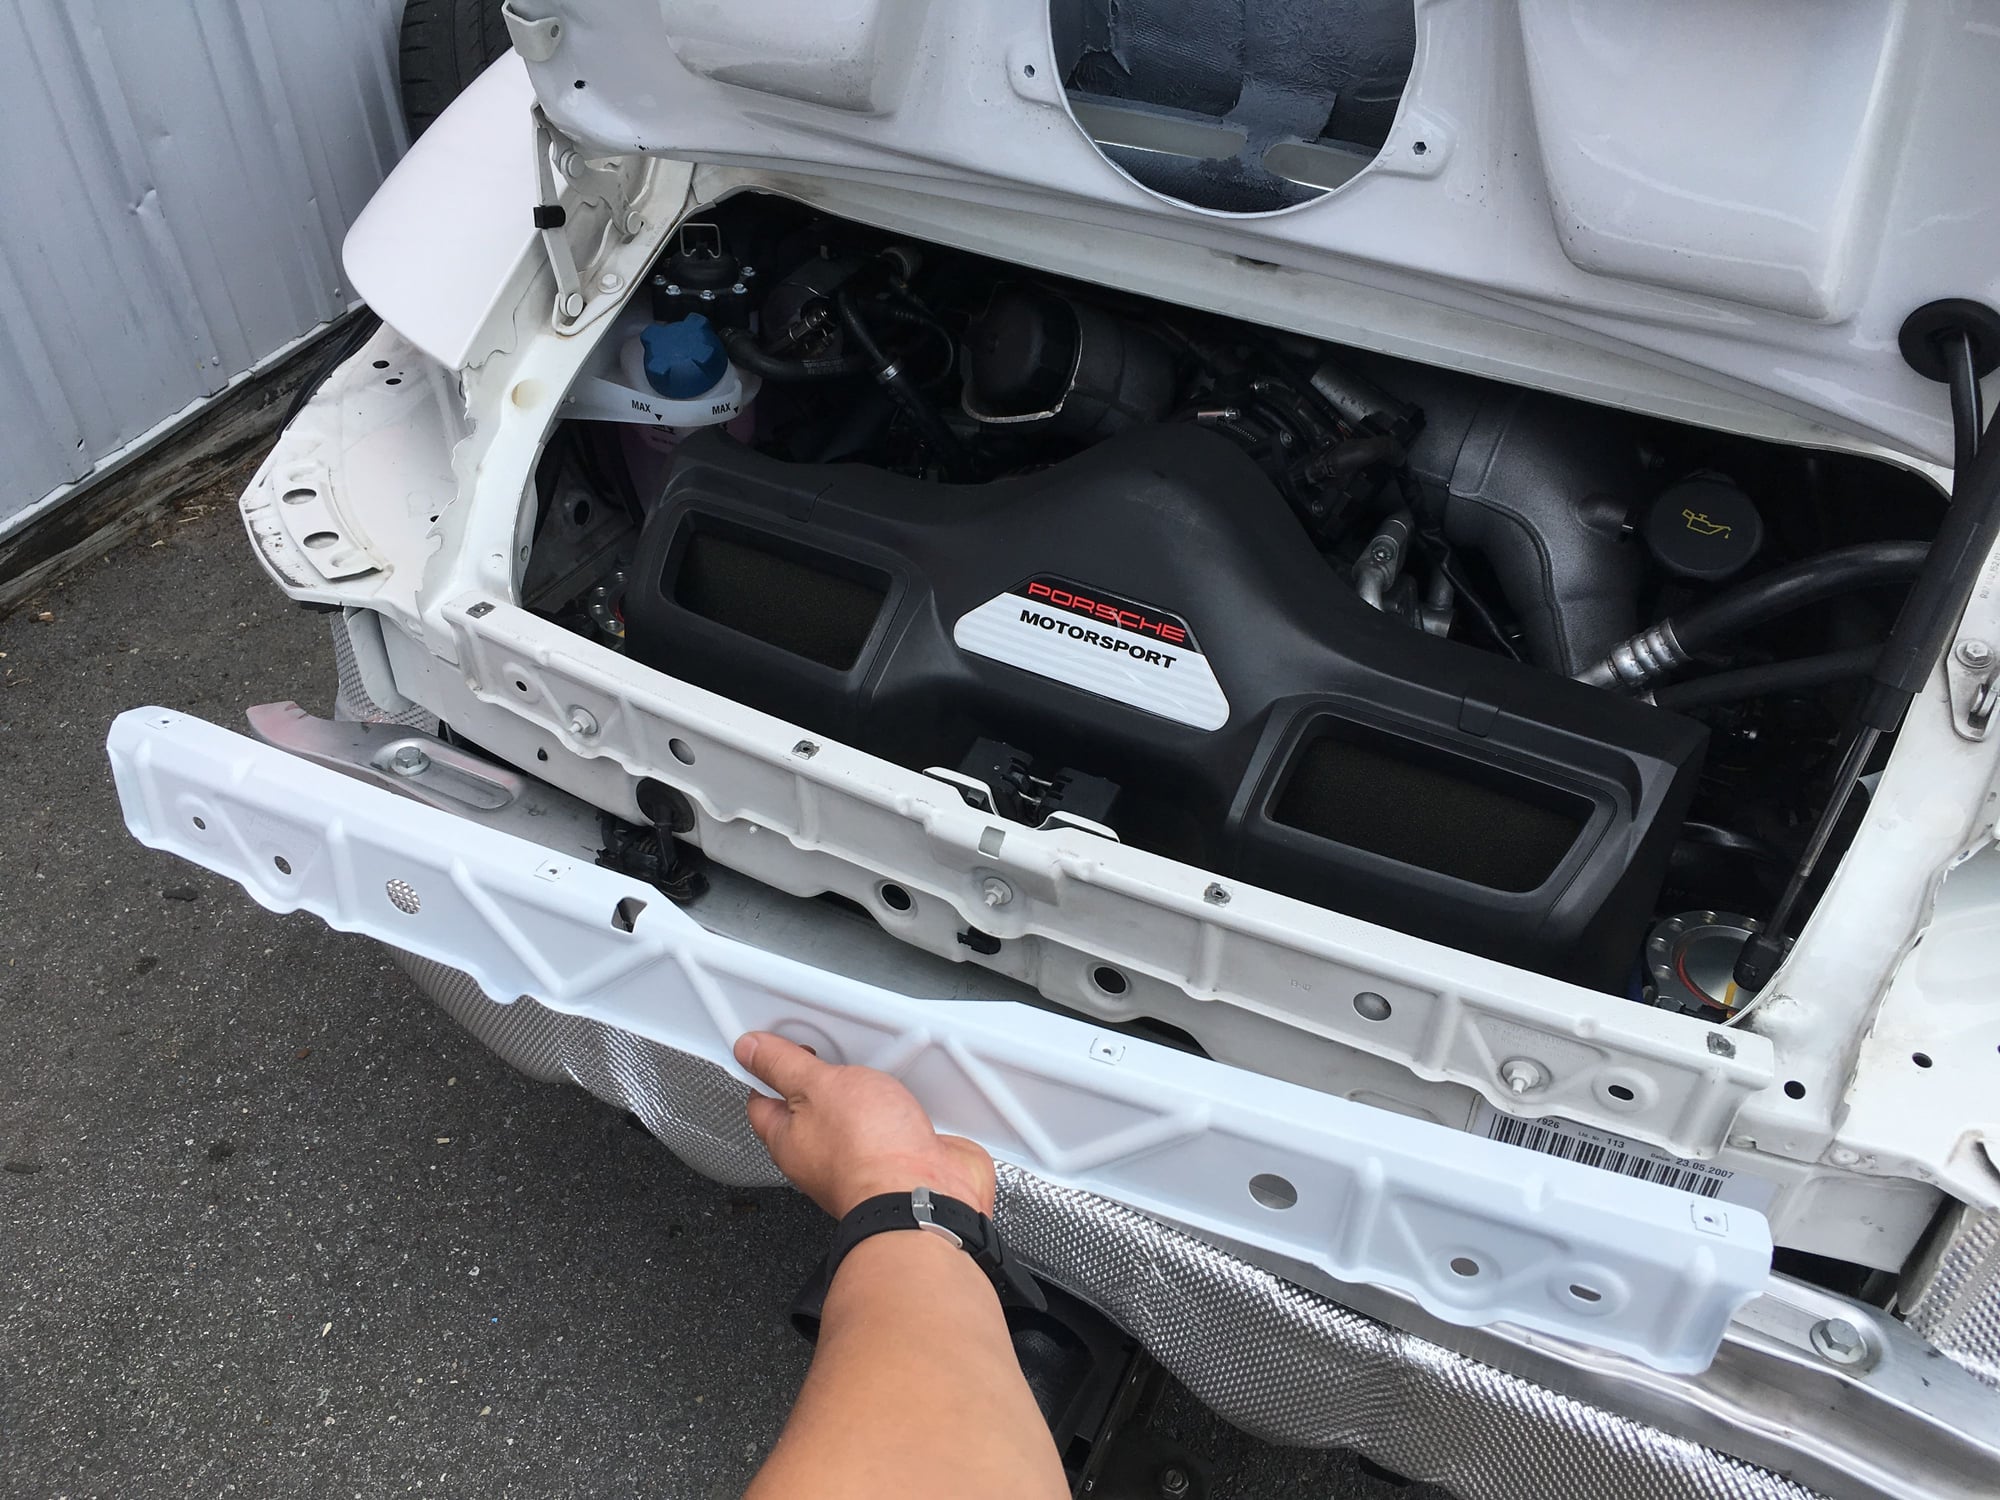
The reason for not having the rear bumper secured all this time is because the lateral support frames(shown in image below) have been unavailable and then went through a part # change.
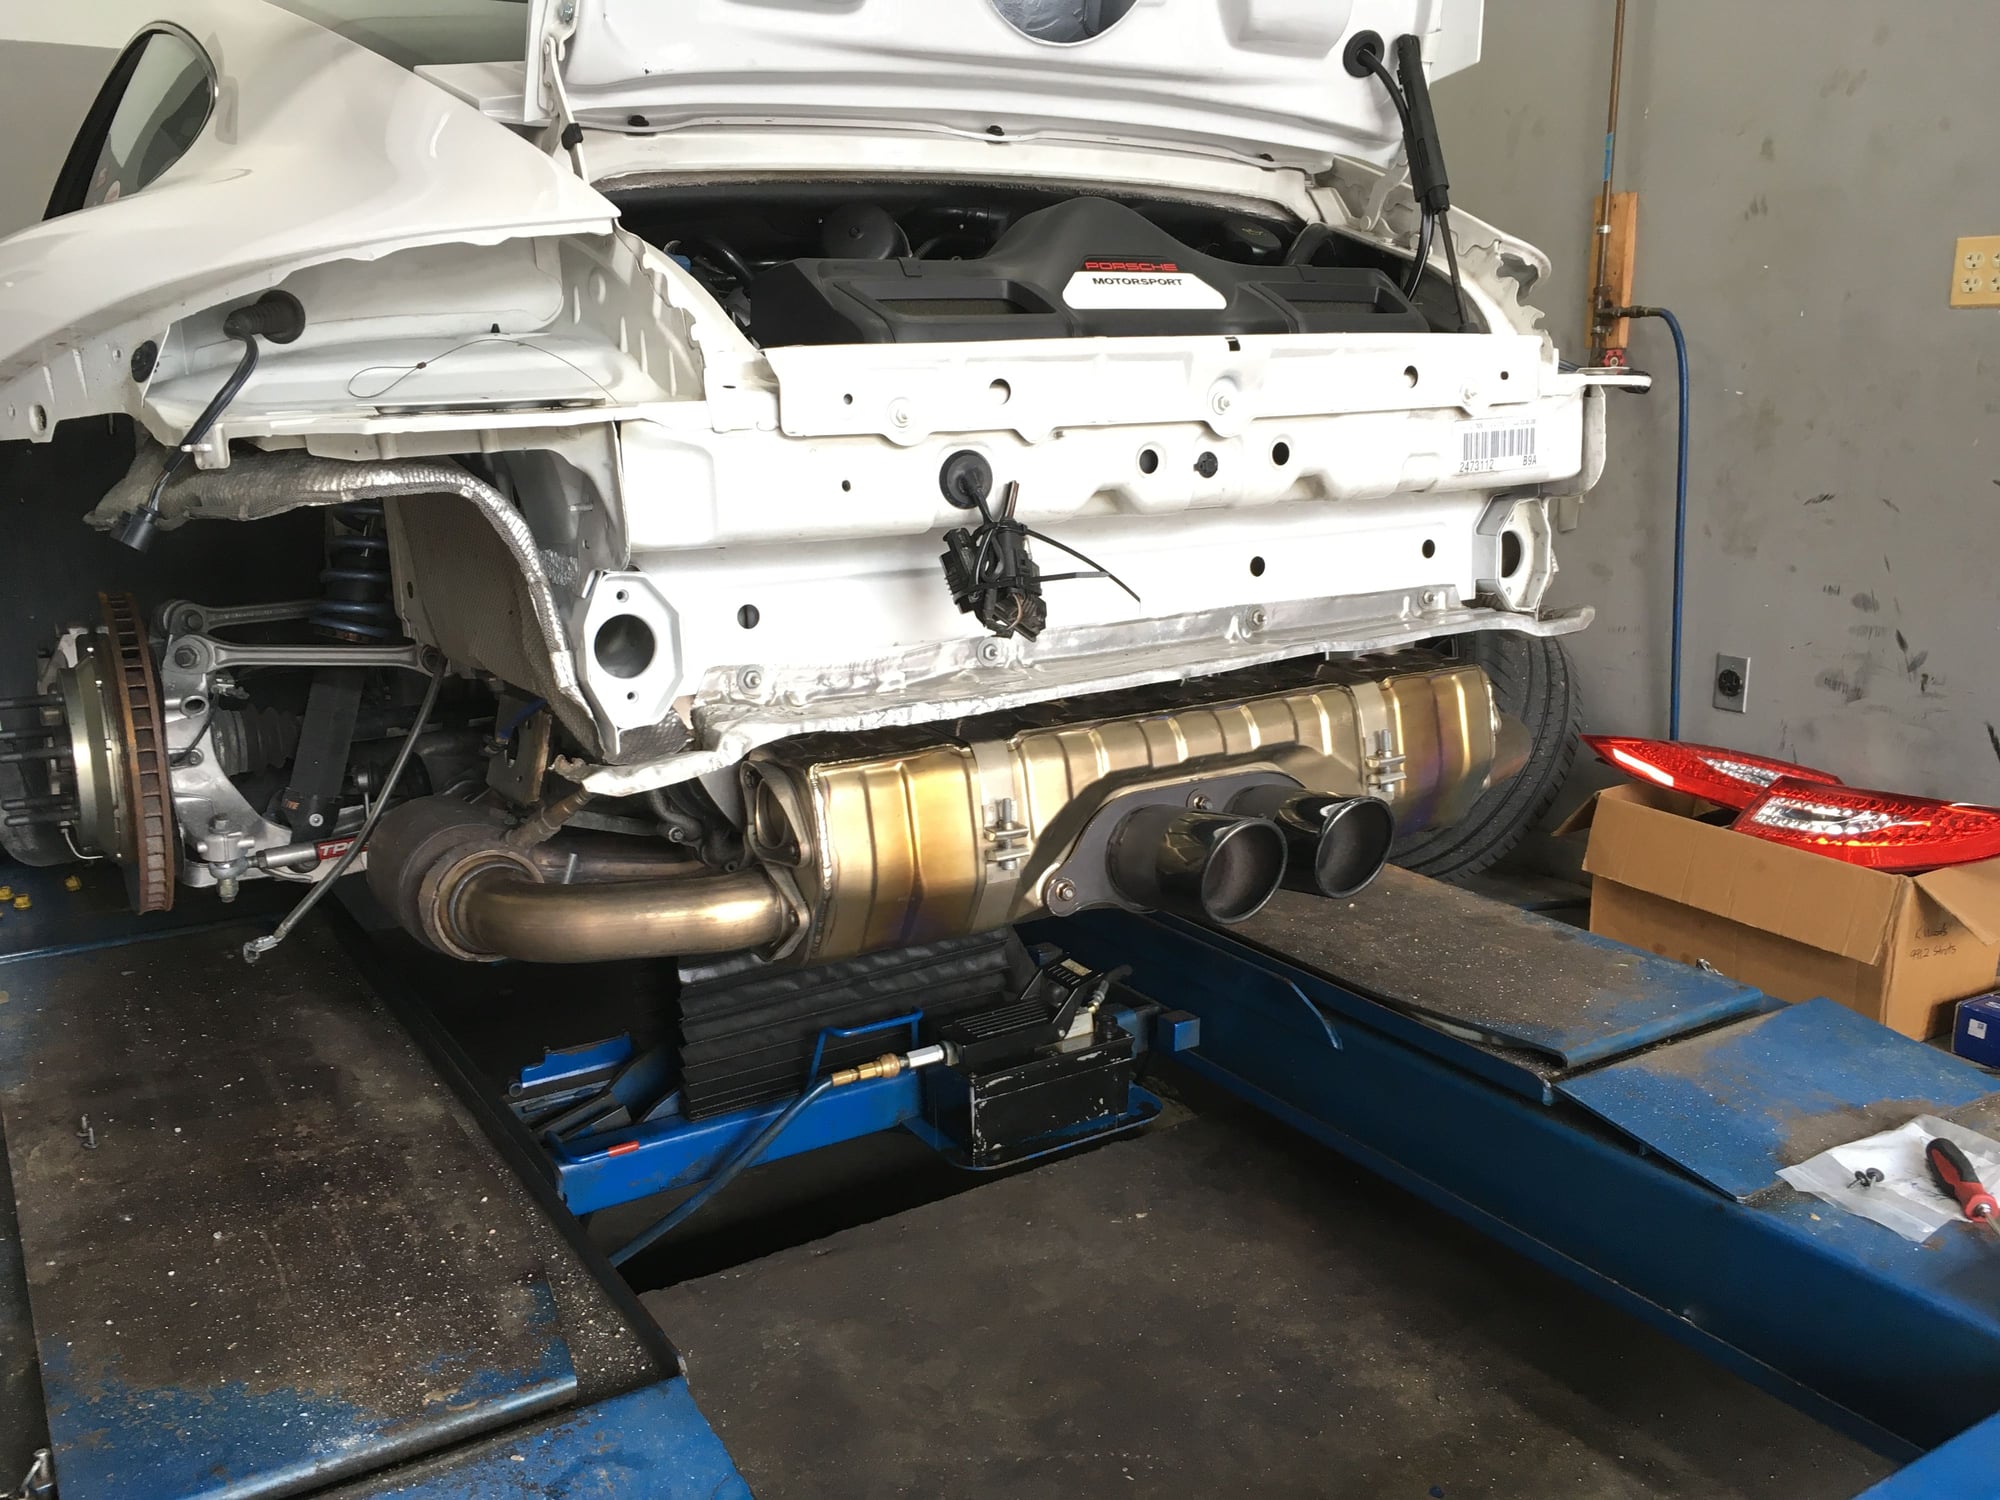
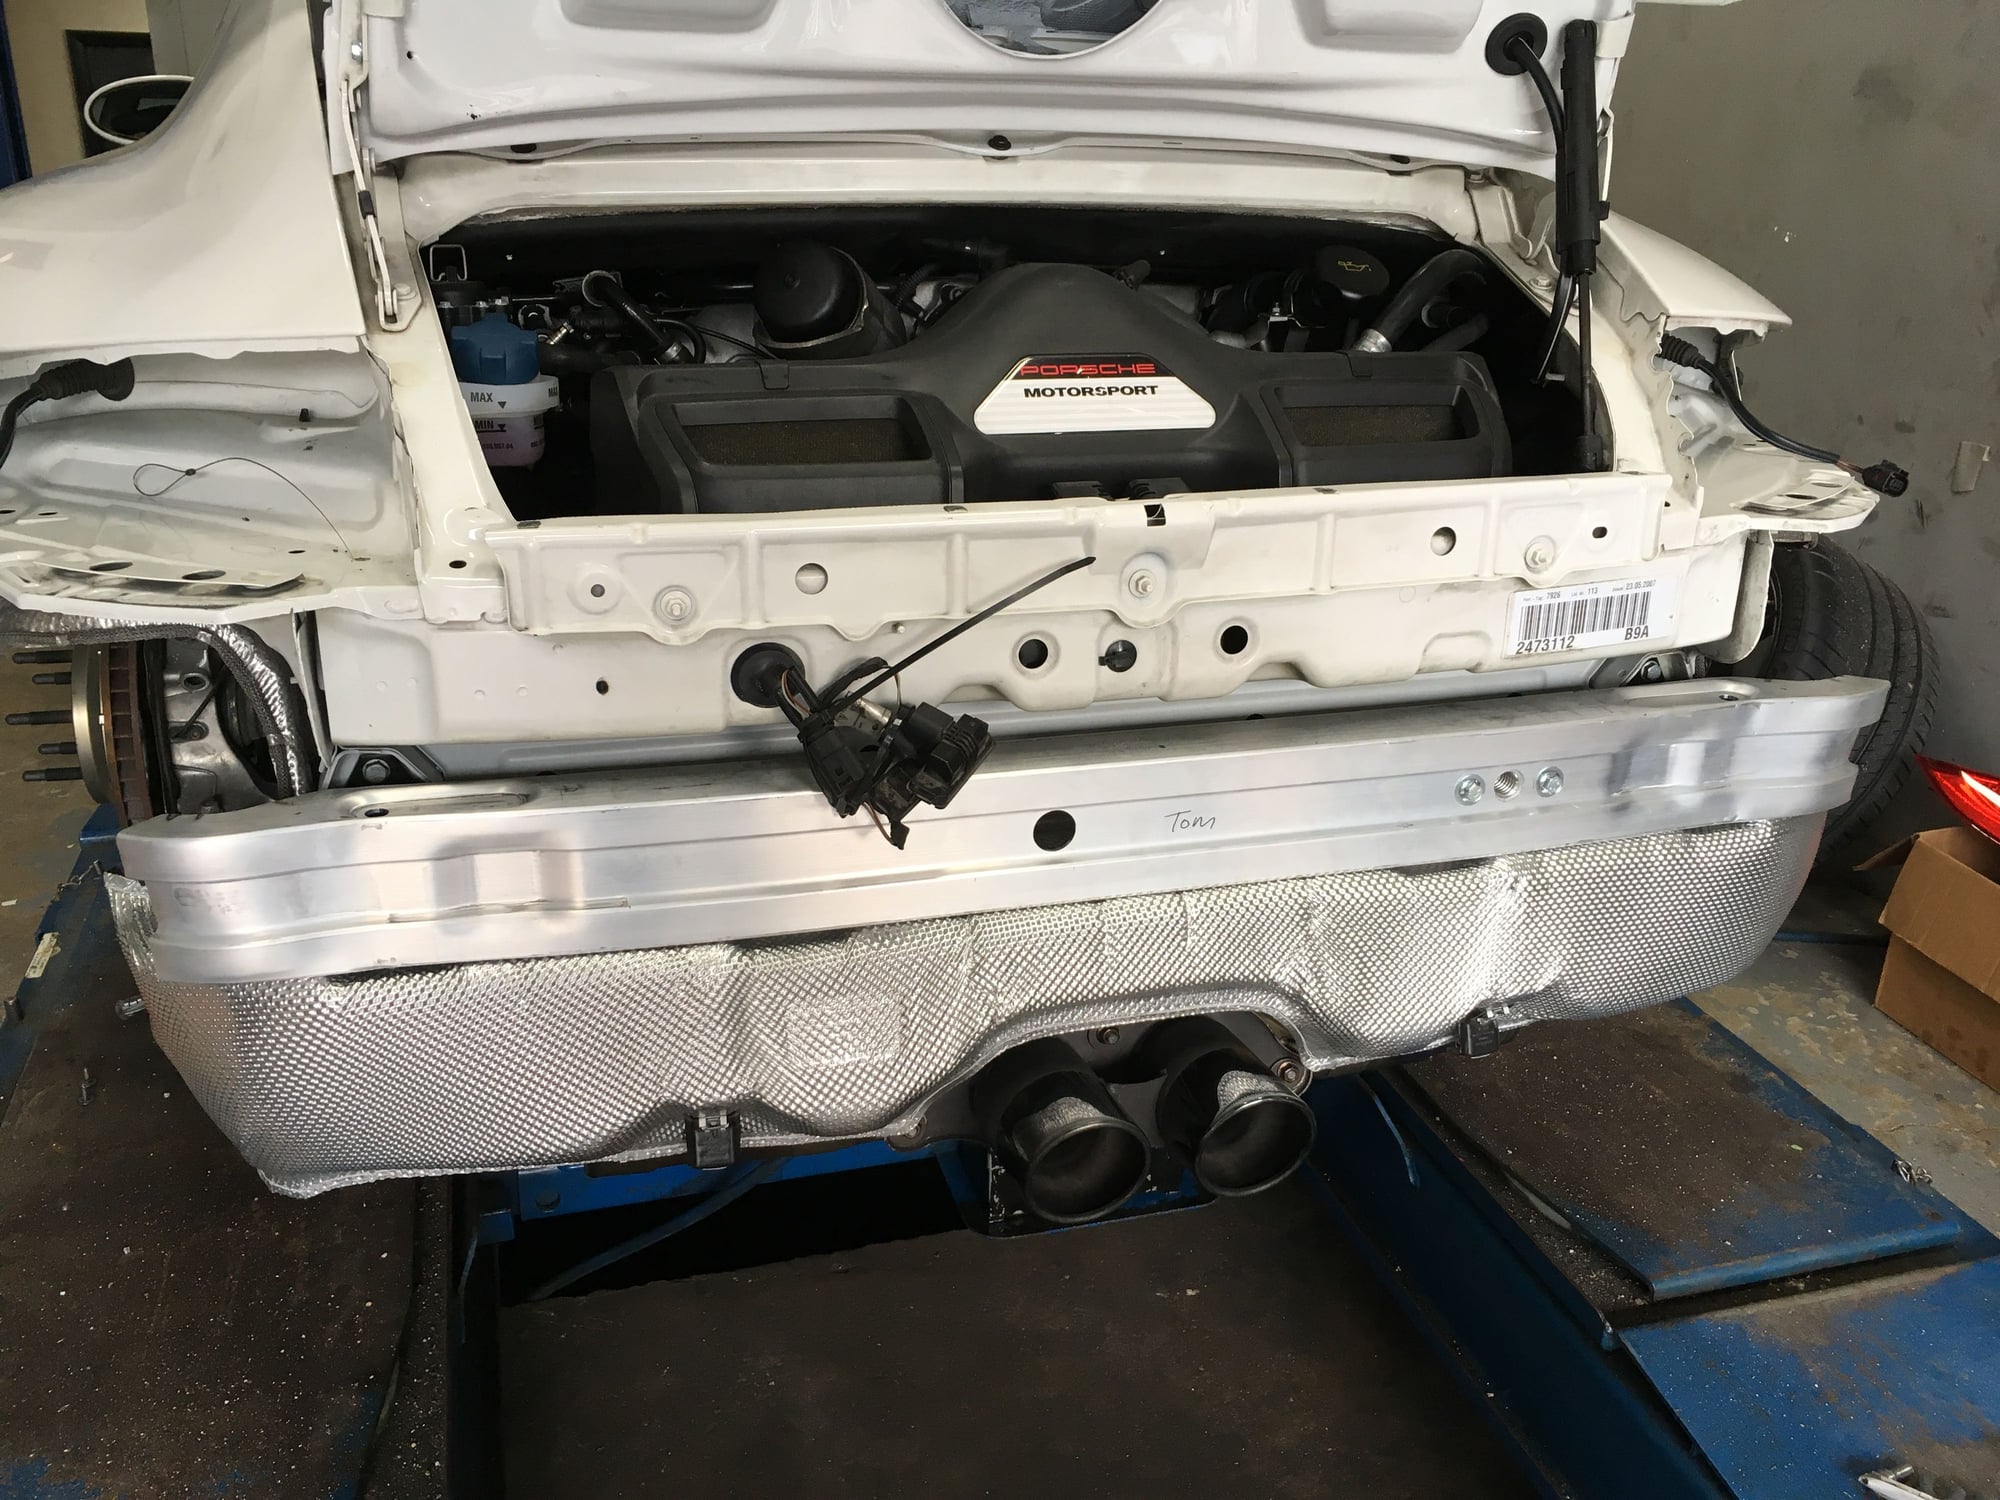
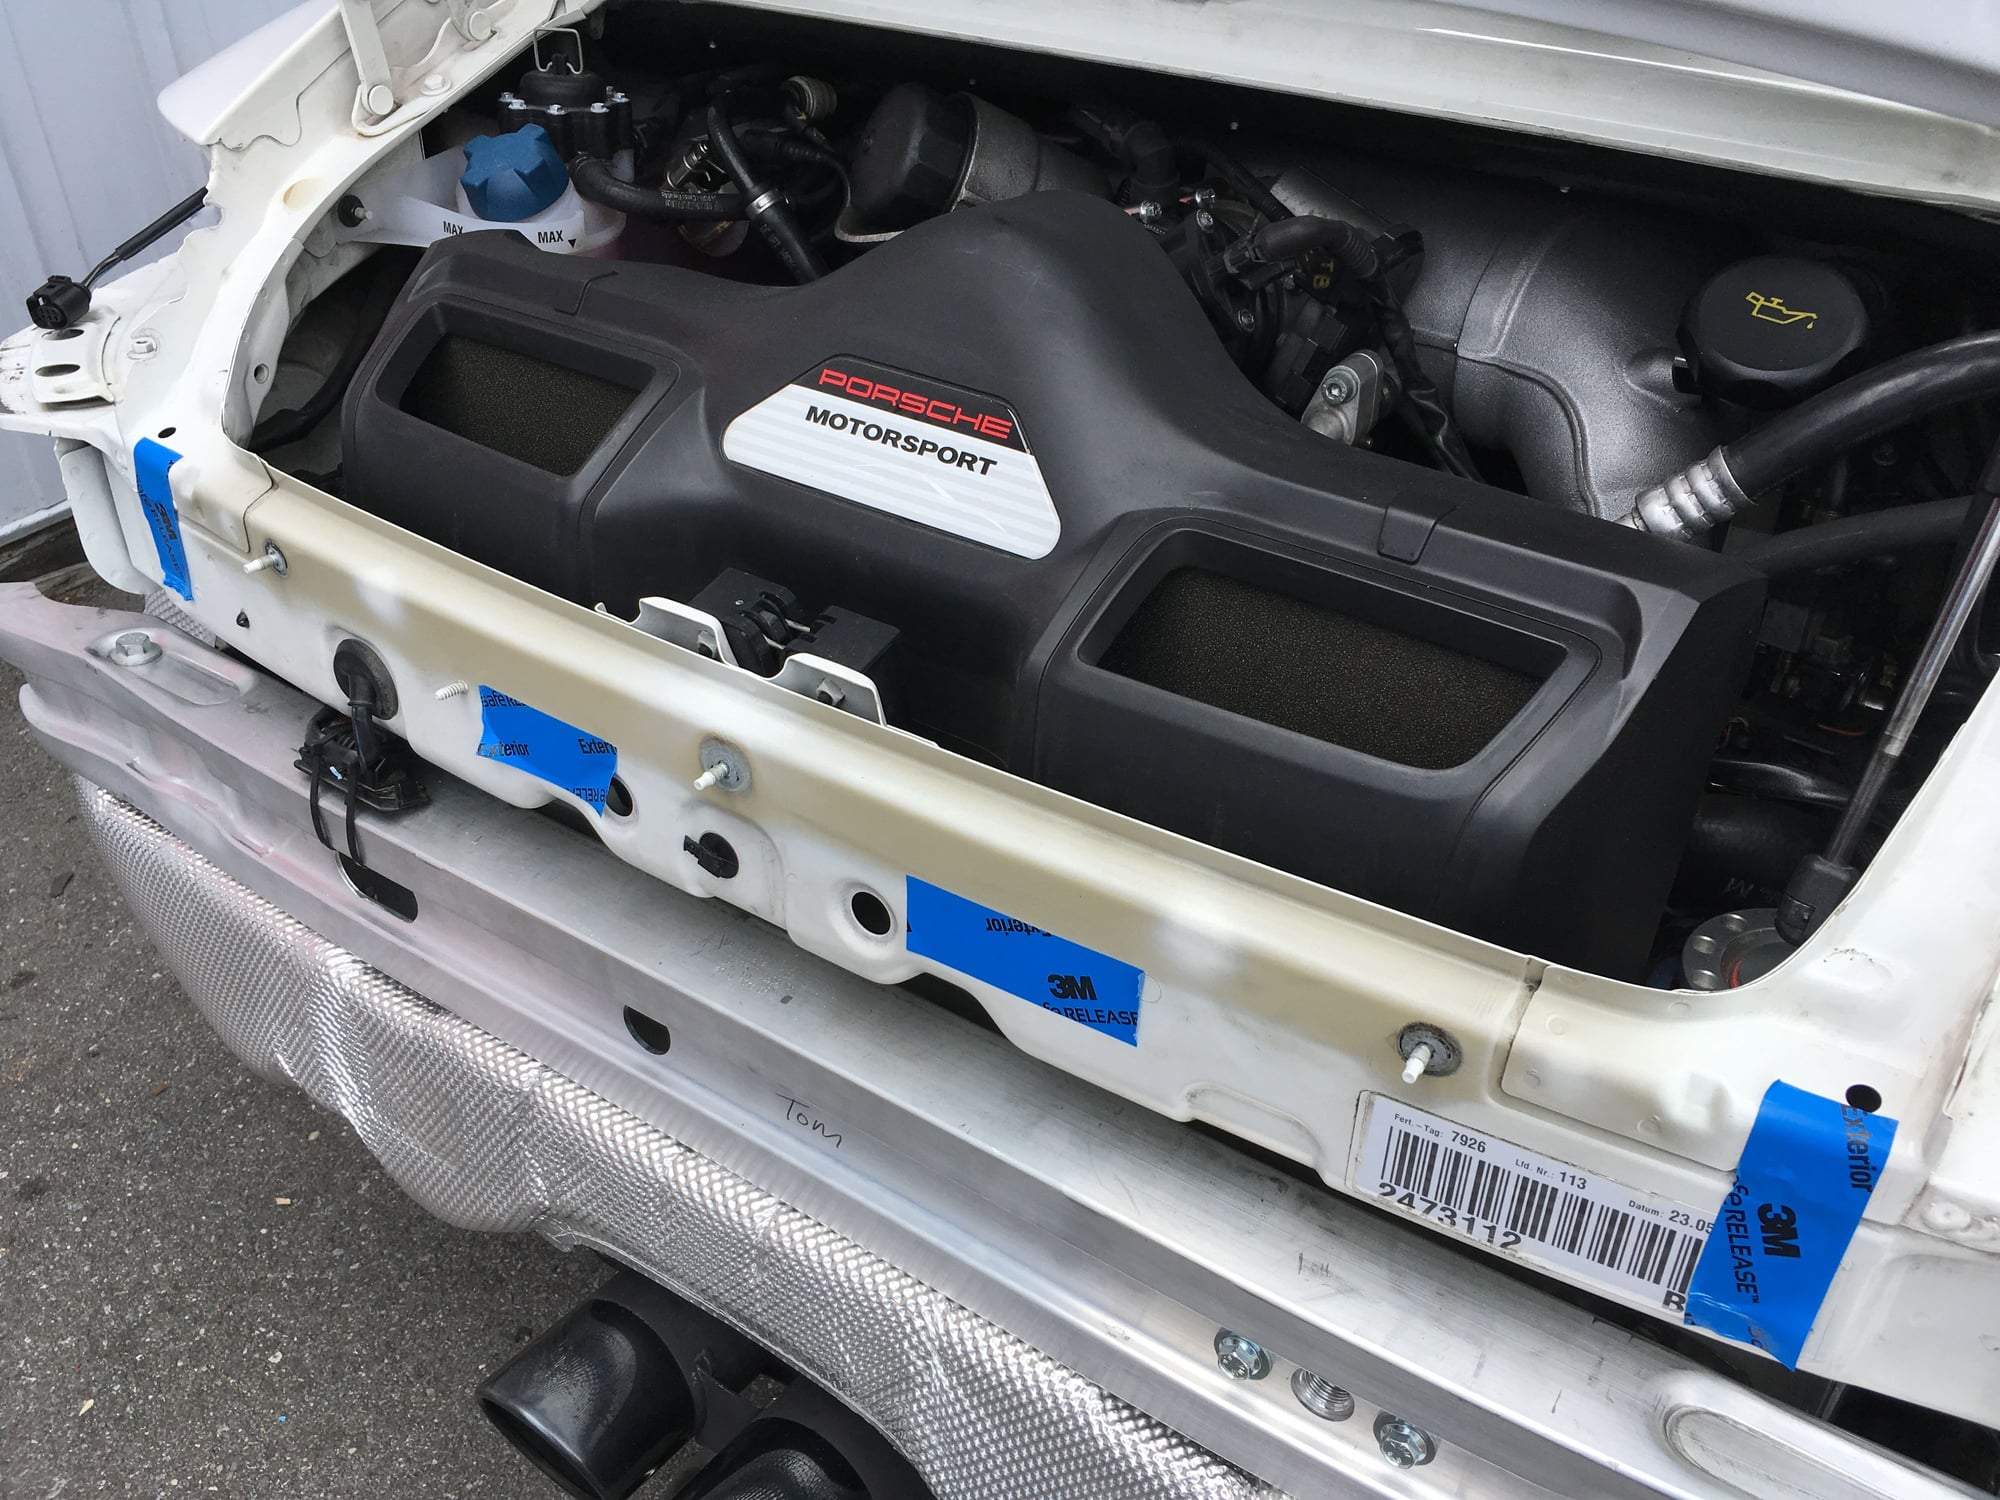
So, last Thursday evening I was determined to button up the back end of the car by installing the missing parts inside the bumper and by making my own my own lateral support frames. With the bumper off, this was how I left things back in February, except now the Ti muffler has changed colors.
Installing the pieces one by one.
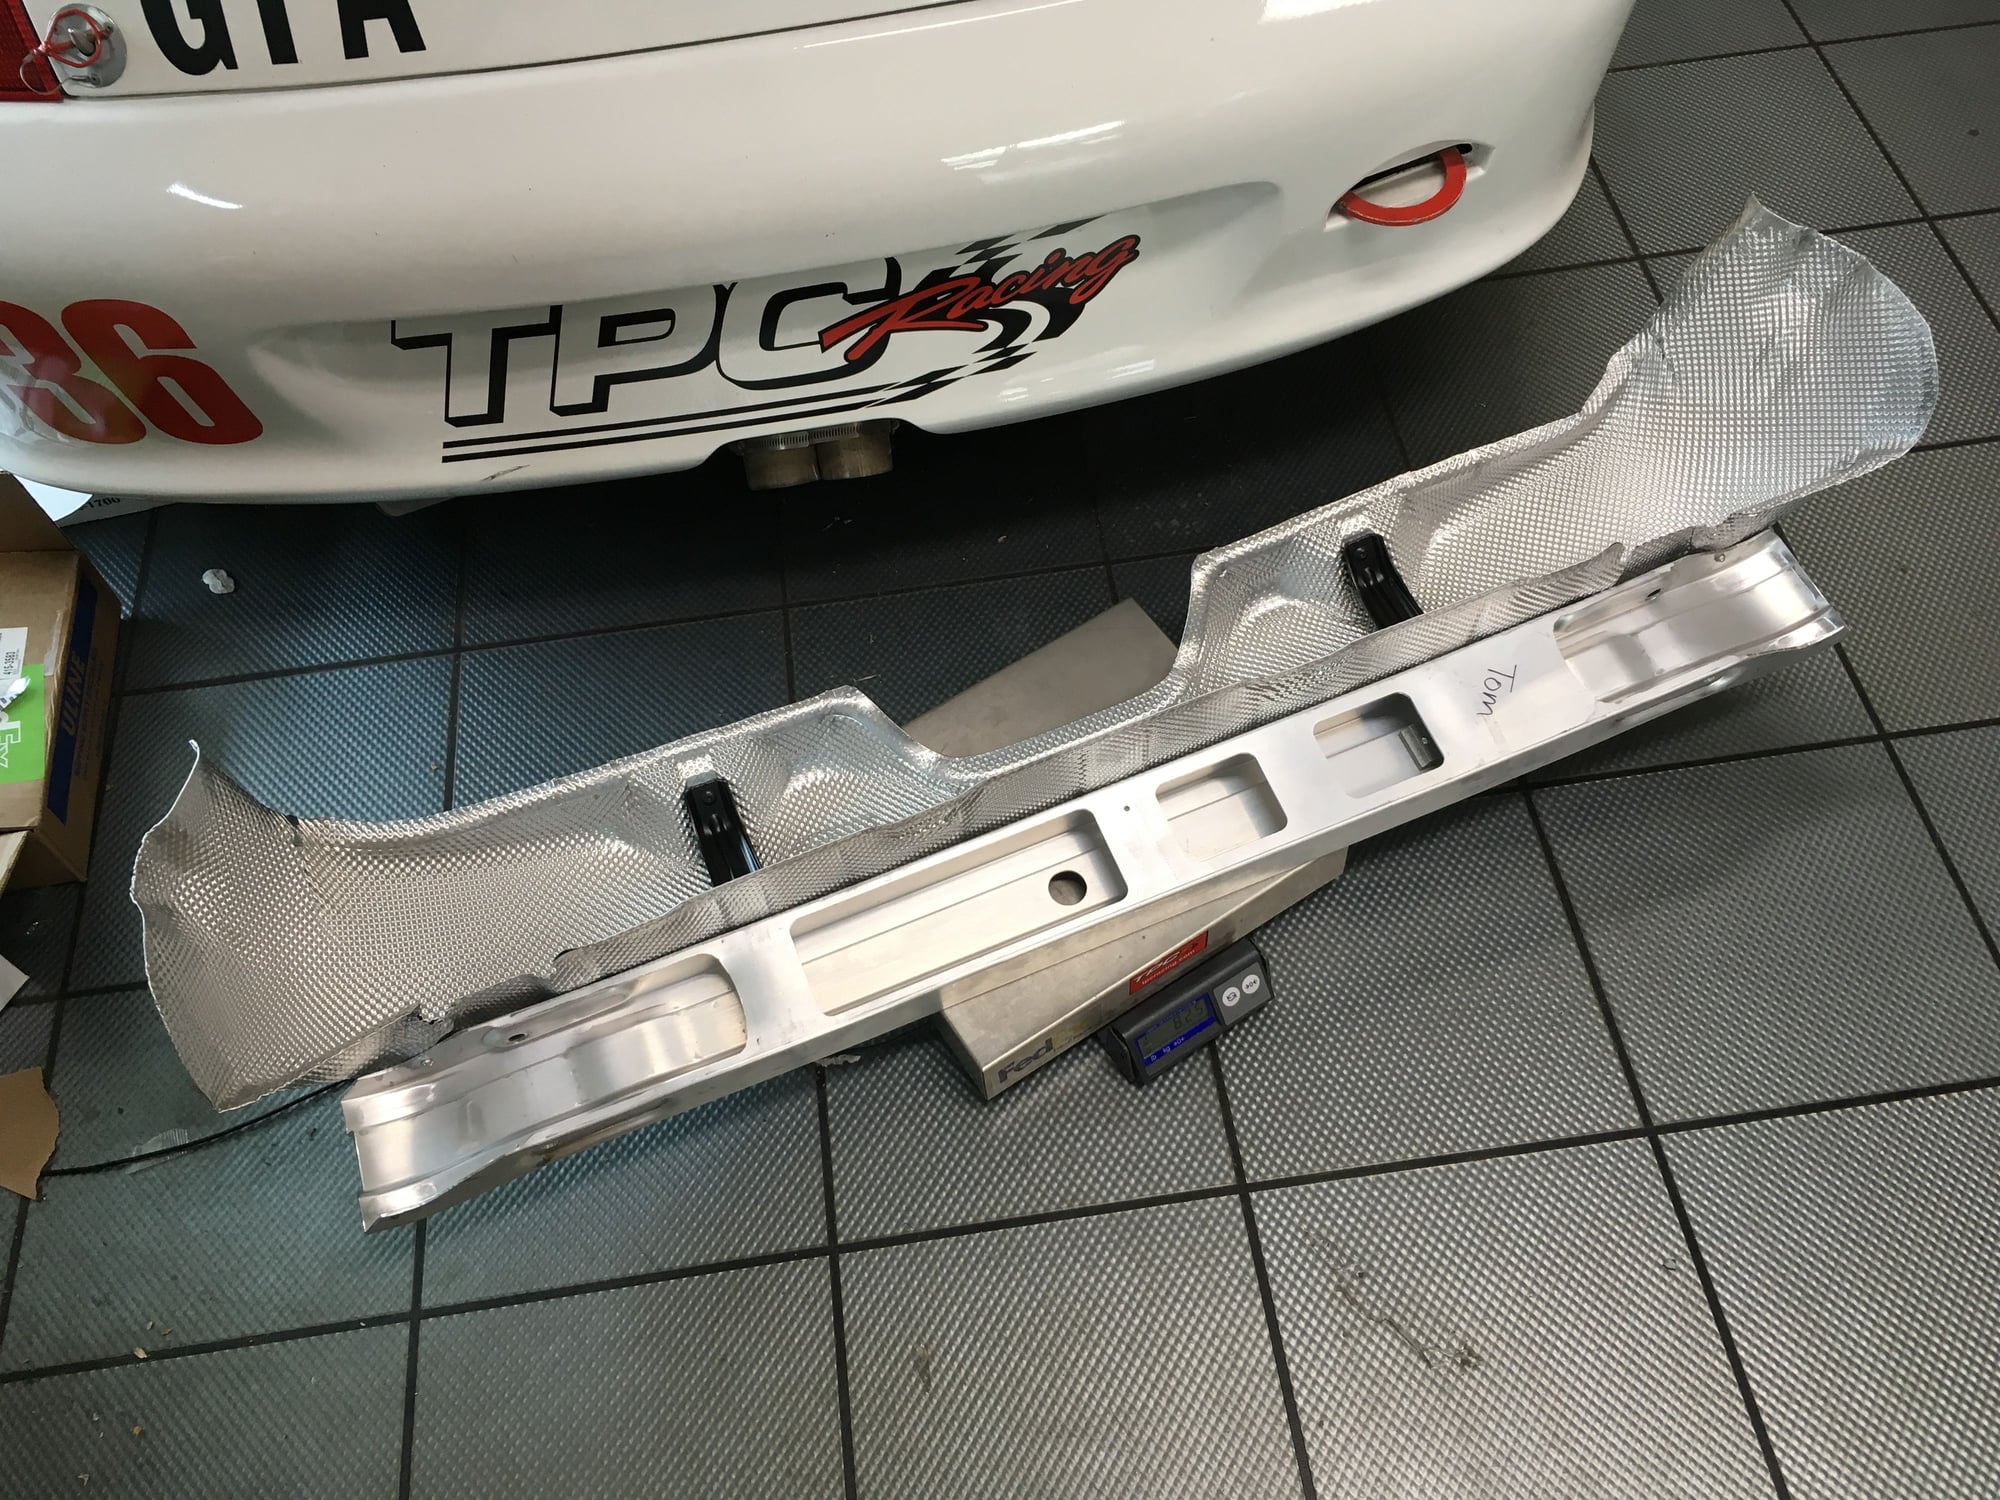
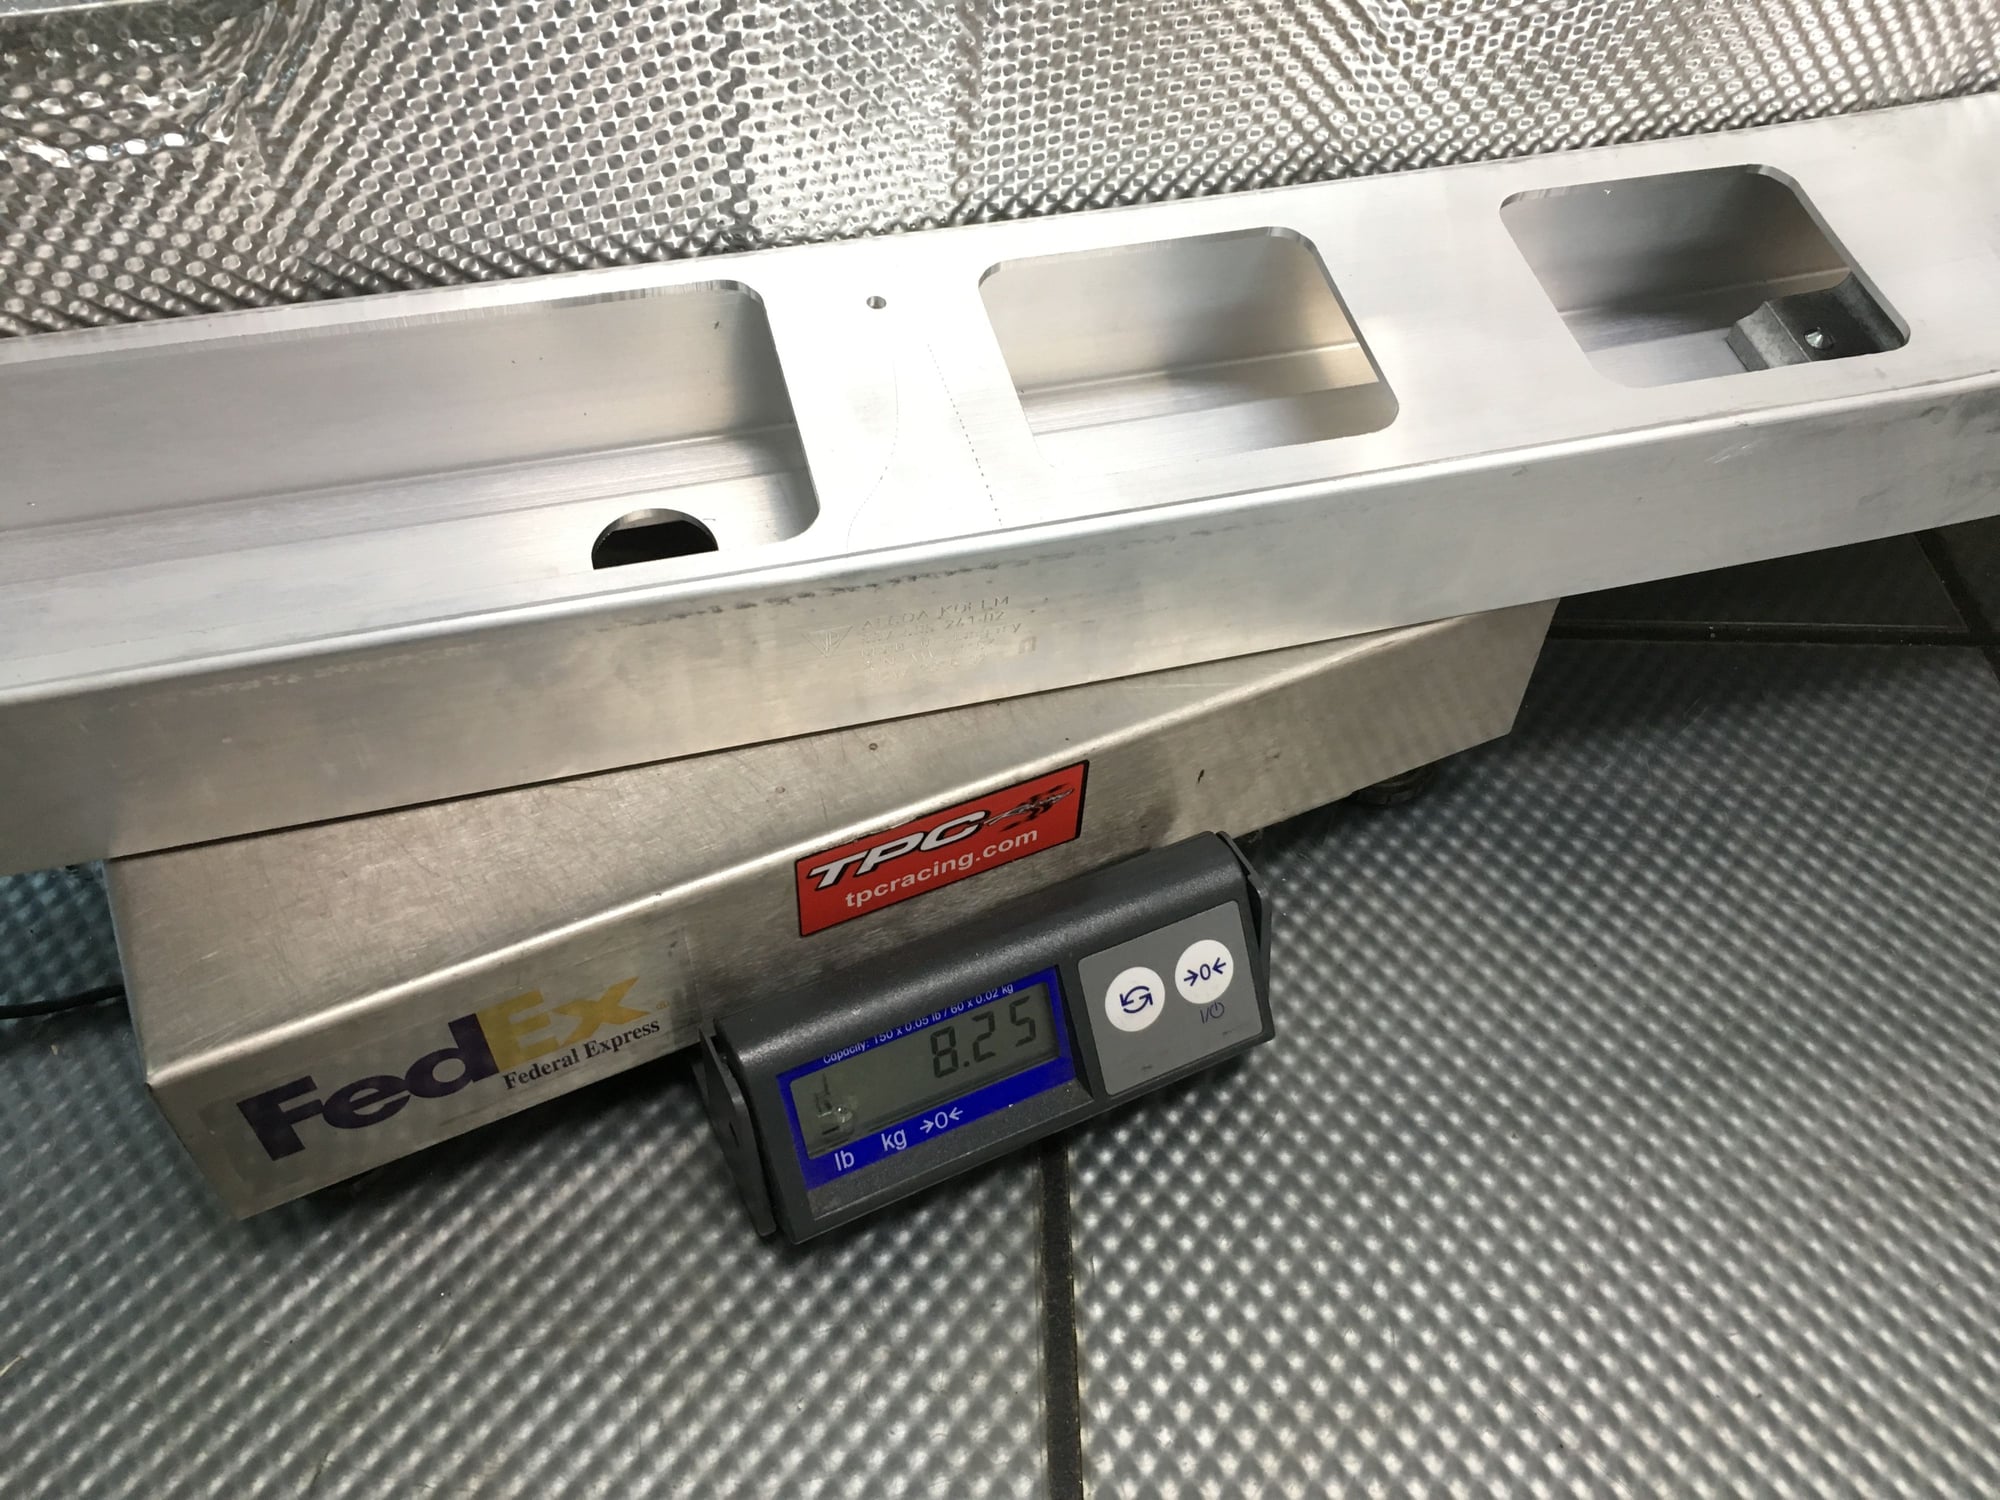
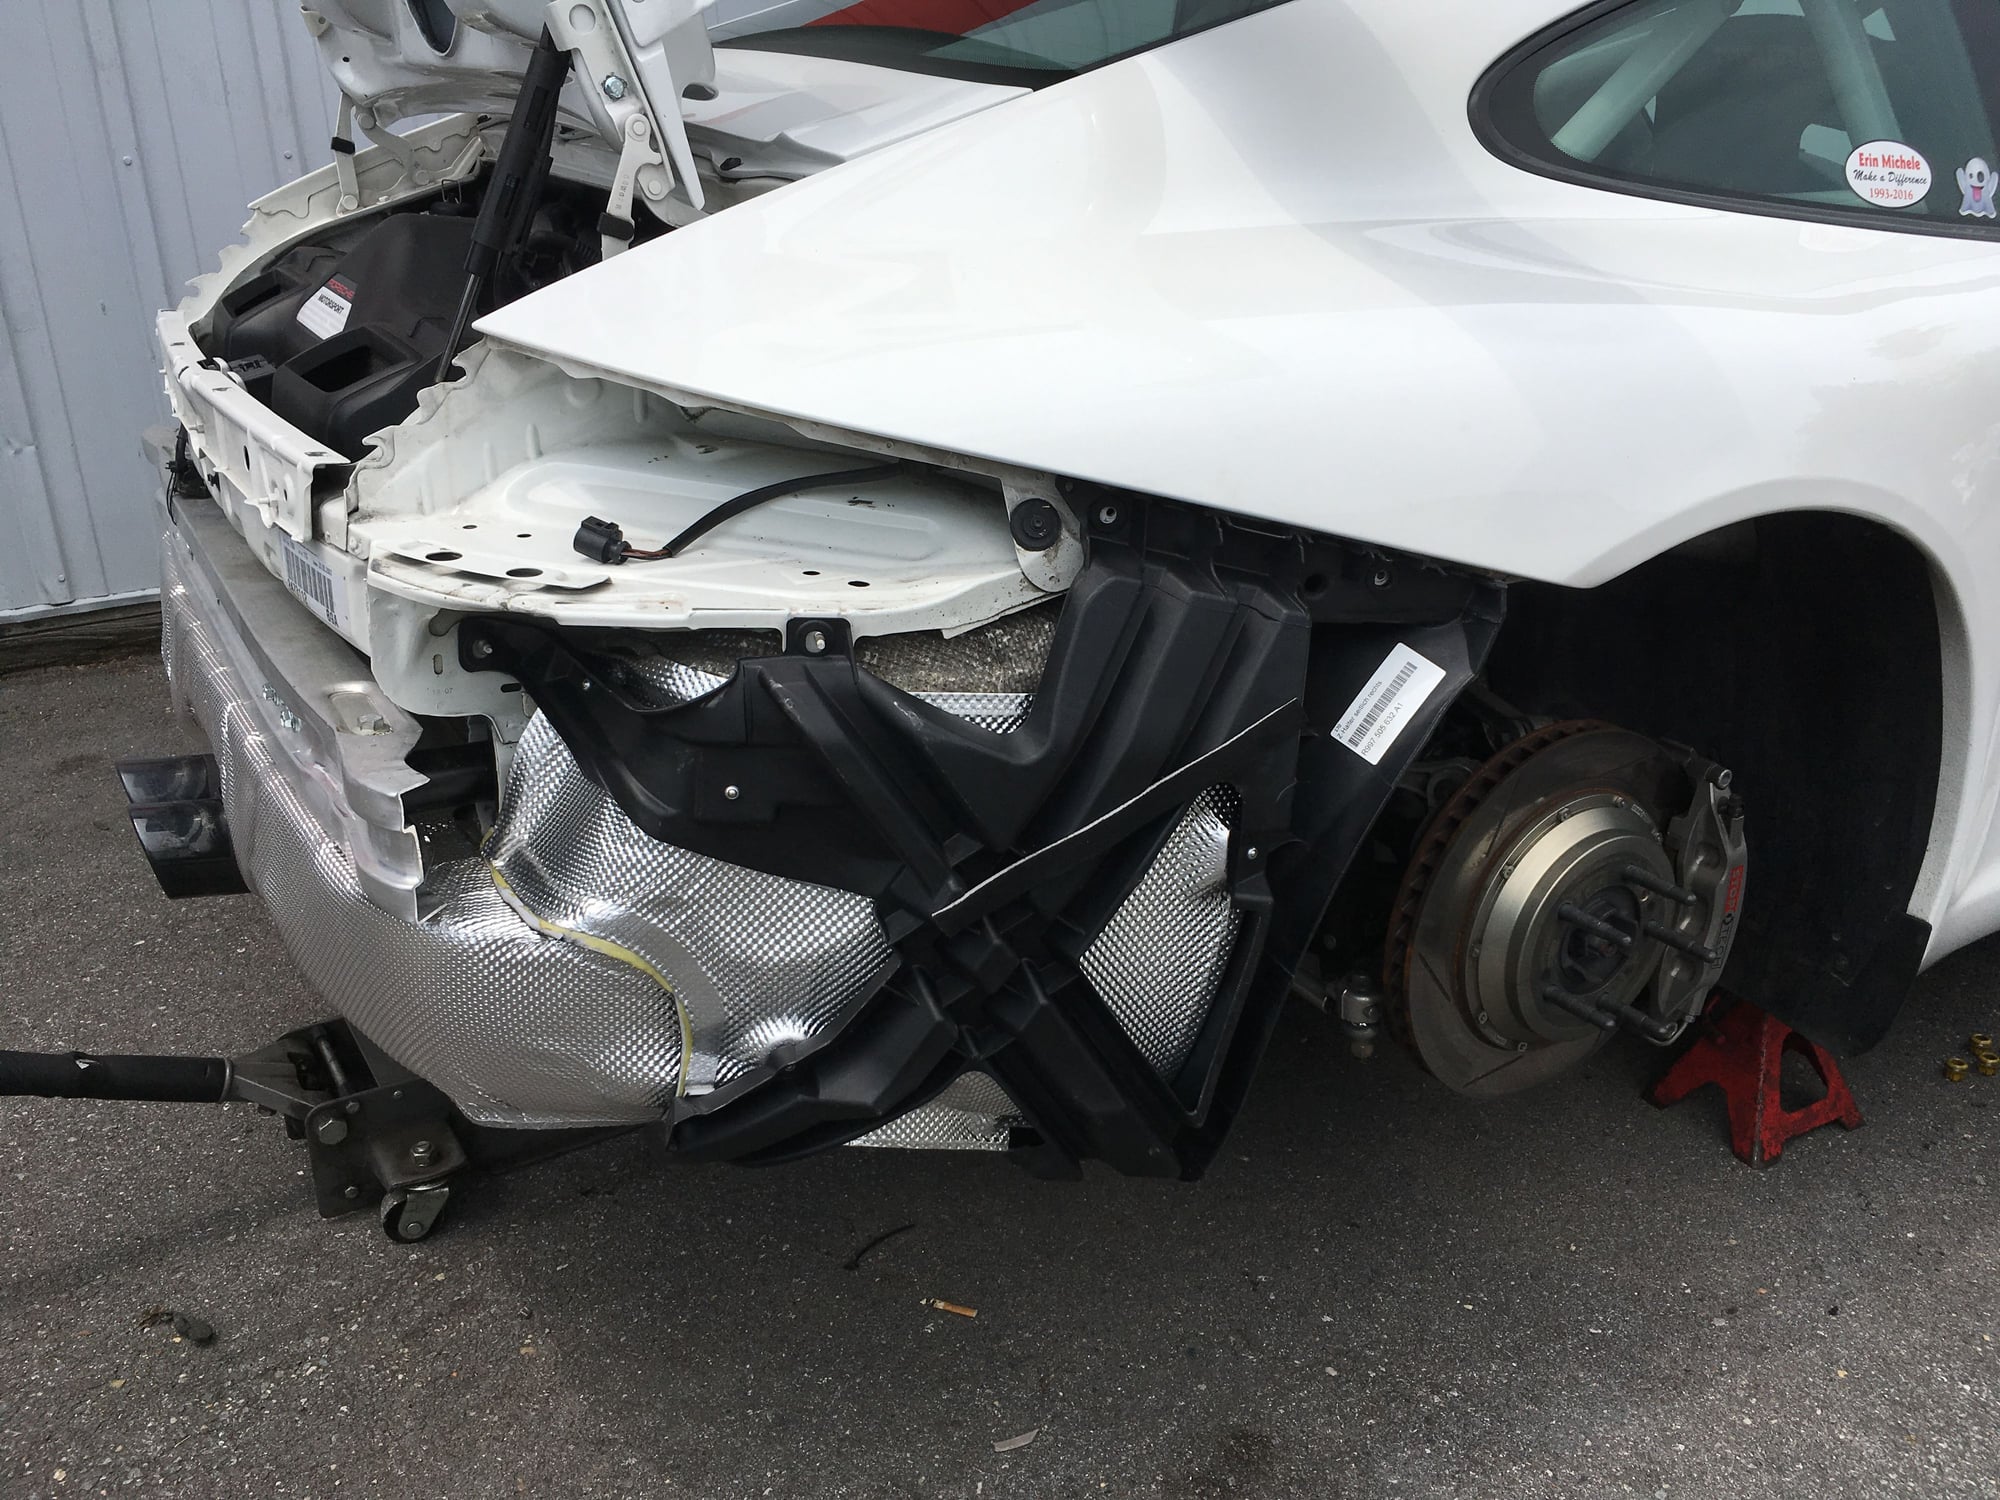
Using the RoW version of the rear crash beam. All 997 crash beams come with center muffler heat shield. The RoW version has material machined off to reduce weight and its made from thinner metal. I'm sure its less effective in an impact but I'll take the weight saving.
The weight reduction is 7.8 lbs compared to the USA version.
Now the center muffler heat won't melt the bumper.
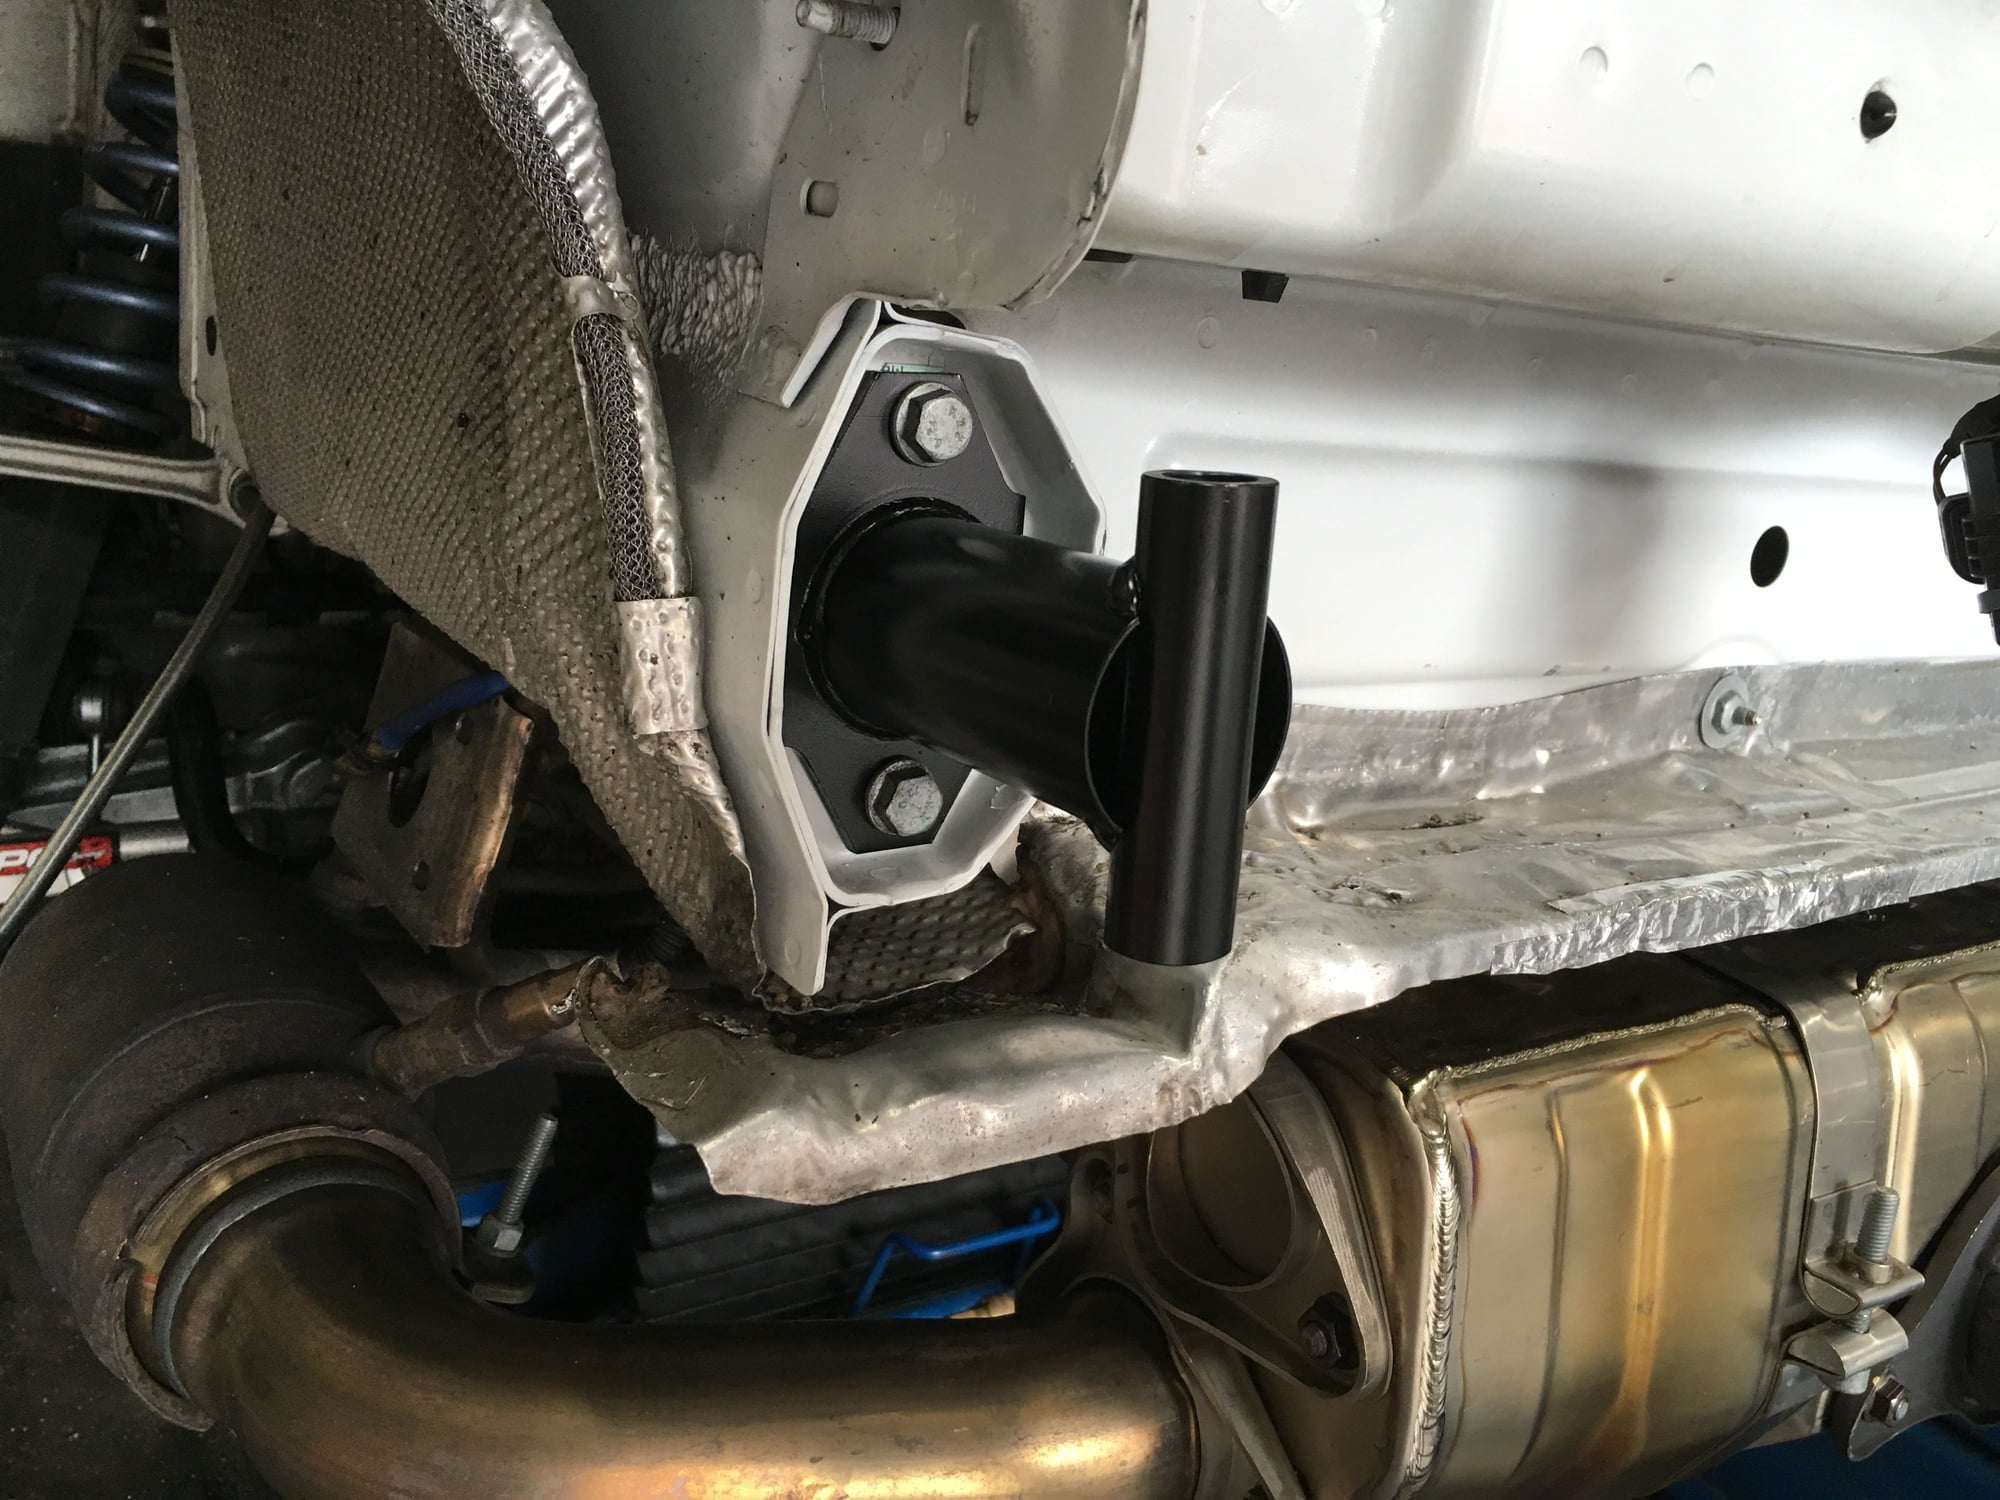
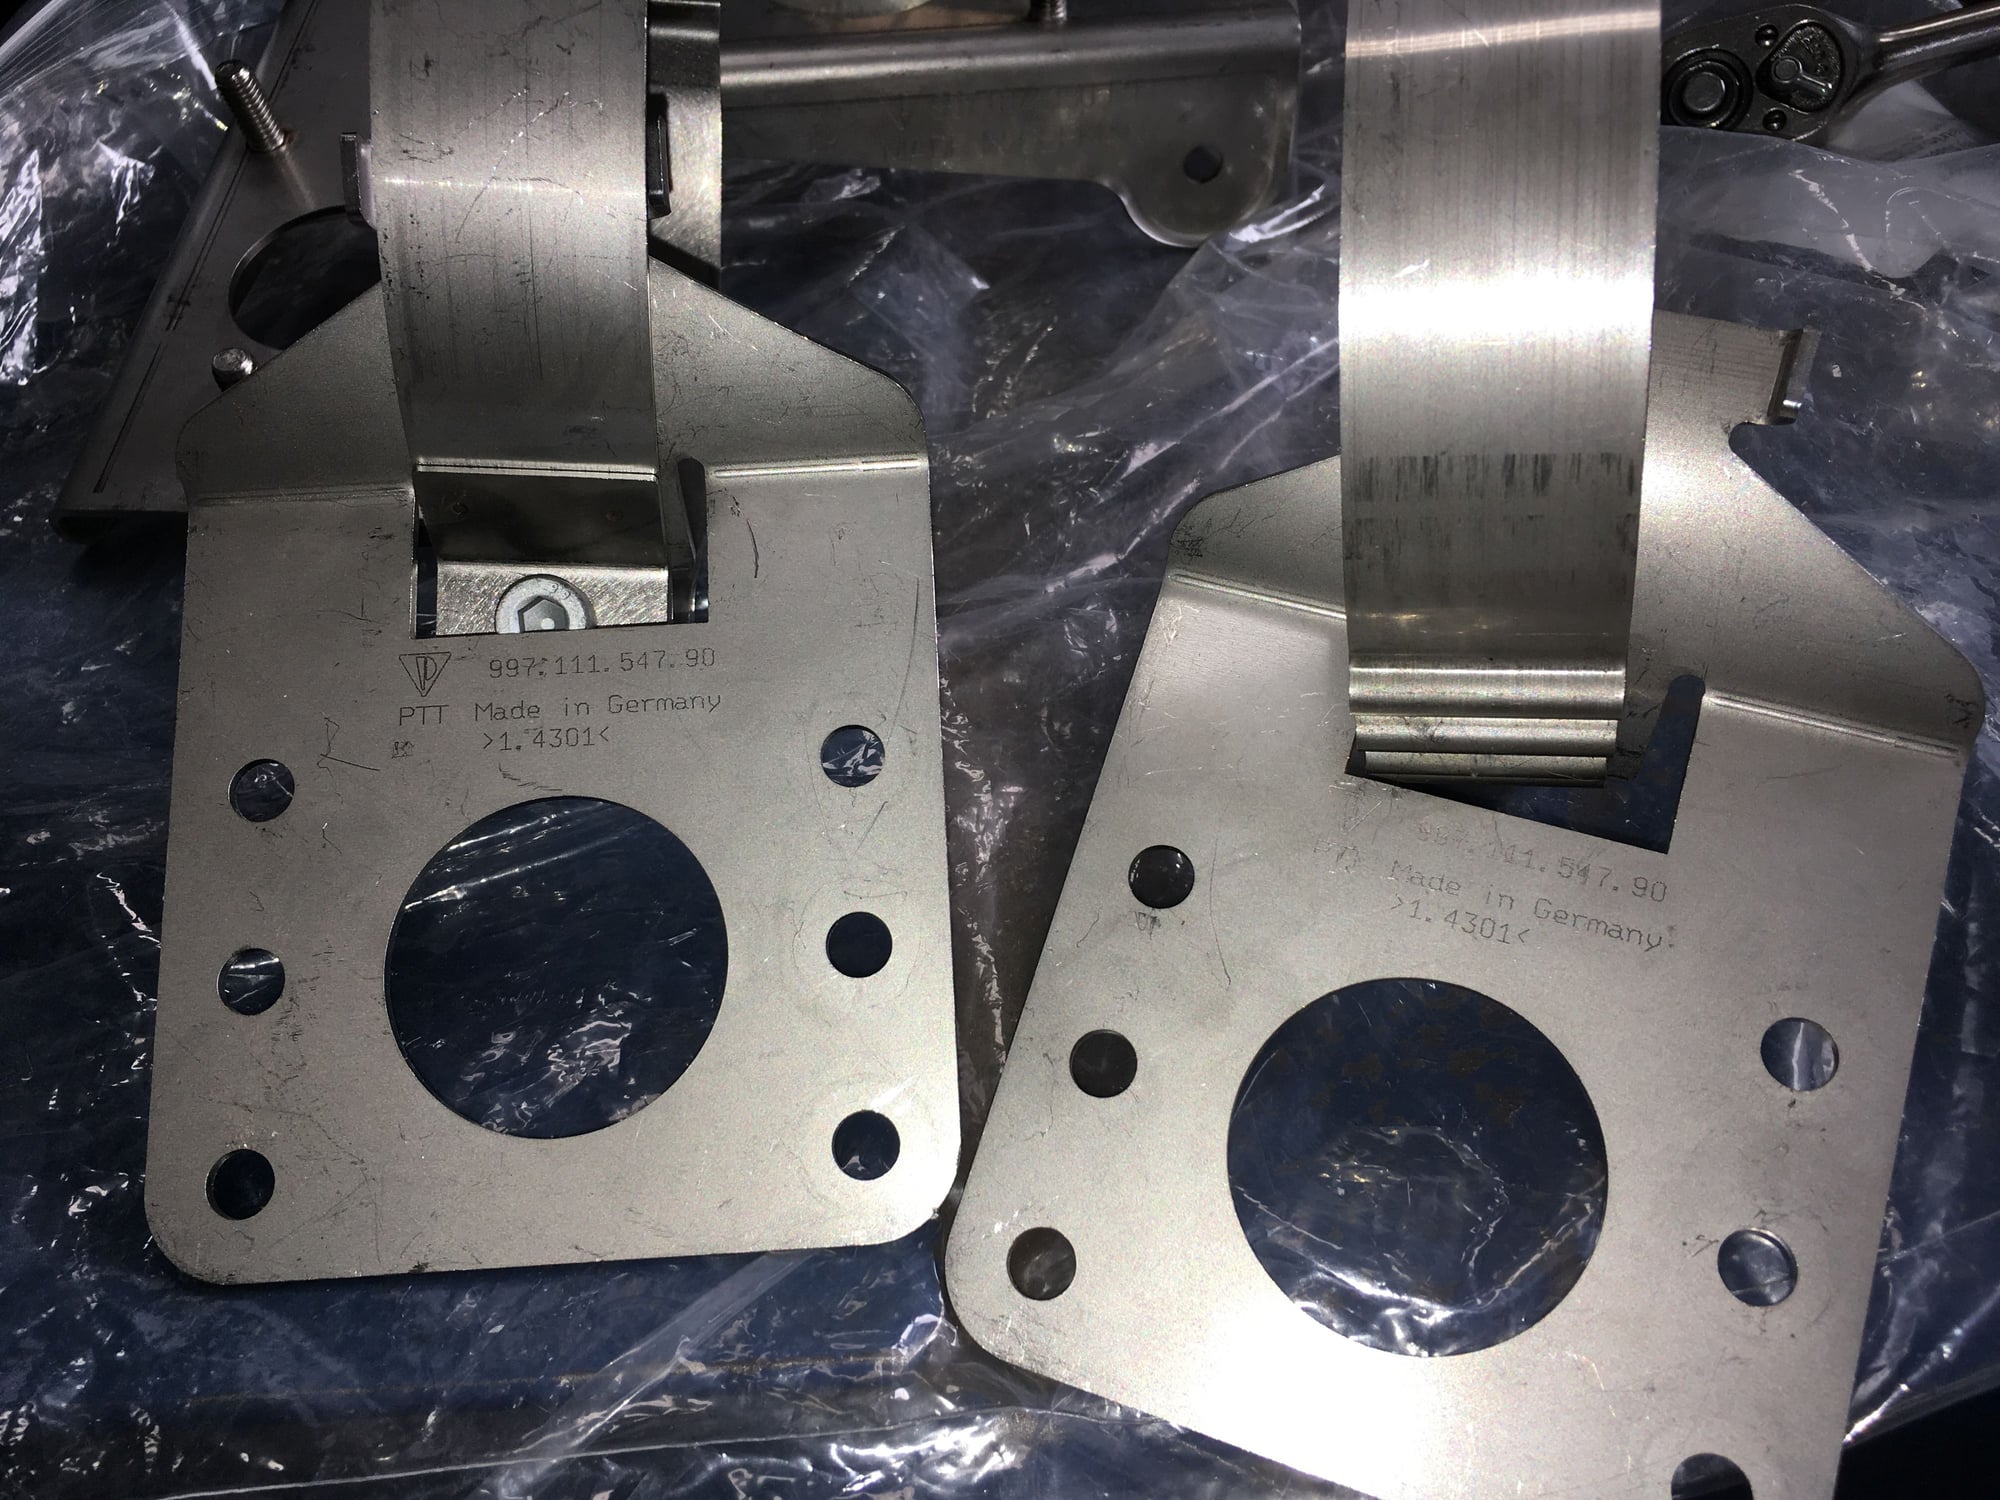
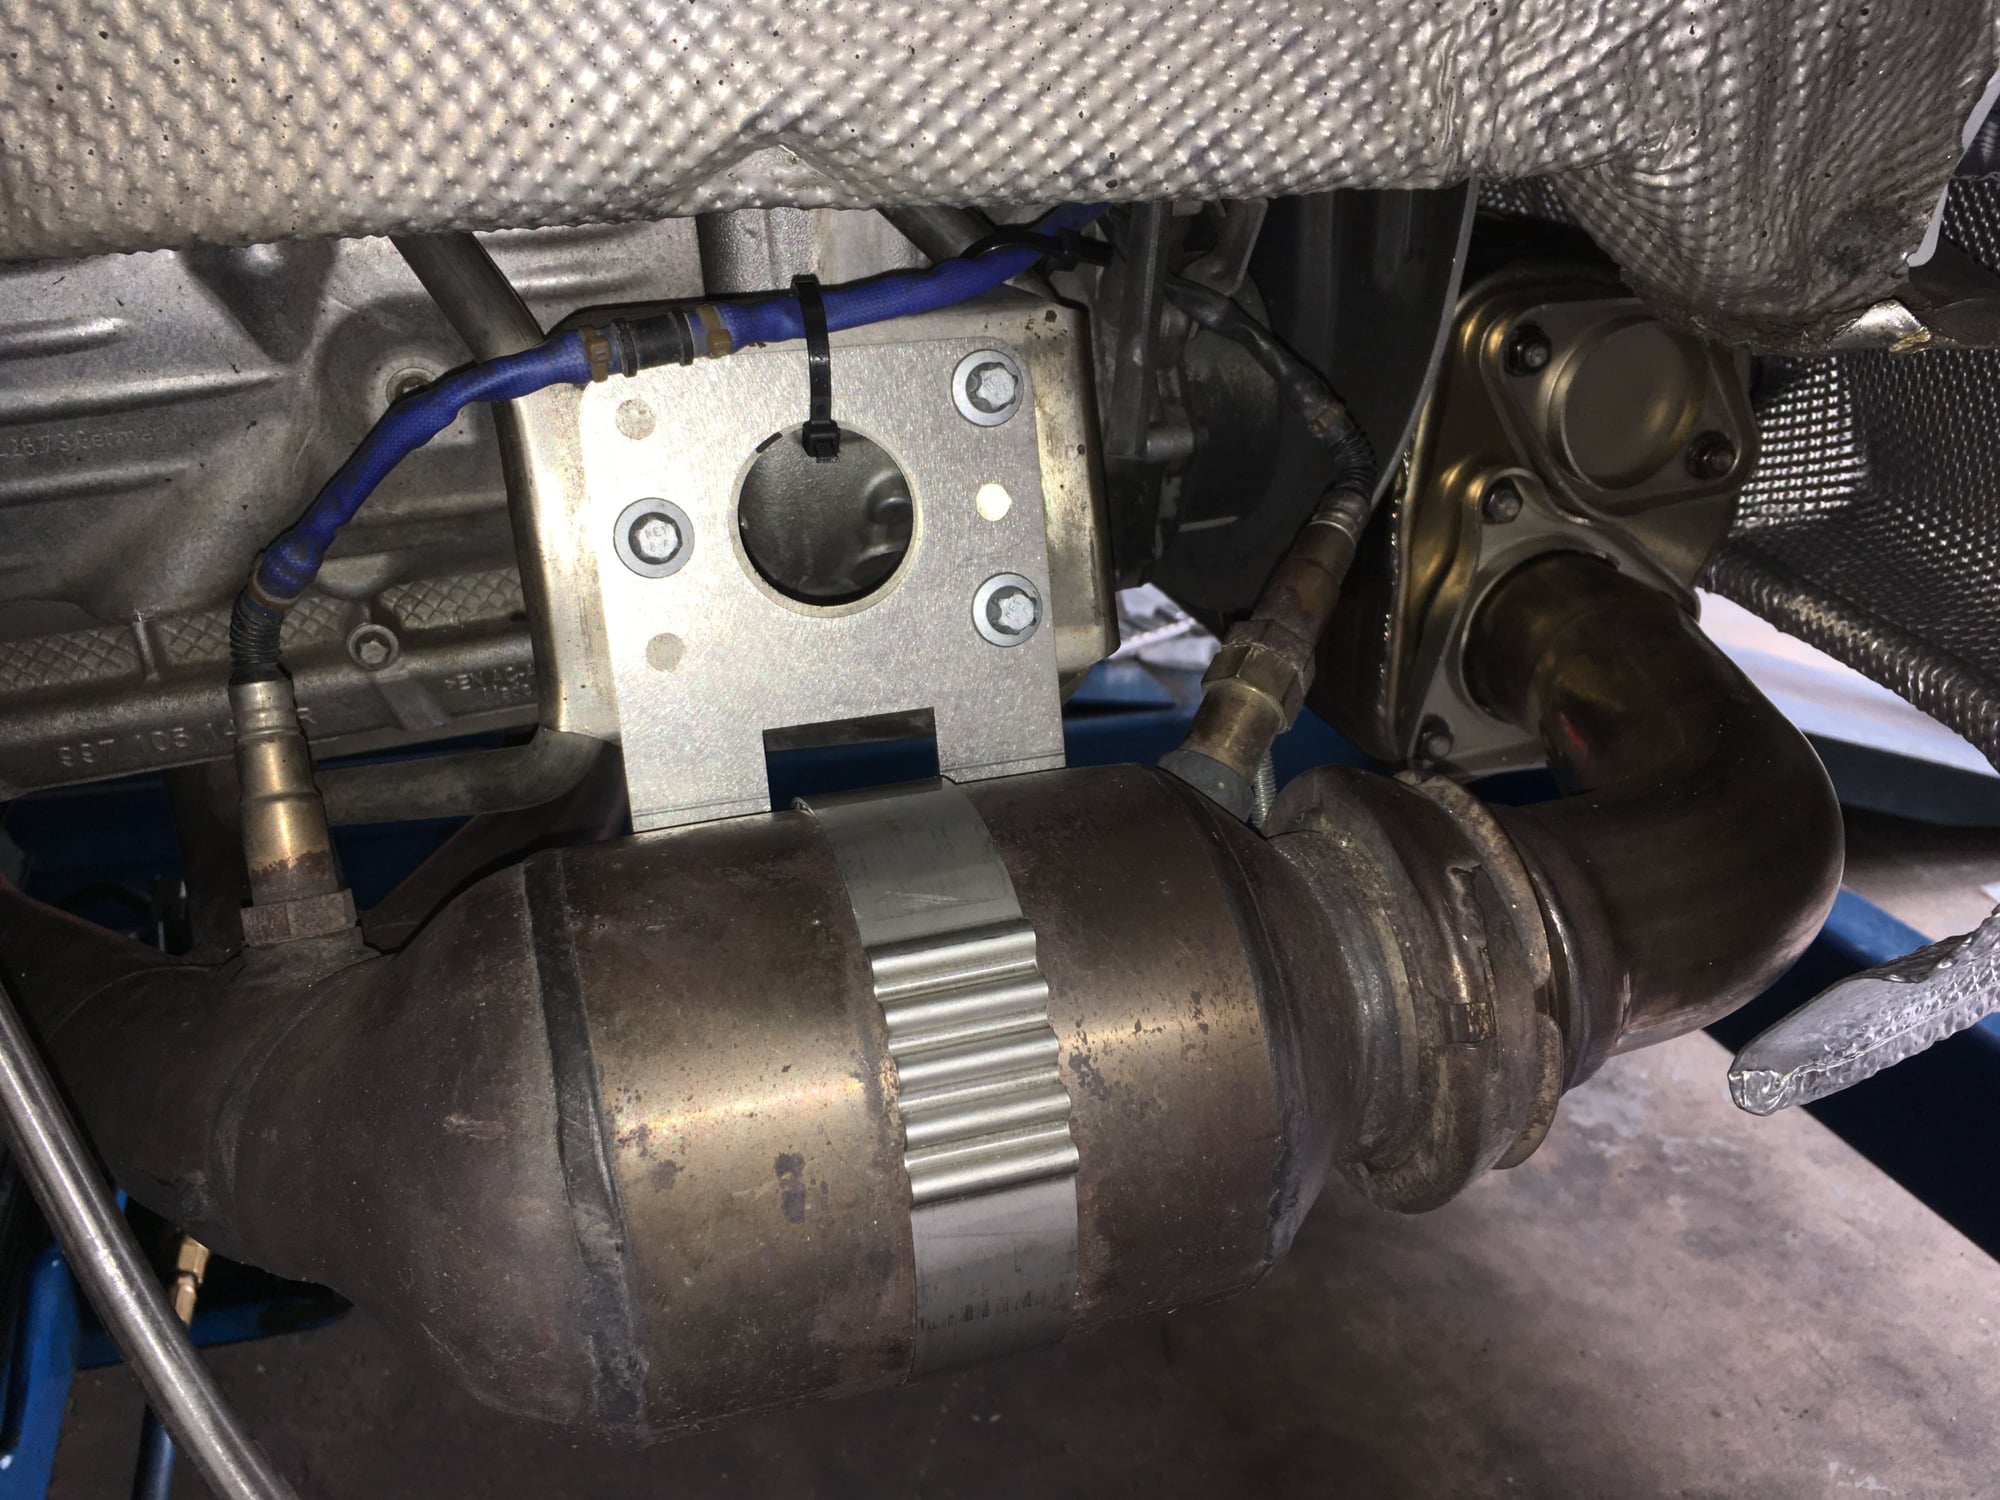
I was unable to button up the rear bumper that night because I didn't have the material and hardware that I wanted/needed to make the support frames. But I took the opportunity to install factory Porsche Motorsport. GT3 Cup header supports! I've been eyeing these for a while and recent;y came across a fellow rennlister offering them for sale. There's no horsepower gain, they just look really good to me, and could possibly reduce the chance or center muffler cracking by supporting the headers upstream from the center muffler.
This is before: unsupported. Its has been unsupported for two years with no issues.
After: having the support adds a piece of mind.
I drove home that night with the headers supported but rear bumper still flapping...
Using the RoW version of the rear crash beam. All 997 crash beams come with center muffler heat shield. The RoW version has material machined off to reduce weight and its made from thinner metal. I'm sure its less effective in an impact but I'll take the weight saving.
The weight reduction is 7.8 lbs compared to the USA version.
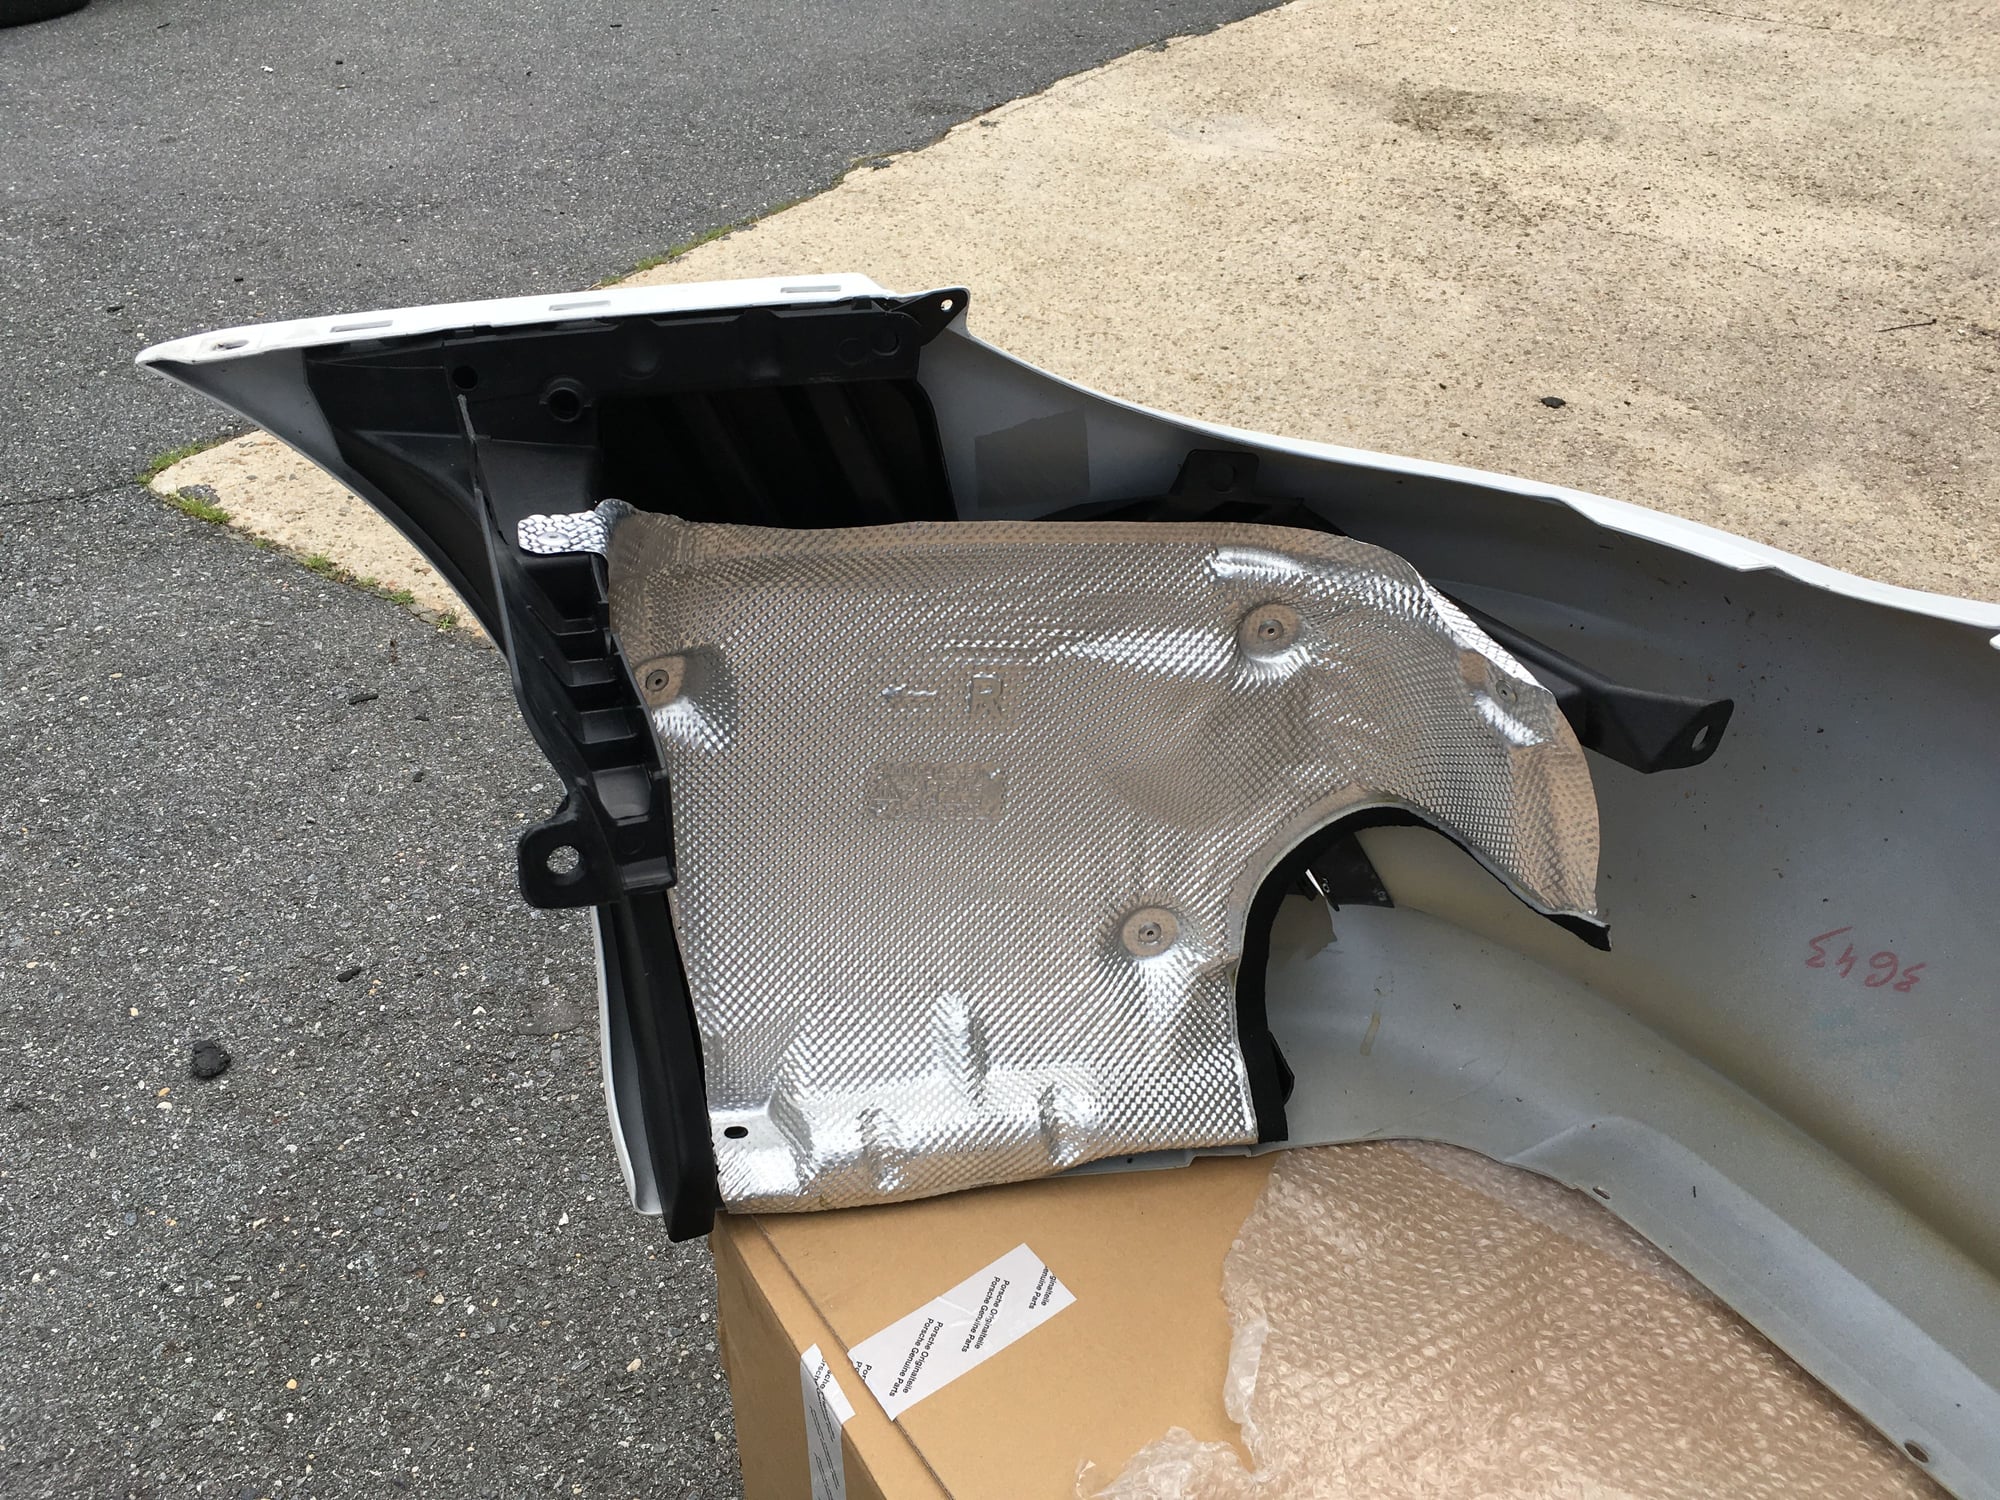
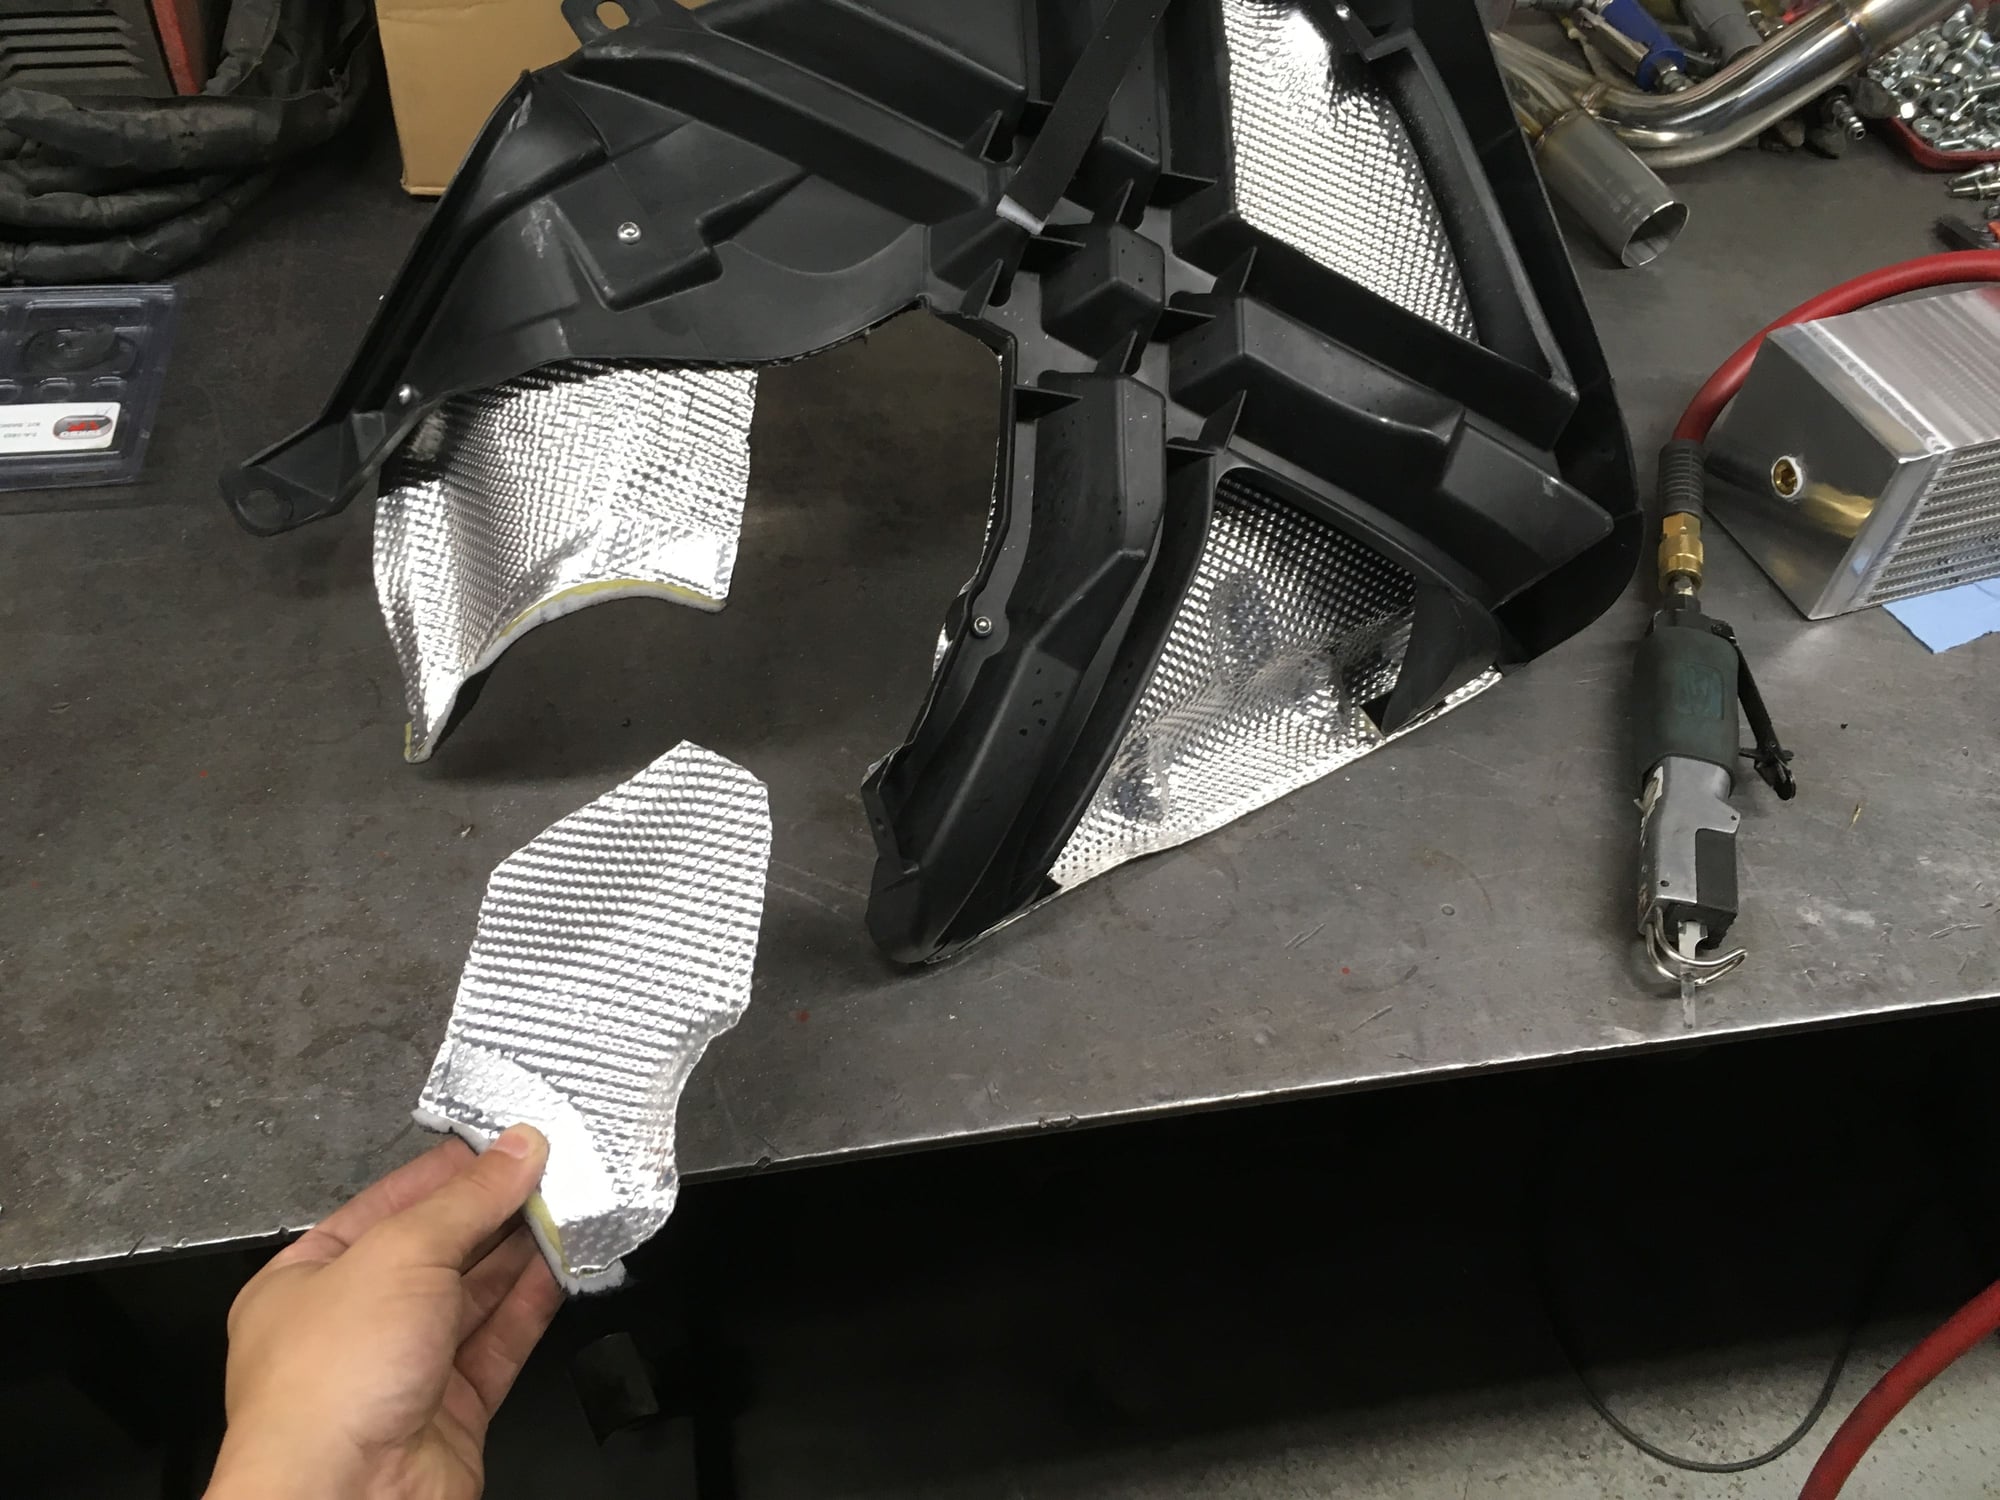
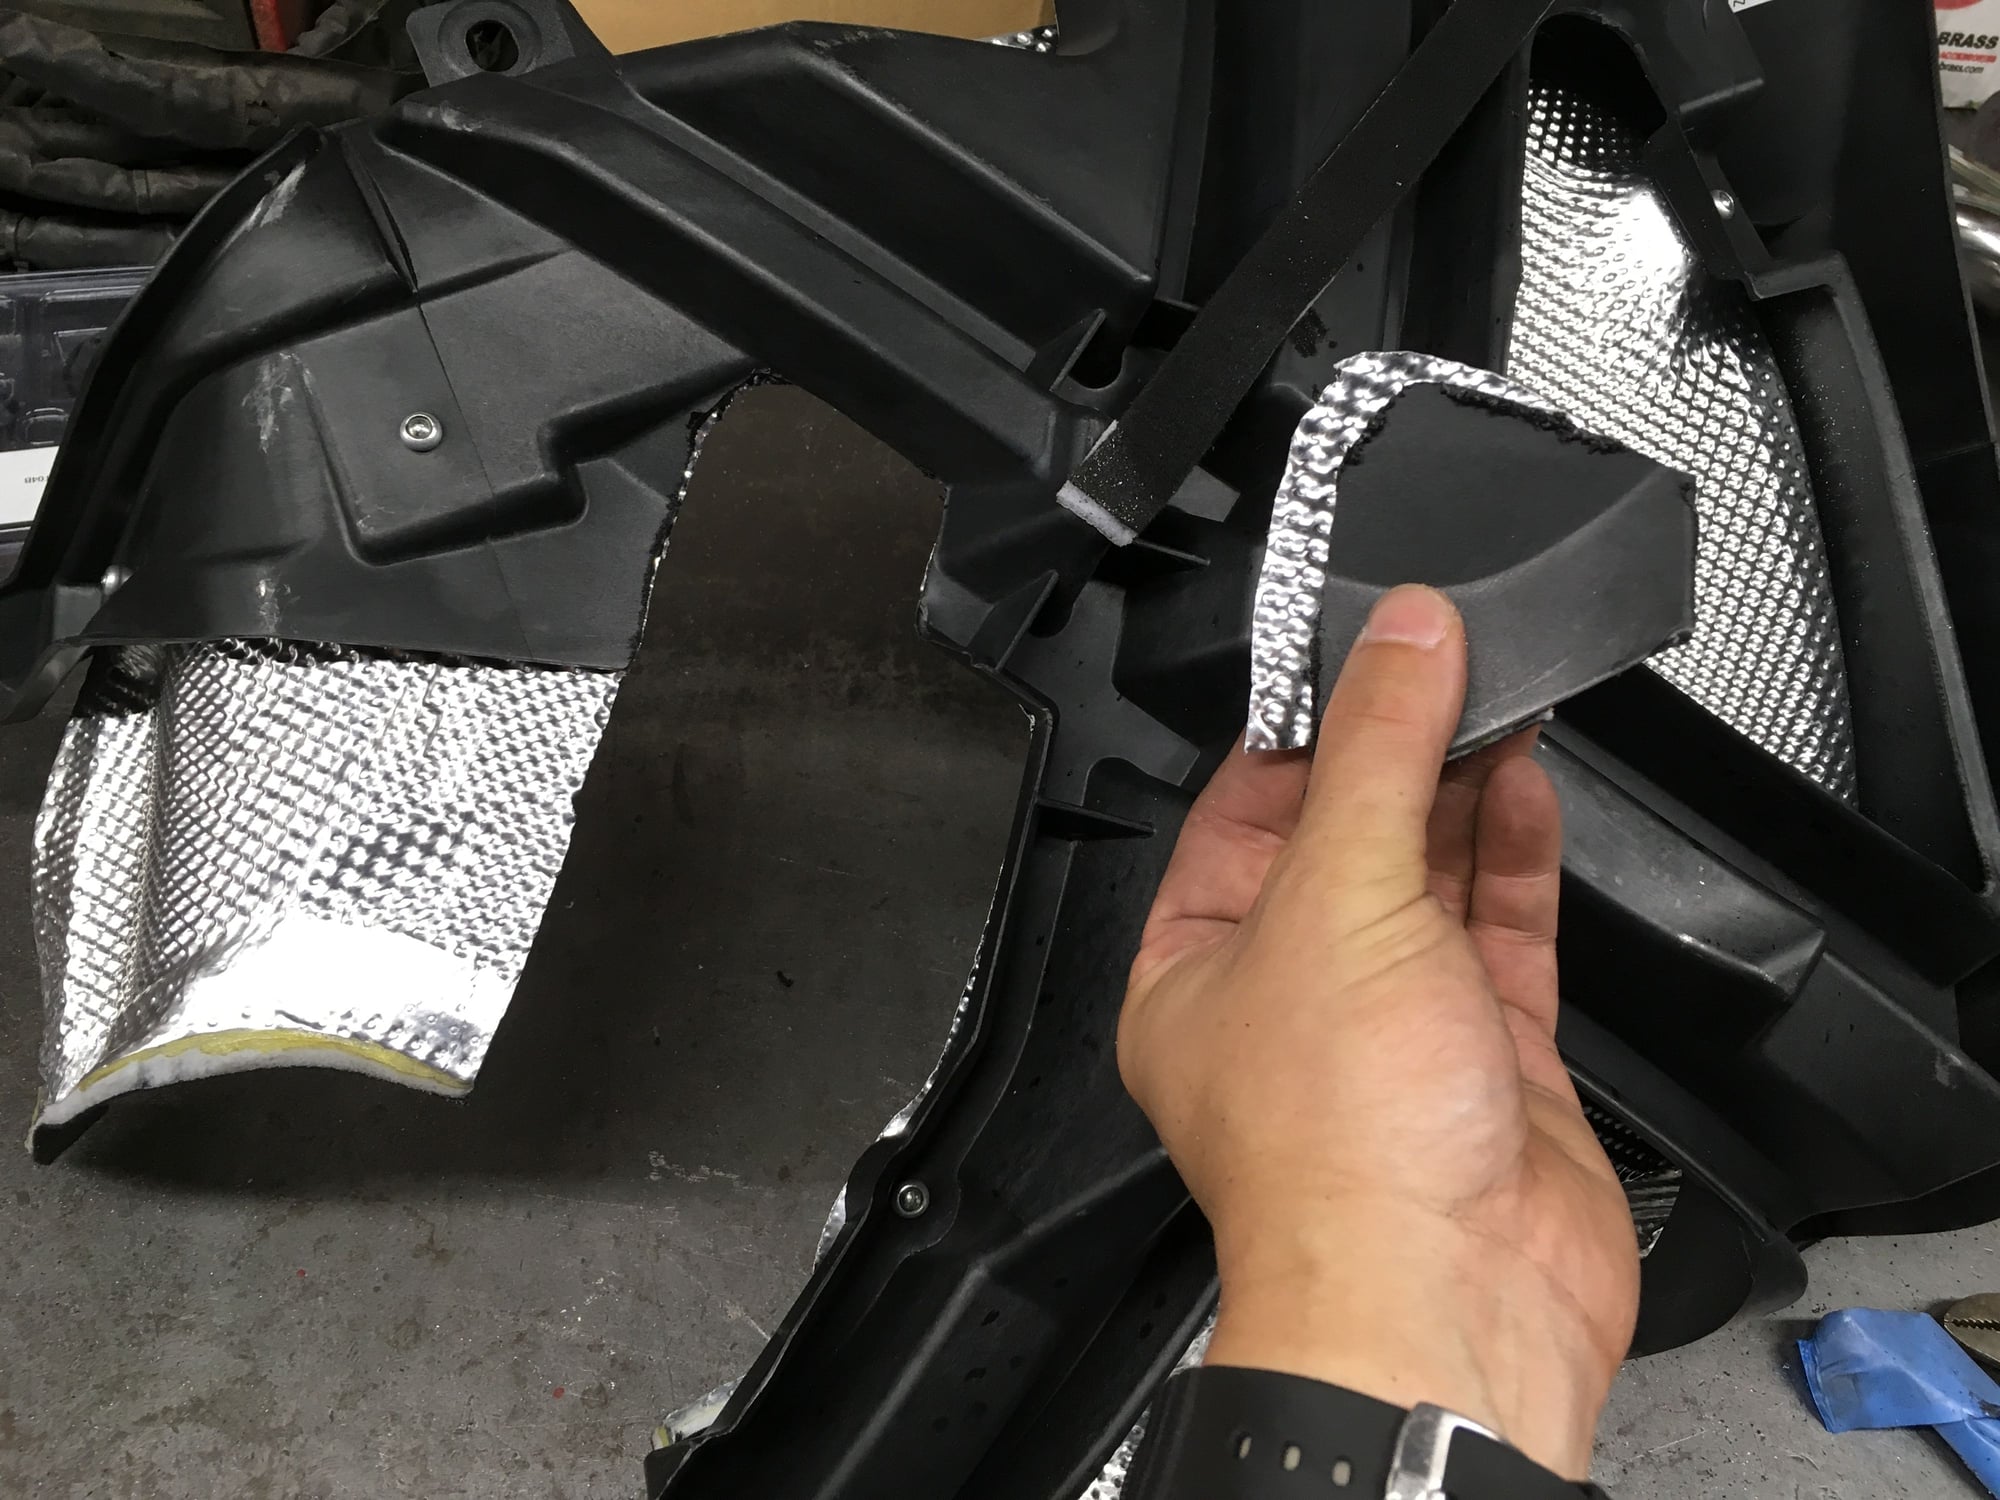
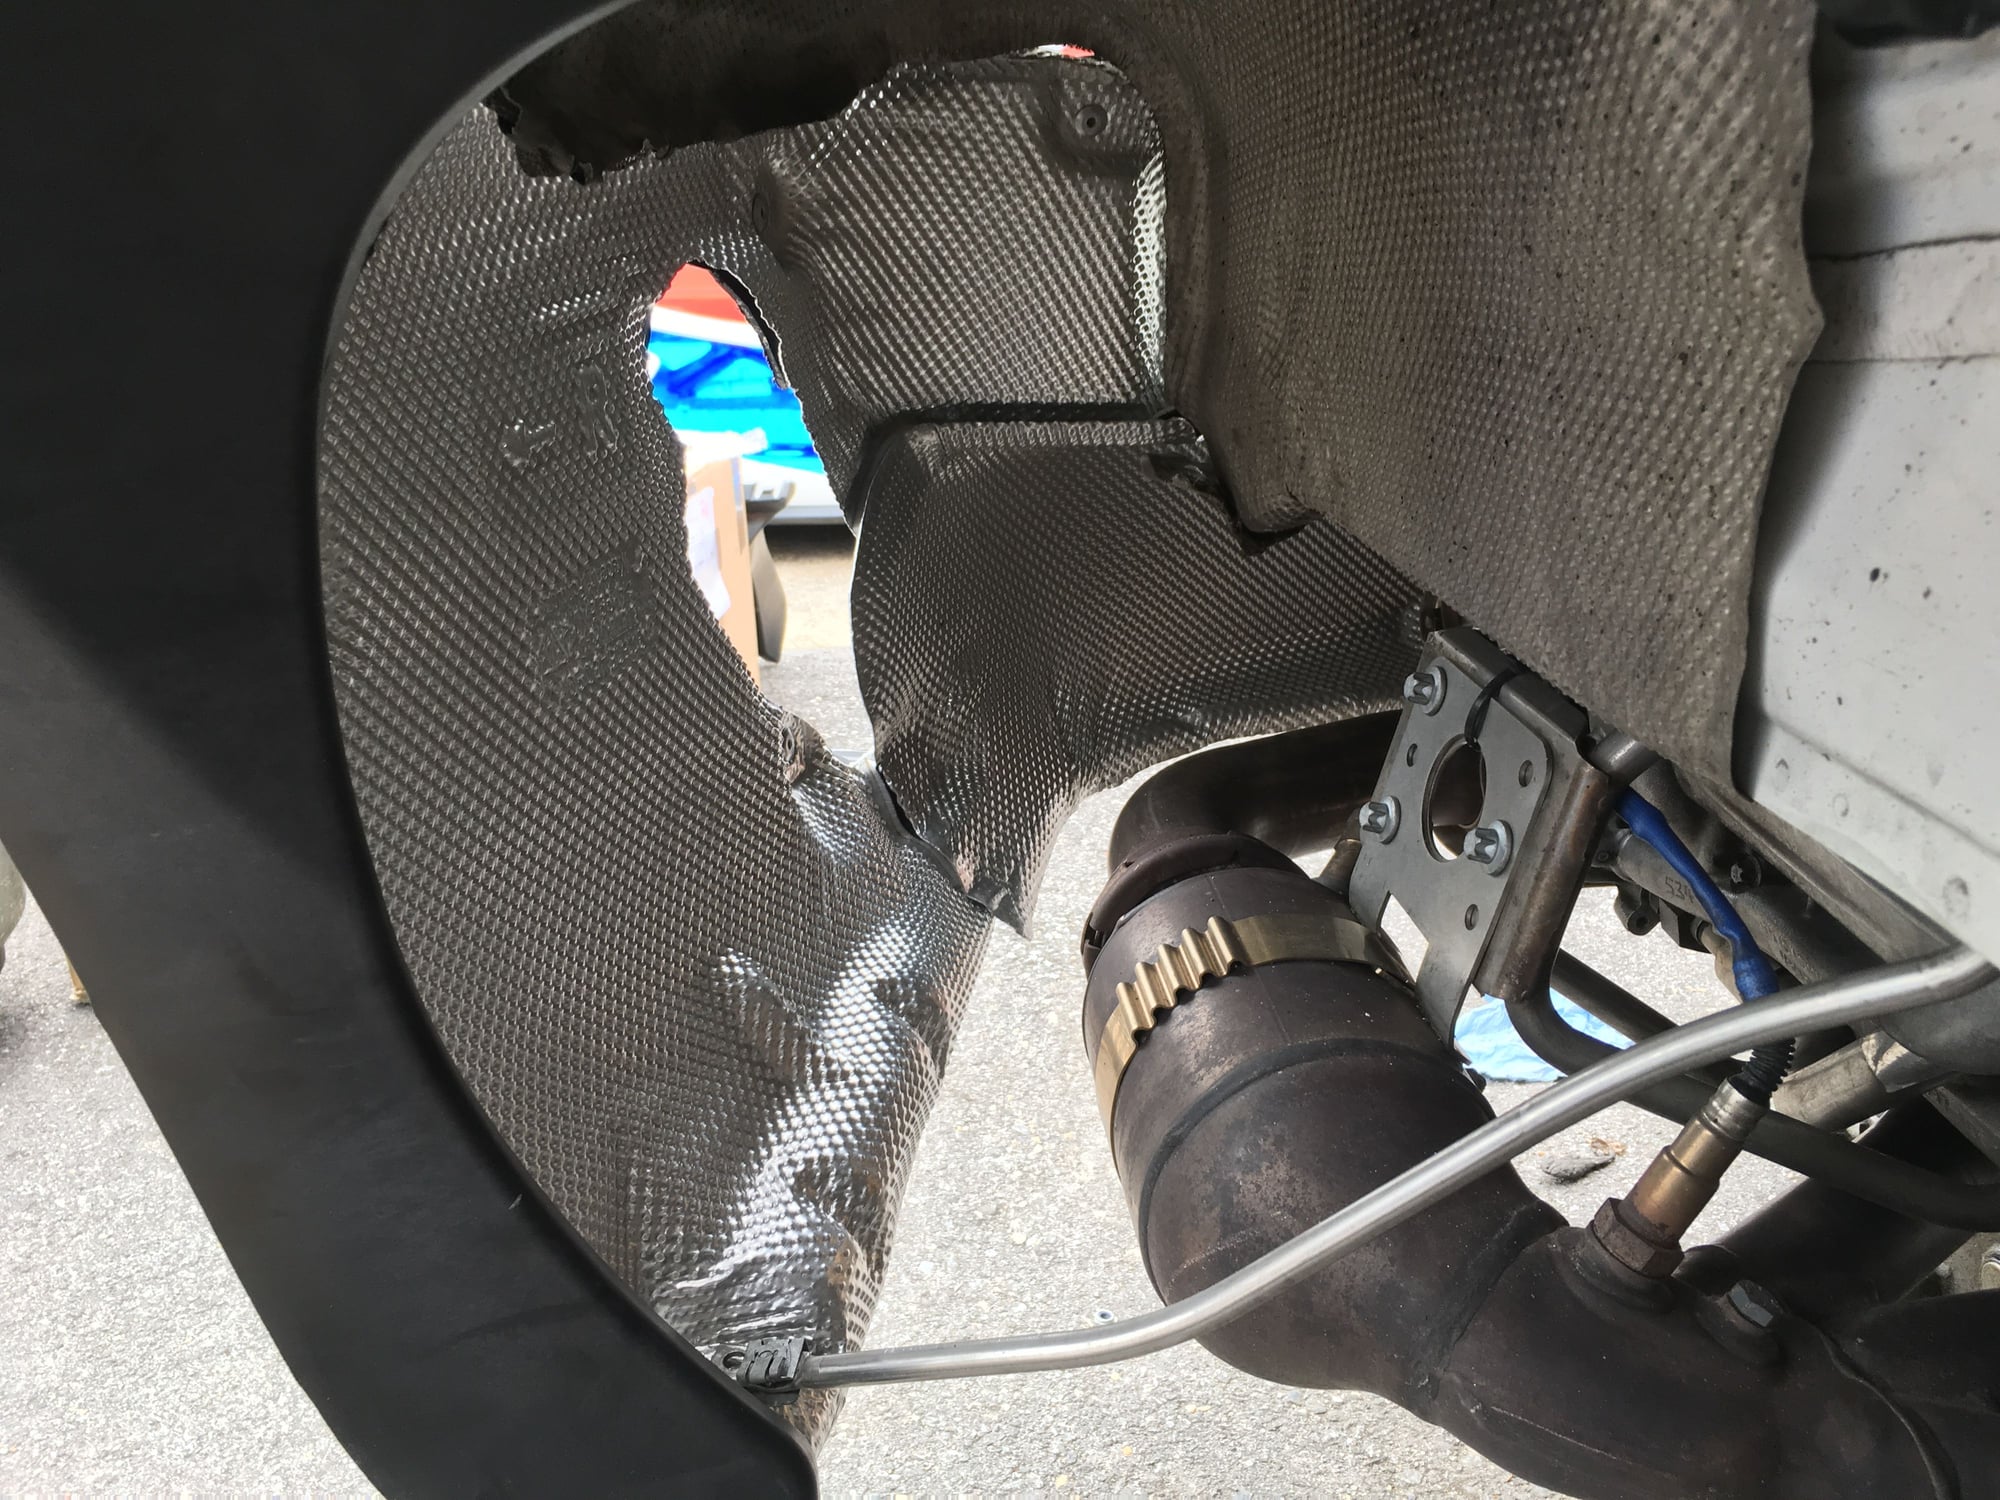
Hi. For bumper and muffler cooling. Another little change my circle of 997 GT3 track mates have been making for a while on our cars is trimming a hole in the rear heat shield on each side, to allow air to flow out through the rear channels that are in the rear bumper, for additional cooling. Ie...making those air channels in the rear bumper ‘real’.
It works too, aka cup cars. You can see the air stream marks along our bumper after driving it in any wet weather.
Hi. For bumper and muffler cooling. Another little change my circle of 997 GT3 track mates have been making for a while on our cars is trimming a hole in the rear heat shield on each side, to allow air to flow out through the rear channels that are in the rear bumper, for additional cooling. Ie...making those air channels in the rear bumper �real�.
It works too, aka cup cars. You can see the air stream marks along our bumper after driving it in any wet weather.
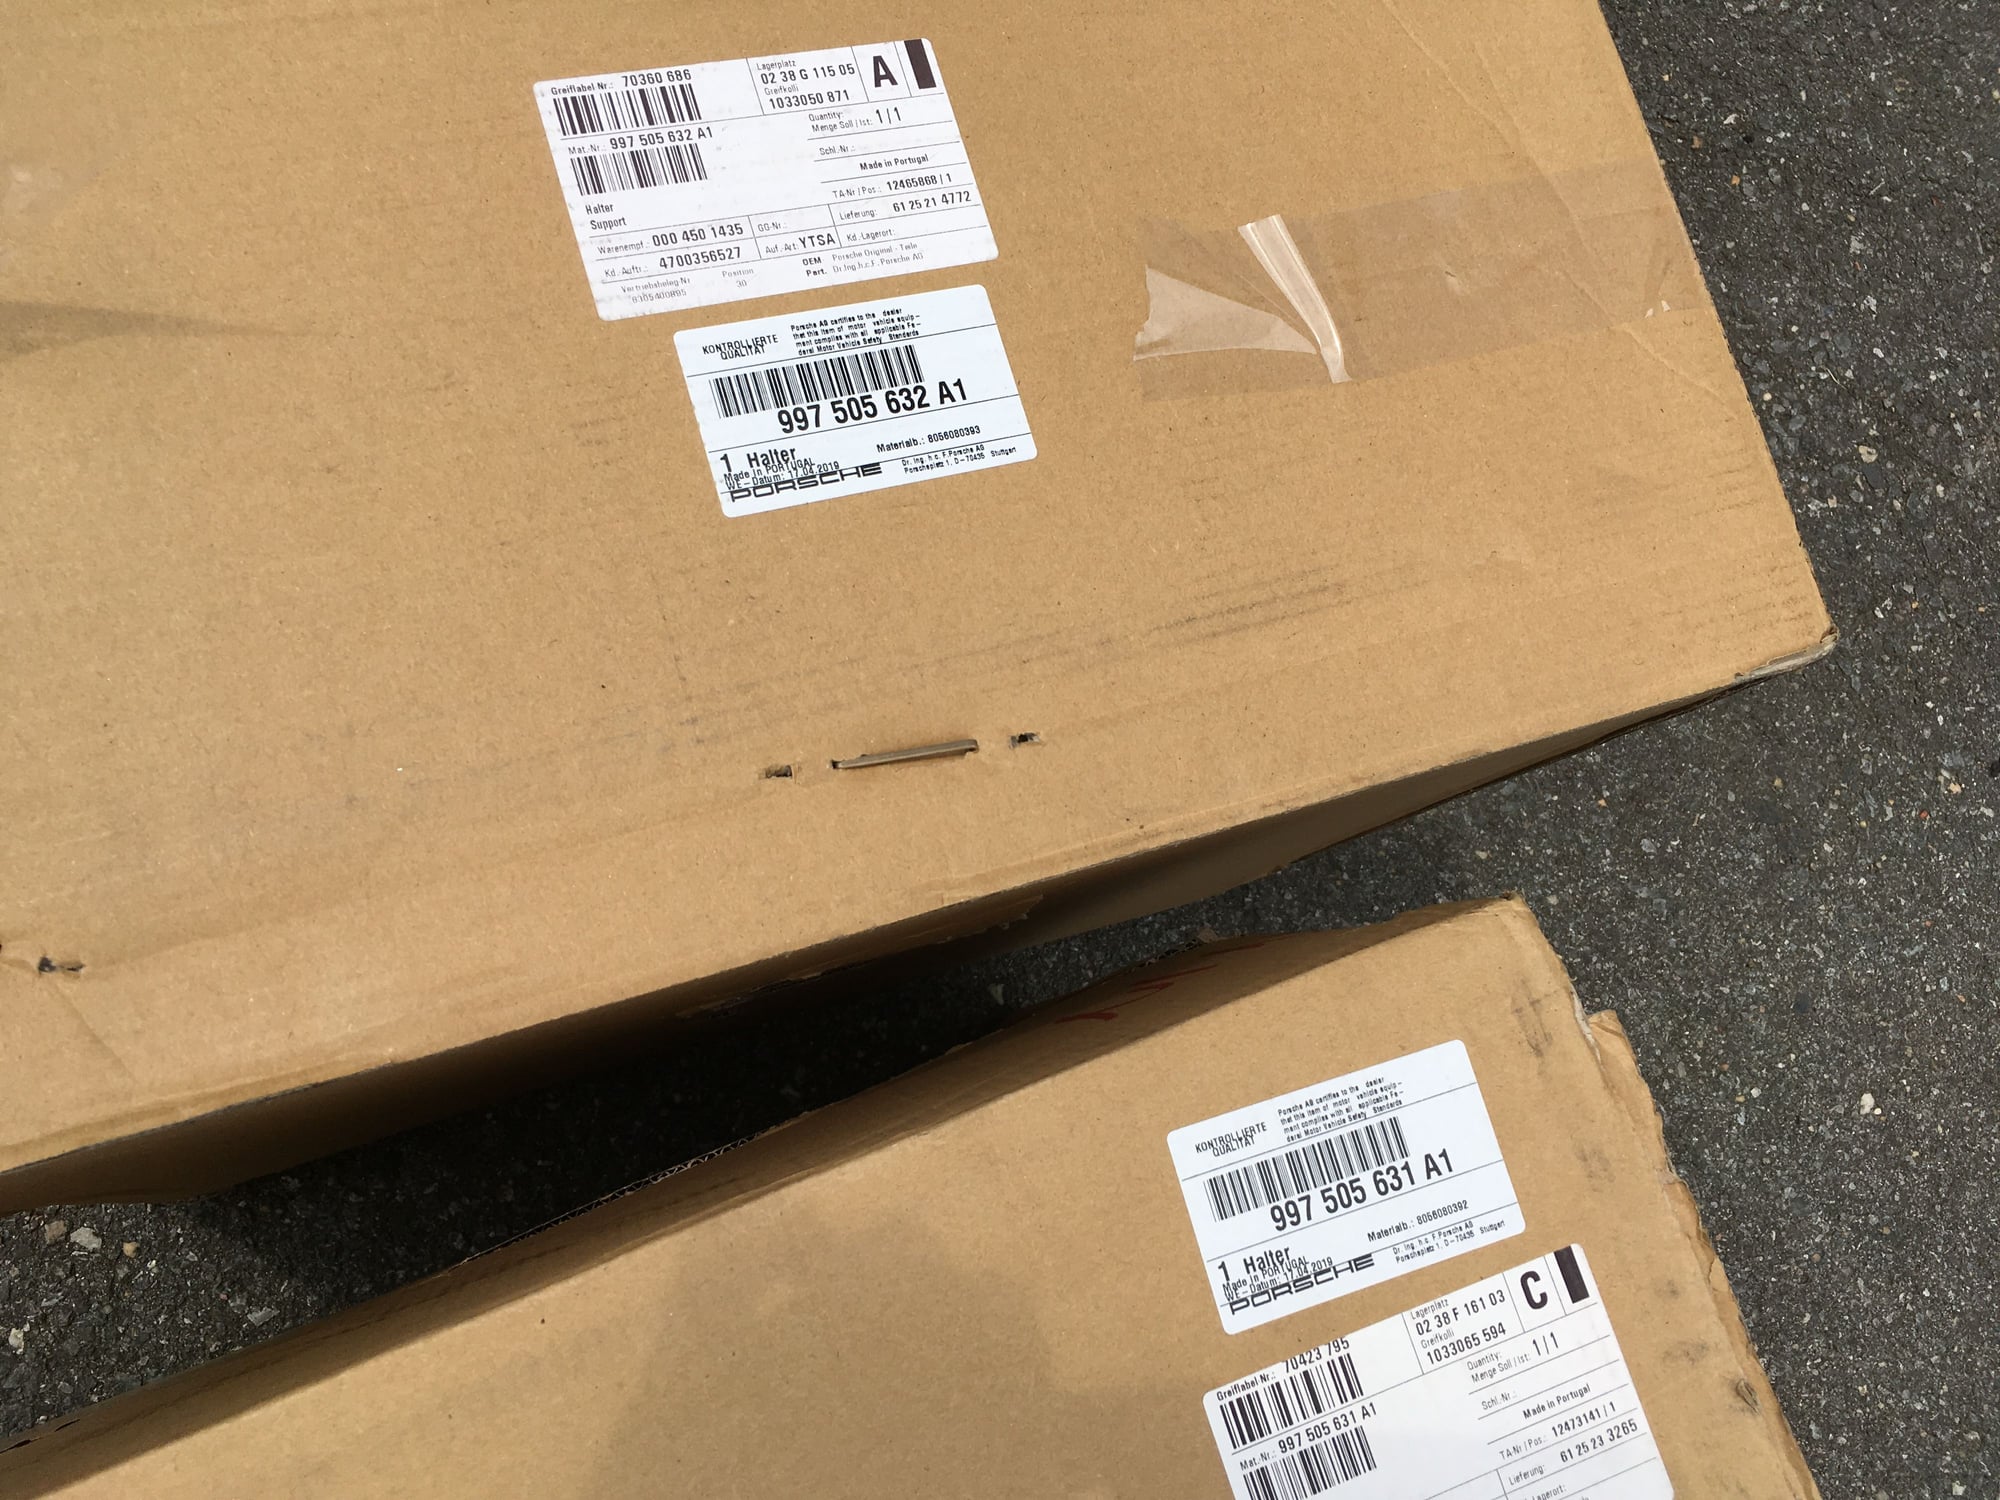
The next opportunity I had to work on my car was Sunday(yesterday). Since the shop was very busy preparing 991 Cups for the upcoming Montreal race I occupied a spot outside to do my thing. Was fortunate to have a sunny day and very fortunate to have the lateral support frames arrive with newly updated part numbers.
The original part numbers were 997 505 631 92 and 997 505 63 192. The updated part numbers are 997 505 631 A1 and 997 505 631 A1.
I don't know what the difference is with the updated part numbers. Could be a different grade of plastic or aluminum foil. I am just very glad I don't have to make these support frames from sheet metal.
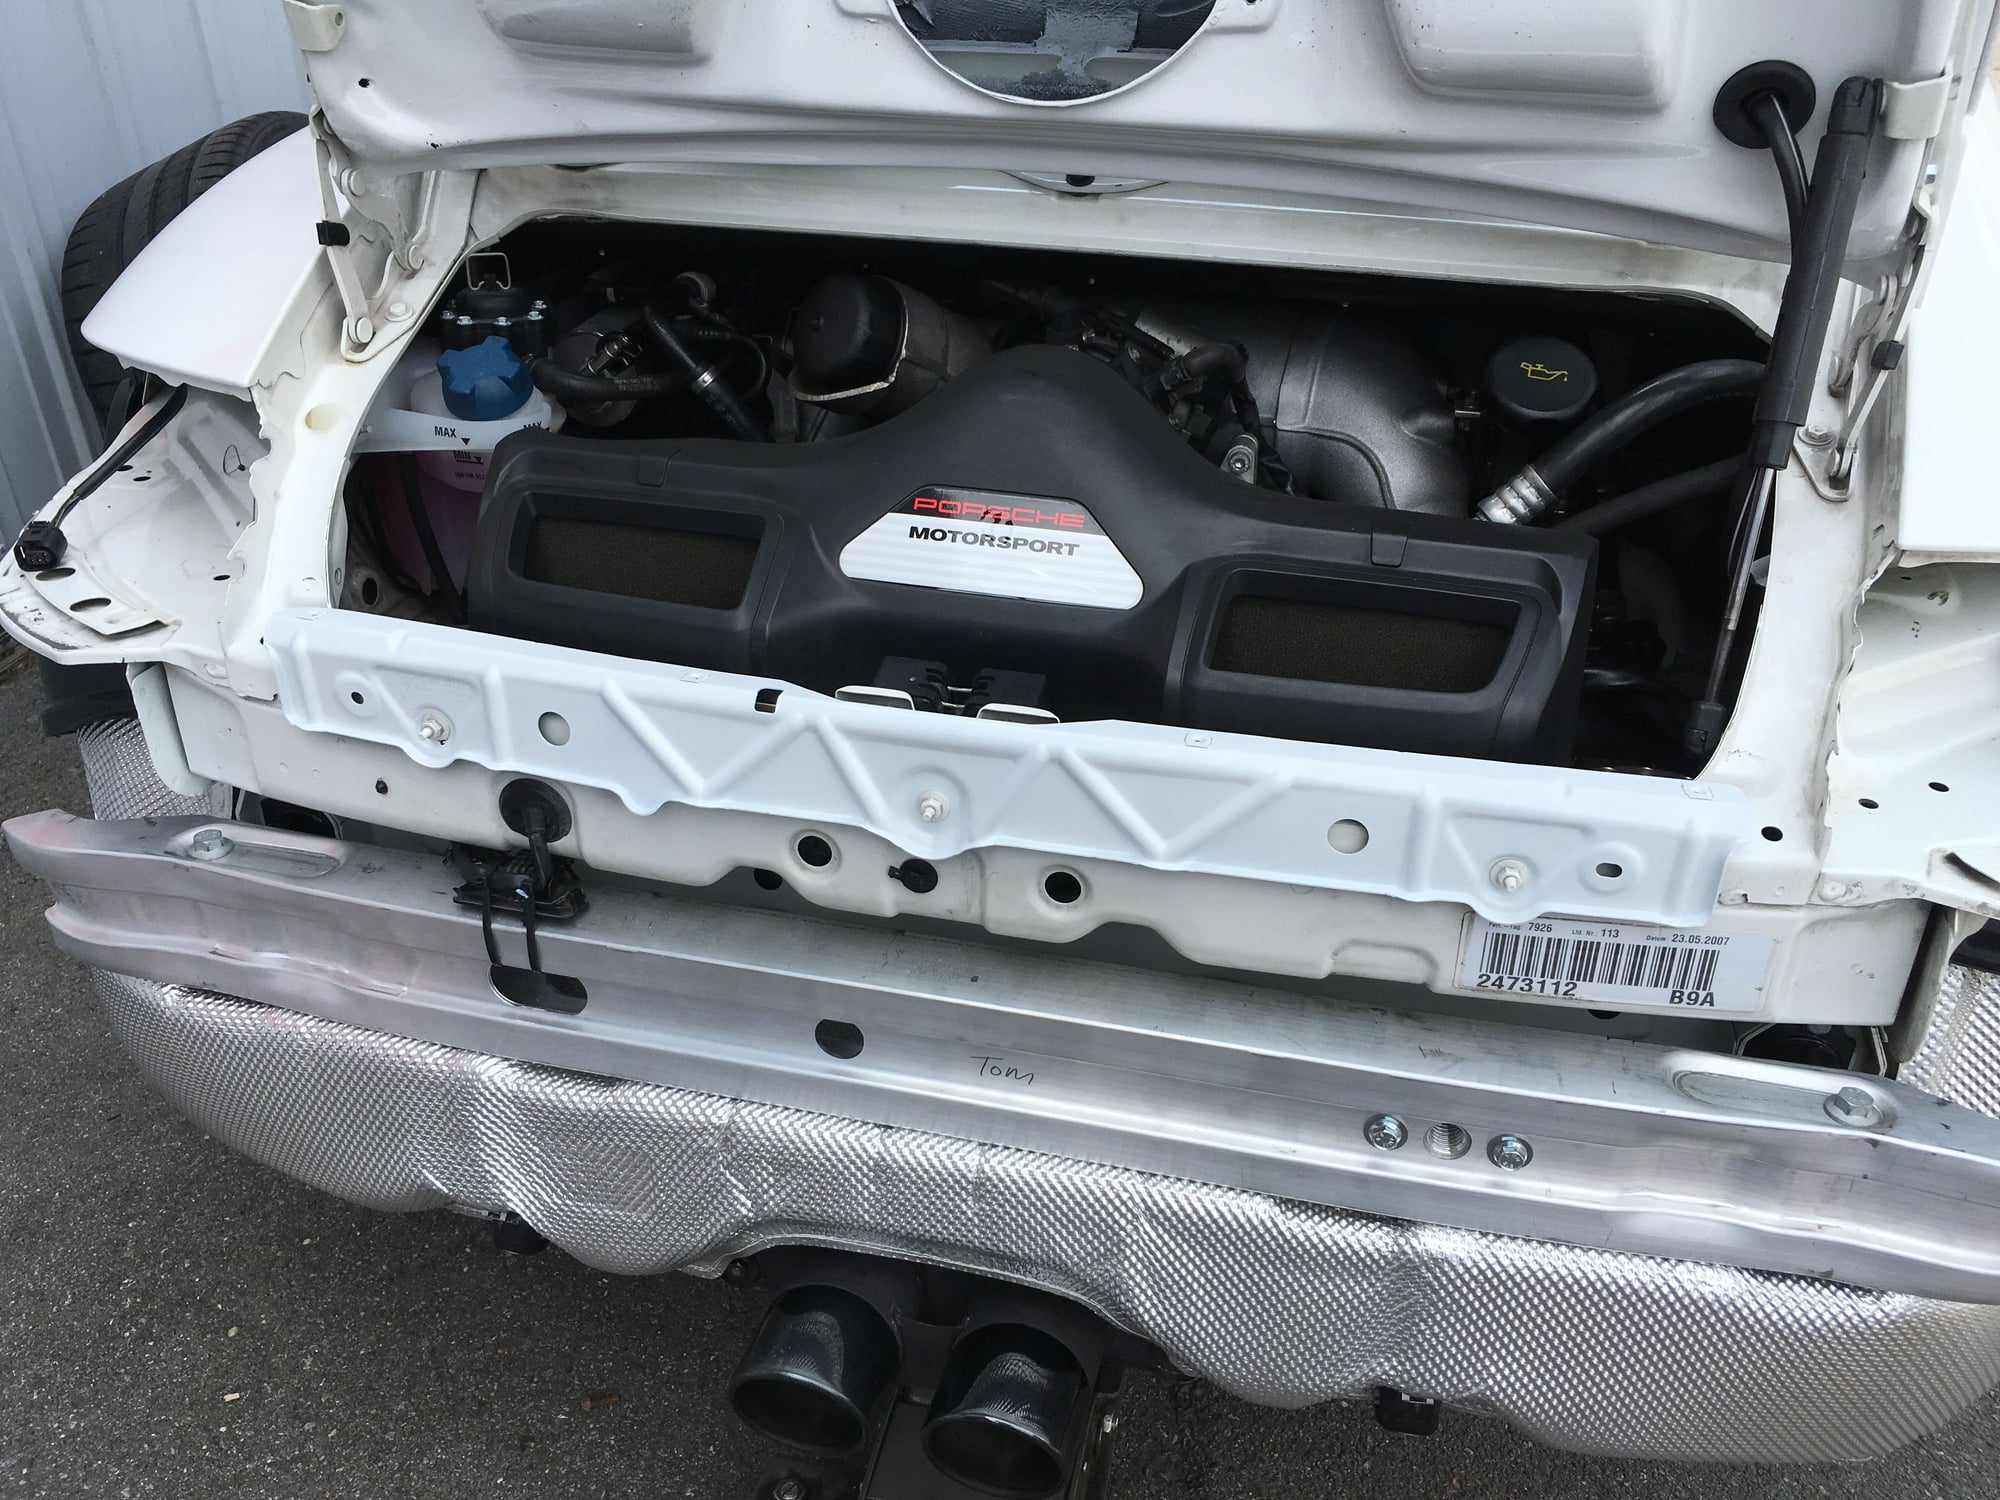
Test fitting on the car...
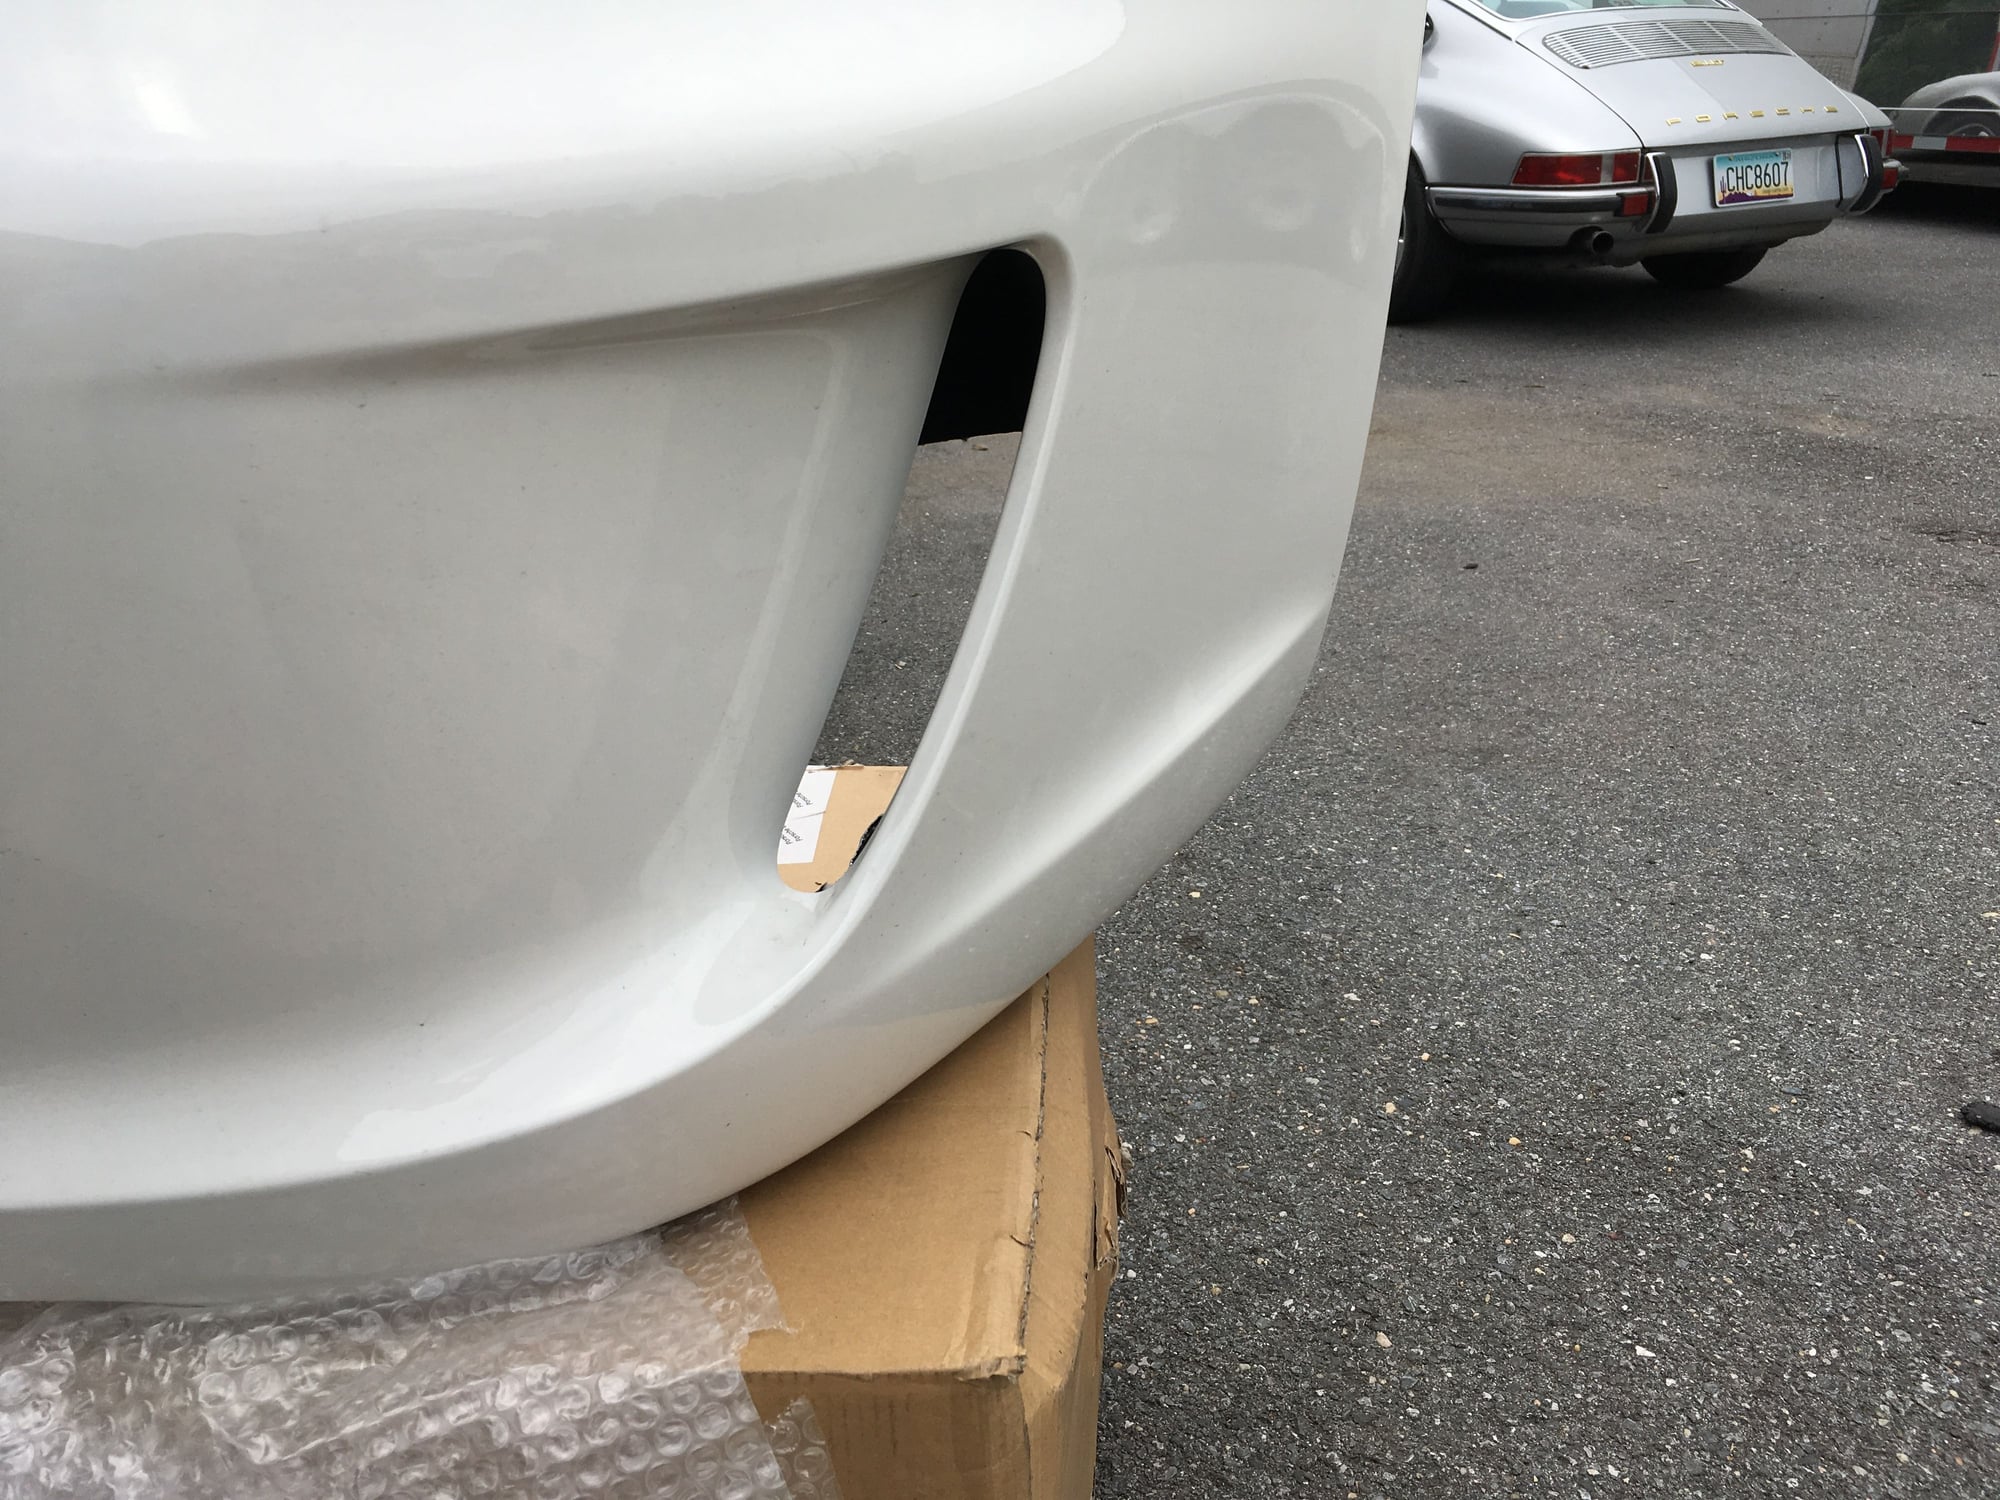
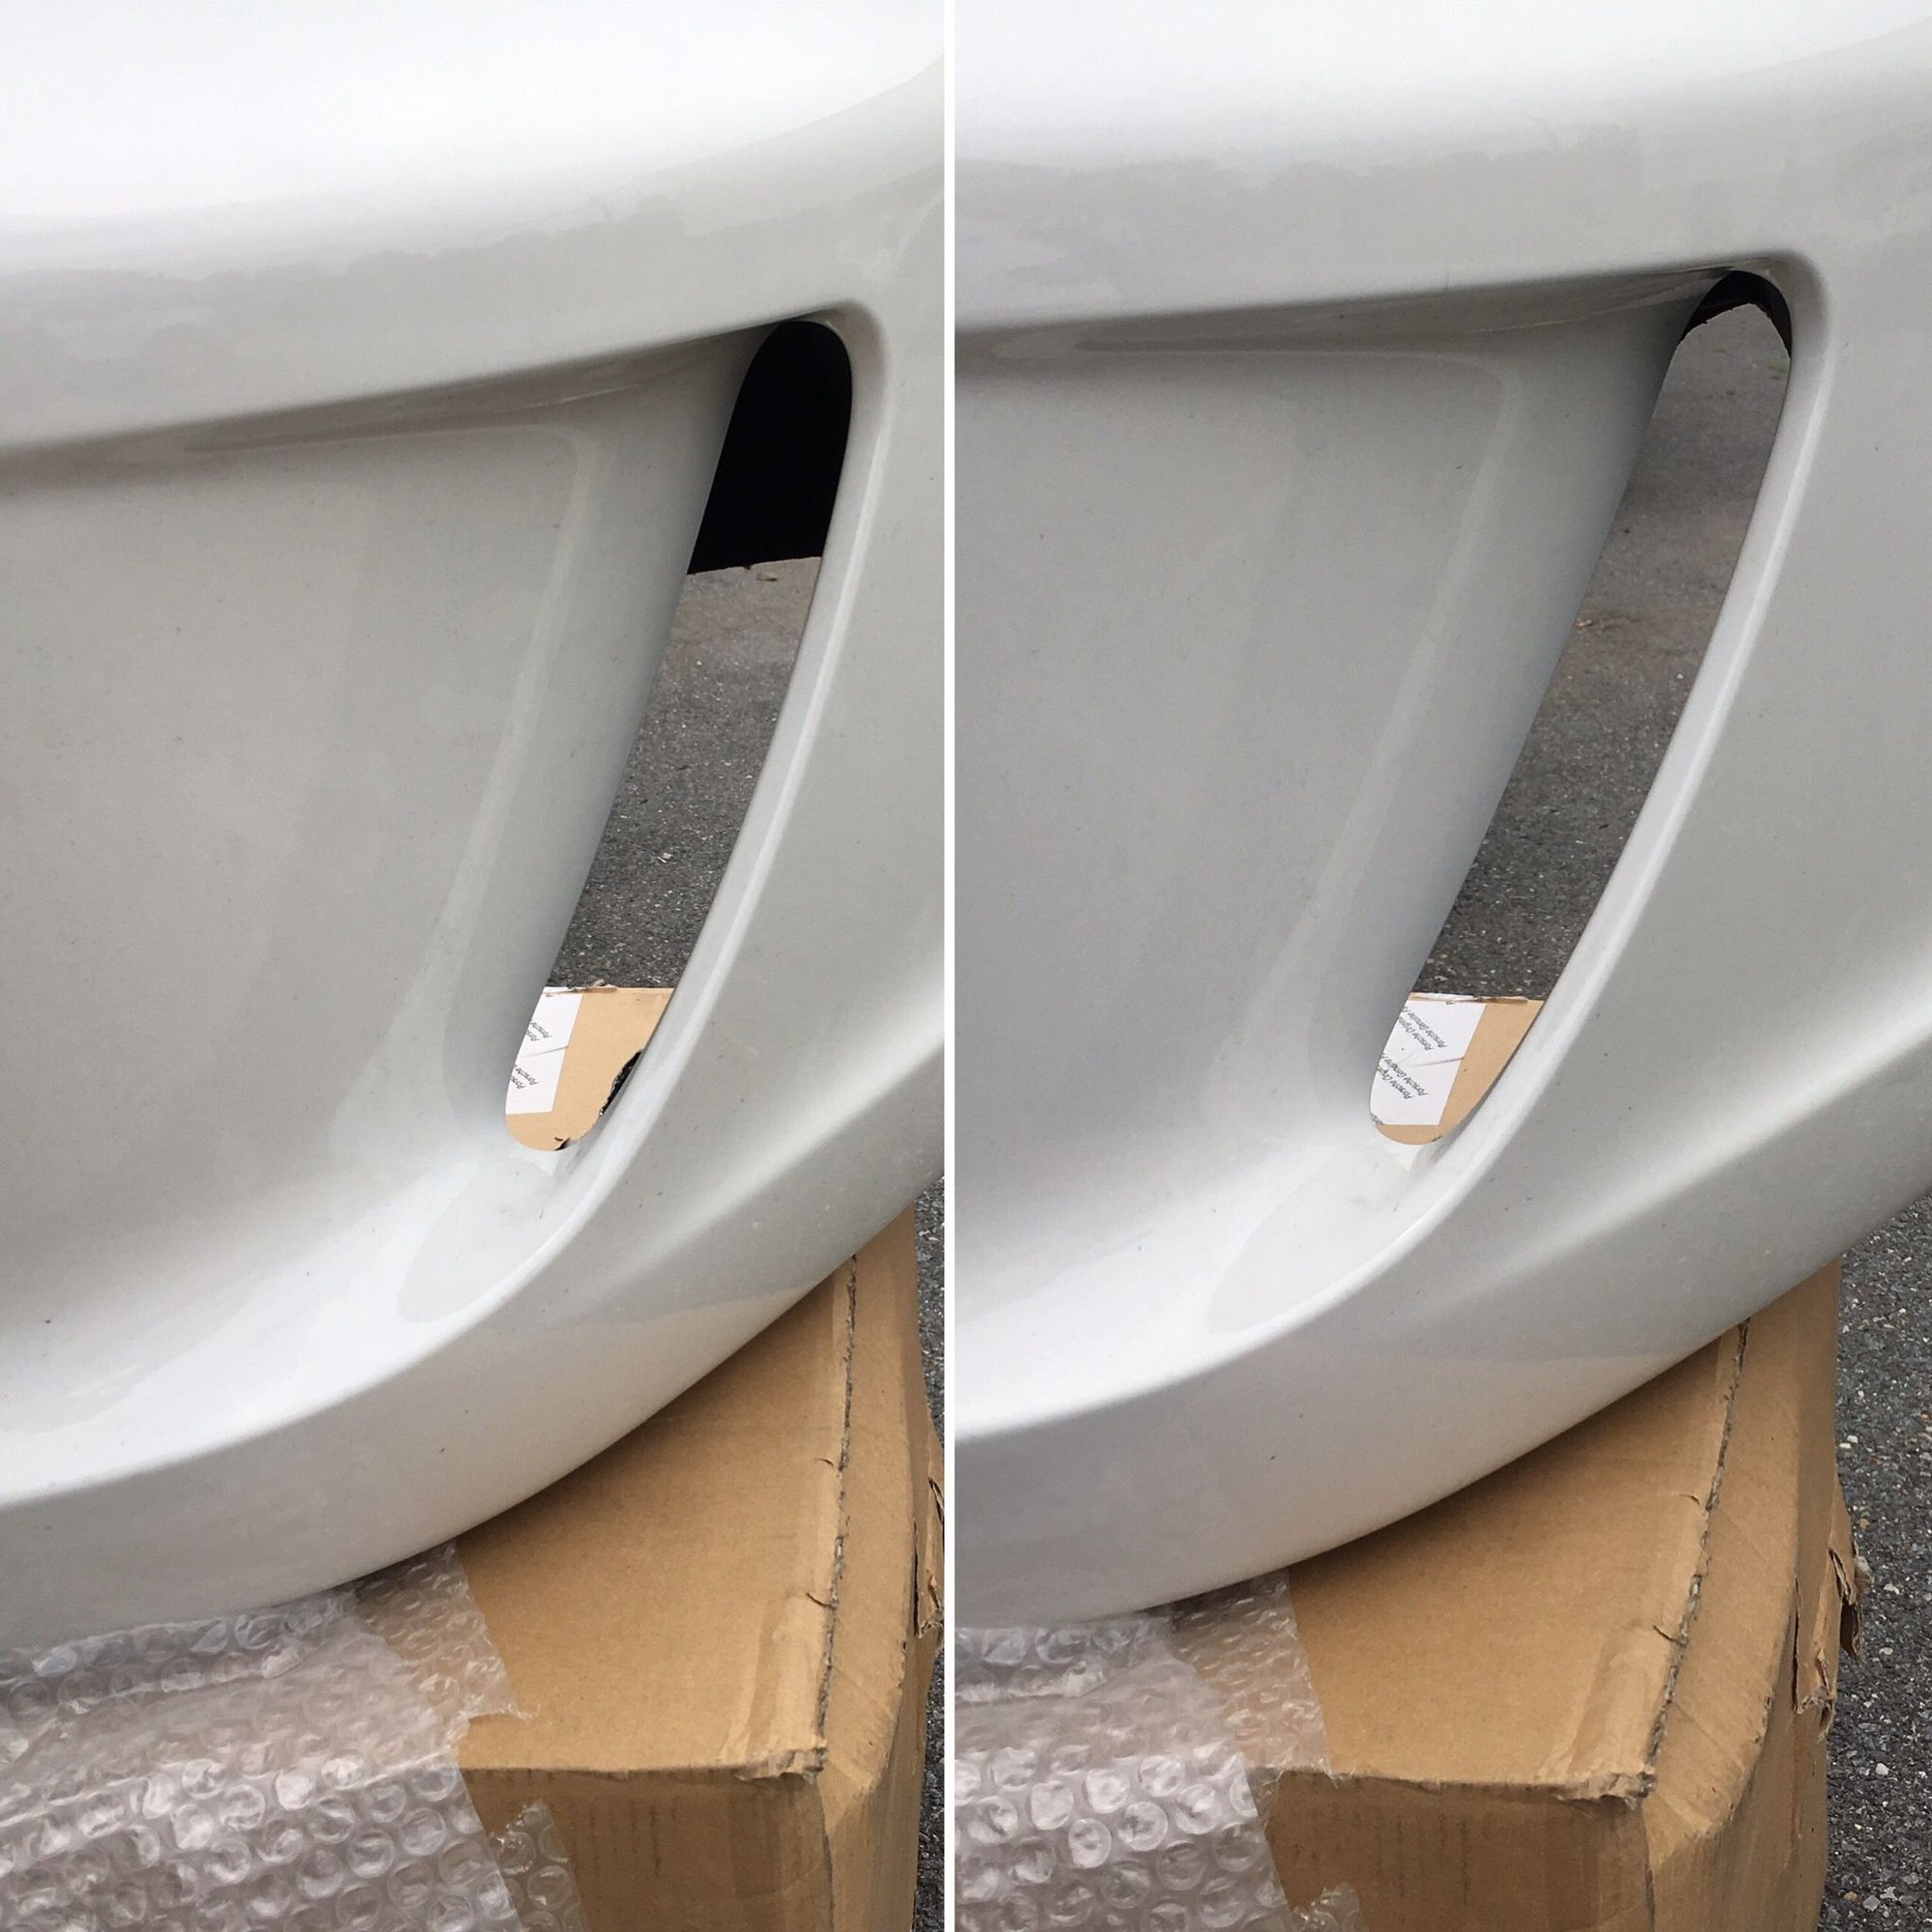
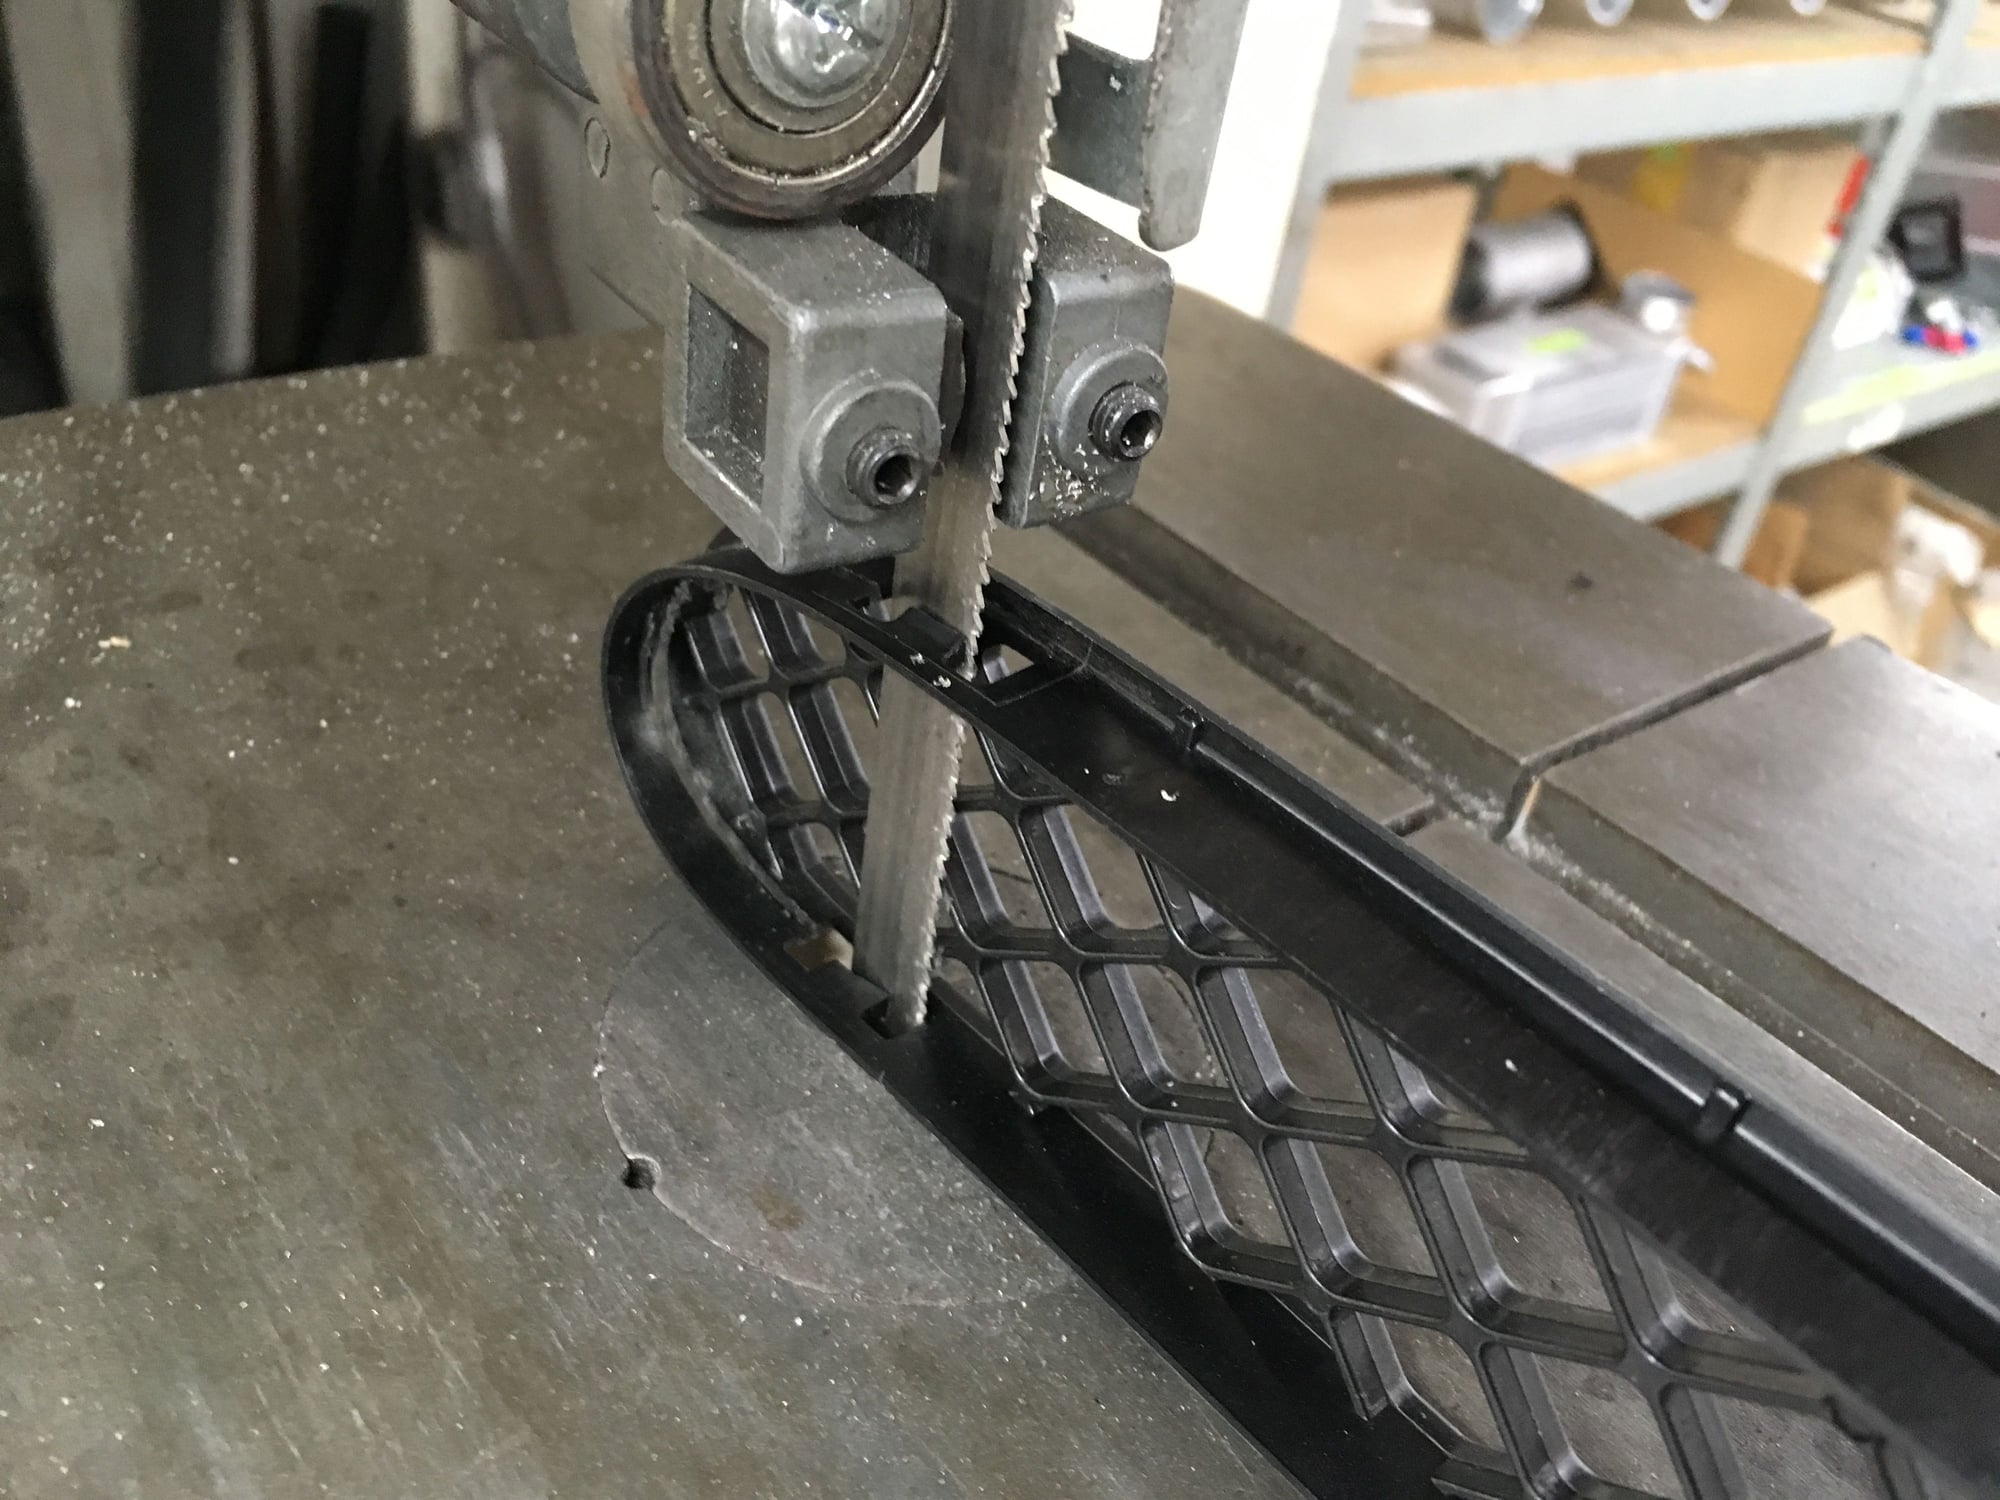
Test fitting on the bumper to see where to cut to make the rear bumper vents functional.
On the cutting table.
That looks better but still partially blocked.
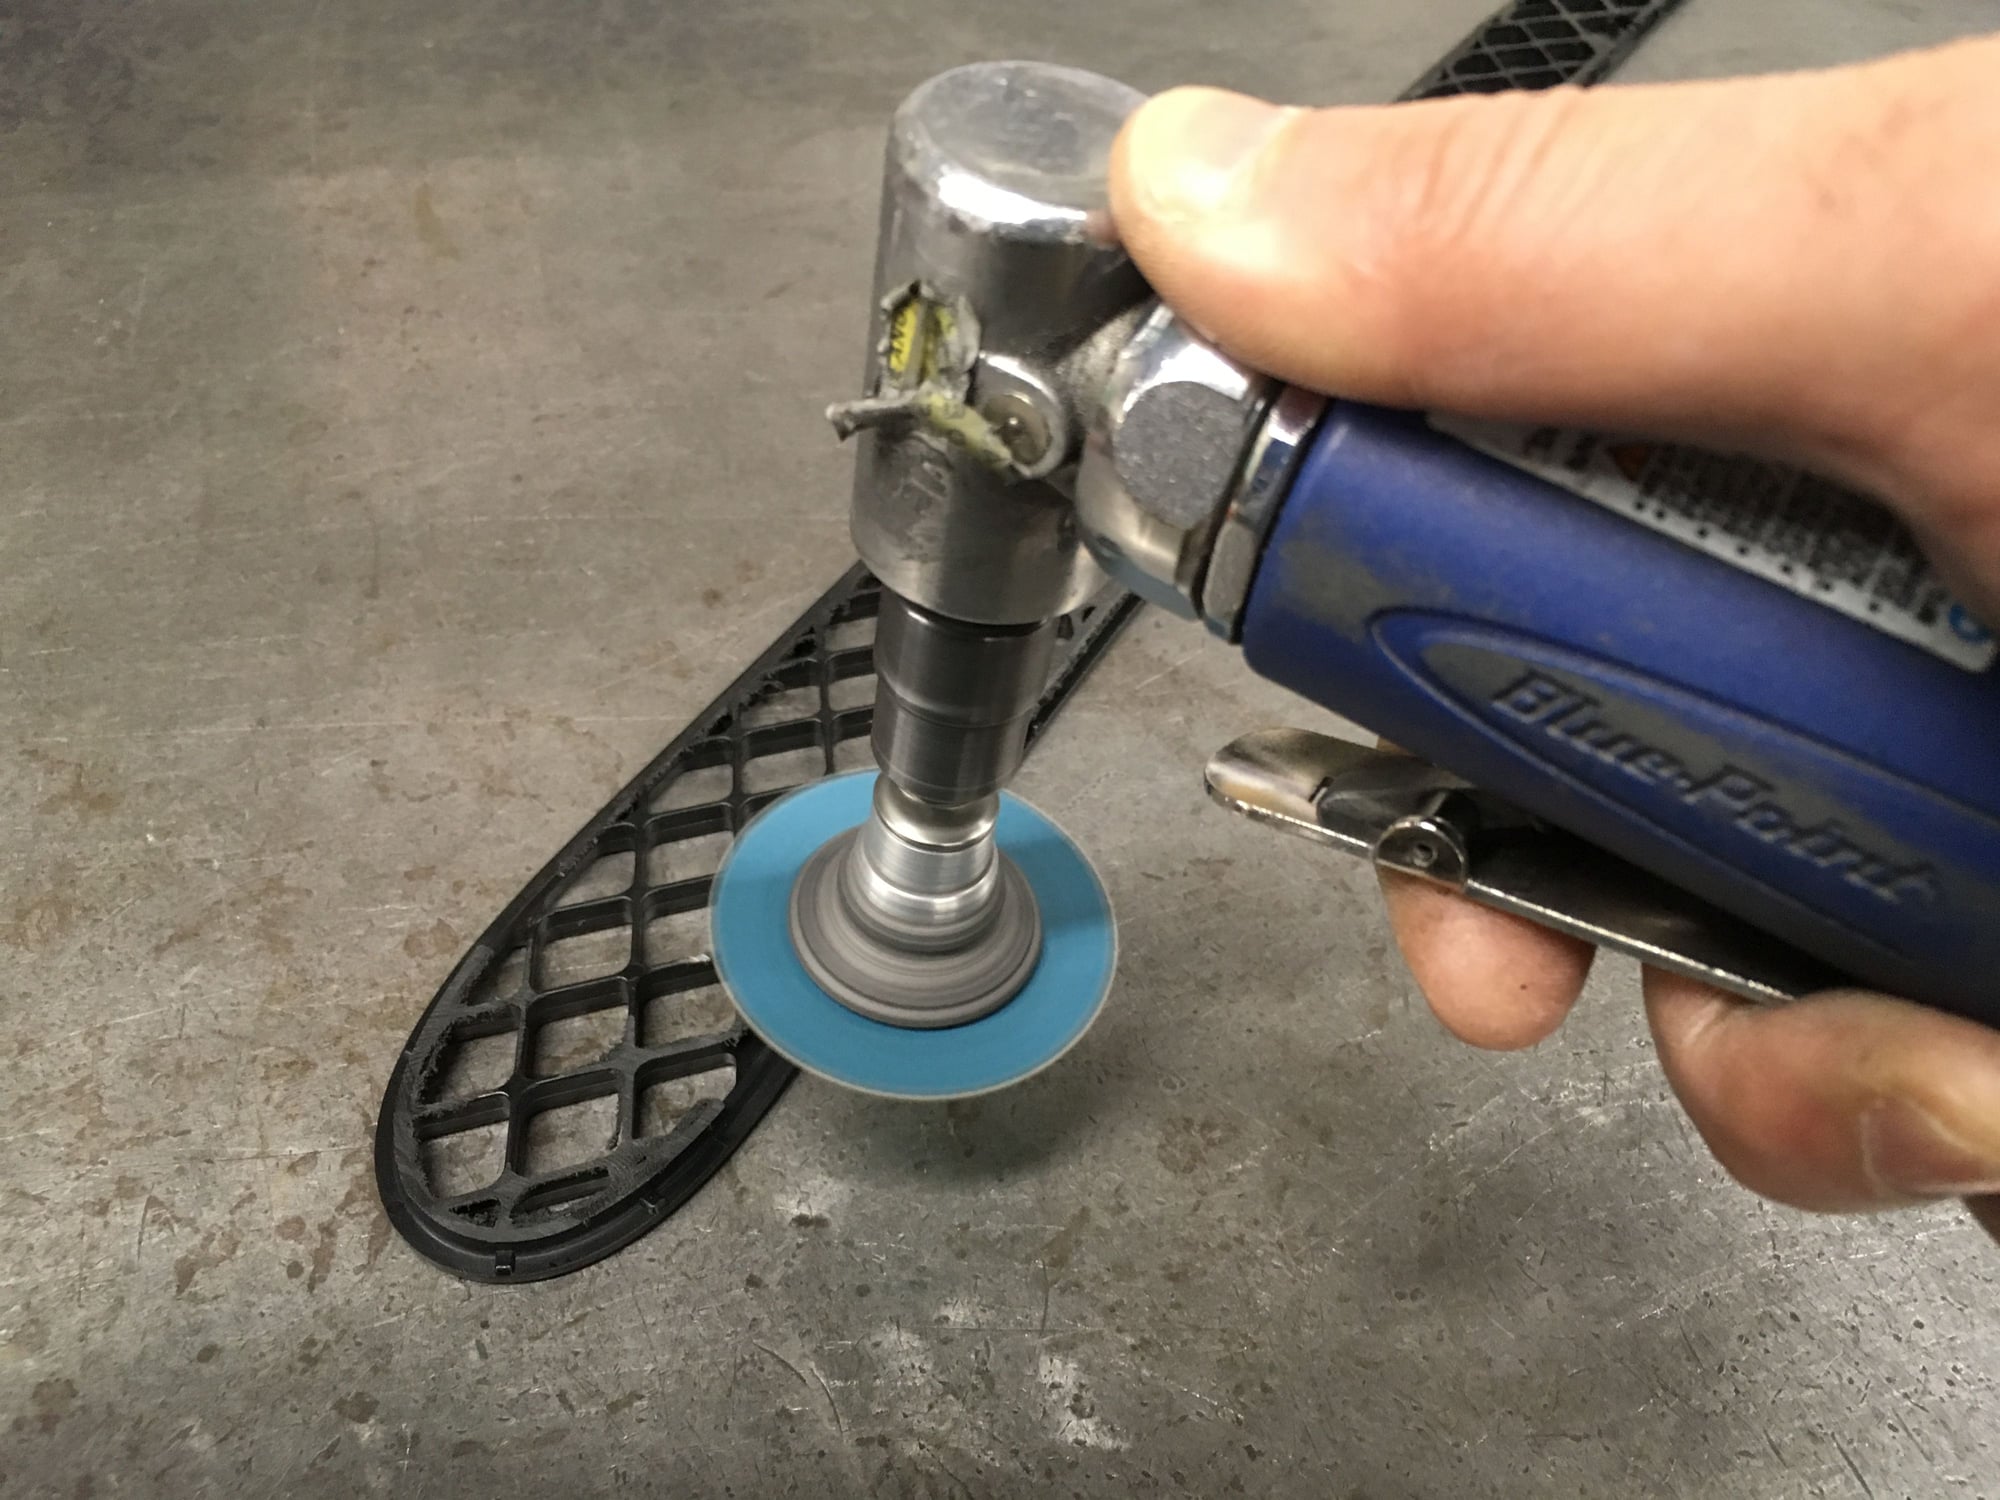
Stage 2 cutting.
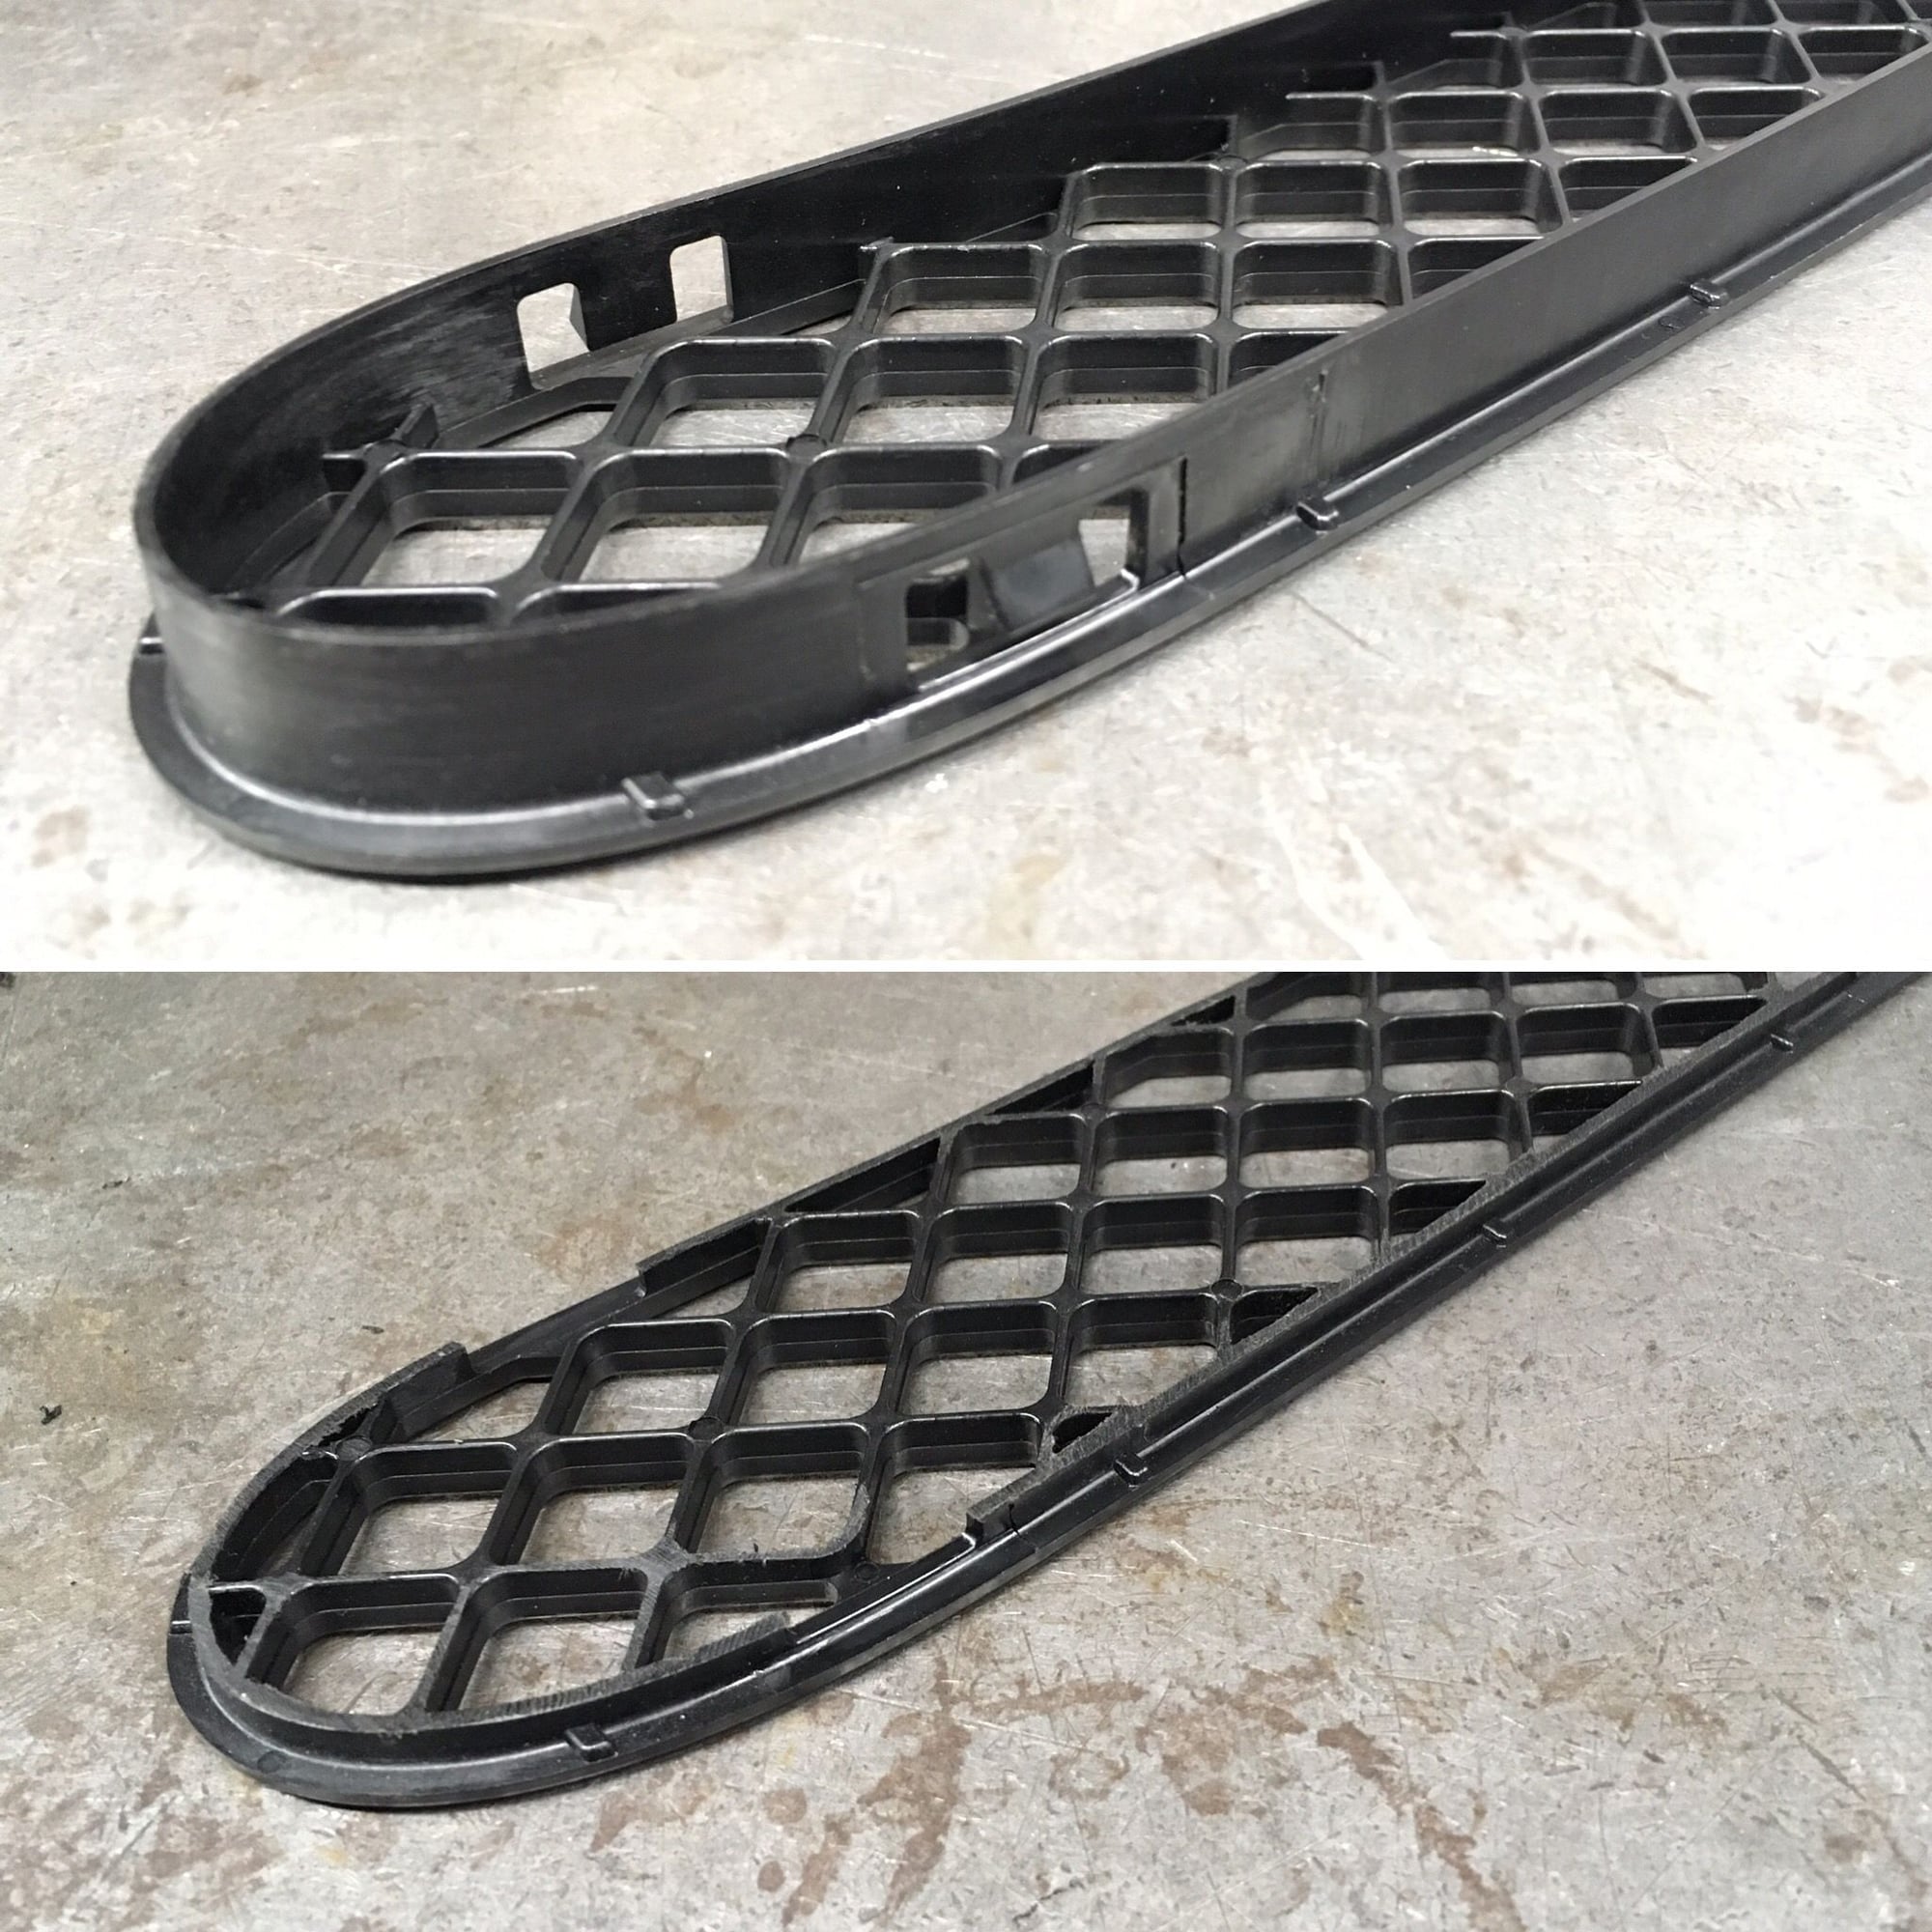
See the difference. Between fully closed to fully open that's gotta be worth something at 120+mph.
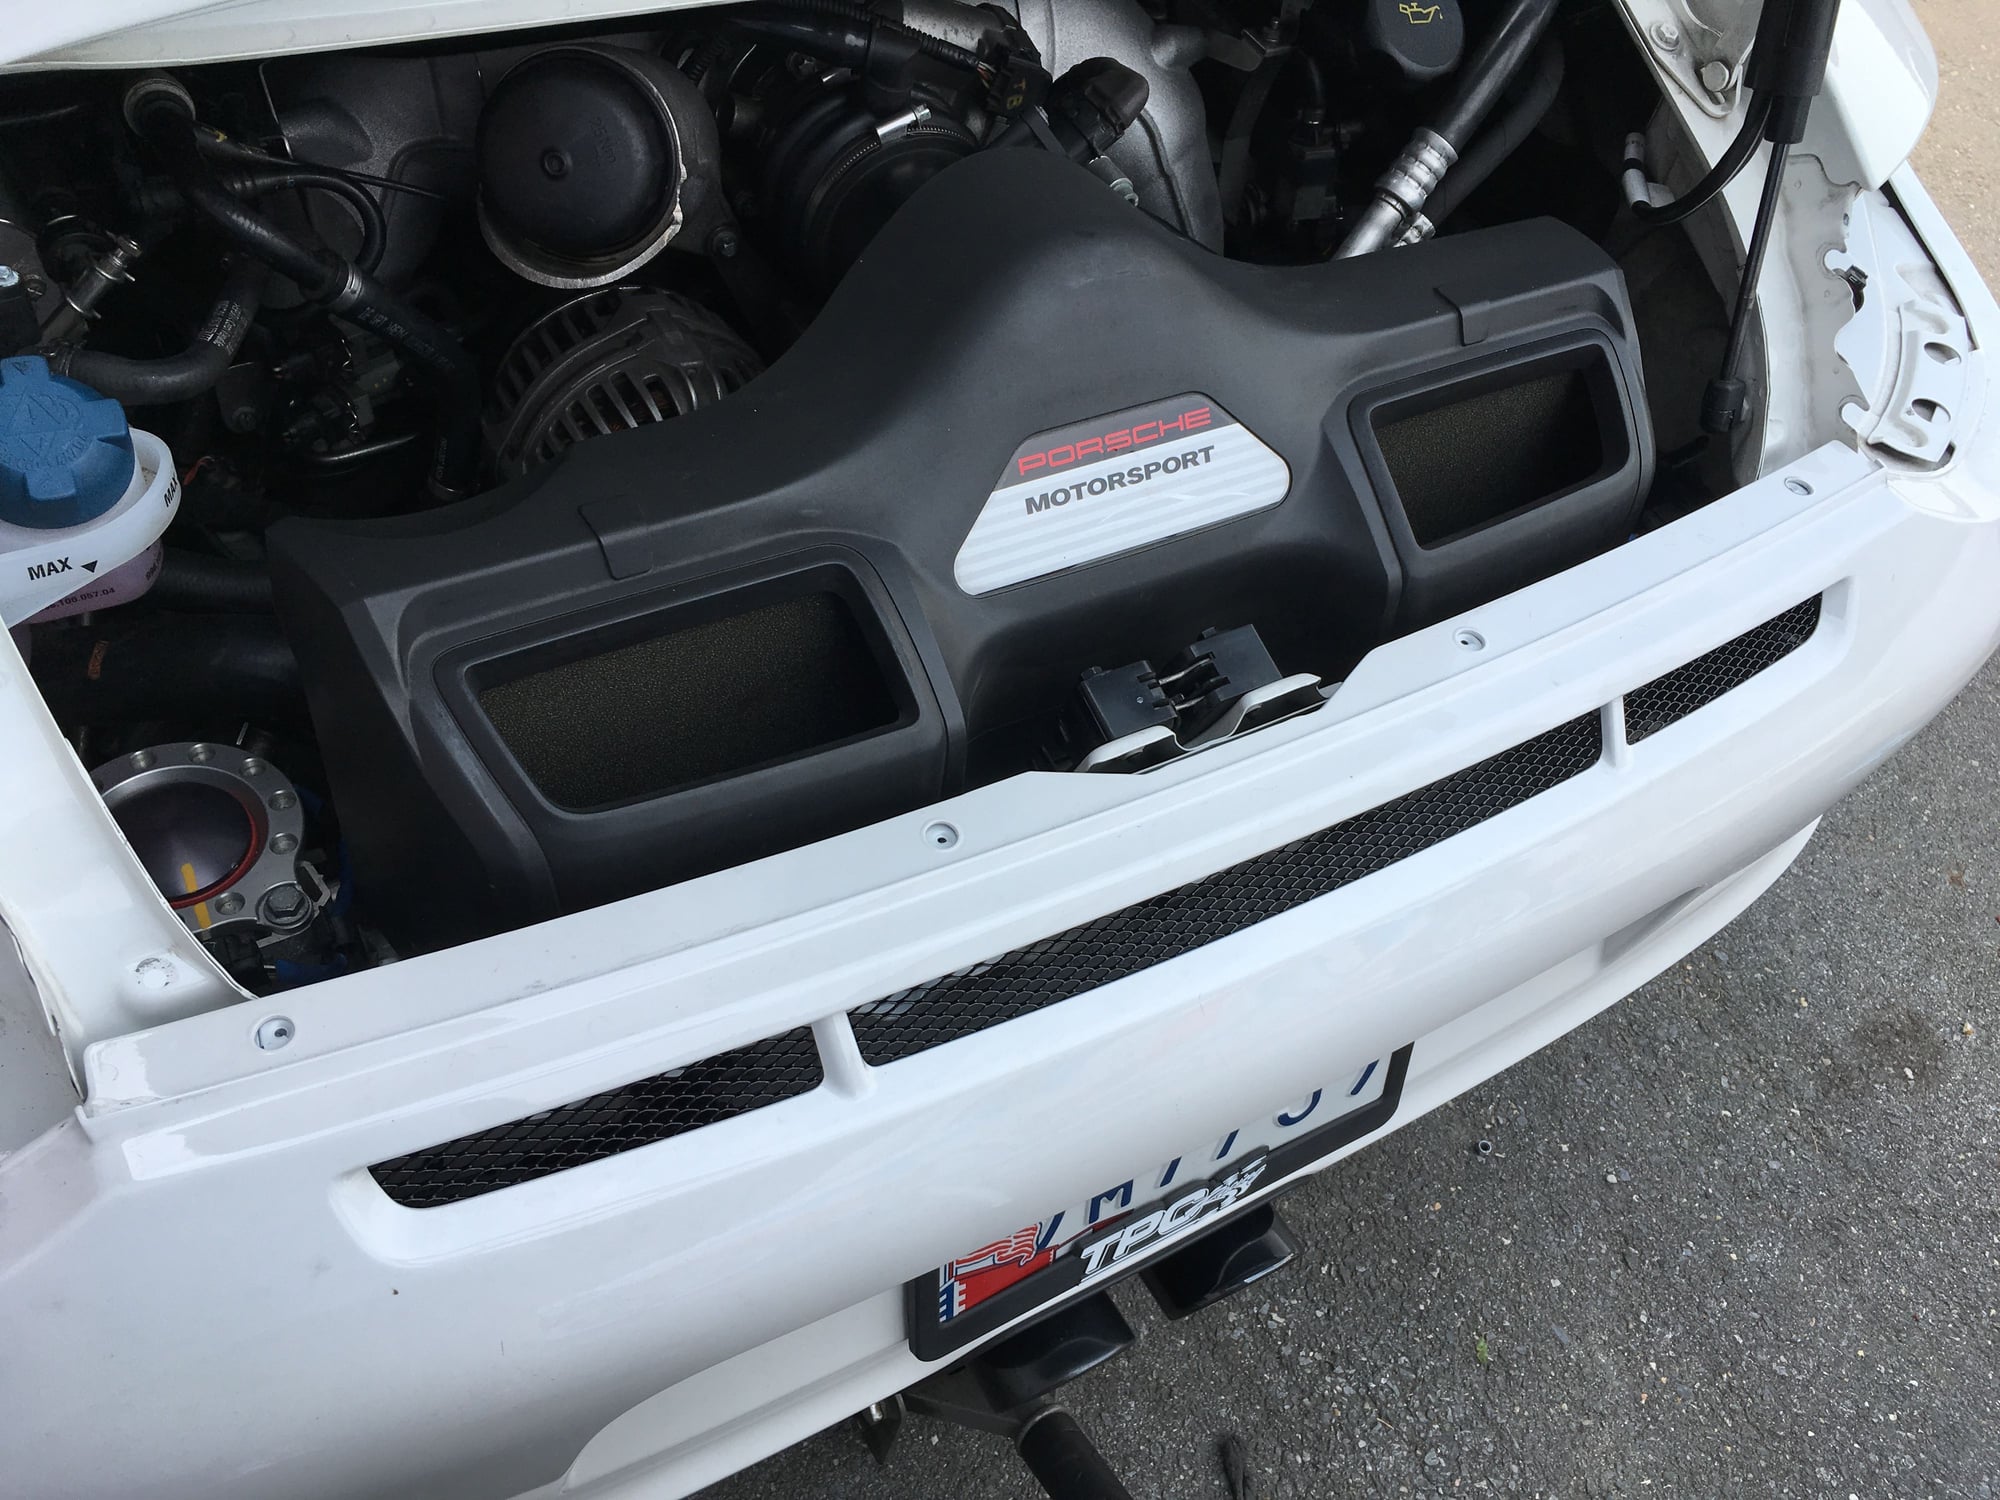
Now I'm happy. From inside and out.
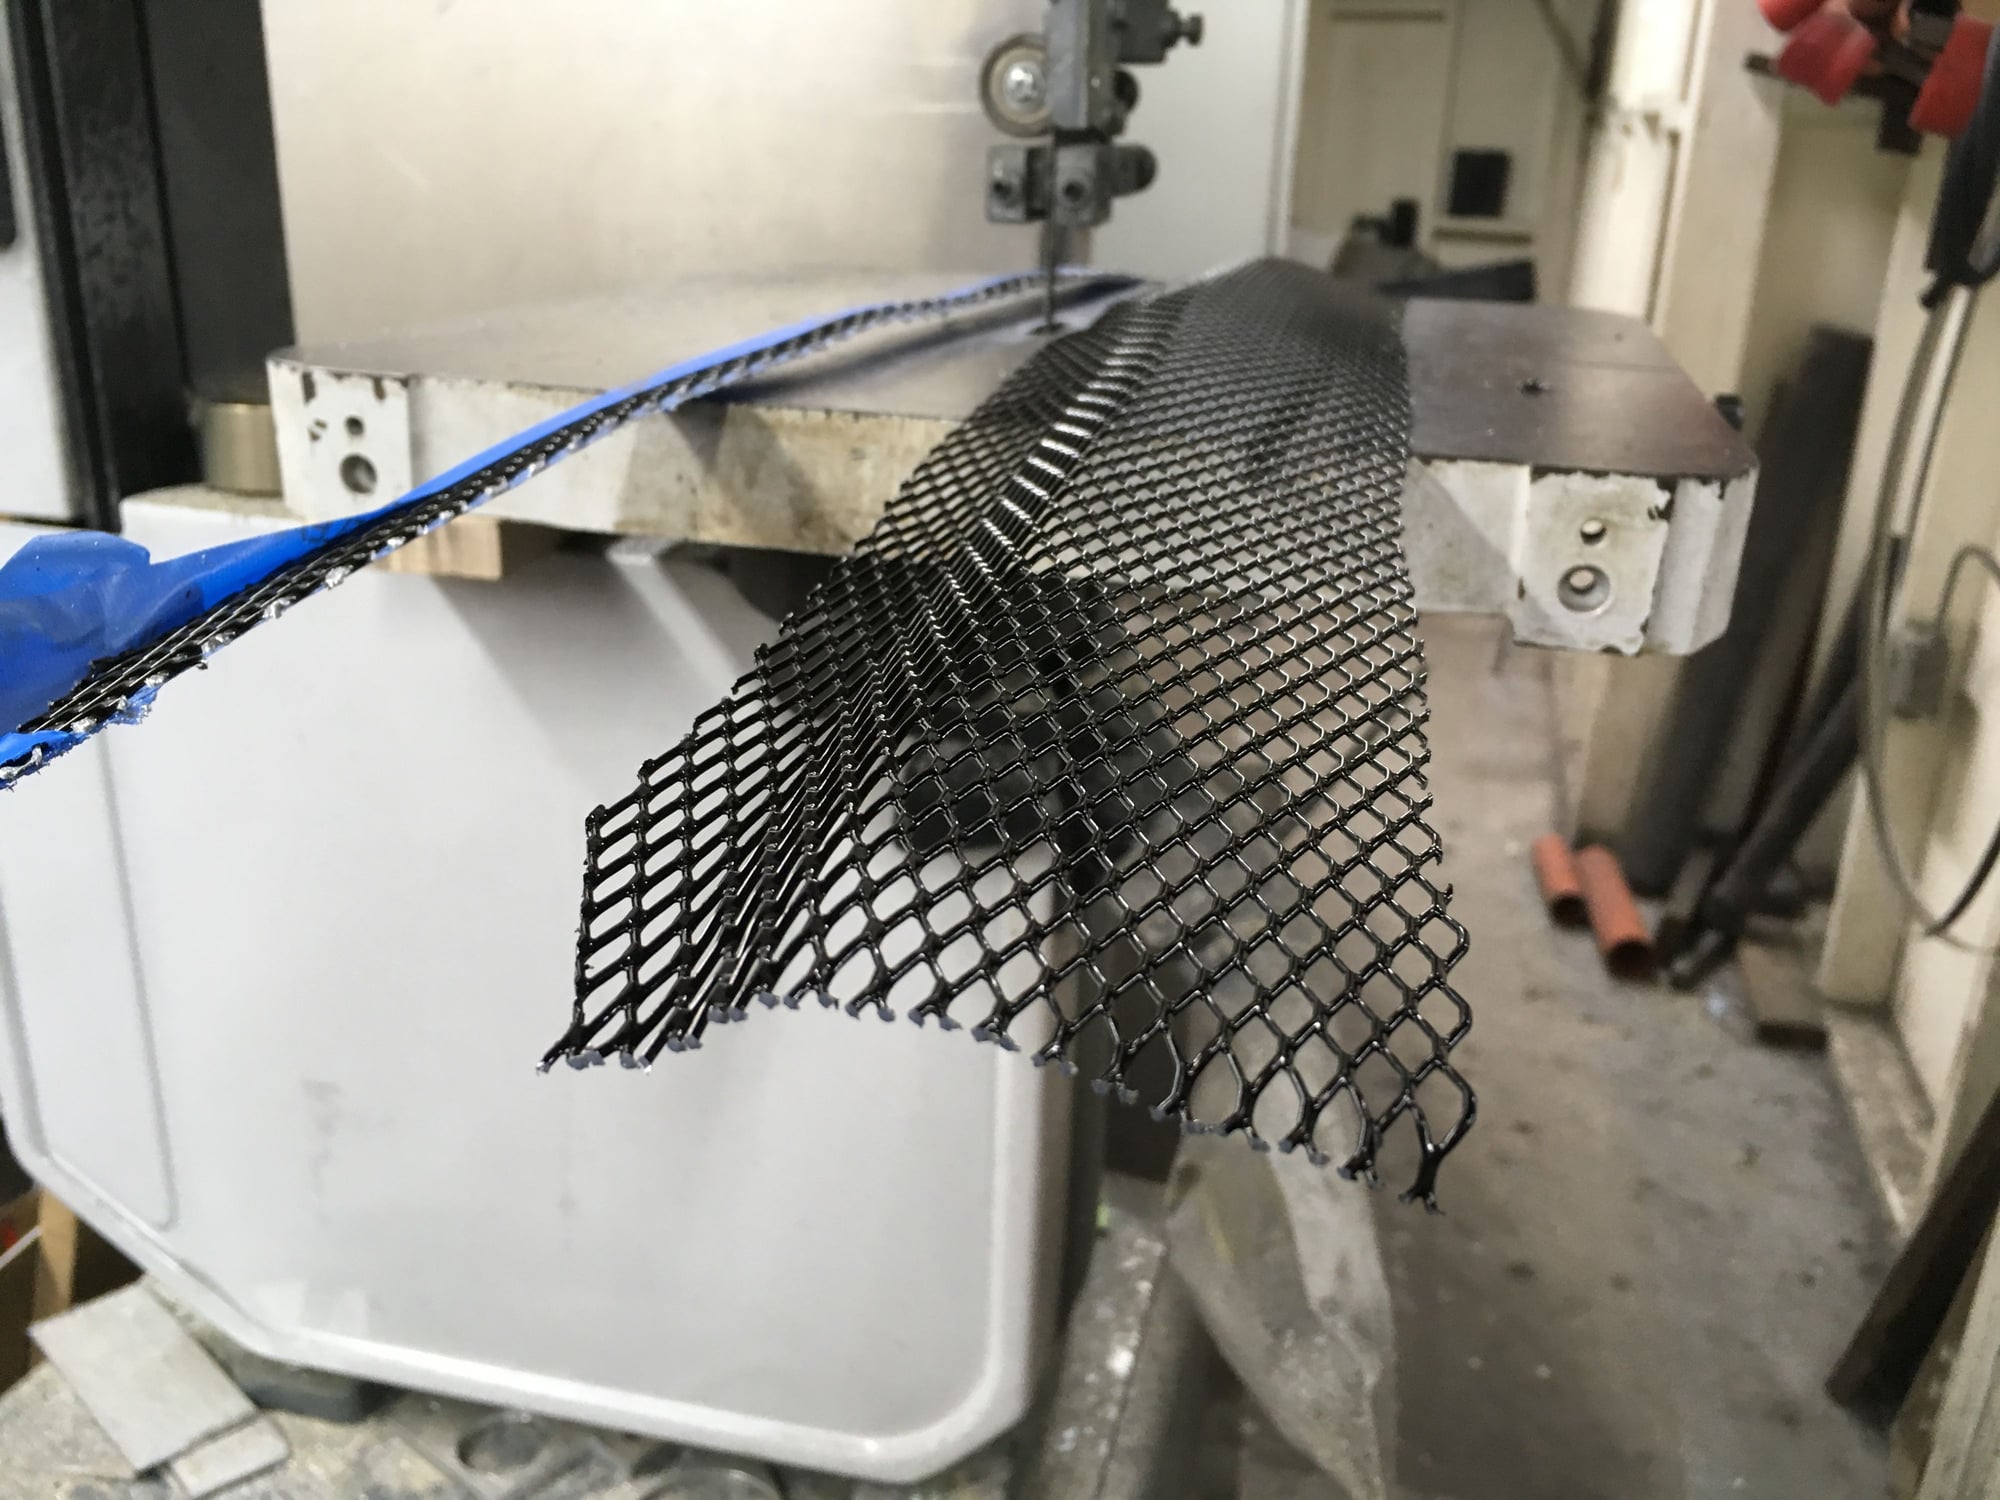
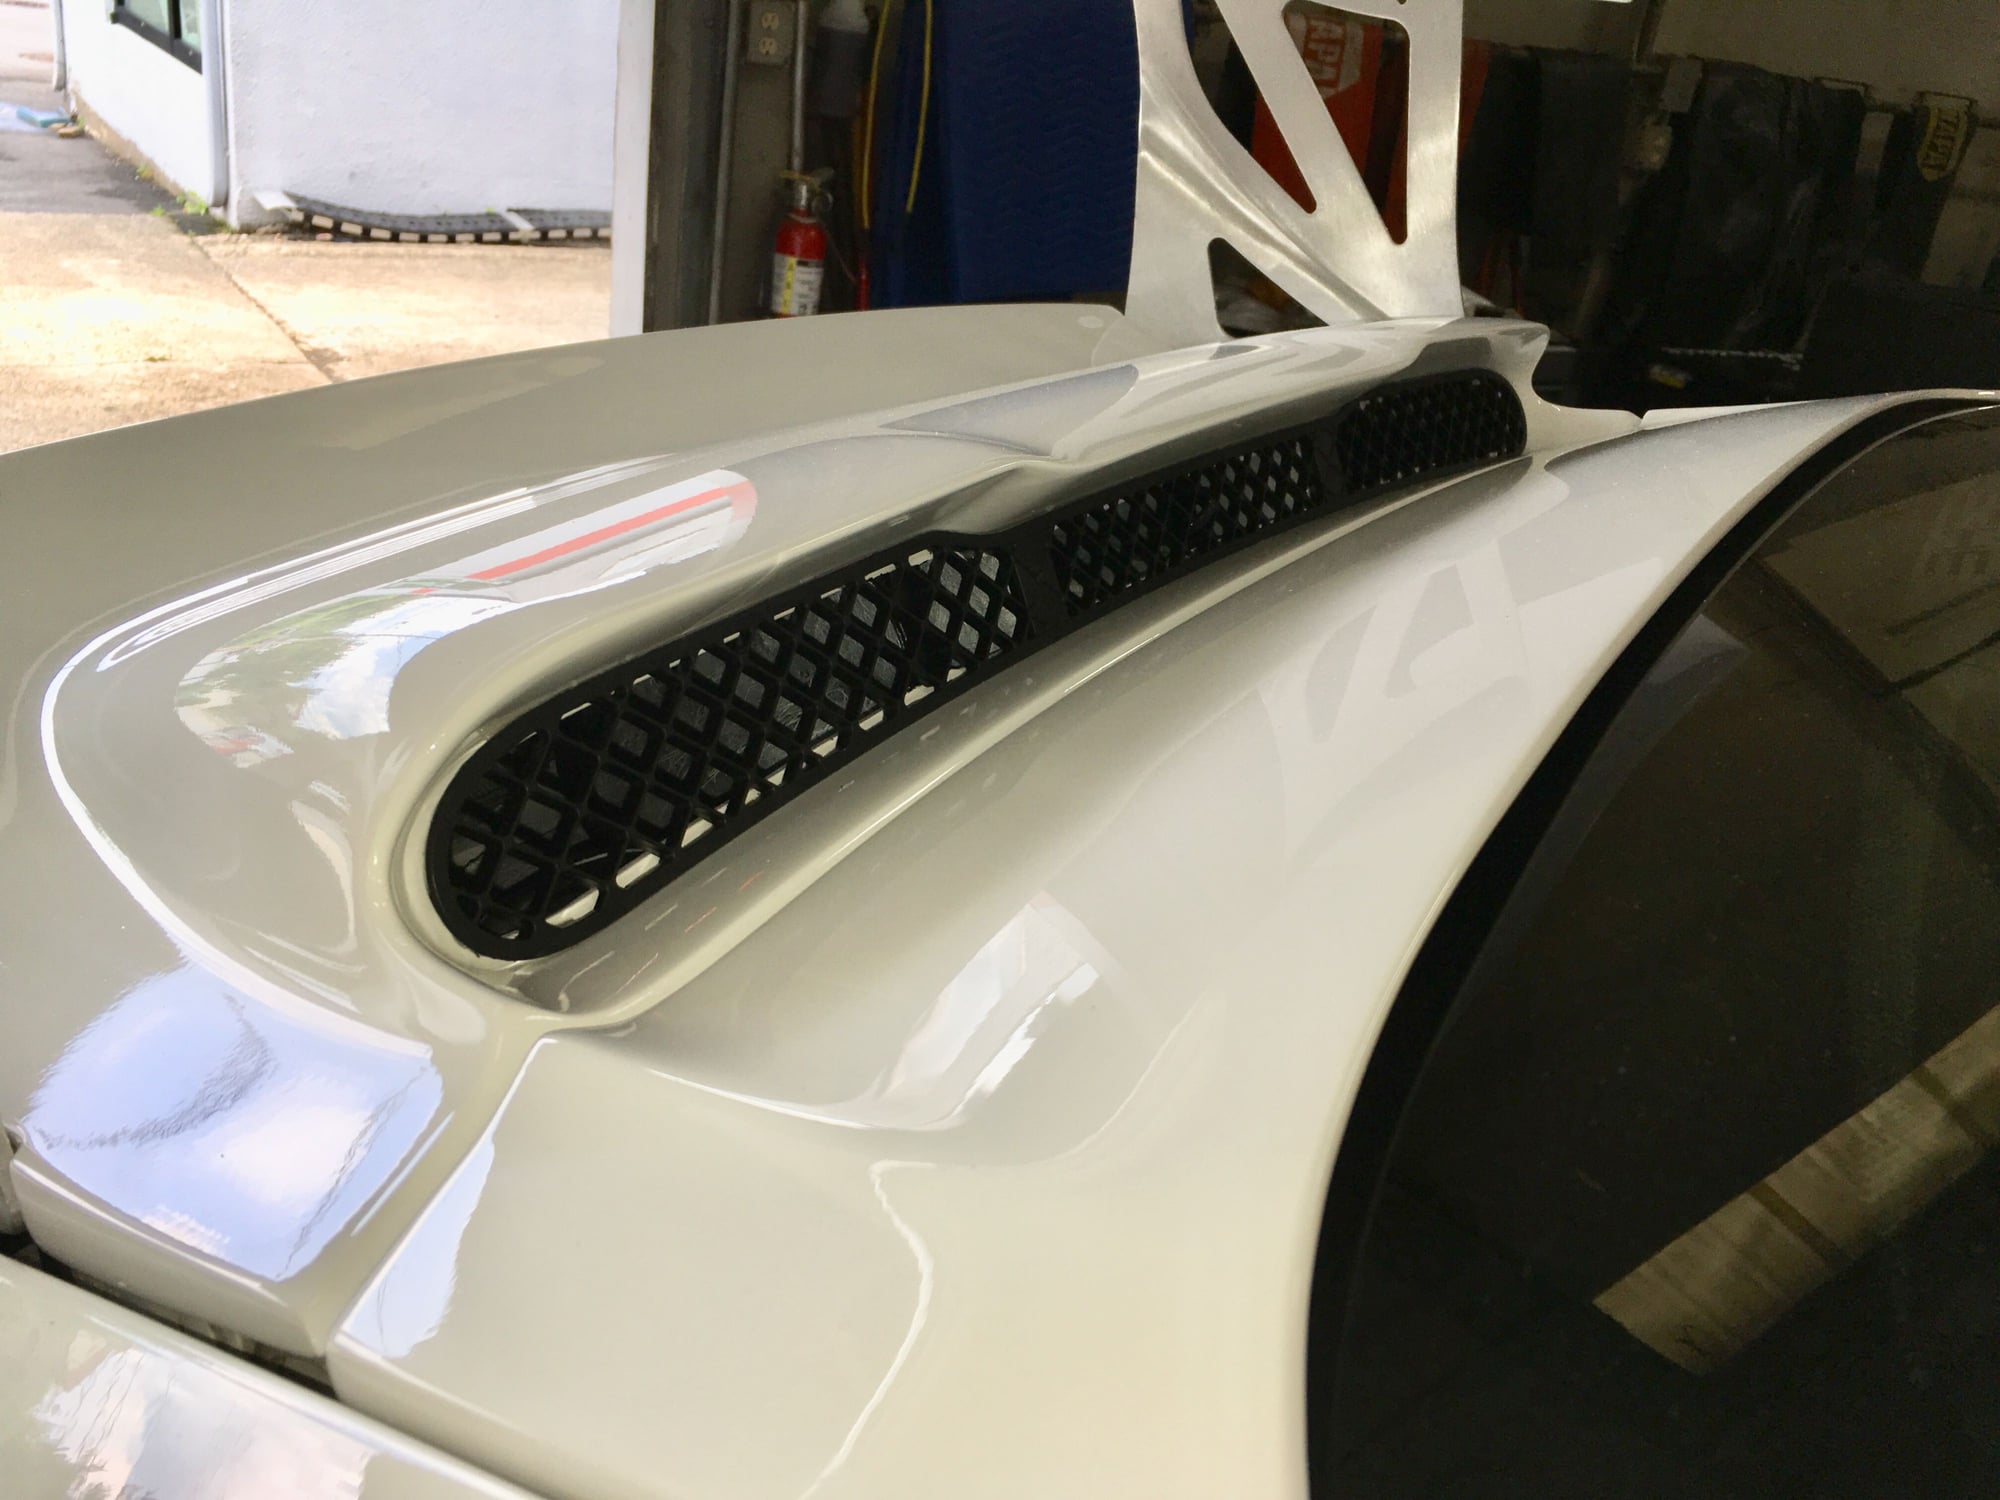
On to cutting and shaping the upper mesh grill. This mesh grill is for looks.
This mesh screen is a universal aftermarket piece with aftermarket hardware.
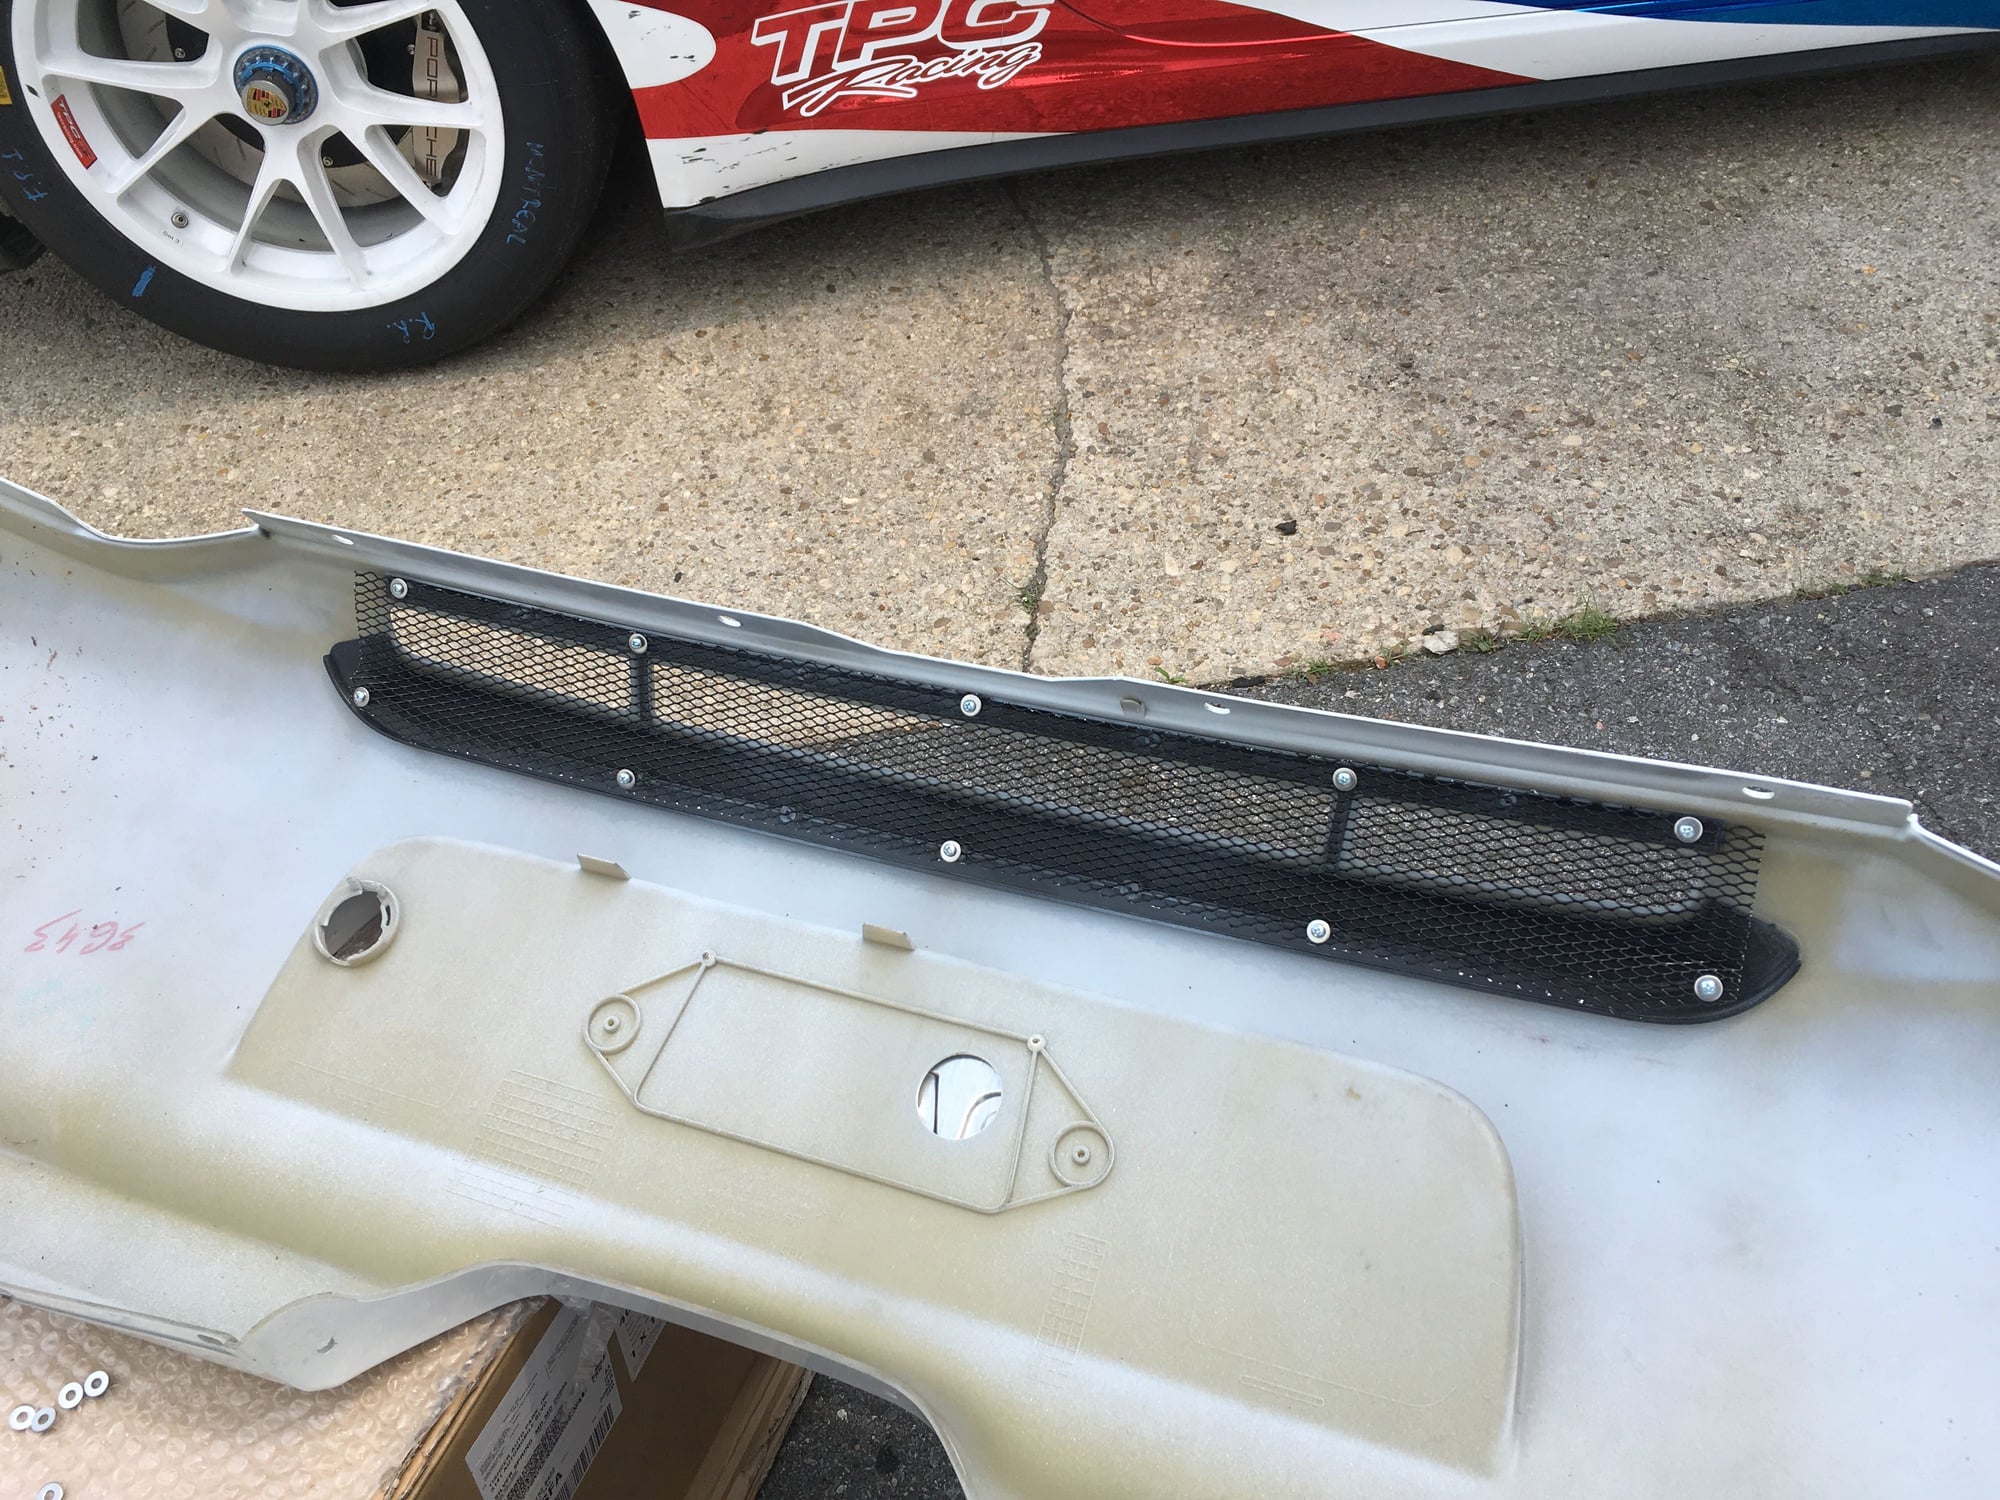
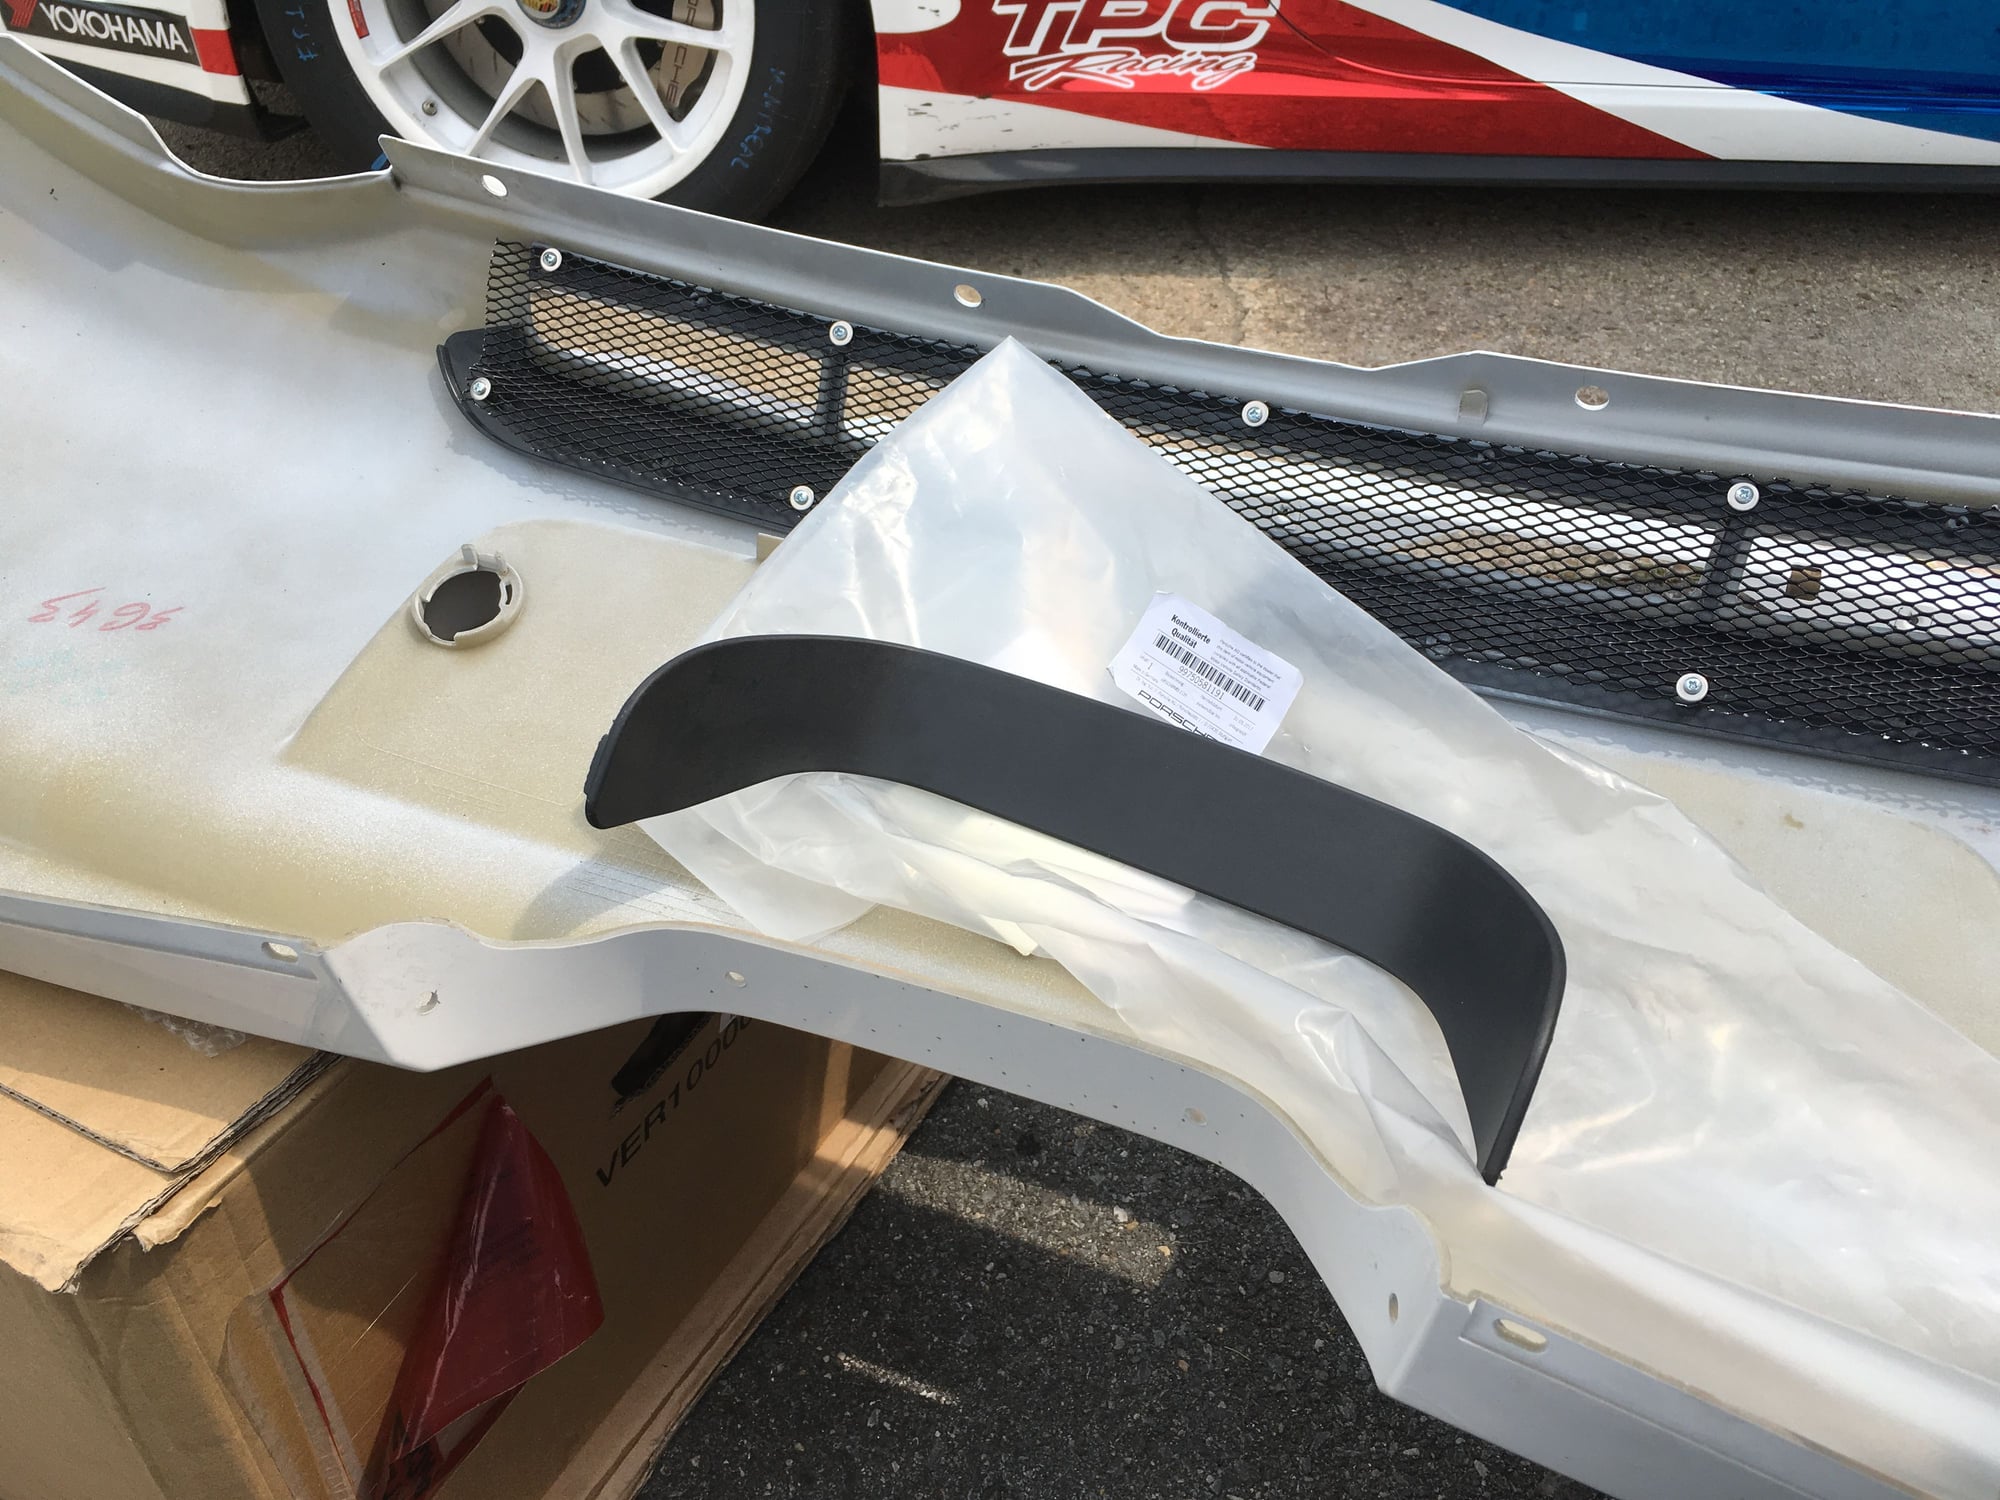
Next is the heat guard for exhaust tips.
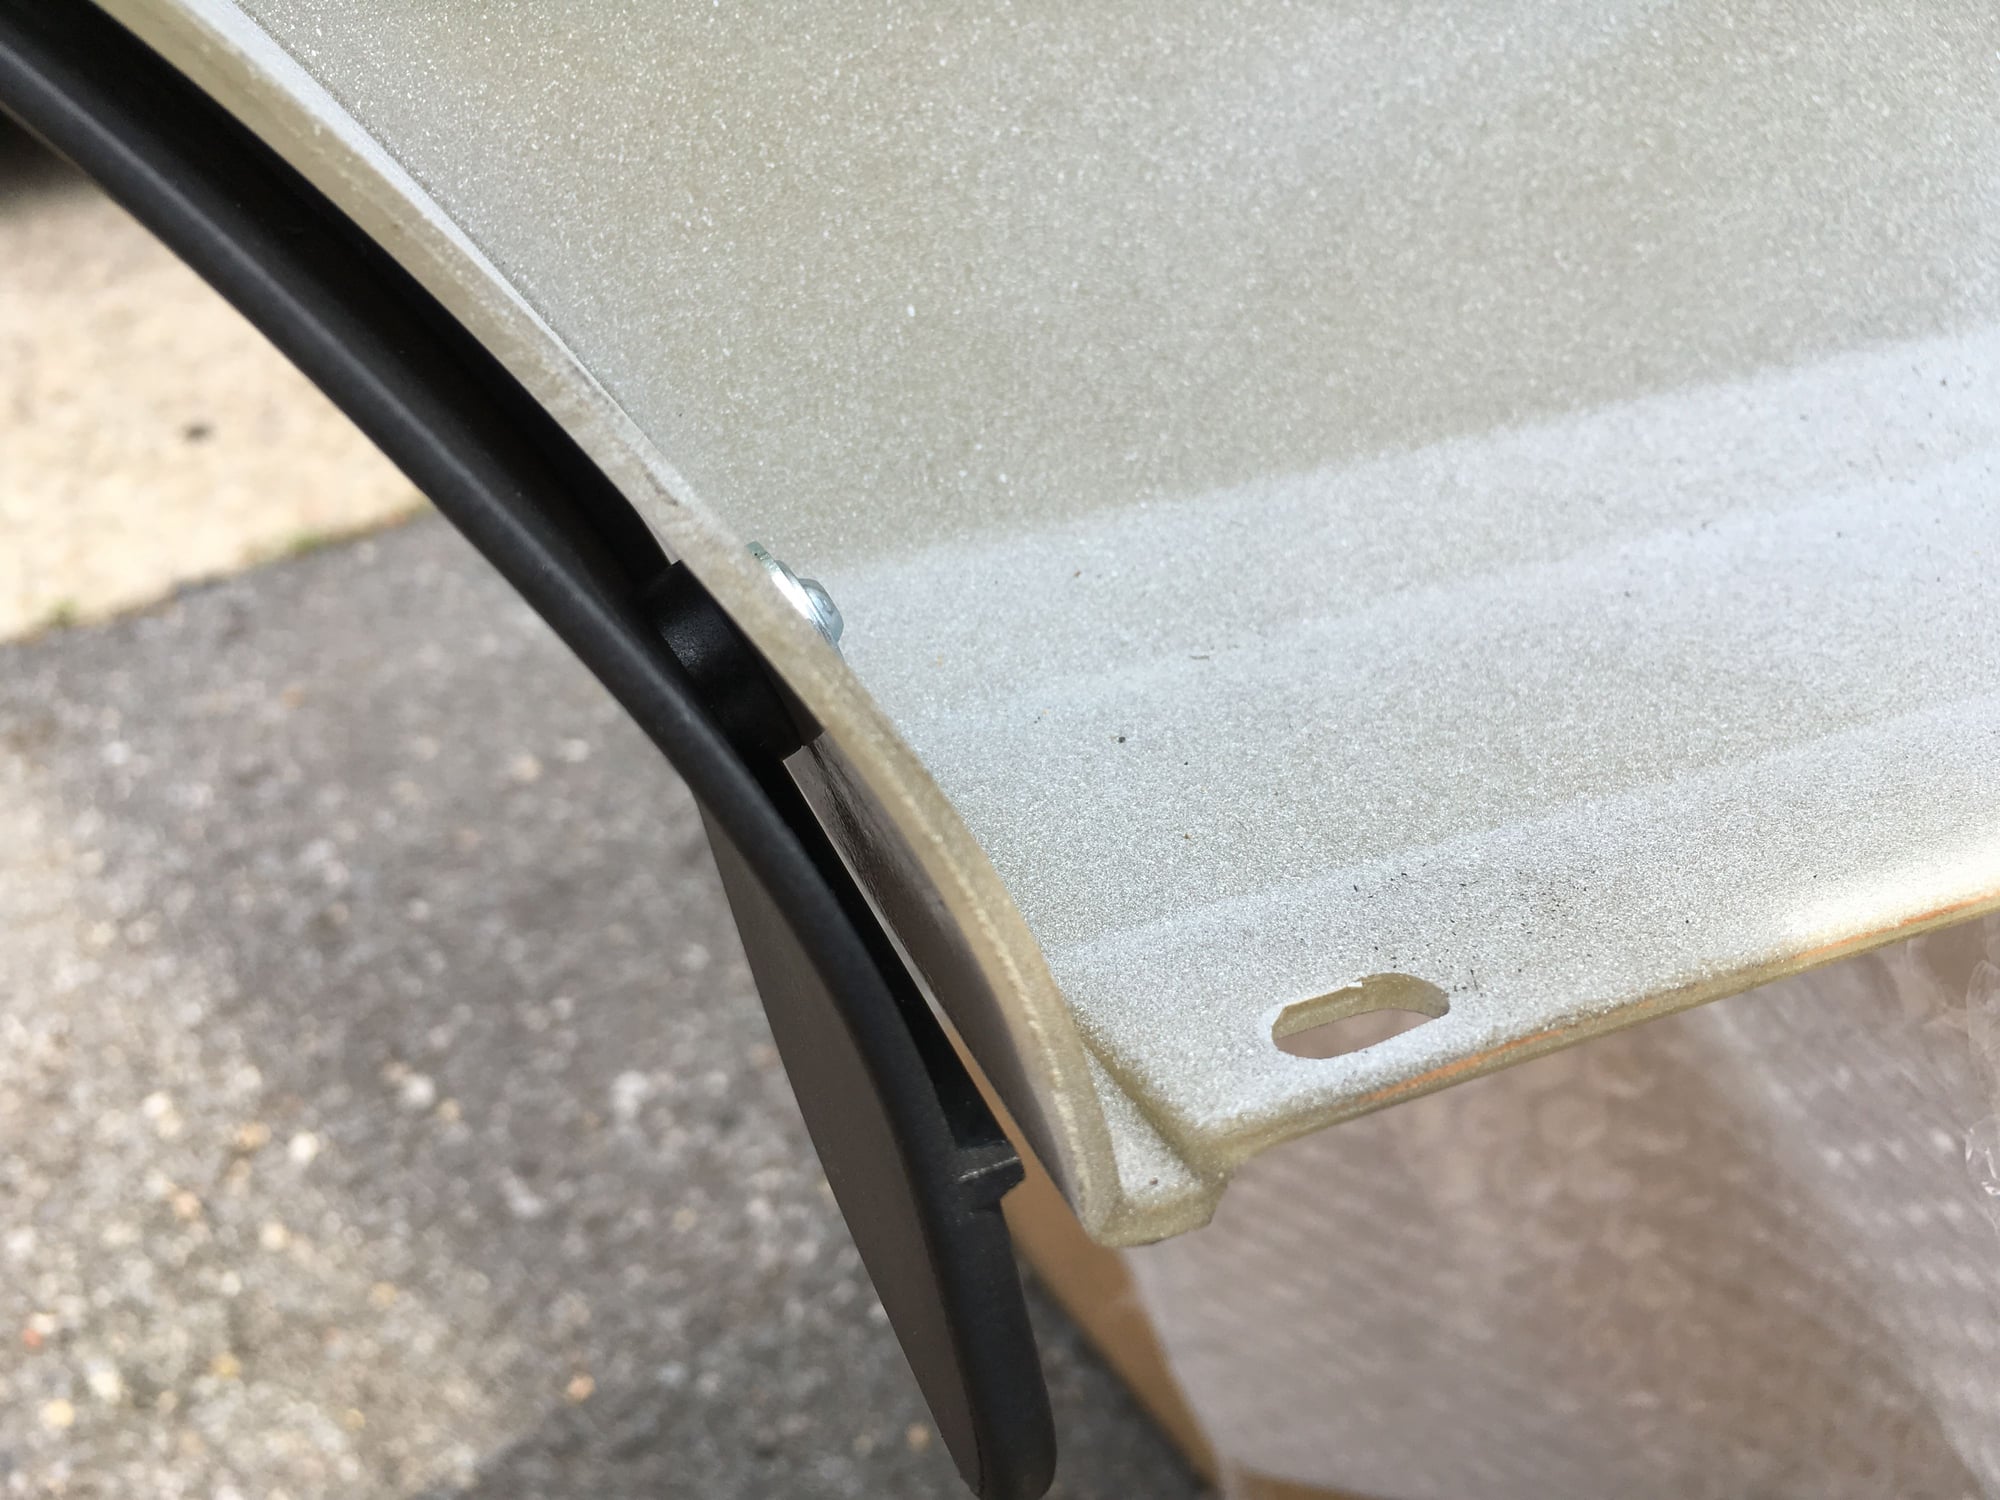
The OEM engineers are clever in designing an air gap between the guard piece and the bumper to prevent heat damage.
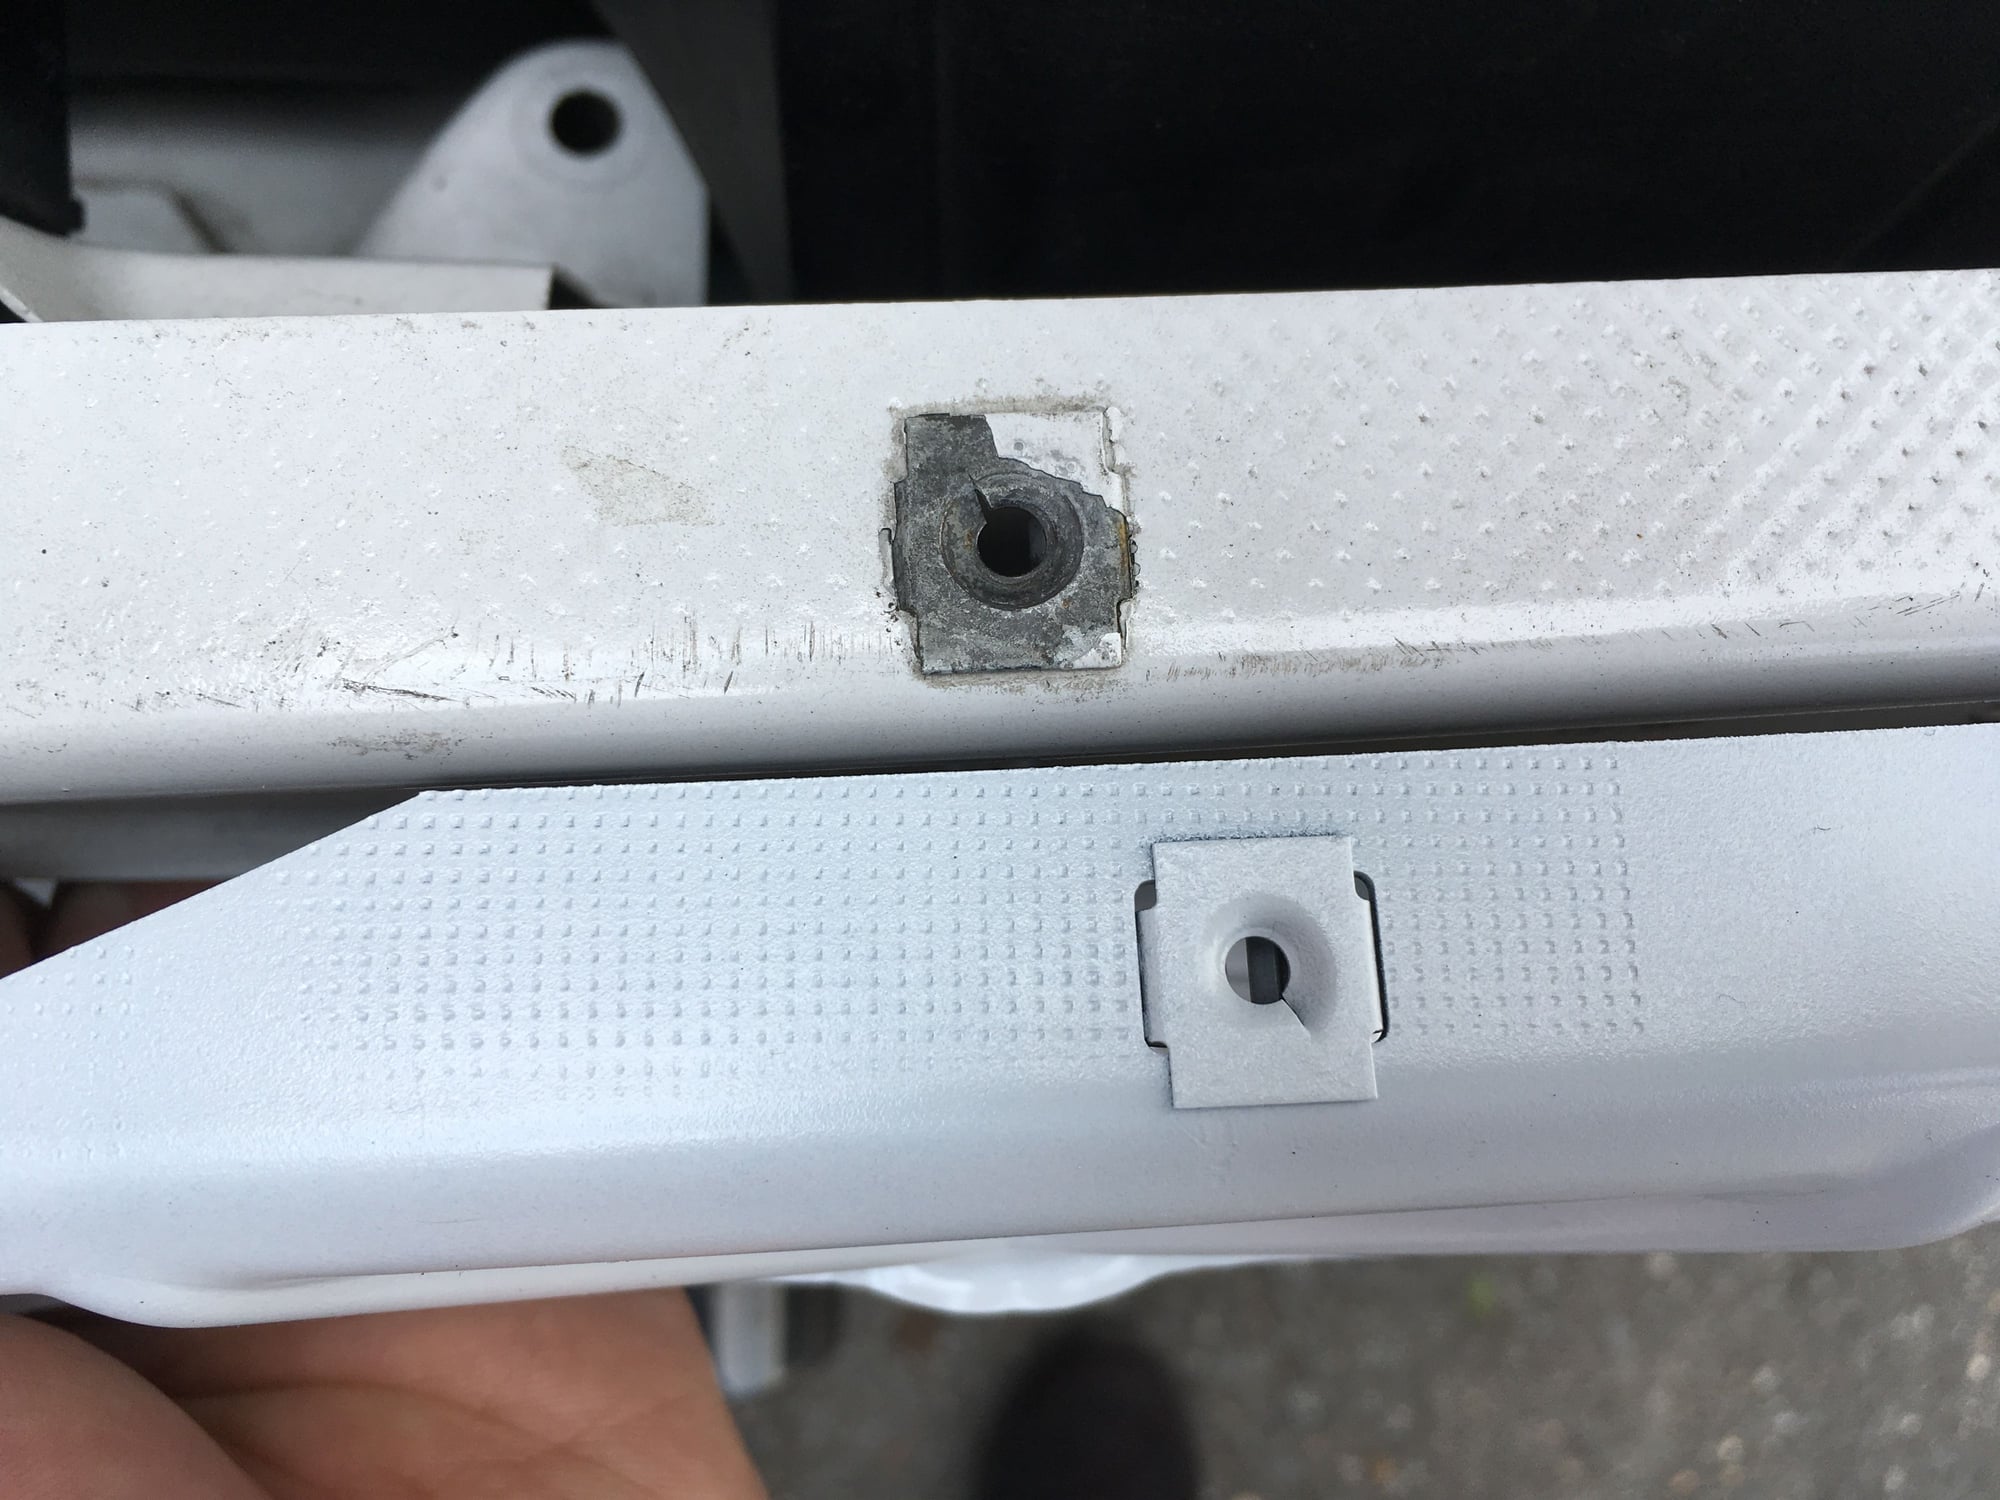
Lastly, changing the center mounting strip from 997.1 to 997.2 because only one of the four mounting holes lined up.
That's how far off 3 out of the 4 mounting holes are
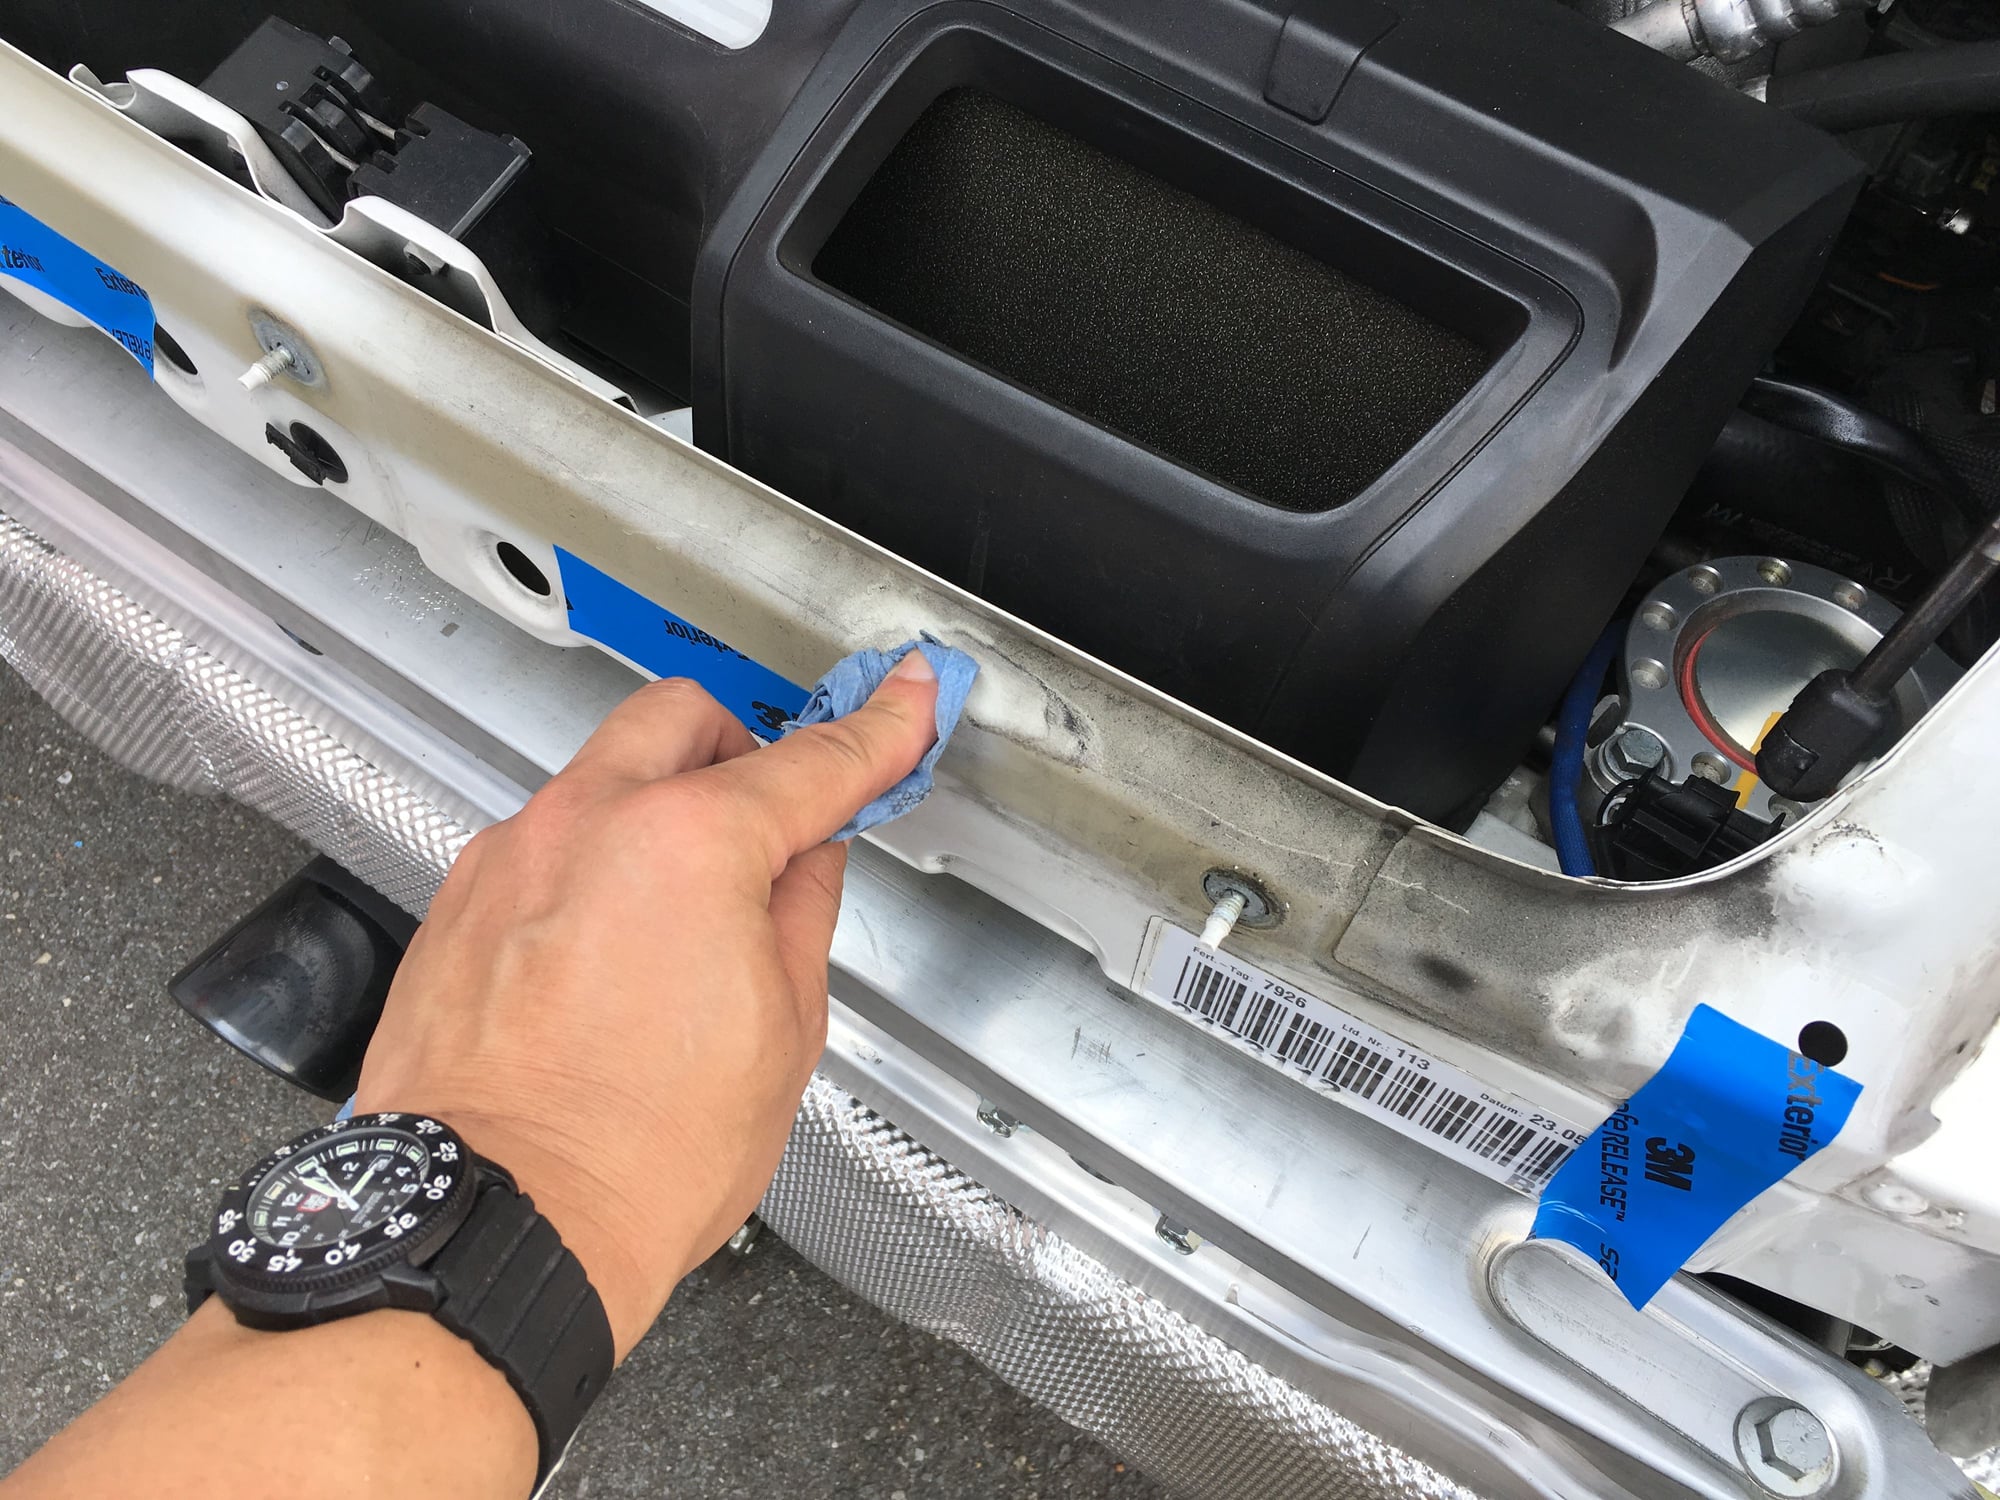
Wiping off 12 years of grime underneath the center mounting strip.
Somehow, cleaning this makes my mind feel less clutter and more relaxed.
4 hours into it, so far this has been a very good day.
The mesh grill makes the car look more "finished". And all 4 mounting holes lines up. Yay!
The rear bumper is now secured. Time to put the wheels on and drive home for dinner. This was one of the most satisfying day I have had in a while. The thrill from the satisfaction kept me up way past midnight.
As my eyes get baggier and my body get sorer my To Do list get shorter!
The factory RS grill on the aftermarket decklid doesn't look pleasing to me because the grill doesn't "seat in". Mods are needed to look more pleasing.
The factory RS gill before and after the mod. The aftermarket decklid does't have provision for the factory grill clips so using epoxy to set in a flat grill makes it look better.
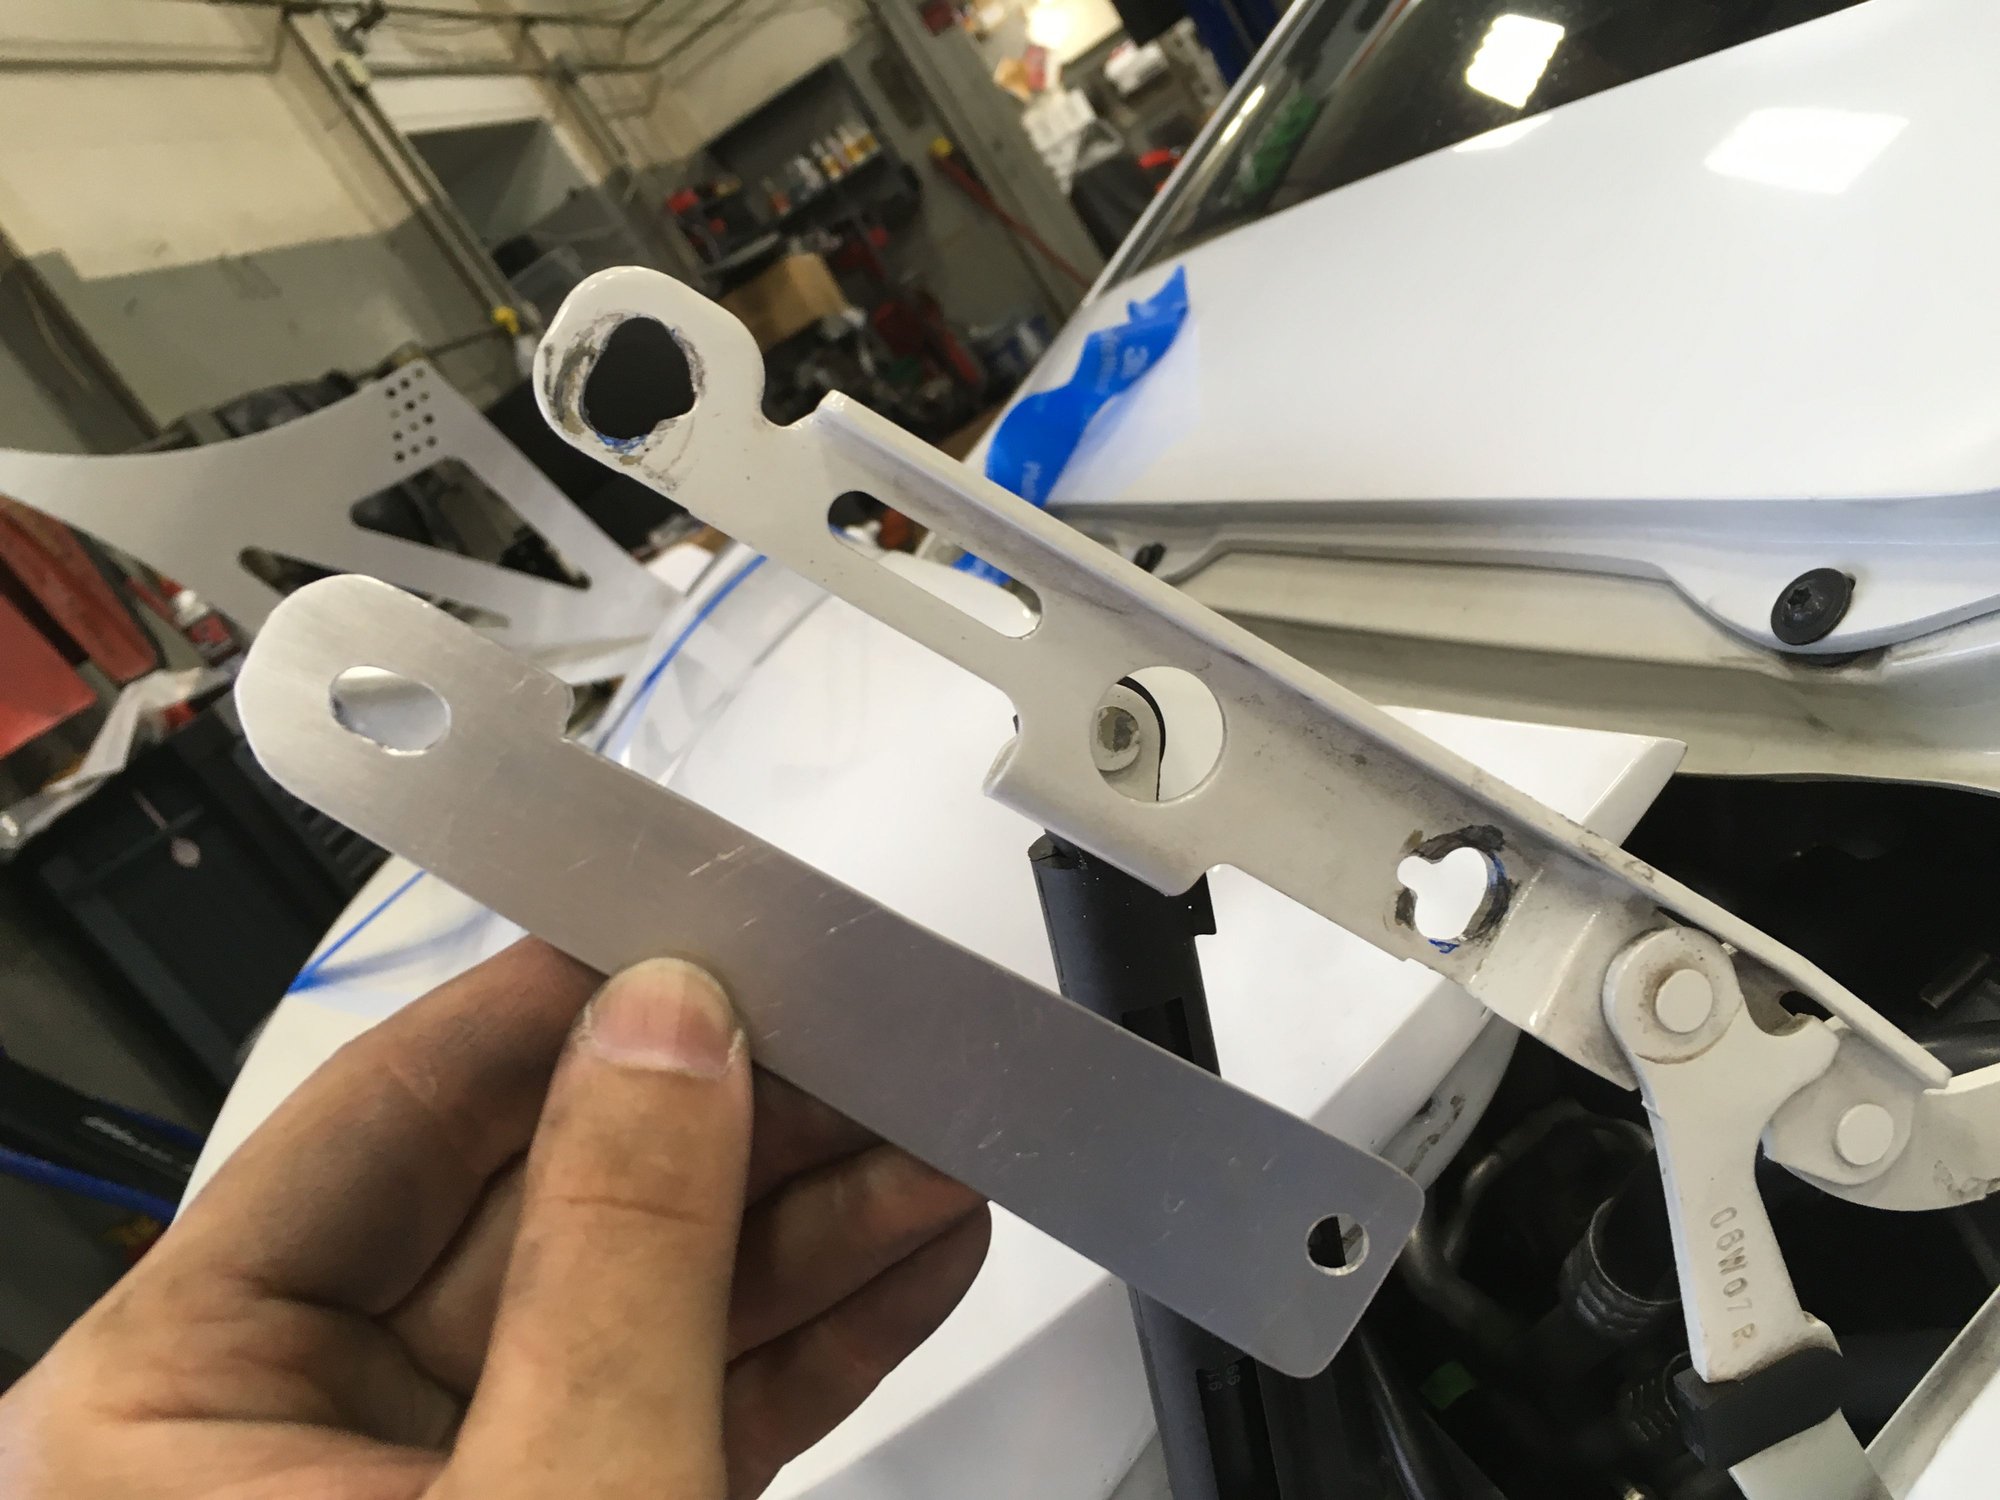
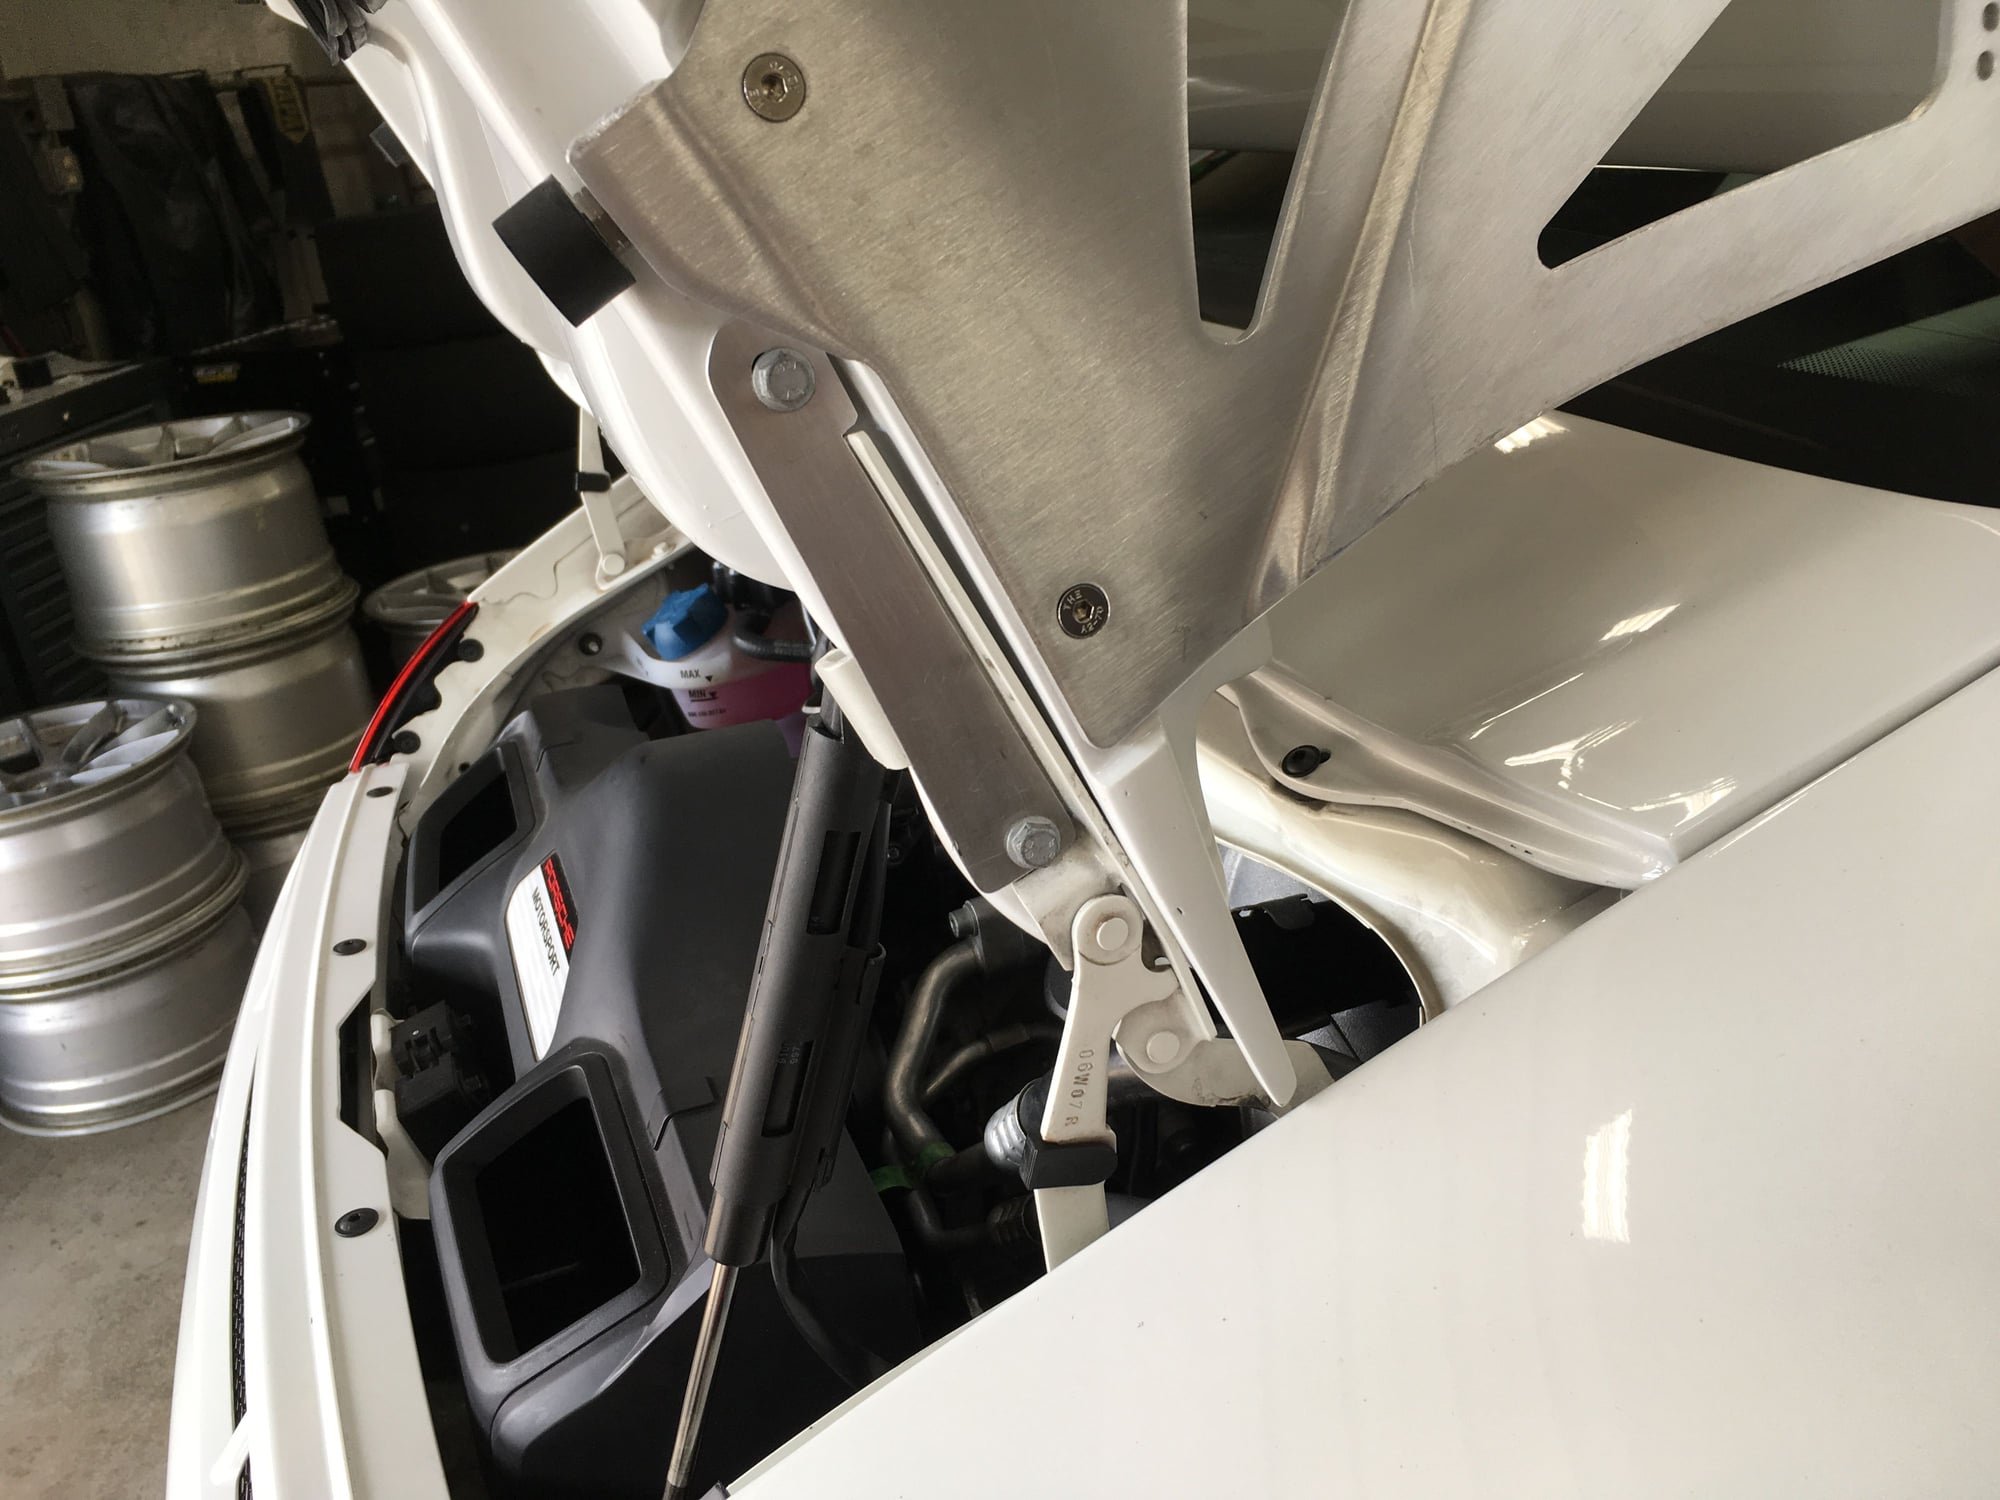
I "opened up" the slots in the factory decklid hinges to allow for greater range of adjustment of the decklid. Got a little carried away with the die grinder so support plates were made to secure the decklid to the hinges.
The support plates made the adjustment Very stable.
Thanks to gt2-josh for the wing end plates!
My fav part.
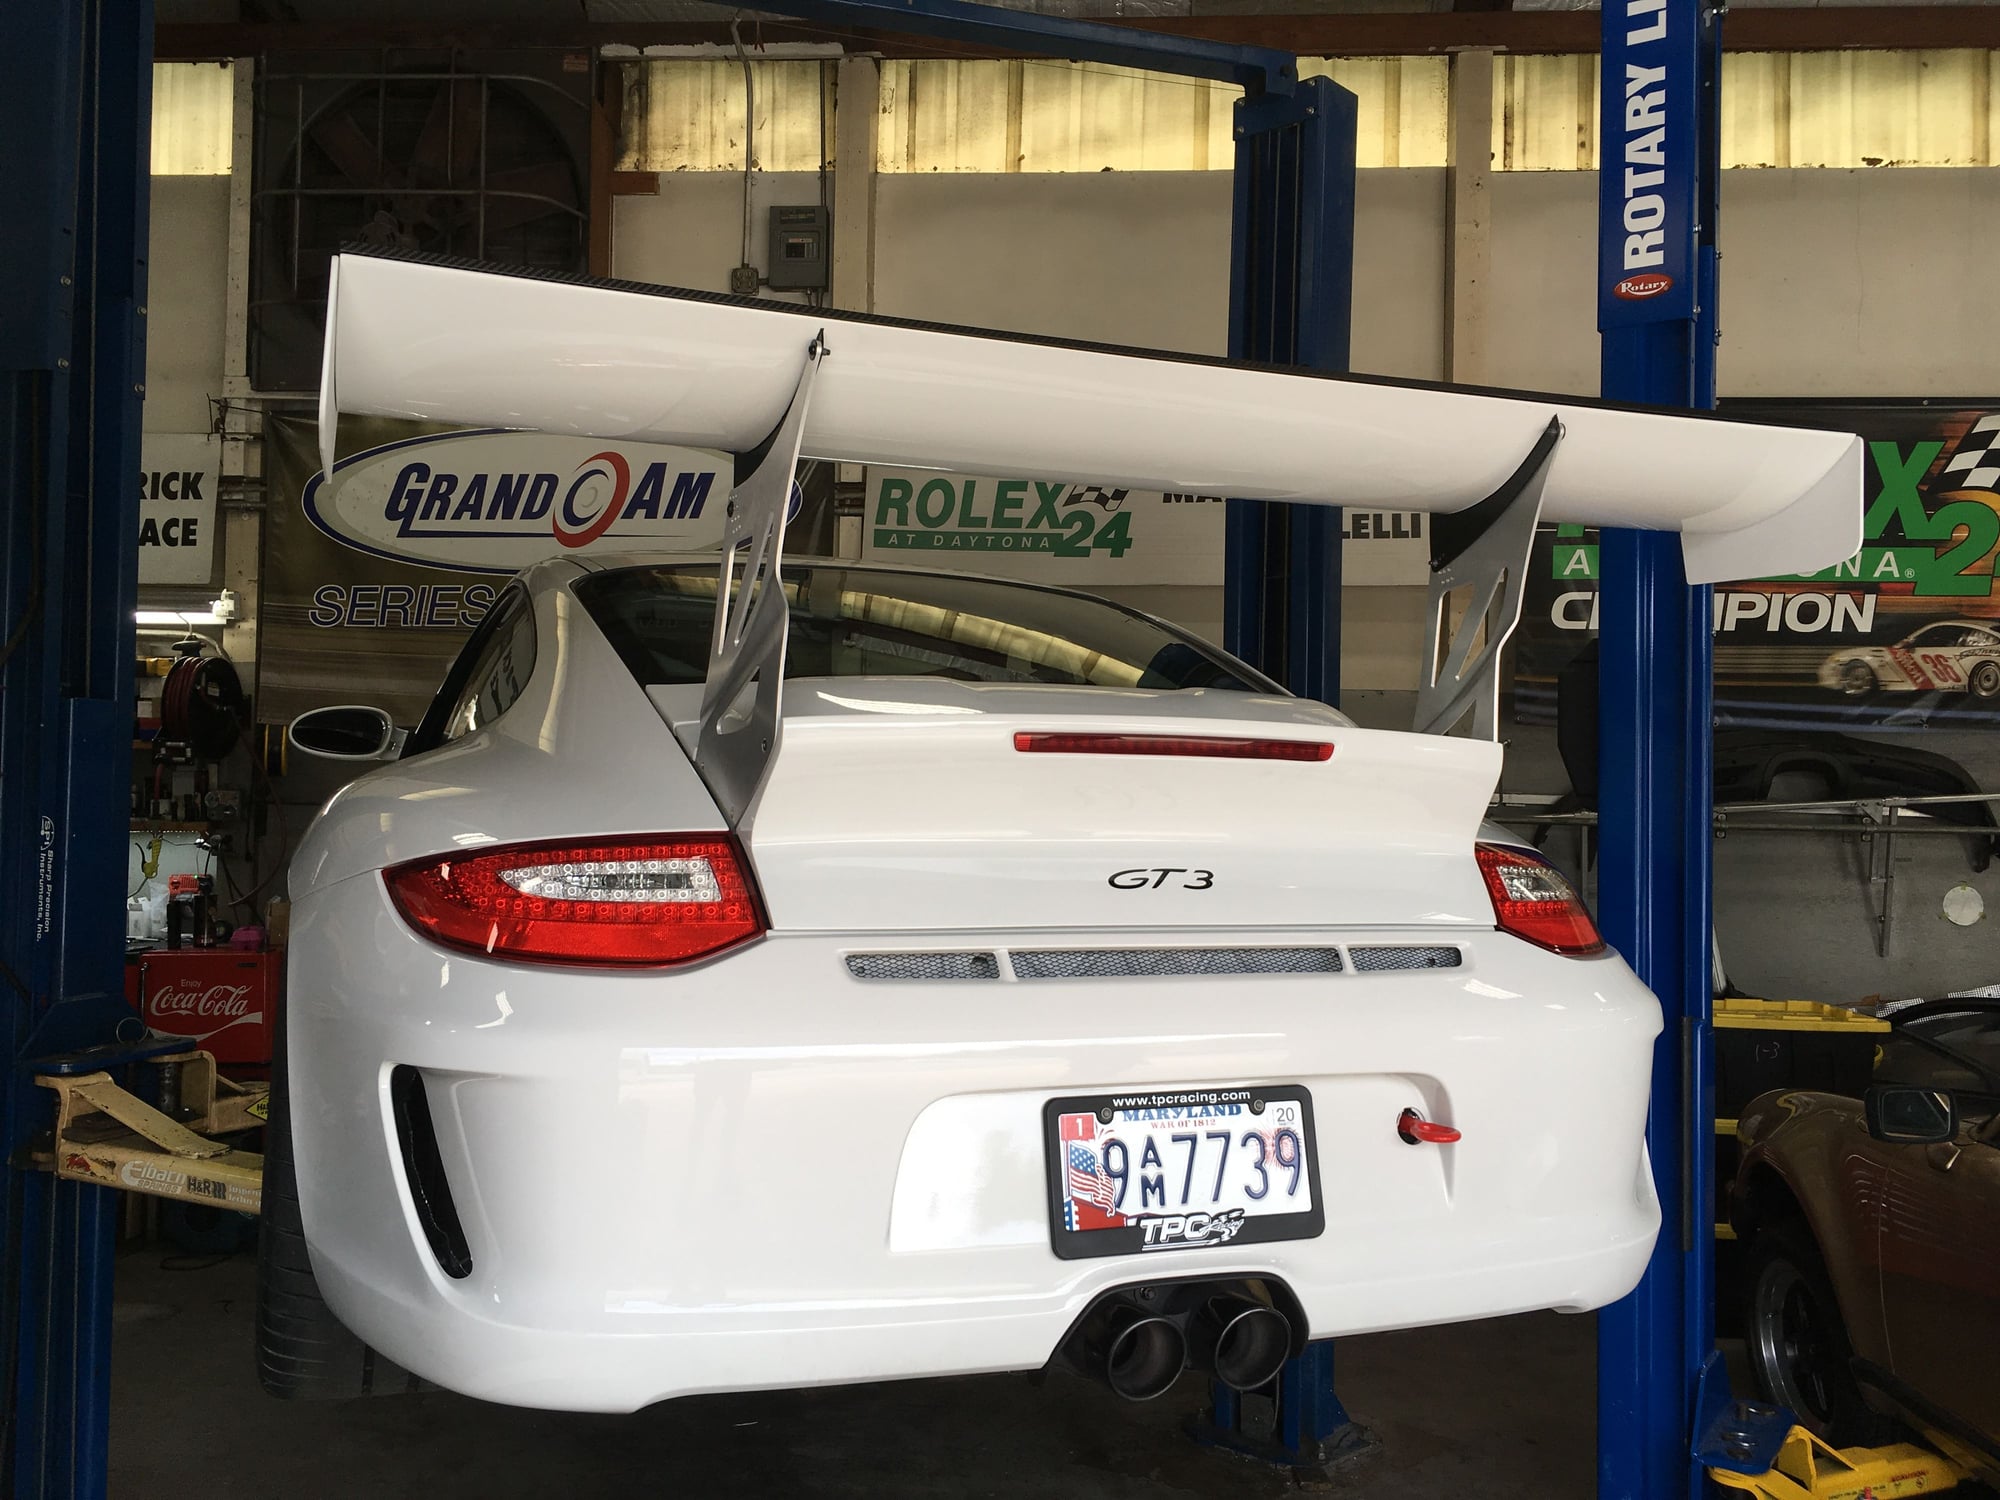
Back end is completed.
Last edited by Tom@TPC Racing; 06-06-2019 at 06:21 PM.
Reason: added image of "My fav part".
Not a Nightmare, just a Night of time consuming yet satisfying of work.
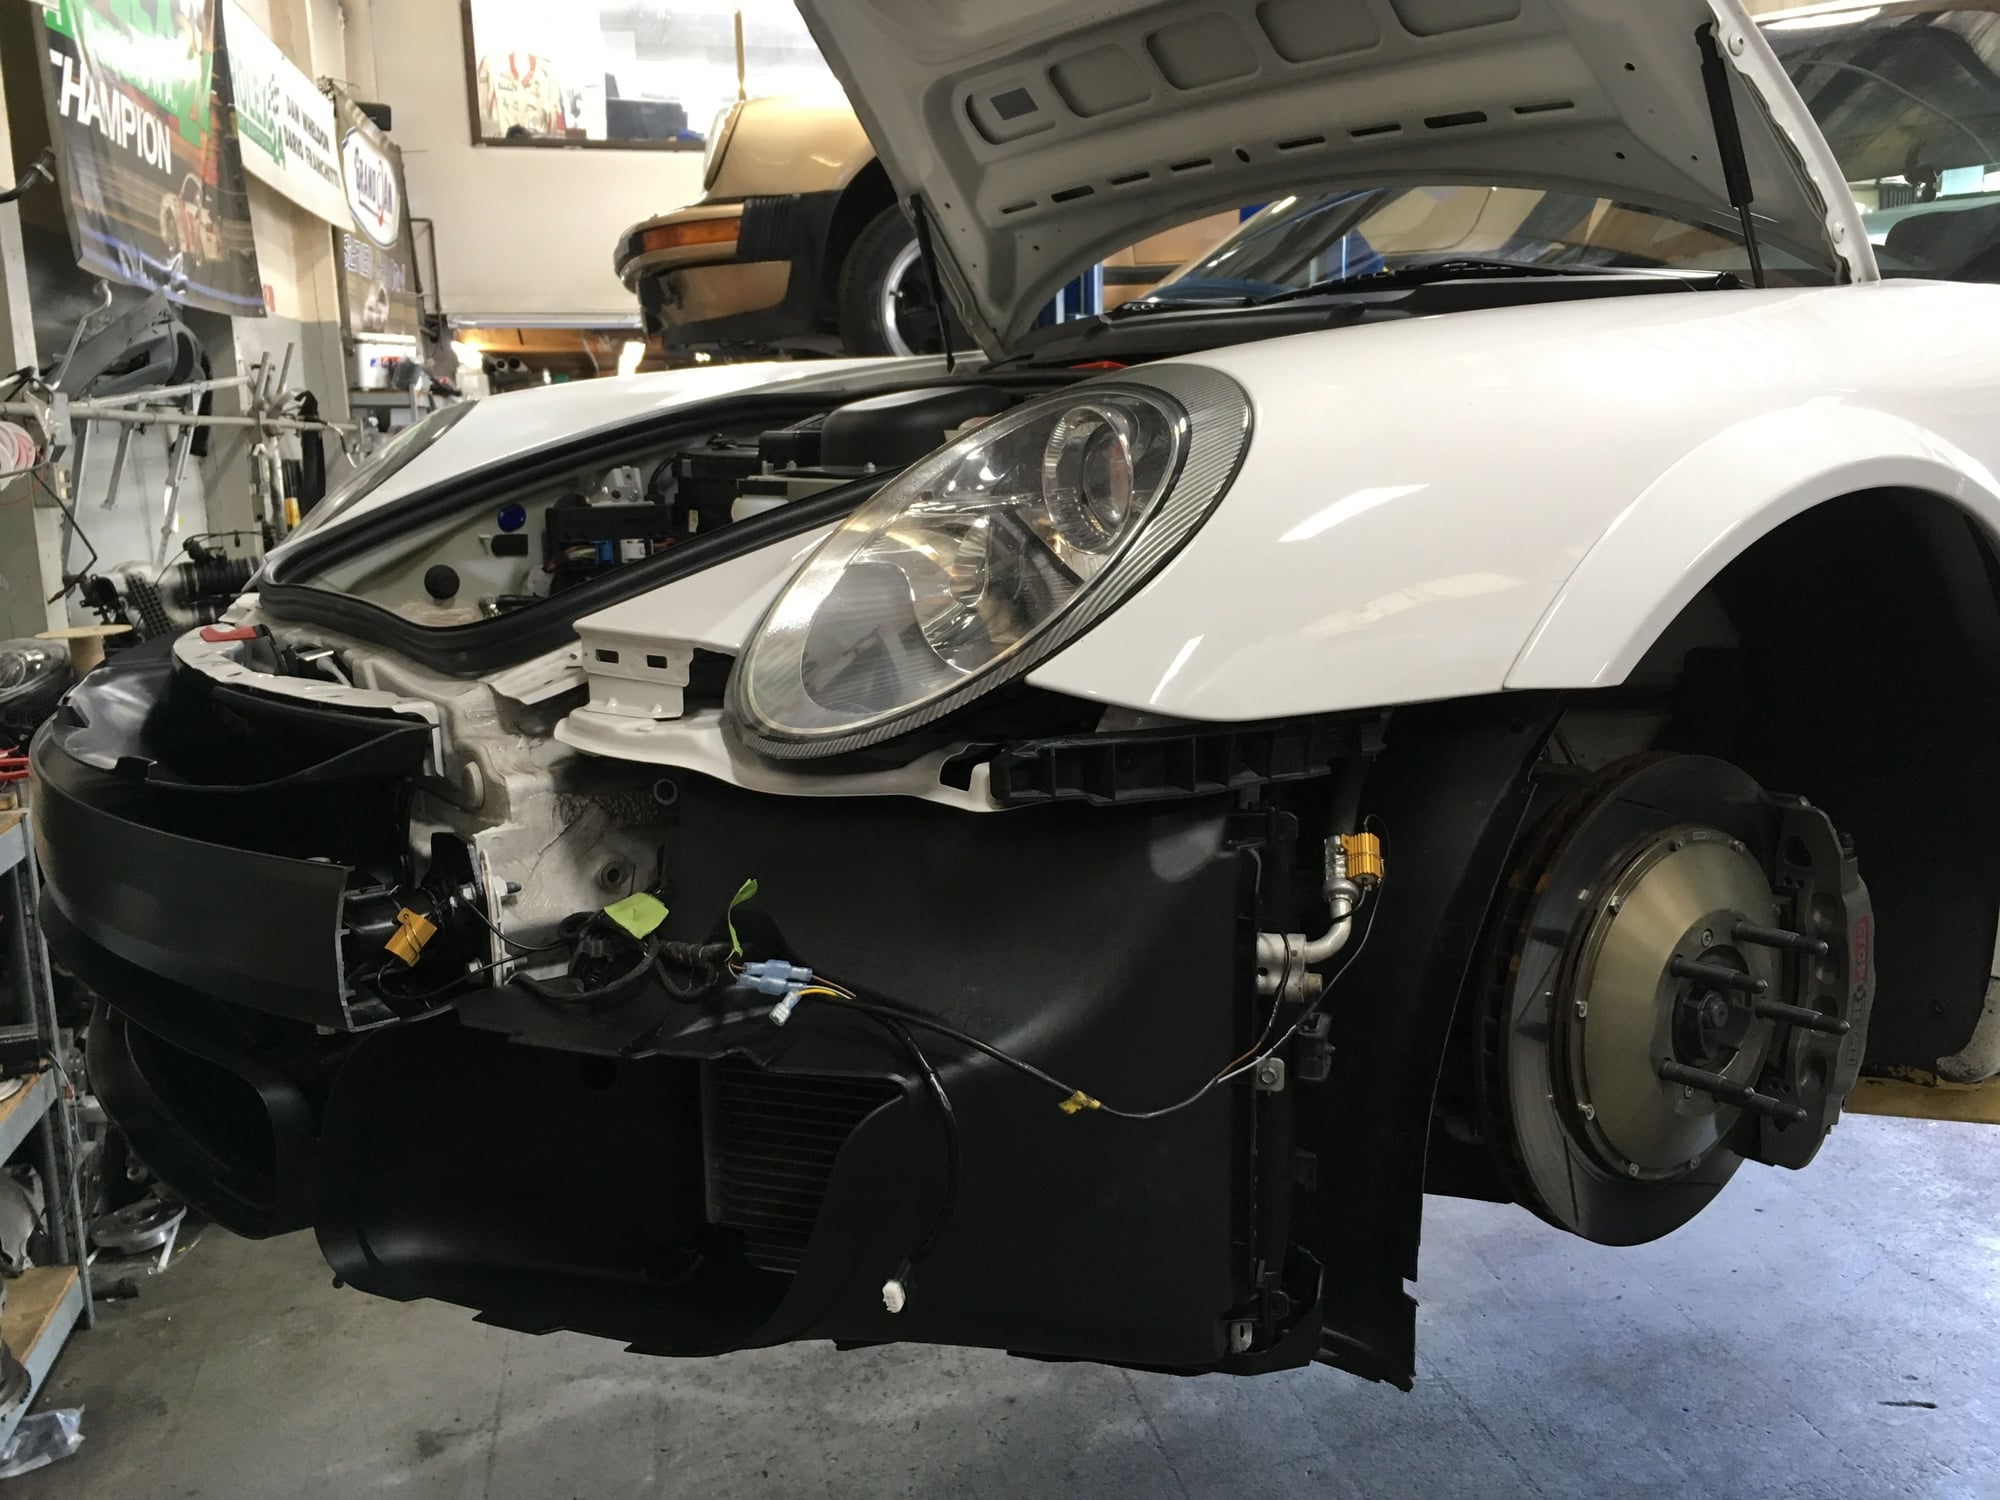
Front bumper off again. This time to improve the electrical wiring because last time I encountered an unexpected getting the .2 turn signals to work with .1 front body control module. The issue took up hours that I would have spent on improving the wiring.
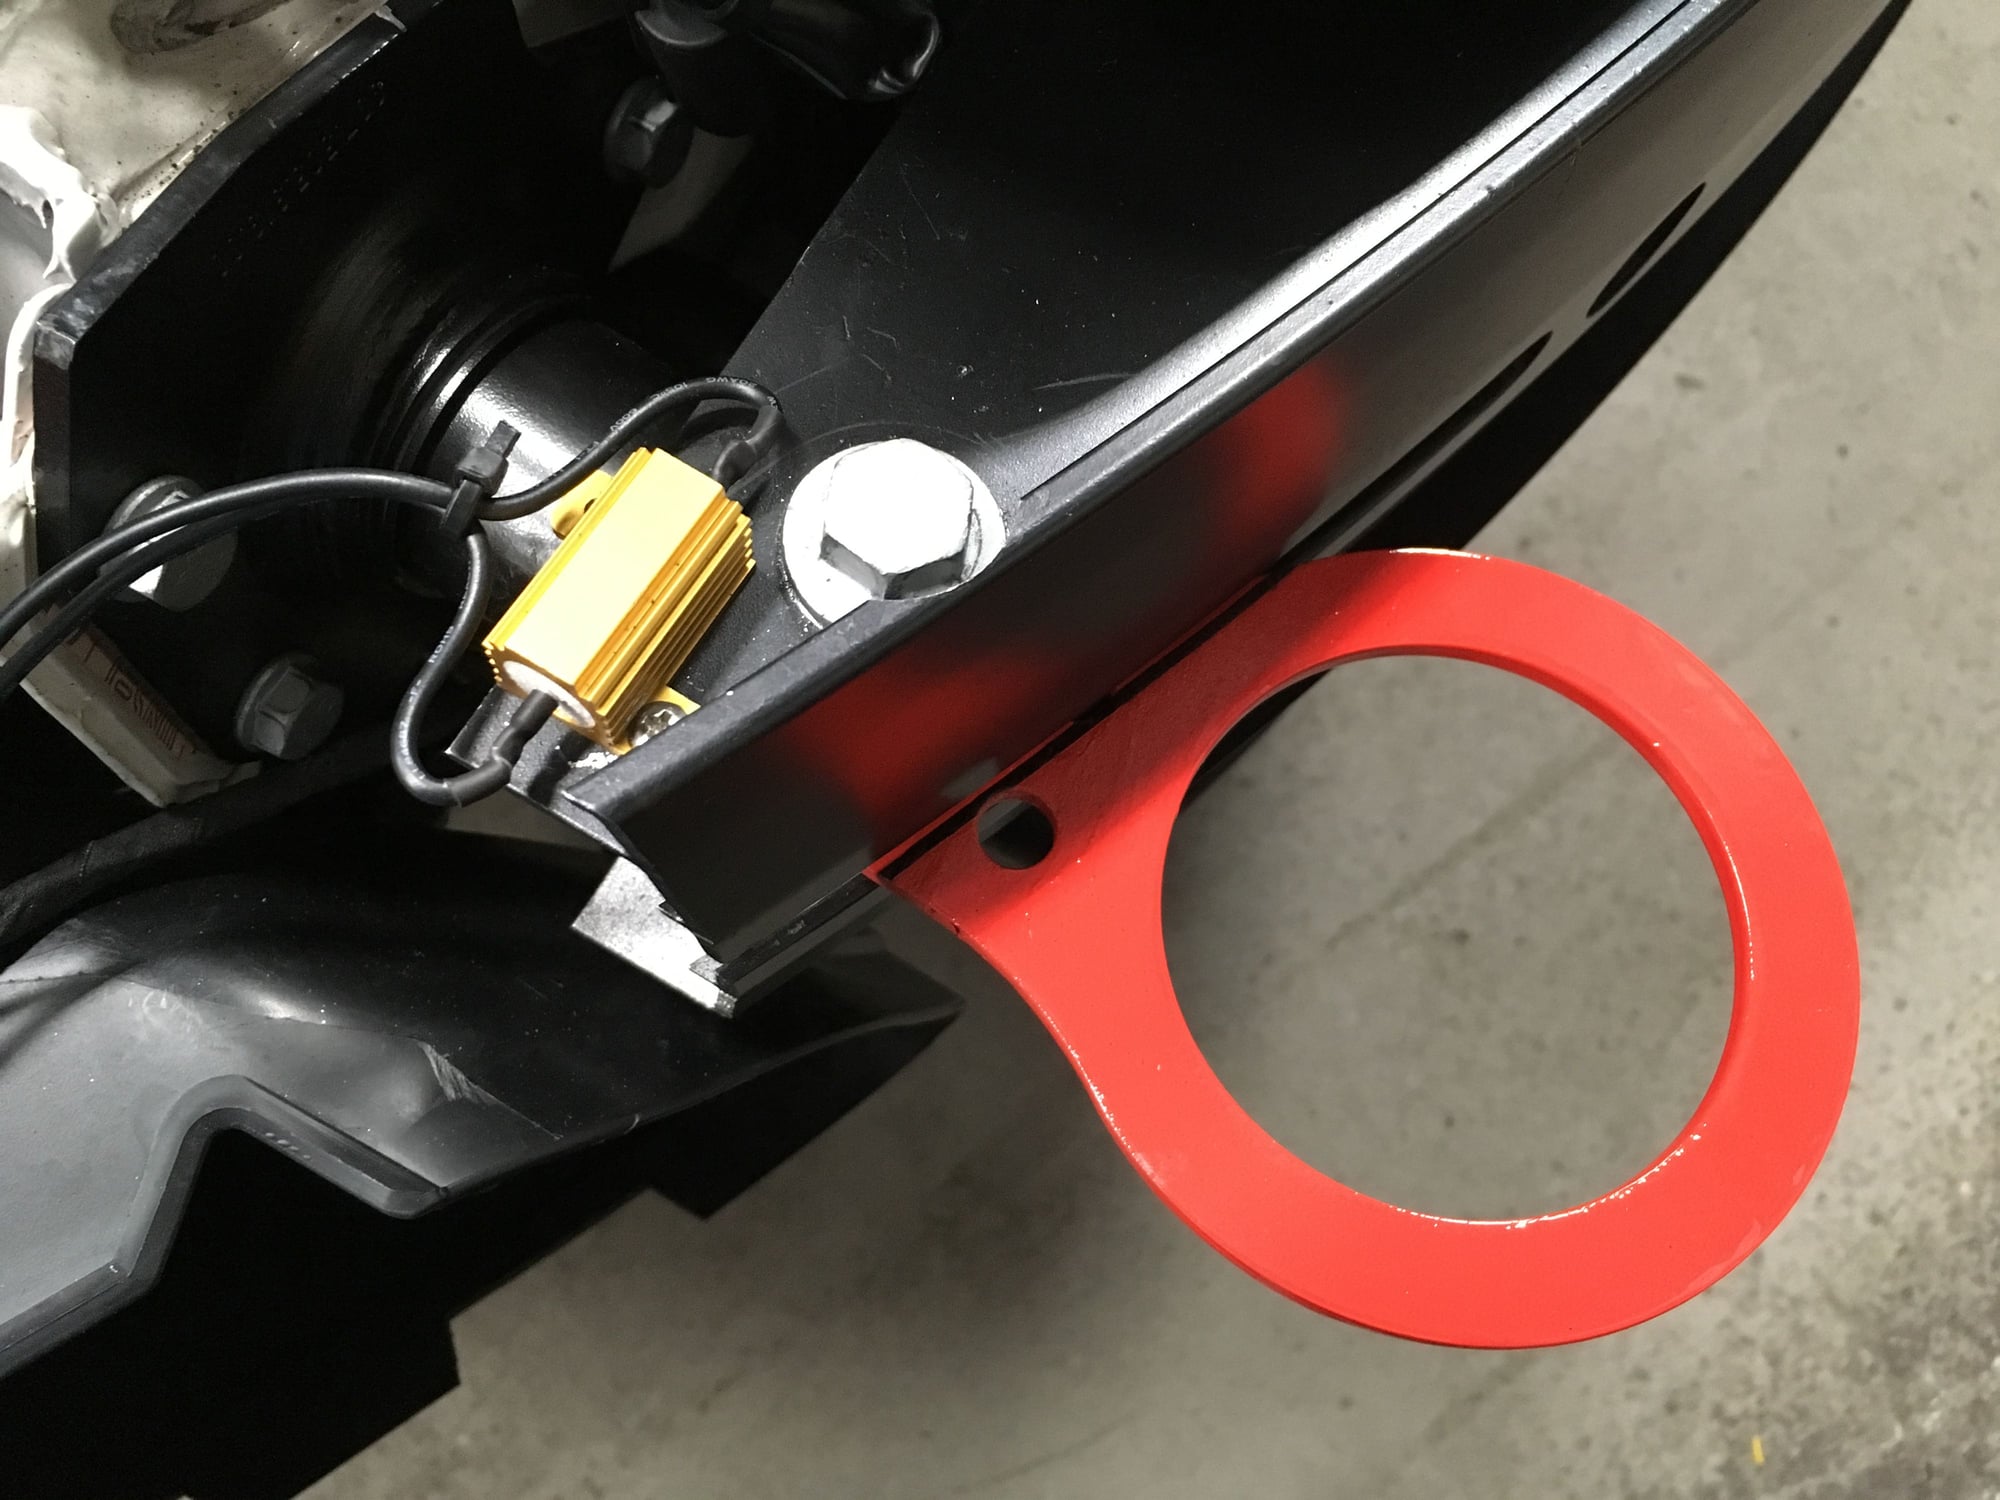
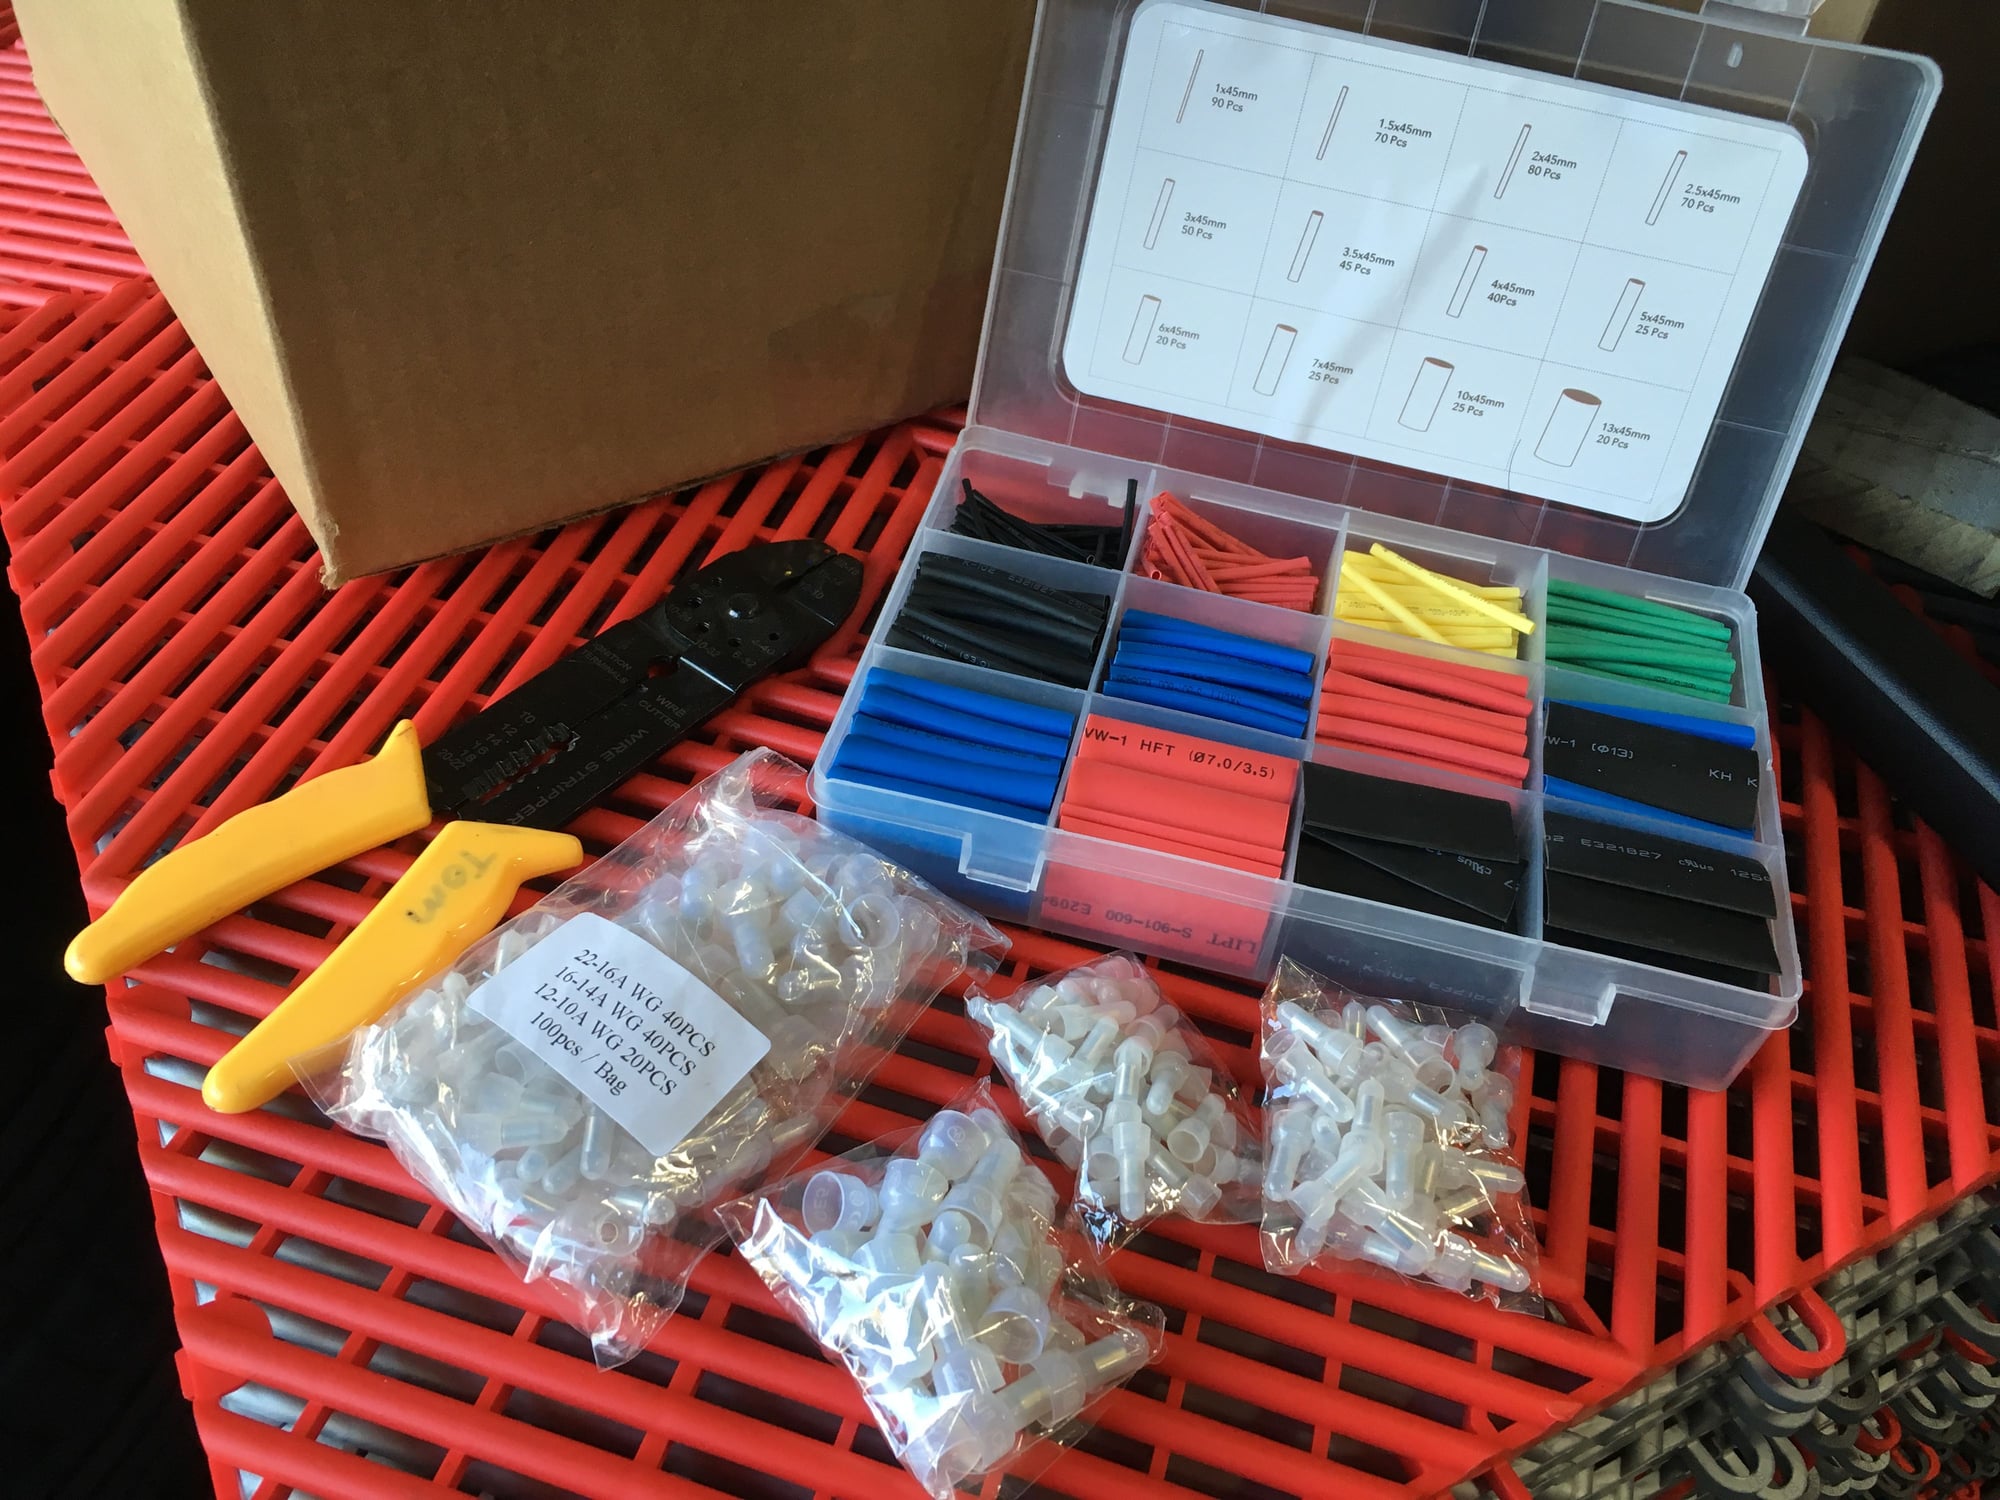
Last time I was rushing and was tired when I got to installing the load resistors so stainless steel wire tie was the easy way out to get home that night.
This time around I feel a lot better- these load resistors get HOT so the crush beam also serves as a heat sink.
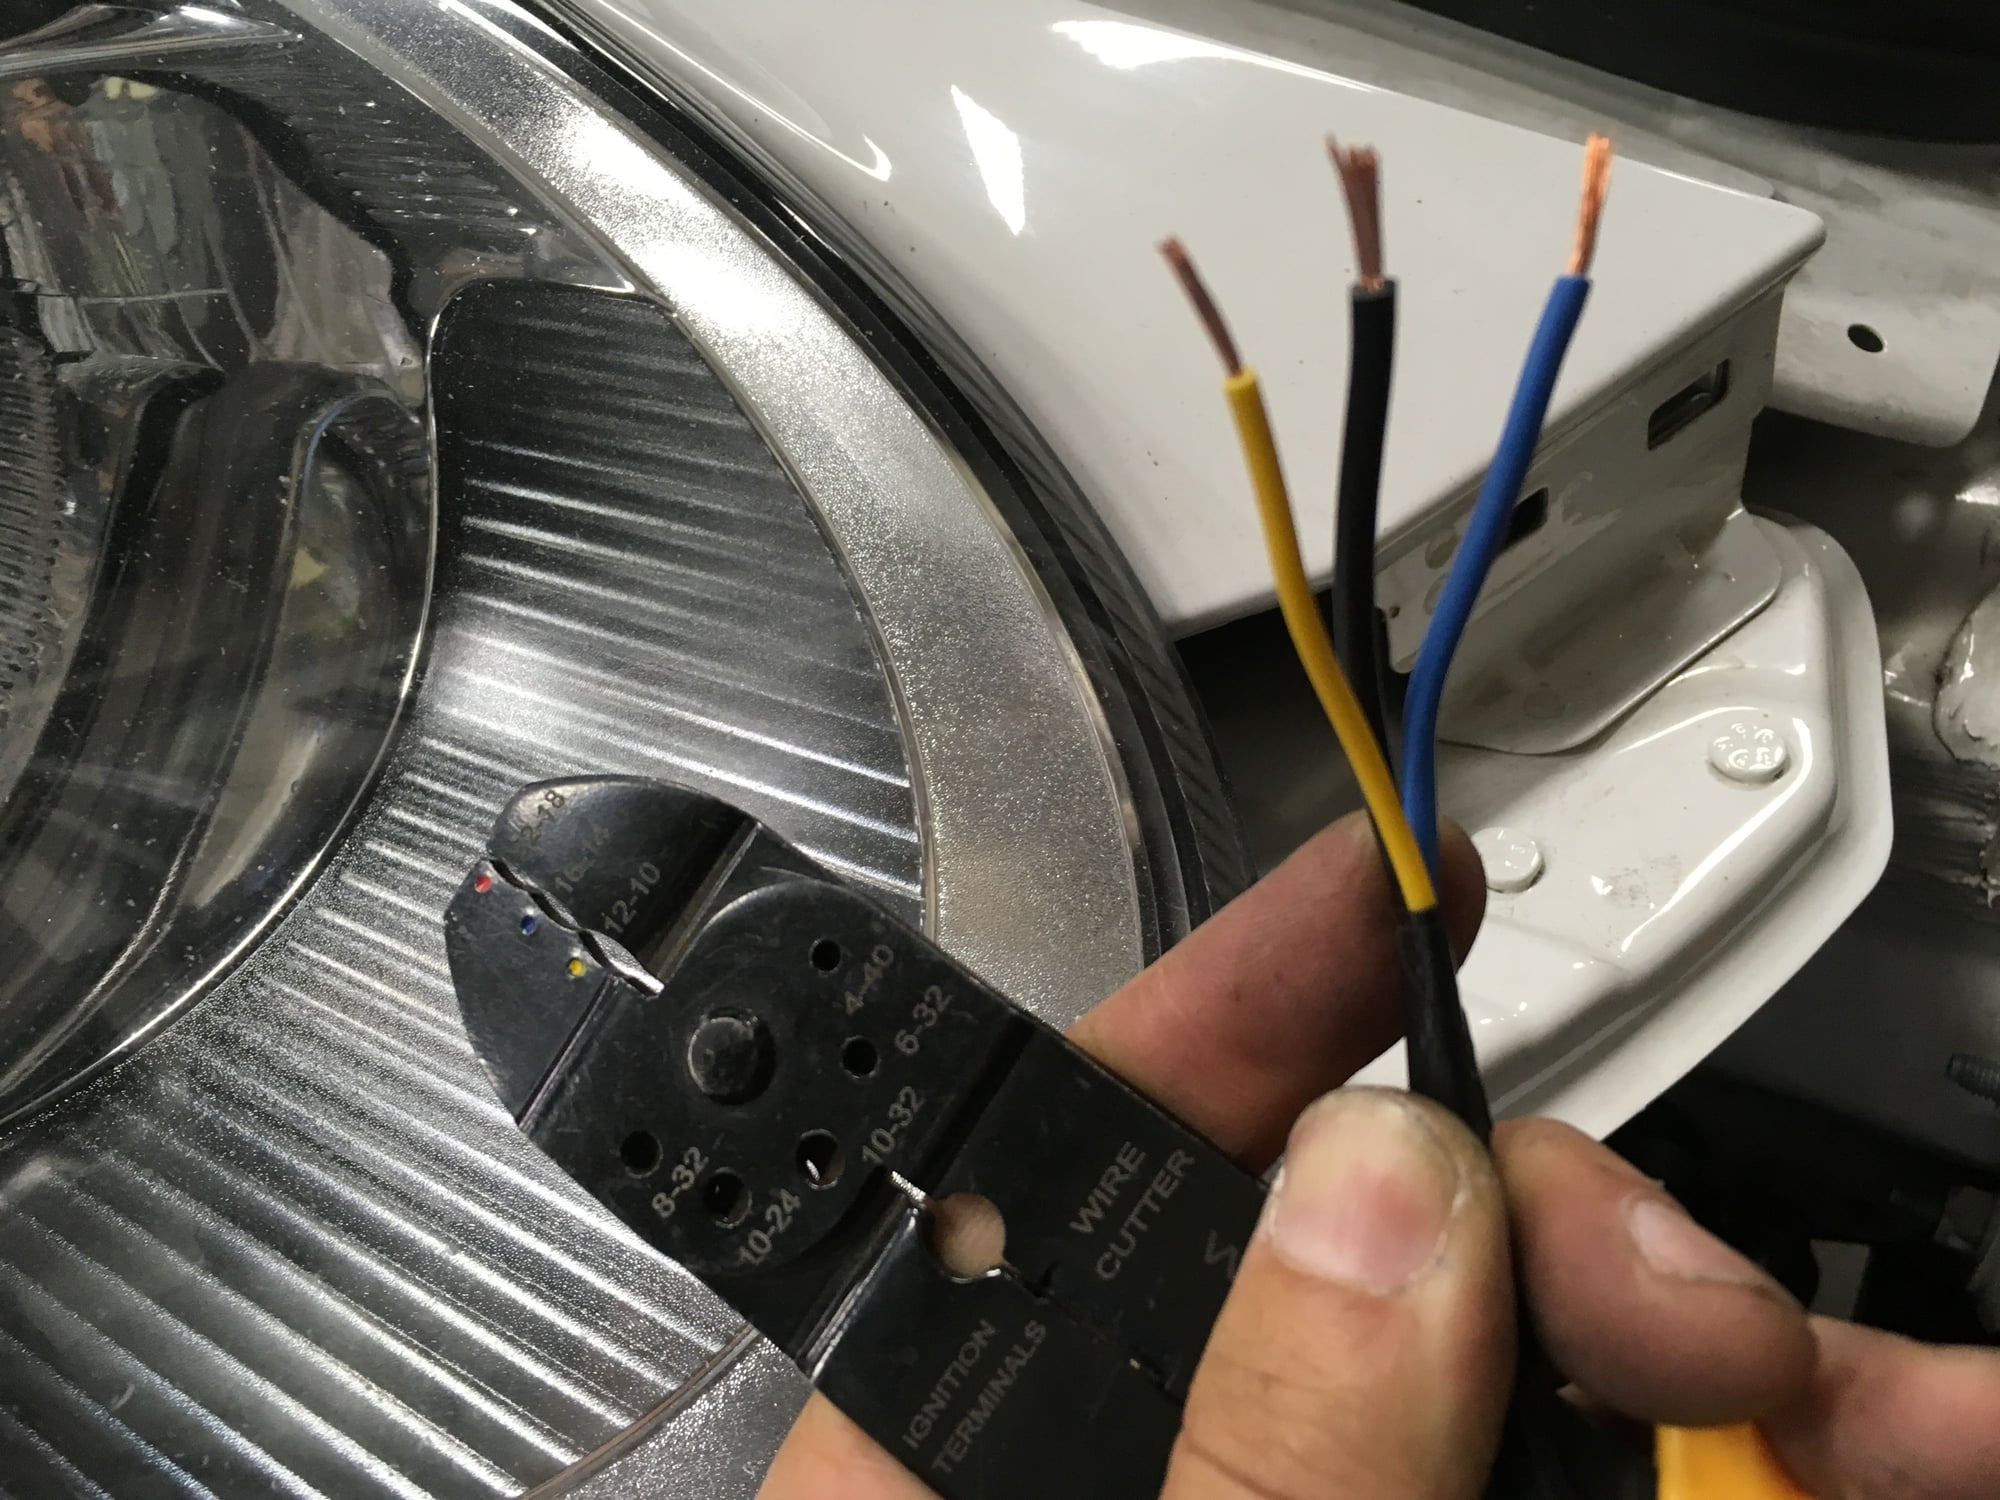
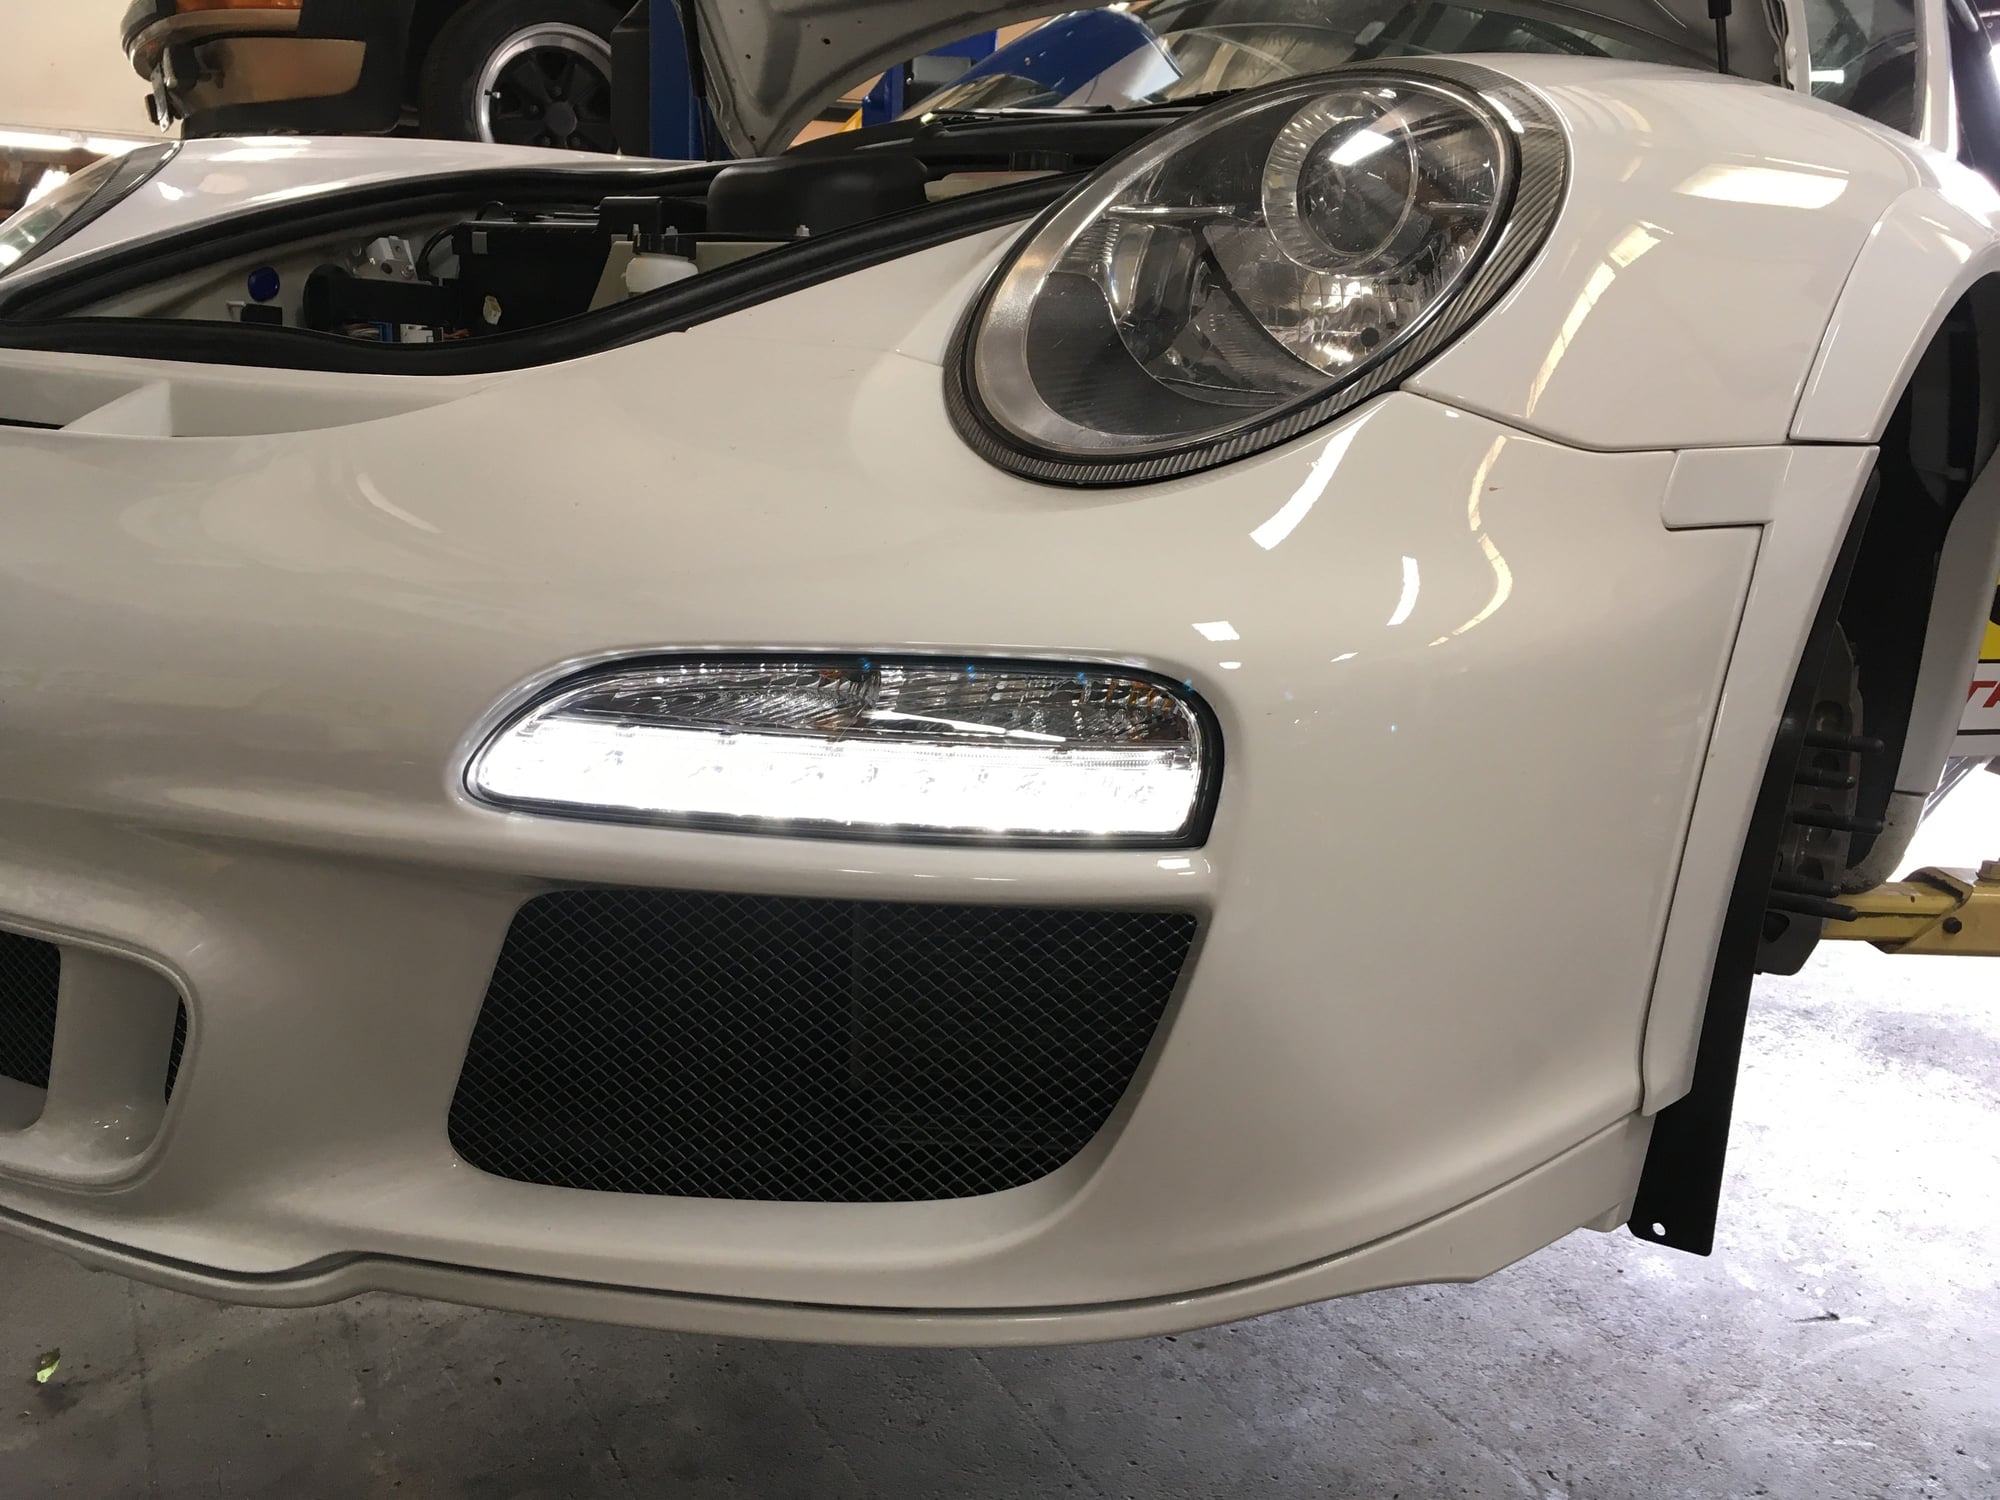
Getting the DRL wired up.
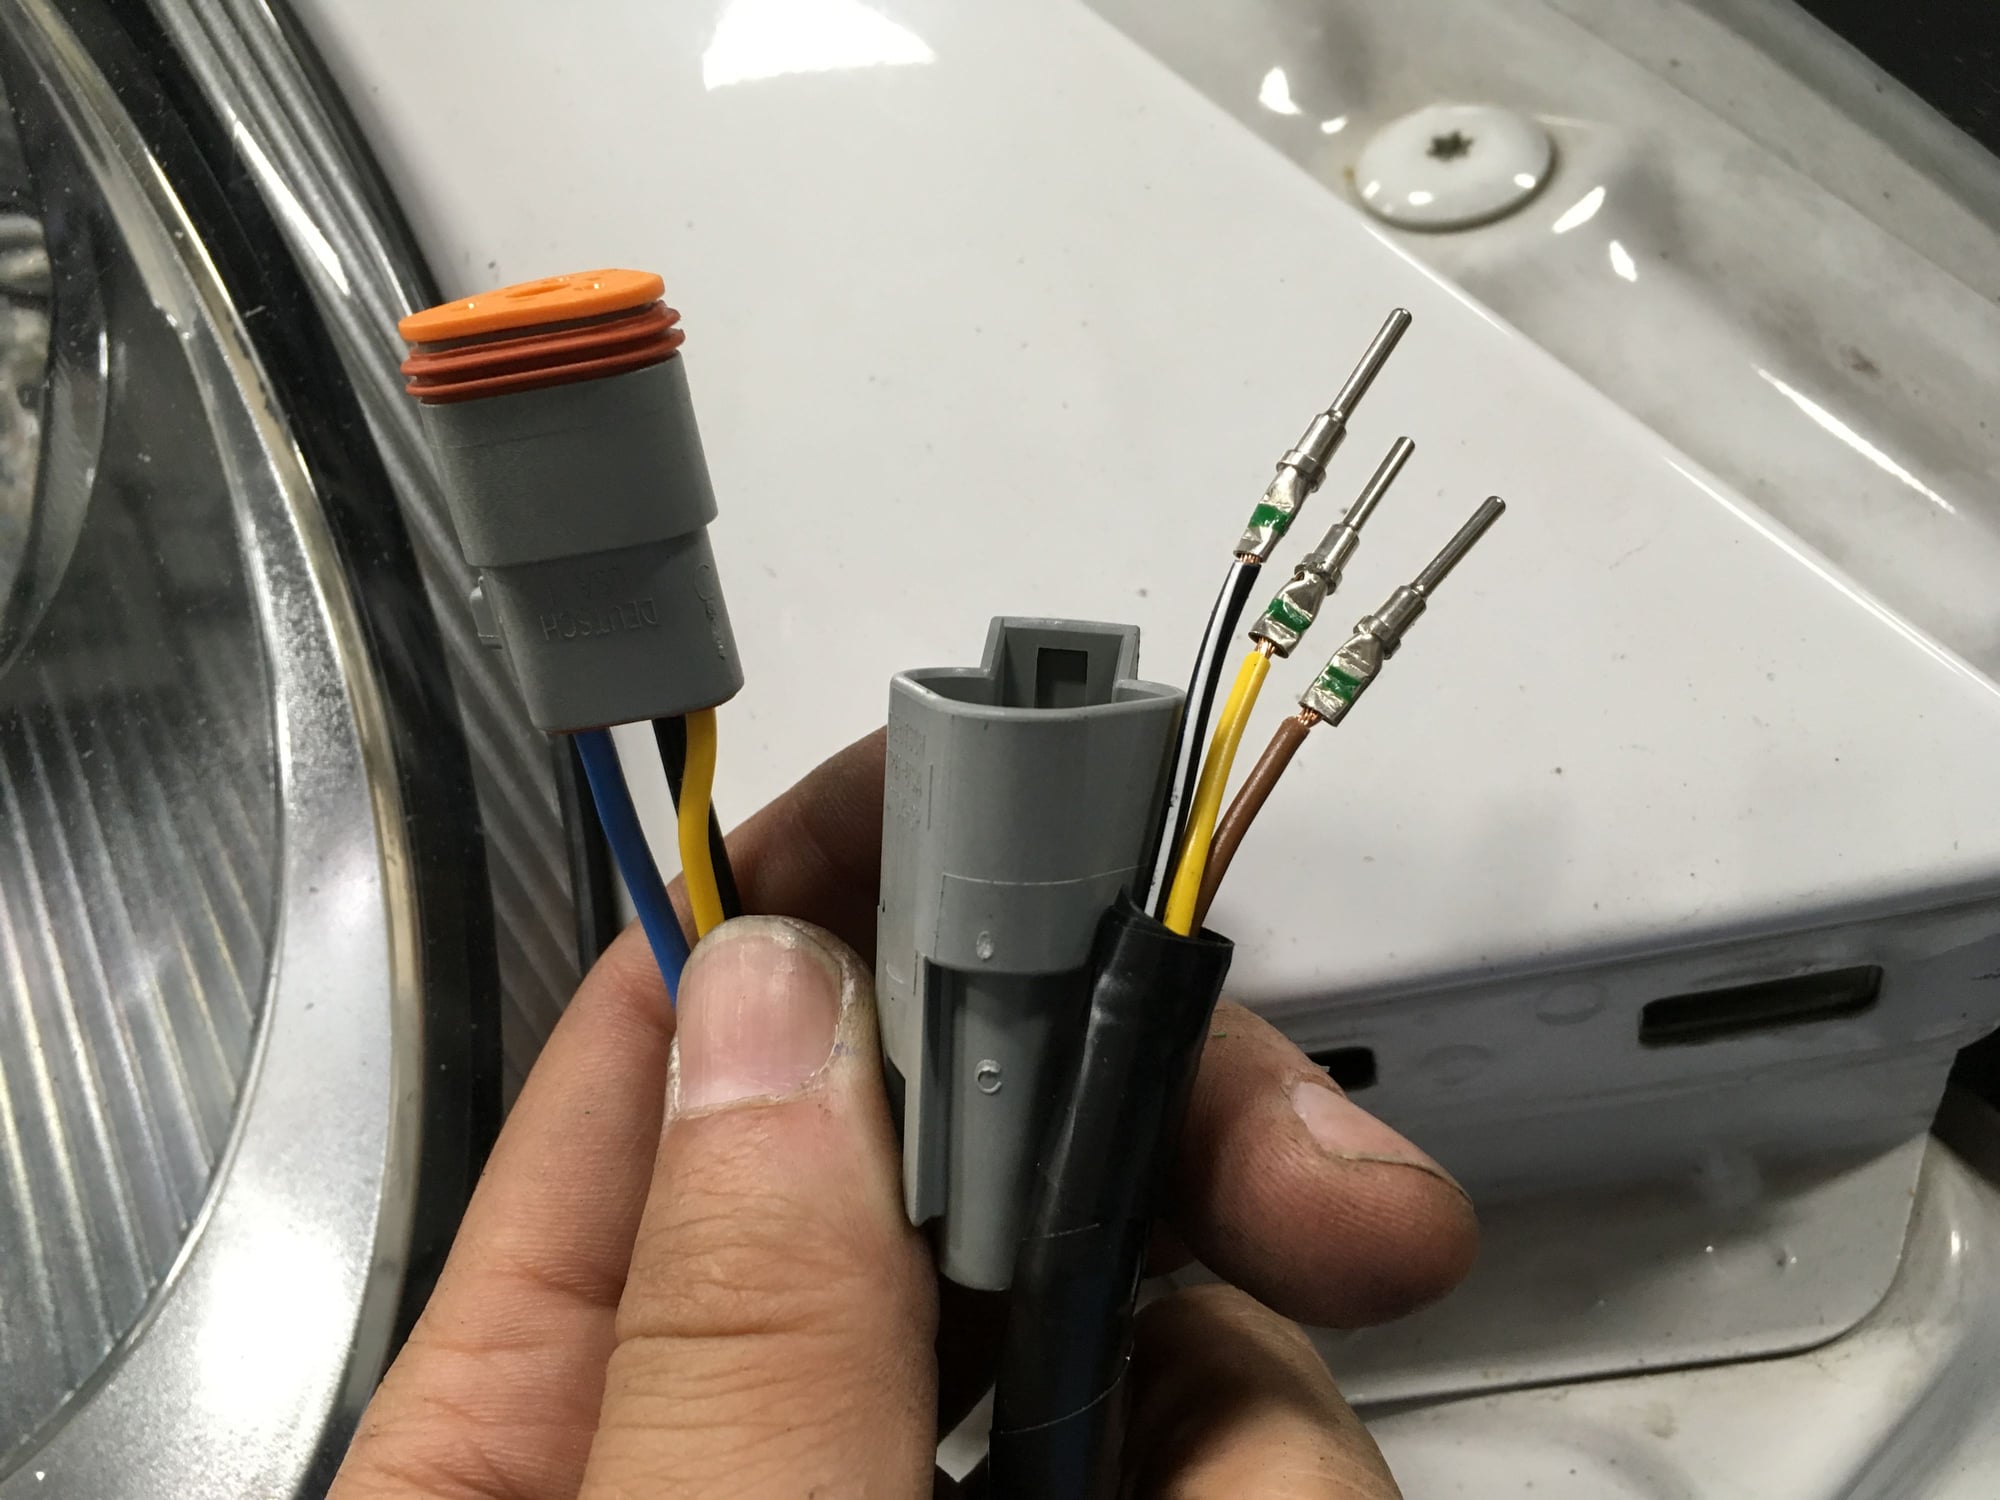
Because I altered the wiring so much I want to add a quick-release connector to make future bumper removal easier.
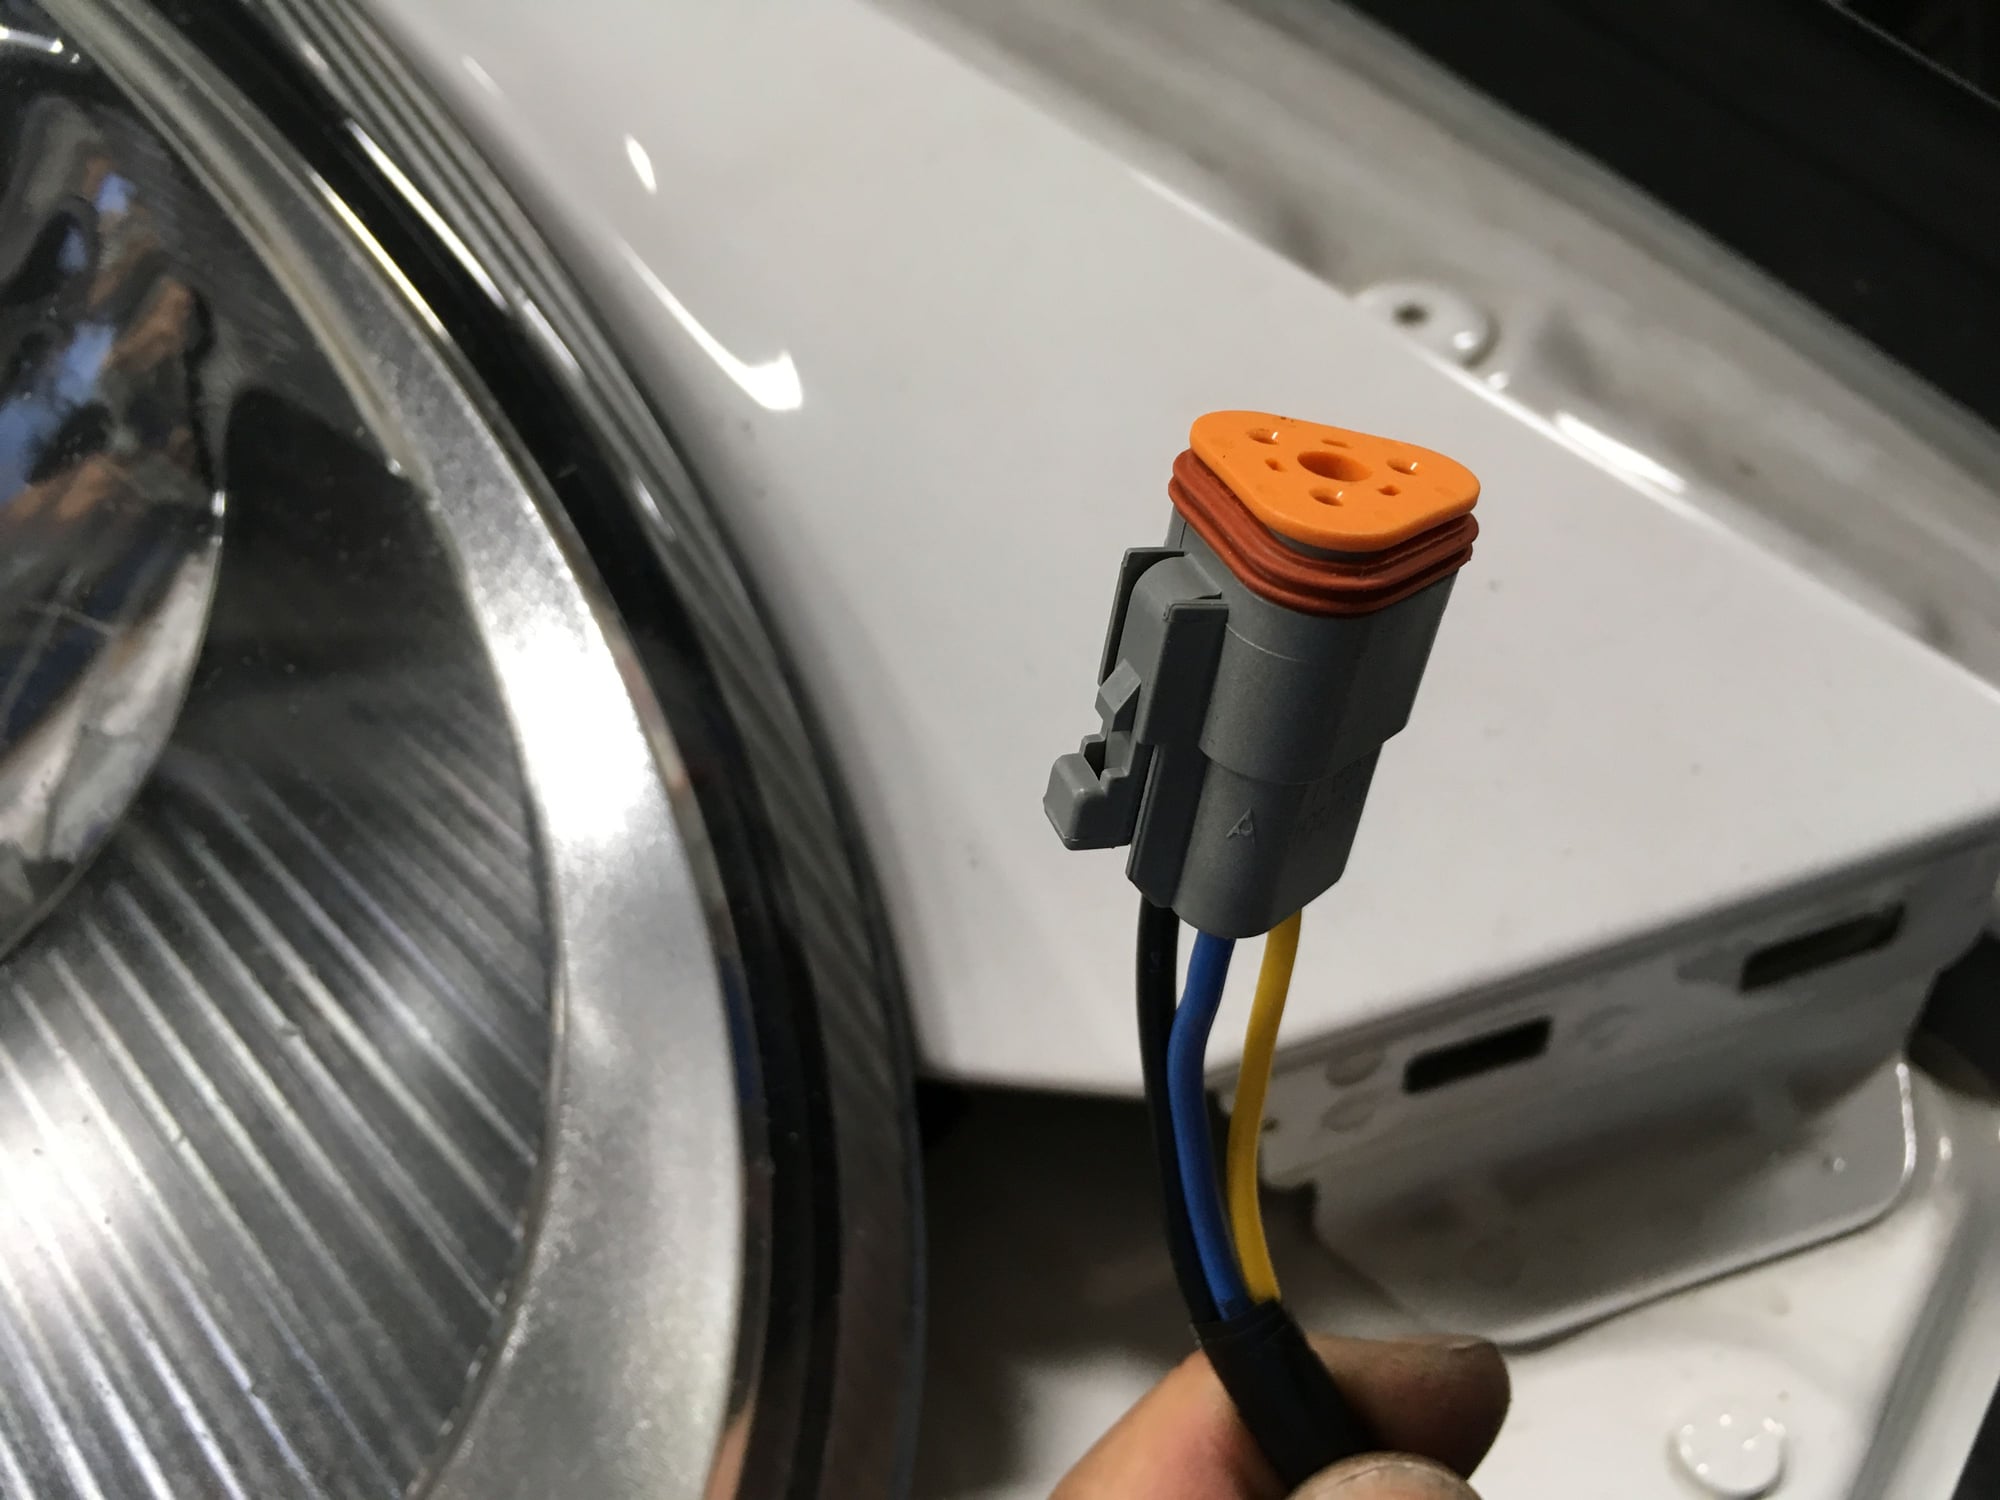
DEUTSCH connector for the job.
DRL Checked!
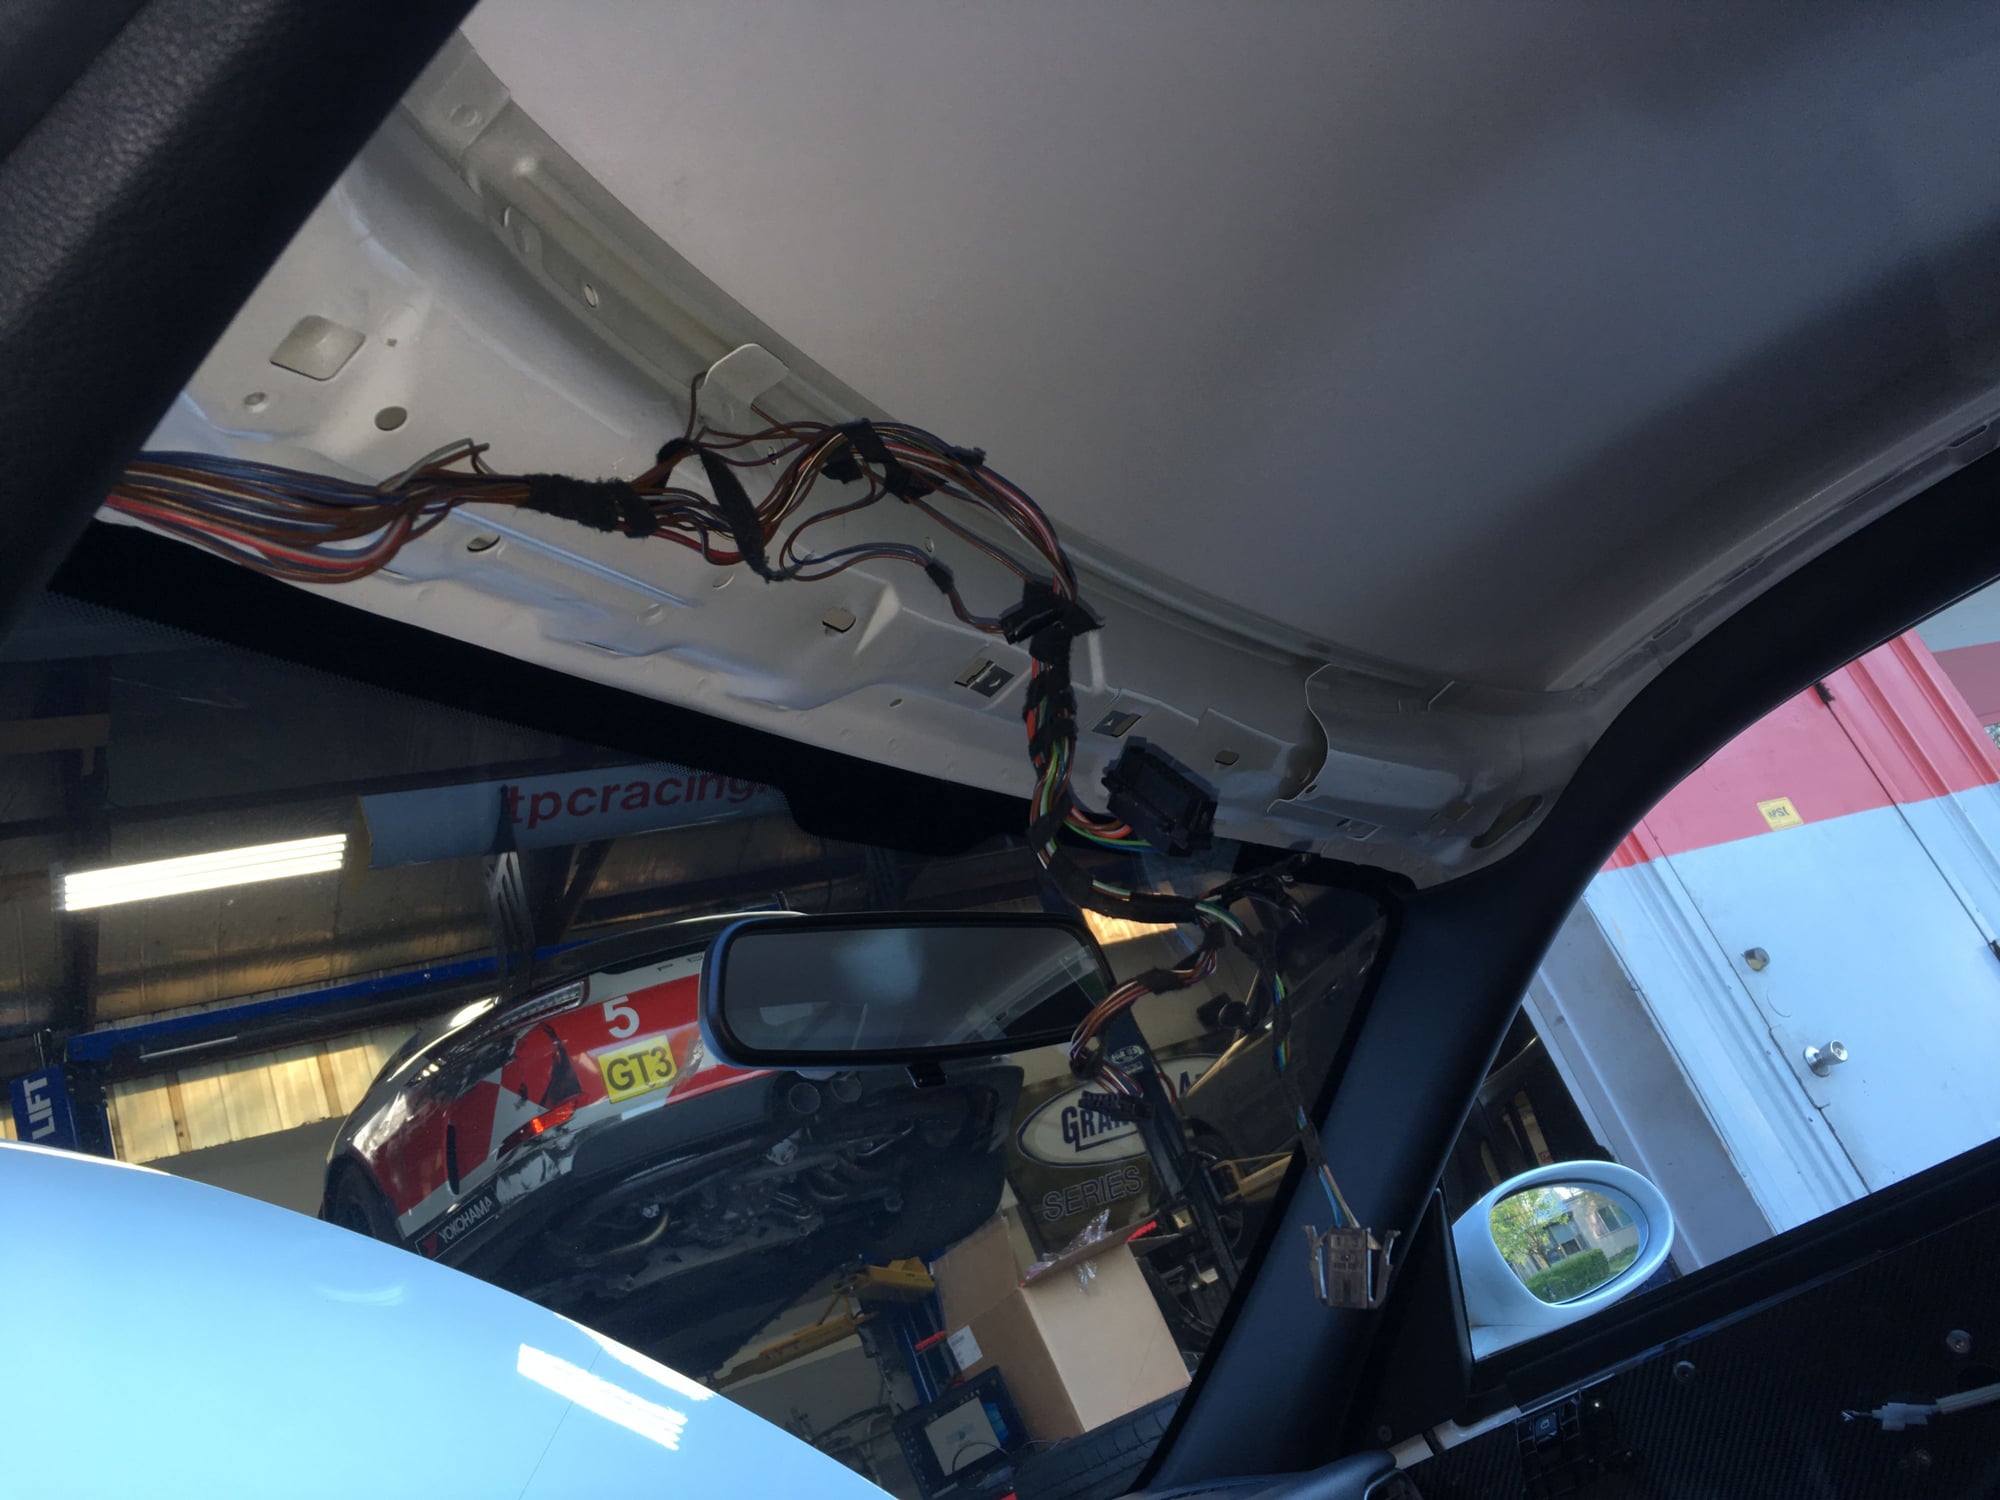
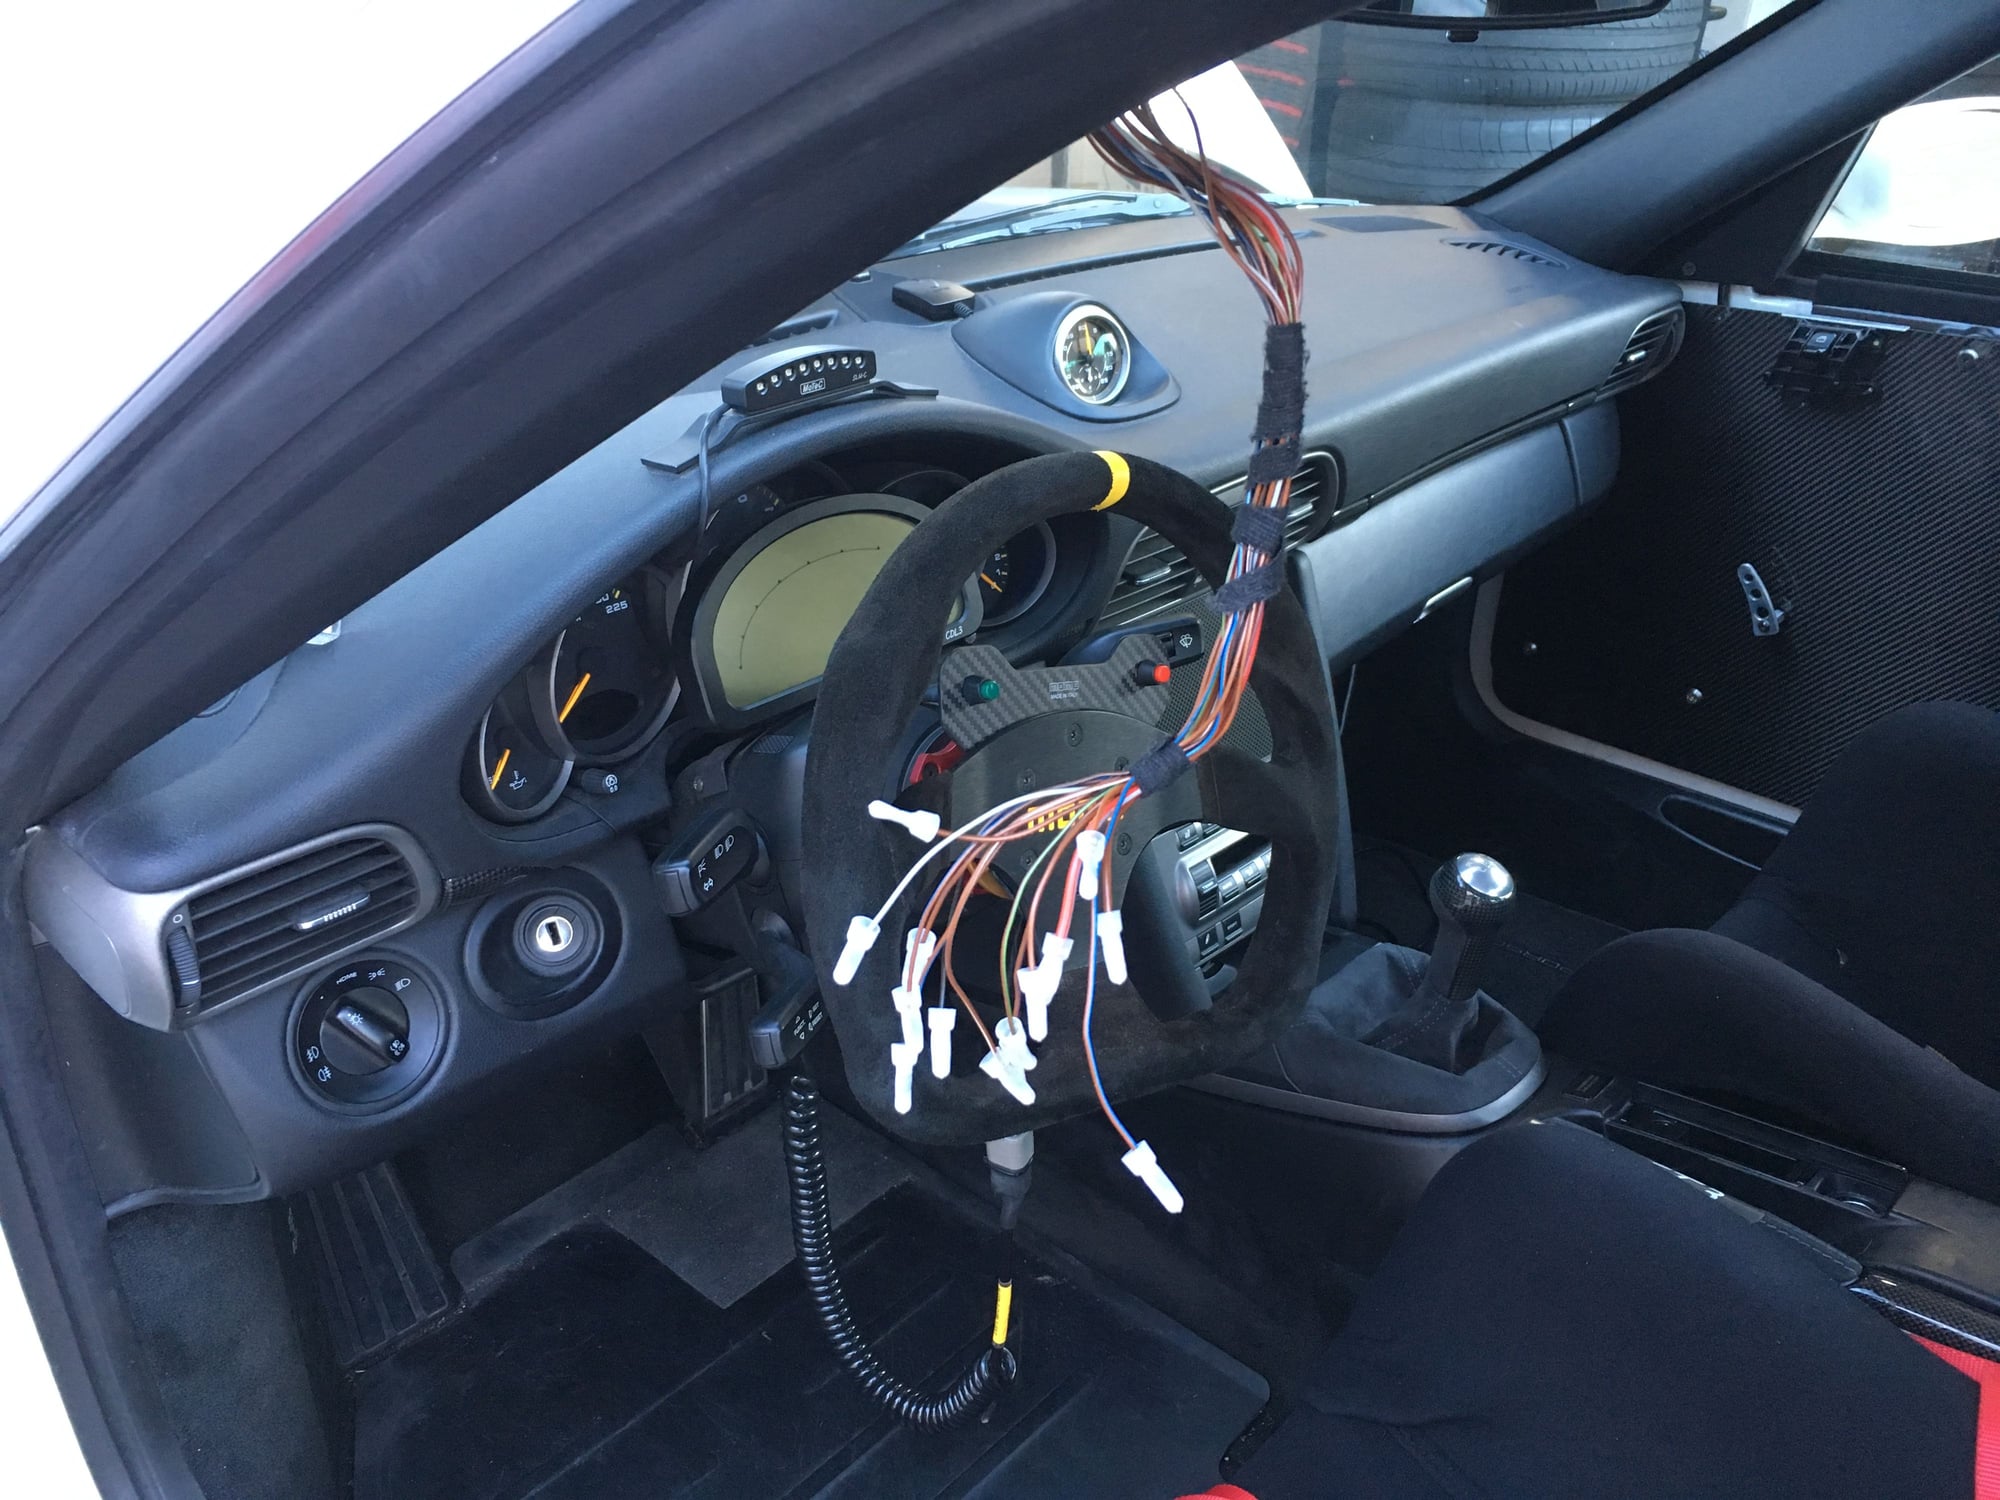
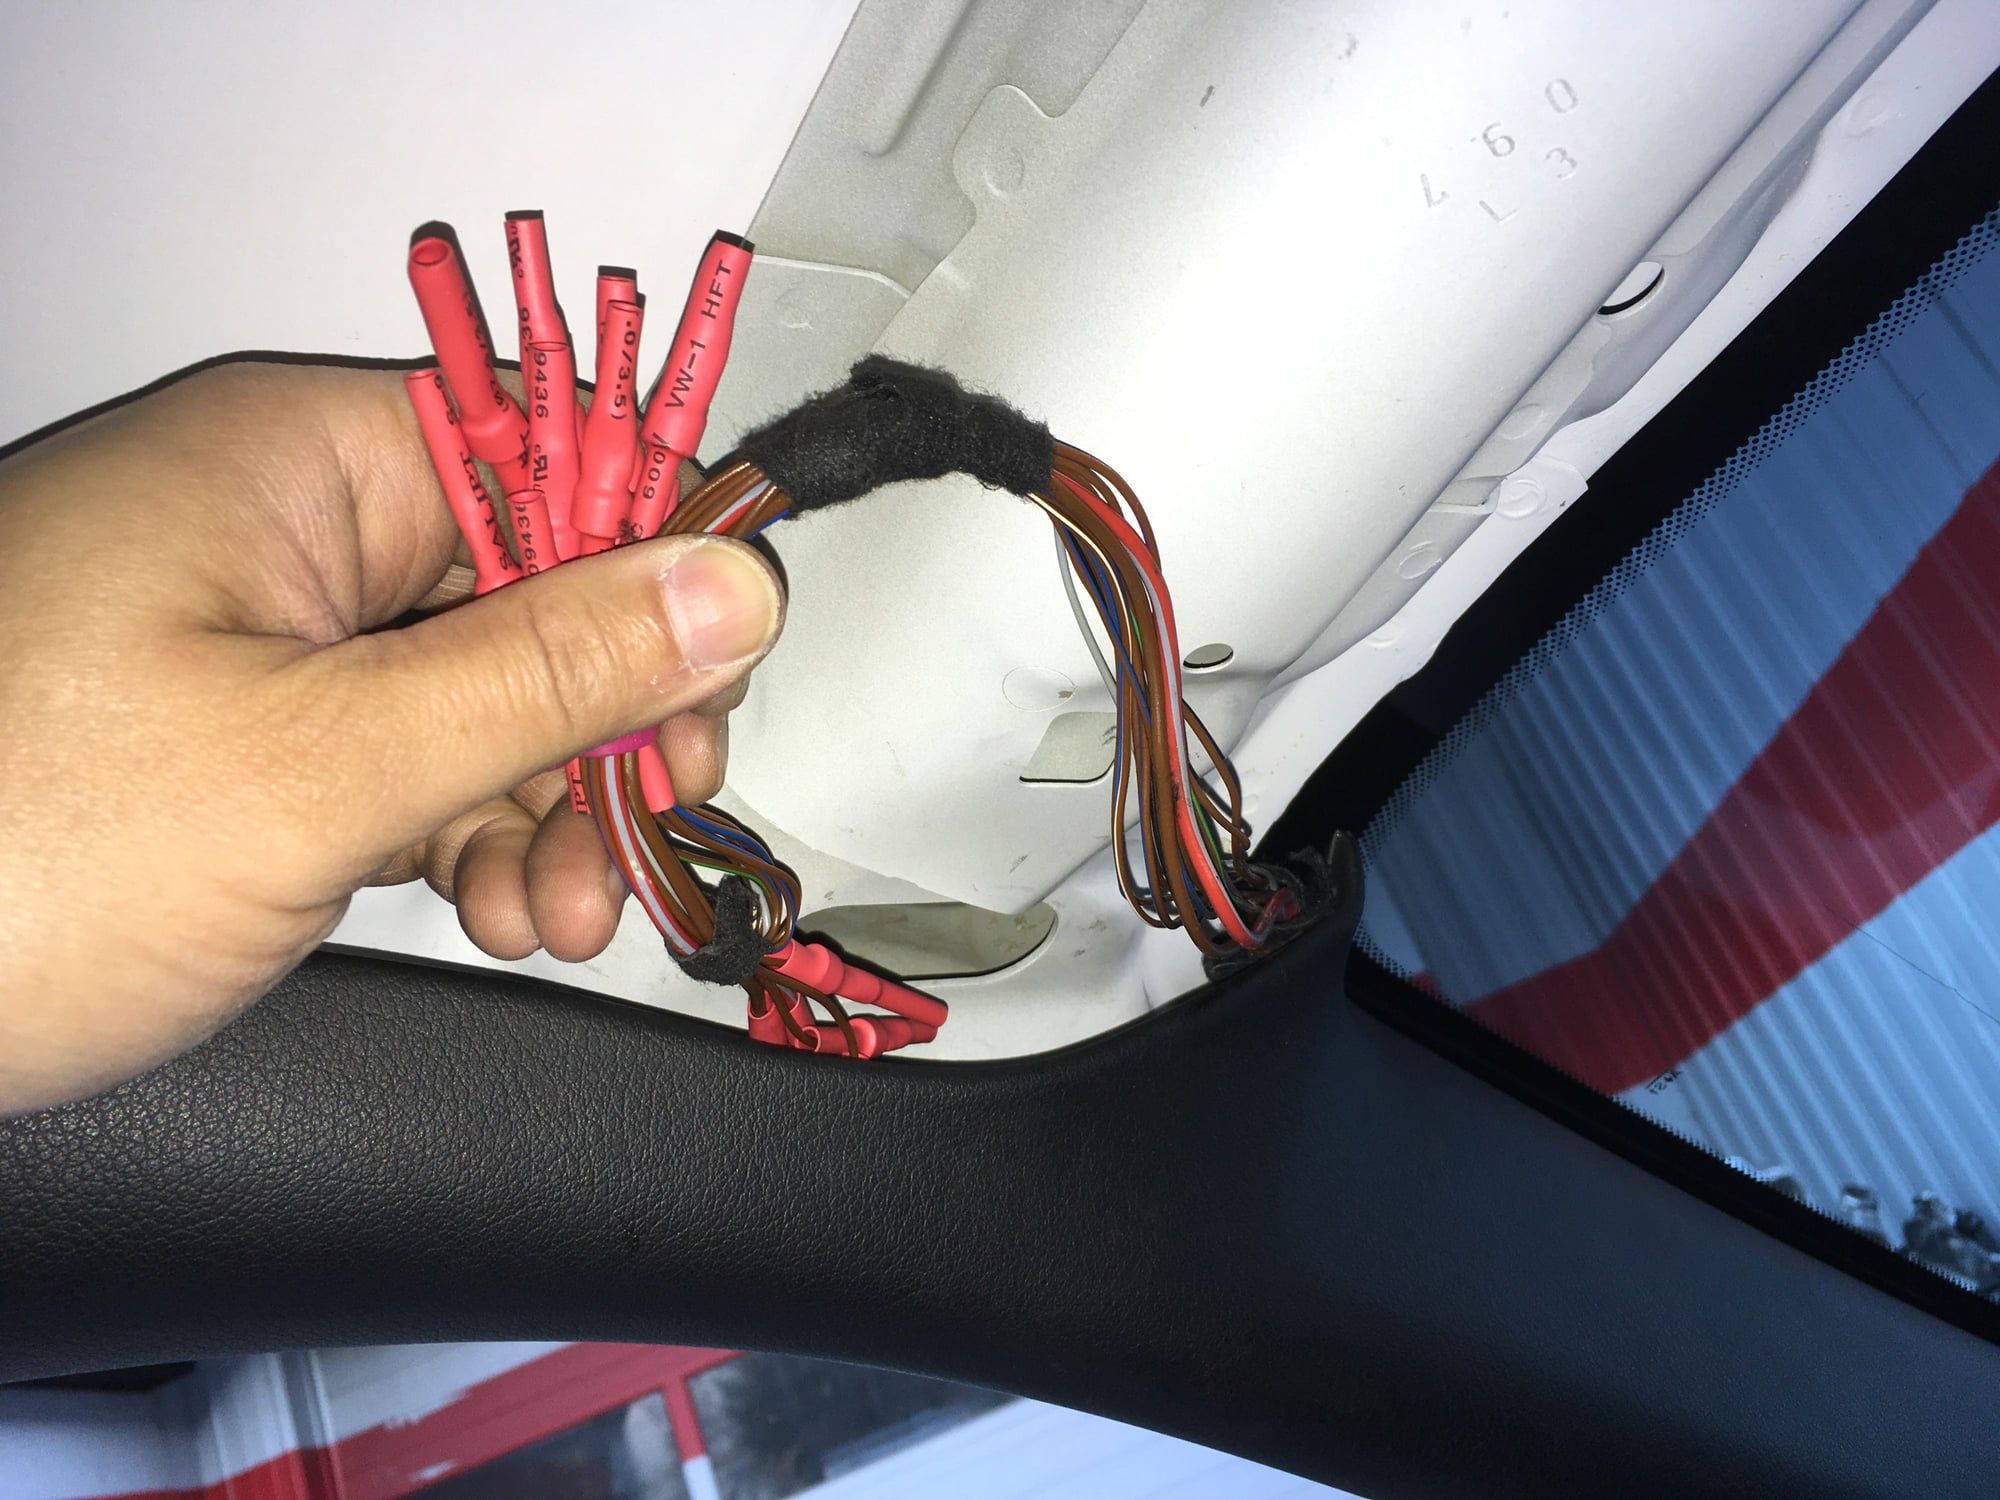
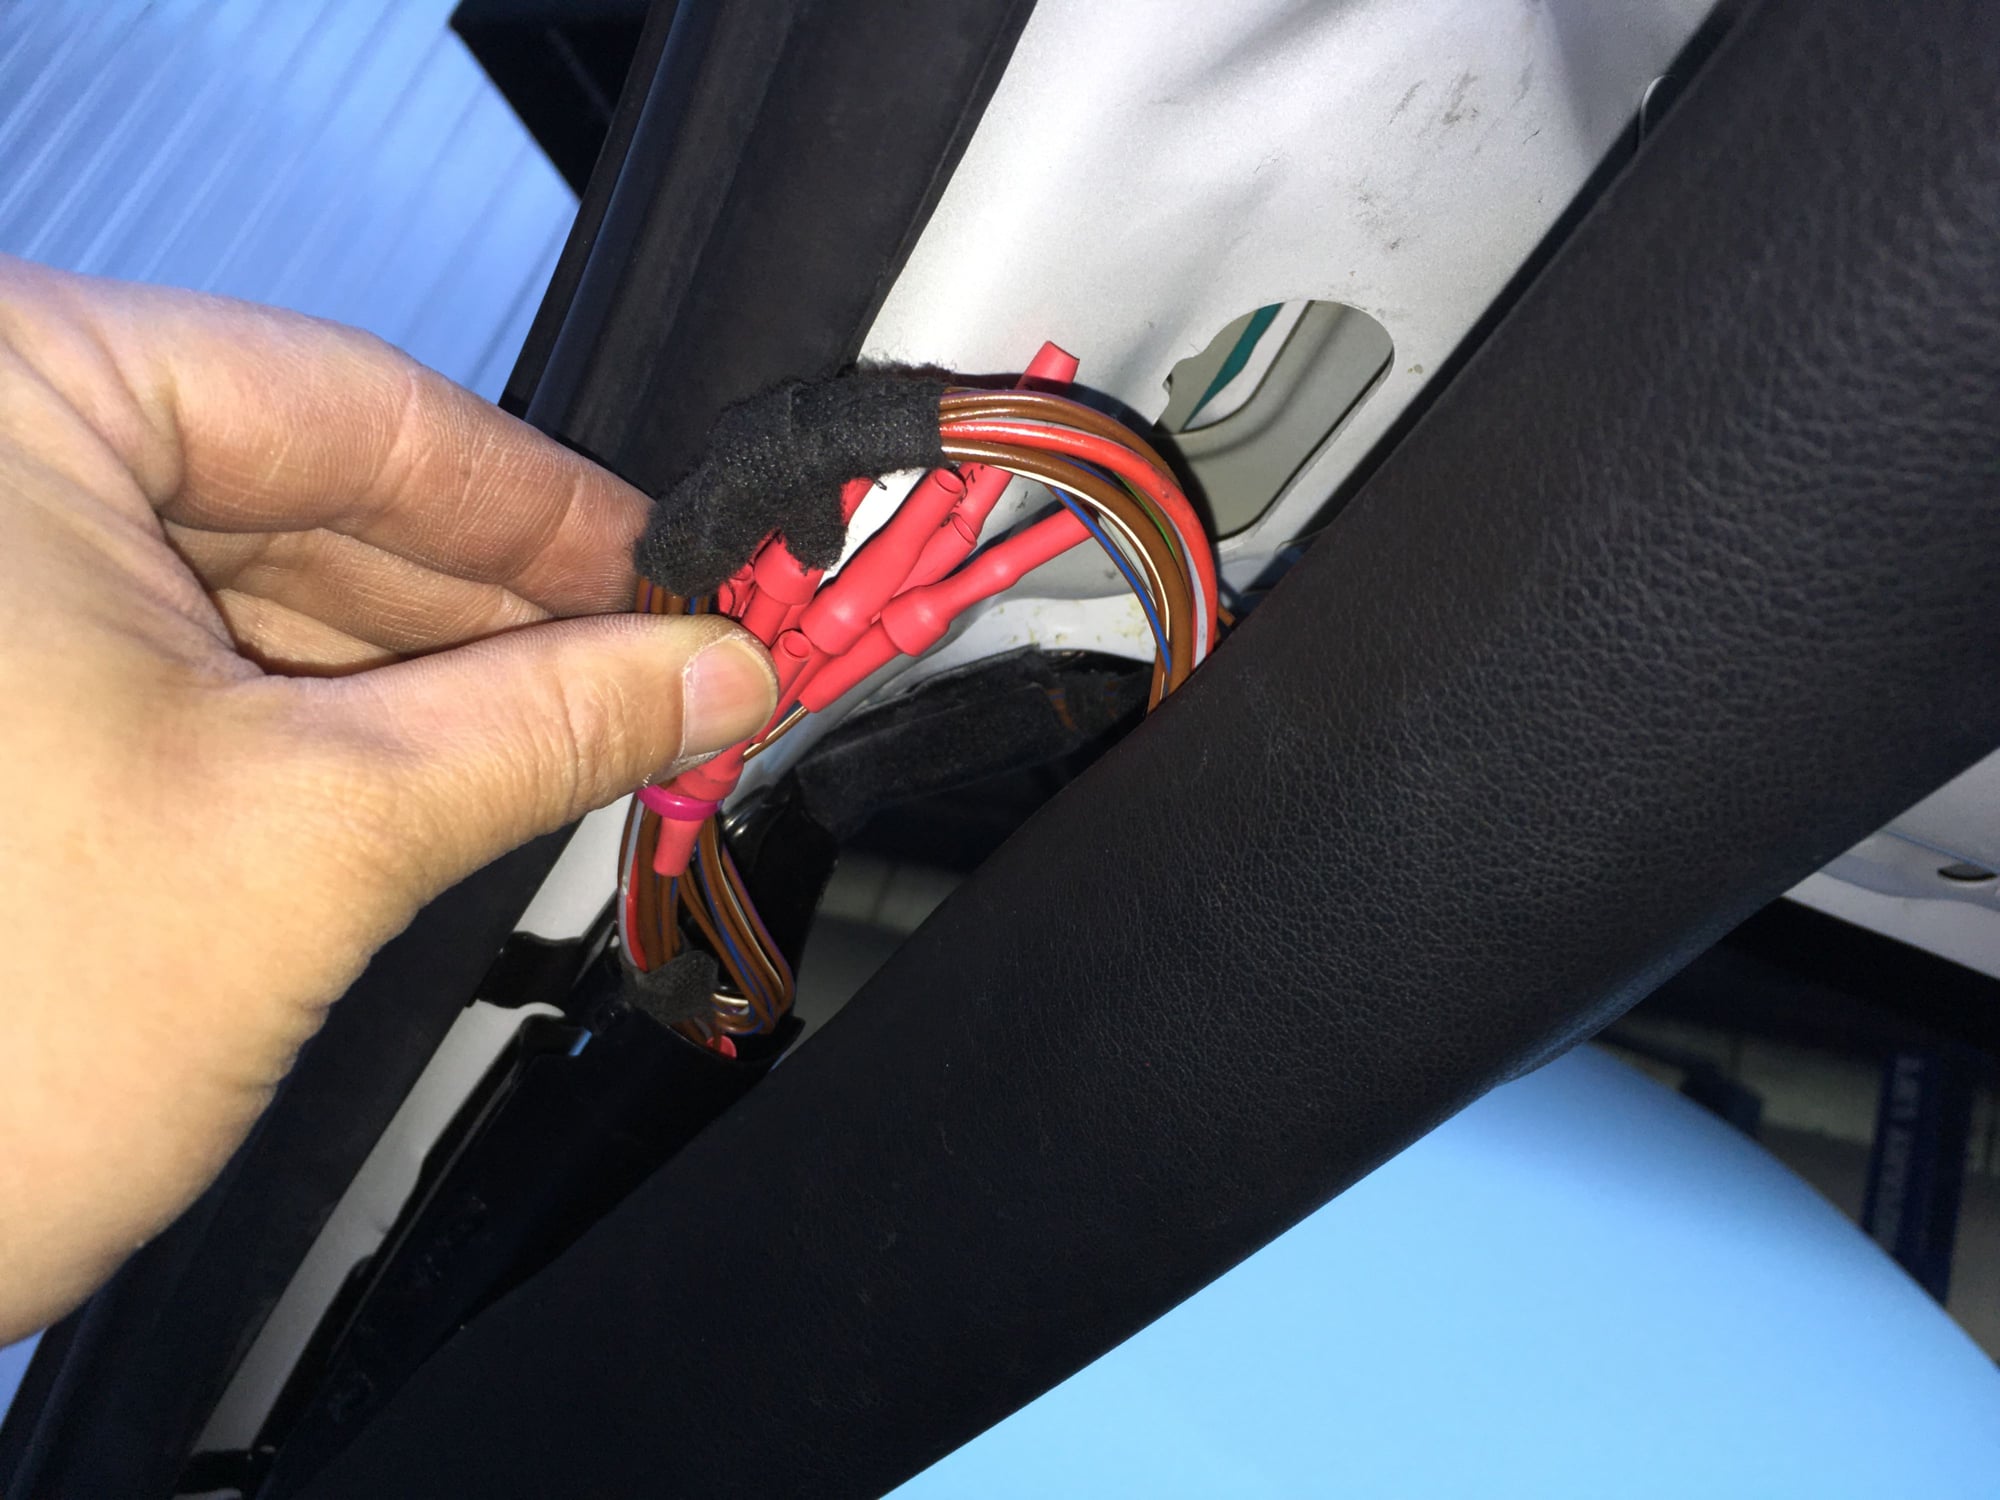
Somewhere on my Things To Do list is "conceal wiring from sunroof and headliner delete". Here's that...


 06-02-2019, 10:09 PM