When you click on links to various merchants on this site and make a purchase, this can result in this site earning a commission. Affiliate programs and affiliations include, but are not limited to, the eBay Partner Network.
Interesting thing happened yesterday and today. the M5 battery died. I have an E39 LMB M5 with about 60k on it. 2001 model. I rarely drive it and have replaced tires and batteries in the last 4 years. Well yesterday I was going to take the alternator to get checked and tried to fire up the old BMW and it was dead. I put a slow charge on it for about 6 hours and she was good as new. I am seriously considering selling the M5. So this morning when I was going to start work on the C2S the battery was dead in it. So I have never had to use the prescribed method of opening my frunk from the fuse box but this was a good opportunity. So I hooked up the charger hot cable to the fuse and the negative to the door hinge and voila! frunk popped right open. So I put my tender back on it and off we go. Since I can't drive two cars (not including the Cayenne S) I really need to get rid of one. So I will button the engine back up today and tonight if possible roll the engine/tranny under the car. I have all my parts now so hopefully a startup by the weekend.
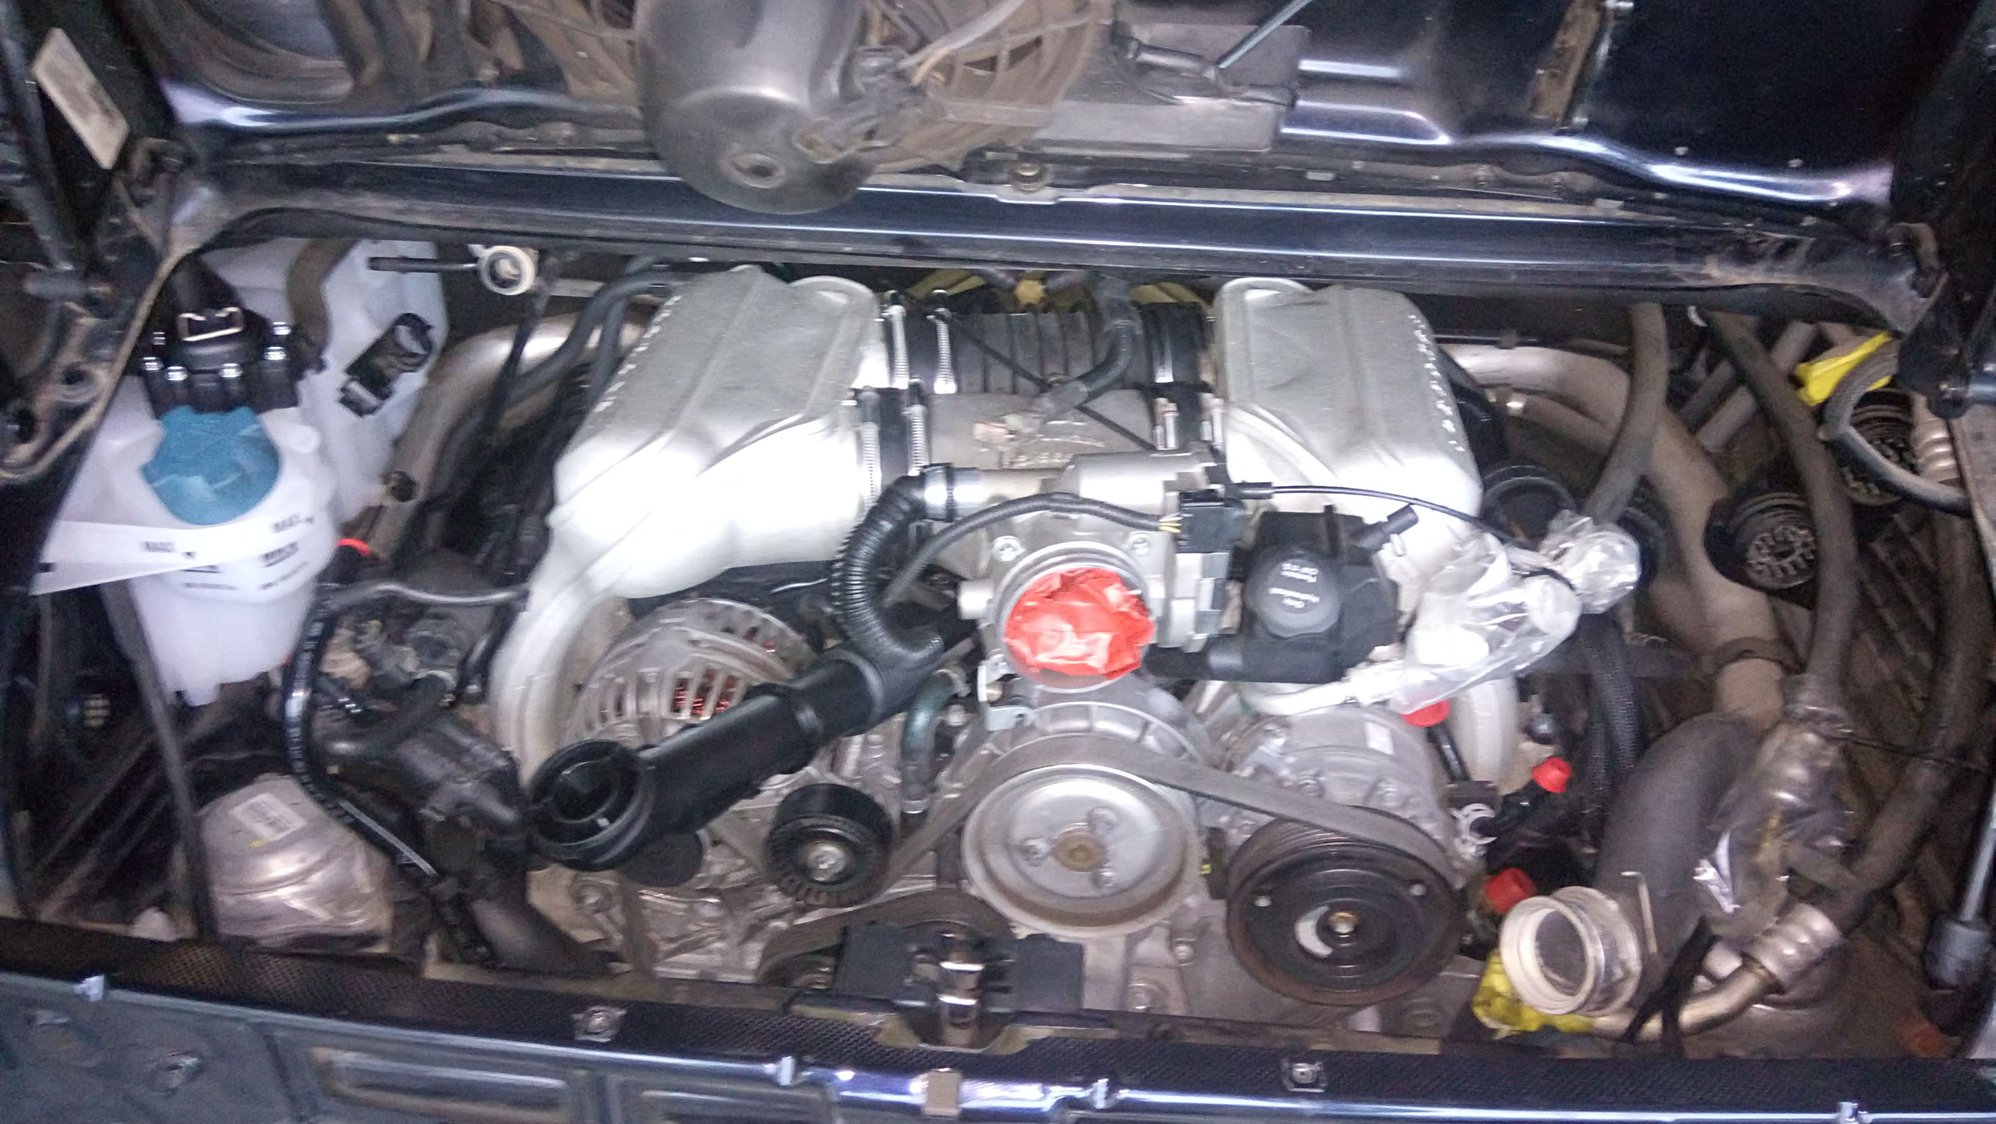
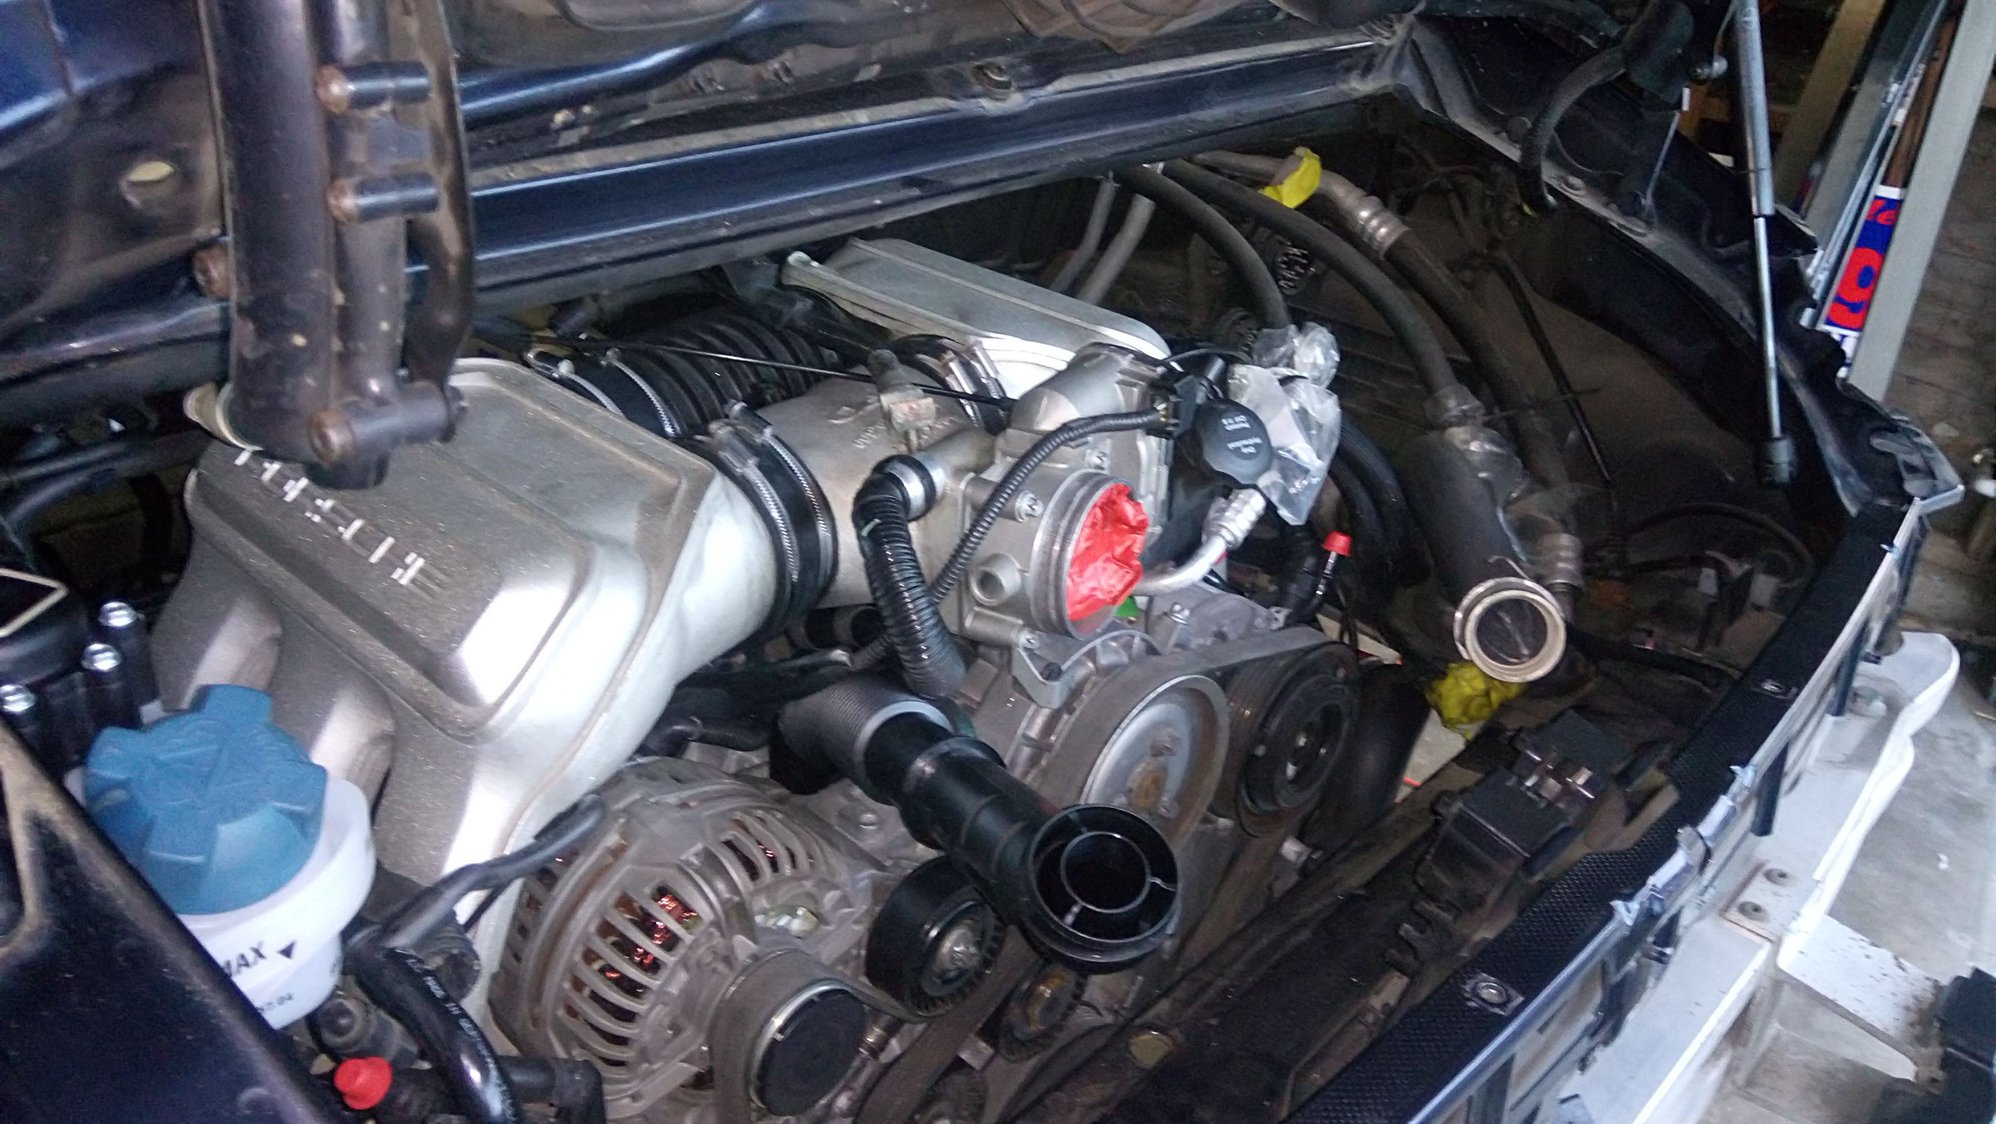
Well I put the starter, alternator and the IPD Plenum back on the engine. I also replaced the oil filler tube. One small problem though. This bolt looks to have been stripped by me. It just keeps turning. Am I looking at getting a new IPD plenum now? That would really be not good.
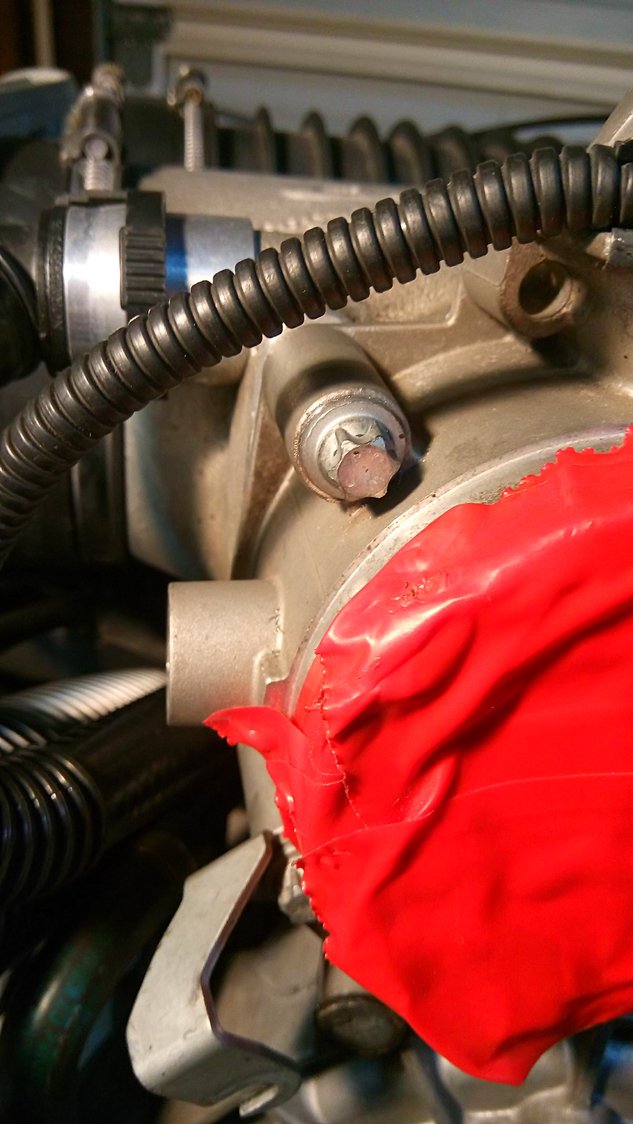
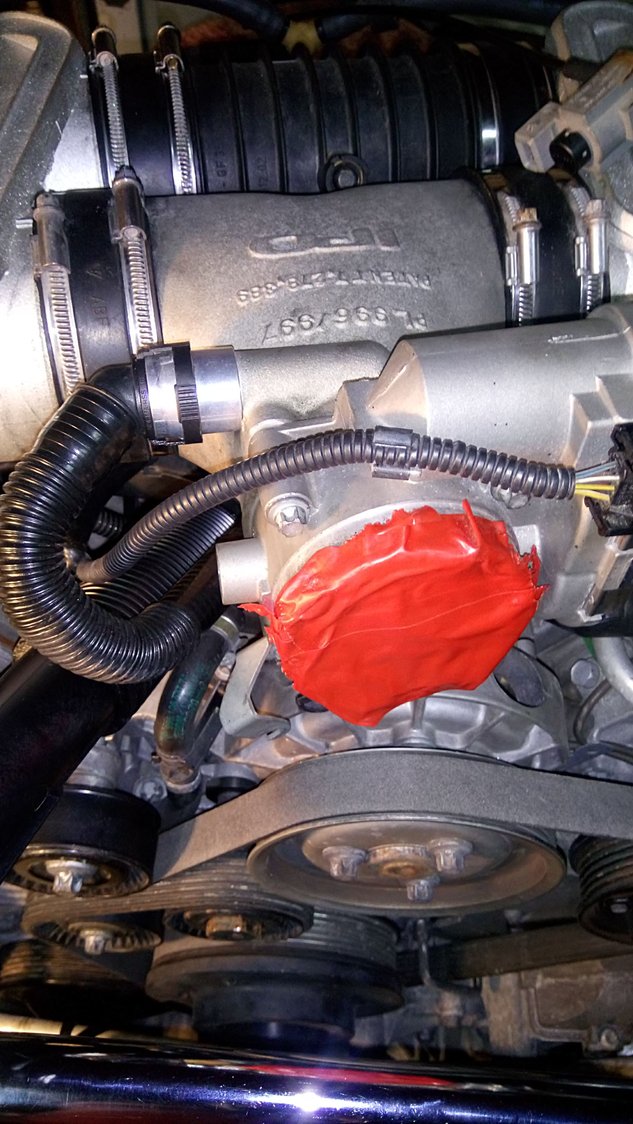
This bolt appears to have been stripped. Now what do I do? ?
The bolt attaches the throttle body to the IPD plenum. I don't know how far the stripping is.
Anyone think it will be ok as it is snug but not torqued? Am I looking at a helicoil type repair. Geesh just when I was getting ready to install the engine.
I think it needs to be fixed. You don't want an air leak here upstream of the MAF, but if there's enough meat around the stripped hole, I don't see why a helicoil type repair wouldn't work. The bolt probably doesn't need to hold a lot of torque, just be snug so the o-ring can seal between the two plenum and throttlebody.
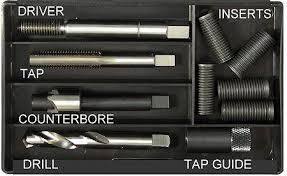
I stripped my motor mounts out on my 930 and used Time Certs to fix it...
Everything you need comes in the package and was easy to fix the threads correctly.
I love threads like this. Encouragement from The Valley!
Sometimes it can be one step forward, two steps back. Dont feel bad about the stripped bolt. When I did the clutch on my Testarossa, I stripped the bell housing bolt that threads into the starter on the back side. Funny thing was my starter was starting to die......so sourced the Bosch part and was up and running for $250.
In your situation, the bolt is easy to get to. I would back it out and find a longer bolt or call IPD and find out if they have one. But I wouldnt let it stall you out. Keep working as you can replace/fix later.
Thanks Captain. The bolt isn't stuck in the screw hole. The screw hole is stripped. The tightening didn't go into the hole straight. So stripped the threads. The screw is long but it only goes into the plenum about 1/2 inch or less. I'll put the helicoil in and go from there.
A helicoil is a possible solution. Another is to clean the hole and fill it with metal putty. When hardened, drill and tap and you are good to go.
This should not prevent you from installing the engine as access is good via the lid.
So I was able to do the helicoil to fix the threads in one of the IPD Plenum fasteners. I did have a hard time getting the tool out after I had put the helicoil in. I actually broke off the section on the tool where you latch onto the helicoil and twist it into the hole. Well this took about an hour to get the small piece of metal out of the new threaded hole. The helicoil I have used in the past but don't know why the tool would not come out. Well I finally got it out and the threads looked ok. It didn't screw in easy though.
Enlarge to see threads.
So this was somewhat of a success so I put my airbox on just to see how things fit and the new oil filler tube I just bought was to short. So I crossed reference the part number and I had bough the one for an X51 engine (which is shorter than the standard one). So I dread having to now take the alternator back off to remove and install the new oil filter tube.
This is the part number for the oil filler tube. Be careful as this tube is longer than the one for X51 engines.
Happy Veterans Day to all Vets and my dear departed Brother who was a Lt.
So I received a bunch of bolts and screws. I had to remove the oil filler again as it was the wrong one. In order to do that I had to remove the alternator again (third time, I am now an expert )
It went in quite easy this time. I did have a problem with the tensioner and getting the belt back on. I turned the tensioner clockwise but instead of it moving to the left to release tension on the belt, it seemed like it was being tightened. I was able to get the belt back on but it was by rotating the crank and having the belt settle onto the ridges. I think I may have to have the tensioner looked at later.
I then had to go back to the store and purchase a 1000 lb. hydraulic cart as the 500 lb one I have wasn't enough to comfortably lift the engine and tranny which weighs more than 500 lbs together. This cart made it a bit safer to handle the lift of the engine.
With the engine and tip tranny now on the new cart, I rolled it under the car and began to test fit it. It is a delicate dance but I got it within 3 inches or so from being able to bolt on the M12 nuts to the engine mount. Then I saw where I need to connect some of the hoses before hoisting it all the way up. So I will drop it back down and try again tomorrow. However there is a hose off the transmission that I have not found yet. I can almost feel the engine start Any tips from those who have attempted this raise please don't hesitate.
Test fit
Test Fit
Coming close!
Maybe a tip; the 8 clamps on the plenums. If you turn the clamps around you will be able to get them loose, the clamp position you have now will make it impossible to get them loose as the clamp screws are at the back. Easy fix.

 11-06-2016, 03:53 PM


 )
) Any tips from those who have attempted this raise please don't hesitate.