When you click on links to various merchants on this site and make a purchase, this can result in this site earning a commission. Affiliate programs and affiliations include, but are not limited to, the eBay Partner Network.
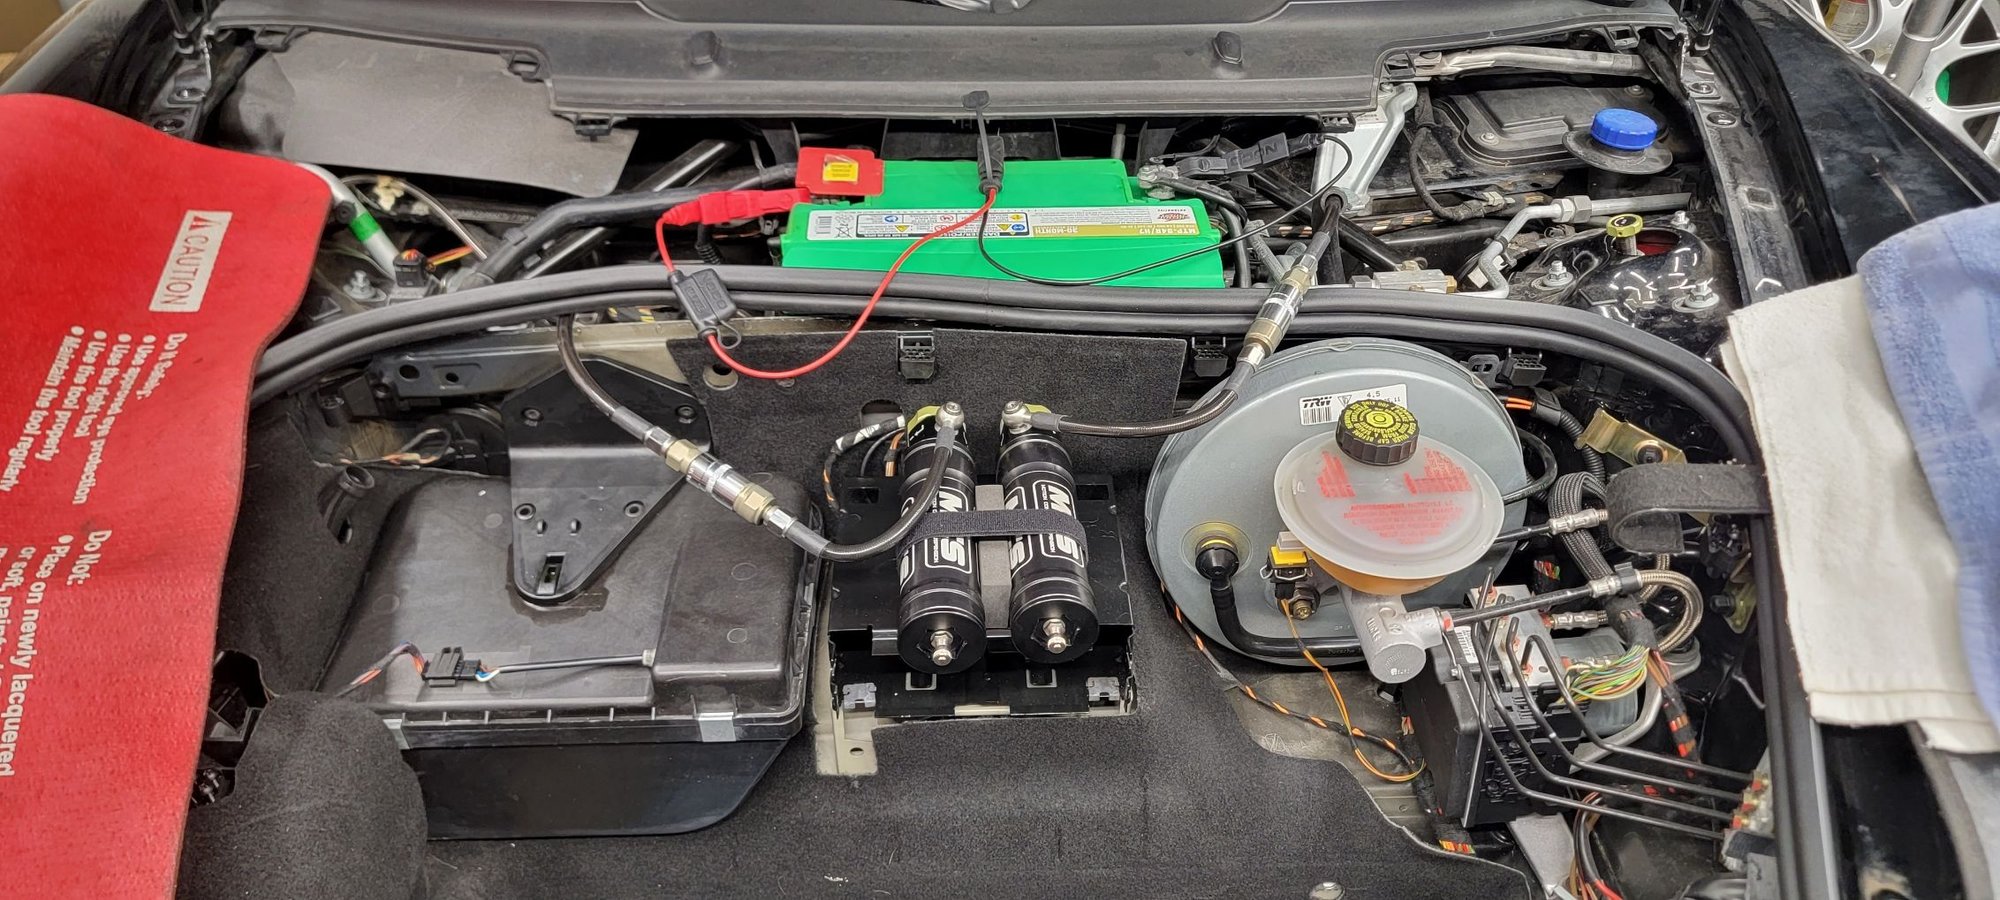
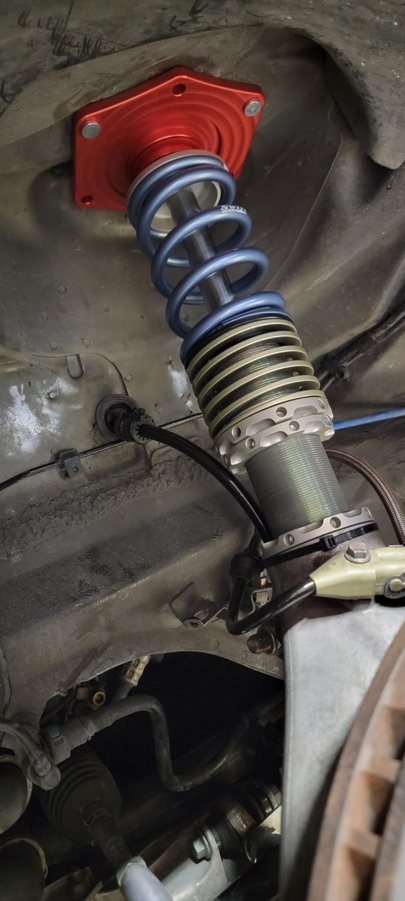
06 997S 4.0L. I've been working on installing my new coil overs, MCS 2-way adjustable (RM) shocks, Swift 450/650 springs & Tarett tops, over the last few weeks. I've had more than a few interruptions, like Rennsport Reunion, but I plan to complete right height adjustment & alignment this weekend.
Rennsport Reunion was a great resource for remote reservoir location & mounting options. The rear reservoir hose routing & location are easy. For the front hose, I've used existing holes in the wheel well, & will drill holes in the front bulkhead under the pinch weld.
Also, I found some nice looking reservoir brackets, that cost less than an appendage, that have just arrived.
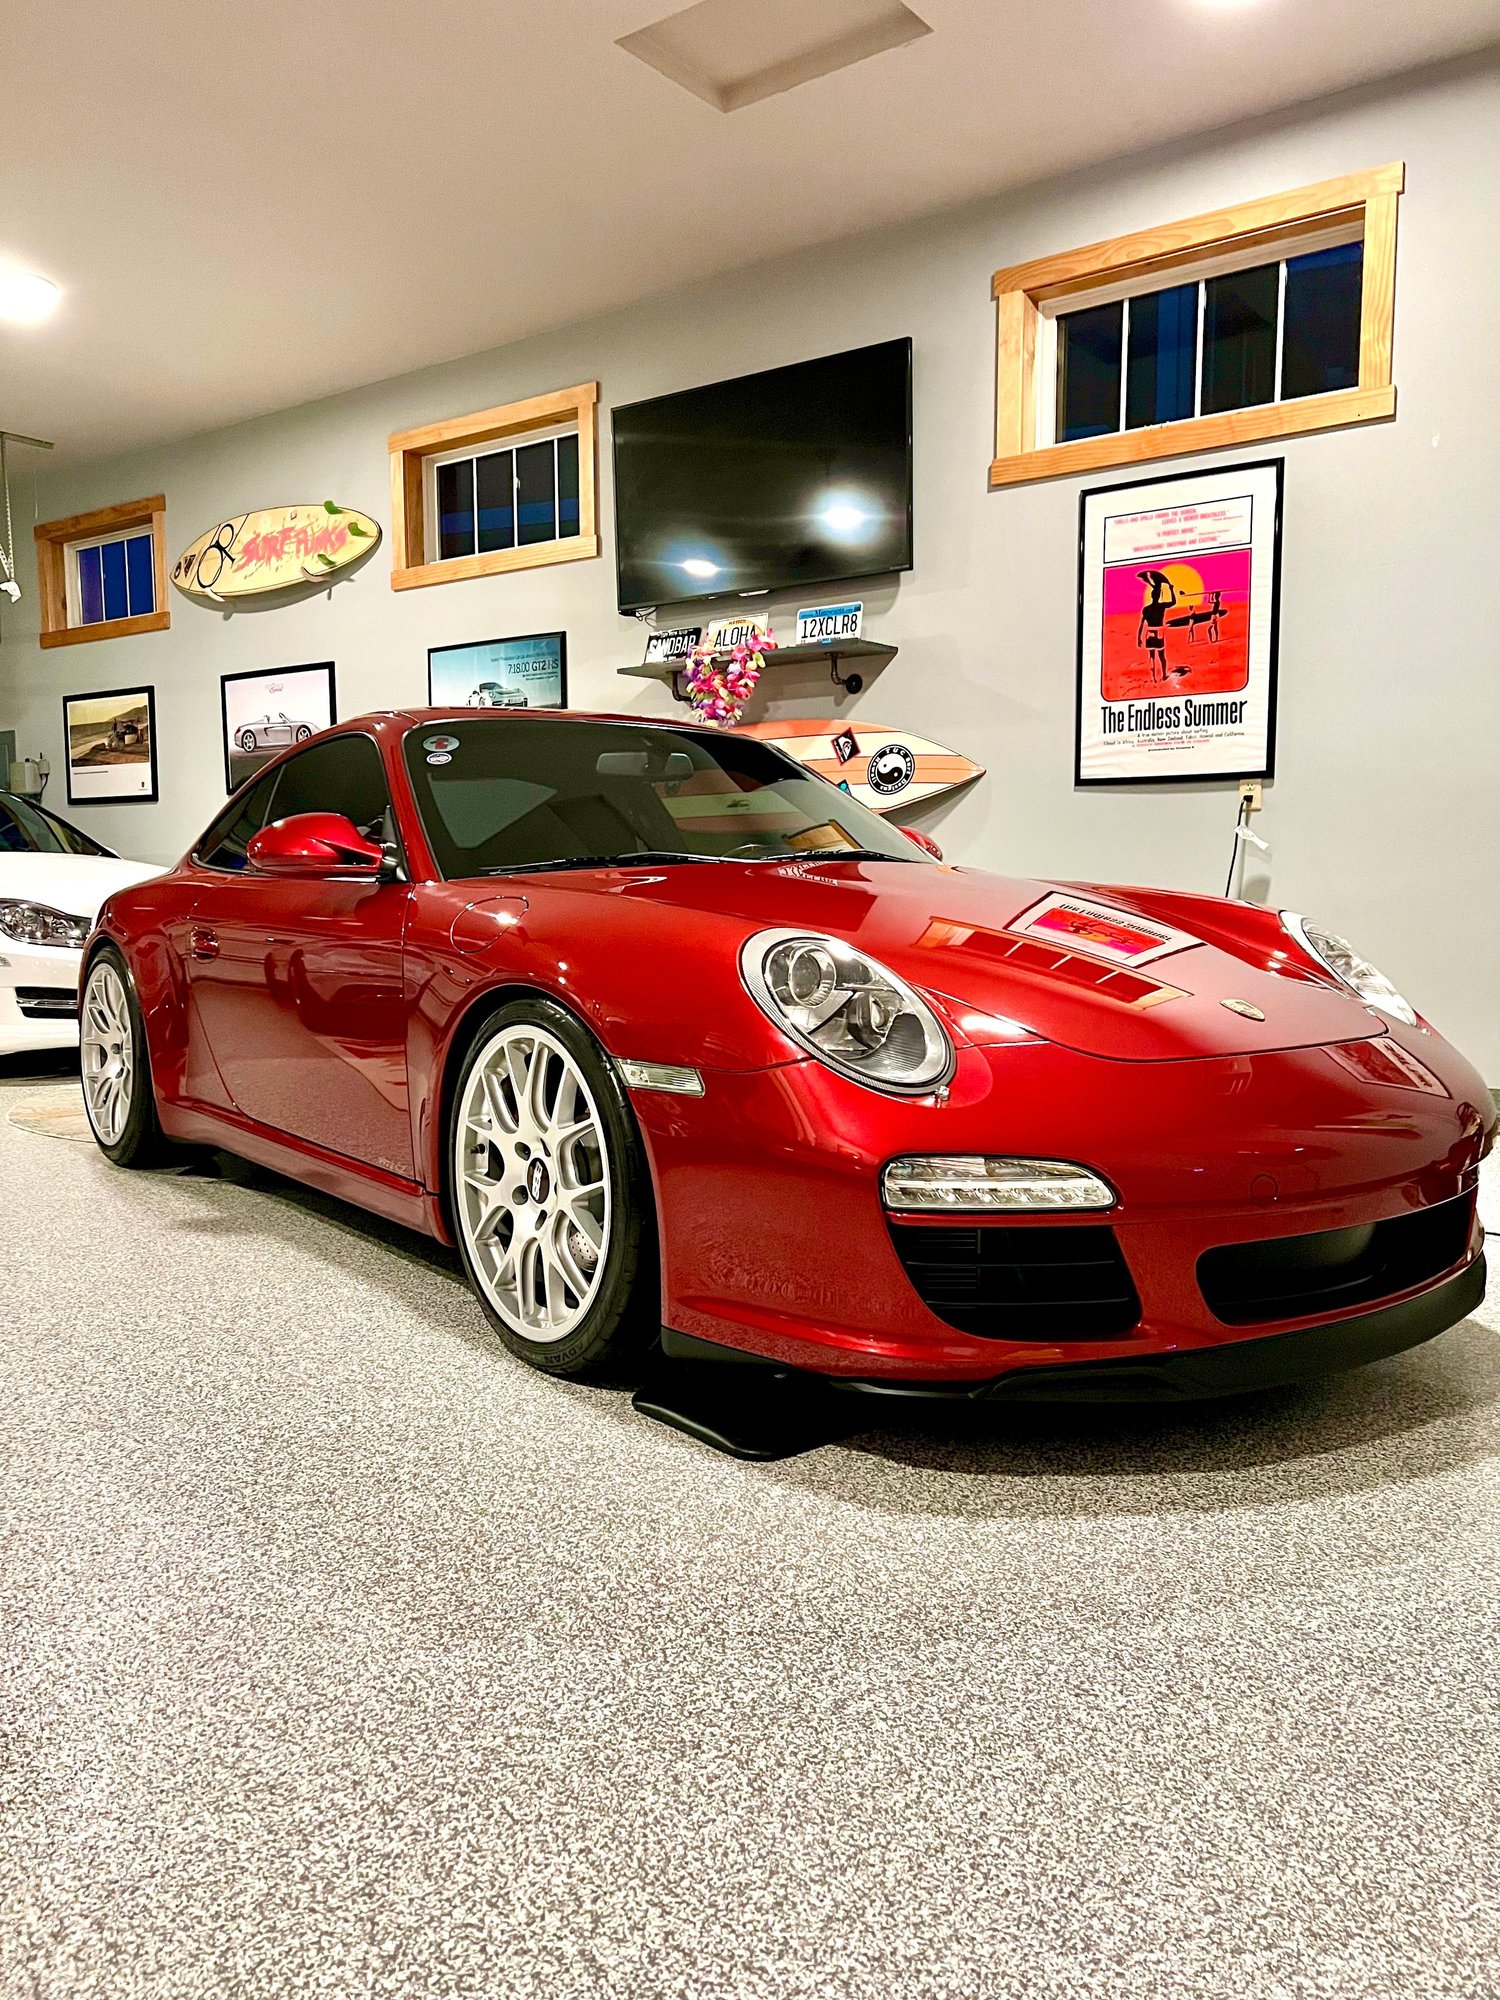
Had the CH-R�s powder coated bright metallic gloss silver.. they were matte dark gray, not my thing and BBS�s finishes kinda suck and the barrels were black..anyway the barrels are now as glossy as the outside spokes and much easier to clean..
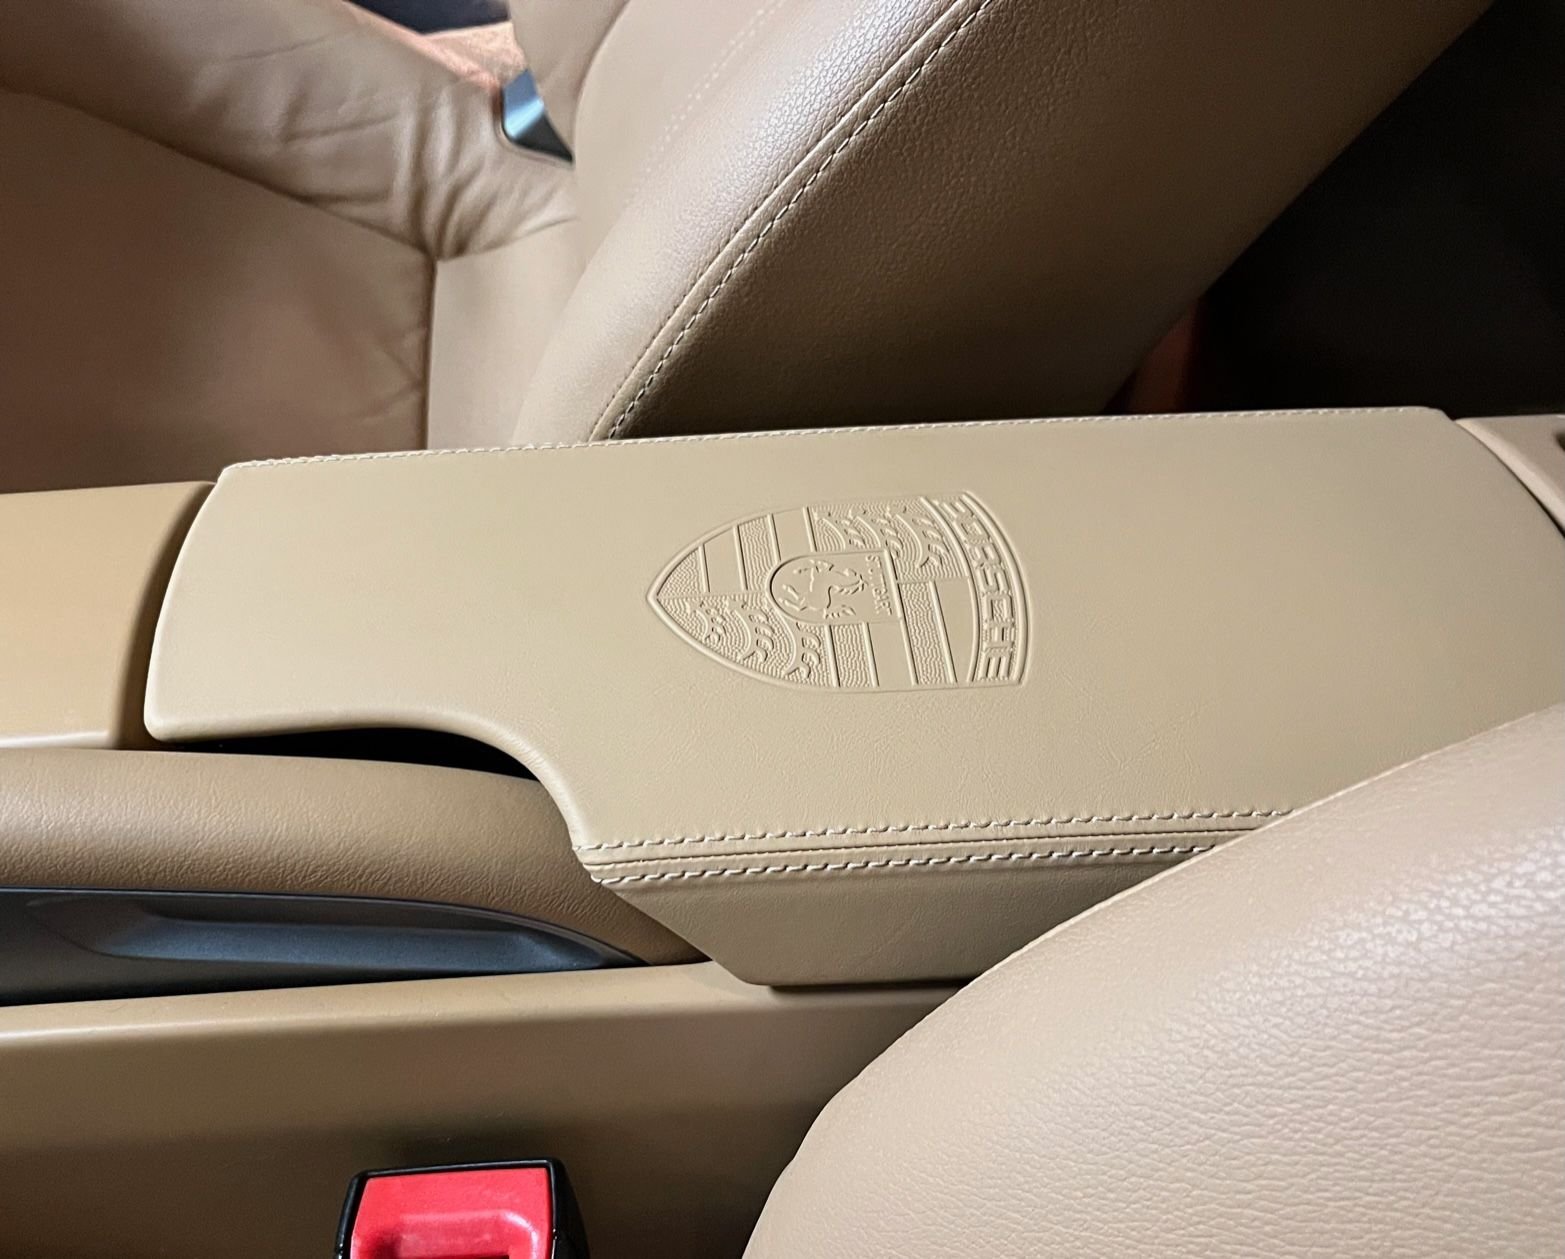
Couple of items. The first, which I did a few weeks ago and forgot to post, was replacing the original center console lid with an upgraded version with the Porsche crest. Second, took my car in for an oil change and the technician found a steering gear leak and recommended replacing the rack and pinion. Luckily the extended warranty covered it and a new unit was installed plus an alignment. Got the car back yesterday and it is driving great.
Fixed the floppy inner door handle on the wife's 997.
Floppy inner door handle replacement today.
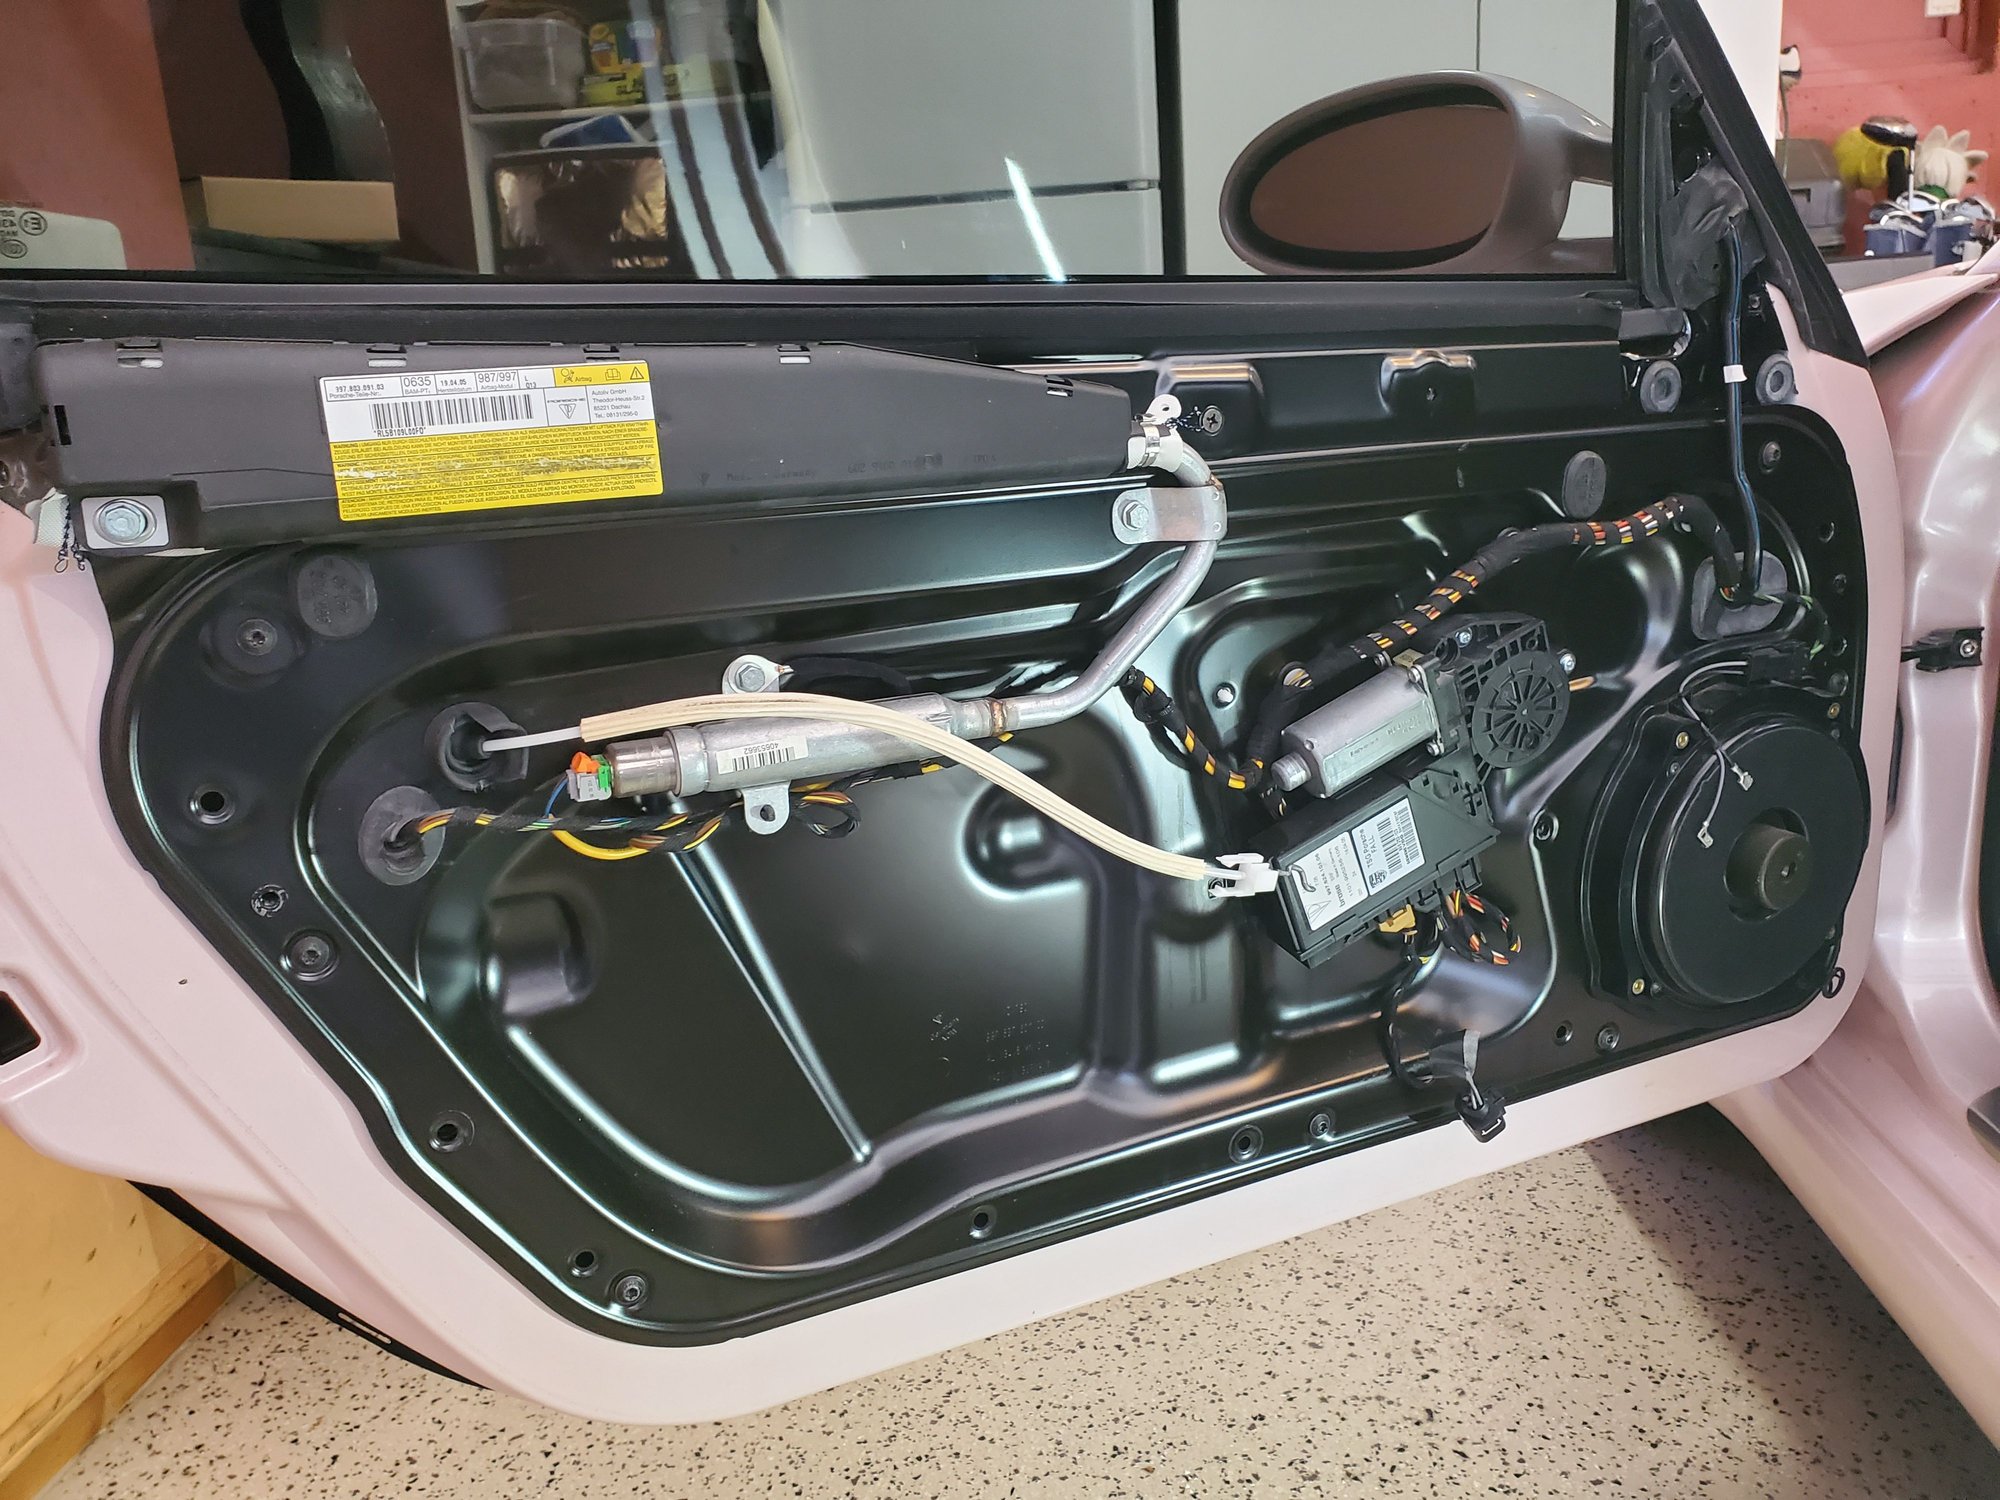
5 fasteners to pop the door panel loose, 3 electrical plugs, then three screws to remove the handle assembly from the back of the door panel.
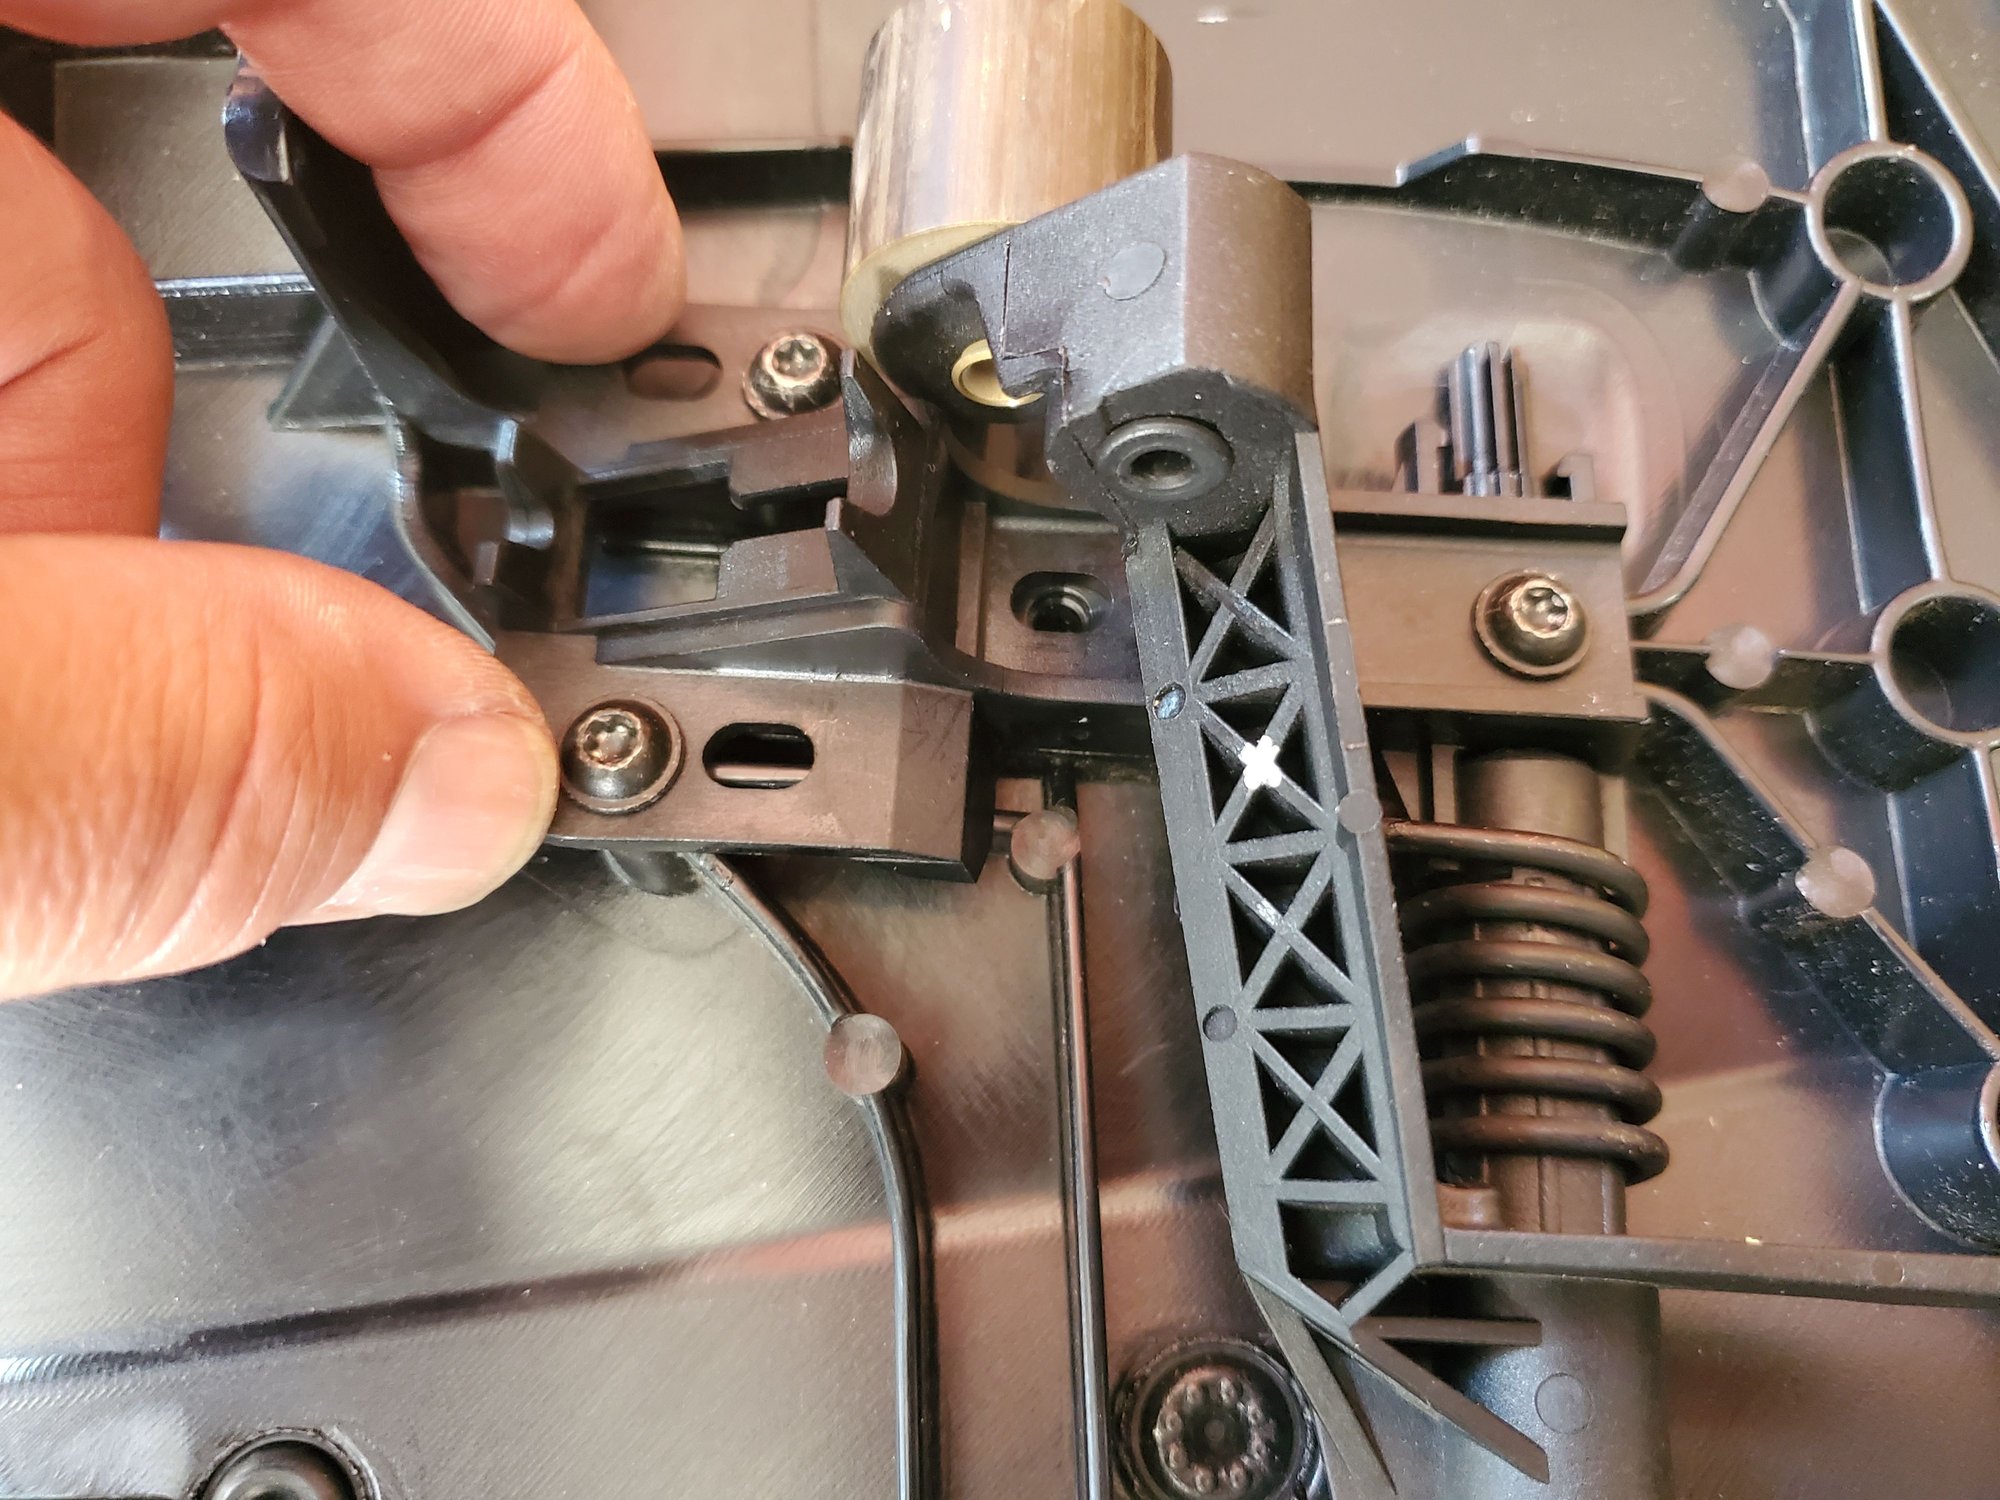
What fails is the plastic tab that reatains the post spring allowing the plastic to flex and the spring to get past the retaining tab.
I've down 3 or 4 of these over my 13 years of 997 ownership.
The new part has a different cable attachment method so I take the new handle apart and mate the old handle post assembly with the new attachment and spring retainer piece and that way you don't have to swap to the newer release cable type so all work is done in front of the inner door panel skin.
The 3 screws that hold the handle to the back of the door have adjustment slots in them and the step most people forget during this job is to refit the inner door handle and get the positioning right where the inner handle resides in the door spear. There's a pin molded into the back of the inner door handle that mates with a microswich behind the door spear - if those don't line up then the window will stay dropped and not go all the way up. Fit the handle while the door panel is still out of the car, then tighten the 3 screws that hold the door handle post assembly to the back of the door panel, then remove the handle for installation (one of the fasteners is behind the small round cap in the door spear behind the door handle. If you don't do this, you'll be taking the door panel off again to loosen and adjust those 3 screws again.
Broken one on the right - see how it doesn't stay closed Door panel removed Refit this handle .... ...and tighten these 3 screws before reinstalling the door panel Here's the molded in post that mates with the microswich
Hi Petza914, I need to get my door panels off to get rid of a tiny vibration. Can you please circle the areas in your door photo without the panel to show where you need to pry to get it off? Thanks
Originally Posted by Petza914
Fixed the floppy inner door handle on the wife's 997.
Floppy inner door handle replacement today.
5 fasteners to pop the door panel loose, 3 electrical plugs, then three screws to remove the handle assembly from the back of the door panel.
What fails is the plastic tab that reatains the post spring allowing the plastic to flex and the spring to get past the retaining tab.
I've down 3 or 4 of these over my 13 years of 997 ownership.
The new part has a different cable attachment method so I take the new handle apart and mate the old handle post assembly with the new attachment and spring retainer piece and that way you don't have to swap to the newer release cable type so all work is done in front of the inner door panel skin.
The 3 screws that hold the handle to the back of the door have adjustment slots in them and the step most people forget during this job is to refit the inner door handle and get the positioning right where the inner handle resides in the door spear. There's a pin molded into the back of the inner door handle that mates with a microswich behind the door spear - if those don't line up then the window will stay dropped and not go all the way up. Fit the handle while the door panel is still out of the car, then tighten the 3 screws that hold the door handle post assembly to the back of the door panel, then remove the handle for installation (one of the fasteners is behind the small round cap in the door spear behind the door handle. If you don't do this, you'll be taking the door panel off again to loosen and adjust those 3 screws again.
Broken one on the right - see how it doesn't stay closed Door panel removed Refit this handle .... ...and tighten these 3 screws before reinstalling the door panel Here's the molded in post that mates with the microswich
Hi Petza914, I need to get my door panels off to get rid of a tiny vibration. Can you please circle the areas in your door photo without the panel to show where you need to pry to get it off? Thanks
This will help. The 5.main fasteners are where the #s are.
Pop the door cap off at #1 on the end of the door
Behind the silver door handle (once you've removed that with the torx screw in the end) push the small round plastic cap at 6 o'clock and the top should pop out so you can remove it
Remove the piece of plastic trim at #3 and it's inside there
At the top of #4 once you get the mirror triangle off. The top corner of that slides down onto the fastener so don't pry it out at the top. Pop the bottom out by prying it off gently, then slide the whole triangle up to free the top.
Where the compartment lid closes flip it up and pop that section of the piece that goes through the handle up,just where it mates to the compartment lid. It will flex up and thee rest of it will stay attached. This pic shows the front trim of the vertical ha dle removed, but don't take that off - it attaches behind the door panel (these were panels I sold).
the panel will still be attached and the fasteners are strong. Start pulling and working your way around the door. The bottom corner by the speaker is the hardest - when it releases, you'll think you broke it, but you didn't.
Then remove the electrical connectors - you will have already done the mirror control one. The theres the one with the orange flip arm on it. Need to get the end loose and it will pivot - when it pivots it will come apart. The the small black one just squeeze the end and it comes apart. Now you're holding the door panel and it's.connected by the door handle cable. Spread the two white clip ends apart and slide it out, the pivot the metal S end up and slide it out of the door handle hole.
Had the CH-R’s powder coated bright metallic gloss silver.. they were matte dark gray, not my thing and BBS’s finishes kinda suck and the barrels were black..anyway the barrels are now as glossy as the outside spokes and much easier to clean..
Those look GREAT. I'm in your boat in terms of preferring the silver...really nicely done.
Those look GREAT. I'm in your boat...really nicely done.
Thanks!! It was worth the money vs buying and waiting for new� 179.00/per and 27.00x4 balanced/tire installation
plus powder coating is much more durable..
Thanks!! It was worth the money vs buying and waiting for new� 179.00/per and 27.00x4 balanced/tire installation
plus powder coating is much more durable..
Agreed. Really good choice, and it makes the whole car "pop" even more.
It looks great! I like seeing before and after of a good refresh. I also like your garage of what I�ve seen in the background. I like the combination of exposed poured concrete walls and finished walls.
Originally Posted by Body In White
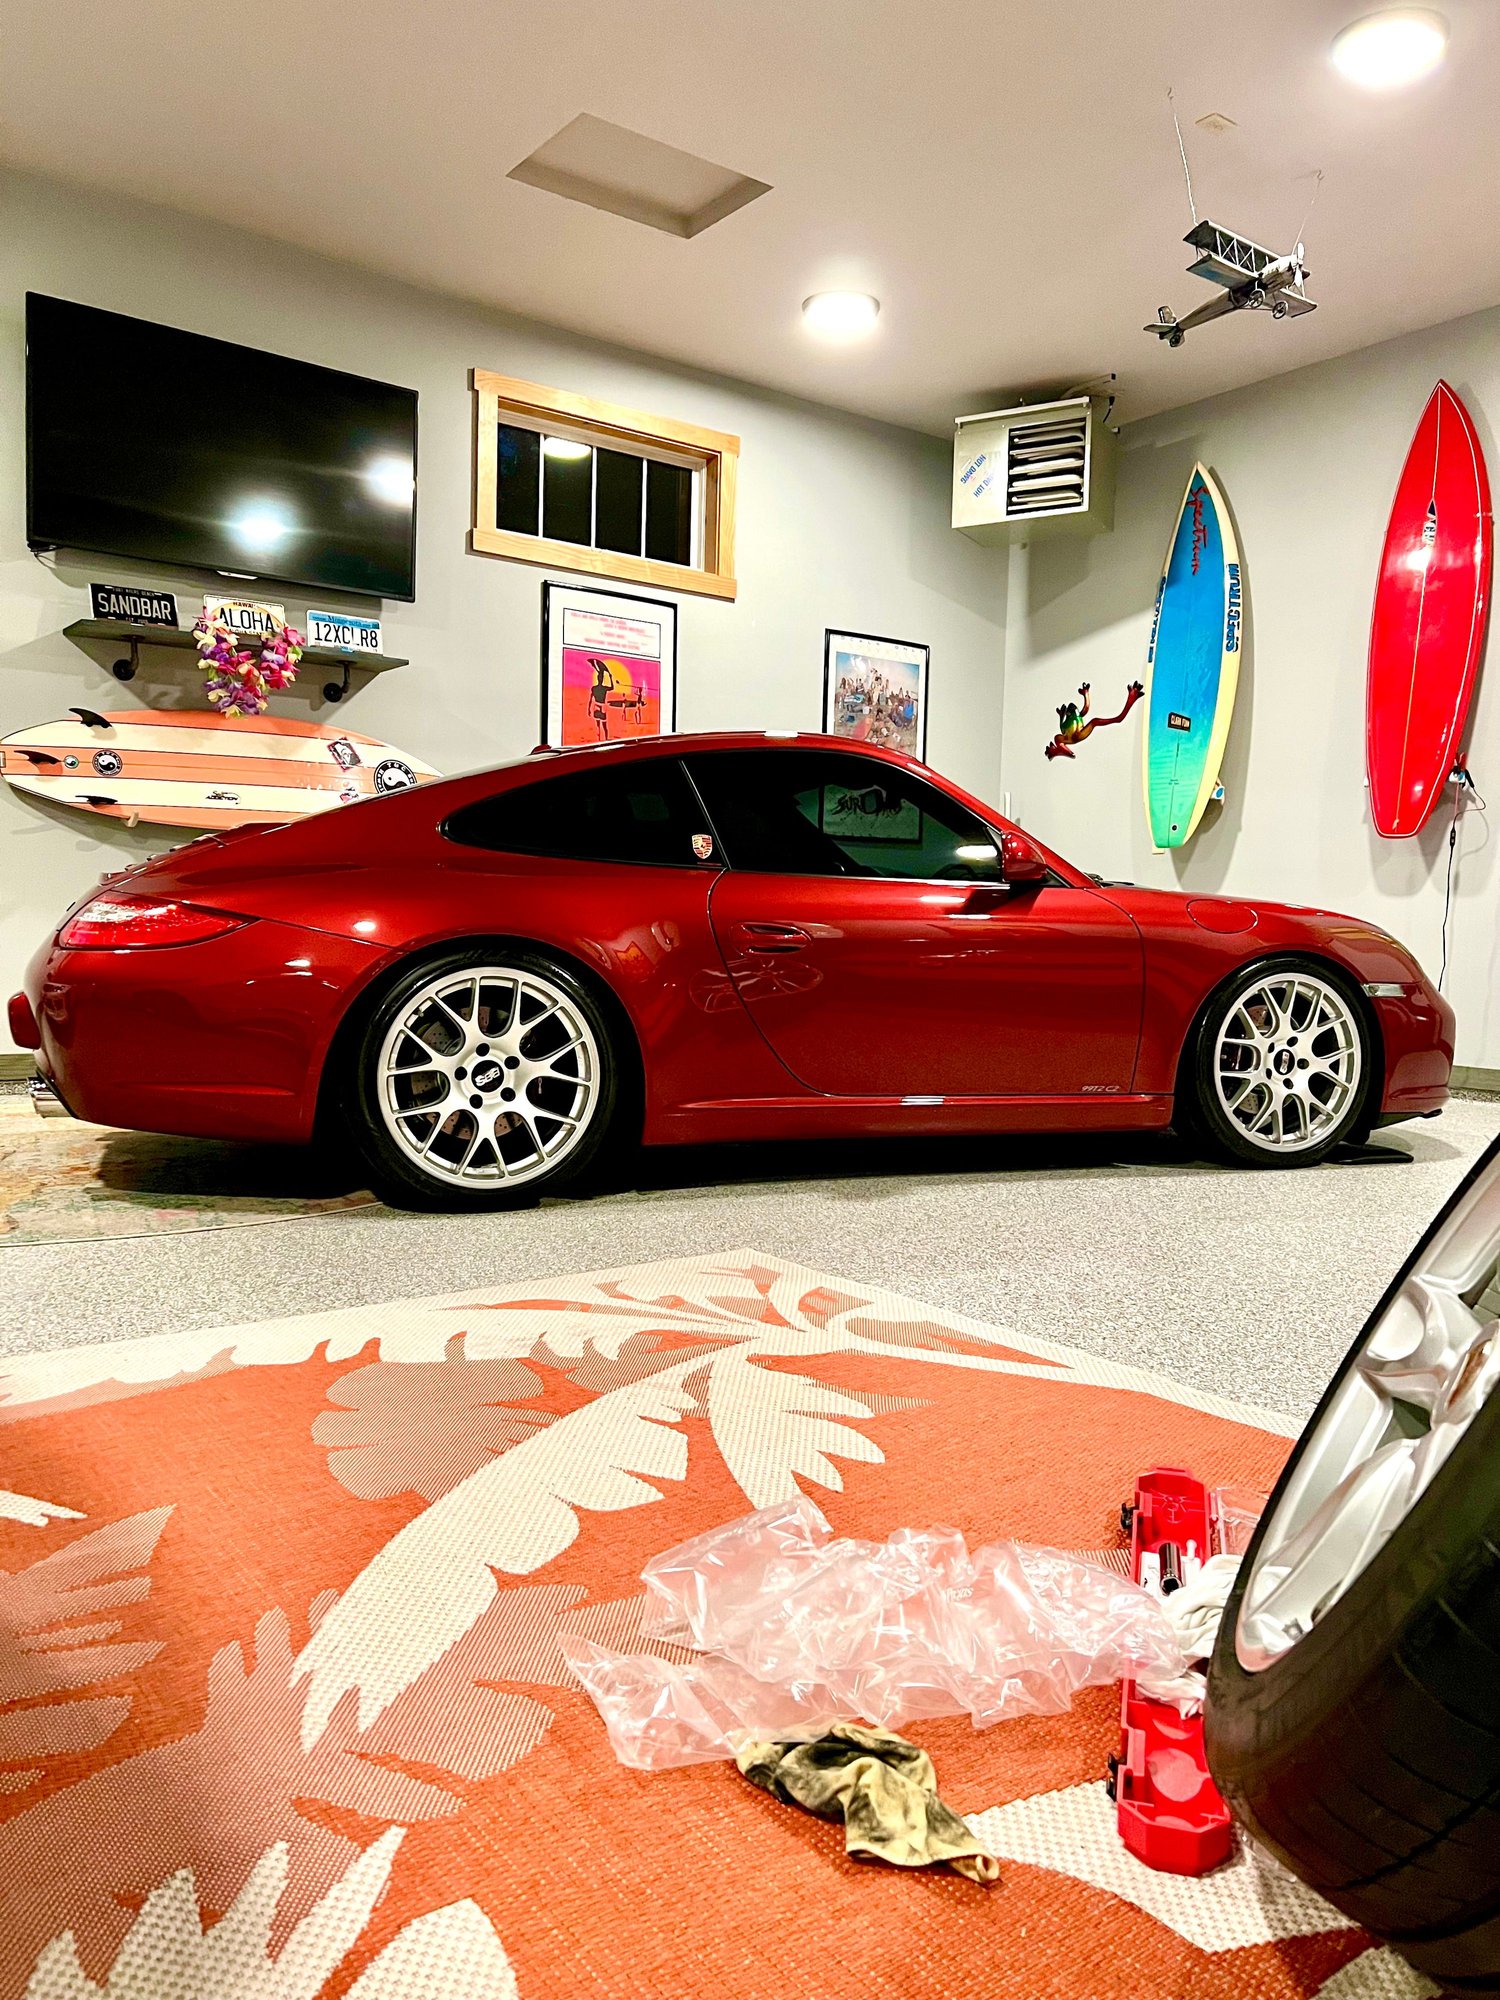
I�ve had my 997 GTS for 12 years. When I first got it, it was my daily driver. As my stable grew, it began to get driven less and less. I thought about replacing it with a GTS that has collector-level miles, but after 2 years of searching, I wasn�t able to find one with the right options/mileage. Instead I decided to do a mini-refresh on the car and be happy with the one I�ve got.
It took a couple weeks, but I just finished up
Exterior
- Removed PPF
- Paint correction
- New PPF
- Ceramic Coating
- Replaced front wheel fender liners
- Replaced side skirts
- Replaced black plastic bumper skirts behind rear wheels
- Refinished the front lip
- Reconditioned all the front trunk plastics, ceramic coated them
Wheels/Tires
- Refinished the wheels
- New Michelin Sport Cup 2�s
- New Tire pressure monitoring sensors
- New Center Lock Nuts
- New Porsche crest center lock caps
Interior
- Polished and ceramic coated Sport bucket seat CF backs
- Polished and ceramic coated CF console and dash trim
- Replaced Alcantara steering wheel with a new leather wheel
- Cleaned Alcantara steering wheel for storage
- True rear seat delete, GT3 rear carpet, interior quarter panels & seat belt covers
- New Floor mats :-)
It looks great! I like seeing before and after of a good refresh. I also like your garage of what I�ve seen in the background. I like the combination of exposed poured concrete walls and finished walls.
walls are all drywall except the staircase going down to the basement� 40x30� at longest/widest point, the wall color is Marina gray, 12� ceilings w/ staircase that�s a 24� hole. Surfboards/Porsche main theme. Most of the boards are 1988 and older to a 1963. Nasty addicting hobby� 😂


 10-20-2023 | 04:25 PM