When you click on links to various merchants on this site and make a purchase, this can result in this site earning a commission. Affiliate programs and affiliations include, but are not limited to, the eBay Partner Network.
51north please give me more details on how you did this
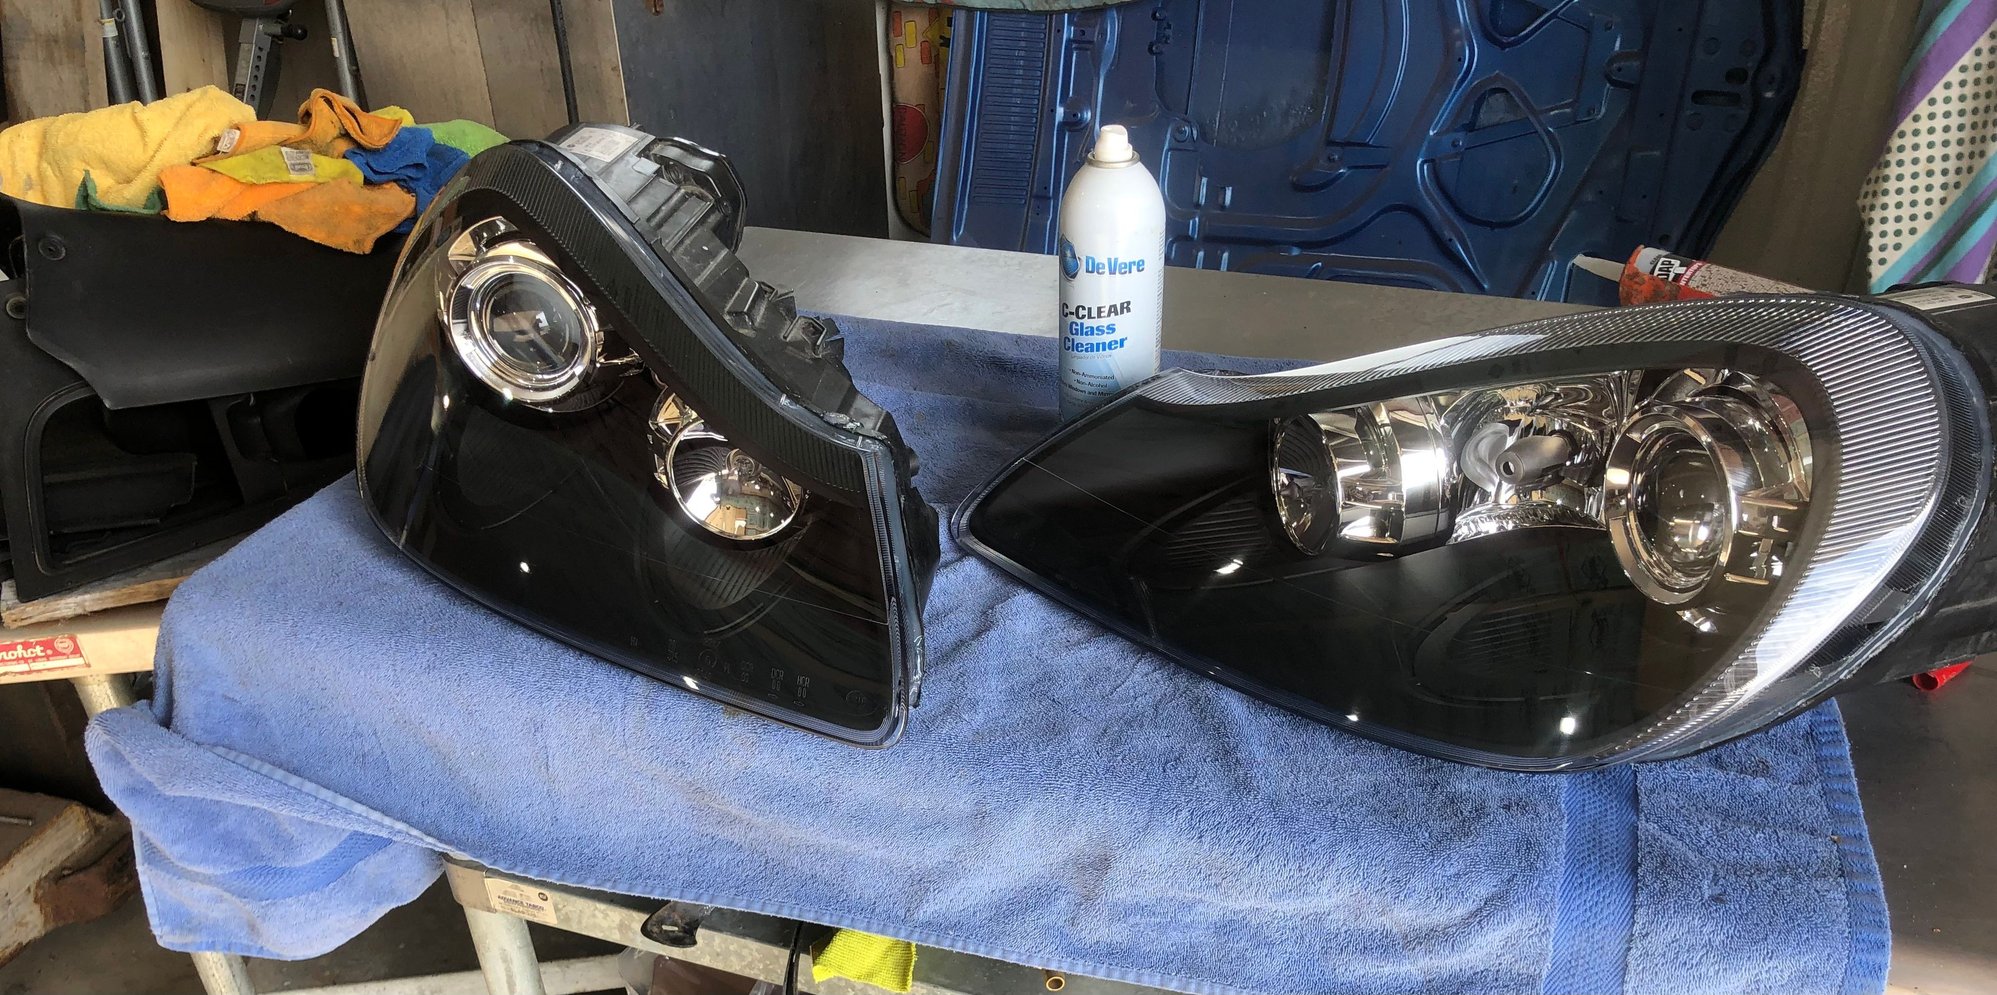
The lenses are available on eBay. The lens is bonded to the housing with some type of butyl sealant similar to how a windshield is installed. you need to go around the outside as best you can with different types of razor blade tools until you find one that works best. small hook shaped pics work pretty well also, you�re just trying to free up as much of the sealant as you can. Then take small flat screwdrivers or other small pry tools and start freeing the lens up. This works best from the top portion as there is a small hook thing at the bottom that can break but you don�t really care on the old one if you�re replacing them. You can be pretty rough with this process and you�ll quickly find the limit of the black plastic headlight housing itself, don�t get too excited if you deform it or even crack a little bit, but try not to do a lot of damage. you can reshape it with some heat afterwards. Once you get the old lens out, you will be left with a channel full of this butyl sealant, which you now need to scrape out so the new lens seats properly. This is the part that takes time but it can be done by experimenting with different methods. I ended up sharpening the hook part of a paint can opener and found that to work the best but I�m sure there�s lots of alternatives. Do the best you can to keep all the
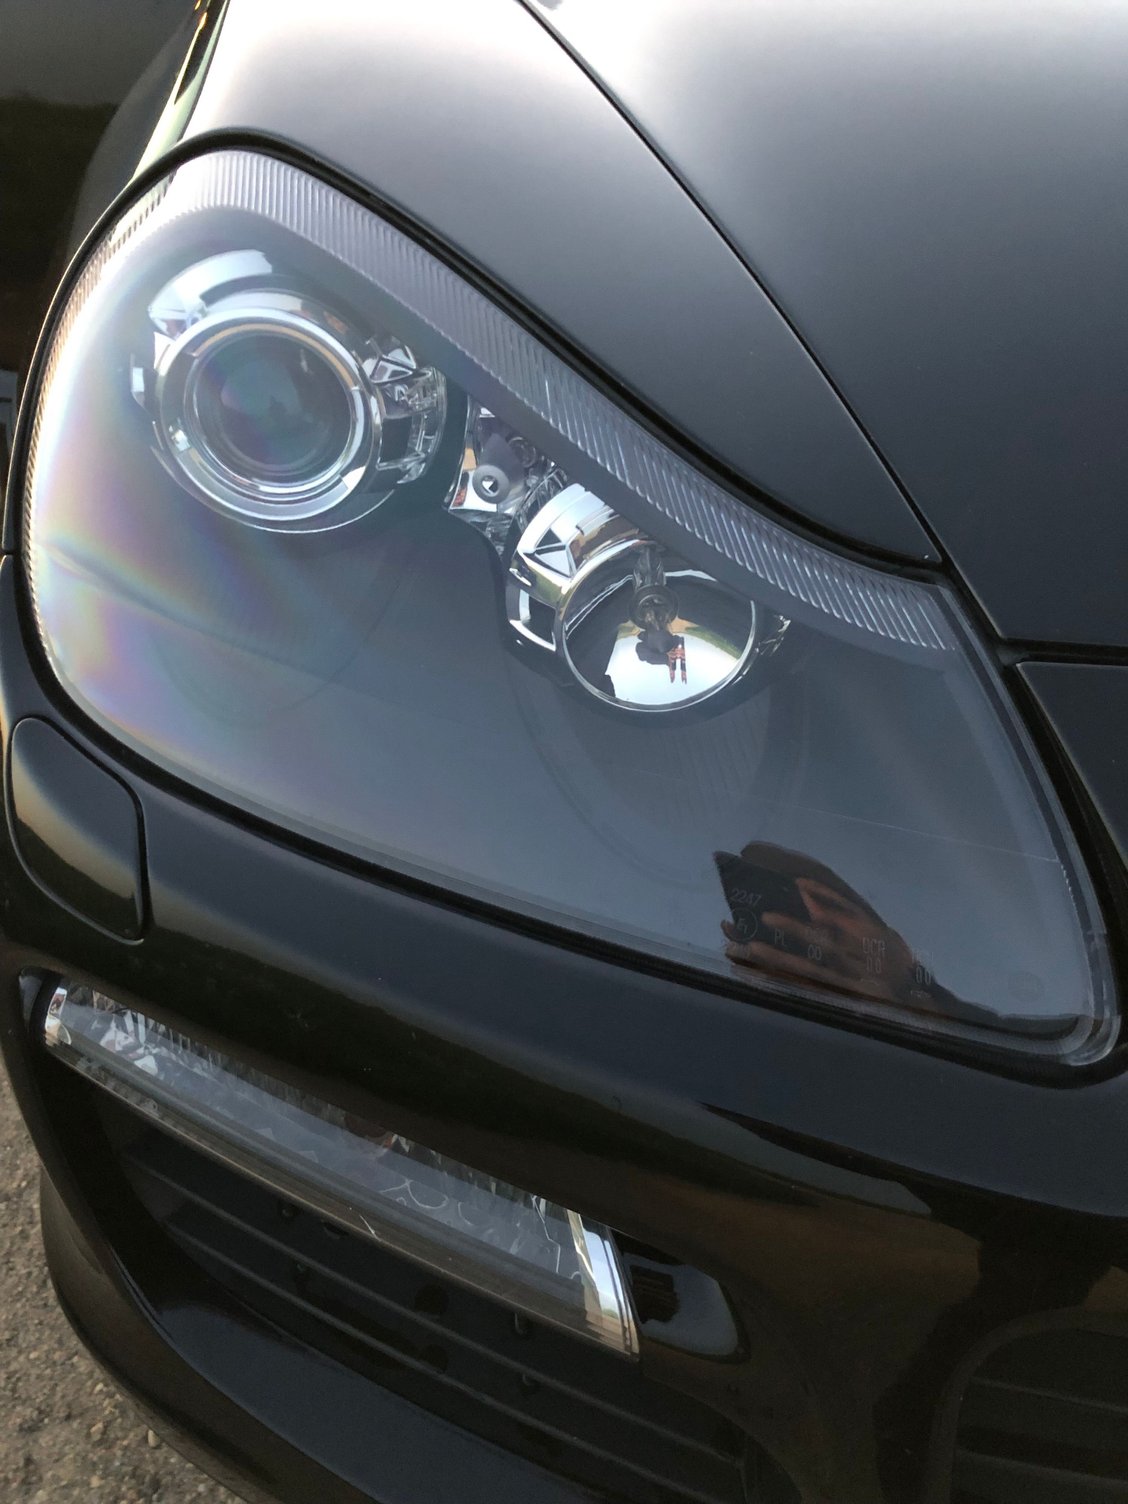
rubber fragments out of the inside of your light, but whatever ends up in there can be removed with compressed air through the light bulb openings. Resist the temptation to use any type of cleaning chemicals on the plastic chrome interior of the headlight itself. The stuff is incredibly fragile at this point in our cars lives, and it�s best to leave it alone or lightly dust it with a new microfiber, clean the glass ellipsoid lens while you�re in there. Test fit the new one until you�re satisfied and fill the channel with the sealant of your choice, I chose just normal clear 100% silicone, which should be more than adequate. The only thing holding the lens in other than the sealant is a small clip at the bottom, so I wrapped the entire assembly with some blue painters tape overnight. I replaced the lenses on my Cayenne and painted the inside black prior to this project so I can now do them in around an hour and a half each.
The lenses are available on eBay. The lens is bonded to the housing with some type of butyl sealant similar to how a windshield is installed. you need to go around the outside as best you can with different types of razor blade tools until you find one that works best. small hook shaped pics work pretty well also, you�re just trying to free up as much of the sealant as you can. Then take small flat screwdrivers or other small pry tools and start freeing the lens up. This works best from the top portion as there is a small hook thing at the bottom that can break but you don�t really care on the old one if you�re replacing them. You can be pretty rough with this process and you�ll quickly find the limit of the black plastic headlight housing itself, don�t get too excited if you deform it or even crack a little bit, but try not to do a lot of damage. you can reshape it with some heat afterwards. Once you get the old lens out, you will be left with a channel full of this butyl sealant, which you now need to scrape out so the new lens seats properly. This is the part that takes time but it can be done by experimenting with different methods. I ended up sharpening the hook part of a paint can opener and found that to work the best but I�m sure there�s lots of alternatives. Do the best you can to keep all the
rubber fragments out of the inside of your light, but whatever ends up in there can be removed with compressed air through the light bulb openings. Resist the temptation to use any type of cleaning chemicals on the plastic chrome interior of the headlight itself. The stuff is incredibly fragile at this point in our cars lives, and it�s best to leave it alone or lightly dust it with a new microfiber, clean the glass ellipsoid lens while you�re in there. Test fit the new one until you�re satisfied and fill the channel with the sealant of your choice, I chose just normal clear 100% silicone, which should be more than adequate. The only thing holding the lens in other than the sealant is a small clip at the bottom, so I wrapped the entire assembly with some blue painters tape overnight. I replaced the lenses on my Cayenne and painted the inside black prior to this project so I can now do them in around an hour and a half each.
This should be its own thread so it can be searched easier!
More info on those seat inserts!! Been toying with that idea.
Seats on my car were done by an upholstery shop in West Palm Beach by the previous owner. The Pepita fabric is readily available. I get mixed reviews, but personally I love them.
Seats on my car were done by an upholstery shop in West Palm Beach by the previous owner. The Pepita fabric is readily available.
I get mixed reviews, but personally I love them.
Very cool. Thanks for sharing. Nice to have the fabric center instead of leather. I have Sport-Tex centers on my Macan S seats and its way better then leather IMO.
Very cool. Thanks for sharing. Nice to have the fabric center instead of leather. I have Sport-Tex centers on my Macan S seats and its way better then leather IMO.
i�m going to try wrapping the cheap, scratched plastic interior panels with Alcantara next. Anyone with any info on this would be greatly appreciated.
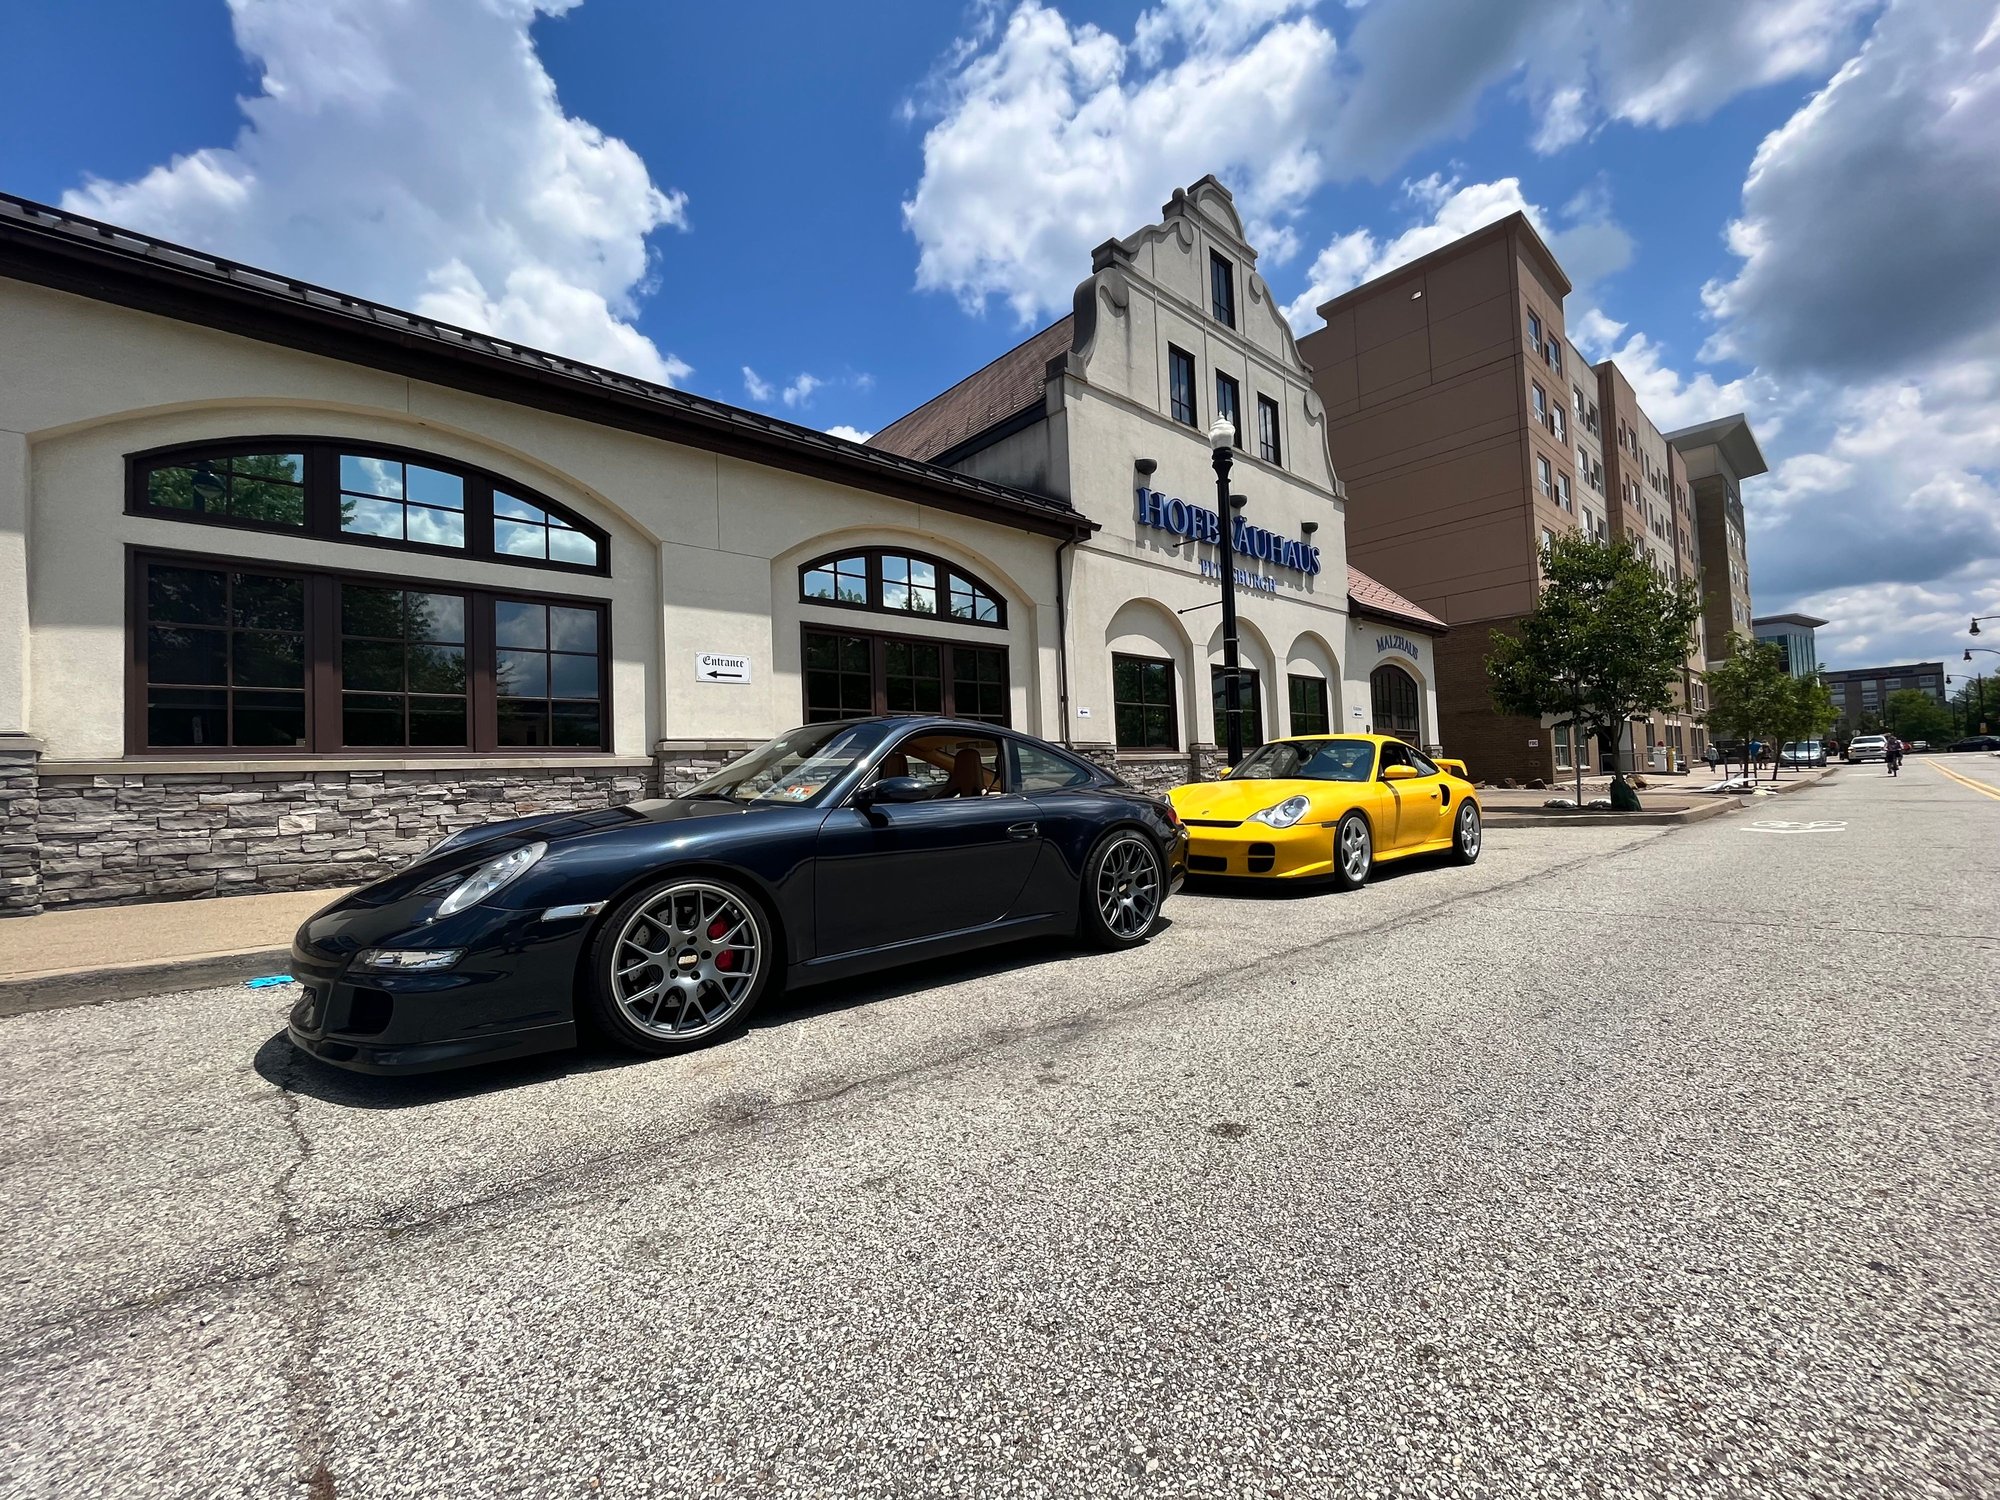
That's a great event. We had our 928 Rendezvous there last year as part of the event with the 1st and last production 928s on display and 60 more of us there for support.
Ran into the guy I bought my RUF car from while I was there!
i’m going to try wrapping the cheap, scratched plastic interior panels with Alcantara next. Anyone with any info on this would be greatly appreciated.
You might wanna PM user BogotaJoe, he’s been wrapping interior pieces in leather for a while with great results. He could probably give you some good pointers.

 07-24-2023, 10:14 AM