When you click on links to various merchants on this site and make a purchase, this can result in this site earning a commission. Affiliate programs and affiliations include, but are not limited to, the eBay Partner Network.
Finally got around to doing this. Thanks for the write-up and the torque values. I used the RSS numbers for their components but yours for the stock things like top mount to body and lower strut mount to wheel carrier.
I had to remove the rear toe link at the wheel carrier to get the lower shock bolt out and both dog bones at the wheel carrier to get enough drop for the start assembly to come down and out.
The Tarett pieces are really nice. The bottom side is designed to go right over the shock piston with the correct sized recess for the piston and then the other machined in ring mates perfectly with the top sping collar, then inside the car the top circle is perfect for the opening in the mounting flange.
We'll see if the clunk is gone as this is the last piece of suspension that had a rubber bushing in them, though I don't think the foam looks very collapsed in the OEM ones I removed.
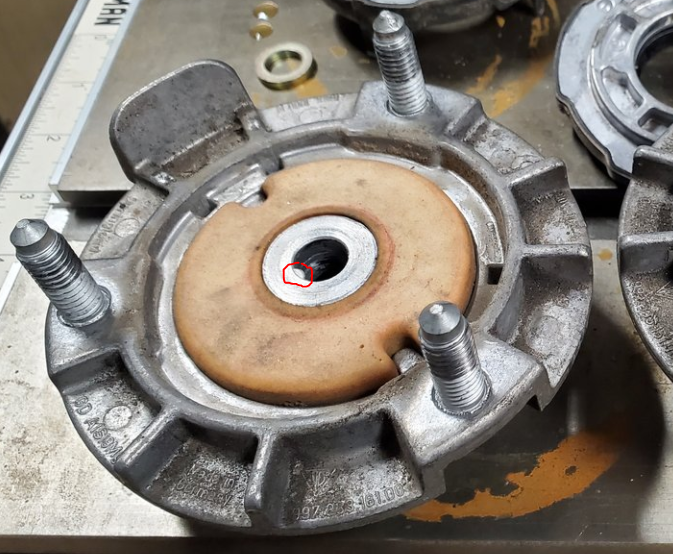
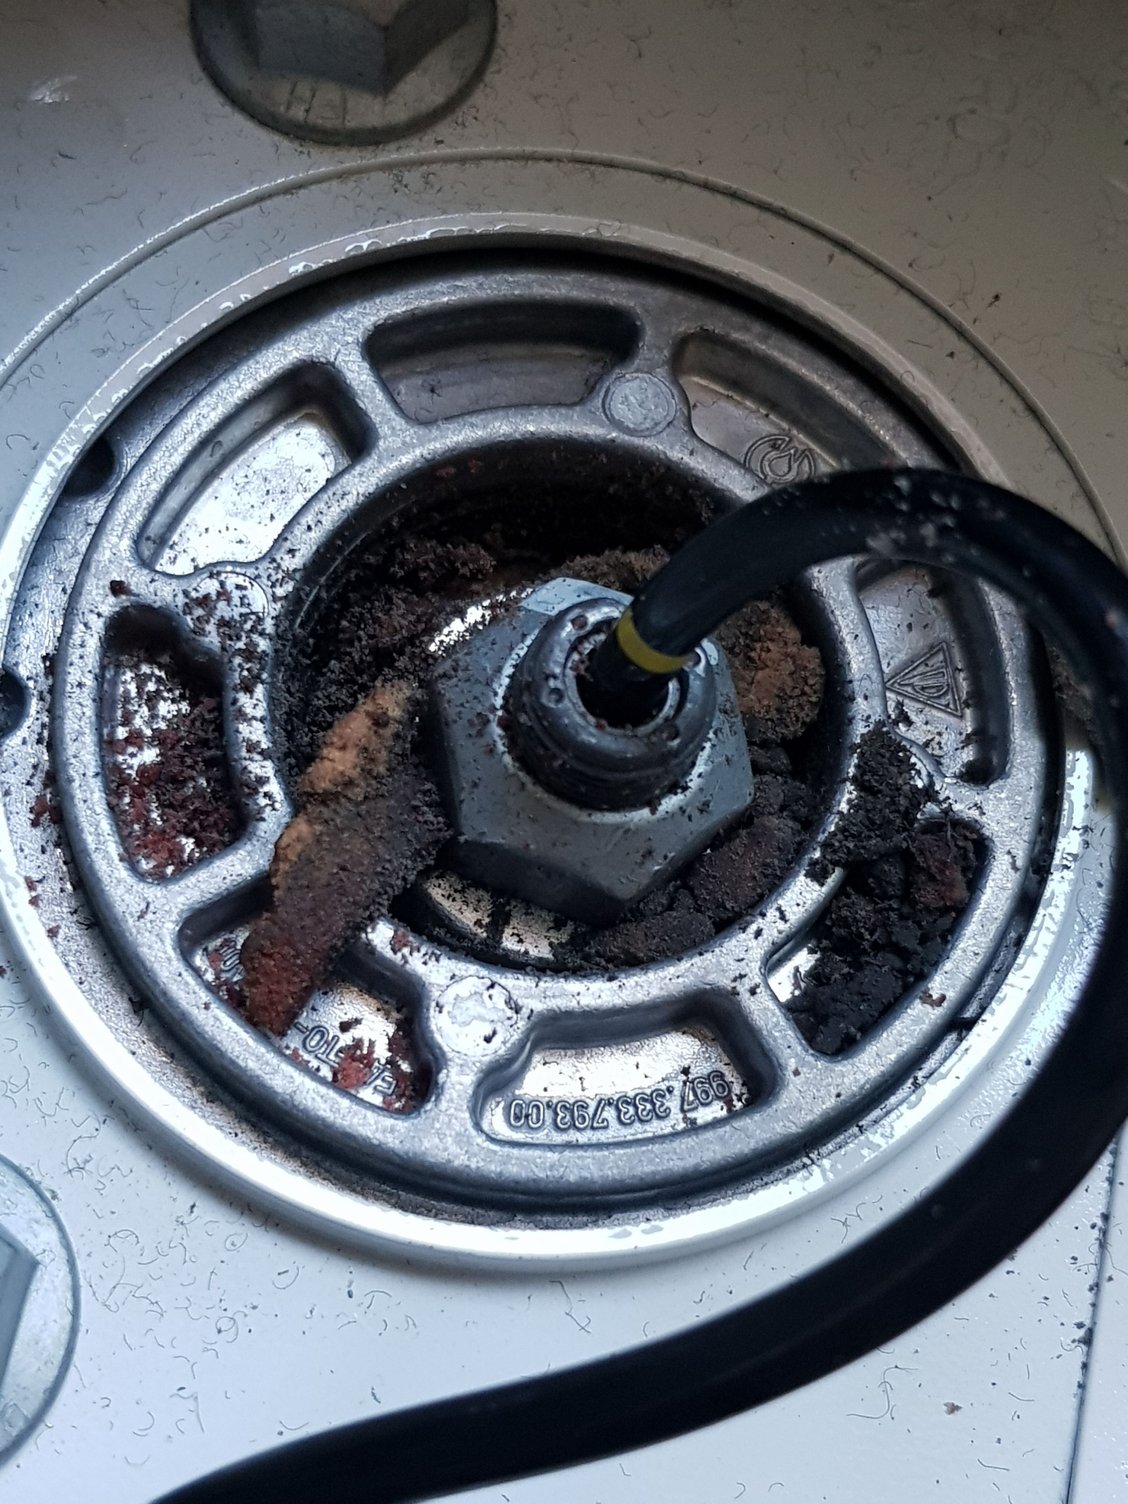
The secret nub.
For those who were wondering, this is how the shock shaft does not spin when loosening/tightening the top nut.
It's there, but not immune from getting sheared off if the top nut is super tight on the shaft.
Slightly tricky to align to the mating groove in the shock shaft to the top mount when forcing the spring down, again, another opportunity to damage the secret nub.
The secret nub...Gotta love German engineering
Last edited by BLU997; 03-13-2022 at 06:05 AM.
Reason: It's the punctuation.
The secret nub.
For those who were wondering, this is how the shock shaft does not spin when loosening/tightening the top nut.
It's there, but not immune from getting sheared off if the top nut is super tight on the shaft.
Slightly tricky to align to the mating groove in the shock shaft to the top mount when forcing the spring down, again, another opportunity to damage the secret nub.
The secret nub...Gotta love German engineering
Yep, that's actually a great design The Tatetts don't have that so it's a bit more challenging to put things together with them, especially with the PASM wire coming out the top.
will be doing this soon and have ordered the parts!! wow the prices of these parts are going up so fast!! according to the manual all that is needed is to remove the toe control arm to wheel carrier joint. what problems did anyone encounter when this was the only one that was removed? Petza, was the clunk problem fixed? your rear mounts looked good.
will be doing this soon and have ordered the parts!! wow the prices of these parts are going up so fast!! according to the manual all that is needed is to remove the toe control arm to wheel carrier joint. what problems did anyone encounter when this was the only one that was removed? Petza, was the clunk problem fixed? your rear mounts looked good.
One note, dont know if discussed... torque for lubricated bolts are different! The torque figures indicated by the Bruce are for unlubricated bolts! Some of us might try to lubricated the bolts to ease removal.. Dont! There are no tightening torques available...
Finally got around to doing this. Thanks for the write-up and the torque values. I used the RSS numbers for their components but yours for the stock things like top mount to body and lower strut mount to wheel carrier.
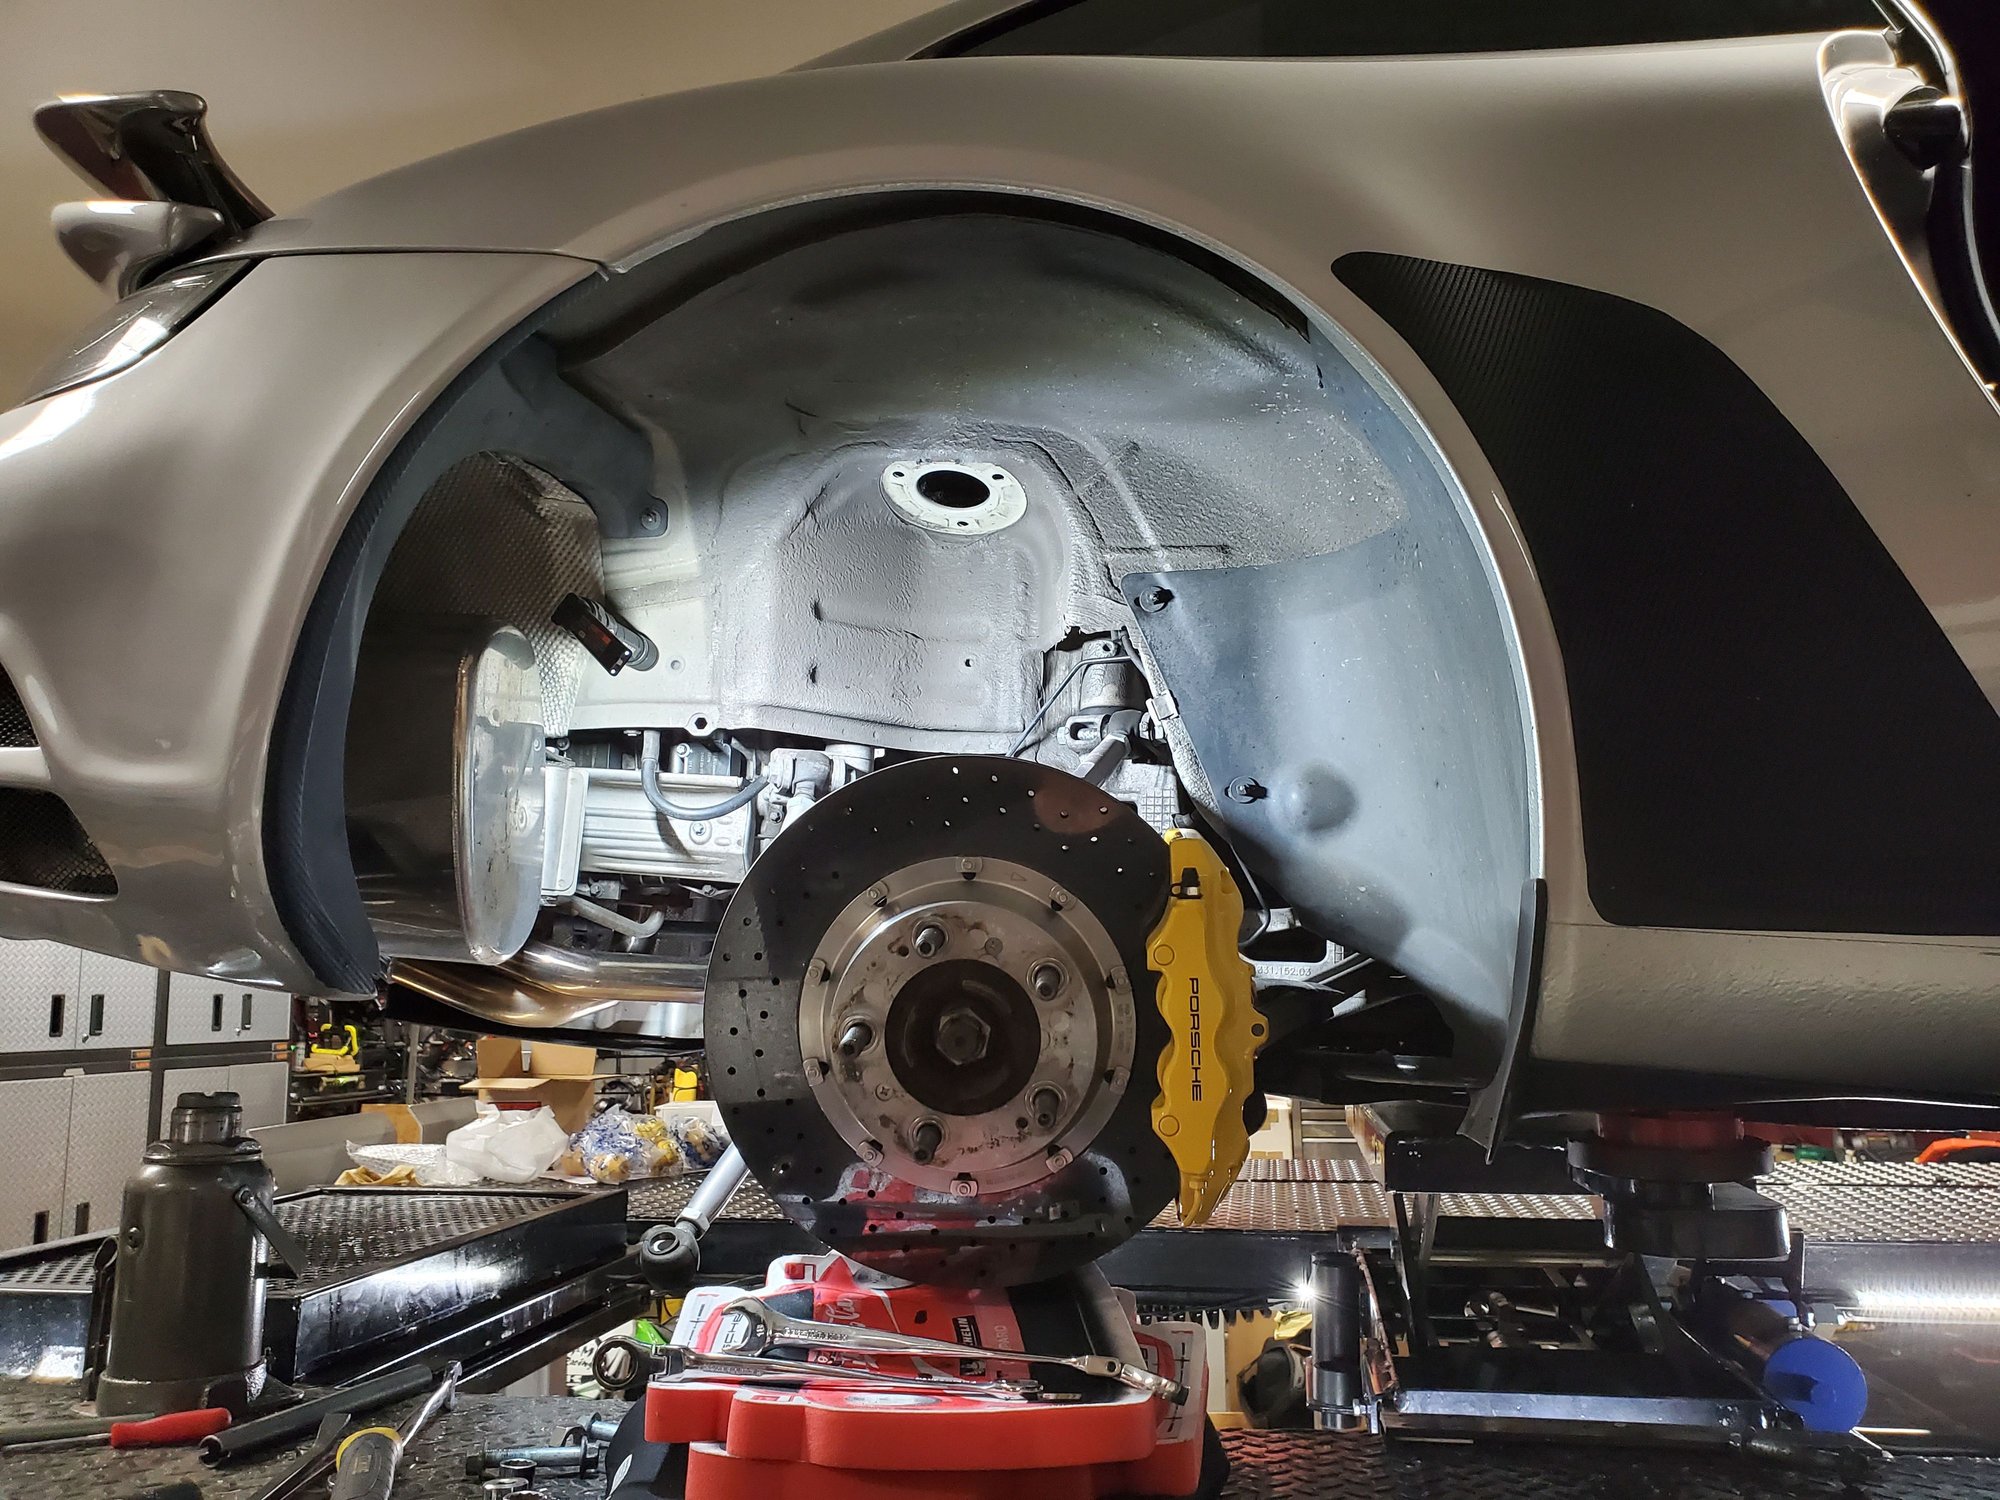
I had to remove the rear toe link at the wheel carrier to get the lower shock bolt out and both dog bones at the wheel carrier to get enough drop for the start assembly to come down and out.
The Tarett pieces are really nice. The bottom side is designed to go right over the shock piston with the correct sized recess for the piston and then the other machined in ring mates perfectly with the top sping collar, then inside the car the top circle is perfect for the opening in the mounting flange.
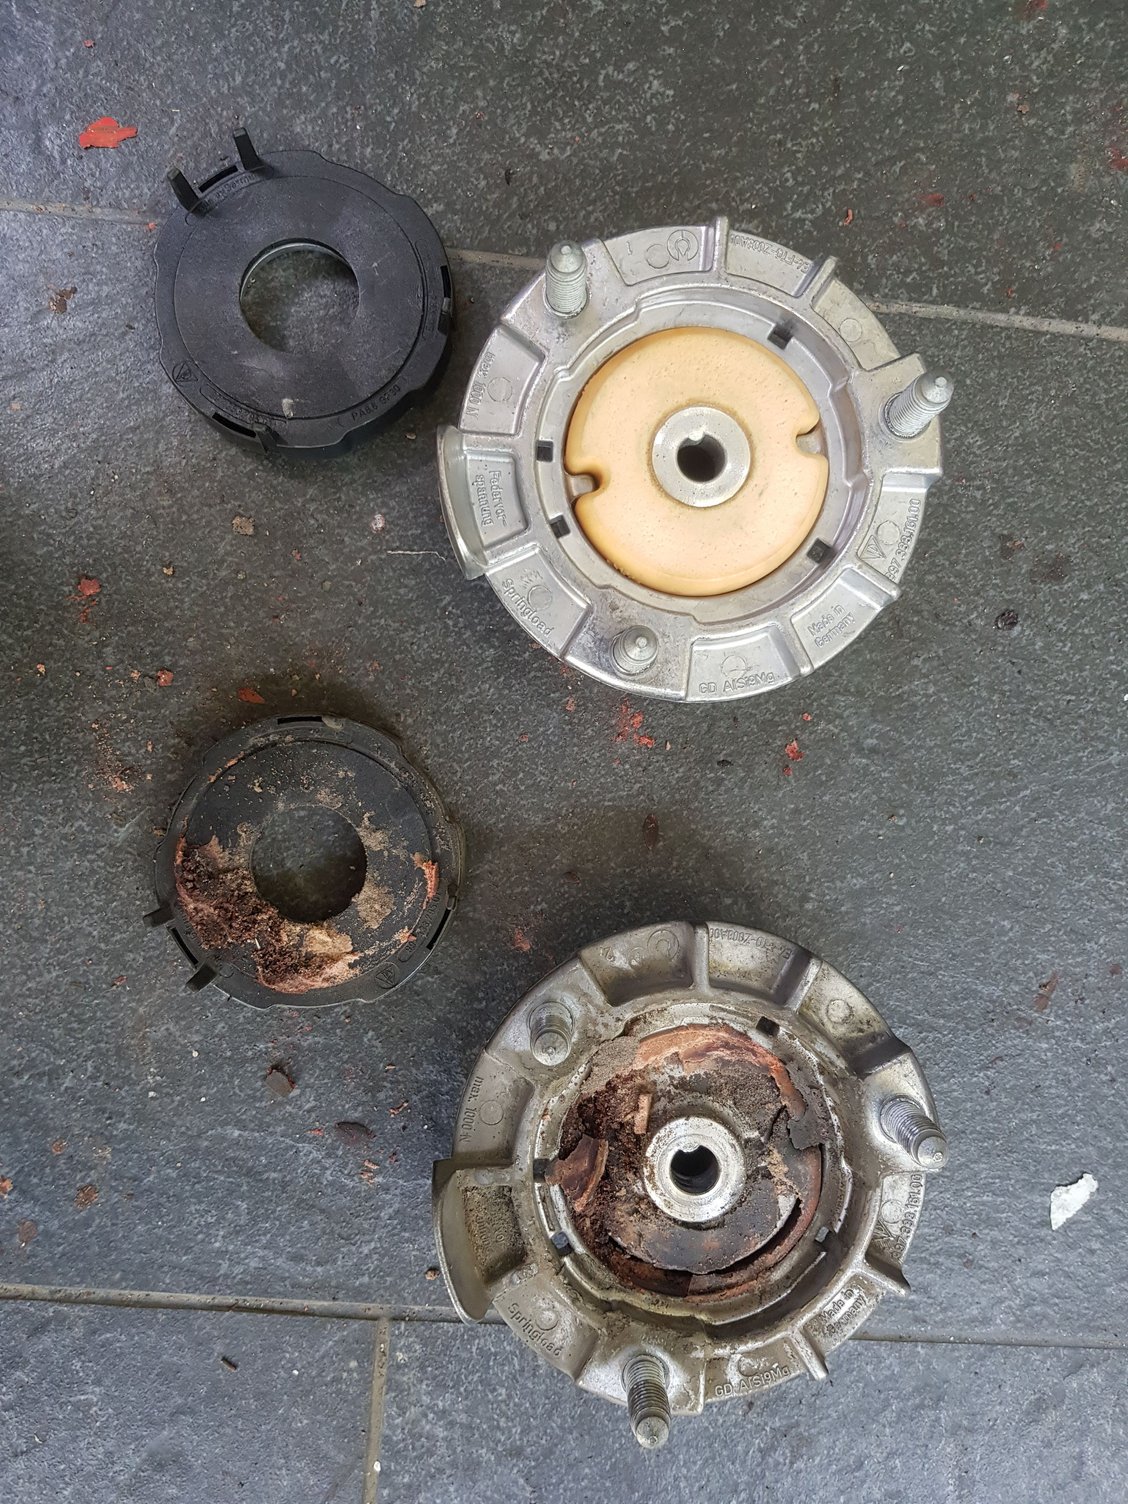
We'll see if the clunk is gone as this is the last piece of suspension that had a rubber bushing in them, though I don't think the foam looks very collapsed in the OEM ones I removed.
OEM mounts removed.
Strut out
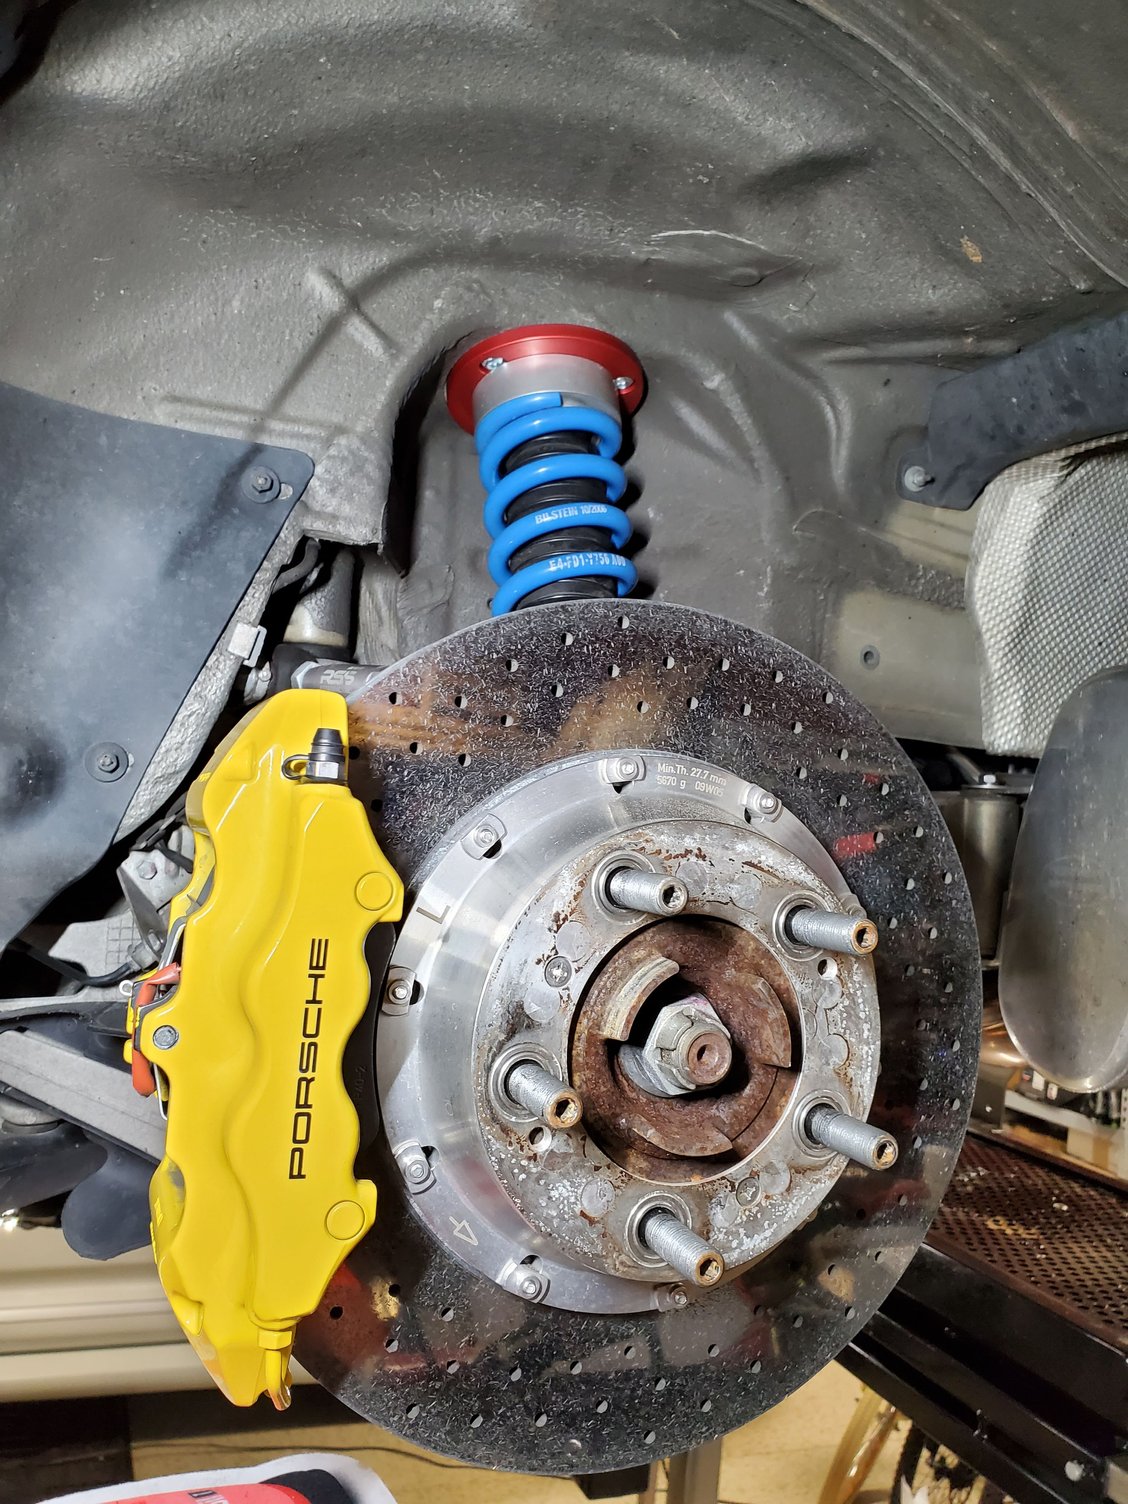
Reinstalled with new Tarett monoball top mount
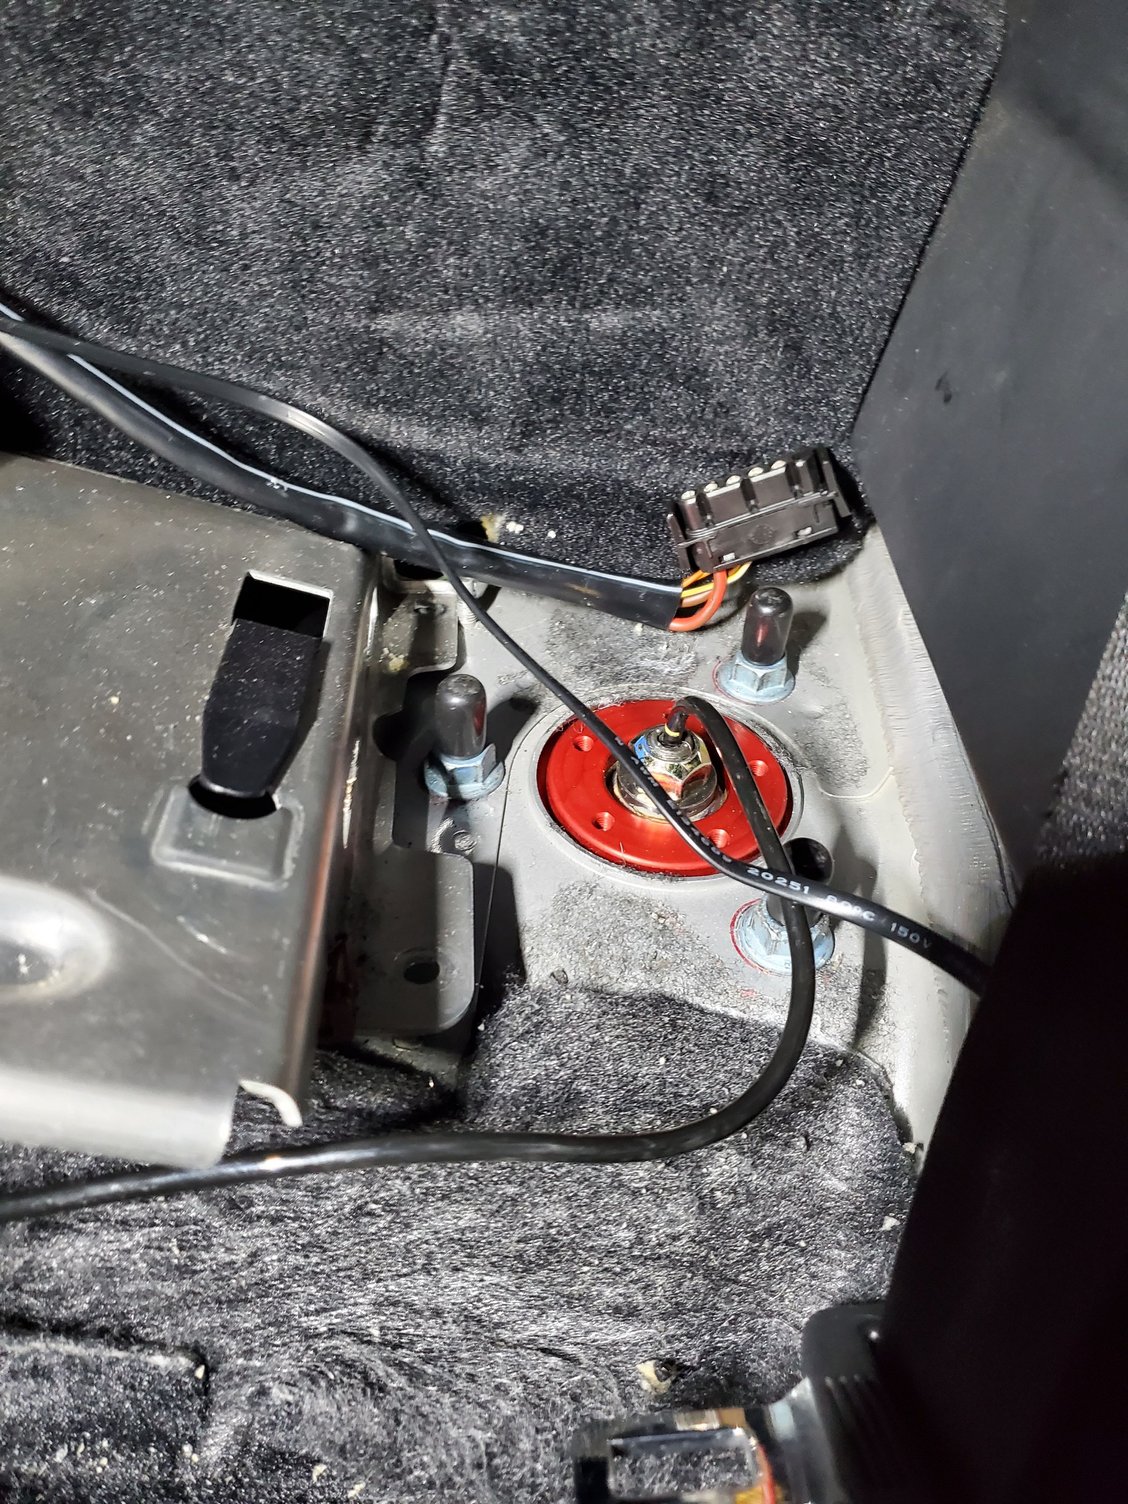
From inside the car
How did you tighten the top struts bold? I have the same Tarett strut Mount but I�m having a hard time tightening the bolt more without an impact wrench. How did you overcome this?
How did you tighten the top struts bold? I have the same Tarett strut Mount but I�m having a hard time tightening the bolt more without an impact wrench. How did you overcome this?
Sorry, I don't remember. Looking at it, I probably used my Max Axess Craftsman socket set so the wire could pass through the center
Great writeup. The "clunk" just started on my 2007 (43k miles) about two weeks ago. Seems like all it takes is time and eventually things catch up with this part. A bit of sticker shock to pay 560 bucks for the pair of bushings for the rear. Such is the life of Porsche ownership I suppose.
Great writeup. The "clunk" just started on my 2007 (43k miles) about two weeks ago. Seems like all it takes is time and eventually things catch up with this part. A bit of sticker shock to pay 560 bucks for the pair of bushings for the rear. Such is the life of Porsche ownership I suppose.
I have a pair of good ones I removed when changing to monoball top mounts.
Anyone just get the power flex bushings for the rear shock top mount? About to install my ohlins and figured this might be a good preventative addition while everything was apart.
L

 03-13-2022, 01:09 AM