When you click on links to various merchants on this site and make a purchase, this can result in this site earning a commission. Affiliate programs and affiliations include, but are not limited to, the eBay Partner Network.
15mm rears and 8mm front spacers look about right to me
I cannot believe how much better the car looks with the Eibachs, (pictures really do not do it justice) added bonus was replacing all the worn suspension parts. My impression is a much more solid ride without any noticeable stiffness. About an 1.5" reduction in the rear and 1" in front.
Next project will be Numeric or Function First Shift kit
When I bought this car somebody correctly stated it is a slippery slope when it comes to modification- I am sliding down that slope pretty damn fast....
Nice work UnoMas - and I totally agree. After living with the stock C2 height for about 6 years, this change completely transformed the look of the car for my eyes. Found myself again staring at it in the garage like when first got the car. No doubt this change does the most for those with a base C2. Took this shot the other month, thought captured pretty well - we have the same setup:
I've been debating the Numeric shifter and cables as well based on a lot of positive feedback here. Thing is - I've always thought the manual/stick felt great as it is! Certainly WAY better than any other manual I've ever owned. Funny saw some video someone made praising the Numeric saying the stock was "sloppy" or the like. Could it really be $1,200 better with the change?! If you do it, certainly would be interested to hear your feedback.
Max
Your car looks great. I have some work to do to get my paint looking that good. Could not agree more, totally changes the visual of the car, it is most dramatic on the base C2.
On the shifter, I am not 100% happy with the 1st to 2nd shift. I can live with the throw, but I hope I don't have Syncro issues and it is something a shift kit might improve
I have replaced the stock shift bushings with FF solid bushings and I changed the tranny fluid. That helped give it a more direct feel, but did not change the 1st to 2nd shift.
Eibachs and new brakes 15mm rears and 8mm front spacers look about right to me
I cannot believe how much better the car looks with the Eibachs, (pictures really do not do it justice) added bonus was replacing all the worn suspension parts. My impression is a much more solid ride without any noticeable stiffness. About an 1.5" reduction in the rear and 1" in front.
Next project will be Numeric or Function First Shift kit
When I bought this car somebody correctly stated it is a slippery slope when it comes to modification- I am sliding down that slope pretty damn fast....
Nice car, Hopefully soon I will install lowering spring kit like yours. Just curious ,,, these photos look like were taken in a very familiar parking garage. Palm Beach G, FL?
Thx @Jeffblak ! Hope you are doing well during the lockdown. Look forward to going on a drive with my 4S twin soon. Btw - I am putting together a new writeup on the front strut mount replacement. There is a new method that makes it dead simple to have these swapped out in 1hr. Would have saved me hours and hours and hours of pain and suffering.
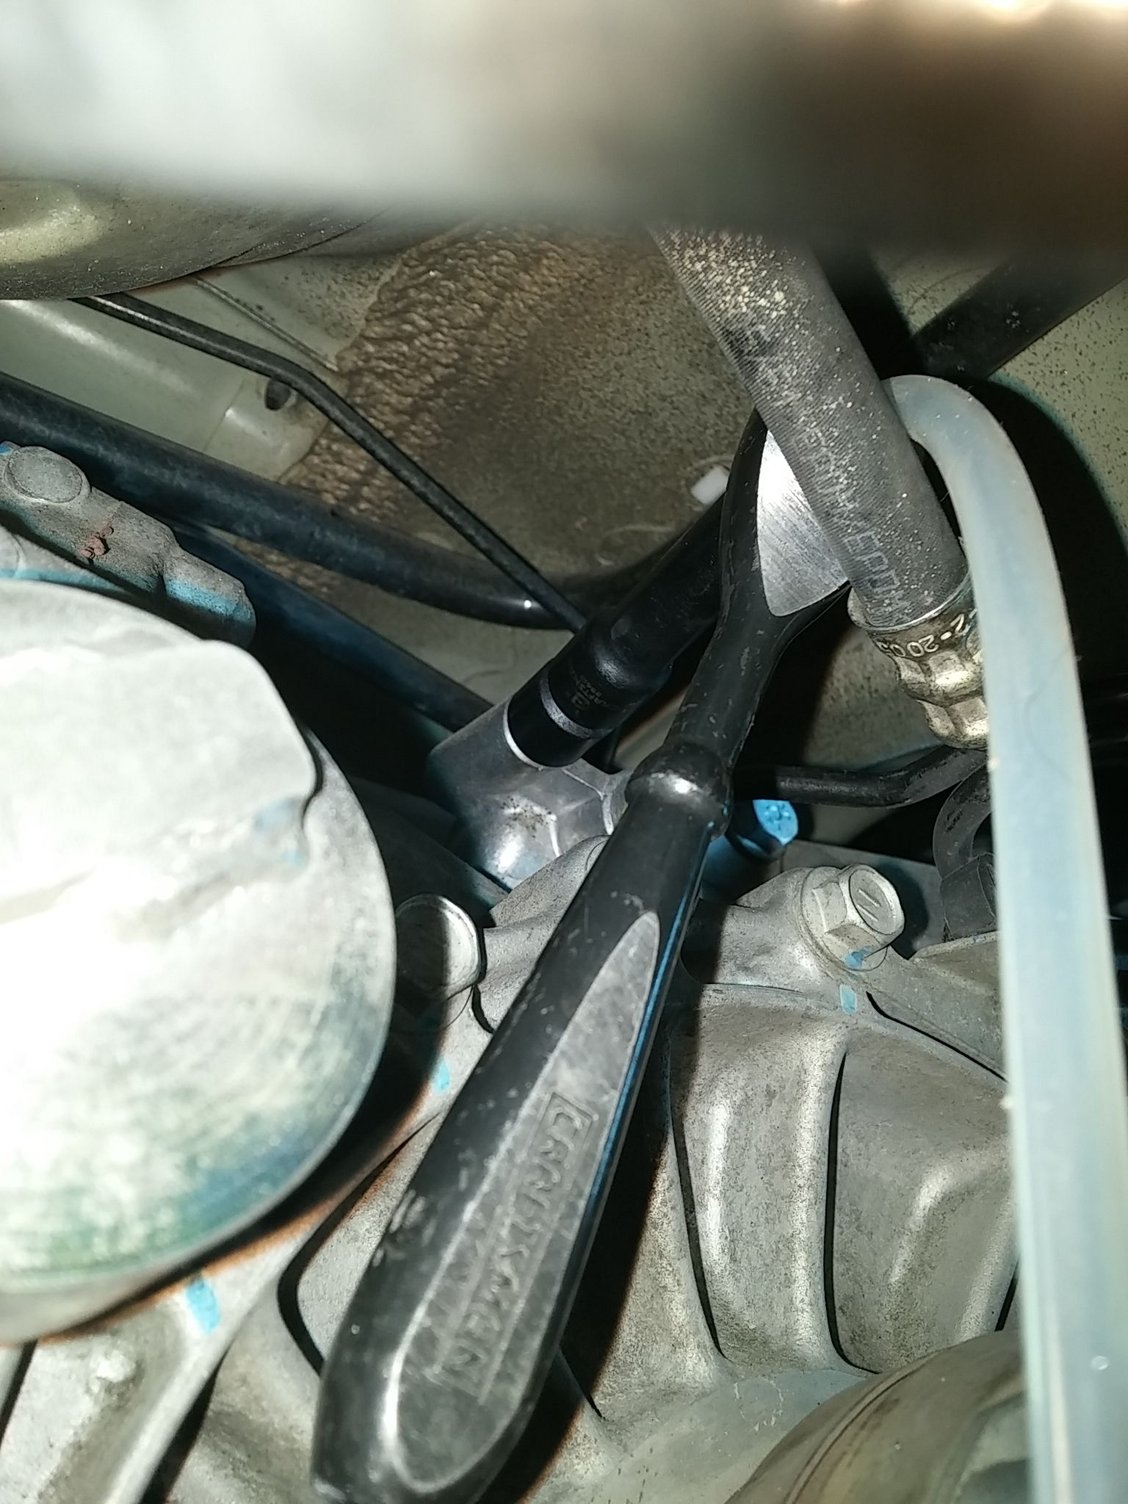
How did you torque the big nut that threads into the top of the strut and secures it to the upper strut bearing? I know the shaft would spin. I'm about to install some Ohlins, which have a flat spot ground on each side of the threaded shaft, which allows you to grab it with a wrench to keep it from turning, but I don't see how to do that with a socket on that nut. I could always just use my air ratchet to zip it on but I hate not torquing things to proper spec.
Actually dont think those have a torque spec. Just use the impact and it wont spin.
Ps - ive been meaning to do a writeup on the fast way to do your front struts too. Those can also be done in an hour if you know the right approach. Hopefully I get to it before you start.
Actually dont think those have a torque spec. Just use the impact and it wont spin.
Ps - ive been meaning to do a writeup on the fast way to do your front struts too. Those can also be done in an hour if you know the right approach. Hopefully I get to it before you start.
Actually, the best way is to use one of those max axess socket sets. That let's you hold the top of the strut with an Allen or torx (depending on your strut) through the center of the socket, and tighten the nut with the ratchet. Then you can feel how tight you're making it and definitely prevent it from turning at all.
Actually, the best way is to use one of those max axess socket sets. That let's you hold the top of the strut with an Allen or torx (depending on your strut) through the center of the socket, and tighten the nut with the ratchet. Then you can feel how tight you're making it and definitely prevent it from turning at all.
Are you referring to a slotted-socket? The kind of deep socket that has a vertical "window" in it that allows you to get in there with an allen-key? If so, I have one of those in 21mm so that I can remove the top nut of the stock PASM-based struts (need it so the wire coming out of the top of the strut can go through), but my new Ohlins have a 17mm lock nut instead and I have not been able to find a slotted 17mm socket. I've seen some on Amazon but they aren't made for a 3/8" or 1/2" socket driver - instead they are made for a 1/4" hex bit - the kind you'd chuck into a drill.
...useful once you have them for things like the drop links too. For the drop links you use the pass thru socket with a torx to get the link ends secured, then you can torque using only a torque wrench without spinning the torx part. Maybe the same for the strut.


 04-15-2020, 01:47 PM