

997S Auction Car - Track Build

 10-27-2017, 11:33 AM
#77
RL Community Team
Rennlist Member
Rennlist Member
Cage popped up for sale today
https://rennlist.com/forums/parts-marketplace/1031786-oem-porsche-997-clubsport-rollbar-half-cage-in-red-rs-4-0-a.html
No affiliation.
https://rennlist.com/forums/parts-marketplace/1031786-oem-porsche-997-clubsport-rollbar-half-cage-in-red-rs-4-0-a.html
No affiliation.
 10-30-2017, 12:09 PM
#79
Instructor
Thread Starter

Thanks guys
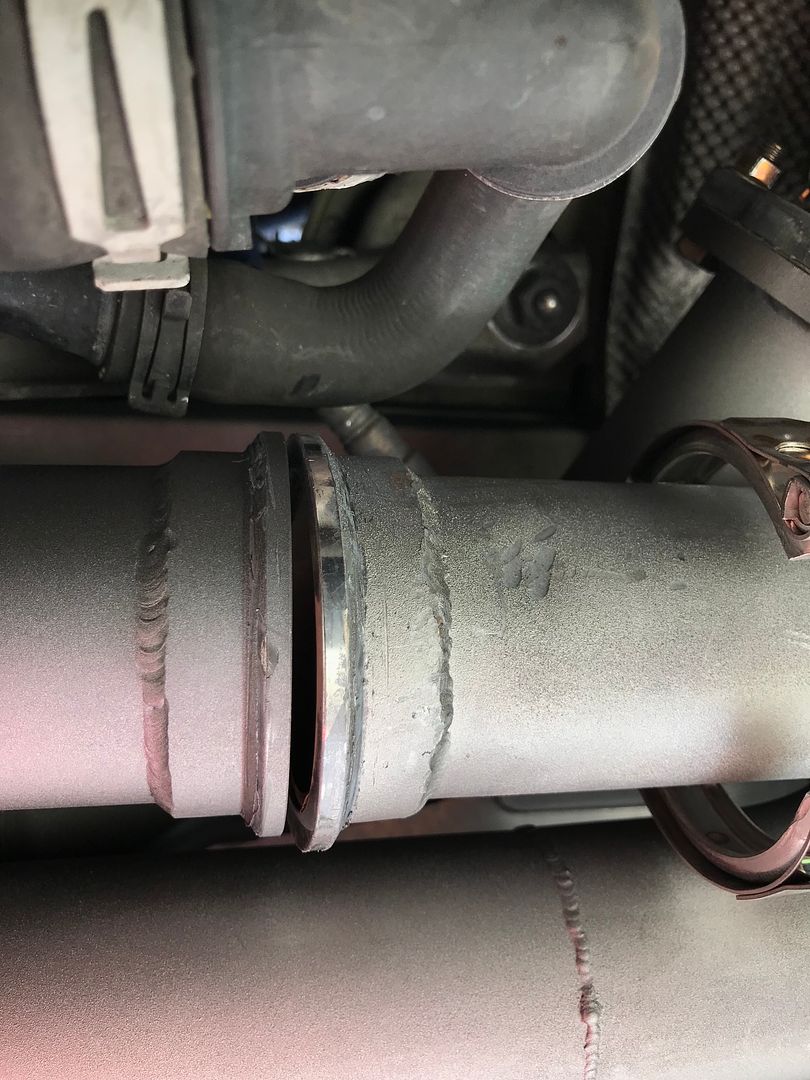
Got the exhaust back from my friend Alex who finished welding everything up and then had it all sand blasted.

And applied ceramic coating
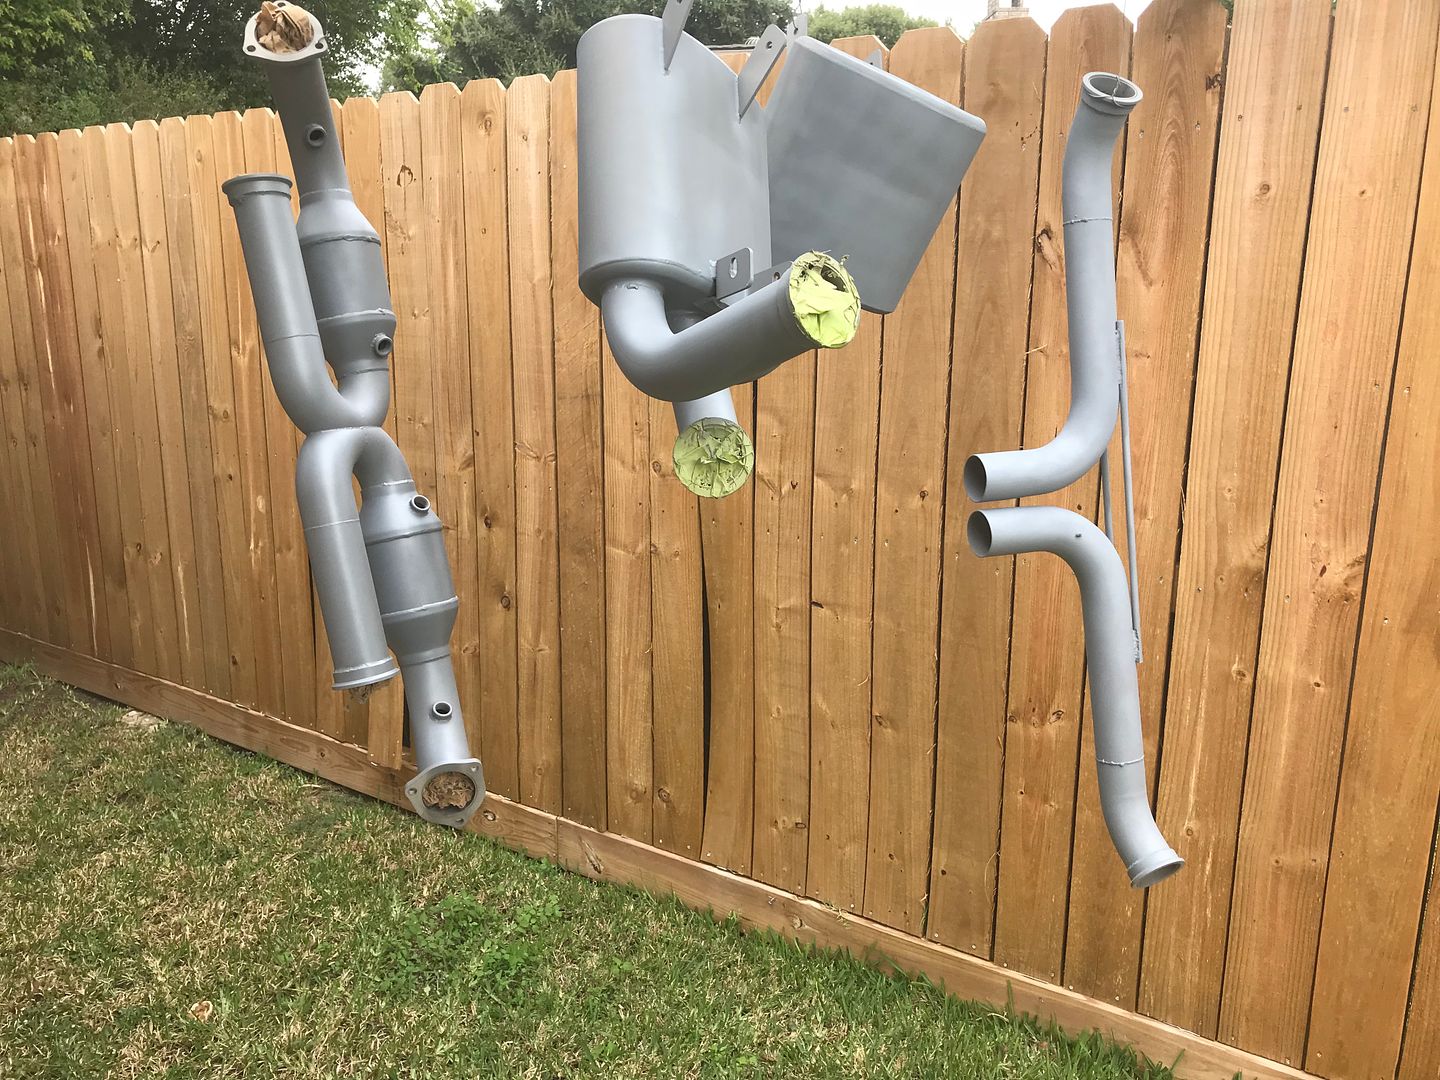

Went to install it and broke a vband clamp so no sound clips yet.
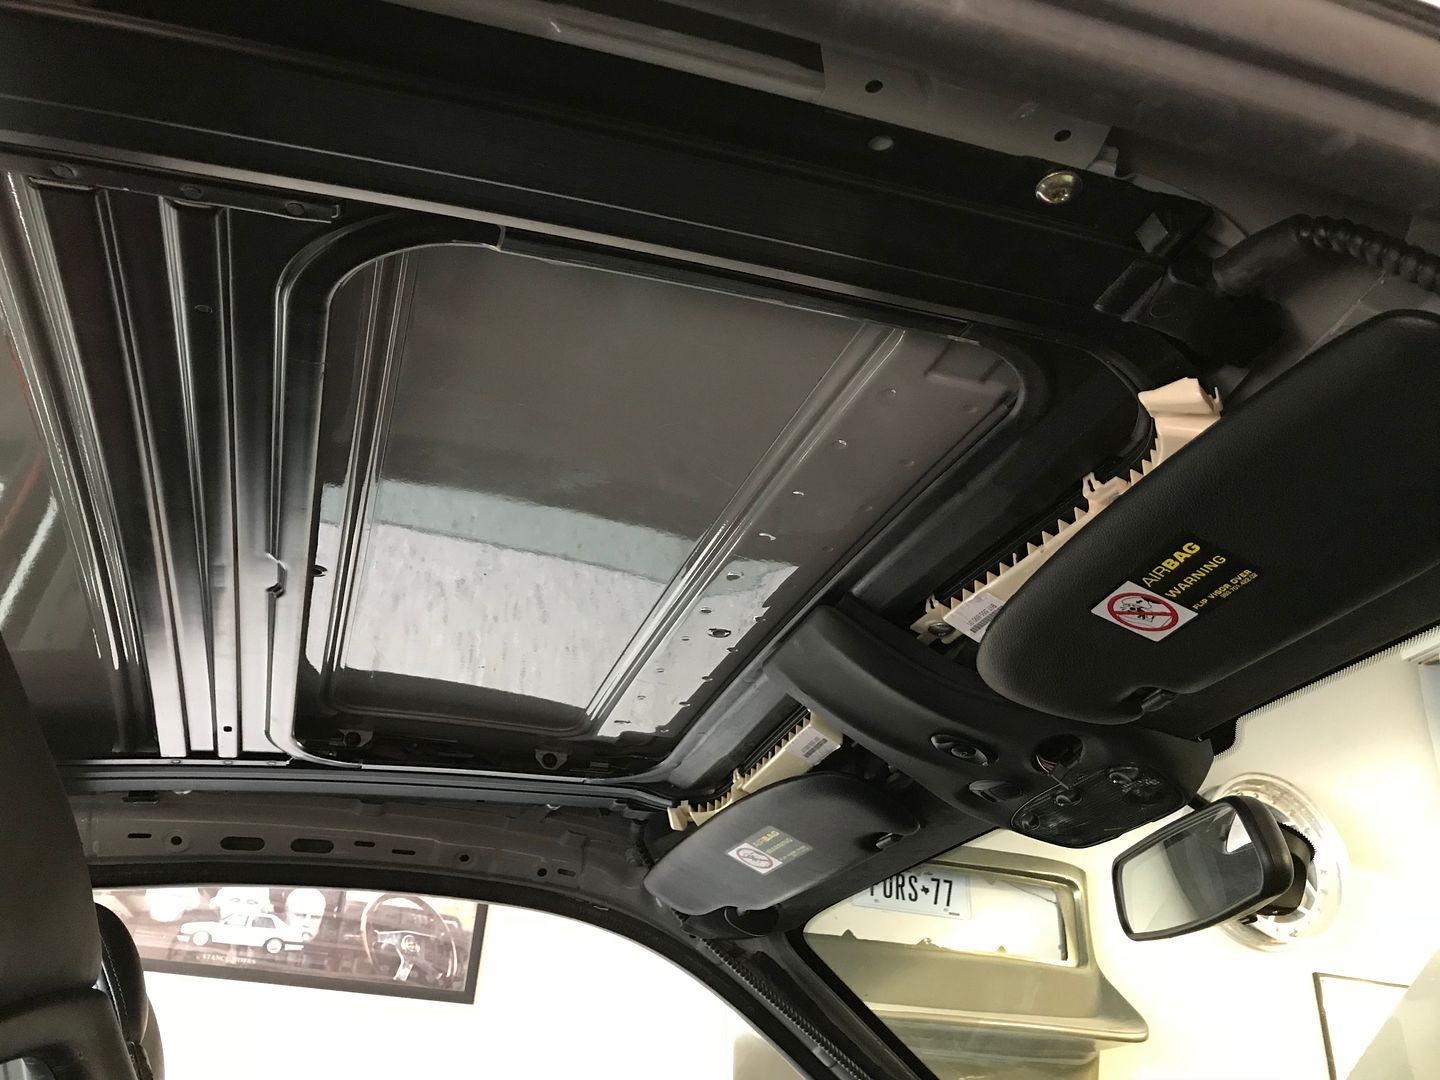
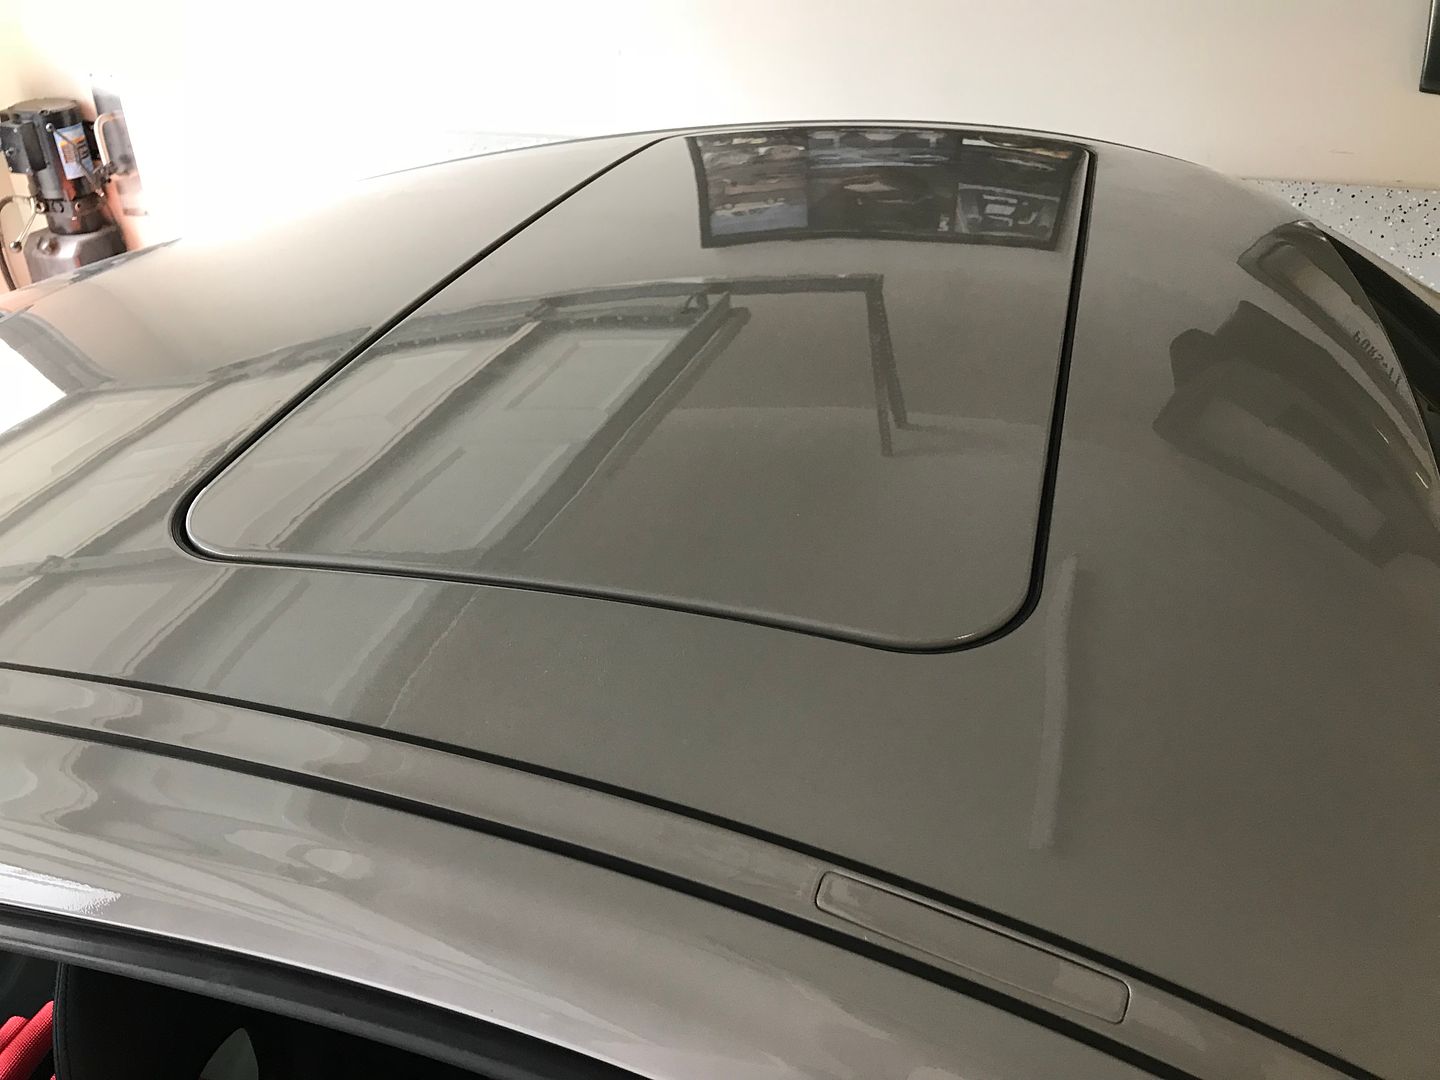
Re-installed the sunroof. I was hoping to delete it and do a carbon roof, but they are expensive and will require a full cage, so for now it'll be a wish list item
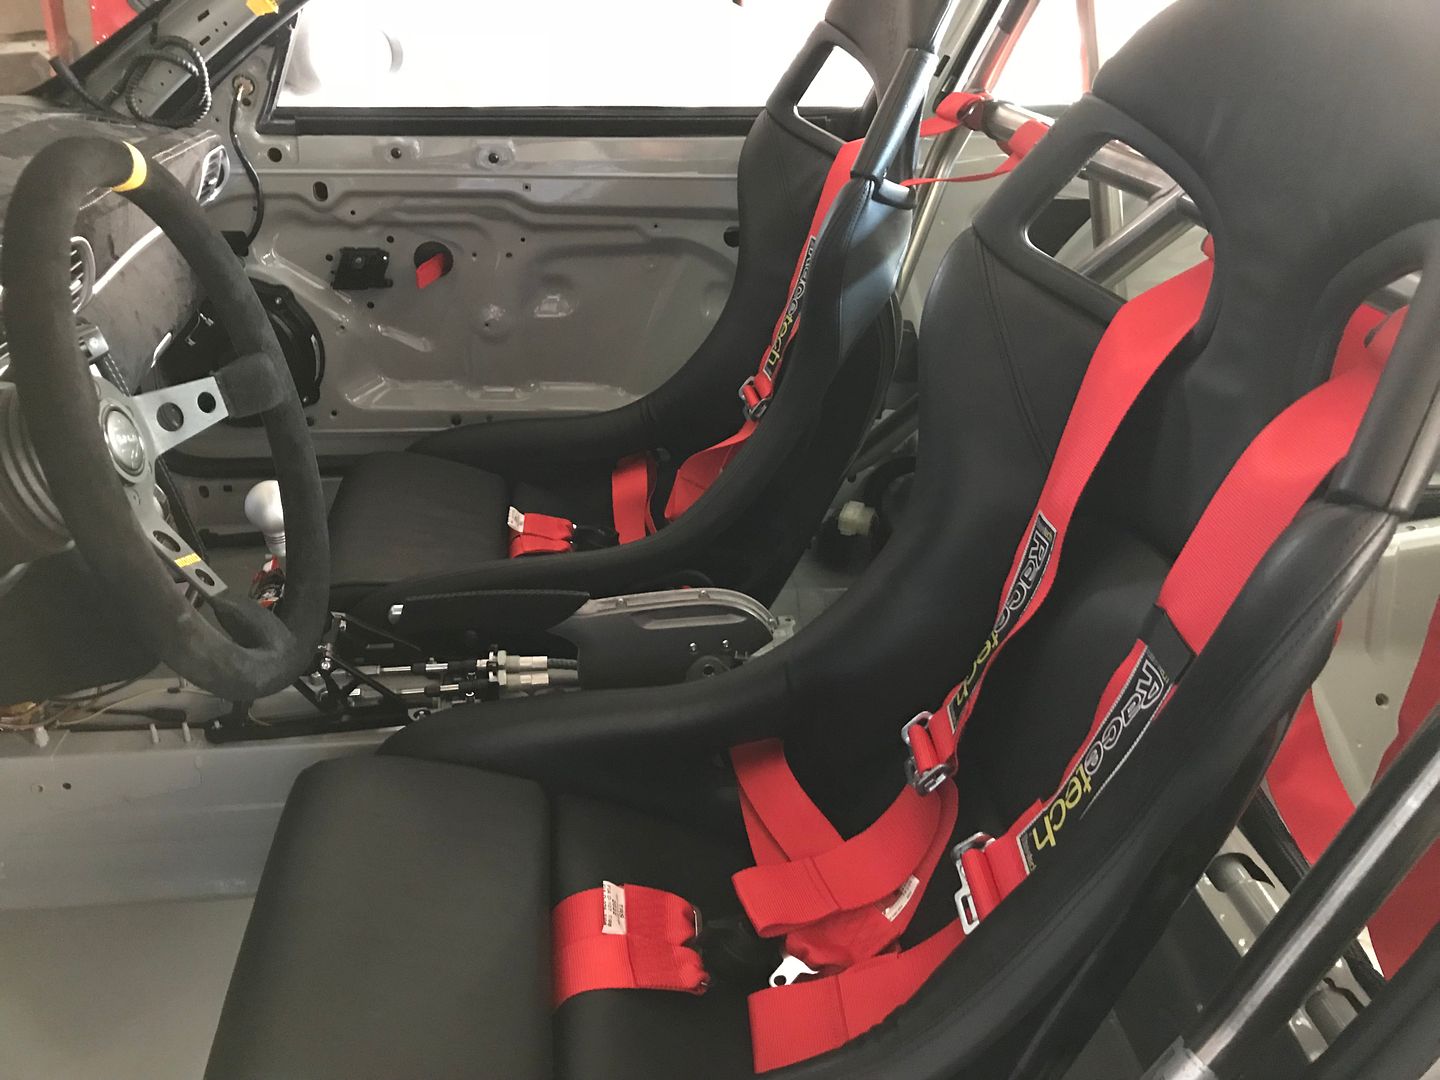
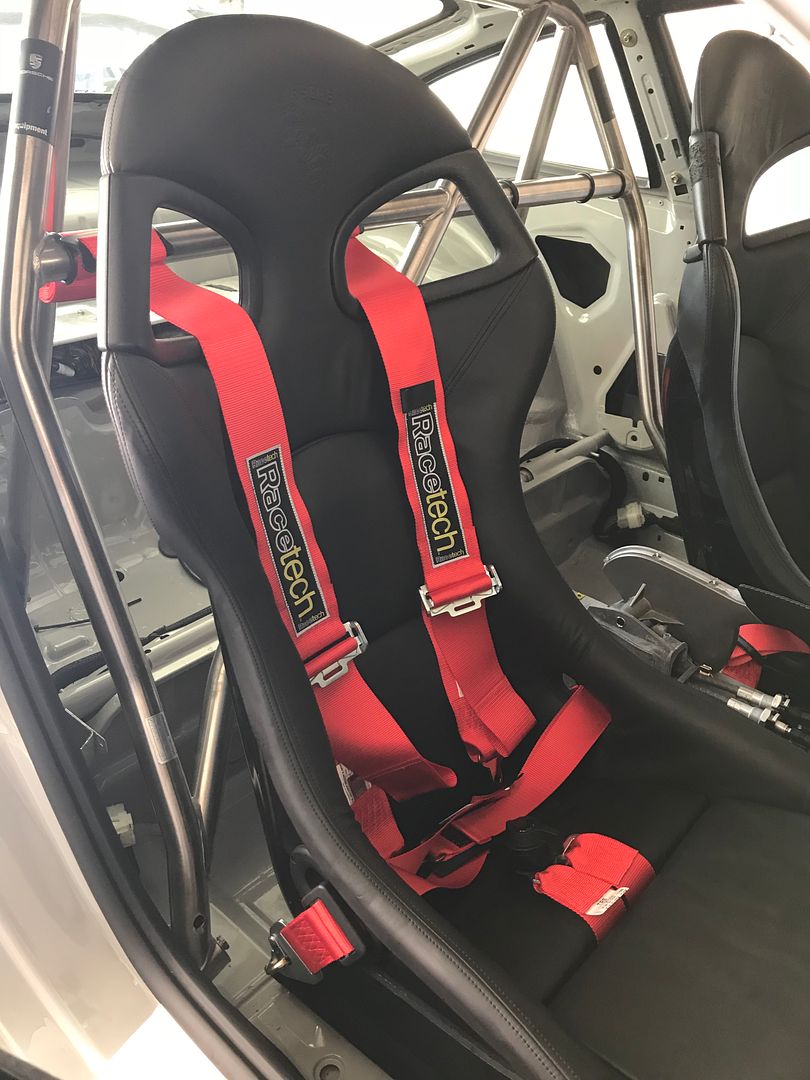
Finished up the seat belts, still need to make some adjustments.
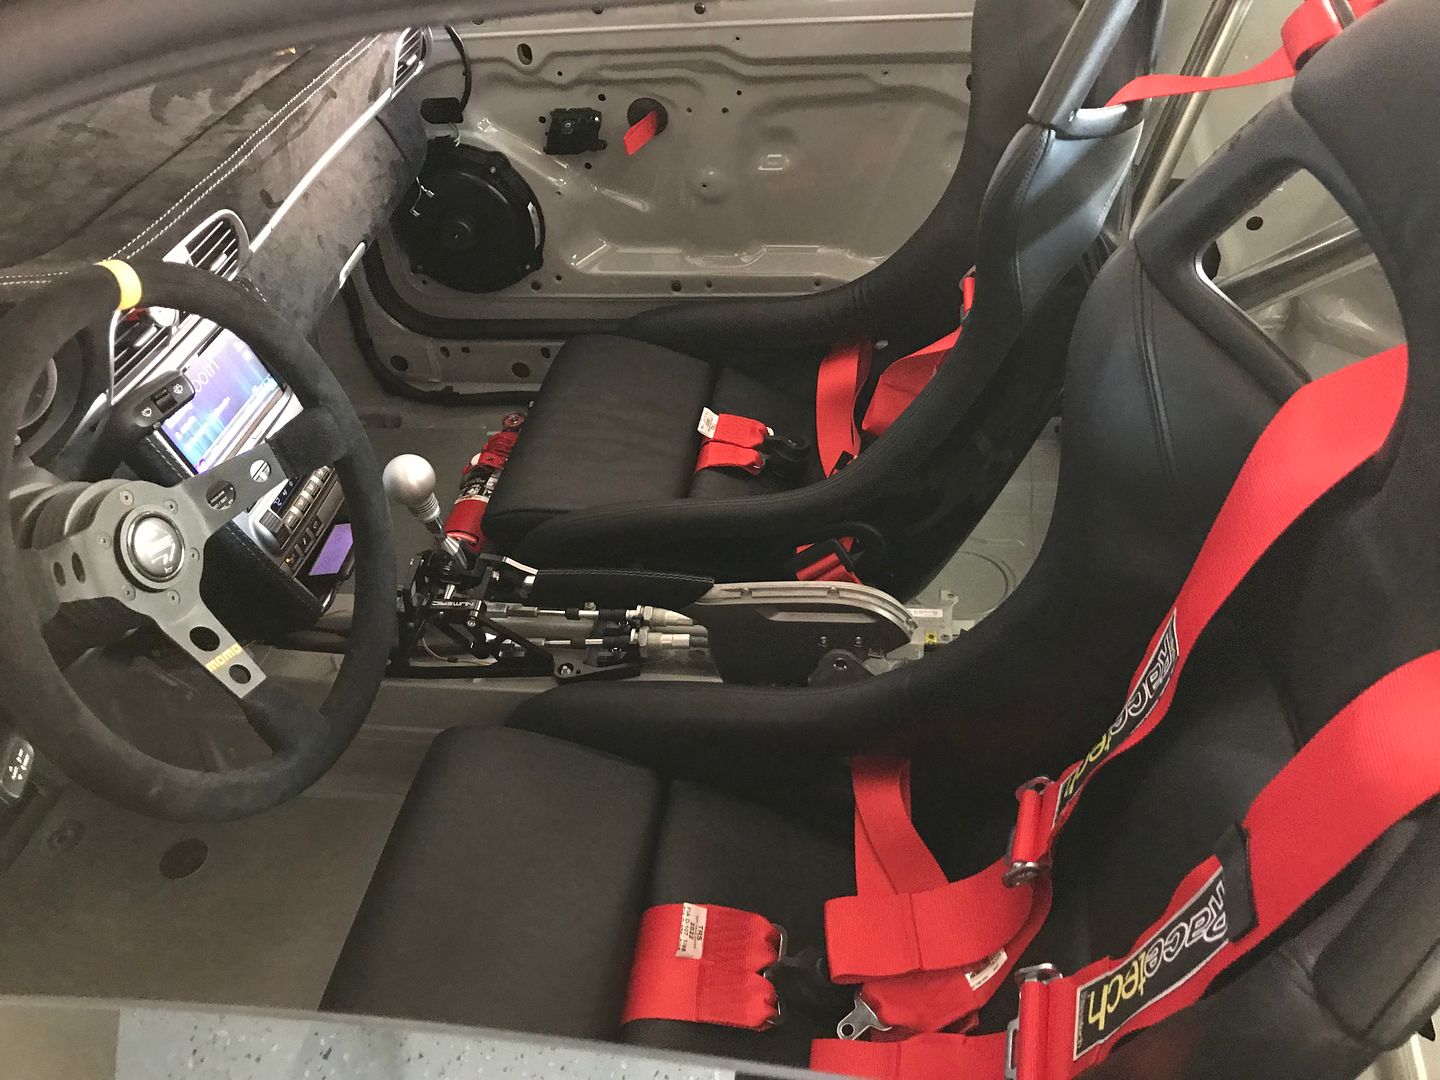
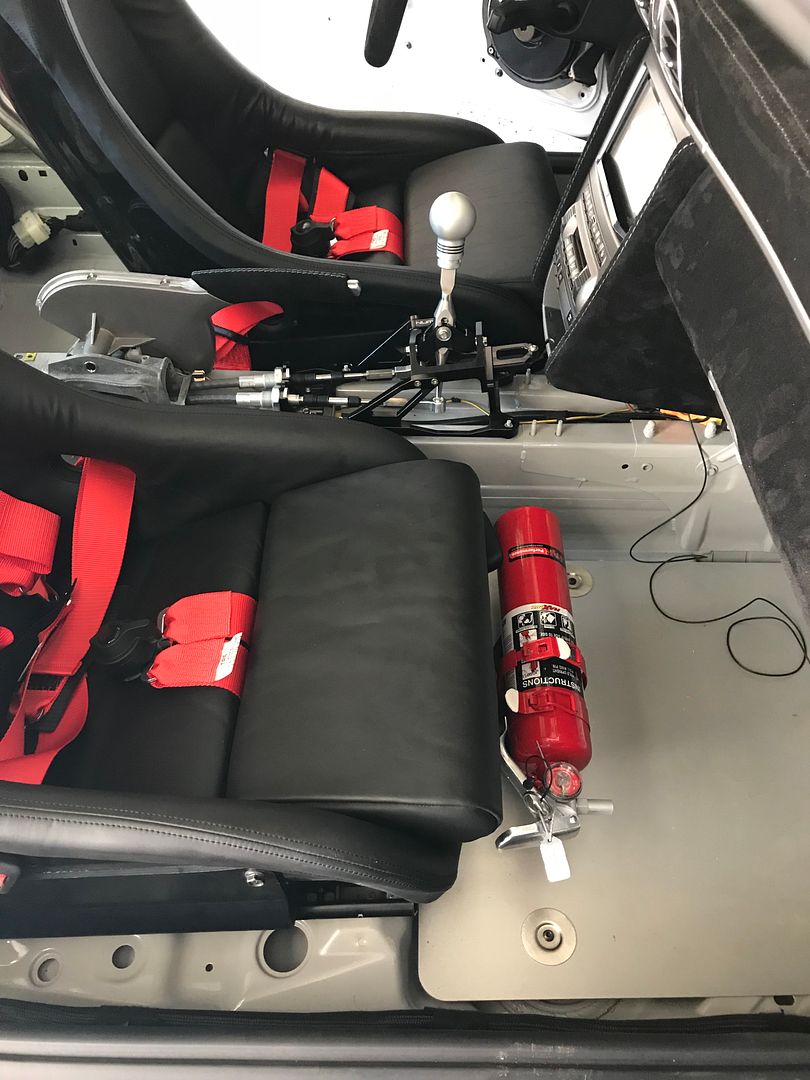
And installed a Rennline fire extinguisher mount. This was a huge pain in the ***.
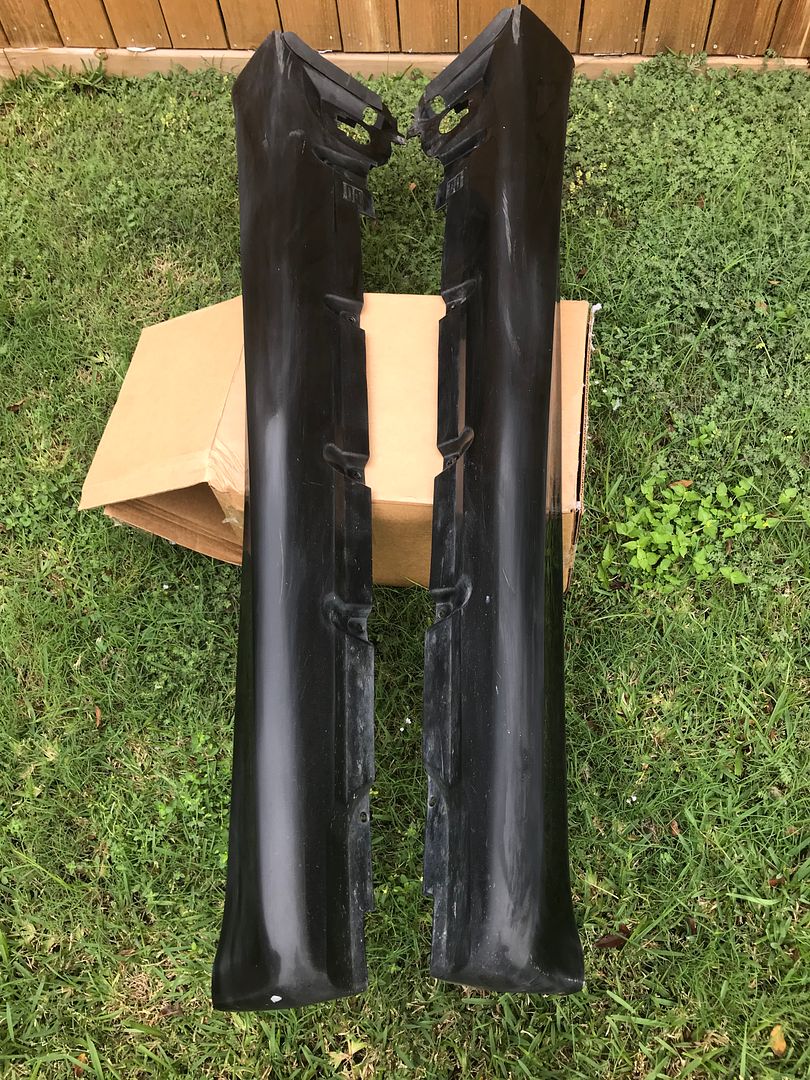
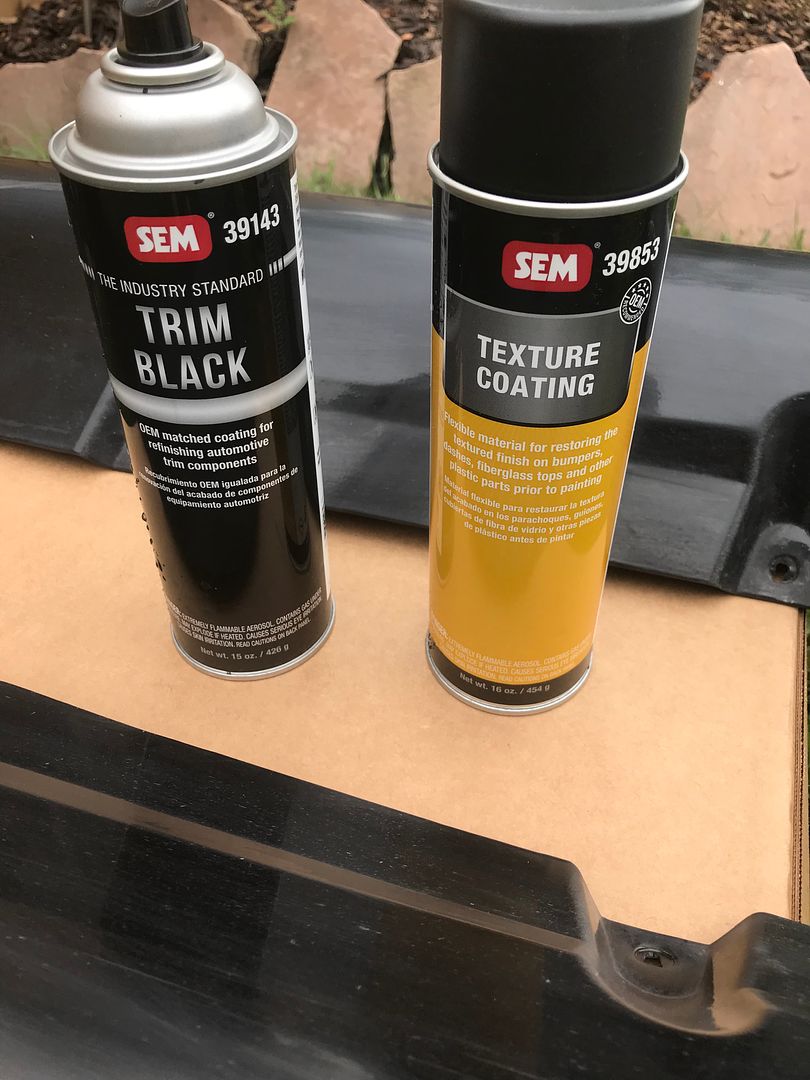
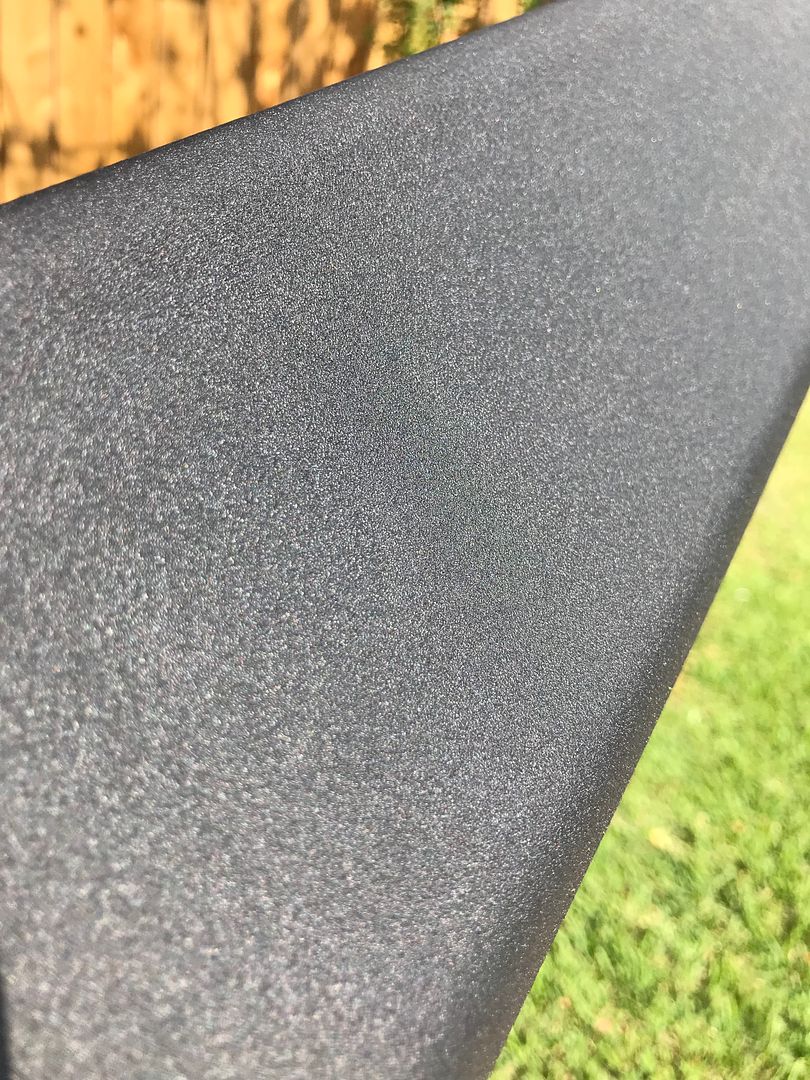
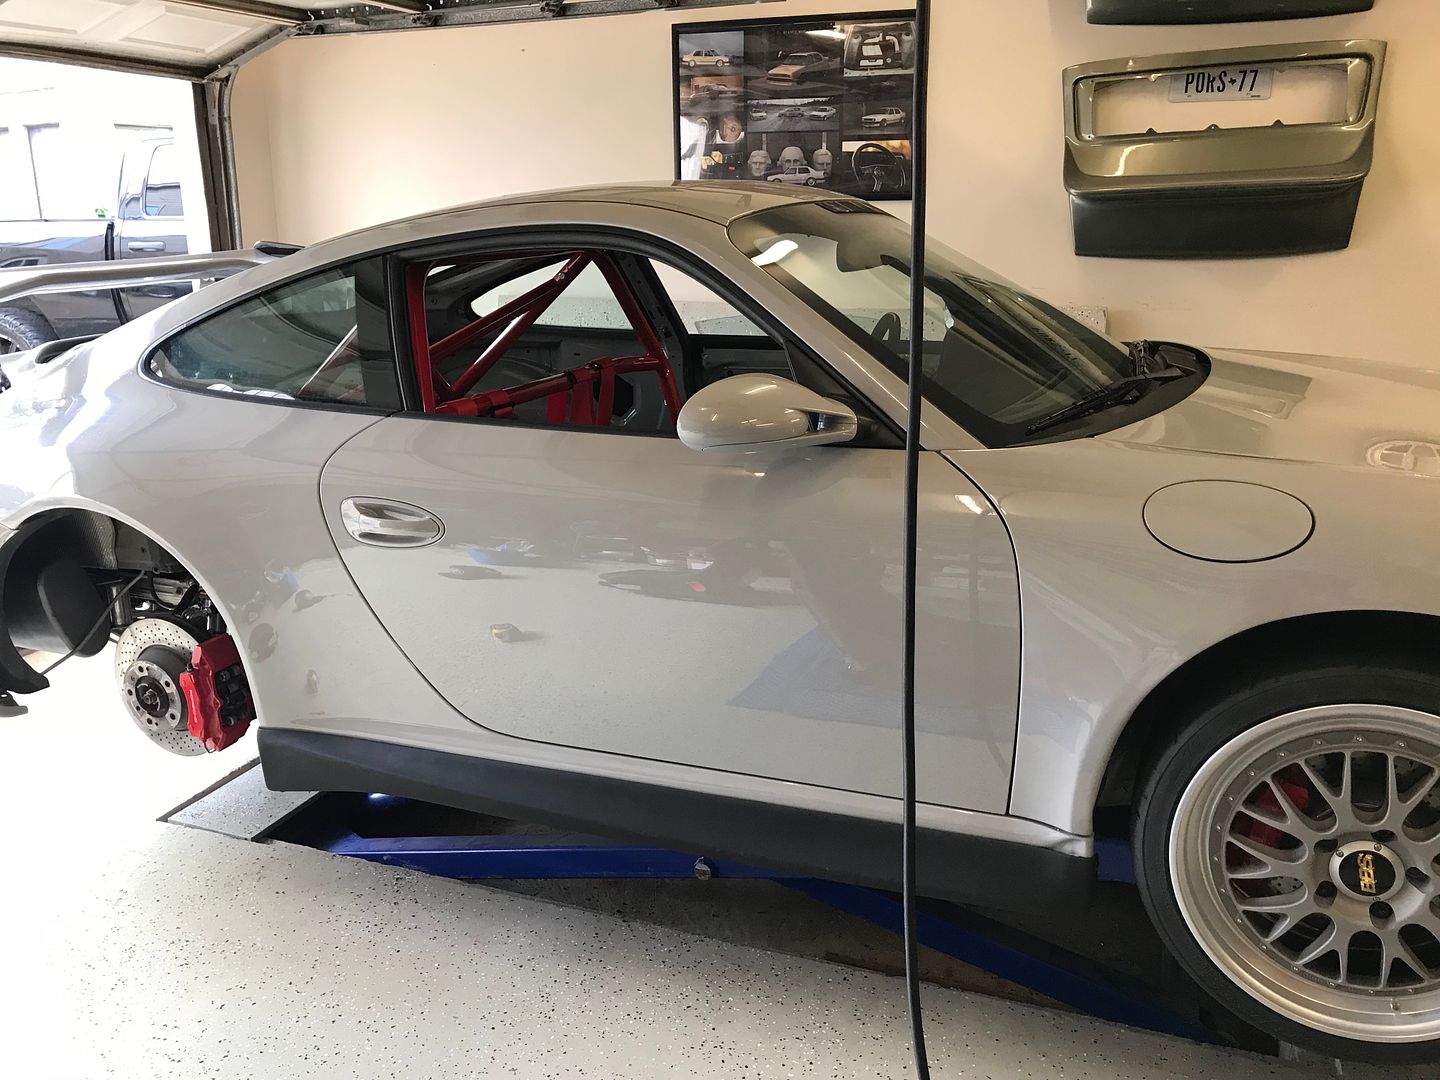
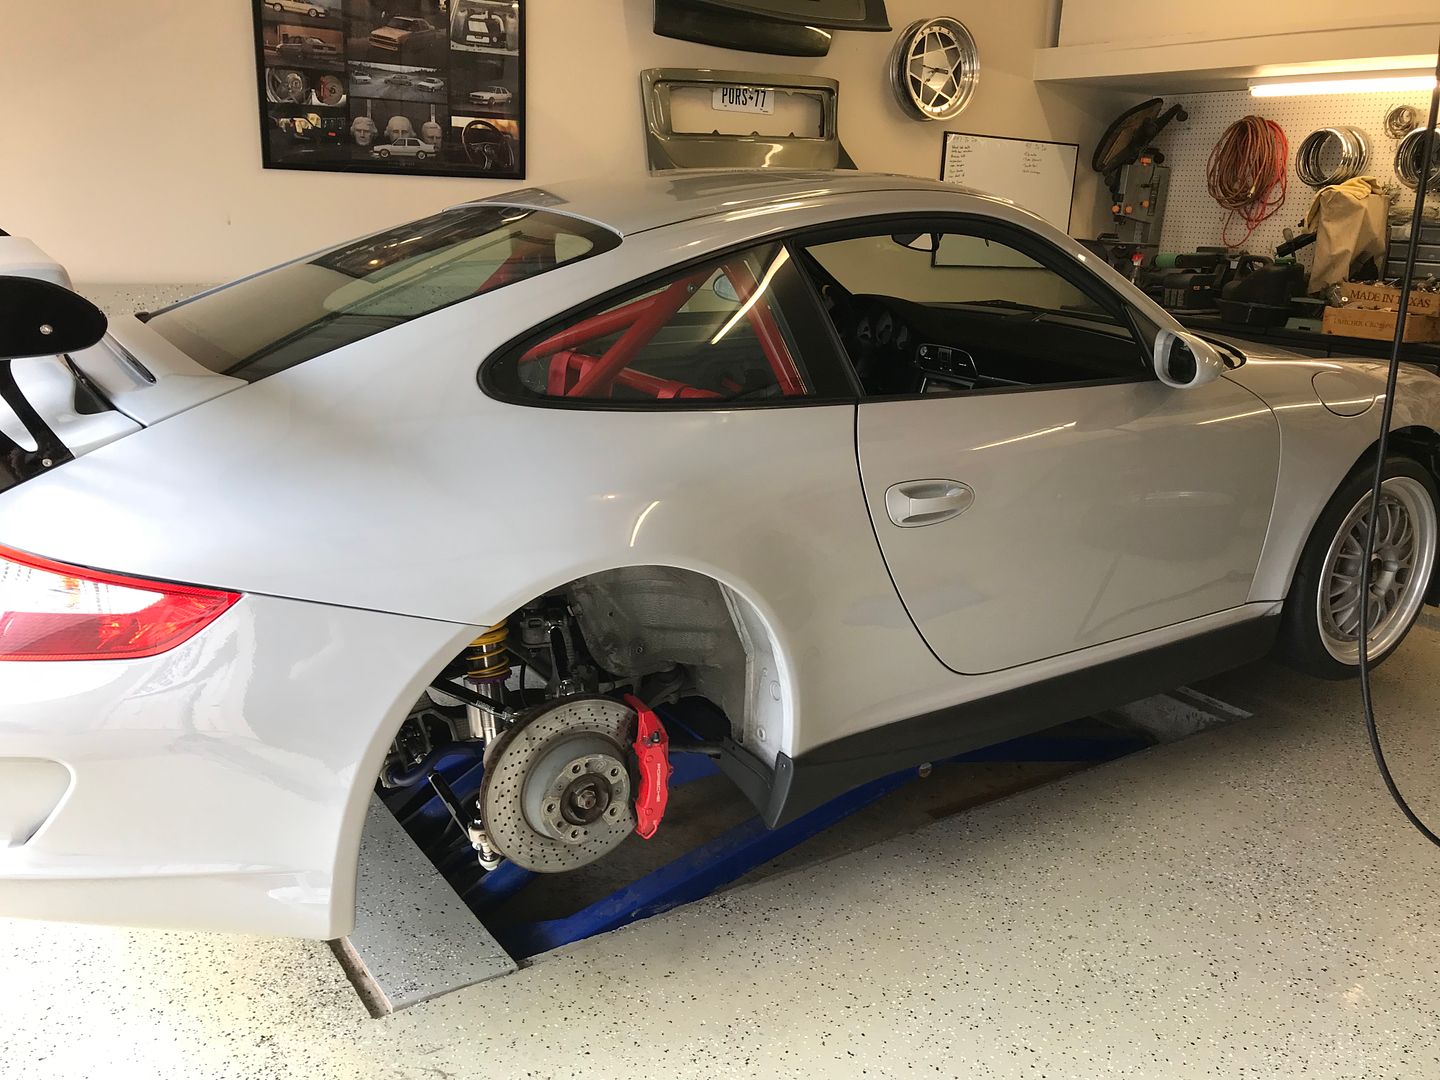
I picked up some used Techart side skirts. They came gloss black. I roughed them up with a scotch brite pad and textured them.
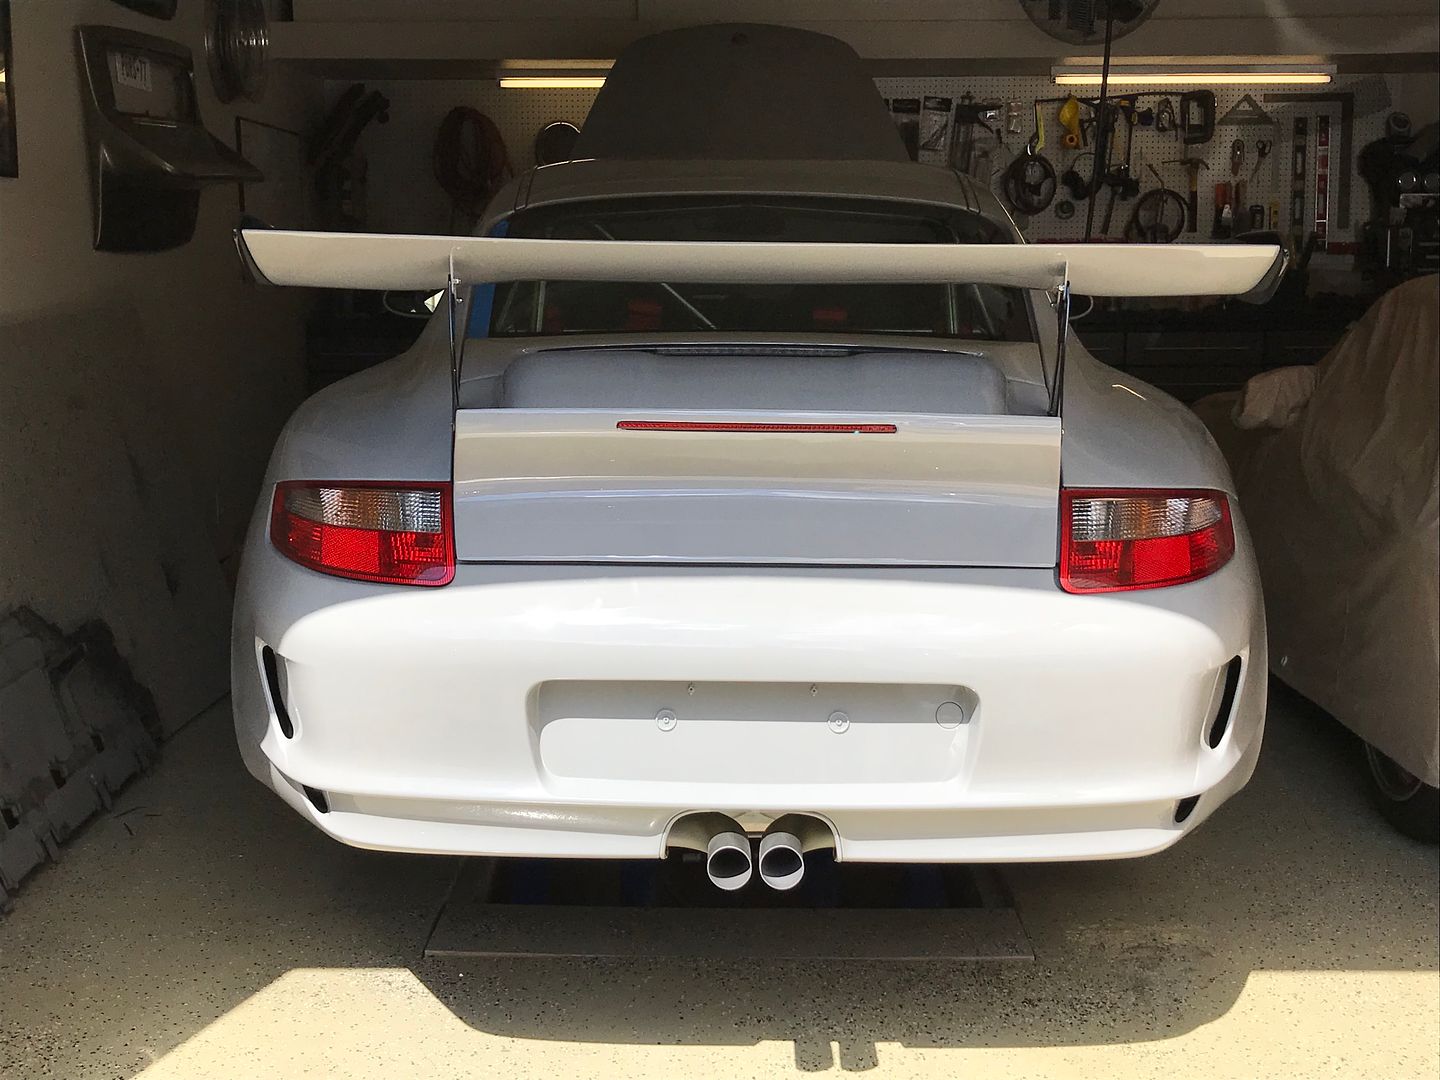
Finally installed the rear bumper with the exhaust on for good. Needs a little work but fits well. The deck lid needs adjustment now, it's way off.
And Sunday afternoon I rinsed it off and I finally got to take it for the first drive. It's loud and much faster than I thought it would be.

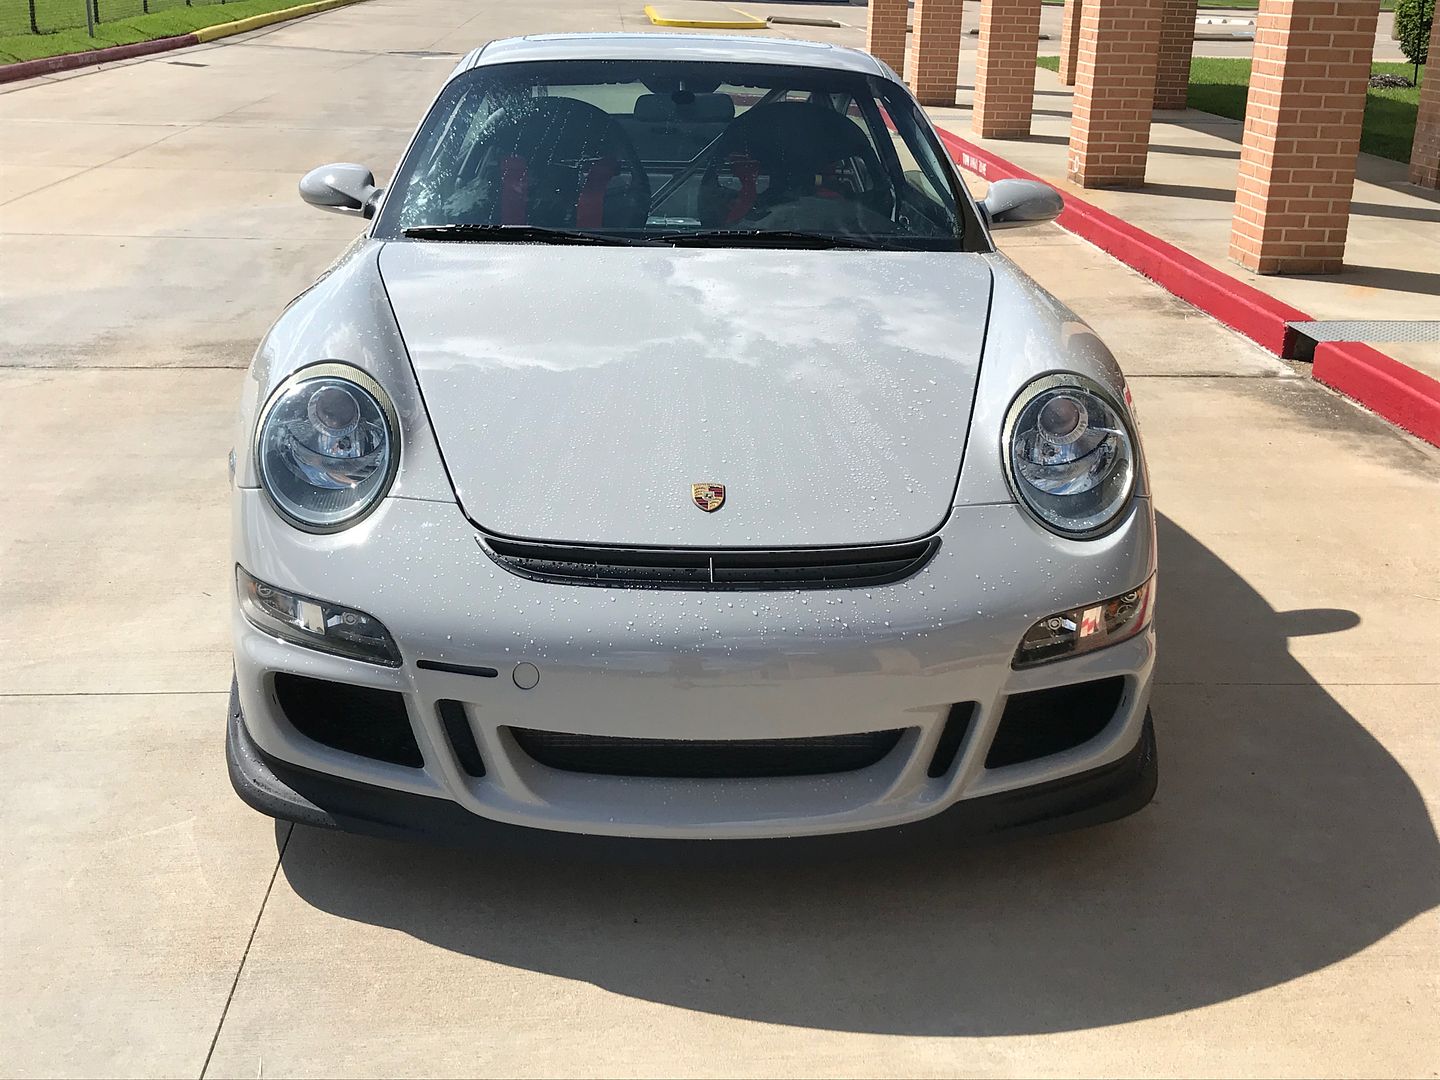
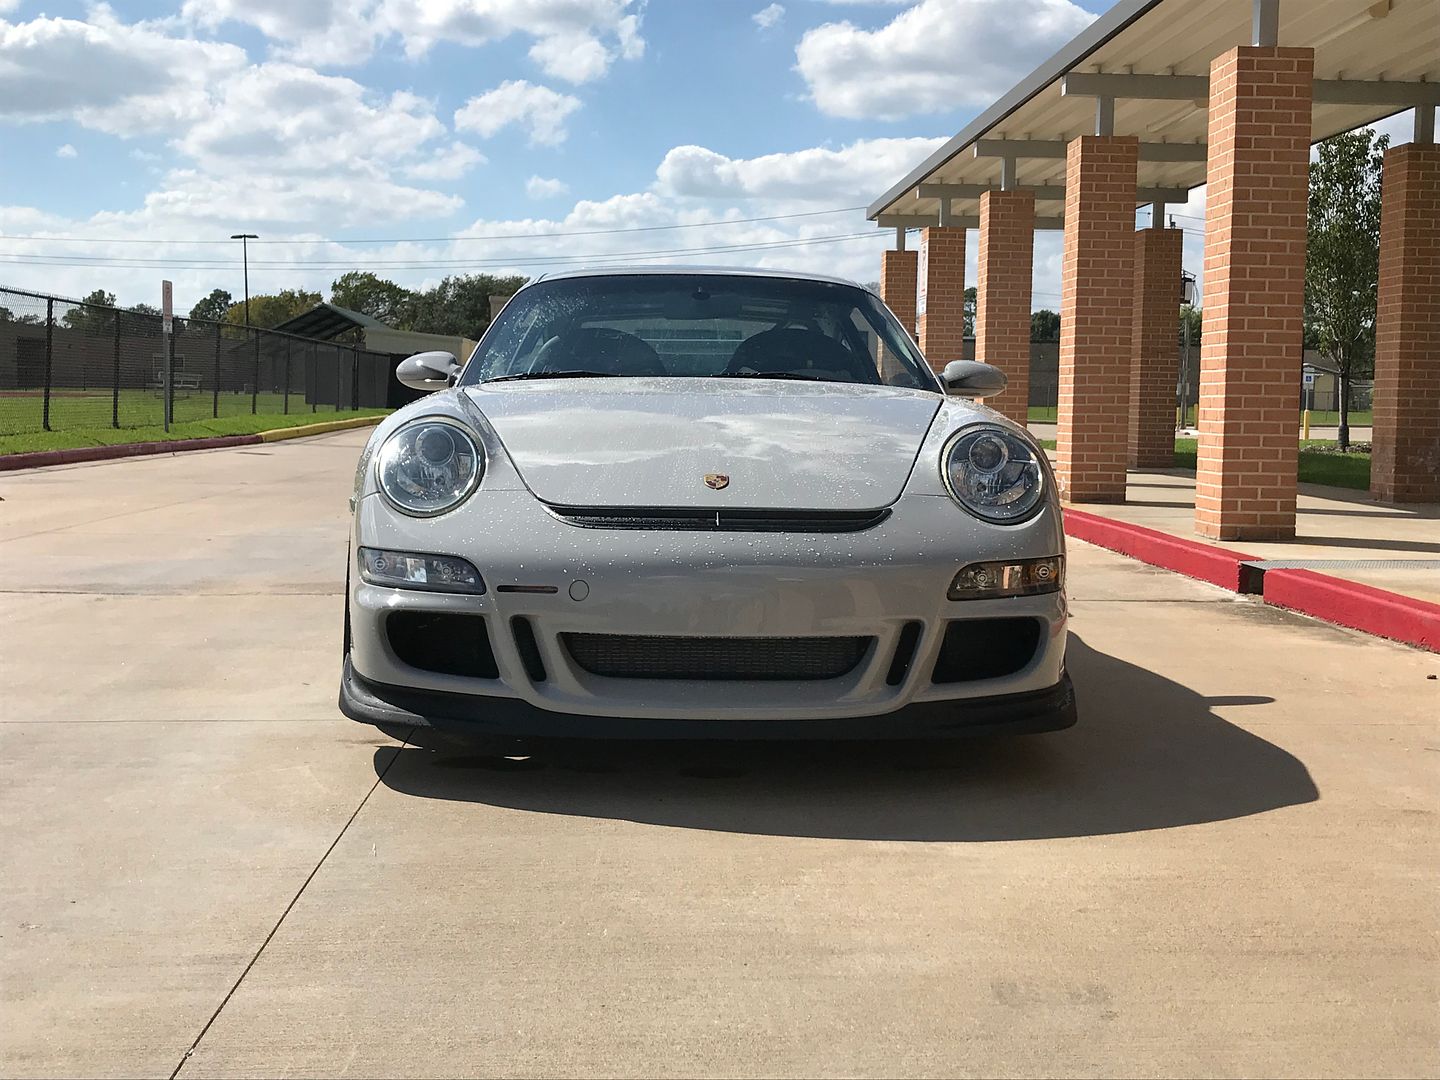

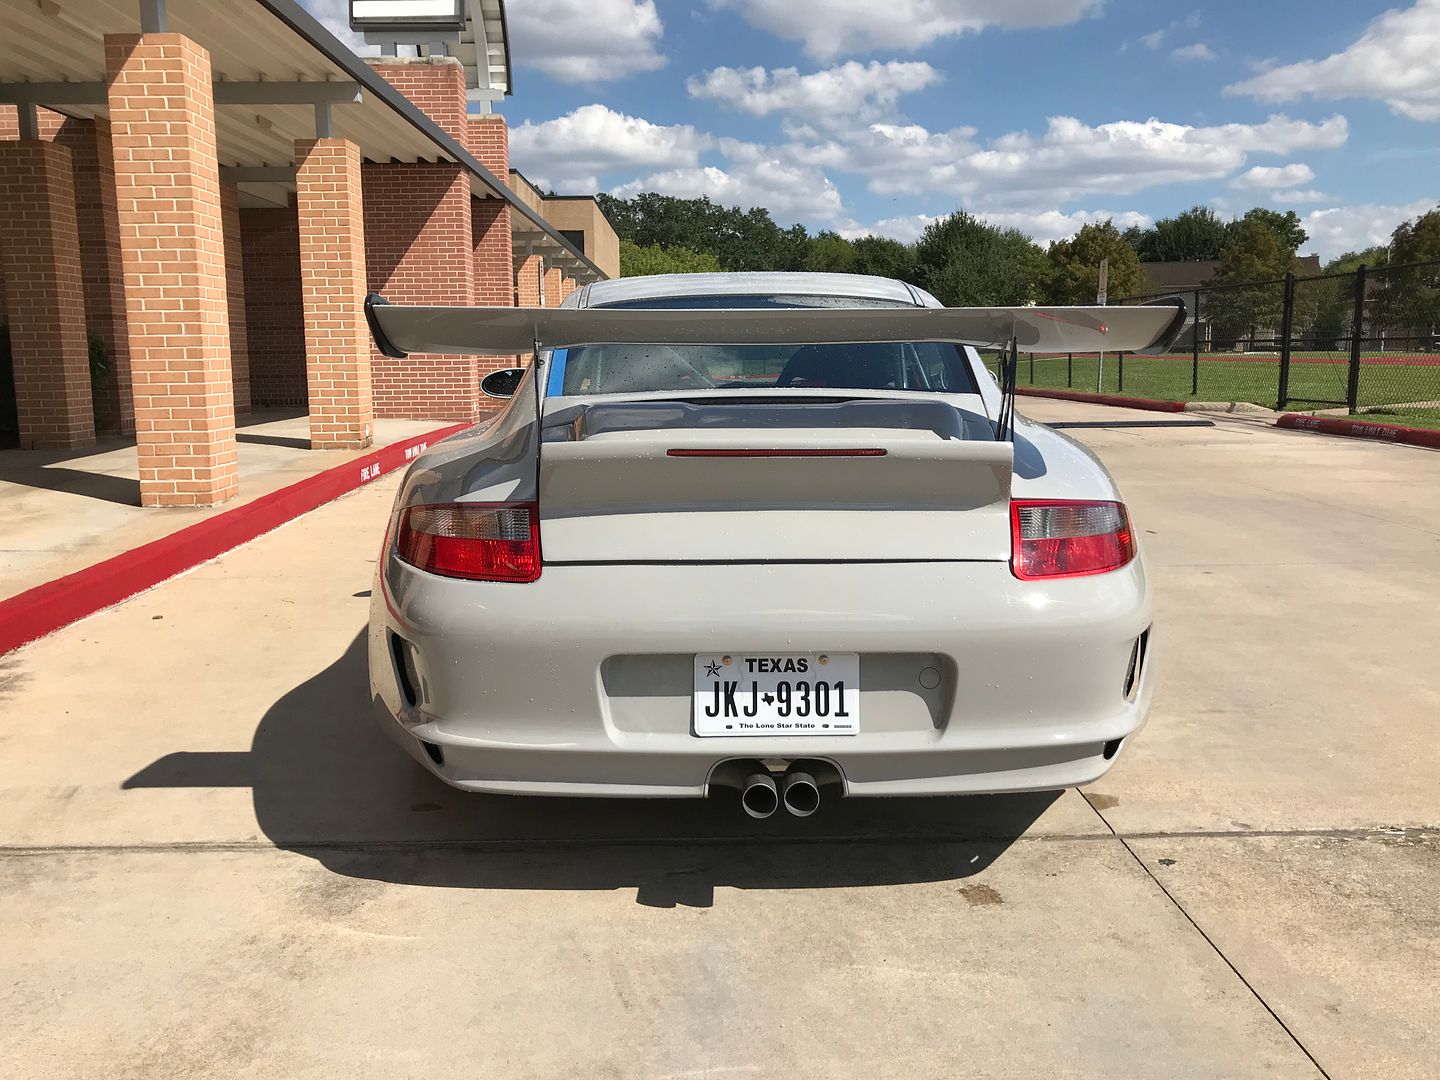
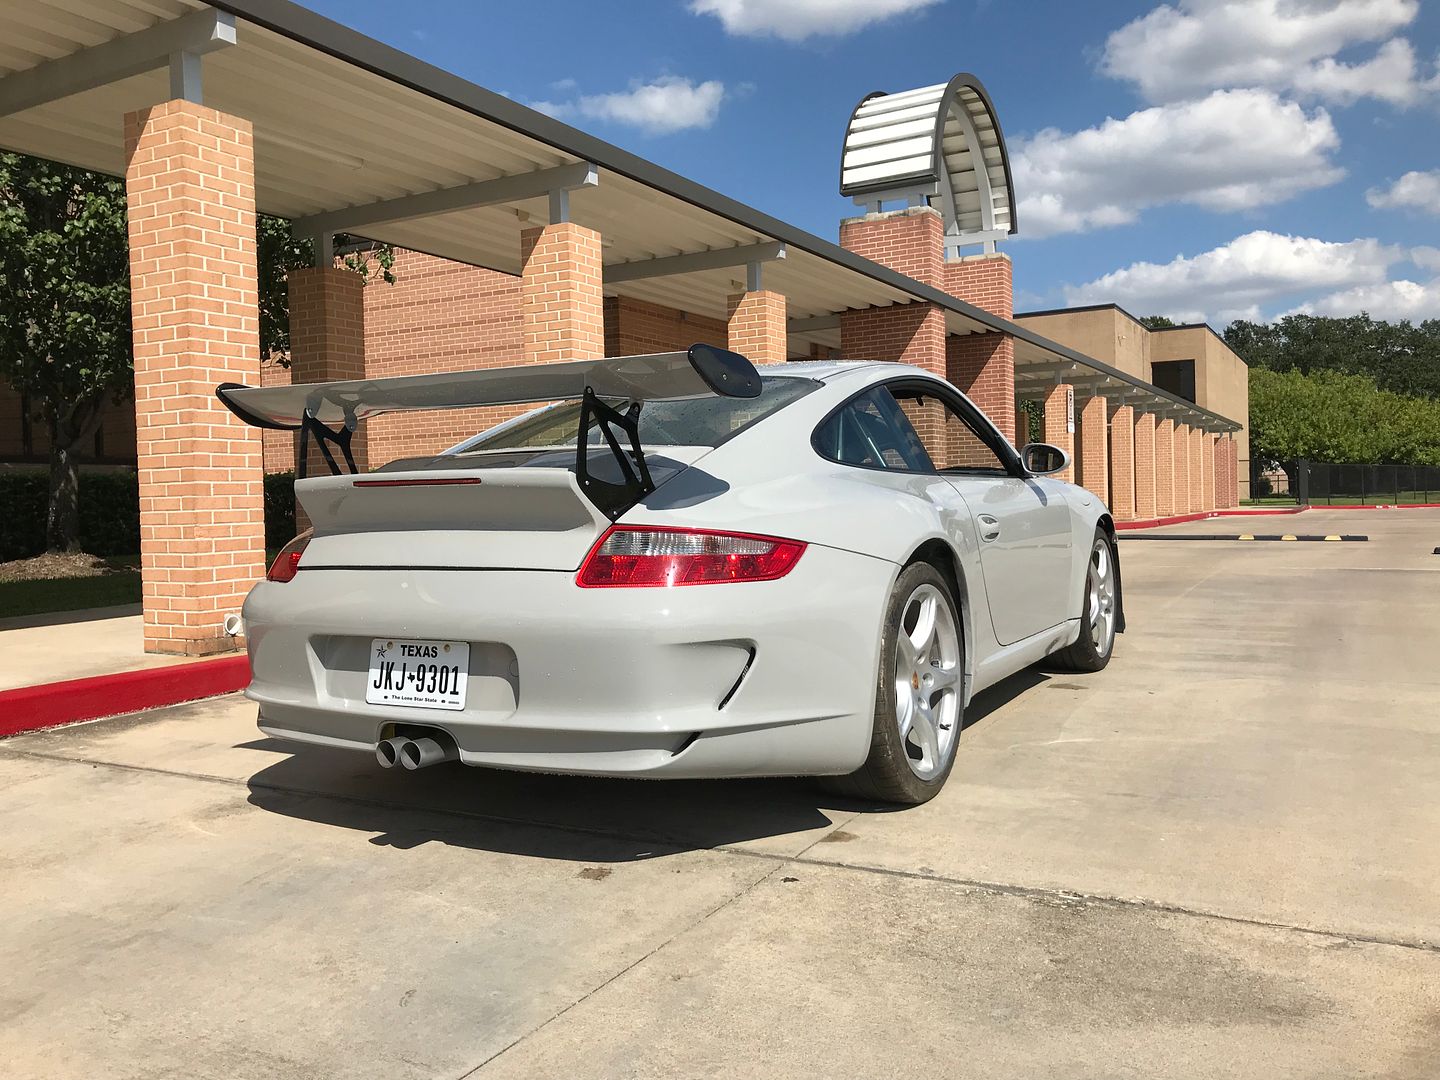
Besides re-adjusting some panels, I'm pretty happy with how the exterior turned out.
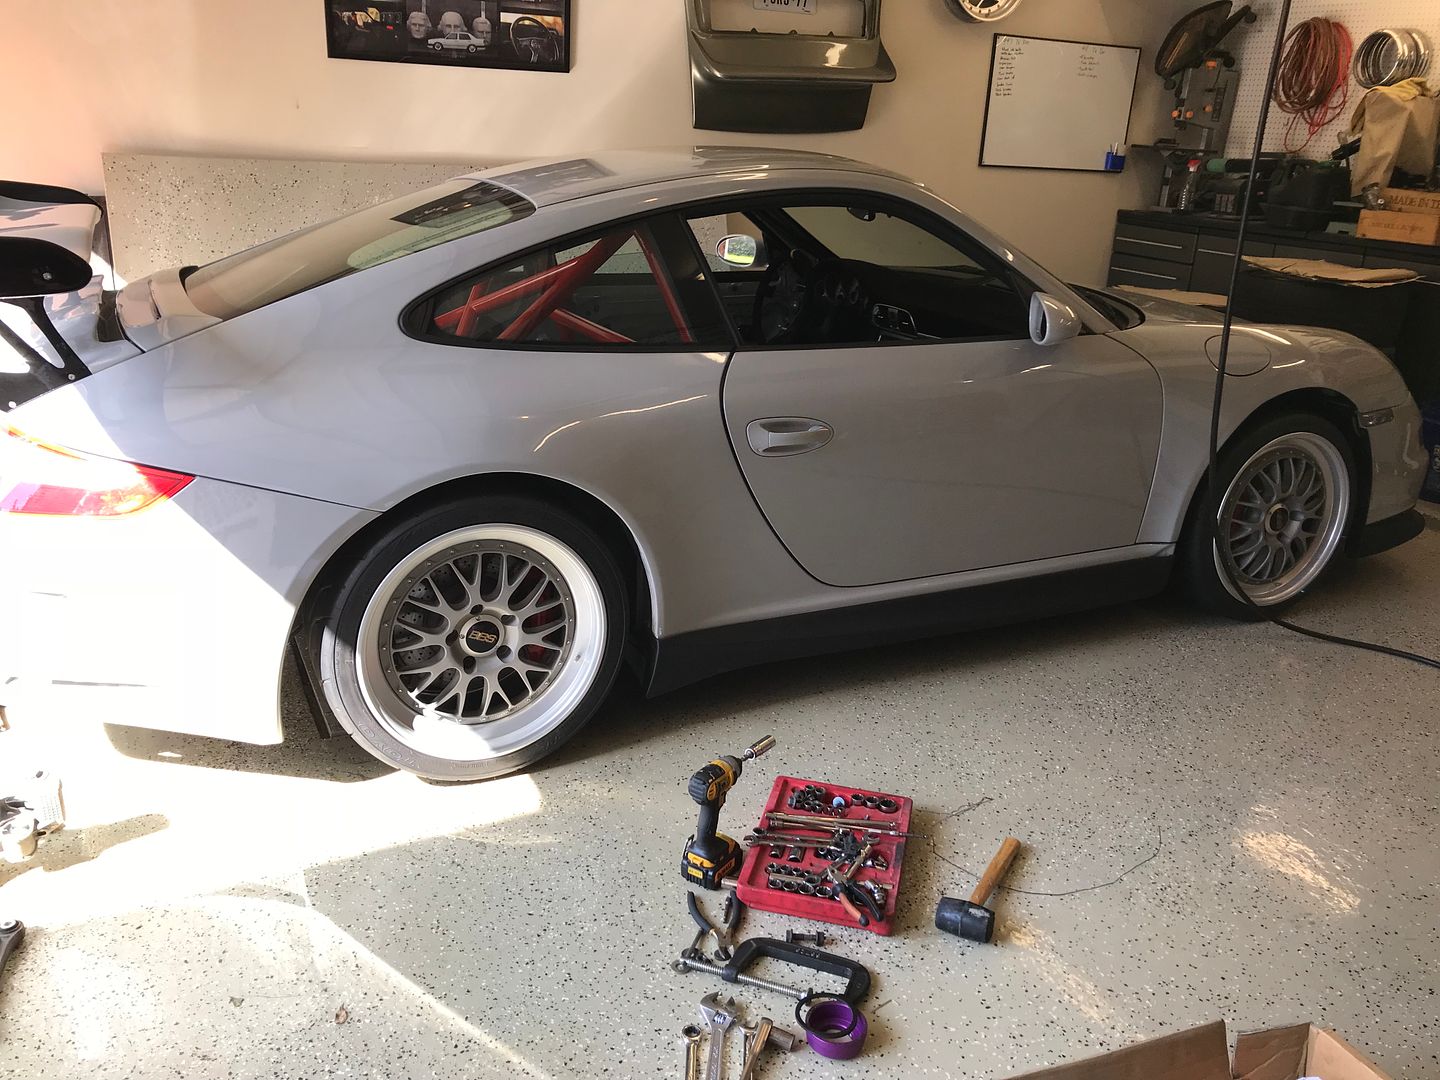
Suspension and wheels are next
Got the exhaust back from my friend Alex who finished welding everything up and then had it all sand blasted.
And applied ceramic coating
Went to install it and broke a vband clamp so no sound clips yet.
Re-installed the sunroof. I was hoping to delete it and do a carbon roof, but they are expensive and will require a full cage, so for now it'll be a wish list item
Finished up the seat belts, still need to make some adjustments.
And installed a Rennline fire extinguisher mount. This was a huge pain in the ***.
I picked up some used Techart side skirts. They came gloss black. I roughed them up with a scotch brite pad and textured them.
Finally installed the rear bumper with the exhaust on for good. Needs a little work but fits well. The deck lid needs adjustment now, it's way off.
And Sunday afternoon I rinsed it off and I finally got to take it for the first drive. It's loud and much faster than I thought it would be.
Besides re-adjusting some panels, I'm pretty happy with how the exterior turned out.
Suspension and wheels are next
10-30-2017, 12:43 PM
#80
Rennlist Member
yeah, i mean, it looks okay. /s
AWESOME build!!! That interior is gorgeous but would drive me nuts trying to keep it clean.
It definitely needs to be dropped so can't wait for the suspension tune, E88s, some vid clips and your first impressions. You said you're going to weigh it right? Any dyno tuning at all?
AWESOME build!!! That interior is gorgeous but would drive me nuts trying to keep it clean.
It definitely needs to be dropped so can't wait for the suspension tune, E88s, some vid clips and your first impressions. You said you're going to weigh it right? Any dyno tuning at all?
 10-31-2017, 11:40 PM
#83
Rennlist Member
You've got your plates on this car. Will this be a street legal car? Was the car title salvaged? If so, was it difficult to get it registered again.
Love this thread. Thanks for sharing
Love this thread. Thanks for sharing
11-03-2017, 11:08 AM
#85
Instructor
Thread Starter
Definitely going to try to weigh it and dyno once it's all together.
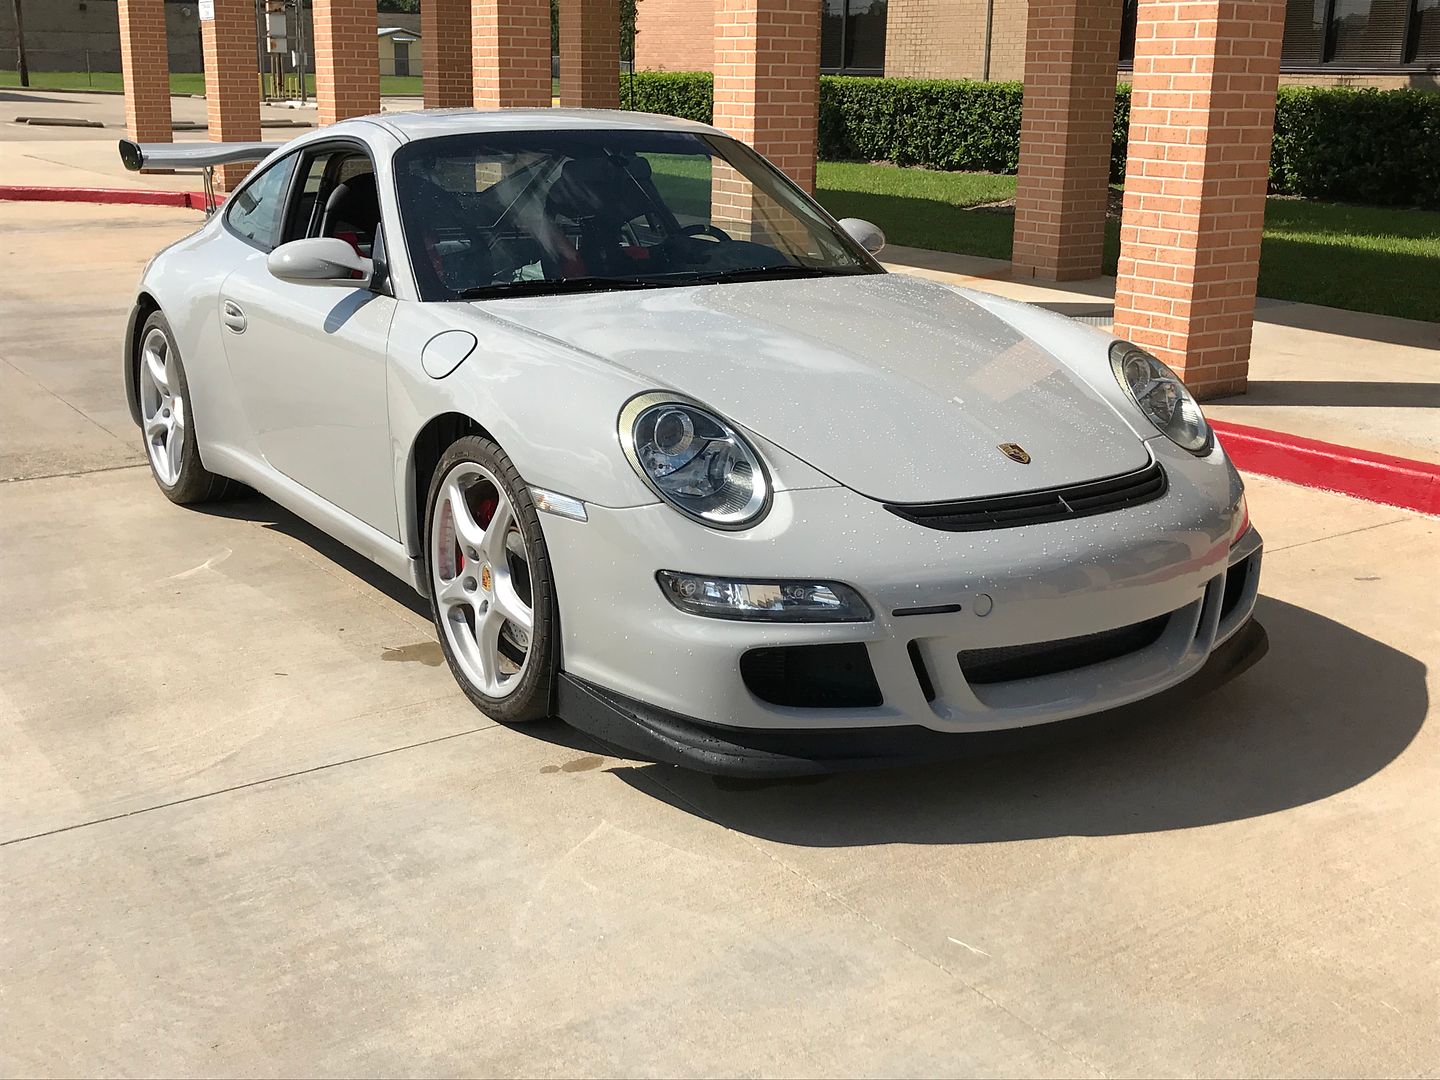
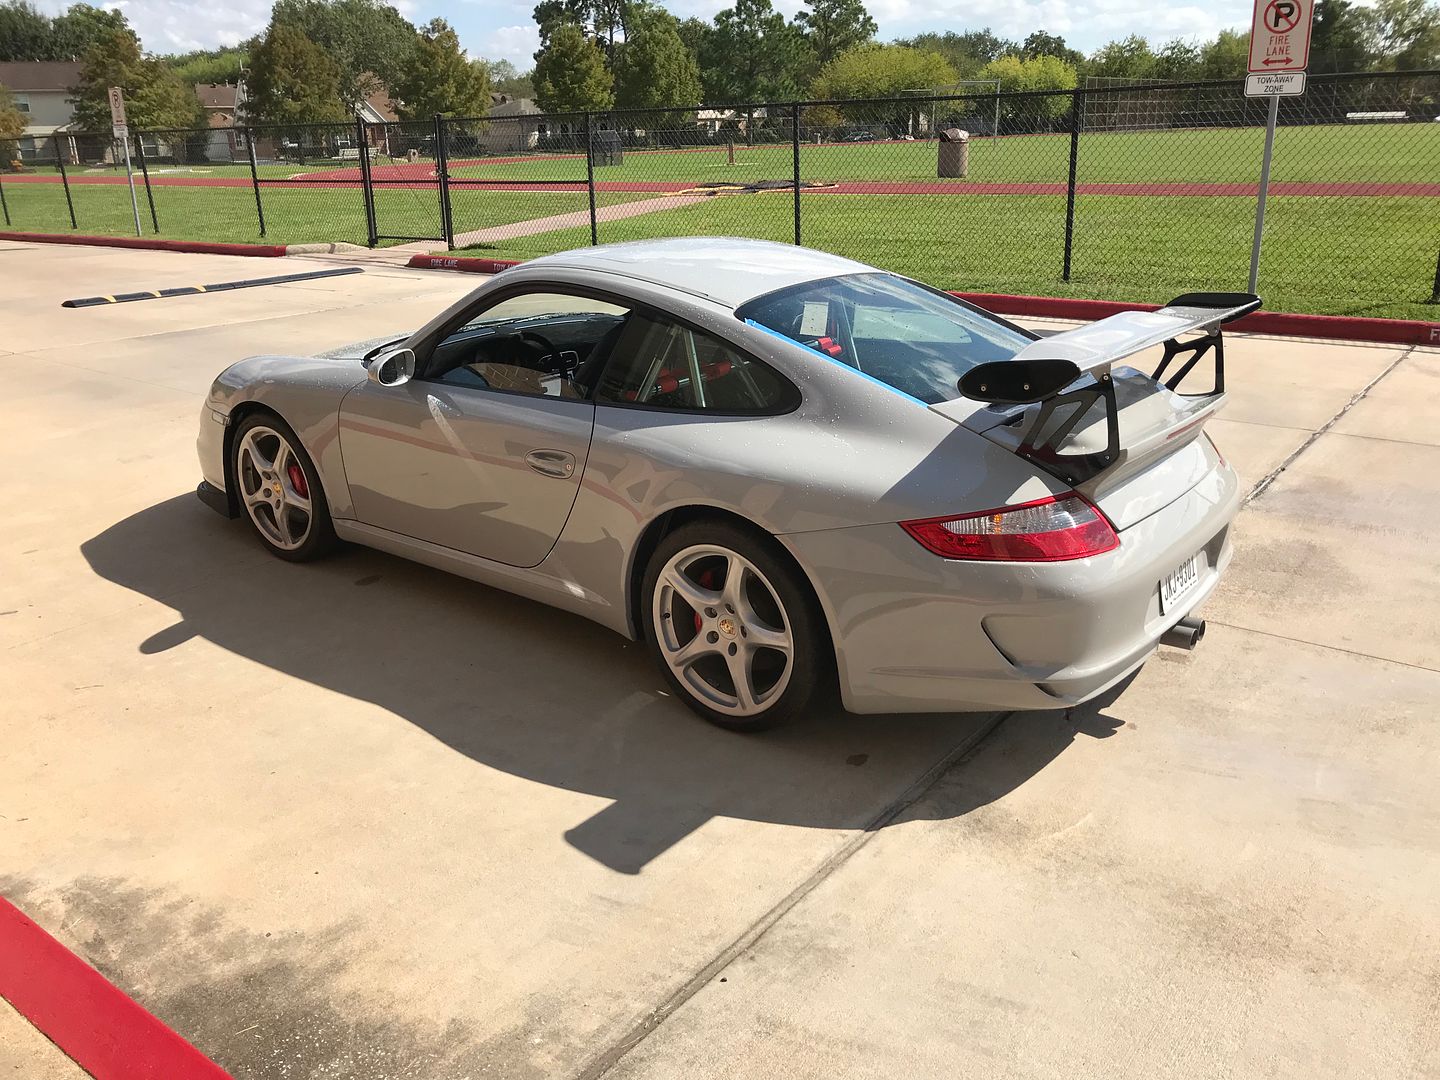
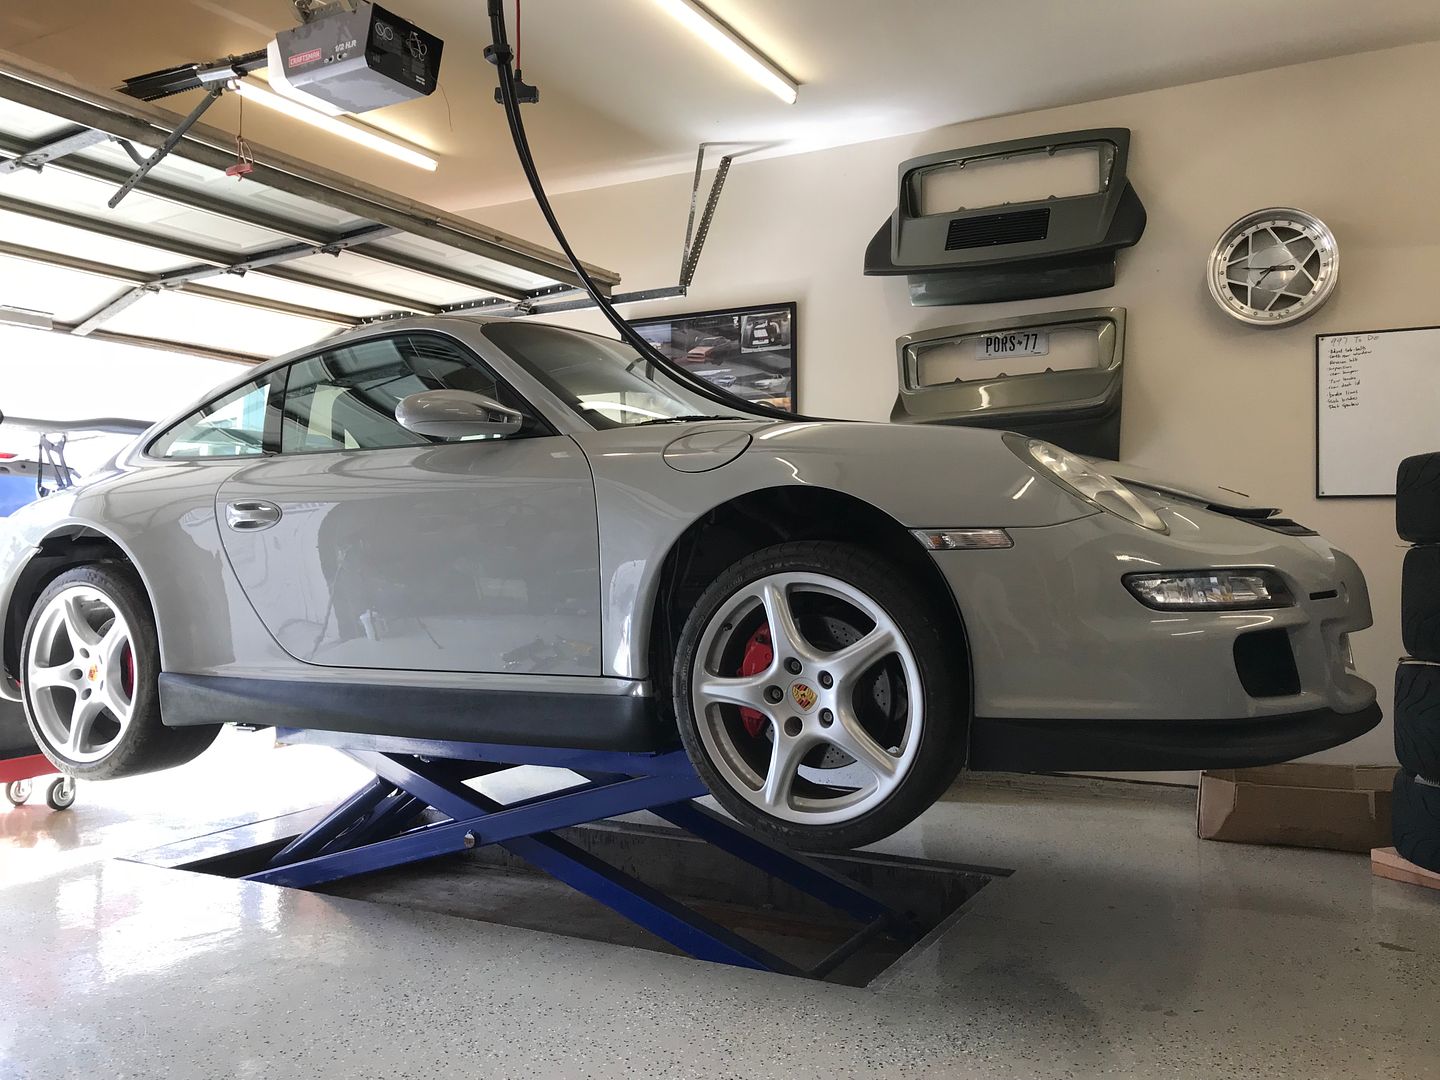
I'm very happy with the color choice, it's even better in person.
When the title is issued from Copart it's "Salvage" but once I fixed it and registered it in my name it's now "Re-built" so it's street legal and only required one additional document noting what parts were replaced, where they came from, and the cost of the parts. It was not difficult to do.
Mounted the side skirts with new double-stick tape
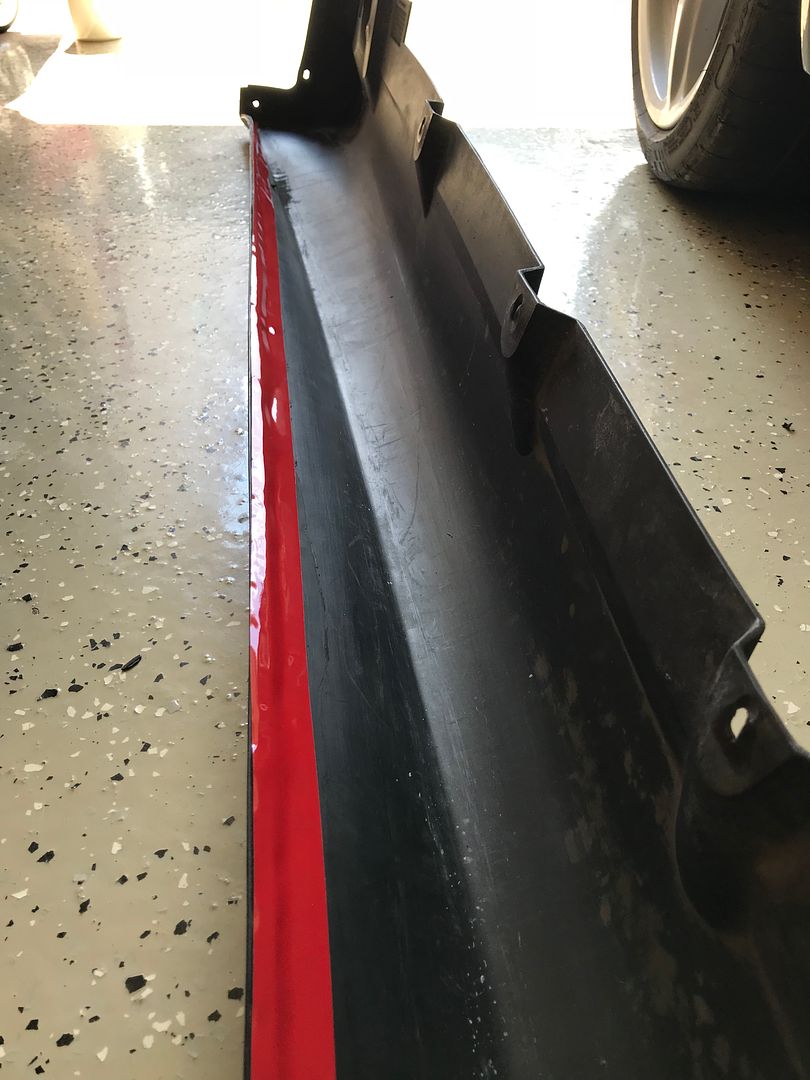
They cover most the damage on the skirt, but not all of it.
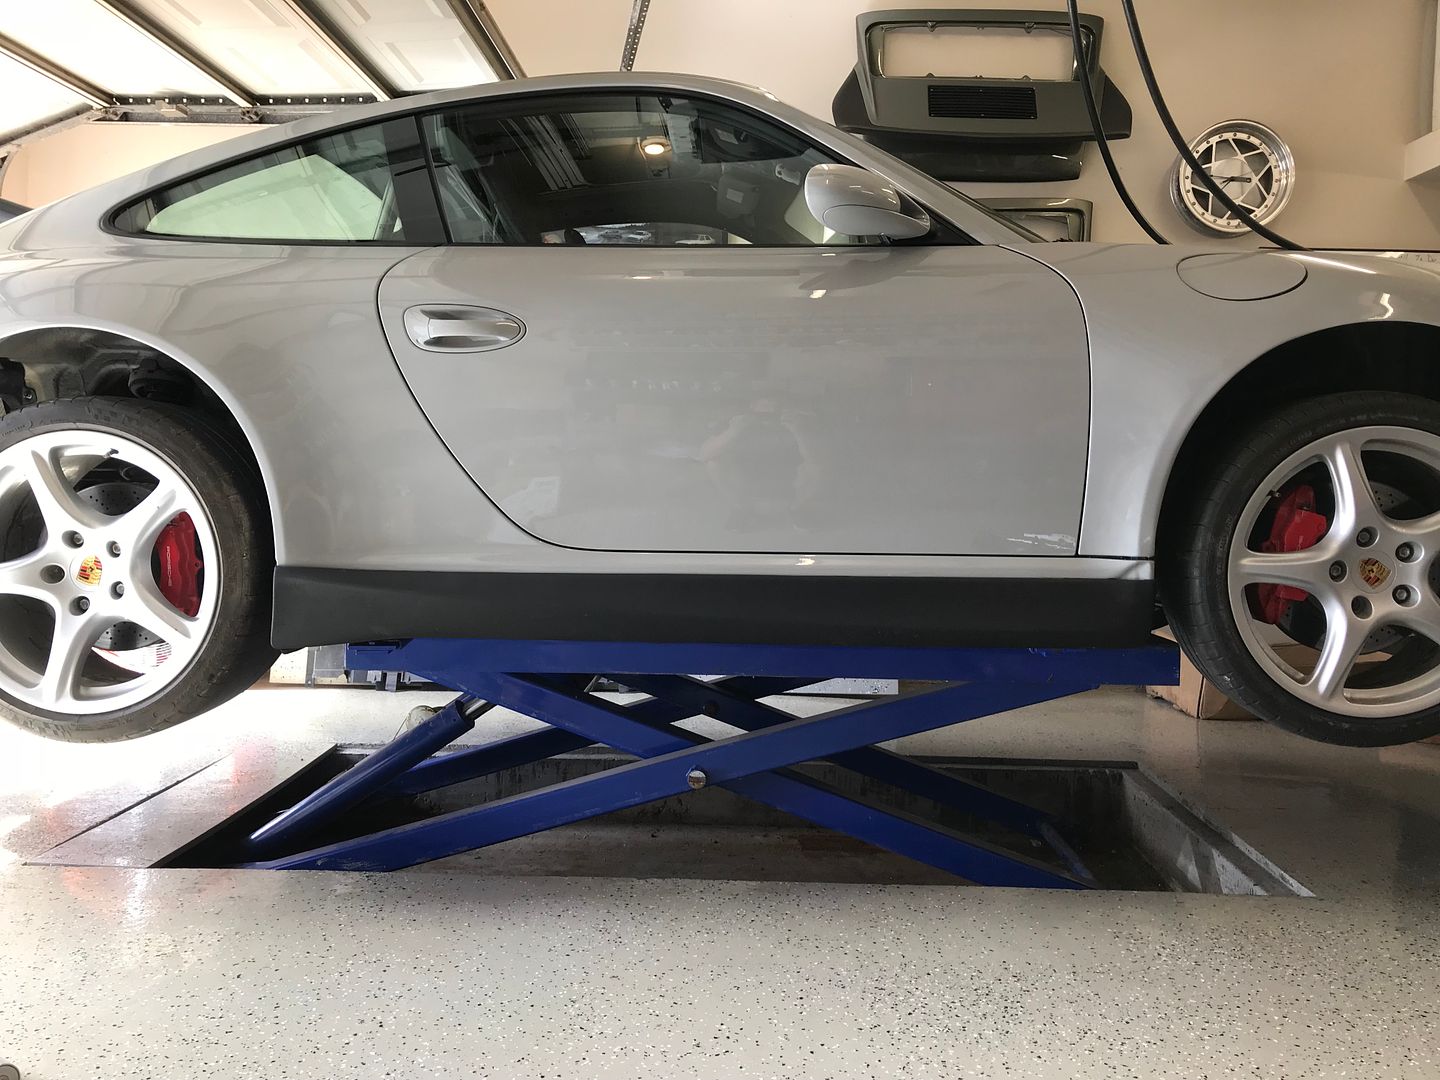
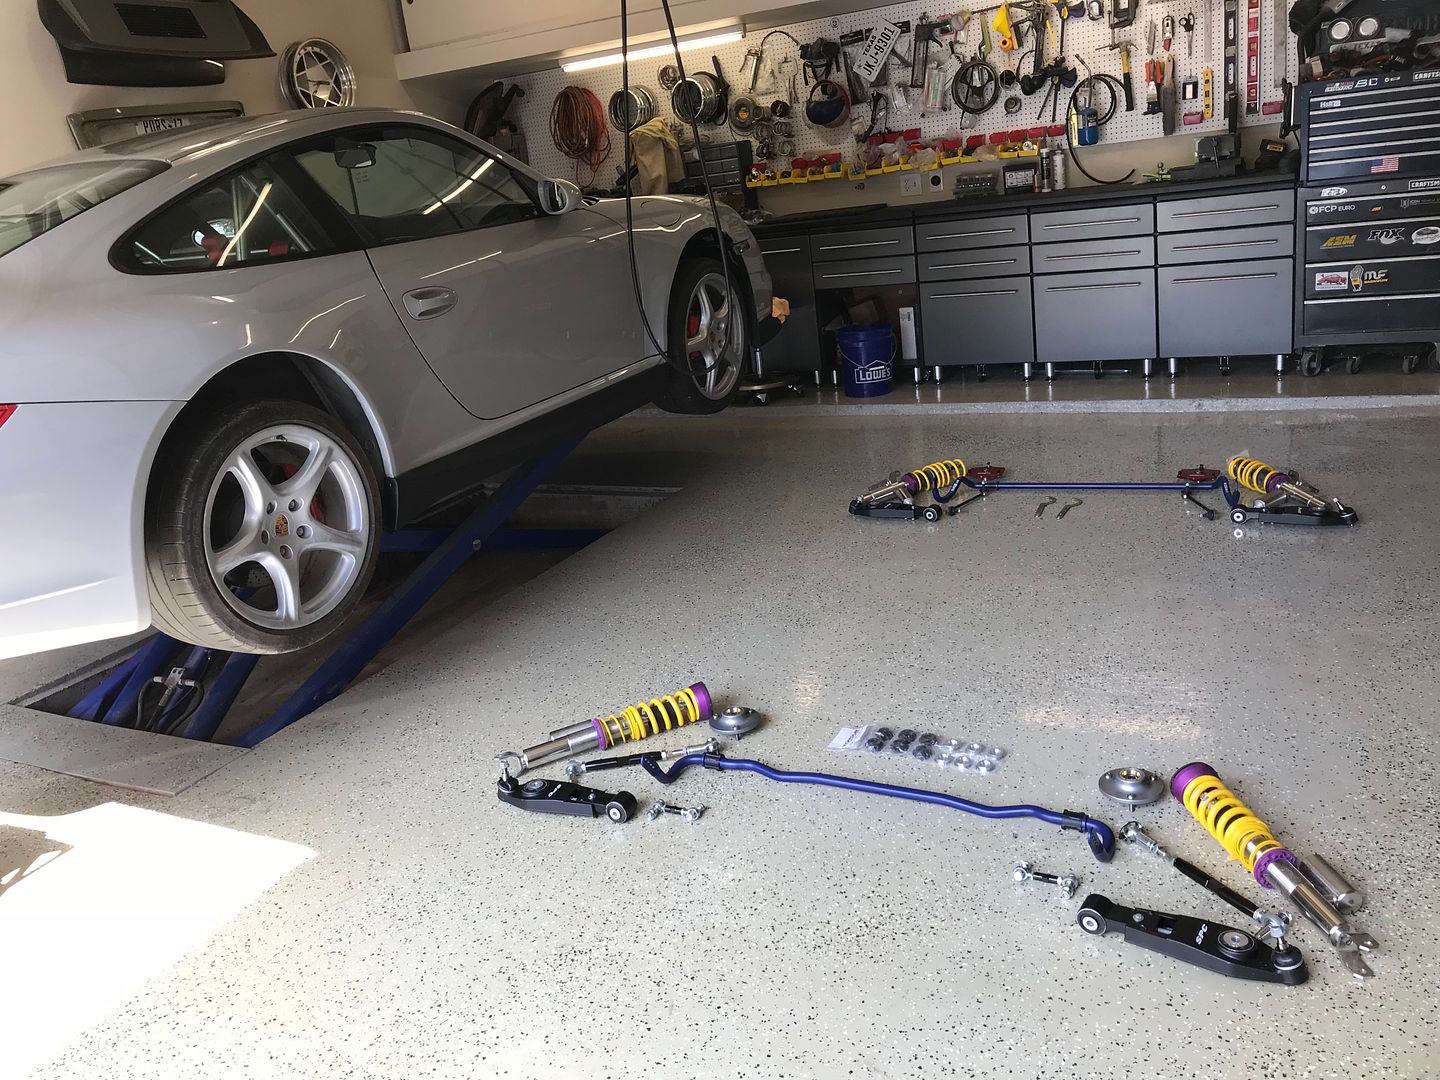
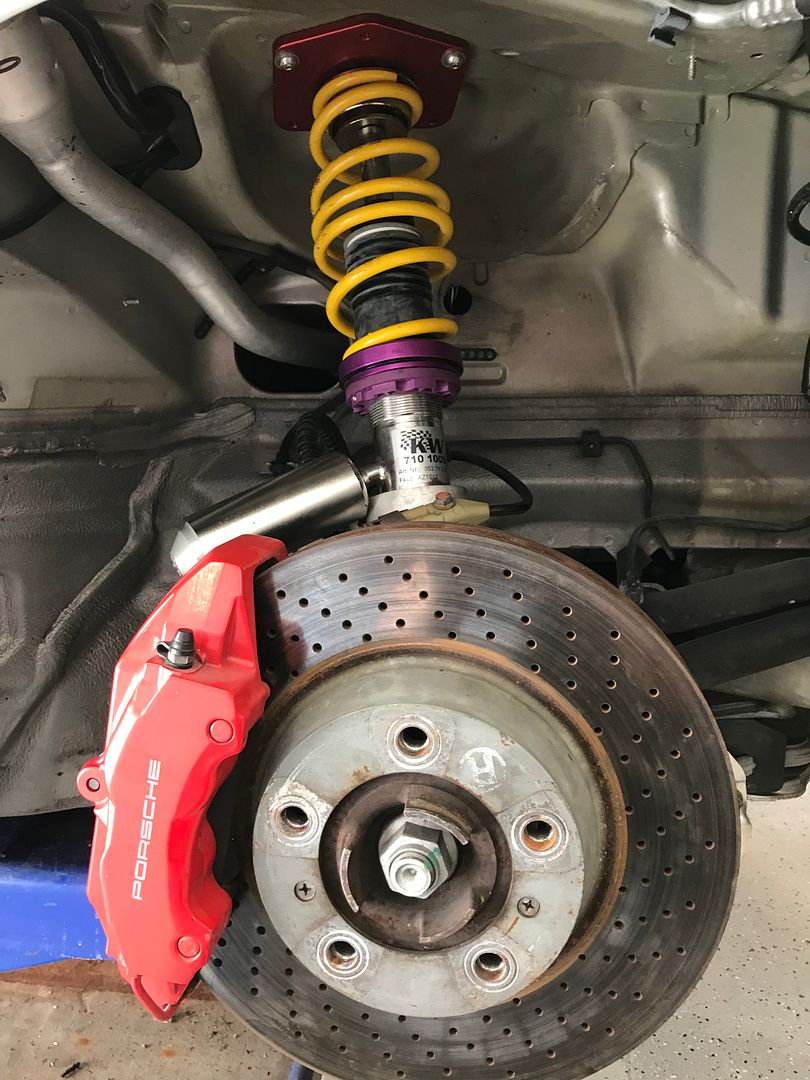
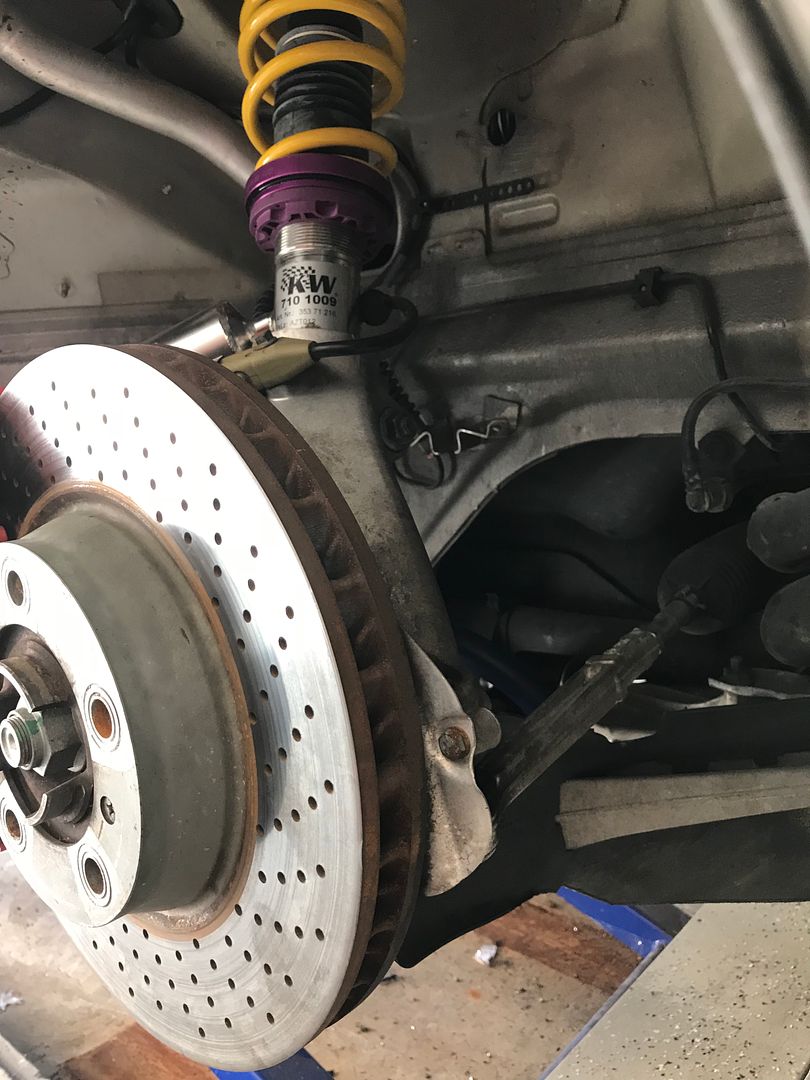
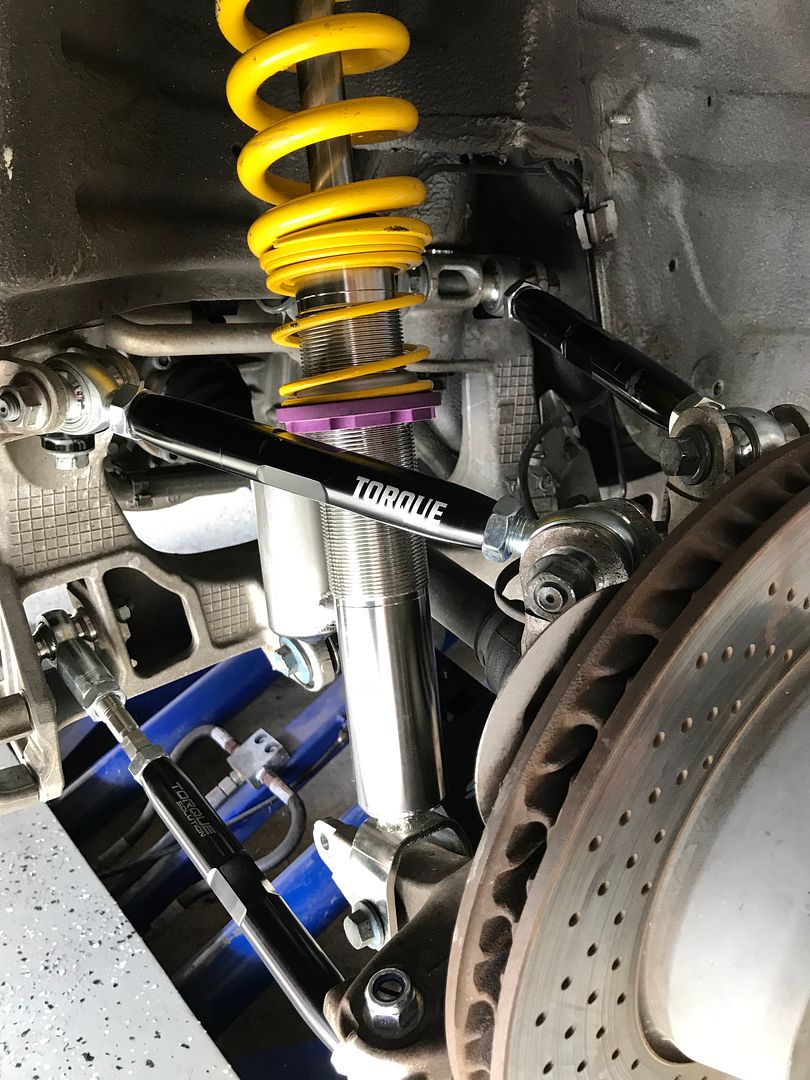
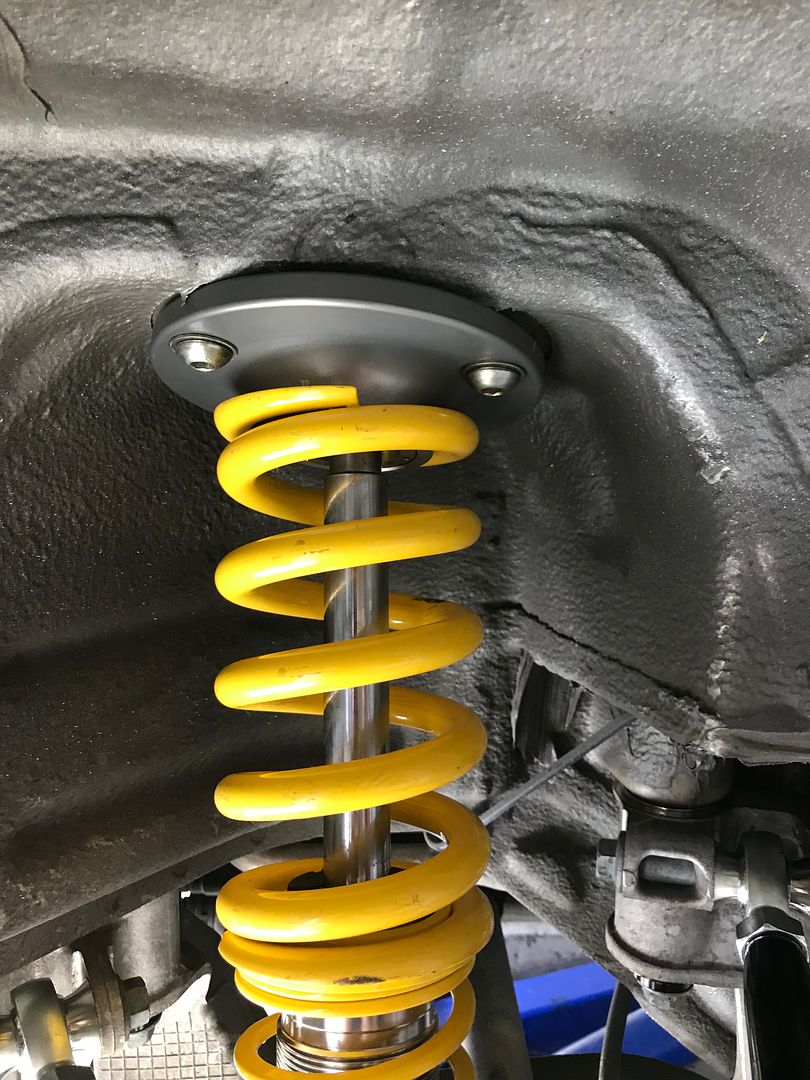
Started on the suspension
KW V3 coilovers
H&R sway bars
Tarett front monoball mounts
Turbokraft rear monoball mounts
SPC adjustable lower control arms front and rear
Torque Solution Dogbone Rear Control Arms
Torque Solution Rear Toe Links
Torque Solution Solid Rear Subframe Bushings
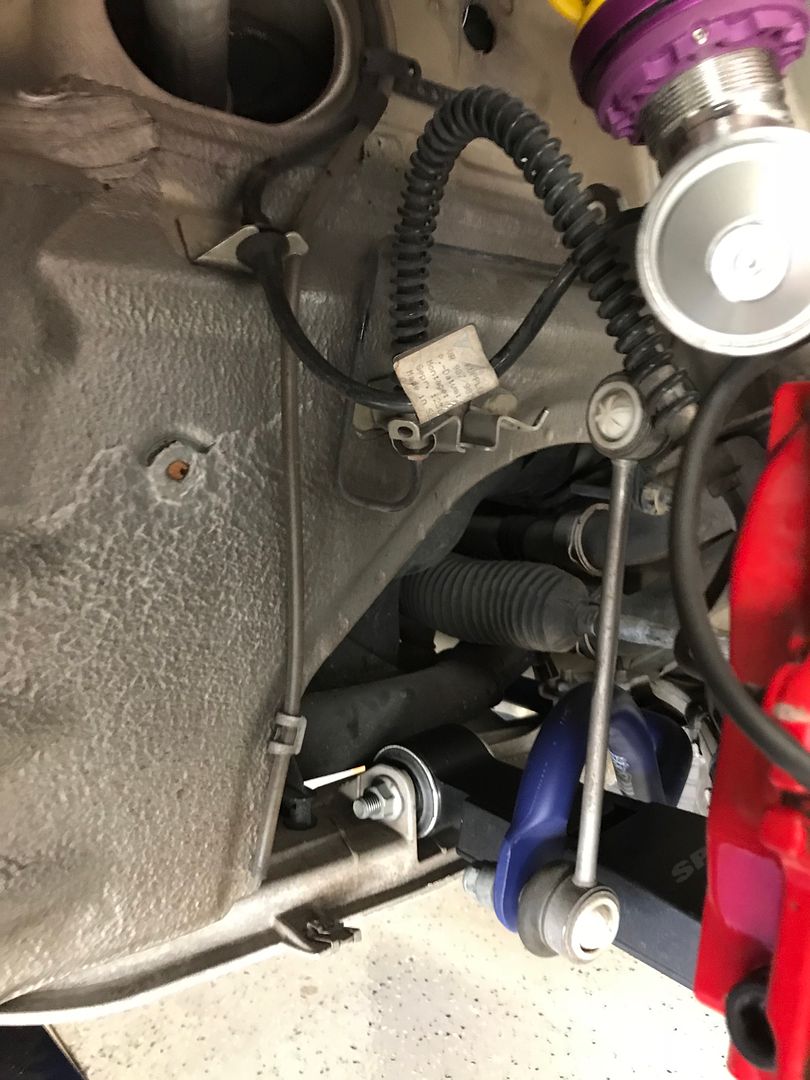
Torque Solution Front Toe / Bump Steer Kit
Torque Solution Rear Swaybar Links
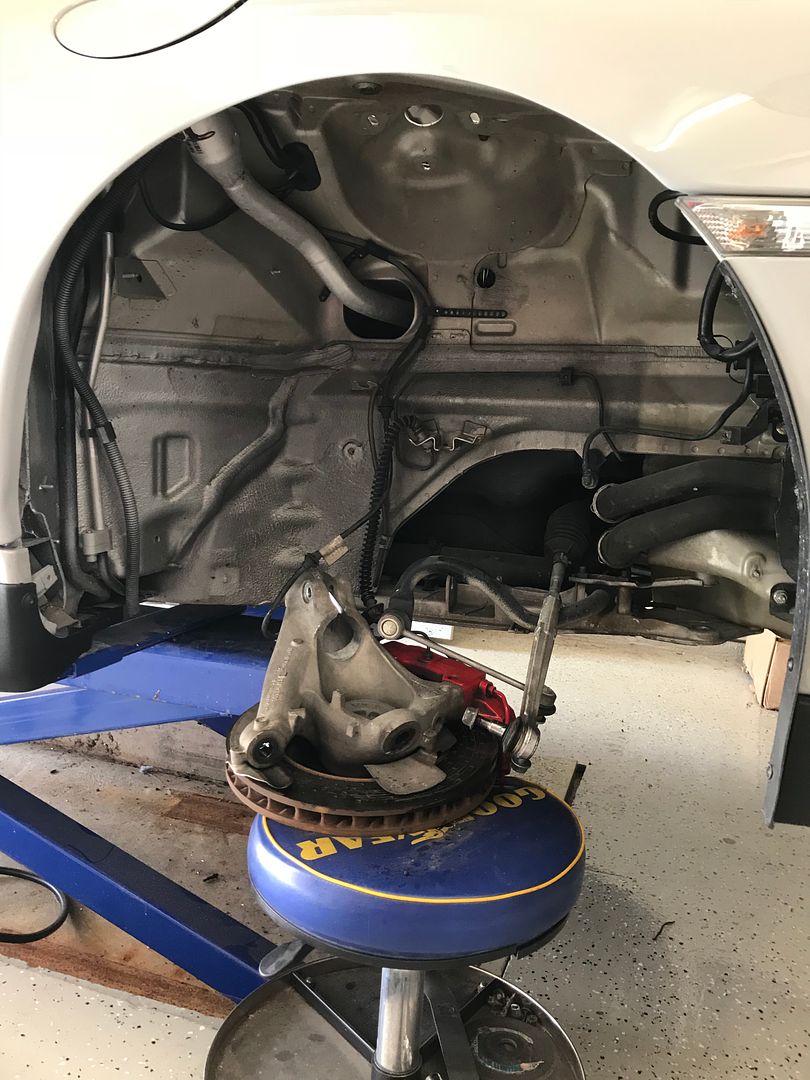
Front taken apart, wasn't too bad
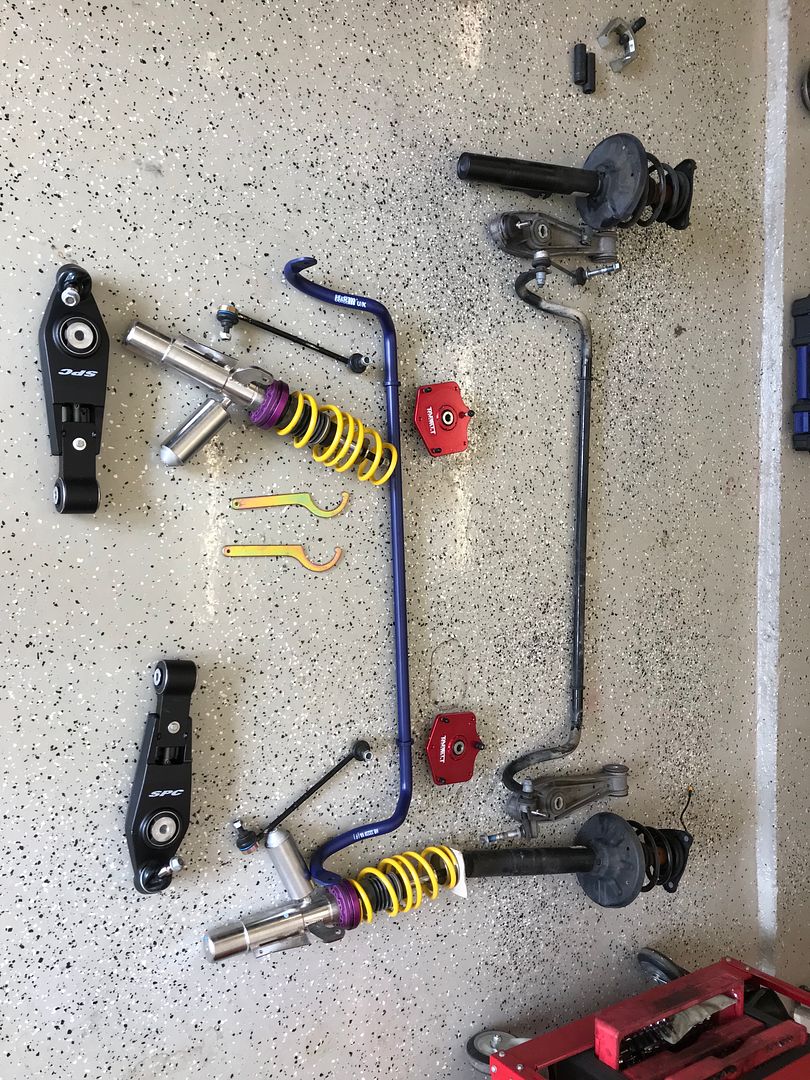
Old vs. New
Front back together
 [/URL]
I'm very happy with the color choice, it's even better in person.
When the title is issued from Copart it's "Salvage" but once I fixed it and registered it in my name it's now "Re-built" so it's street legal and only required one additional document noting what parts were replaced, where they came from, and the cost of the parts. It was not difficult to do.
Mounted the side skirts with new double-stick tape
They cover most the damage on the skirt, but not all of it.
Started on the suspension
KW V3 coilovers
H&R sway bars
Tarett front monoball mounts
Turbokraft rear monoball mounts
SPC adjustable lower control arms front and rear
Torque Solution Dogbone Rear Control Arms
Torque Solution Rear Toe Links
Torque Solution Solid Rear Subframe Bushings
Torque Solution Front Toe / Bump Steer Kit
Torque Solution Rear Swaybar Links
Front taken apart, wasn't too bad
Old vs. New
Front back together
[/URL]

 11-04-2017, 04:11 PM
#89
"Dedicated Track Car".....Sure, keep telling yourself this hahaha. More like "One of the best resurrection projects this board has seen".
I did this to a dirt bike. It was a nasty old Honda. When I finished it was a Rothmans Paris Dakar Ralley Replica. Never saw dirt again.....way to pretty.
I second your Chalk color choice, im sure its ever prettier in person. Everything from the wheels, color, dash etc......perfect palate.
I did this to a dirt bike. It was a nasty old Honda. When I finished it was a Rothmans Paris Dakar Ralley Replica. Never saw dirt again.....way to pretty.
I second your Chalk color choice, im sure its ever prettier in person. Everything from the wheels, color, dash etc......perfect palate.
11-06-2017, 03:11 PM
#90
Instructor
Thread Starter
They are Techart
Not quite over yet 
Thanks!
Haha thanks, I have a problem with going over board on my projects and end up making them too nice (in my opinion) and then am too afraid to drive them. I do really plan on using this car though.
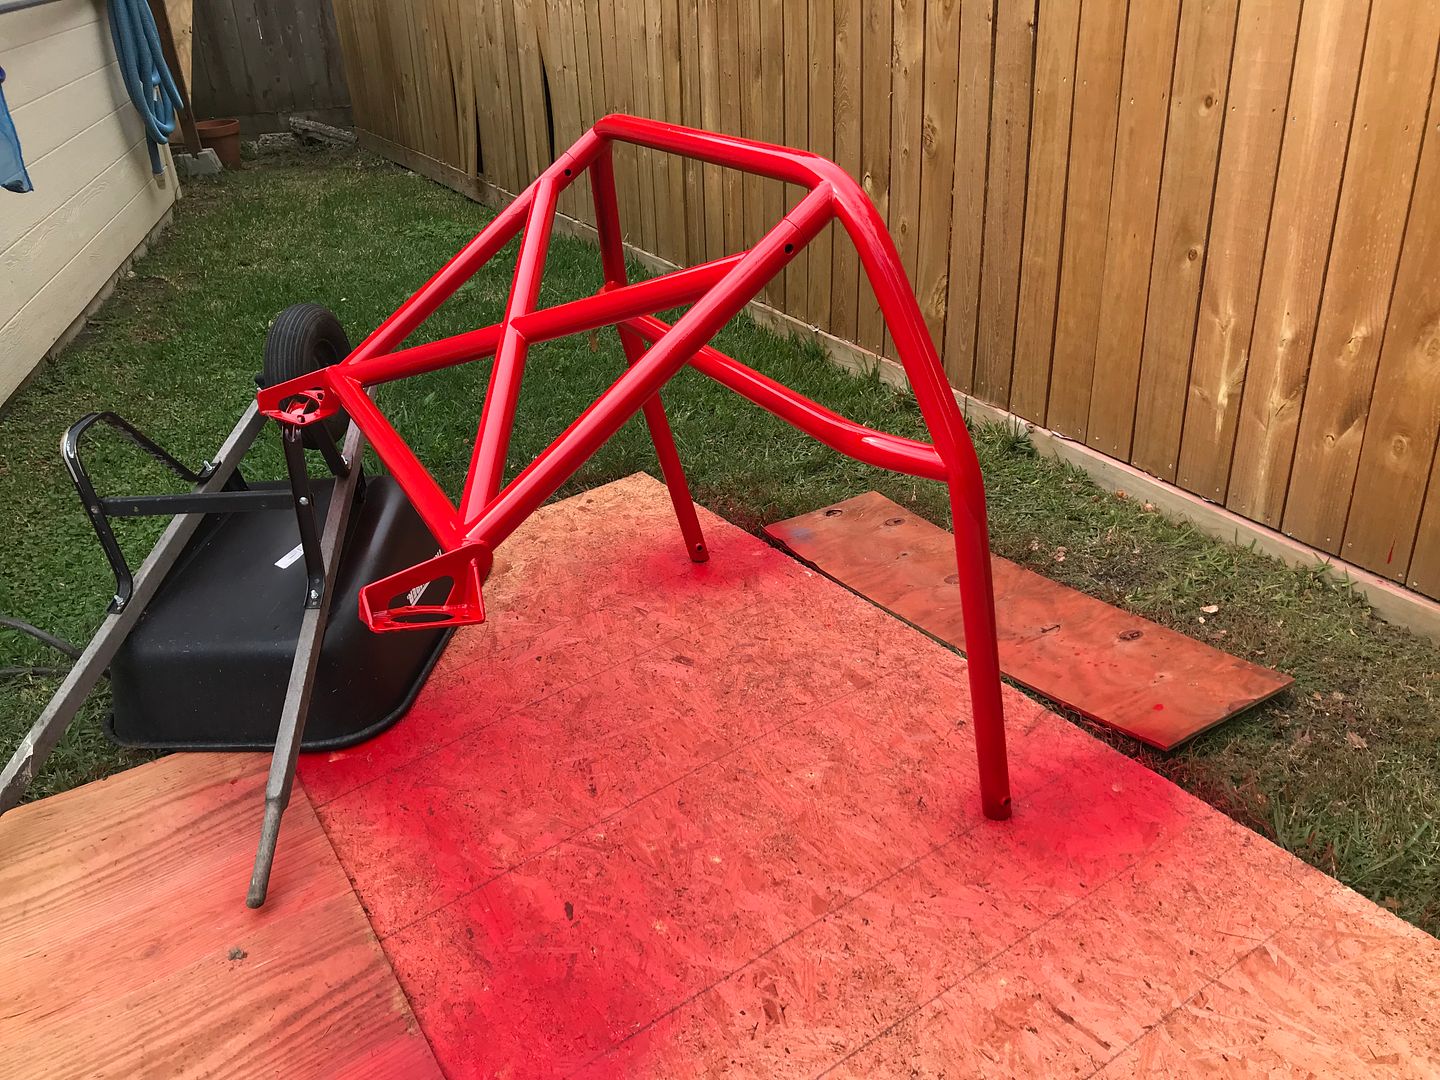
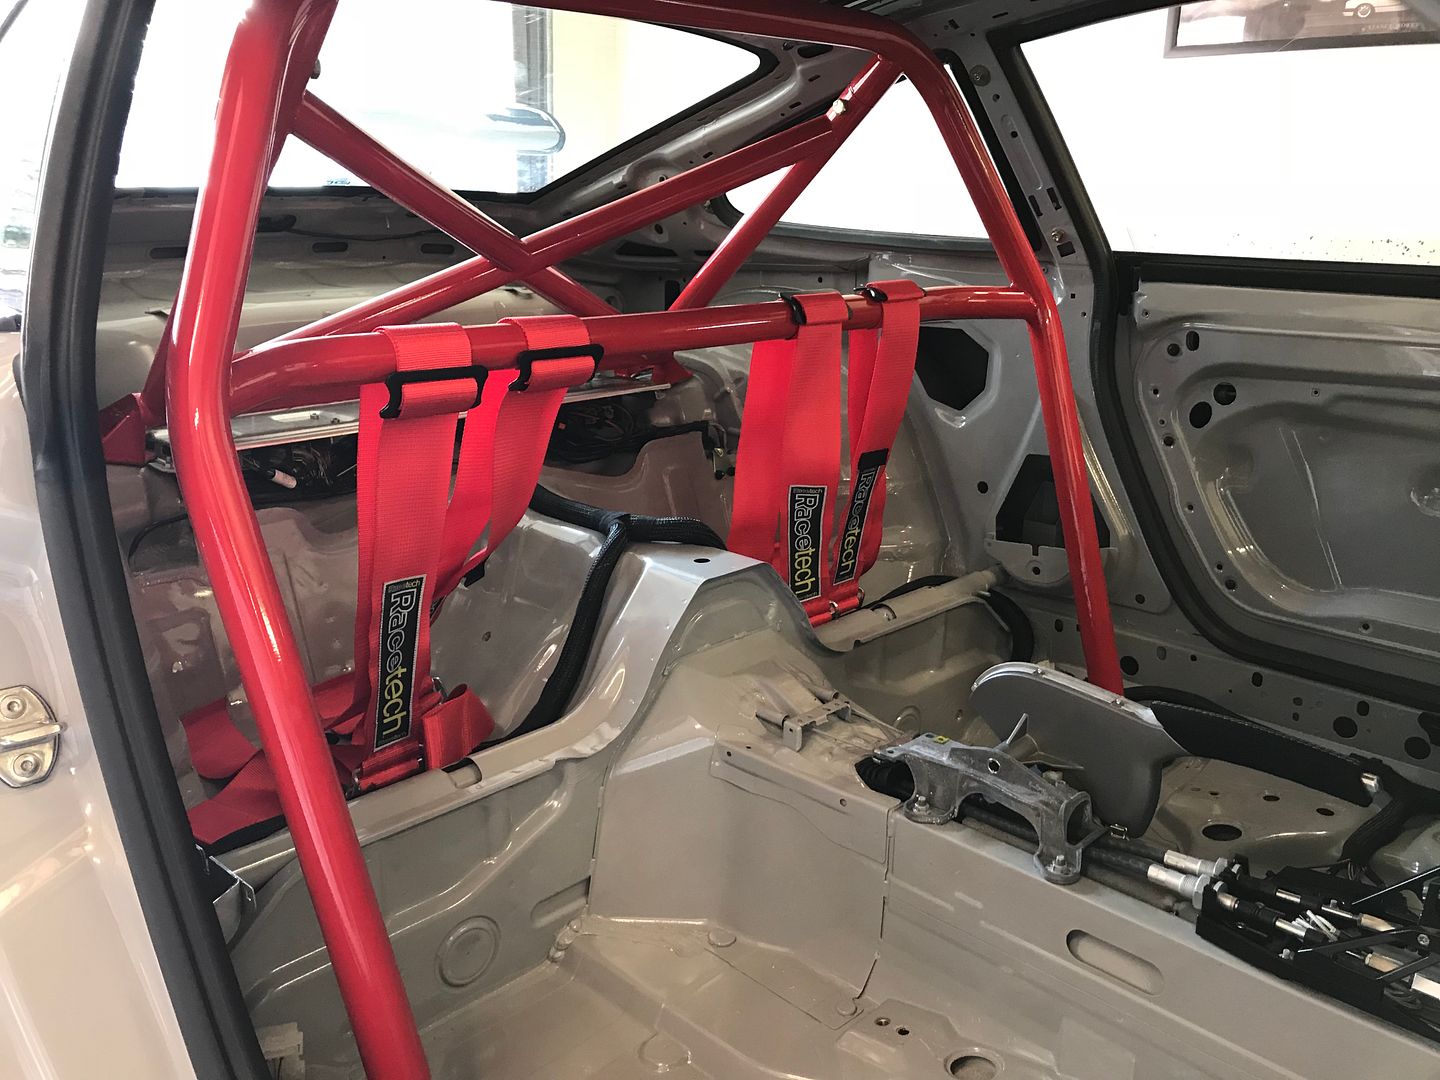
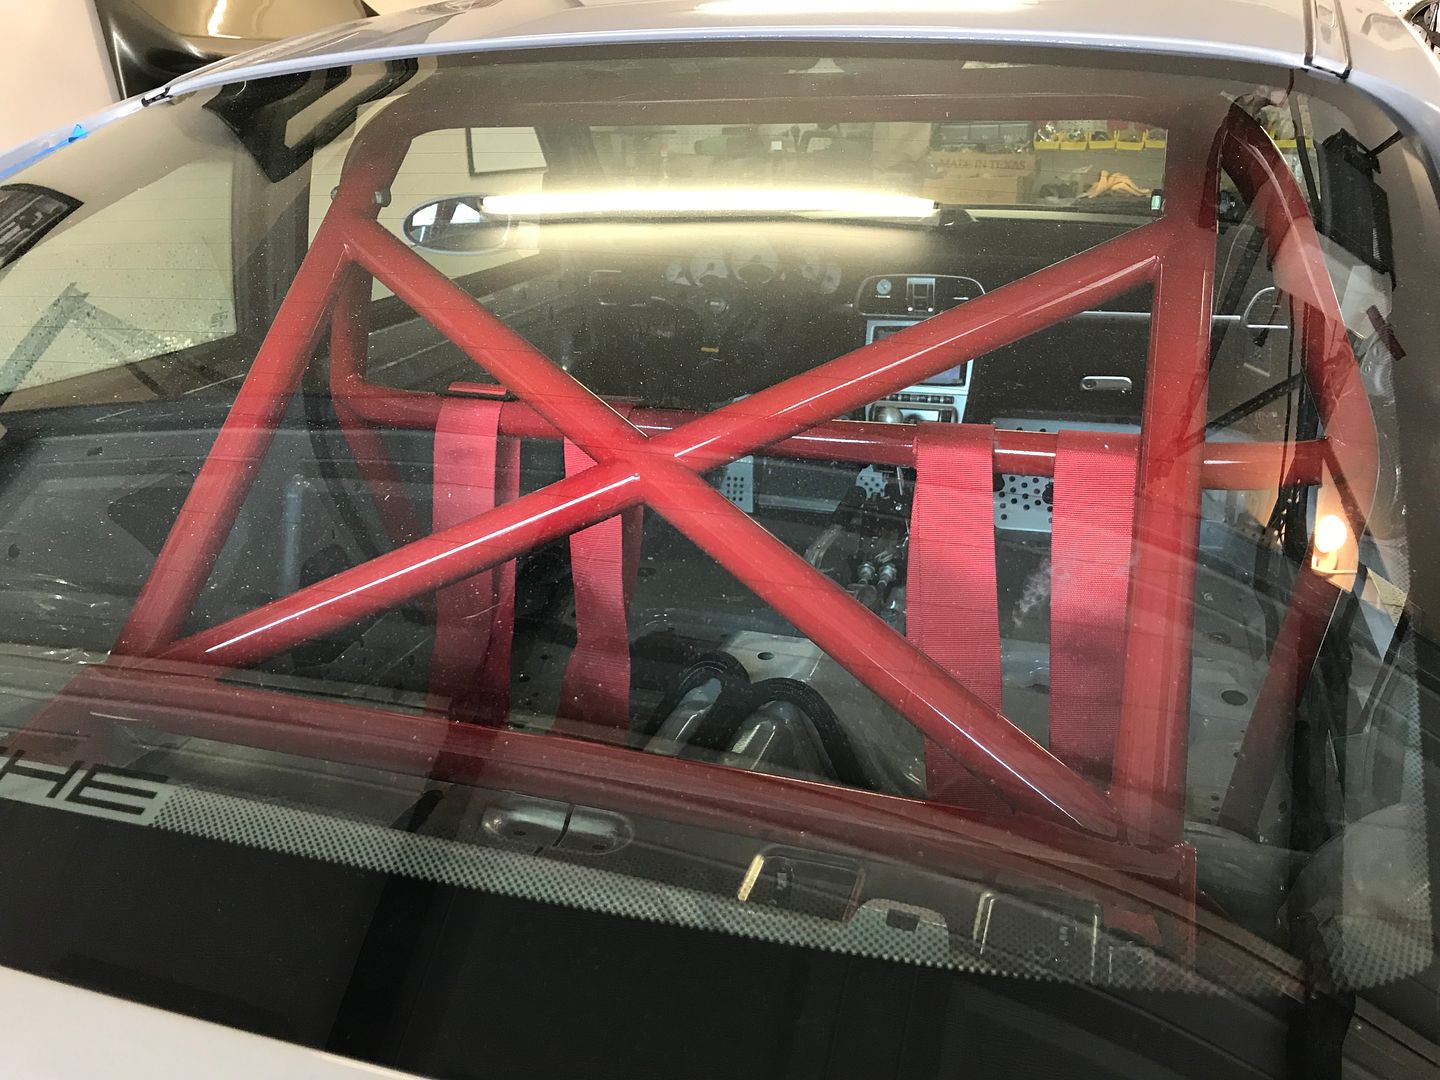
I picked up a different roll bar. It's a Das Auto with X brace that I got from a friend. This one connects to the rear strut mounts instead of the rear seat belts and will be more stiff.

Painted it Guards Red for more hp. Backyard paint booth
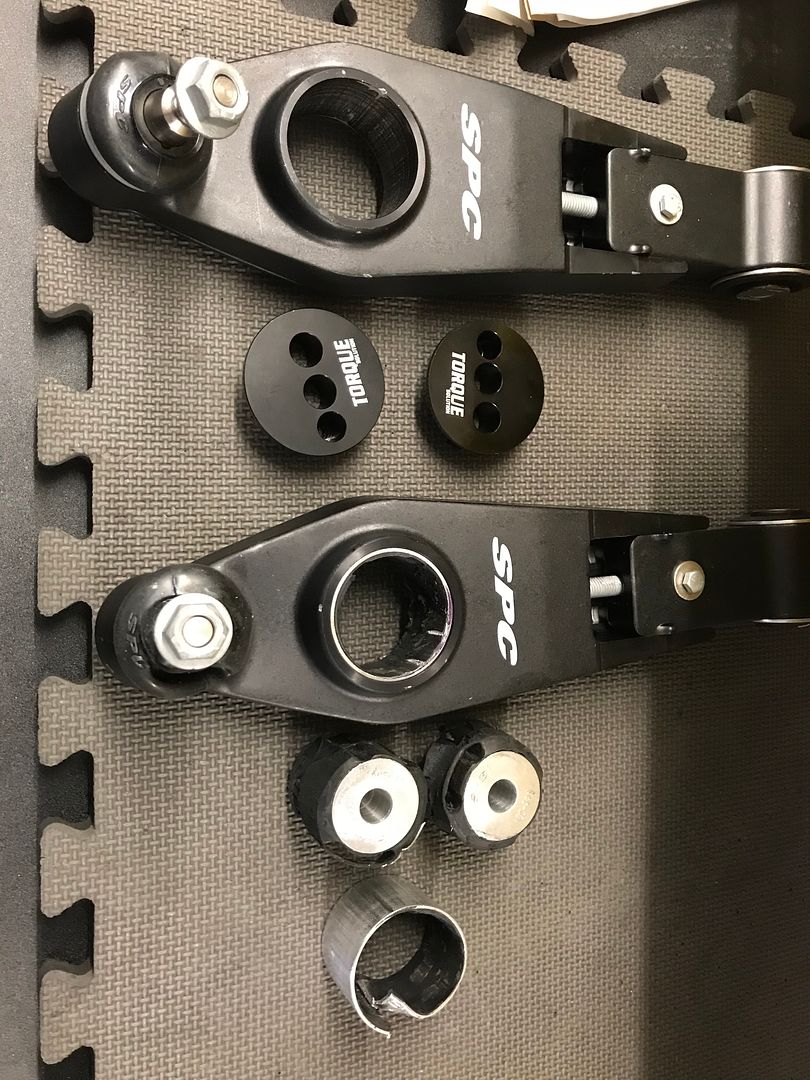
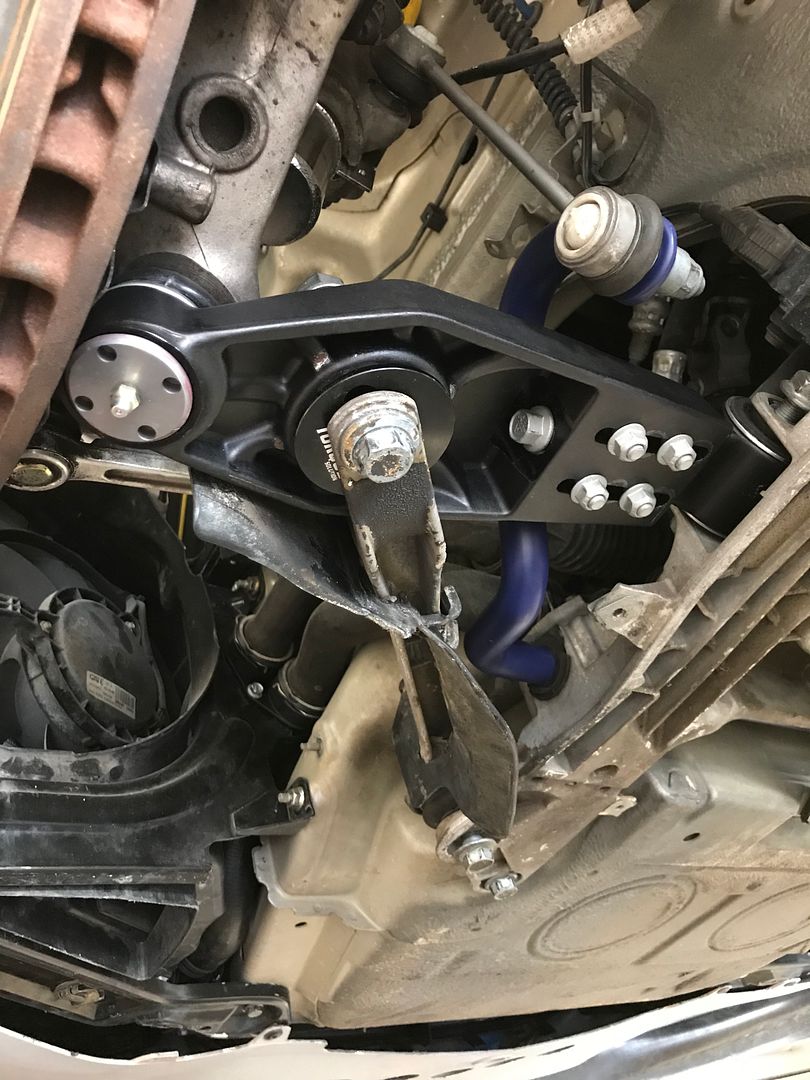
Once I added the adjustable control arms, I needed adjustable thrust arm bushings to correct the caster.
I pressed out the SPC bushings and added Torque Solution bushings.

Then started on the rear.
Before:
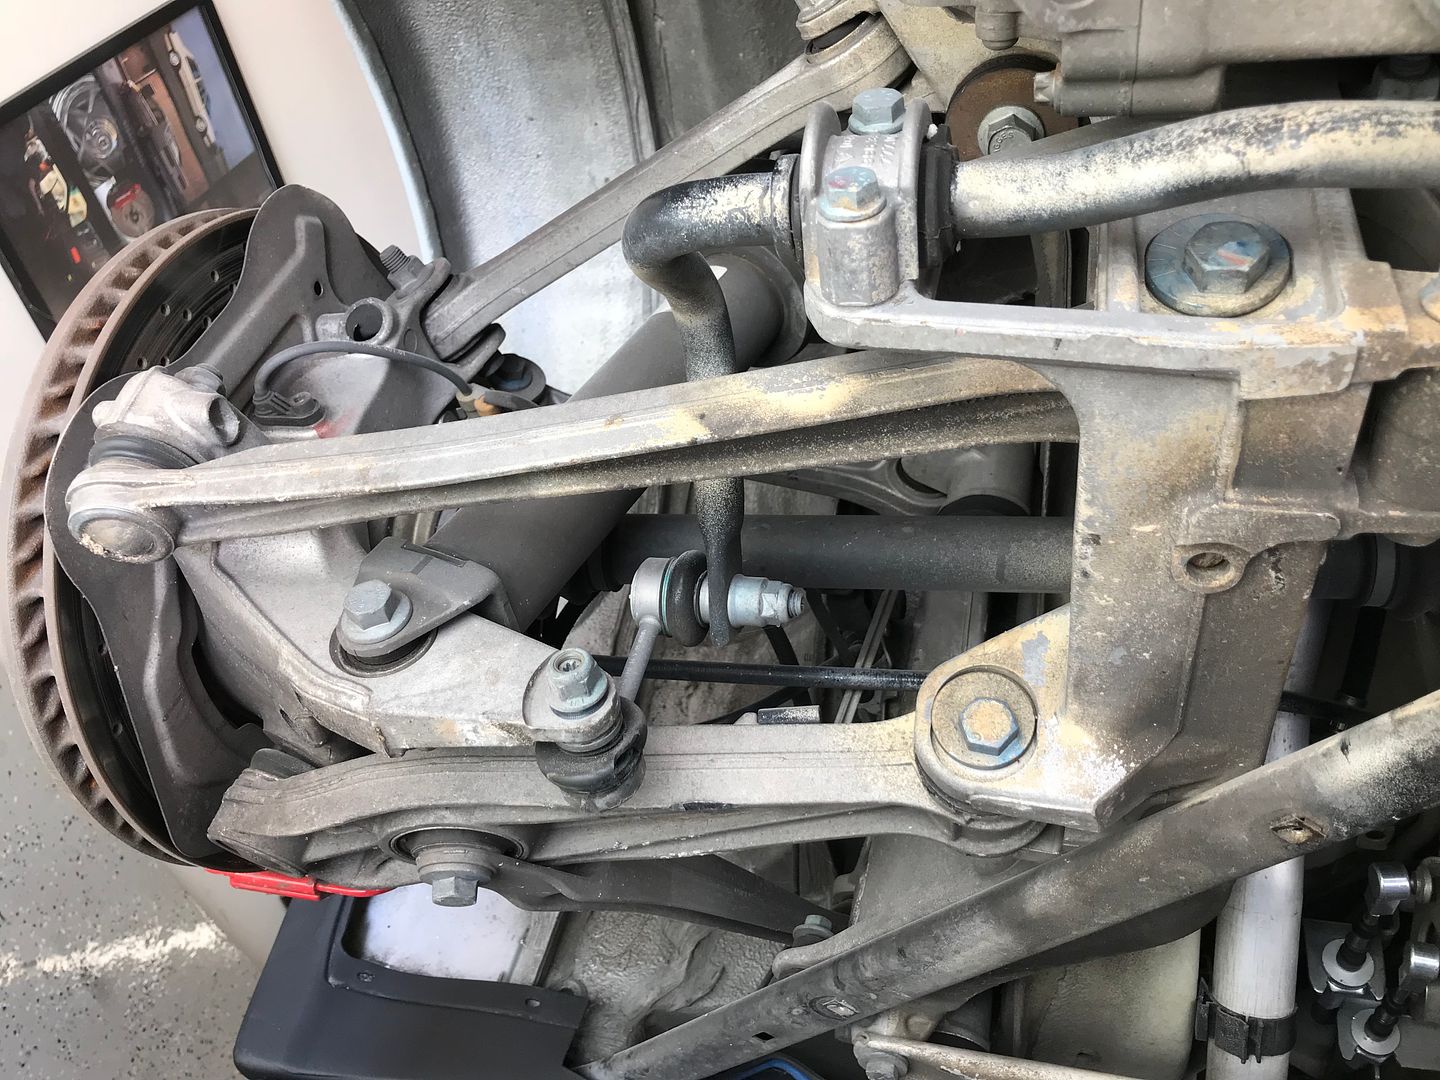
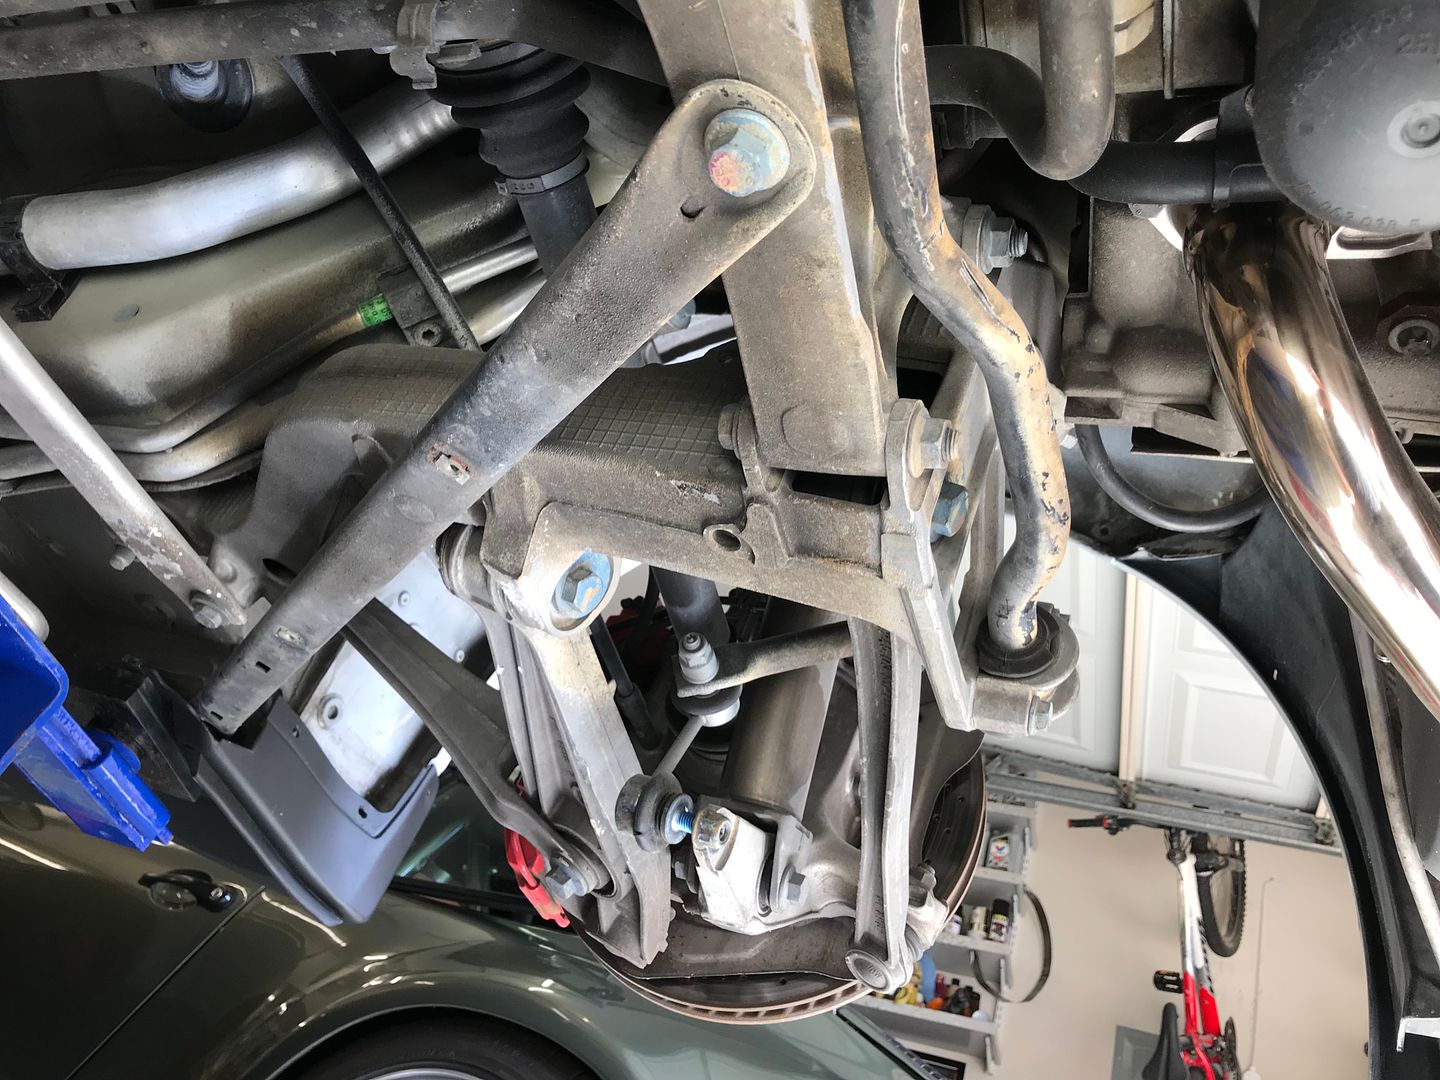
Rear subframes pulled out
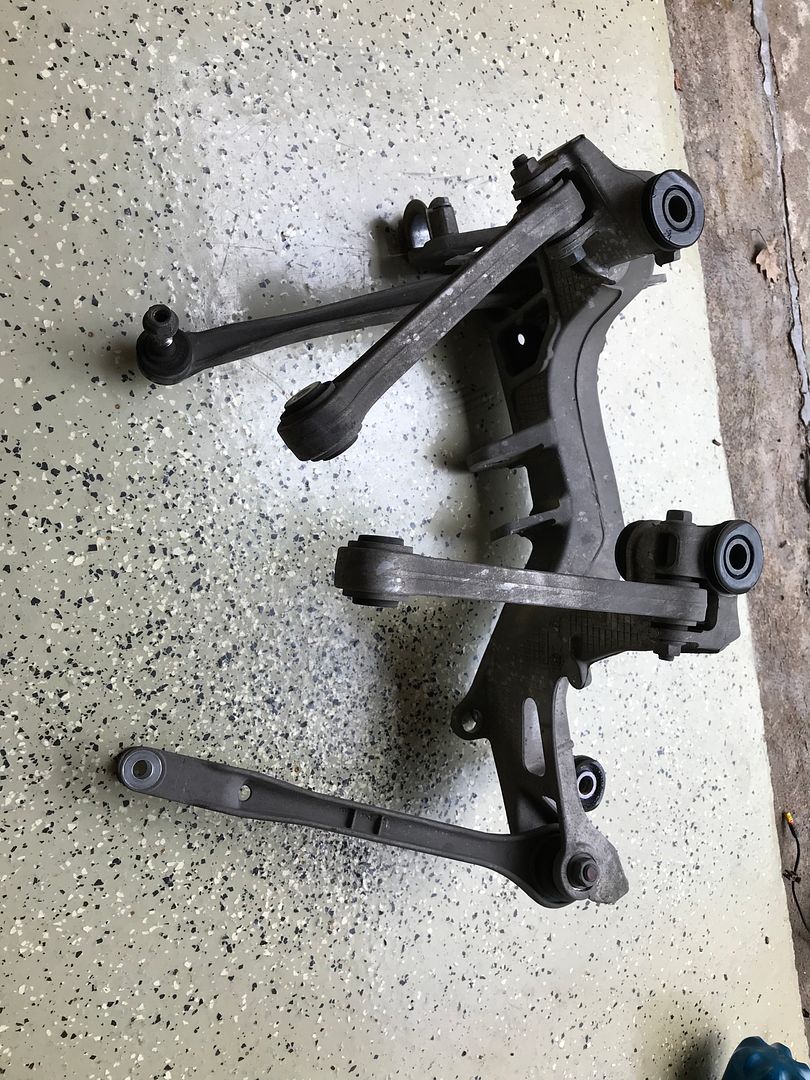
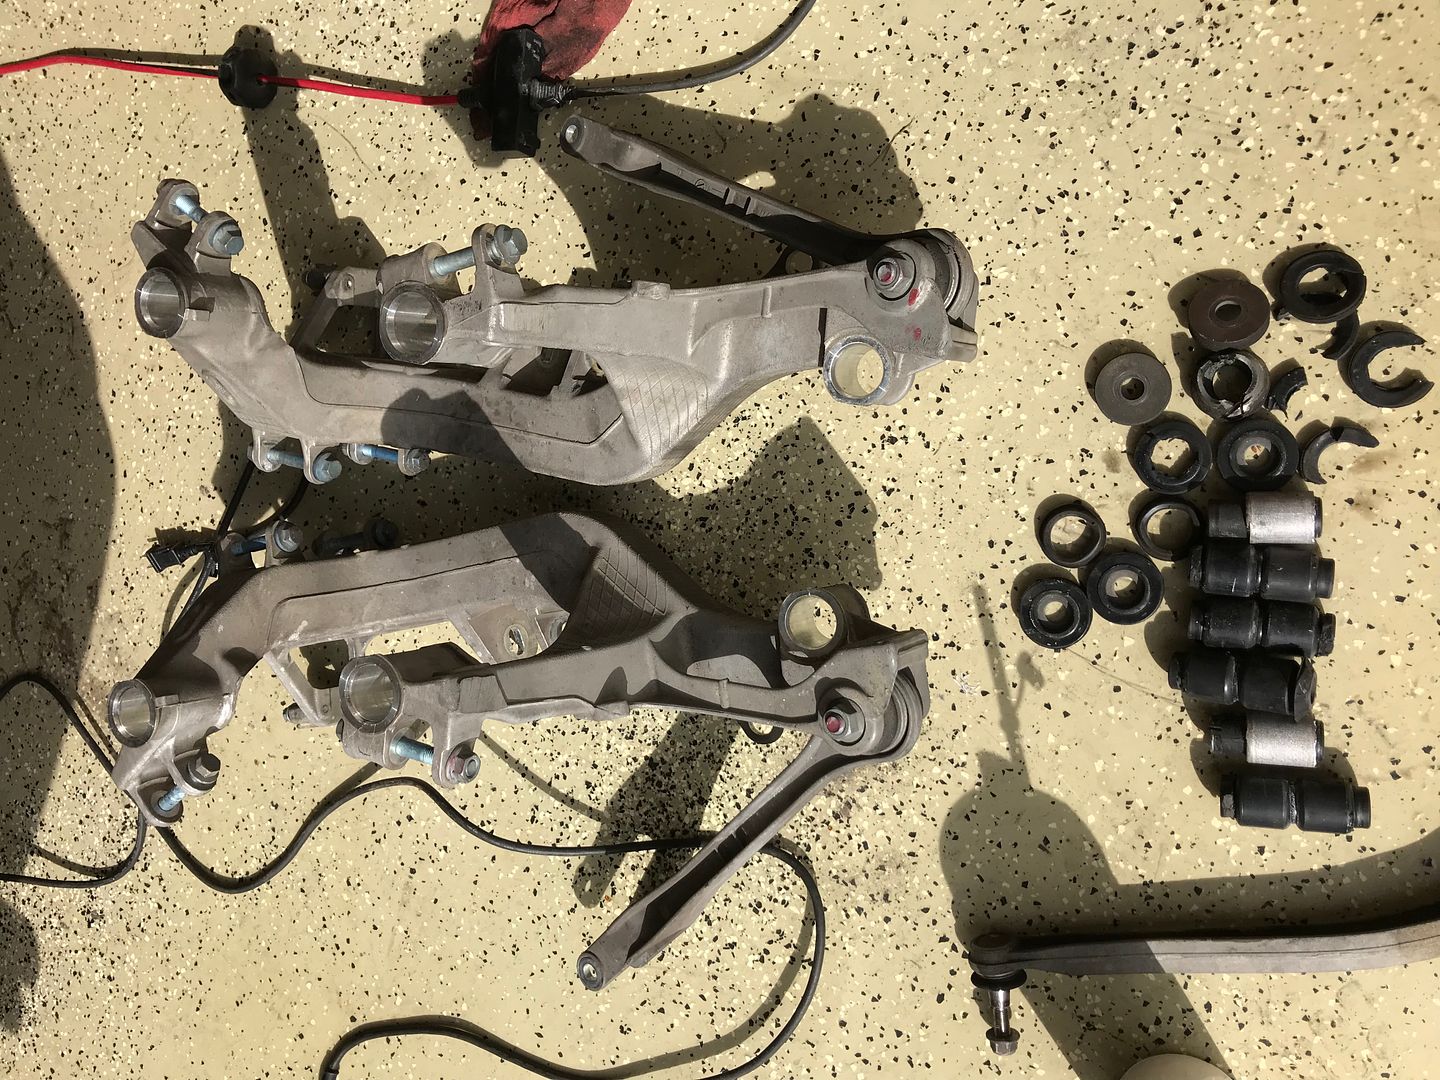
Rubber bushings pressed out
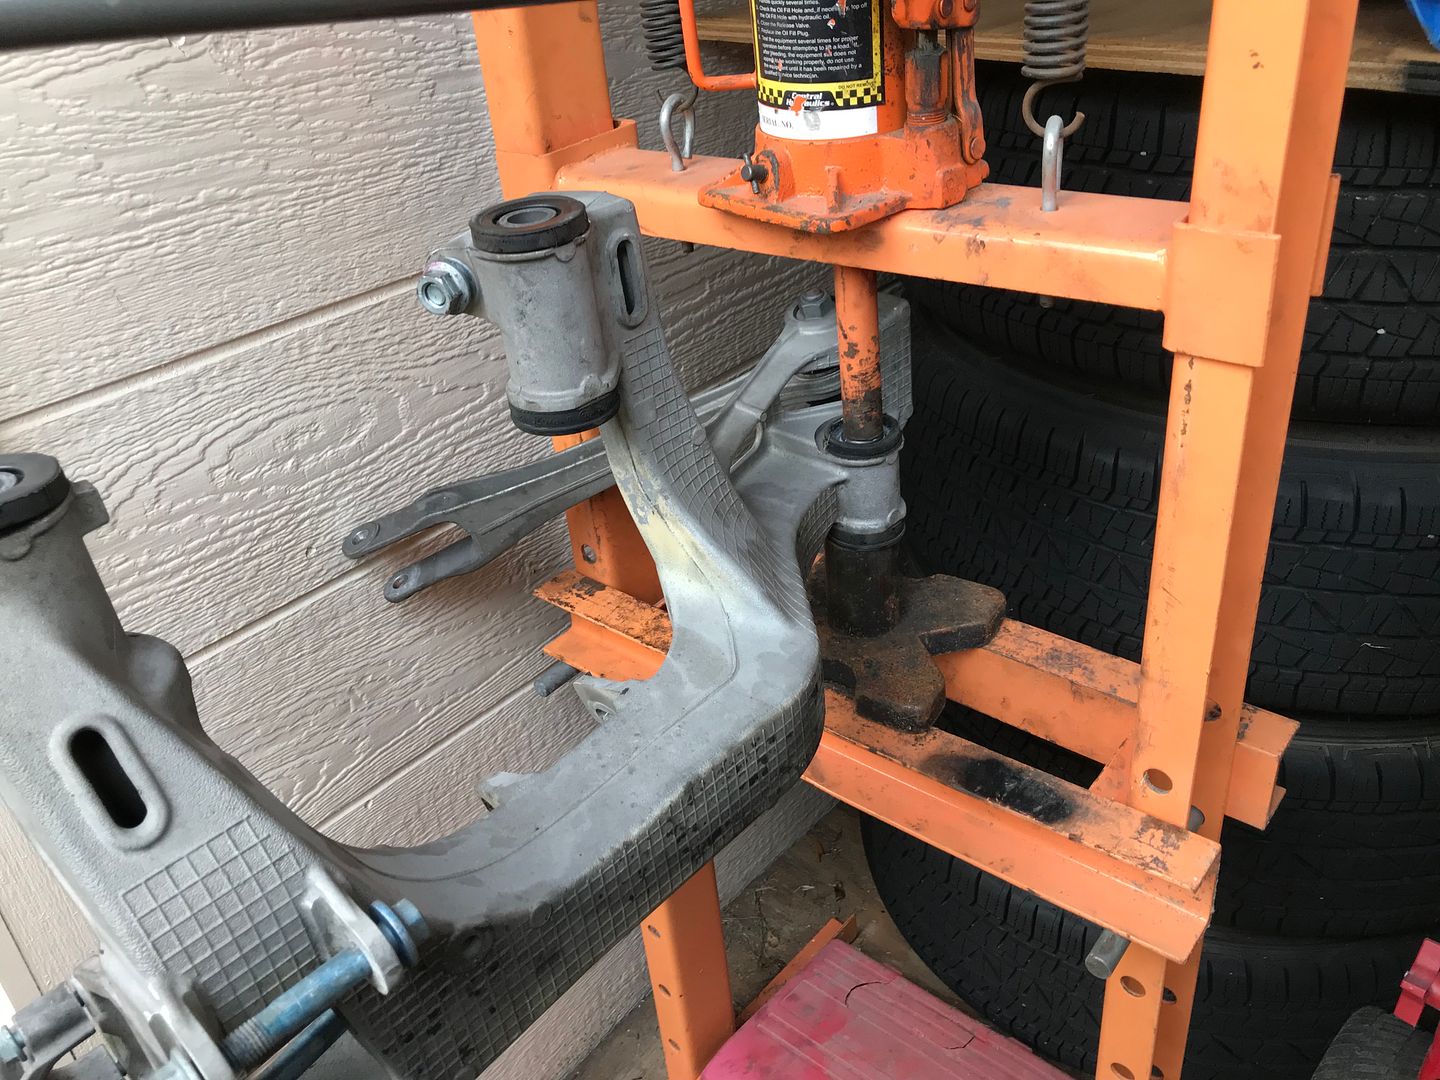
All the old rubber out
Torque Solution parts installed
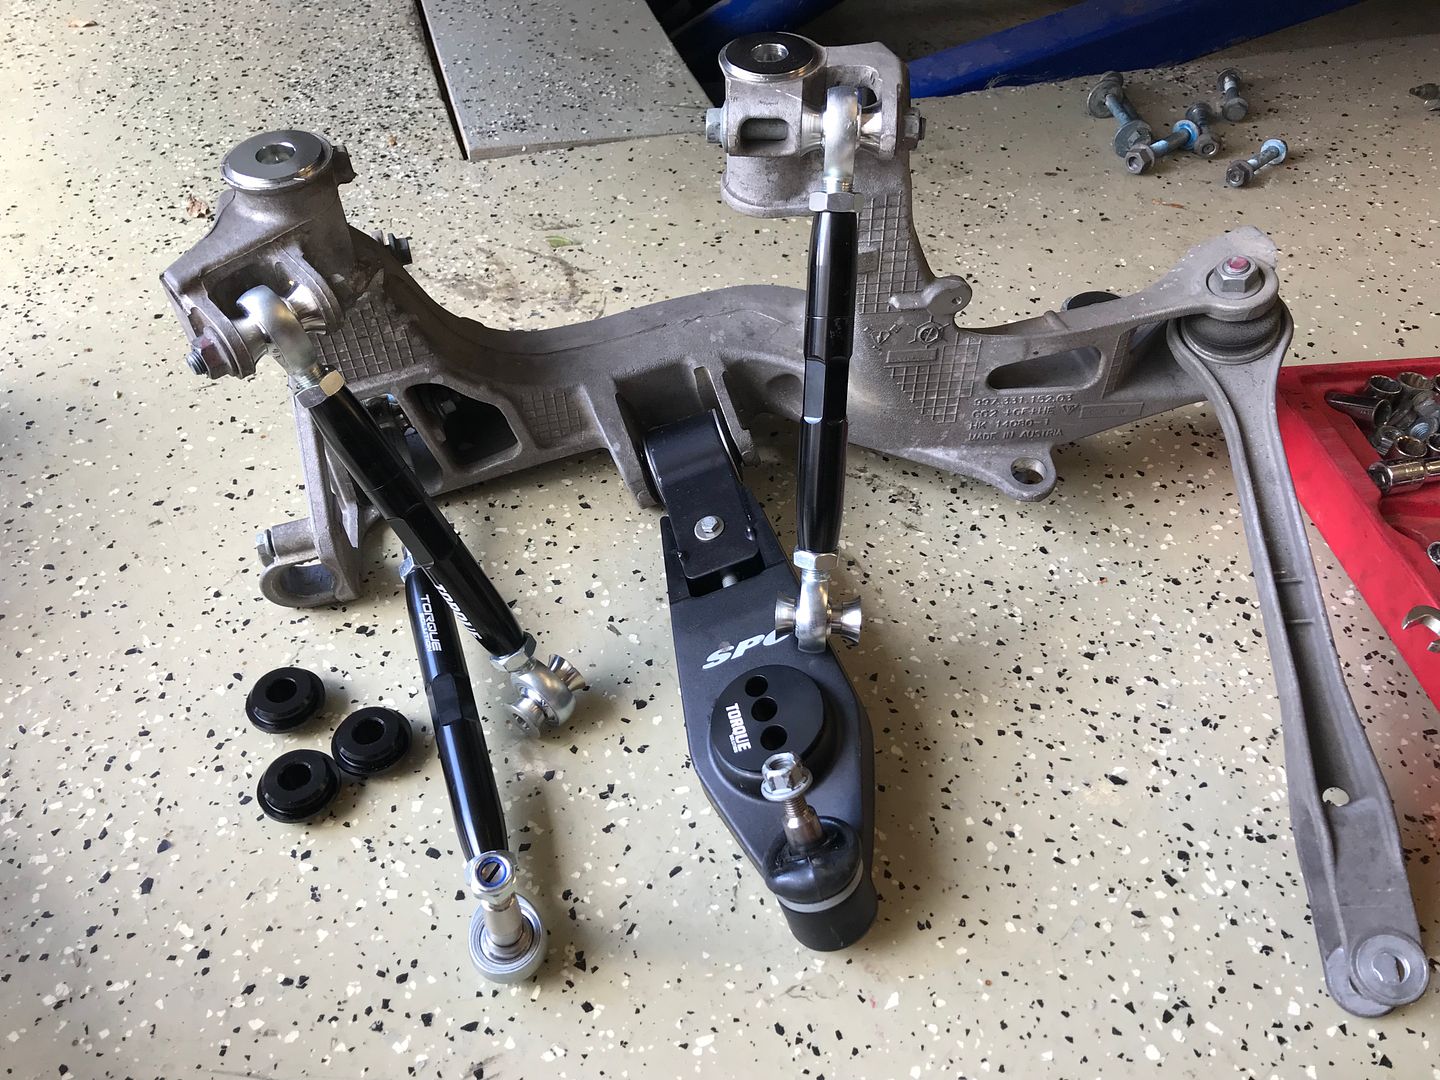
I need to get some top hats made, but mocked up the rear coils for wheel clearance
New roll bar installed
Thanks!
"Dedicated Track Car".....Sure, keep telling yourself this hahaha. More like "One of the best resurrection projects this board has seen".
I did this to a dirt bike. It was a nasty old Honda. When I finished it was a Rothmans Paris Dakar Ralley Replica. Never saw dirt again.....way to pretty.
I second your Chalk color choice, im sure its ever prettier in person. Everything from the wheels, color, dash etc......perfect palate.
I did this to a dirt bike. It was a nasty old Honda. When I finished it was a Rothmans Paris Dakar Ralley Replica. Never saw dirt again.....way to pretty.
I second your Chalk color choice, im sure its ever prettier in person. Everything from the wheels, color, dash etc......perfect palate.
Haha thanks, I have a problem with going over board on my projects and end up making them too nice (in my opinion) and then am too afraid to drive them. I do really plan on using this car though.
I picked up a different roll bar. It's a Das Auto with X brace that I got from a friend. This one connects to the rear strut mounts instead of the rear seat belts and will be more stiff.
Painted it Guards Red for more hp. Backyard paint booth
Once I added the adjustable control arms, I needed adjustable thrust arm bushings to correct the caster.
I pressed out the SPC bushings and added Torque Solution bushings.
Then started on the rear.
Before:
Rear subframes pulled out
Rubber bushings pressed out
All the old rubber out
Torque Solution parts installed
I need to get some top hats made, but mocked up the rear coils for wheel clearance
New roll bar installed