
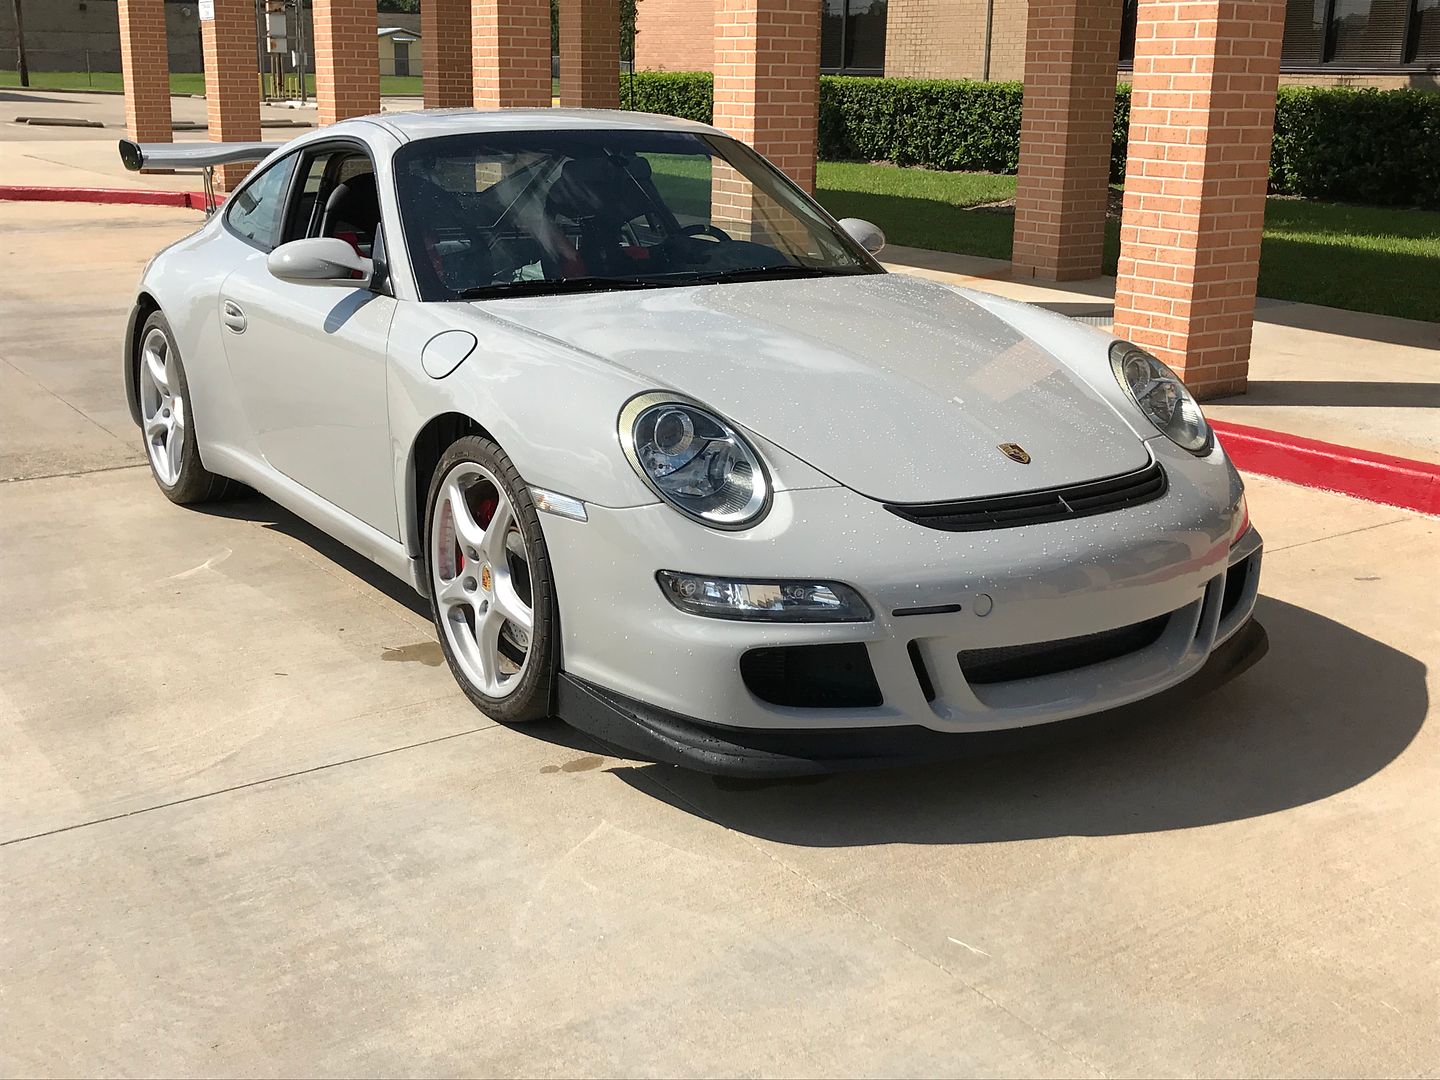
997S Auction Car - Track Build


 11-13-2017, 07:12 AM
#92

Clay.O What engine modifications are you doing for the track, particularly to prevent oil starvation/pressure drops on hard cornering?
You have an awesome suspension set up which means your cornering loads will cause the oil to climb up the side of the sump and also on certain corners/tracks the oil will pool/collect in either the front right of the head or the back left, neither of which have scavenger pumps so the oil won't get back to the sump straight away and you'll start sucking in air, pressure will drop and damage to bearings can occur. I've spent ages reading up on various deep sumps and accusump systems but they are all a kind of band aid (and still not completely fix the issue particulary in car like yours where cornering and braking G's will be very high).
My 997.1 3.8S is pretty standard (HR rollbars, Eibach springs, Michelin Super Sports tyres), but on certain race tracks particularly in long sustained high G corners I have noticed my oil pressure drop to 3 bar even though my revs are >5krpm. It only lasts a couple of seconds then the oil pressure goes back above 5 bar, but it's enough to cause concern (especially as I just had the engine rebuilt due to IMS bearing failure).
11-13-2017, 03:32 PM
#93
Burning Brakes

Glad I found this, nice work Clay.
The following users liked this post:
rblad22 (11-01-2022)
11-13-2017, 03:54 PM
#94
Instructor
Thread Starter


Clay.O What engine modifications are you doing for the track, particularly to prevent oil starvation/pressure drops on hard cornering?
You have an awesome suspension set up which means your cornering loads will cause the oil to climb up the side of the sump and also on certain corners/tracks the oil will pool/collect in either the front right of the head or the back left, neither of which have scavenger pumps so the oil won't get back to the sump straight away and you'll start sucking in air, pressure will drop and damage to bearings can occur. I've spent ages reading up on various deep sumps and accusump systems but they are all a kind of band aid (and still not completely fix the issue particulary in car like yours where cornering and braking G's will be very high).
My 997.1 3.8S is pretty standard (HR rollbars, Eibach springs, Michelin Super Sports tyres), but on certain race tracks particularly in long sustained high G corners I have noticed my oil pressure drop to 3 bar even though my revs are >5krpm. It only lasts a couple of seconds then the oil pressure goes back above 5 bar, but it's enough to cause concern (especially as I just had the engine rebuilt due to IMS bearing failure).
You have an awesome suspension set up which means your cornering loads will cause the oil to climb up the side of the sump and also on certain corners/tracks the oil will pool/collect in either the front right of the head or the back left, neither of which have scavenger pumps so the oil won't get back to the sump straight away and you'll start sucking in air, pressure will drop and damage to bearings can occur. I've spent ages reading up on various deep sumps and accusump systems but they are all a kind of band aid (and still not completely fix the issue particulary in car like yours where cornering and braking G's will be very high).
My 997.1 3.8S is pretty standard (HR rollbars, Eibach springs, Michelin Super Sports tyres), but on certain race tracks particularly in long sustained high G corners I have noticed my oil pressure drop to 3 bar even though my revs are >5krpm. It only lasts a couple of seconds then the oil pressure goes back above 5 bar, but it's enough to cause concern (especially as I just had the engine rebuilt due to IMS bearing failure).
Thanks man
 11-14-2017, 05:10 PM
#96
Hi Clay - Will be really interested if this fits your car? FVD have told me it does not fit the 3.8S
 (I contacted them in Germany last week to confirm). Hopefully it just needs some cutting/modification to fit the 3.8
  If you do make it fit PLEASE PLEASE show details of how you did in which case I will still order one for my car.
  11-14-2017, 05:23 PM
#97
RL Community Team
Rennlist Member
Rennlist Member
FVD makes really nice stuff - would be nice if that had a windage tray like the MantiSport one does, but is a nice piece nonetheless. I'd recommend you also pick up the LN Engineering Stainless skid plate that can be mounted underneath that deep sump without touching it. It's a substantial piece and will help to protect the now lower hanging oil sump. They're also having a November sale of 15% off.
11-16-2017, 09:15 PM
#98


 11-21-2017, 09:42 AM
#100
Instructor
Thread Starter
Thank you
Hi Clay - Will be really interested if this fits your car? FVD have told me it does not fit the 3.8S (I contacted them in Germany last week to confirm). Hopefully it just needs some cutting/modification to fit the 3.8 If you do make it fit PLEASE PLEASE show details of how you did in which case I will still order one for my car.
(I contacted them in Germany last week to confirm). Hopefully it just needs some cutting/modification to fit the 3.8 If you do make it fit PLEASE PLEASE show details of how you did in which case I will still order one for my car. More rear suspension work.
Last hurdle was the rear coils with the monoball mount. What a mess. I had to buy a new top hat and modify it to work with the KW struts.
This is what I had to work with for the strut dimensions.


The monoball lower bushing


Top hats drilled from 16mm to 18mm


Lower monoball bushing drilled partially through to slide over the 18mm strut shoulder

Assembly

Threads left after assembly

Assembled with a 3-4mm gap between the monoball mount and top hat for articulation

Once all that was done, installed the coilovers


Sway bar and rest of the rear together


Only to find the helper springs are too short at the height I want 26 1/4" FTG


So I ordered some 4" - 60mm helper springs and installed those


10mm spacers on the rear

Waiting on 15mm spacers for the front and then it should be ready for an alignment.
11-27-2017, 10:47 AM
#101
Instructor
Thread Starter
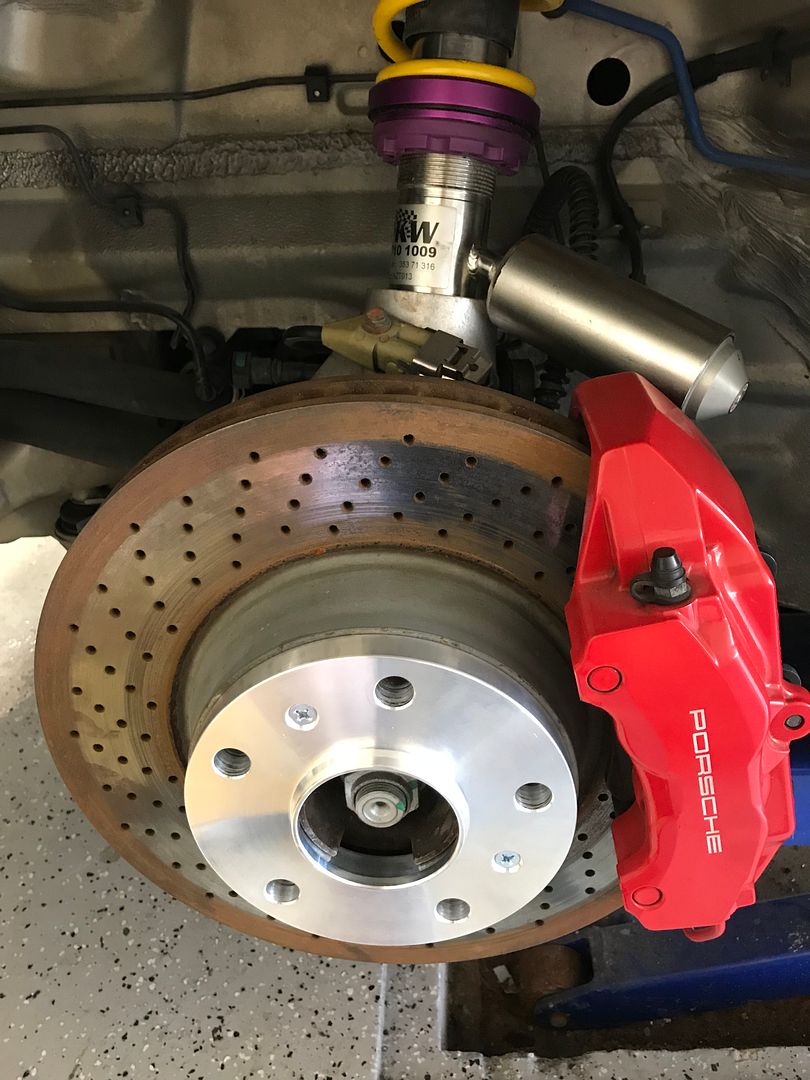
Finally got the front spacers that are 15mm. I drilled out the set screws for the brake rotors to hold them on. The wheels were hitting the coilover on the inside before, now with the 15mm spacers there is 1-2mm.
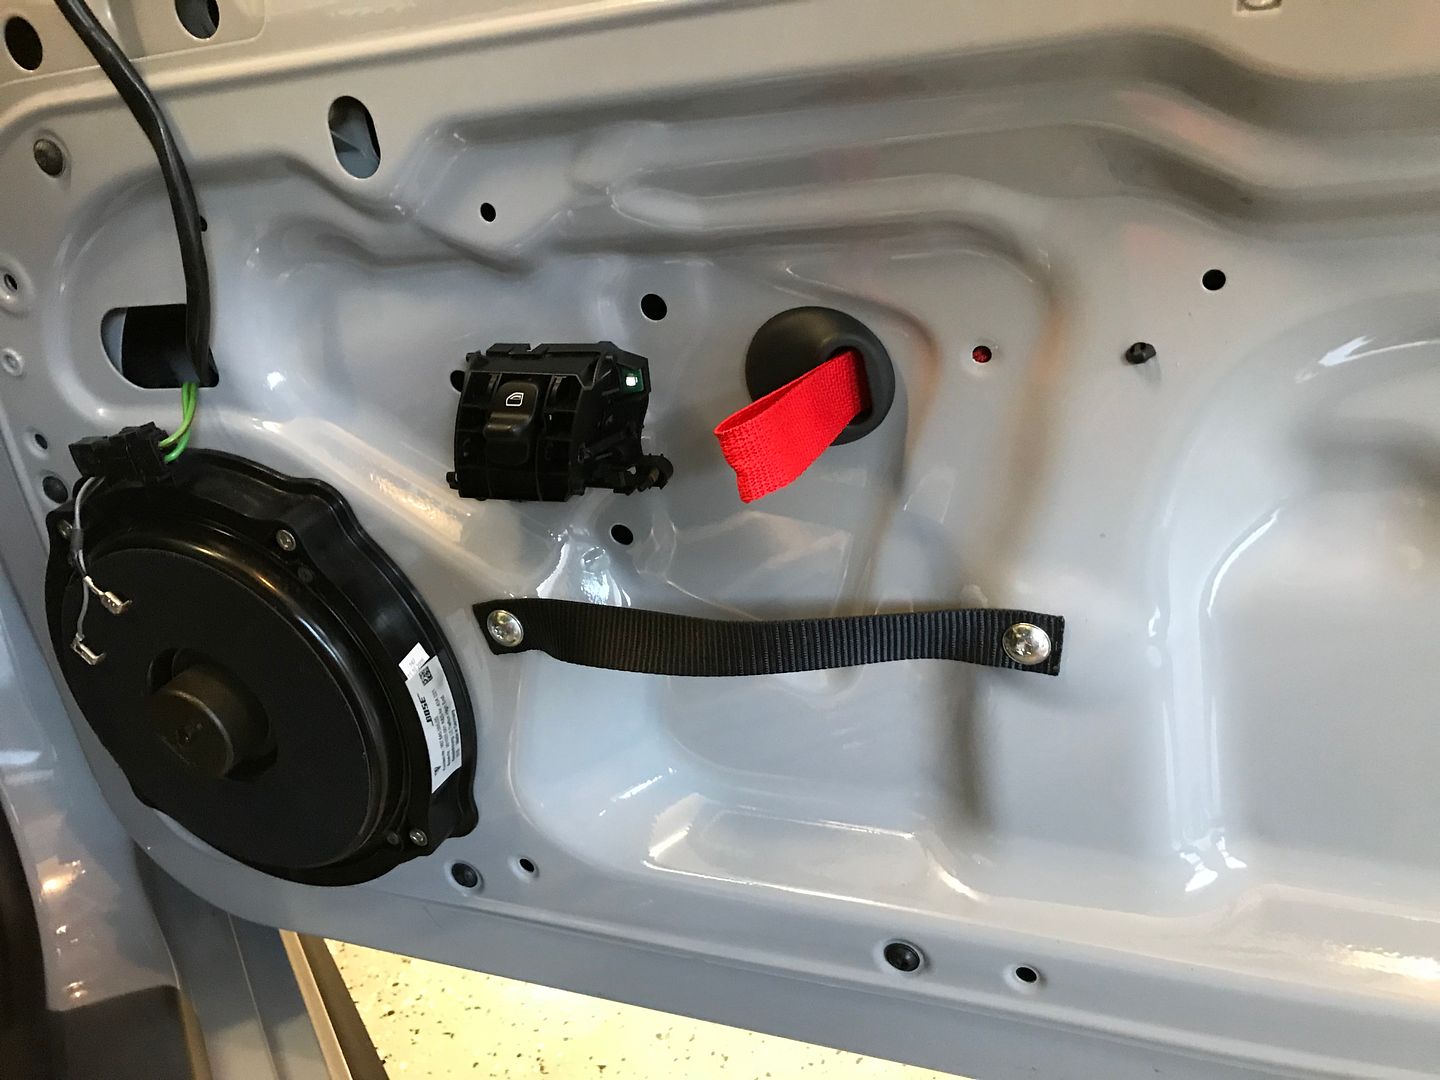
Also finally installed the last piece for the doors; pull straps.
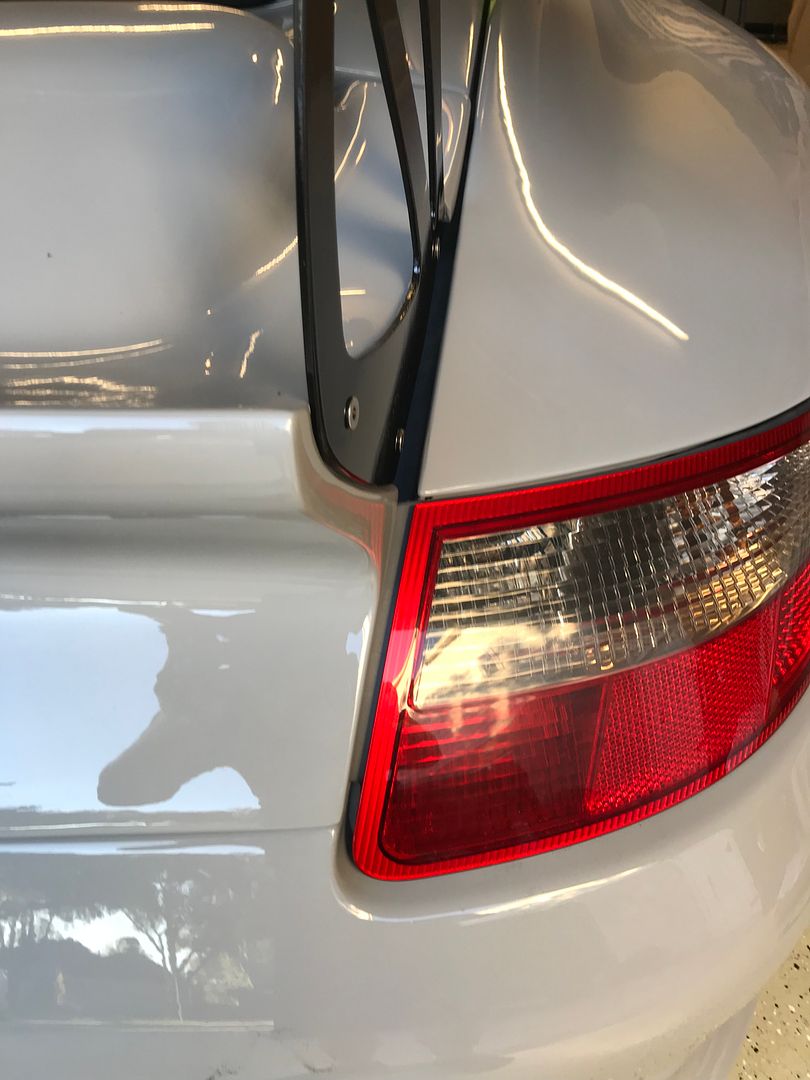
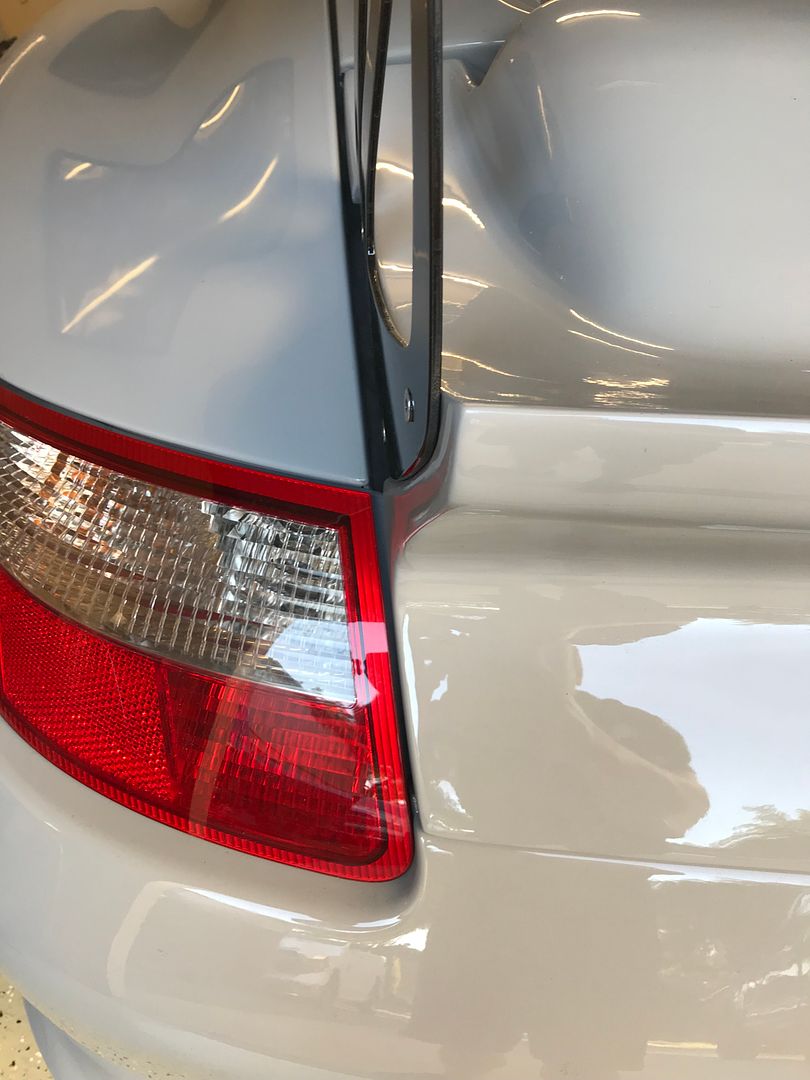
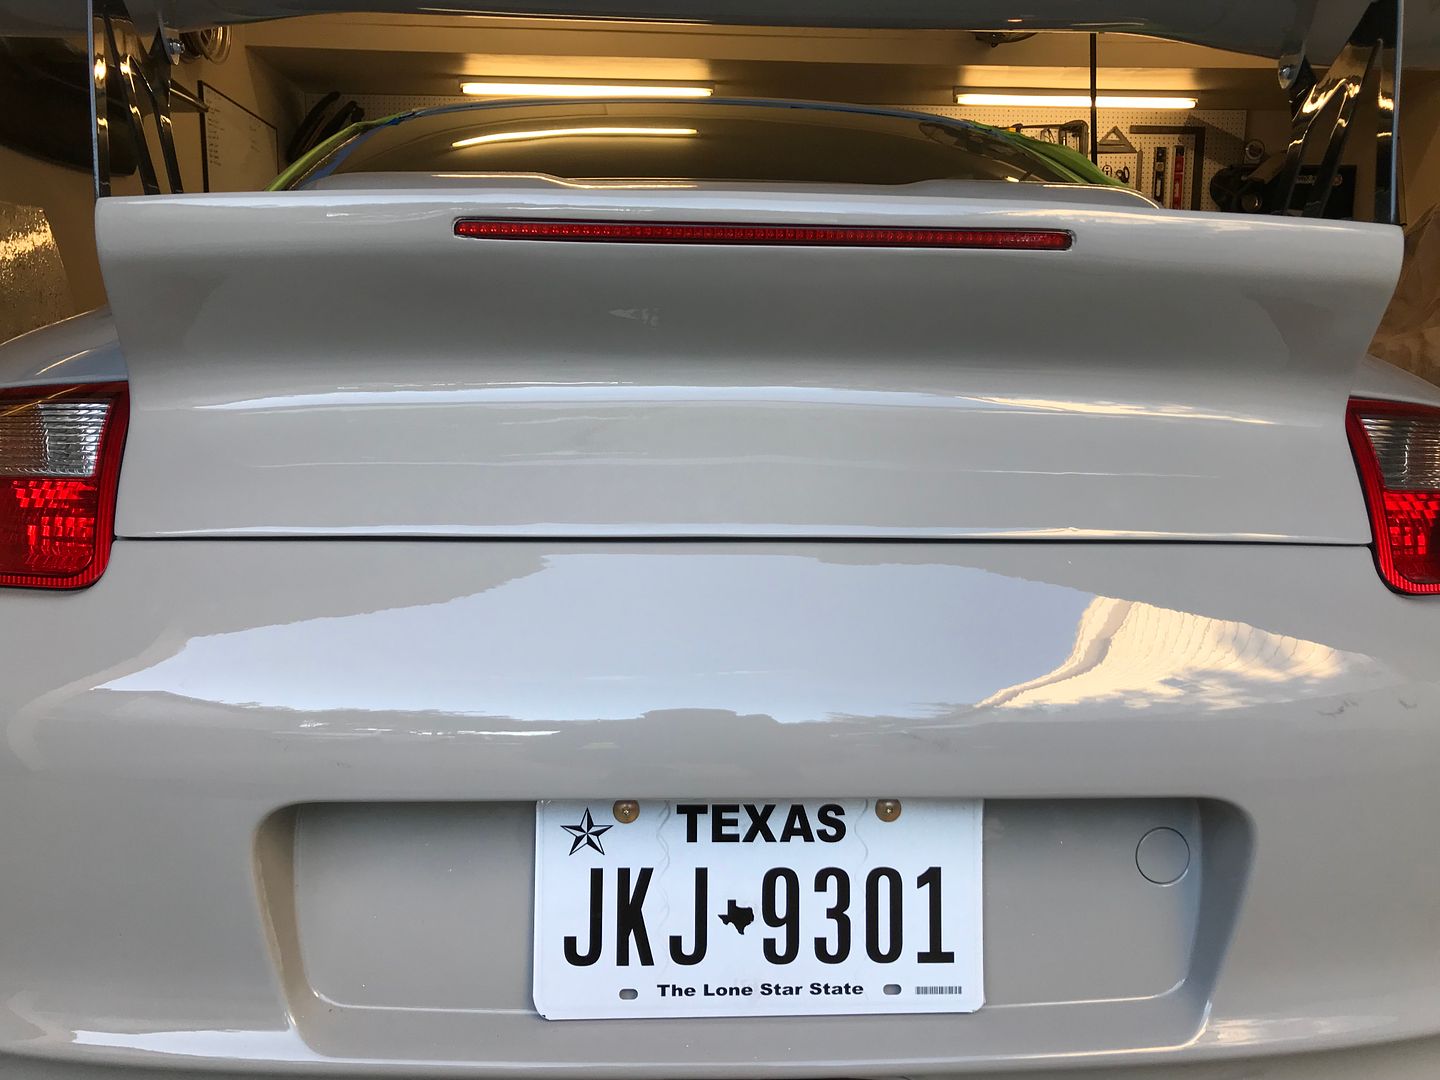
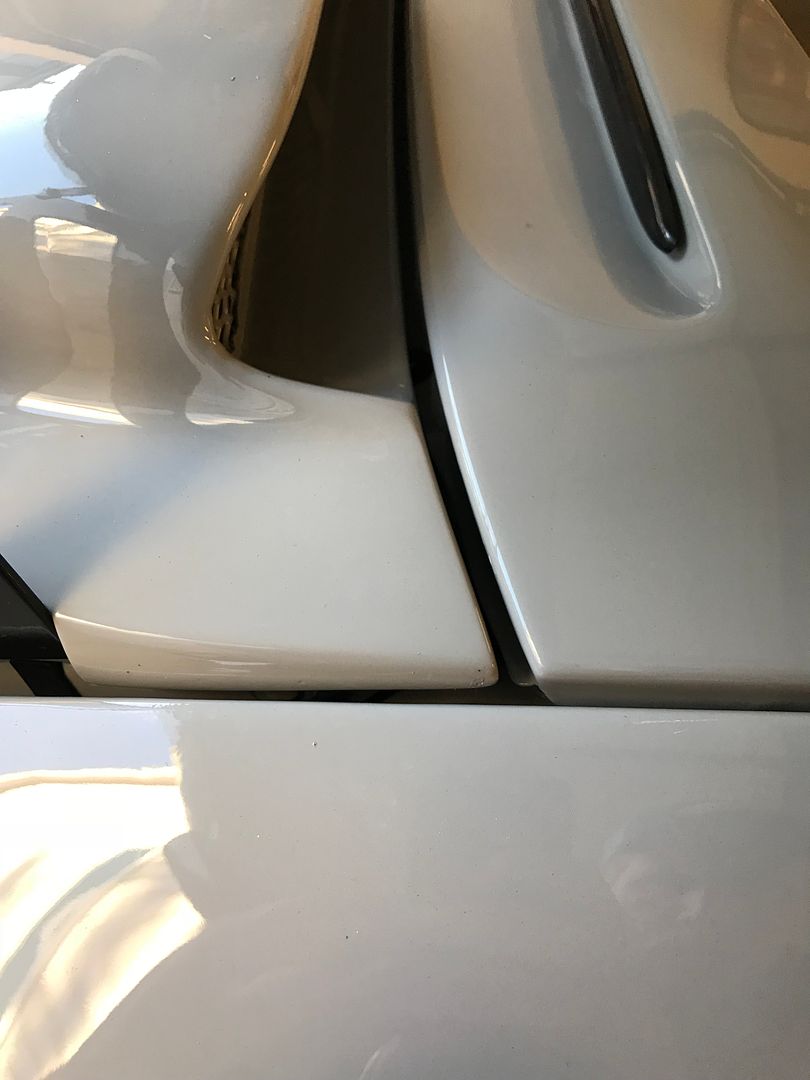
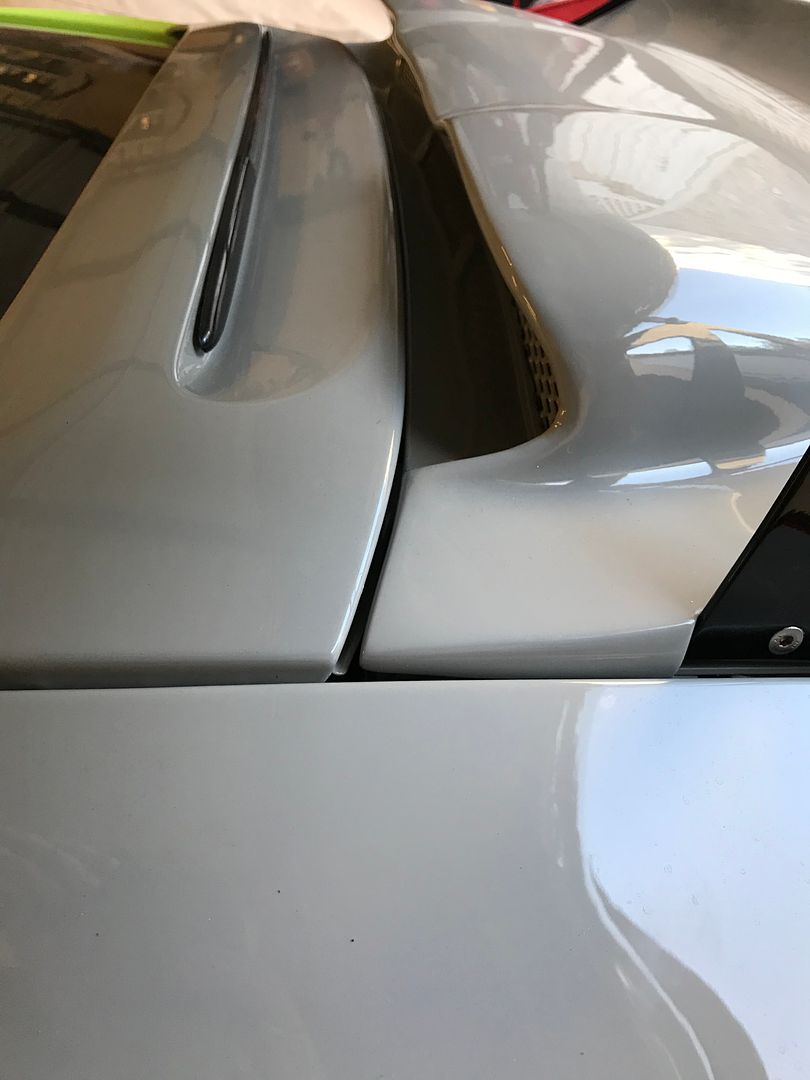
Refit the rear deck lid. Not perfect but not terrible either.
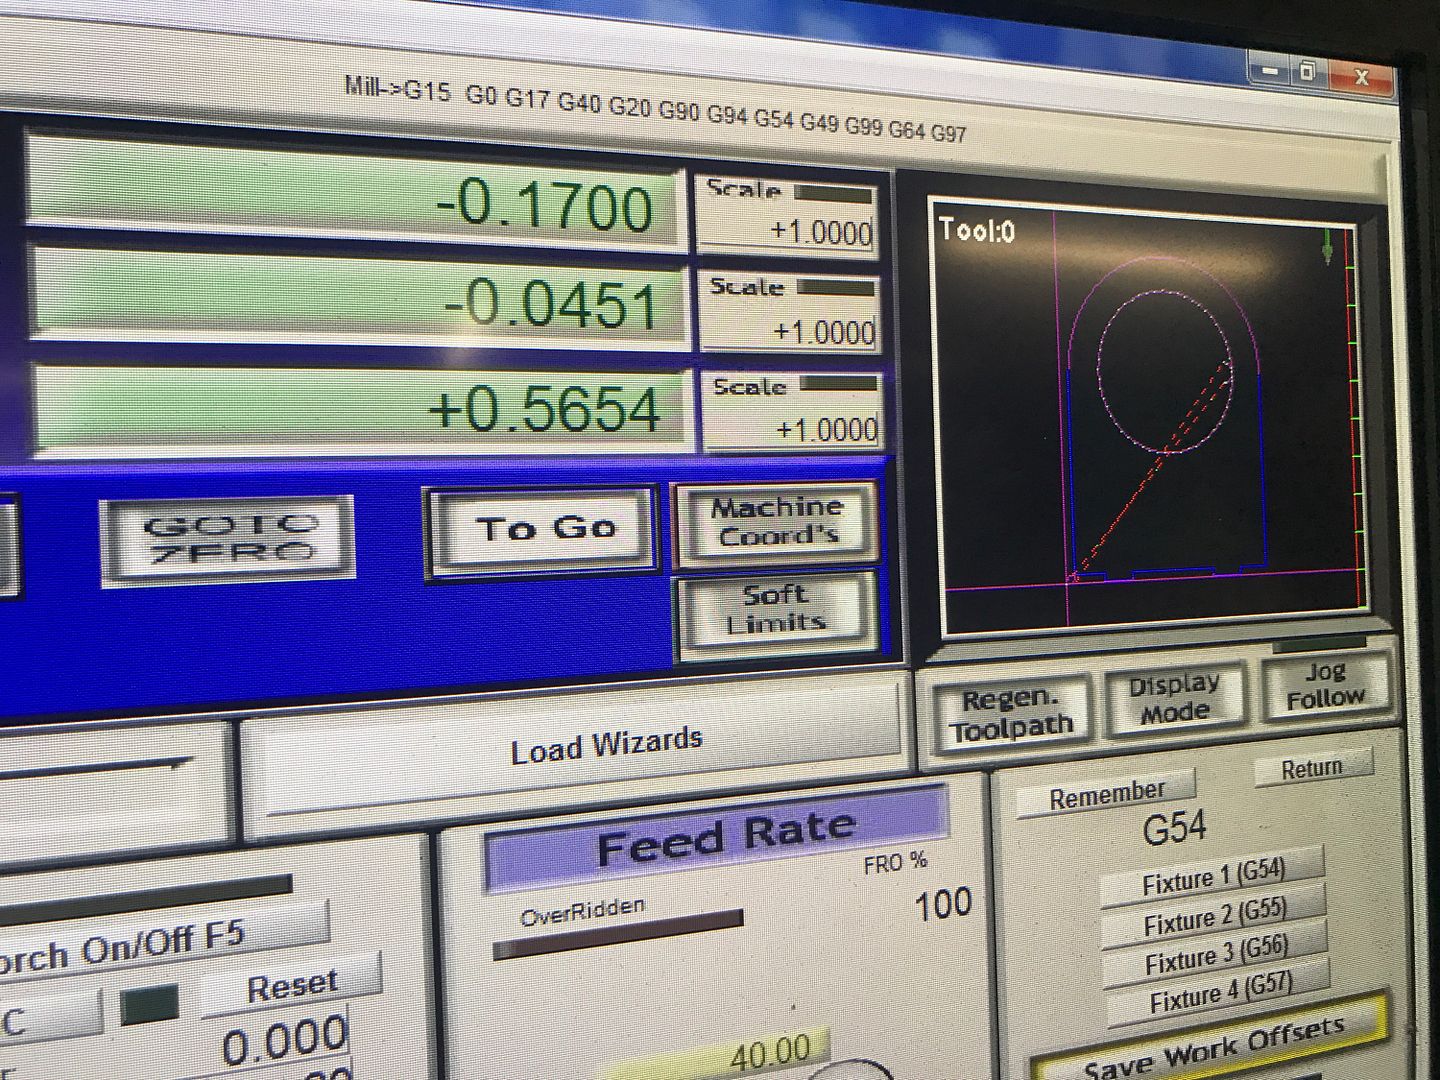
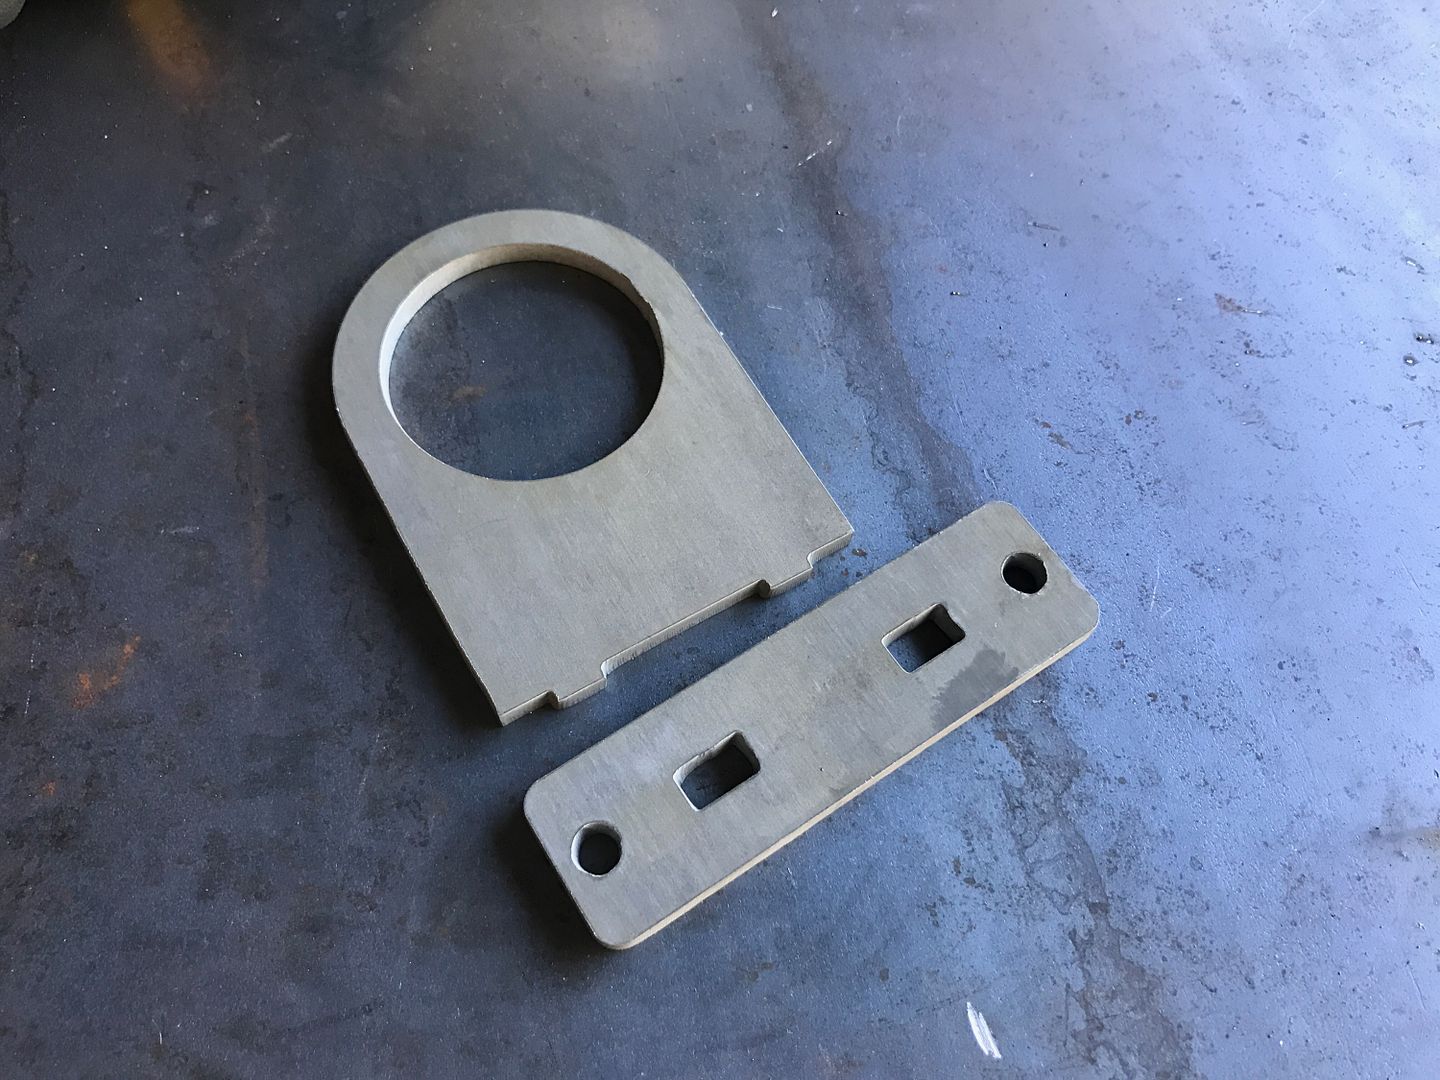
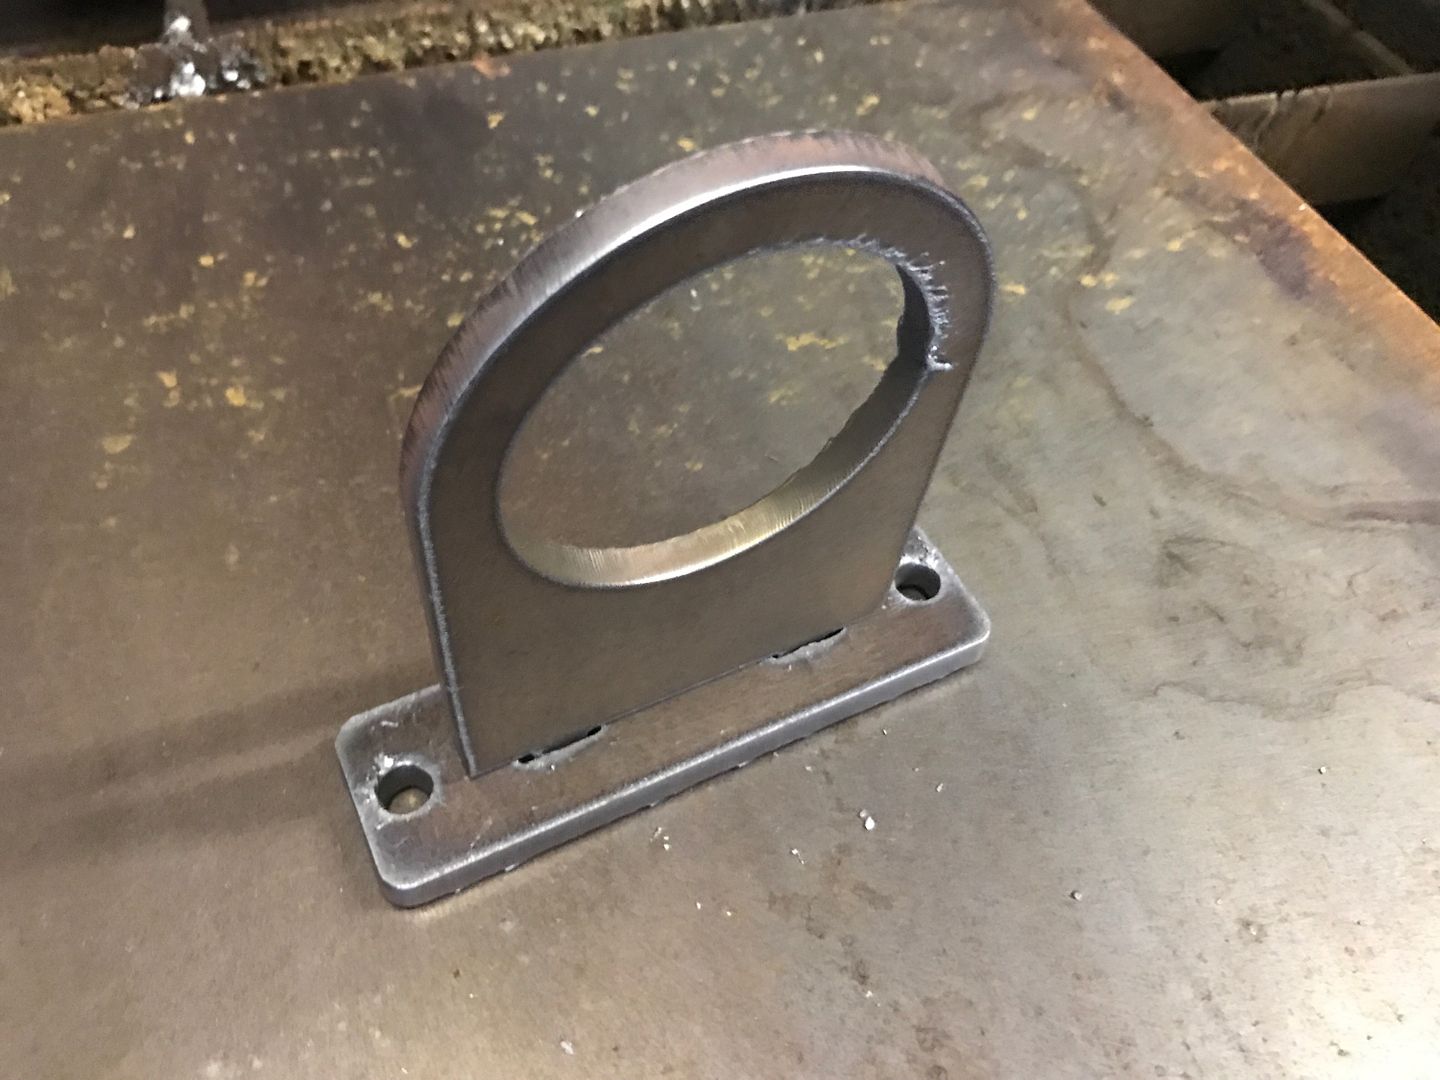
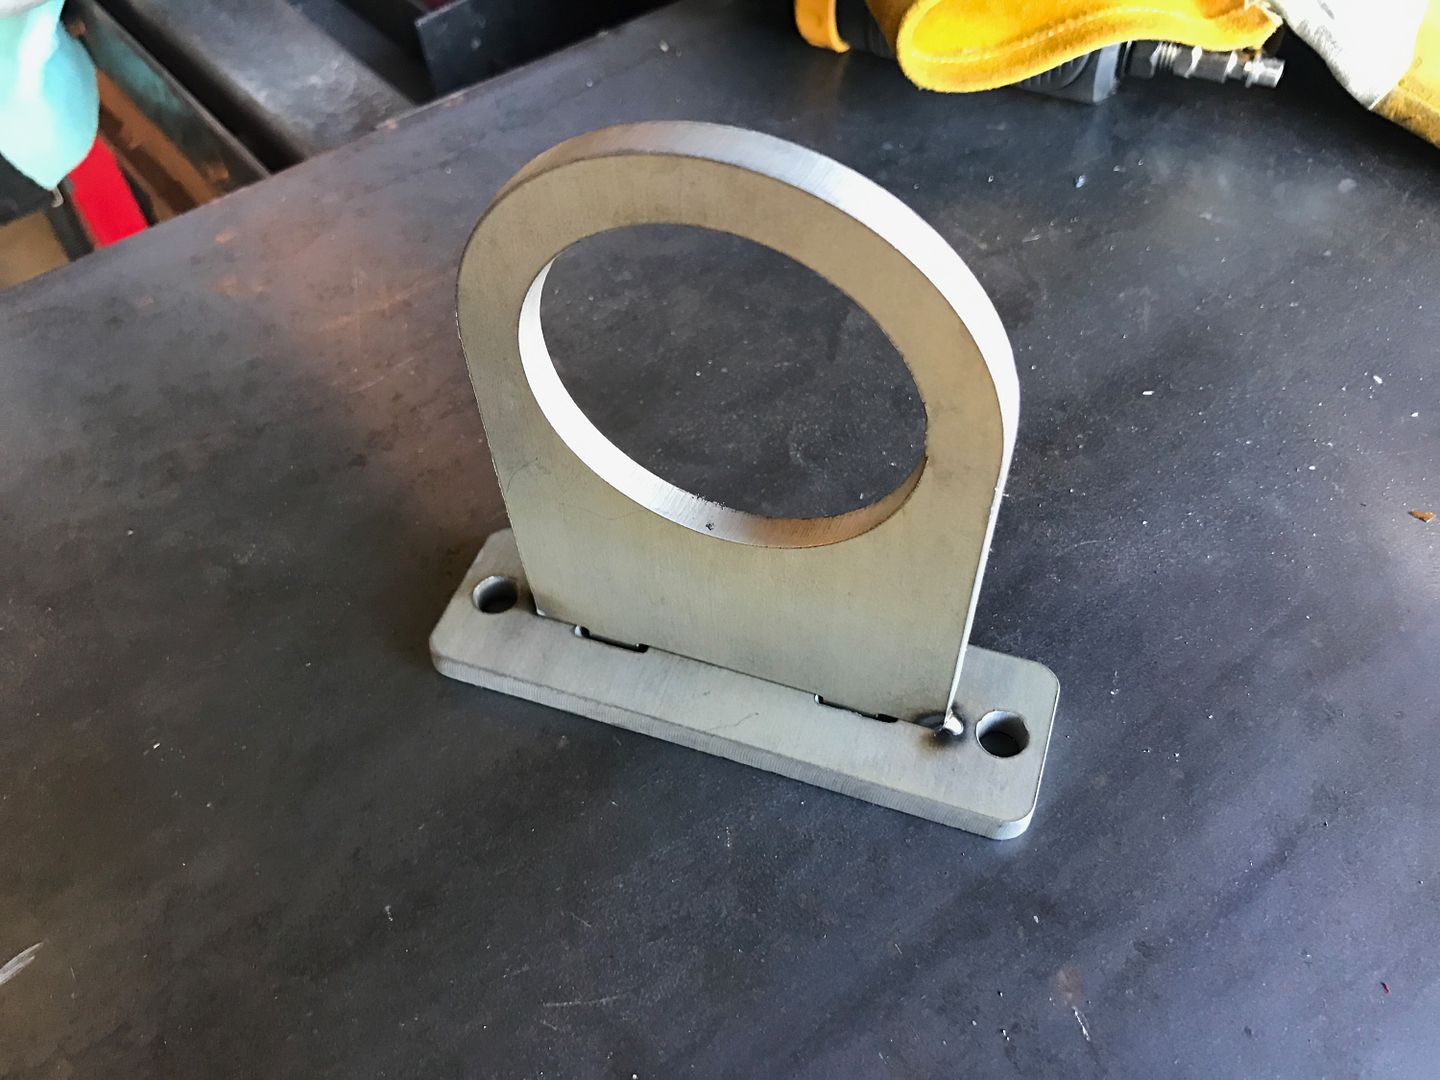
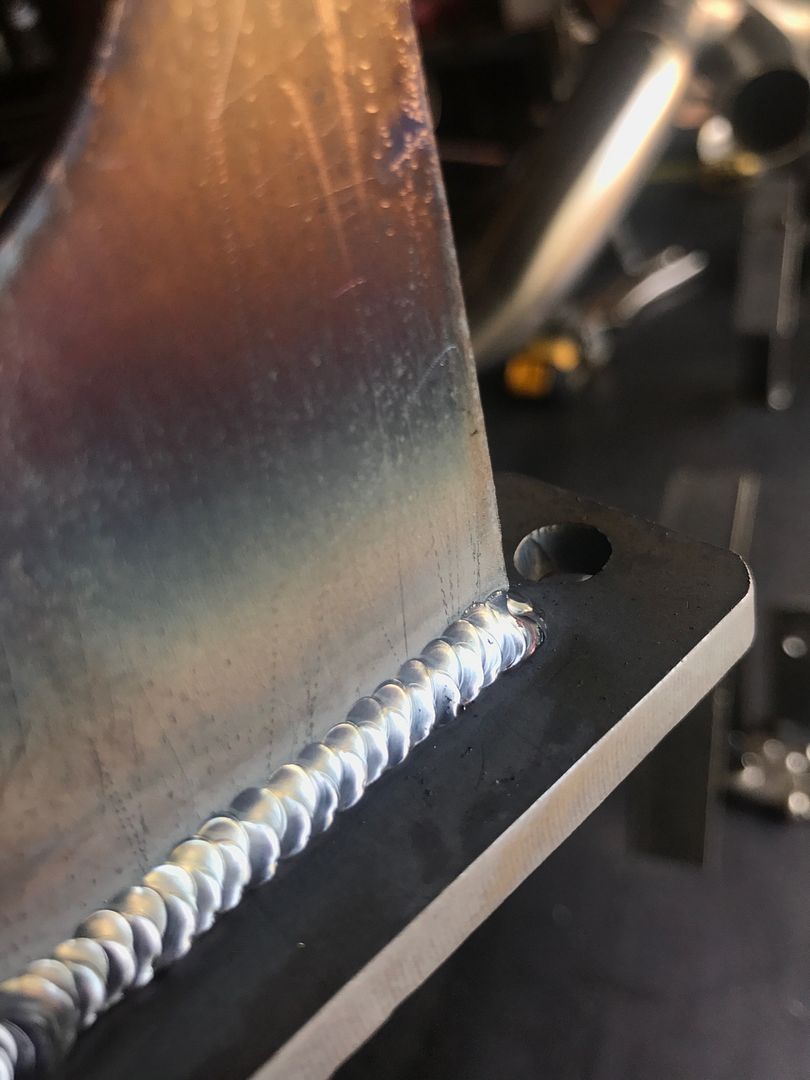
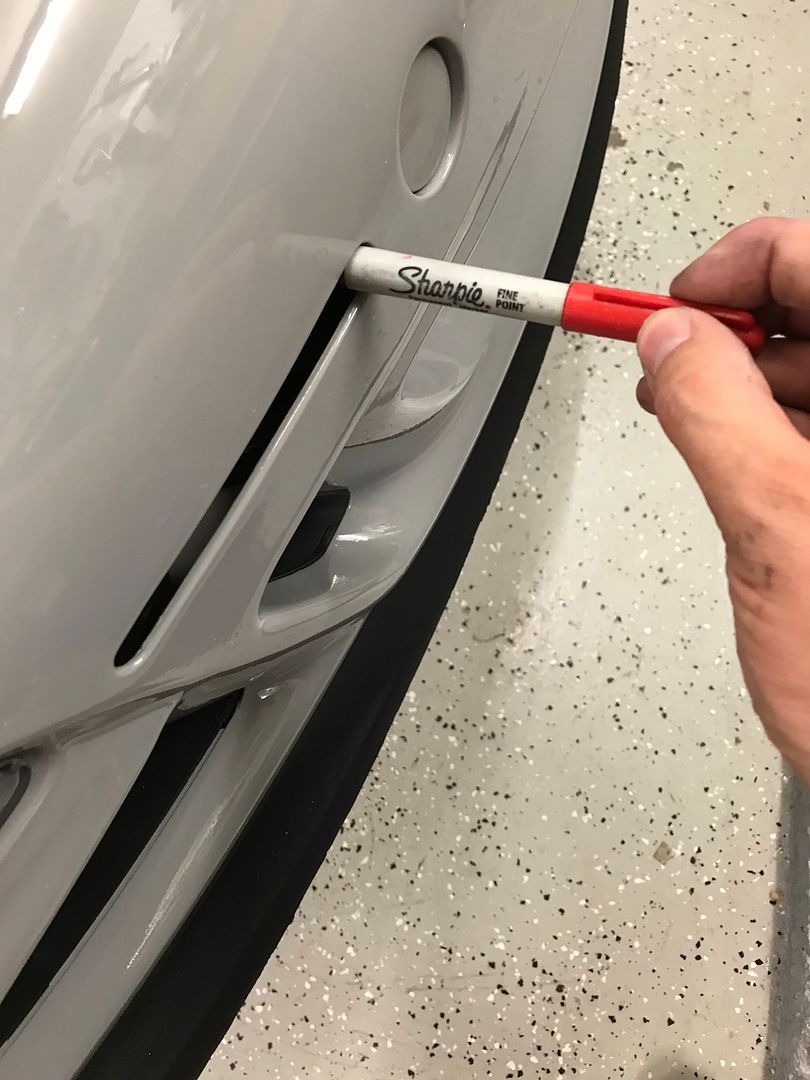
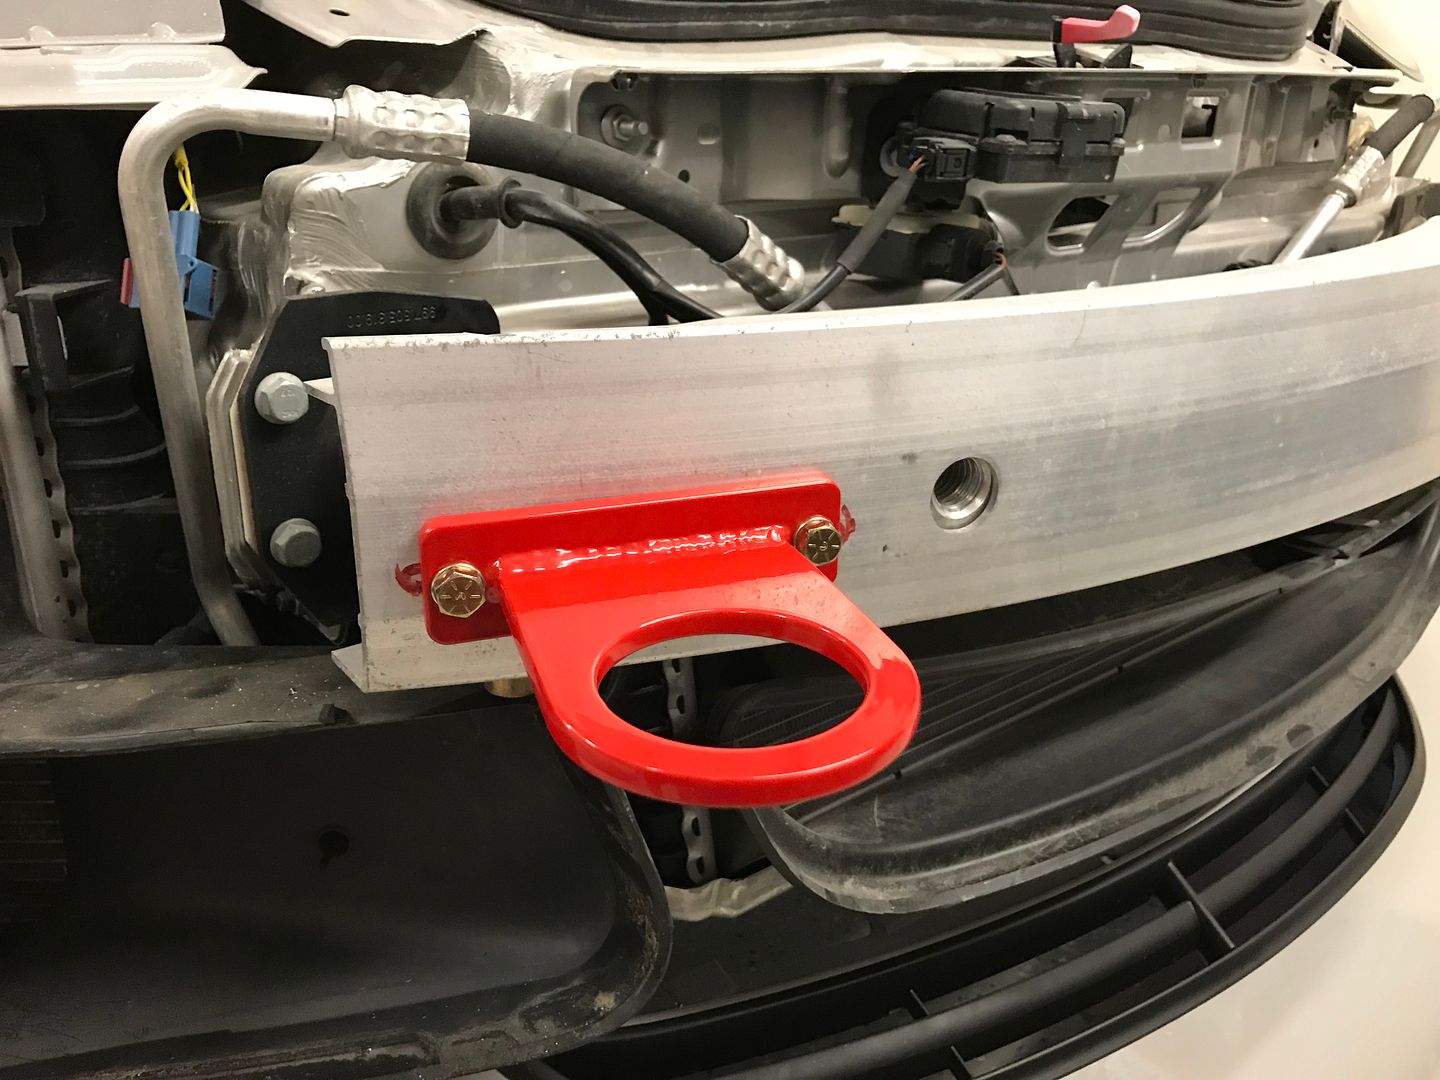
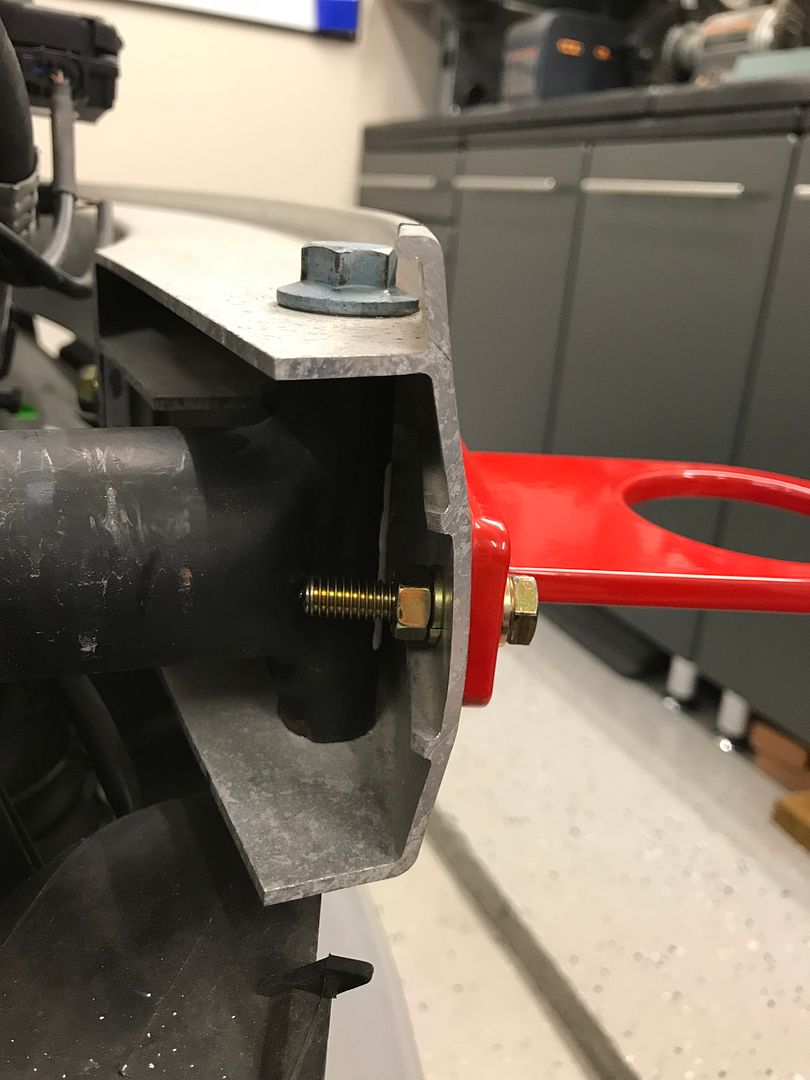
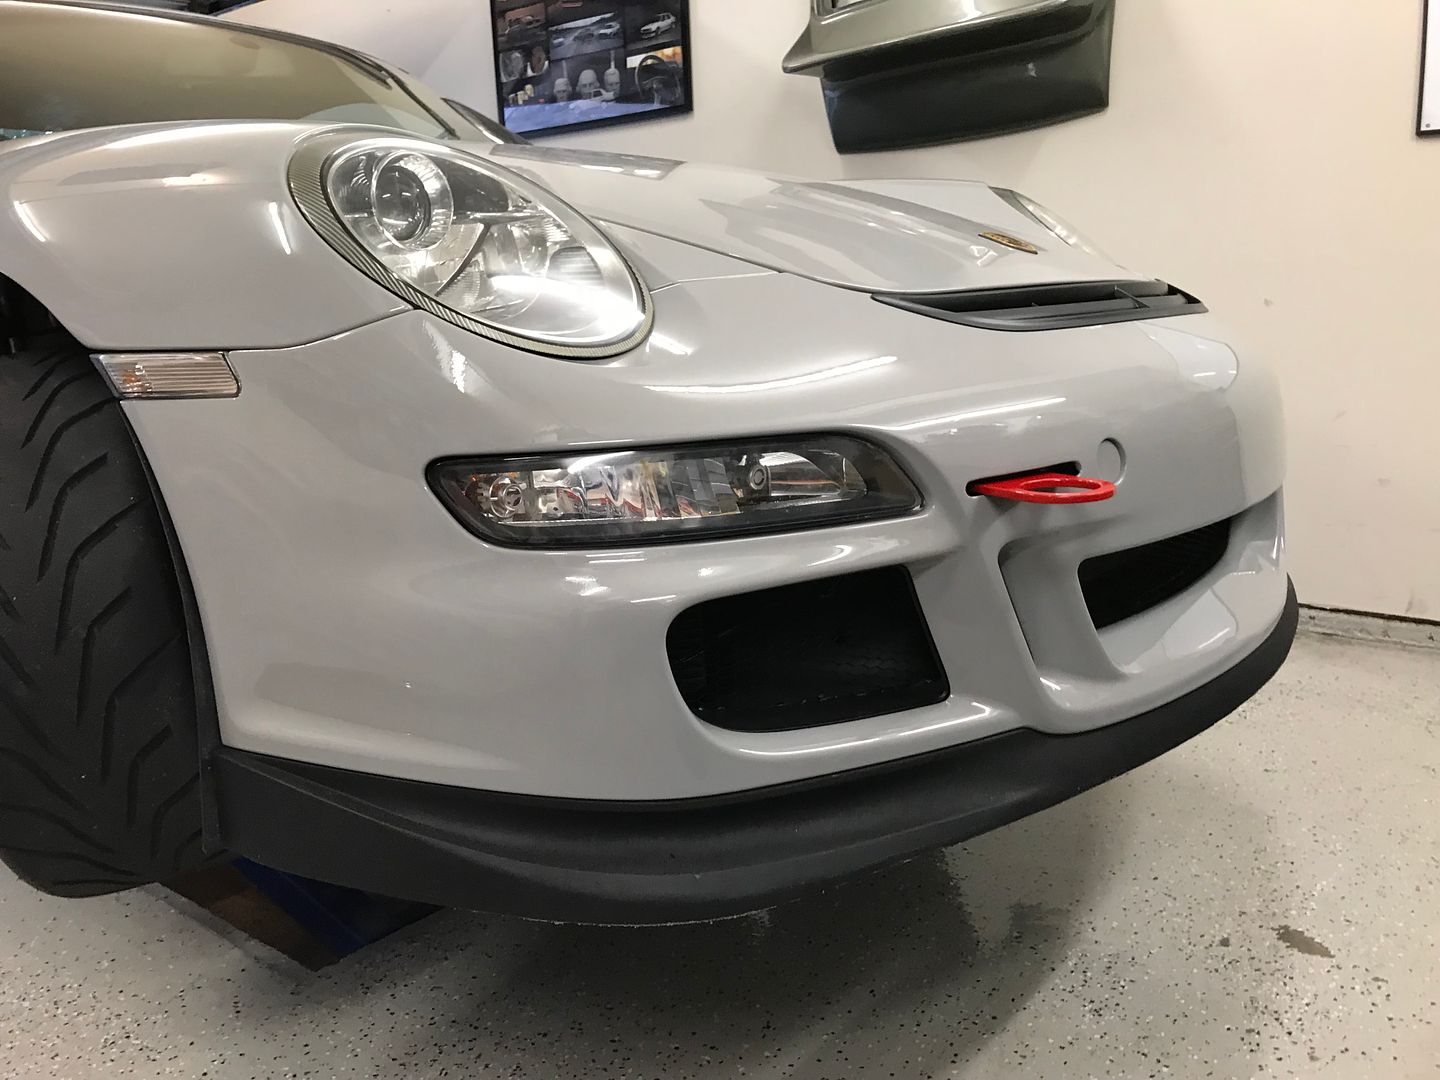
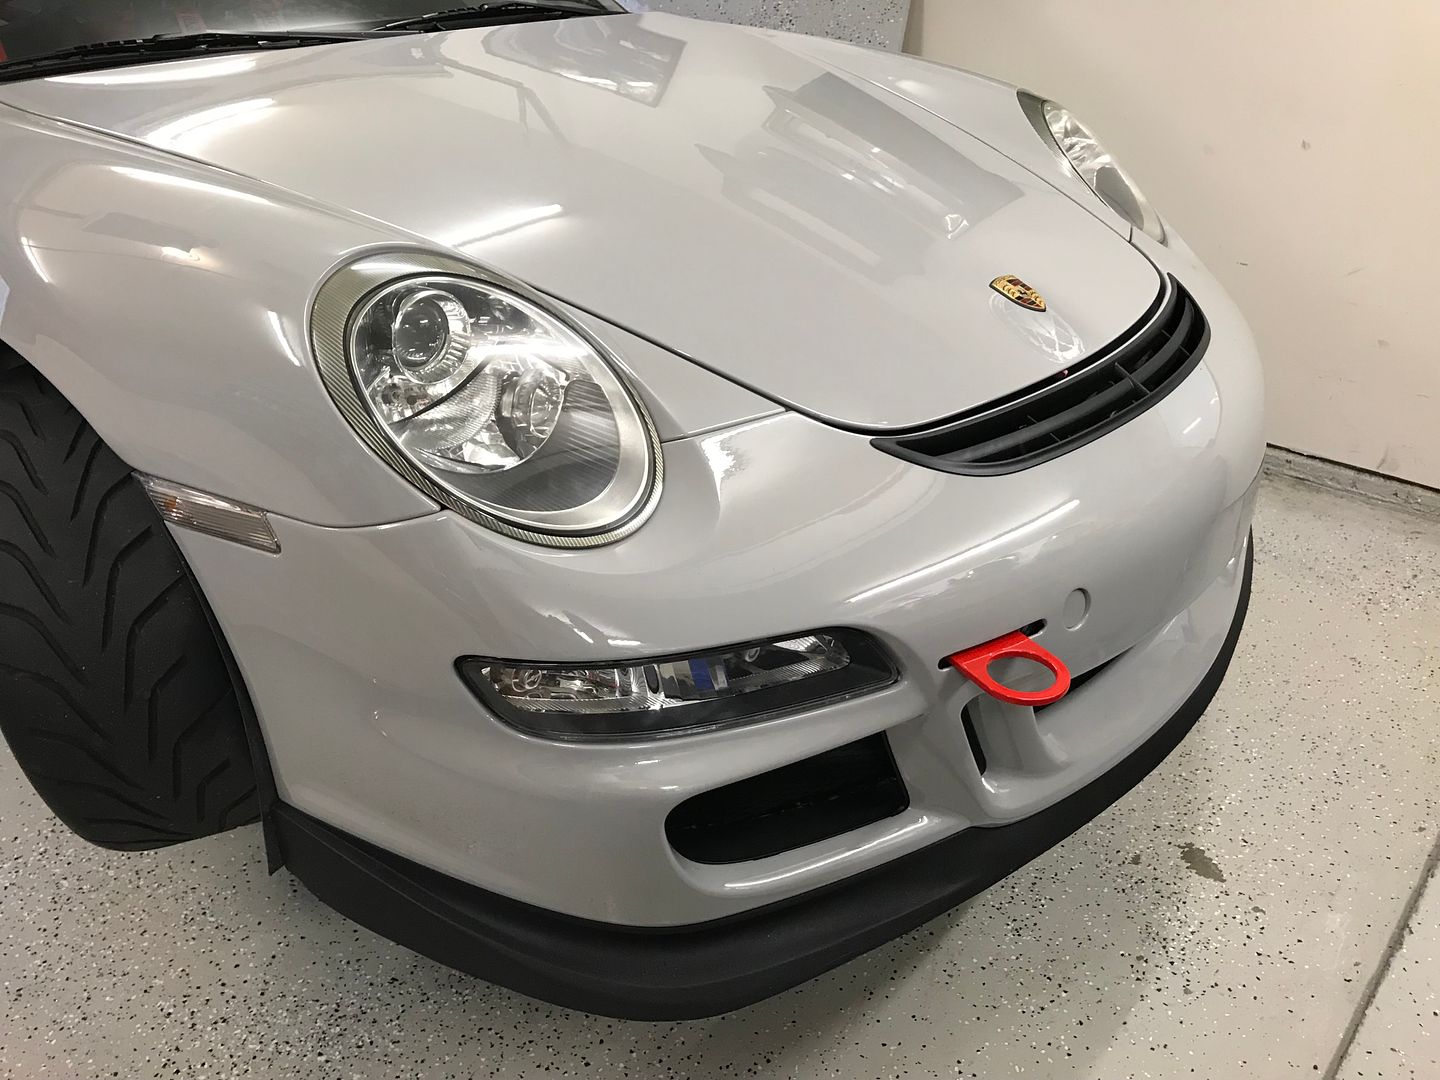
Since I have the cup front bumper with the tow hook slot, I wanted to utilize it, but not at the cost of the cup tow hook or having to get rid of the aluminum rebar. So I designed a simple bolt on tow hook and Alex (alleycats) plasma cut it, weld it and powder coat it for me.

I guess i didn't get any powder coated pics, but onto the install.
Marked the hole with a sharpie
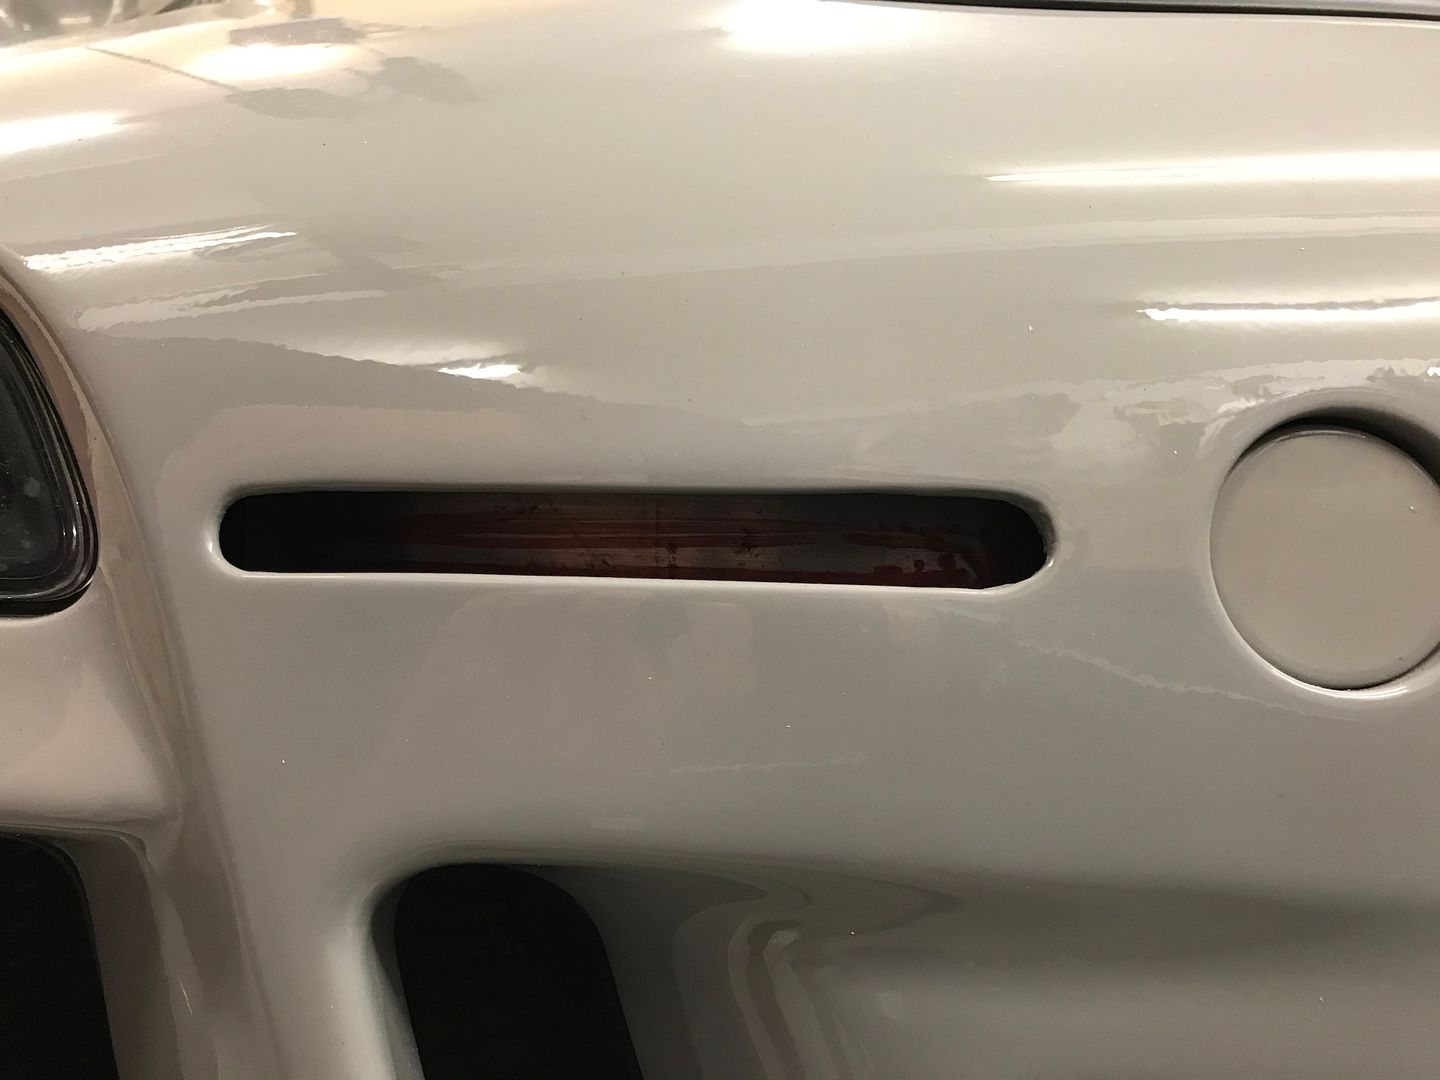
Bumper off
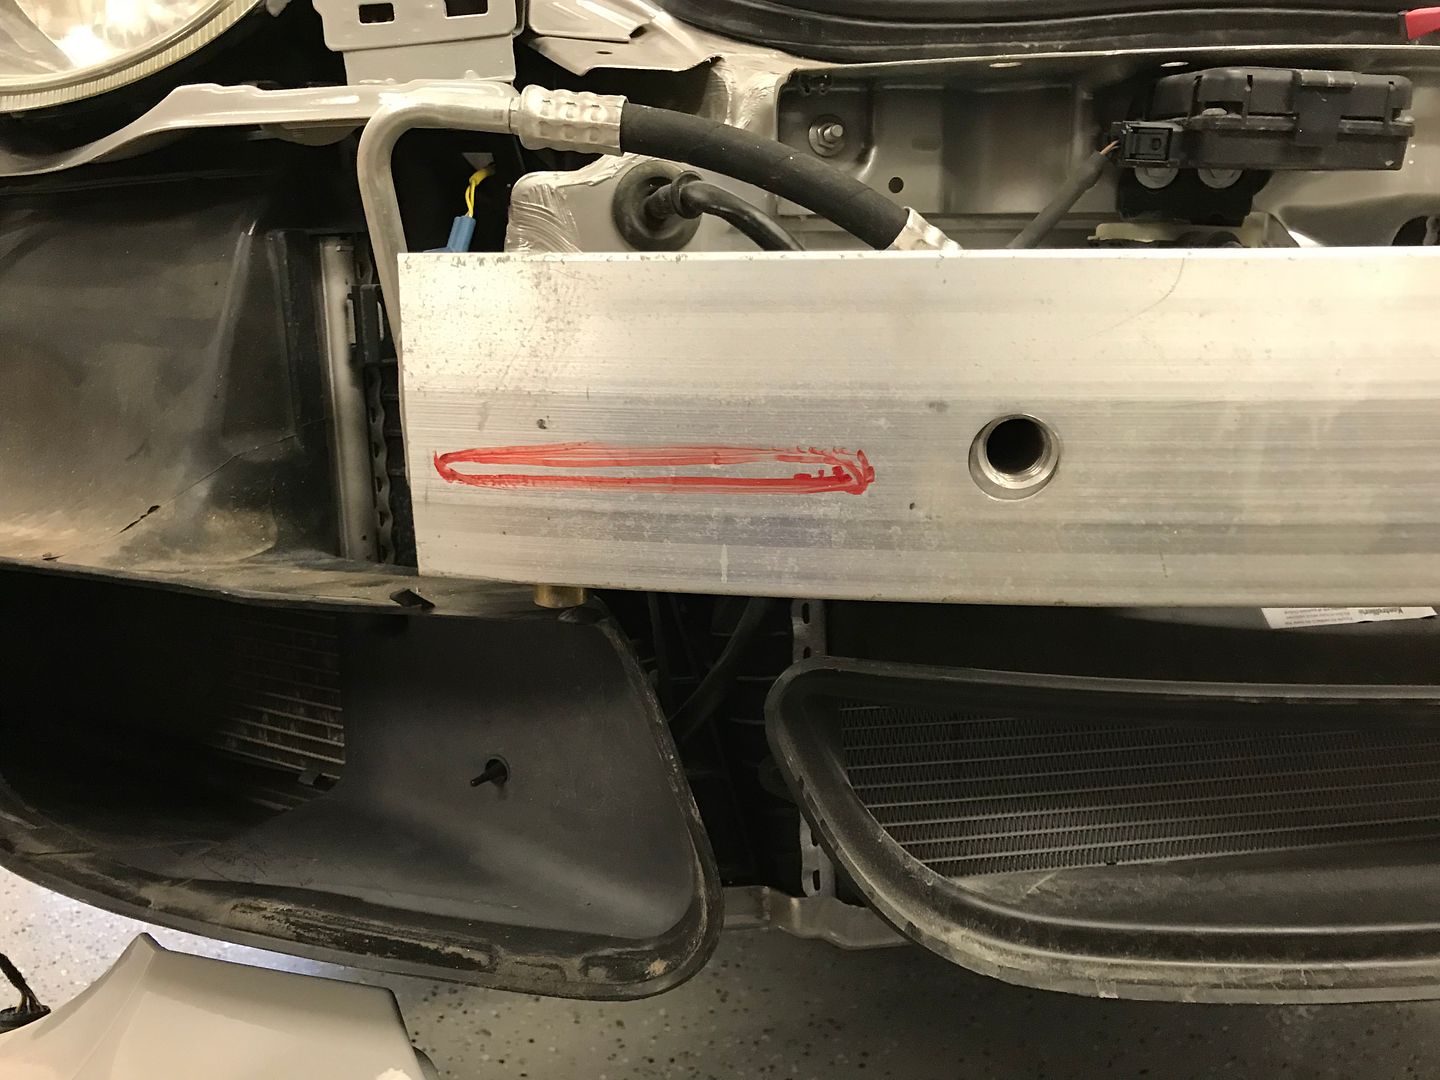
Holes drilled
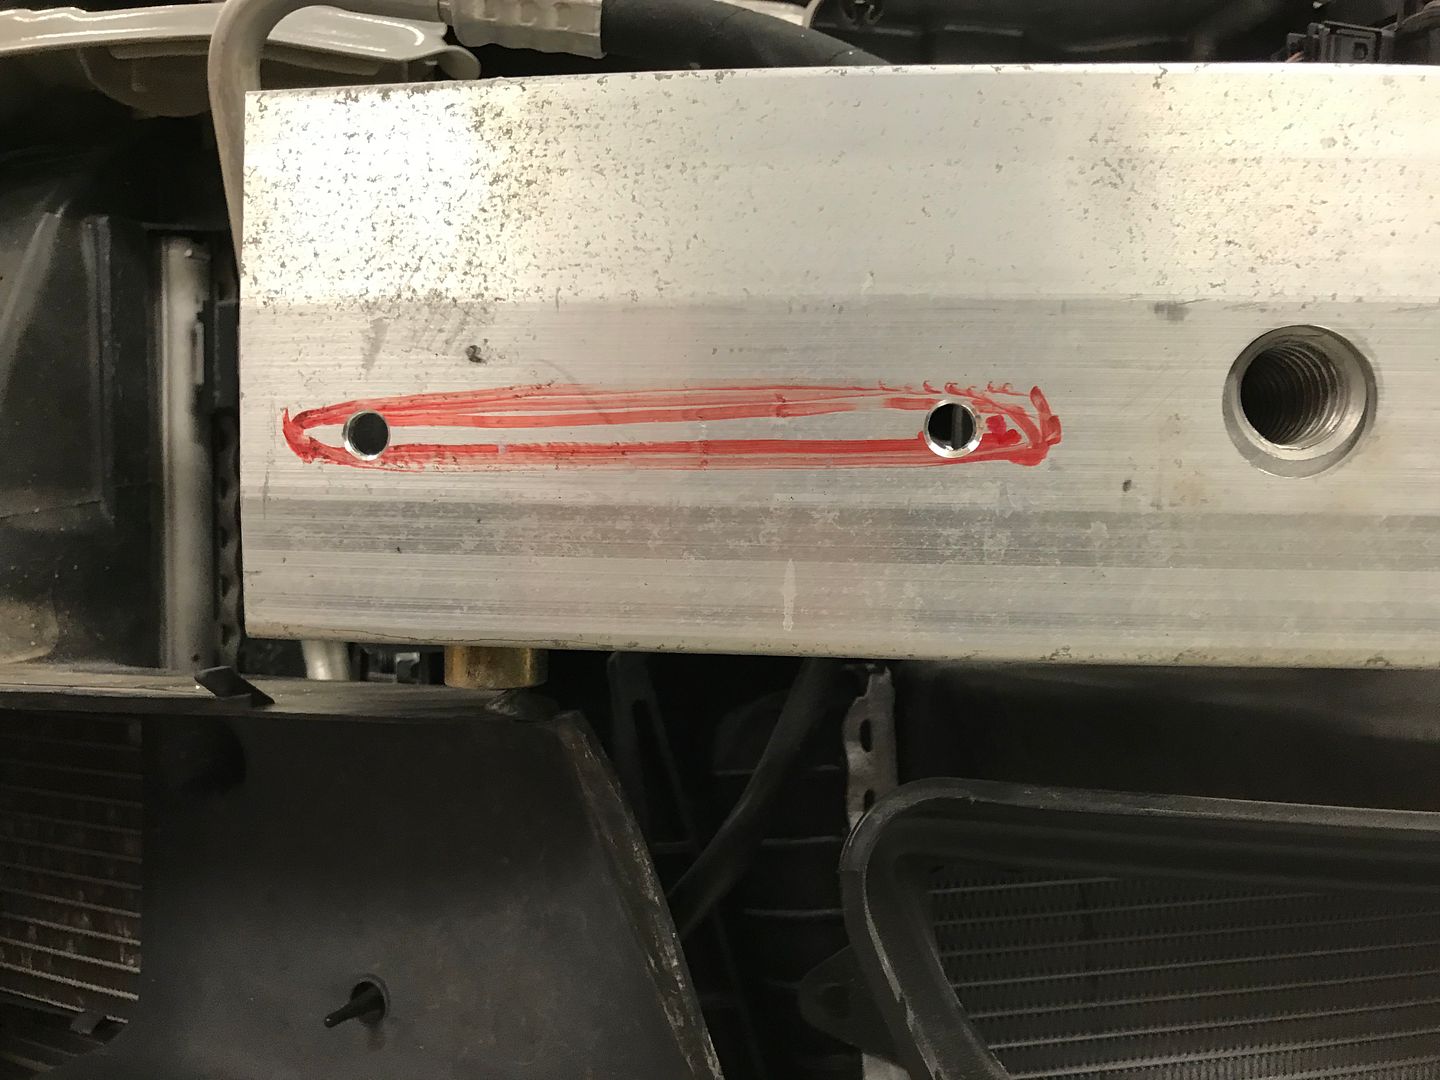
Bolted on
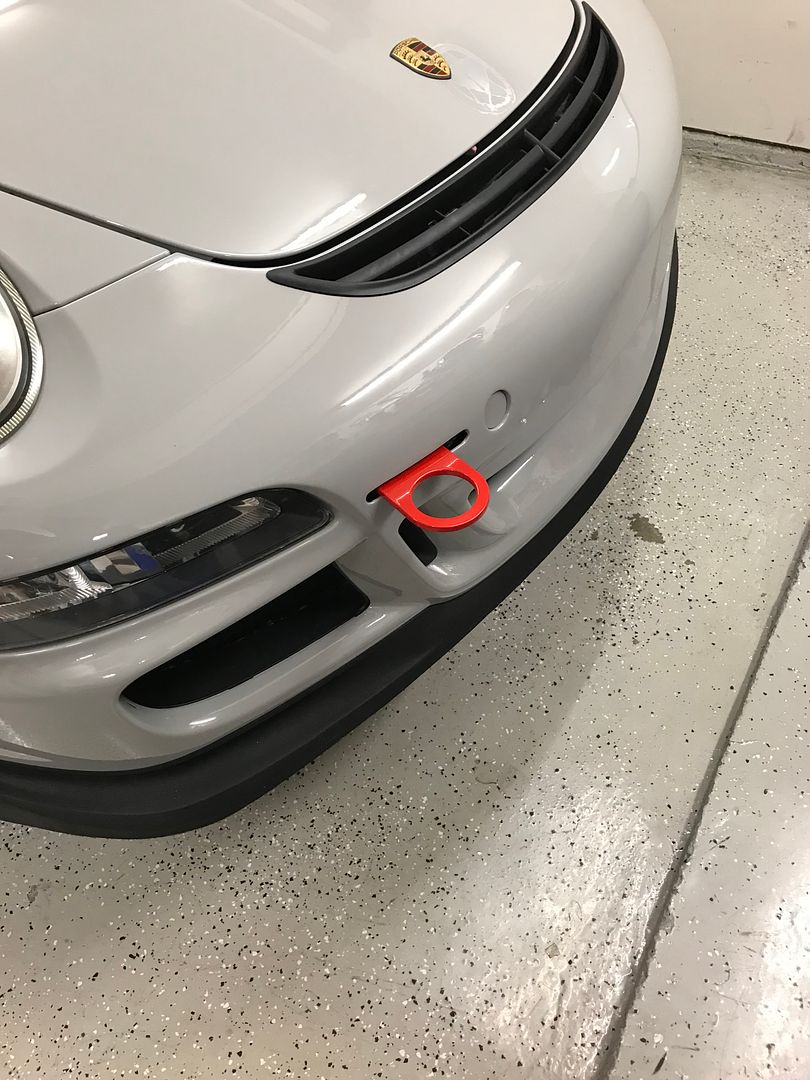
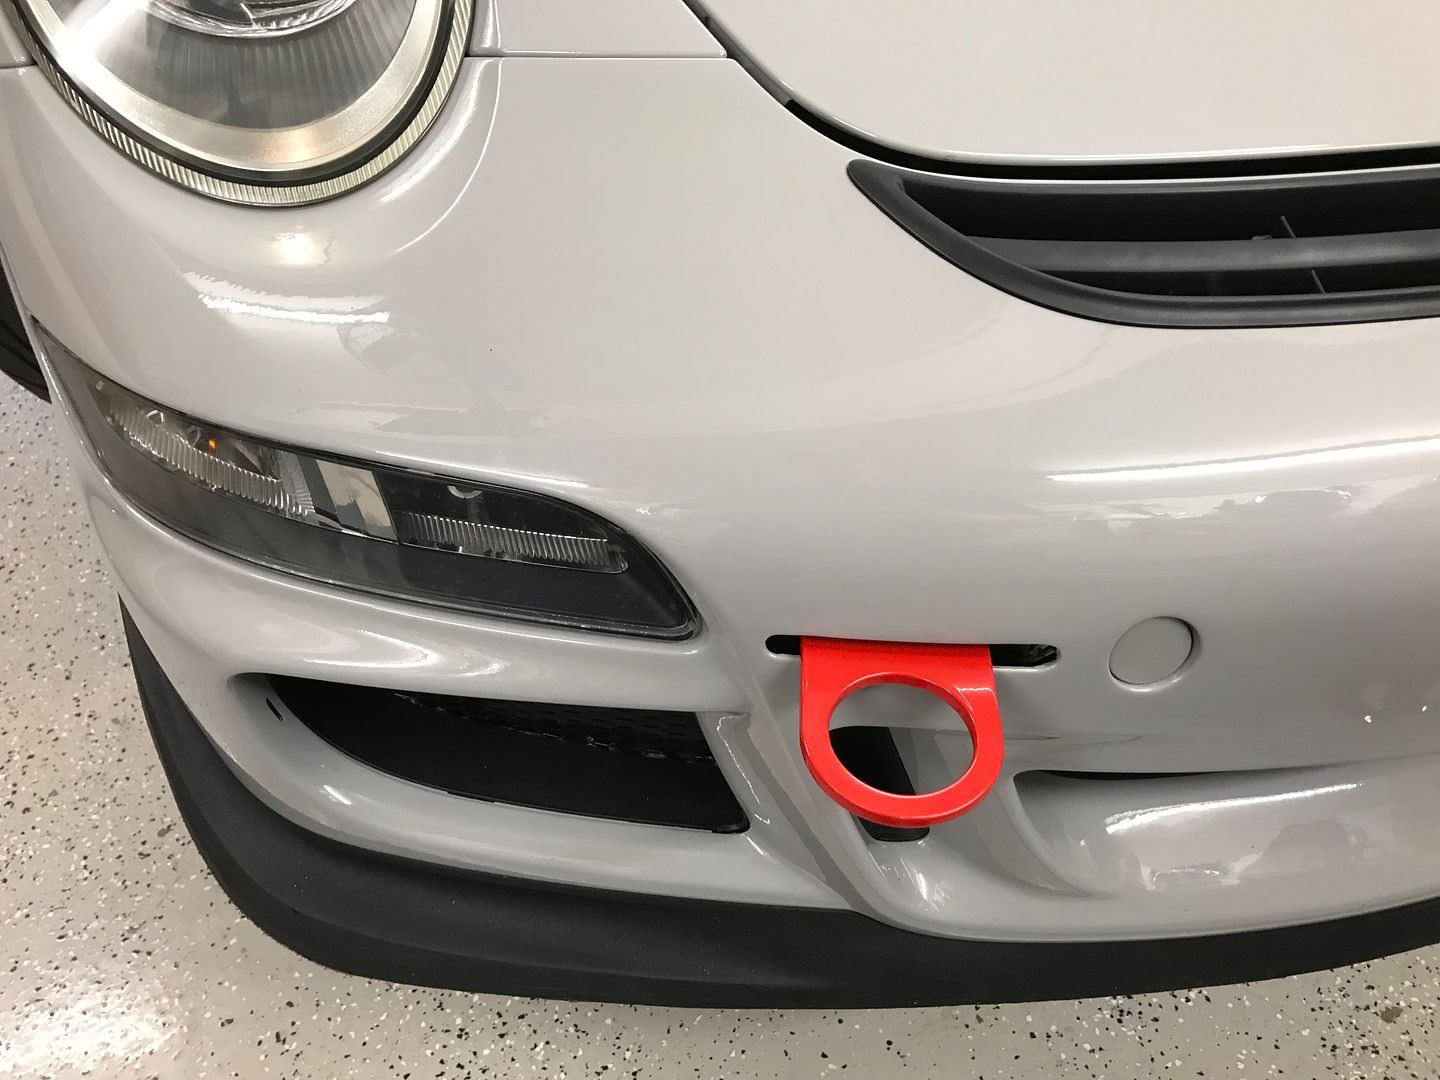
Bumper back on. Overall not bad, could be 1/2" shorter.
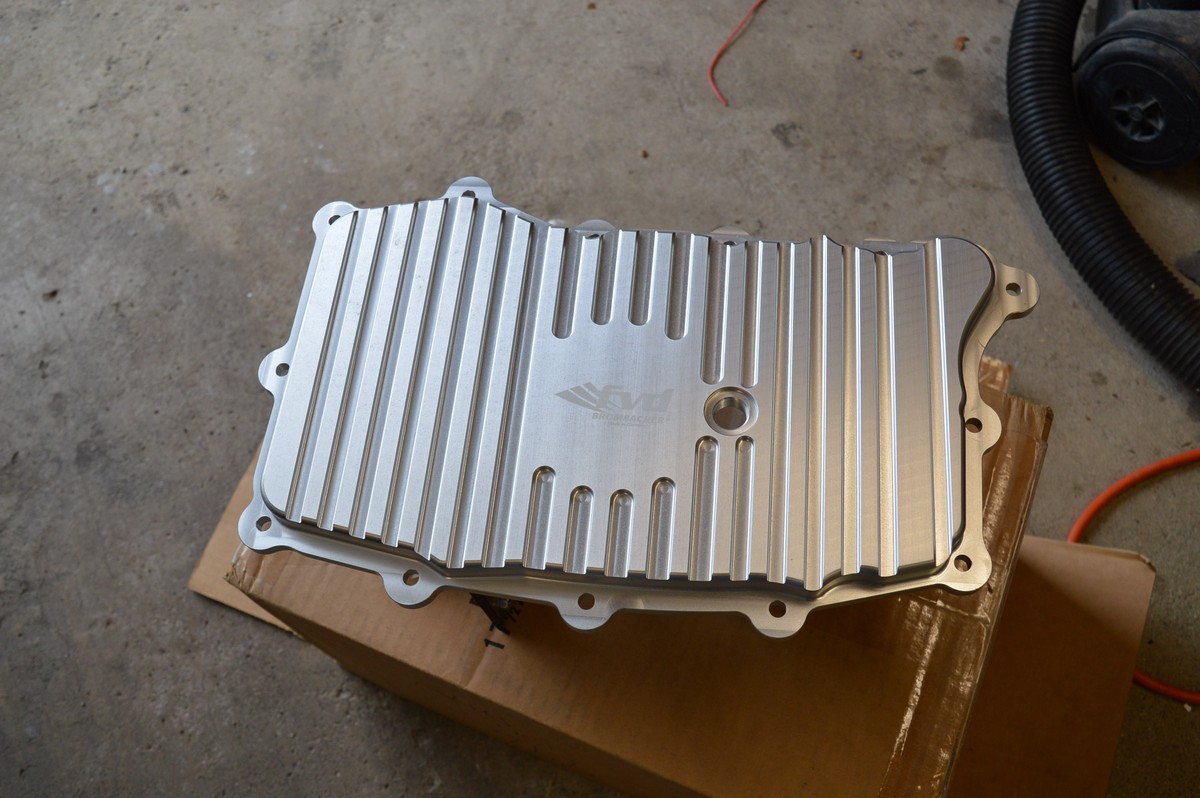
Next project was in FVD oil pan installation and another oil change.
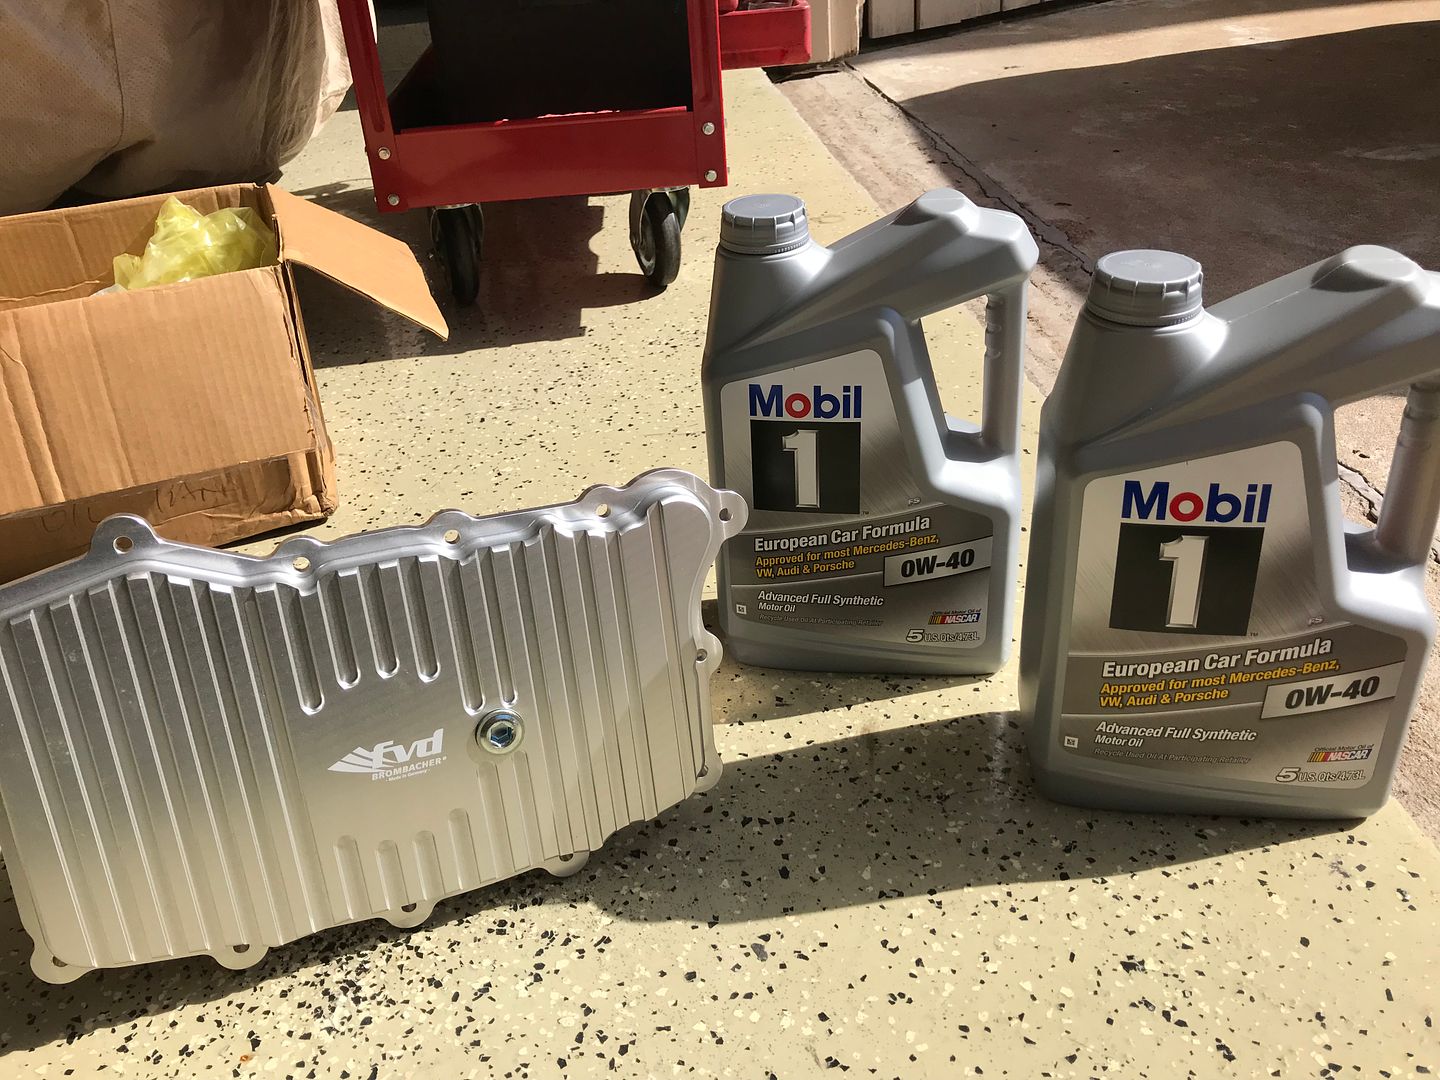
Before
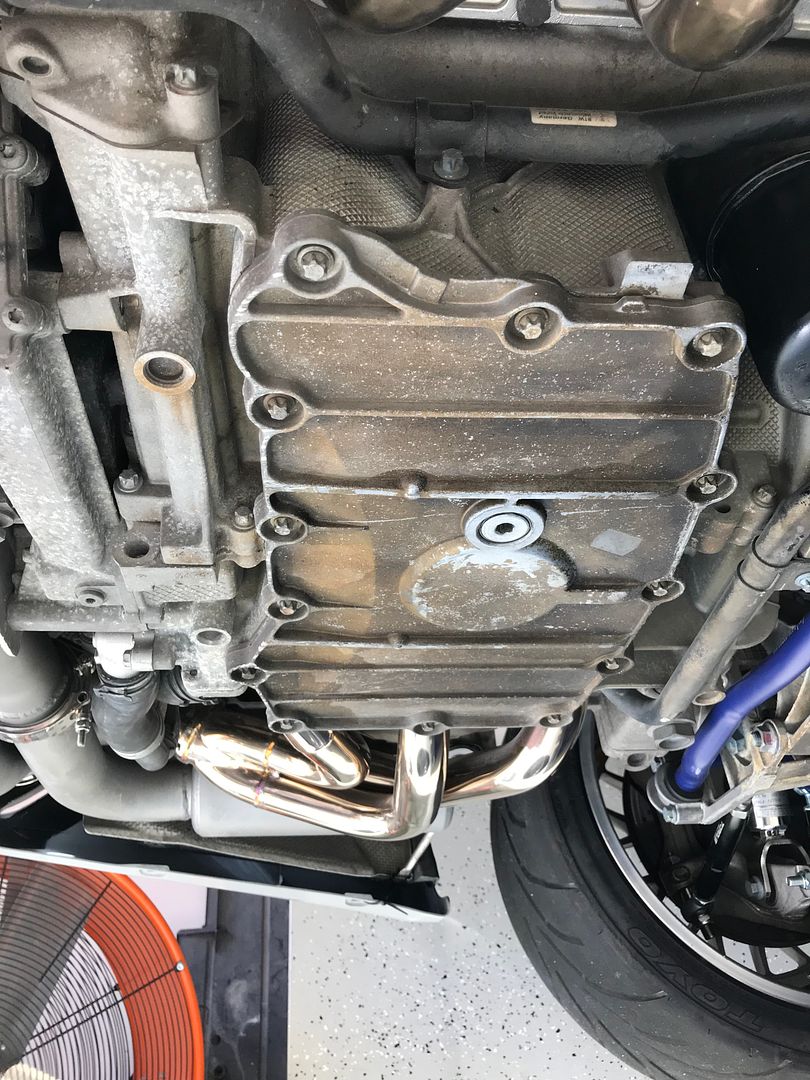
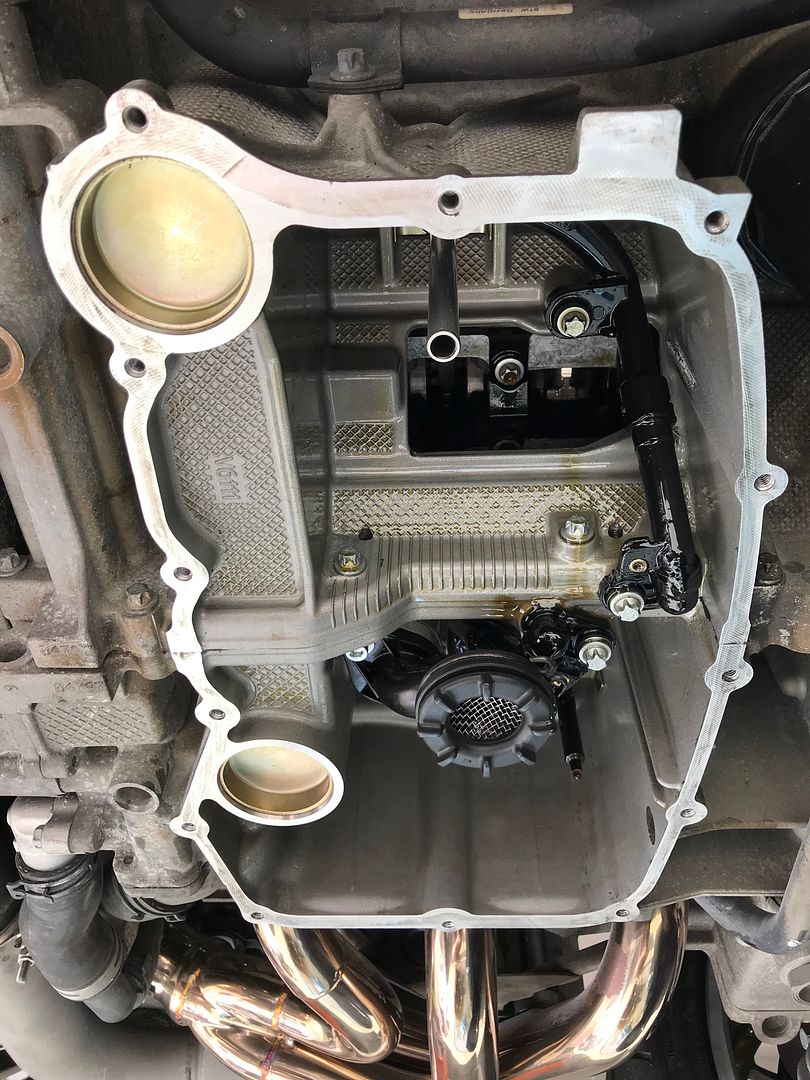
Stock pan removed
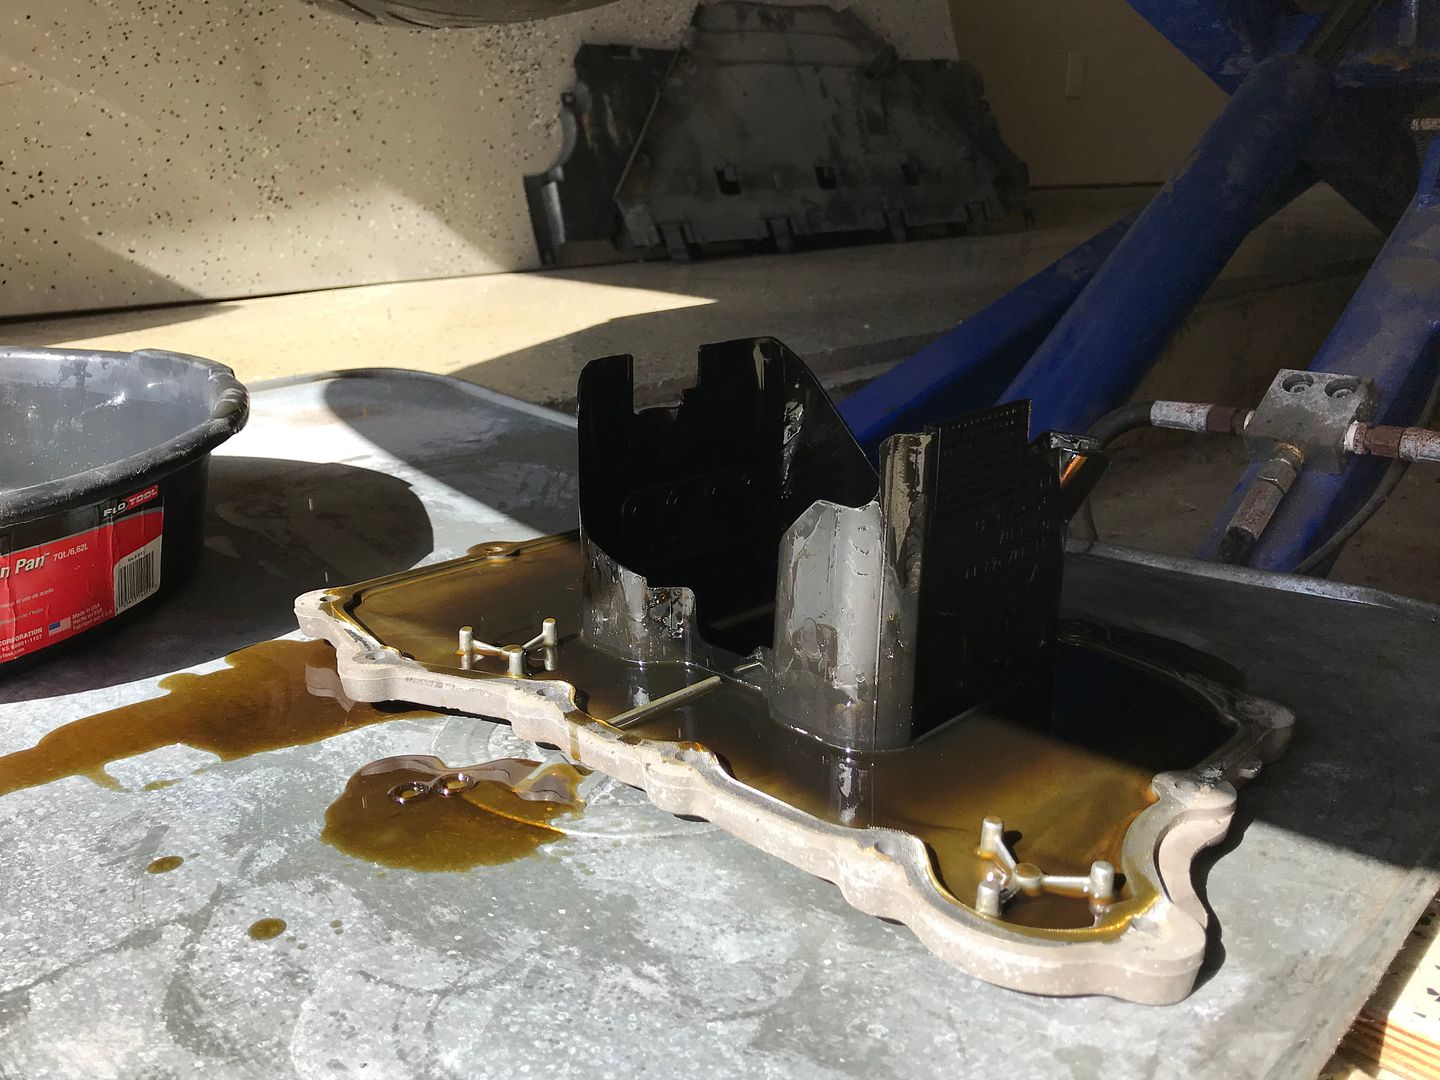
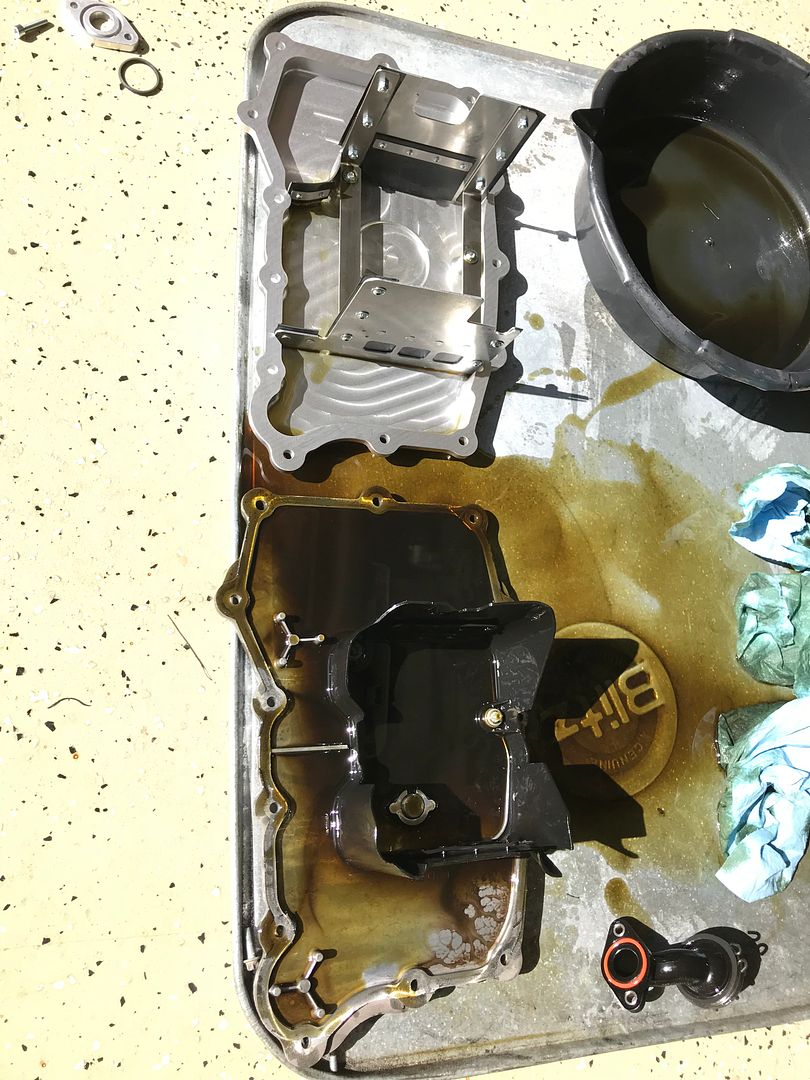
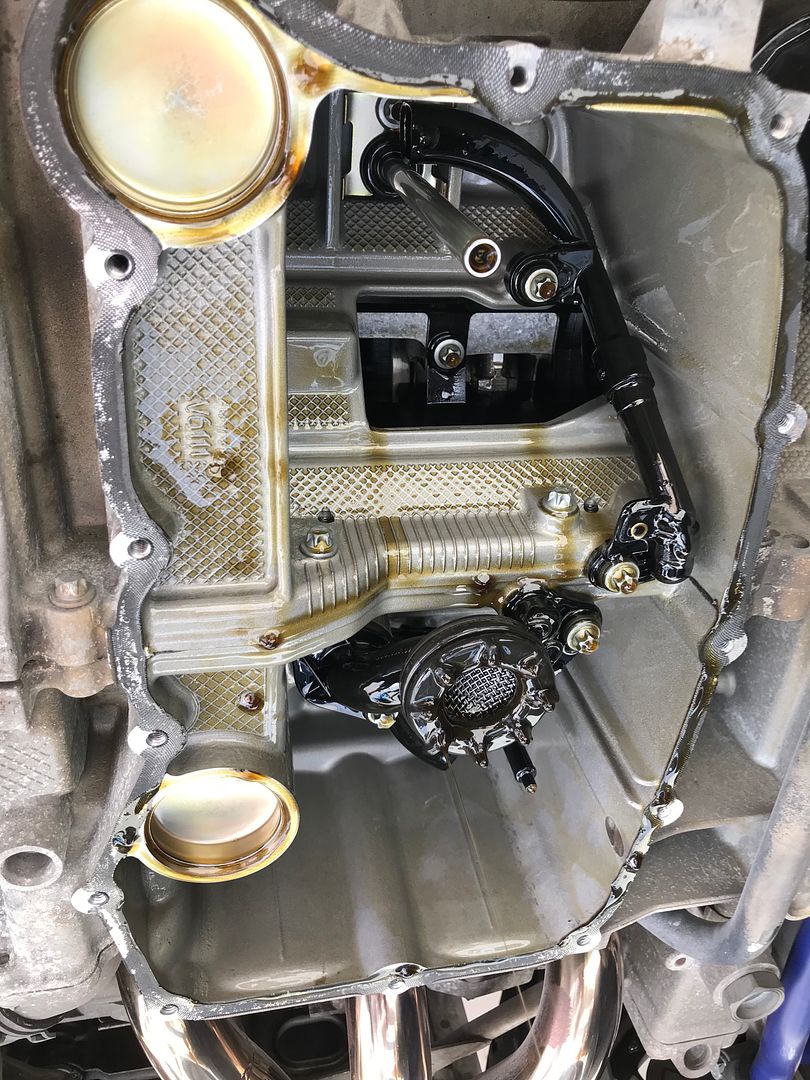
Insides looking good
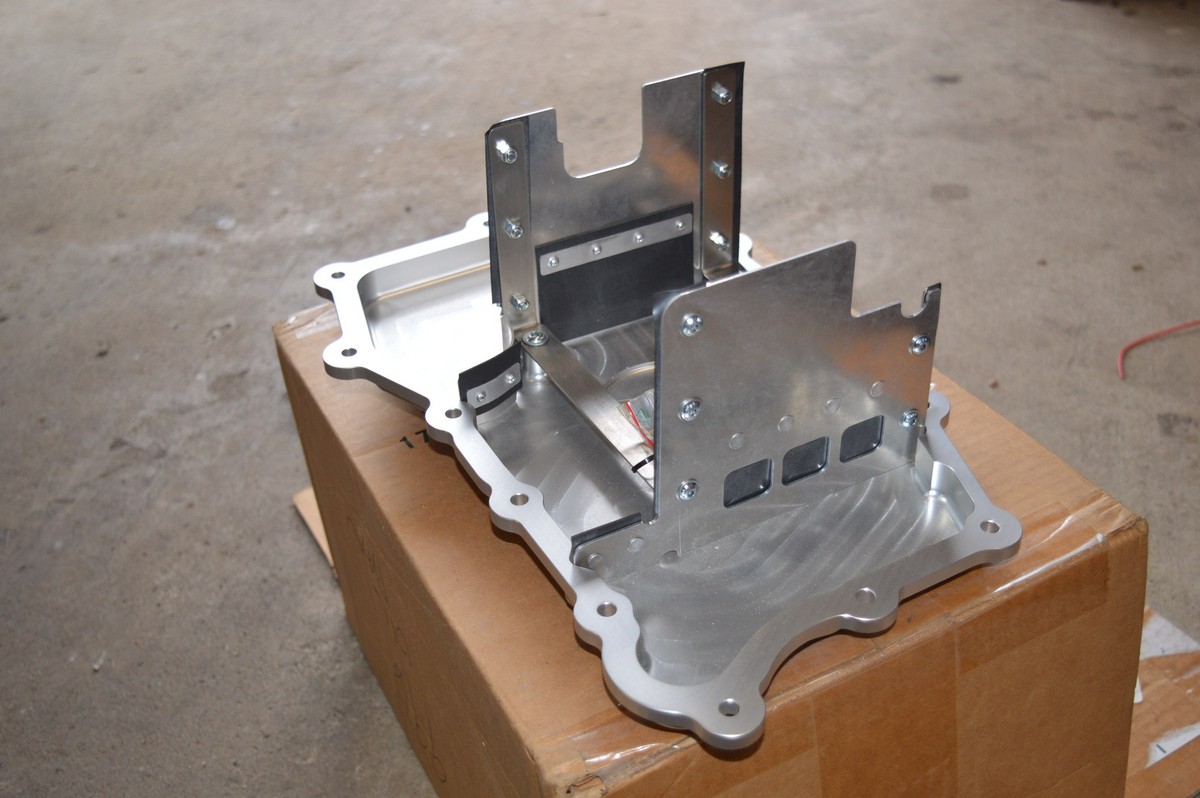
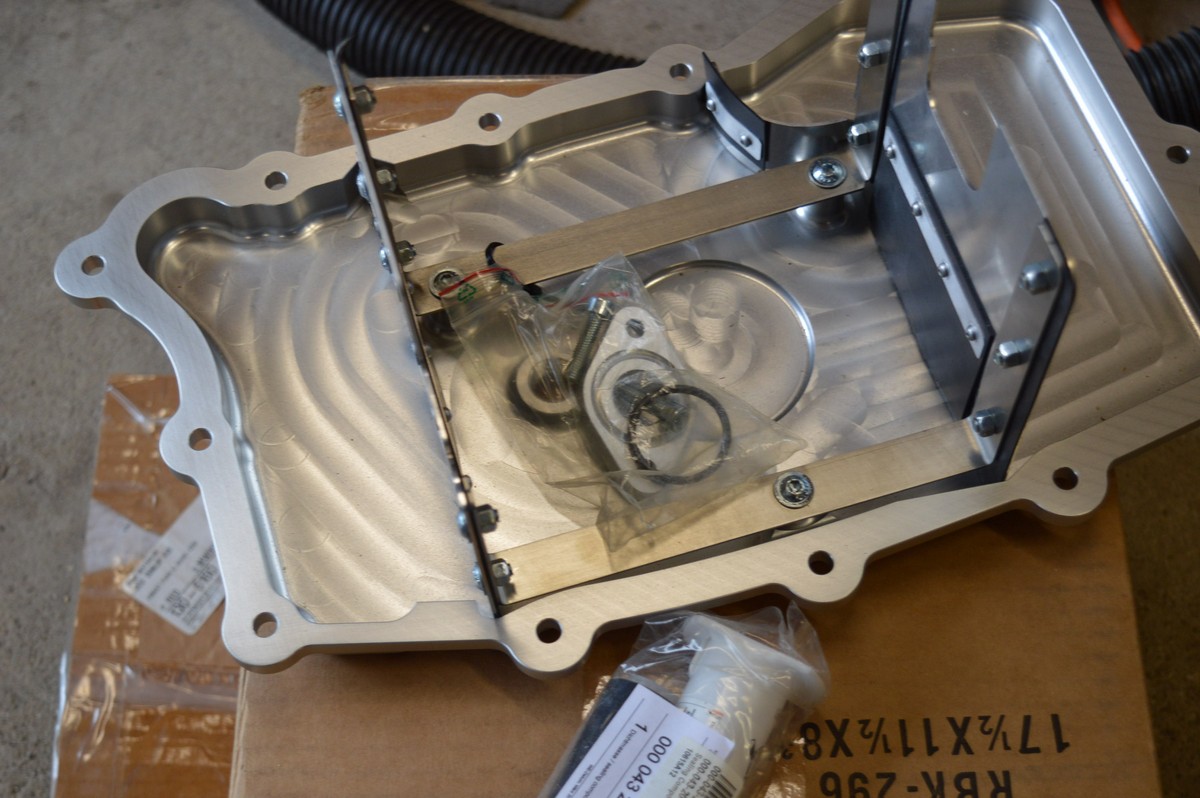
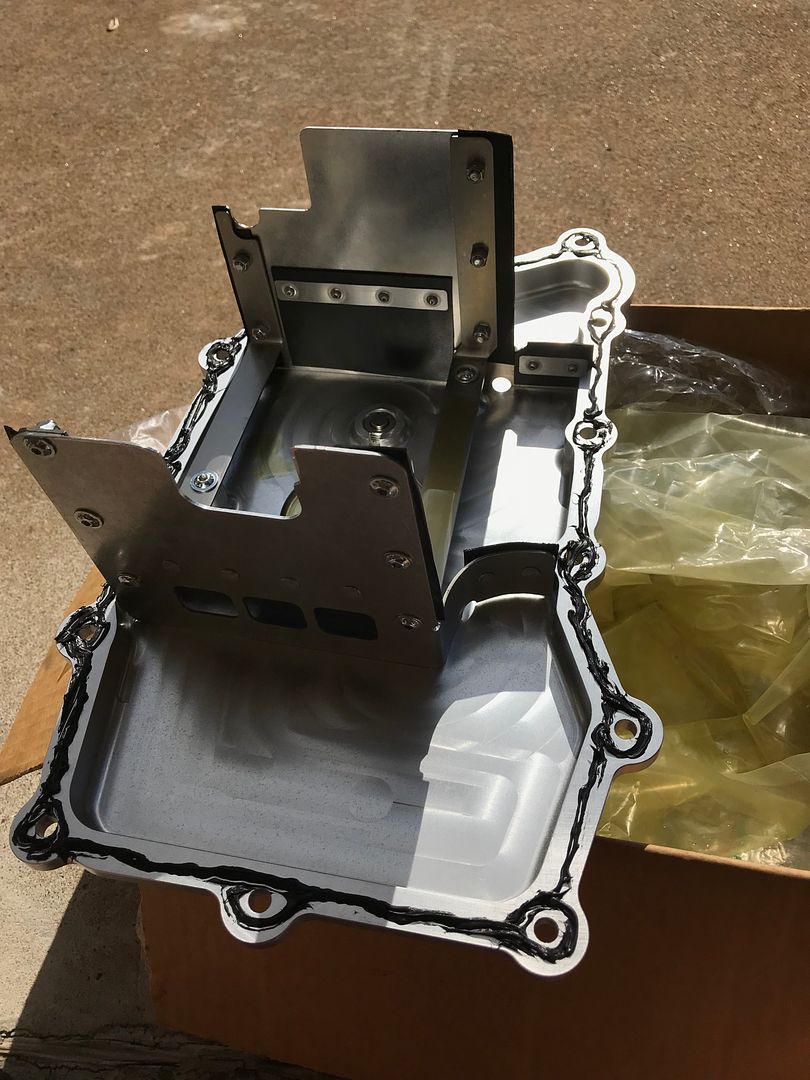
There were some questions whether this pan would fit the 3.8 vs the 3.6 it's listed for. I found that everything looked good, except the baffle on the front of the drivers side. The stock baffle is about 4.5" tall. The FVD baffle is about 4.75" and prevented the pan from seating 100% in that corner.

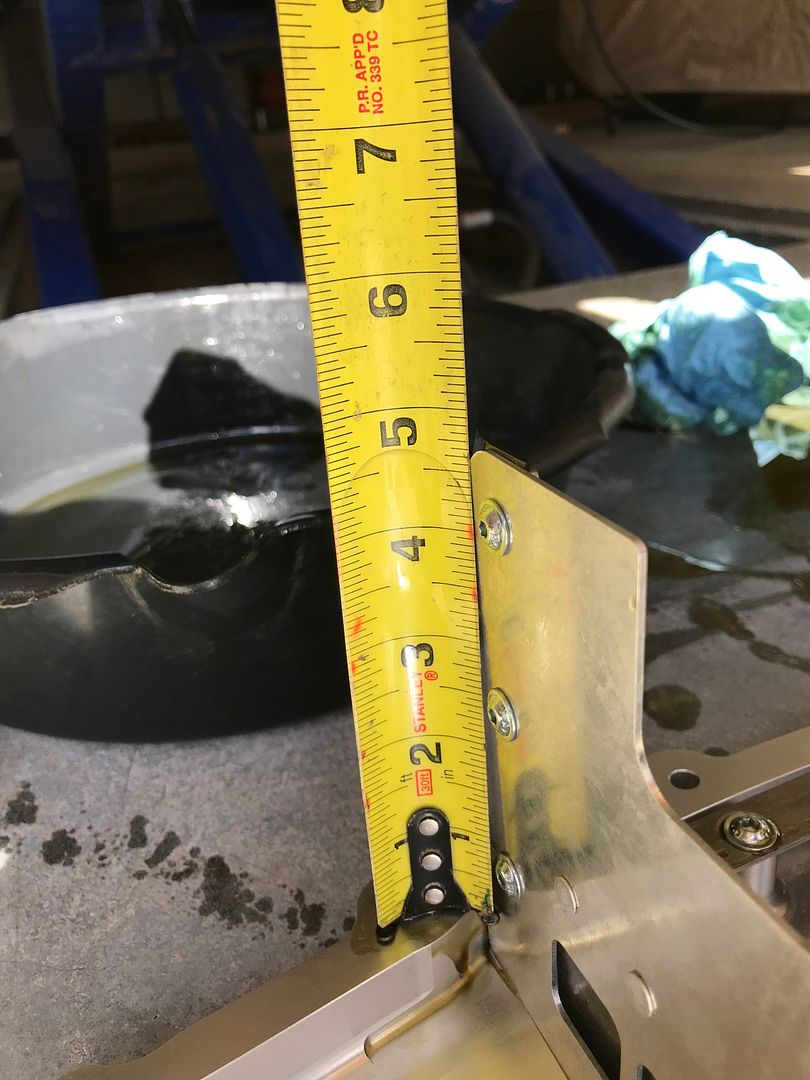
I cut the baffle 1/4", filed it down, and washed the pan with soap and water.
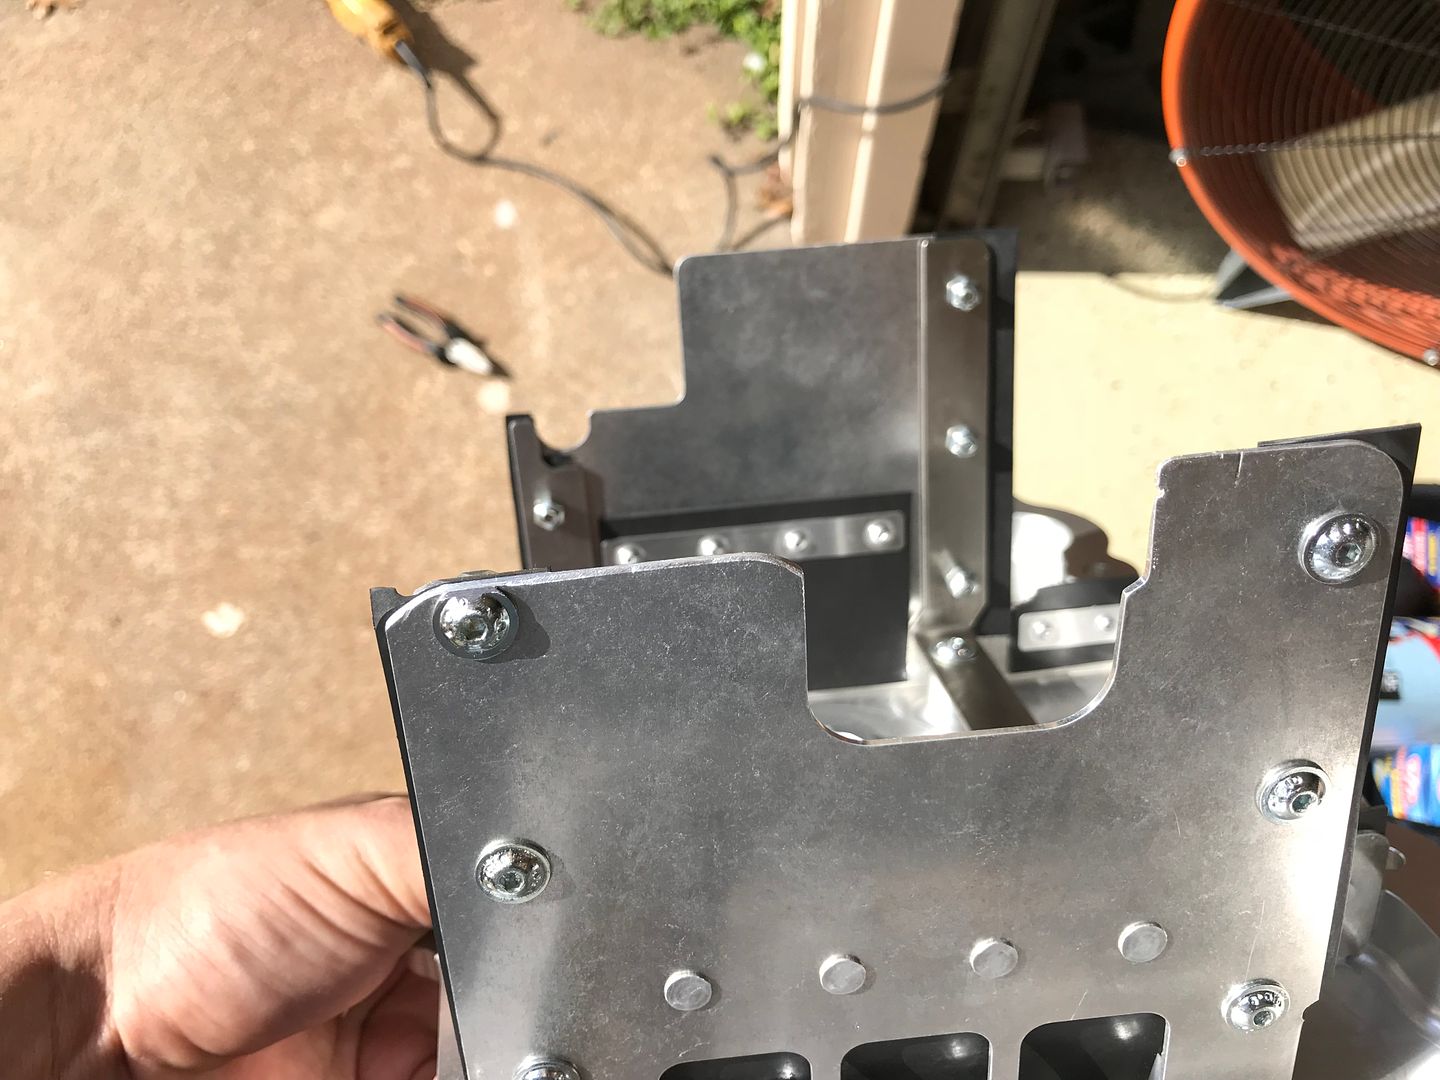
Oil pump pickup tube extender installed
Mating surfaced cleaned up
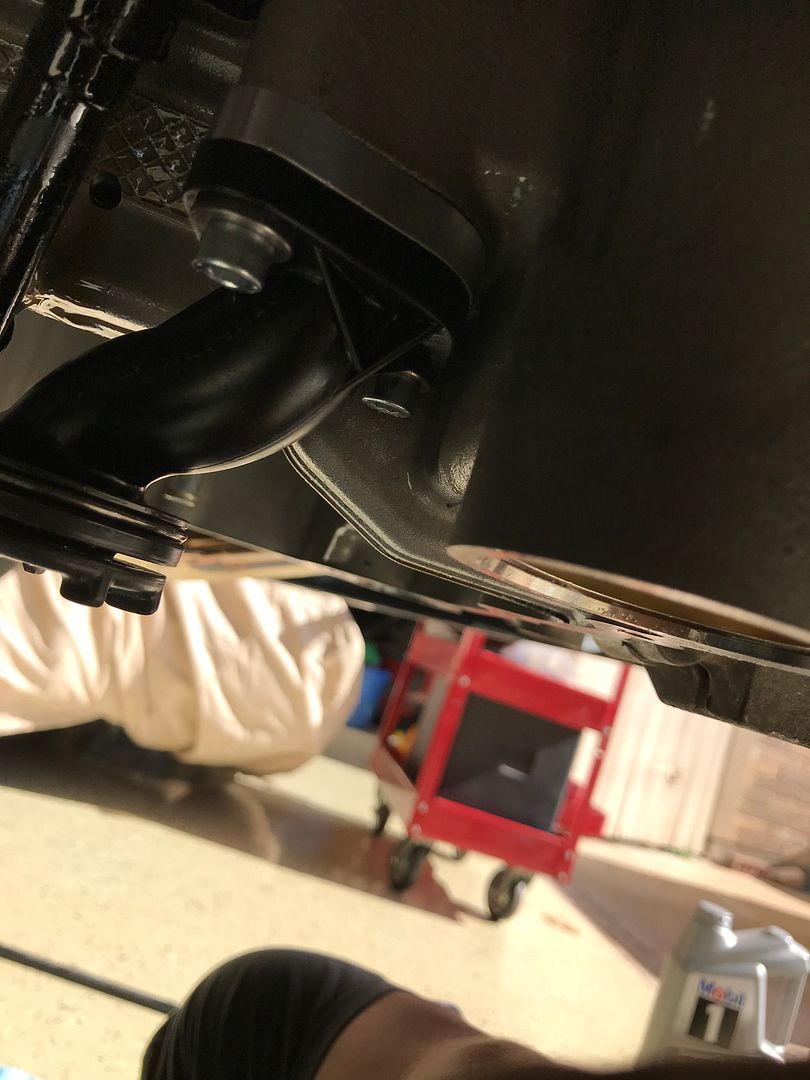
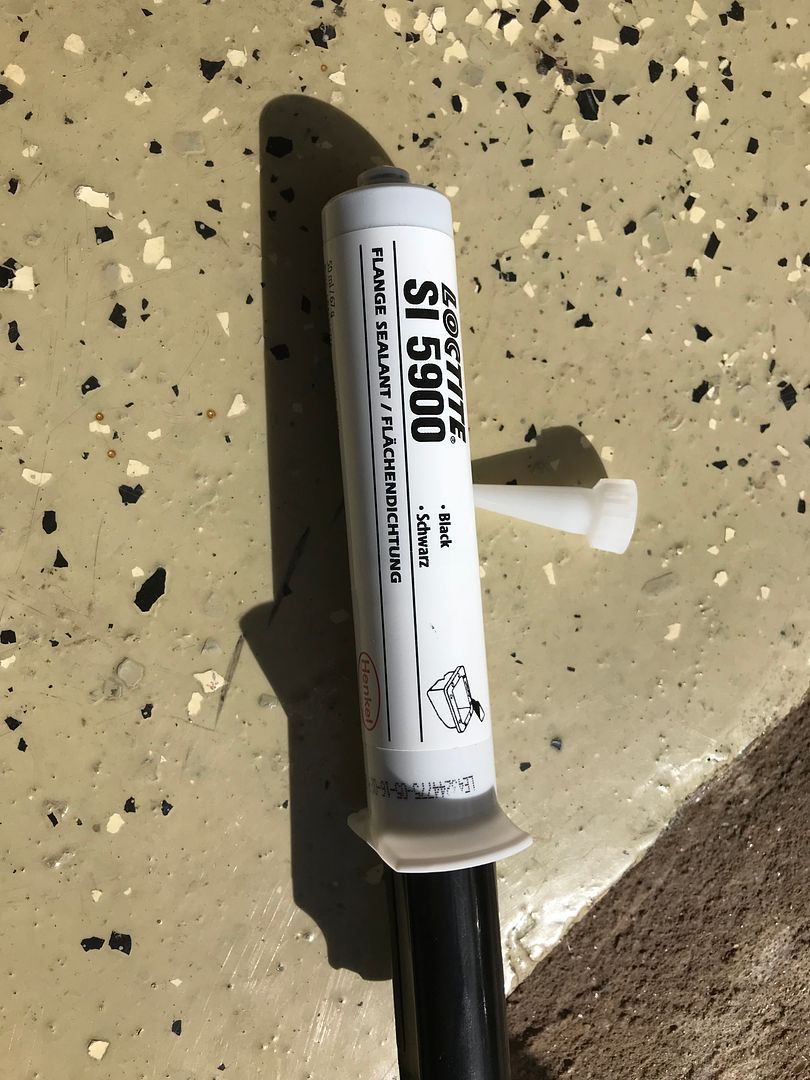
Sealant installed, not the prettiest.
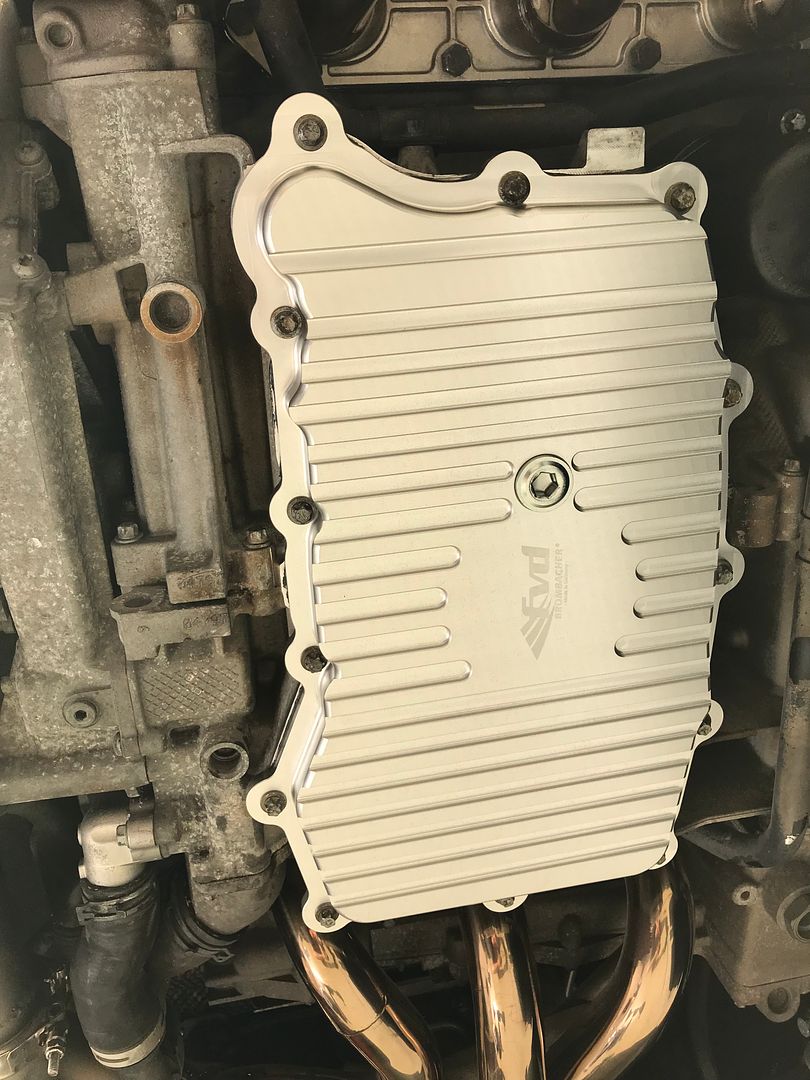
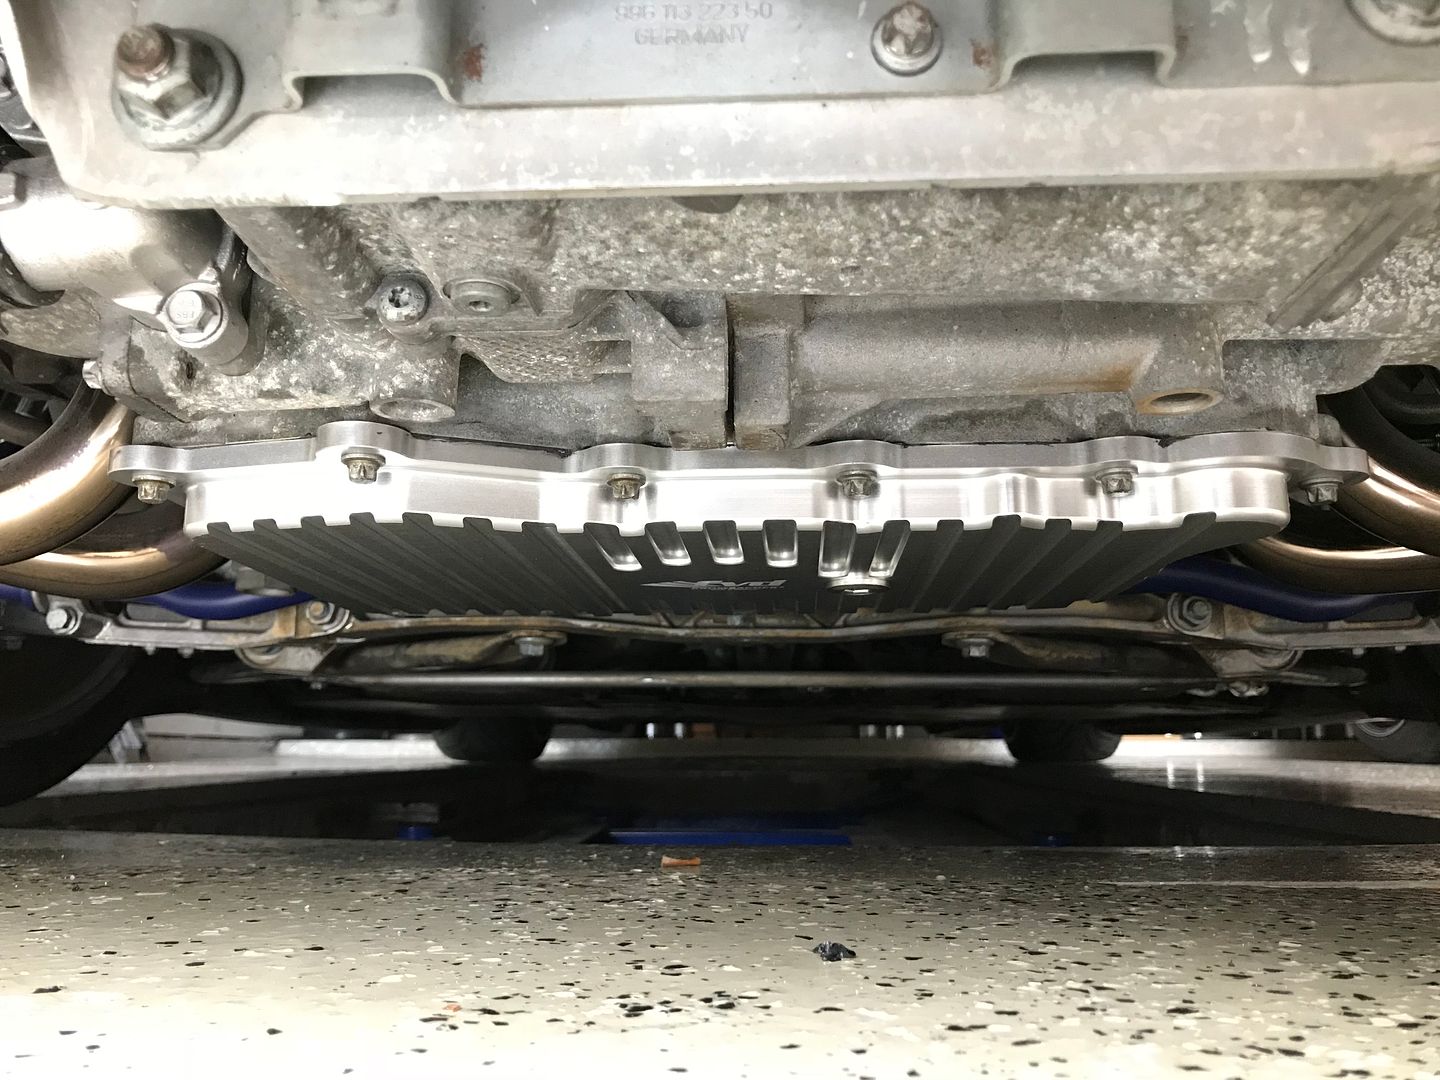
And installed. No leaks.
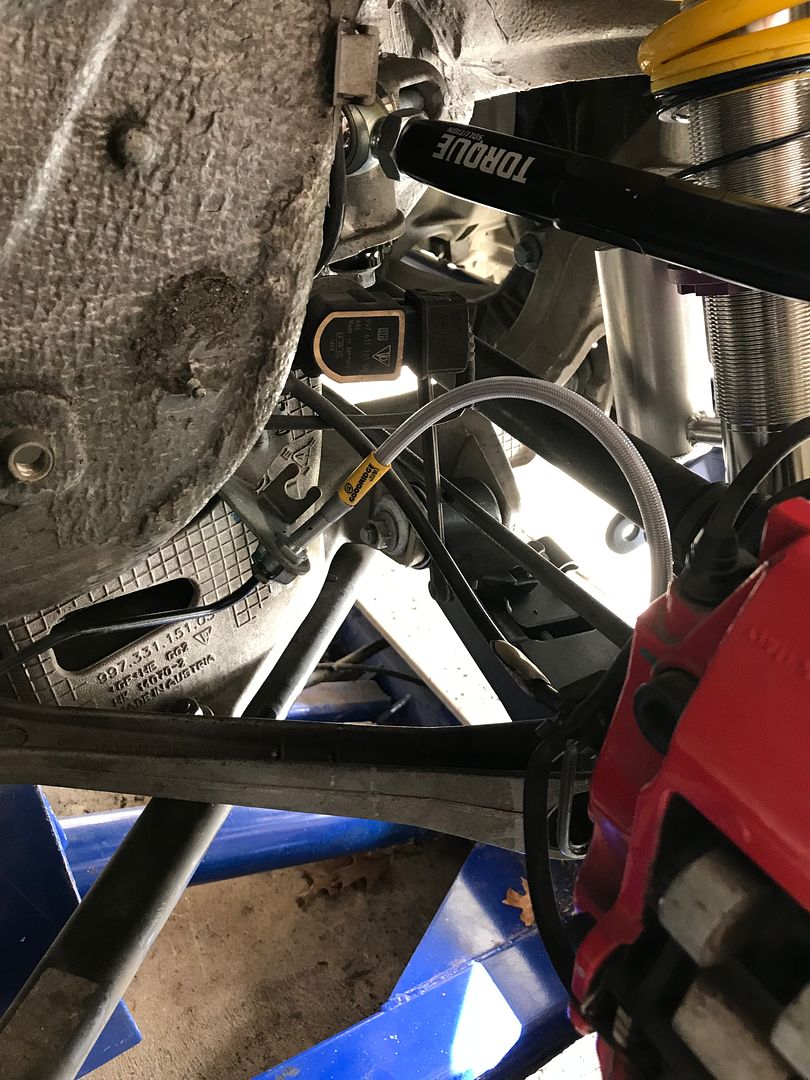
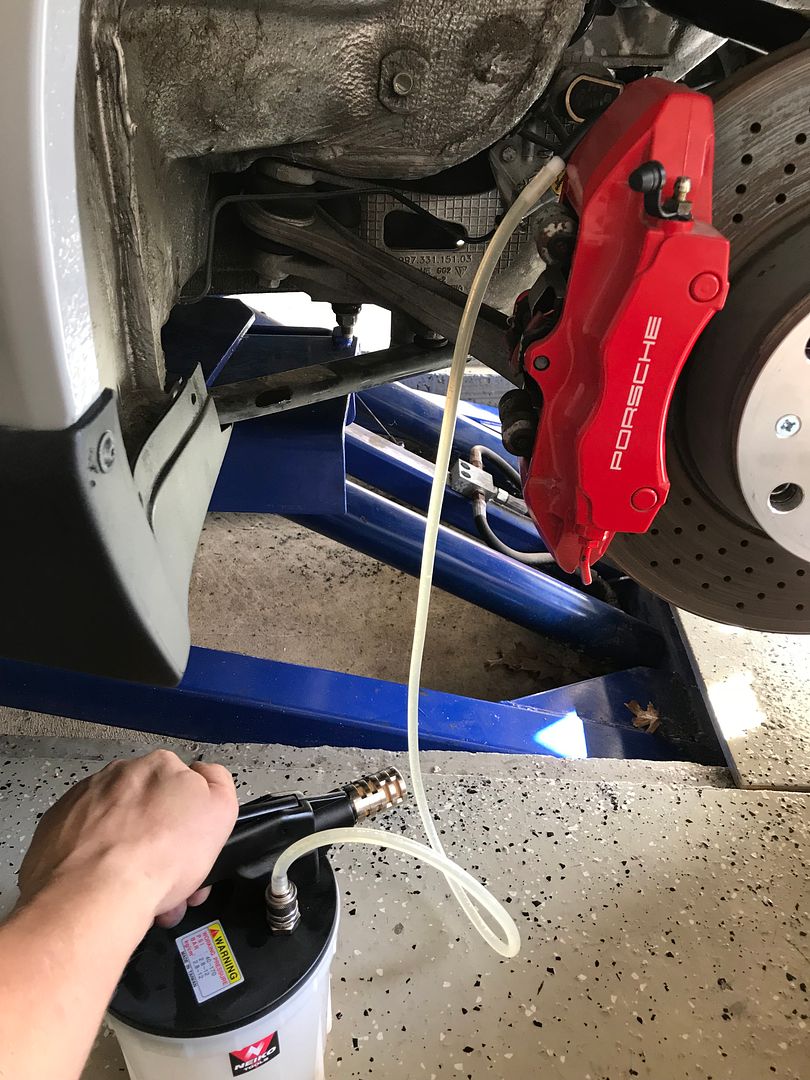
Next project was the stainless steel brake lines and brake fluid flush

Lines installed
Vacuum bleeding. Wasn't too bad, had to go around each corner twice and went through the full quart, but no air and pedal feels good.

Also finally installed the last piece for the doors; pull straps.

Refit the rear deck lid. Not perfect but not terrible either.


Since I have the cup front bumper with the tow hook slot, I wanted to utilize it, but not at the cost of the cup tow hook or having to get rid of the aluminum rebar. So I designed a simple bolt on tow hook and Alex (alleycats) plasma cut it, weld it and powder coat it for me.


I guess i didn't get any powder coated pics, but onto the install.
Marked the hole with a sharpie


Bumper off

Holes drilled

Bolted on


Bumper back on. Overall not bad, could be 1/2" shorter.


Next project was in FVD oil pan installation and another oil change.

Before

Stock pan removed


Insides looking good

There were some questions whether this pan would fit the 3.8 vs the 3.6 it's listed for. I found that everything looked good, except the baffle on the front of the drivers side. The stock baffle is about 4.5" tall. The FVD baffle is about 4.75" and prevented the pan from seating 100% in that corner.


I cut the baffle 1/4", filed it down, and washed the pan with soap and water.

Oil pump pickup tube extender installed

Mating surfaced cleaned up

Sealant installed, not the prettiest.


And installed. No leaks.


Next project was the stainless steel brake lines and brake fluid flush

Lines installed

Vacuum bleeding. Wasn't too bad, had to go around each corner twice and went through the full quart, but no air and pedal feels good.


 11-27-2017, 11:35 AM
#104
Rennlist Member
wow...... wow
no words
they should have sent a poet
link to hi res pics?
no words
they should have sent a poet
link to hi res pics?