
997S Auction Car - Track Build
 10-17-2017, 04:38 PM
#61
RL Community Team
Rennlist Member
Rennlist Member
Track car, right - keep the wing for the traction when accelerating out of high-speed corners. Track cars are purpose built and the wing has a purpose, it's not just for looks as it is on some street cars.
 10-18-2017, 12:45 AM
#62
Rennlist Member
I'd keep the wind if it's truly functional, it looks like it maybe.
10-18-2017, 09:44 AM
#63
Instructor
Thread Starter

What I like about the wing setup, is that the upper wing can be removed and it'll still have a duck-tail style deck lid, but the upper wing is growing on me. My wife hates it 
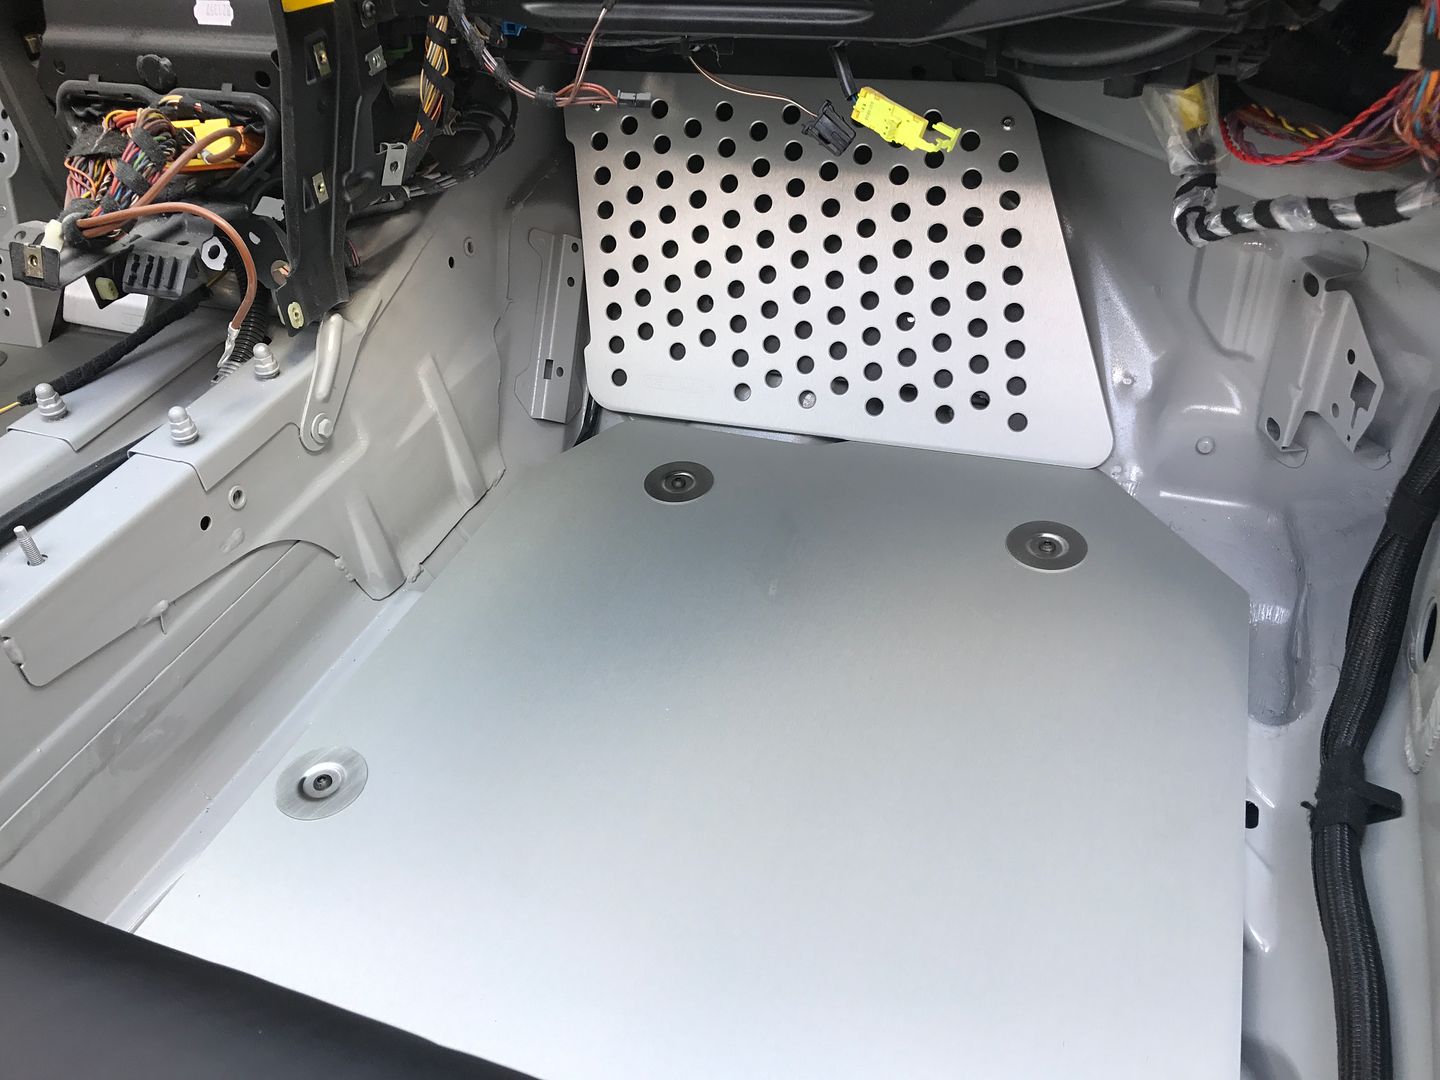
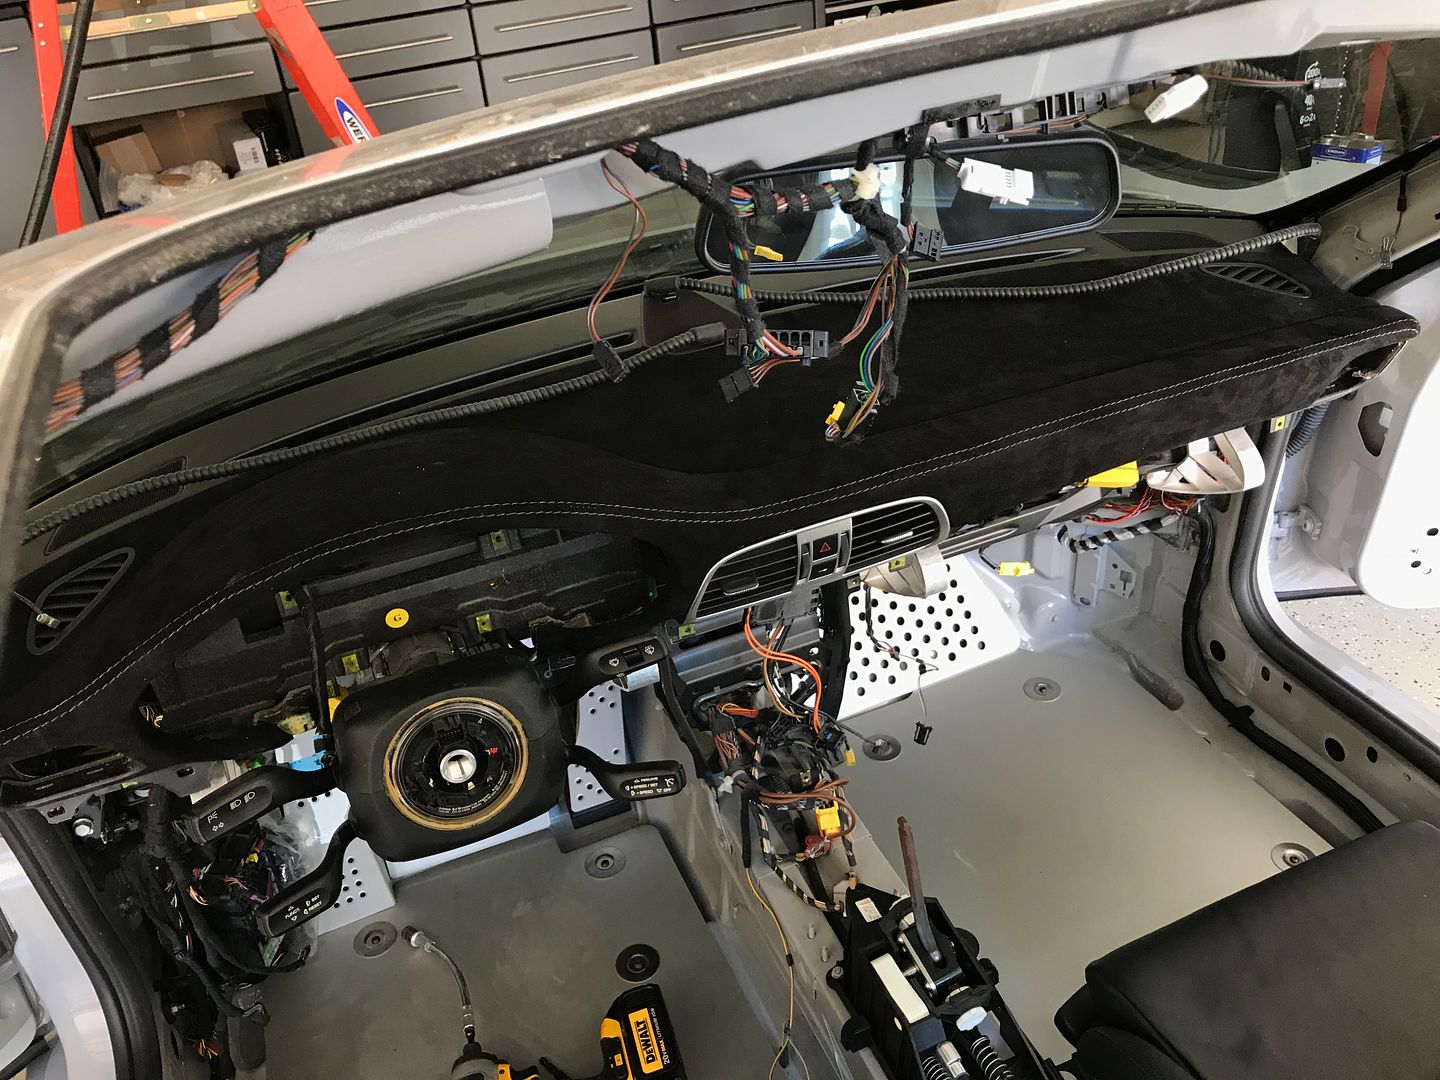
More interior:
Spent way too much time trying to drill a hole to mount some Rennline floor boards
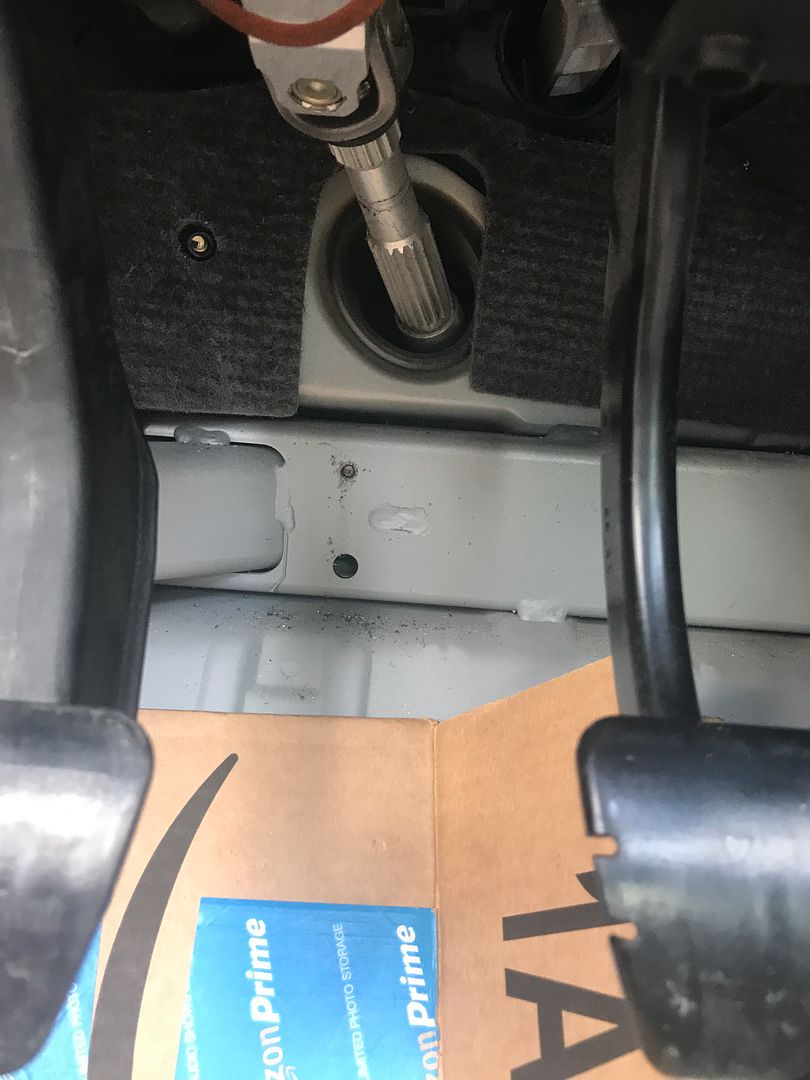
And ended up welding a stud
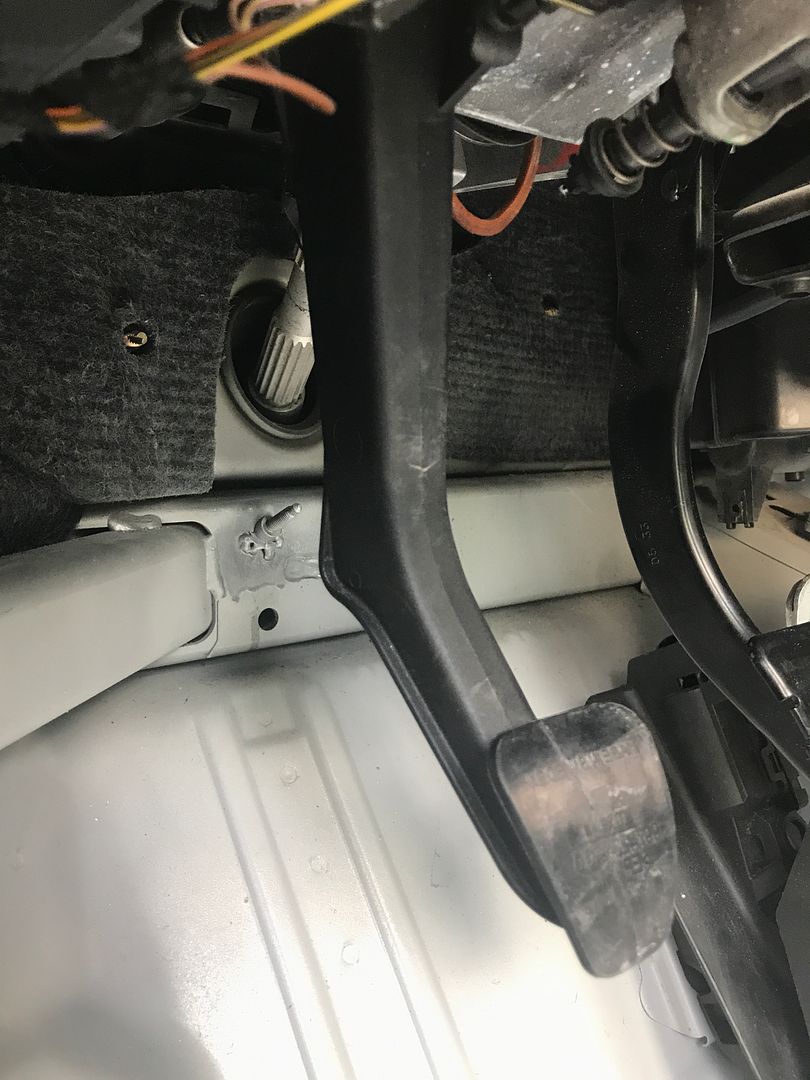
But finally got the rennline pedals and floor board in
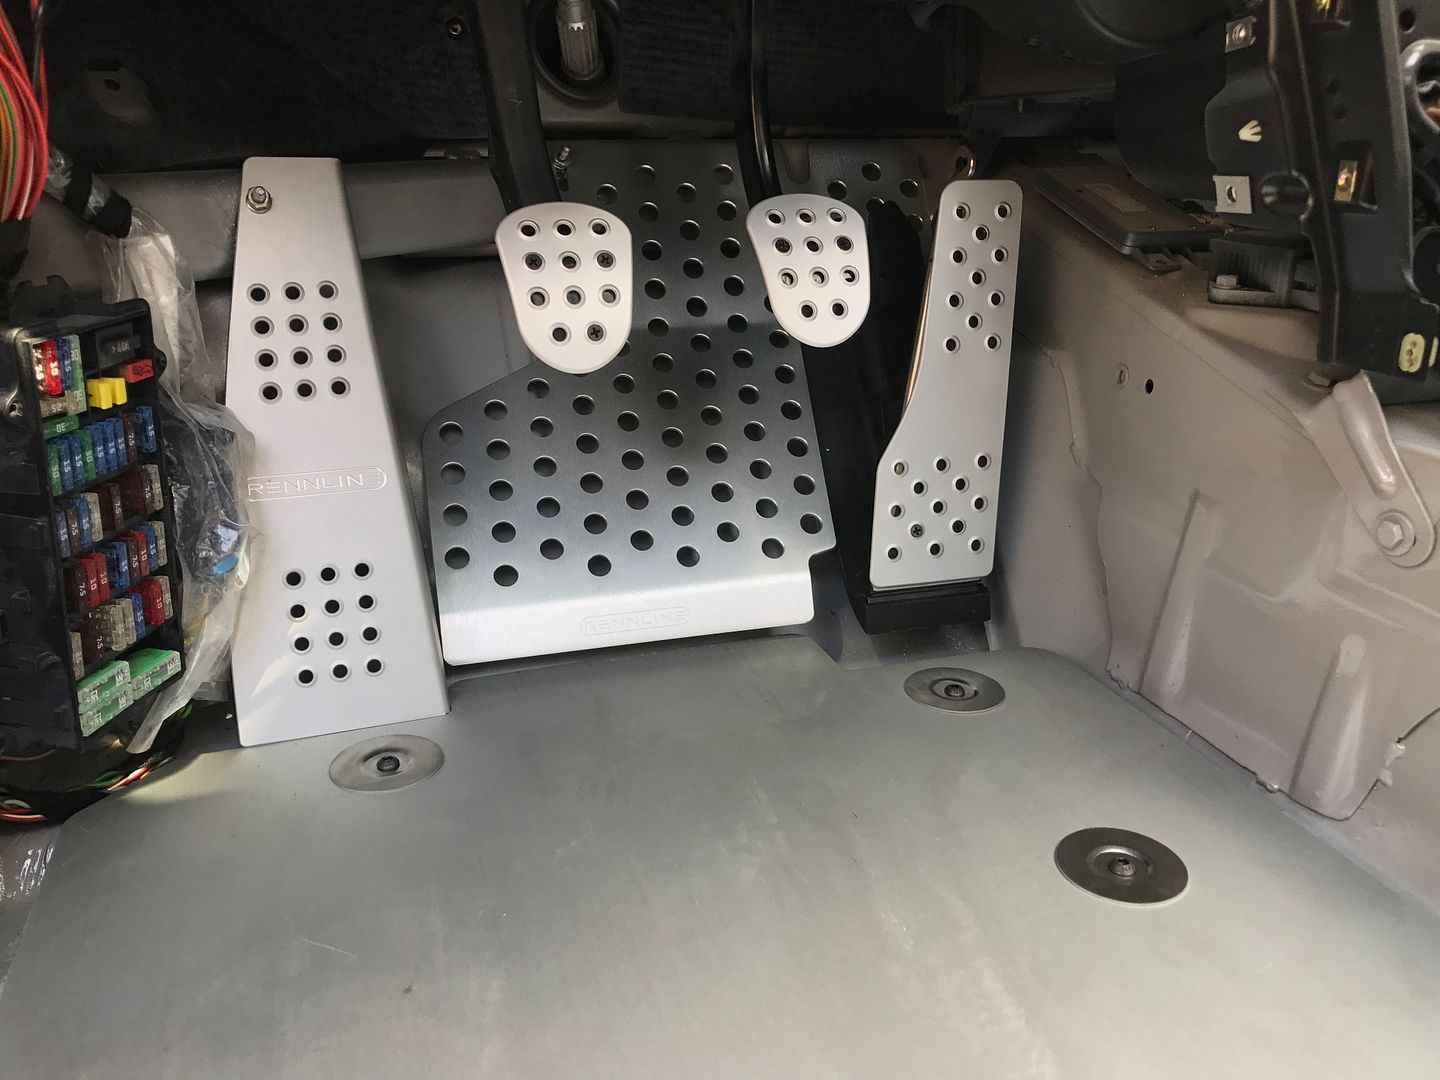
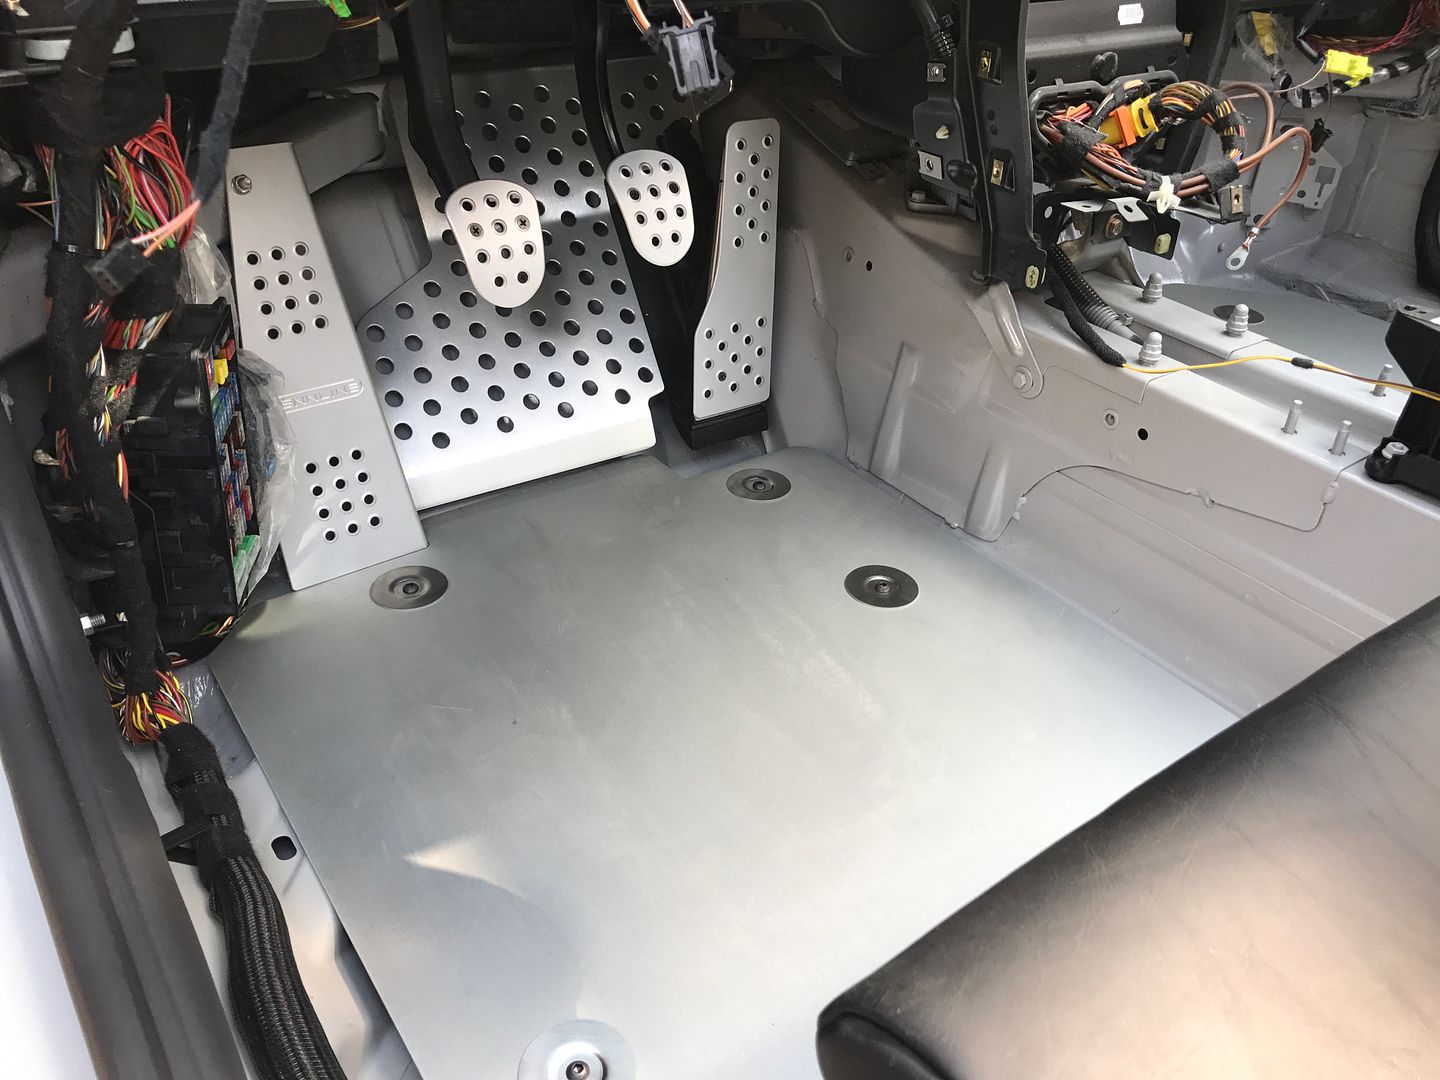
The passenger side was much easier
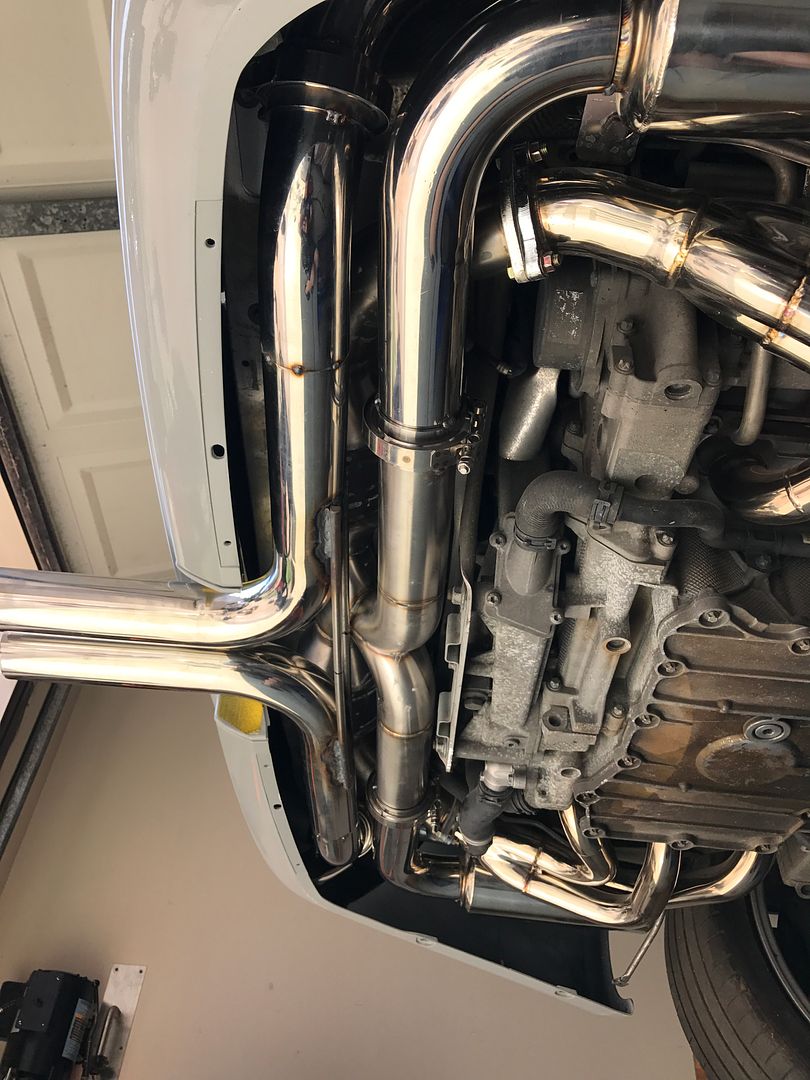
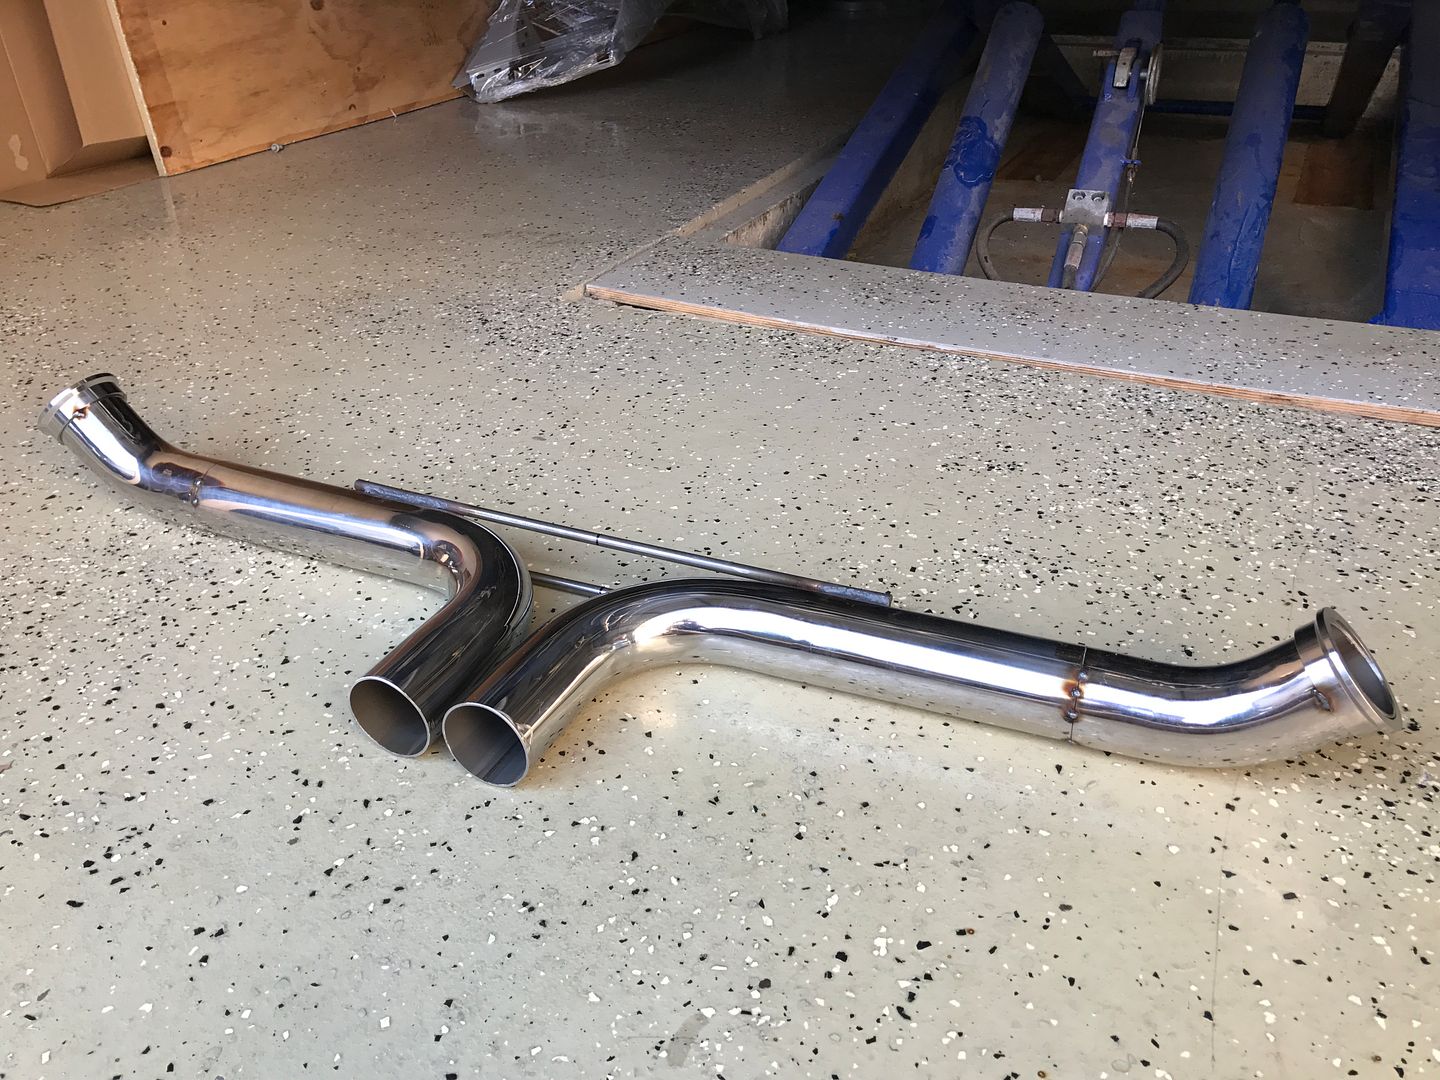
Then started on the exhaust by cutting off the muffler pipes
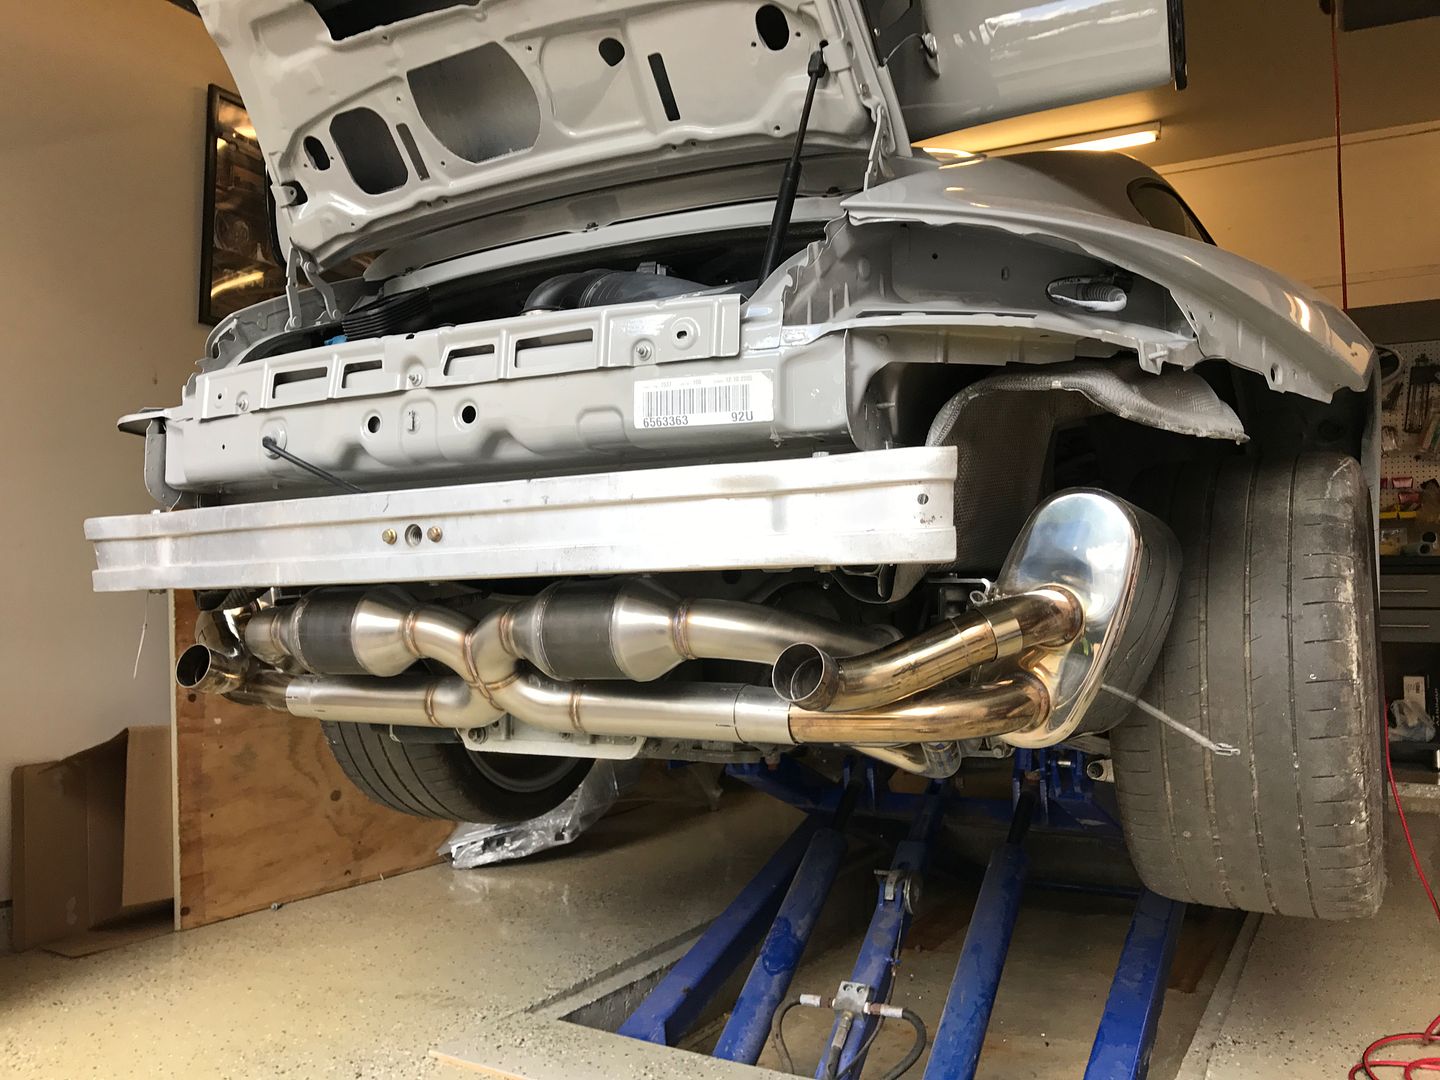
And tacked on some 2.5" stainless pipes to be more of a straight shot off the cats and added v-band connections

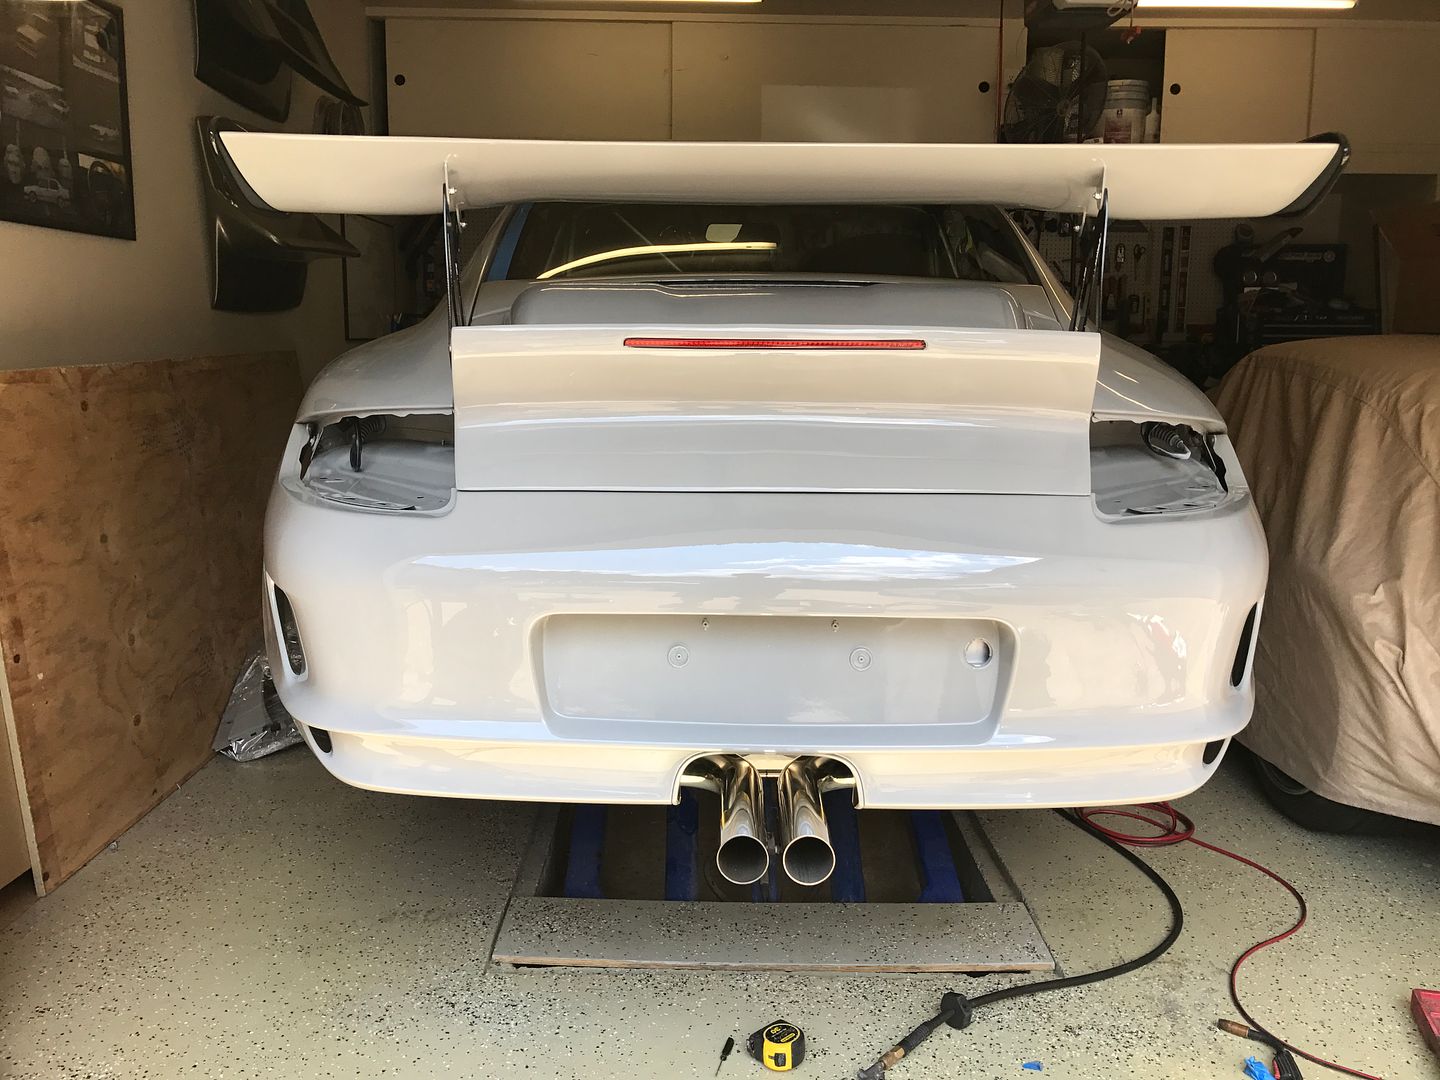
Then mocked up the center exit section
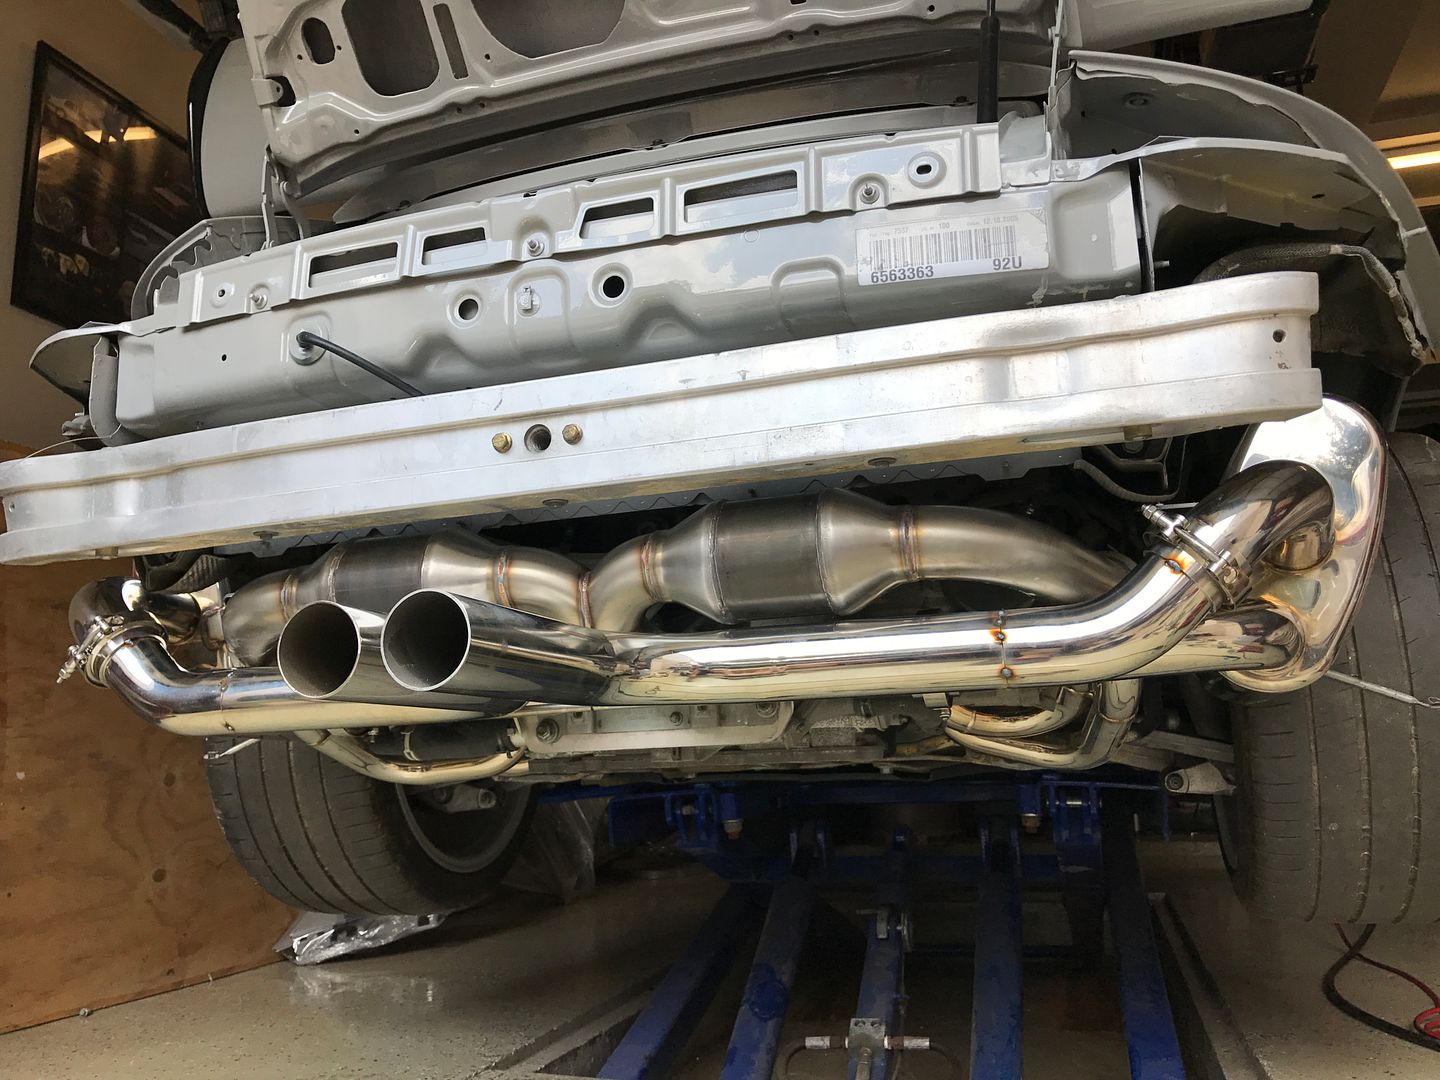
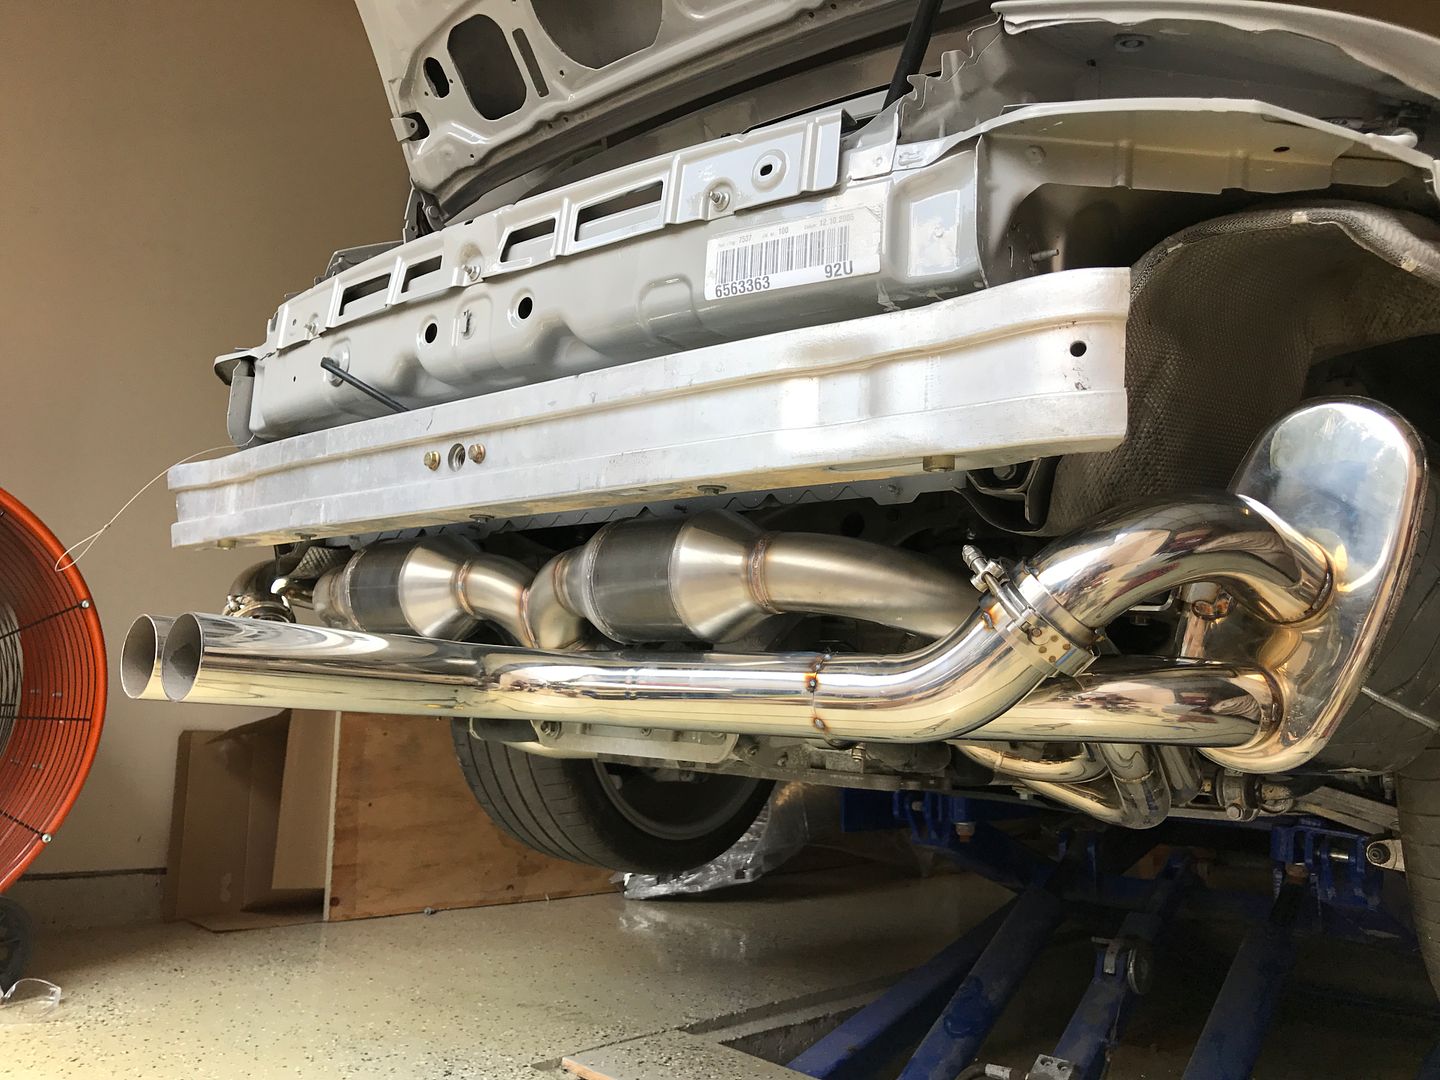
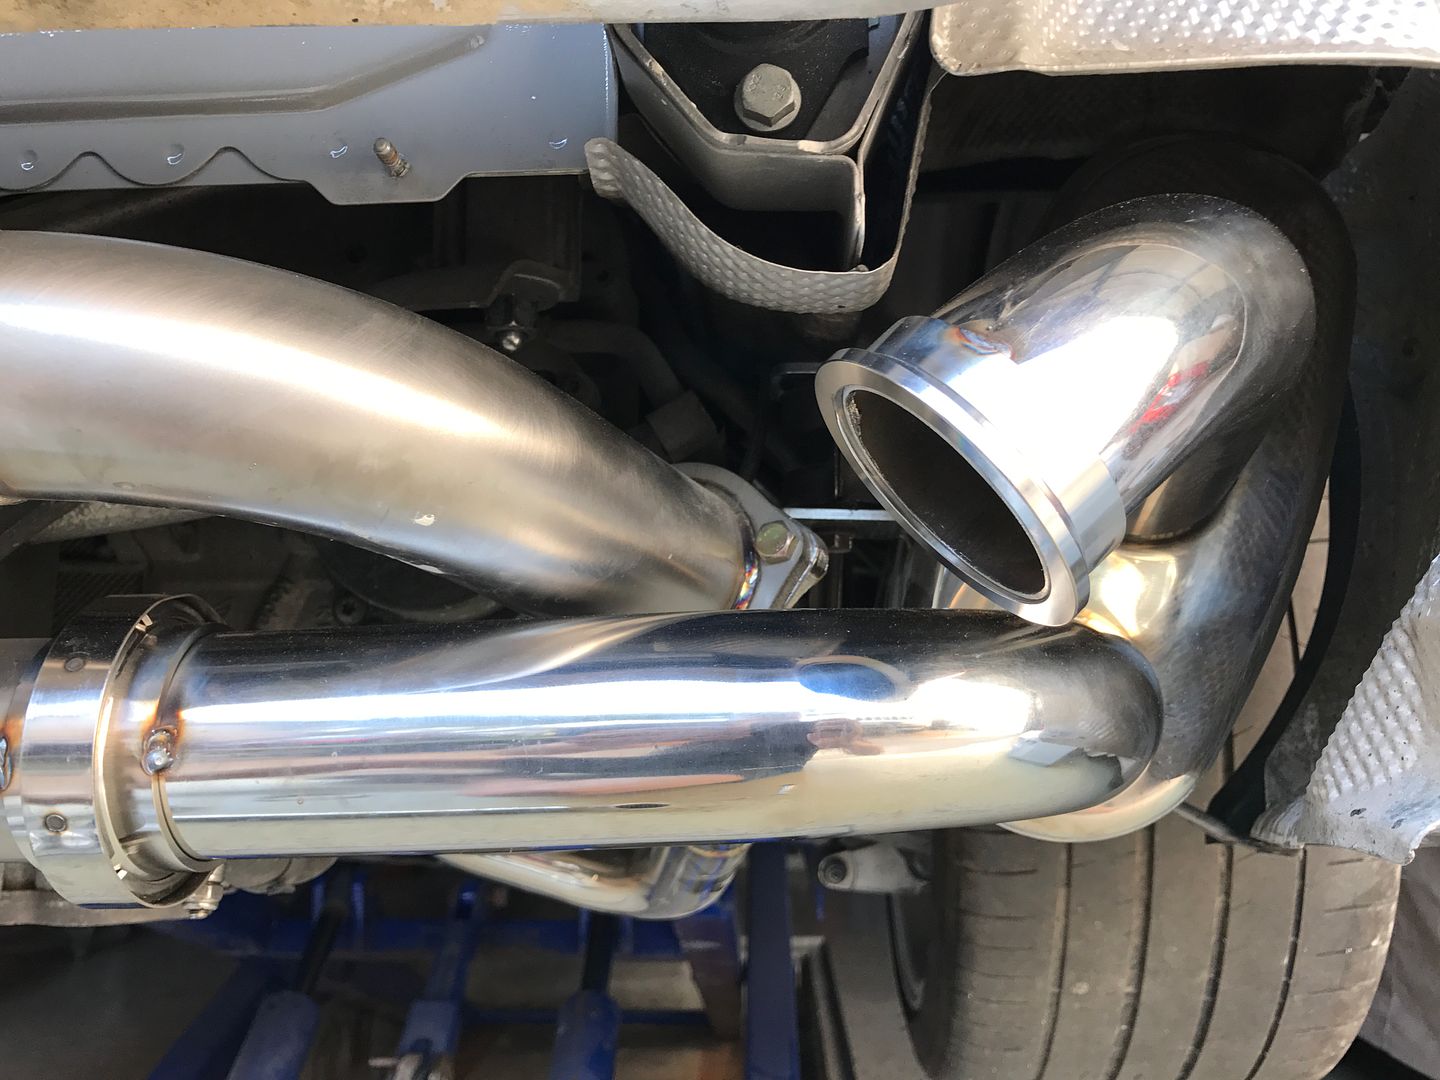
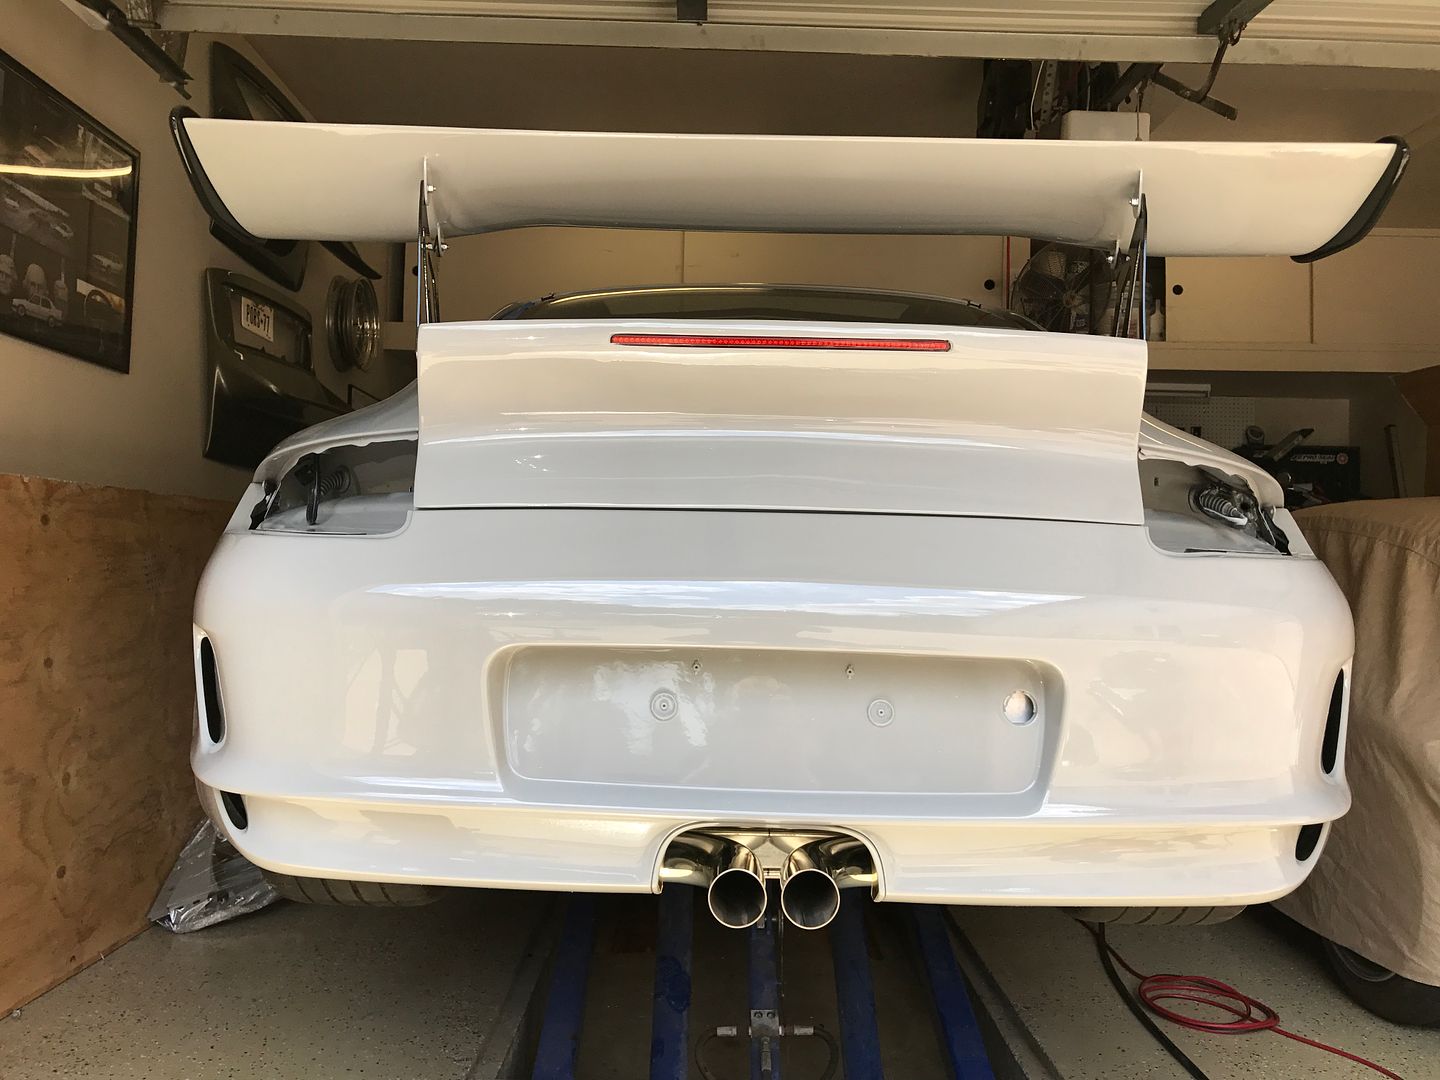
Super long tips
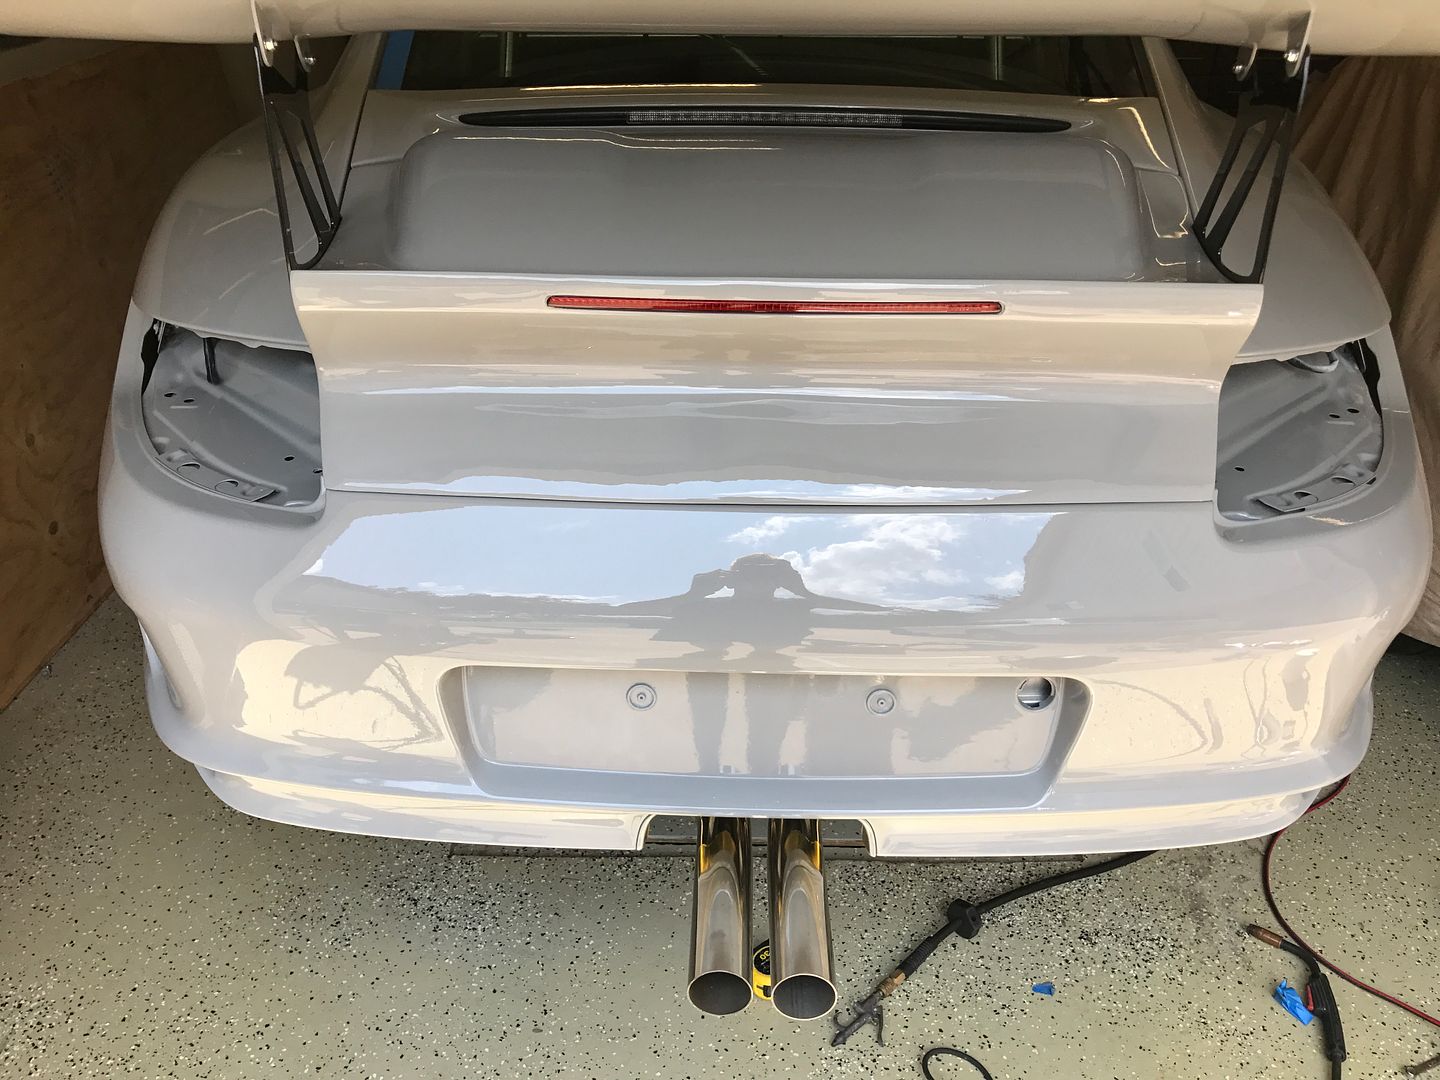
Underside
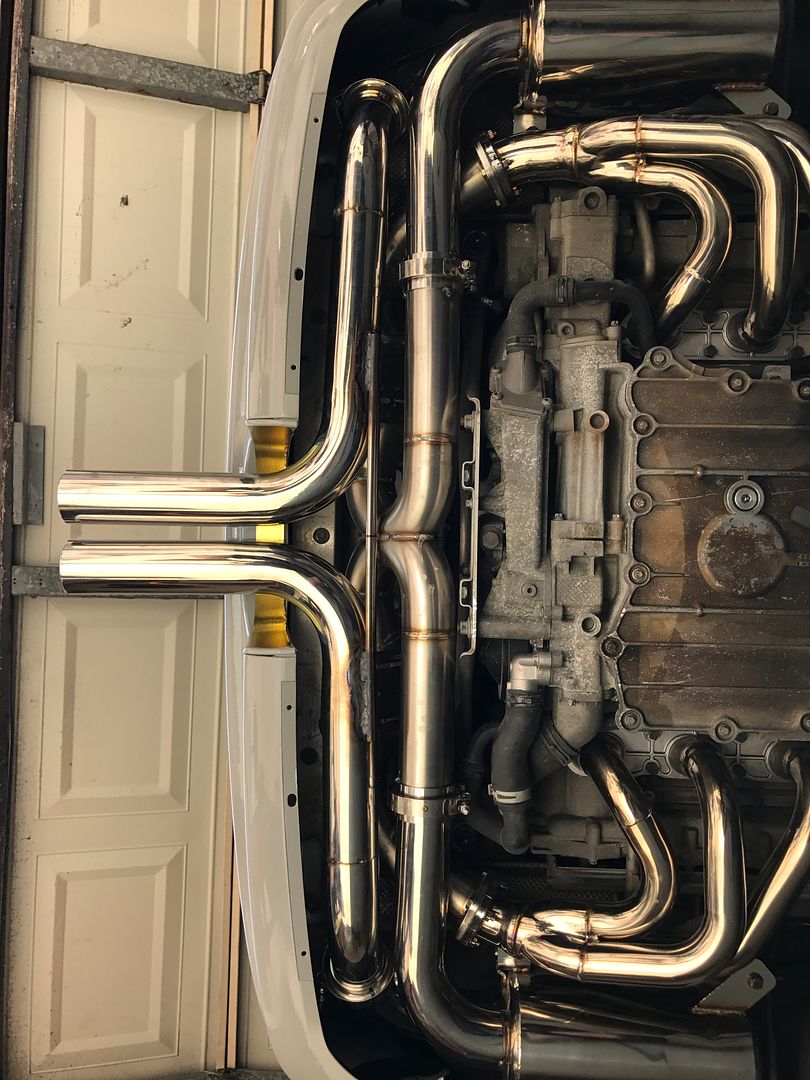
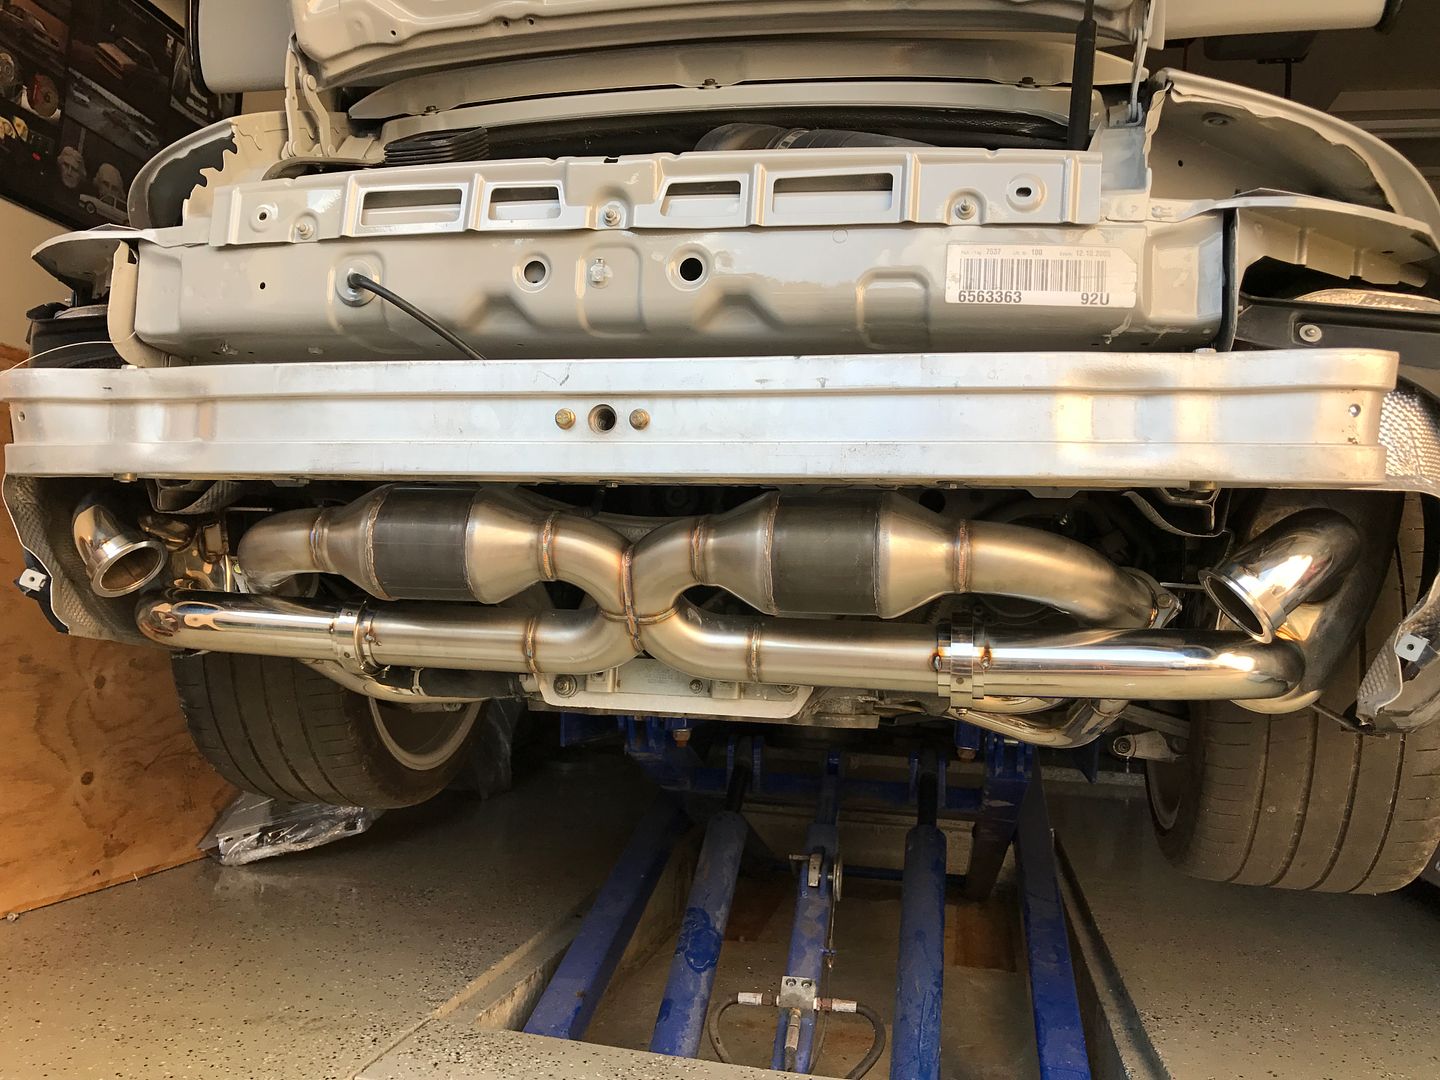
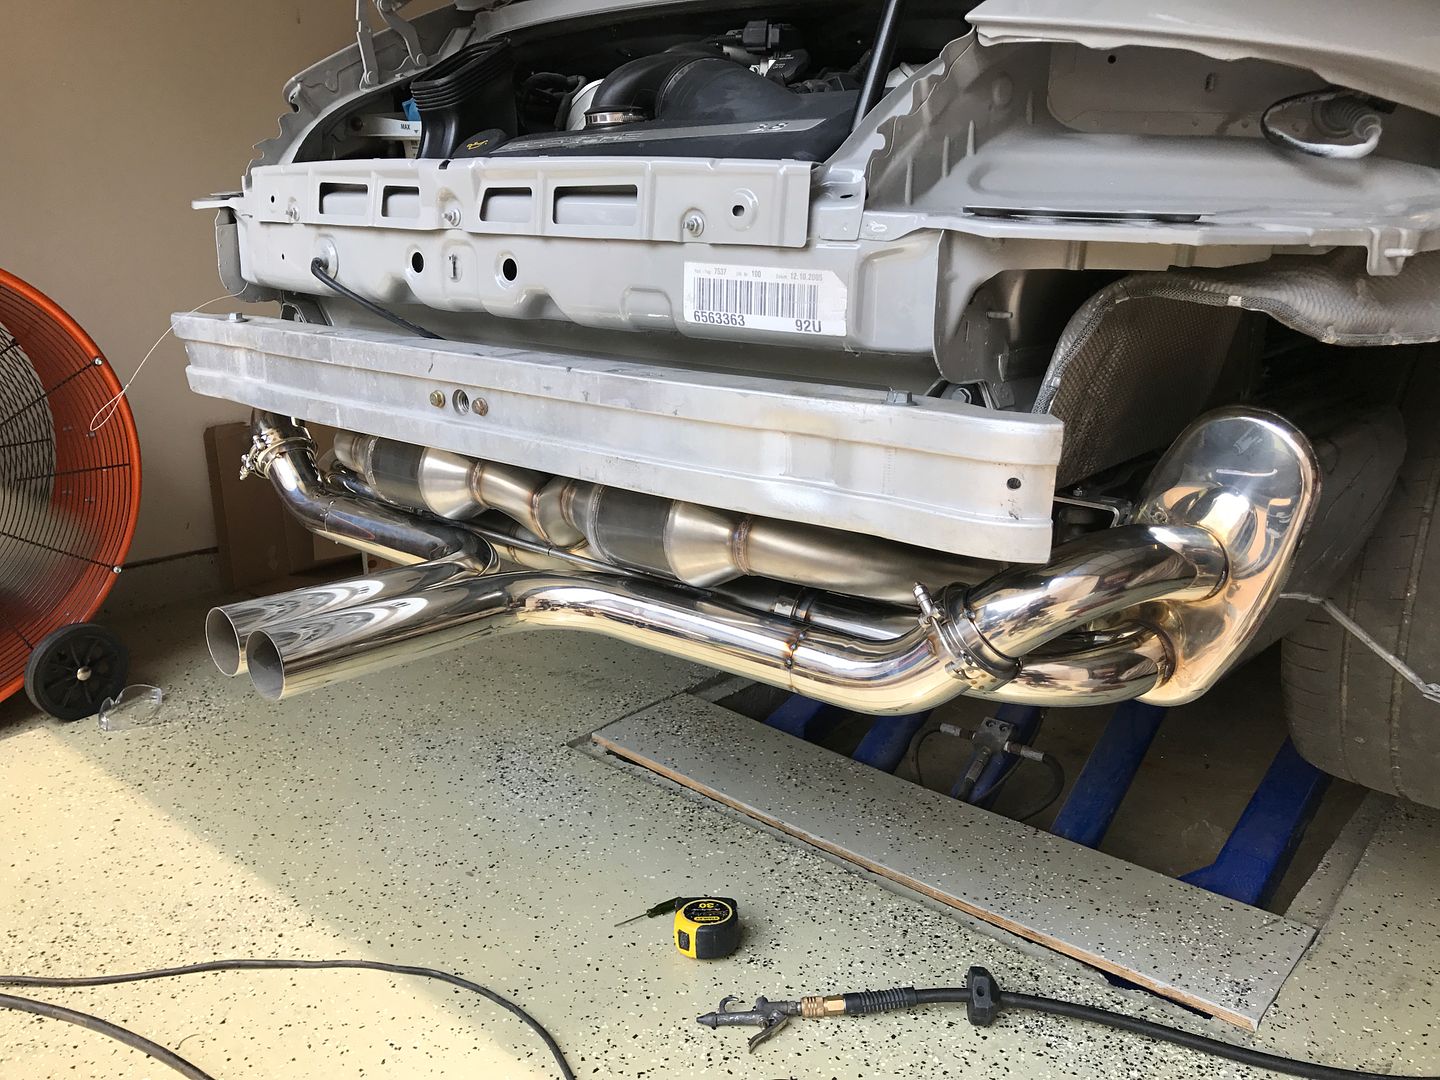
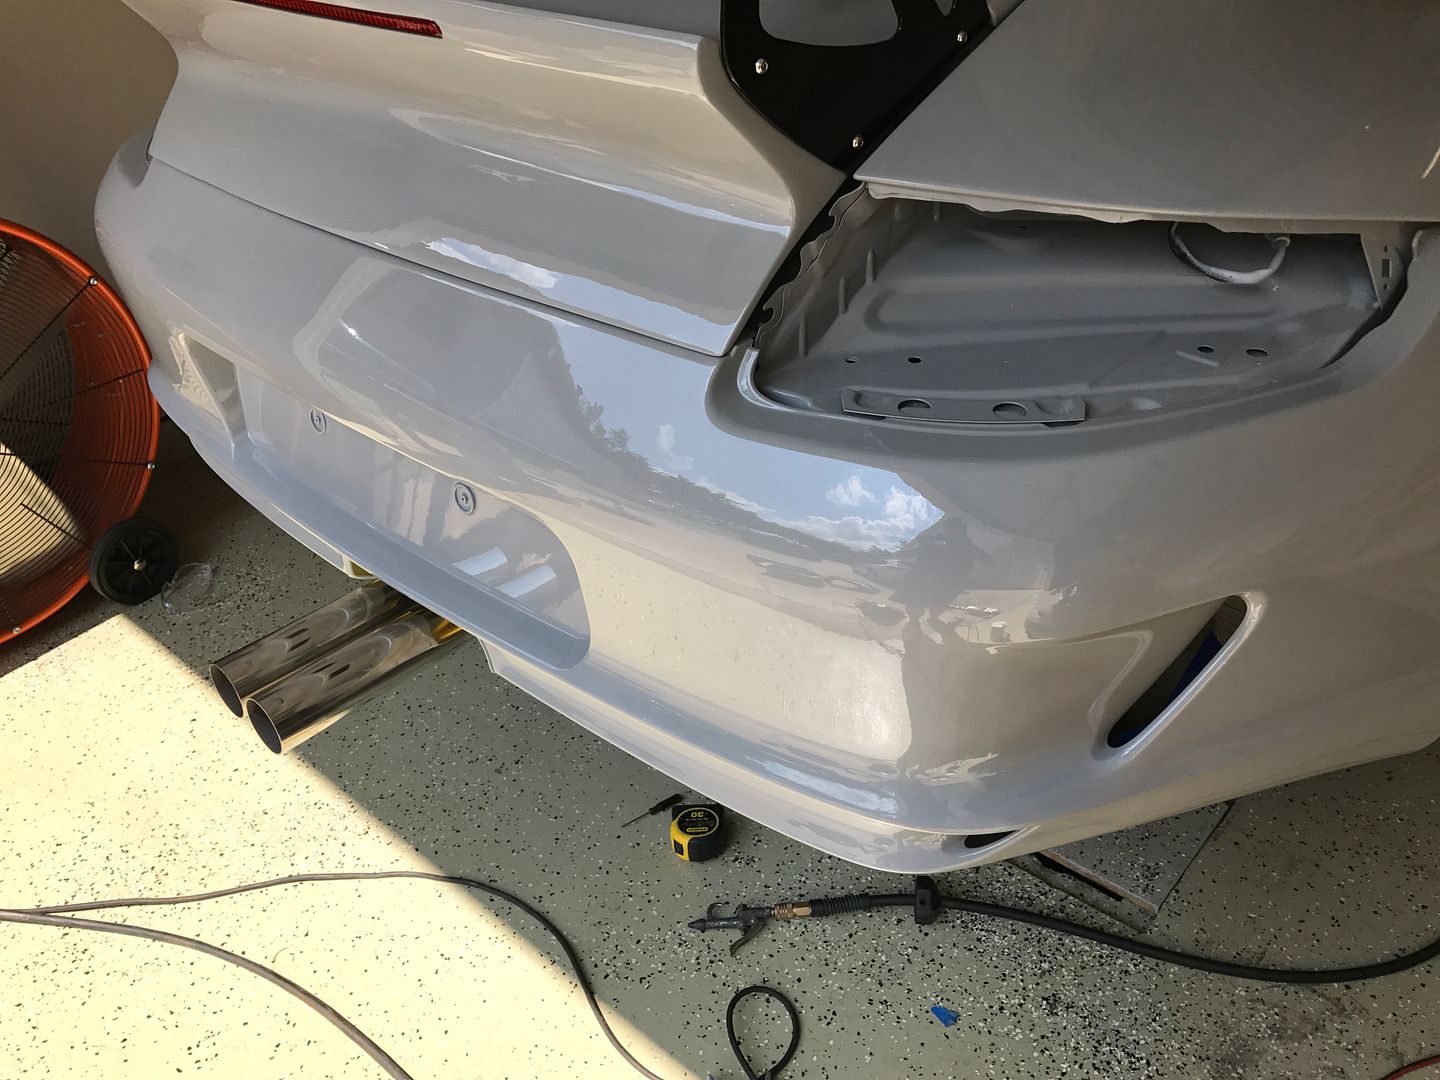
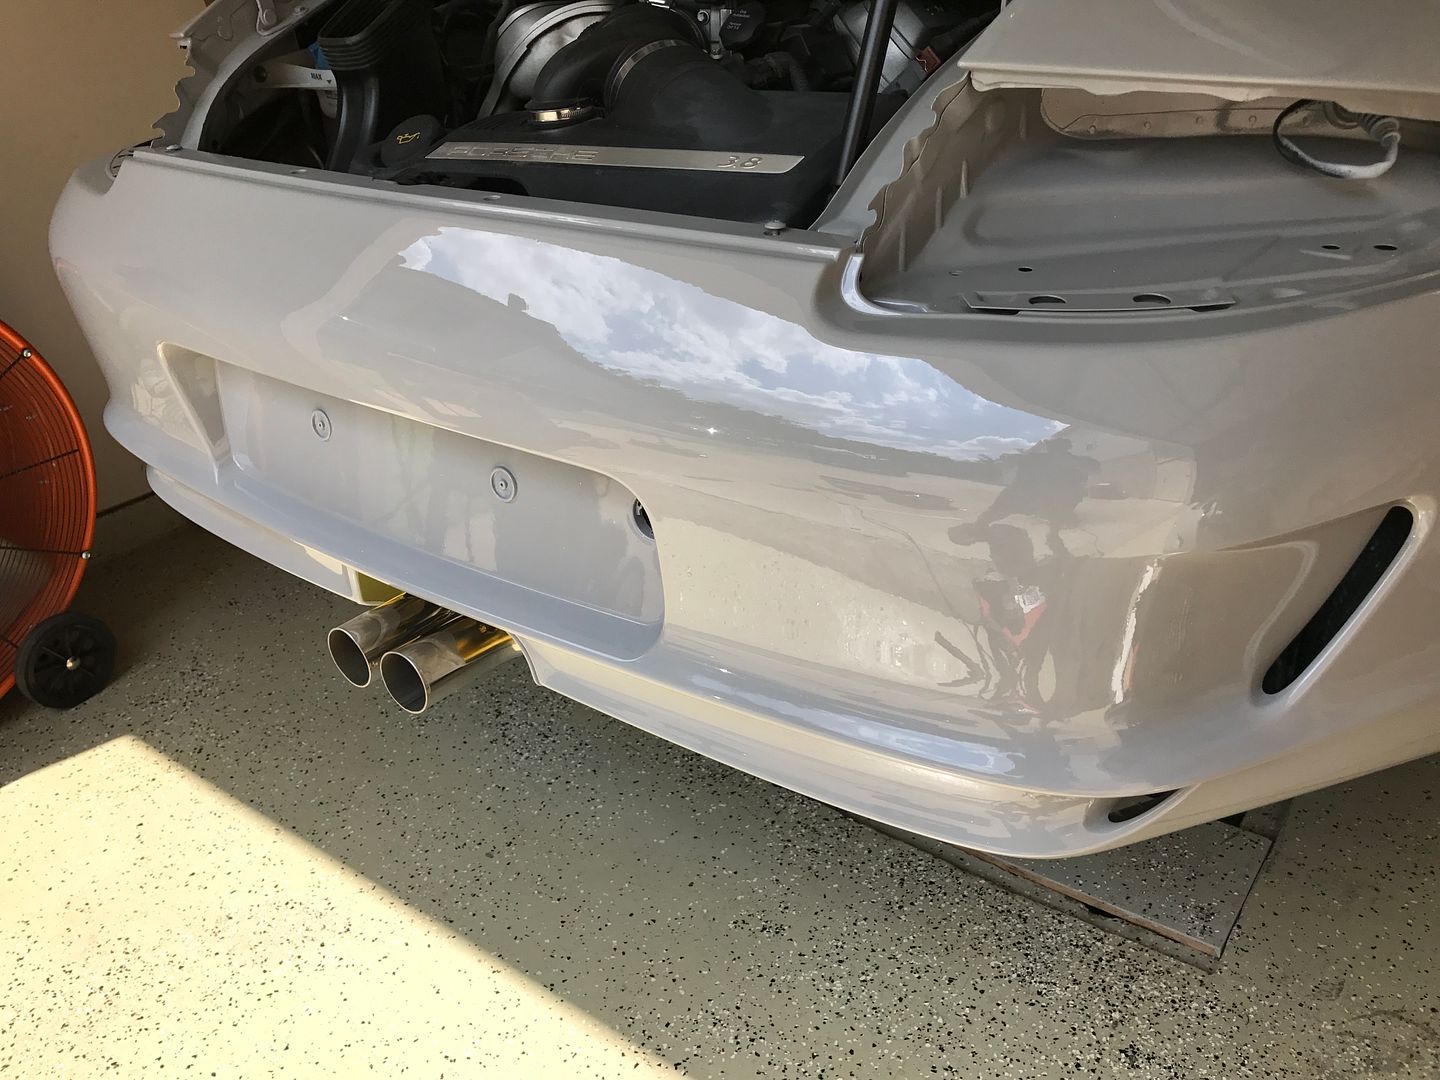
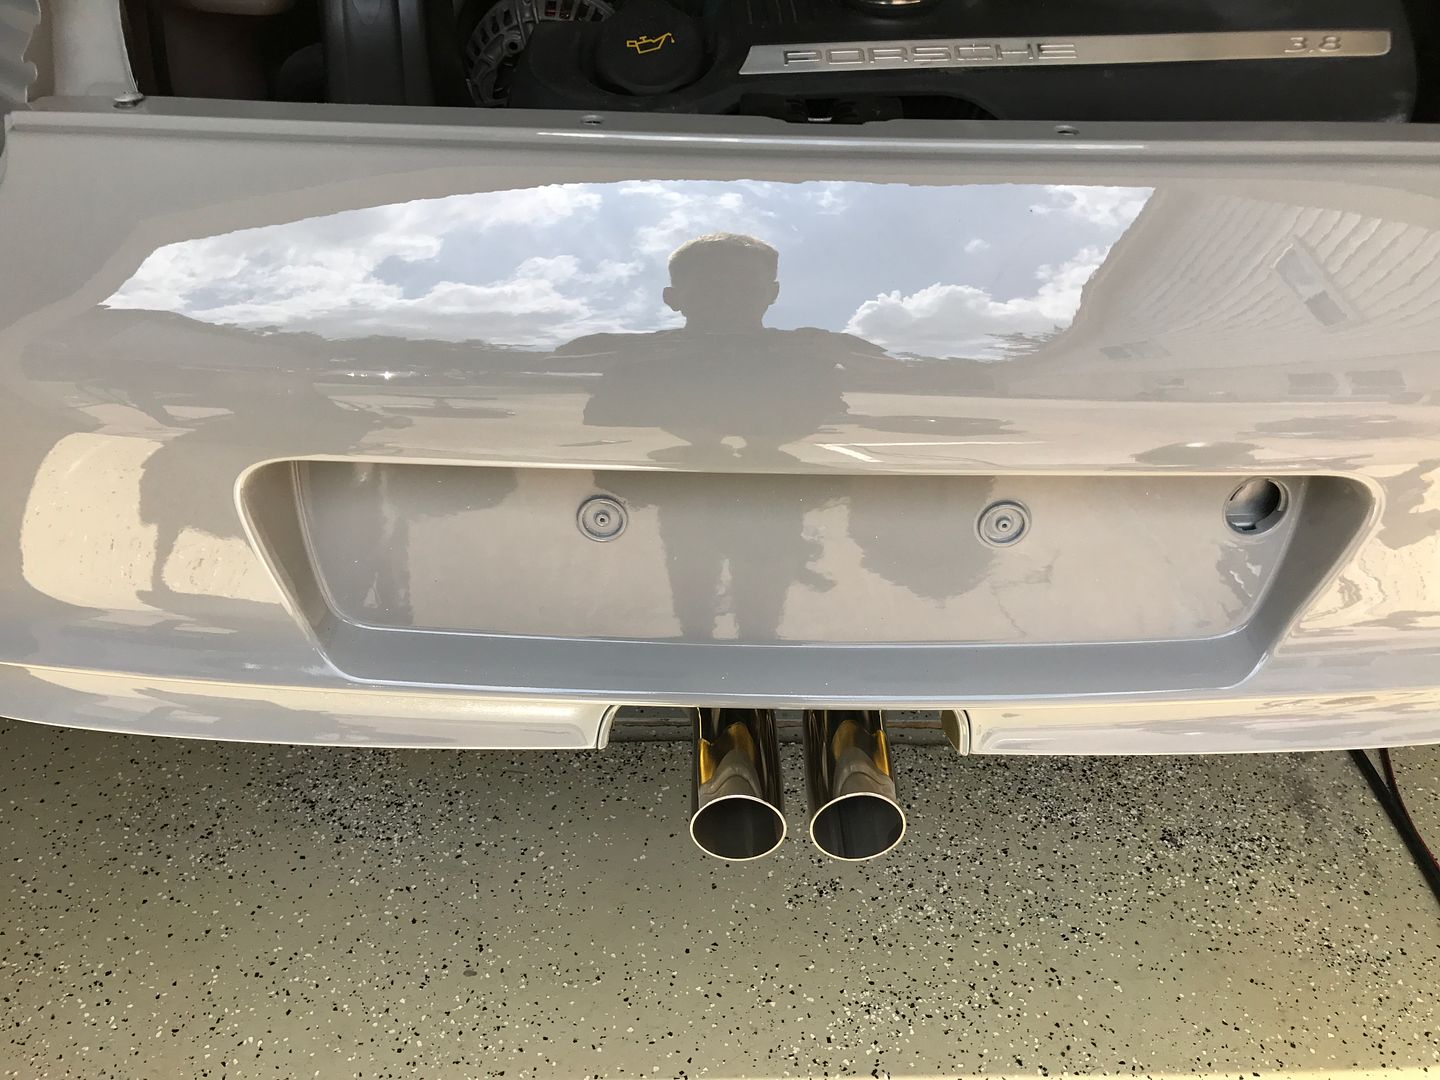
And cut the tips down

 [
[
Now I just need to finish weld everything and mount the rear bumper for good
More interior:
Spent way too much time trying to drill a hole to mount some Rennline floor boards
And ended up welding a stud
But finally got the rennline pedals and floor board in
The passenger side was much easier
Then started on the exhaust by cutting off the muffler pipes
And tacked on some 2.5" stainless pipes to be more of a straight shot off the cats and added v-band connections
Then mocked up the center exit section
Super long tips
Underside
And cut the tips down
[Now I just need to finish weld everything and mount the rear bumper for good
10-18-2017, 09:57 AM
#64
RL Community Team
Rennlist Member
Rennlist Member
Awesome.
I need to learn to weld so I can do stuff like this. You had me freaked out with the early pictures of the tips LOL
I need to learn to weld so I can do stuff like this. You had me freaked out with the early pictures of the tips LOL
10-23-2017, 10:00 AM
#65
Instructor
Thread Starter
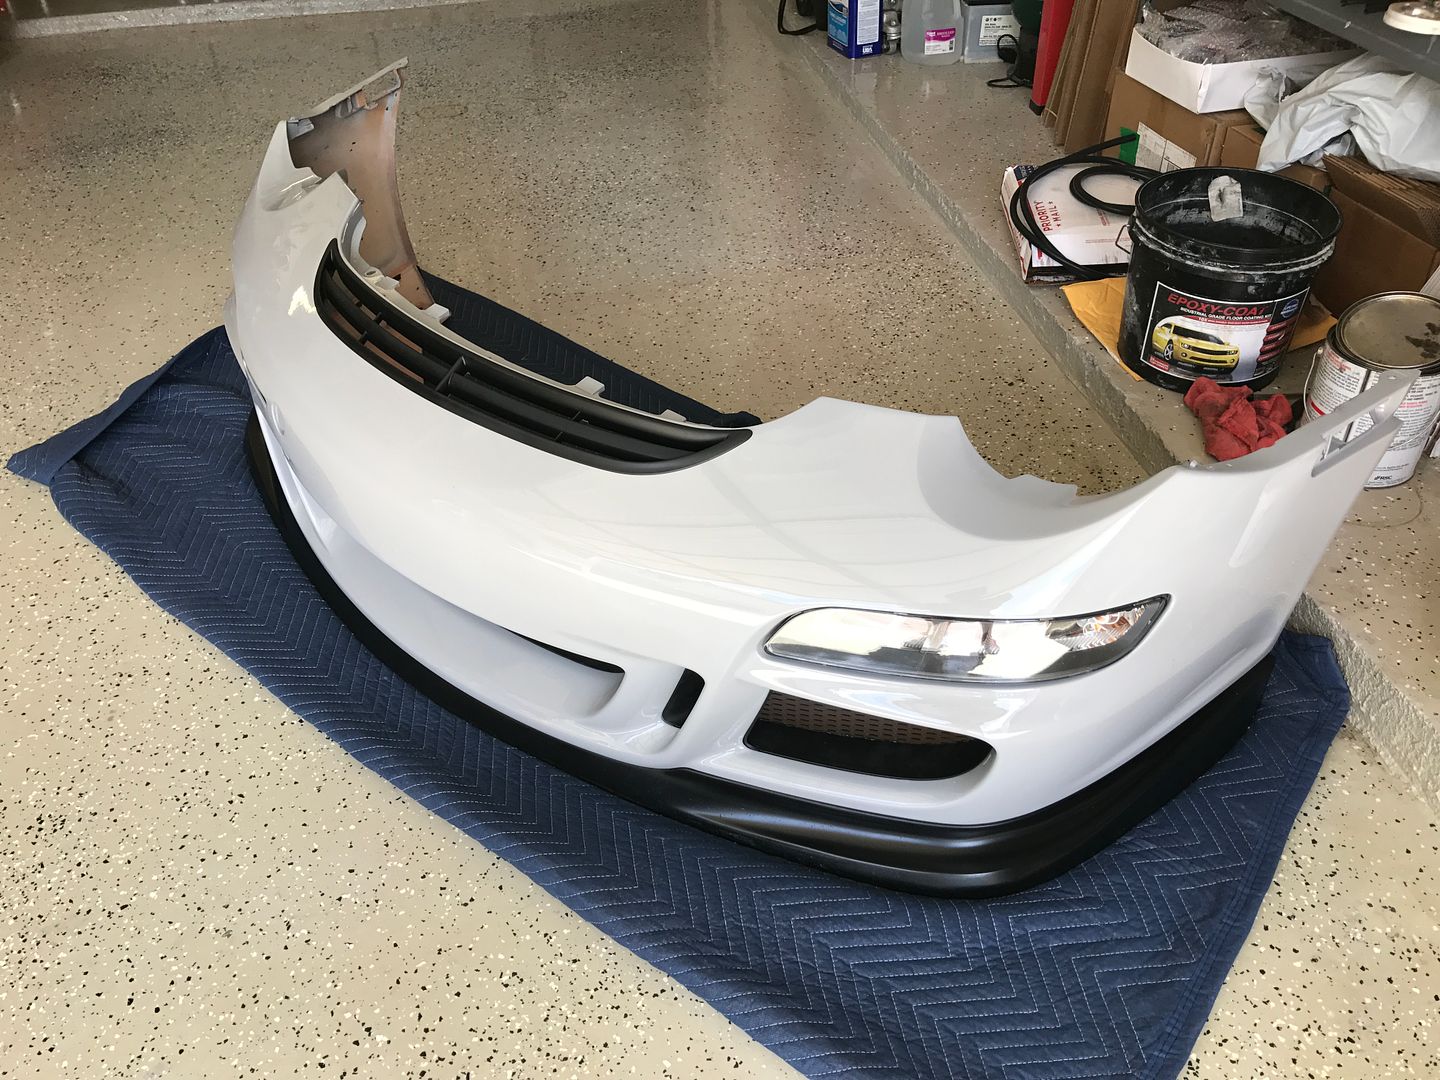
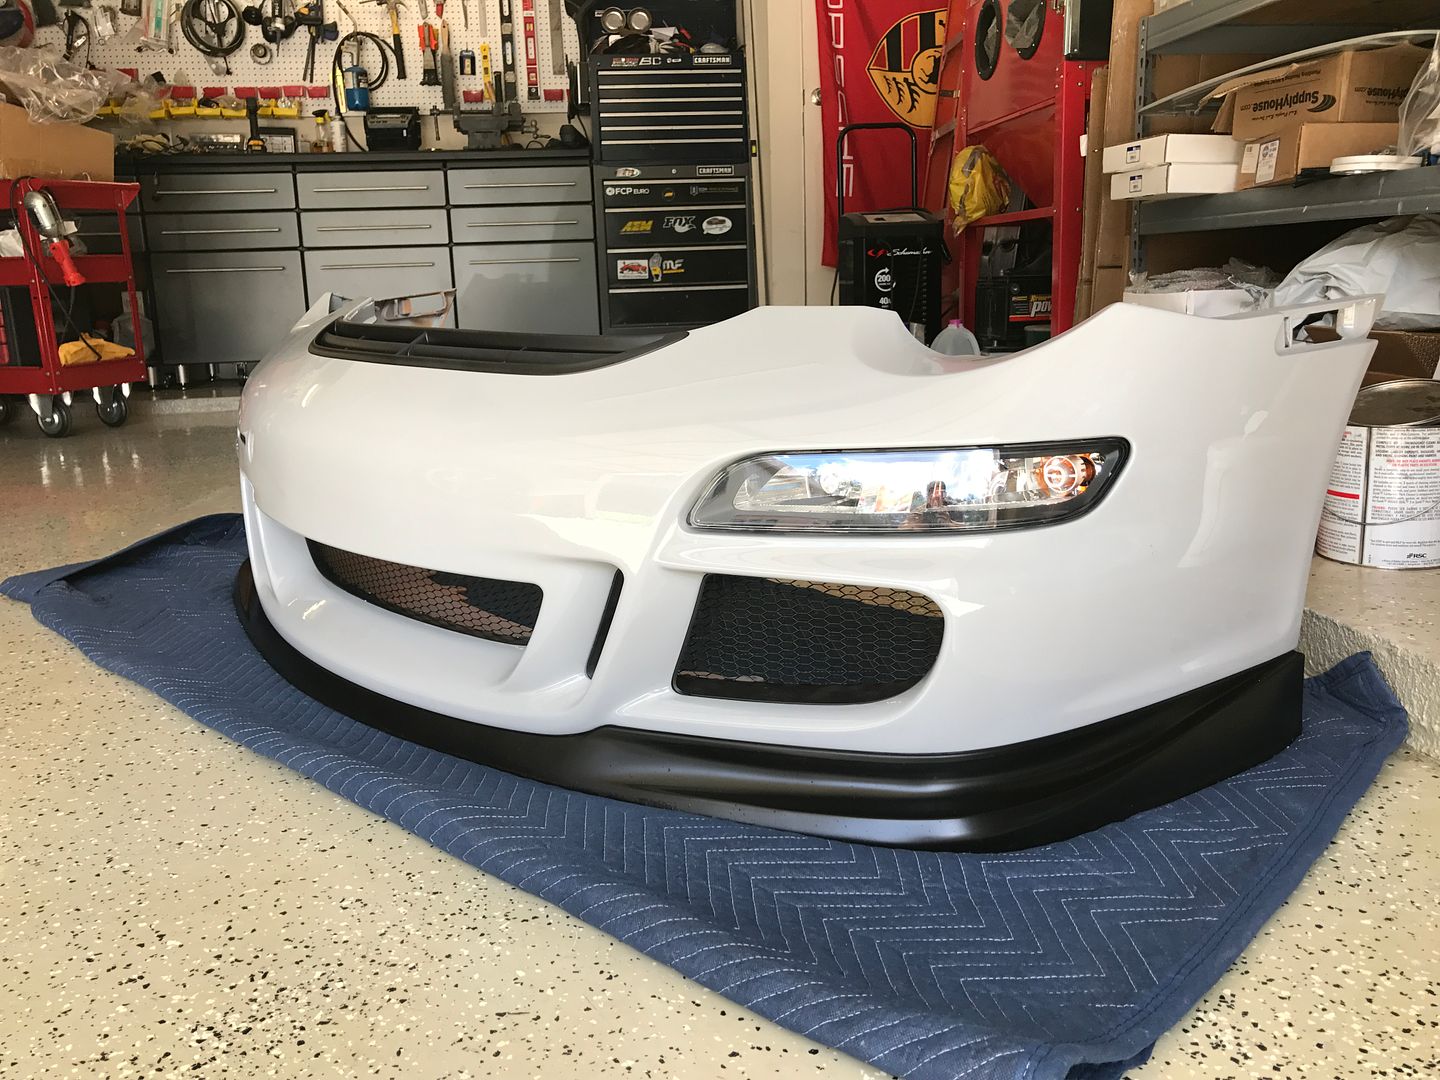
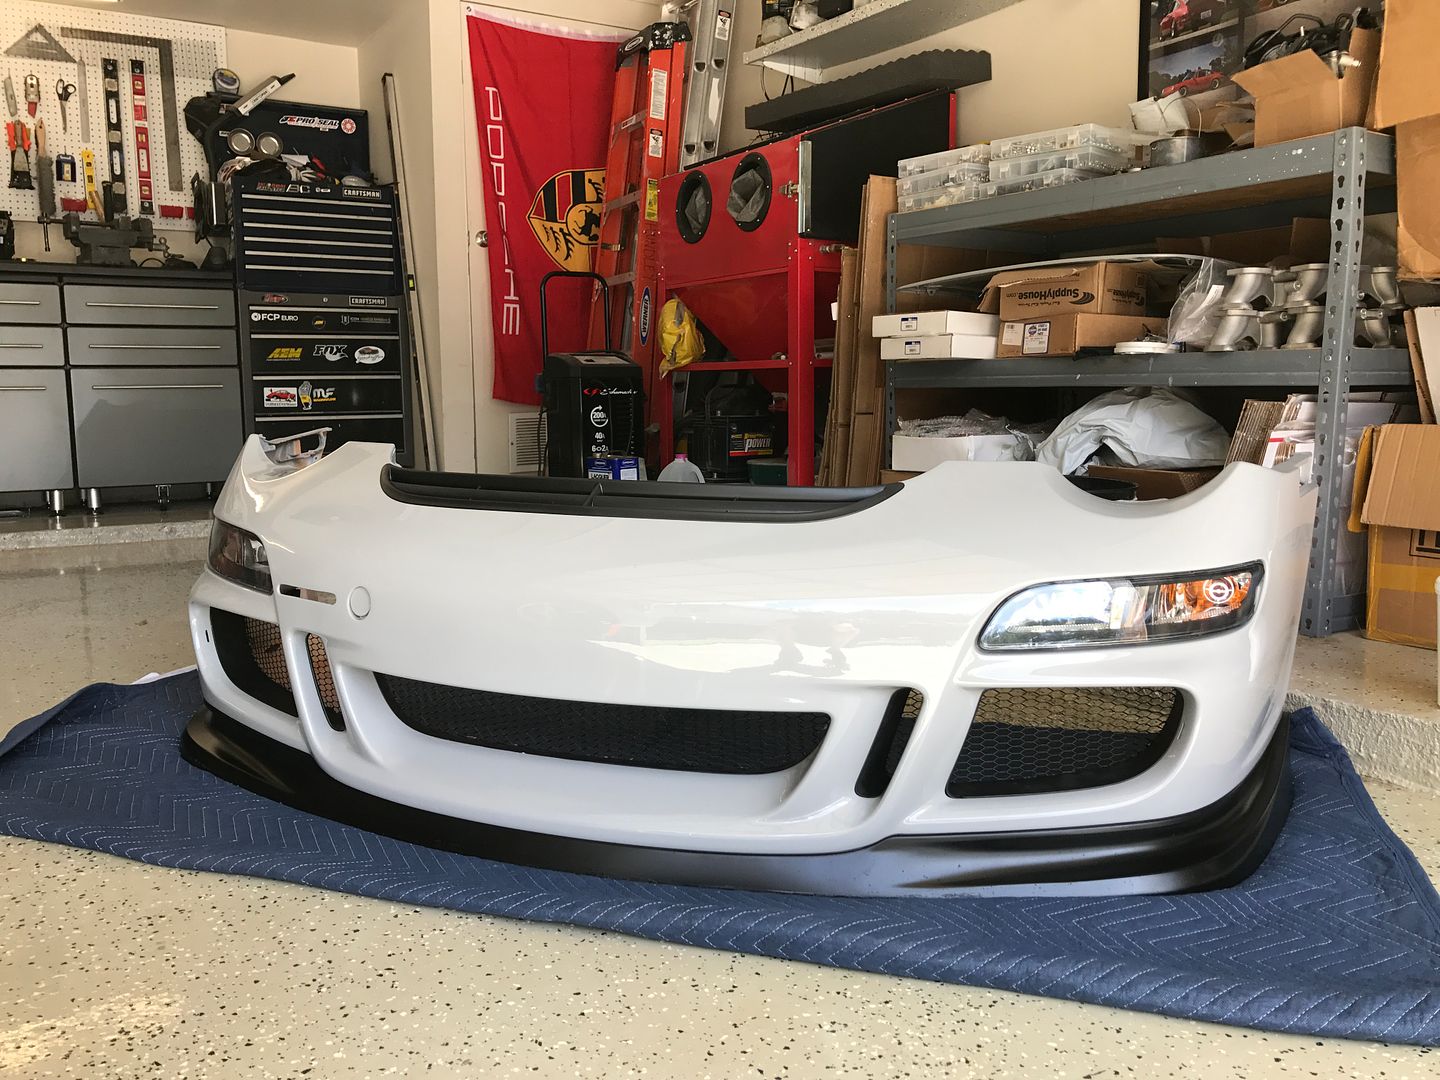
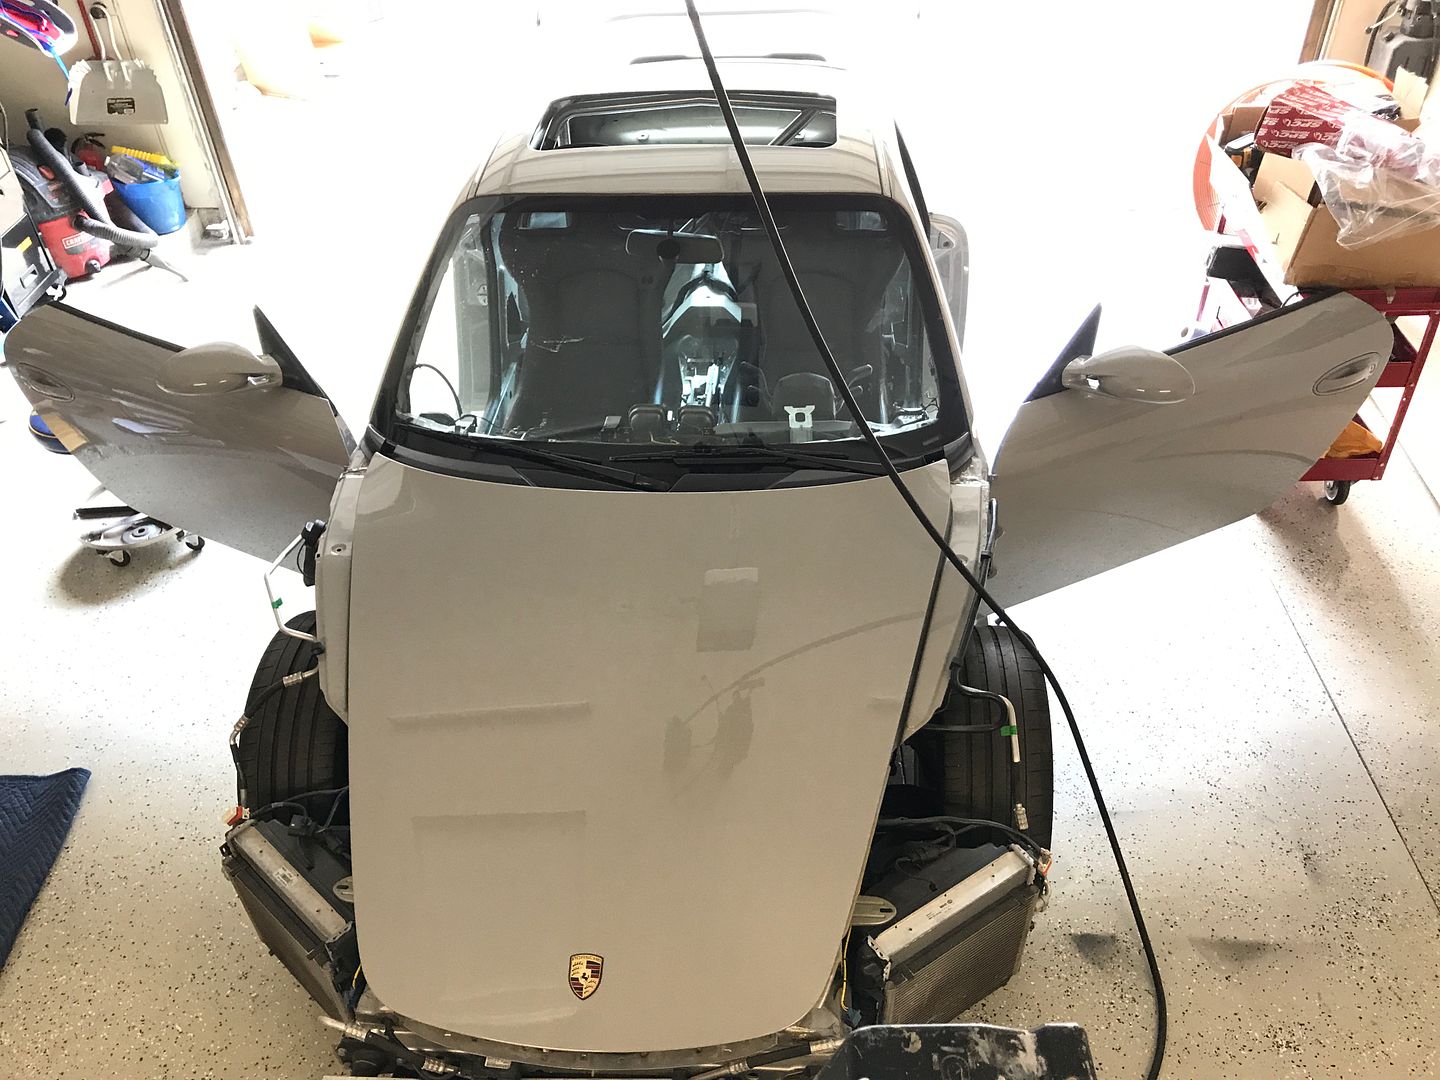
Got the front bumper together.
Universal black aluminum grill mesh on the OEM grill frames
Bumper lights installed
Lip painted and installed
Top grill installed
Random I was on a ladder pic
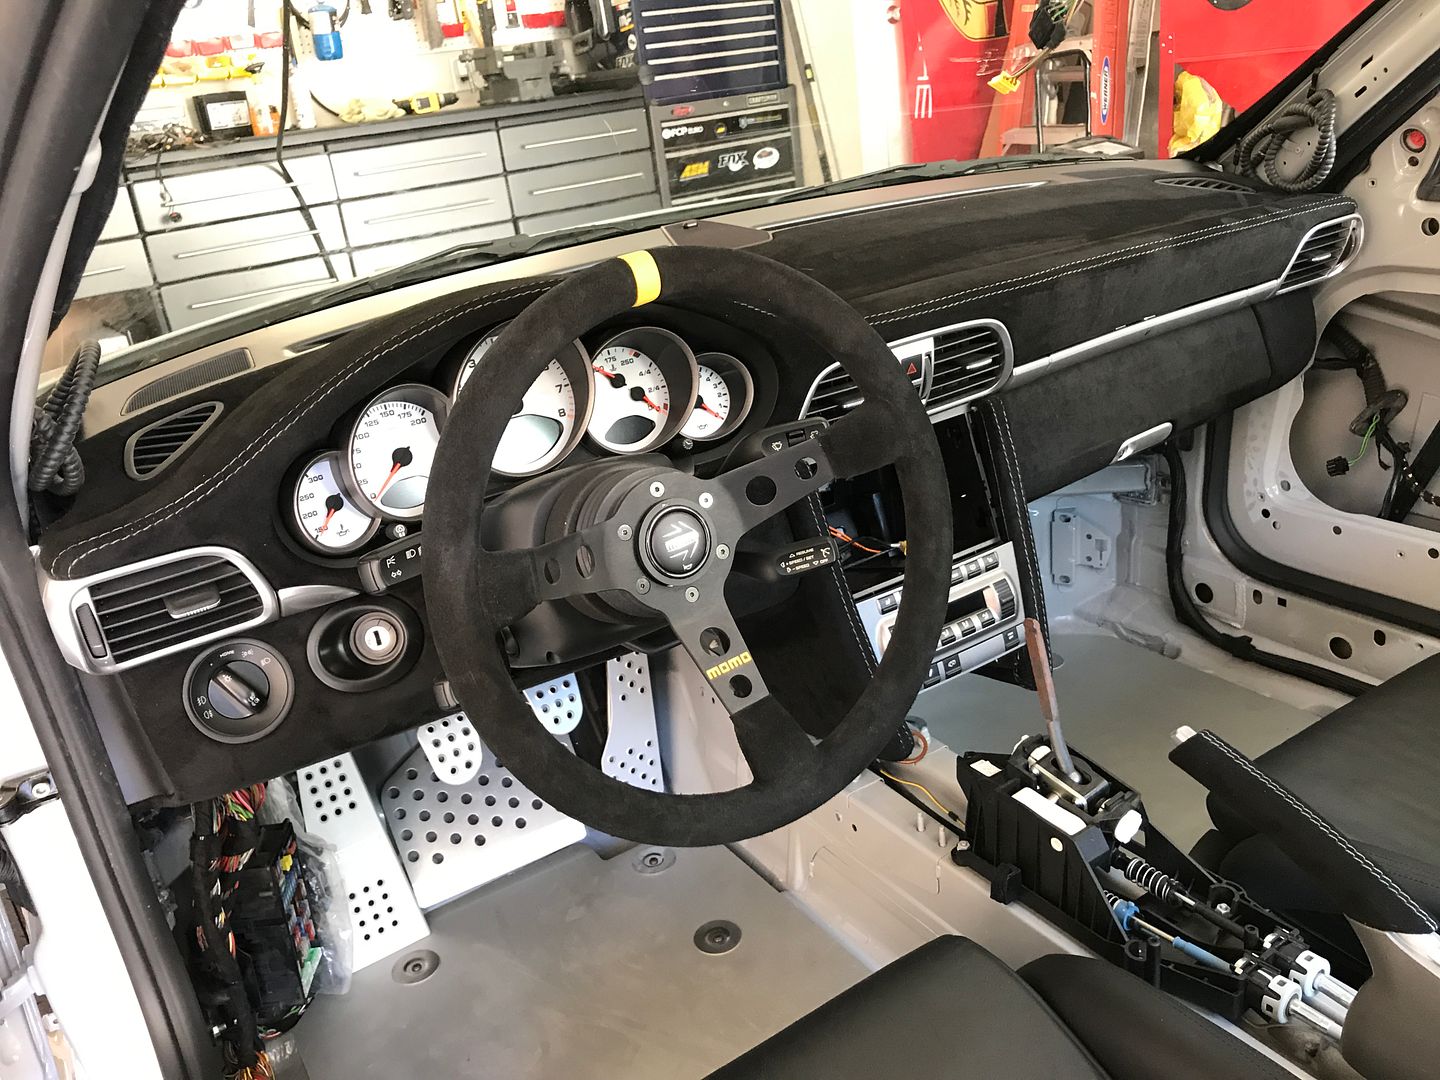
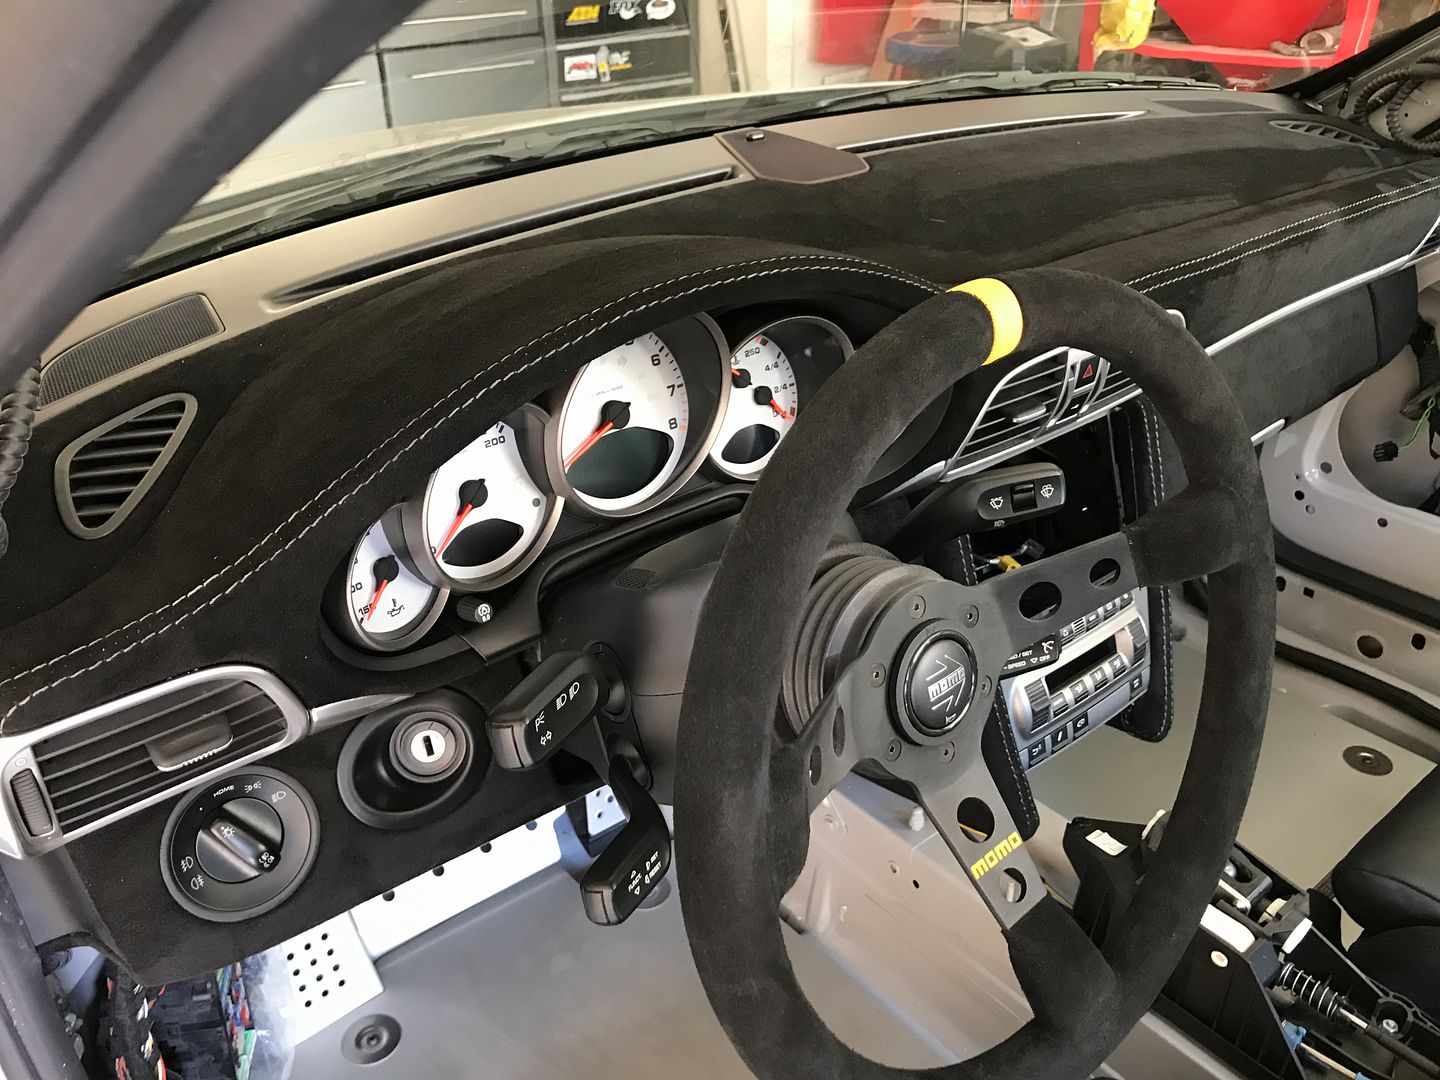
Installed the recovered dash and trim. All the misc brown soft touch trim was stripped with lacquer thinner and painted with SEM black trim paint

Momo Mod07 (same as 996 Cup) steering wheel

Universal black aluminum grill mesh on the OEM grill frames
Bumper lights installed
Lip painted and installed
Top grill installed
Random I was on a ladder pic
Installed the recovered dash and trim. All the misc brown soft touch trim was stripped with lacquer thinner and painted with SEM black trim paint
Momo Mod07 (same as 996 Cup) steering wheel
10-23-2017, 12:25 PM
#66
Rennlist Member
What an awesome build. Very envious.
10-23-2017, 04:24 PM
#67
Rennlist Member
Join Date: Jun 2016
Location: Saint Clairsville, Ohio
Posts: 185
Likes: 0
Received 2 Likes
on
2 Posts
Awesome build, but i would be careful running the 20w50 even in the warmer climates. There are many documented cases of the M96 & M97 engine not liking the higher viscosity and higher weight oils.
10-24-2017, 11:02 PM
#68
Rennlist Member
You going to weigh it after its done? (sorry if i missed that earlier)
If so, can u post? iirc the 7.2's are apprx 3200lbs, at least mine is (C2S)
thanx, mike
If so, can u post? iirc the 7.2's are apprx 3200lbs, at least mine is (C2S)
thanx, mike
10-25-2017, 02:30 AM
#69

fantastic build. thank you for sharing this with us. The chalk color is looking great under different lighting conditions.
10-25-2017, 05:15 AM
#70
Rennlist Member
Yes, also front to rear weight distribution... I kinda have a feeling the car maybe even more rear bias as most weight has come off the front of the car, plus larger wing on the back.
10-25-2017, 12:55 PM
#72
Former Vendor

Absolutely gorgeous build so far! It is coming along very nicely. Maybe I missed it, but who did the wrapping on the interior pieces? They look incredible. Always something I've been wanting to do on several of the cars I've owned!
10-26-2017, 11:15 AM
#73
Instructor
Thread Starter
Thanks man
Noted, i'll change it.
I didn't say anything about it, but i do plan on weighing it once it's all together.
Thanks, i'm very happy with the color.
I agree, that Tequipment bar is only temporary so I can use the harnesses. I was planning on doing a safety devices full bolt in cage, but may just do a Das Auto or similar rear cage.
Thank you. A local in Houston did it. He's done work for me in the past. He's on instagram as @jckustomz
Alleykats2k came over and tig weld everything up on the exhaust
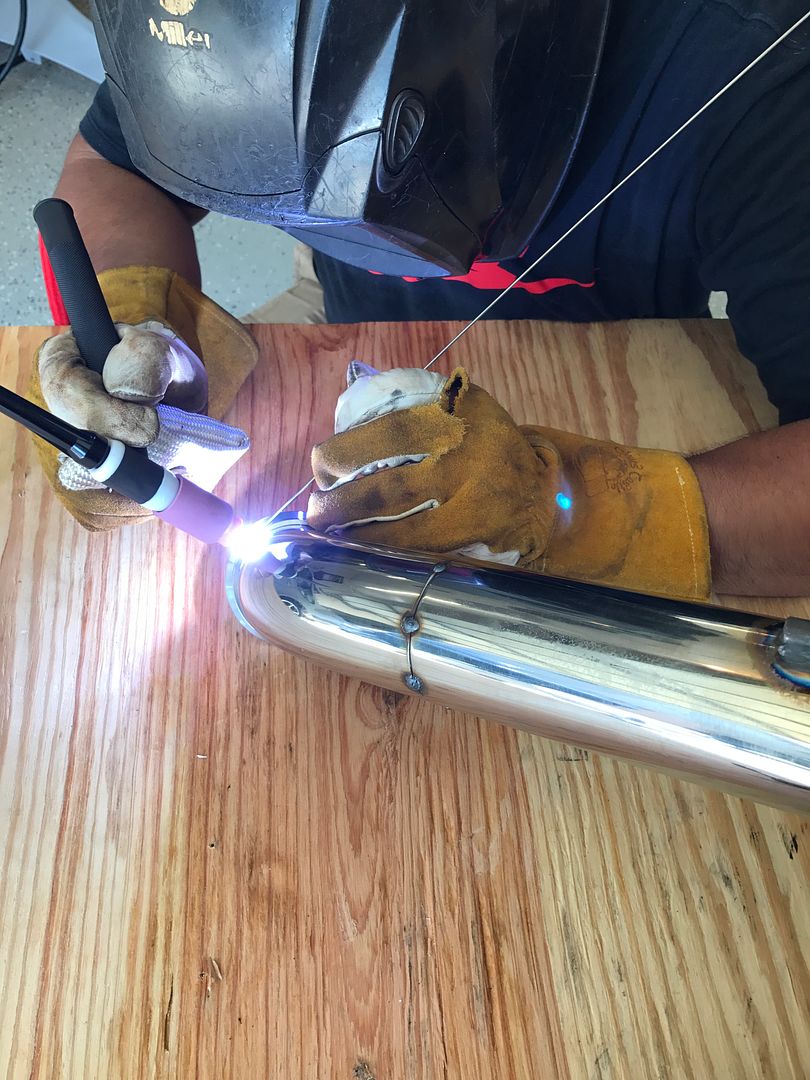
Well, almost everything. He took it with him to finish up and have sand blasted. It should be done this week.
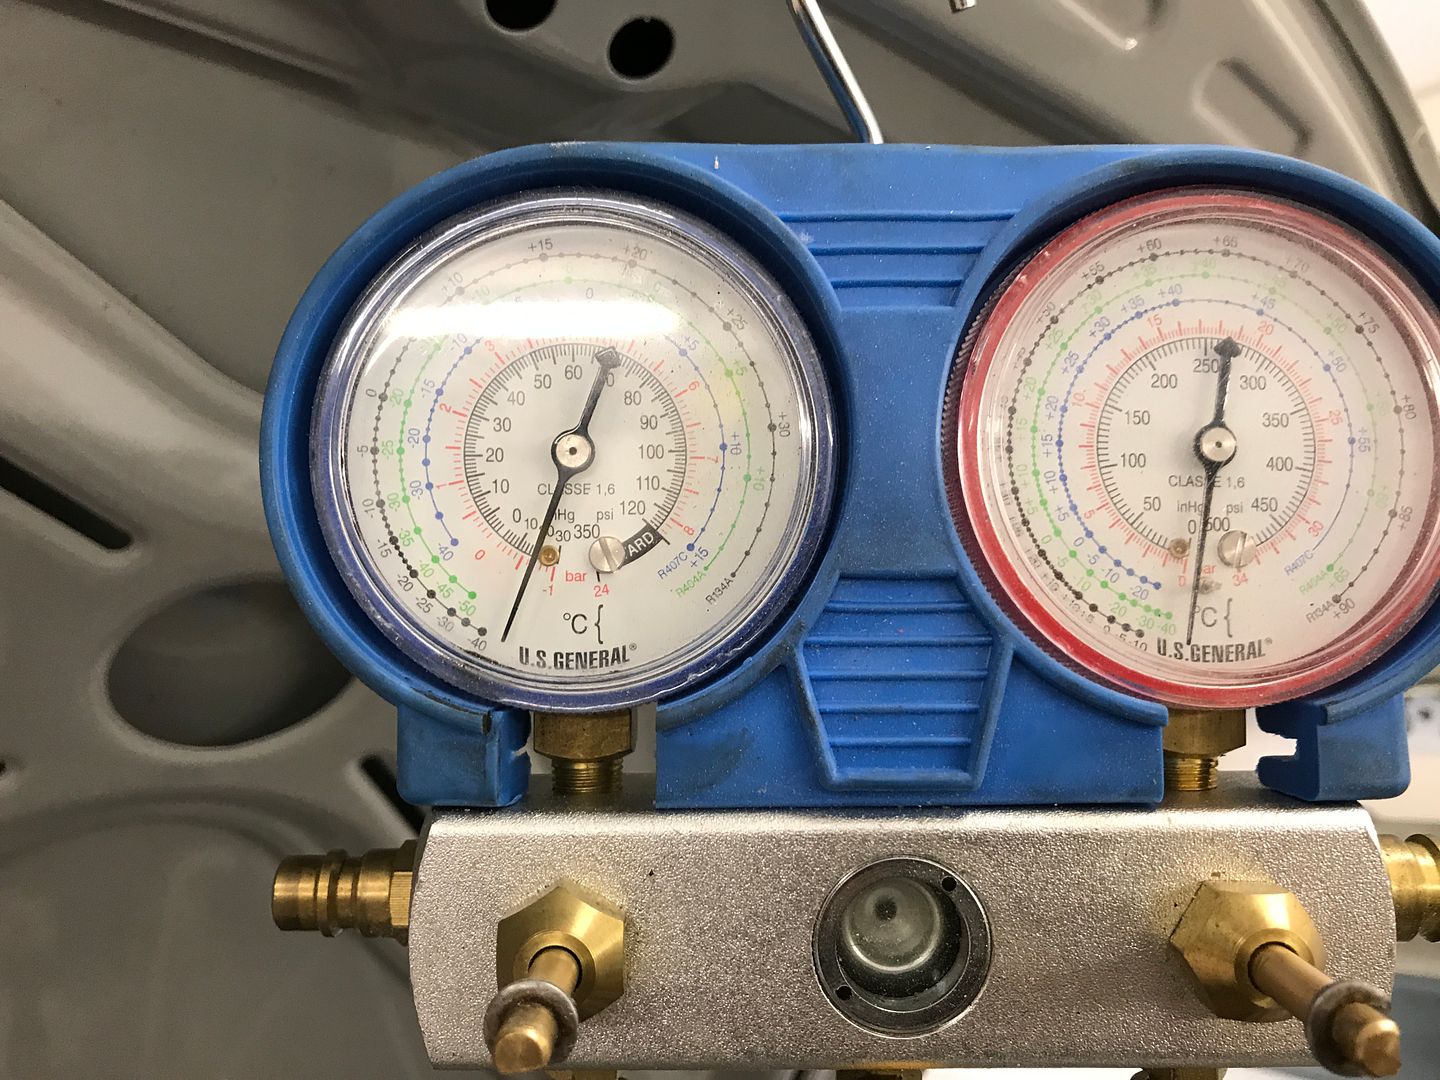
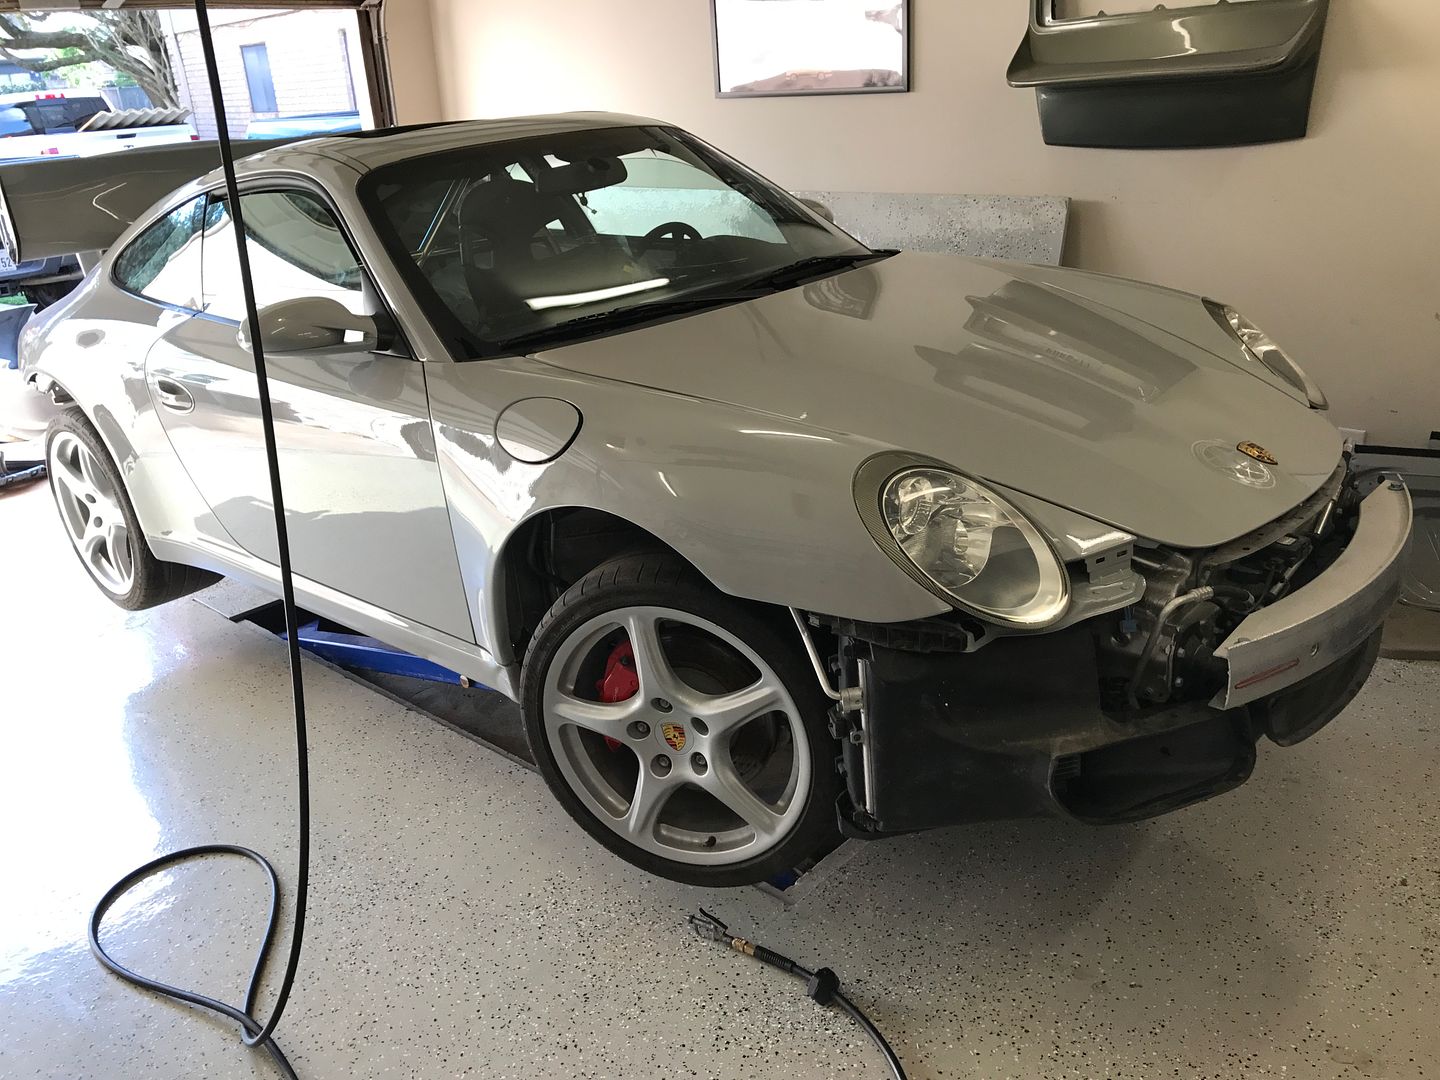
Finished the AC. This has prevented me from putting the front end on and I had a leak I was chasing, turned out to be in the fill gauge lines : Fixed that and got a decent vacuum on it.
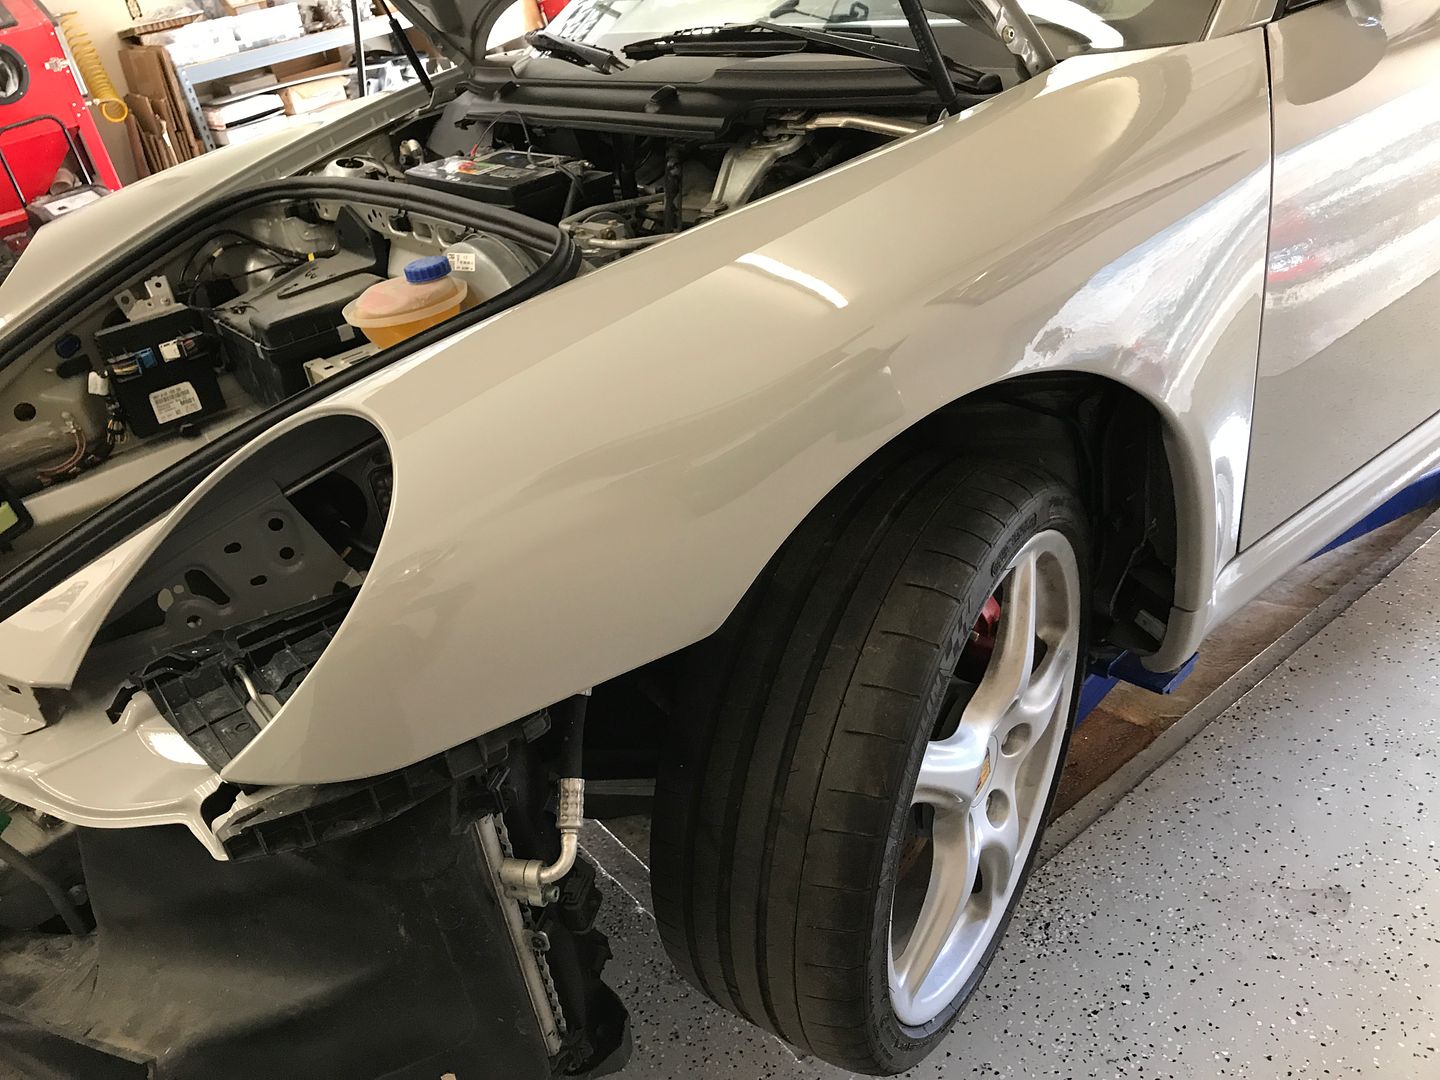
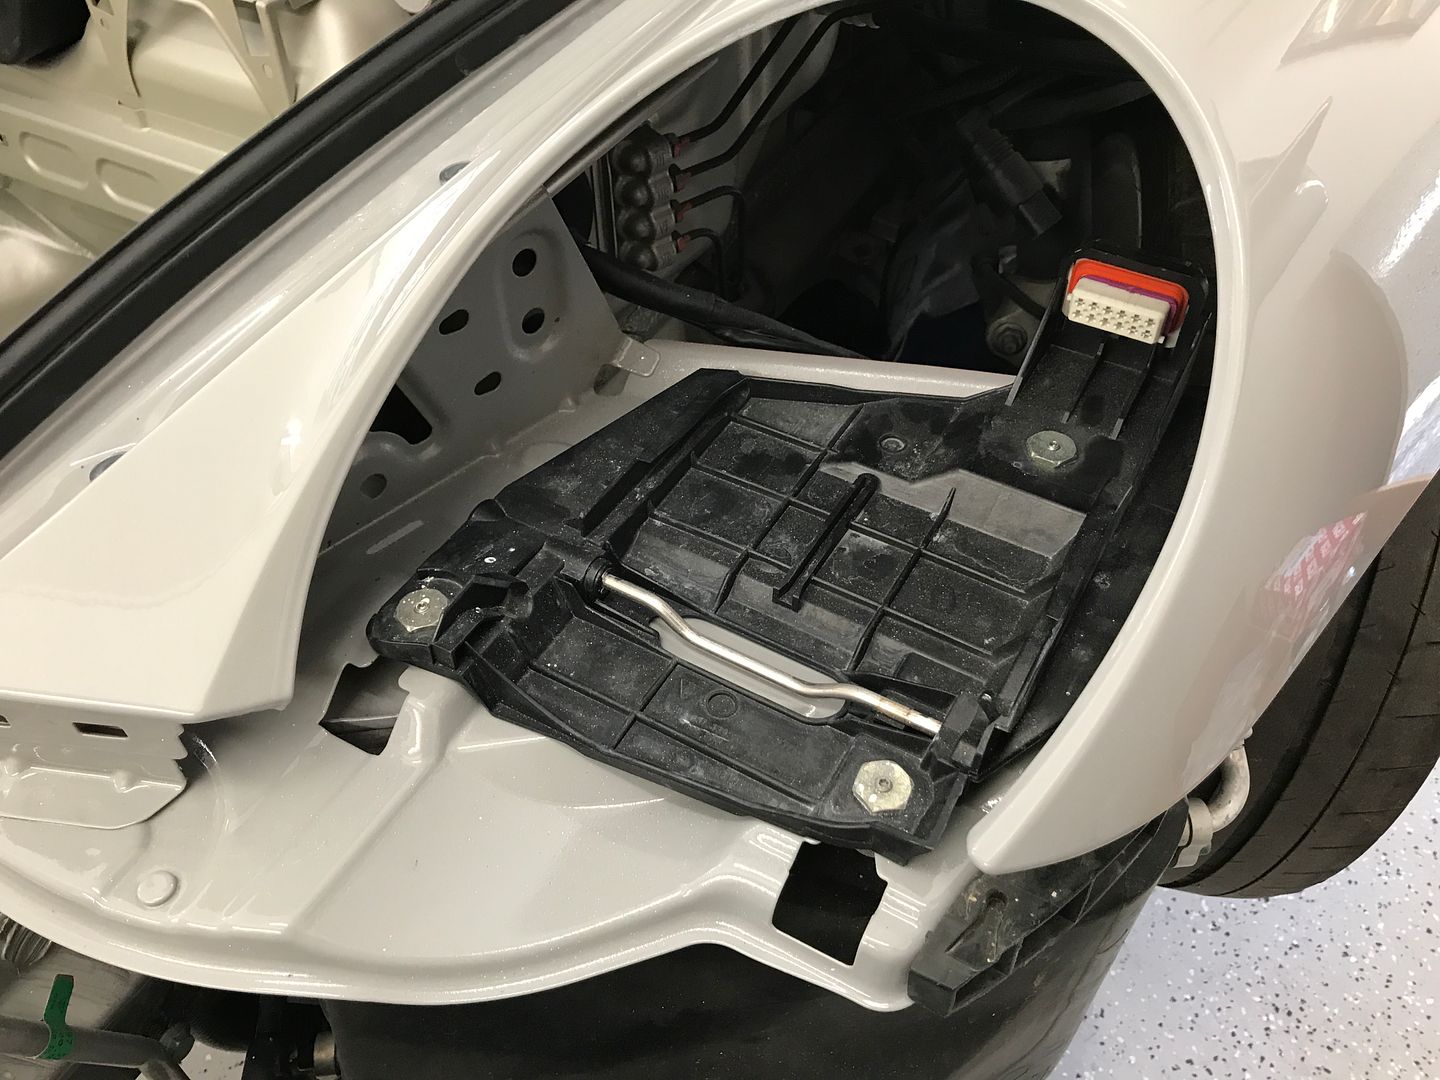
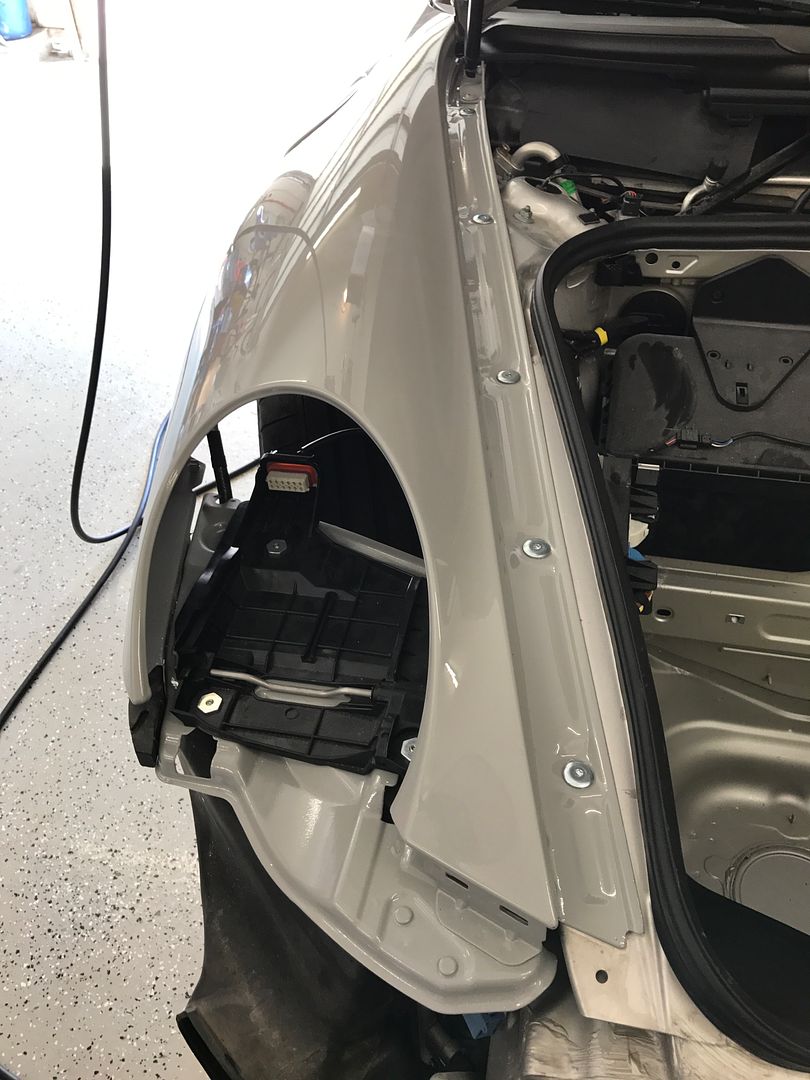
Then put the fenders on
And headlight brackets
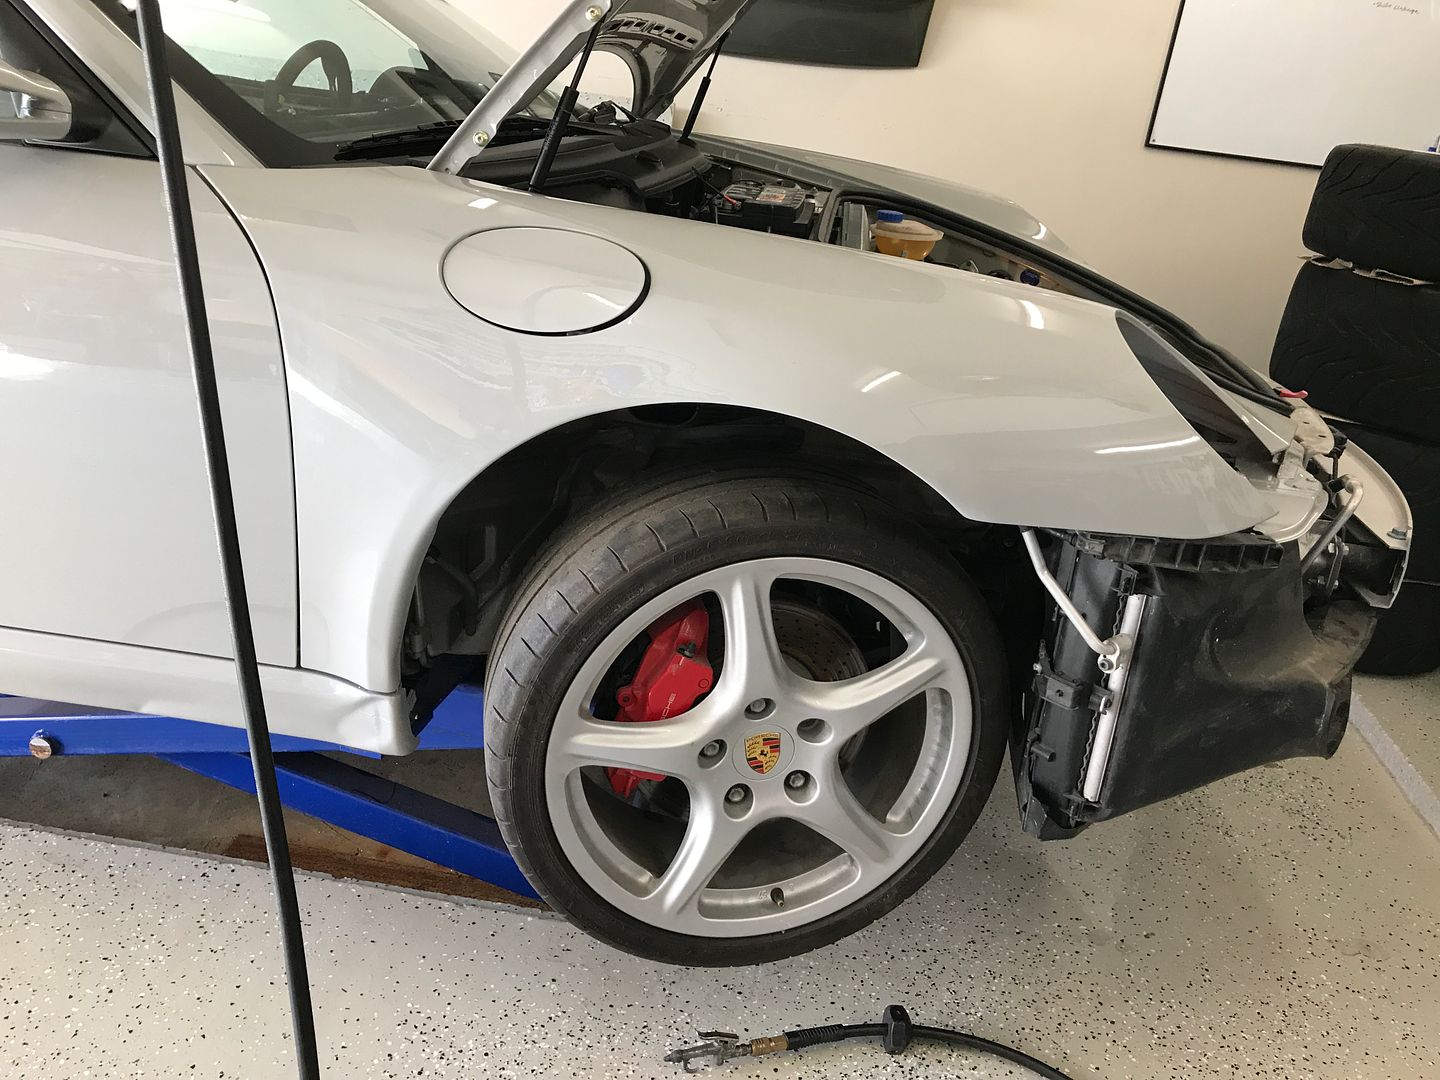
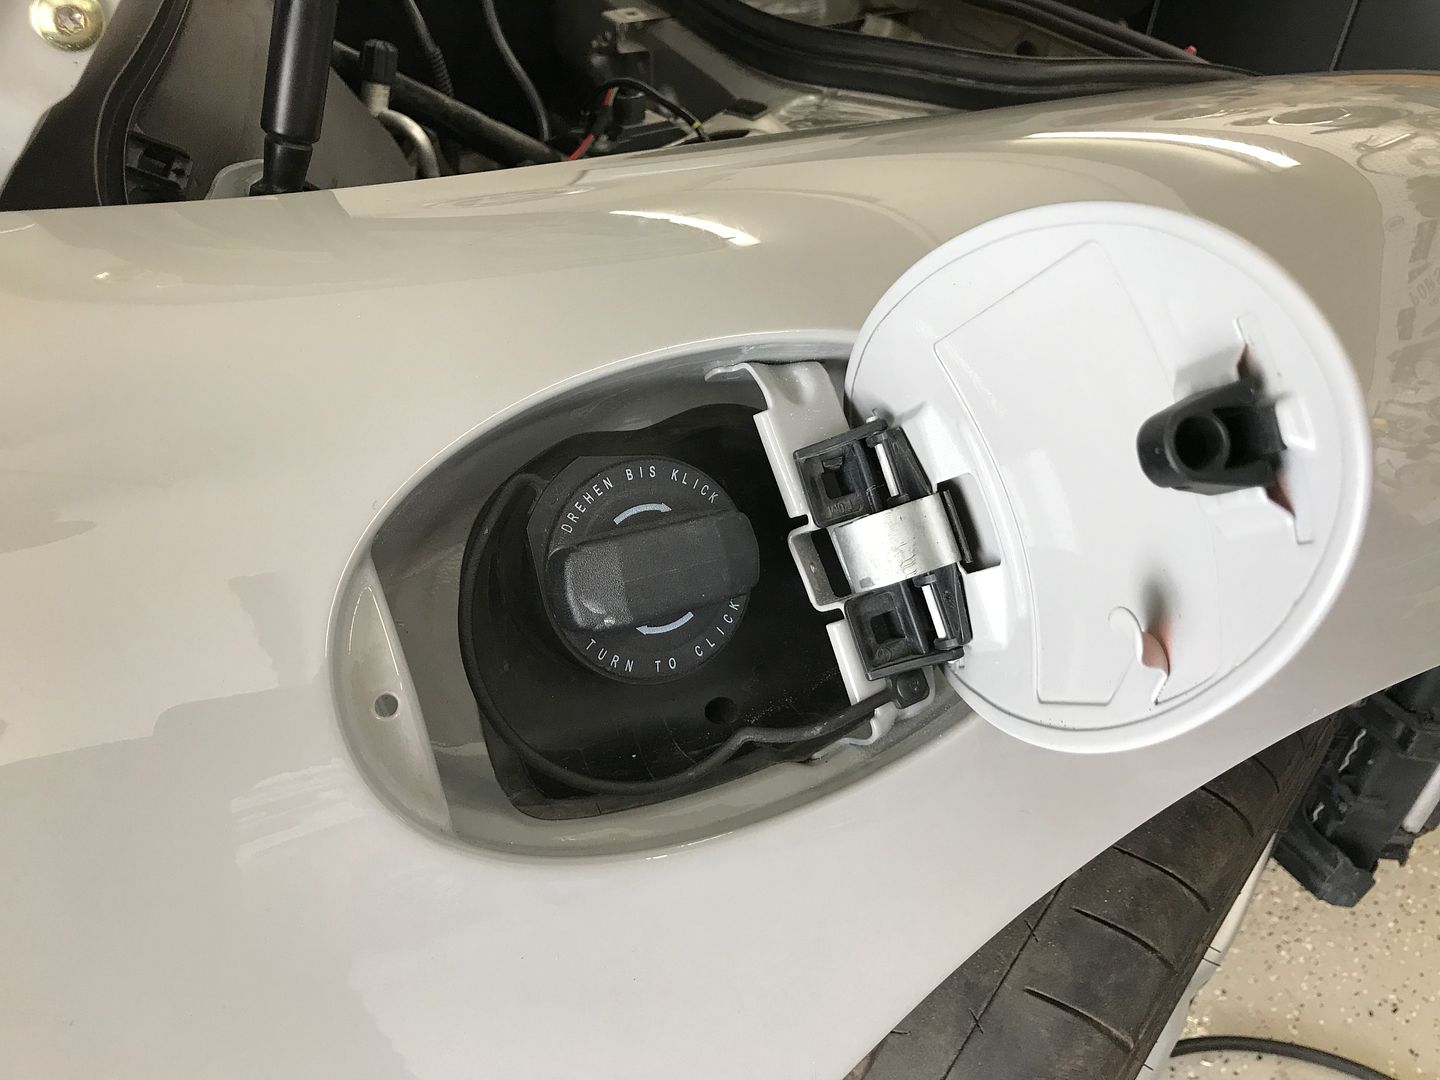
Fuel door on, found I was missing the actuator and ordered one
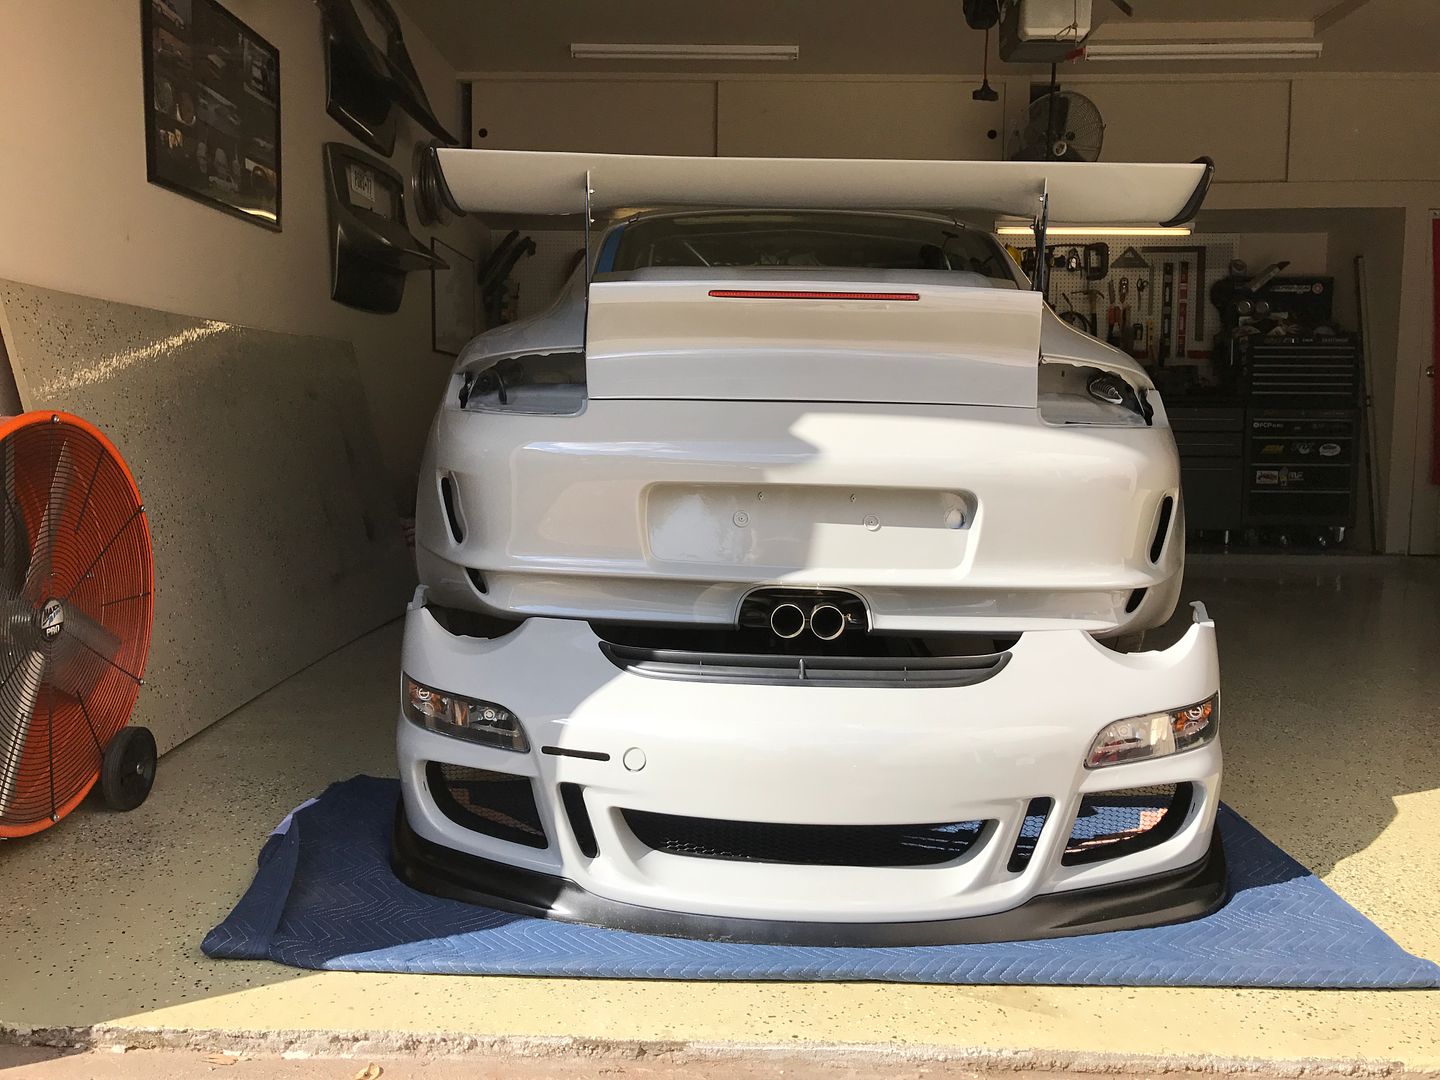
Headlights on and air ducts for the radiators
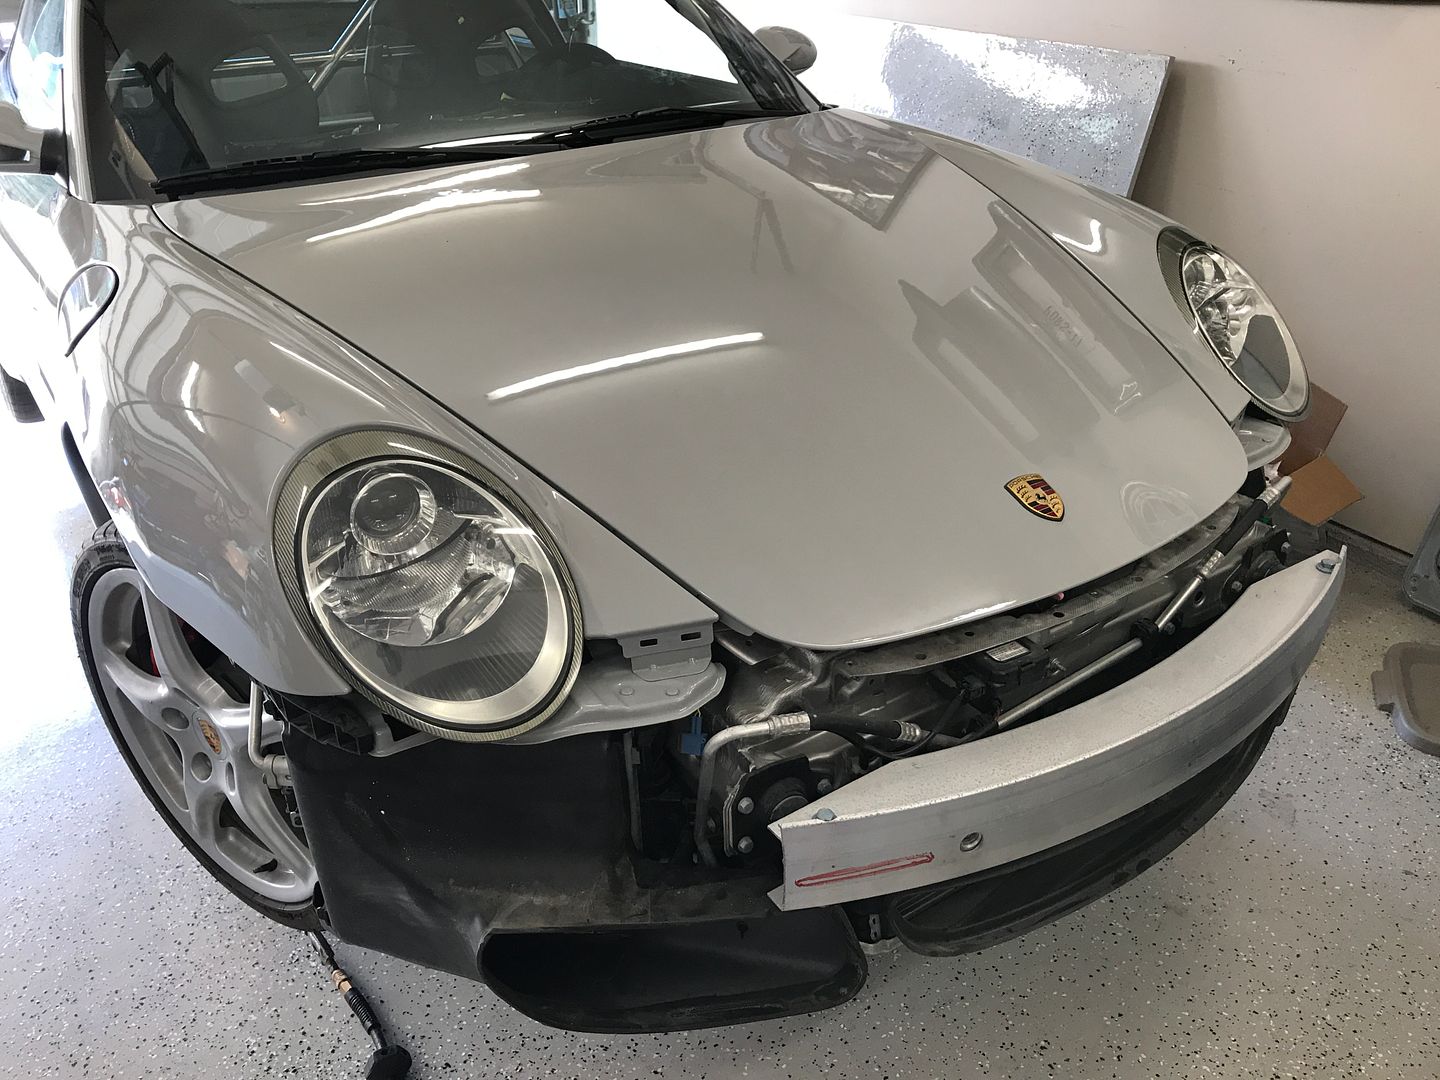
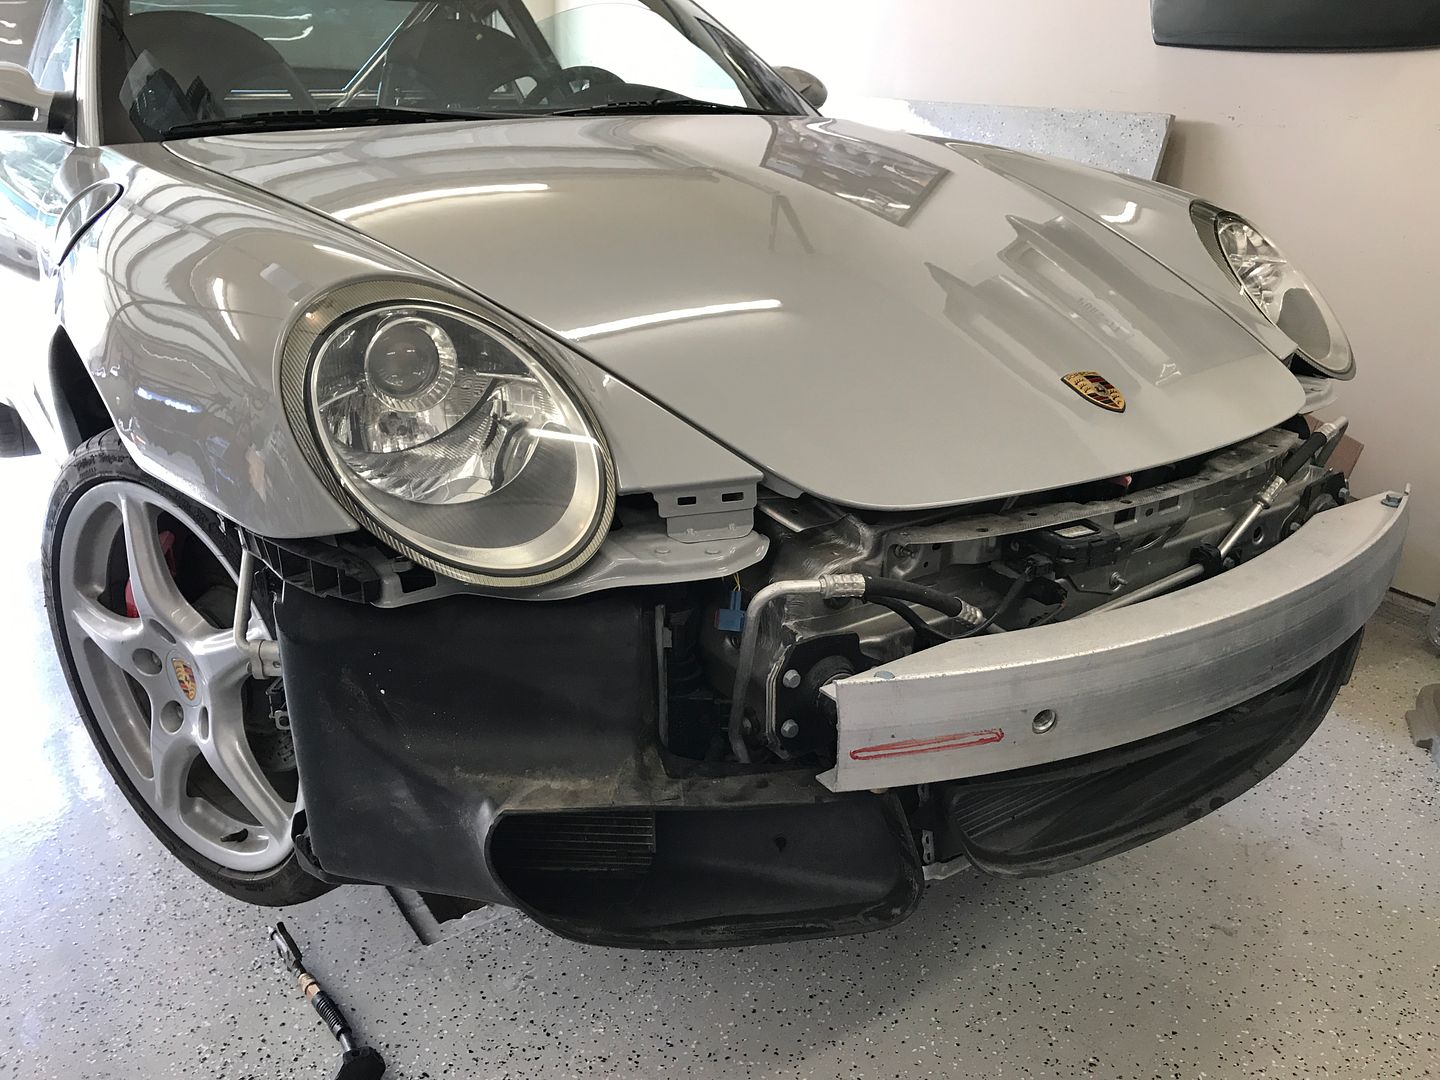
Waiting on some new bulbs for the bumper lights, but had to mock up the front bumper

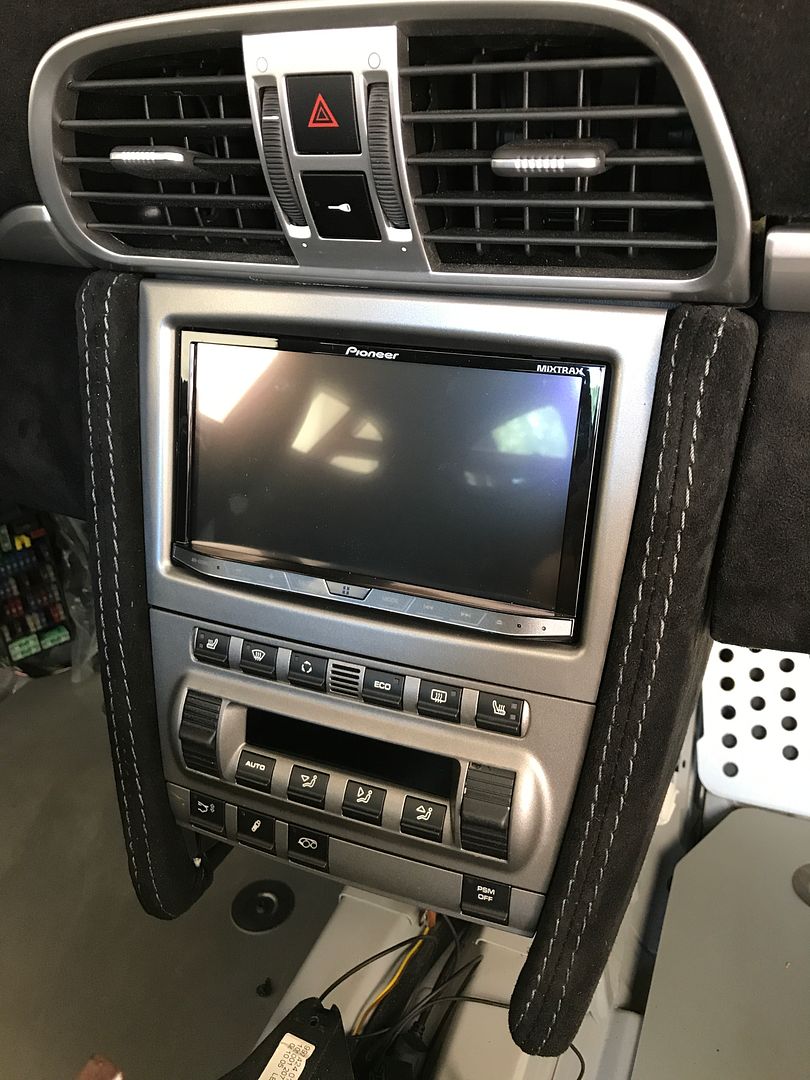
Got a radio installed
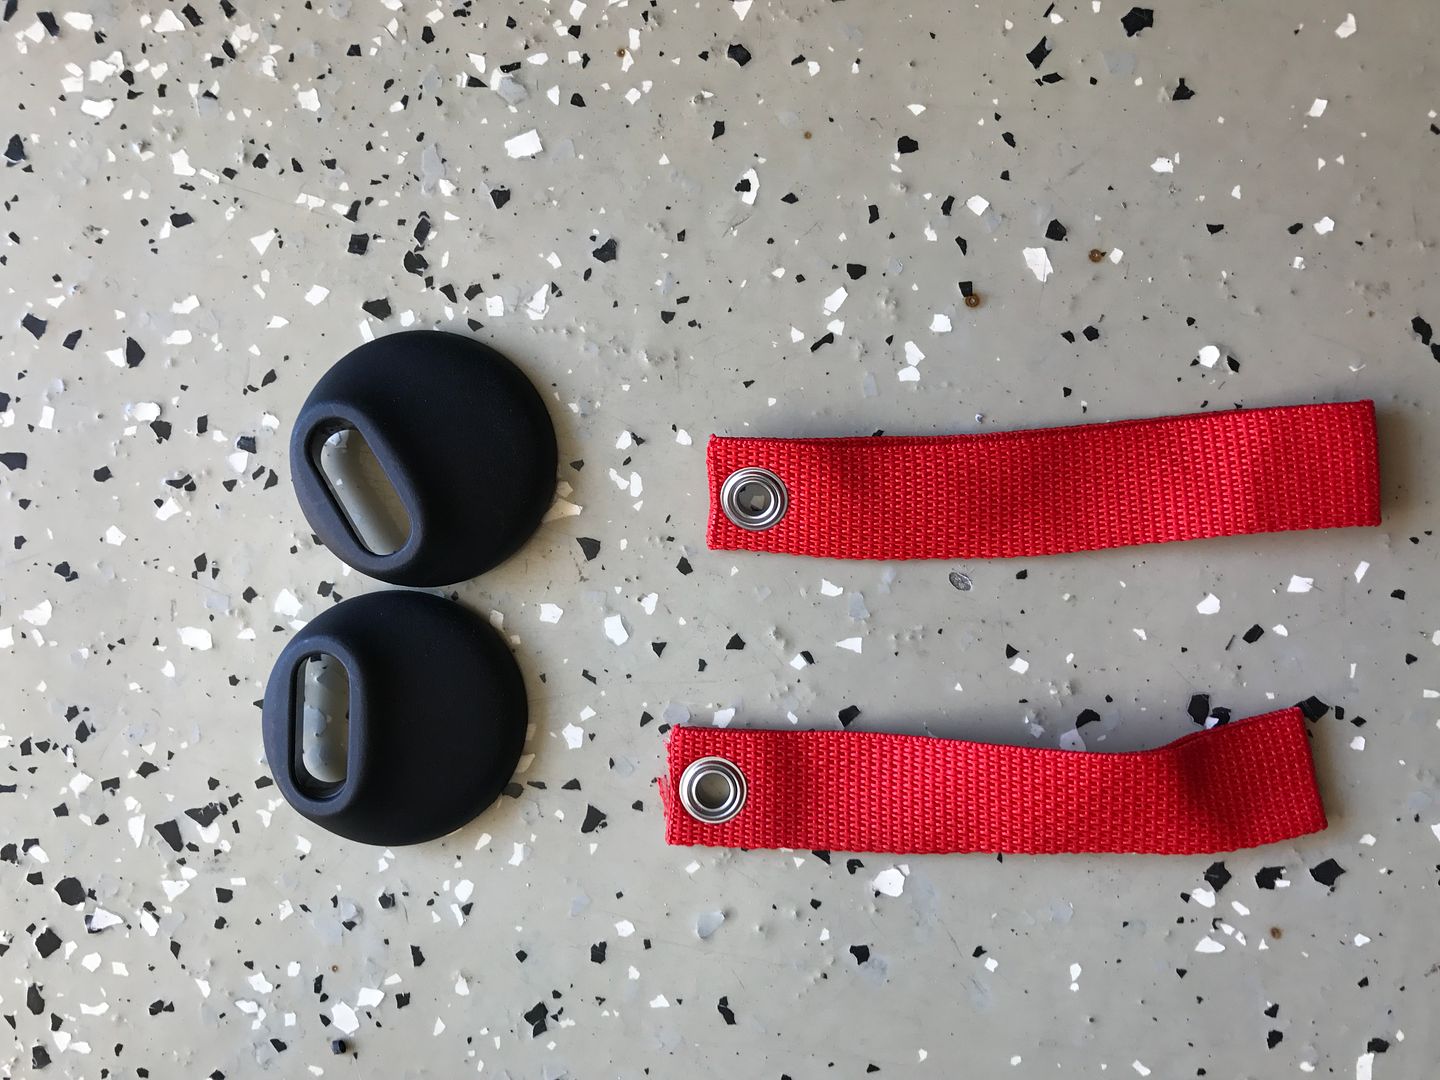
For the door cards, doing something a little different. There is no RS or lightweight interior door card. Cup cars have carbon fiber doors with manual windows and door locks.
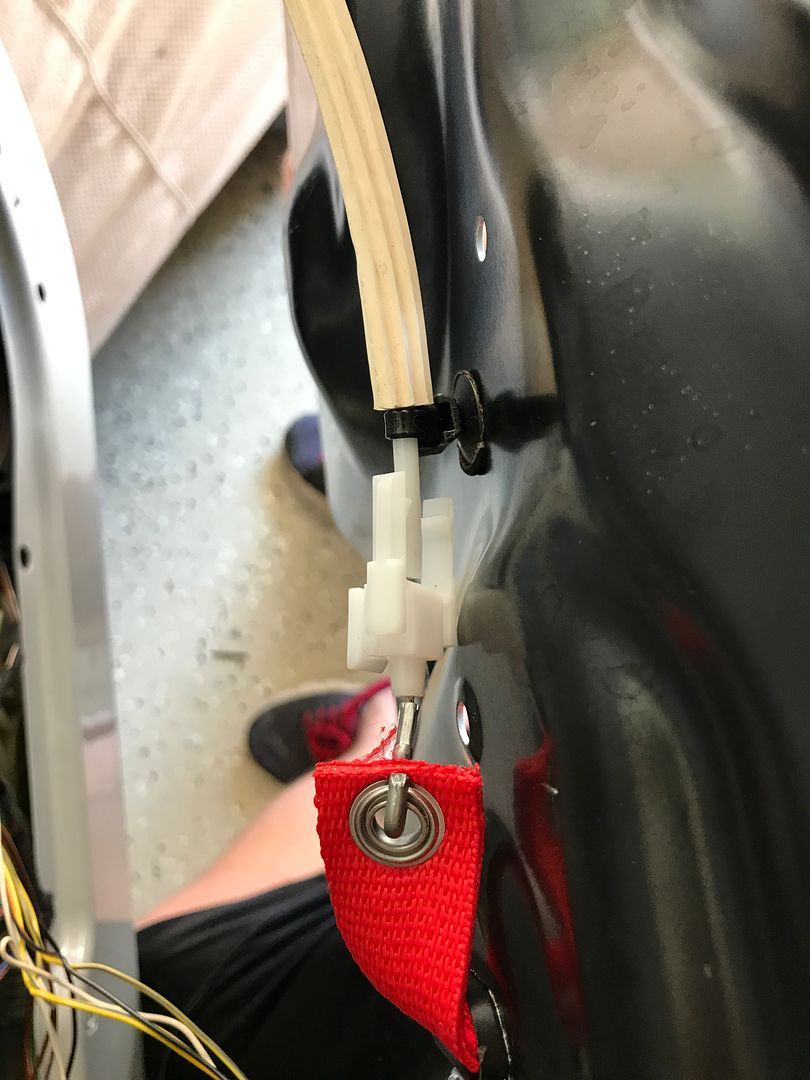
I had the interior panels painted and bought red pulls and trim from early RS cars
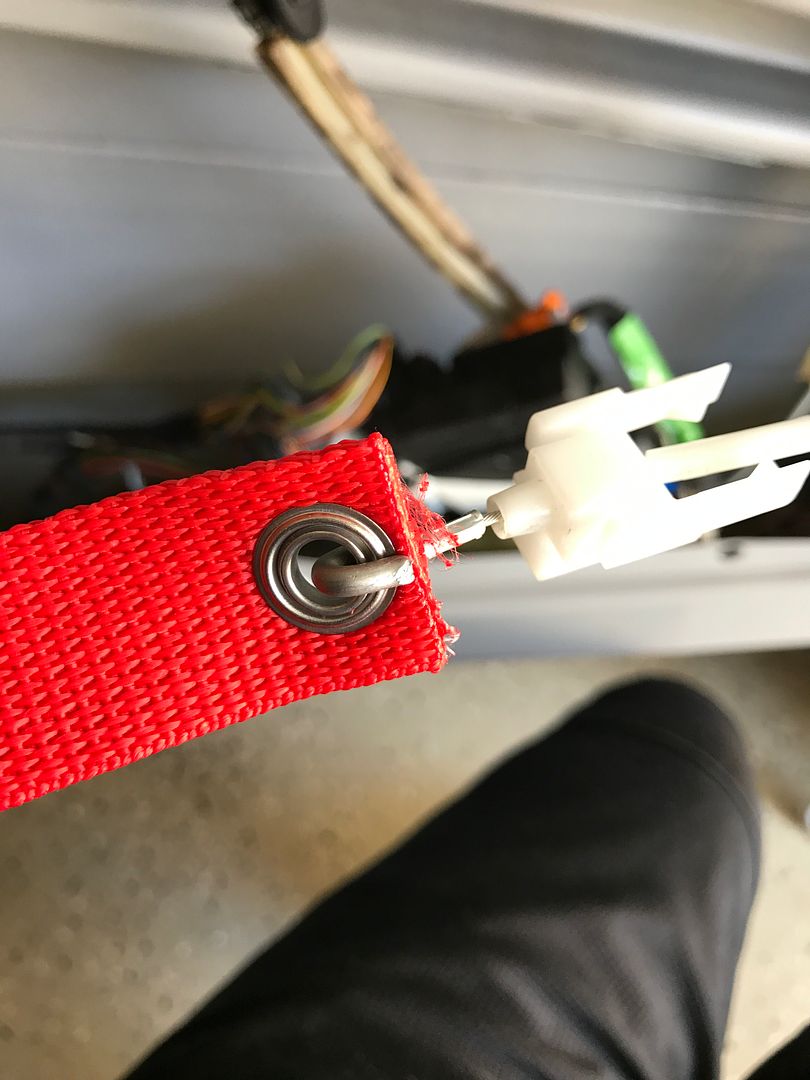
The door latch cable end was pinched to the pull eyelet
The hole for the pull was laid out and opened marked
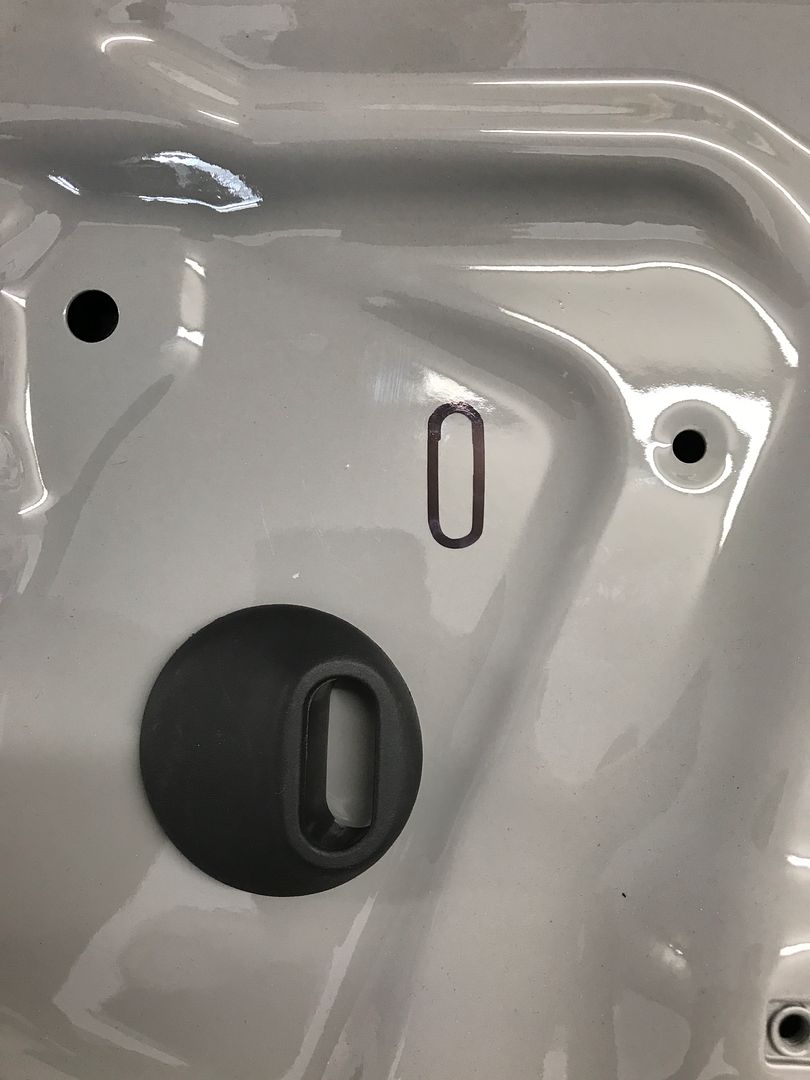
1/2" holes drilled

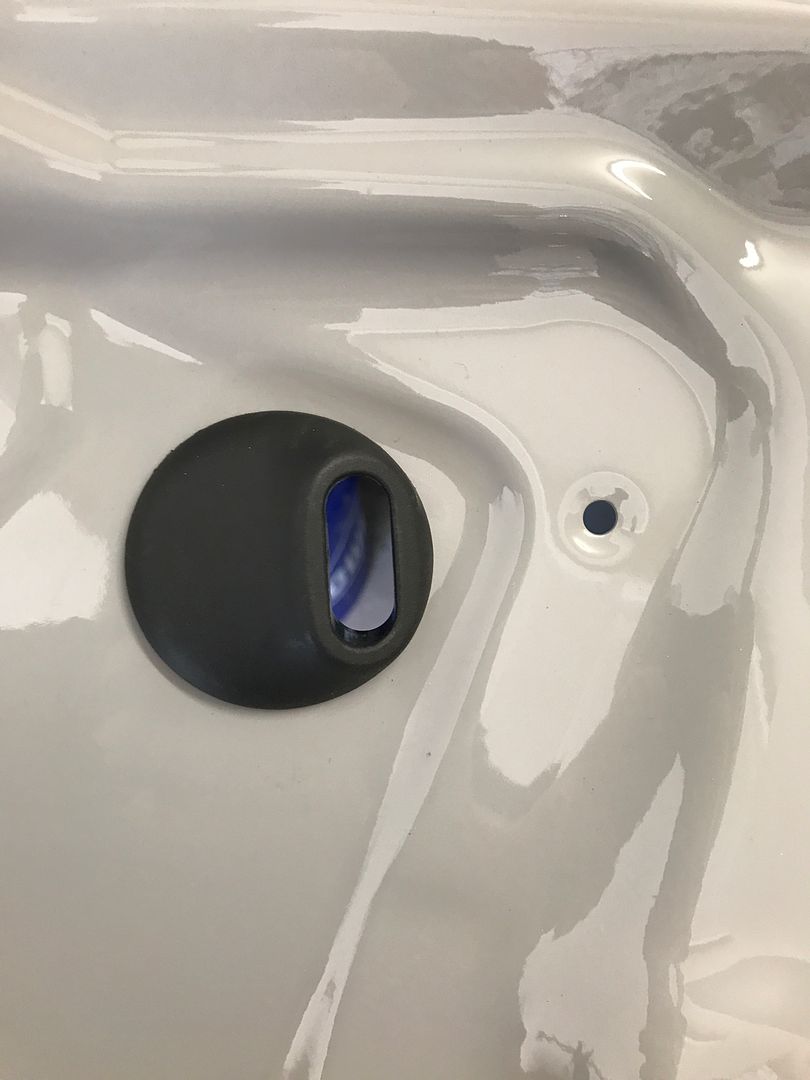
Sides cut, opening filed to fit the trim piece. Screws installed
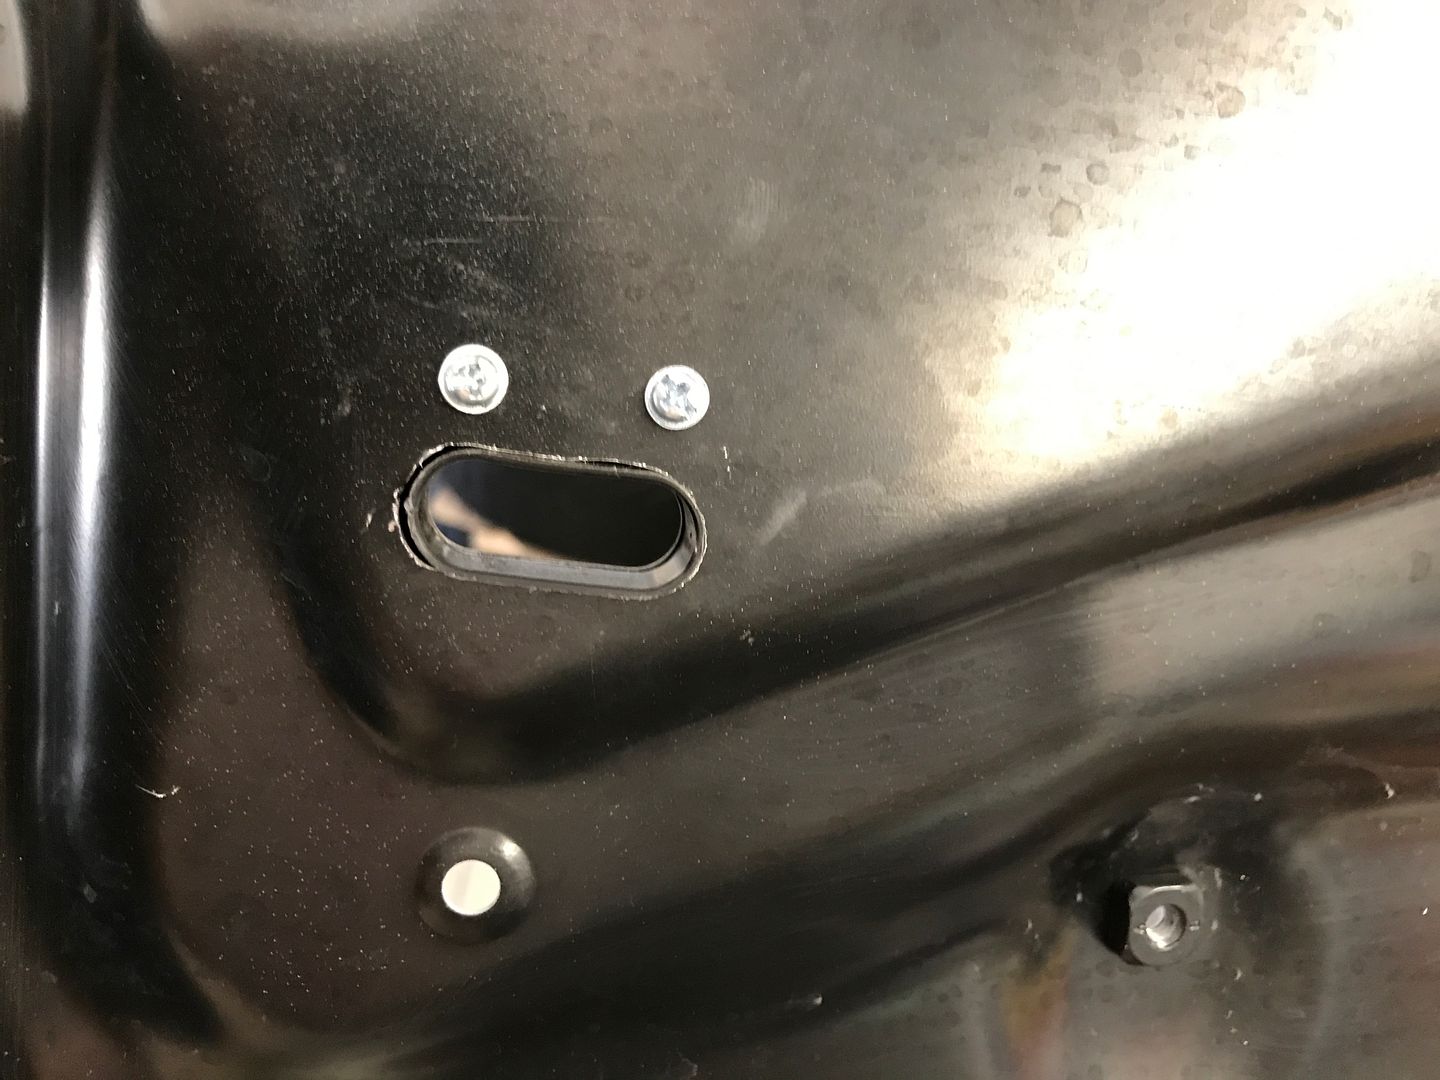
Otherside
The cable was secured to the door panel with a ziptie
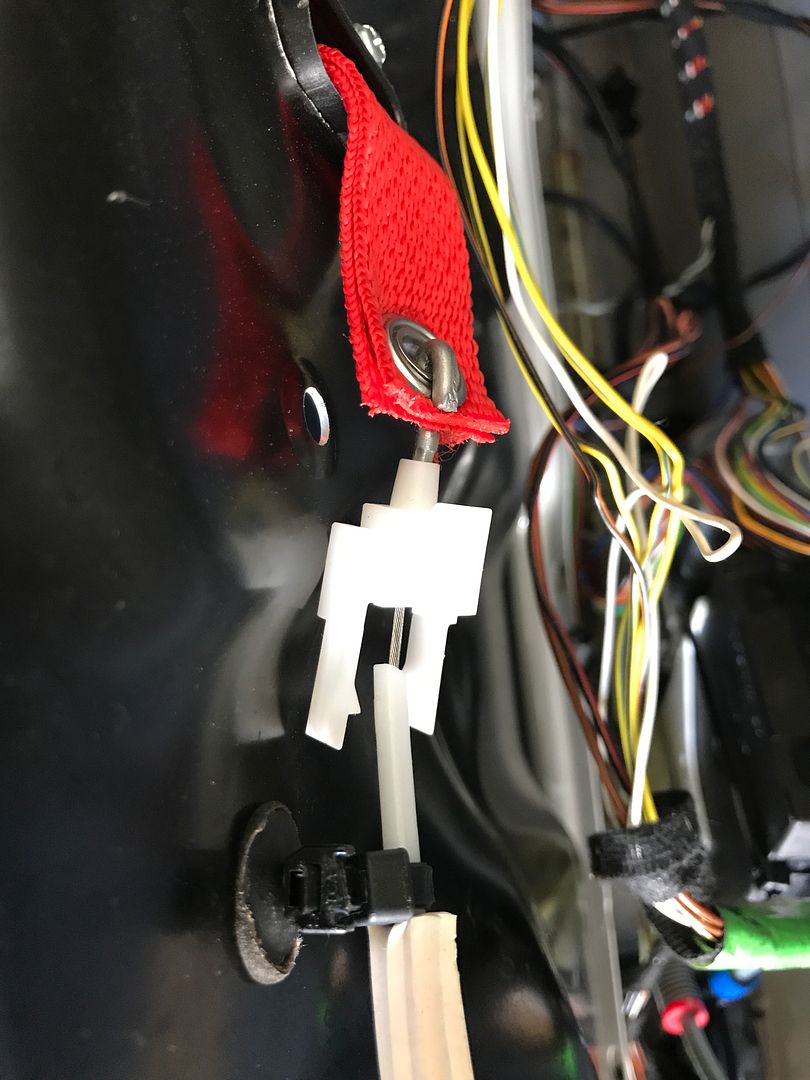
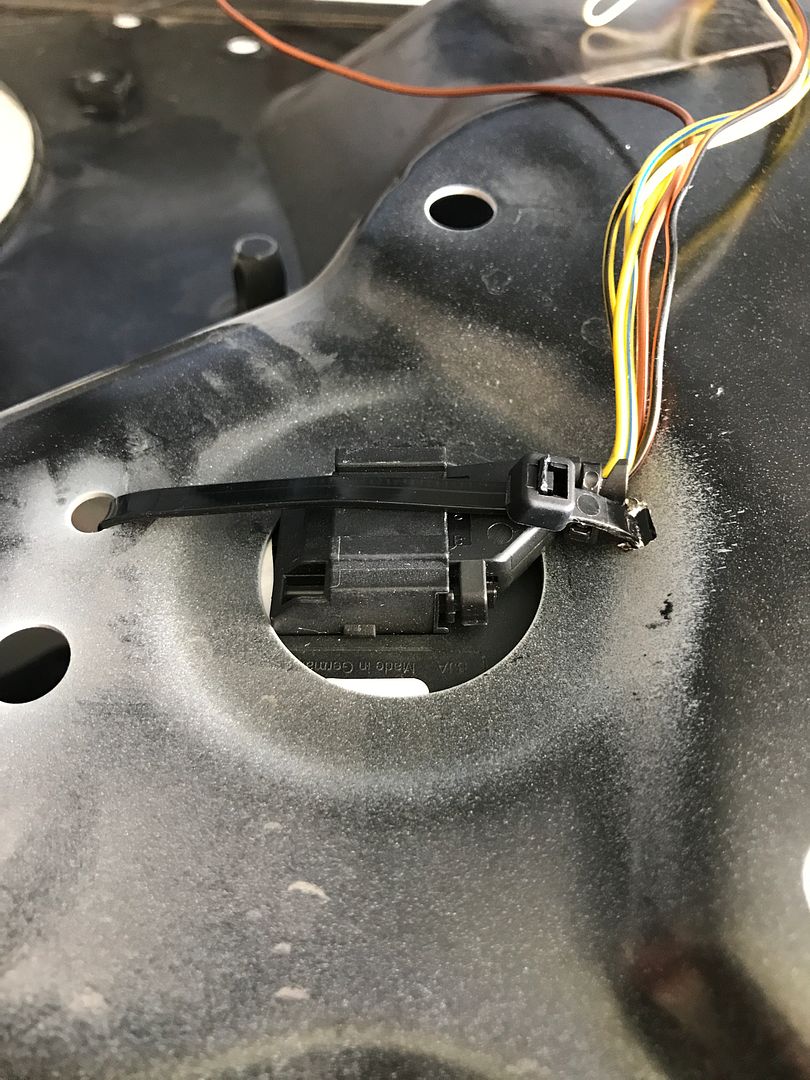
The power window switch was installed with a ziptie.
Switch drilled and slotted for the ziptie
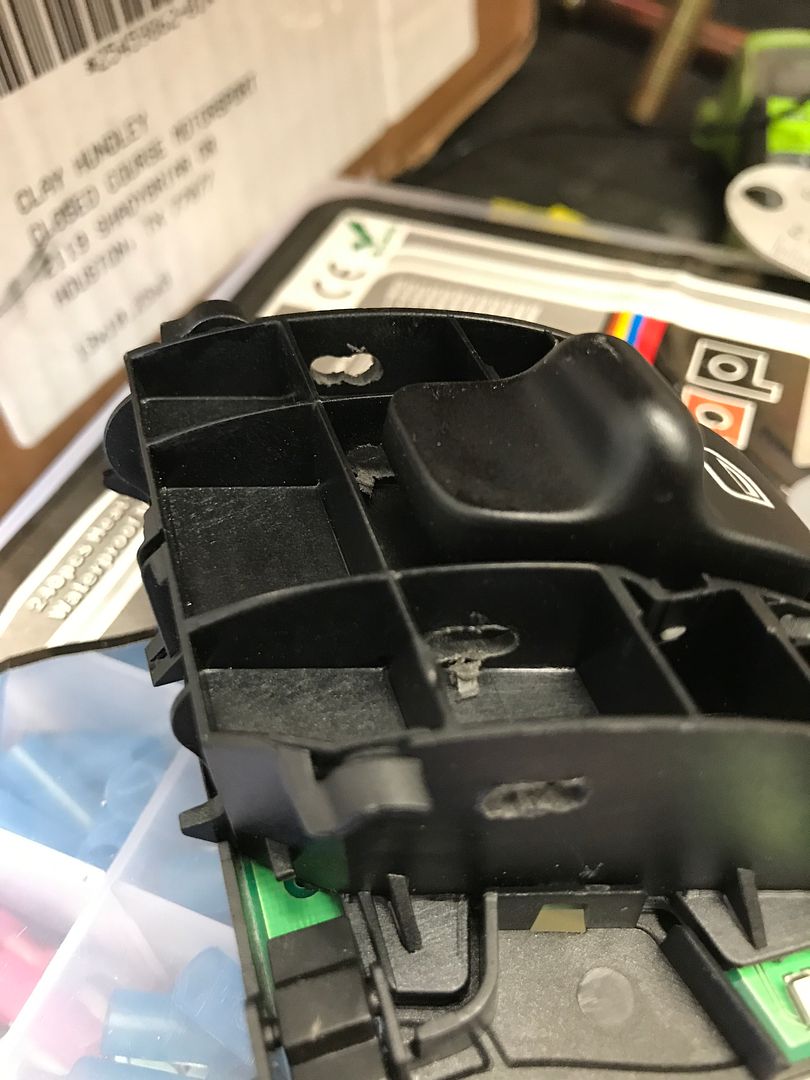
Hole drilled and slotted in the door panel
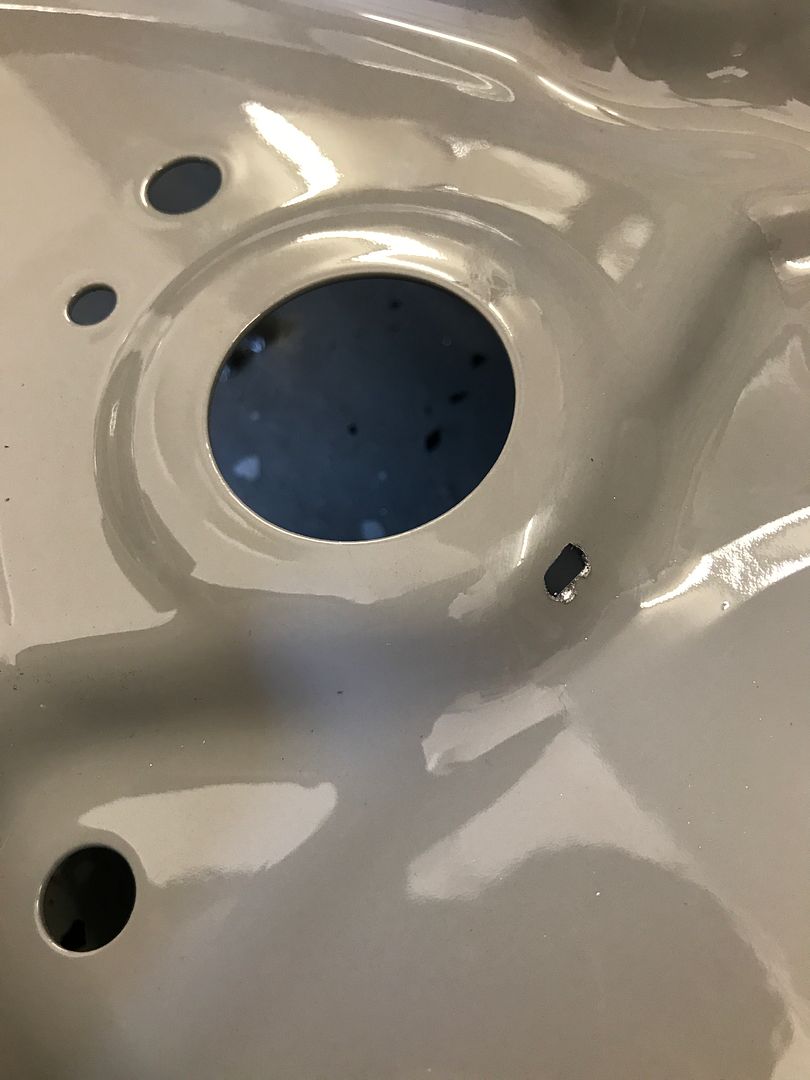
Installed
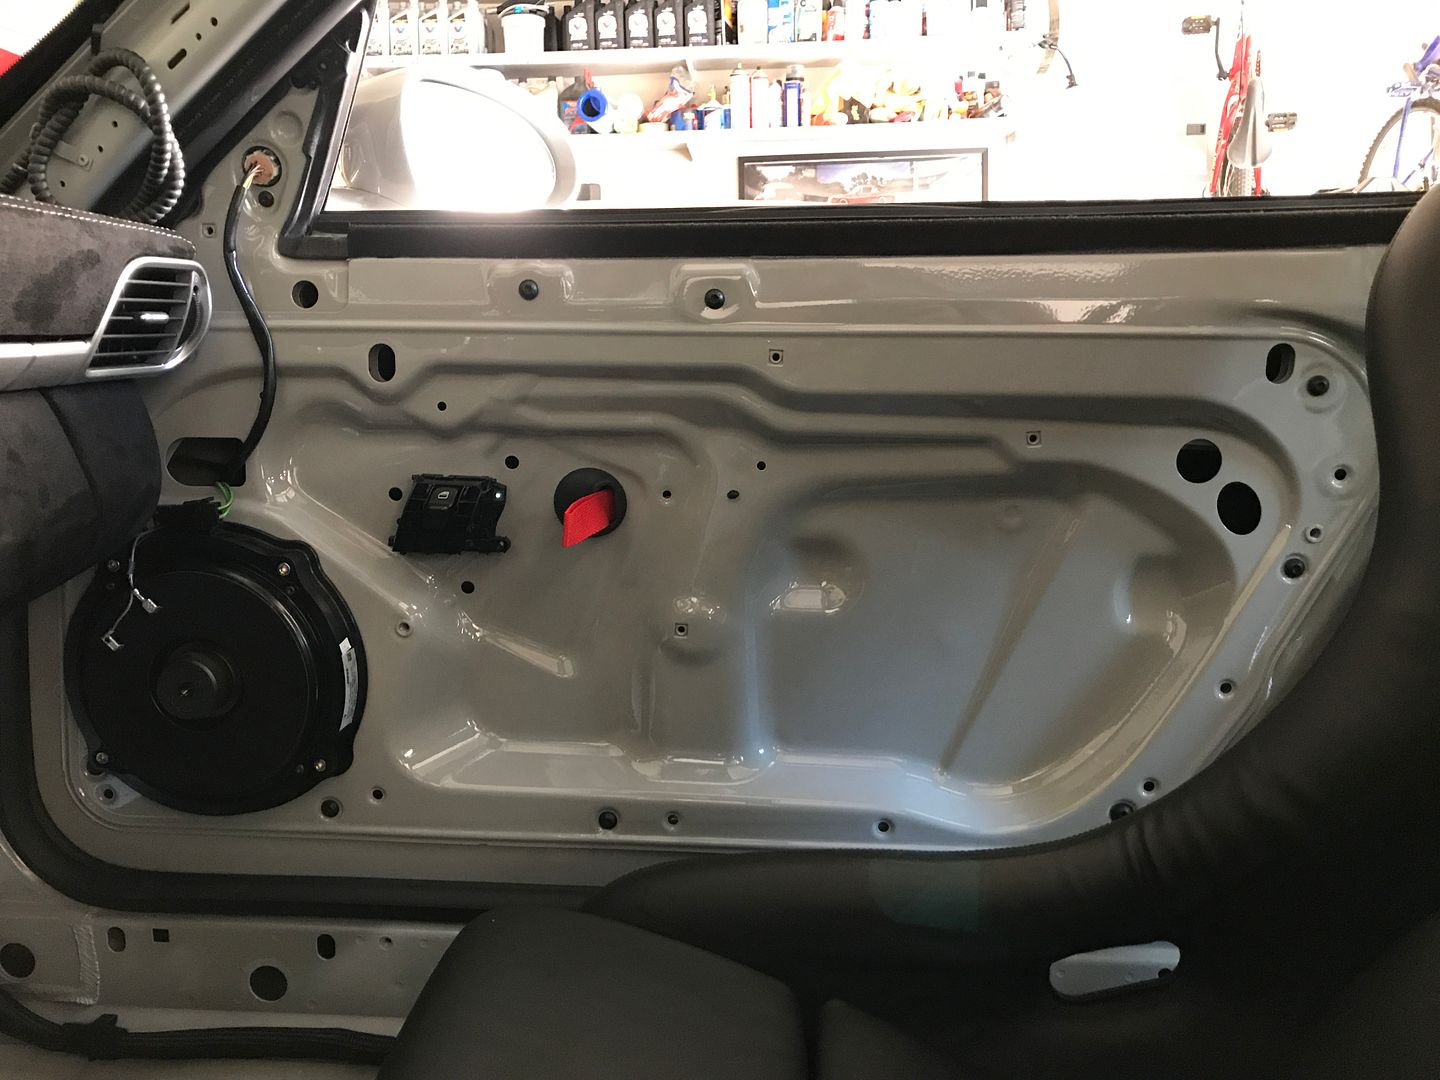
Bose speakers installed in normal spot. Only thing missing are some pulls to shut the doors which have been ordered. I think they turned out pretty clean, especially for the cost.
[img ]http://i35.photobucket.com/albums/d151/c_hundley86/997/11F48E99-33E5-4D12-ABA8-47034ED615F7_zpsngjlnags.jpg[/img]
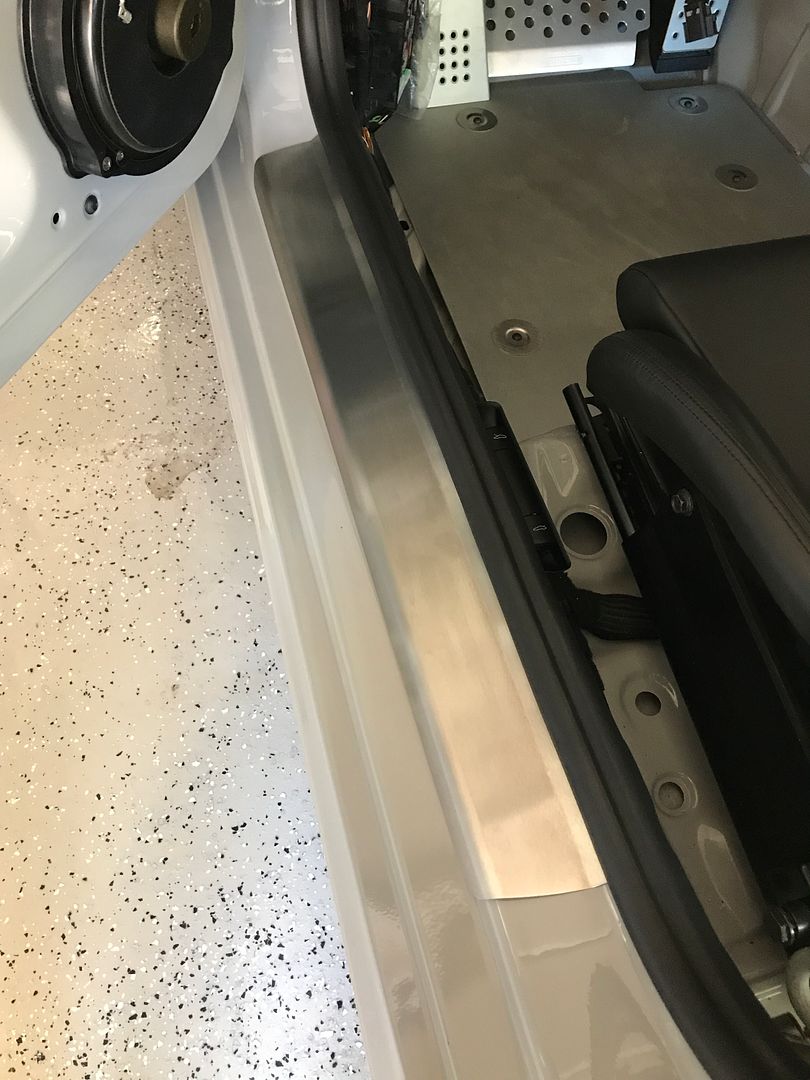
Rennline stainless door sills installed
Frunk and deck lid switch installed, the inner door sill it was mounted to was ditched.

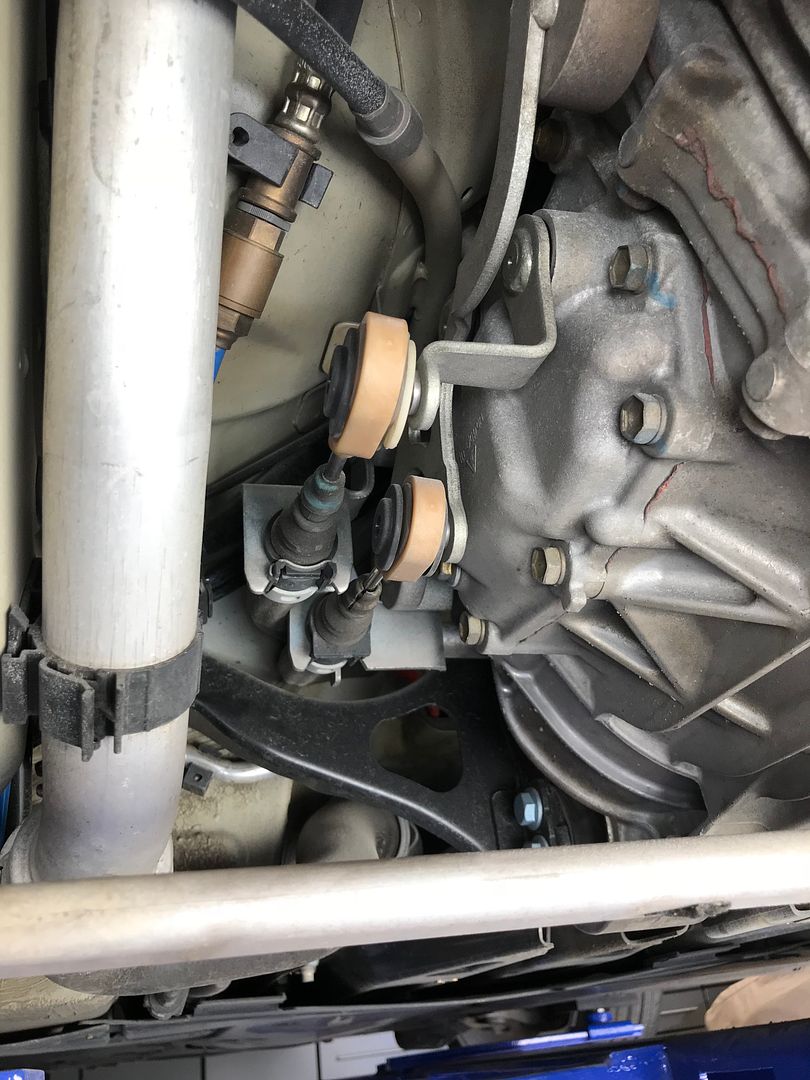
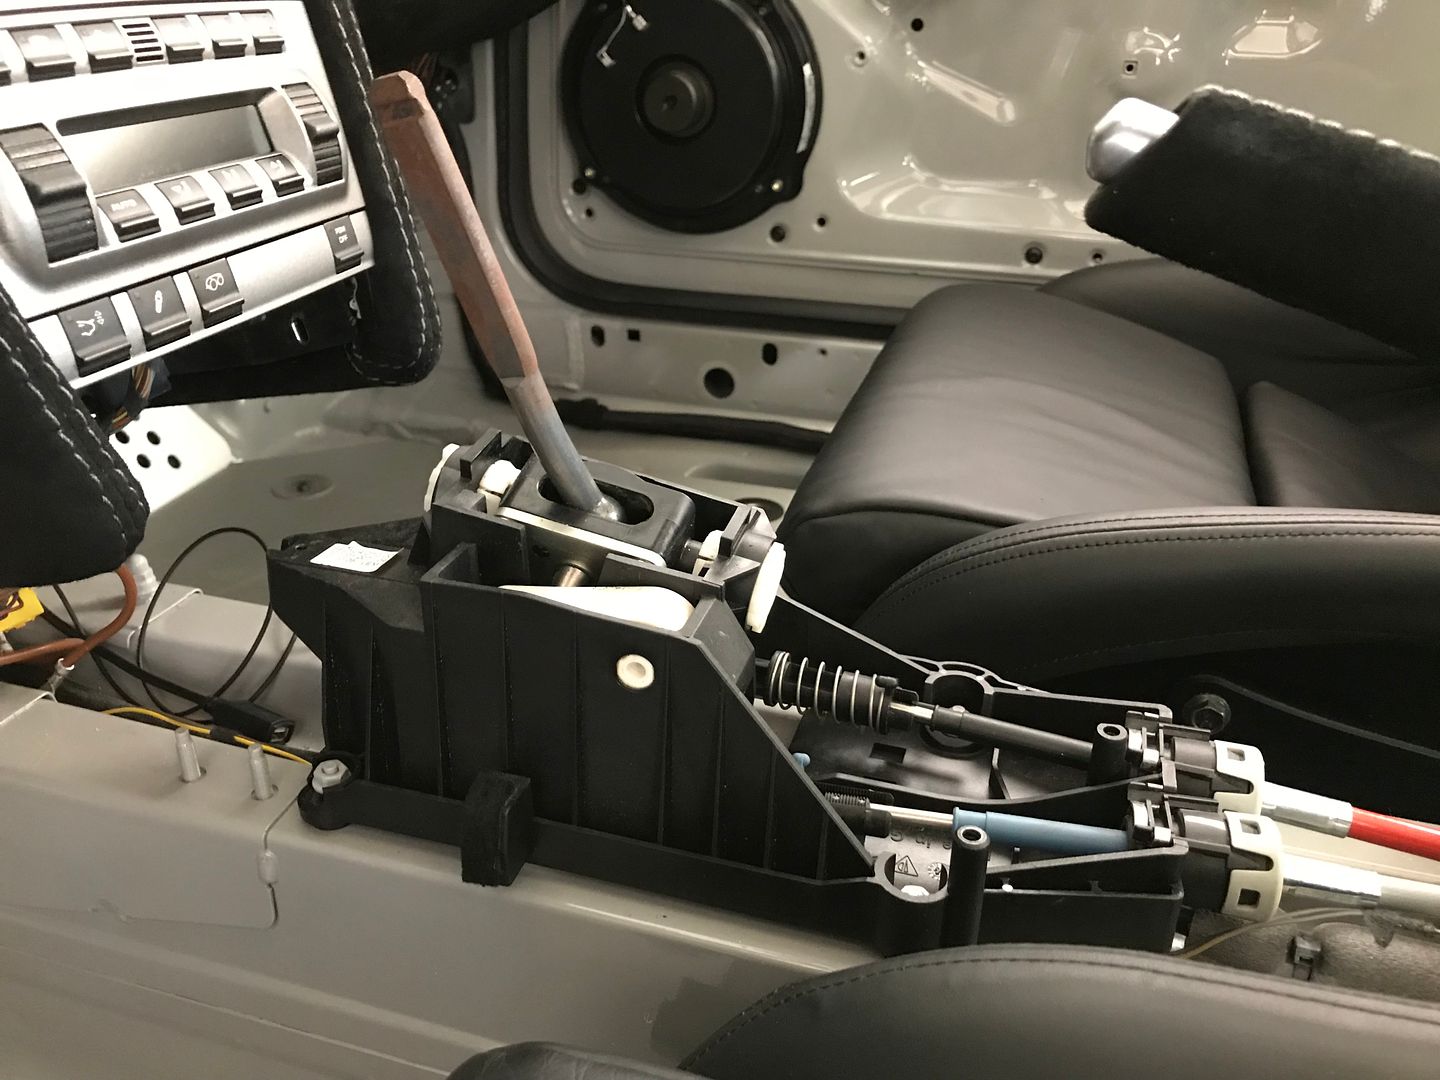
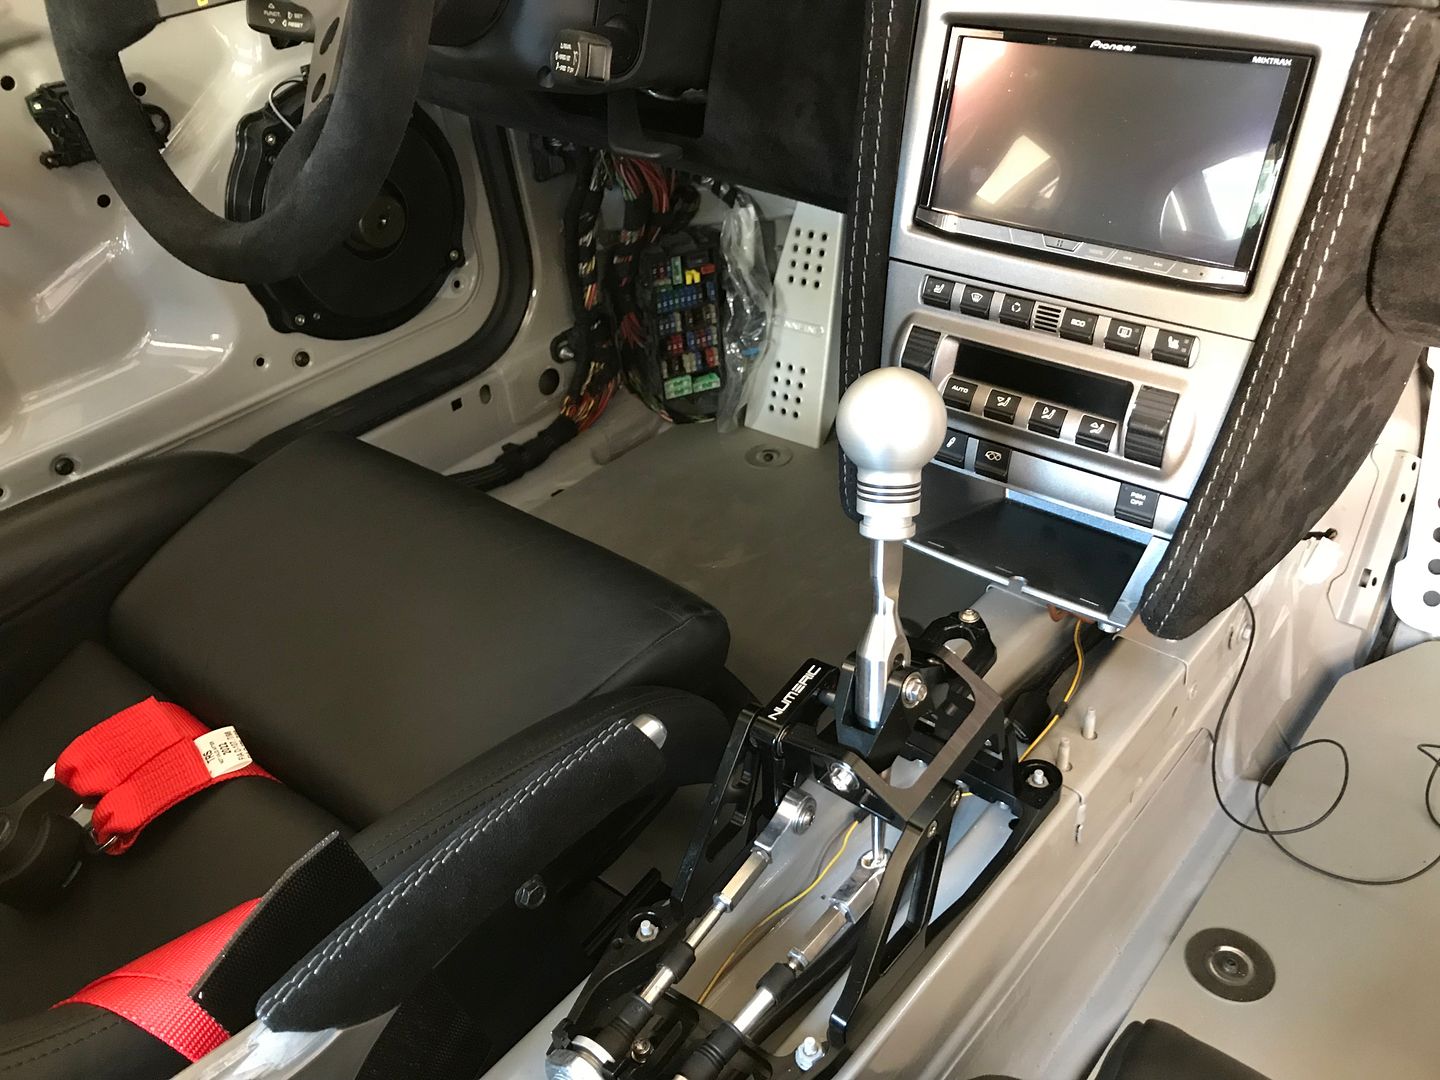
Next was the Numeric shifter and cables.
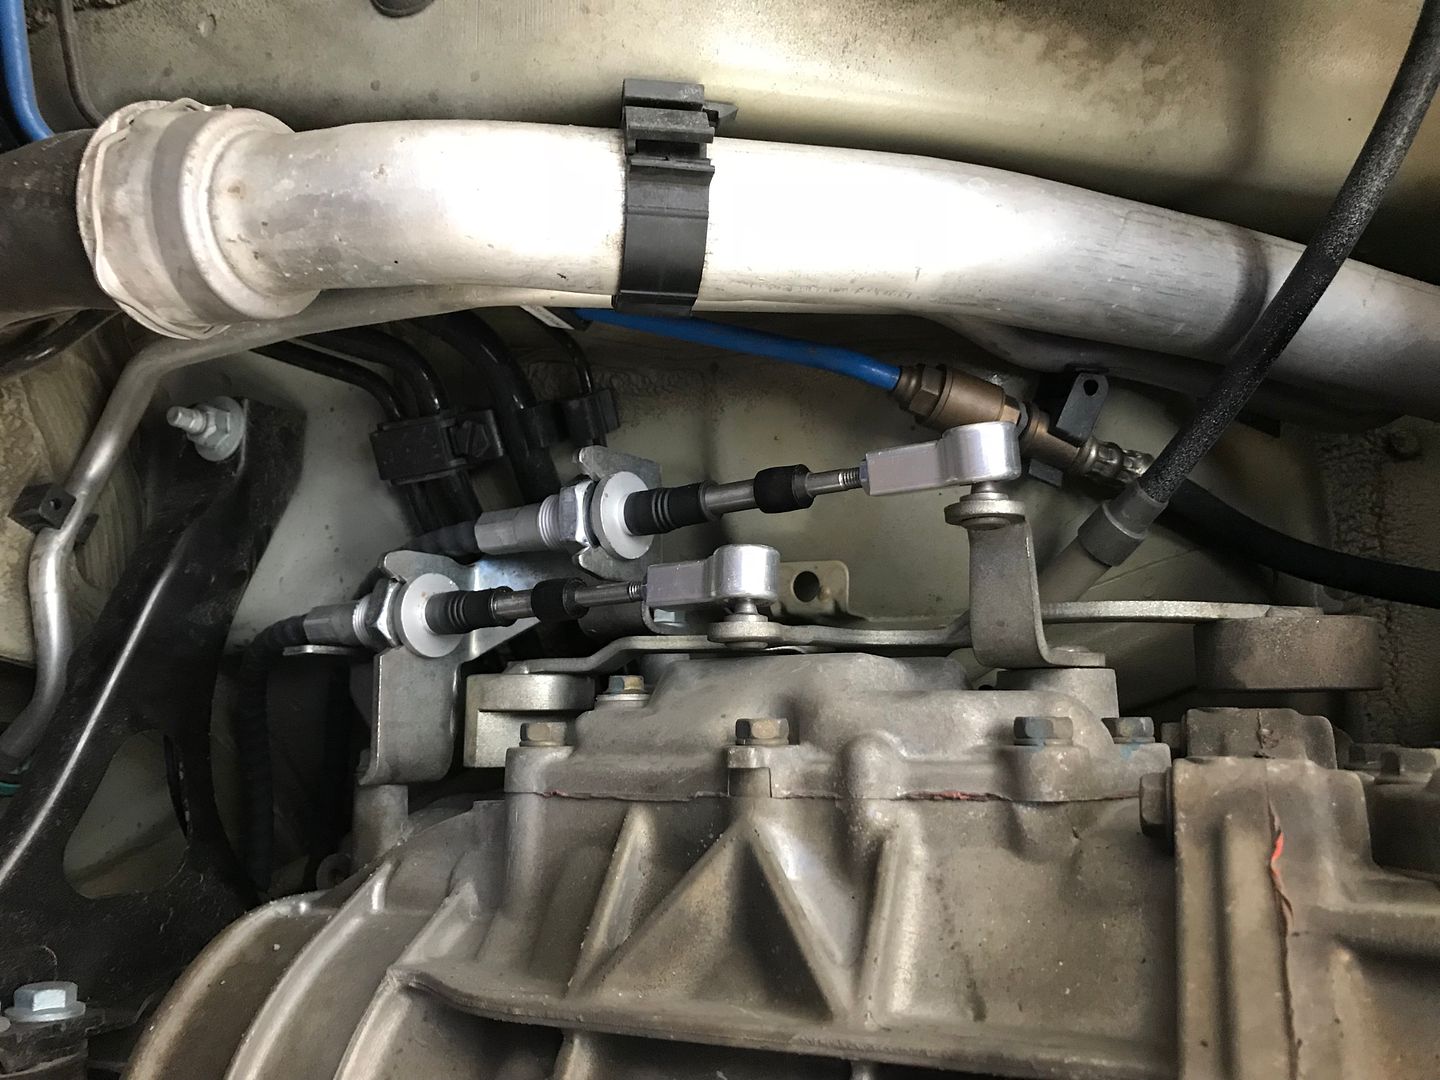
Old cables at transmission
stock shifter
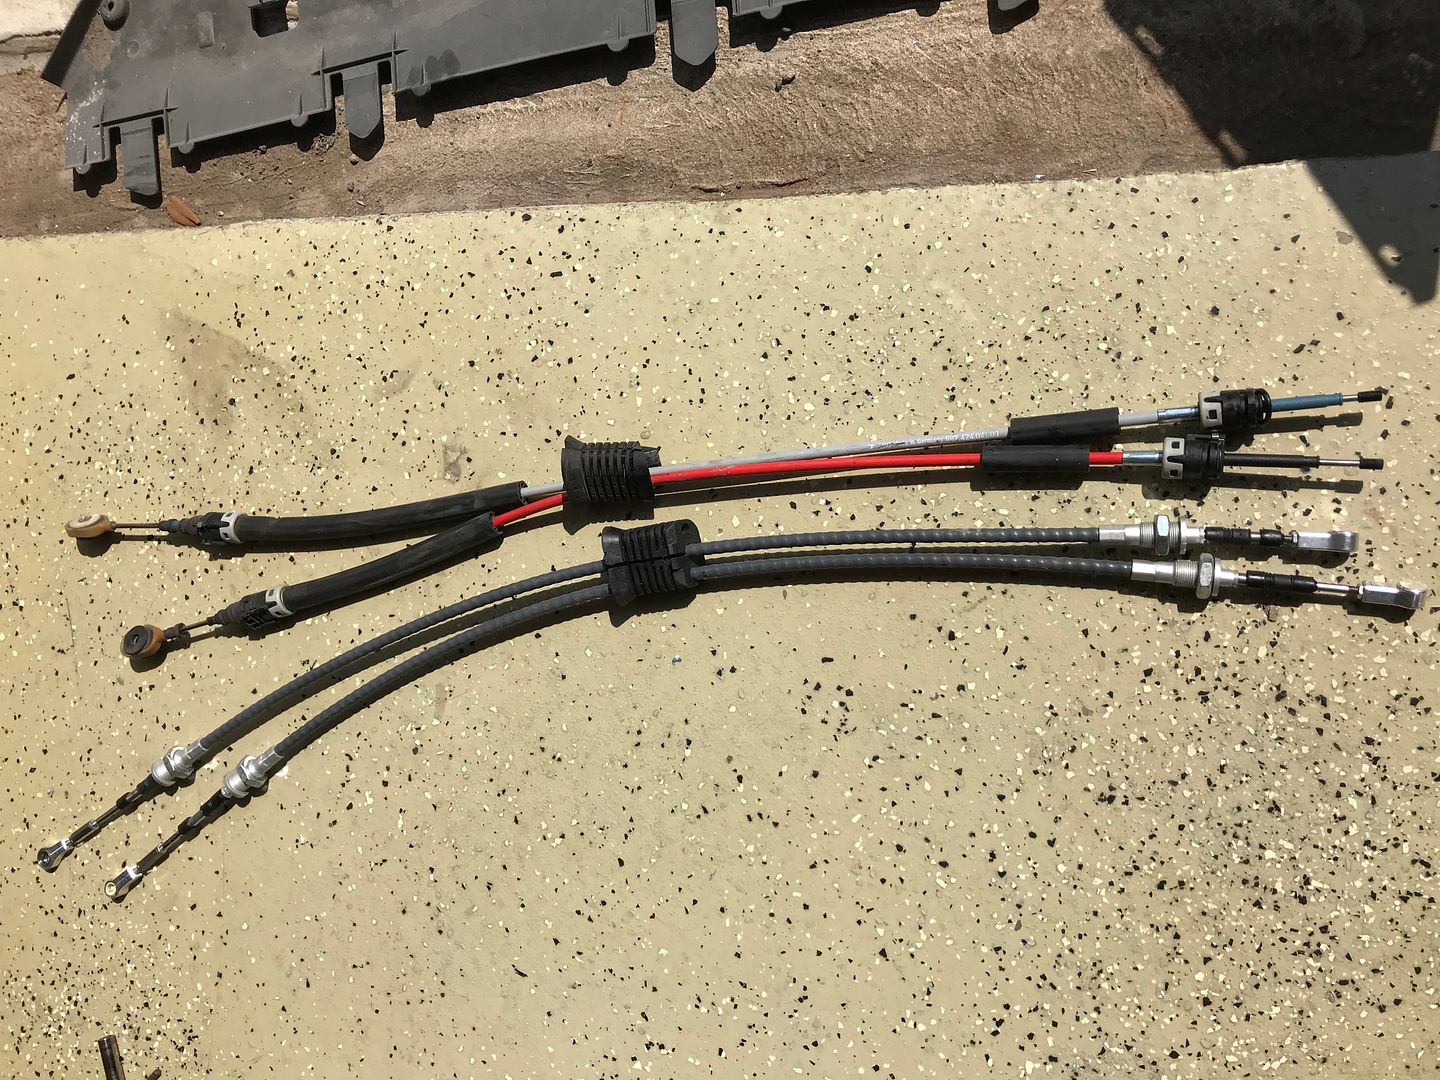
Old cables pulled, next to new/used cables
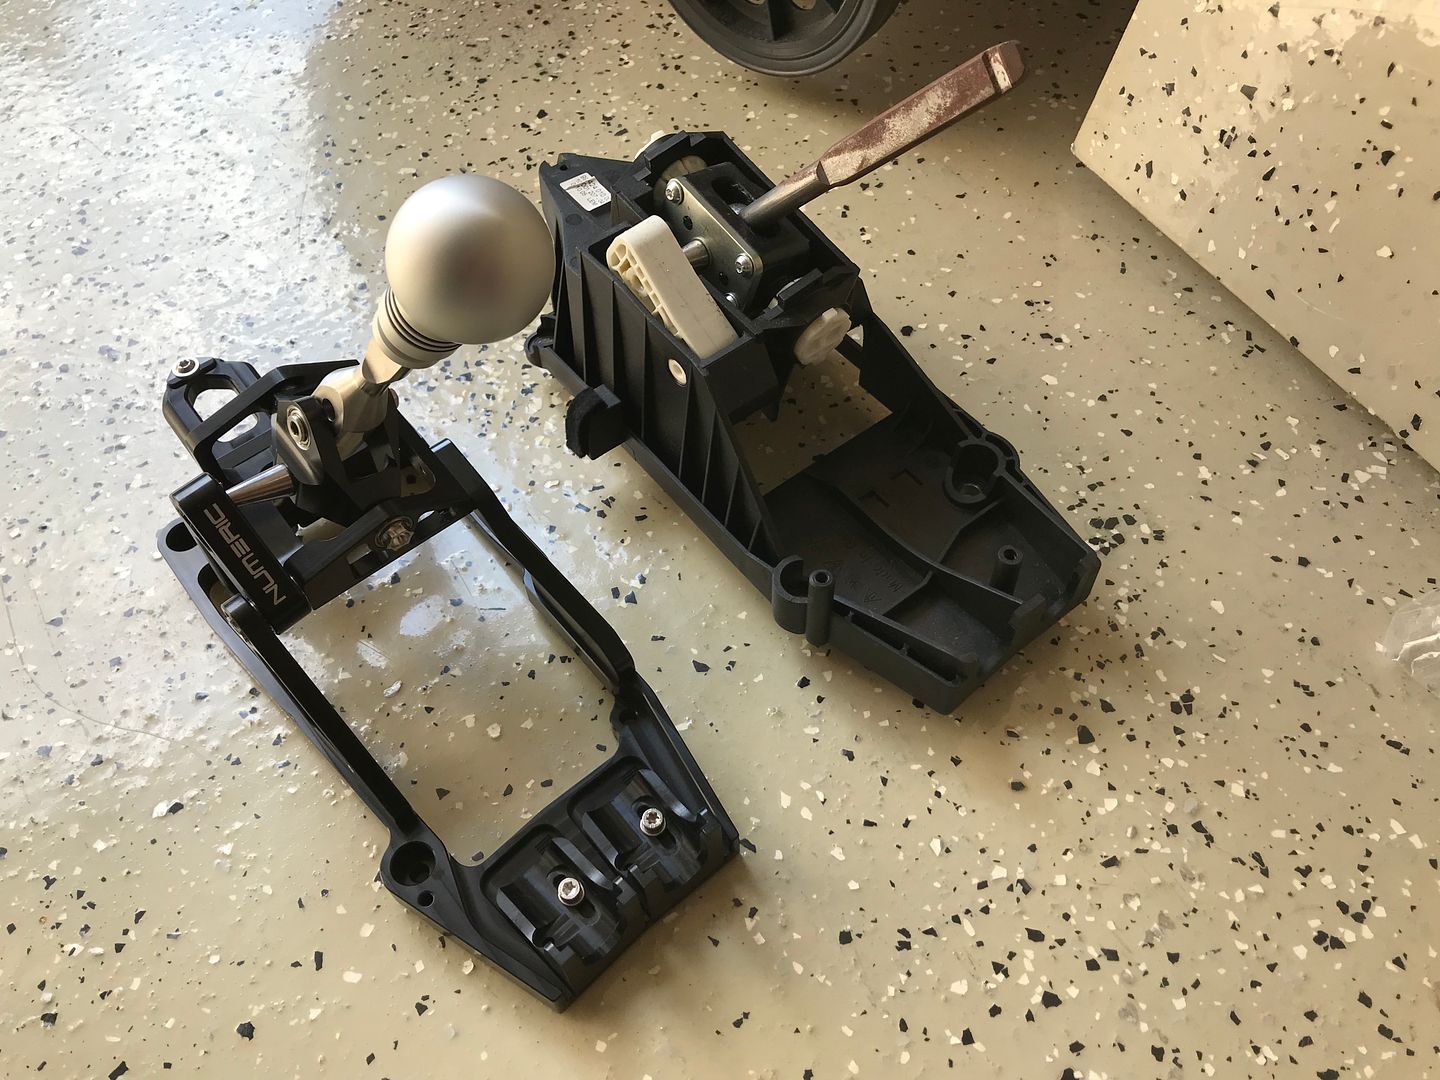
New/old shifter
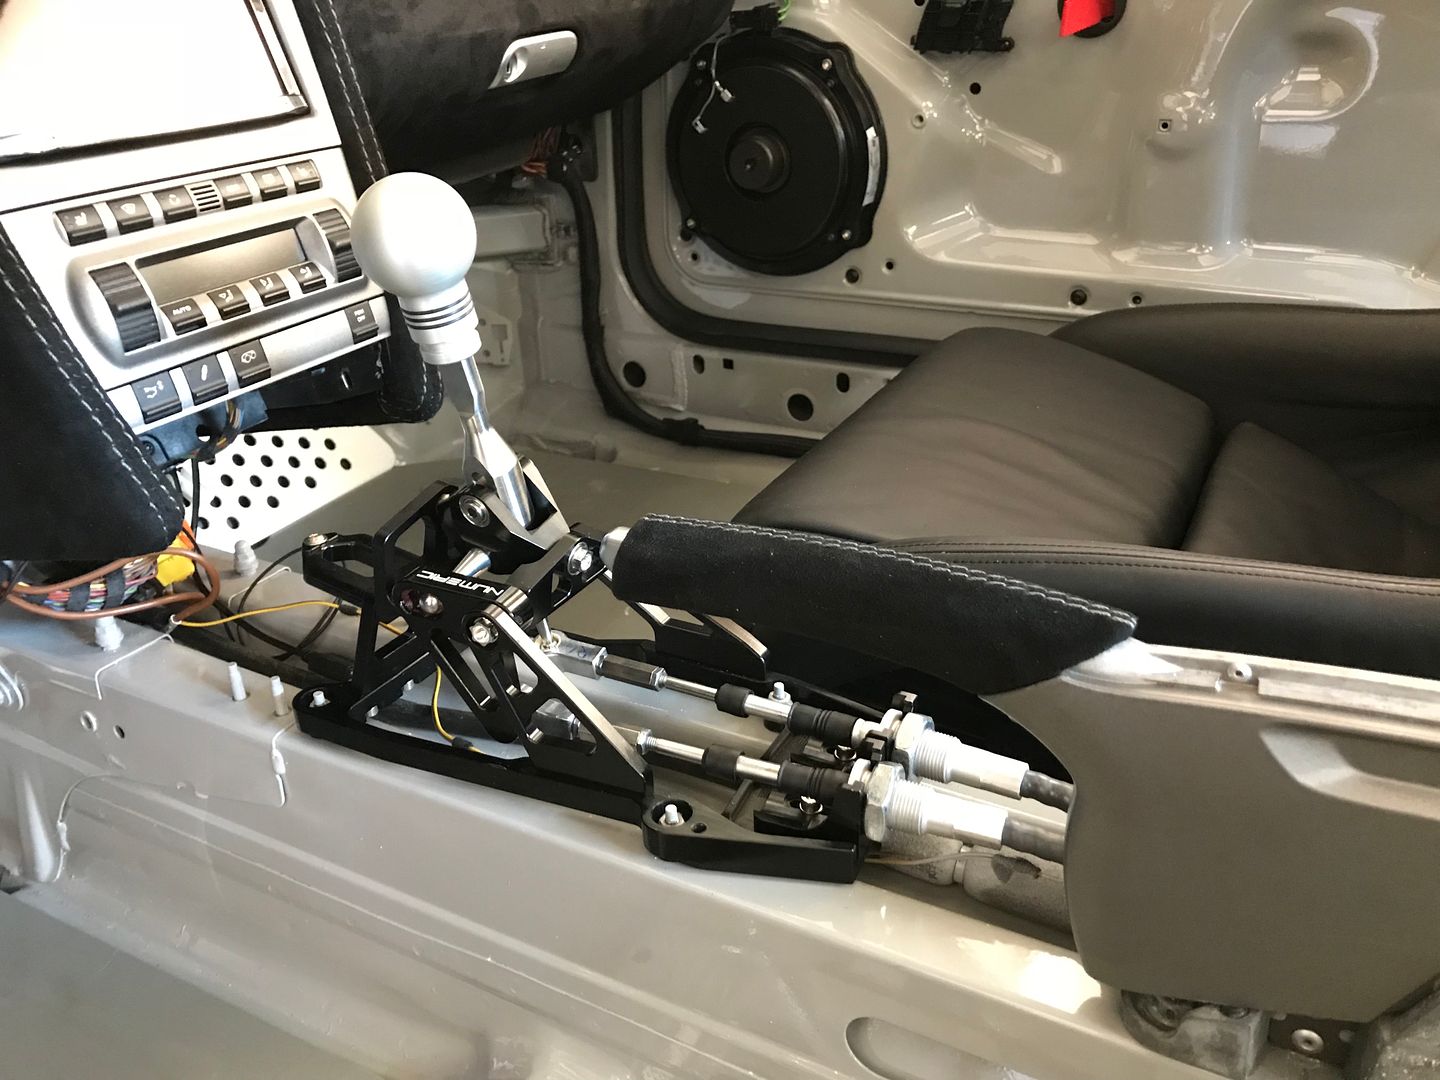
New stuff installed
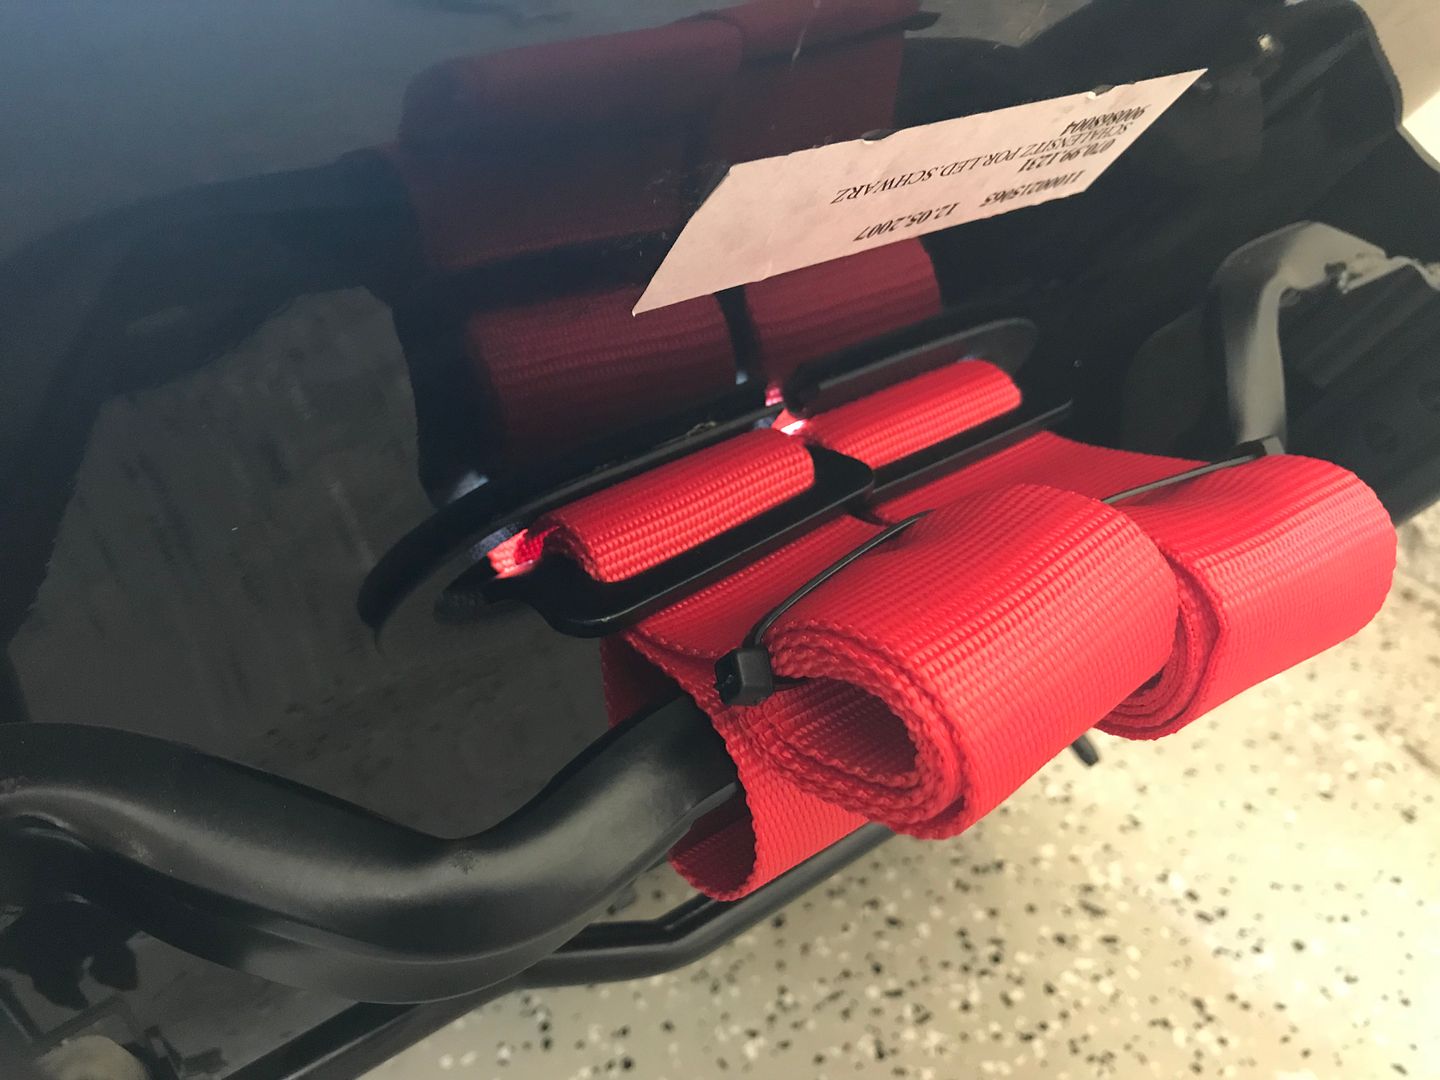
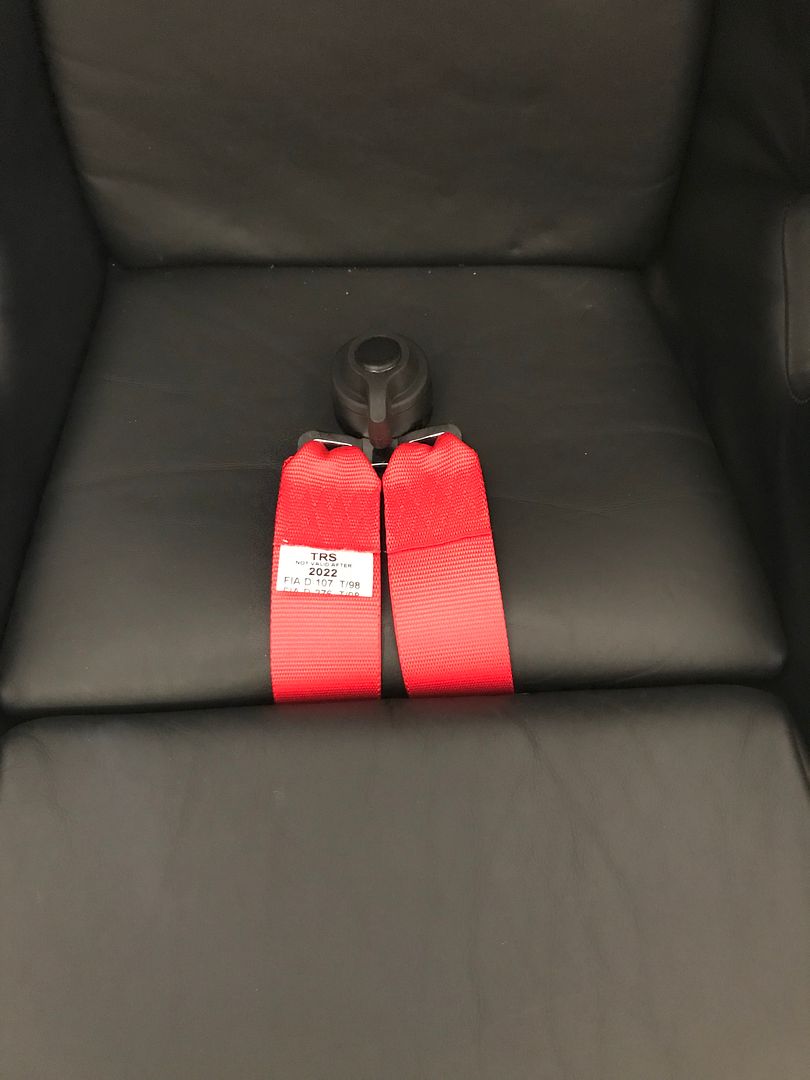
Then started on mounting the seat and seat belts for good.
Sub belts installed, need some hardware to finish the rest.
Little helper
Alleykats2k came over and tig weld everything up on the exhaust
Well, almost everything. He took it with him to finish up and have sand blasted. It should be done this week.
Finished the AC. This has prevented me from putting the front end on and I had a leak I was chasing, turned out to be in the fill gauge lines :
Fixed that and got a decent vacuum on it.Then put the fenders on
And headlight brackets
Fuel door on, found I was missing the actuator and ordered one
Headlights on and air ducts for the radiators
Waiting on some new bulbs for the bumper lights, but had to mock up the front bumper
Got a radio installed
For the door cards, doing something a little different. There is no RS or lightweight interior door card. Cup cars have carbon fiber doors with manual windows and door locks.
I had the interior panels painted and bought red pulls and trim from early RS cars
The door latch cable end was pinched to the pull eyelet
The hole for the pull was laid out and opened marked
1/2" holes drilled
Sides cut, opening filed to fit the trim piece. Screws installed
Otherside
The cable was secured to the door panel with a ziptie
The power window switch was installed with a ziptie.
Switch drilled and slotted for the ziptie
Hole drilled and slotted in the door panel
Installed
Bose speakers installed in normal spot. Only thing missing are some pulls to shut the doors which have been ordered. I think they turned out pretty clean, especially for the cost.
[img ]http://i35.photobucket.com/albums/d151/c_hundley86/997/11F48E99-33E5-4D12-ABA8-47034ED615F7_zpsngjlnags.jpg[/img]
Rennline stainless door sills installed
Frunk and deck lid switch installed, the inner door sill it was mounted to was ditched.
Next was the Numeric shifter and cables.
Old cables at transmission
stock shifter
Old cables pulled, next to new/used cables
New/old shifter
New stuff installed
Then started on mounting the seat and seat belts for good.
Sub belts installed, need some hardware to finish the rest.
Little helper
10-26-2017, 11:30 AM
#74
Race Director

Nice progress.
The only thing I don't get is the door panels. You have a full stereo, seemingly full interior sans carpet, and no apparent roll cage to interfere with the door panels...so it just seems kinda silly not to put the door panels back in. The plain doors, while cool for a fully stripped race car, seem a bit incongruent in this scenario.
I too found the door panels in my boxster too busy, so I was able to find a plain set with no speakers or airbags to streamline the interior and shave off 15+ lbs. There has to be some other option for you.