When you click on links to various merchants on this site and make a purchase, this can result in this site earning a commission. Affiliate programs and affiliations include, but are not limited to, the eBay Partner Network.
Ok gonna give this a shot, using the Pioneer AVH-2300NEX instead of the Sony, but otherwise emulating this DIY almost exactly, I might just print my own decals to cover the Pioneer logo. Thank you!!.
Finally got it all together, was a bit of a challenge figuring out how to get the bezel locked in to the front Porsche plate frame. Overall happy with the end results.
Parts list:
Amazon sourced
Radio itself - sourced from anywhere. I had an unused Pioneer AVH-2300NEX double din unit I got for around 200$ but the replacement model the AVH-2330NEX is just as good and can be had for around 250$
- Amazon Prime (if you are ultra lazy and don't want to hunt for a deal)
All the instructions were pretty easy and the hardest part is rerouting wiring for the environment controls to the lower part of the center console. Beyond, that pulling the dash apart was a bit of a ? but if you go slow and easy and look up how others took things apart it all comes together pretty easily.
Thanks to the original poster for the setup and initial parts list to start with.
Finally got it all together, was a bit of a challenge figuring out how to get the bezel locked in to the front Porsche plate frame. Overall happy with the end results.
Parts list:
Amazon sourced
Metra 999605B Din/Ddin In-Dash mounting kit - this worked out in the end but the way in which the radio fits to the bezel was a bit challenging so that it would stay without wobbling.
Radio itself - sourced from anywhere. I had an unused Pioneer AVH-2300NEX double din unit I got for around 200$ but the replacement model the AVH-2330NEX is just as good and can be had for around 250$
Pioneer AVH-2330NEX - Amazon Prime (if you are ultra lazy and don't want to hunt for a deal)
All the instructions were pretty easy and the hardest part is rerouting wiring for the environment controls to the lower part of the center console. Beyond, that pulling the dash apart was a bit of a ? but if you go slow and easy and look up how others took things apart it all comes together pretty easily.
Thanks to the original poster for the setup and initial parts list to start with.
Amazon, not totally happy with it, thought it would be flatter fitting than it is. It would be nice to have the voltage display off at times. But I�m being picky, 😬.
i guess because the cig lighter is on all the time, it also means the volt display will stay on even with the car off. i agree even though there isn't much draw there, you would think there should be a go to sleep timer or something... hmm maybe try to find one that is shorter as well so it sits almost as high as the wiper speed ****... make it more uniform (my ocd)
looks like the one you have is already pretty short compared to the other ones on amazon.
I saw quite a few modules to replace the lighter altogether, which were almost flush. I'm with you on the OCD. If you find something let us know, I'd jump as well!
Just to get some clarity here - I've recently installed the same head unit - all fine. However, this install guide, much like how I've done it, doesn't have the amp plugged in? Shouldn't the amp be running through this as well through the same setup?
I had an installer ,along with my observation, put my pioneer, and alpine amp in my car, as I’m not. Really knowledgeable about the hookup. But we retained the original Bose speakers and wiring, as the alpine was ok for the type of hookup that was needed.
Just to get some clarity here - I've recently installed the same head unit - all fine. However, this install guide, much like how I've done it, doesn't have the amp plugged in? Shouldn't the amp be running through this as well through the same setup?
I retained all the stock Bose stuff, speakers, sub, amp. It all works with a set up very similar to what the OP did in this write up.
Just to get some clarity here - I've recently installed the same head unit - all fine. However, this install guide, much like how I've done it, doesn't have the amp plugged in? Shouldn't the amp be running through this as well through the same setup?
Much the same as the doc, I used all the same stock Bose stuff, all running thru the MOST converter box (Seicane). Bose, sub, amps, and speakers.
I started "demolition" tonight on my double DIN Kenwood project. The previous single DIN install had two Sirius modules behind the lowest slot, and to remove the coax, antenna, etc. that the previous installer routed from top to bottom in the back of all four DIN slots, I want to remove the carpeted triangular-ish trim in the footwell area, close to and just below the lowest DIN slot. any guidance as to how to pop those carpeted trim pieces off? Hoping to avoid too much breakage during this project.
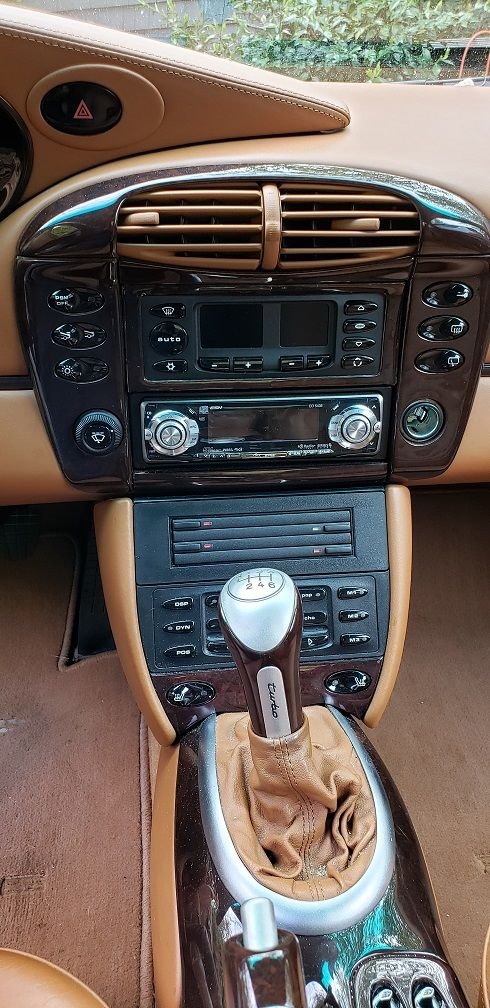
Starting point. 15yo single DIN head unit in slot #2 (from top)
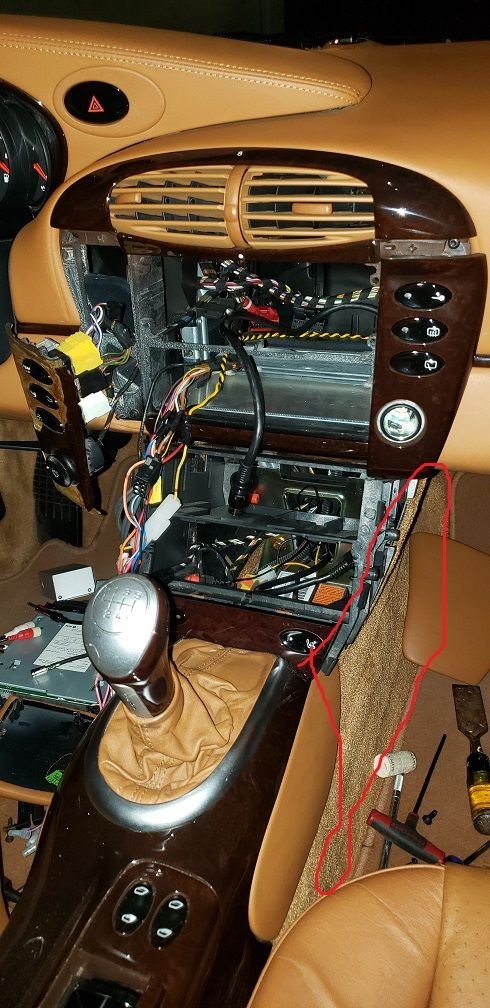
Most of the way done with demolition
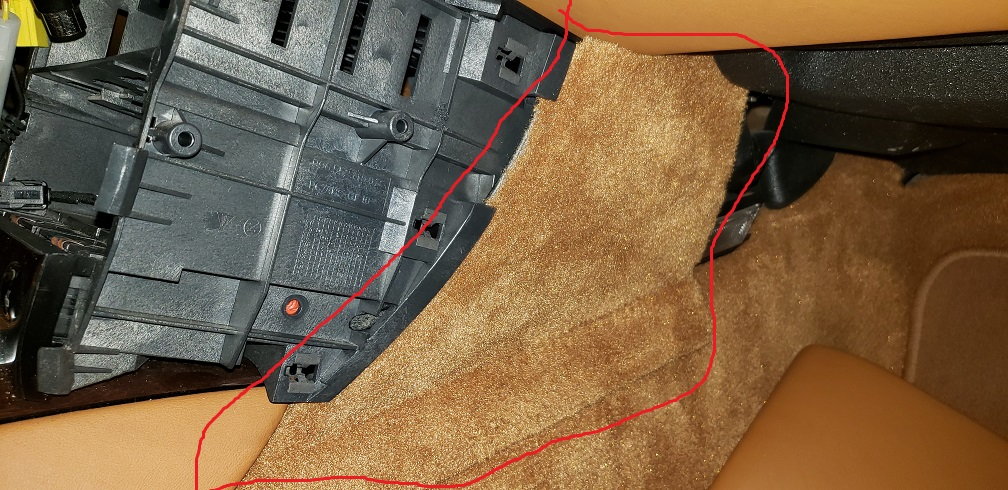
How to remove the carpeted trim piece circled in red?
Making progress on my Kenwood double DIN install. I got the AC unit relocated to the bottom DIN slot, and will put the DSP unit behind there, possibly wrapped in foam to protect it and prevent any rattles. New Kenwood wired up but not yet powered up for initial functional test before install.
A couple questions:
There is a mystery cable I don't remember disconnecting, but initial disassembly was a few weeks ago. See first pic below. Any help on what that is?
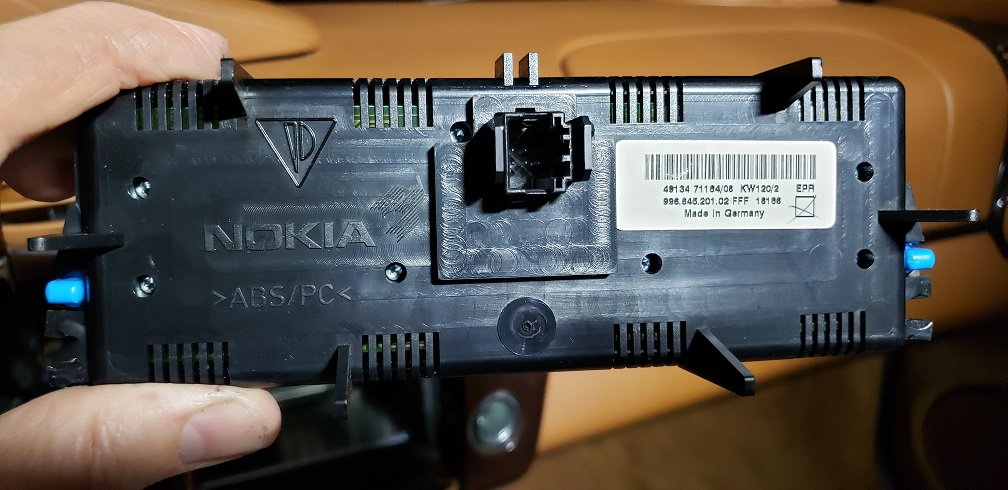
I believe my sound system is non-Bose / non-MOST. The factory options sheet specifies #680 Digital Sound Package and #696 CD Radio in Dash (which was subsequently replaced by a ~2005 Eclipse single-CD head unit). There is an amp in the front right side of the frunk. Does that all sound non-MOST? Car is 2001 996TT. I am planning to use existing amp, speakers, and wiring between them.
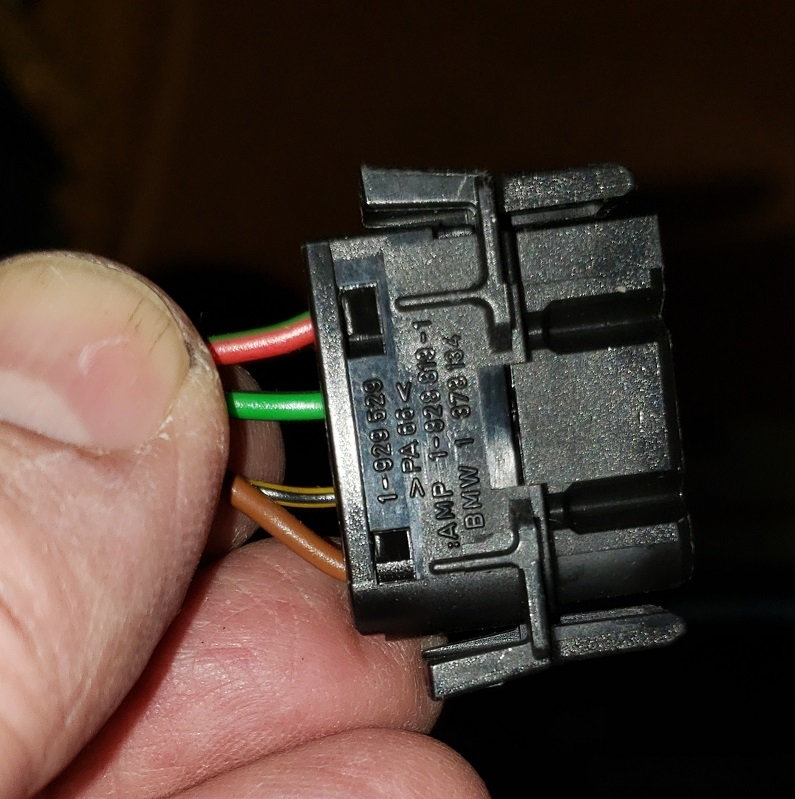
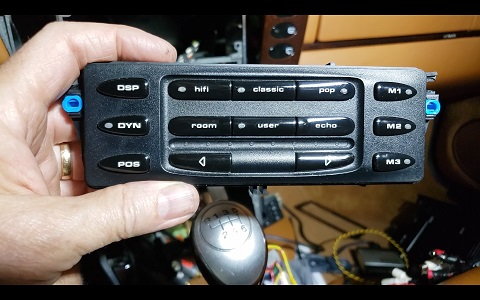
Any tips on how to disconnect the various buttons/switches on either side of upper two DIN slots? No need to disconnect them yet, but that time might come. I pulled a bit on them, and looked at them, but wasn't obvious how to disconnect.
 01-25-2020, 01:16 PM