When you click on links to various merchants on this site and make a purchase, this can result in this site earning a commission. Affiliate programs and affiliations include, but are not limited to, the eBay Partner Network.
Good to know, Marv. It’s a hell of an ugly weld under there, at first glance I didn’t think it was factory.
I don't think mine is welded, but I will check. Maybe the casting split and it was welded and re-tapped as a fix? Can't imagine the carbon fiber holding up to that.
Okay. Pulled the leather up again and mine has no welds. It was either a machined part or cast with a set screw. I did not cut the tie wraps to expose everything like you did, but the set screw has no welding anywhere near it.
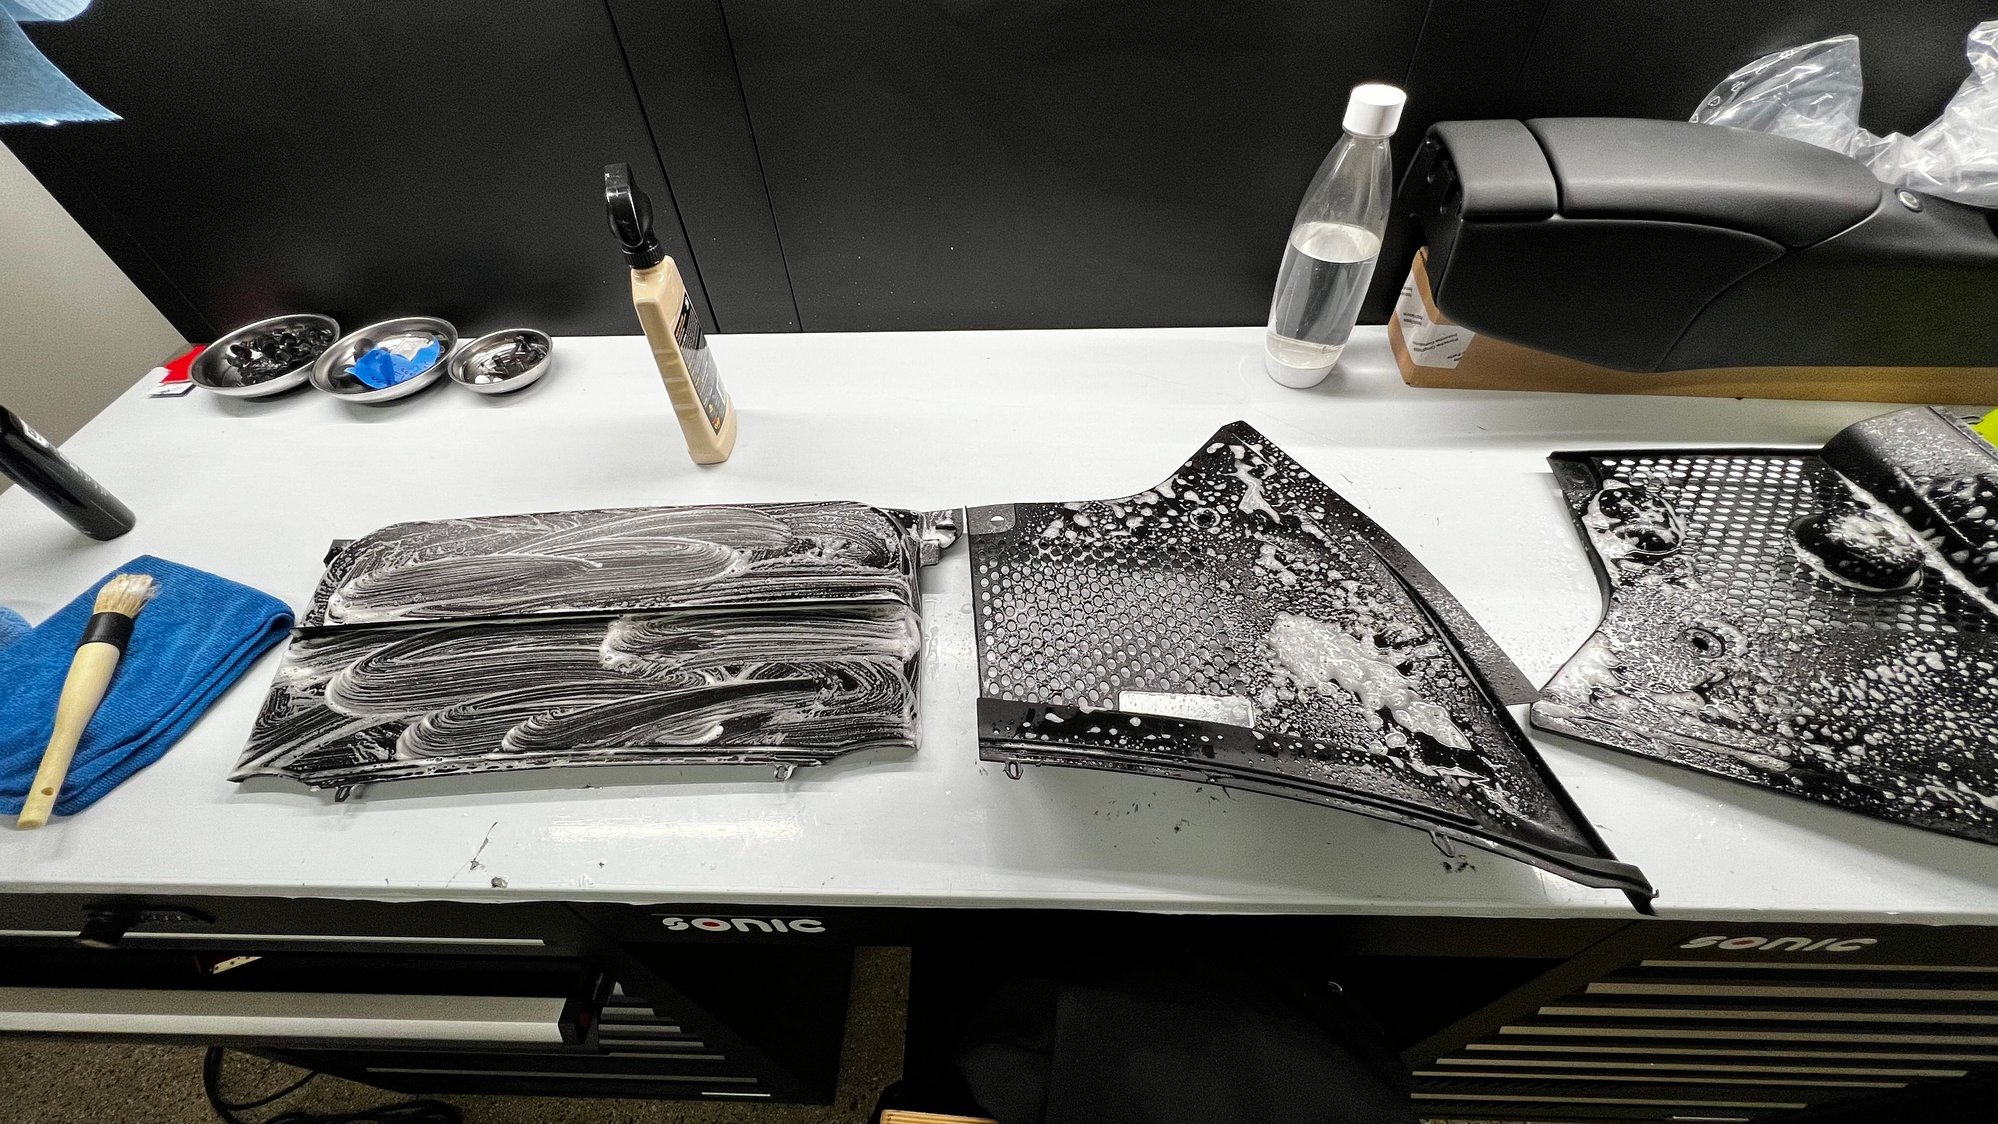
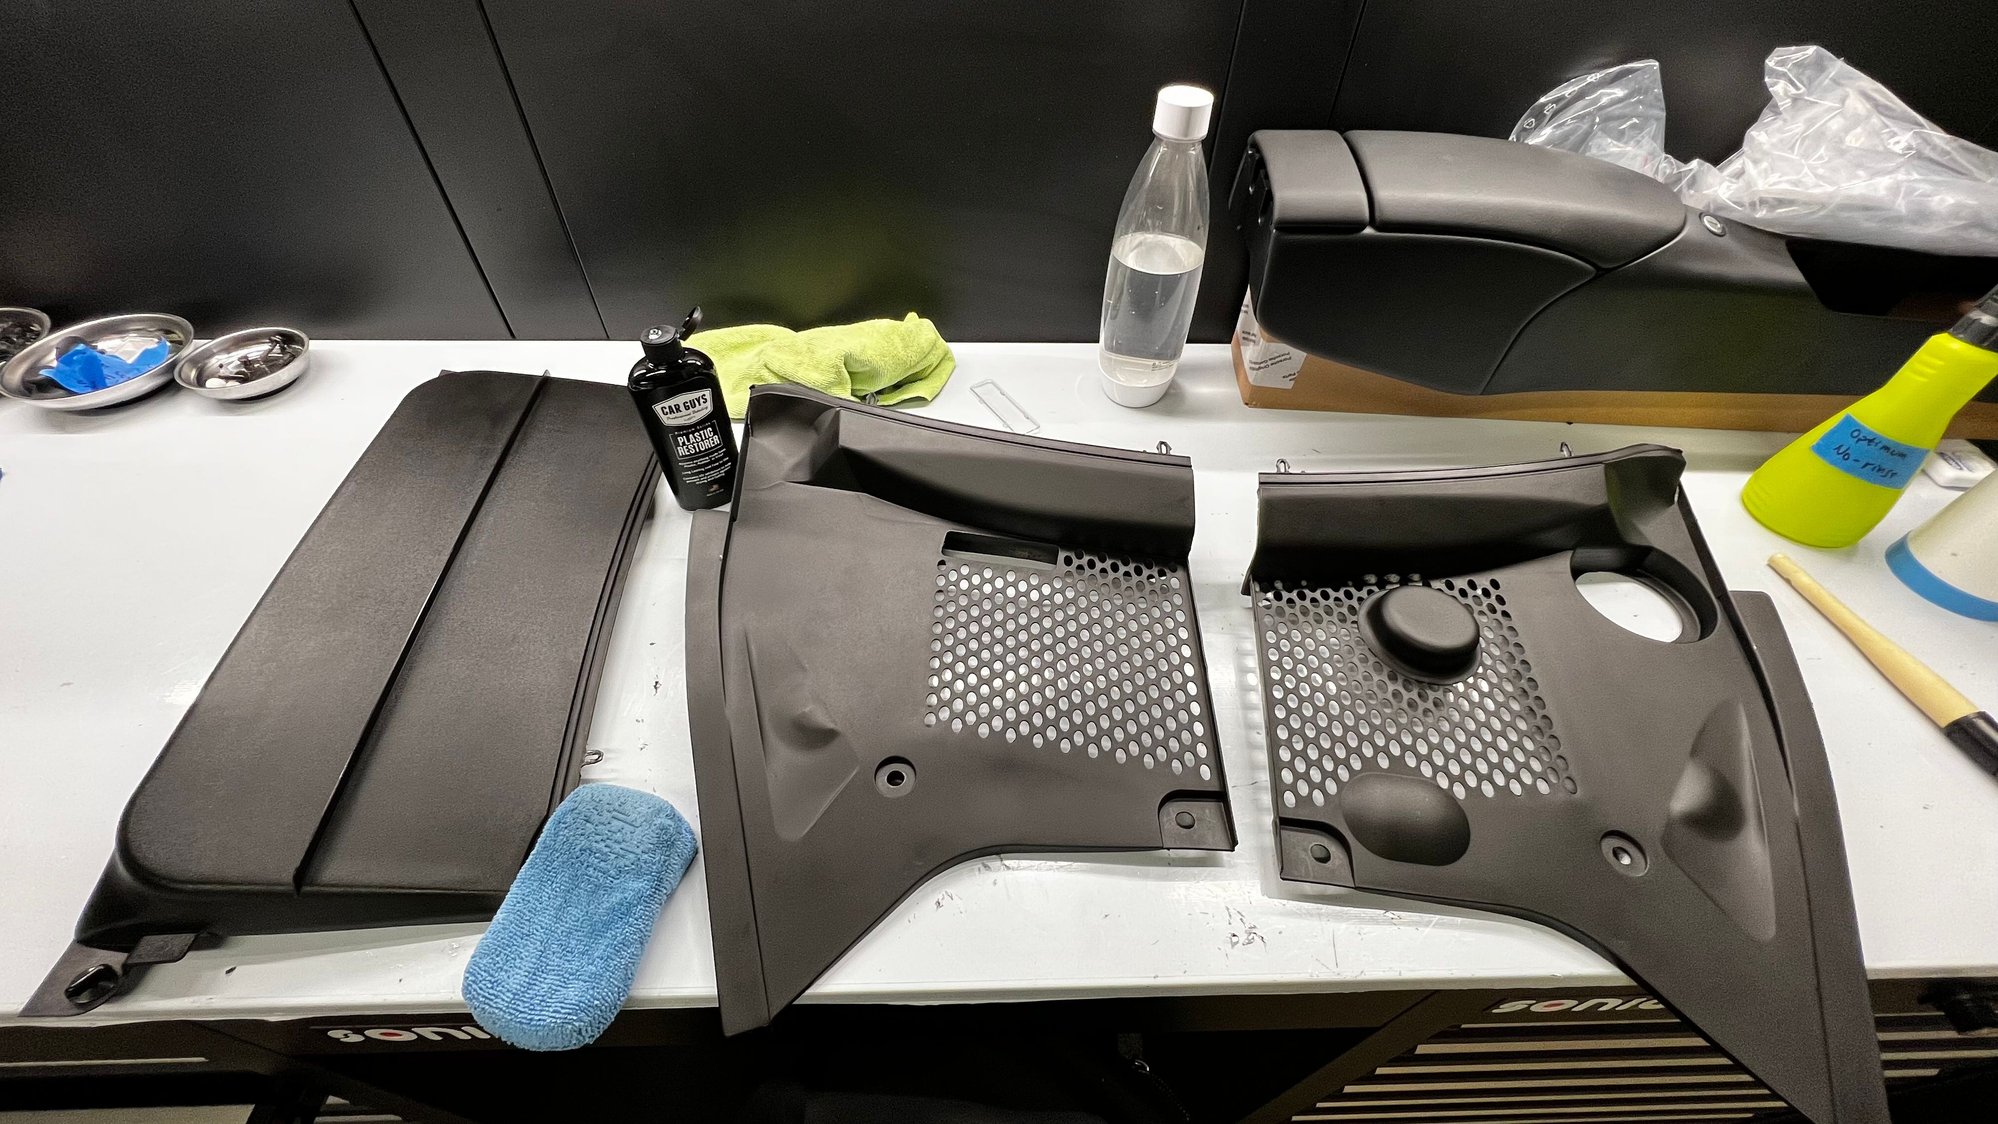
I took the afternoon to start reinstalling and cleaning interior panels. I also cleaned and treated the interior seals — honestly, everything has held up pretty well. While I was at it, I pulled the plastic front trunk panels, cleaned and restored them as well. The PPF guys are swinging by in the couple weeks, so I’ll leave the panels off until they are done installing paint protection film, then ceramic coat the panels when I do the rest of the car and reinstall.
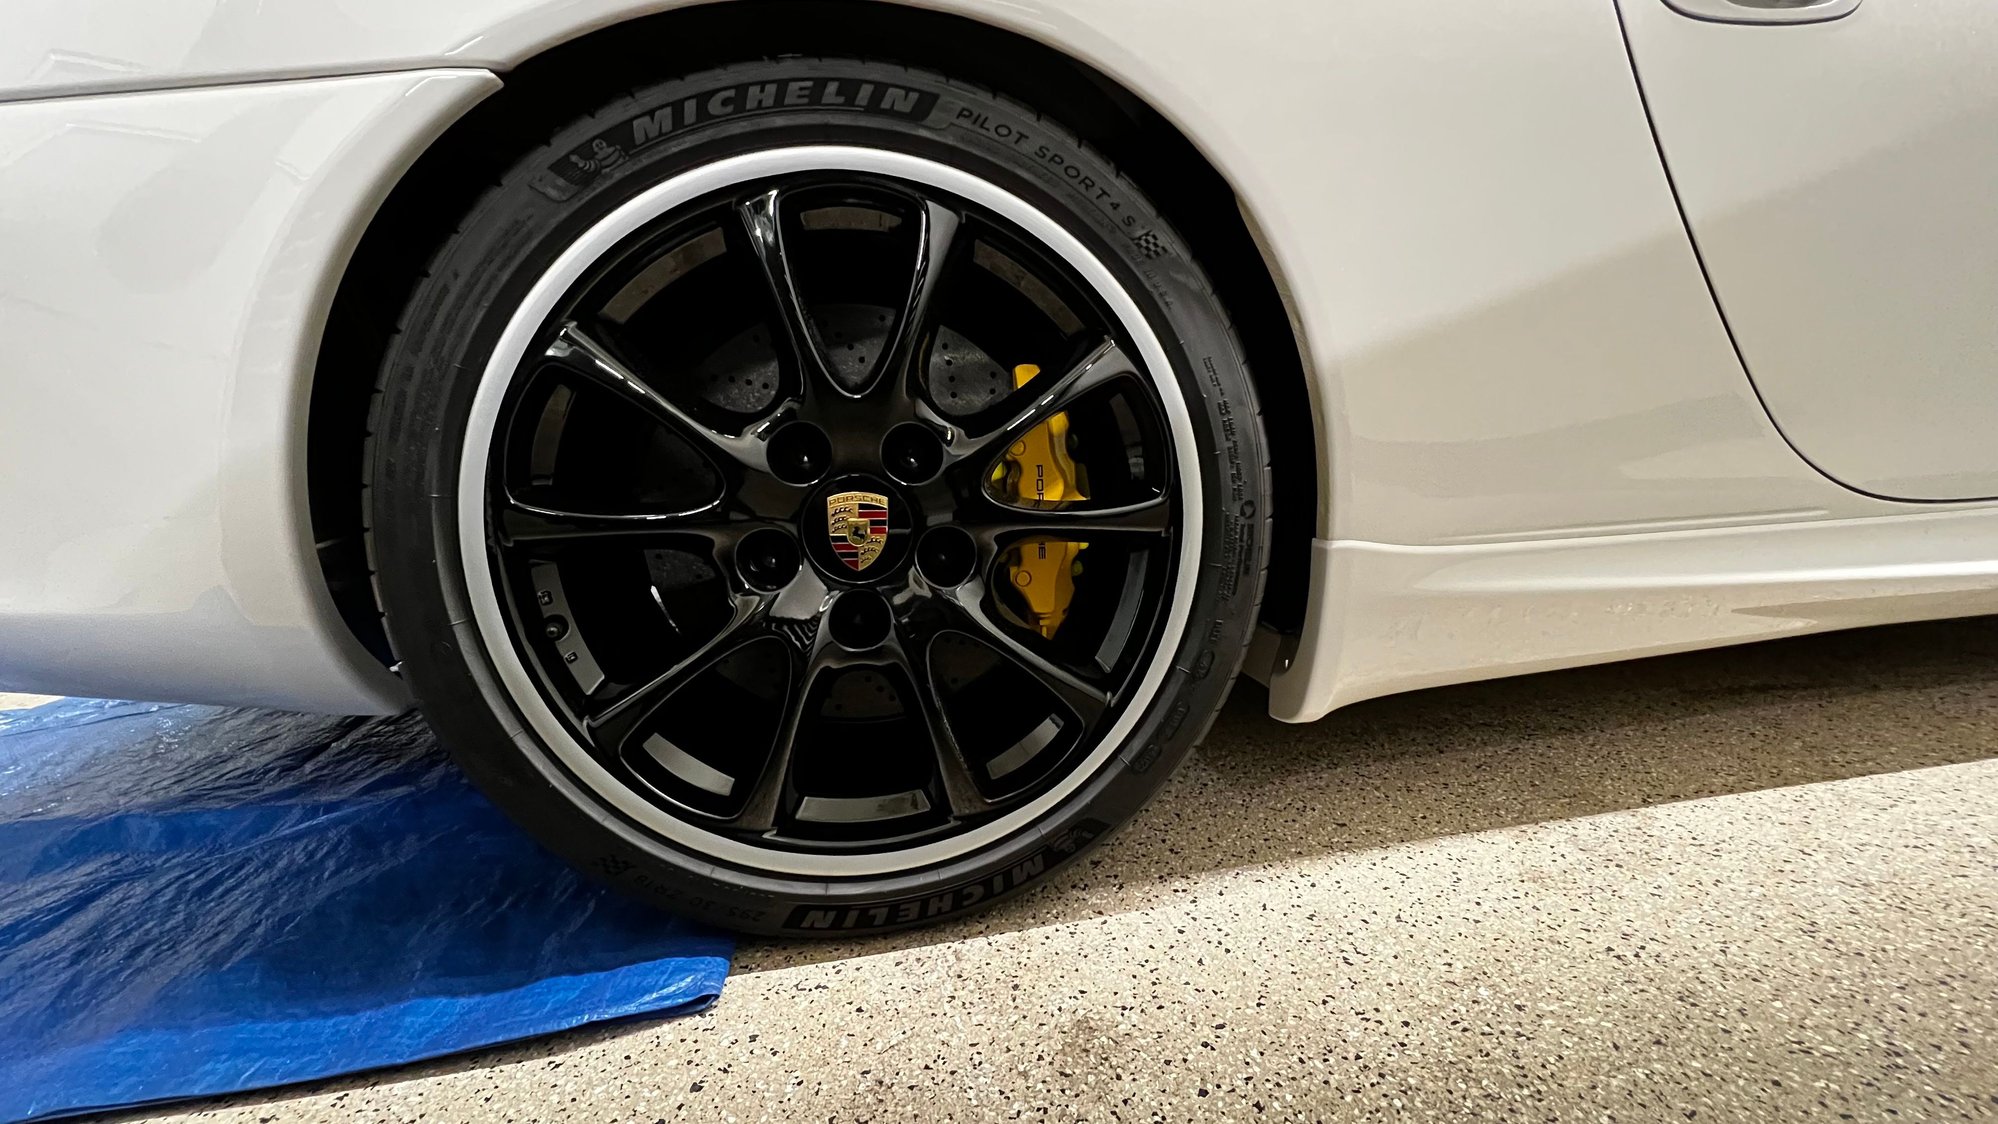
Installed black Porsche crest center caps to match the wheels.
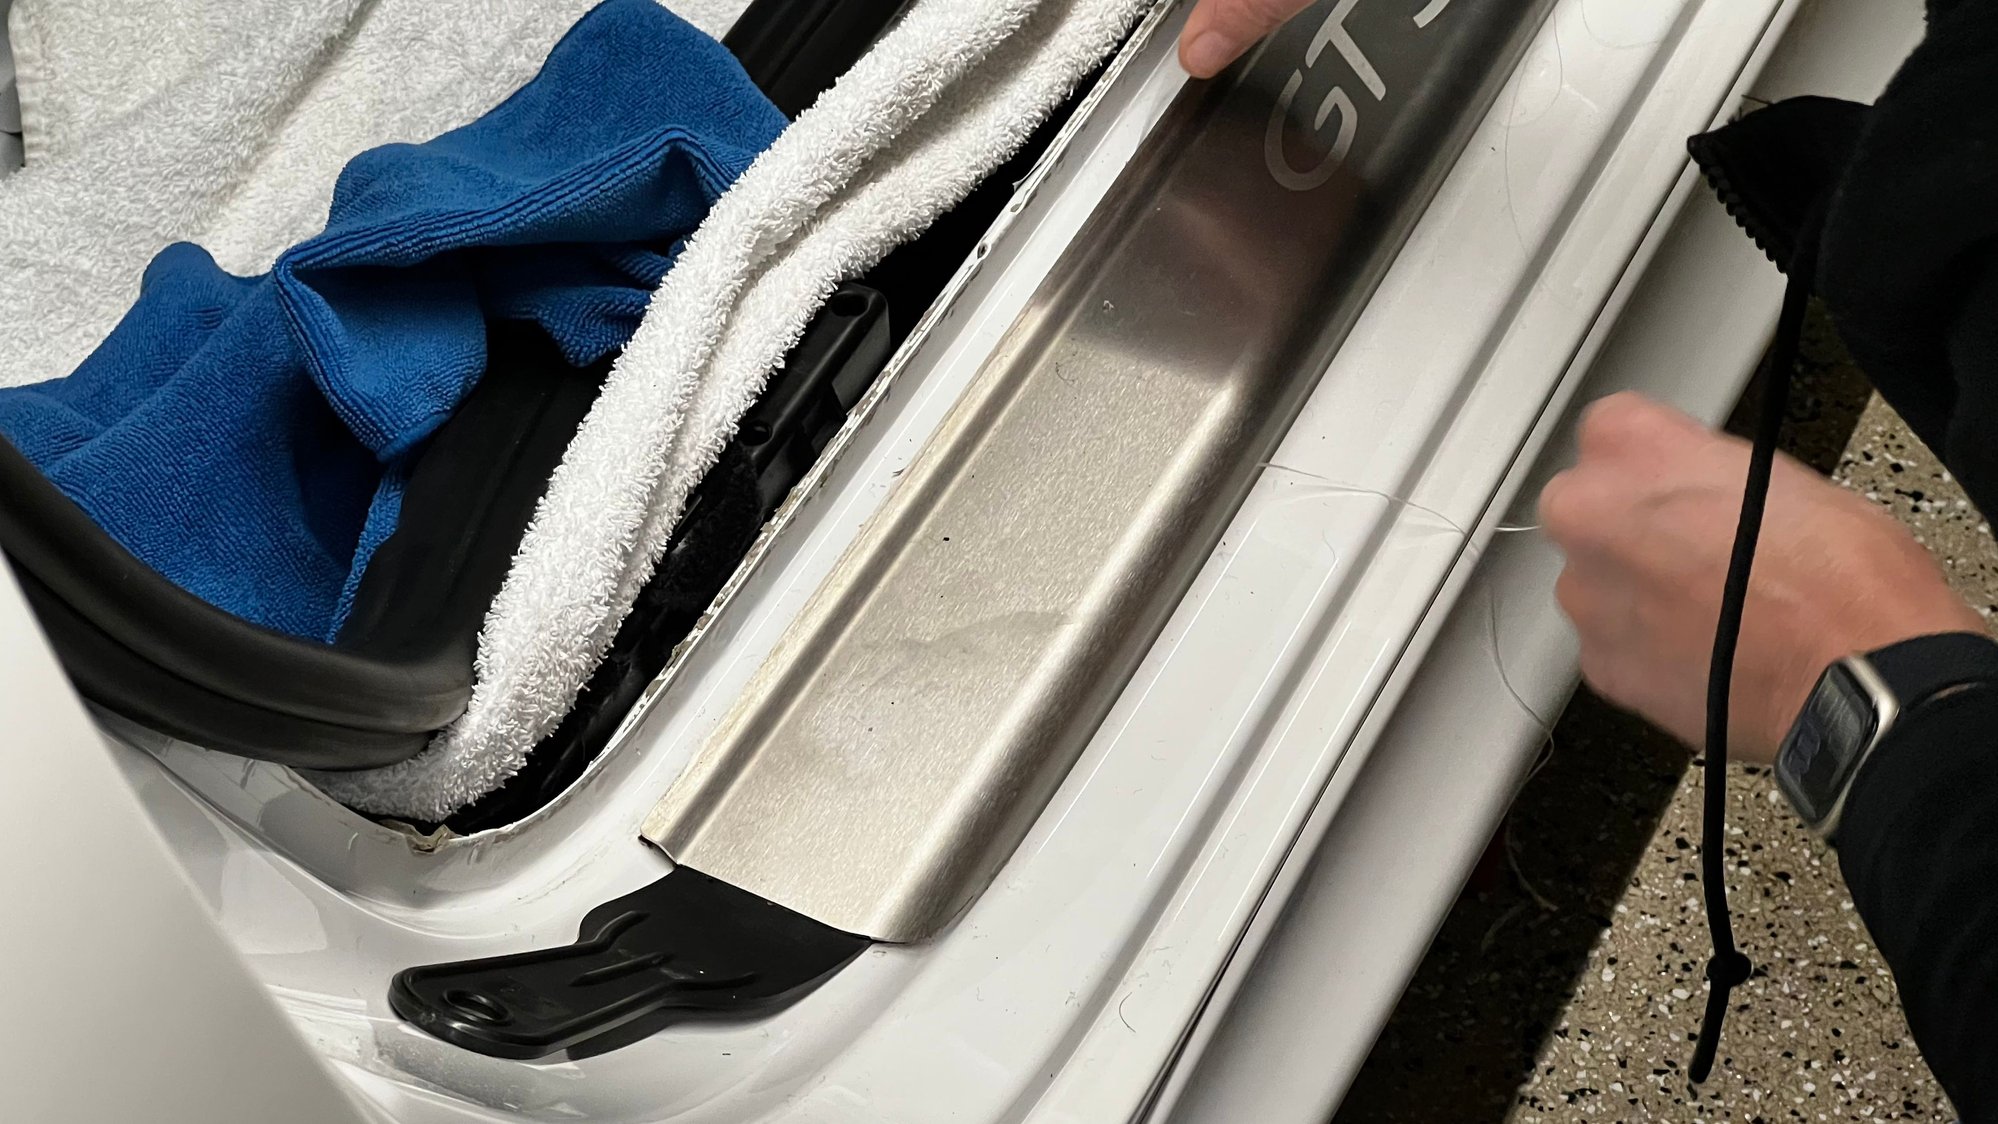
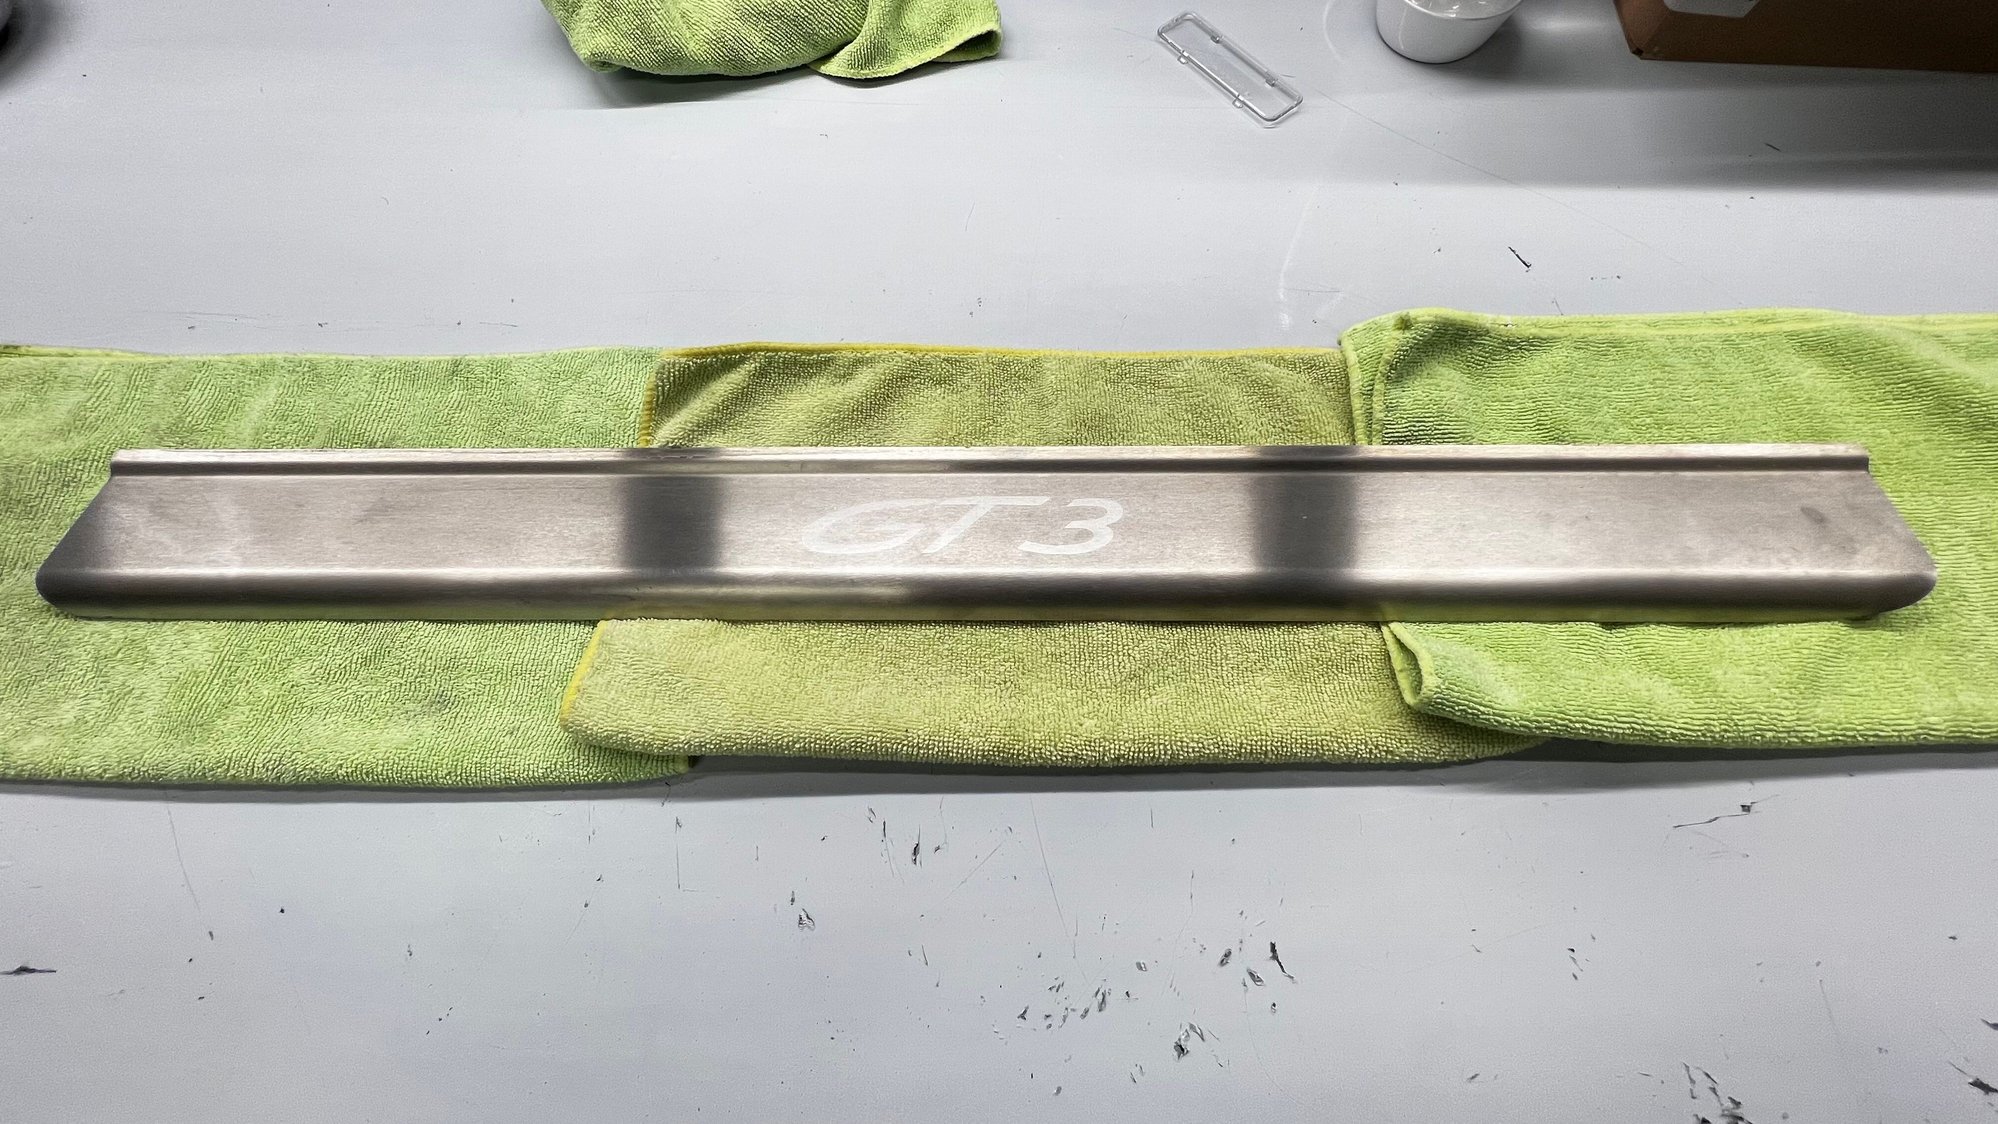
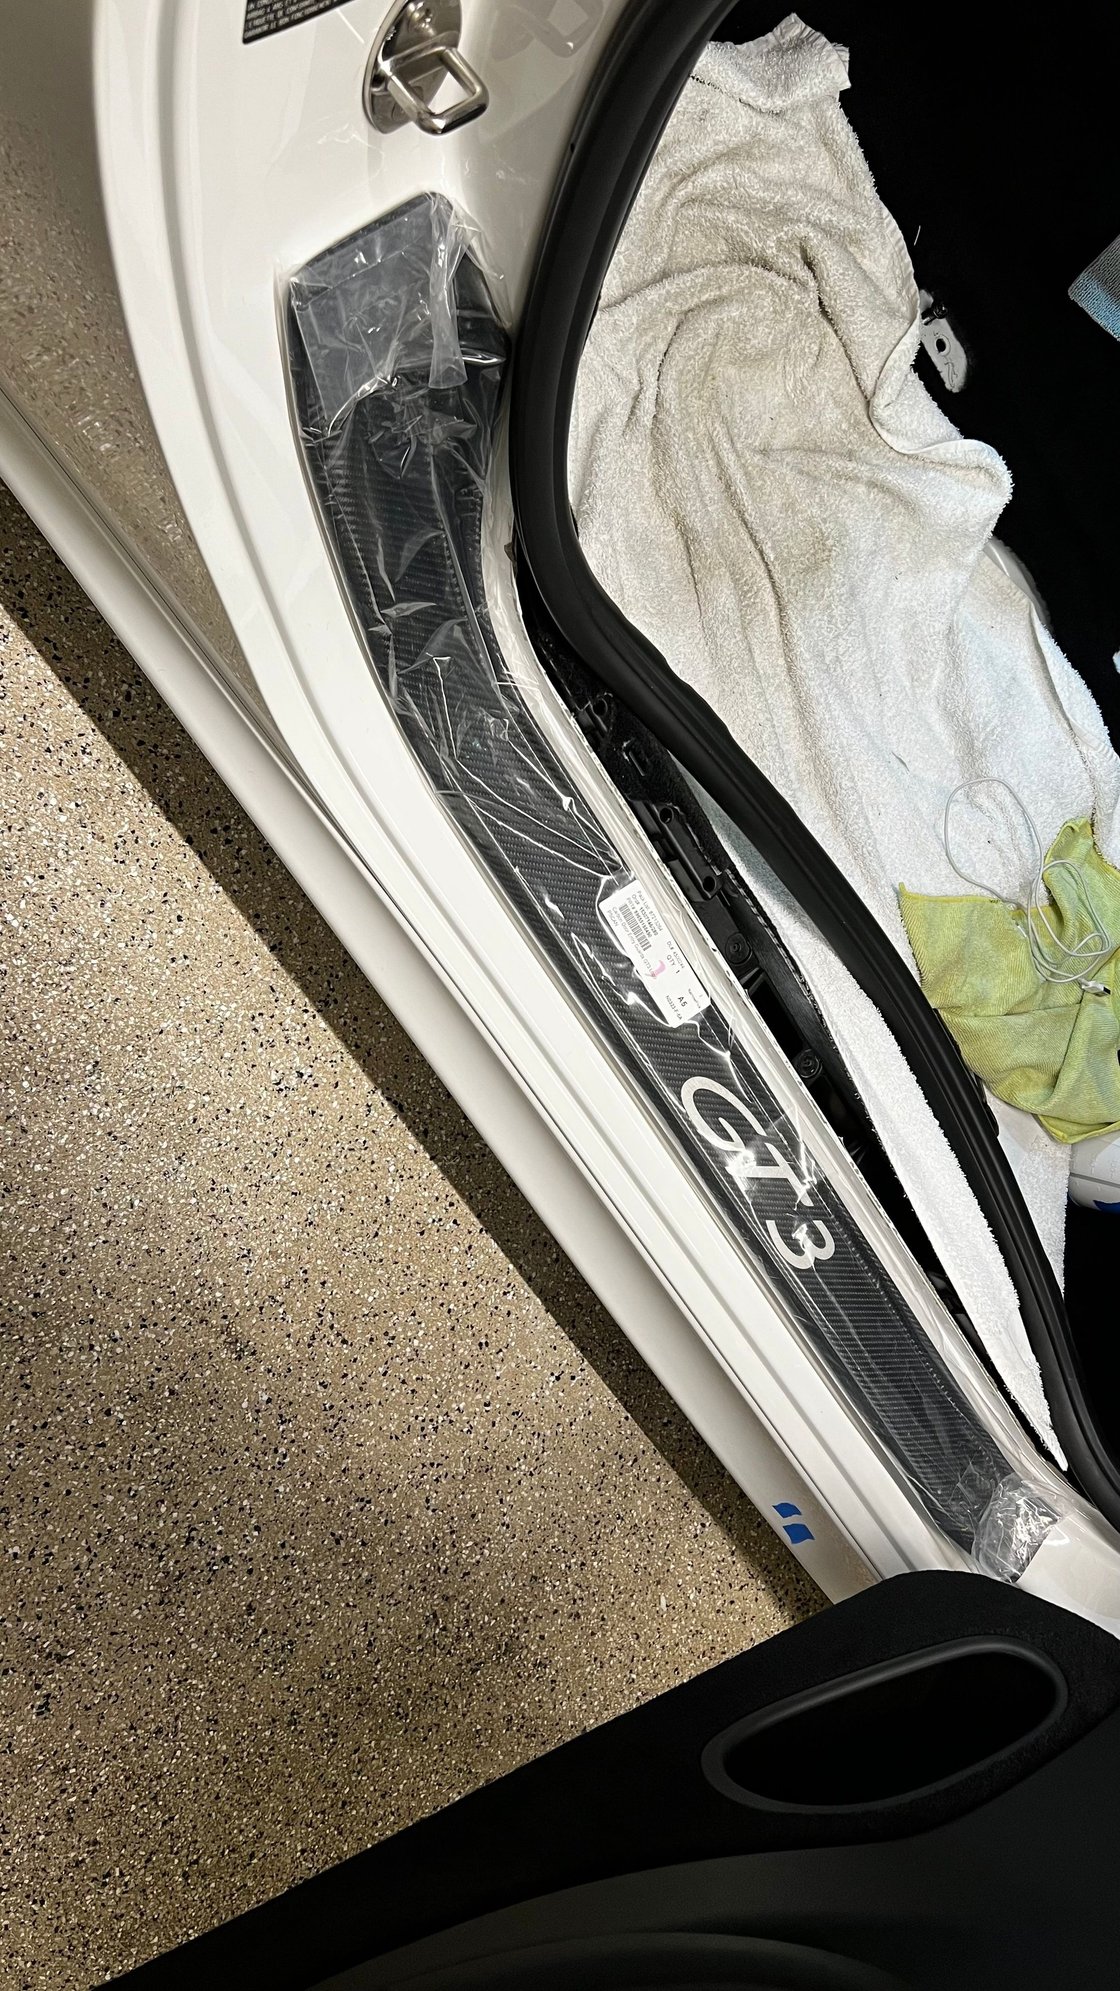
My lovely wife patiently sliced through the aluminum sill adhesive with dental floss & a hair dryer. Her patience with these types of tasks is far greater than mine. Then I polished the paint underneath in prep for new OEM carbon fiber sills. Unfortunately there was only a passenger side sill in the parts box. 🤦♂️
I’m fairly certain a single part number (996-551-984-90) includes both sides. So I didn’t install the CF sill until I get this sorted with the parts dept.
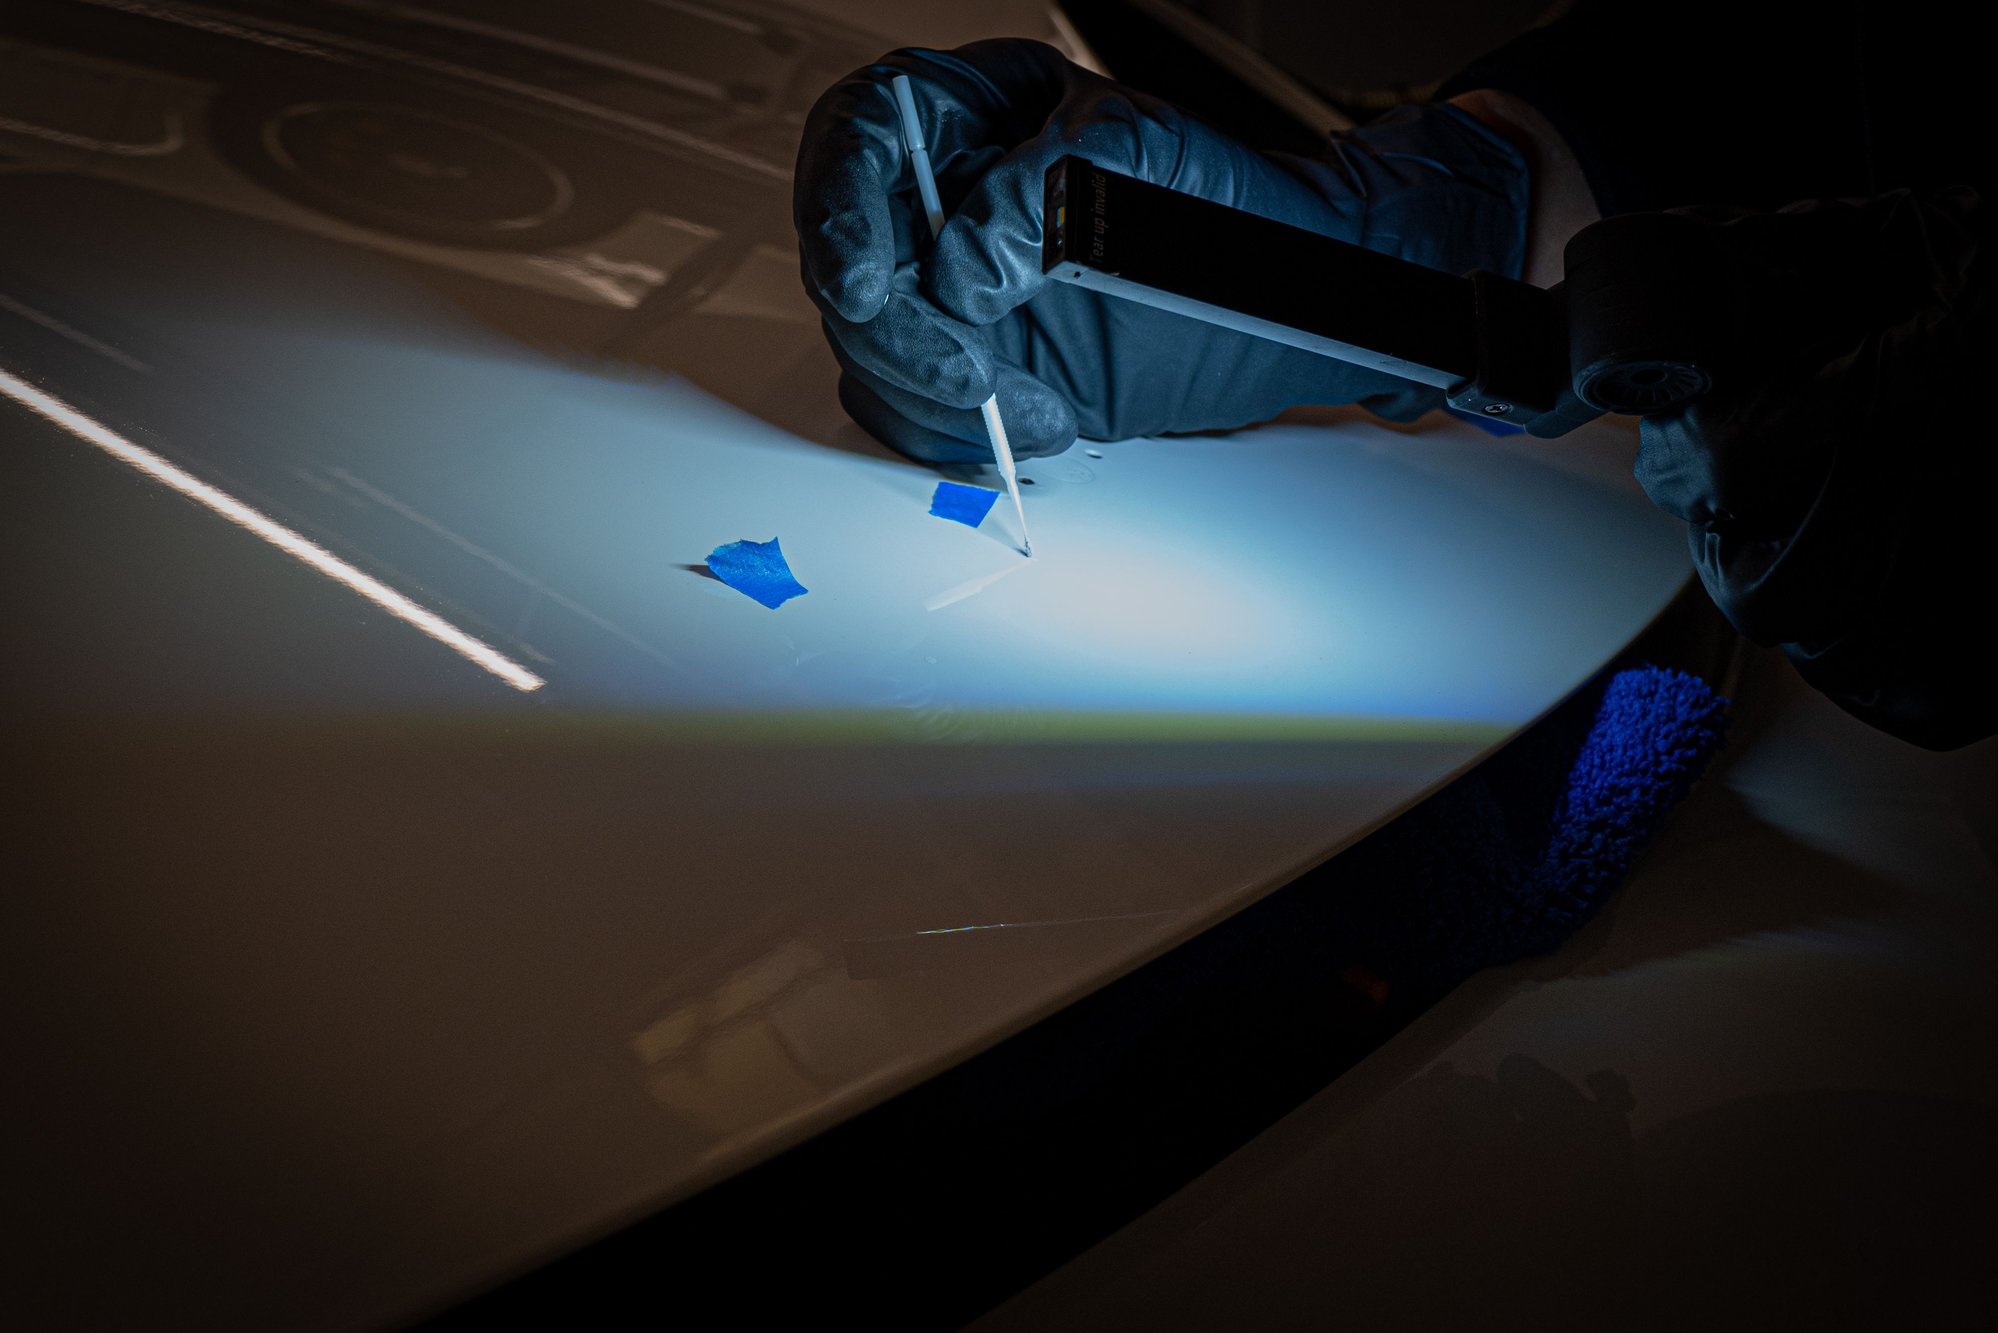
My wife moved on to fill in some minor rock chips in prep for PPF at the end of the month.
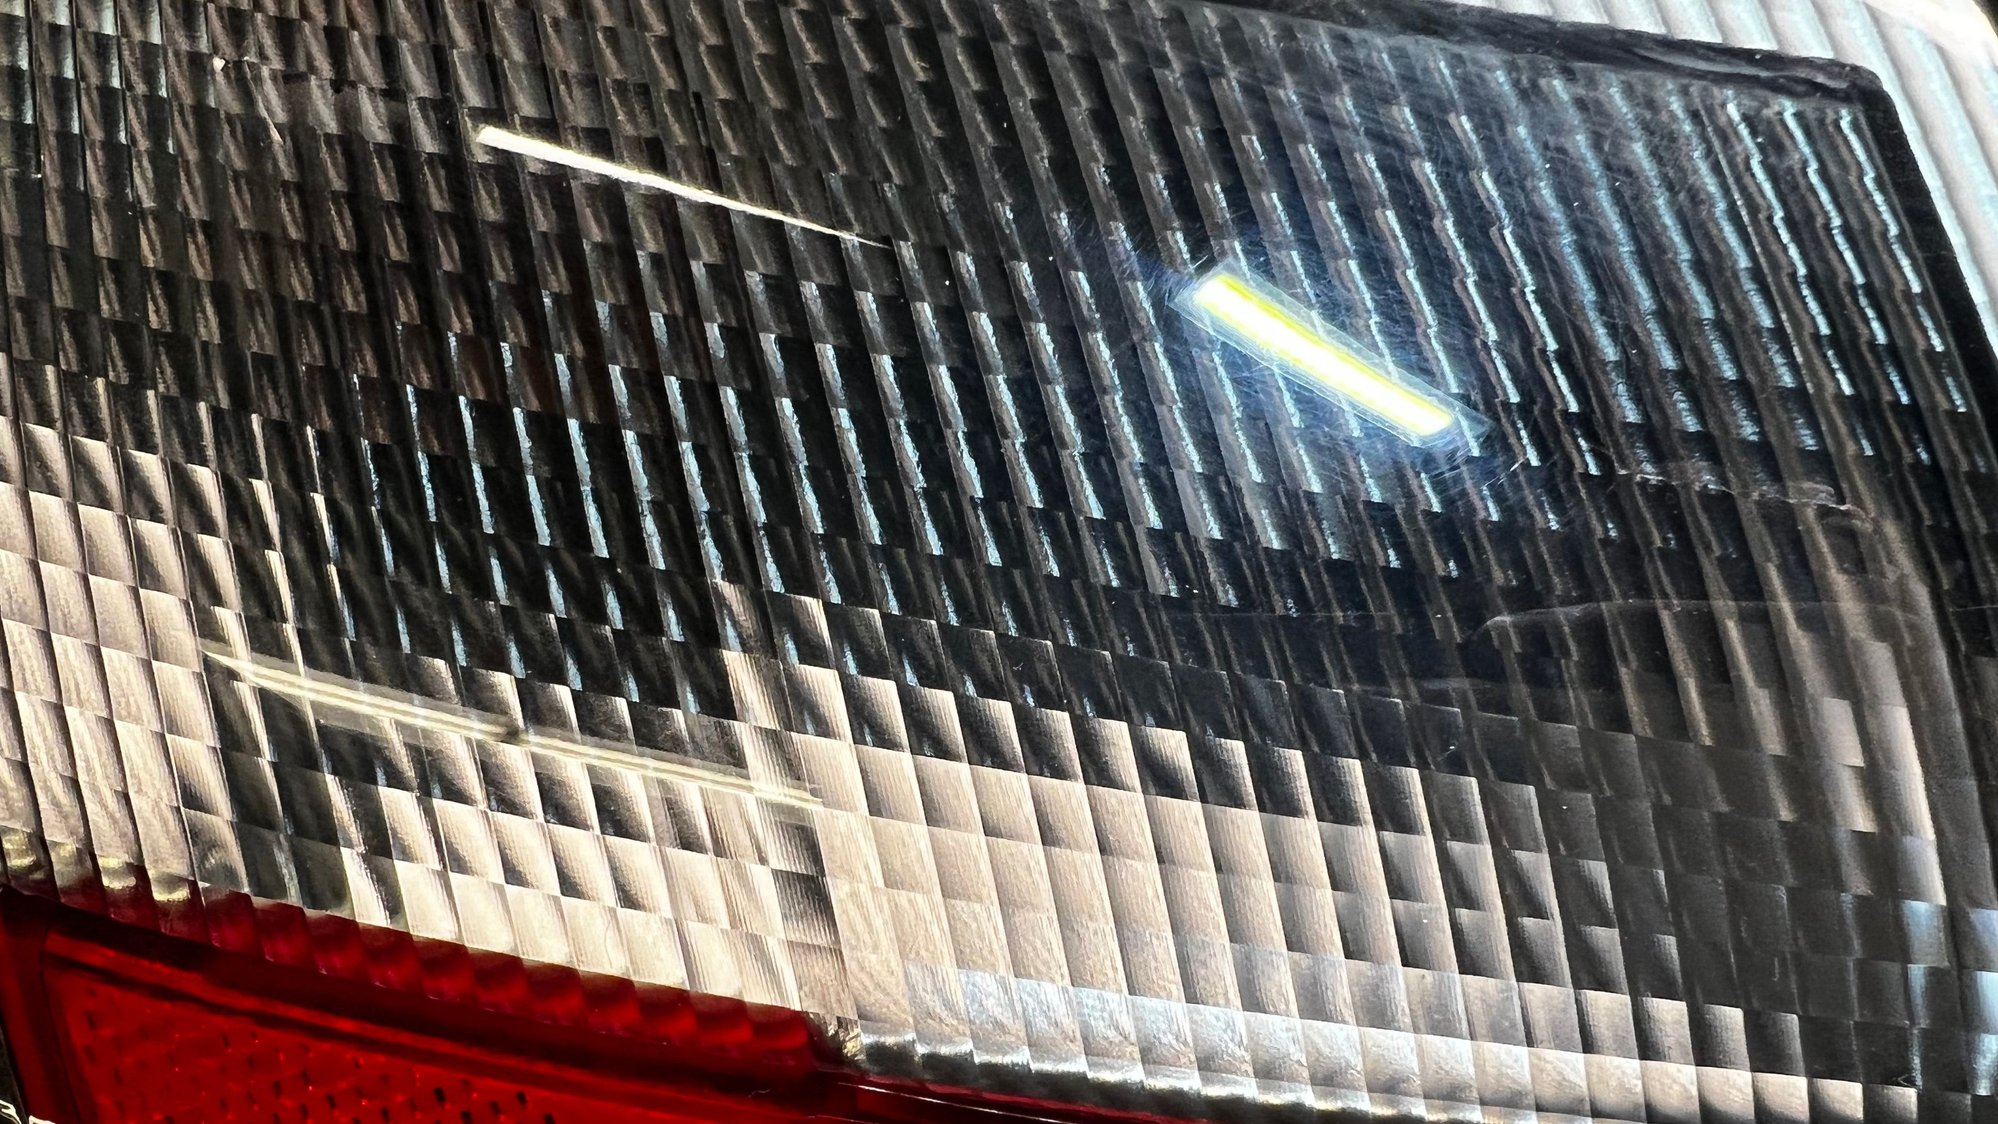
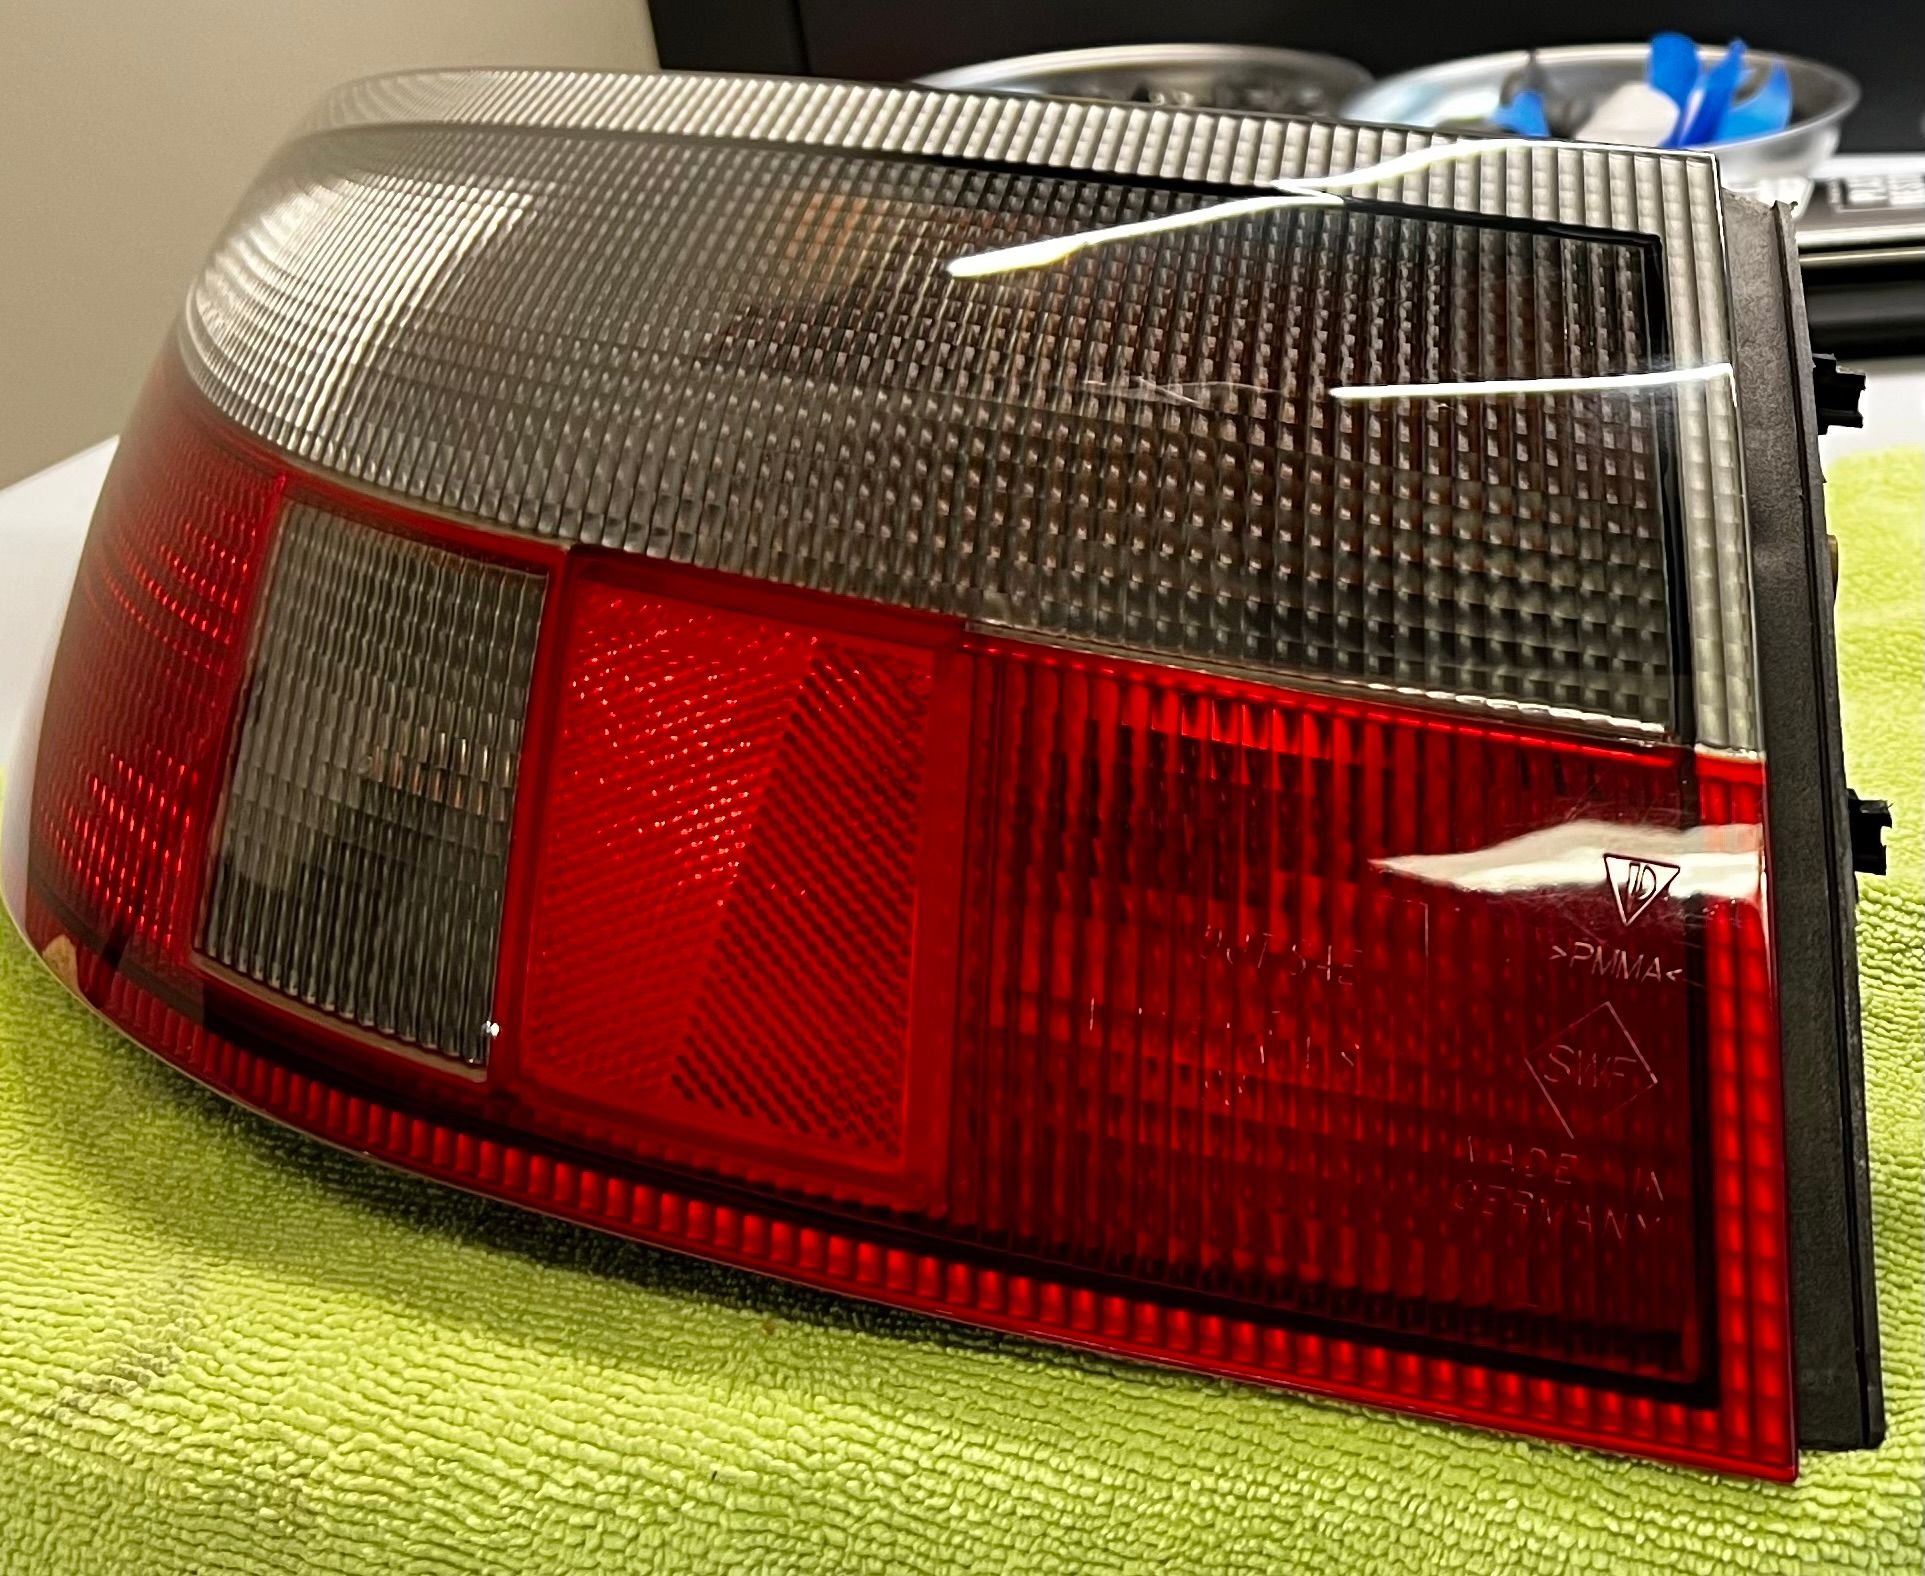
…while I polished out the tail lights and side markers.
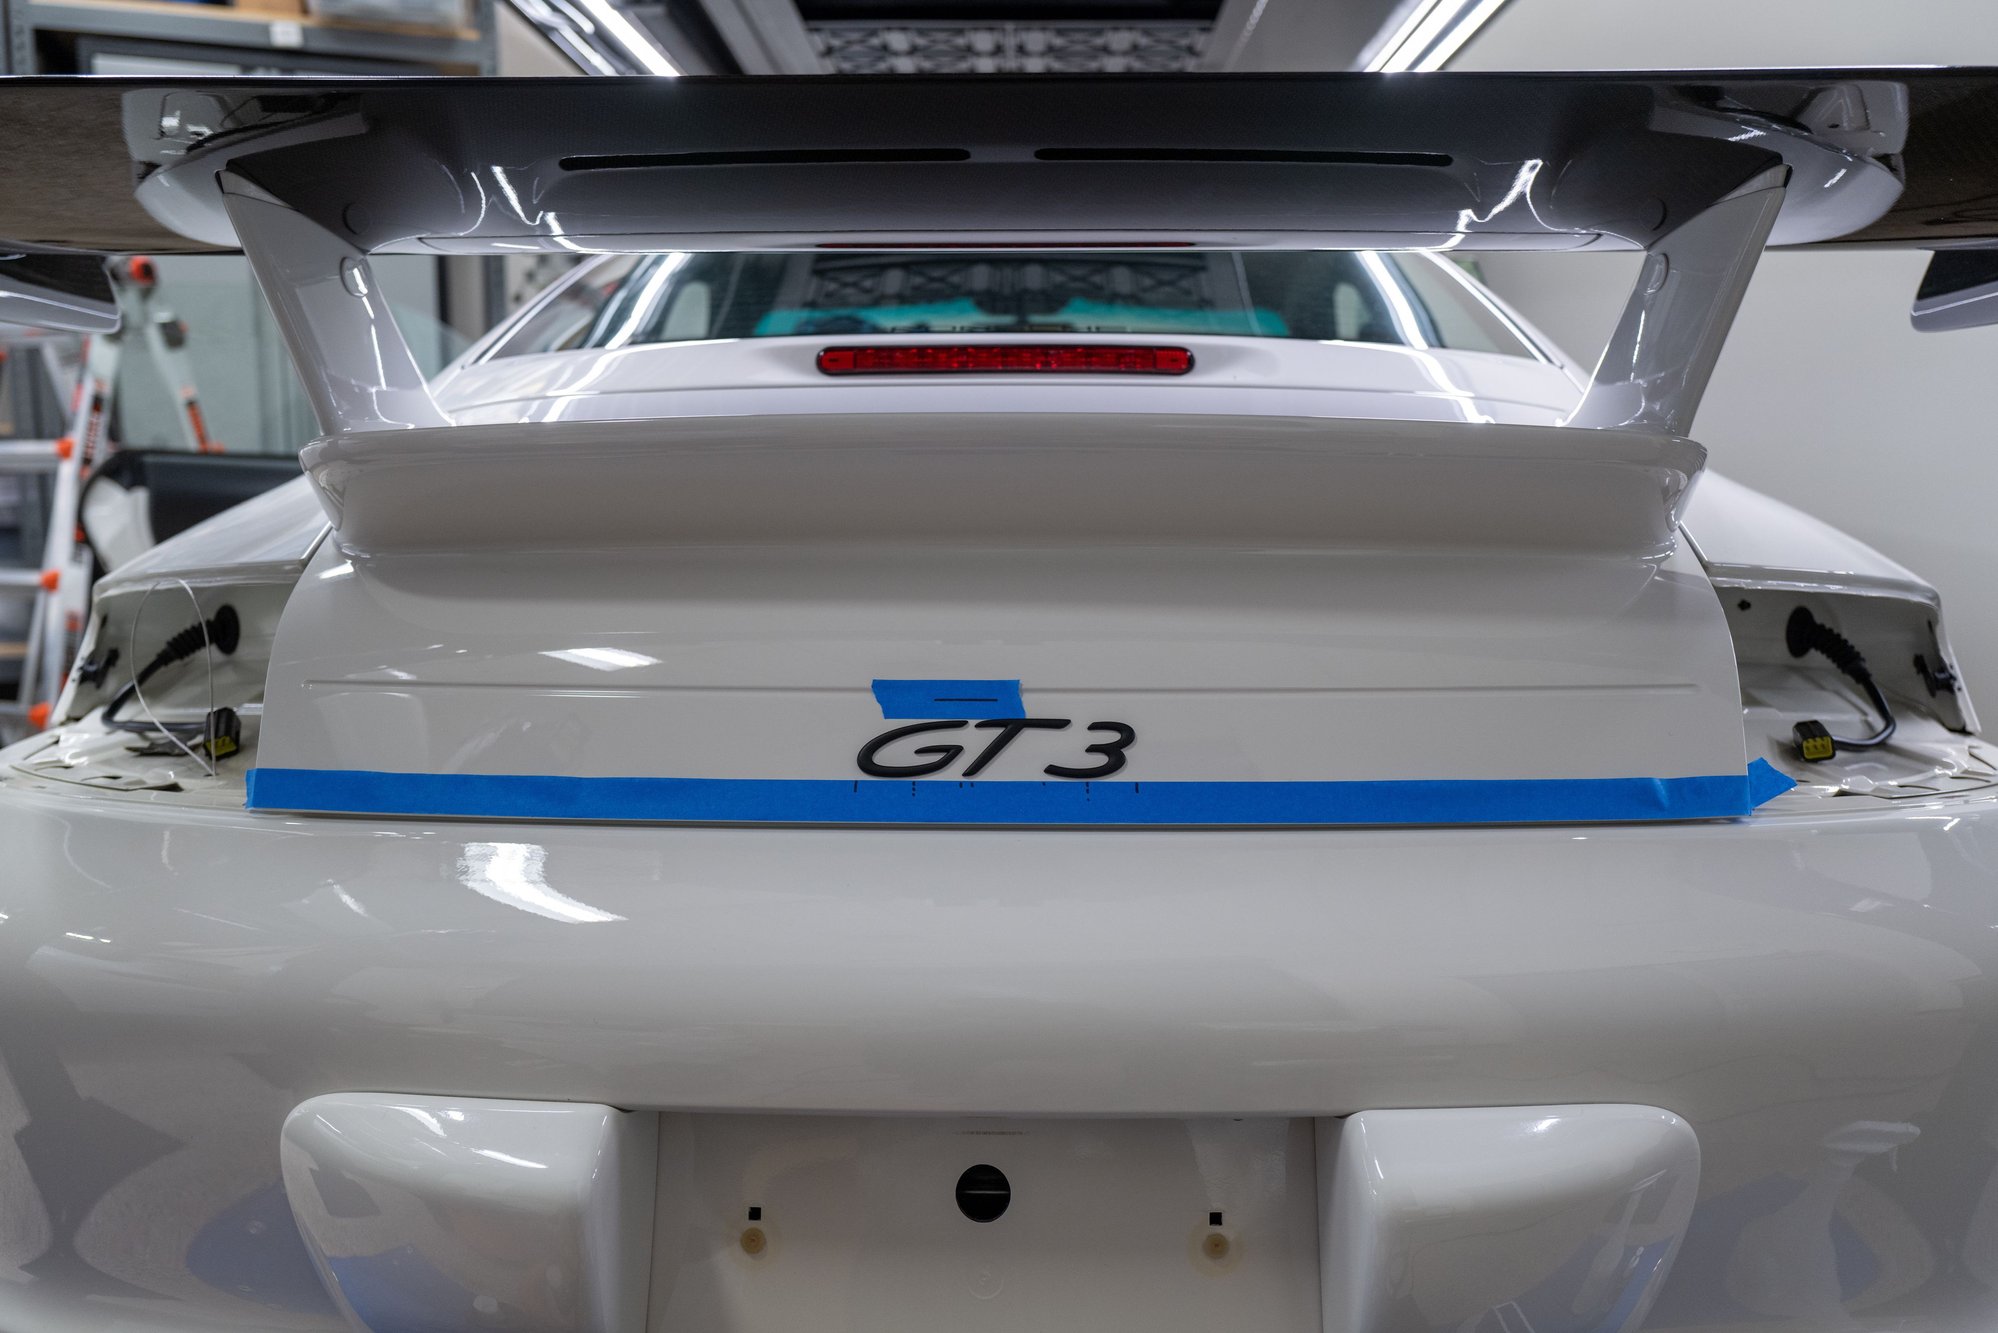
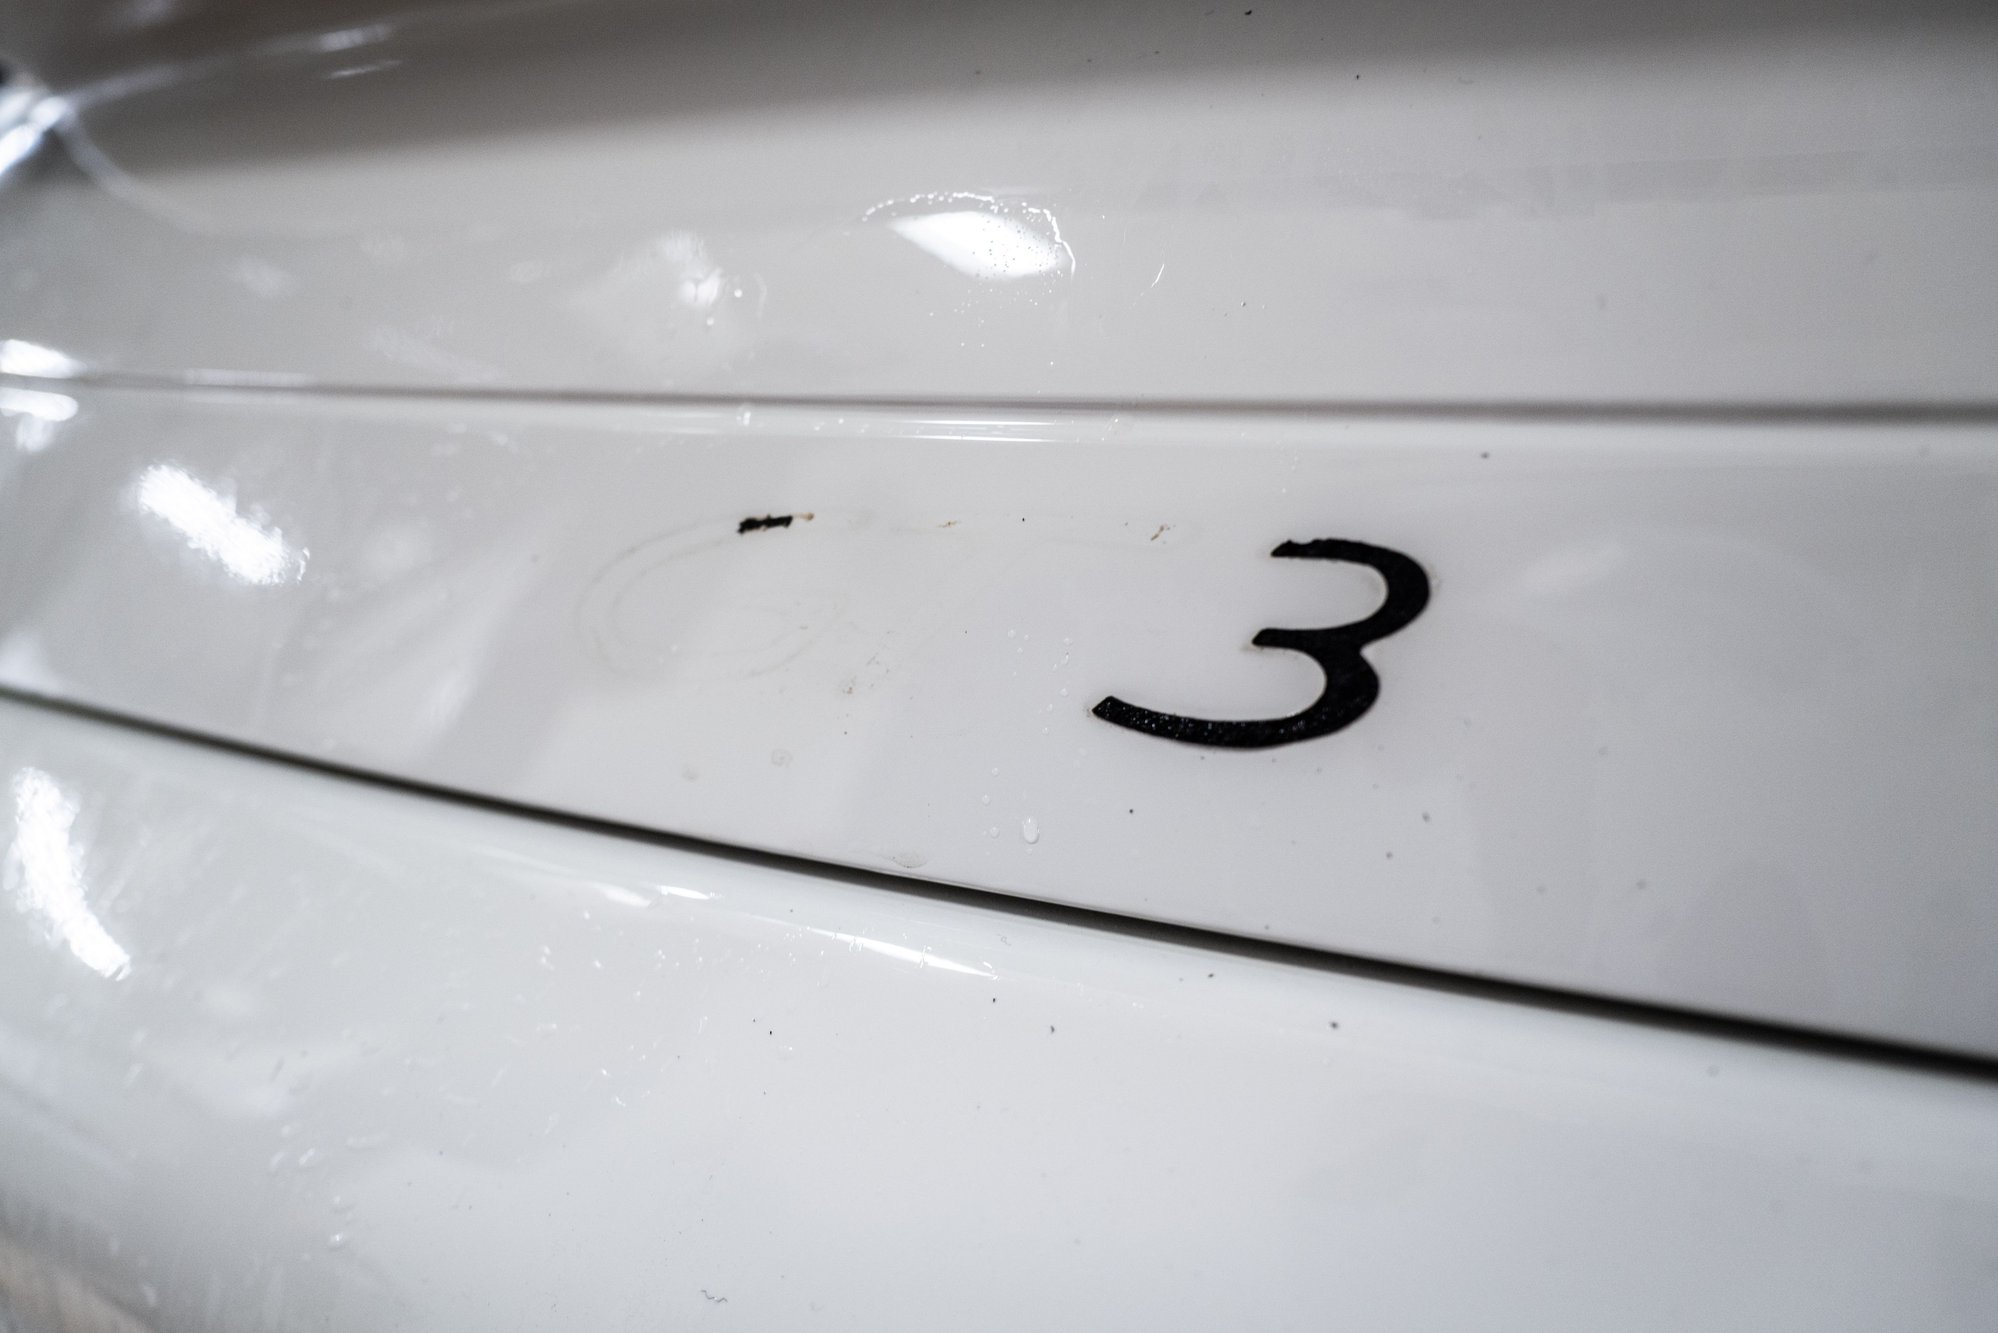
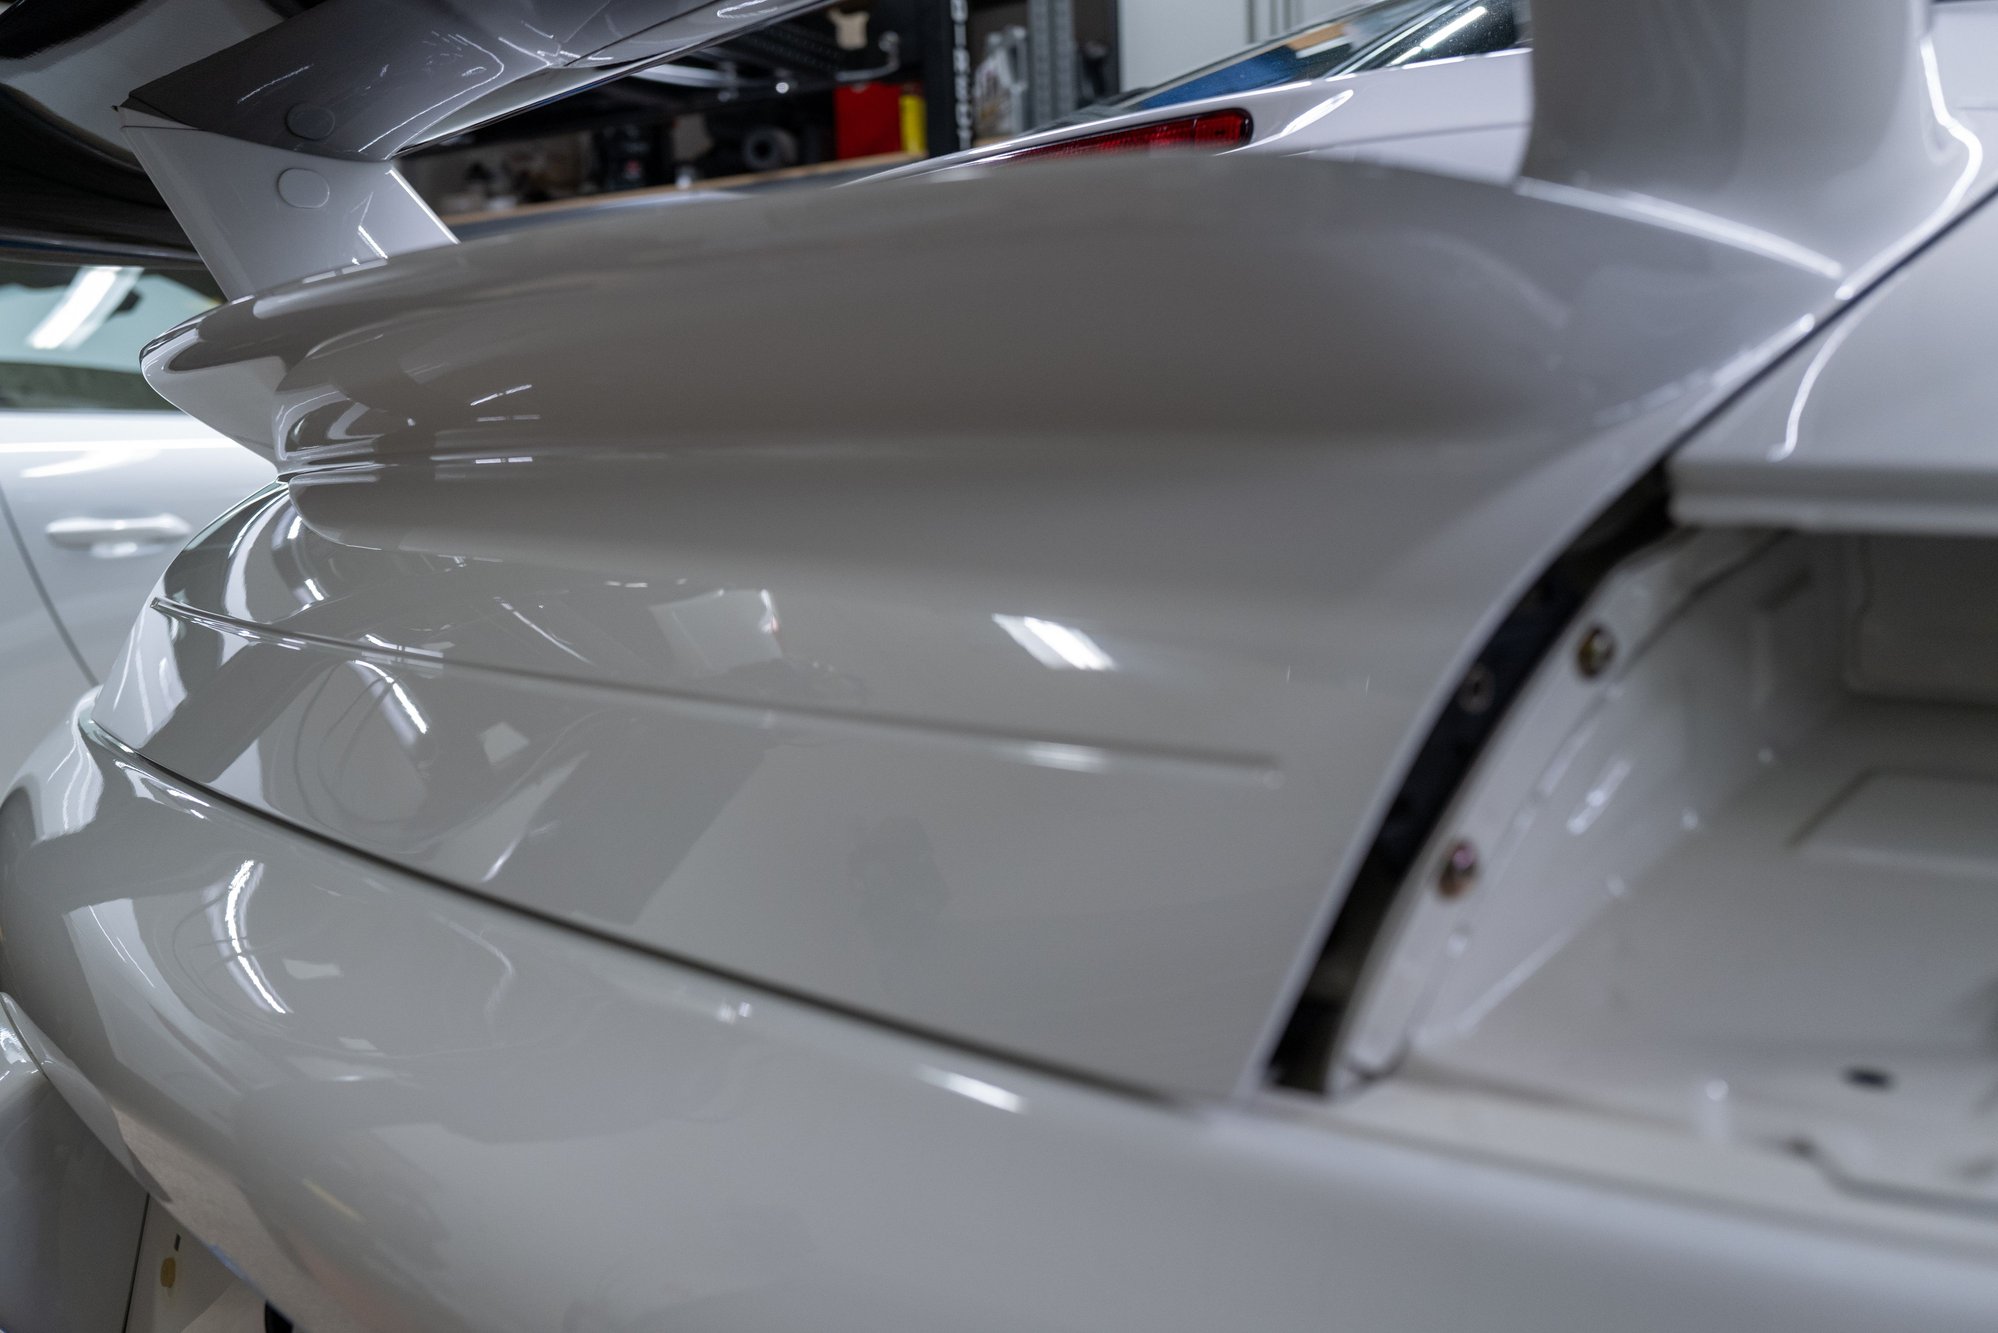
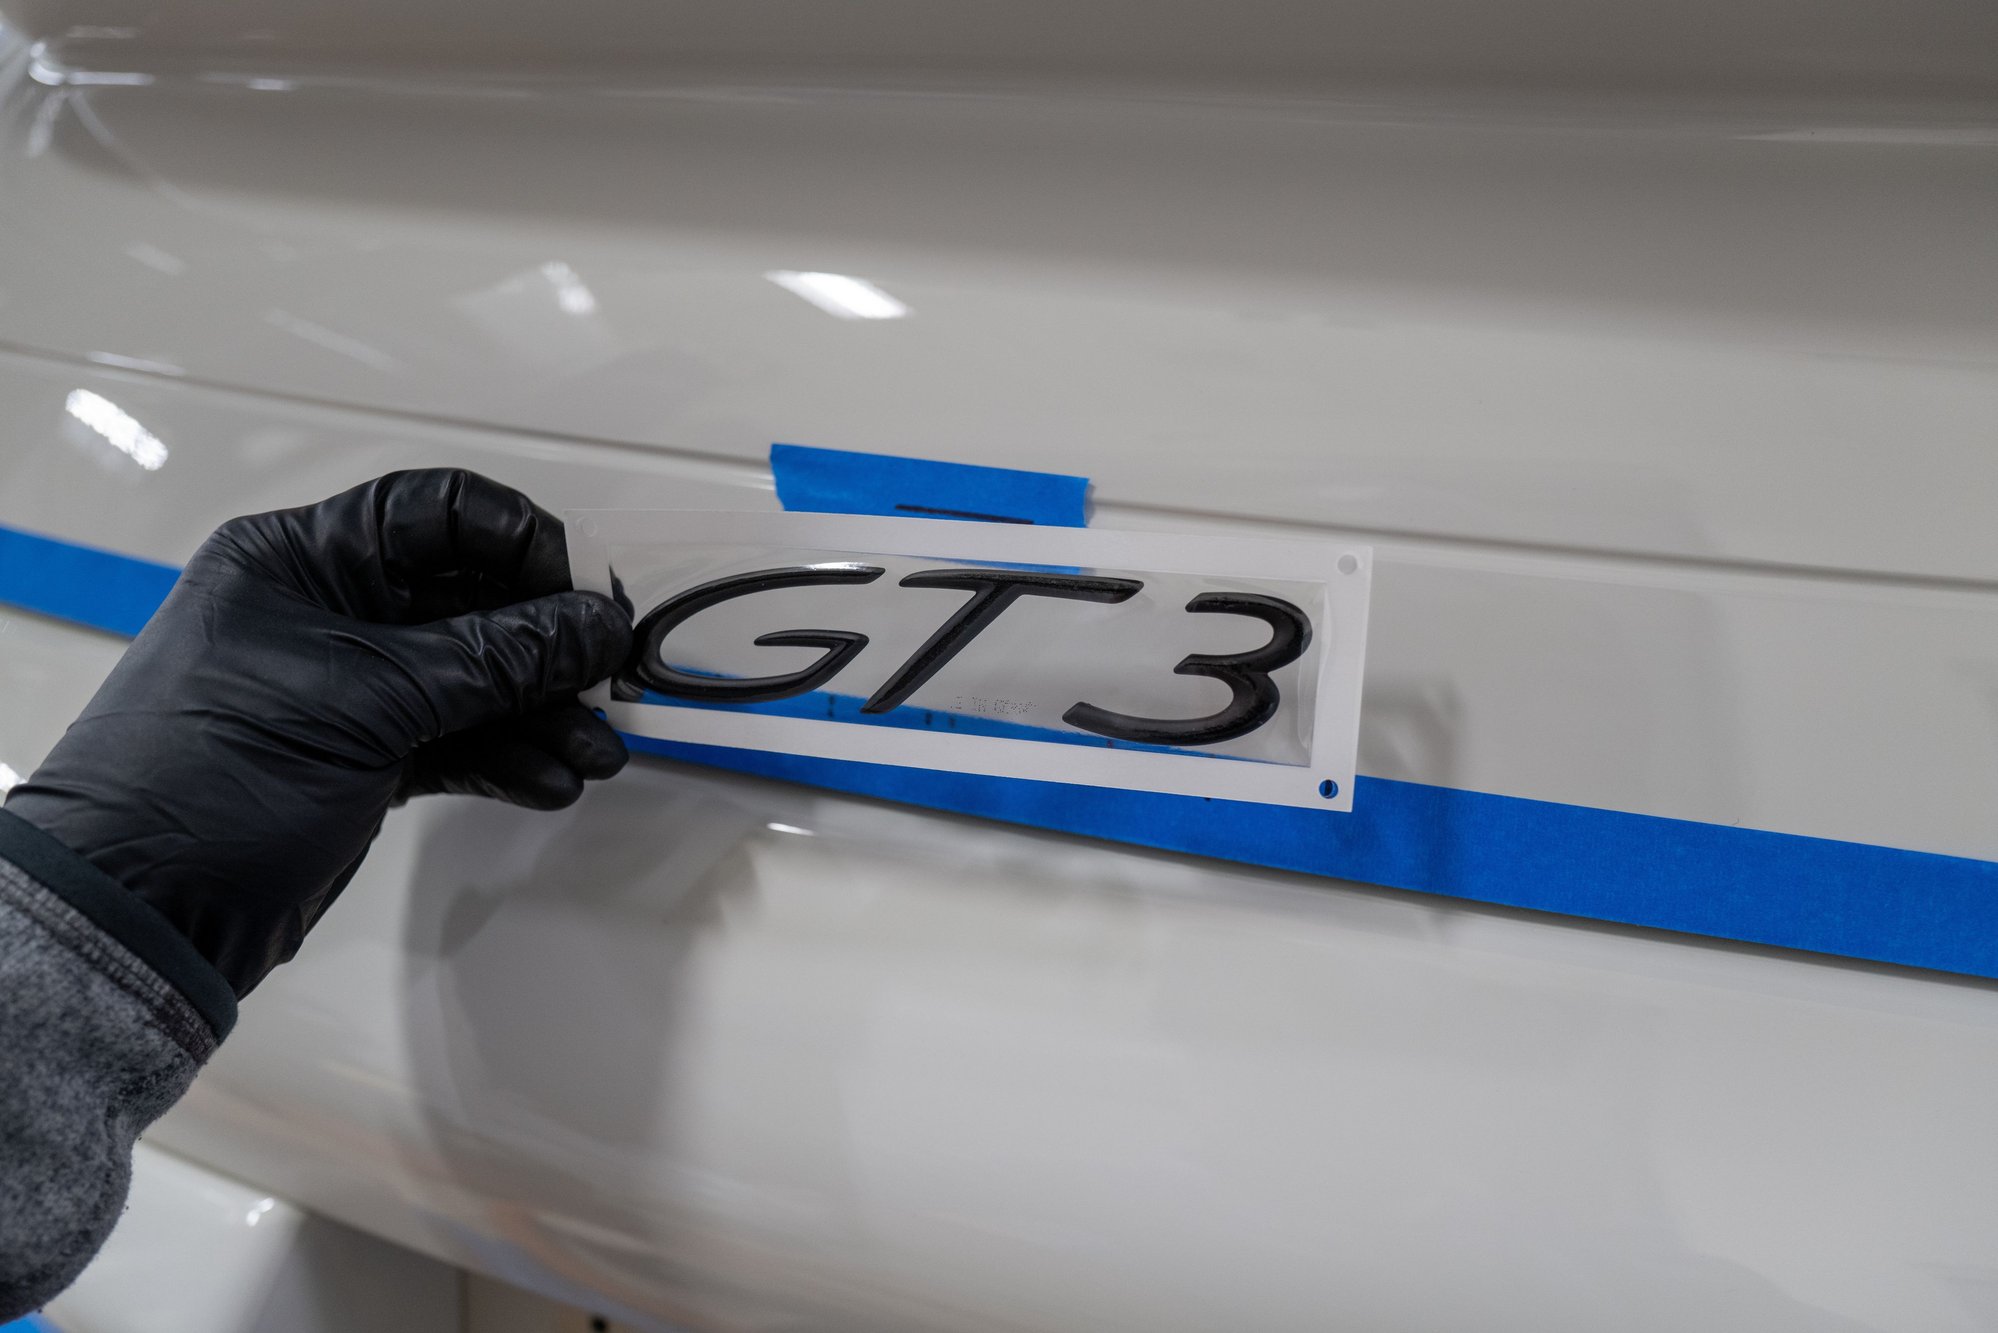
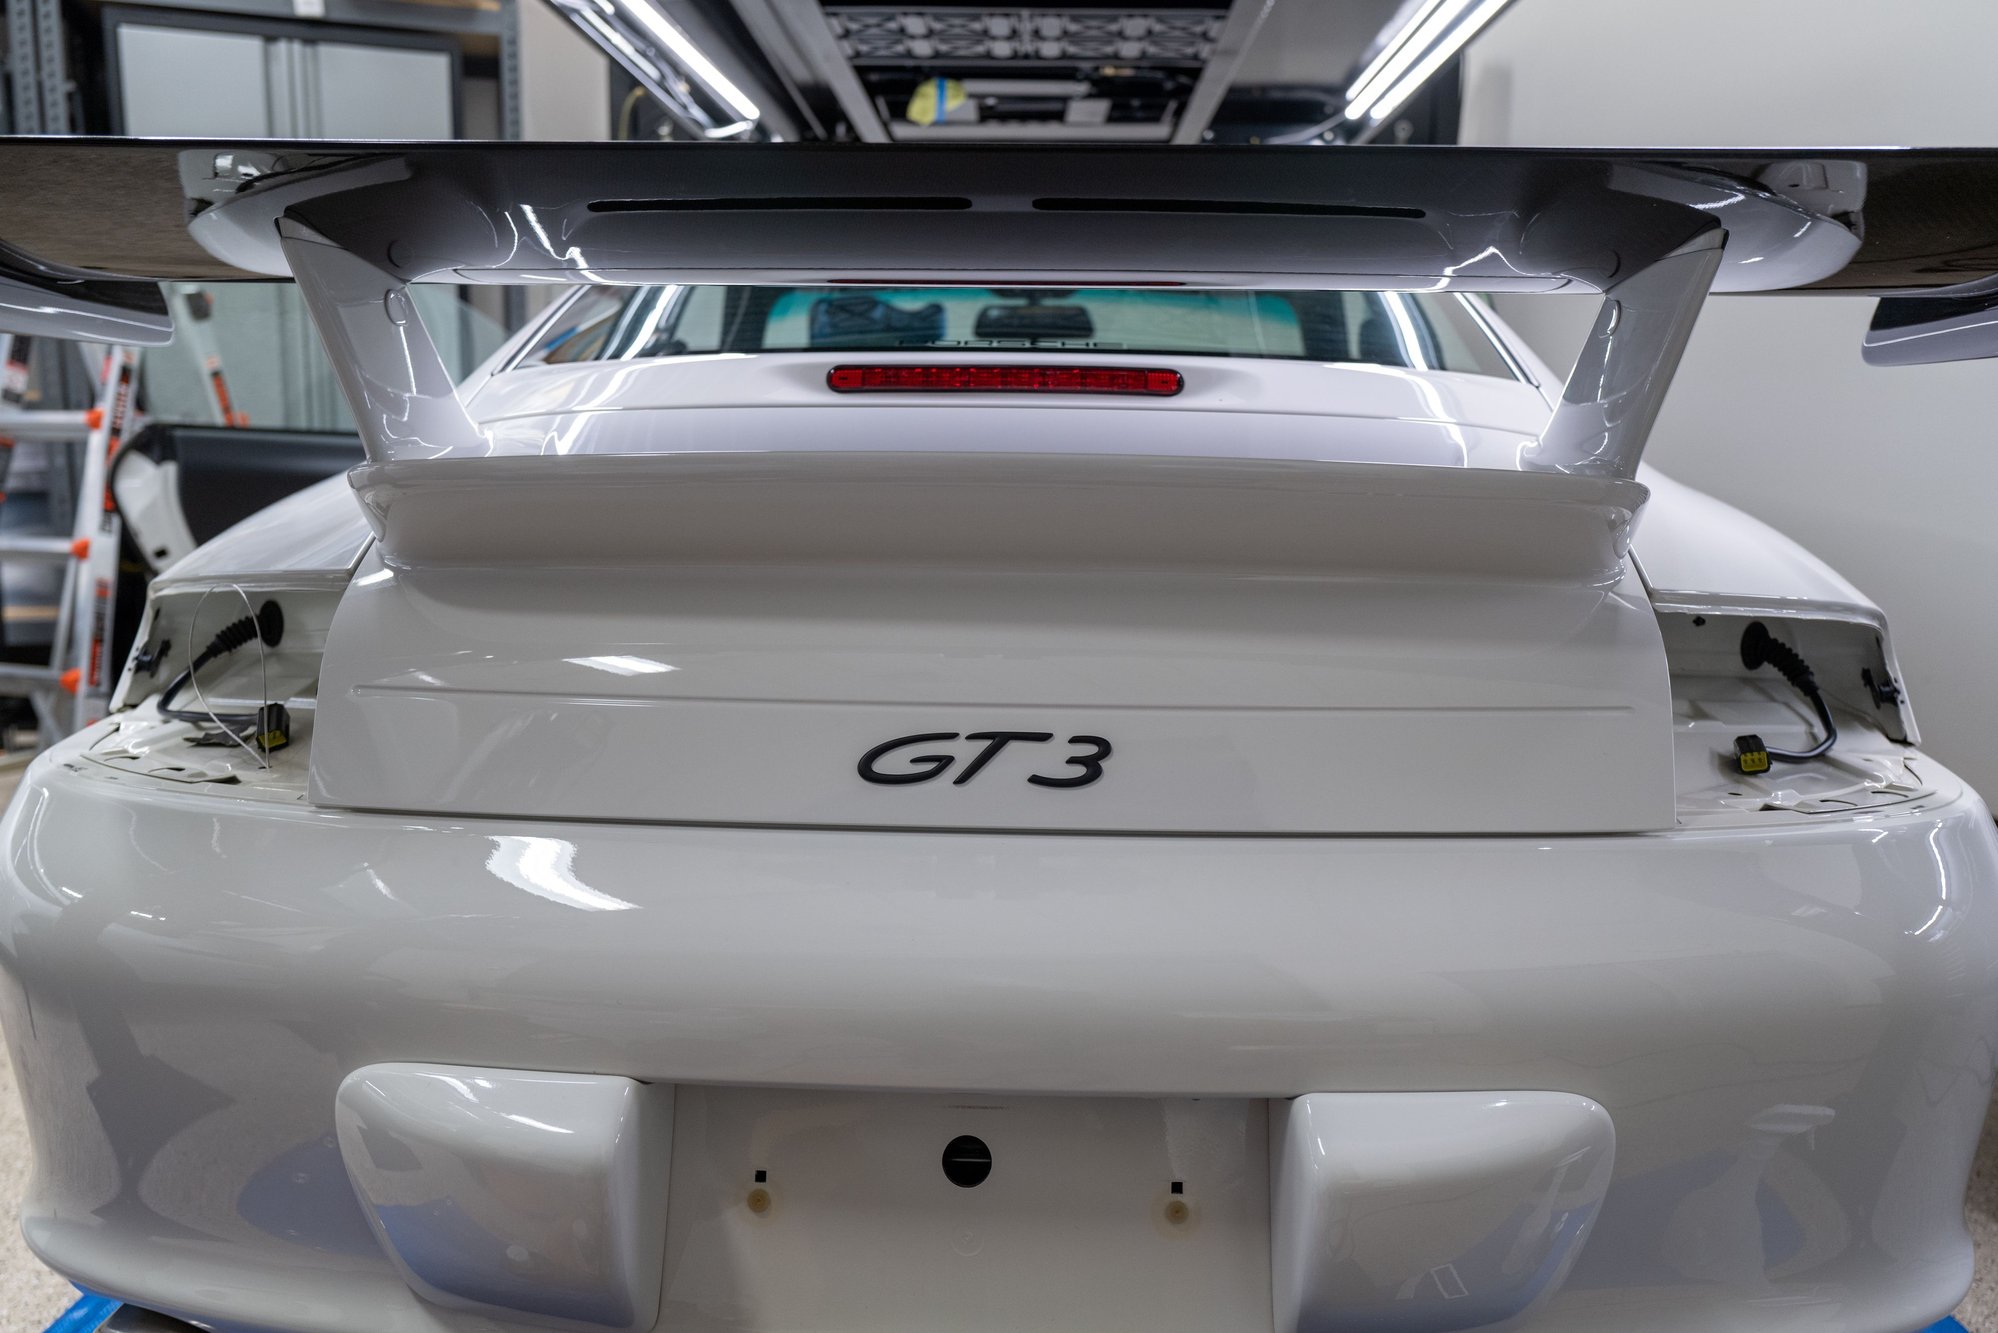
I then removed the GT3 badge with dental floss & my friend the pressure steamer, polished underneath and replaced it with a new badge.
The exterior is largely done and ready for paint protection film, I just hope I can get the drivers side CF sill in time. The interior is another story… but that is next.
Agreed with Marv. I’m only covering the forward facing surfaces + a few other bits (hood, bumper, front fenders, mirrors, rocker panels, inside carbon fiber sills, rear arches and right behind the rear tires.
Agreed with Marv. I�m only covering the forward facing surfaces + a few other bits (hood, bumper, front fenders, mirrors, rocker panels, inside carbon fiber sills, rear arches and right behind the rear tires.
Yes, I need to respray my nose and film would be a good idea when it has fully cured. The front bumper got hit with a tow hitch when someone backed into my car. The subsequent repair was not very good and the paint not as resilient as factory. Many chips. Then my hood got clobbered by what looks like a meteorite! Left a dent (and chip) you can put your pinky into. Can't paint correct that.
I love the carbon fiber sills! My car has the steering wheel, handbrake, and shift **** as factory options. The sills would be a nice addition.
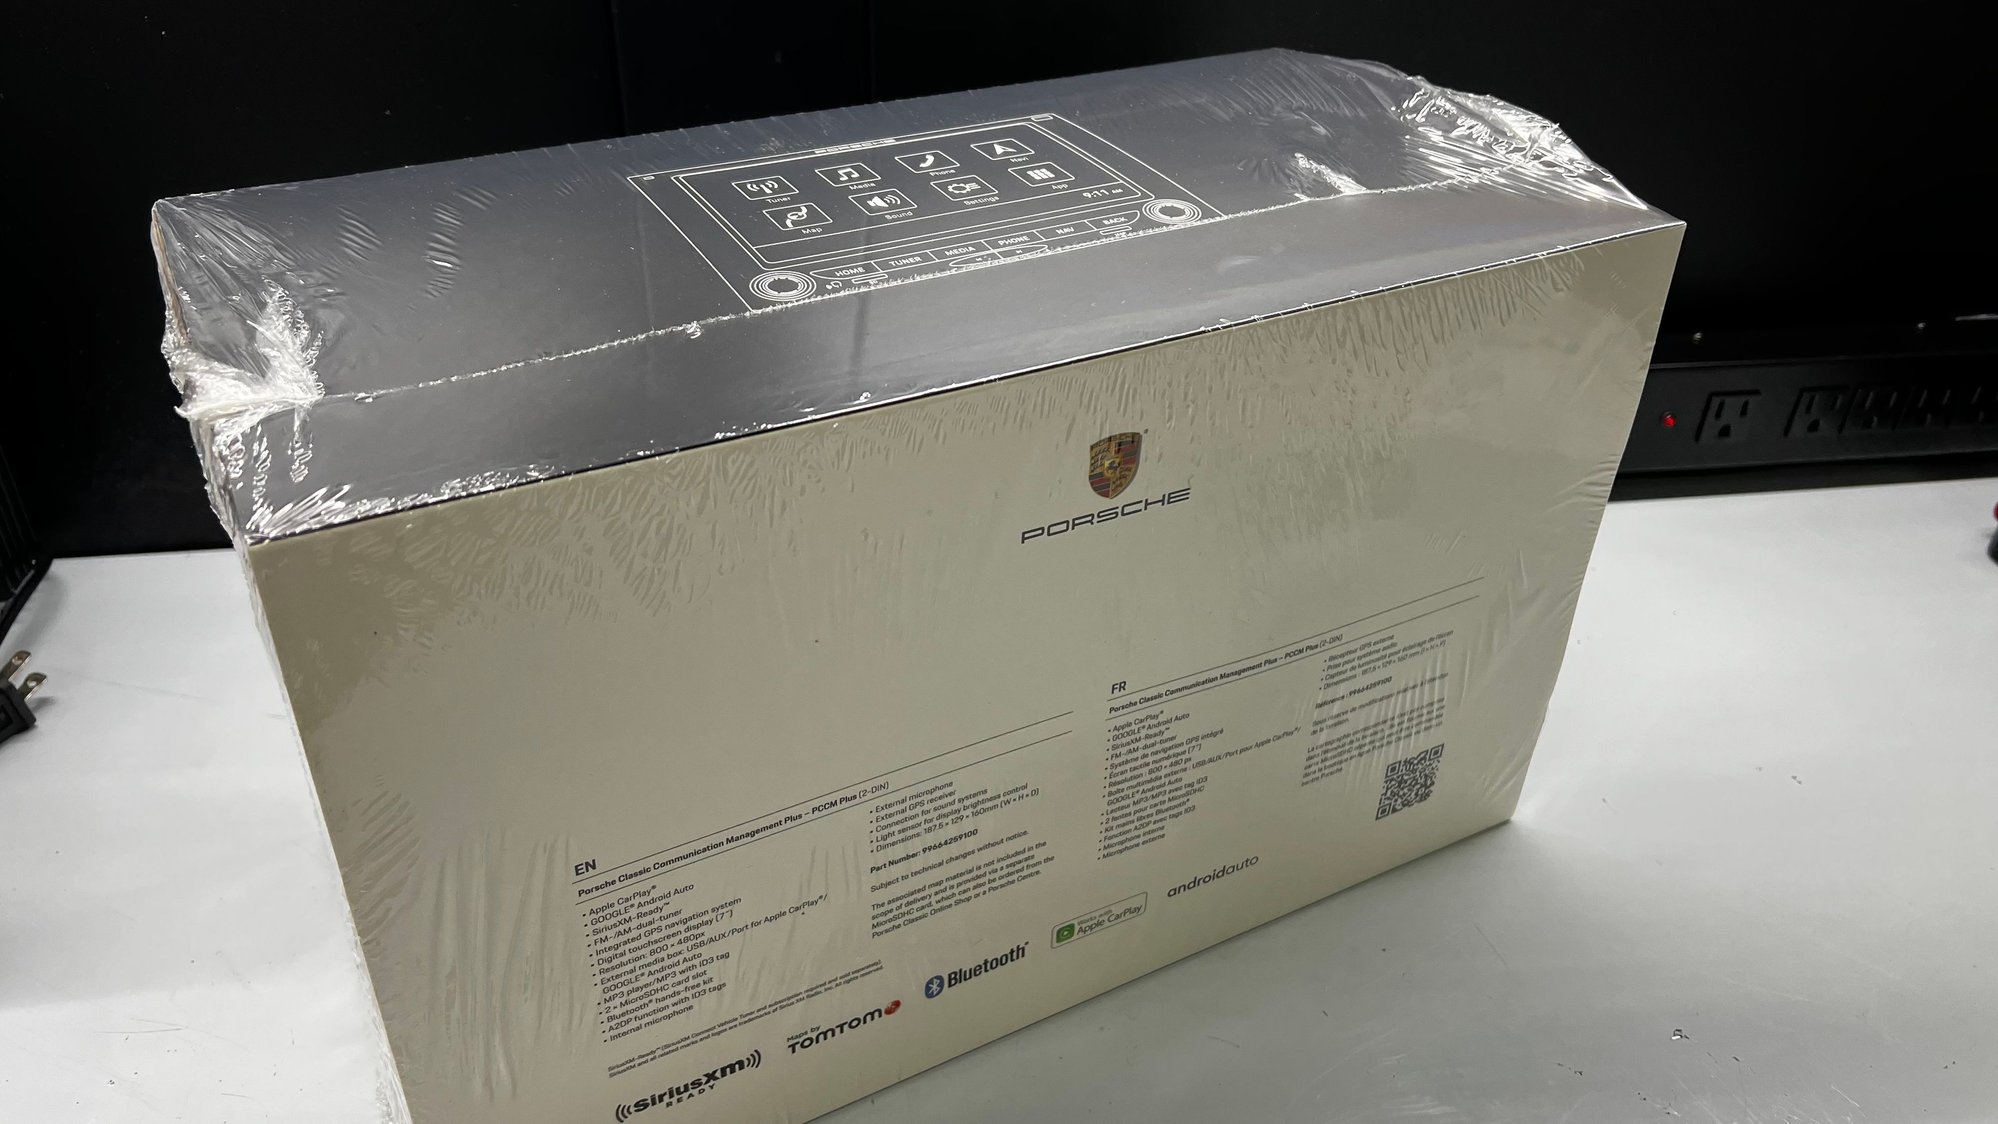
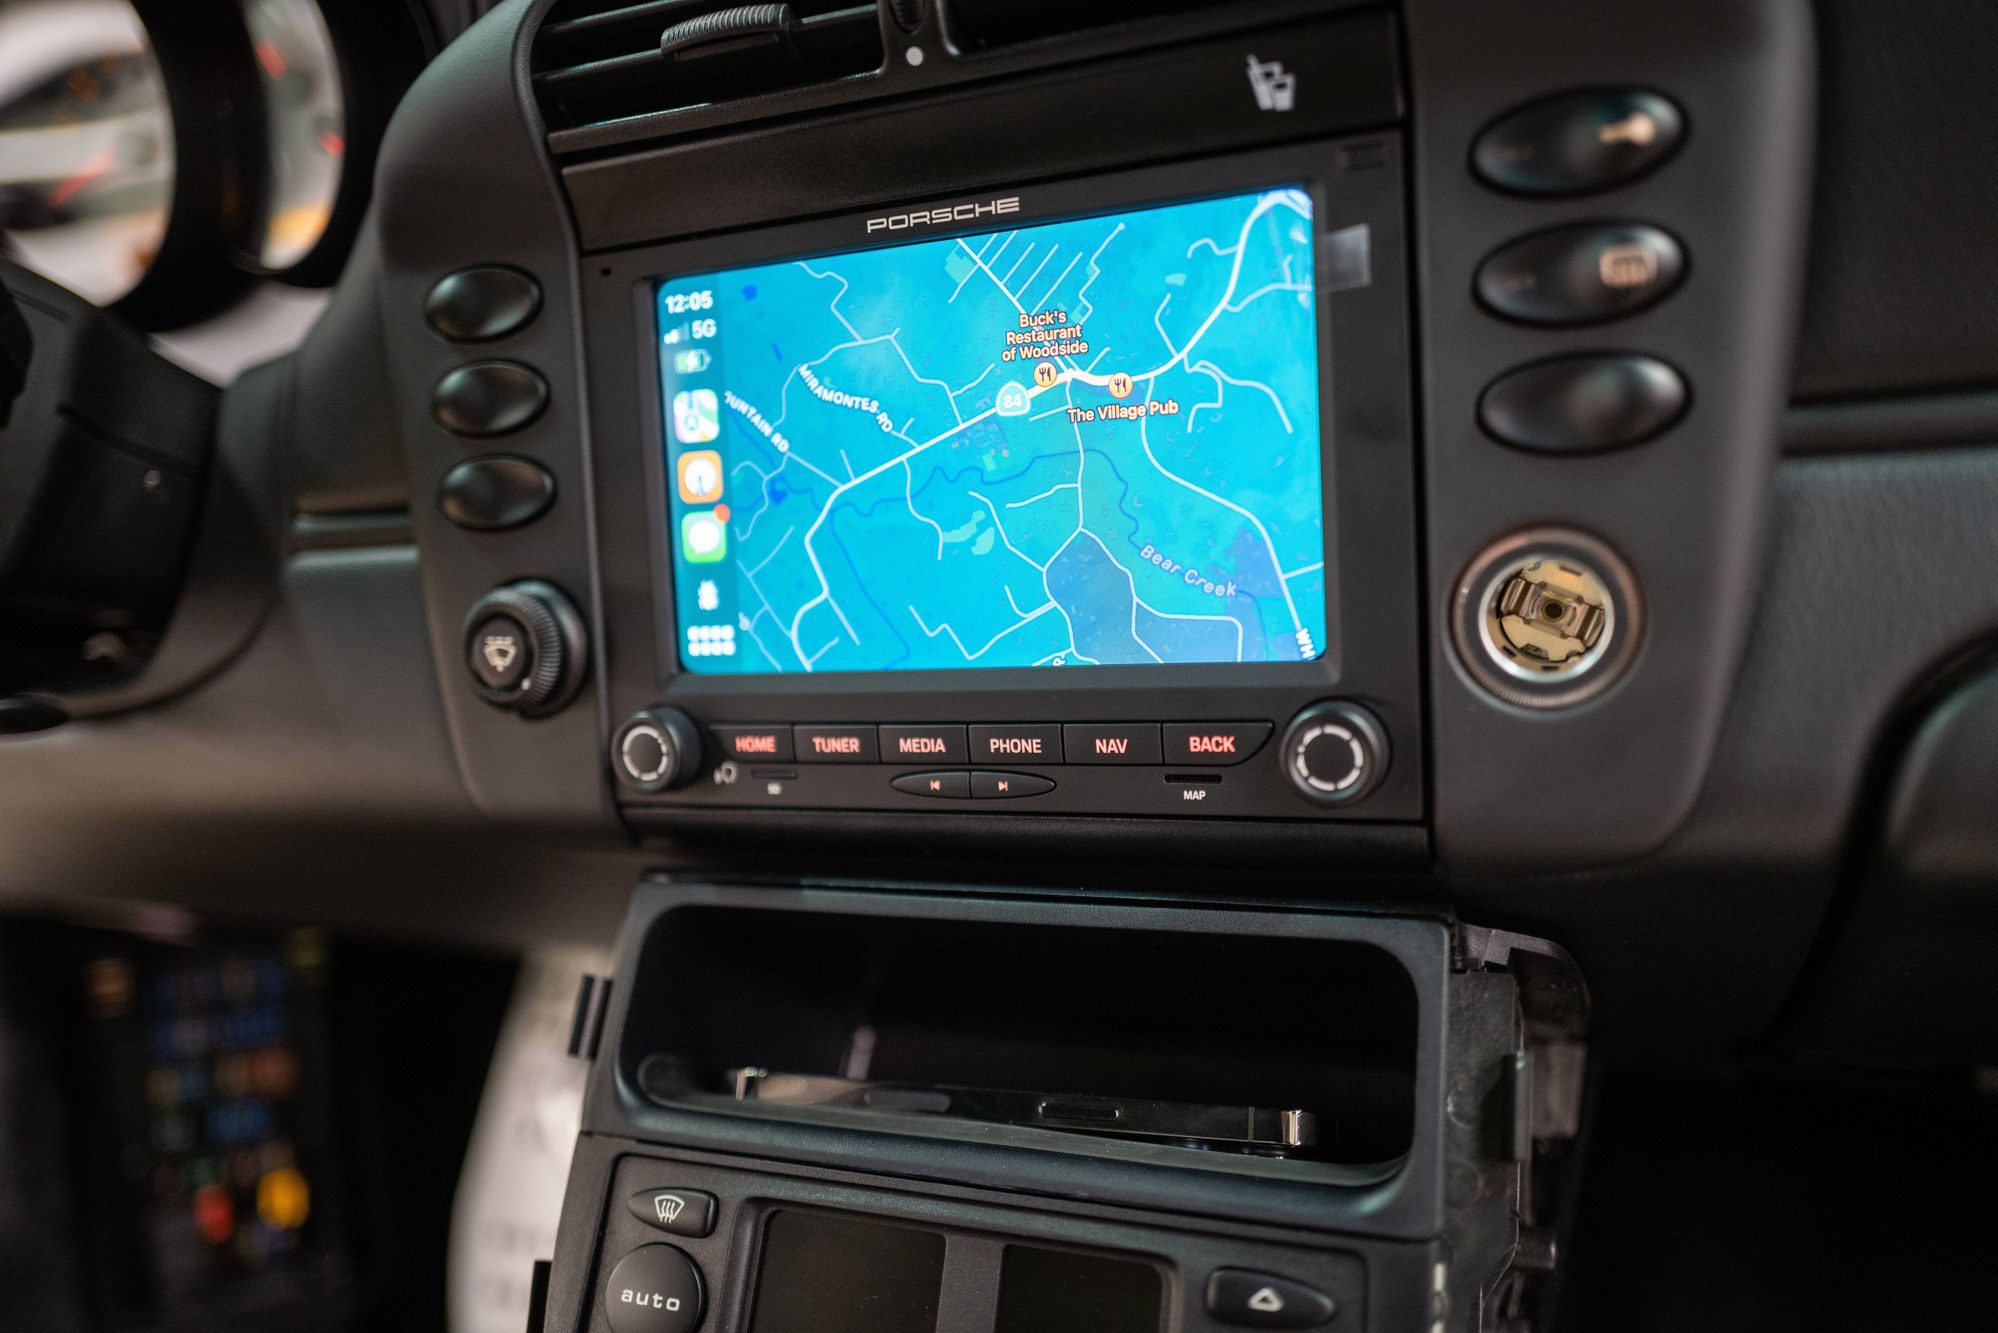
I have been genuinely curious about the PCCM+ CarPlay unit that Porsche Classic released. I thought it�d be nice to have Maps and Podcasts in the car so I found a good deal on one during Black Friday and dove in.
I�ll get all of this out of the way upfront. This unit is mostly plug-n-play � but it certainly seems designed with MOST fiber-optic systems in mind � or at the very least 996 systems with an external amp. I ran into some problems that I still haven�t solved, but I can live with them for the moment. I also have not found an instance of anyone else installing this in a 996 GT3 � if you have (or know of anyone) I would like to talk with them. Porsche is zero help with this unit at the moment. I�ll talk about the problems I am still diagnosing at the end.
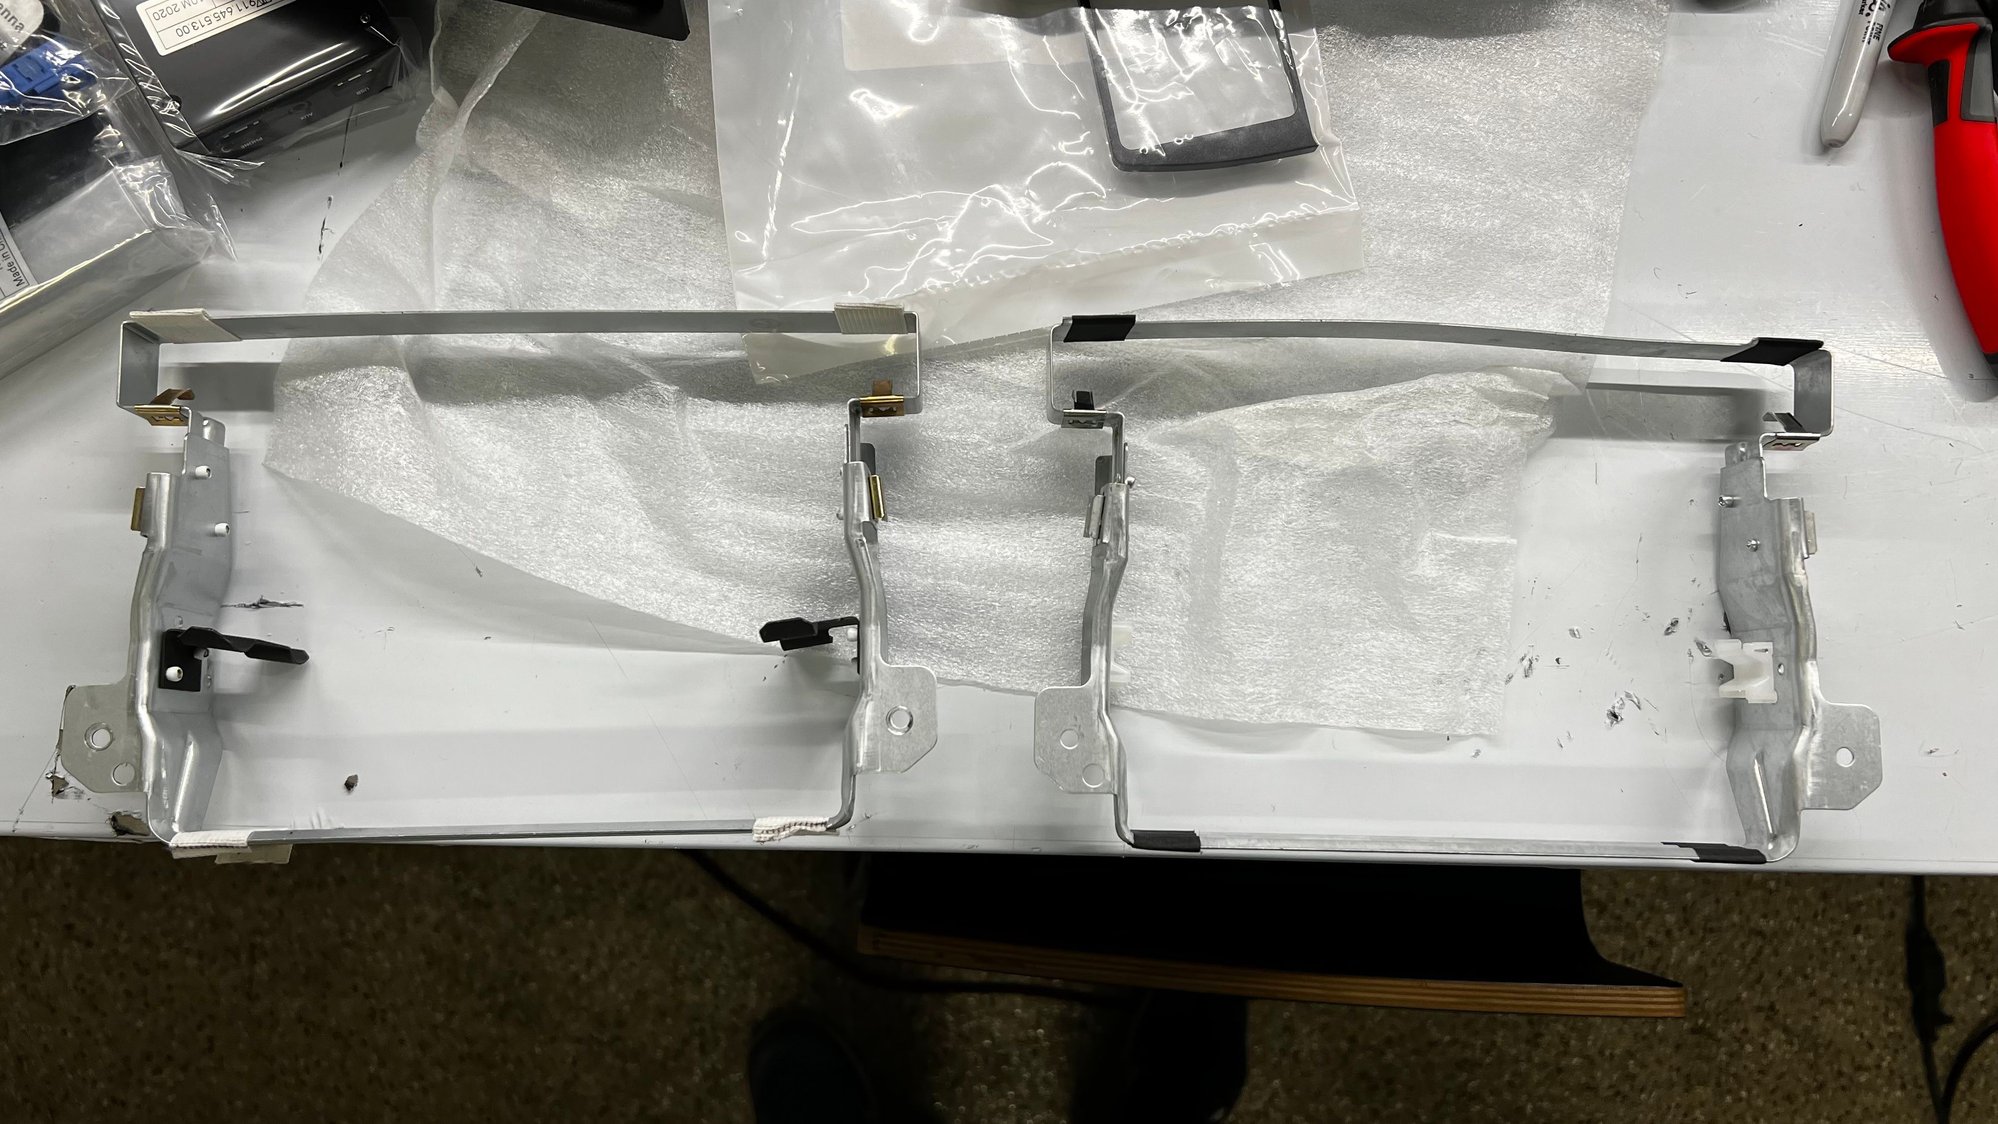
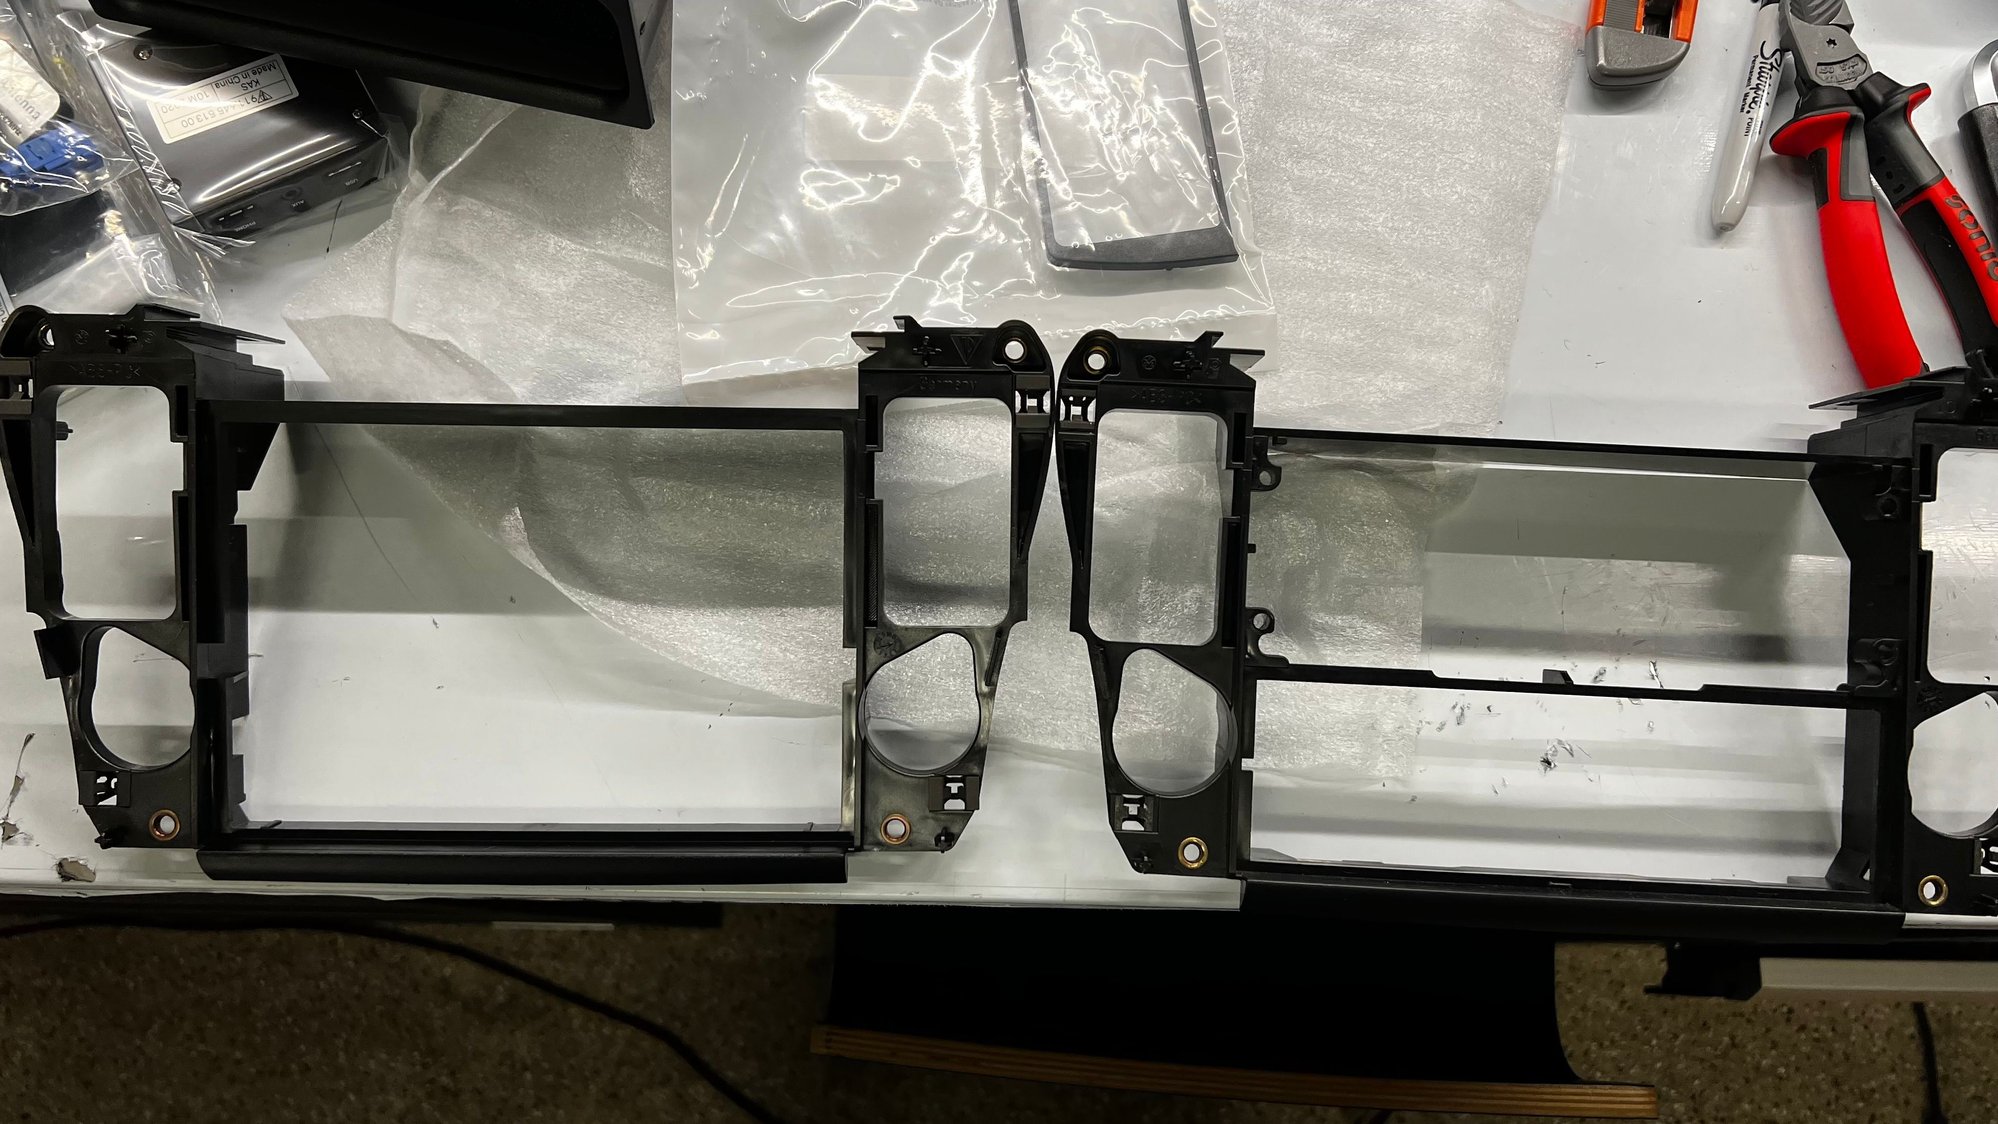
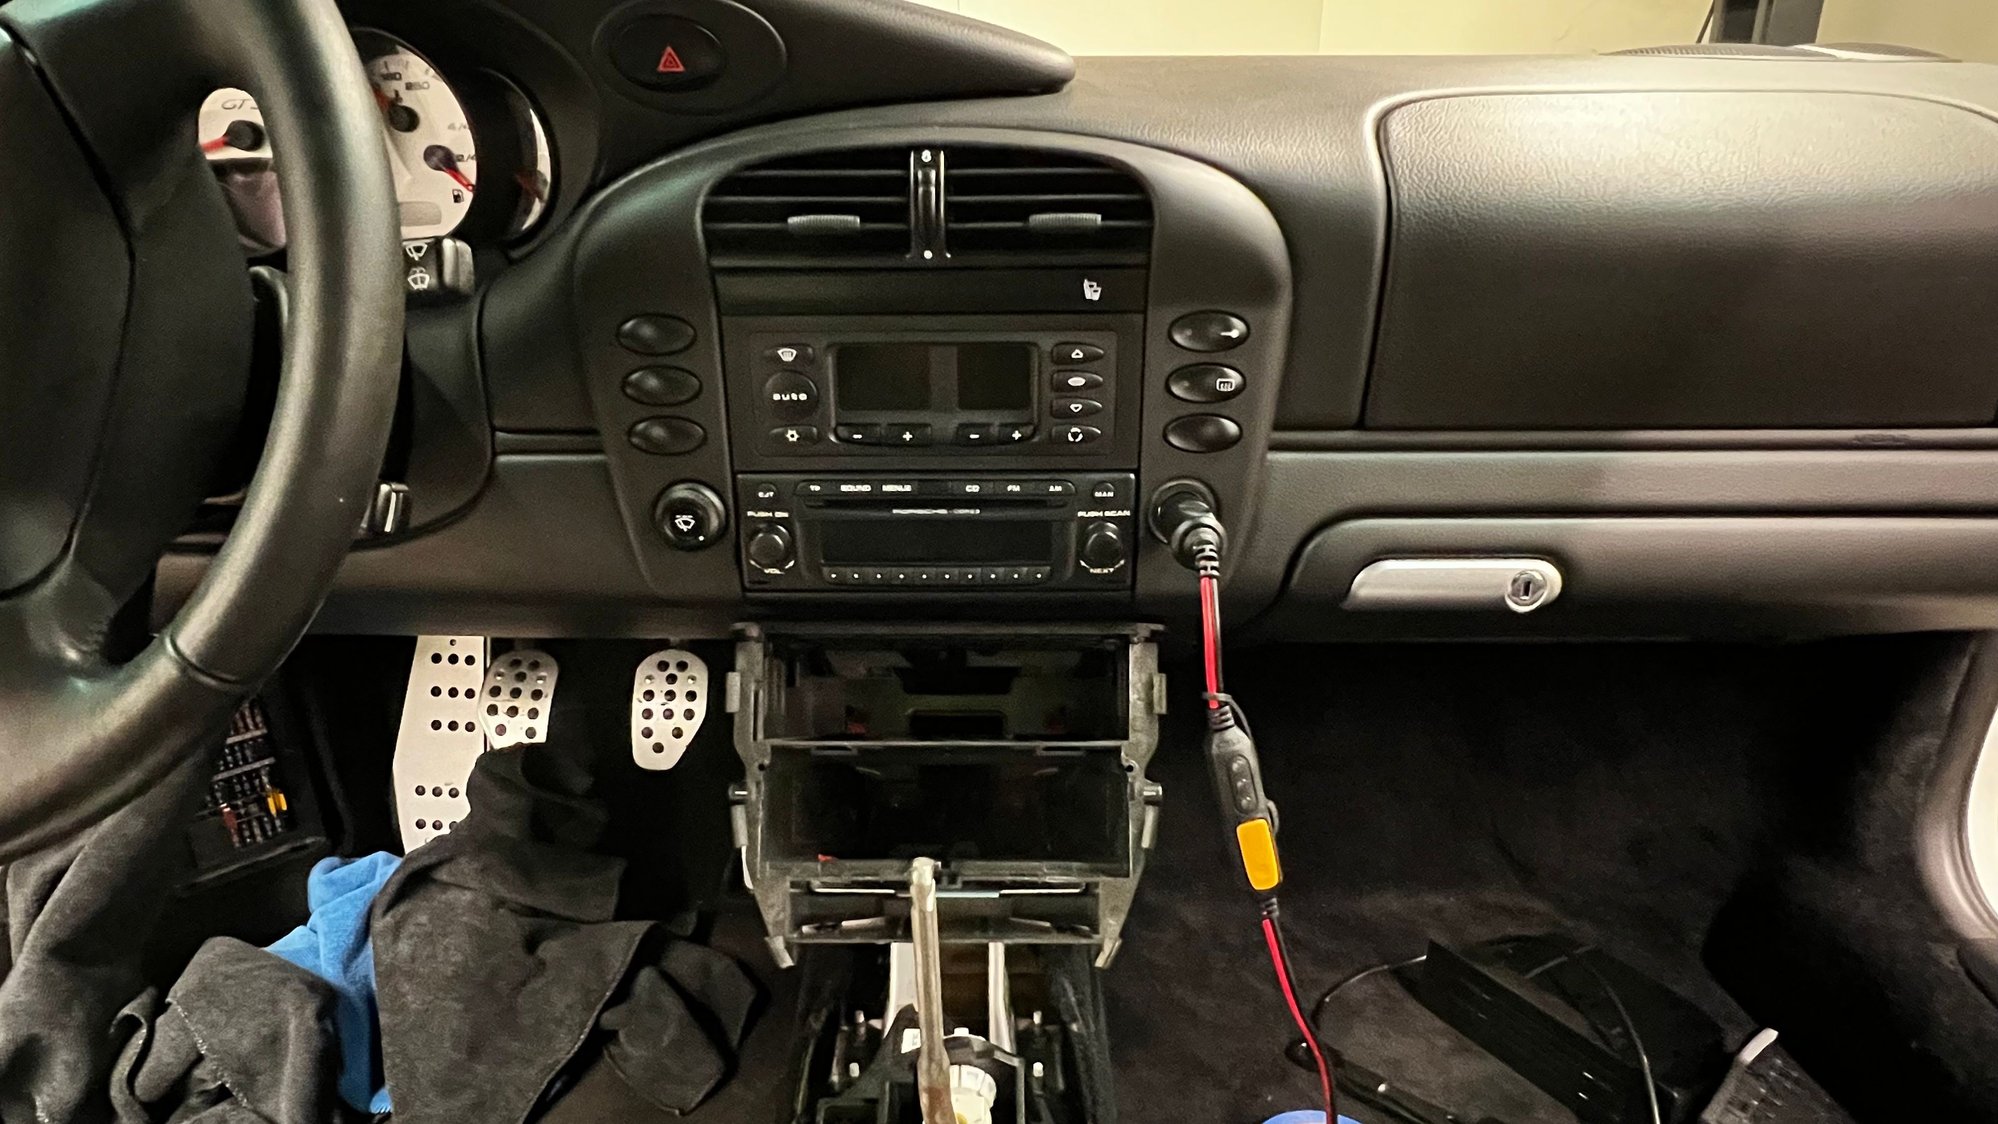
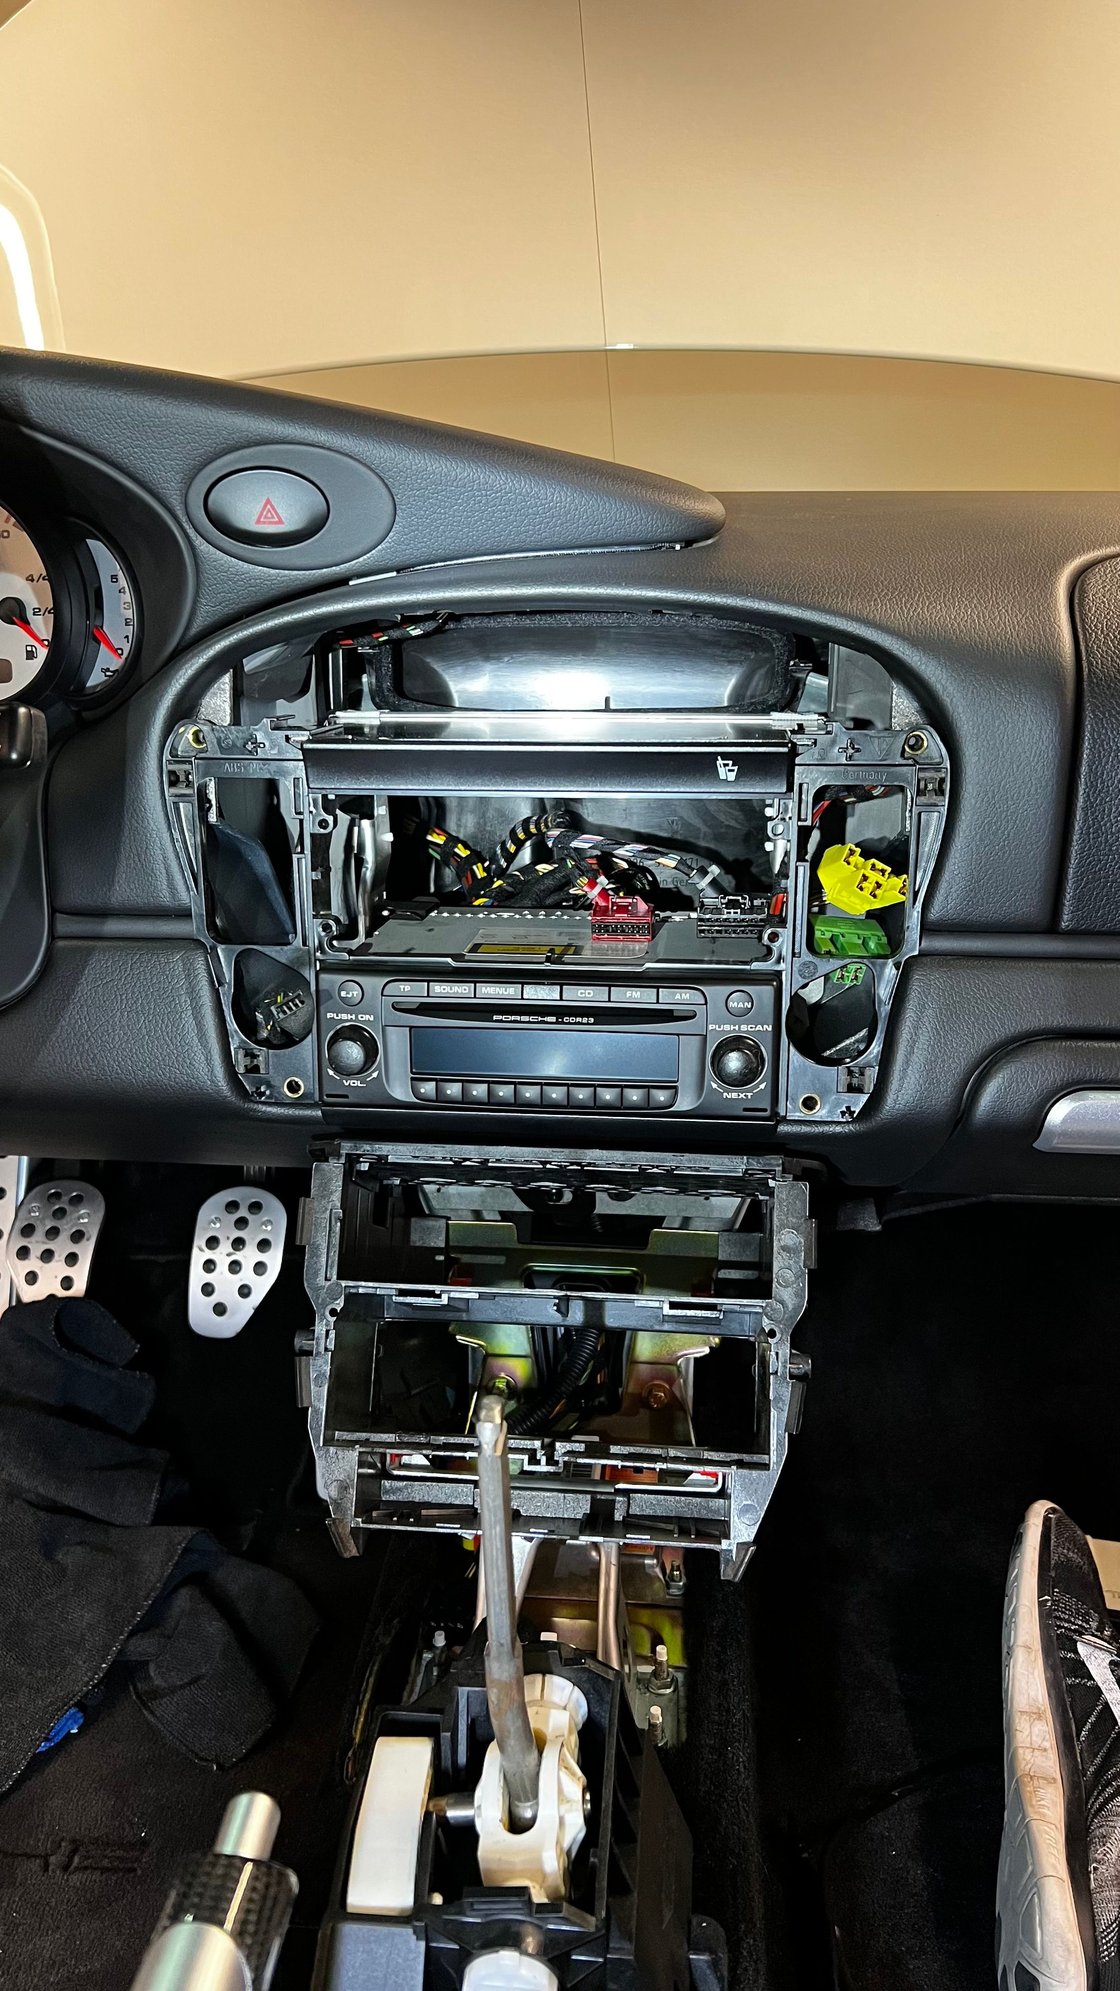
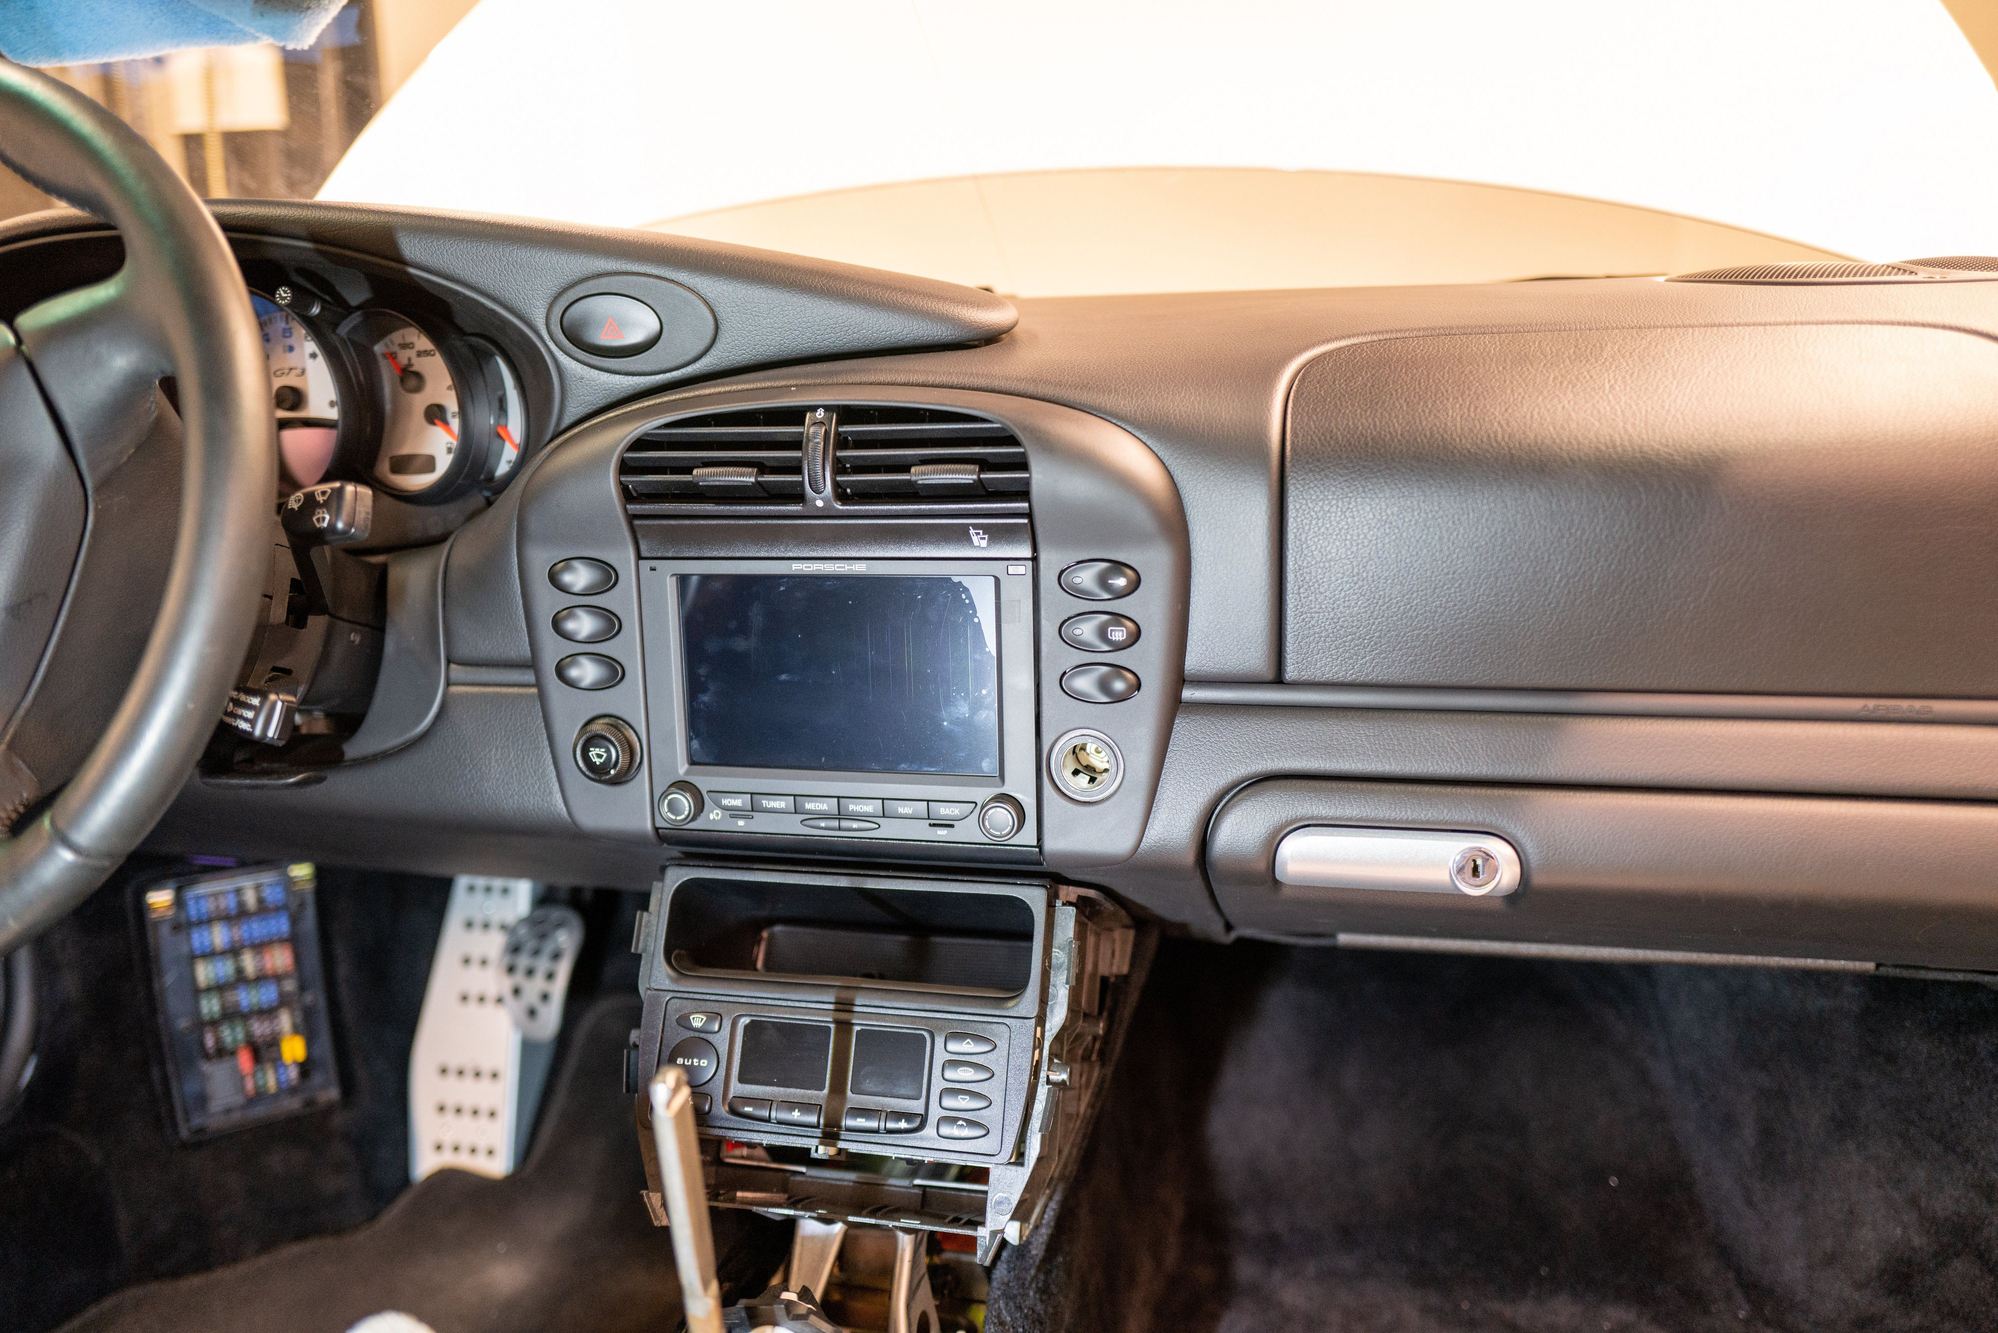
For my install (�and I�m assuming most GT3 installs), I needed to make room from the double DIN PCCM+ by relocating the HVAC controls to the lowest position in the lower stack, removing the CDR23, the CD Holder, and adding a cubby to the top position in the lower stack. The top cubby is a different shape and part number from the lower cubby that came stock in the car. I also needed a different trim bezel for the double DIN unit and a different retaining bracket in the dash to accommodate the double DIN. Many folks modify the single DIN pieces that come in our cars, but I always want to be able to go right back to stock so I bought the following pieces:
Double DIN retaining bracket - 996-552-653-04
Double DIN trim bezel - 996-552-231-12-01C
HVAC control trim for lower stack location - 996-552-339-00-01C
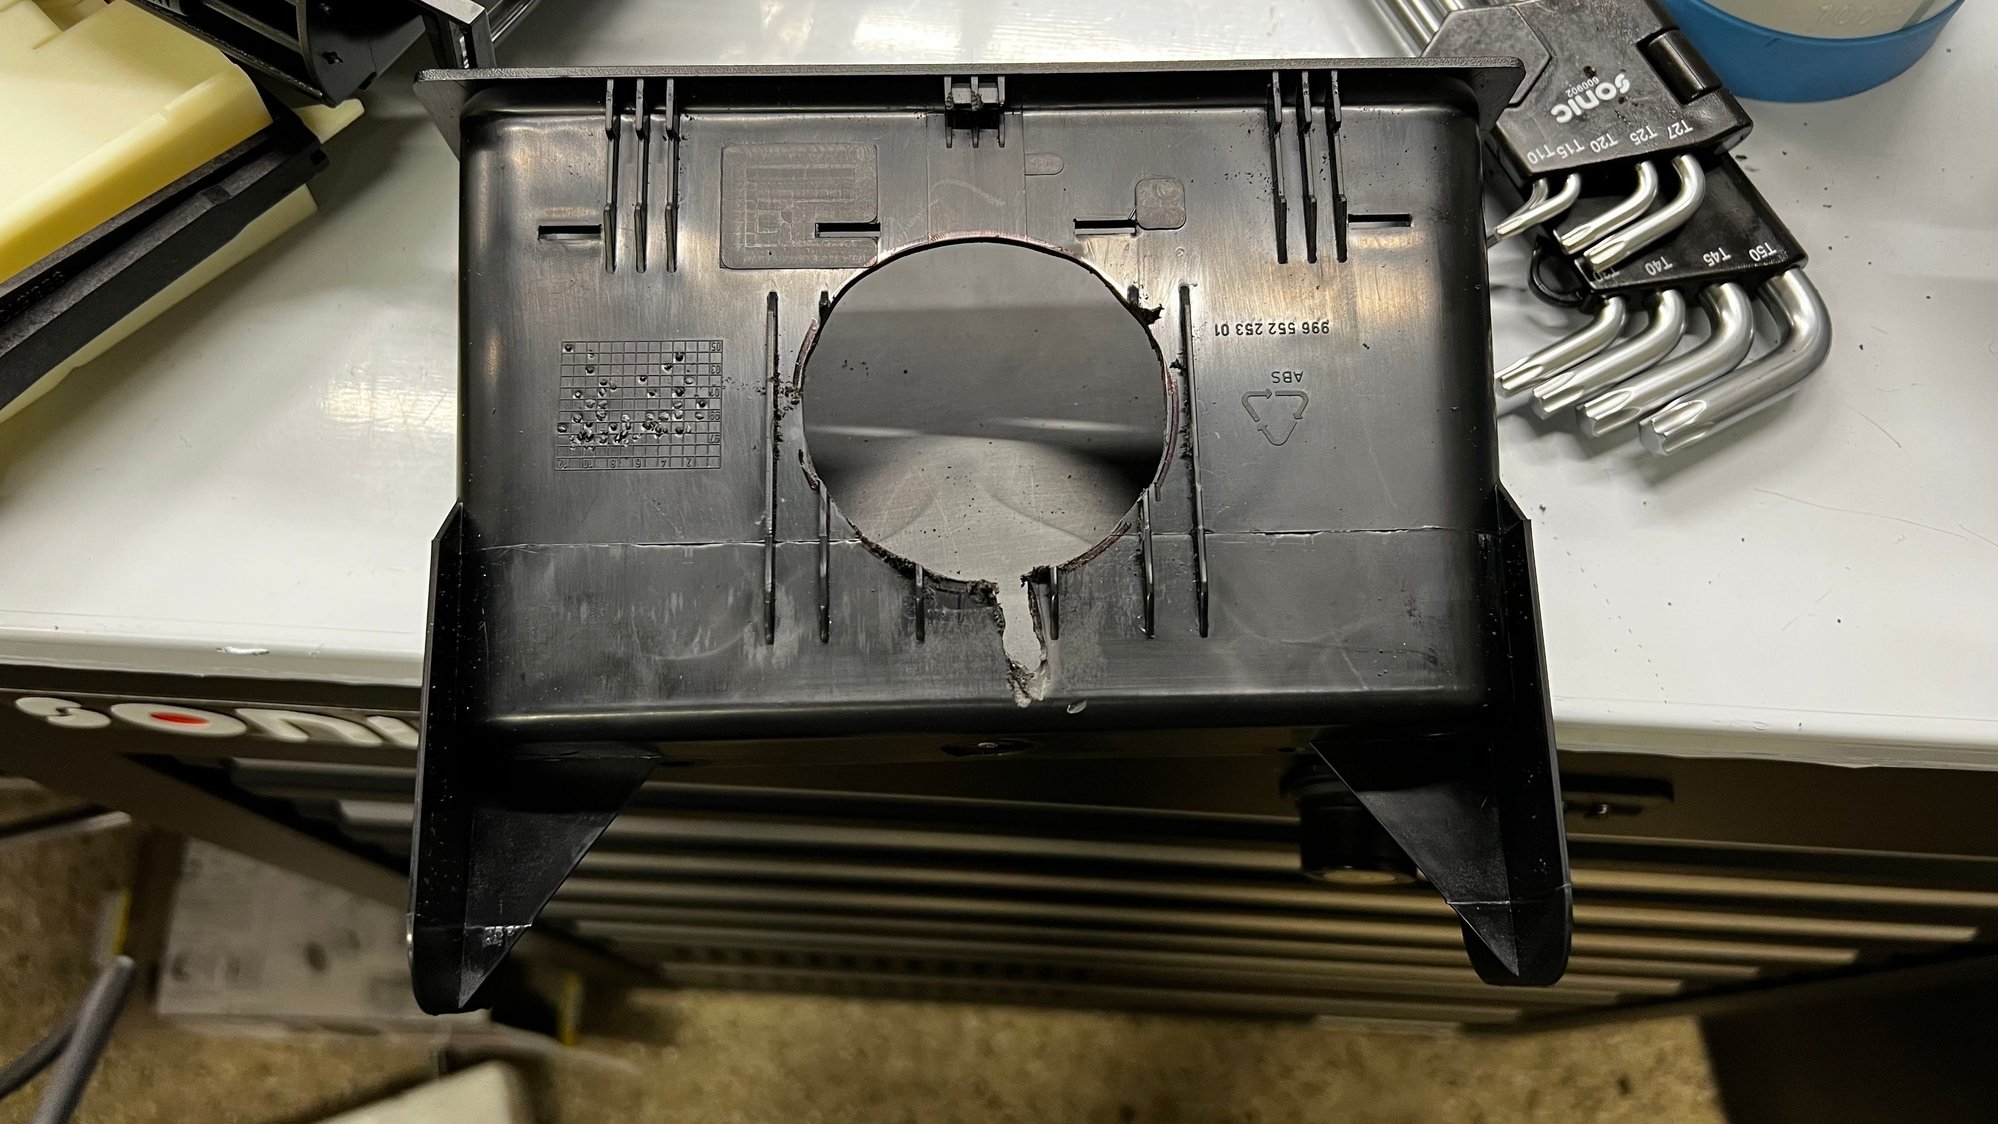
High position cubby for lower stack location - 996-552-253-01-01C
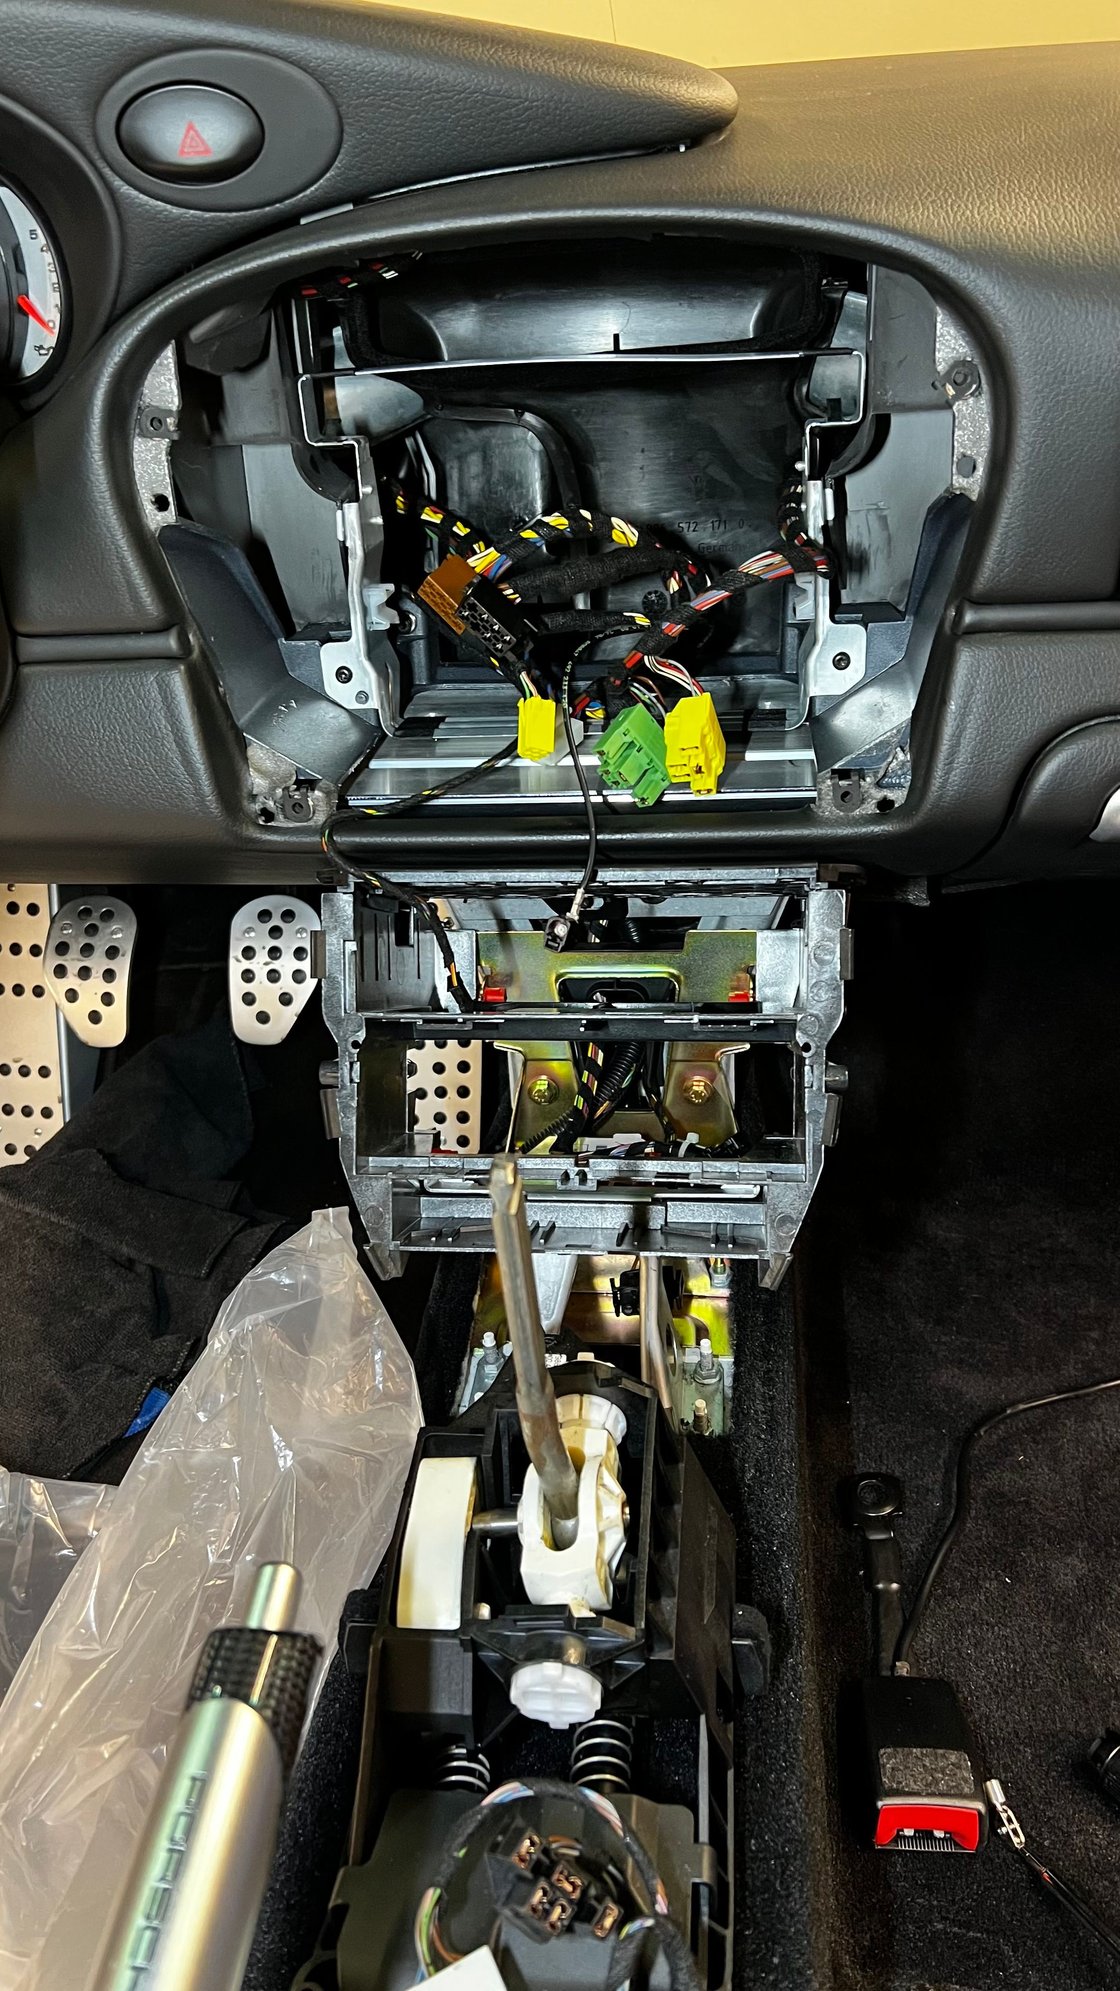
Removal of the dash pieces was straightforward, with no issues. Relocating the wiring for the HVAC controls was a bit of a pain � I needed to remove the side panels of the lower stack to have any shot of getting my hand in a position to snake the cable through the tight opening.
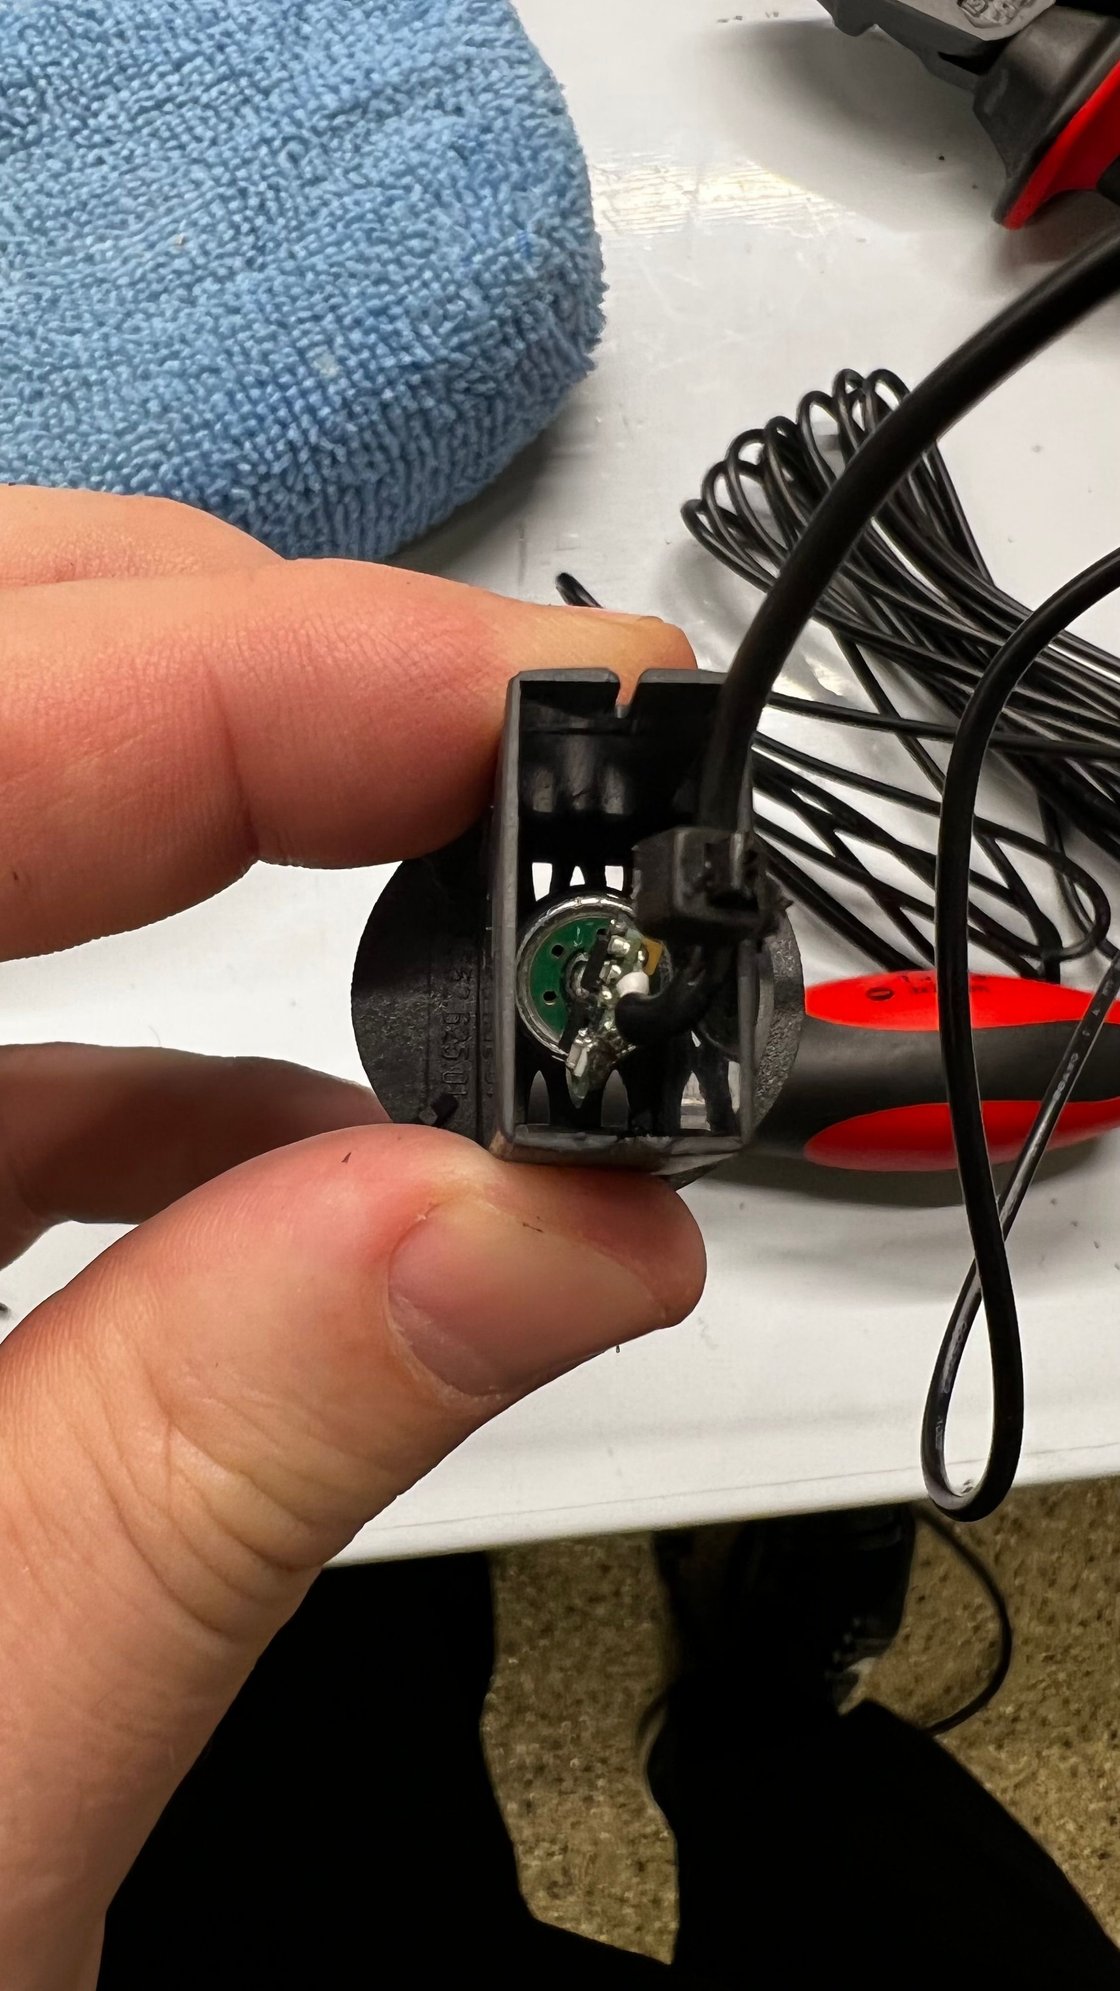
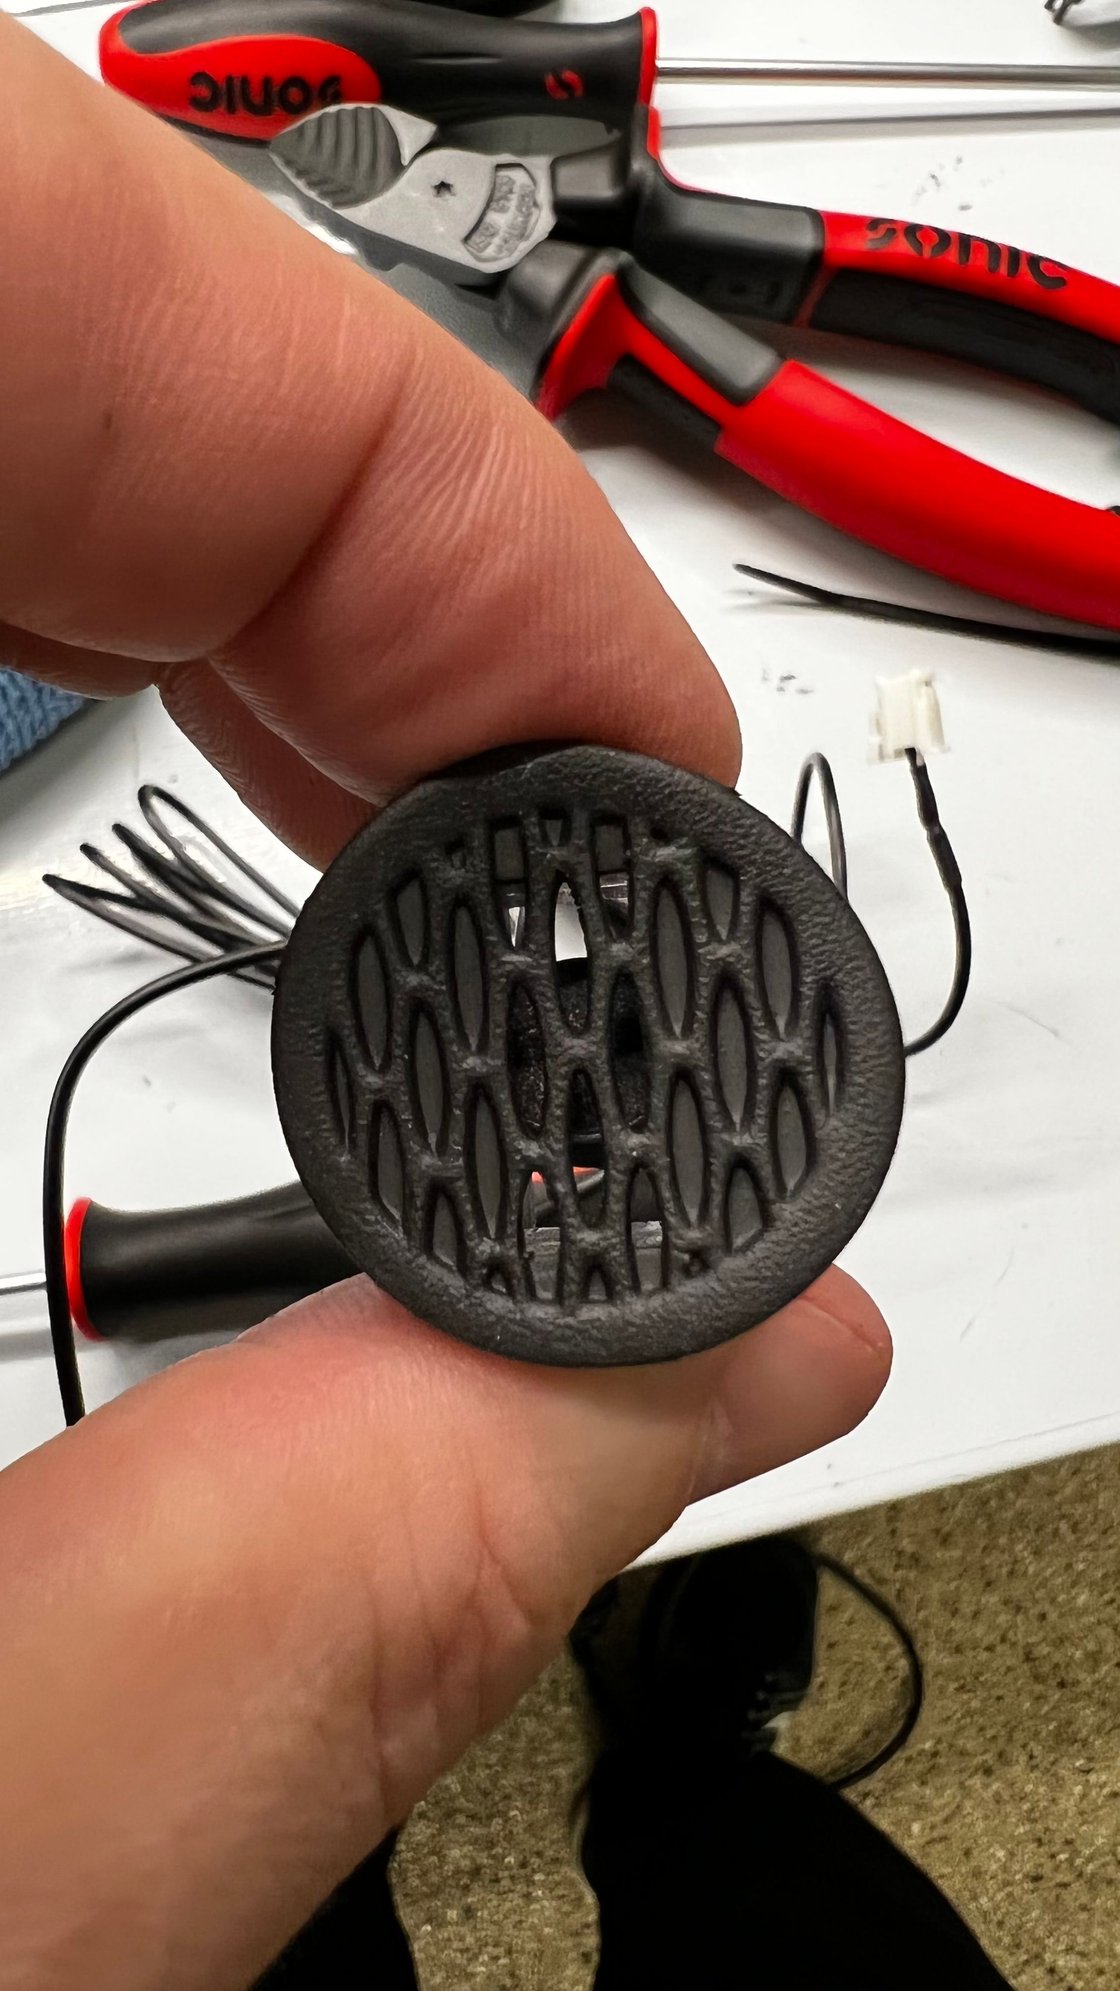
Microphone Install
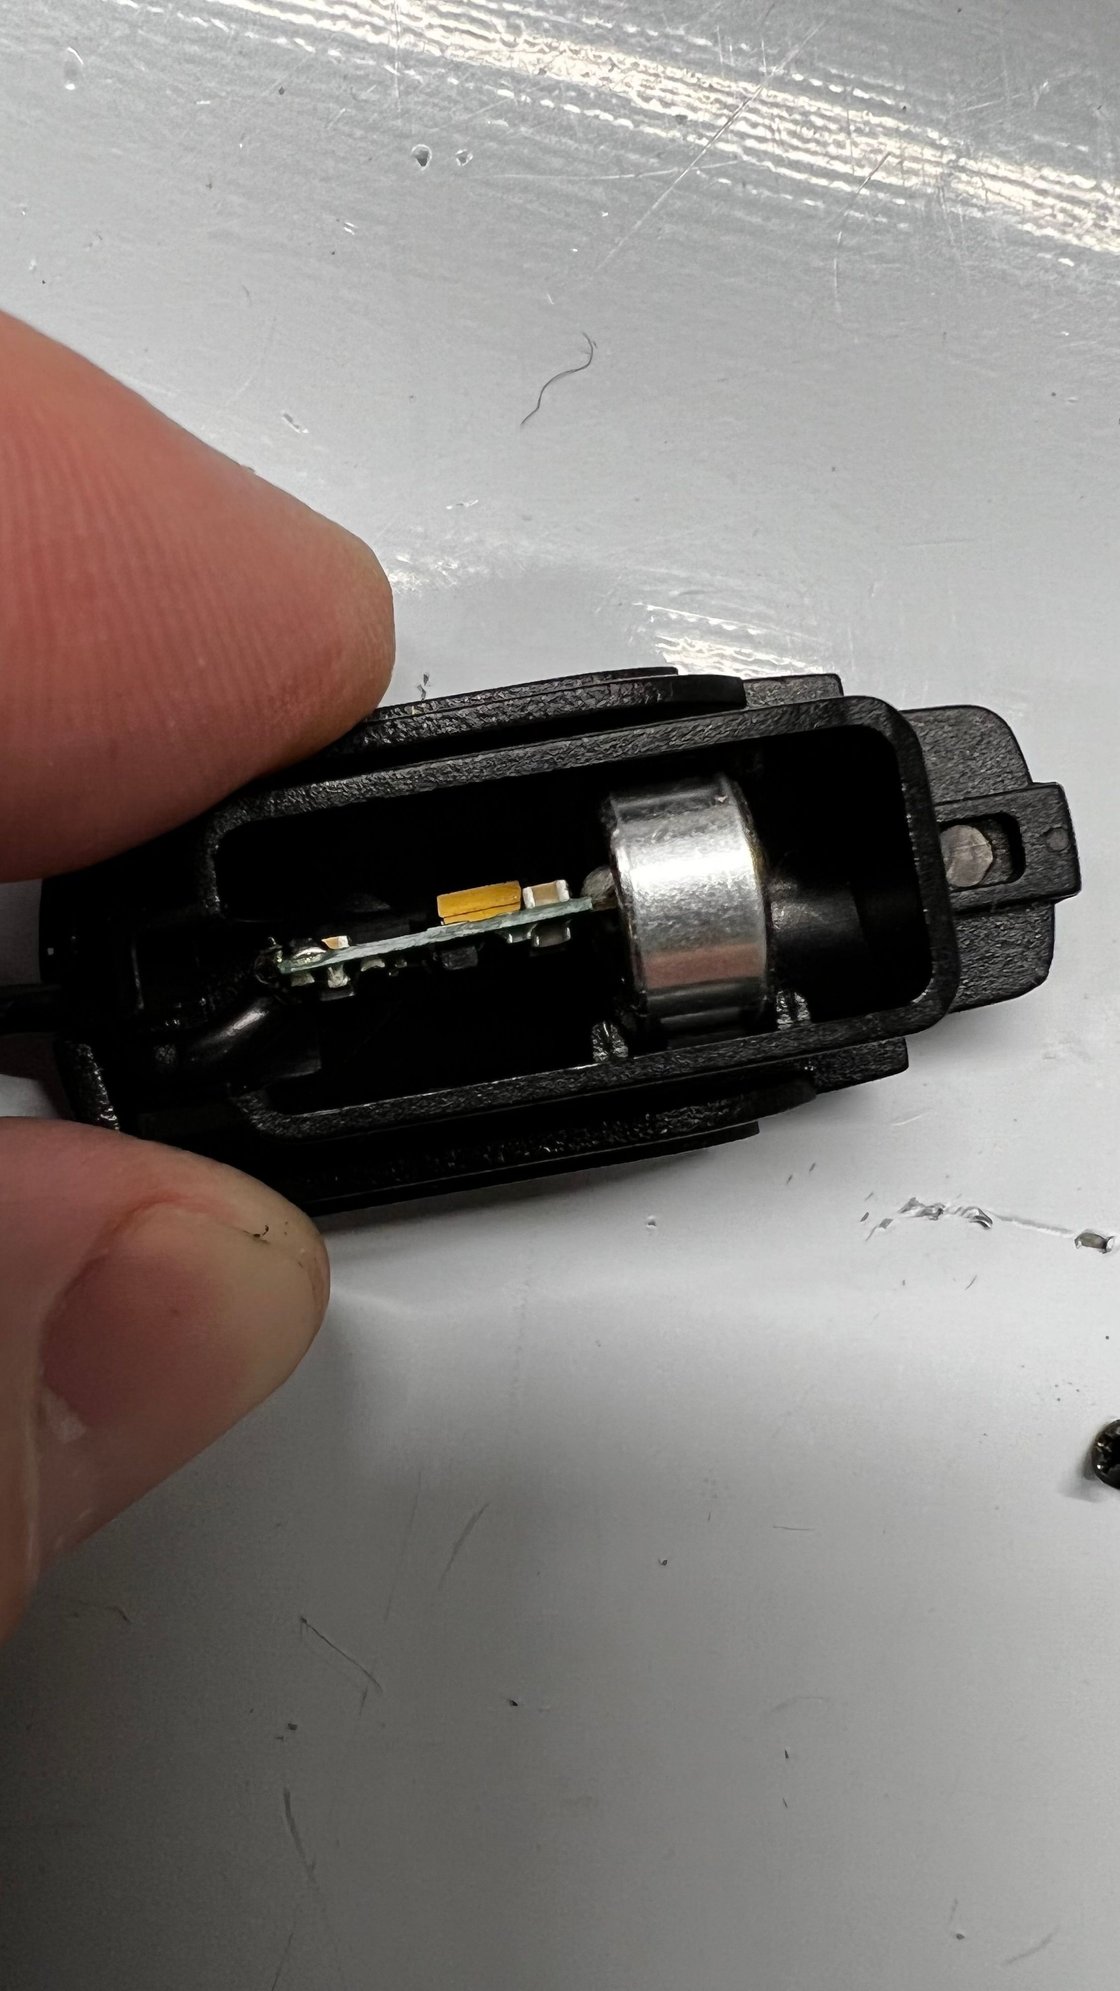
The Porsche instructions have you place the mic on top of the steering wheel column. That�s not going to fly. The only way this system works for me is if it looks stock and hidden. In a YouTube video of one of the installs, I saw someone disassemble the mic housing and relocate the internals to a stock mic location in the center cluster. I did the same � it worked beautifully and is hidden. Siri and phone calls work well.
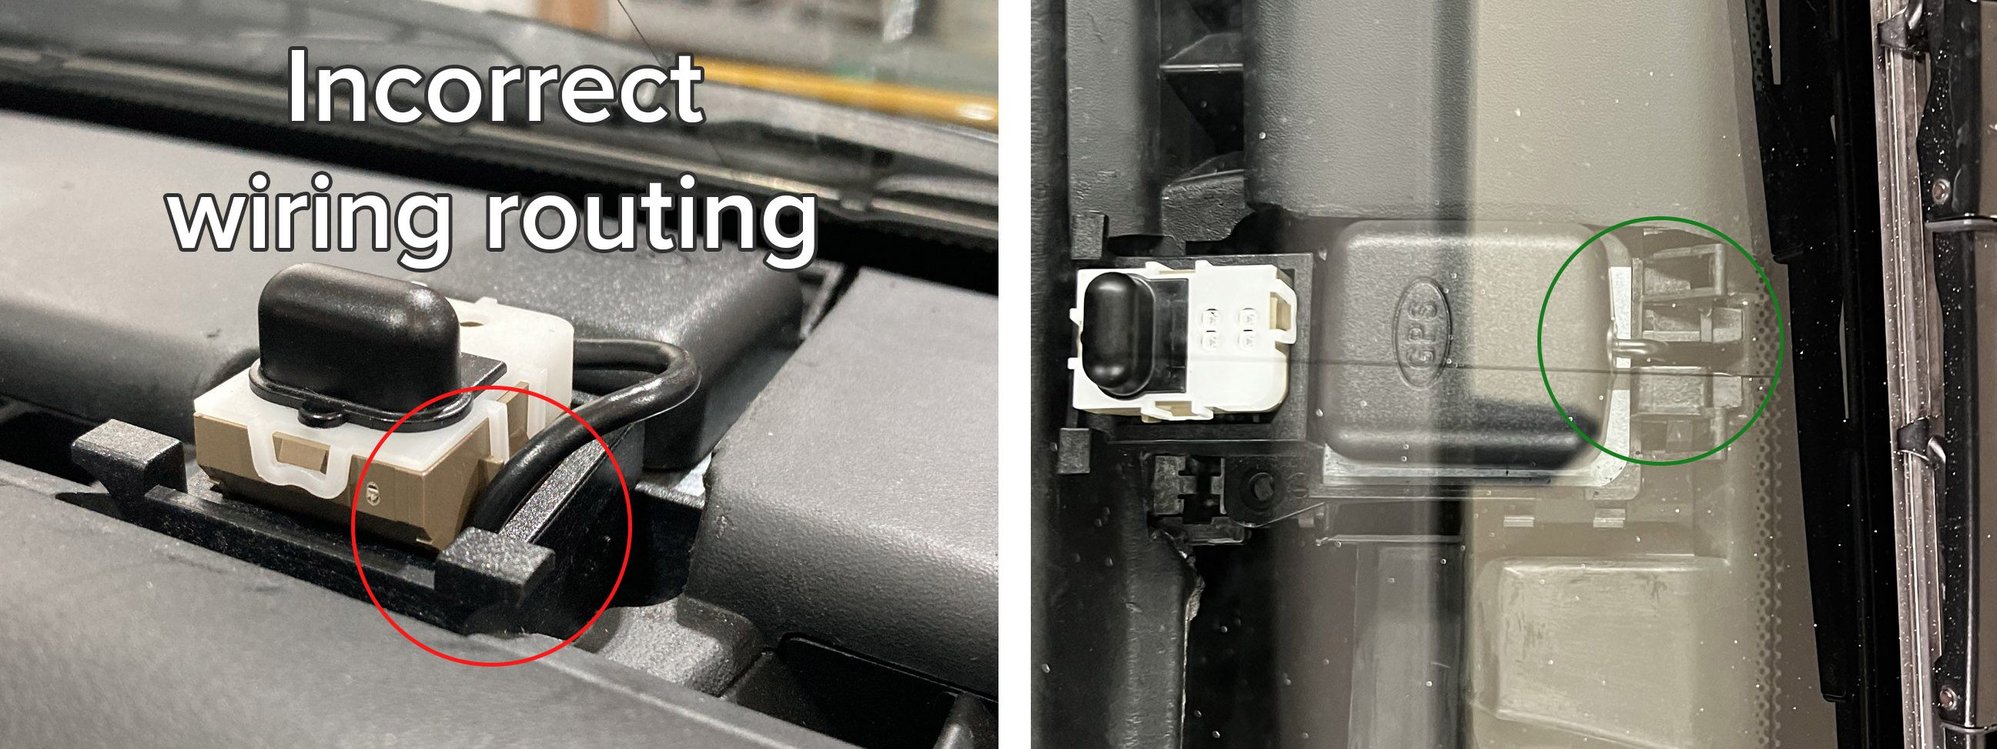
GPS Antenna Install
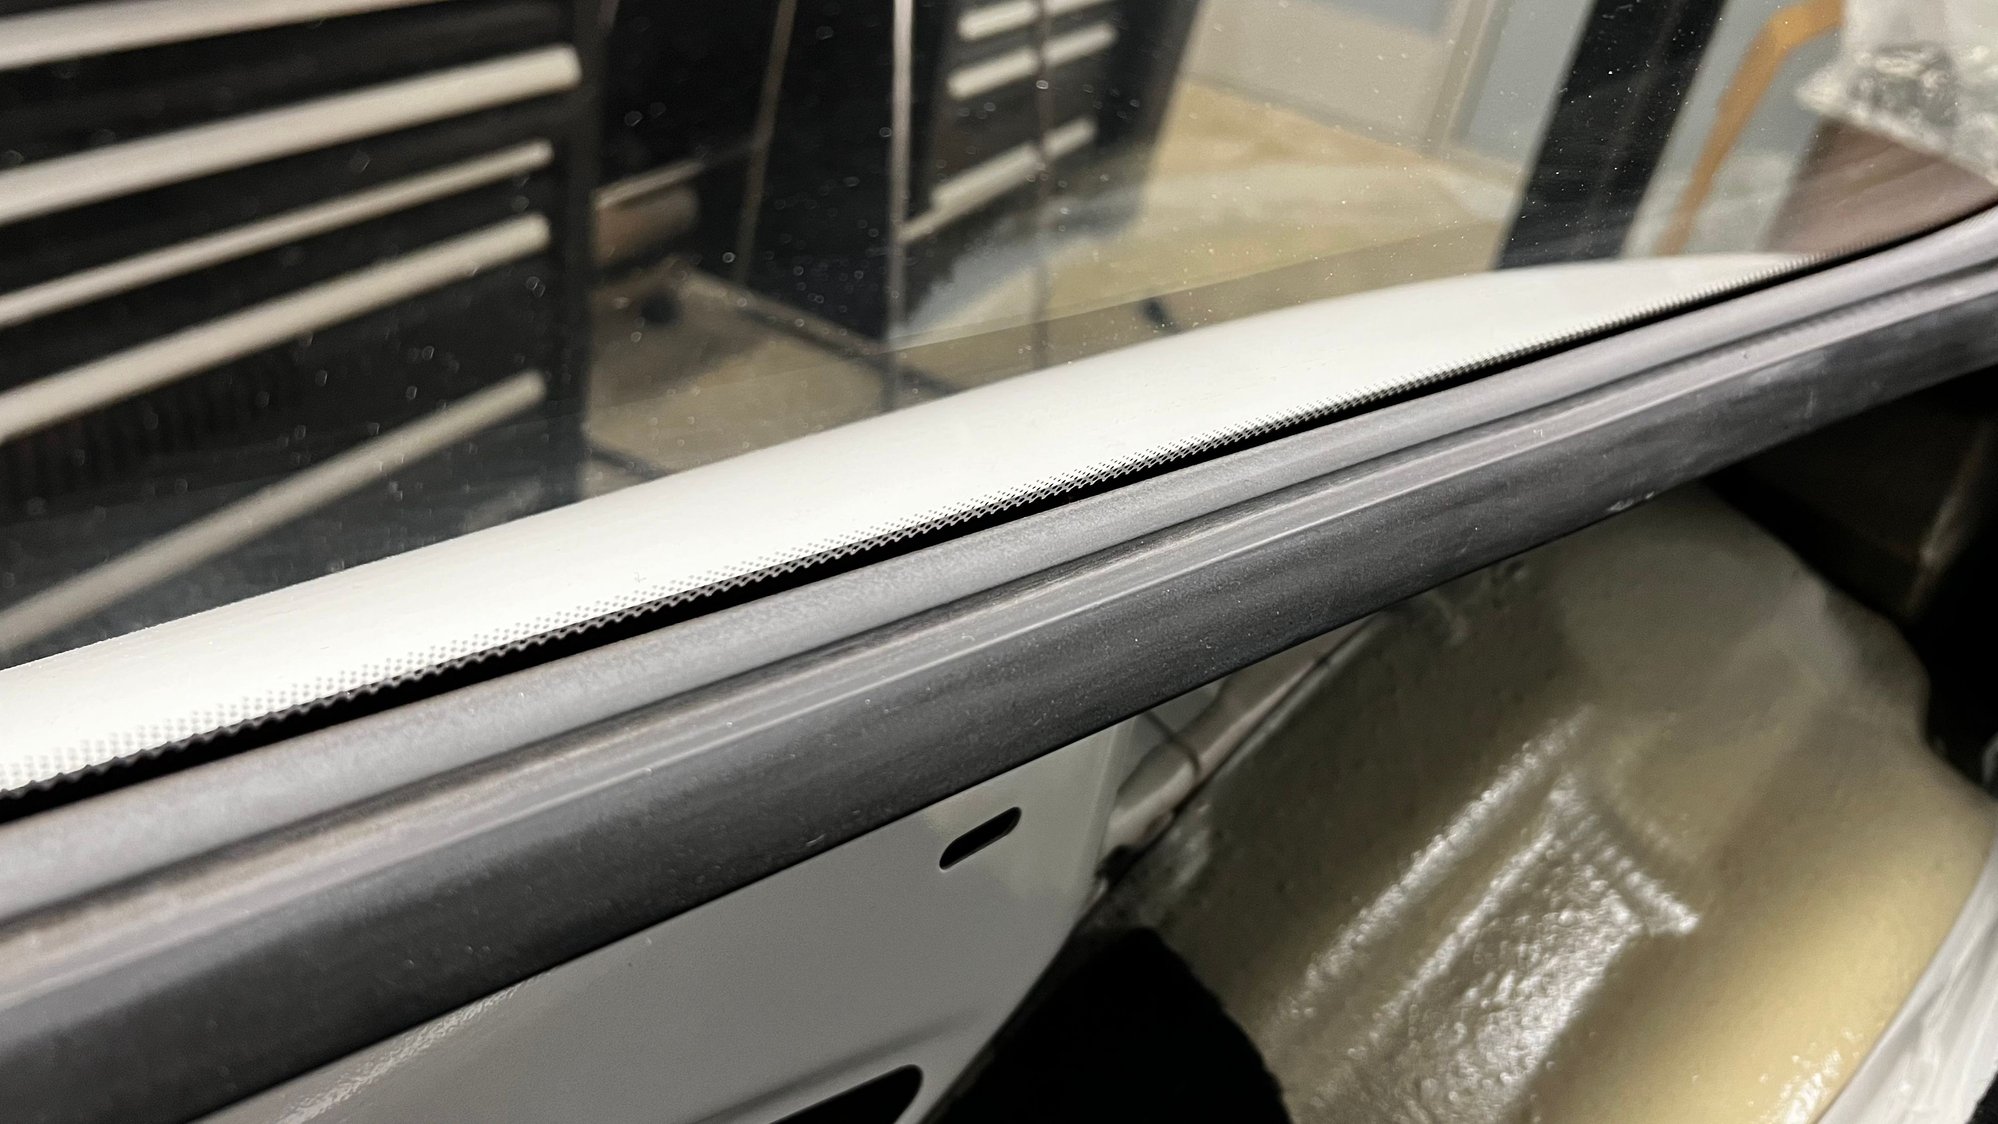
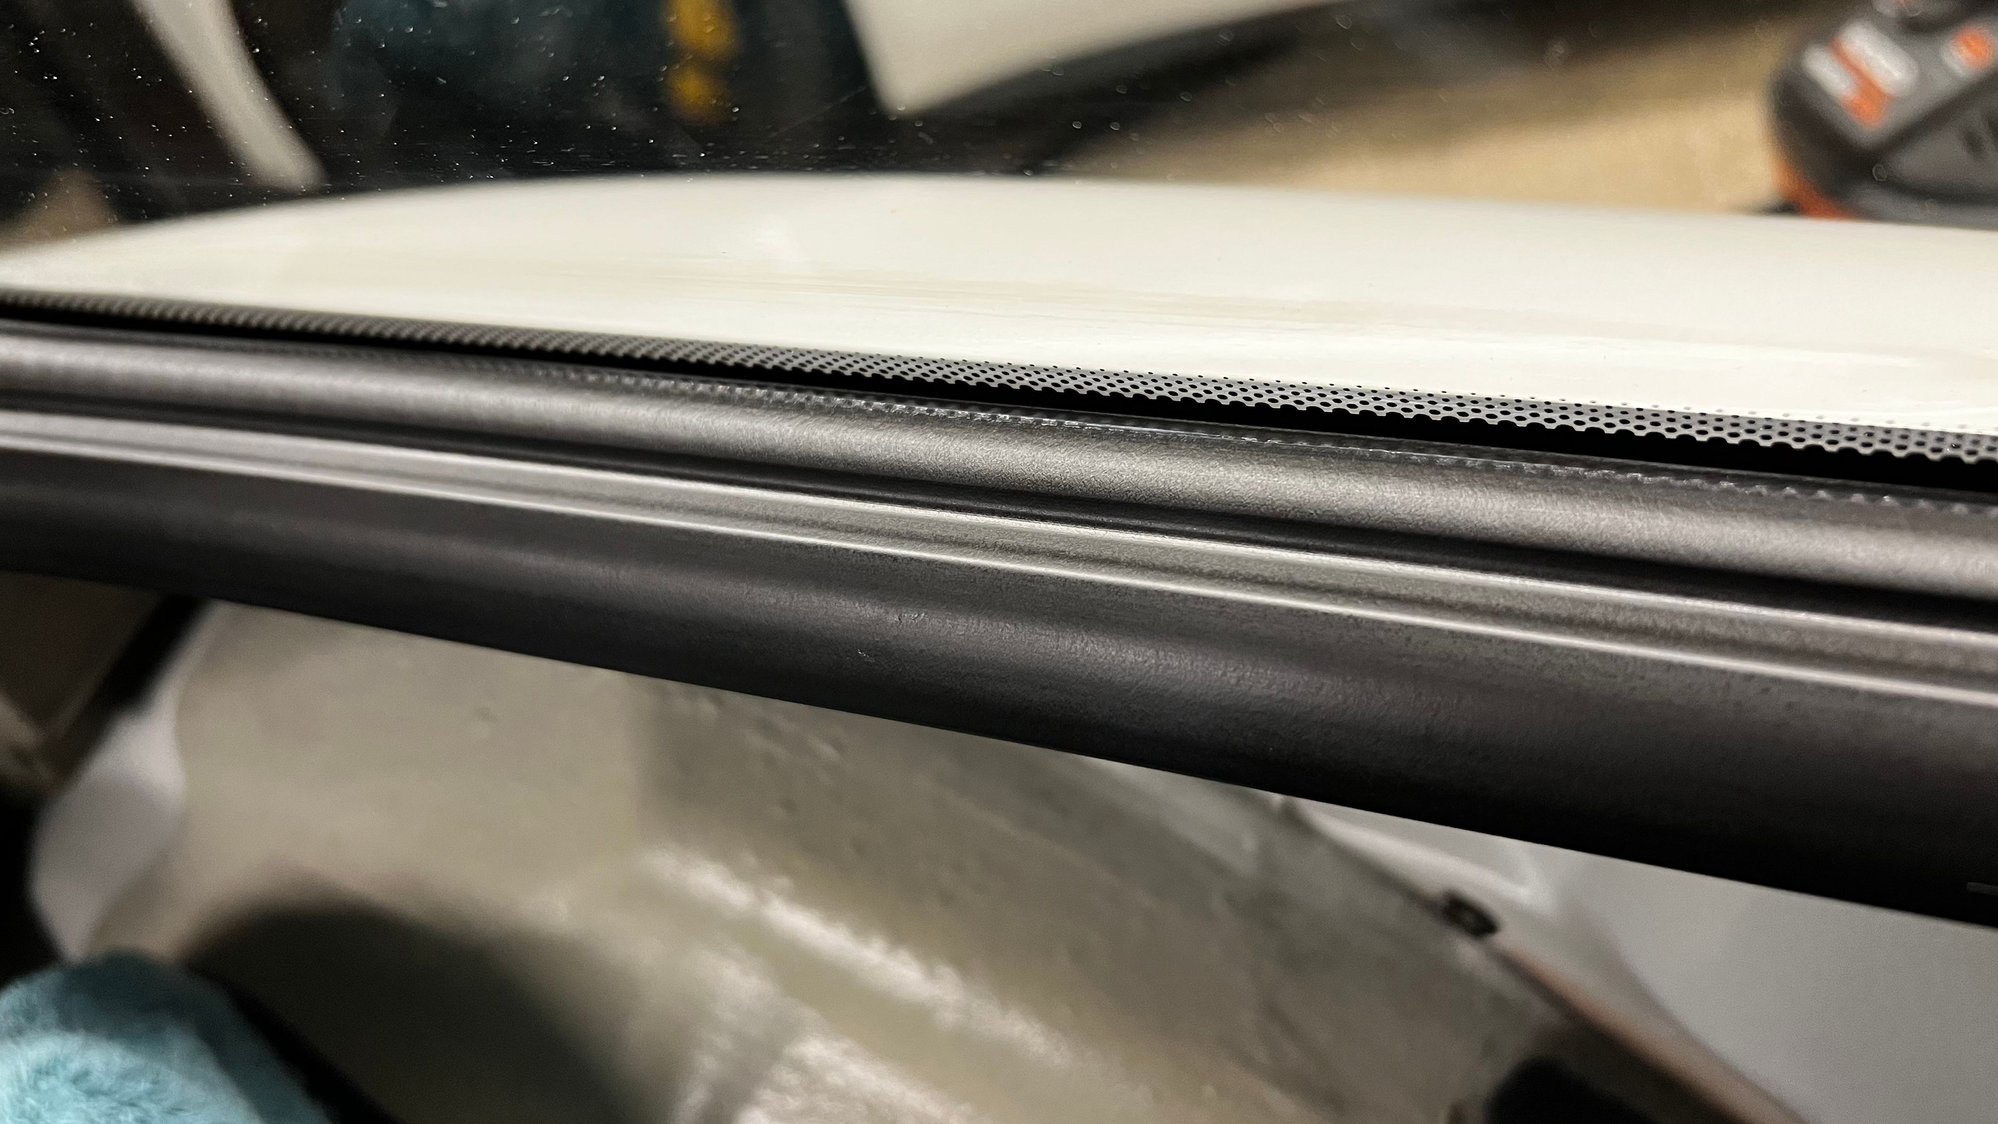
Next, I installed the GPS antenna. Some folks have used double-sided tape to affix it to the top of the vent duct underneath the dash, or underneath the plastic front trim in the frunk by the windshield wipers. Both of these options seemed weird to me given that 996s have a stock GPS antenna location on top of the dash underneath the security light cover. To route the cable correctly, you do have to pull both defroster trim pieces up halfway and undo 2 T20 Torx screws in the antenna carrier to remove it. The GPS cable should route through the slot facing the windshield/front of the car. It�s a pain to do it this way, but it is the right way to do it.
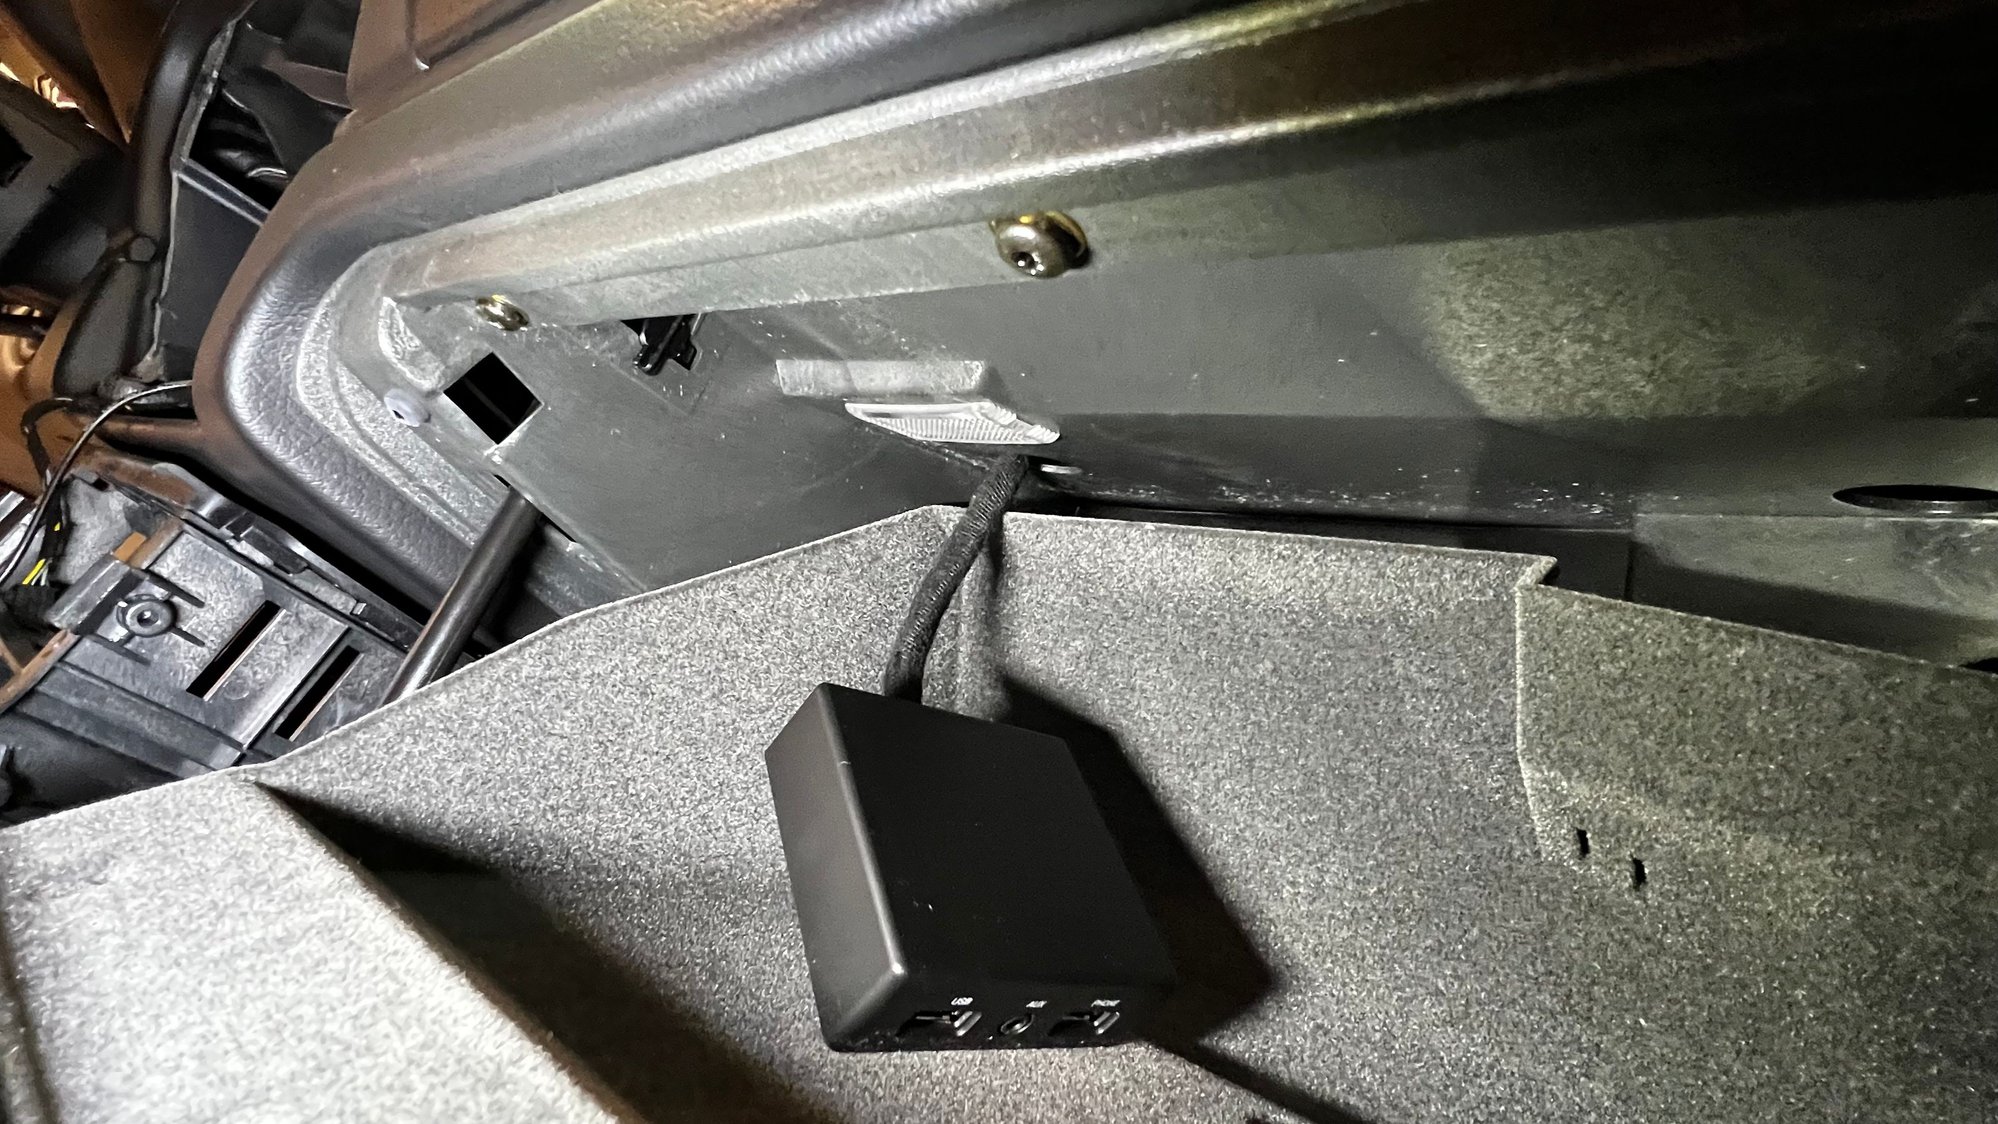
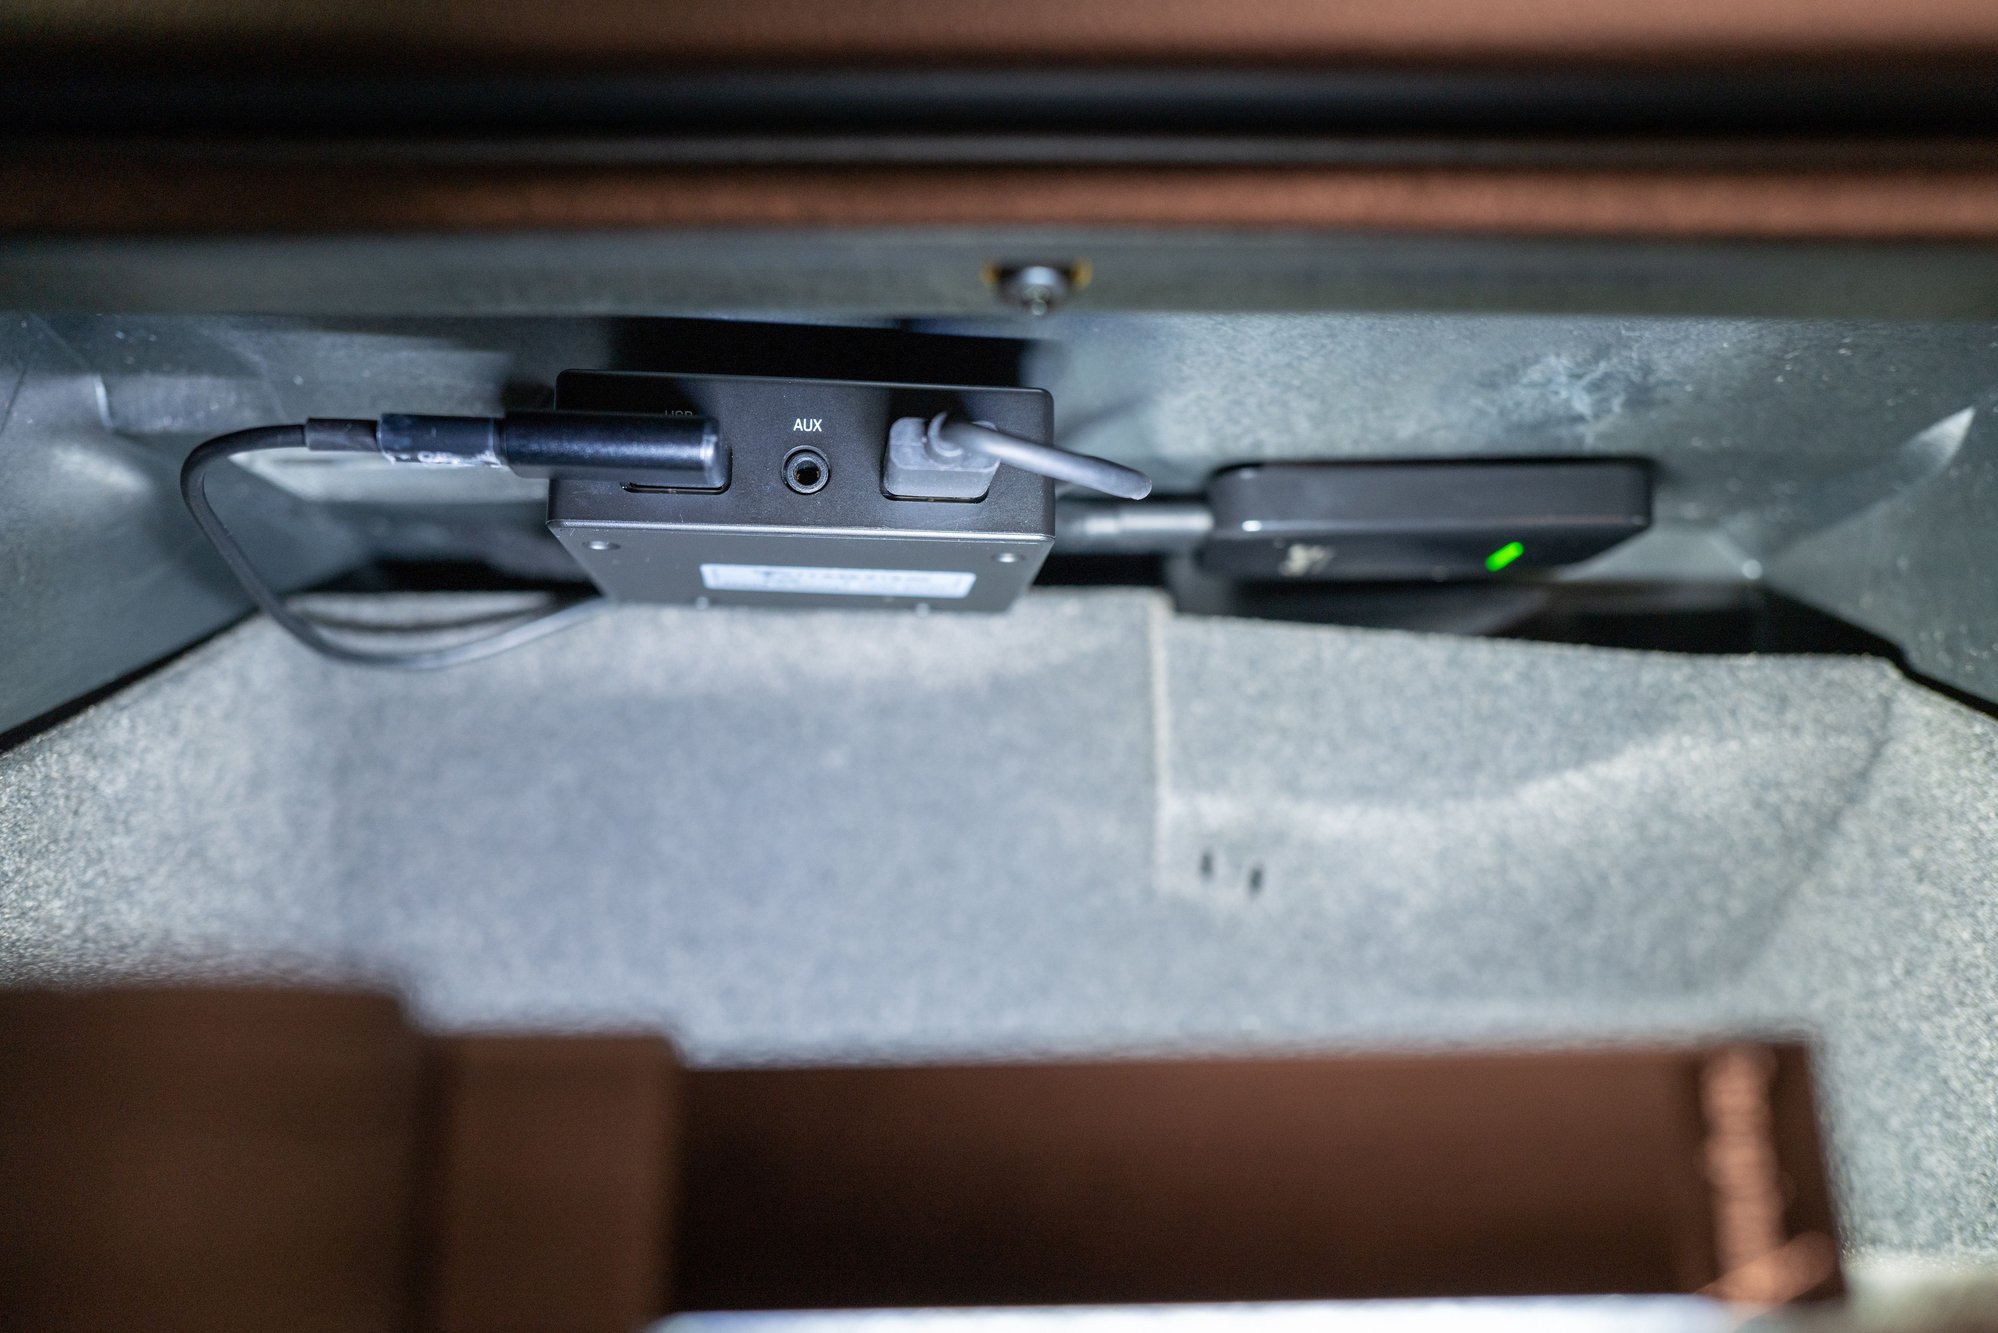
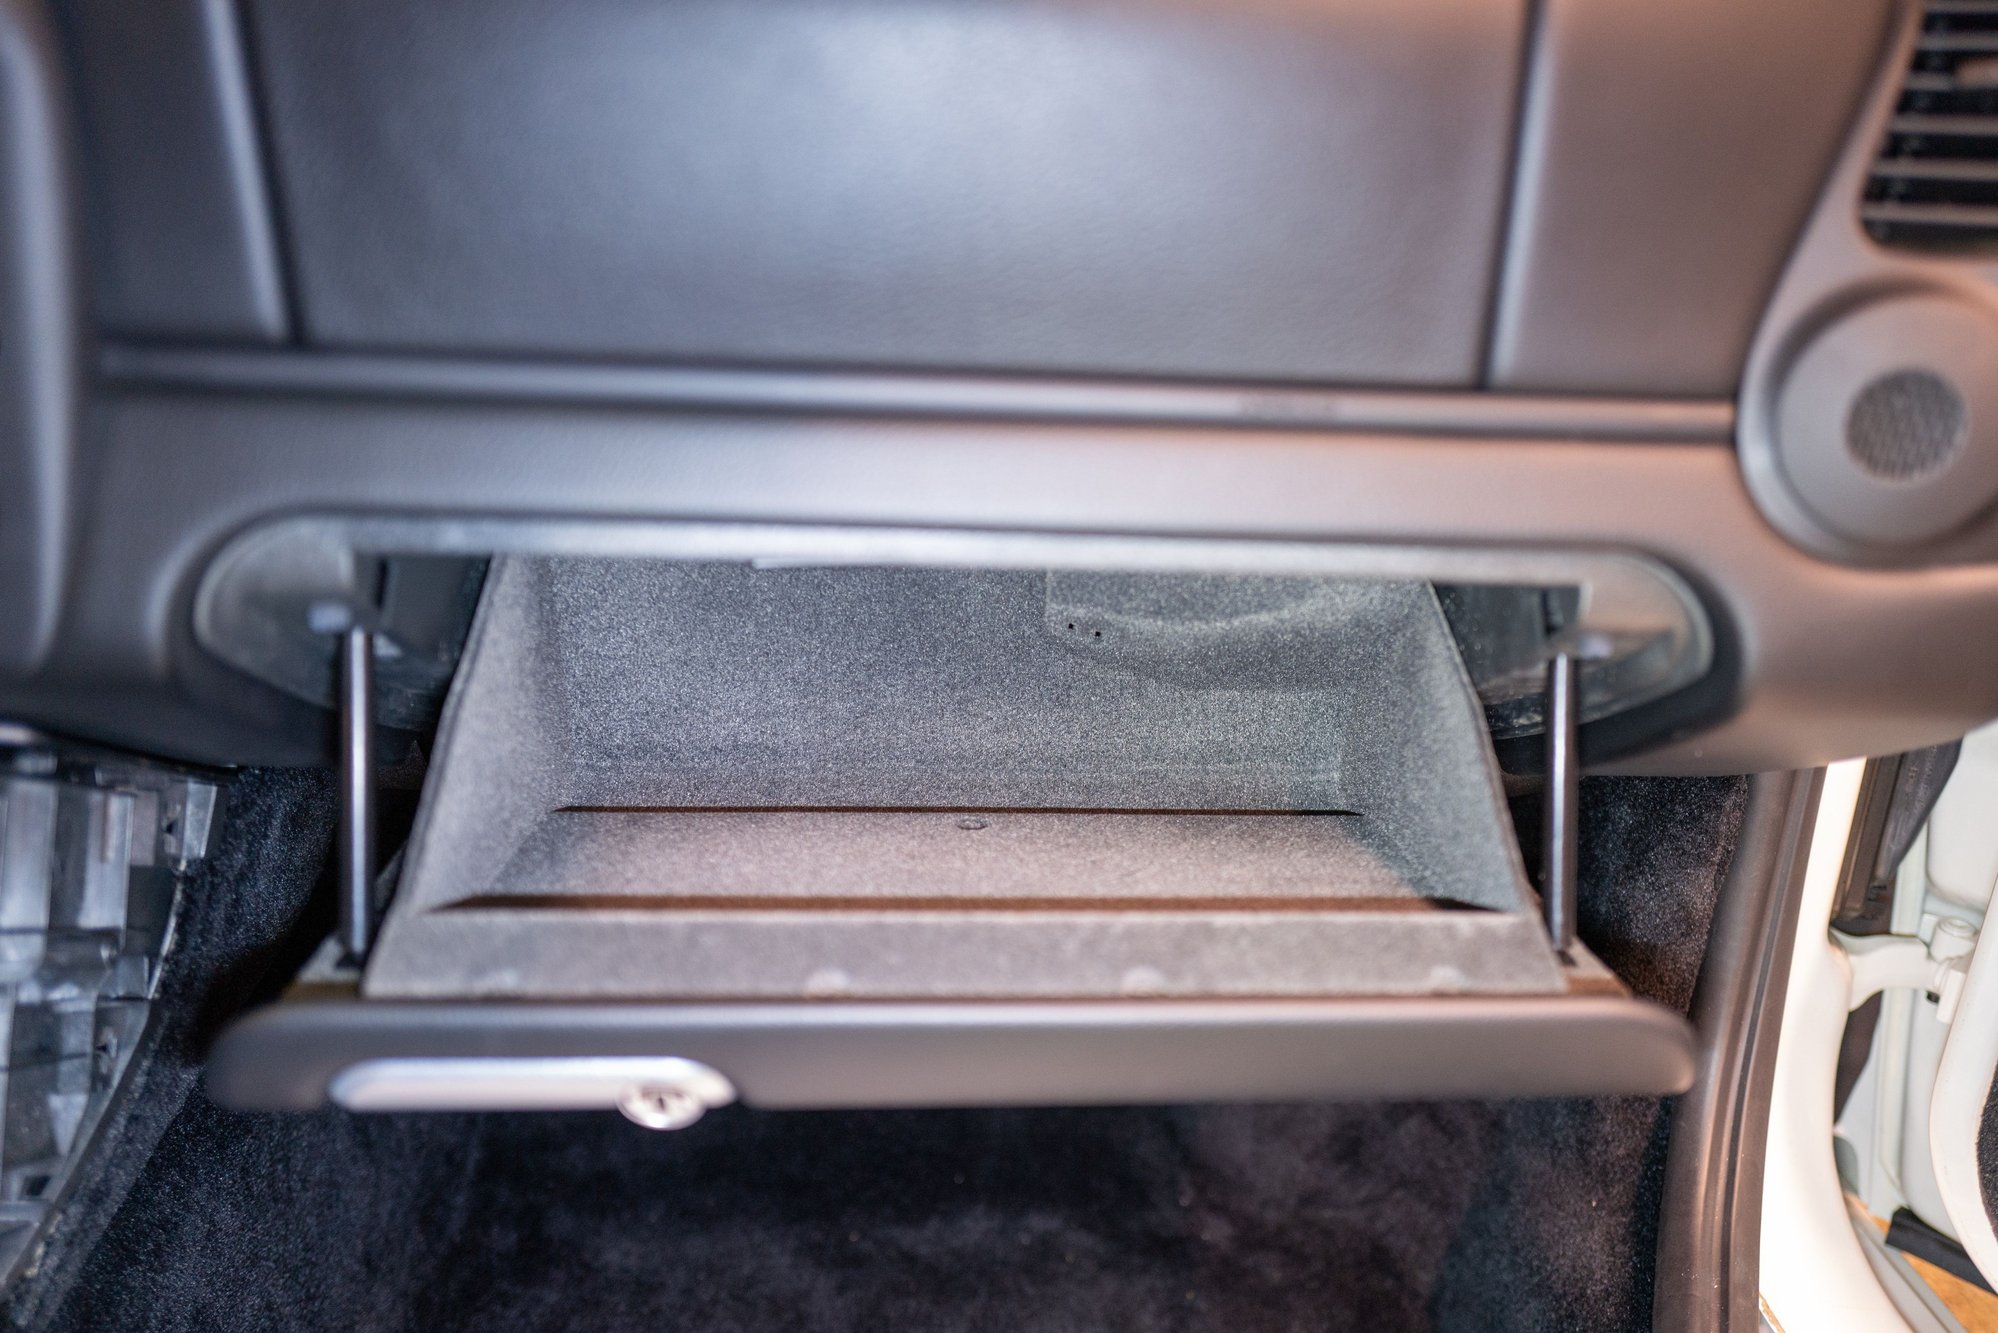
Break-out Box Install & Adding Wireless CarPlay
There is a break-out box that contains the USB connections to connect your phone to CarPlay. The instructions have you mount this in the cubby� but again, I don�t want anything visible from this install, so I mounted it in the glove box. There is a hole in the top of the glove box that routes back to the center stack and the cable length is just right. Mounting it in the glove box means you have to open it to connect your phone every time you want to use the head unit. That�s not going to work either, so
to turn the unit into a Wireless CarPlay unit. Problem solved.
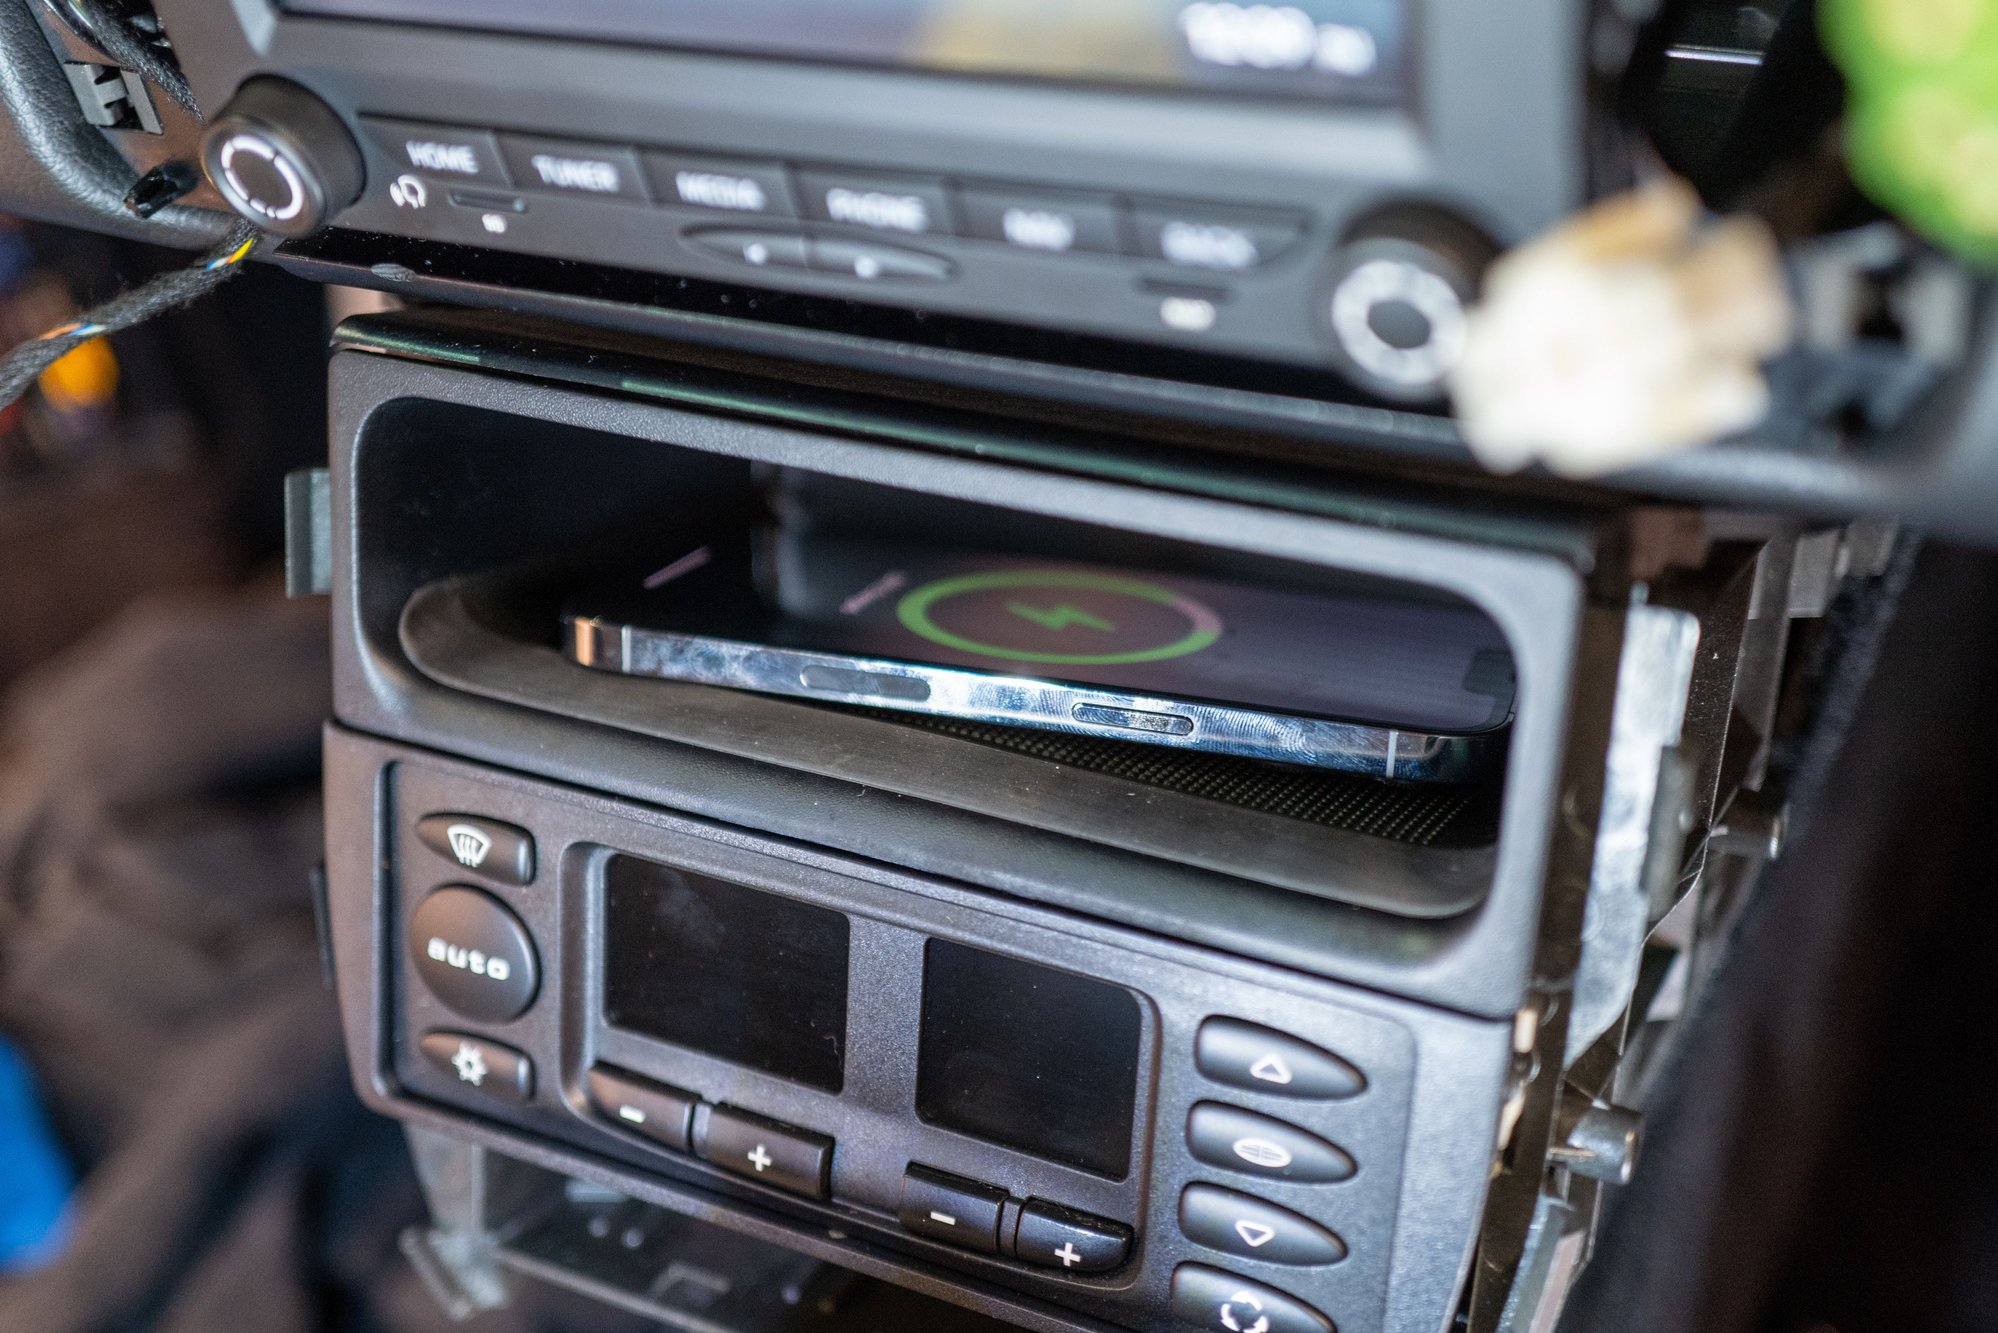
Adding Wireless Charging
But that introduced a new problem: No in-car phone charging�. plugging the phone into CarPlay also charges the phone. With a wireless CarPlay unit, you lose that, so I dove in to add wireless Qi charging to the new lower stack cubby.
The PCCM+ breakout box has 2 USB-A ports � 1 for the CarPlay connection labeled �Phone� and another one labeled �USB� that probably lets you play music files off a USB stick (shrug), but also provides USB charging.
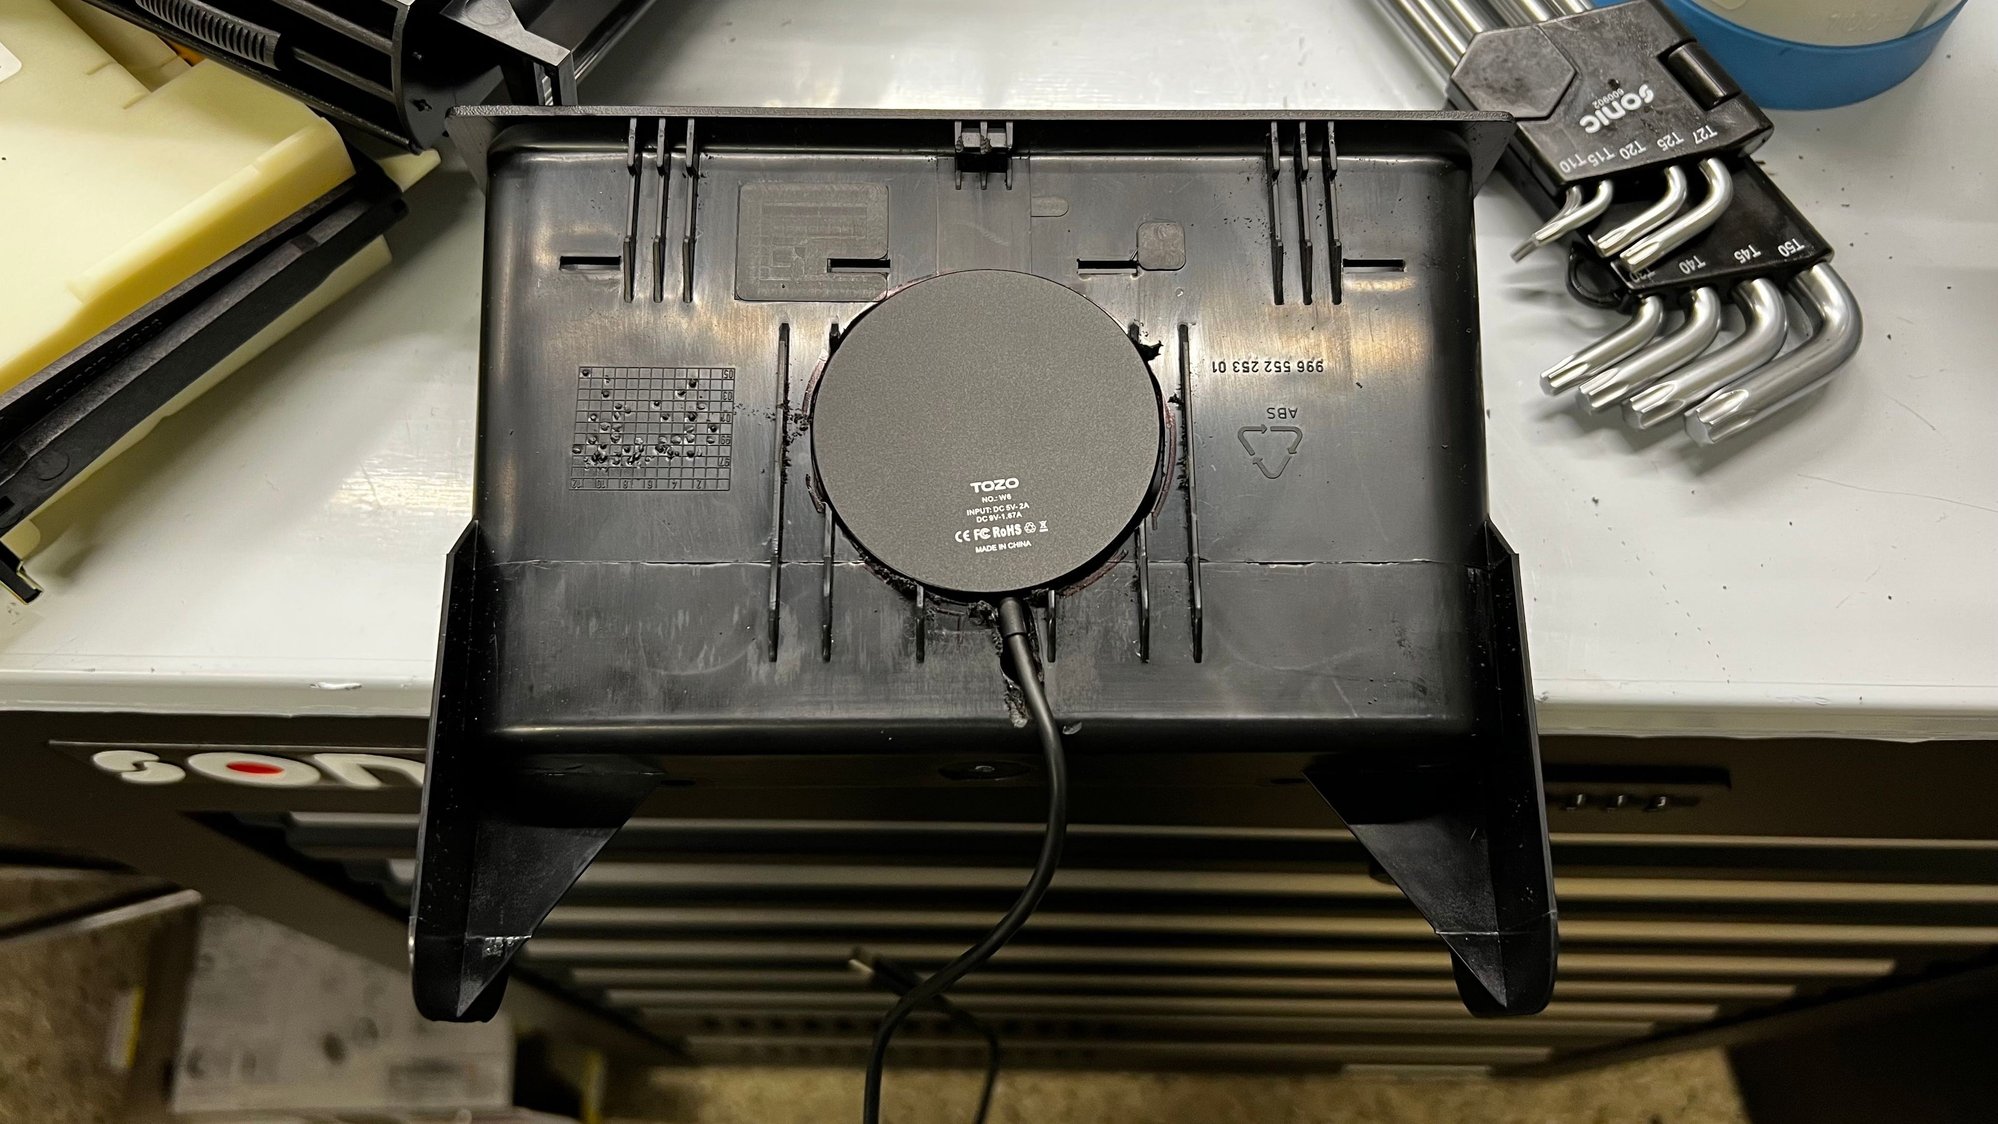
I wanted to add a MagSafe charger to the cubby, but MagSafe�s that Apple sells are USB-C, and a USB-C → USB-A converter that I had on hand didn�t seem to pass power along to the MagSafe charger. I ordered several 3rd party USB-A MagSafe chargers off Amazon � all in black in case I wasn�t able to charge through the cubby�s rubber mat.
I removed the rubber mat from the cubby and tested a number of the chargers by placing the rubber mat over the charger to see which chargers worked through the rubber mat and still retained the strongest magnetic connection.
and dremel�d out a space for the it, then super glued the charger in place, reinstalled the mat, routed the USB-A cable to the break-out box in the glove box, and plugged it into the �USB� port. Boom. It worked.
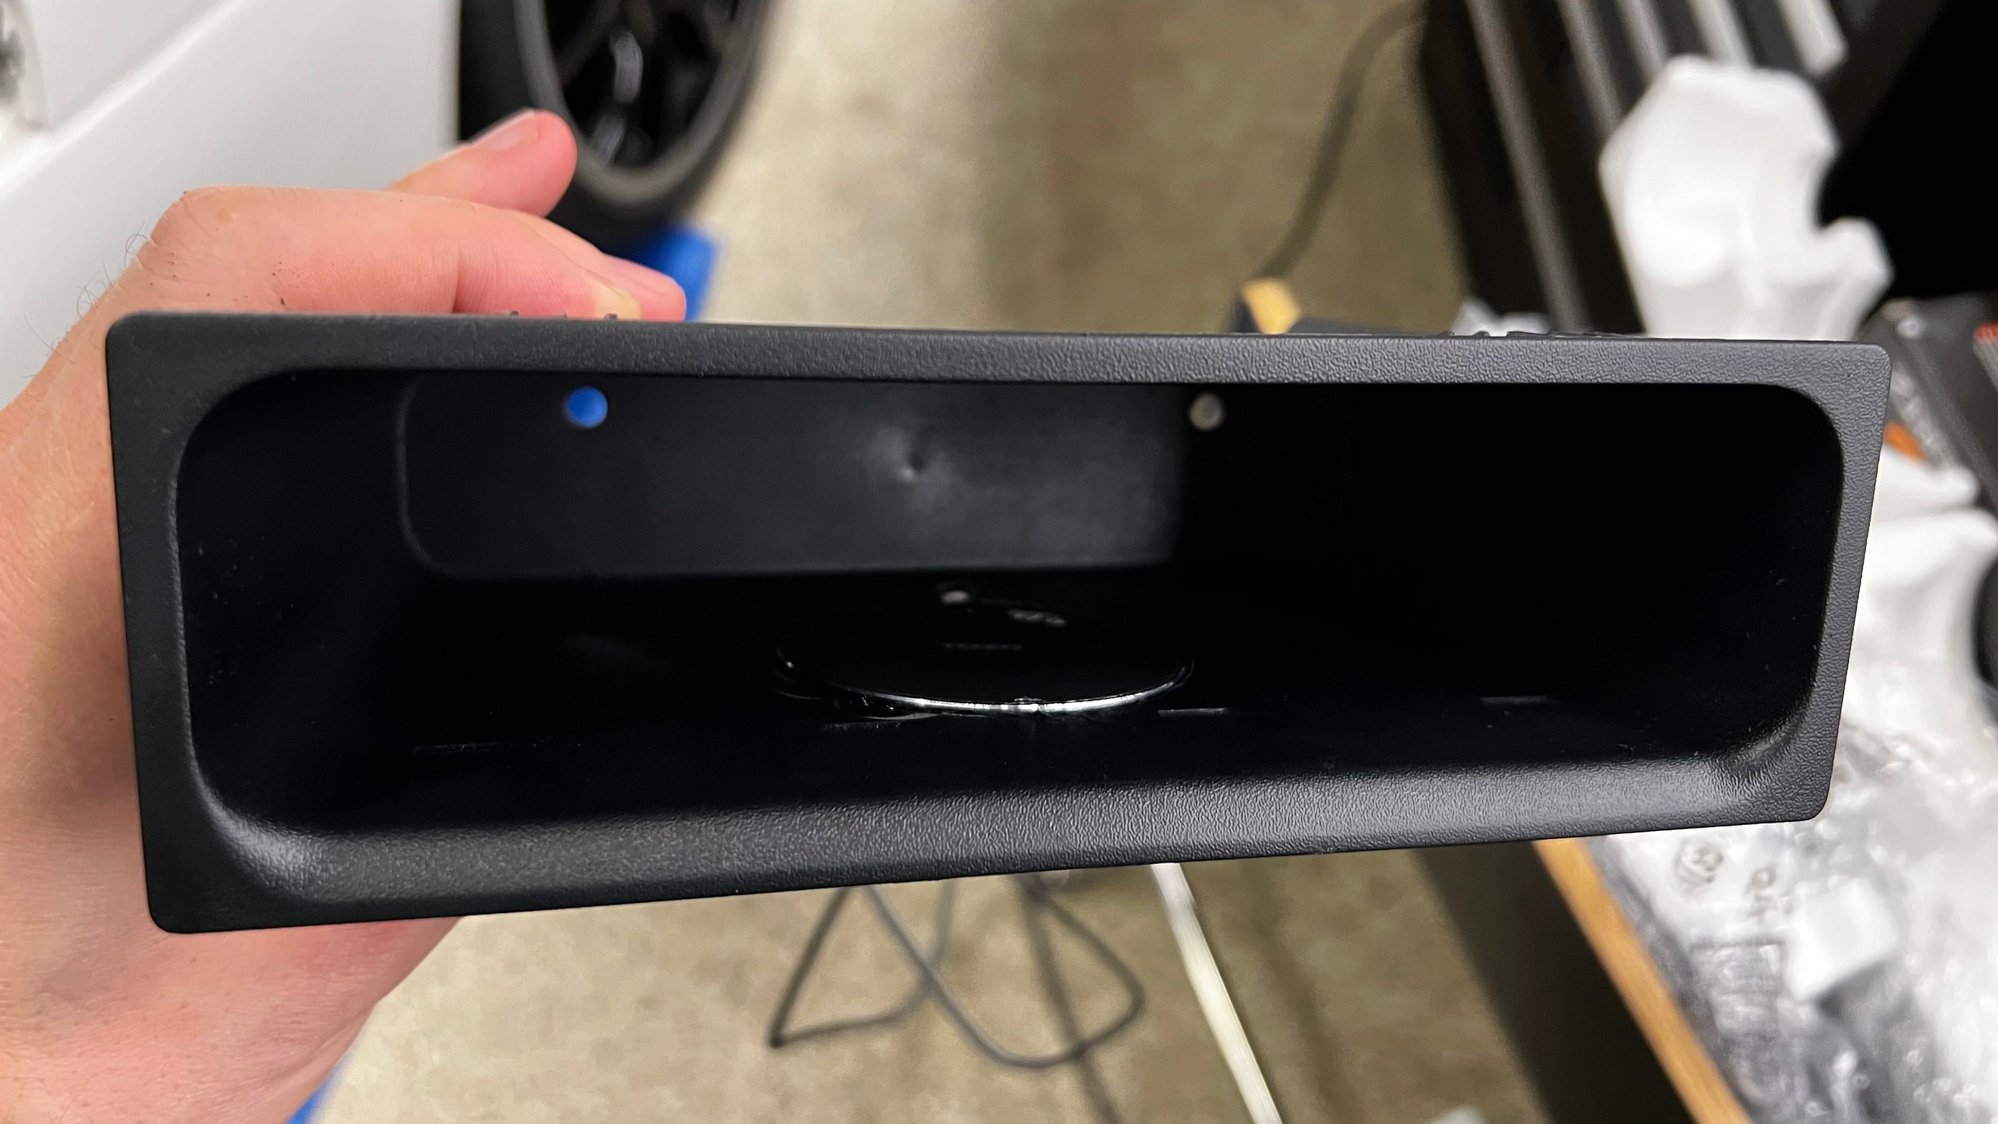
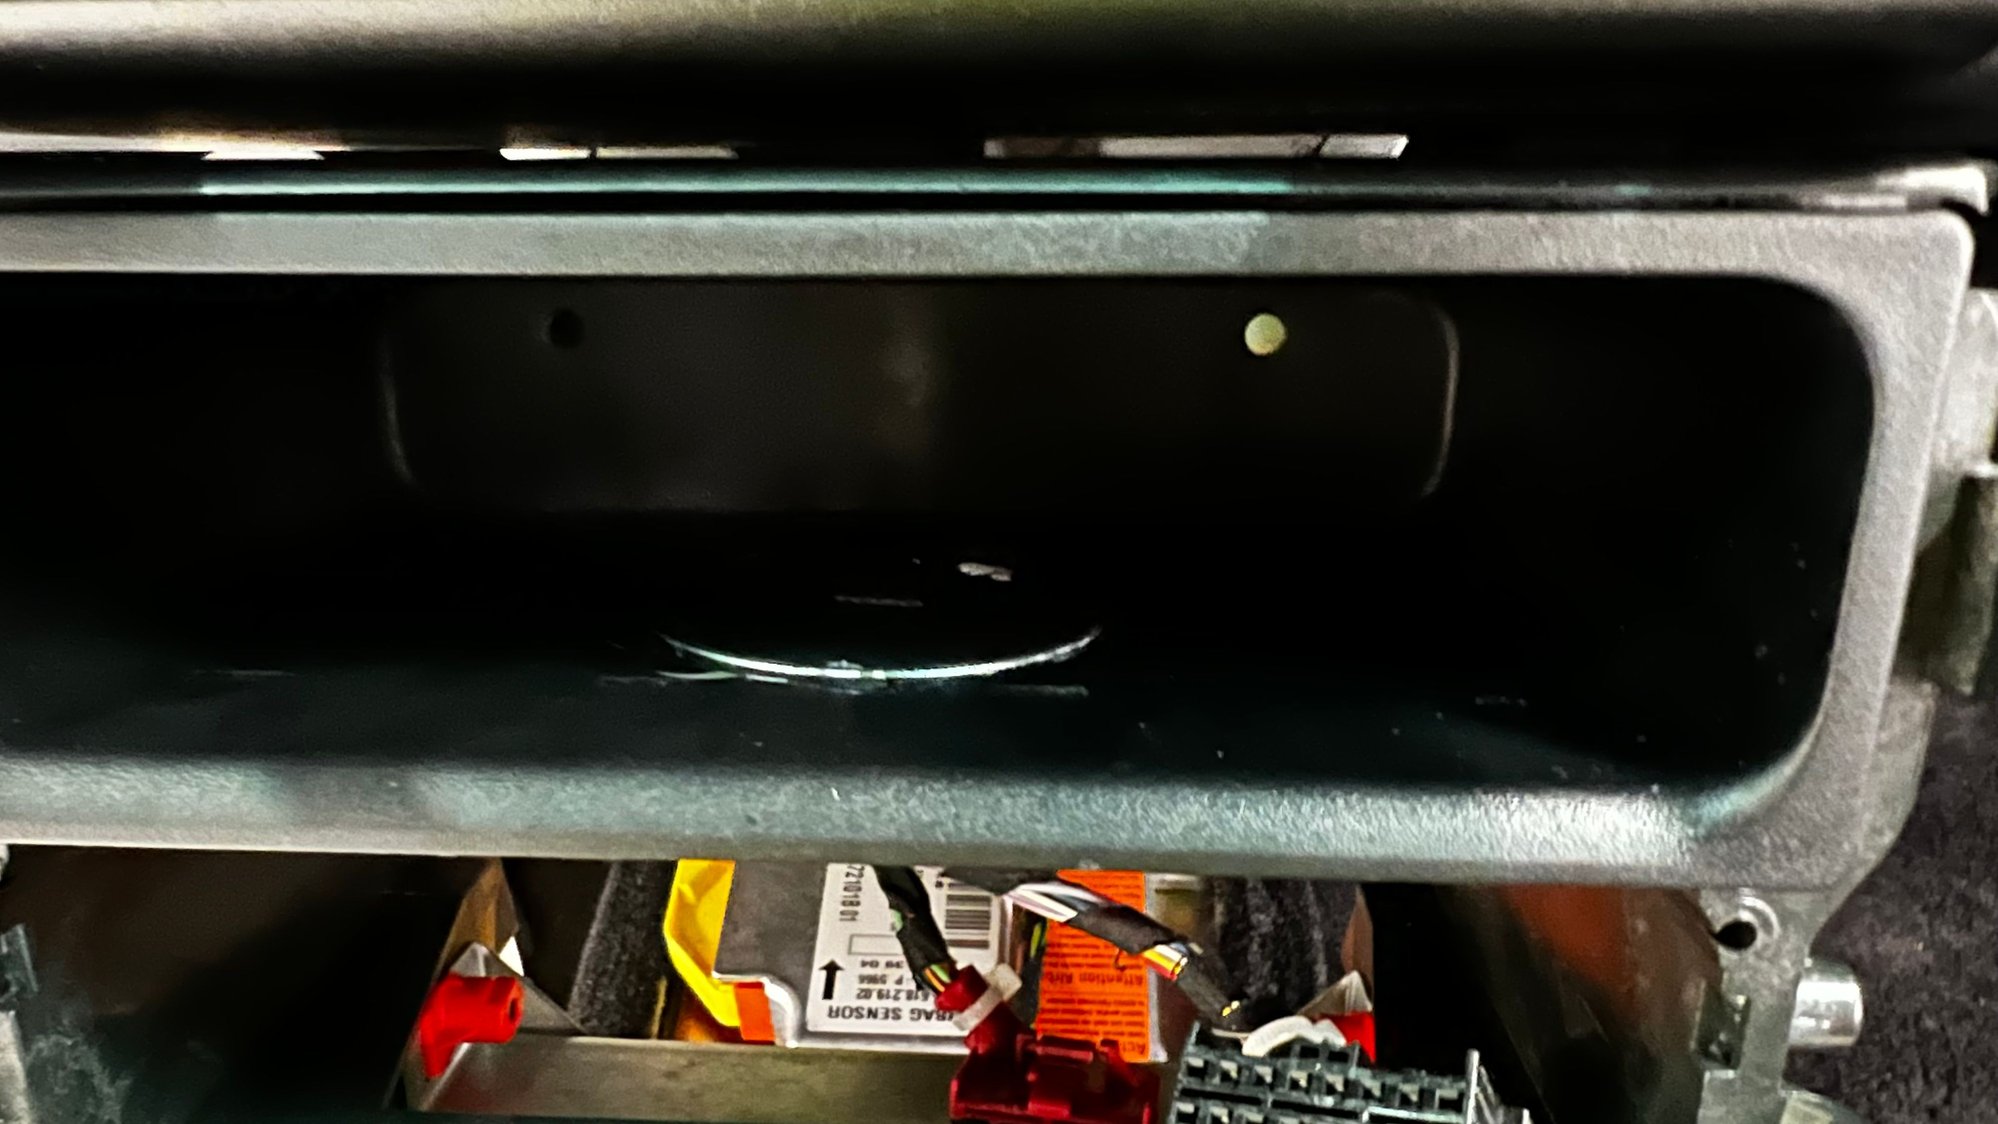
2 notes here� 1.) The rubber mat weakens the magnetic connection dramatically and the phone can move, but the rake of the cubby is steep enough that the phone slides to the back of the cubby � no concern that it will fall out. 2.) I test fit the charger for a big iPhone Pro Max phone, even though I have a regular sized iPhone. I wanted compatibility with the widest array of phones. Because of the sliding issue mentioned in #1, it will come off the charger and slide to the back of the cubby, so I installed a small form spacer at the back of the cubby that keeps the phone centered on the charger.
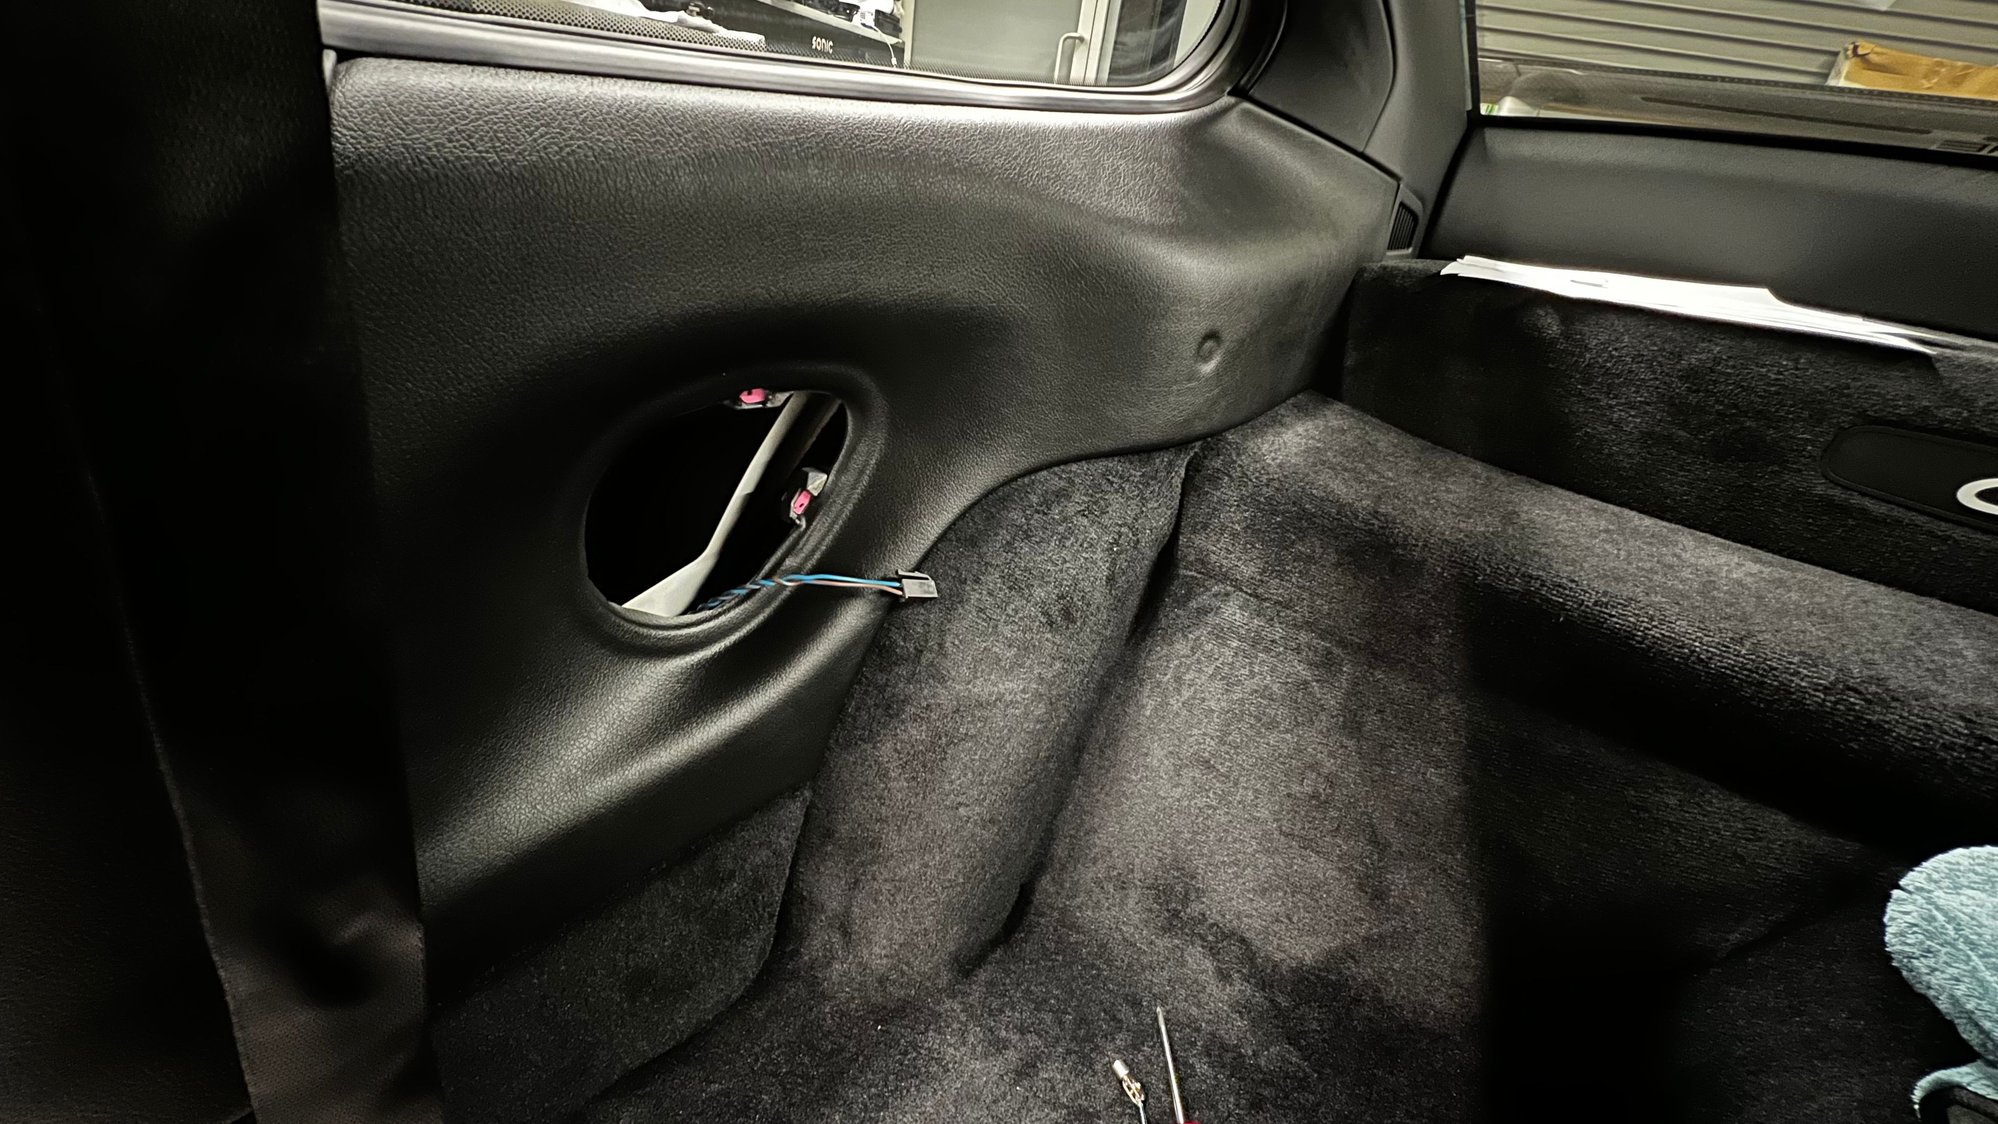
Speaker Install
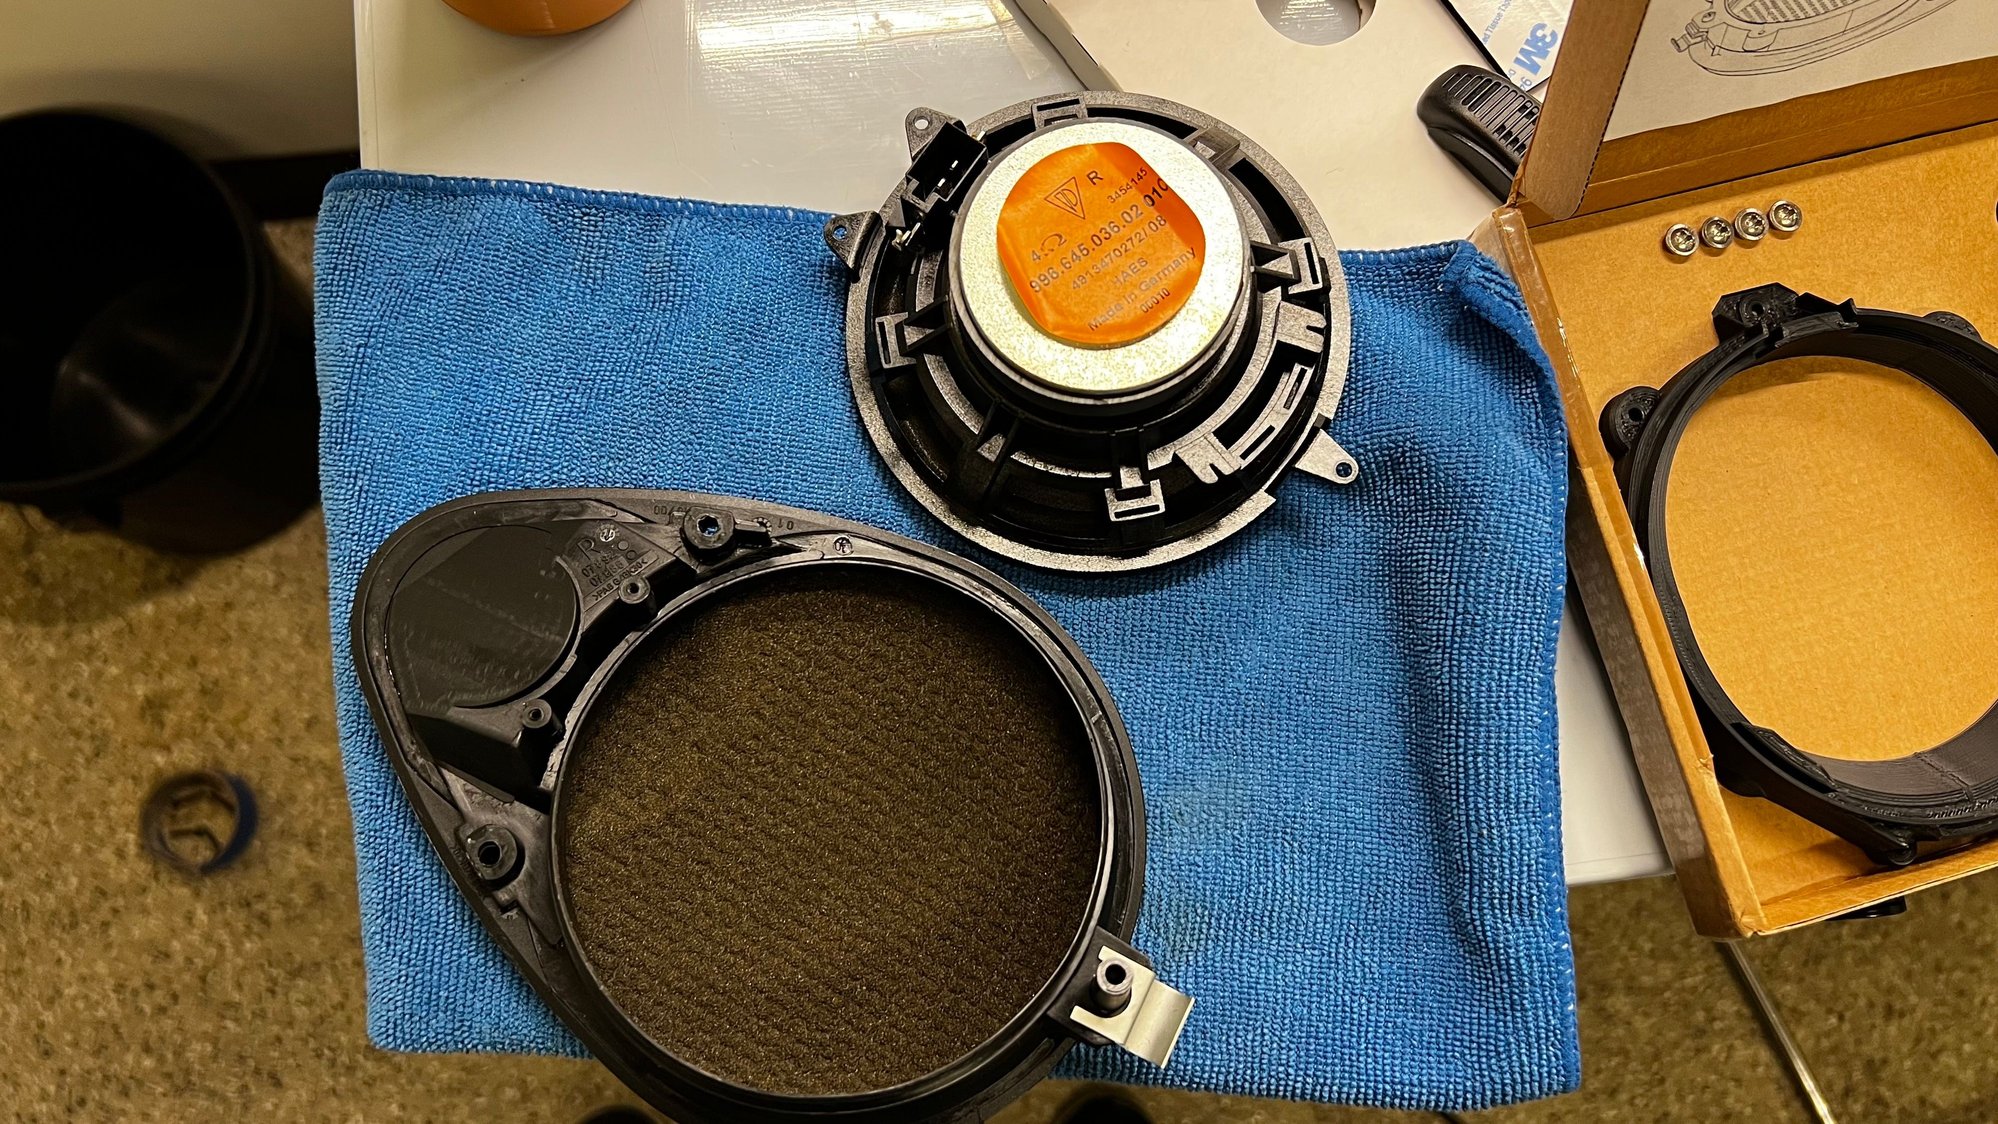
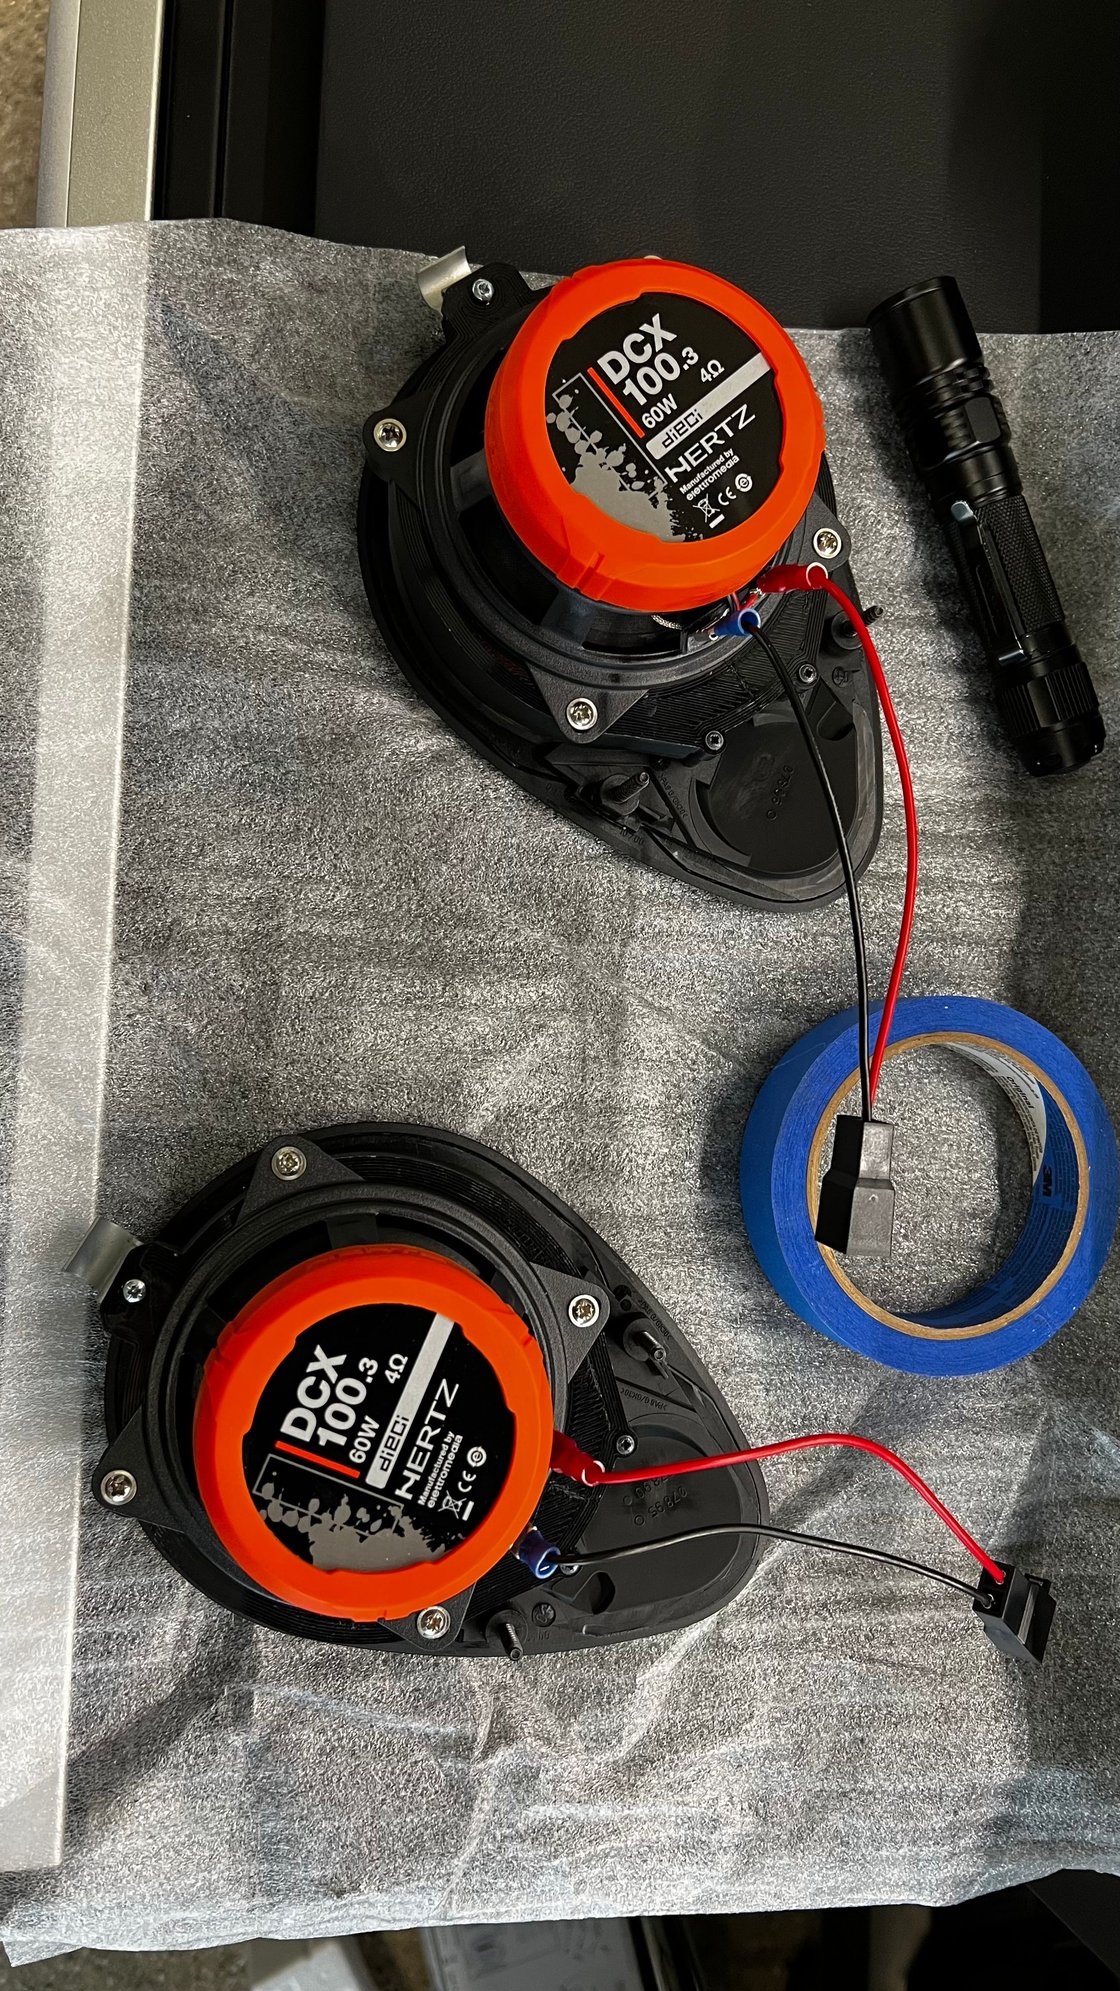
Next up were the speakers� the stock ones sound terrible. Turns out my front 2 had tears in the cones from age. Crap. I went down the rabbit hole of 996 car audio. Don�t do this� it�s a mess. The front dash speaker recesses are very shallow and there is no way straight-forward to marry aftermarket speakers to the stock grills without modifying the grills.
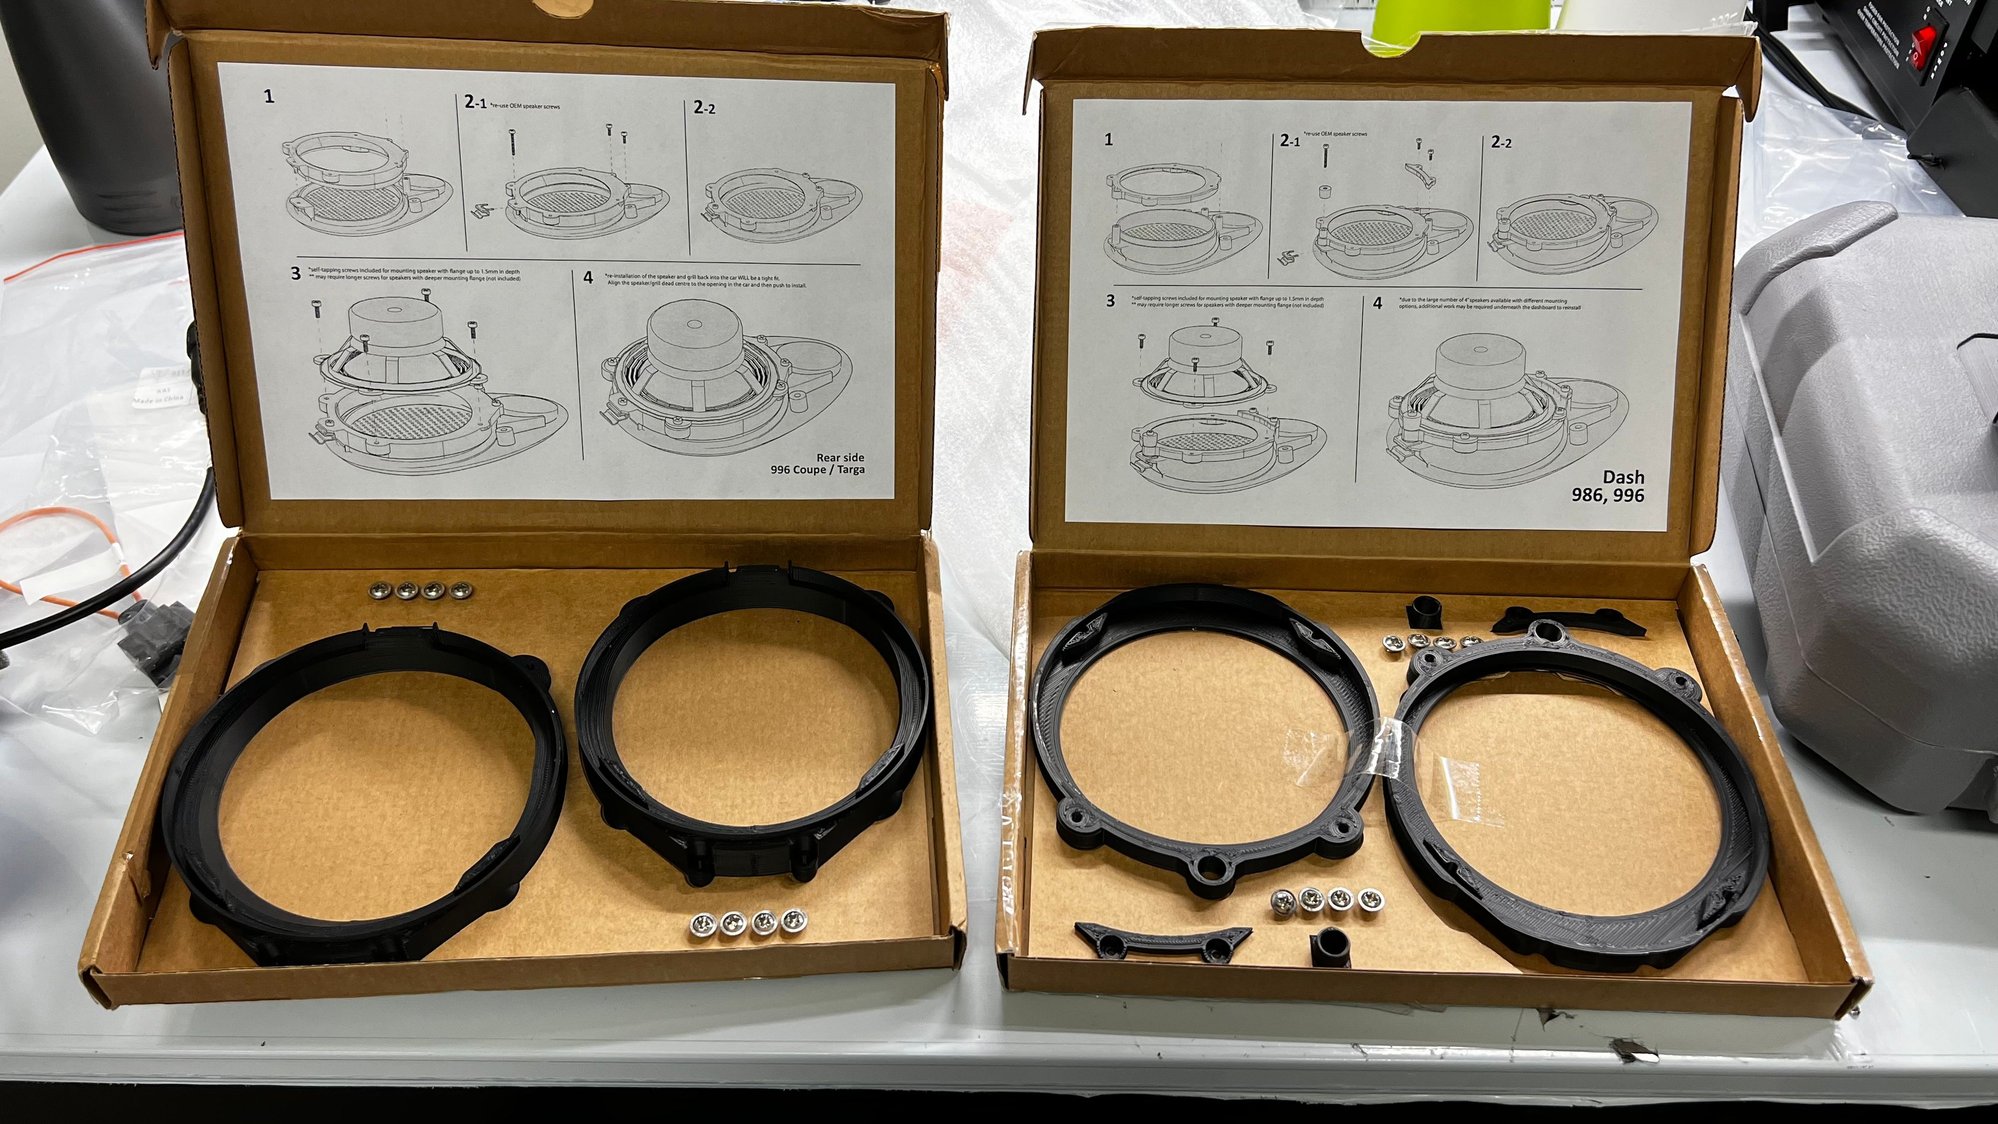
I stumbled on a thread that referenced a guy in the UK that was 3D printing 996 speaker adapters, they were very clever and more importantly reversible. I contacted him (nice guy), and got a set for the front and rear shipped to me.
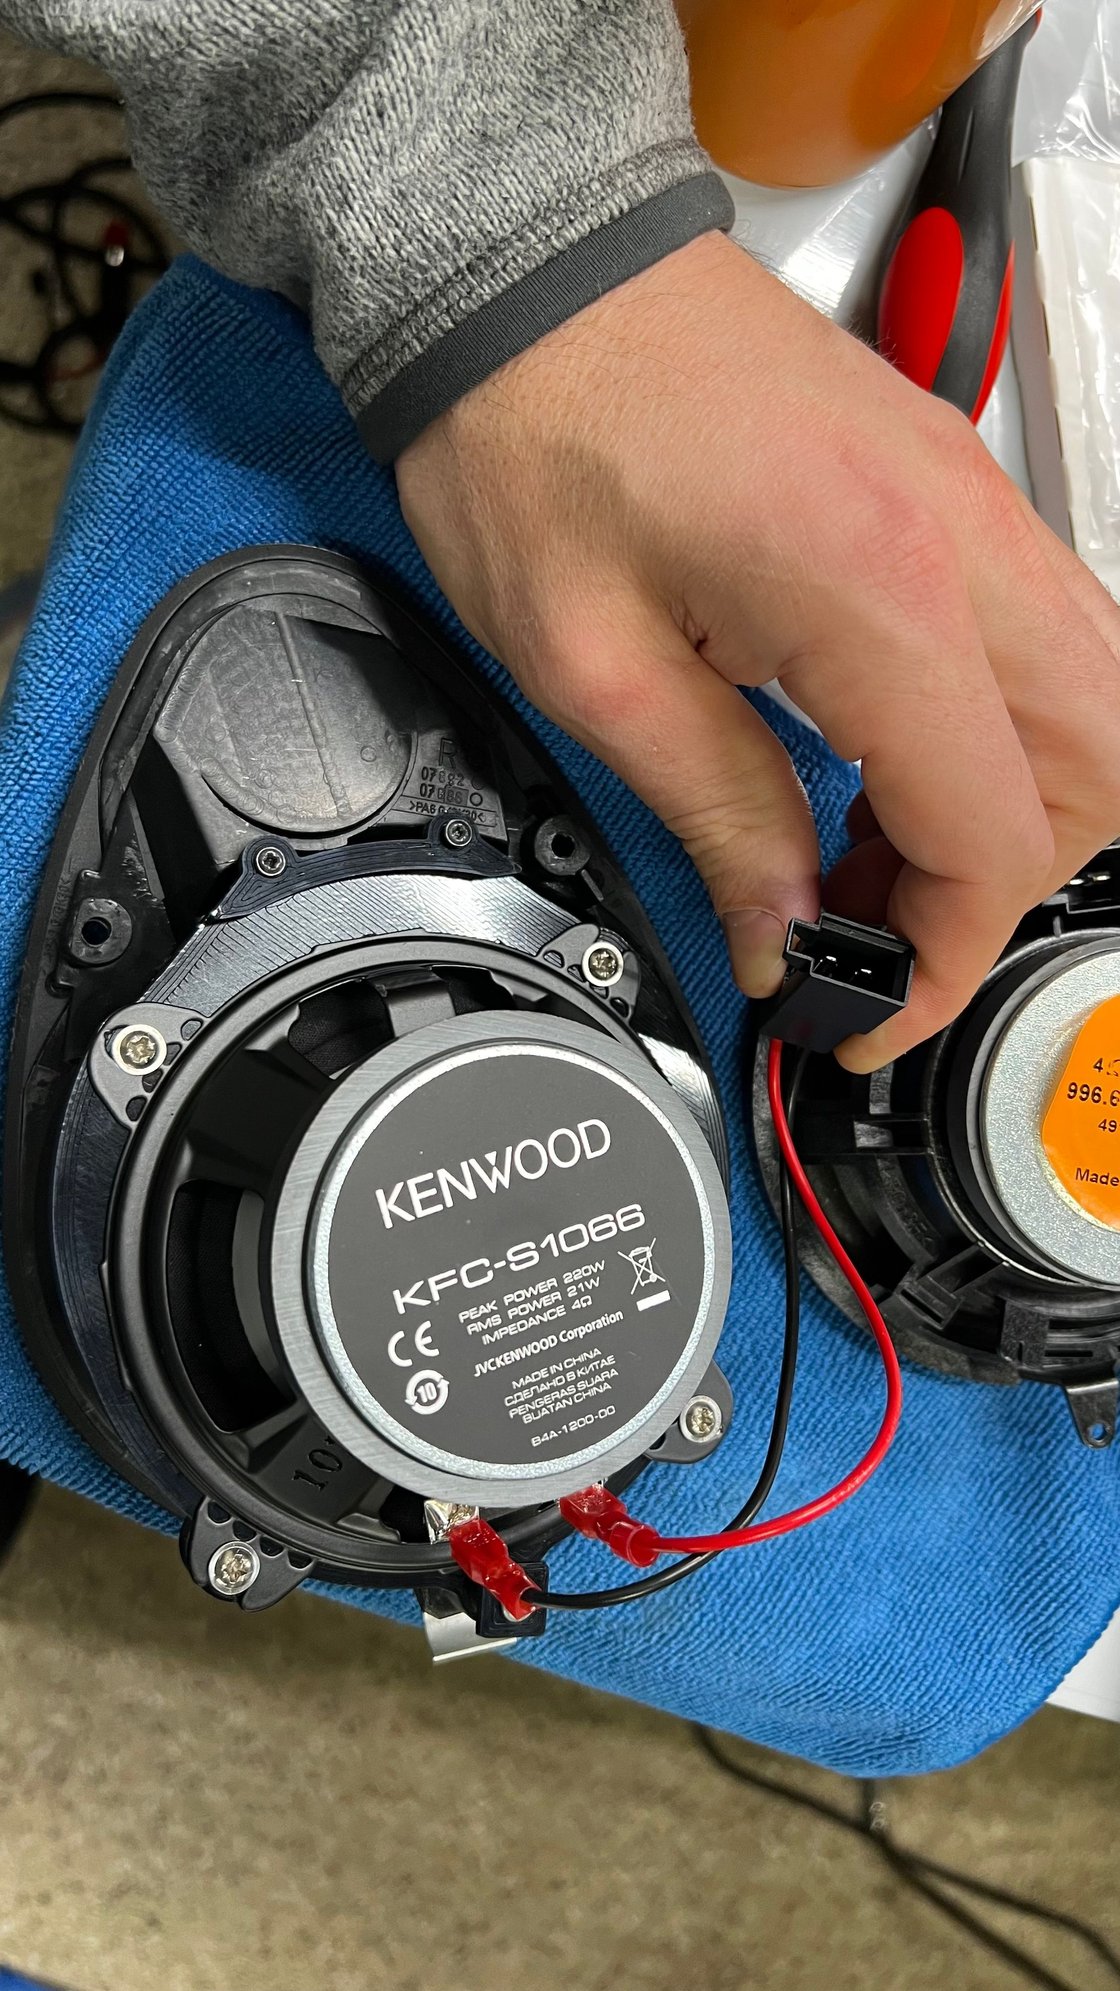
In the same thread, I got referrals to speakers that would work in the shallow front dash cavities. I ended up with
to bridge them into the stock speaker wire. Reinstalled everything and the sound was much better � although I think this has more to do with the head unit. More on this later.
Final Assembly
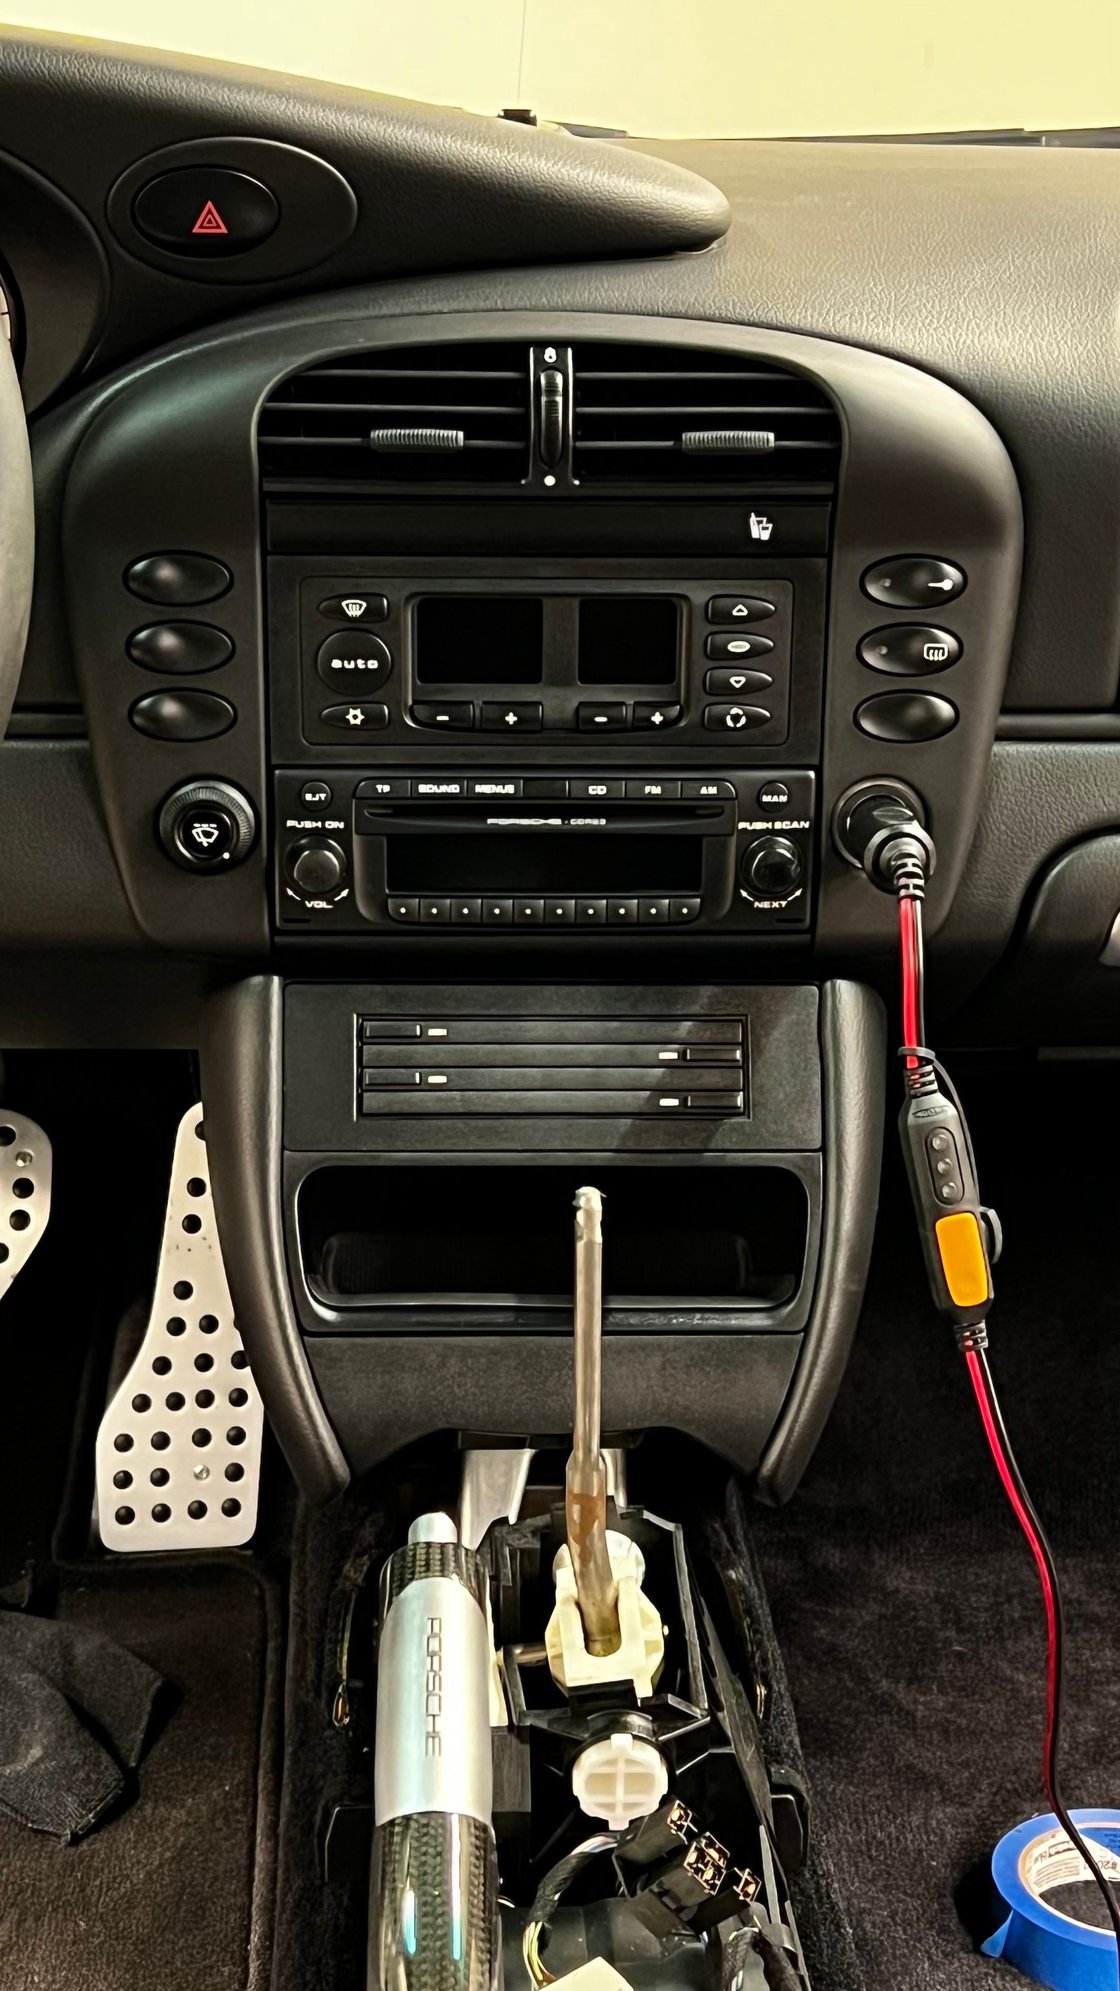
I connected all the connectors to the back of the PCCM+, powered it on, got sound, but amber lights on the unit wouldn�t turn on, and the unit wouldn�t turn on when the key was turned in the ignition. The fix for this is to go to SETTINGS → VOLUME, press & hold on the menu item for 10 seconds. A secret menu comes up and you need to switch the CANSwitch setting to �CAN� if it's set to "AMP". This tells the PCCM+ to communicate with the rest of the car over CanBus through the yellow connector in the back.
I then tidied up the breakout box and wireless CarPlay unit dongle in the glove box by affixing them to the top of the glove box with double-sided tape. When the glove box is open, you can�t see them. Perfect.
Issues
So let�s talk about the problems. It seems Porsche had at least 4 types of systems in the 996 generation: CDR220 or CDR23 w/ Bose MOST fiber-optic to Amp in the frunk, CDR220 or CDR23 Non-MOST (Analogue) w/ amp in frunk (made by either Bose, Nokia, or Hayes), PCM Nav-based unit w/ amp in the frunk or the system that was in the 996 GT3: CDR23 head unit that provided amplification directly to the speakers (no amp). This is where the first problem is.
There is an audible white noise when the unit turns on. I think the other 996 systems expect high speaker impedance. Many folks who have installed this system have complained about the high gain at low volumes � essentially the speakers are being double amplified. In most cases, people install a Connect 2 CTAMPPASSTHROUGH adapter which knocks the line voltage down and fixes the problem. I bought one of these adapters and it knocks the signal down too much for the head unit amplifier (remember, we don�t have an eternal amp in our GT3 systems). At full volume on the unit, it�s still too quiet. I also tried a few adjustable hi/lo line converters, but all of them work from 0-2v � essentially made to add a subwoofer or amplifier to a stock system. This is too large of a reduction in volume. What we need is only a 10-20% reduction in the signal. My search continues, but it�s honestly livable in the state that it is in right now. If you are a car stereo wizard, I would love to get your thoughts on how to solve this.
The second problem and this (I believe) is unique to my car� when booting the unit, the rear speakers would make a screeching sound for a second or 2 (
) like they were getting radio interference. It was only the rear speakers, if I disconnected them, I did not hear the screeching sound on boot-up.
I removed the phone from the car to make sure that wasn�t the problem.
I also removed the PCCM+ from the car and hooked it up on my workbench to isolate it from the in-car wiring � no screeching sound on the rear channels.
I ran new speaker wire thinking it was the in-car speaker wires � nope. The screeching continued in the rear speakers.
I reinstalled the CDR23 � the screeching went away.
I reinstalled the PCCM+ along with the stock speakers � the screeching in the rear speakers came back. It was at this time that I found out that the stock speakers actually sound pretty good with proper amplification from the PCCM+. If mine didn�t have tears, I would leave them stock. I now suspect it�s a bad ground. I�m going to build an ISO connector harness with a new ground to test this theory, but in the meantime, I disconnected the rear speakers and only have a front stage. It�s more than adequate. I�ve got more projects I need to finish up and I can come back to this one later.
Right now, I put this unit at a 7 out of 10 � it�s clearly not made with our car�s stereo configuration in mind. If I can clear up the 2 problems I have then this is a no-brainer way to modernize the 996 without being overt about it.
Love it. I would totally do this to my 996 if only they there were a single DIN option (correct me if I'm wrong, but I think only the double din is available for the 996). I have the lower console delete and wouldn't be able to live without (I'm 6'4"), so unless they release a single DIN I'll be living without good bluetooth or ipod functionality!
There is a single DIN version for the pre-996 cars… and to be honest, it might be a better choice for 6GT3 given that it was made for cars that didn’t have external amplifiers. You’d likely need to make a custom ISO harness as well, but it should all be doable.
There is a single DIN version for the pre-996 cars� and to be honest, it might be a better choice for 6GT3 given that it was made for cars that didn�t have external amplifiers. You�d likely need to make a custom ISO harness as well, but it should all be doable.
Thanks for that feedback. I was under the impression only a "most" compatible head unit would work. Definitely not an audiofile so all this is greek to me!

 01-01-2022 | 09:59 AM


 . Will you be doing a full PPF application to the car?