When you click on links to various merchants on this site and make a purchase, this can result in this site earning a commission. Affiliate programs and affiliations include, but are not limited to, the eBay Partner Network.
There is a single DIN version for the pre-996 cars� and to be honest, it might be a better choice for 6GT3 given that it was made for cars that didn�t have external amplifiers. You�d likely need to make a custom ISO harness as well, but it should all be doable.
This is what I�m considering for mine. Can�t use the double DIN because I have a console delete that I want to keep deleted.
I had considered the single before but I was mostly looking in the 996 forum where they have to deal with MOST, so wasn�t sure if it would work. But if the GT3 has direct connections, like 964s and 993s, then I think it should work.
Trash bag. I used them as a cheap disposable wheel covers to prevent the PPF installer�s slip solution from getting all over the wheels. it worked well.
Originally Posted by spiller
Looks to fit pretty well? I have just ordered a 997.1 RS cover for my 6 with RS wing.
The 997.2 GT3 cover was pretty tight on the wing. Let me know how the 7RS cover works out. I�d rather go that route than the 996 cup car cover.
The 997.2 GT3 cover was pretty tight on the wing. Let me know how the 7RS cover works out. I�d rather go that route than the 996 cup car cover.
I been advised by a couple of friends that own 996 RS� that the 7.1 RS cover is a perfect fit. I will post a pic when I get it. The 996 cup cover is a perfect fit also, I am currently using mine on my GT3. However, I tried ordering another last week and it appears the cover for the cup car that is listed in PET is incorrect. The cover that turned up was actually for a 996.1 with �aero kit cup�. A.K.A. 996.1 GT3 taco wing (and is also intended for use on 6.2 GT3 with the standard wing). Supposedly the correct 996 cup cover which has �911 GT3 Cup� on it is $1200 AUD, as opposed to $480ish for the 997 GT3RS cover. The cup cover is very cool and I wanted to have a spare but couldn�t stomach paying 3x price for what is essentially made of the same material as the regular road car cover.
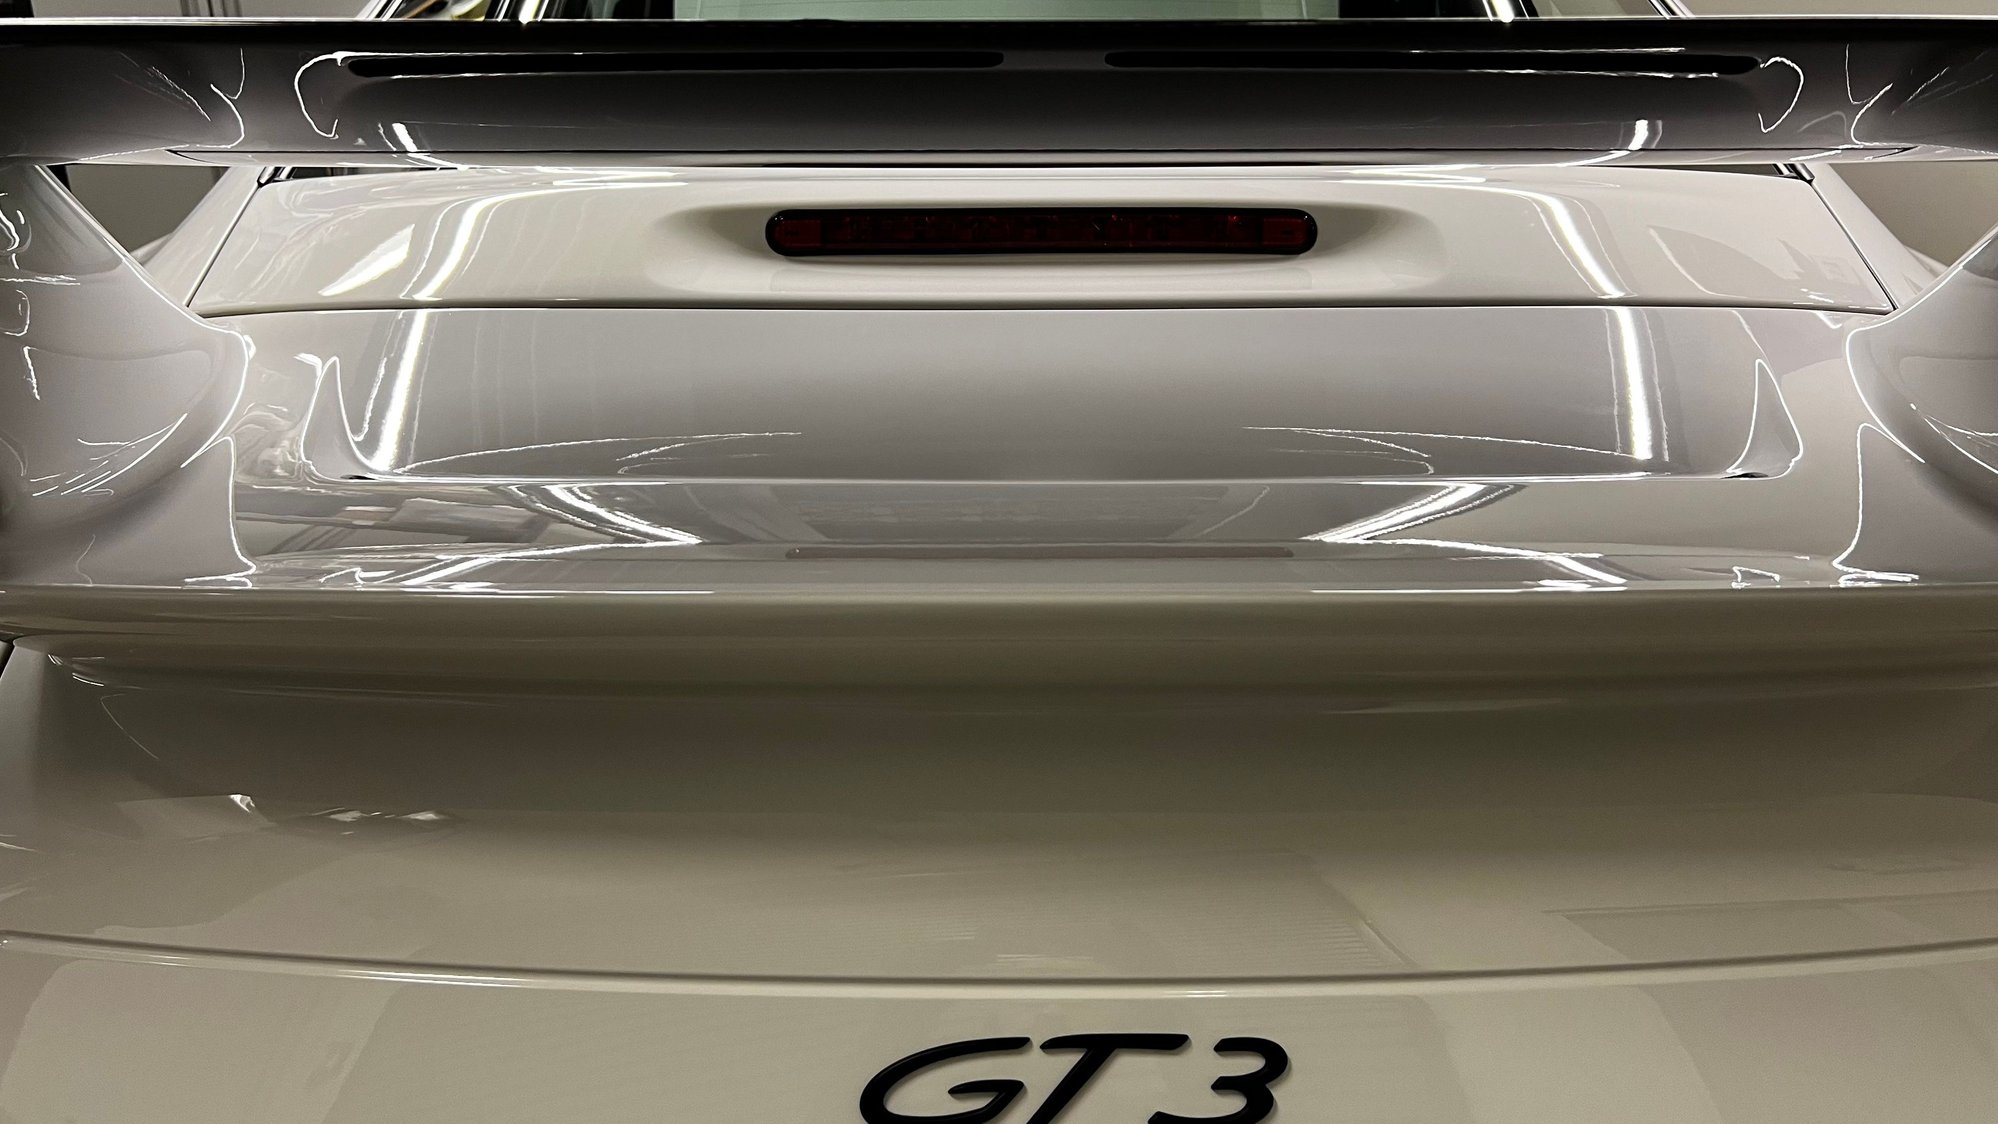
'Finished up the exterior this past week. The PPF installers came by the garage early in the week and knocked out the install in 1 long-ish day.
I covered:
Front bumper
Headlights
Hood
Side fenders
Mirrors
Lower rocker panels
Stone Guard area halfway up the rear fender
Small strip on the rear bumper right behind the tire
My CF door sill panels are still in shipping hell somewhere in the Bay Area, so those will have to get covered in Feb when they arrive.
No pictures of the PPF install, because I wasn't around for it. 🙃
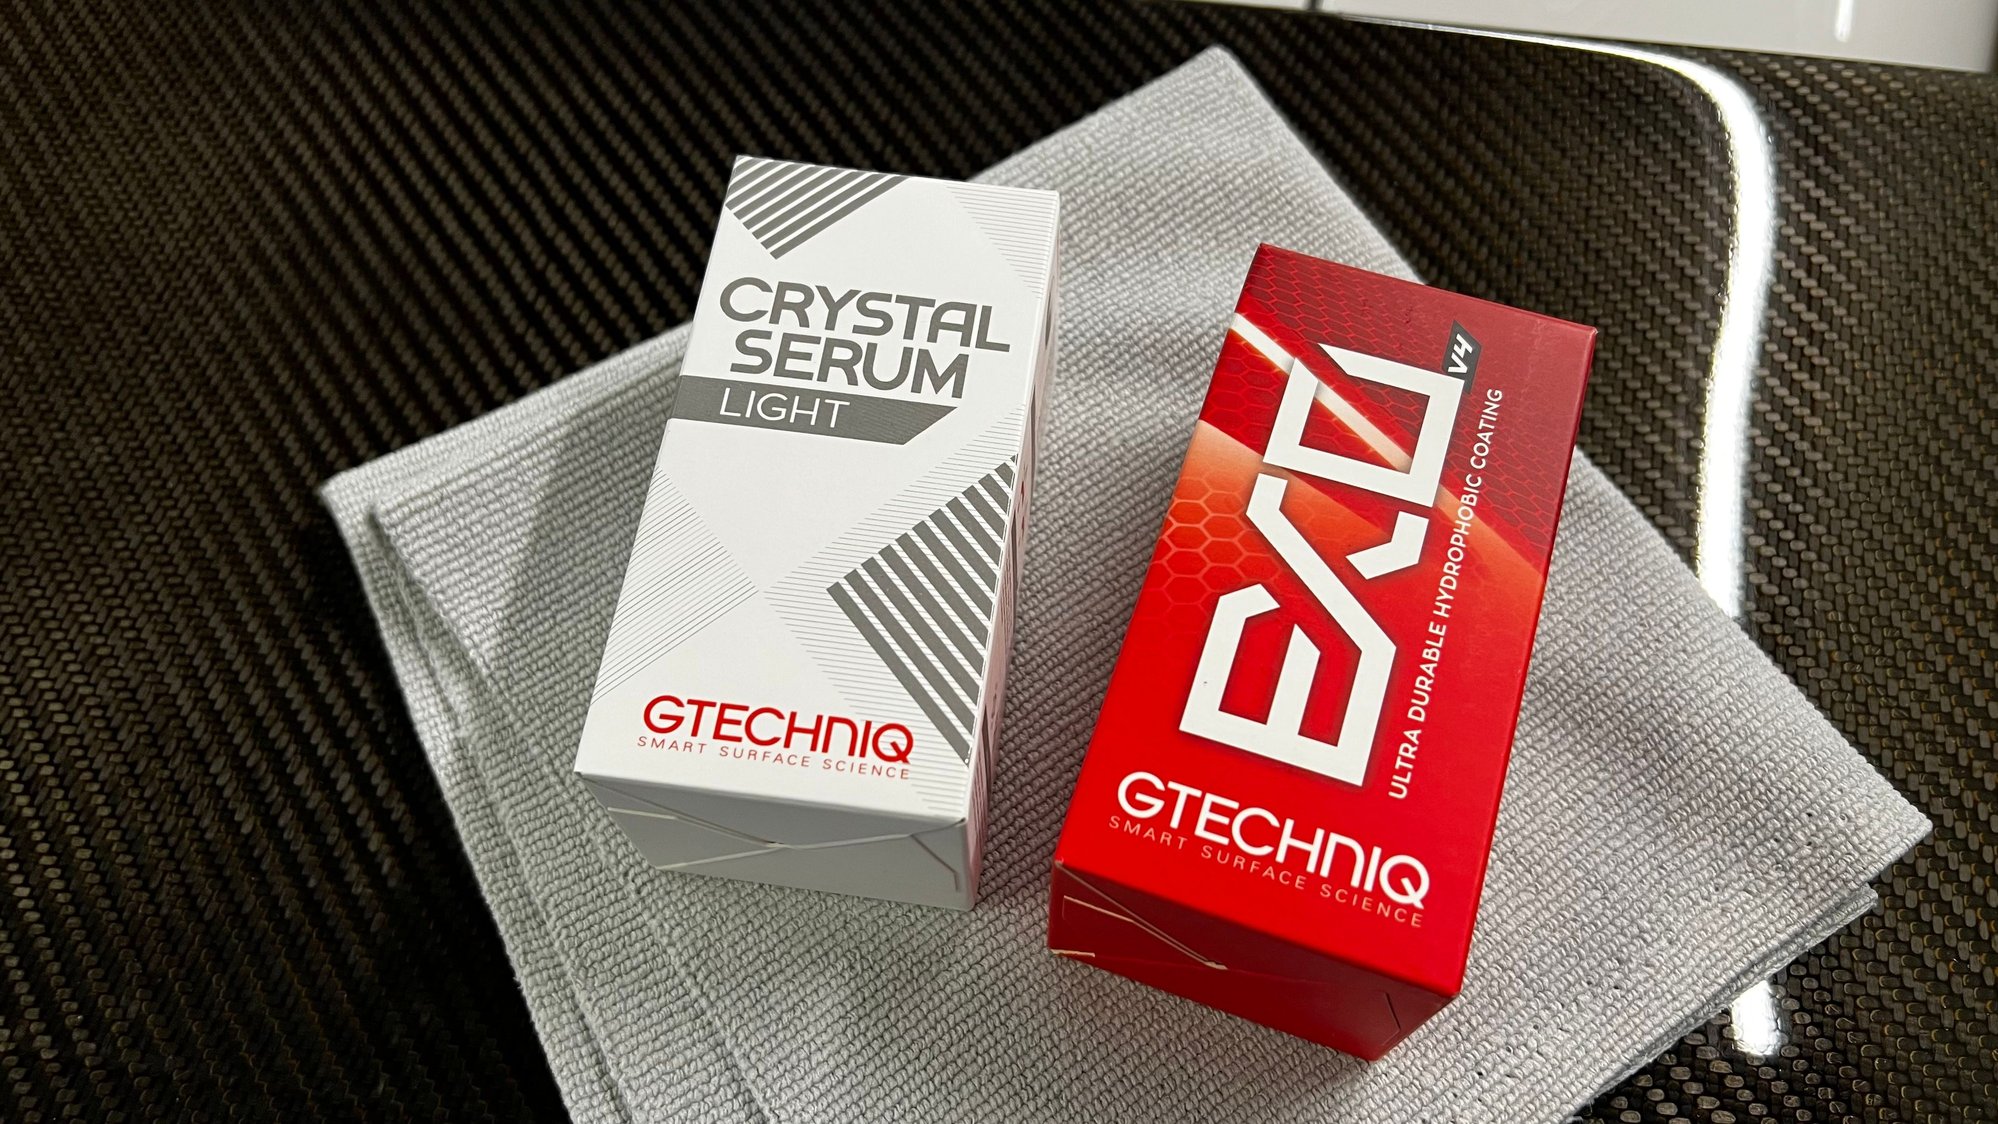
A few days later I started the ceramic coating. I've had good luck with 1 coat of Gtechniq Crystal Serum Light and 2 coat of Gtechniq Exo v4. I usually wait a day between each of the coats.
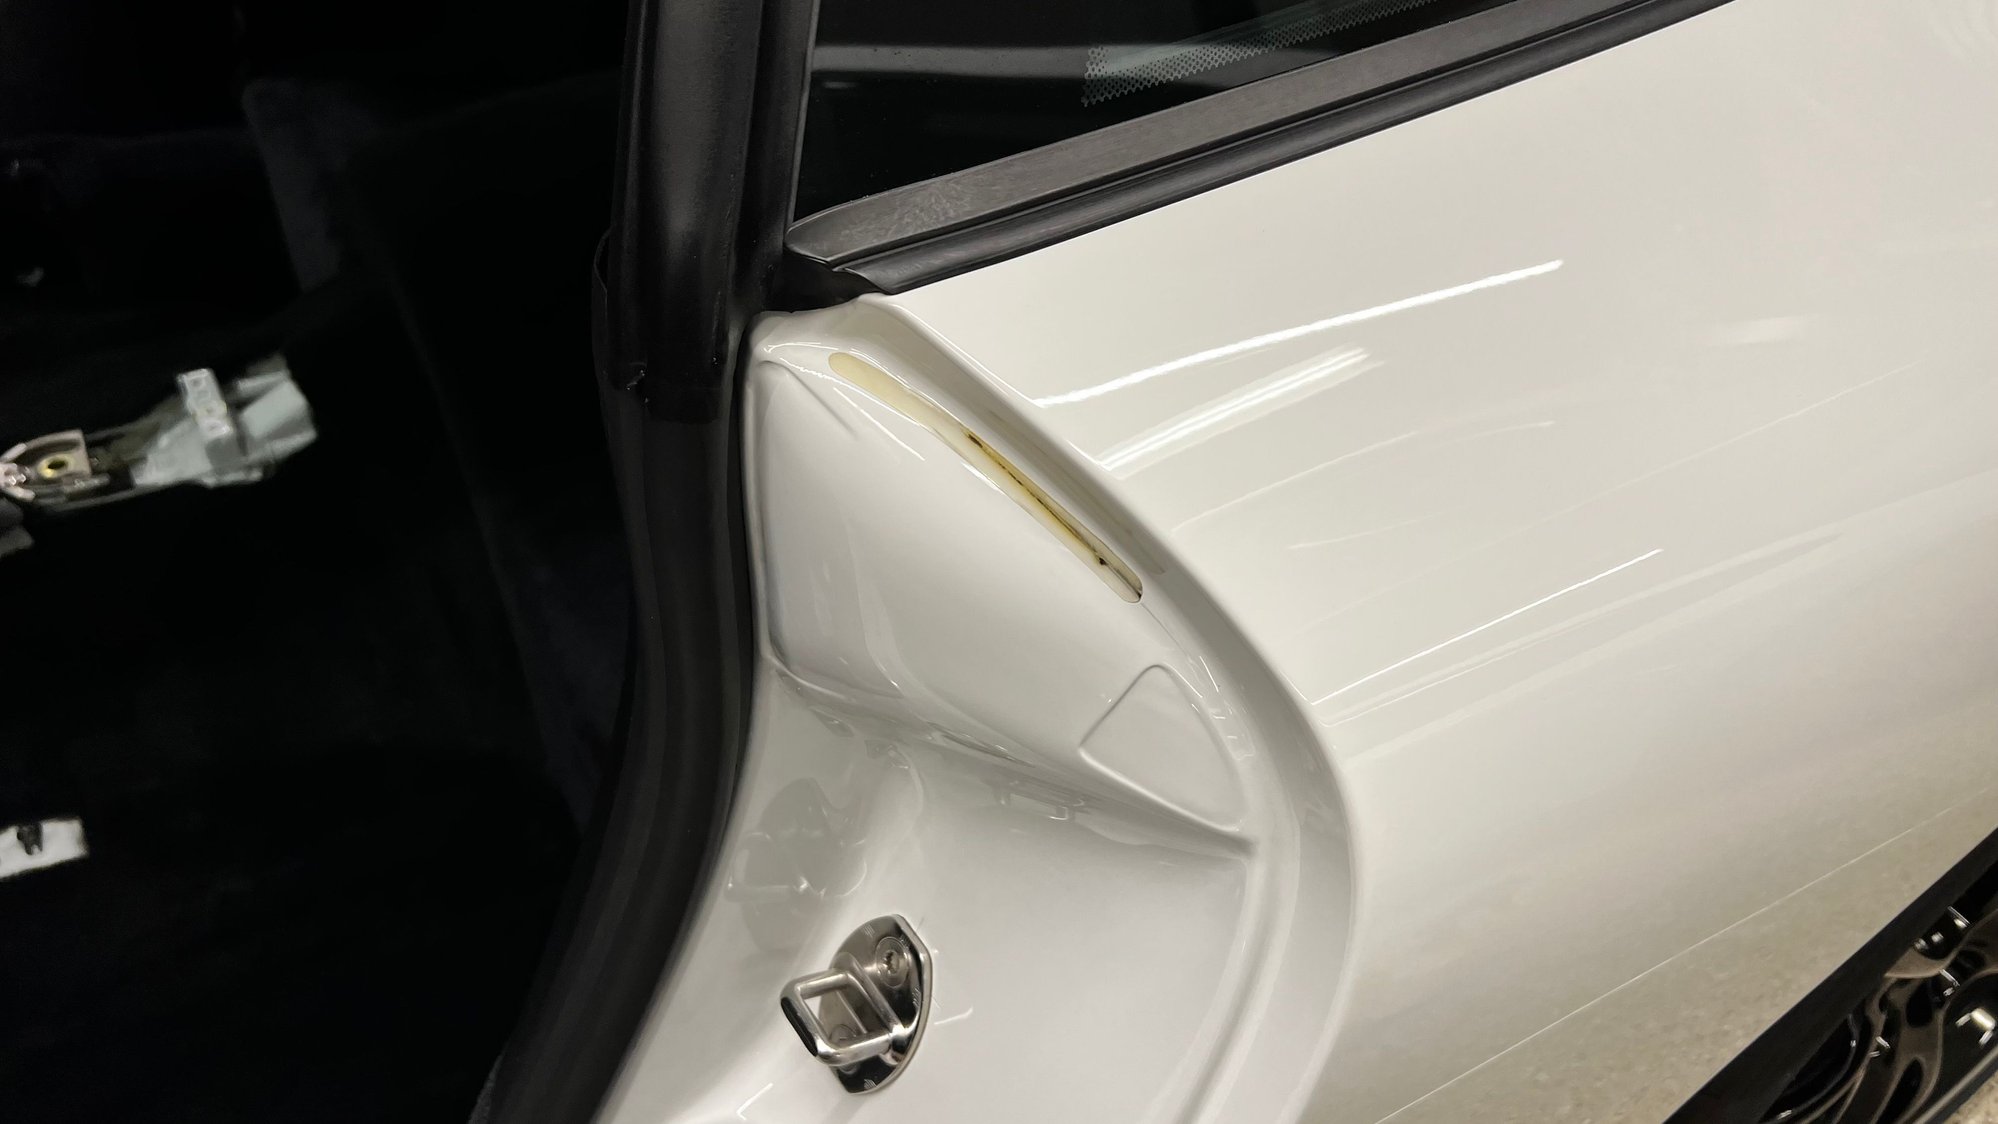
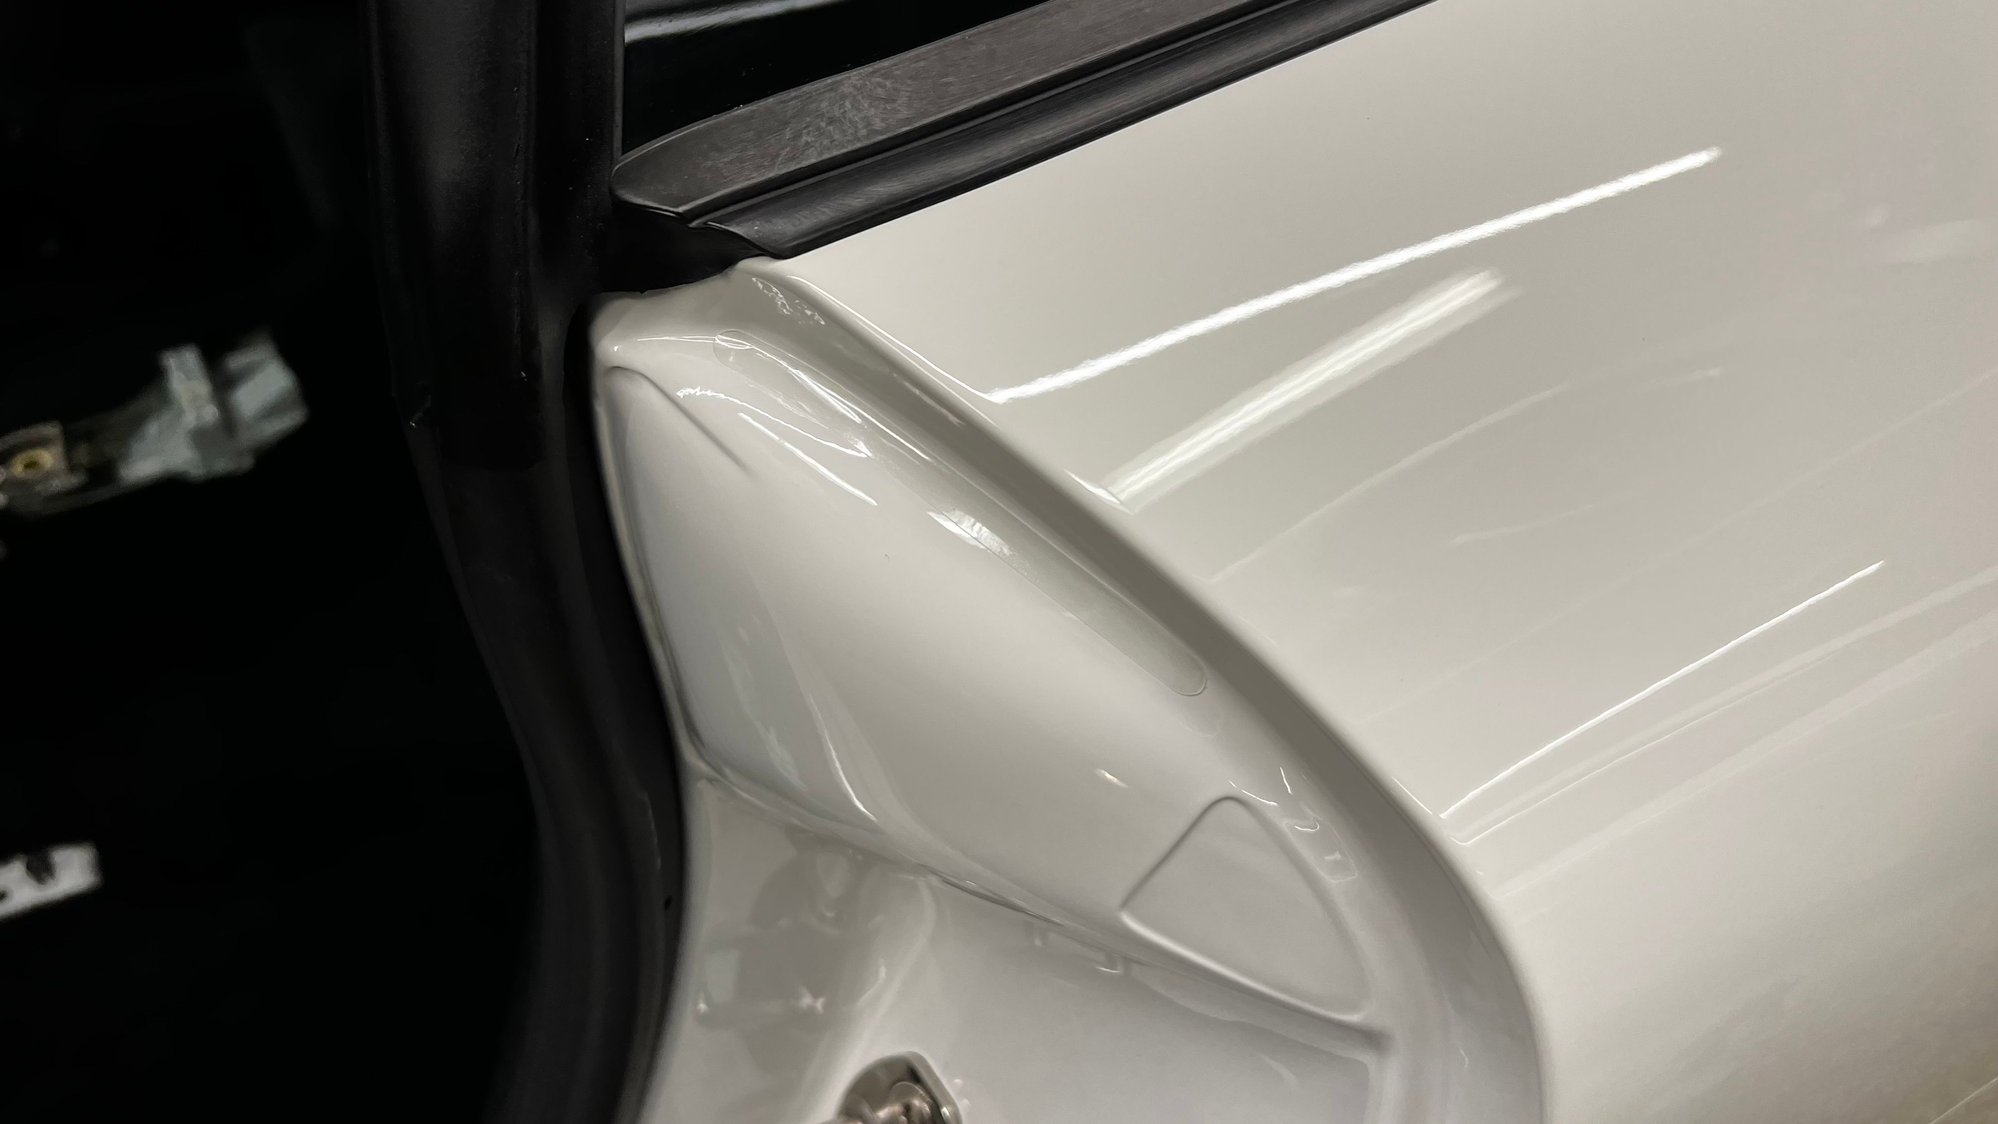
'Replaced the little OEM door jam PPF piece that always gets nasty after a few years... because, at this point why not?
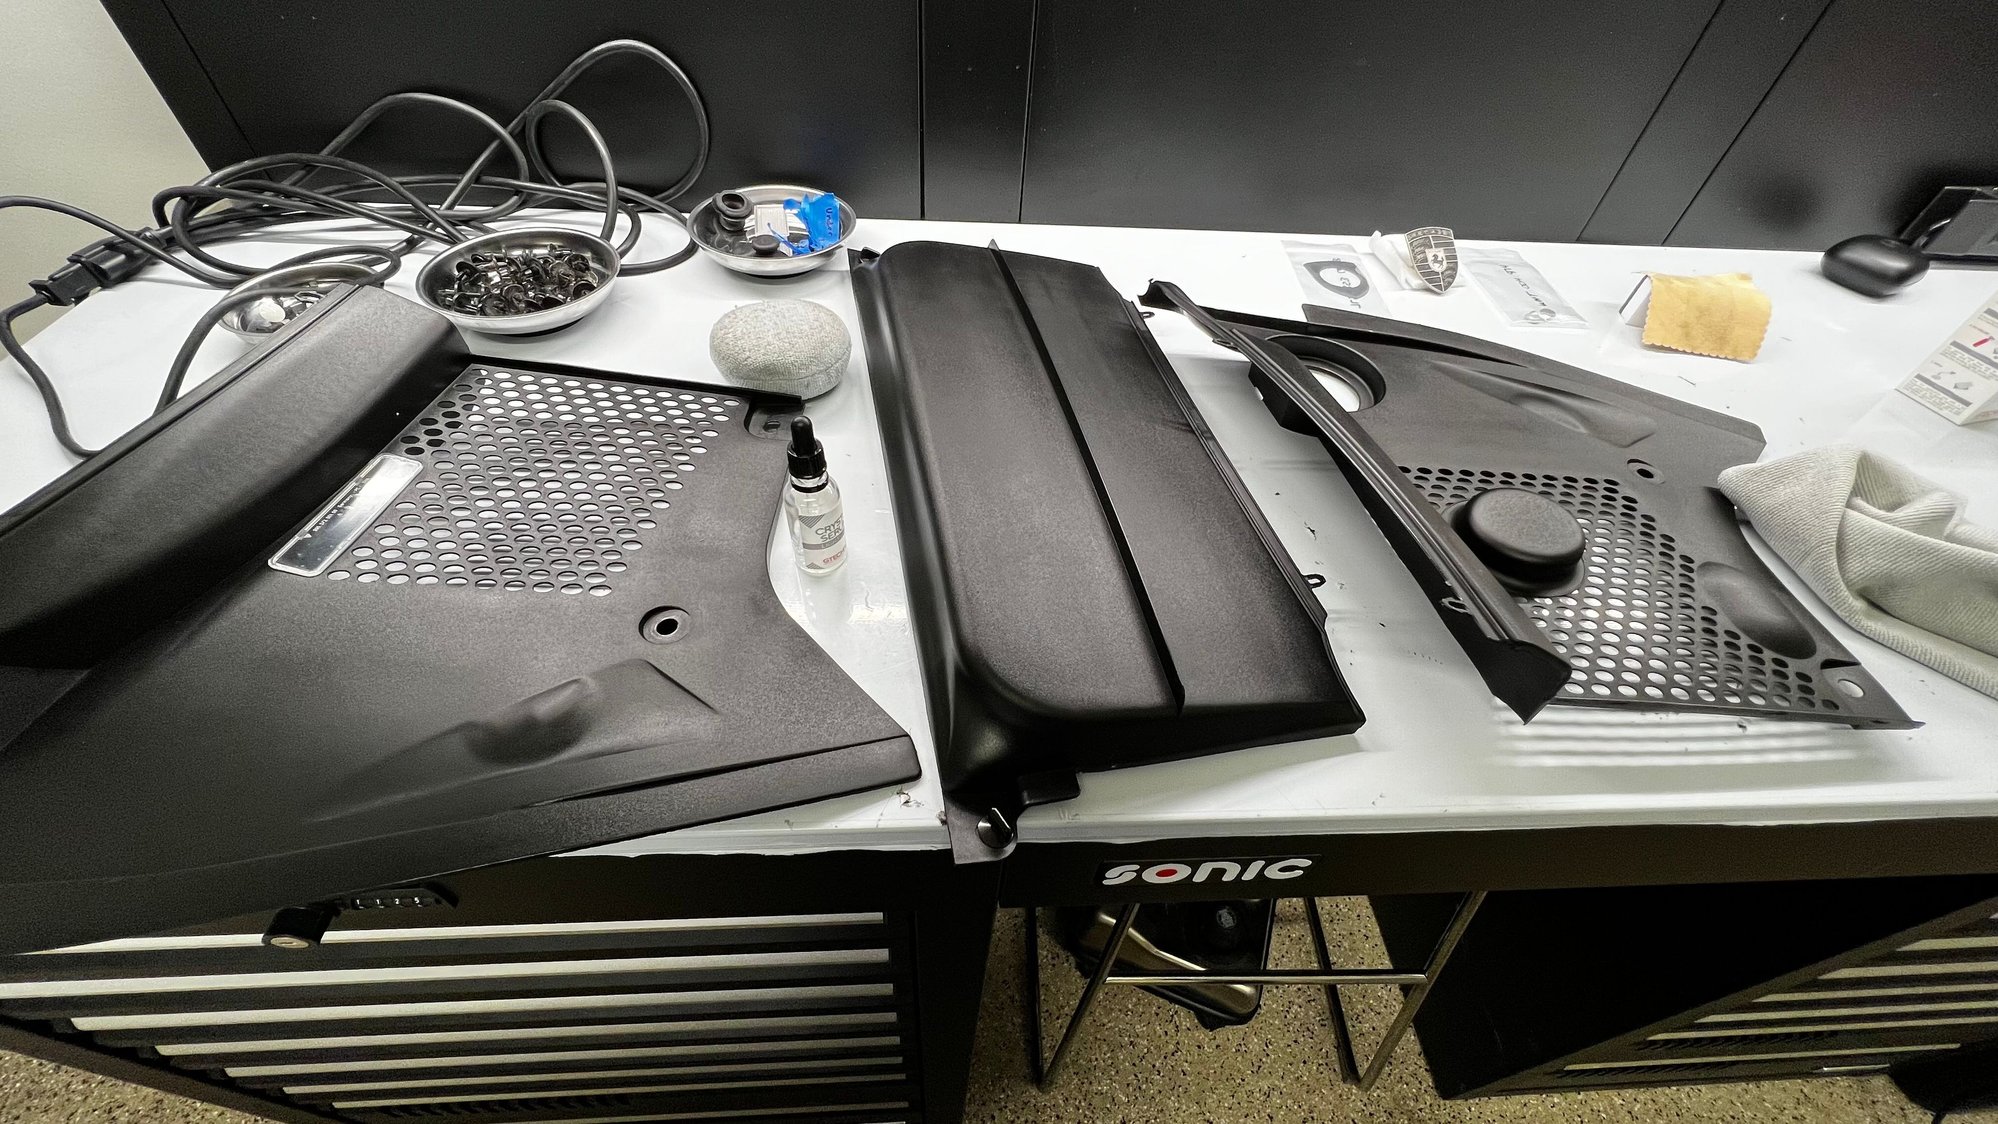
Ceramic coated the frunk trim with a coat Gtechniq Crystal Serum Light. It does a pretty good job of keeping the Porsche trim black (and clean).
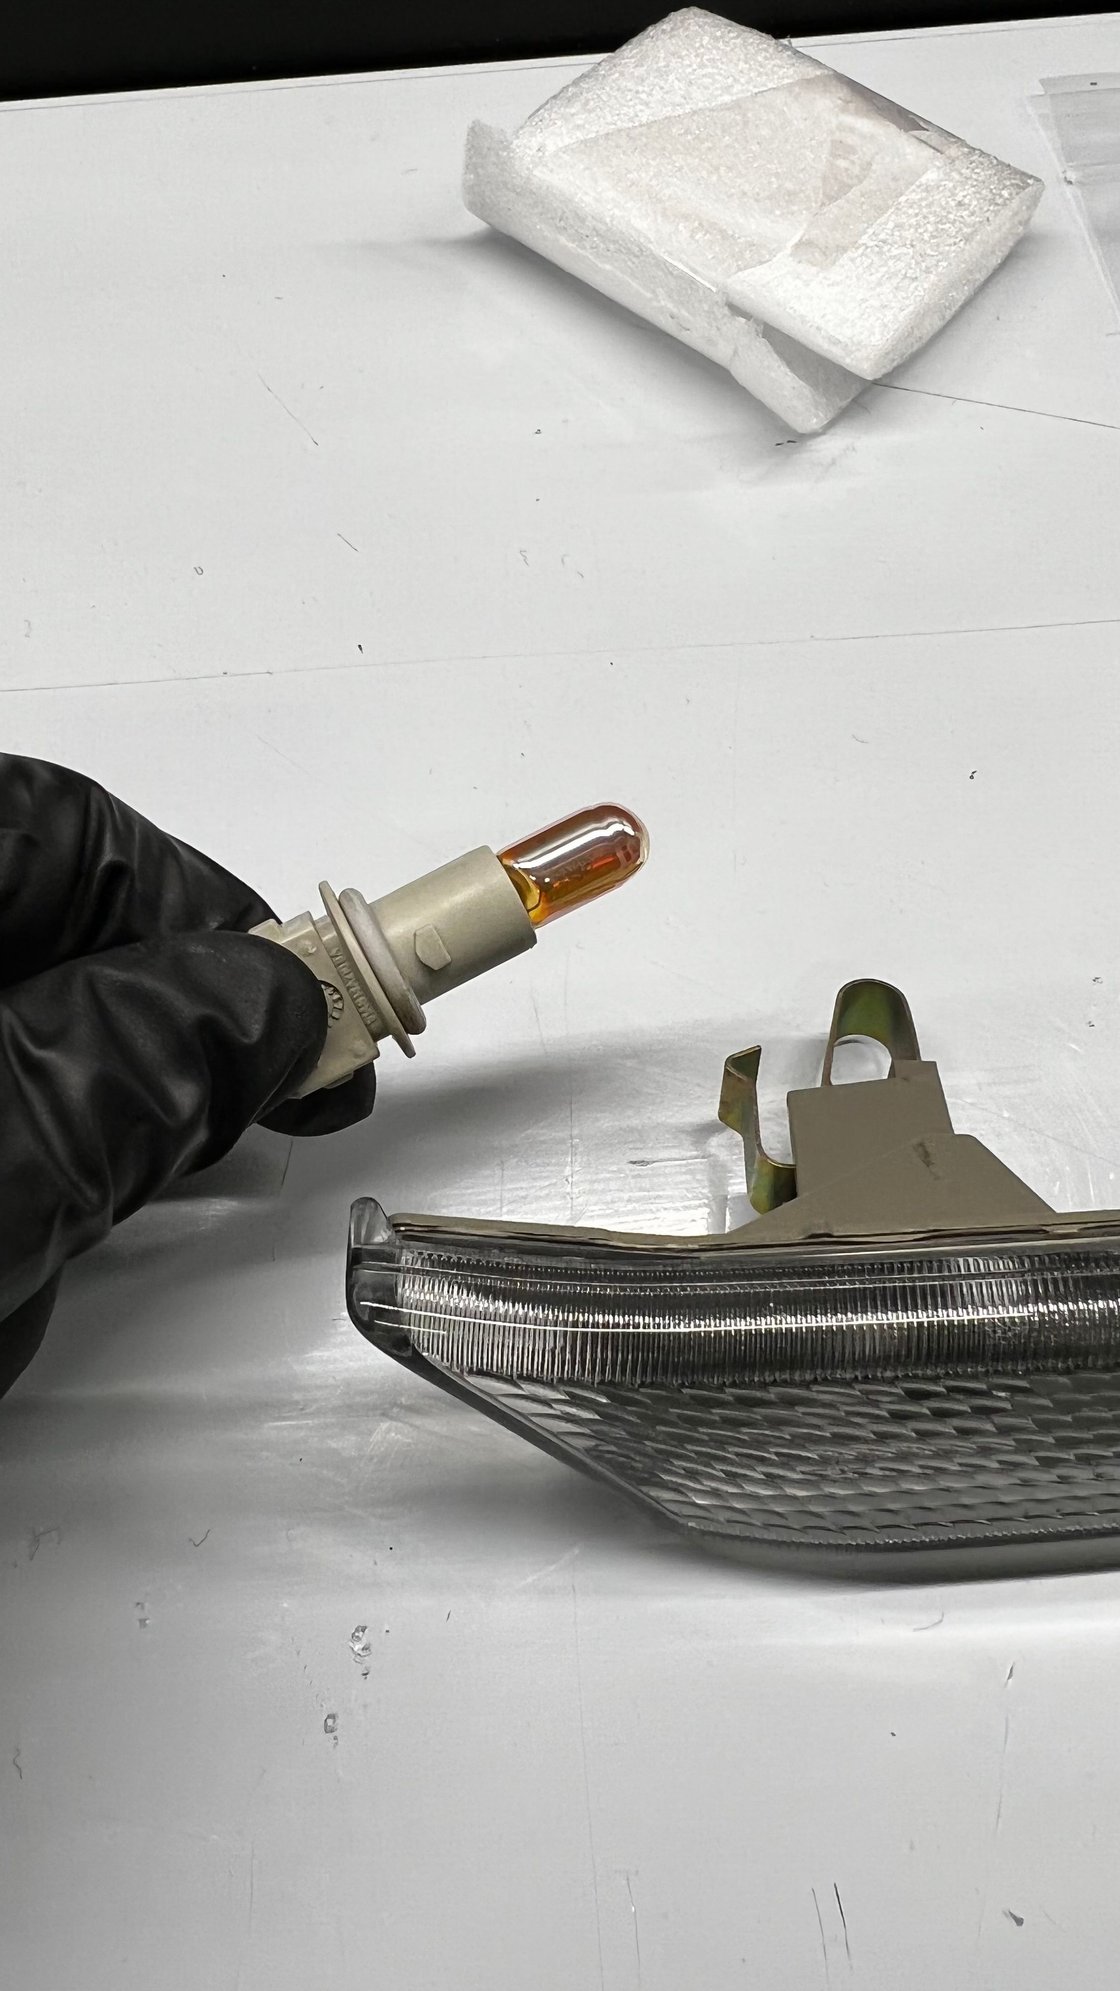
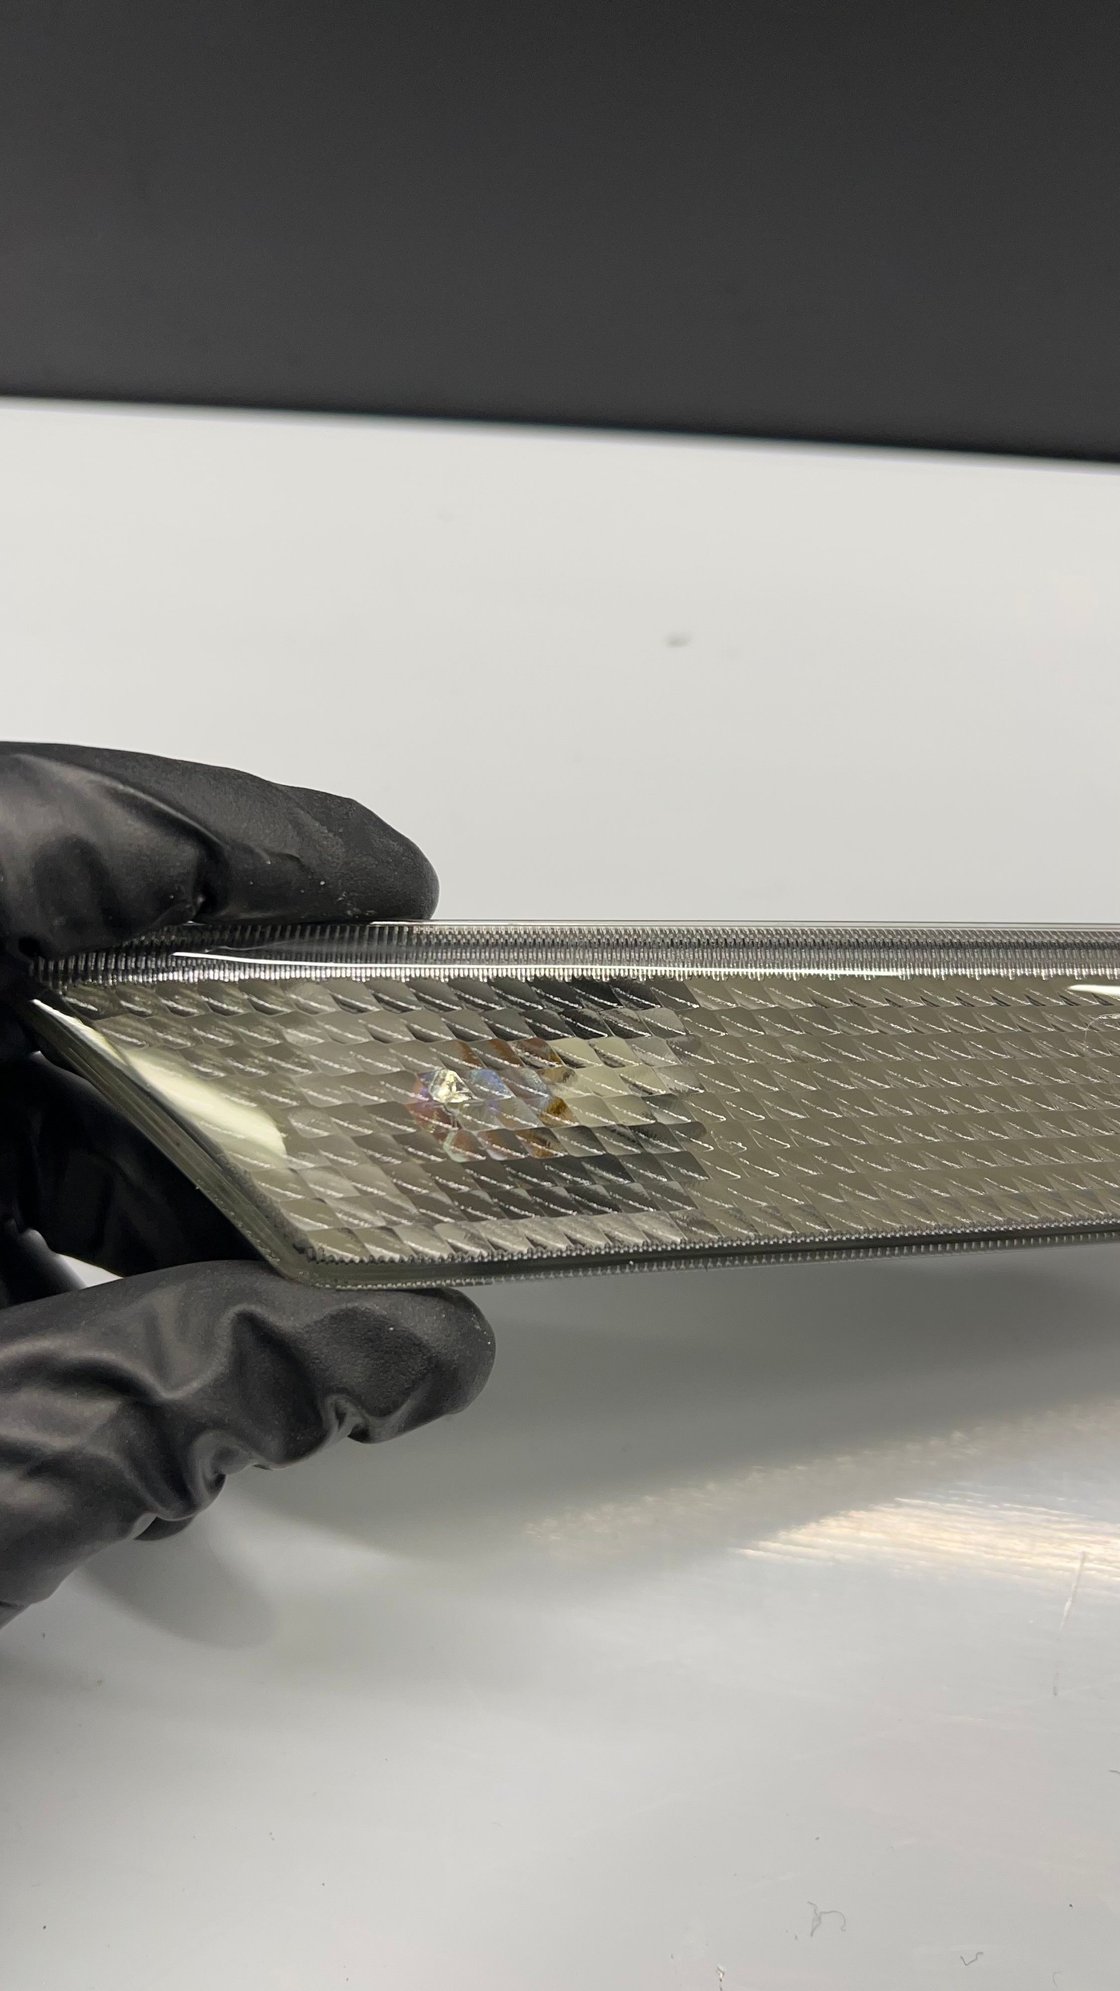
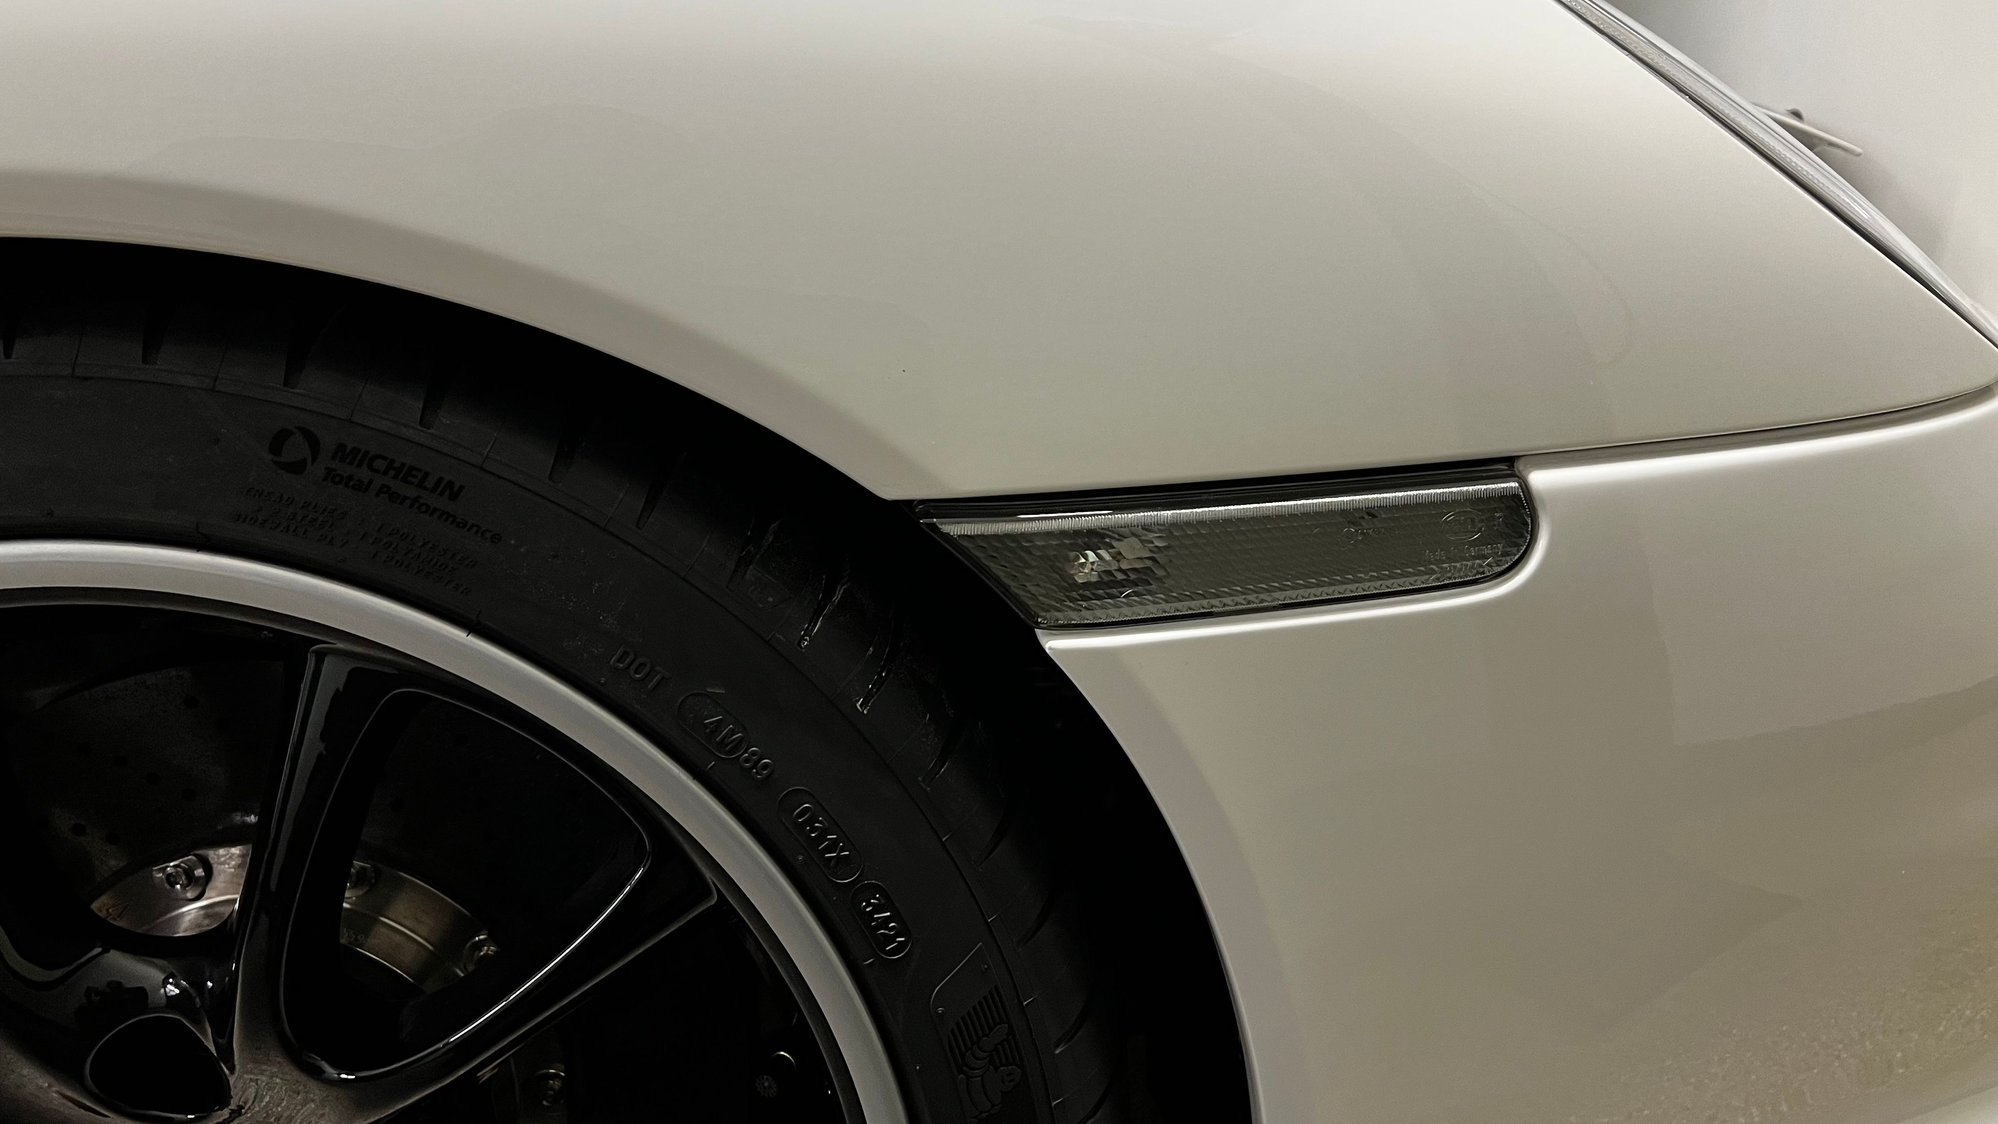
Before reinstalling the euro clear side markers, I replaced the orange WY5W bulbs with Osram Diadem Chrome bulbs to get rid of the "egg yoke" look in the side marker.
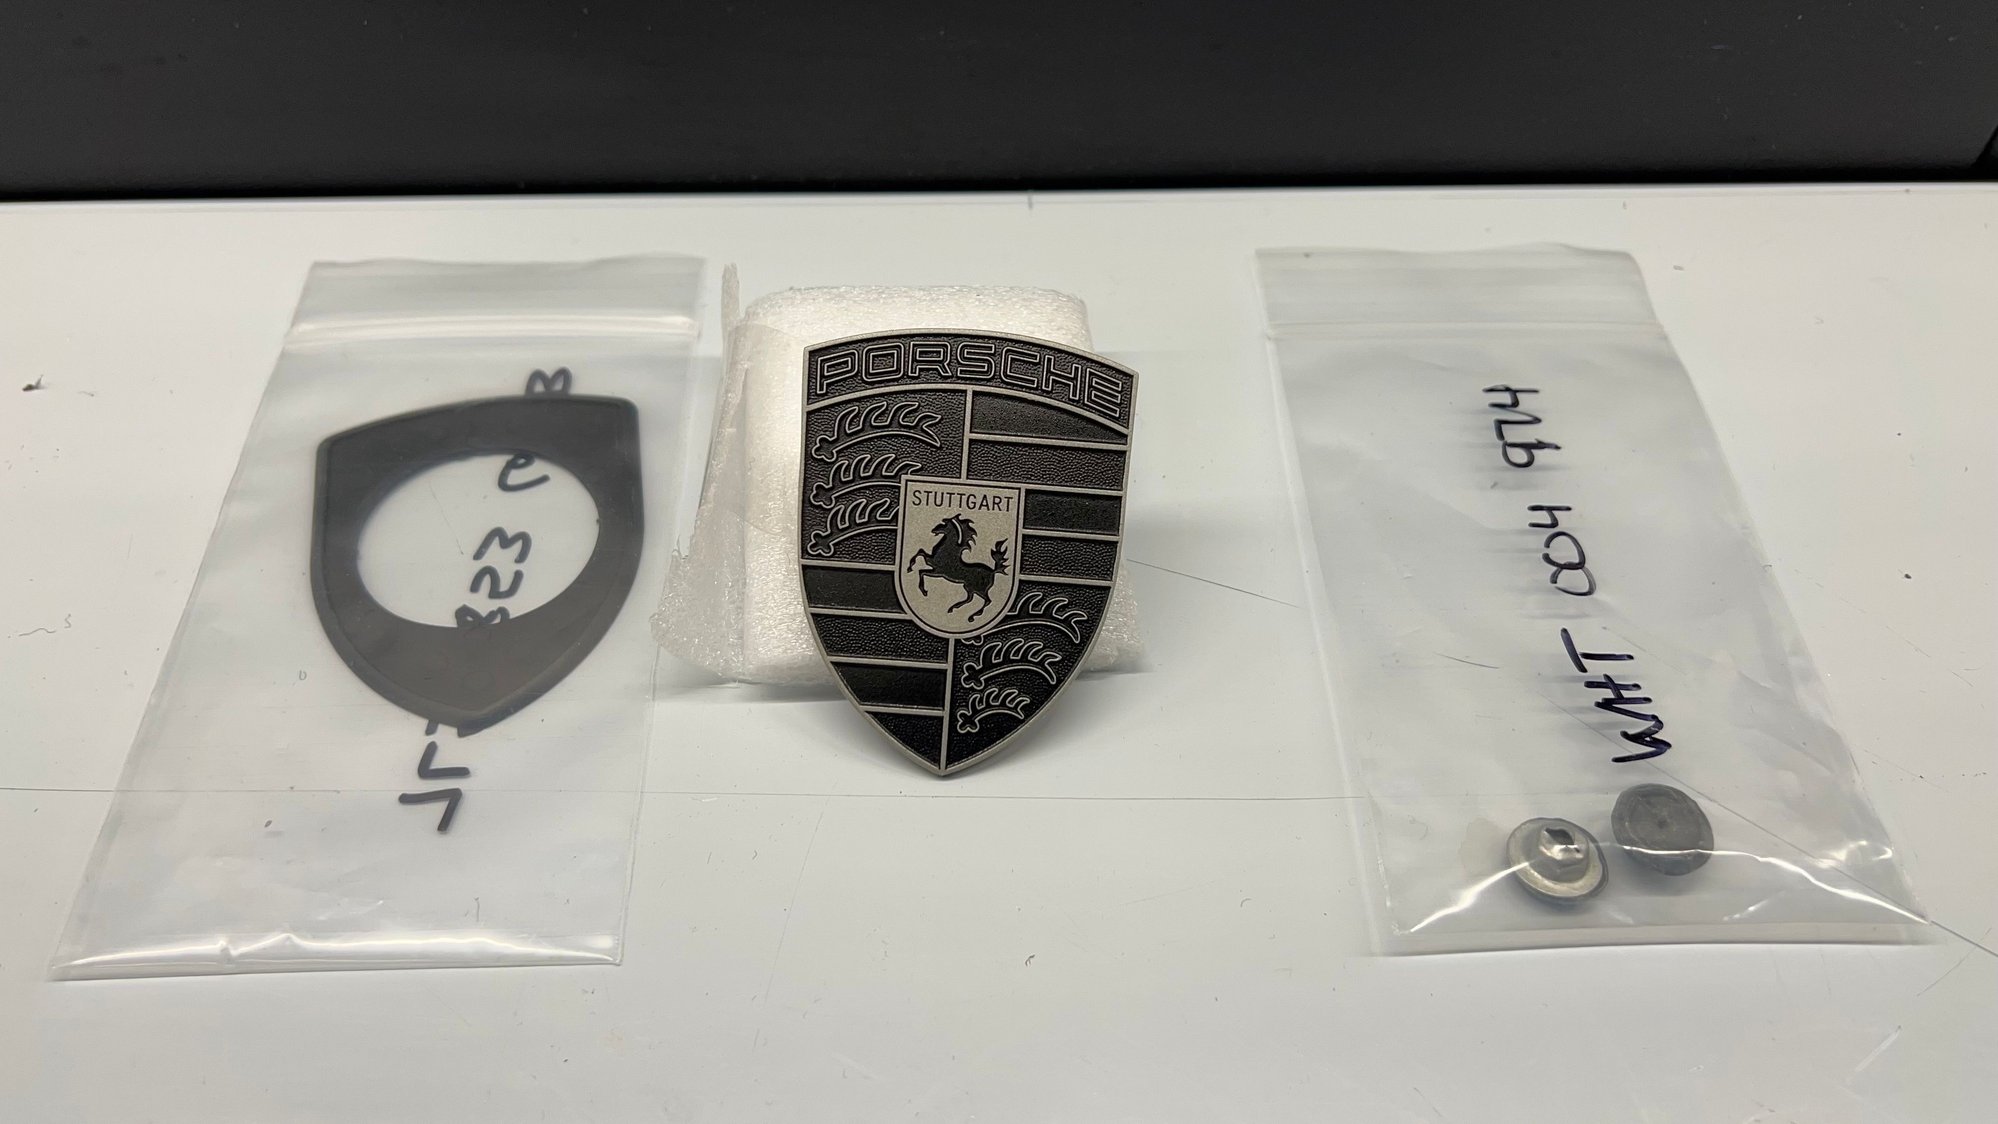
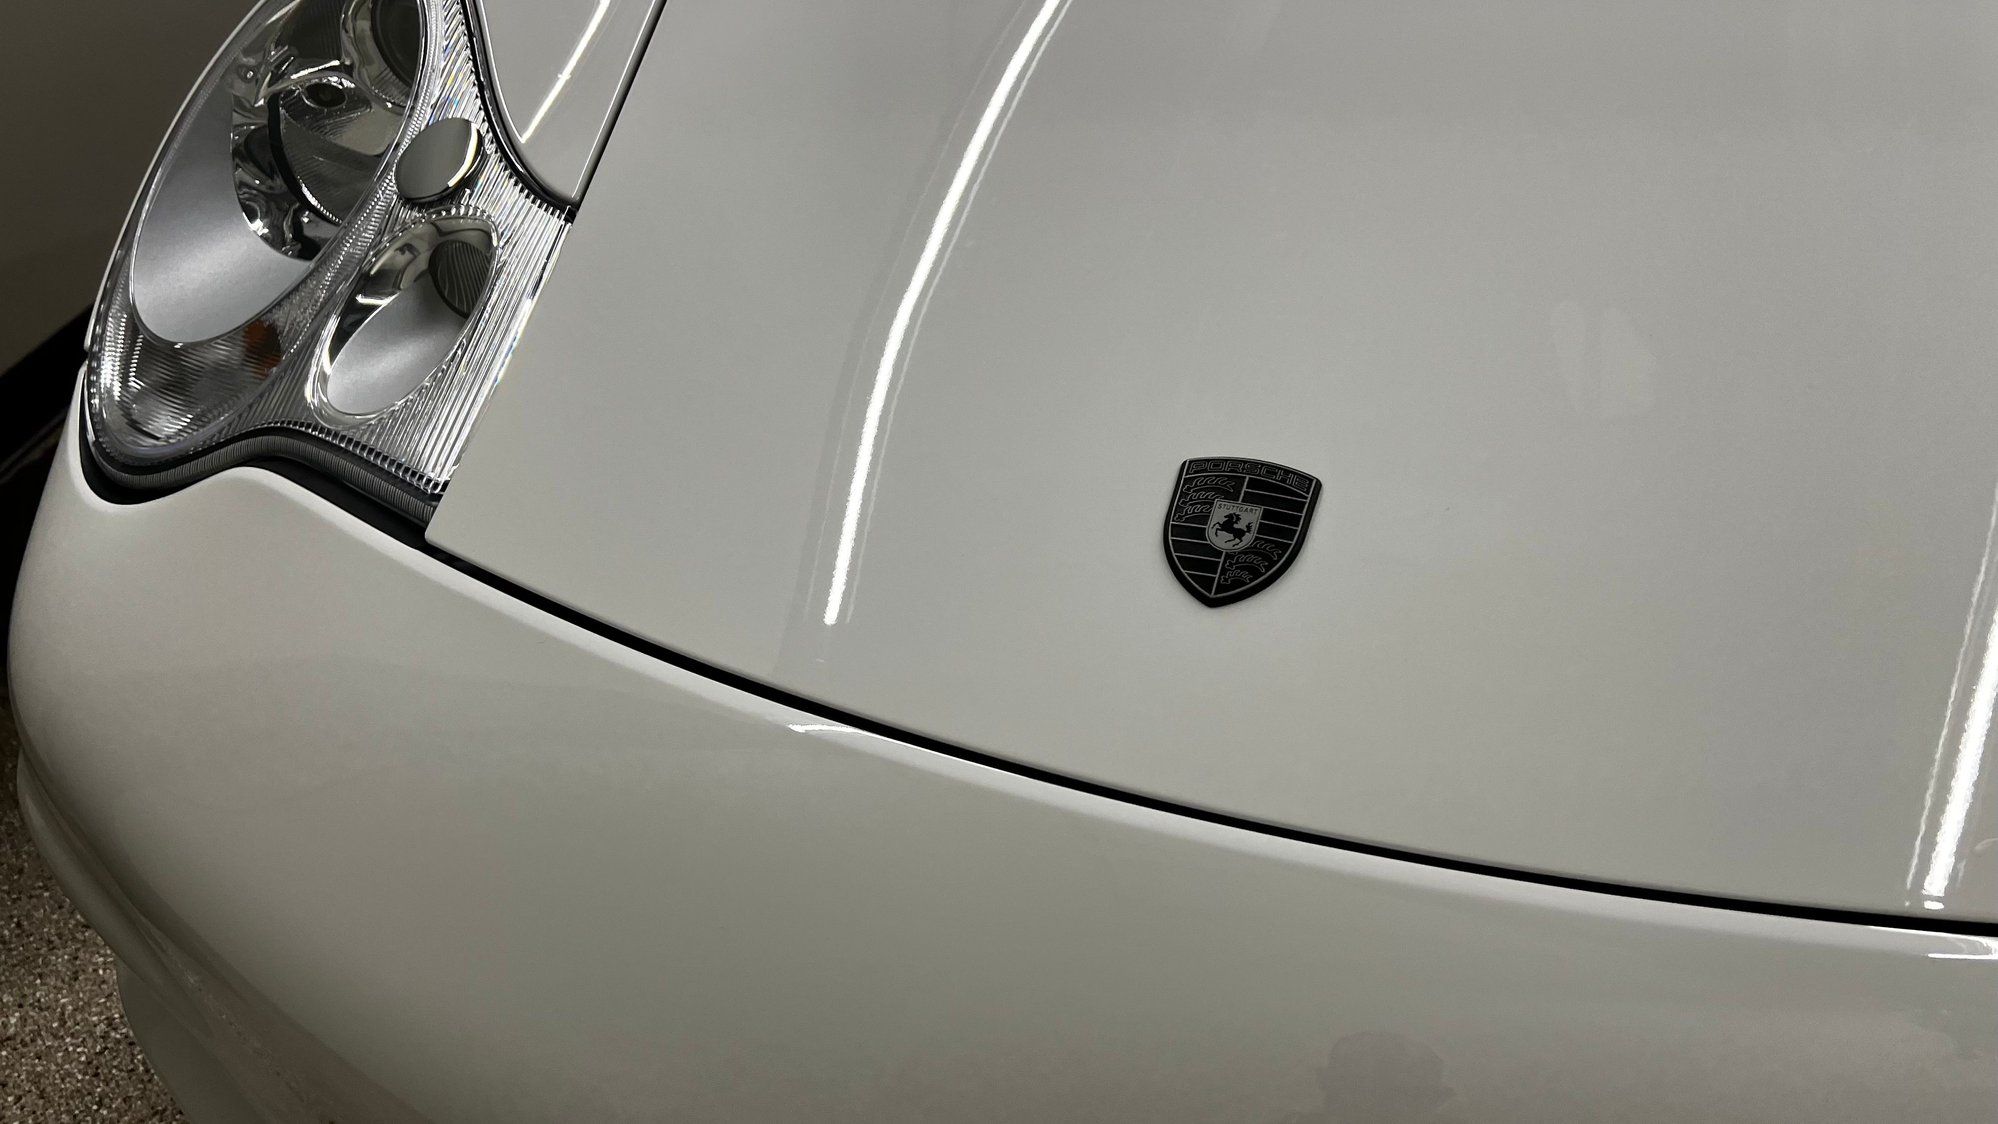
A decade ago, I found a Rennlister who was selling Cerakote refinished badges. I had him do one in black/silver for a 996 Turbo that I used to own. The badge came out so well that I have put them on all of my cars ever since. It finishes that "panda" look.
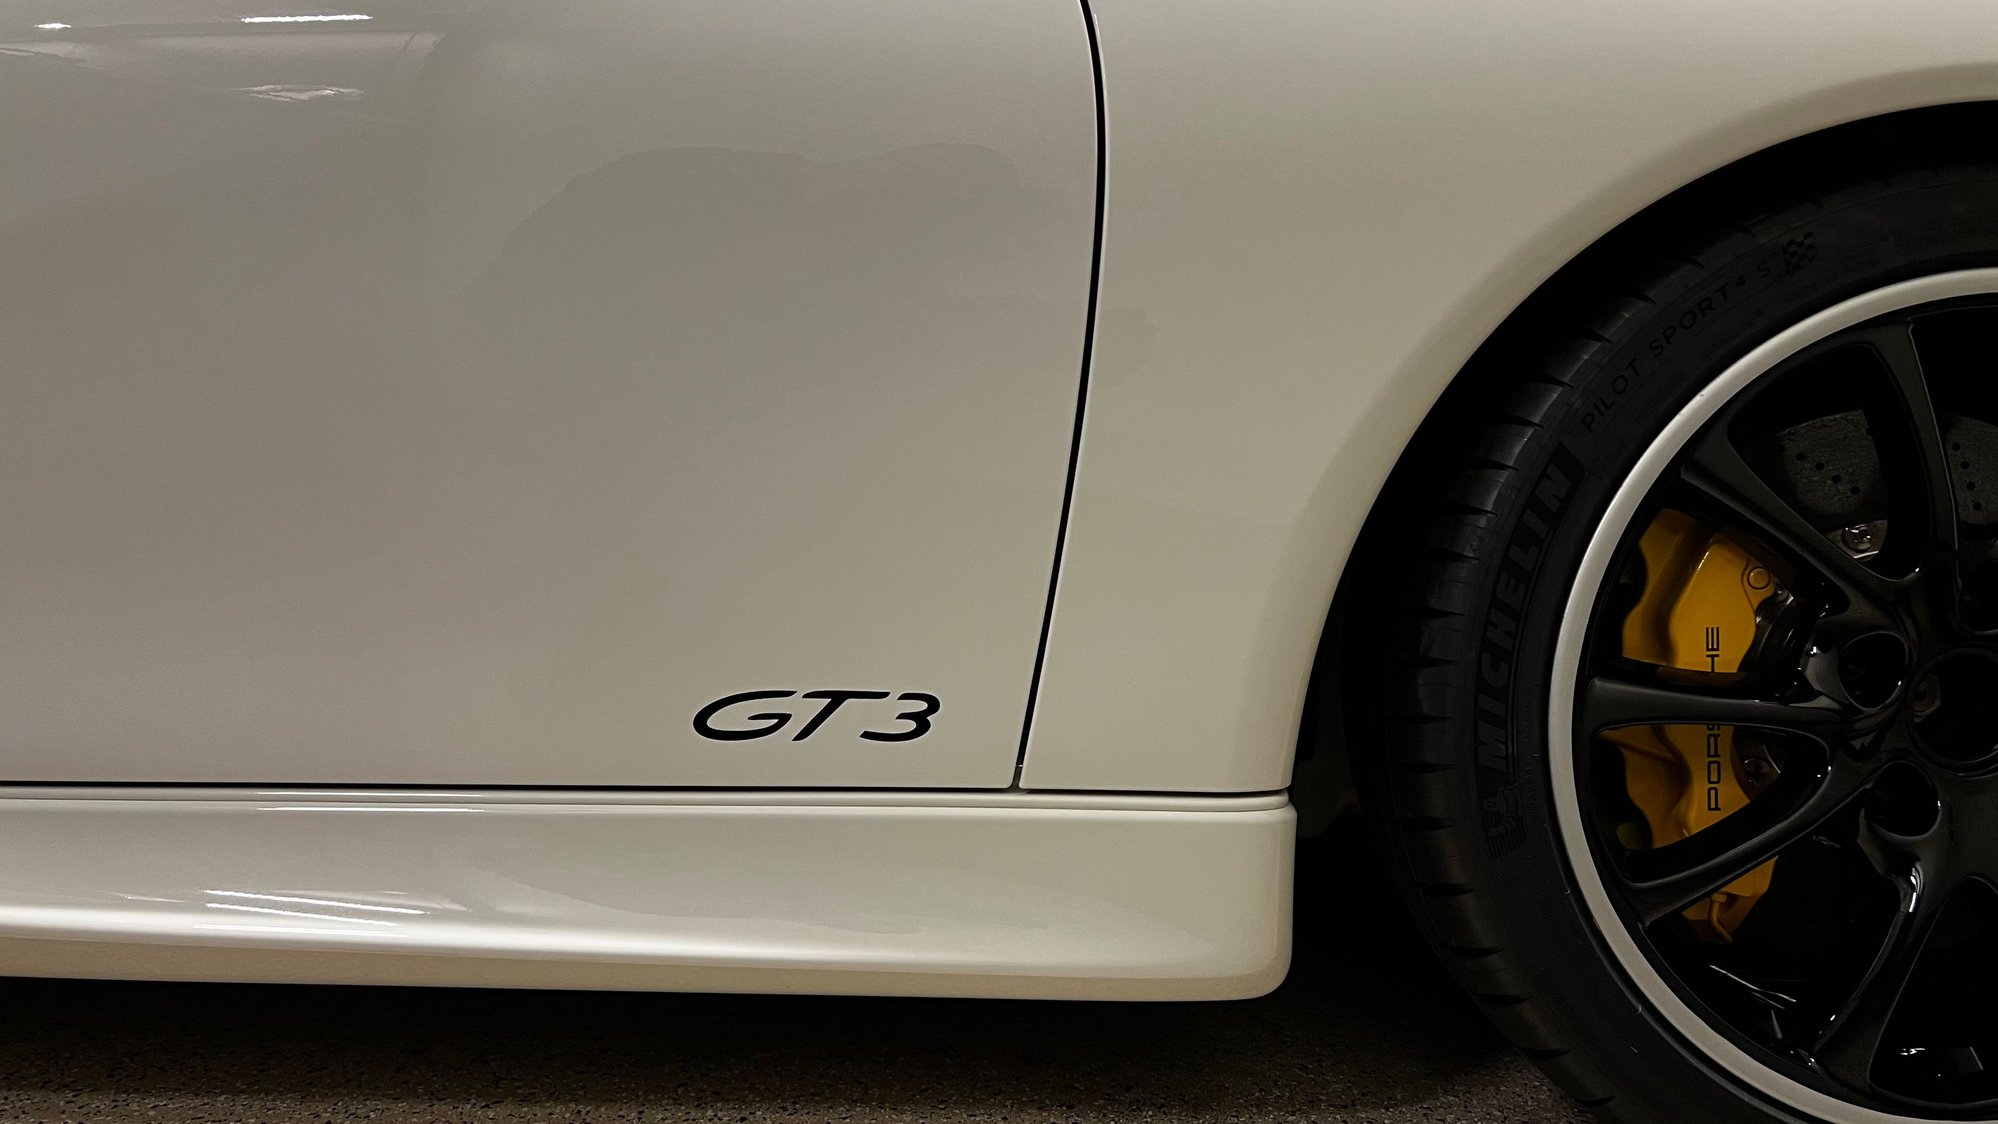
'Reinstalled the tail lights, and last but not least, the side door model decal.
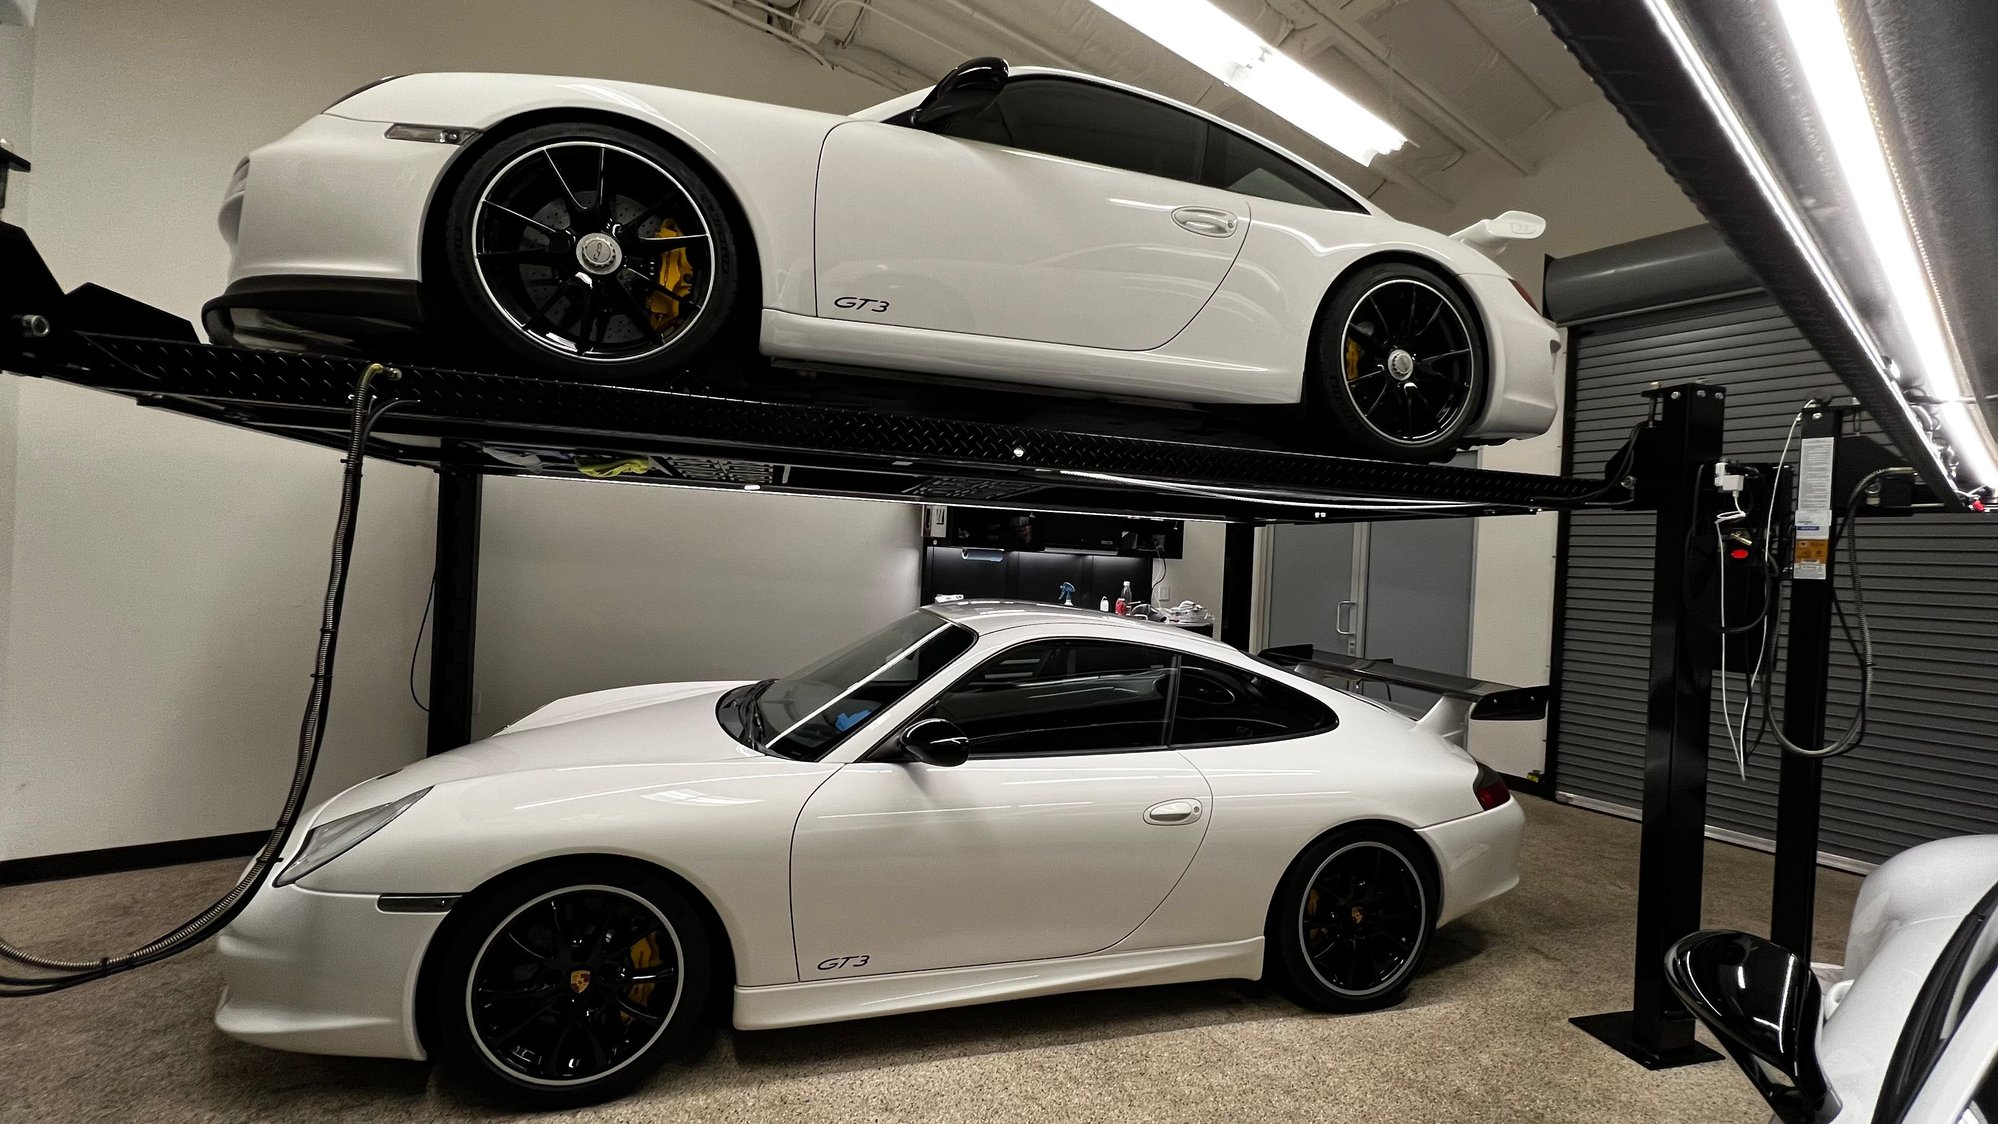
Aside from installing a new front spoiler, the exterior is clean, protected and done. Now the car is just hanging out with its little brother waiting for the remainder of the interior pieces to show up so I can finish putting the interior back together.
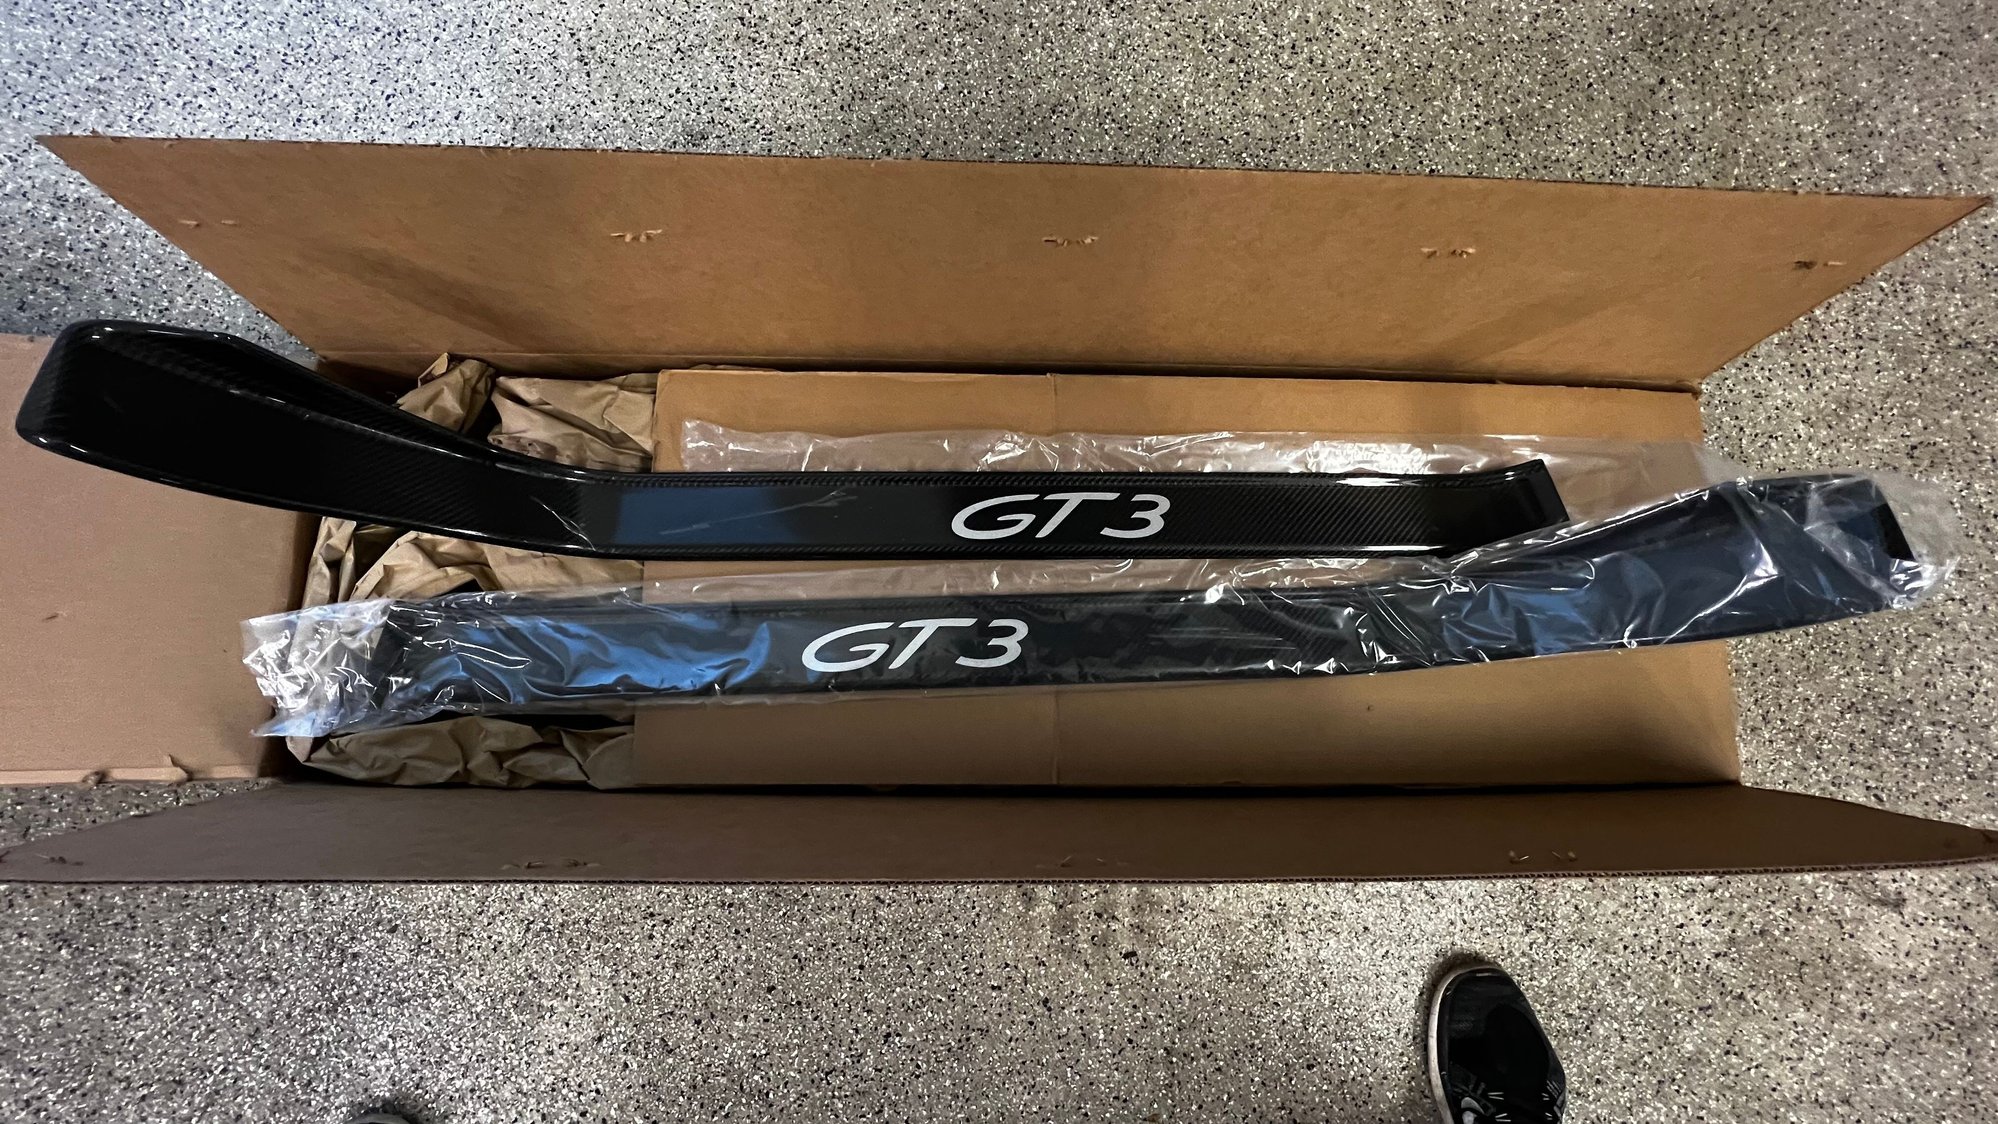
2 illusive pieces of carbon fiber that I needed to button up the interior arrived last week: a center console from DB Carbon and OEM door sills. I say illusive, because I�ve been waiting for both since October.
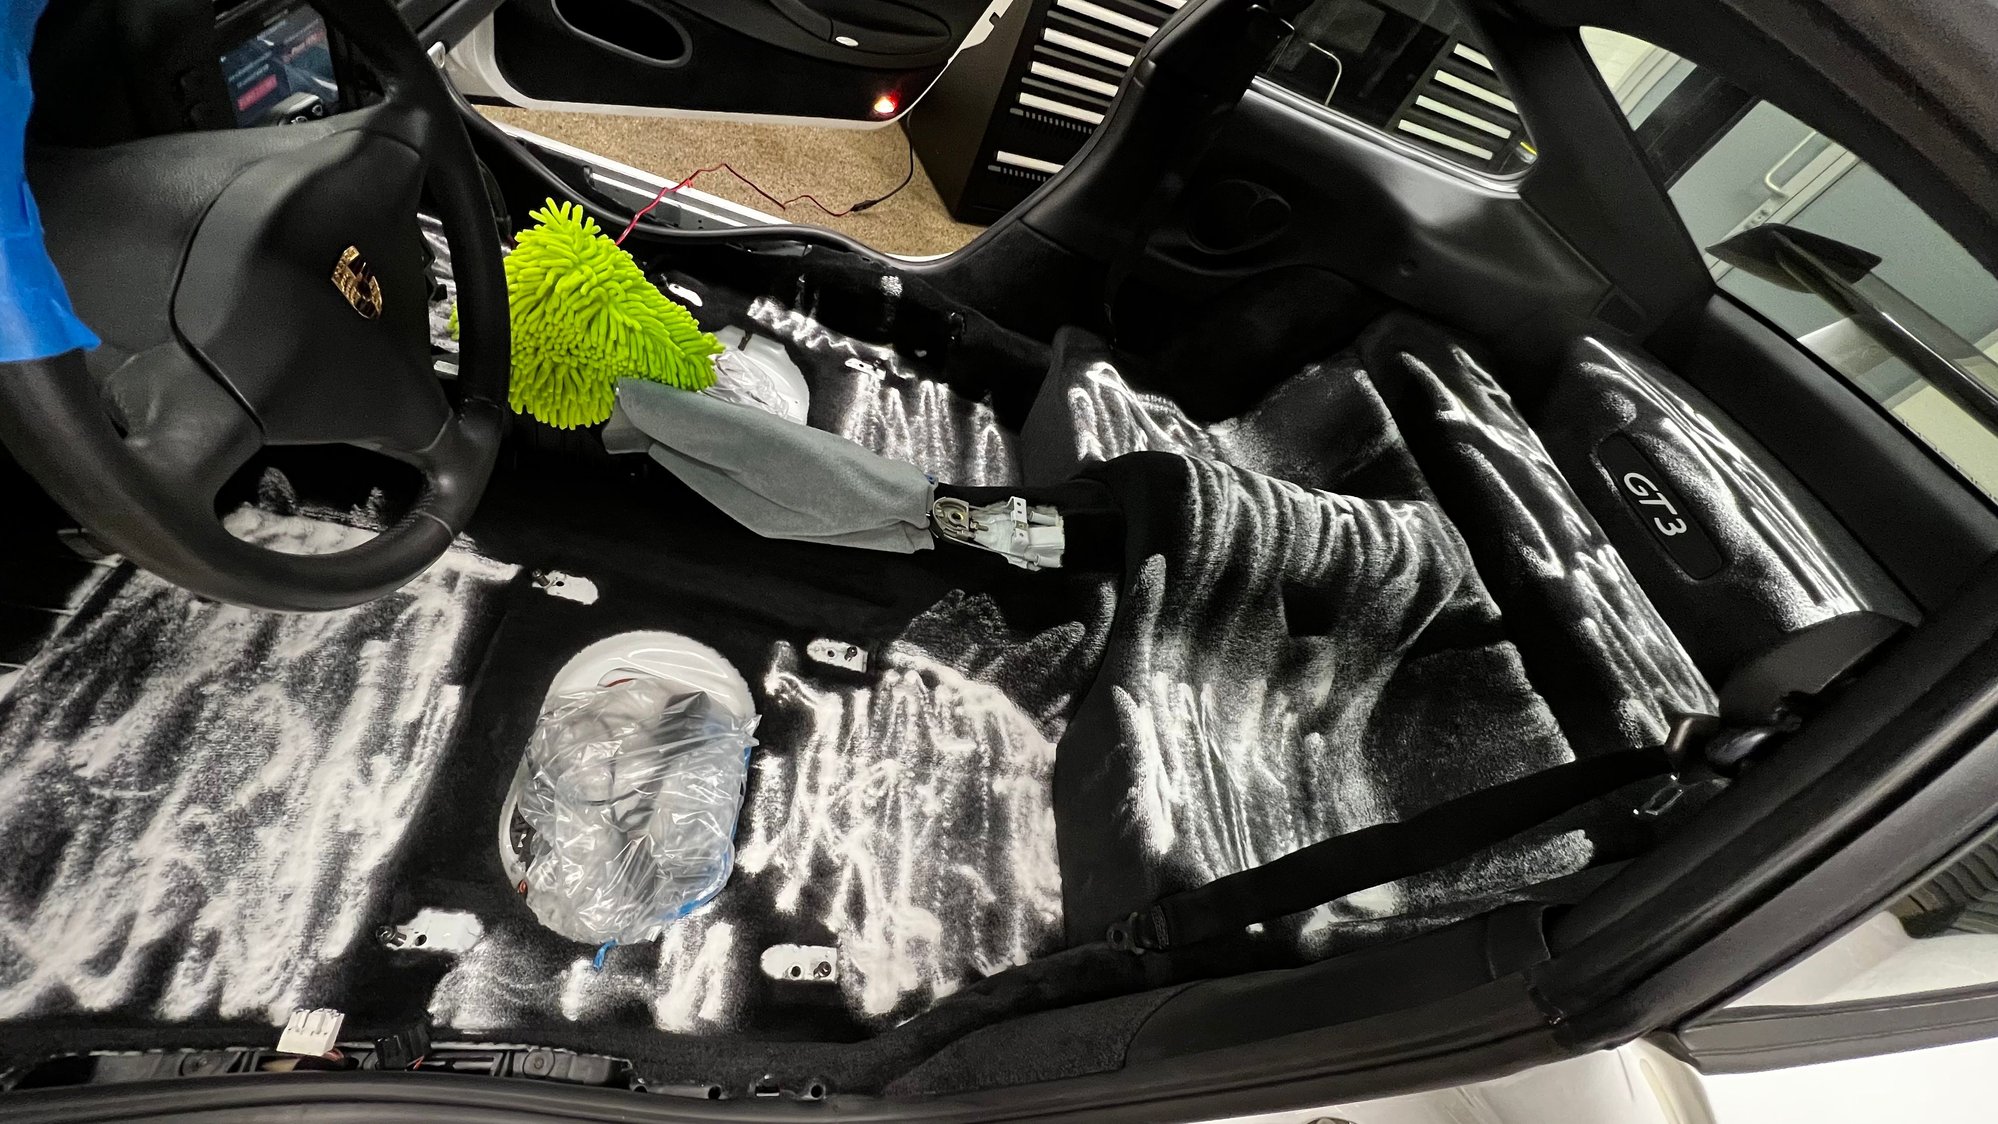
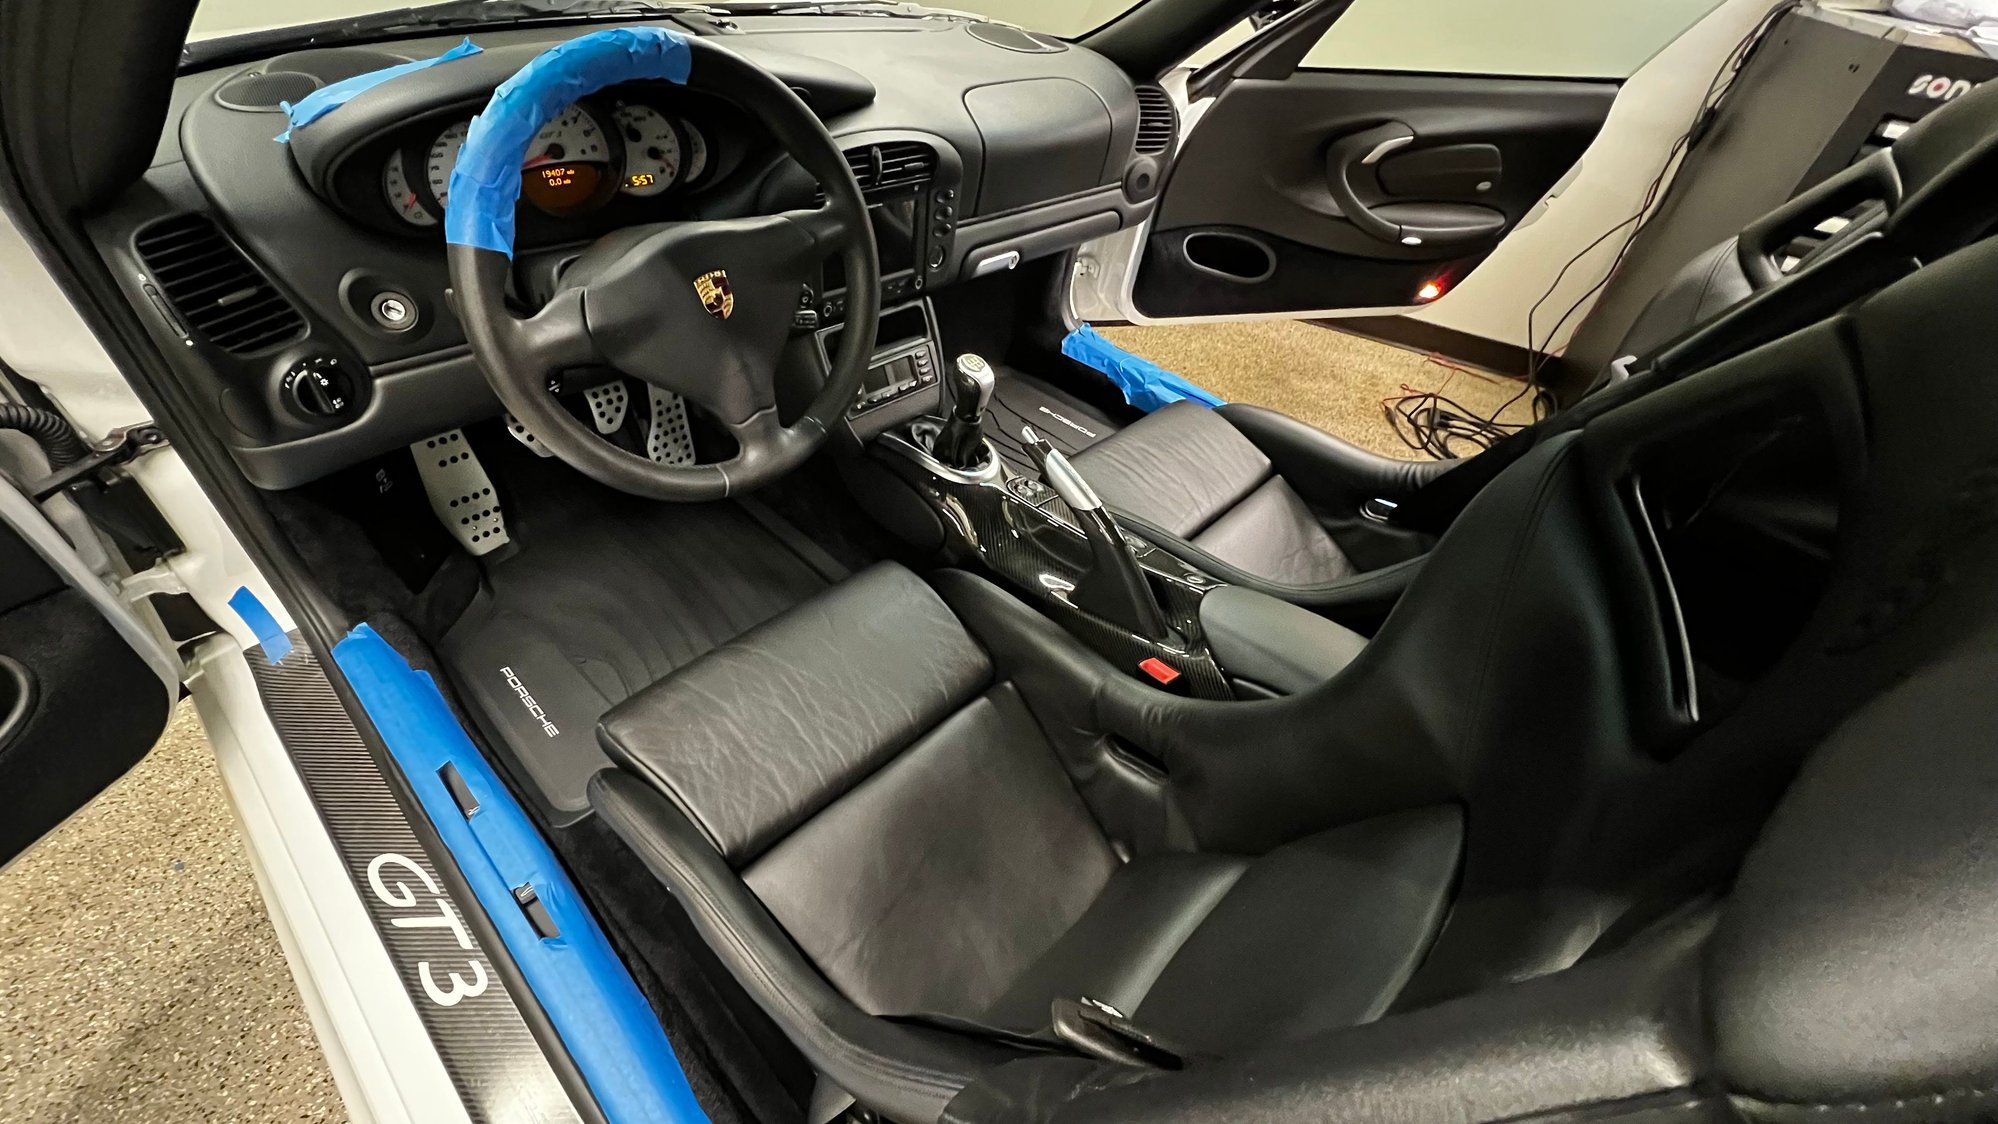
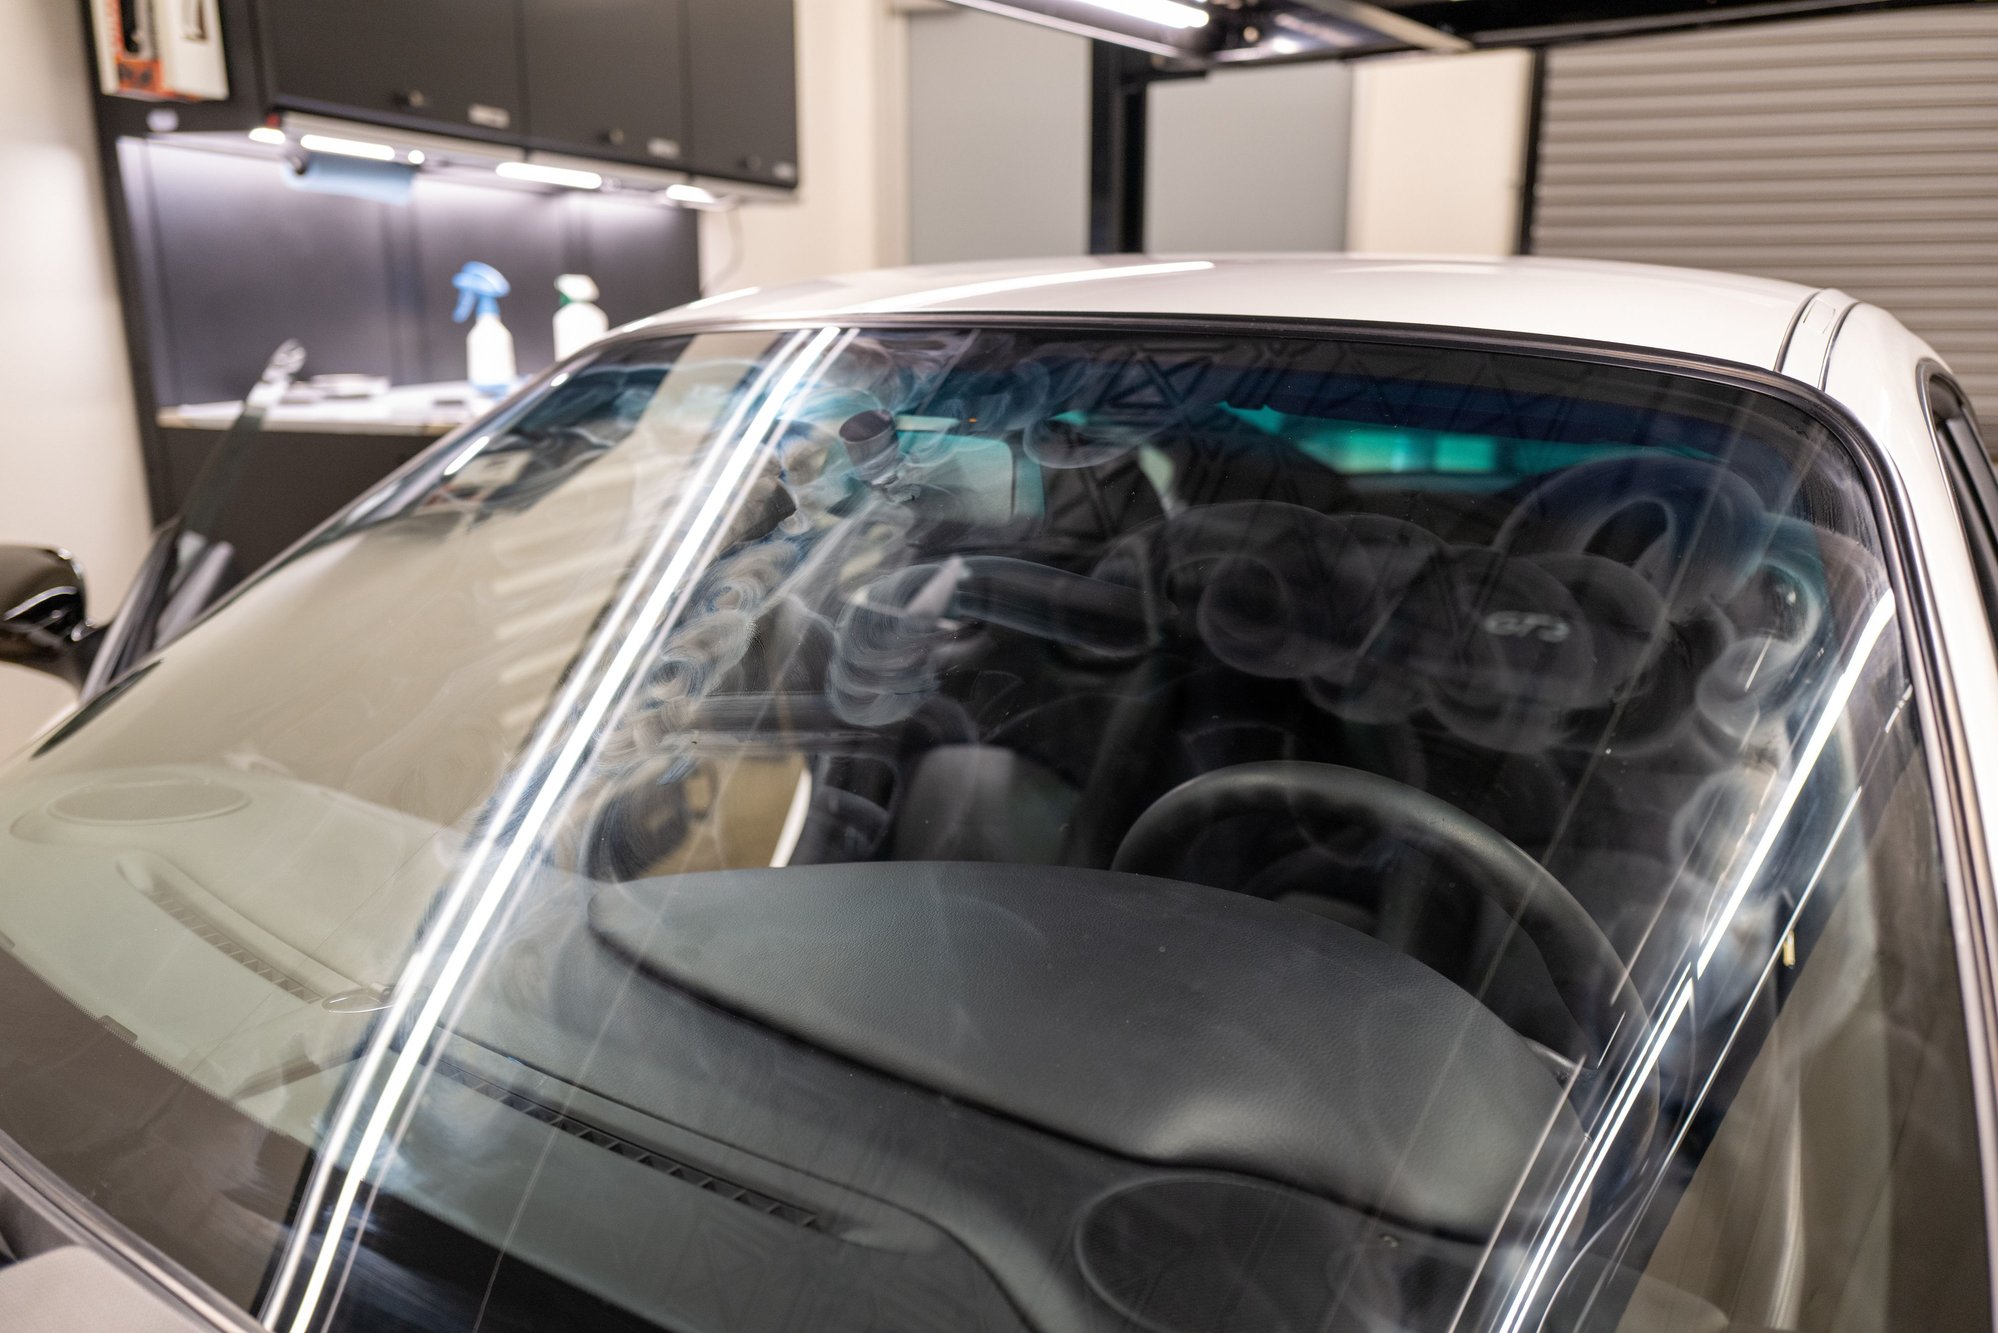
There is nothing I cherish more than a clean and tidy interior, it was a good chance to do a deep cleaning with everything currently apart. I started with the interior windows � given the car has had a cage for the last 15 years, that probably dates the last time the rear window glass had been cleaned. 😁
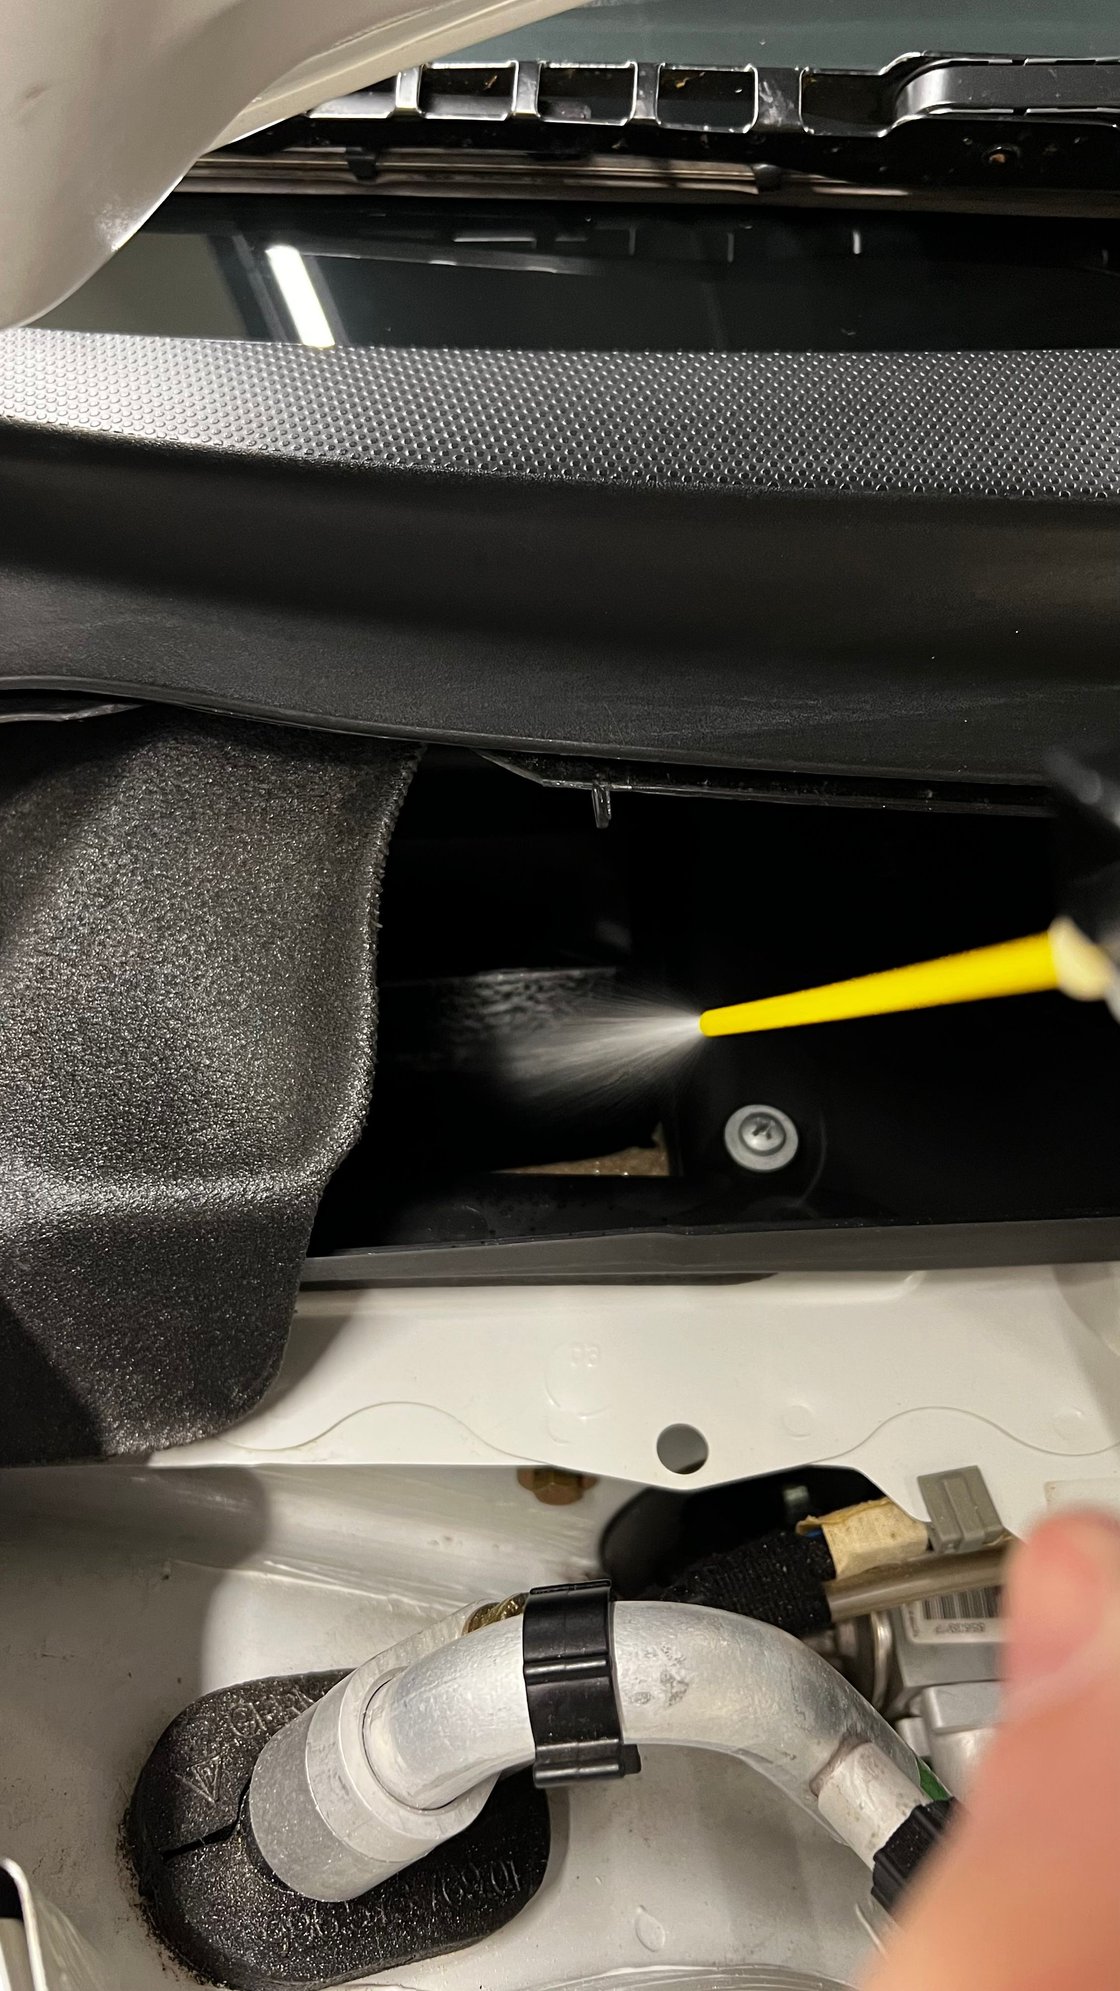
Next I treated the air vents to neutralize any possible bacteria/mold/smells � ran the fans on high for 10 mins to cycle through the system. Meguiar�s makes a pretty good vent cleaning product, or a high pressure steam cleaner works well too.
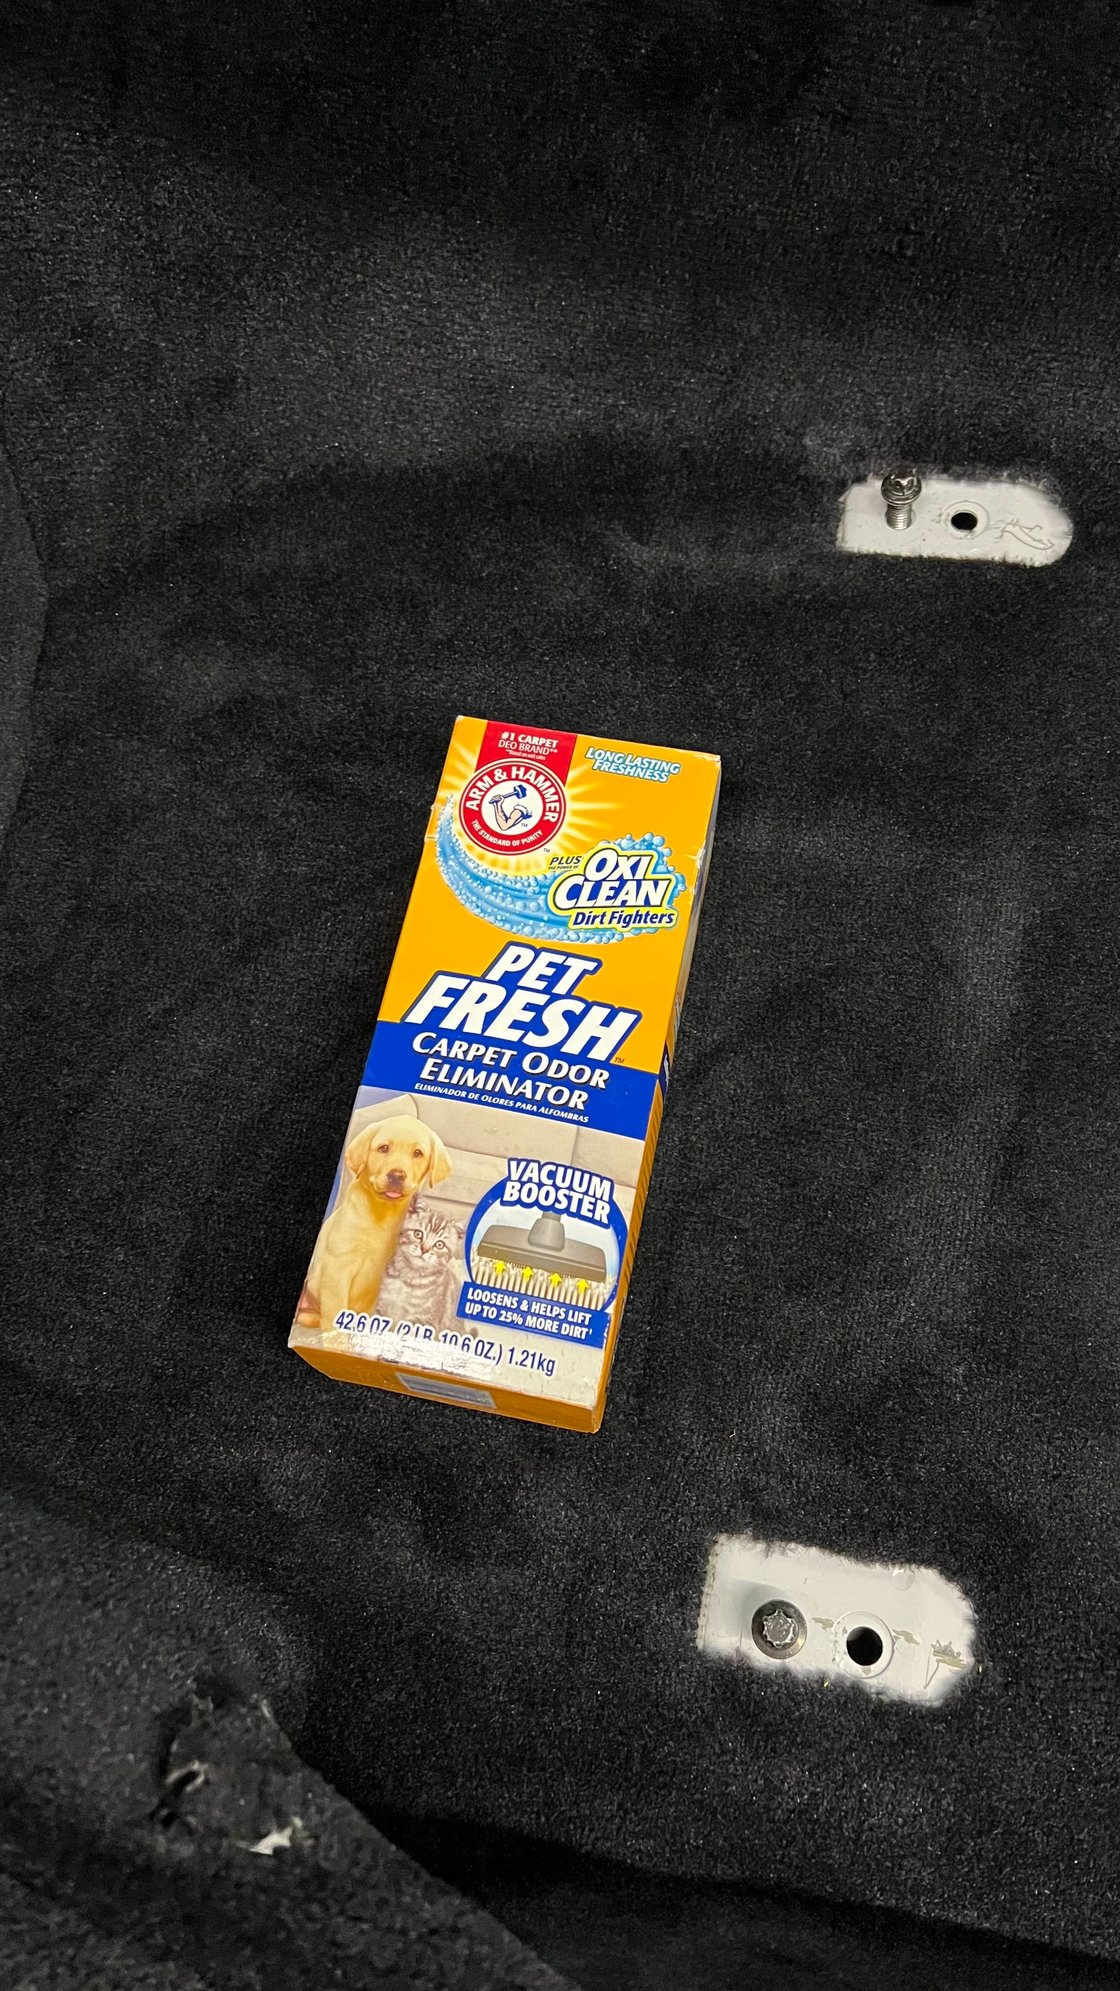
On to the carpets. You know that 996/997 �smell� when you open the door and get into the cabin? Yeah... I hate it. I don�t know what it is, but I�ve found that cleaning the carpet gets rid of it.
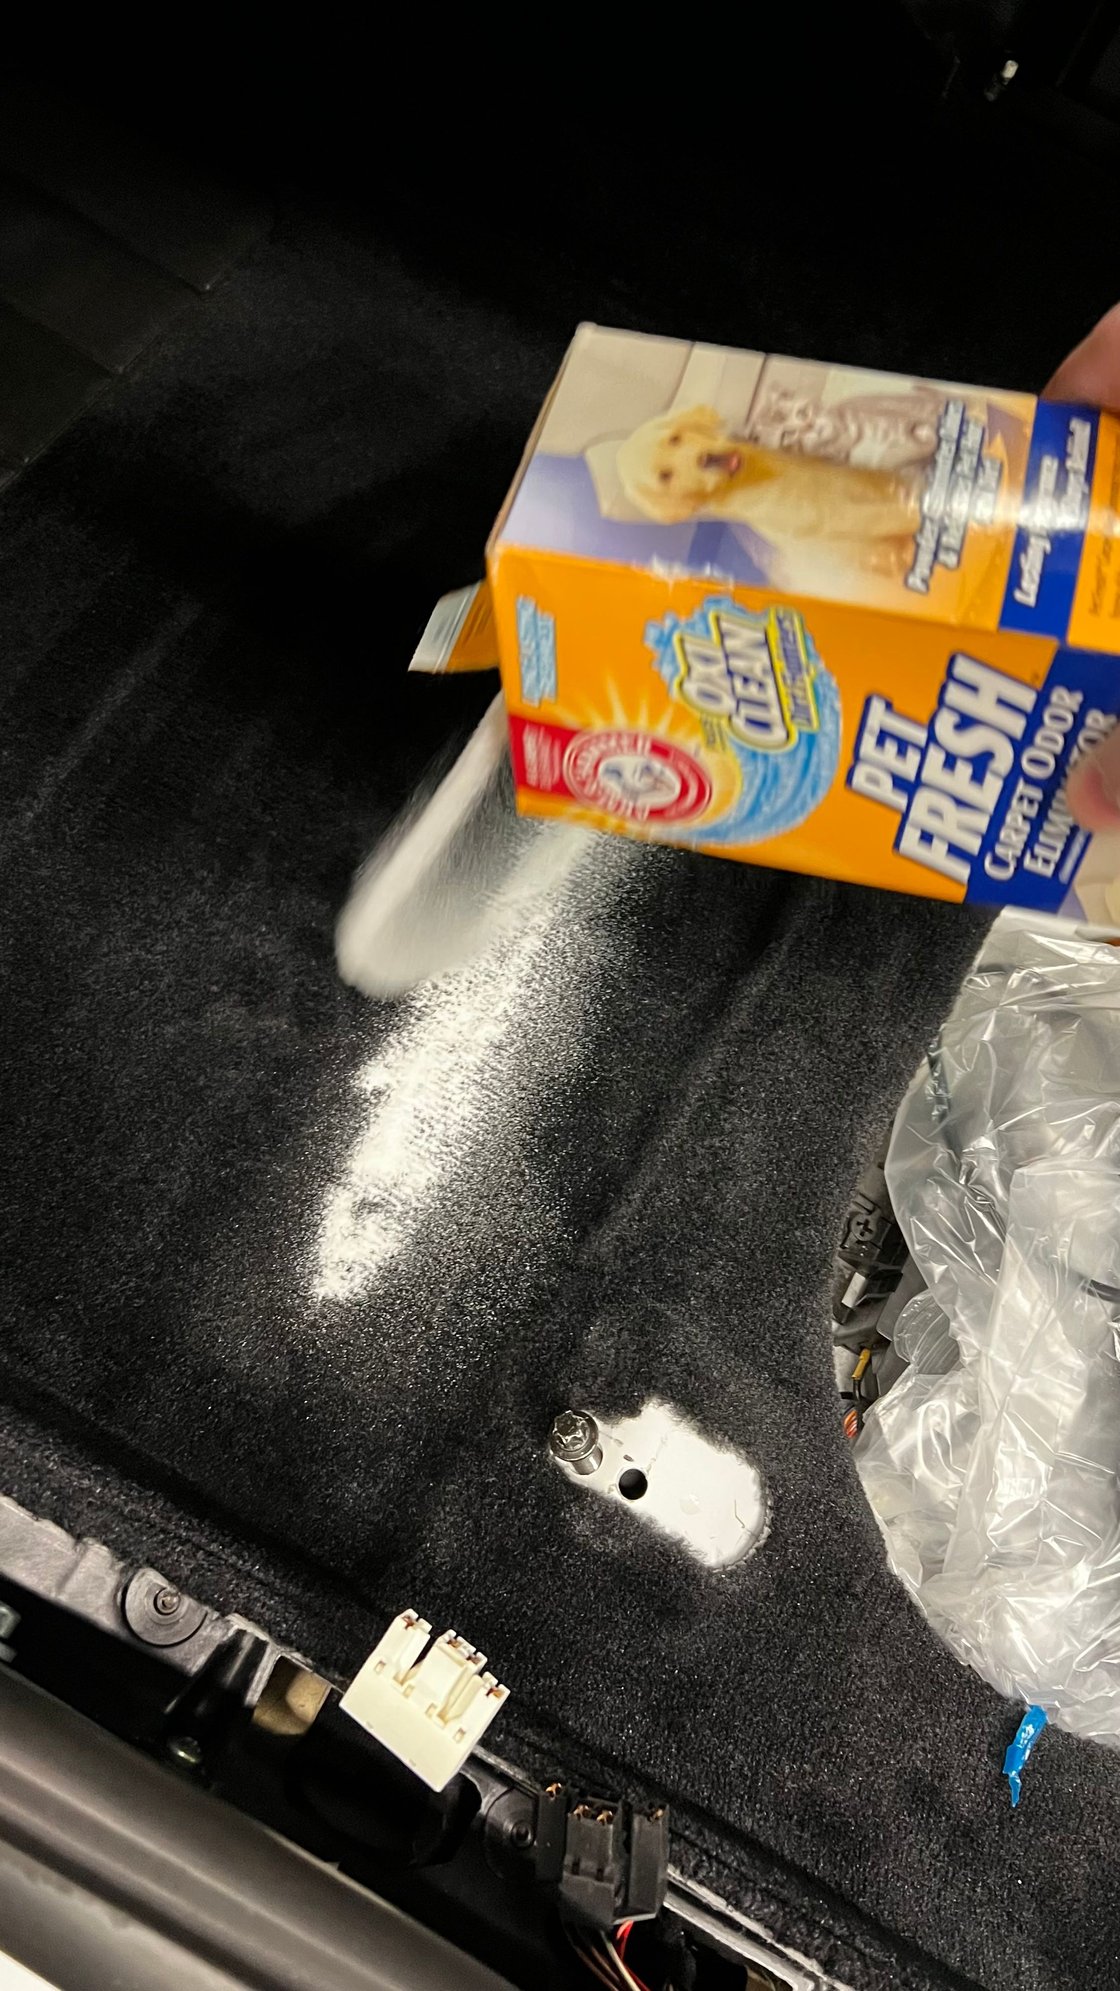
First I sprinkle a scentless (or low-scent) baking soda-based cleaning product on the carpet and let it sit over night to neutralize any body oils/sweat. The baking soda does most of the cleaning heavy lifting.
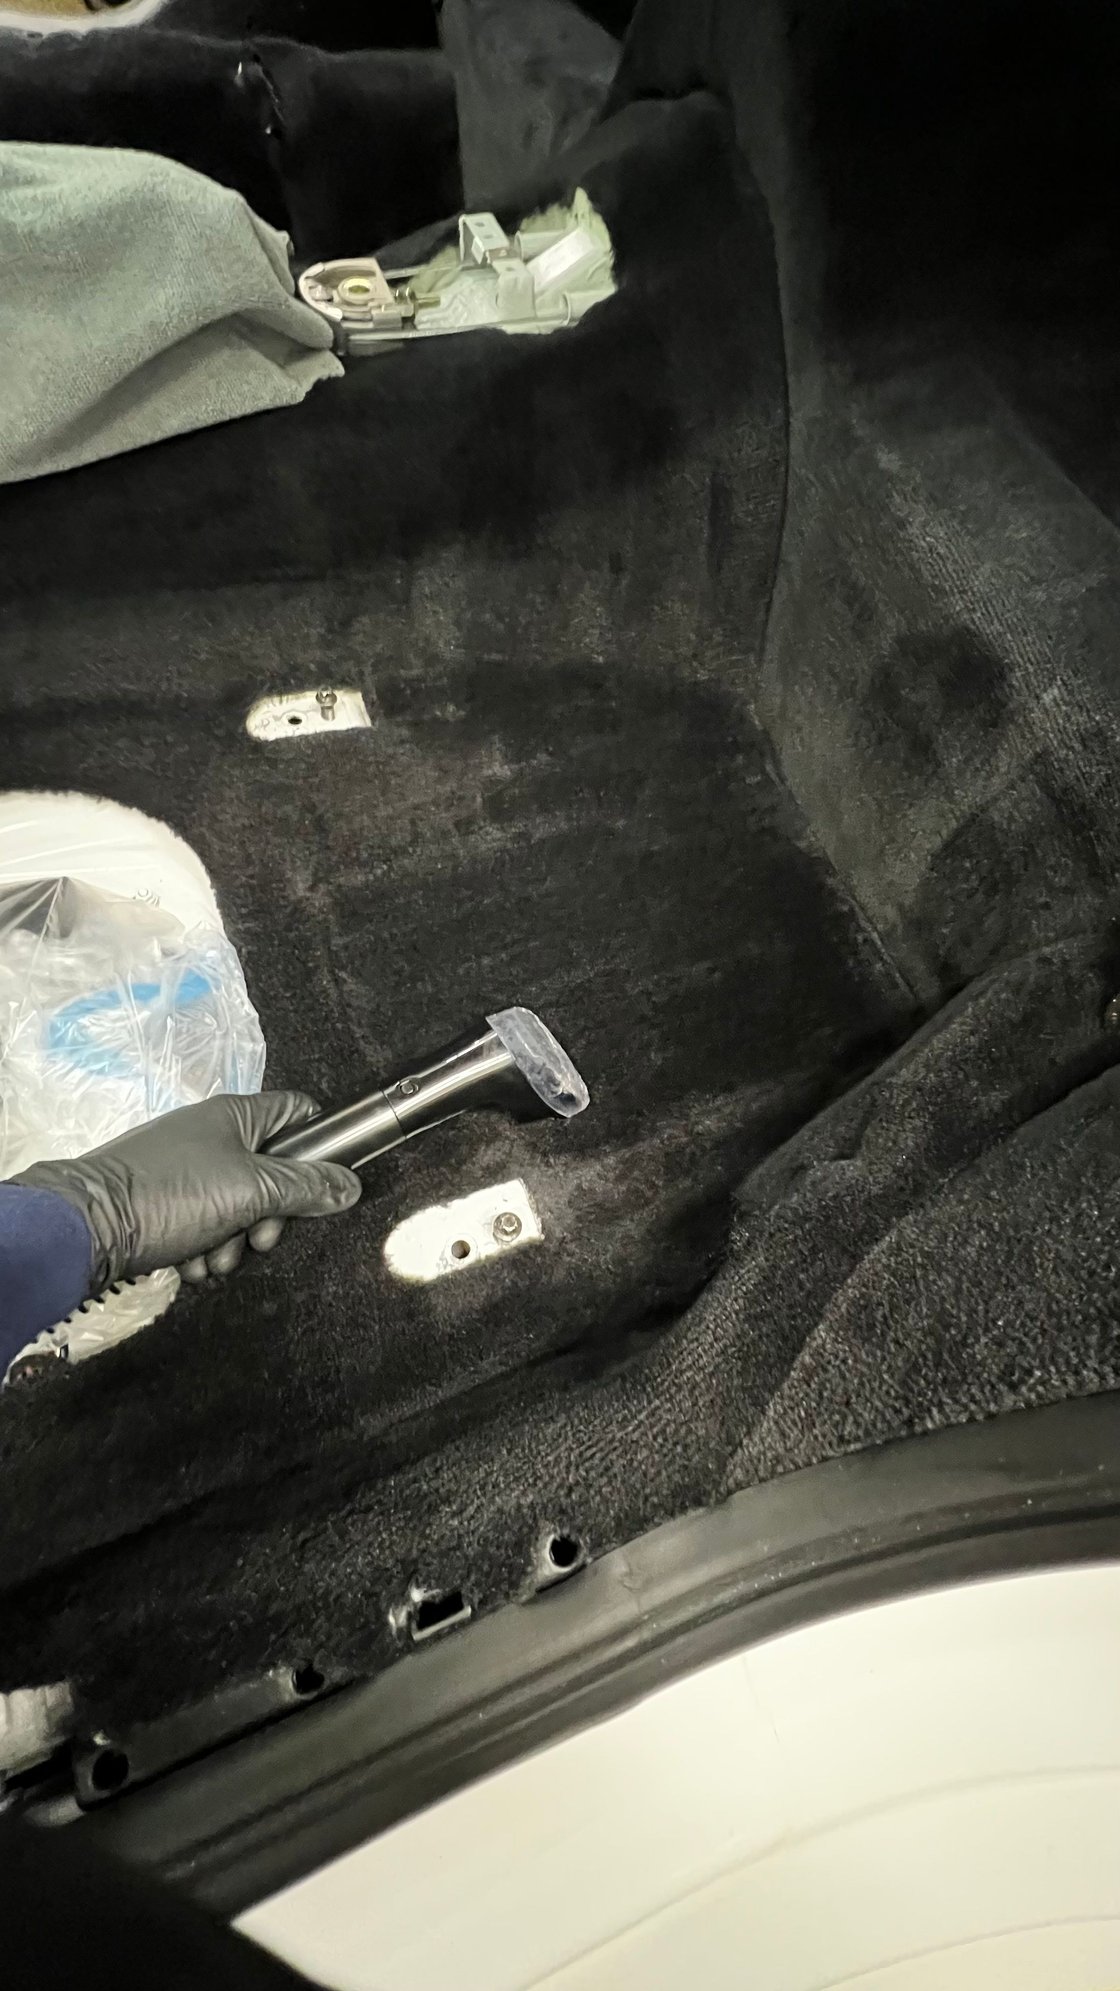
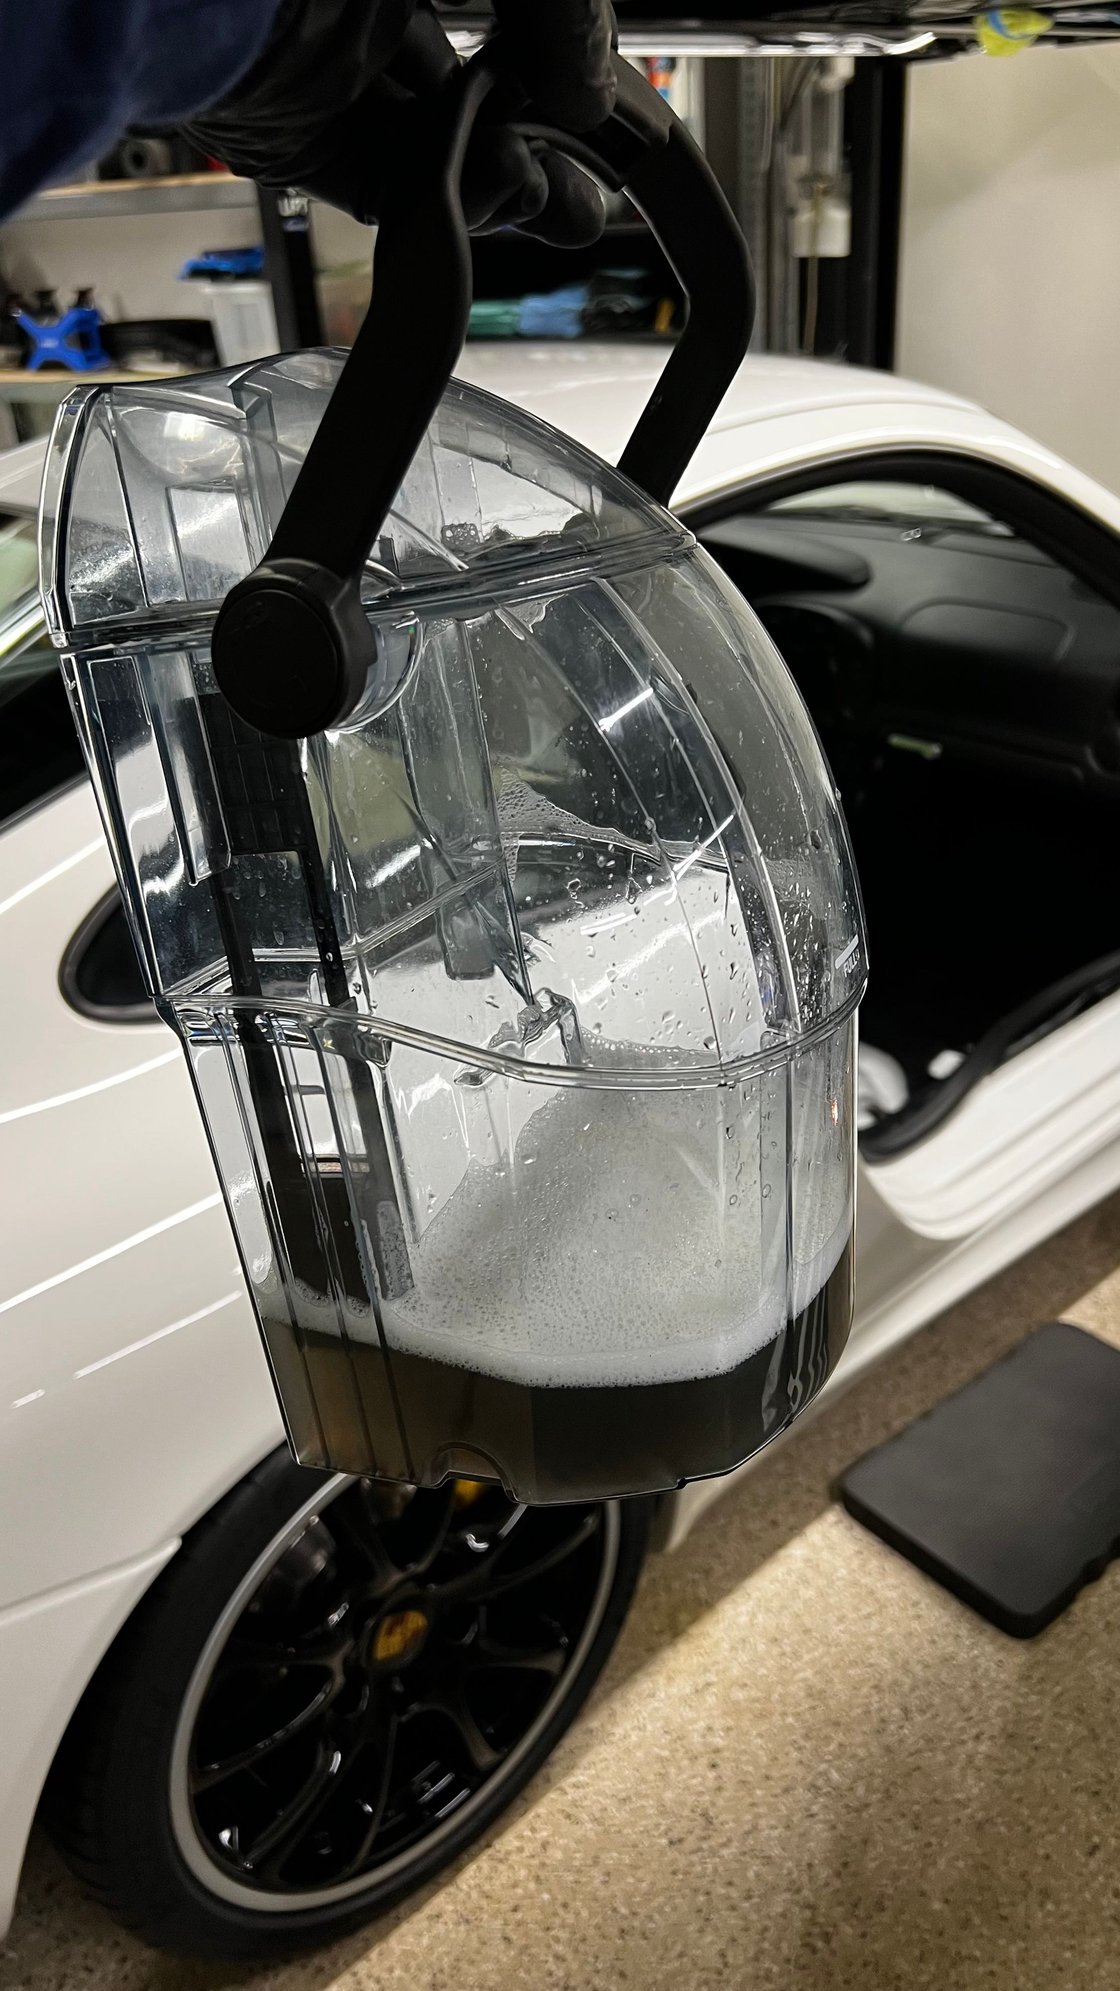
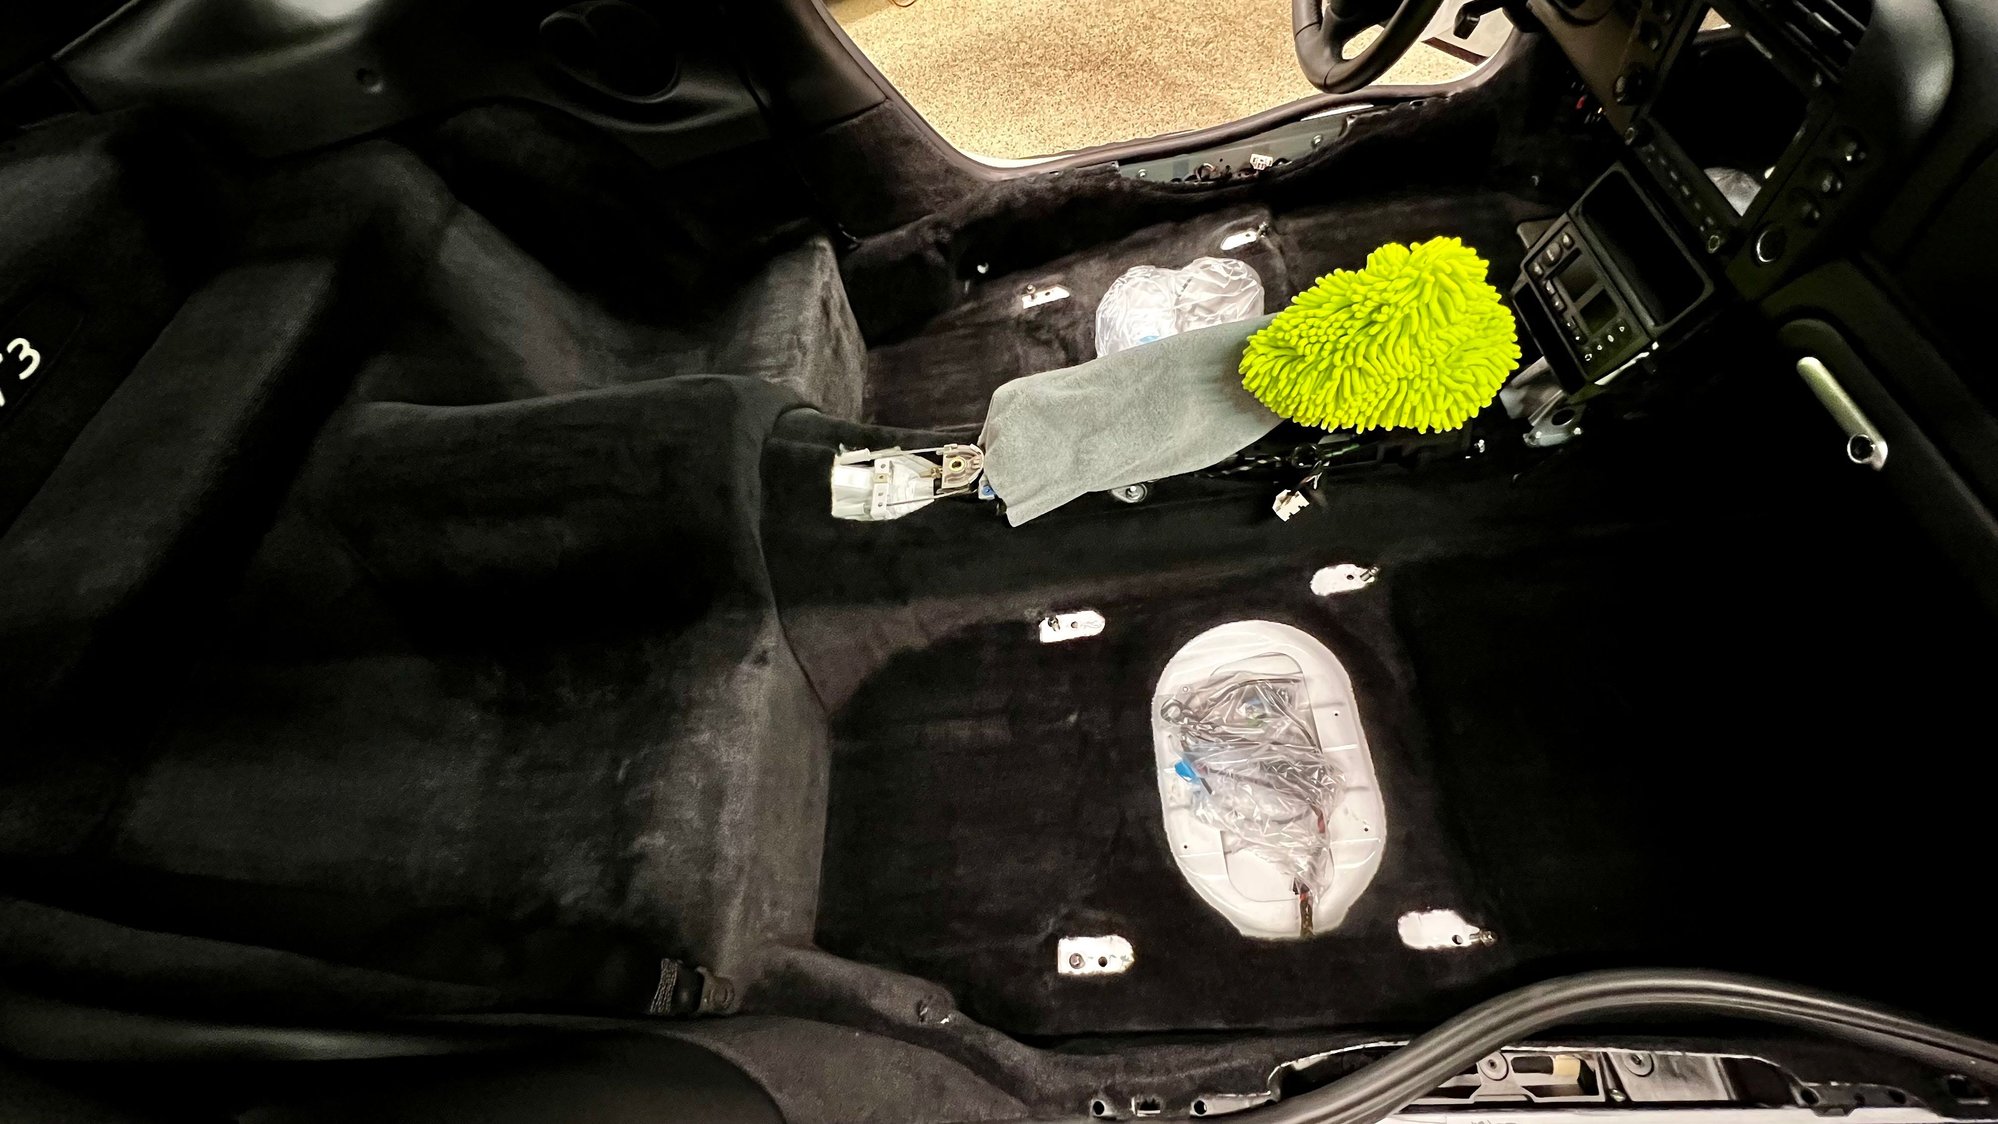
Then I come in with a nylon brush and a light mist of water to scrub the carpets. Last, I use a carpet extractor to get the baking soda out of the carpet. This whole thing is a mess if you don�t have an extractor. I use a cheap $100 Bissel and it works just fine for my needs. Done. The smell is gone, and you�ll be surprised at how much dirt you pull out of a �clean� car. This process works well on Alcantara seats as well to get them clean and/or remove smells.
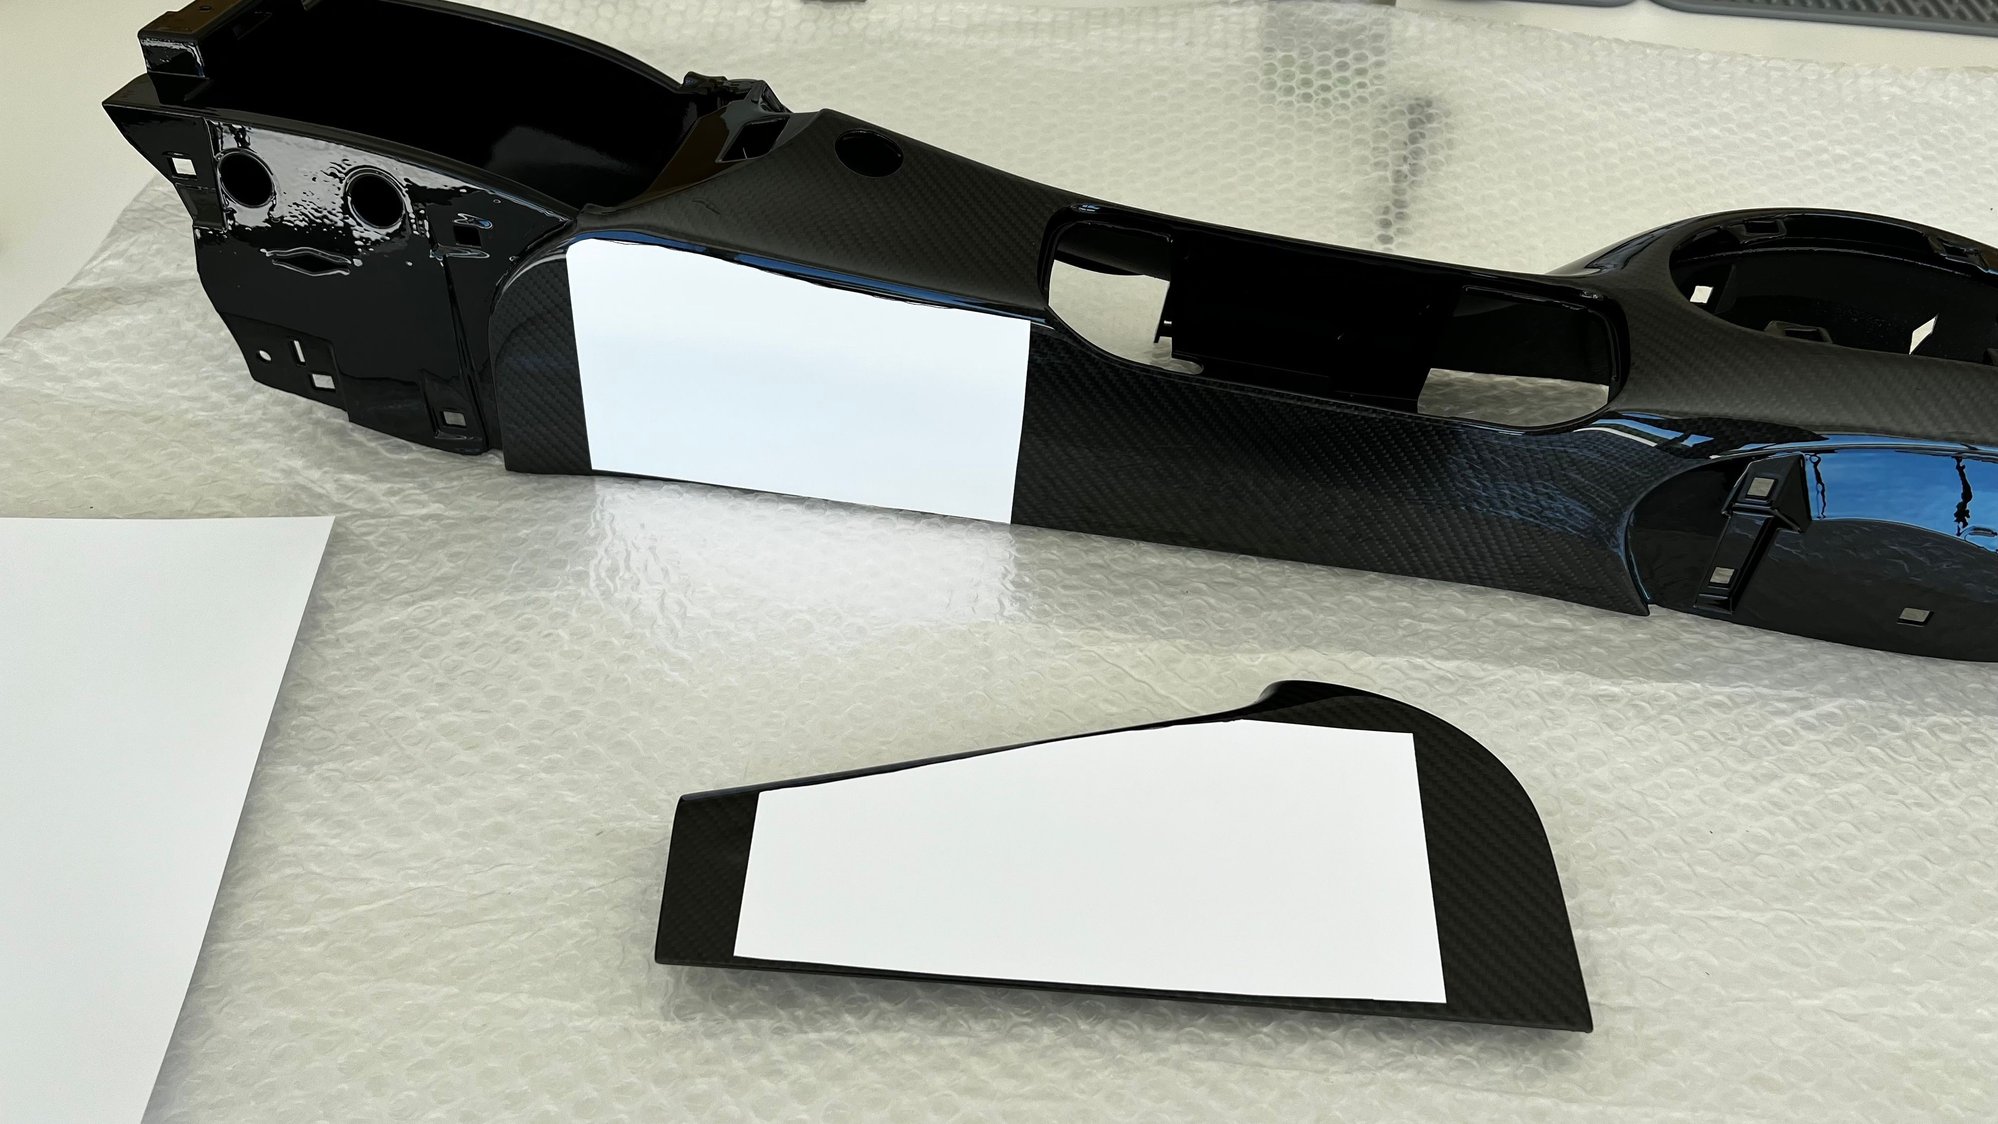
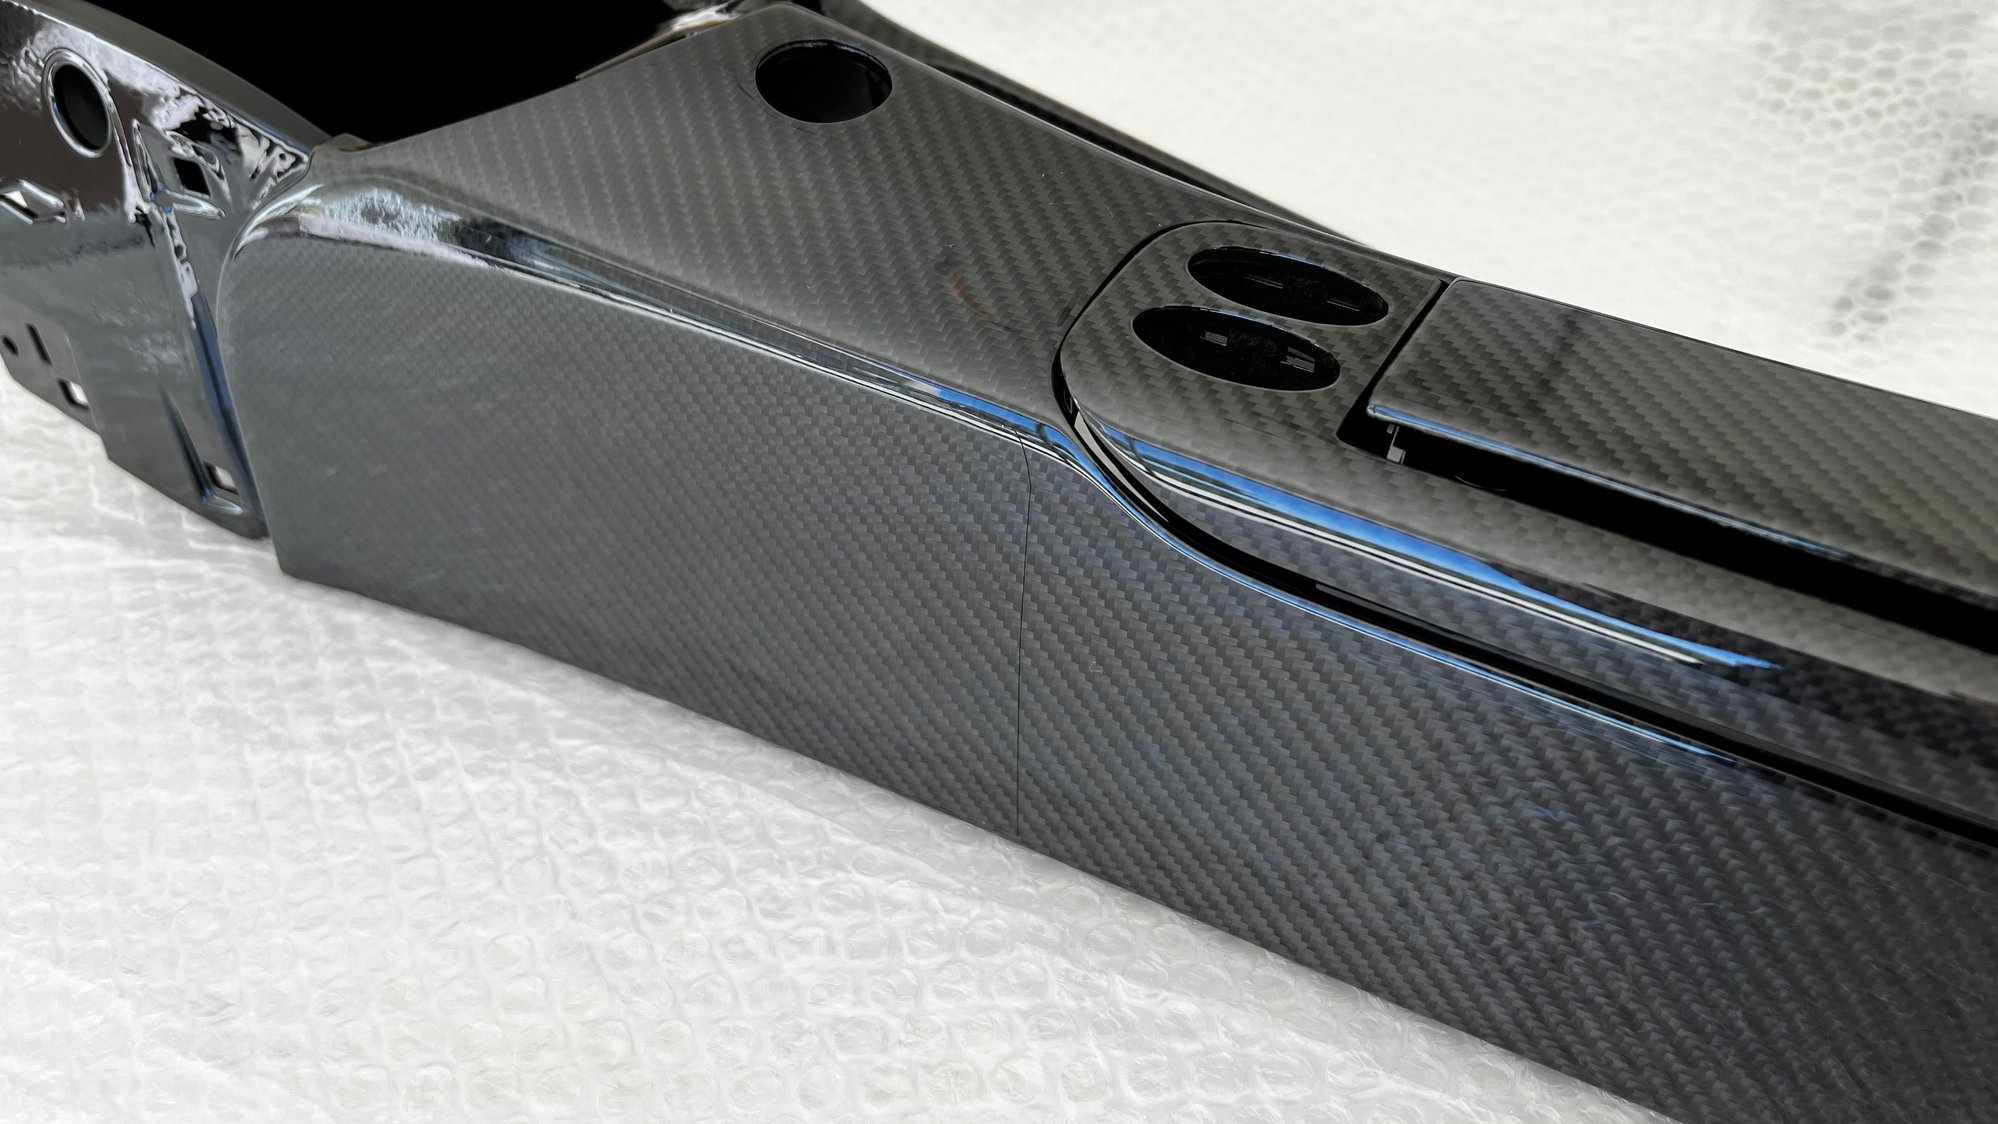
Now it�s on to reinstall the remainder of the interior, starting with the center console. We all know how poor the quality of 996-era OEM carbon fiber was, so I purchased a center console from DB Carbon � I�ve had a good experience with them as I replaced OEM pieces in my 997 GTS and GT3. The center console they delivered didn�t disappoint. Great quality.
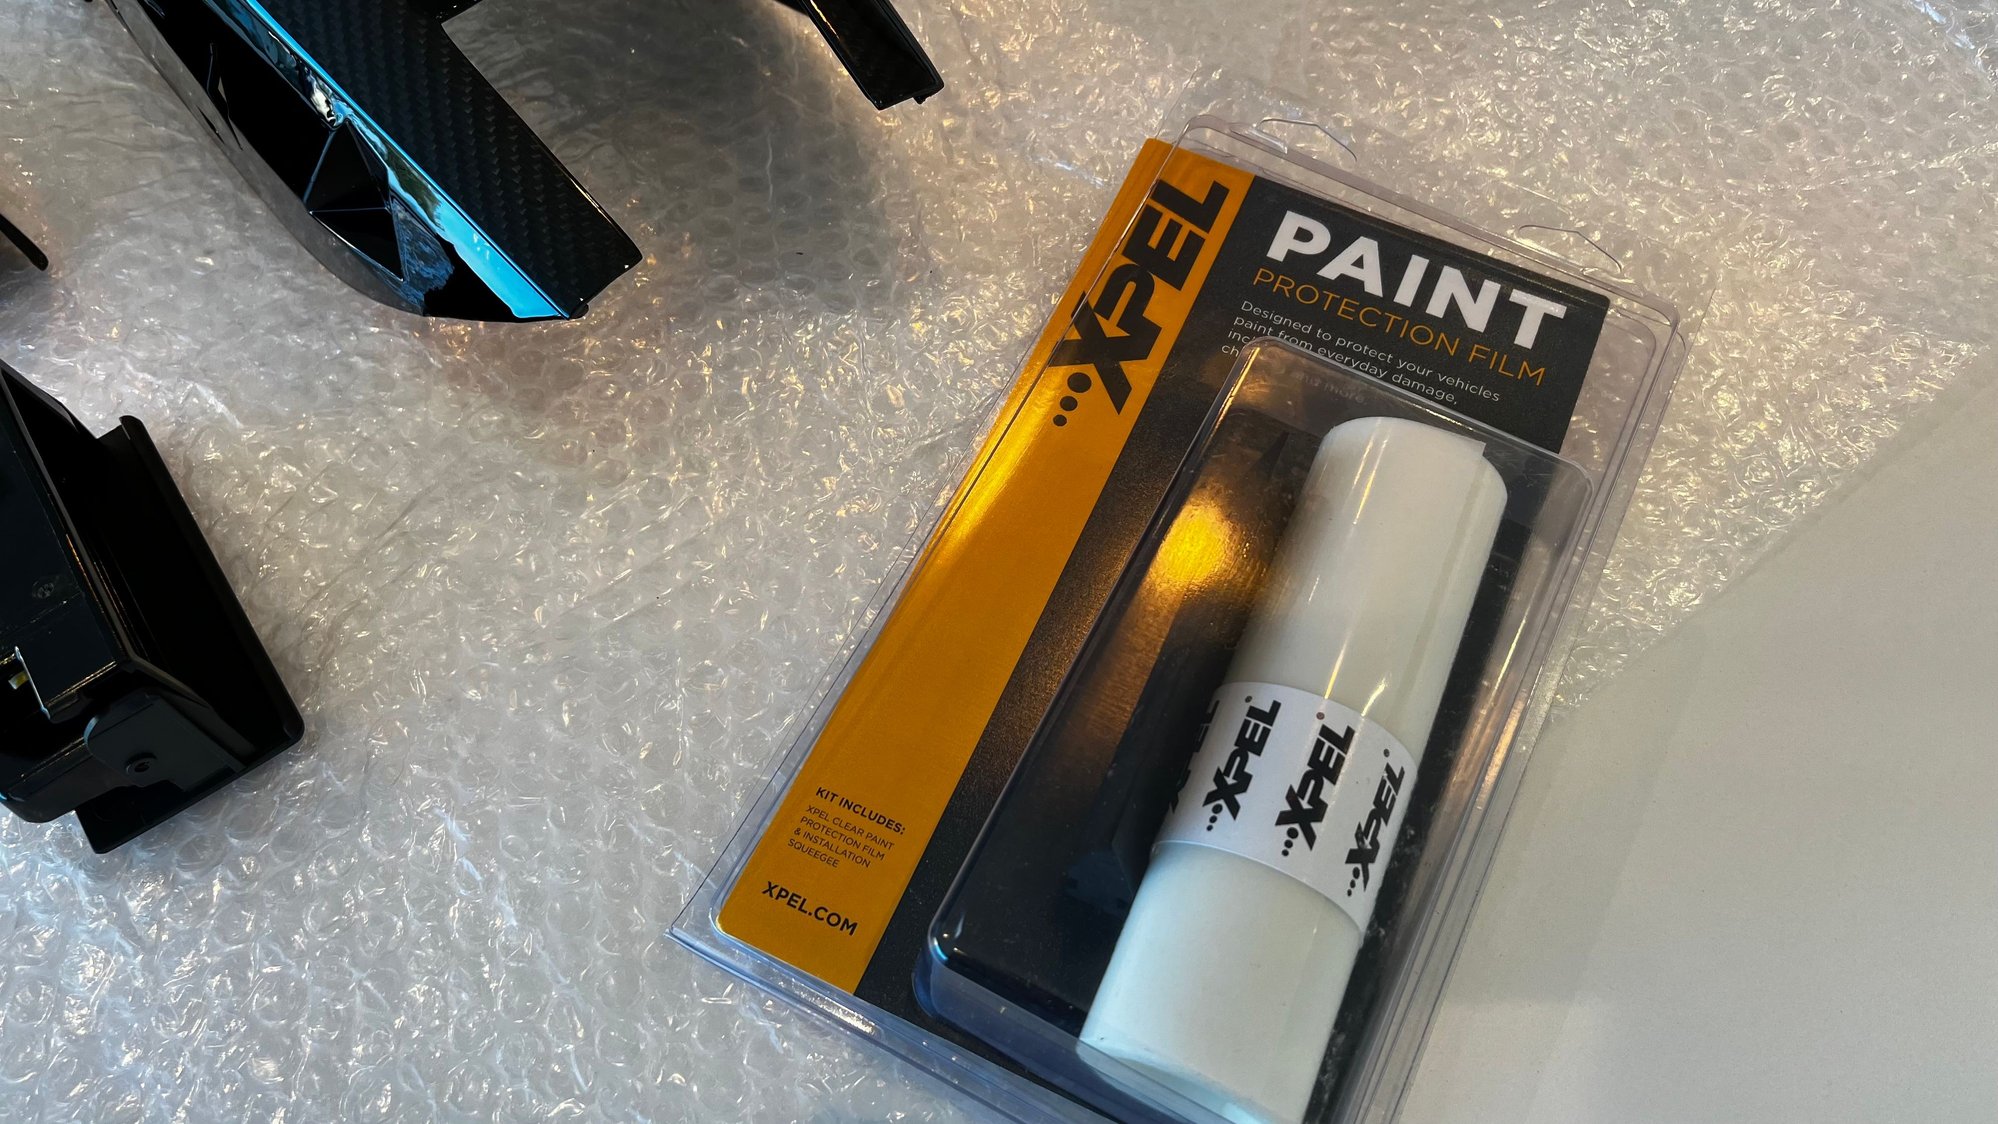
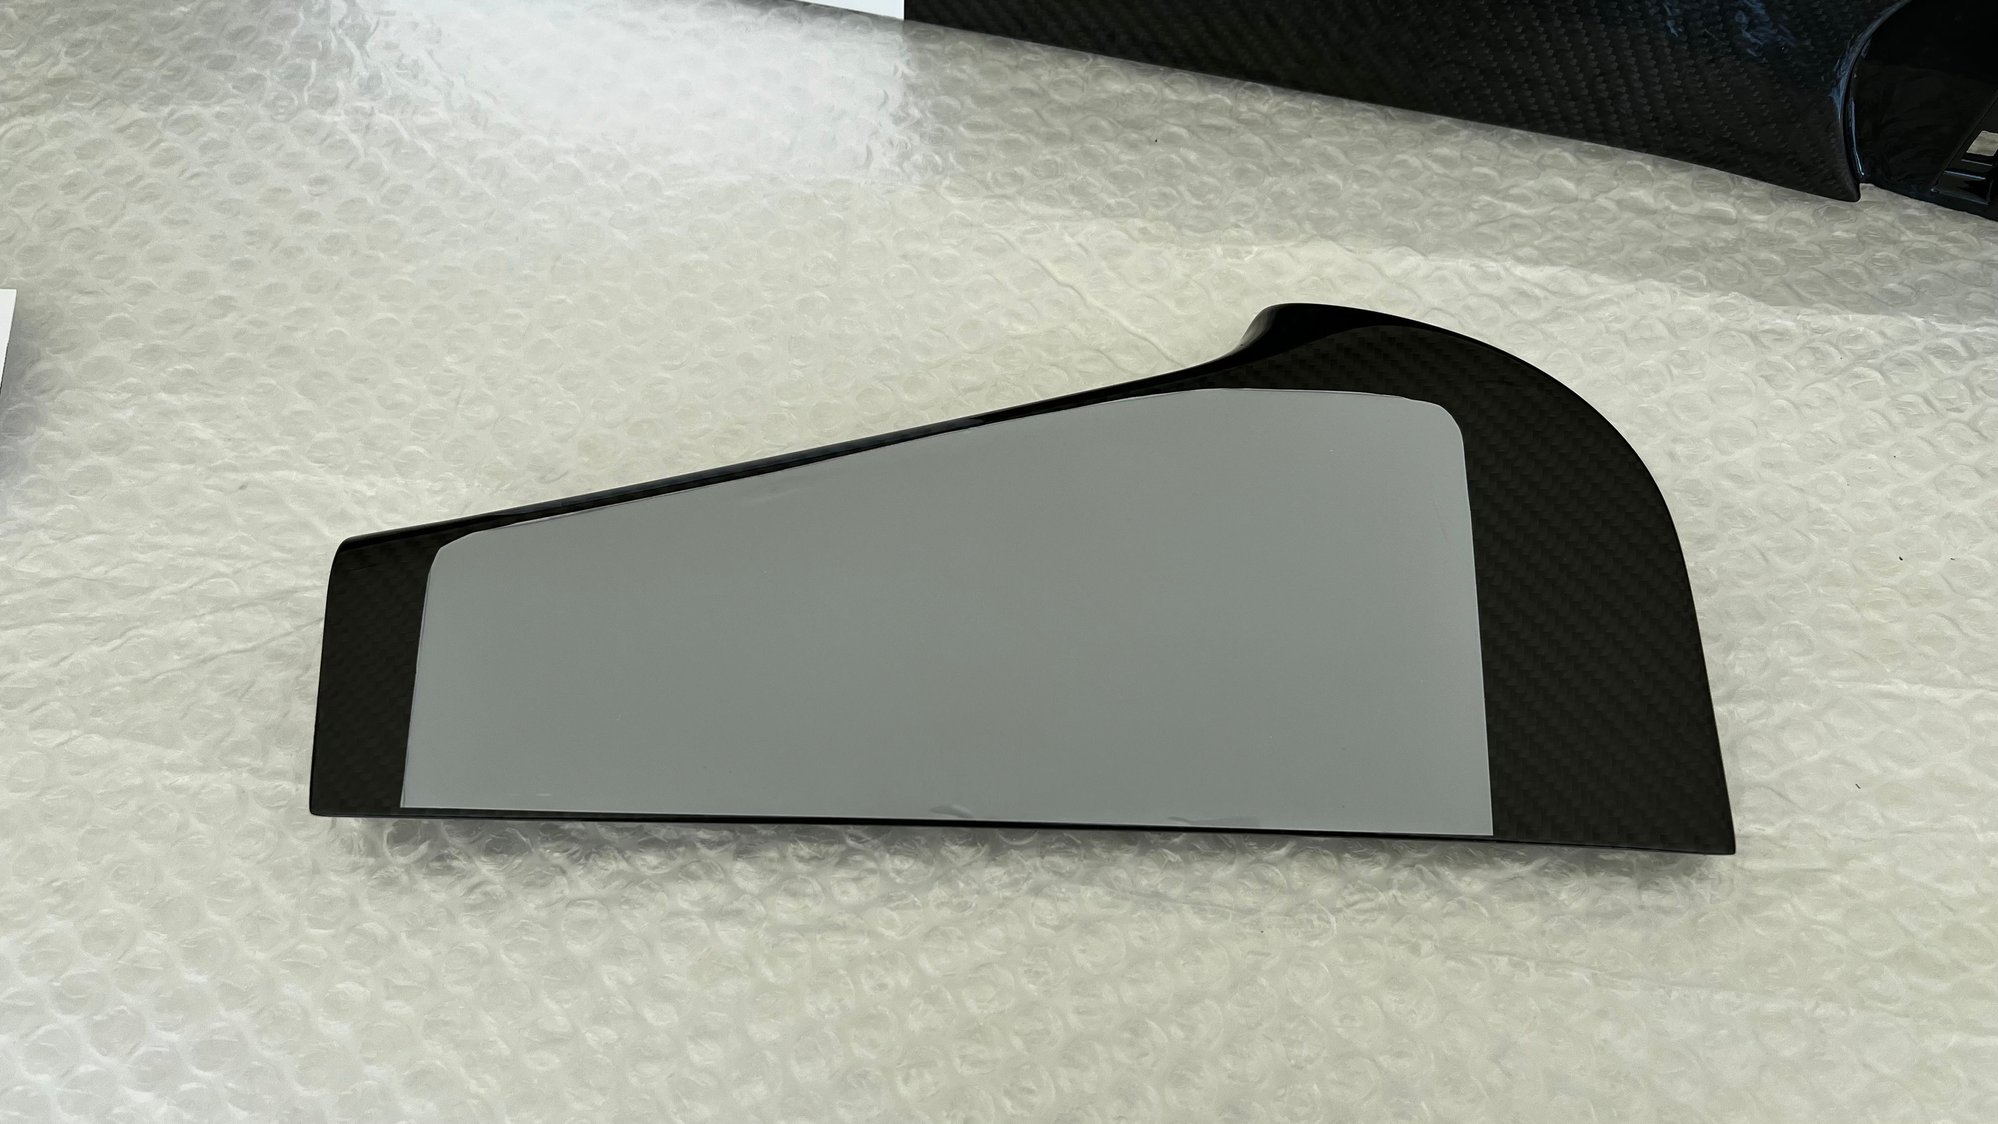
For some added protection, I decided to add a strip of paint protection film to each side of the center console where the Euro bucket seatbelt receptacle would potentially rub.
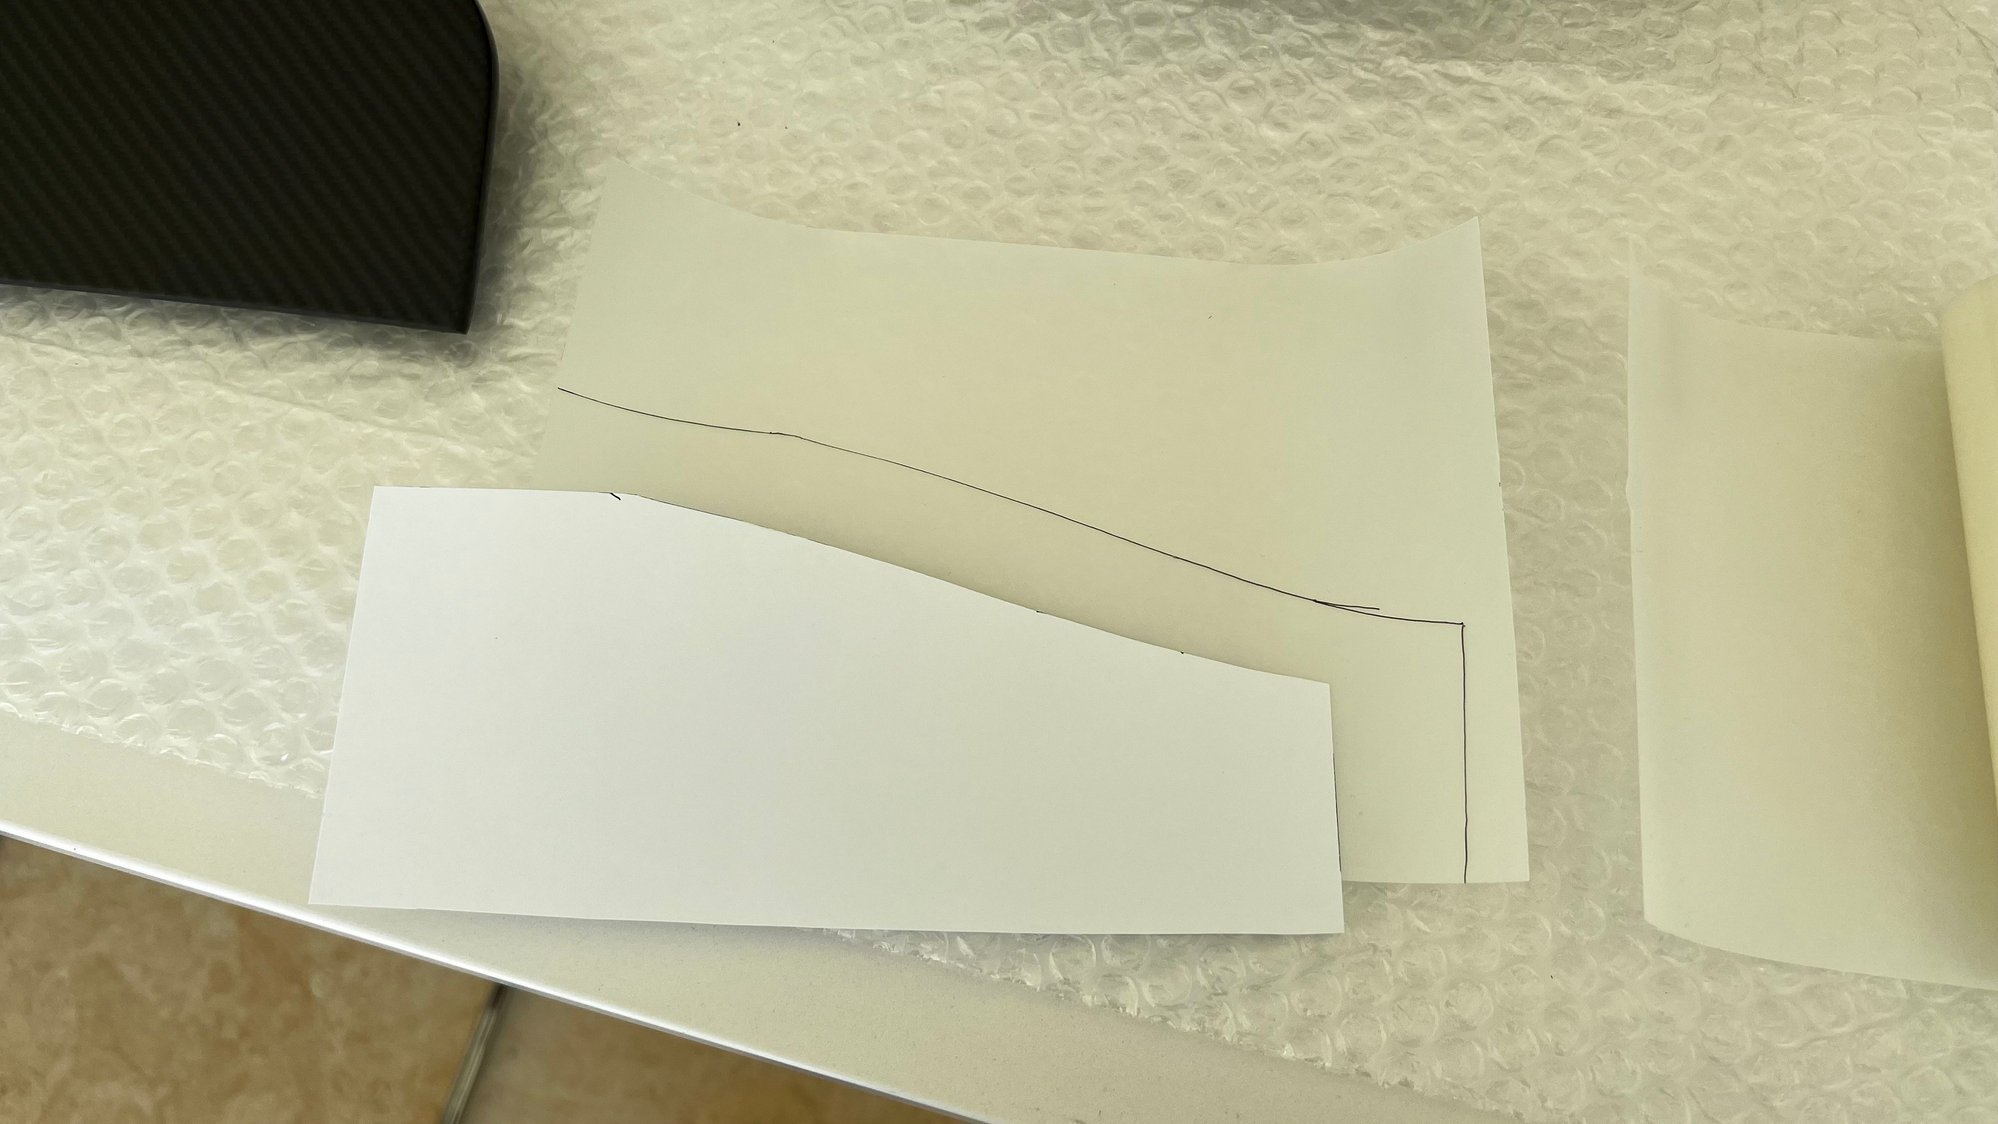
I order an XPEL trim protection kit off of Amazon and figured I could probably handle applying a few flat strips to the side of the console. I made a paper template, transferred it to the PPF, and followed the XPEL application directions. Even so, it took me 3 tries on the first side to apply the piece with no air bubbles. Like I said earlier in this journal: applying PPF is an art � pay good money for your install!
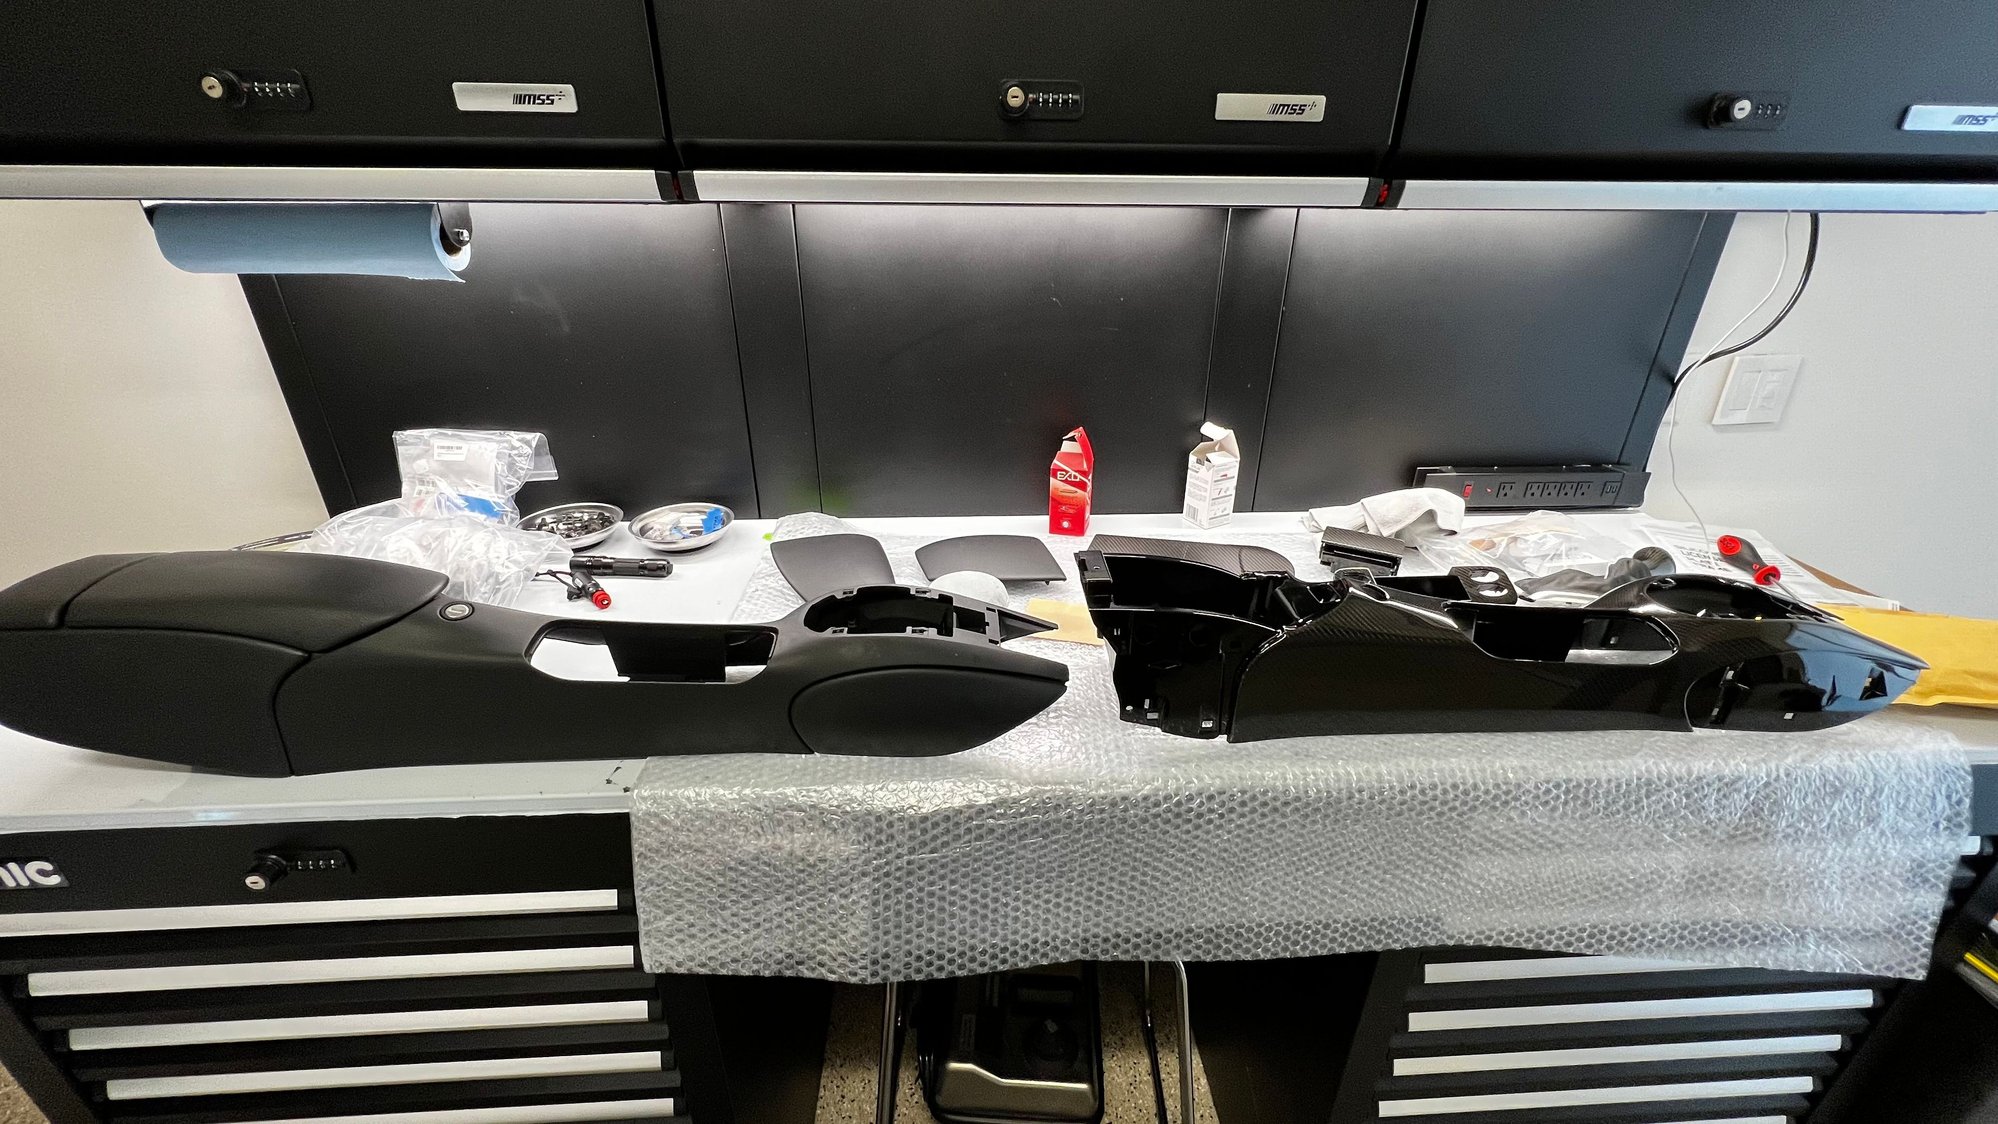
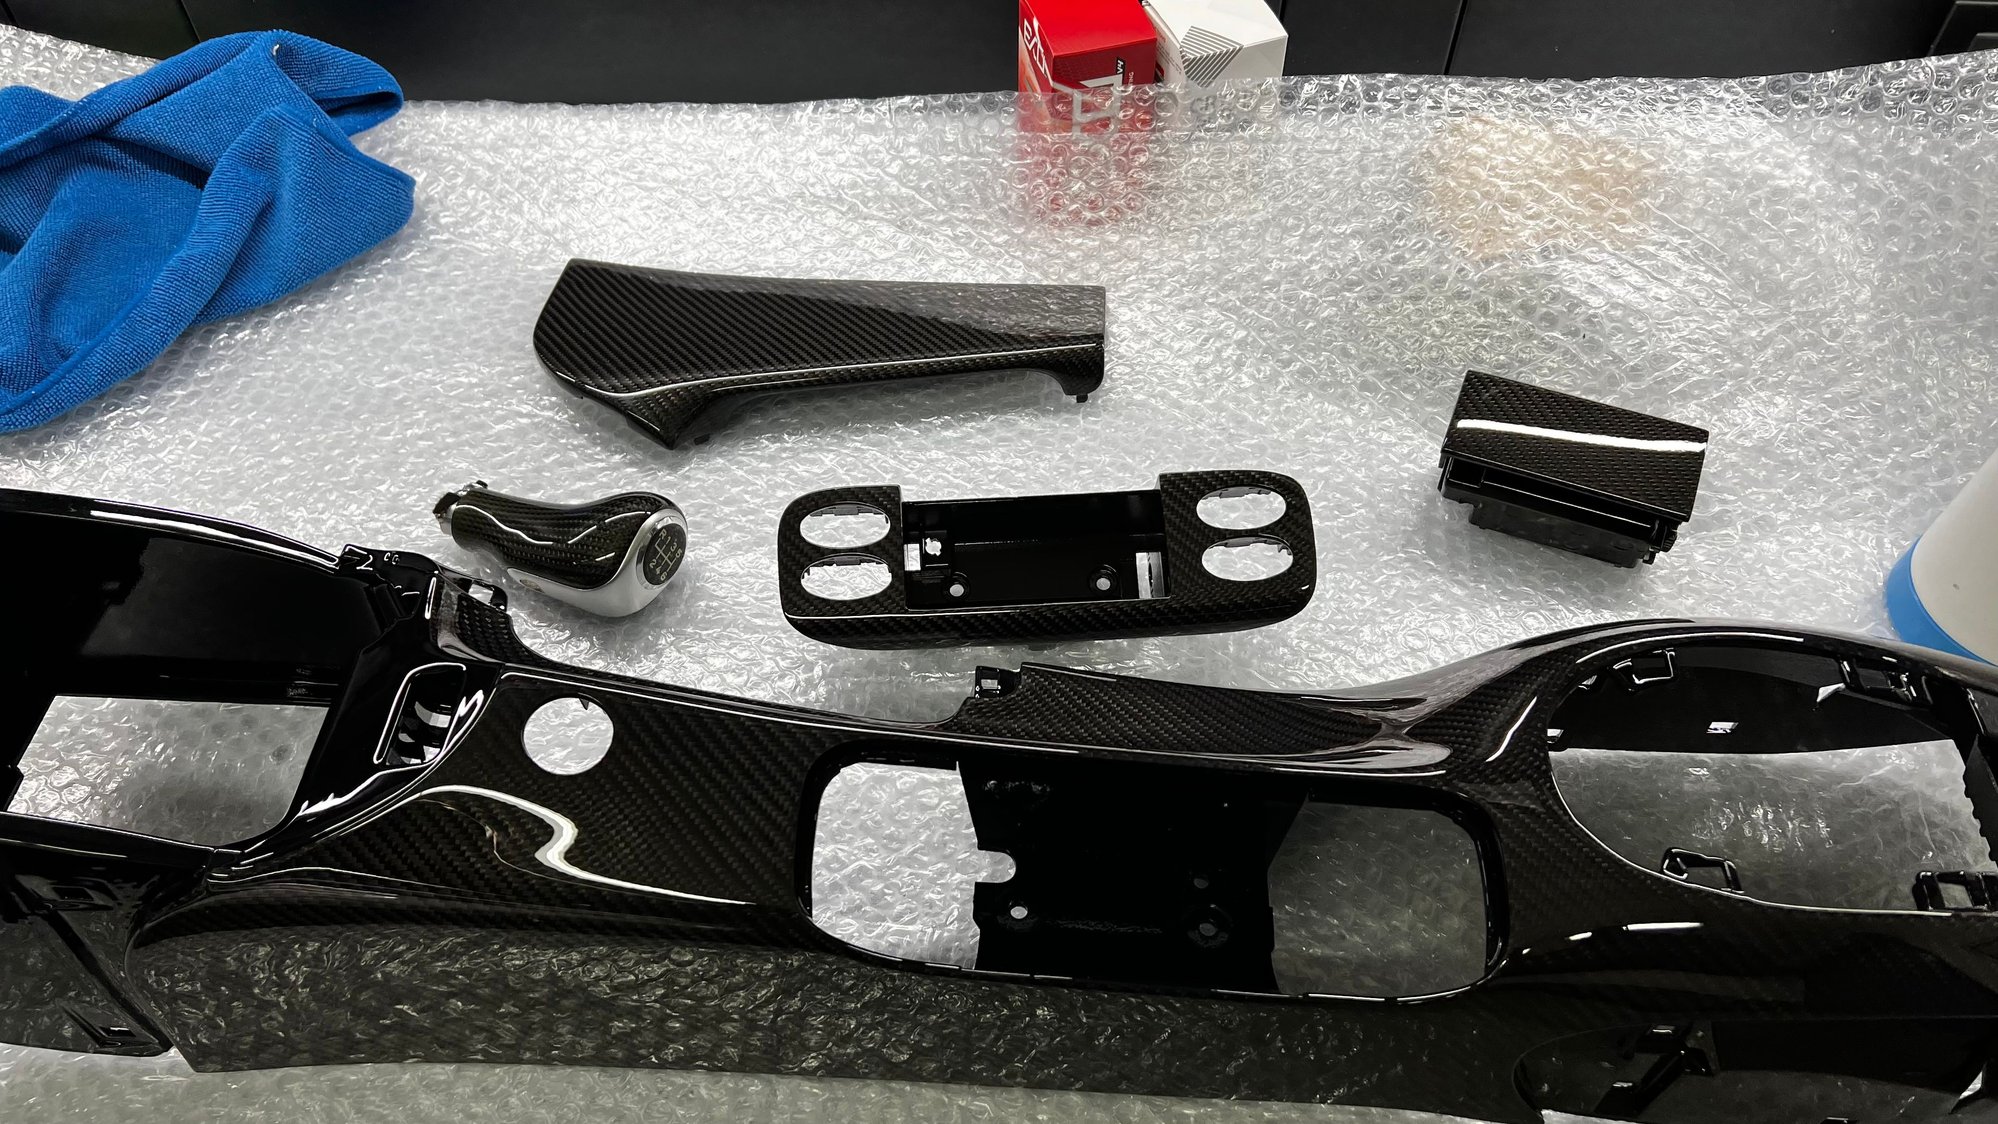
Next I transferred all the hardware from the stock console to the CF console, then ceramic coated it to make future interior cleaning easy.
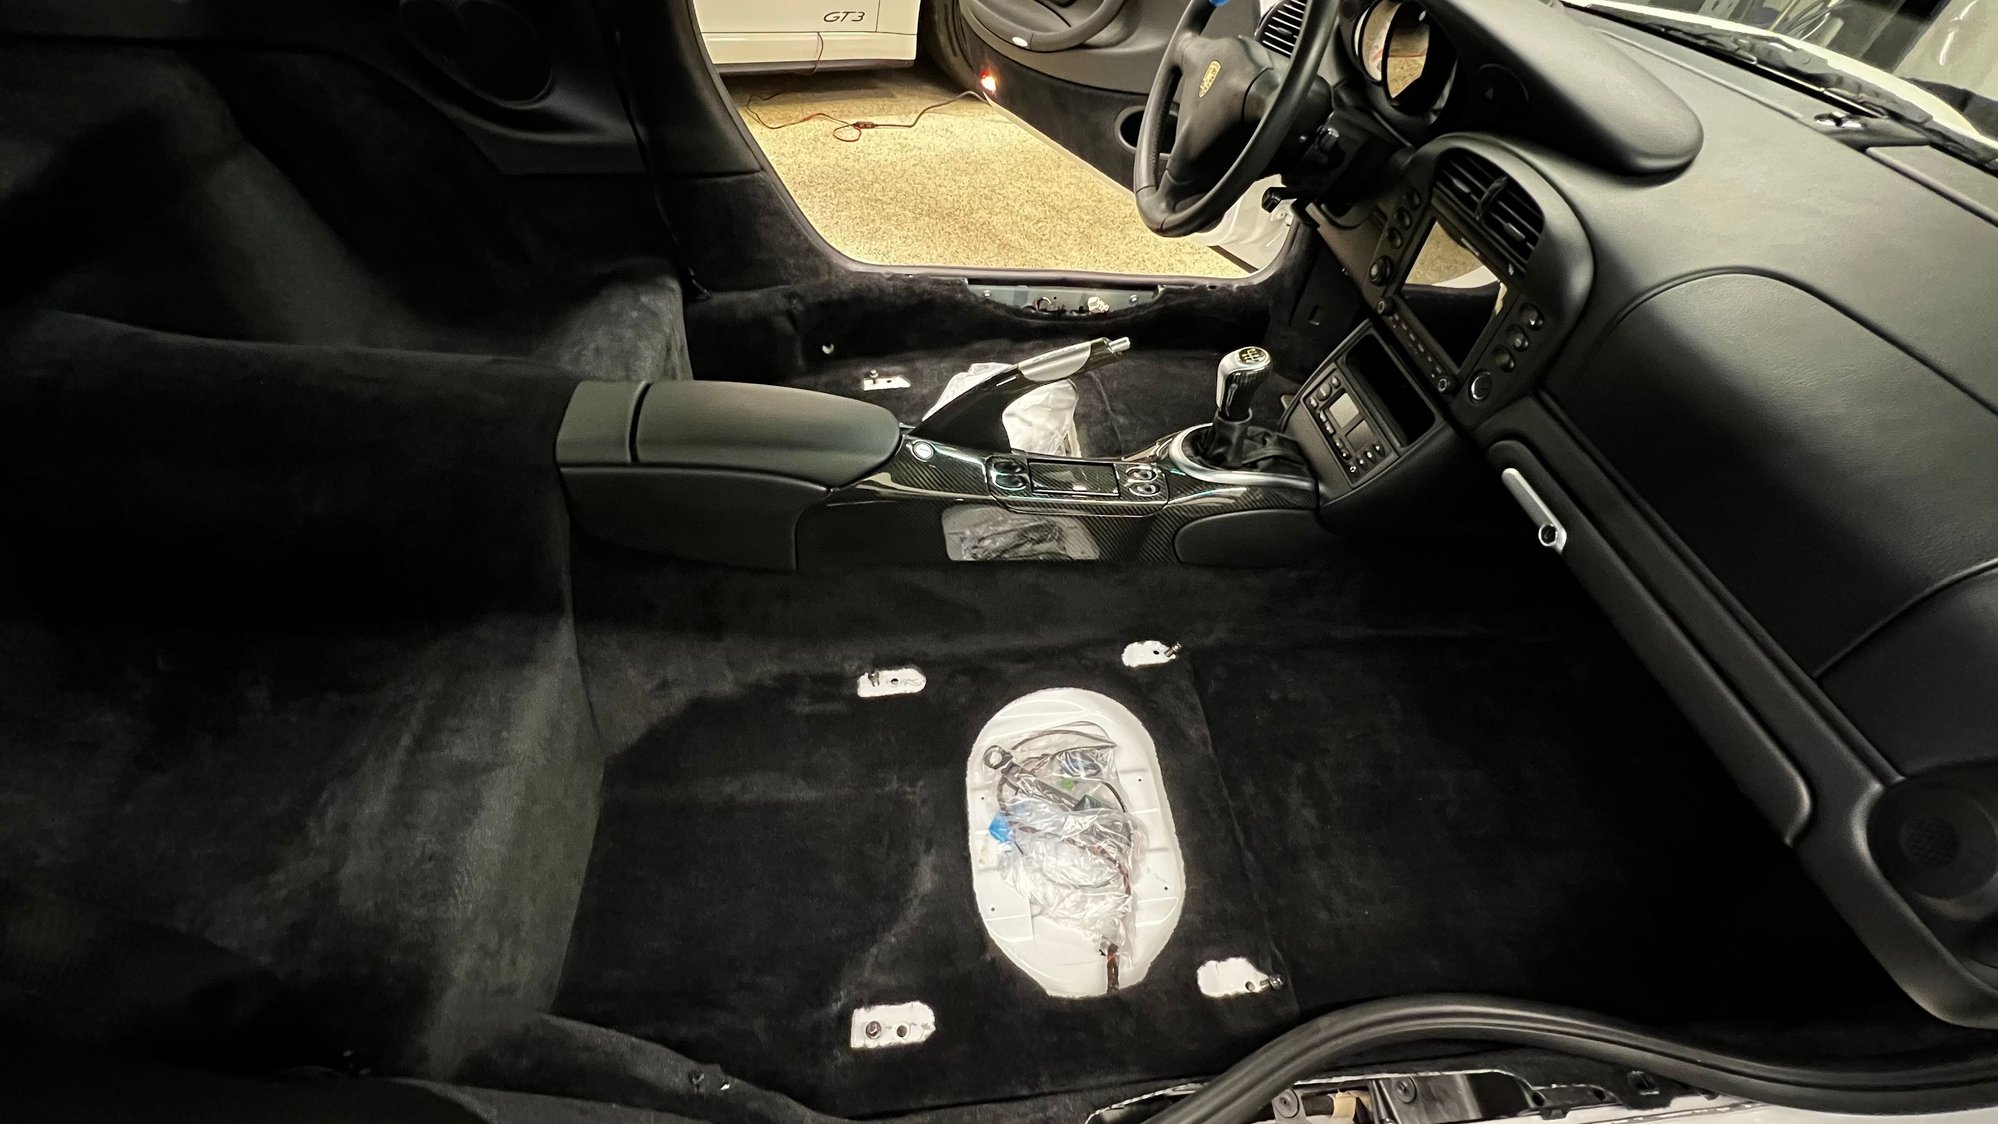
Then into the car for install.
Earlier in the year, Porsche mistakenly sent me the passenger side CF sill only. There is a single part number (996-551-984-90) that includes 2 pieces (drivers and passenger side sills) that was causing confusion. Once I convinced the parts department that this was true � they sprung into action to fix the mistake. I suspect these parts are starting to become unobtanium, because it took 6 weeks to locate a new set and 1 sill has a 2012 manufacture date, the other a 2014 date. God only knows what deep dark warehouse in Germany they had to sift through to find them. Both are brand new.
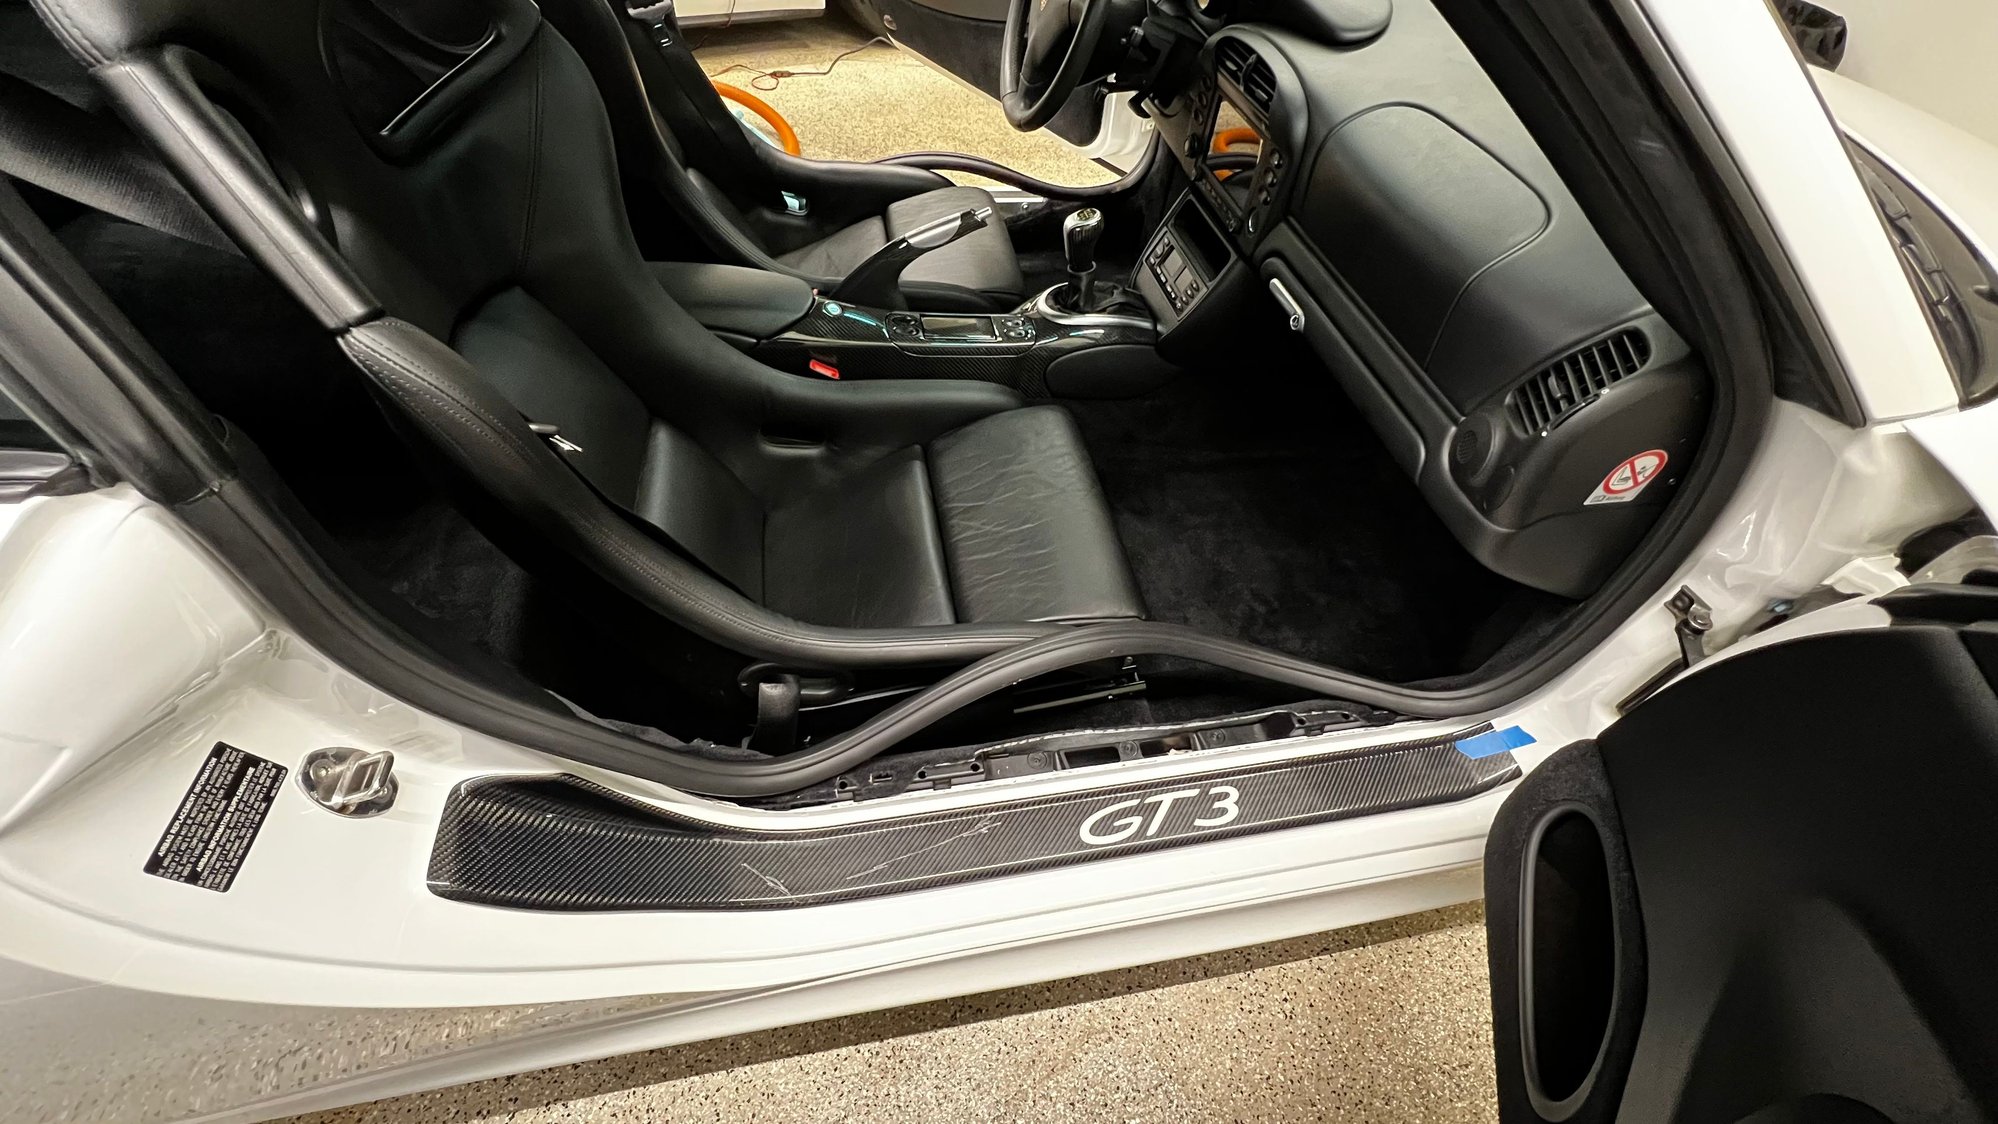
The sills have 3M adhesive on the back side covering the length of the sill. Without another person around to help install, I dry fit them to get the positioning right, taped the front of the sill closest to the door hinge to keep it in place and then pivoted the sill upward. 'Removed the adhesive cover and gently lay it back down to ensure I had the location right. Then pressed the sill down to activate the adhesive. This adhesive is no joke, so I was very careful to take my time and get this right.
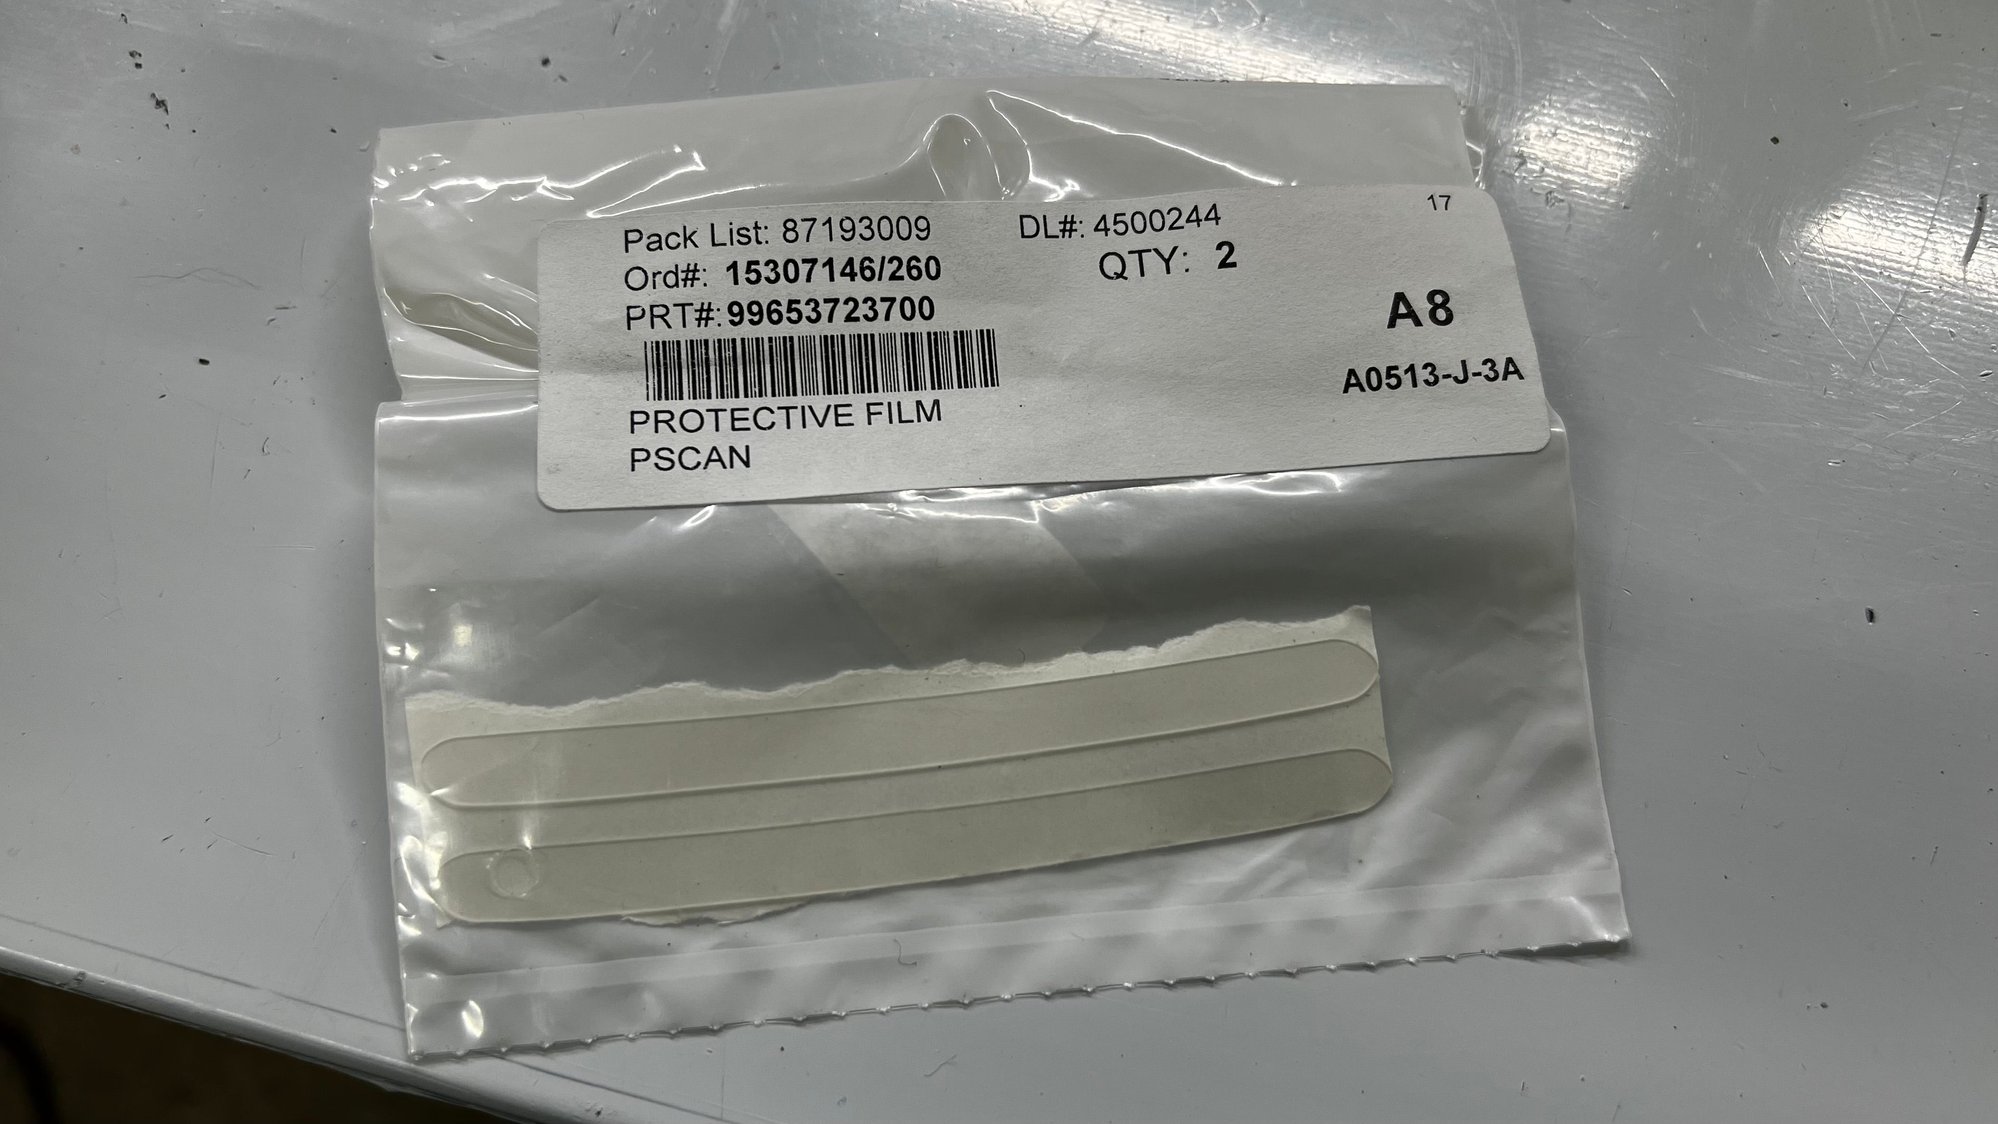
The sills have a plastic protective covering from factory, I�ve left that on until my PPF guys are back in town and can swing by to cover them.
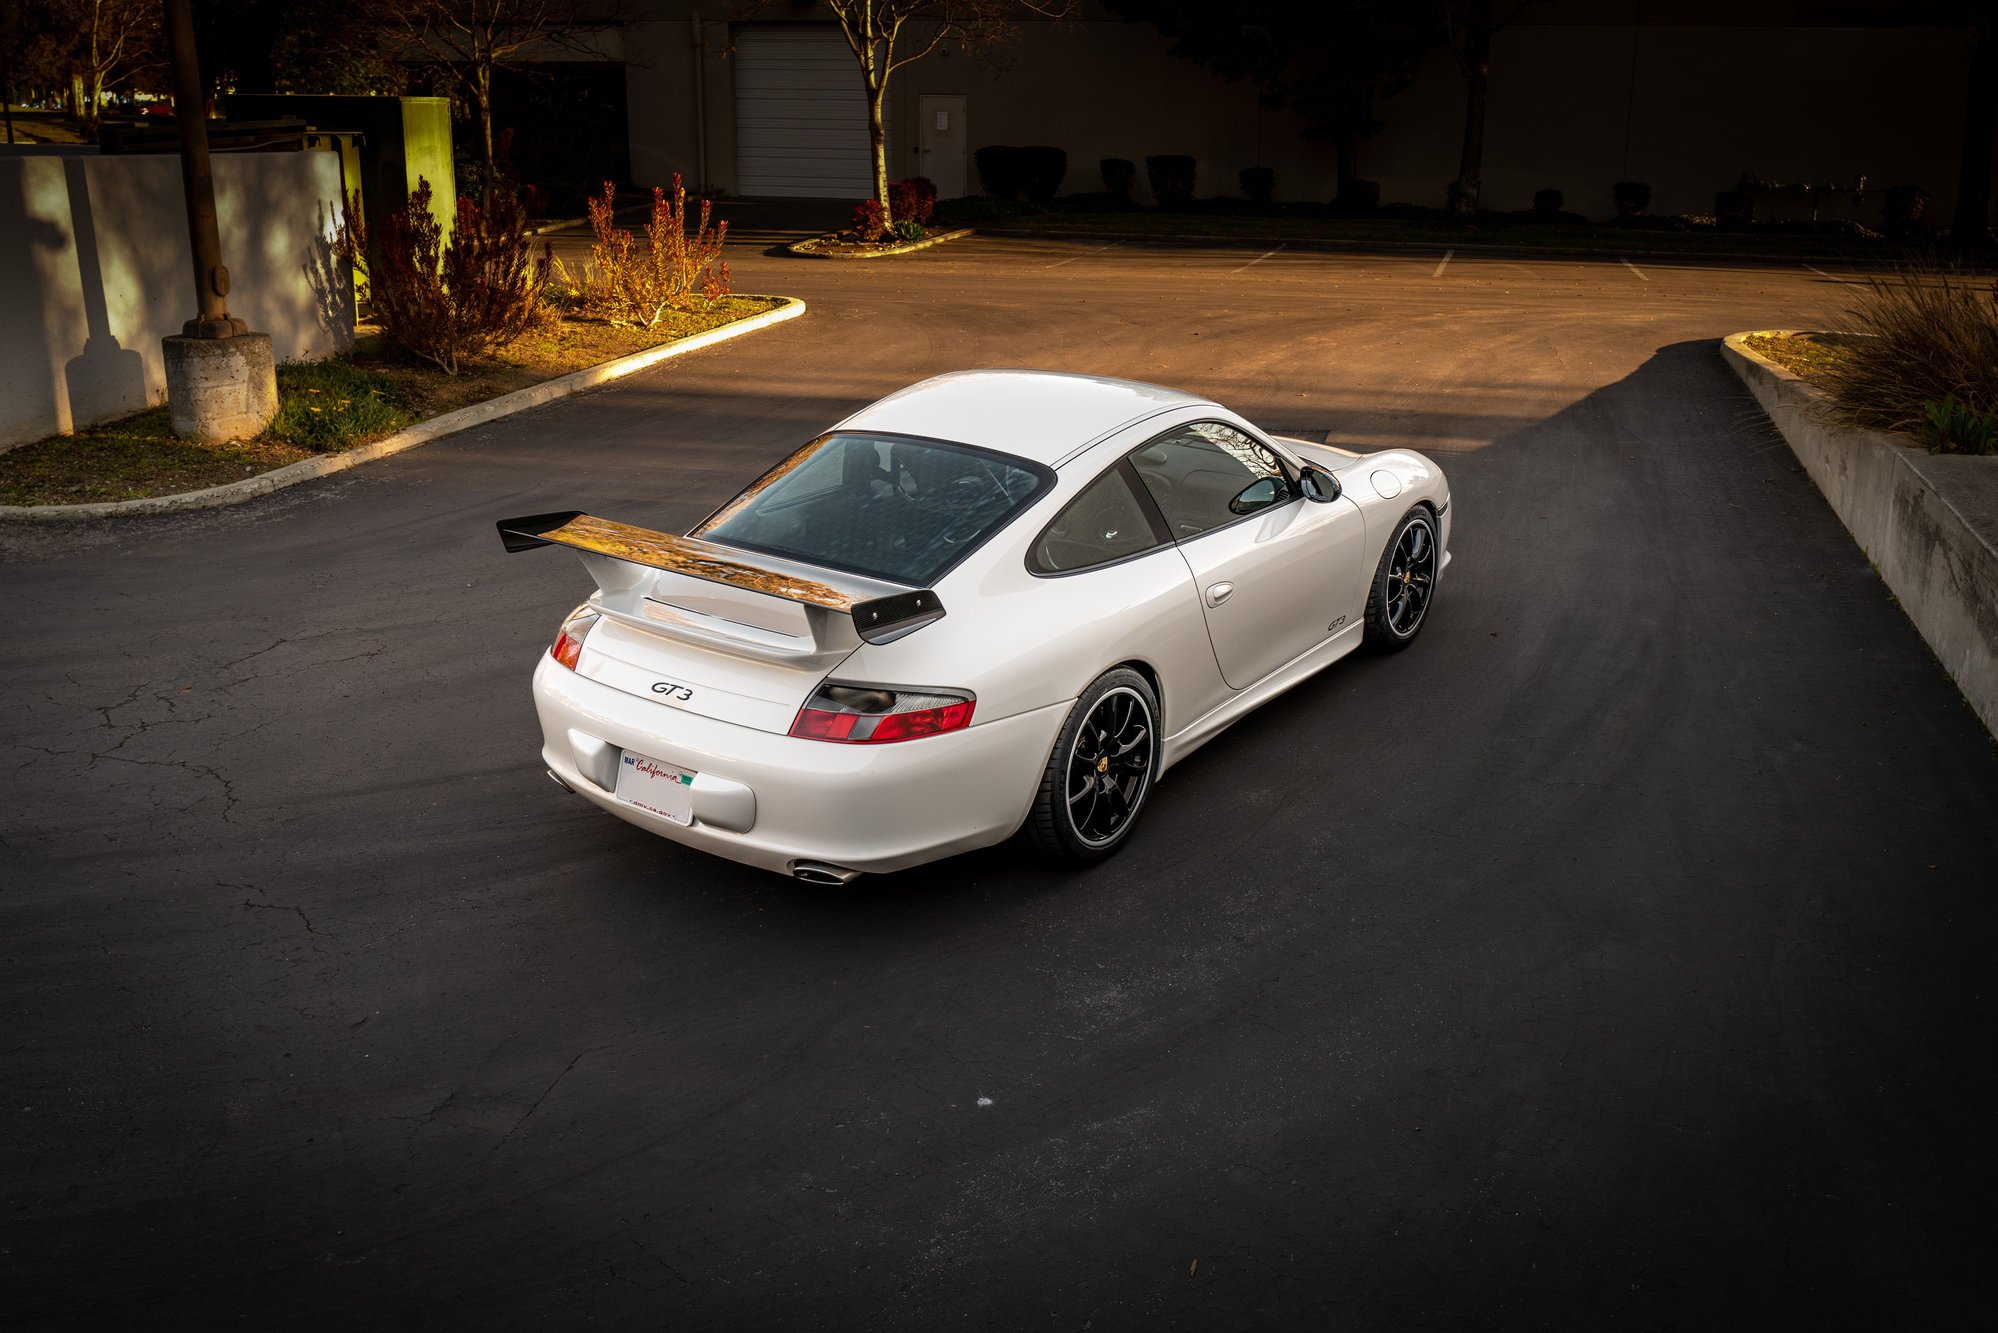
I love CF sills on a white car, it gives it a sense of occasion every time you open the door.
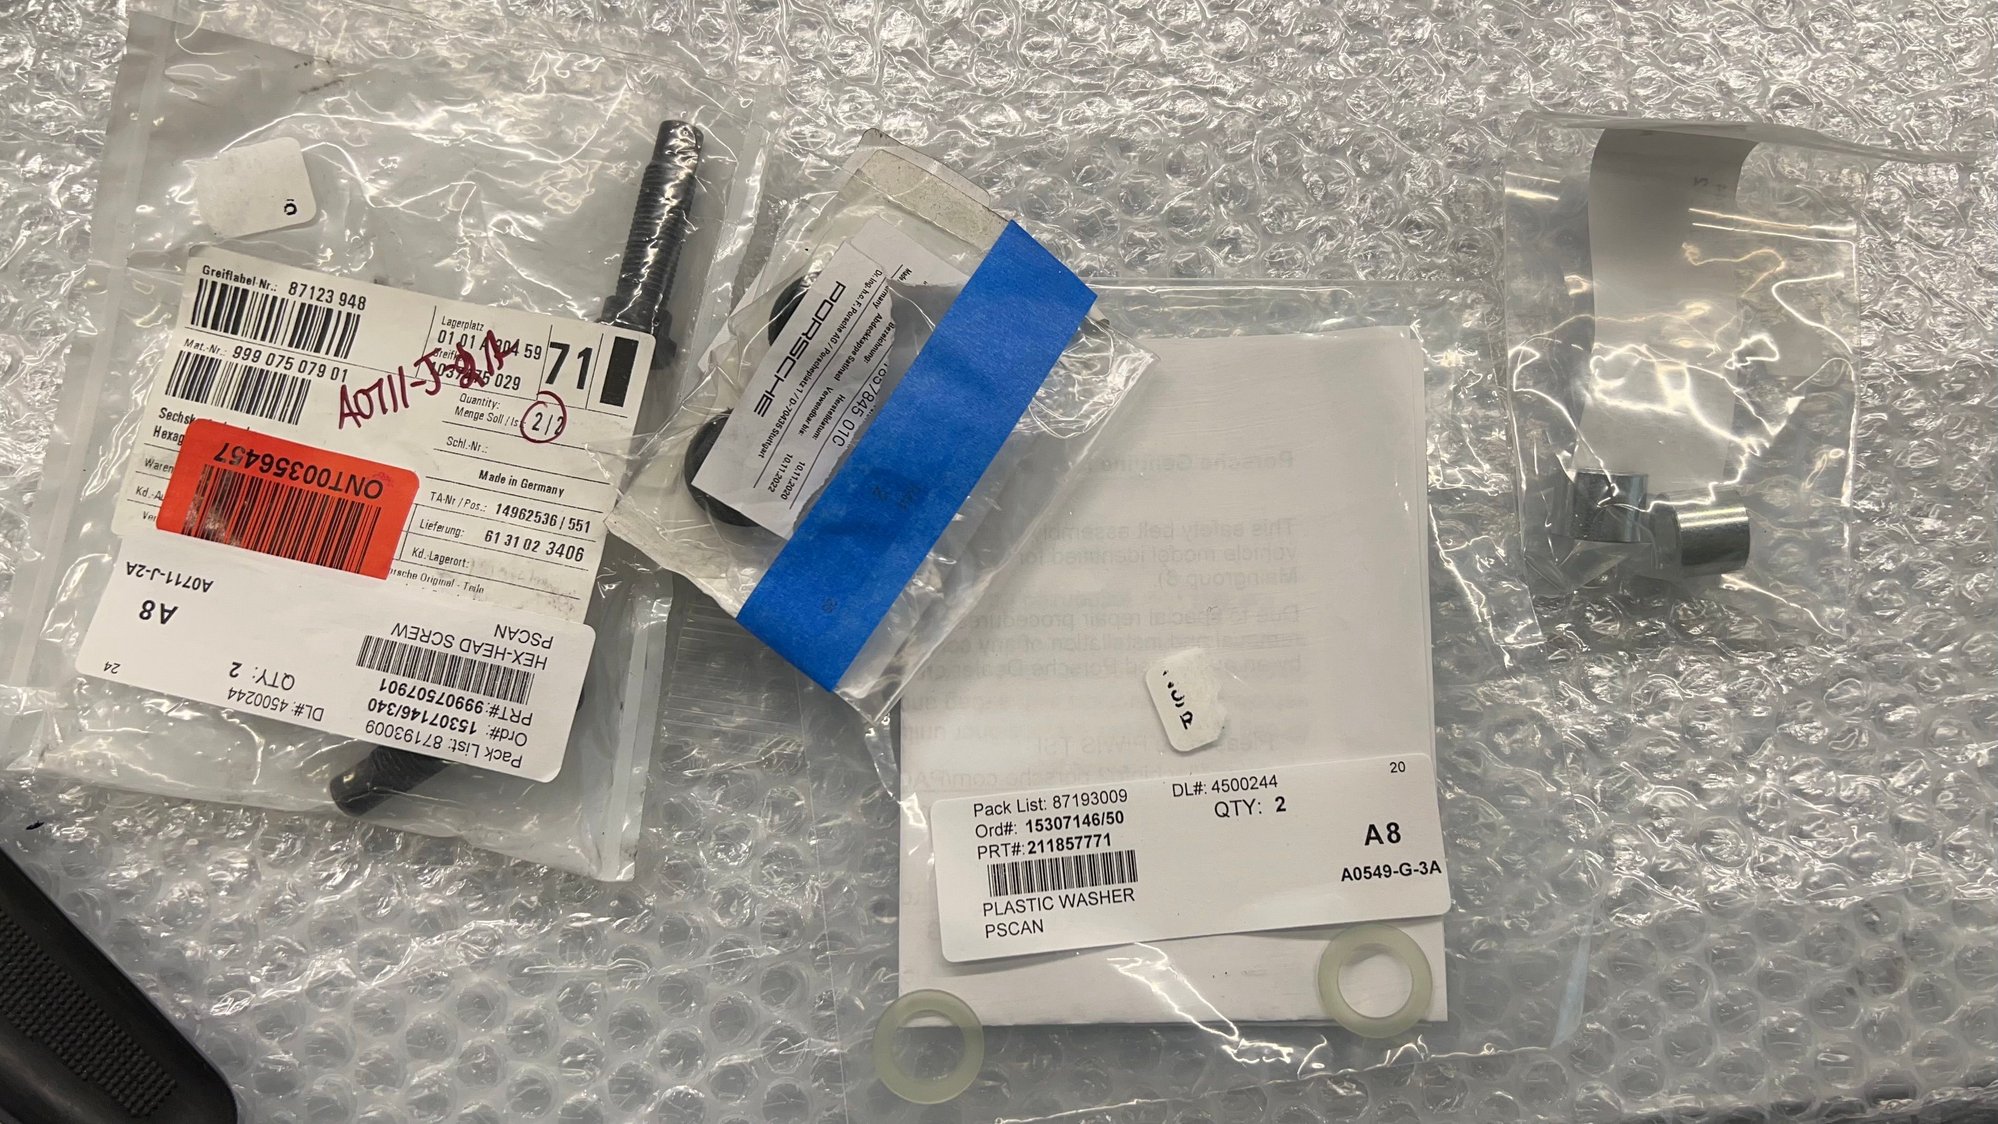
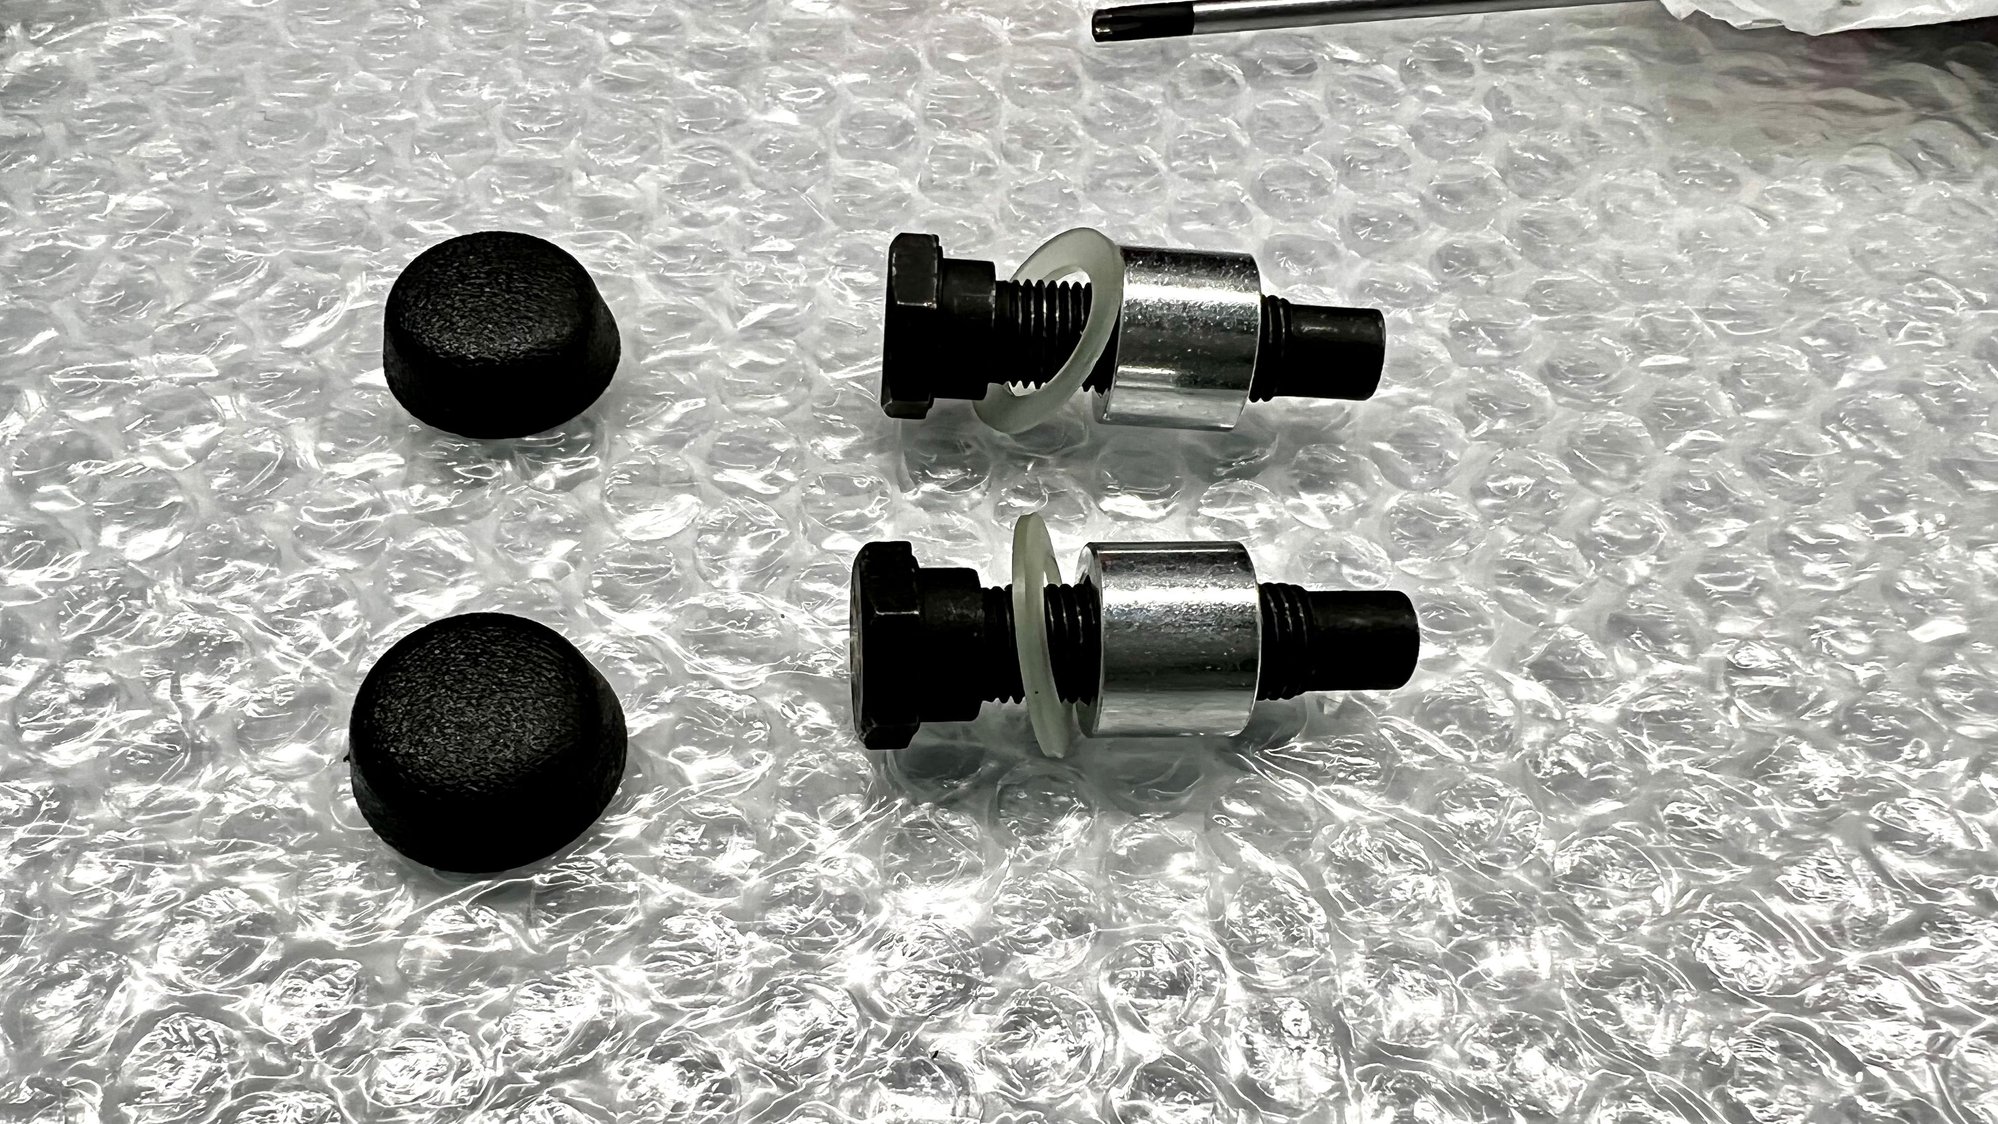
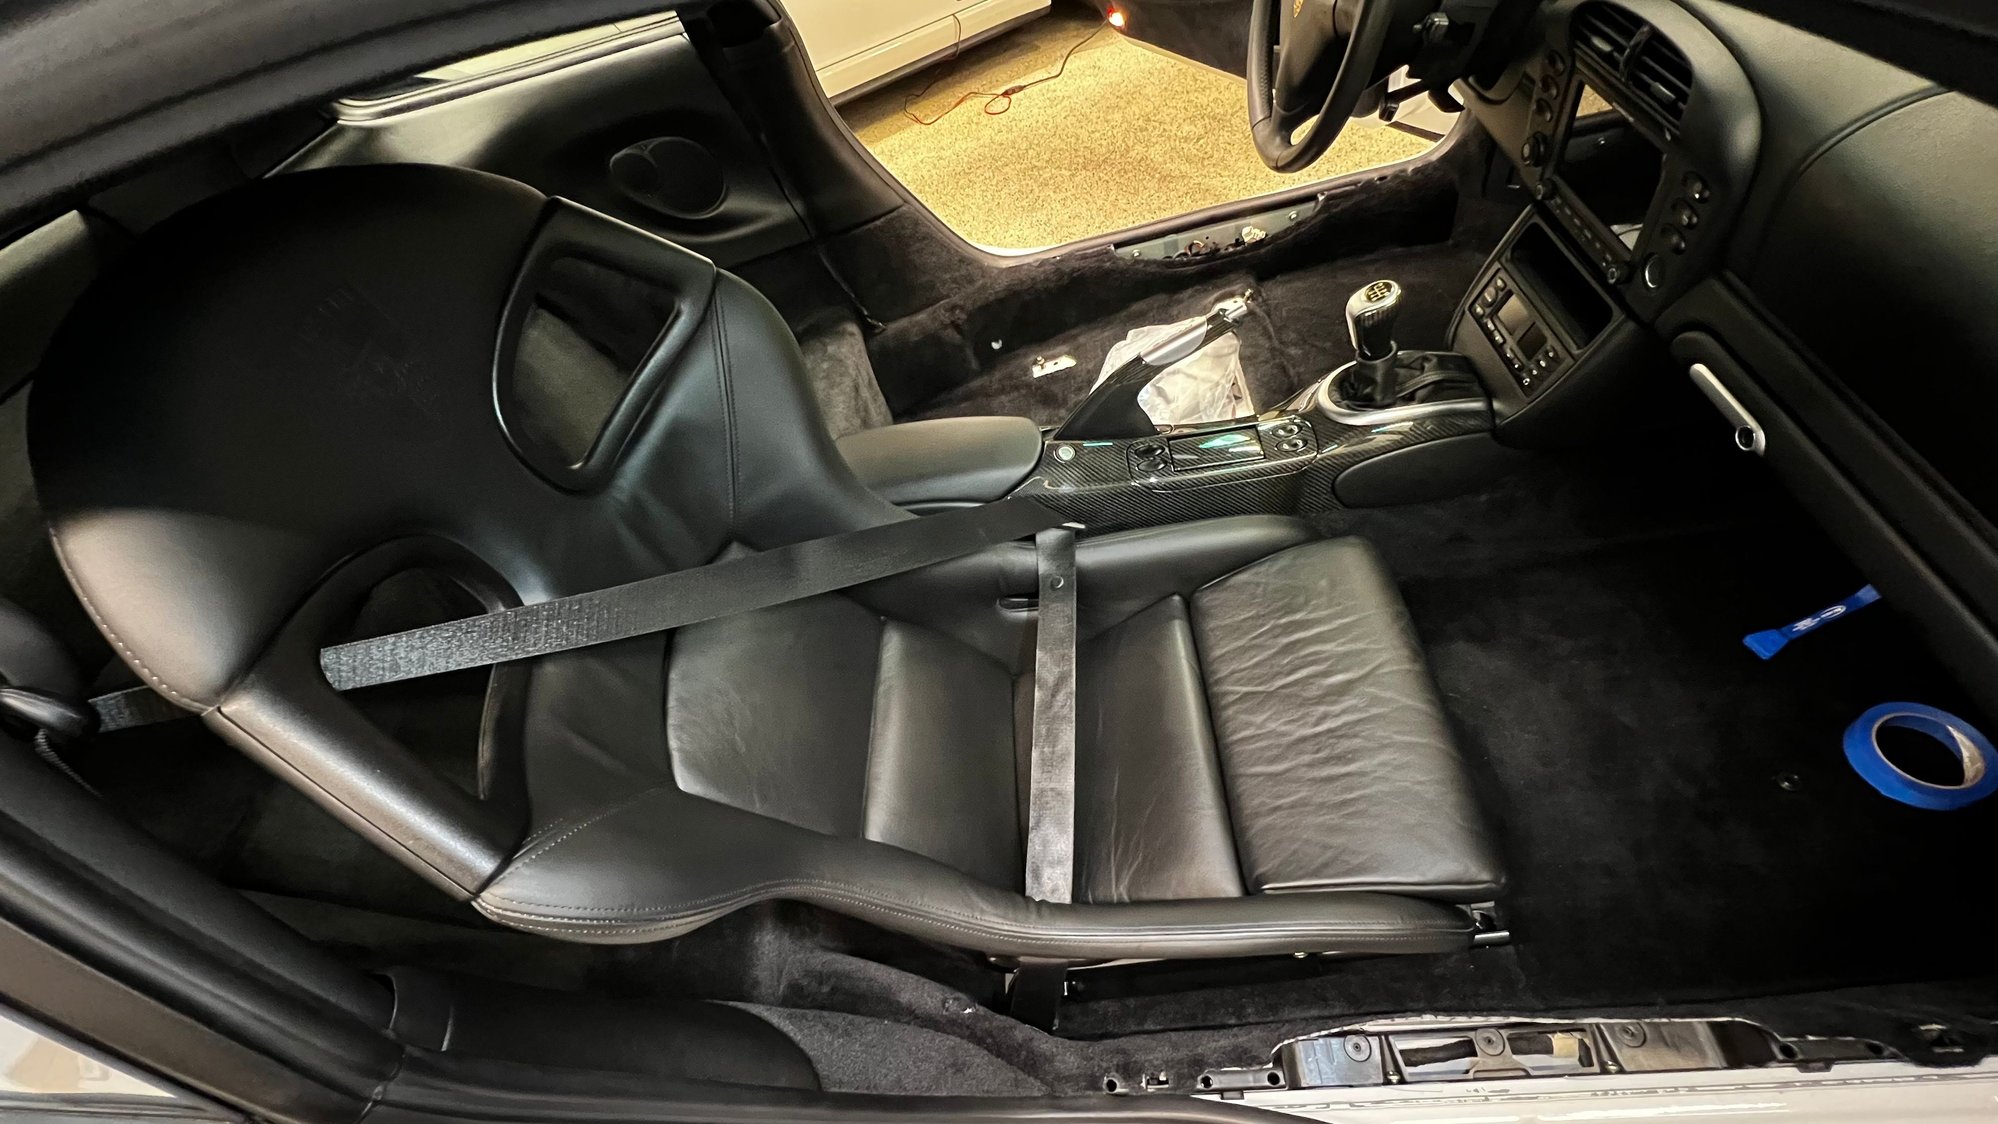
I�m almost there. Now it was time to reinstall the seats. I bought new seat belt hardware:
2 x Seat Belt Bolt - 999-075-079-01
2 x Seat Belt Sleeve - 999-924-064-01
2 x Seat Belt Washer - 211-857-771
2 x Seat Belt Bolt Cap - 811-857-845-01C
I furiously studied all workshop manuals I have along with RL posts to figure out the right way to install the 3 point seat belt with euro buckets.
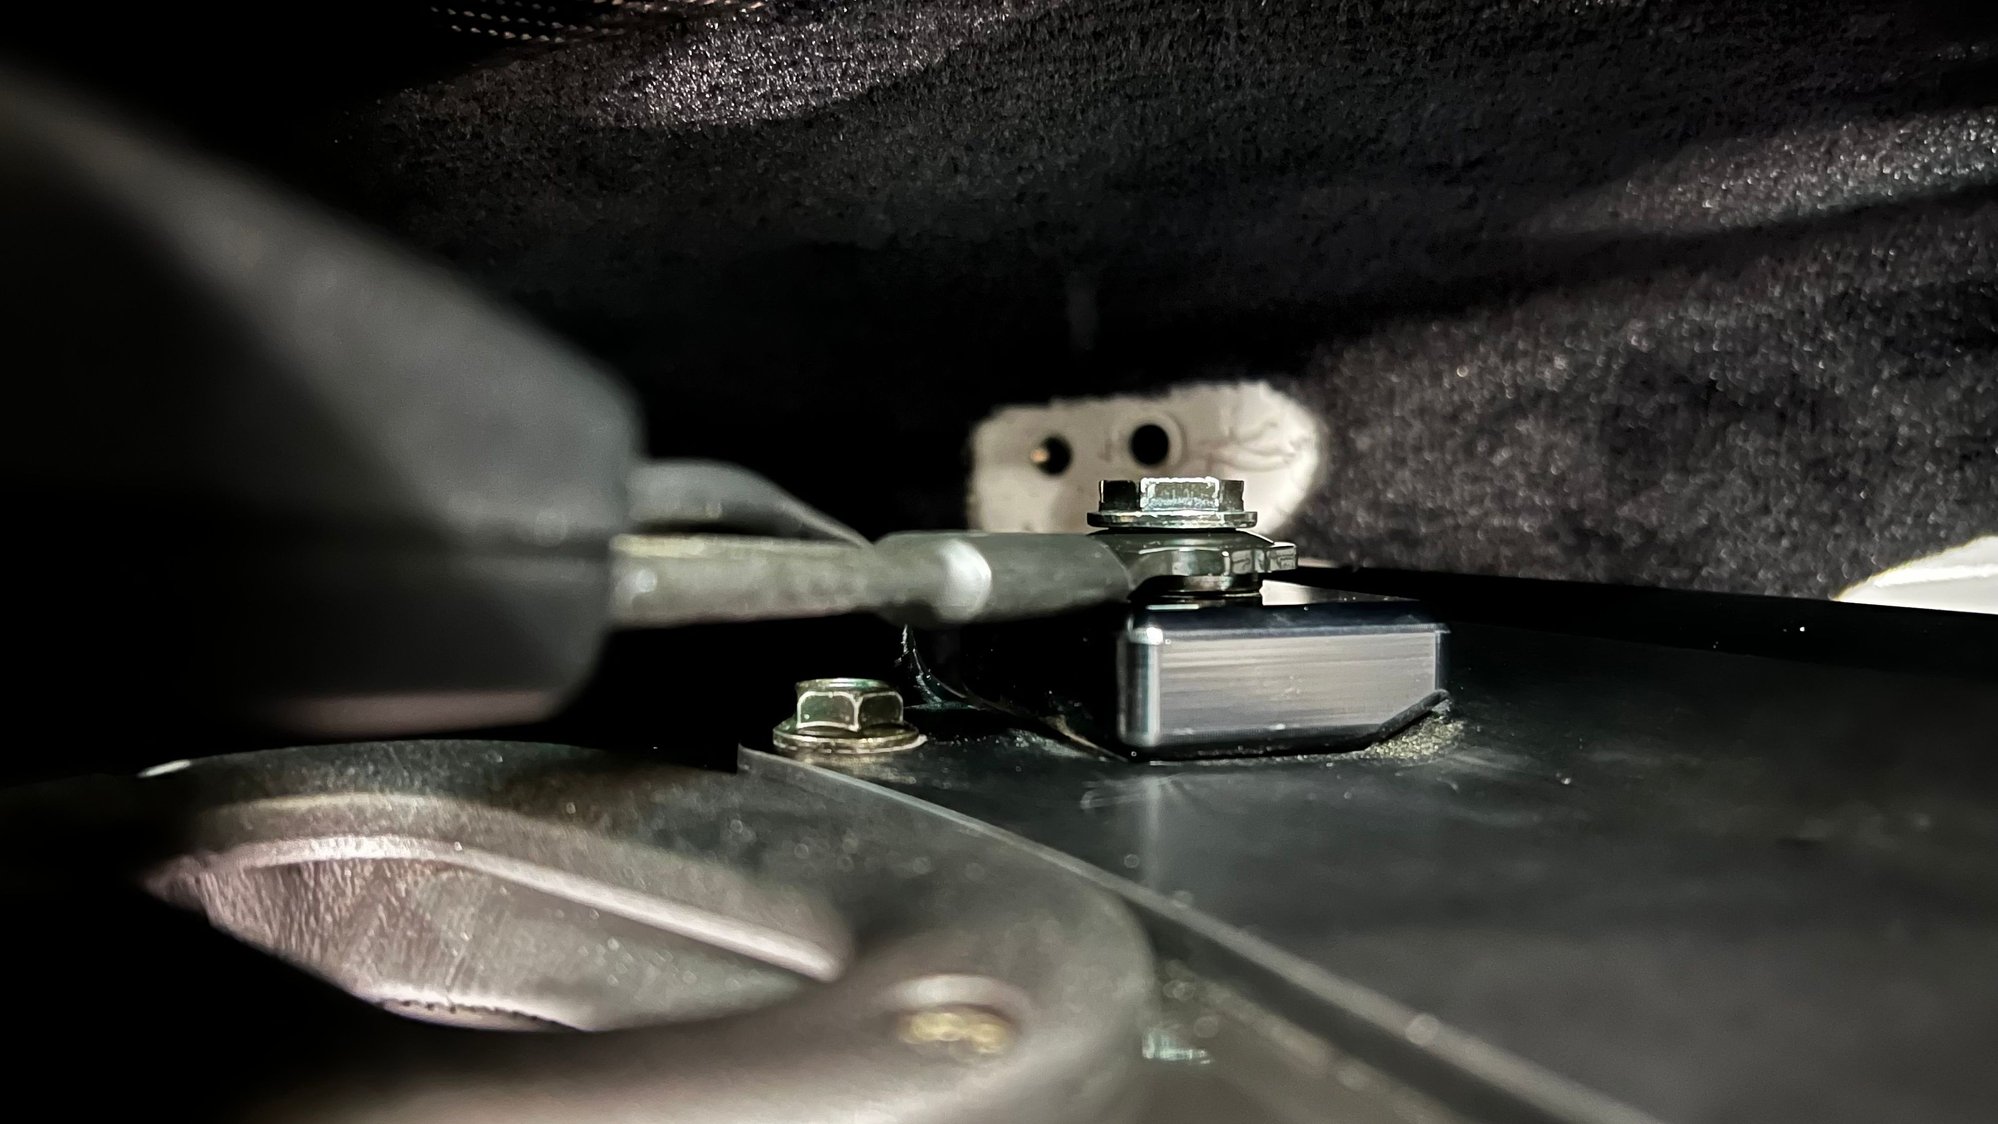
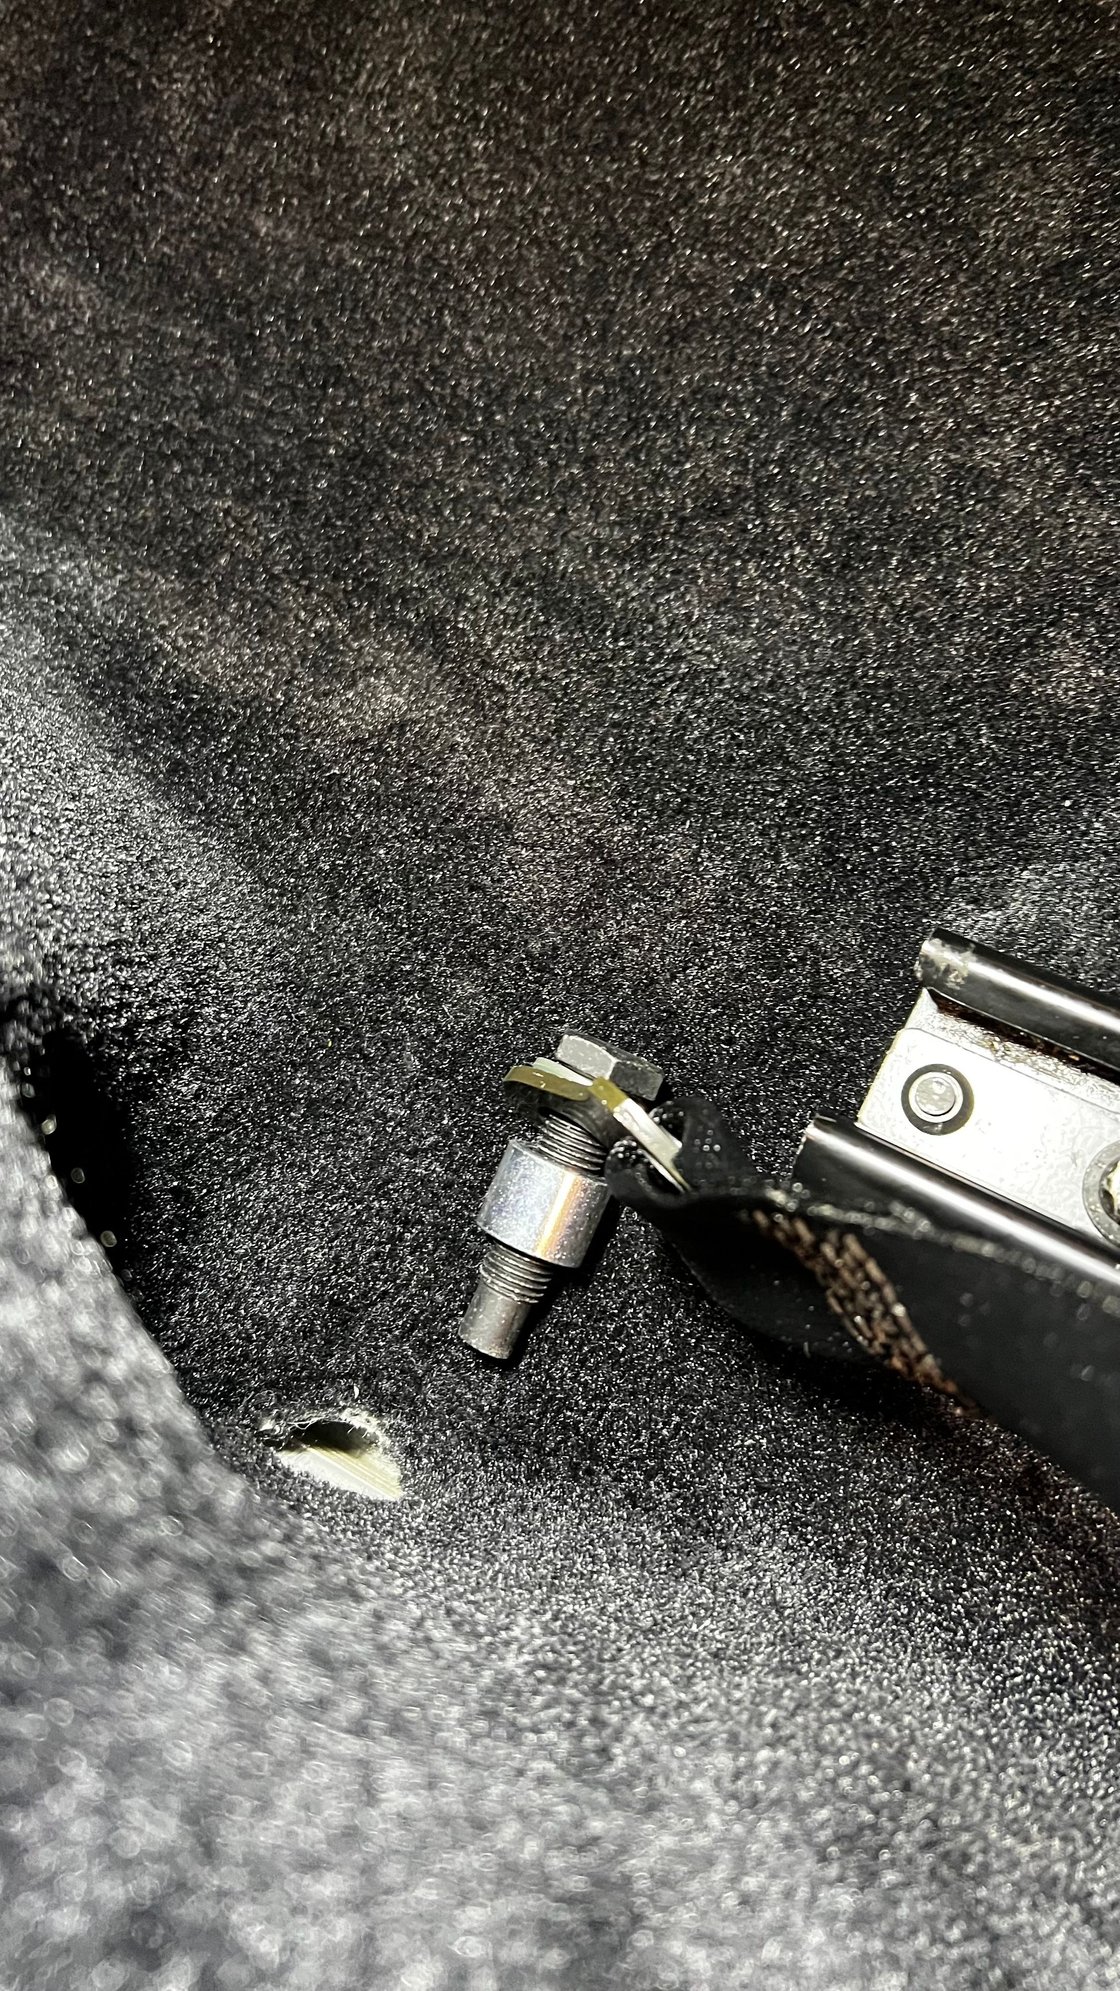
The first challenge I had to tackle: with the 6-point harness block, spacer washer and seat belt receptacle installed it was too wide and hit the carpet on the transmission tunnel. I removed the spacer washer and everything fit perfect. I could not find any detail on whether this is the way the factory would have done it.
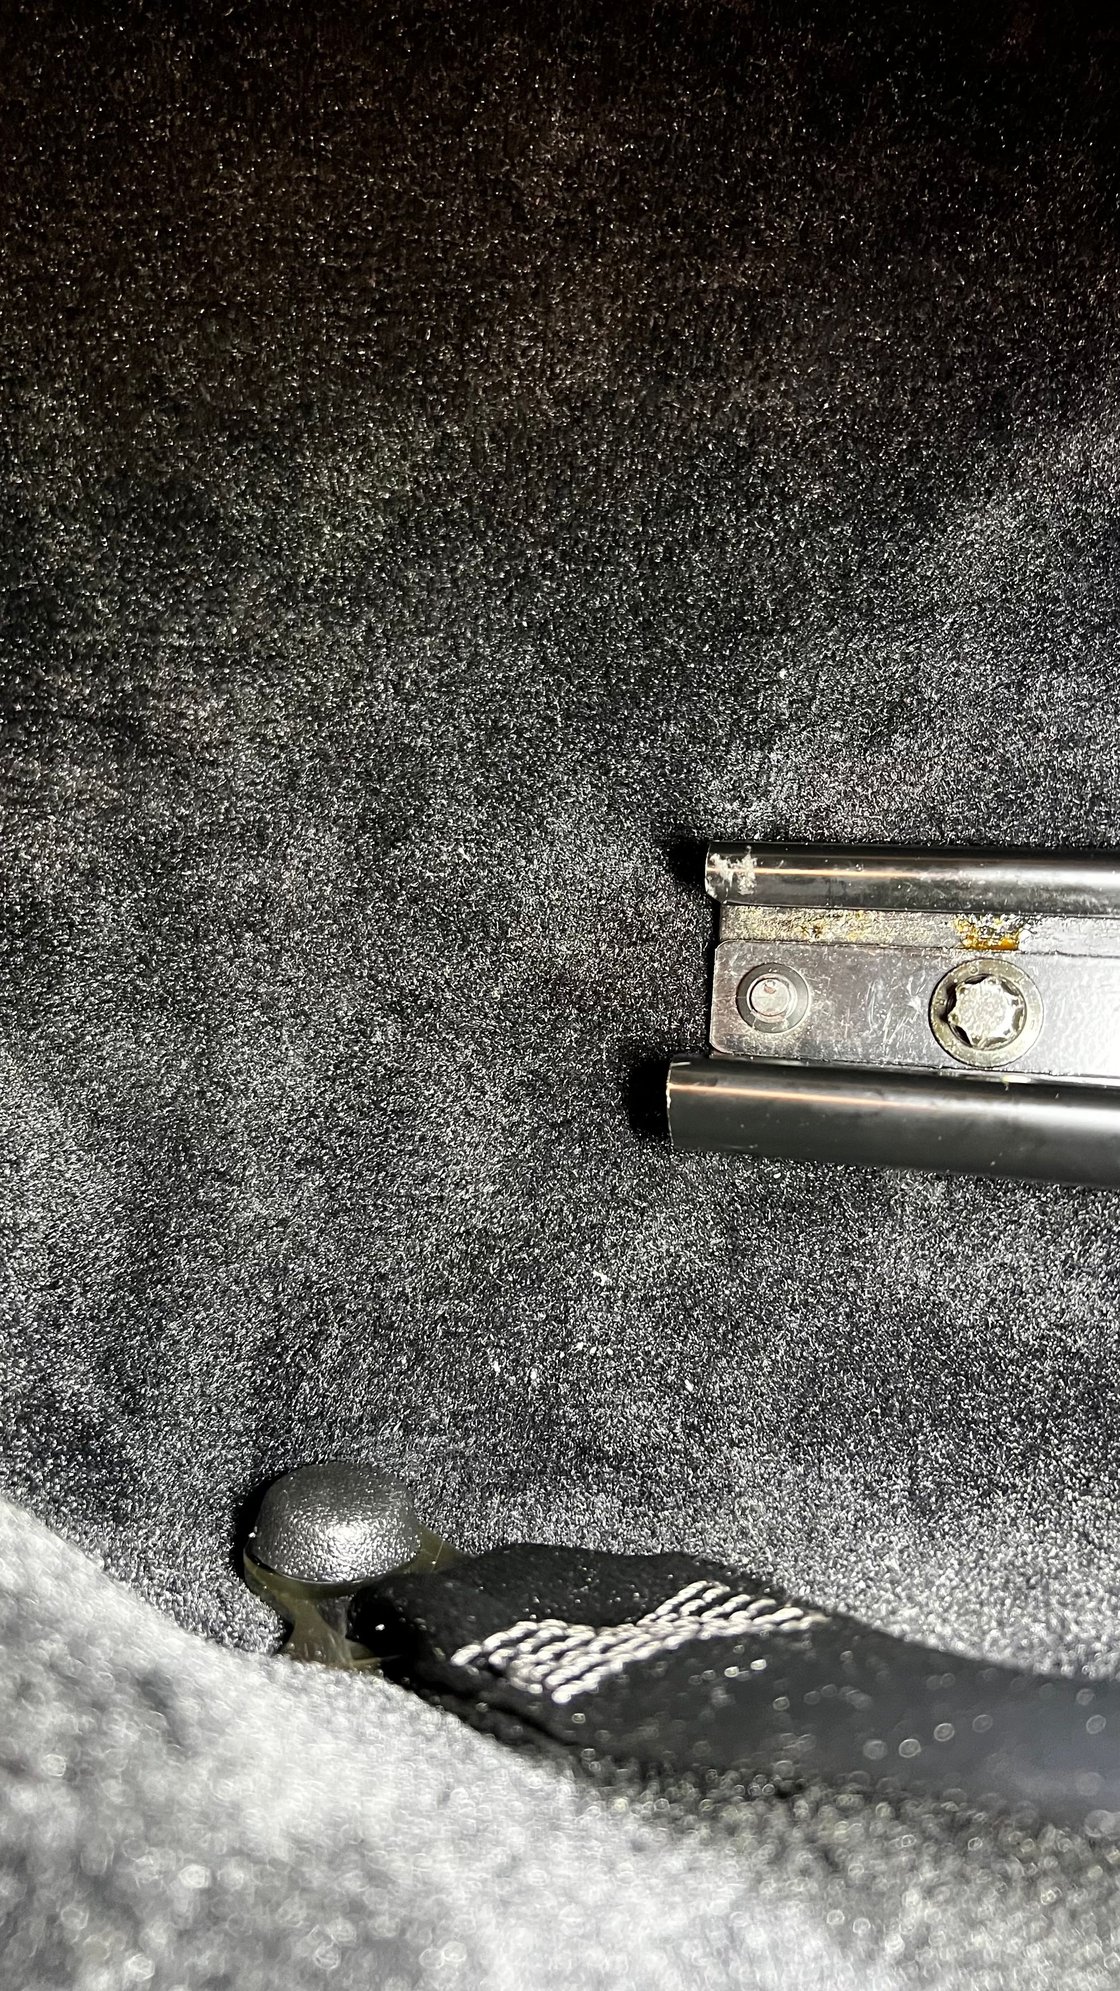
I ended up threading the seat belt through the �ear� at the top of the seat, then the lower hole in the bottom side of the seat and attaching it to the chassis. From my research, this appears to be correct.
With the 3-point seat belt anchored to the chassis, the belt now rubs on the 6-point harness block on the non-receptacal side. Since I�m not going to run harnesses, I just removed the block entirely from the seat, labeled them and stored them in my box of take-off 6GT3 parts.
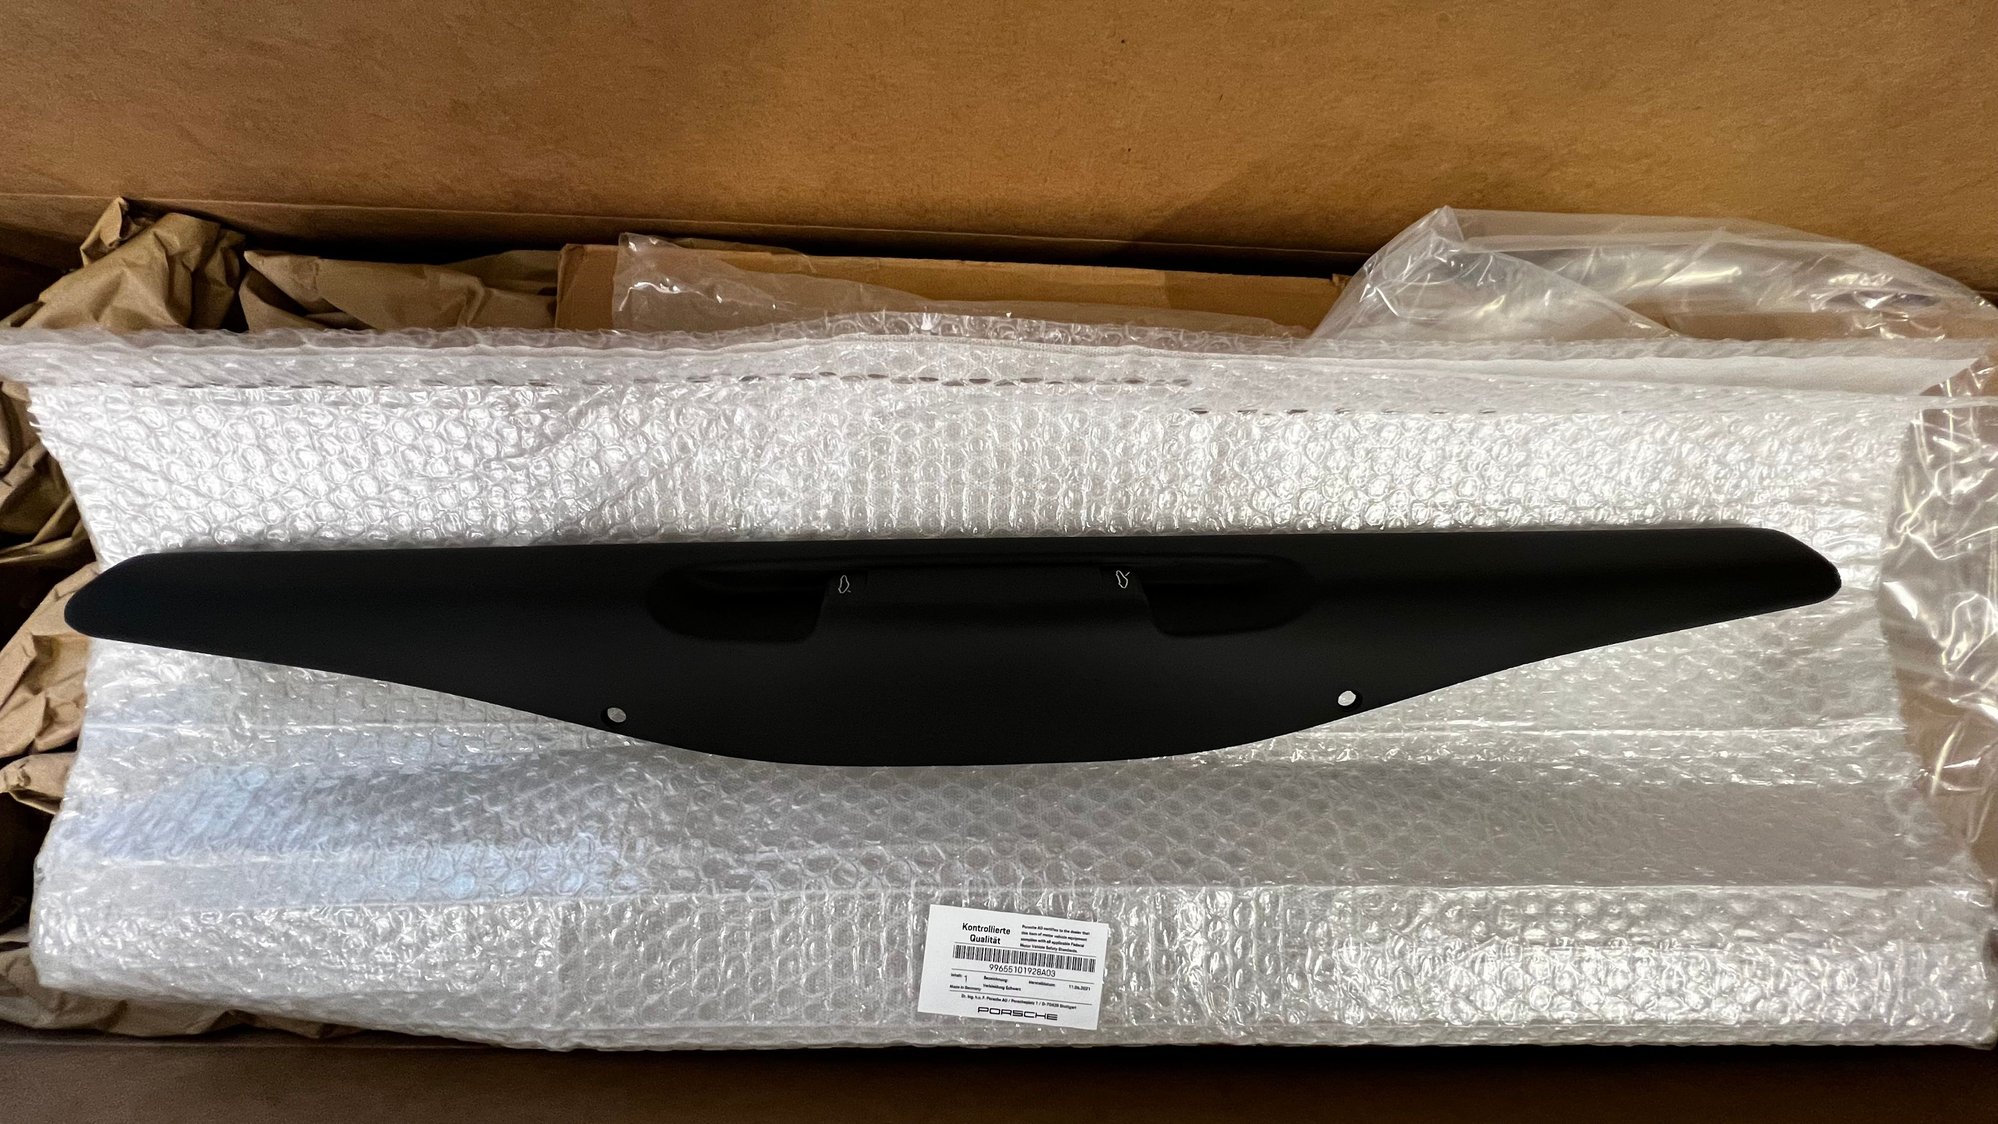
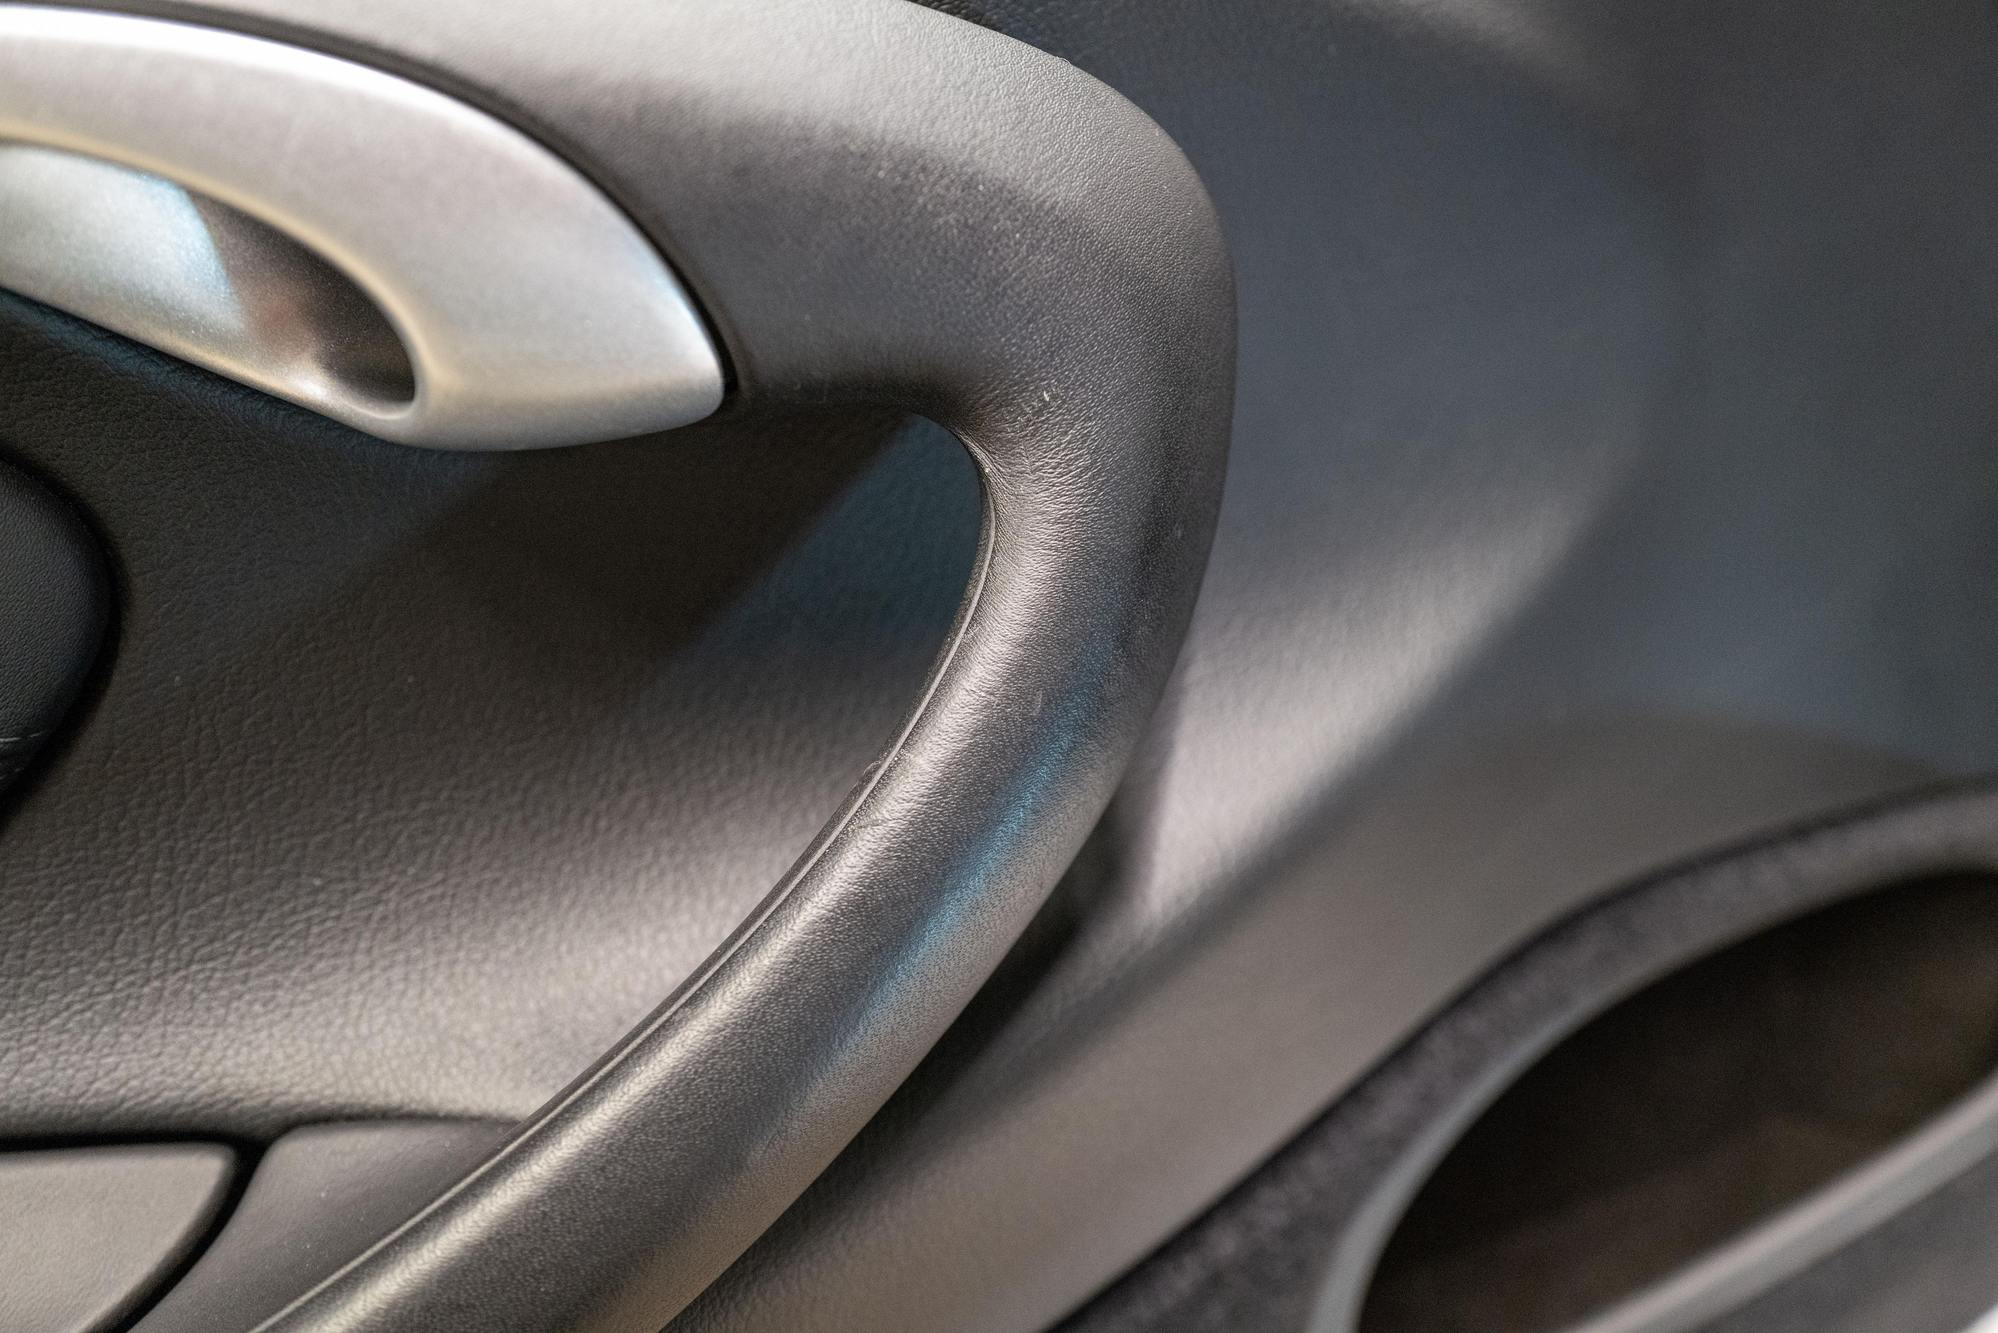
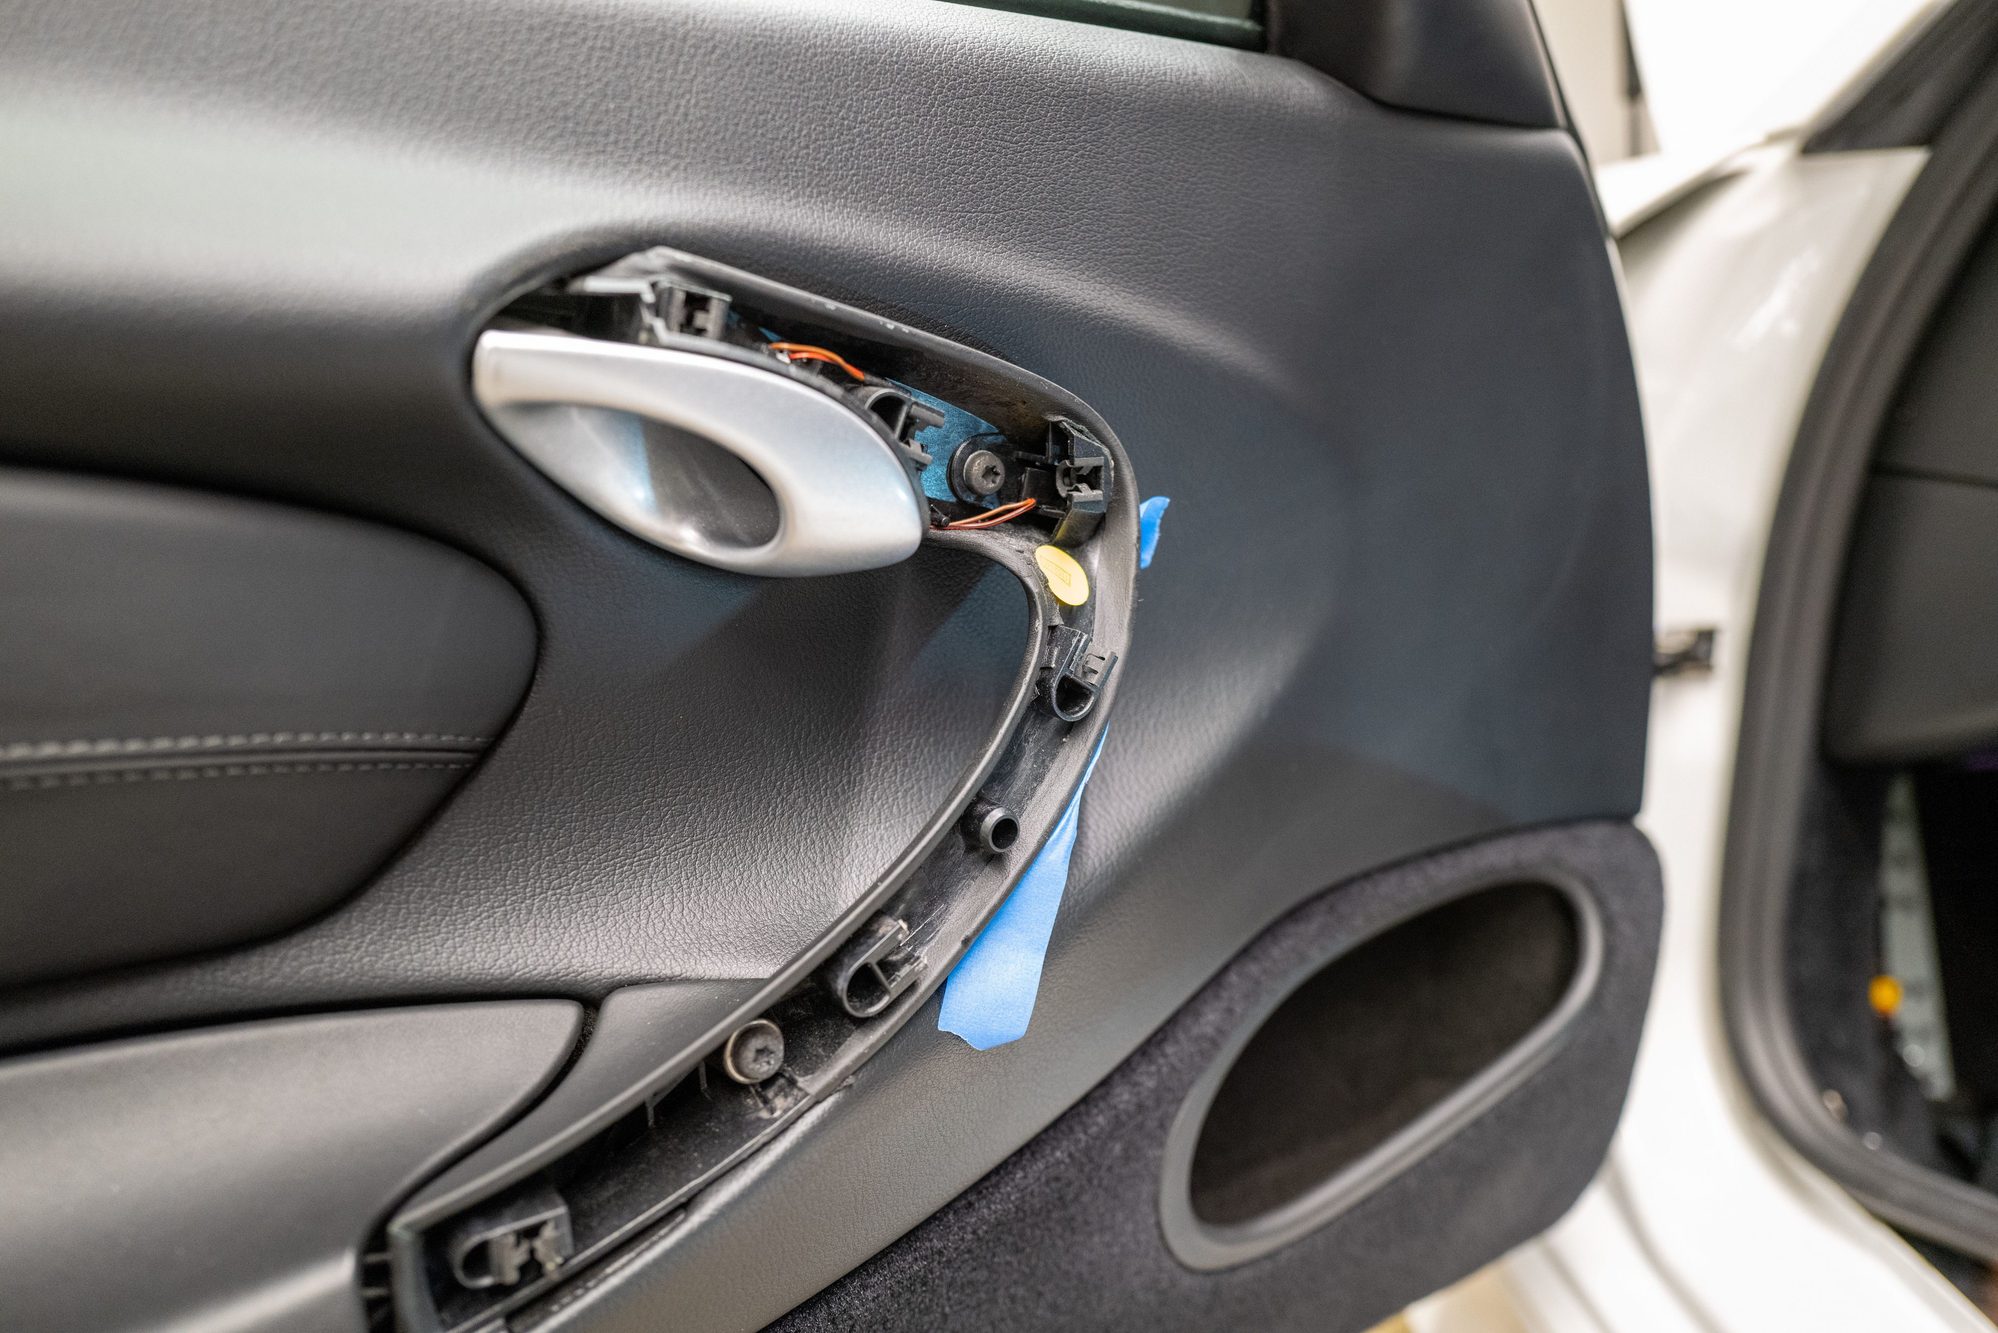
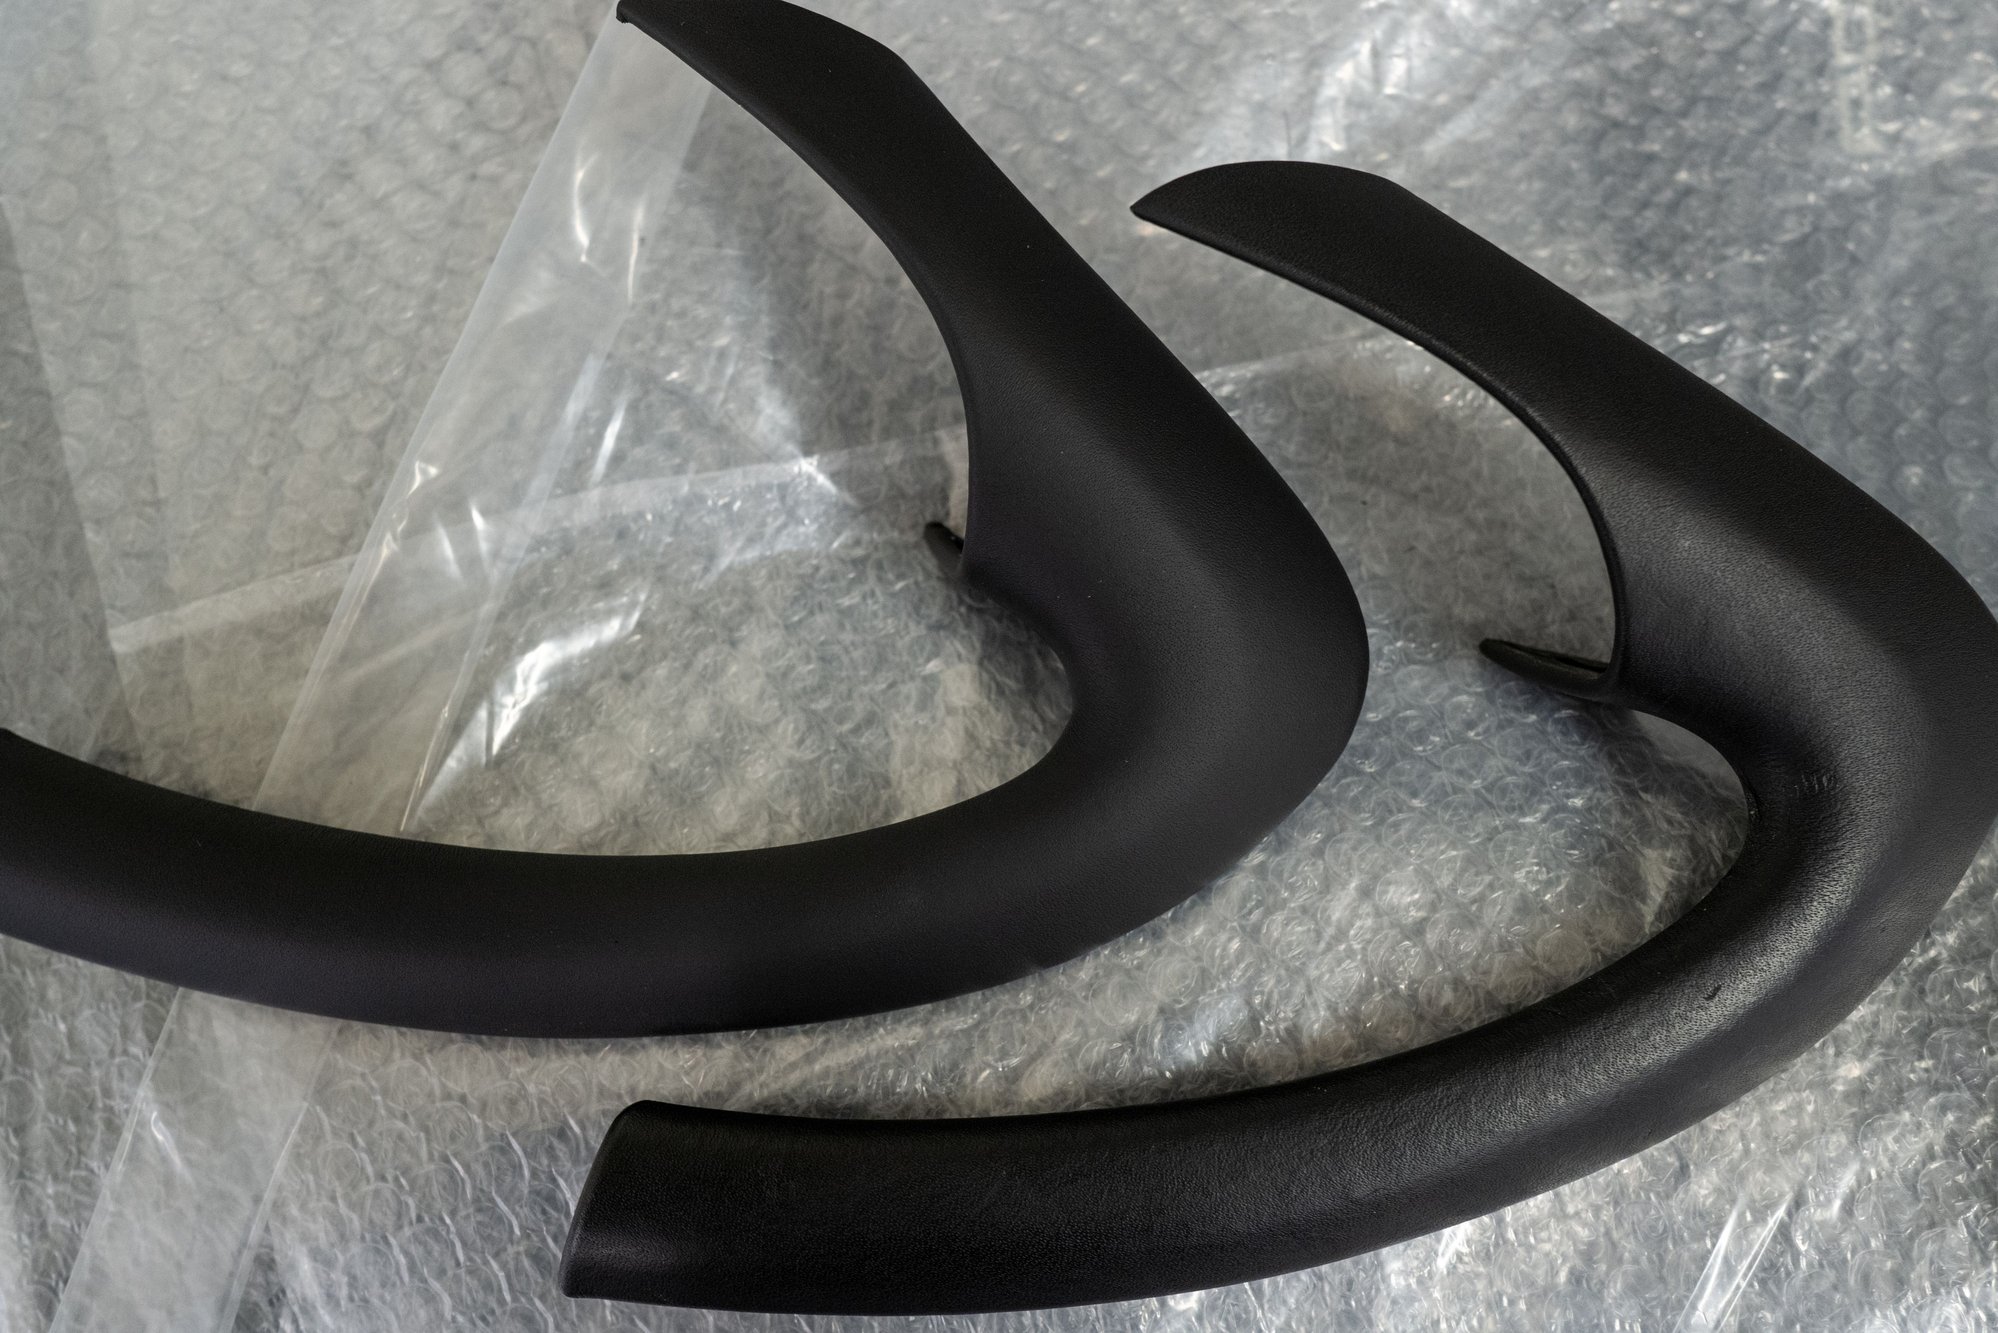
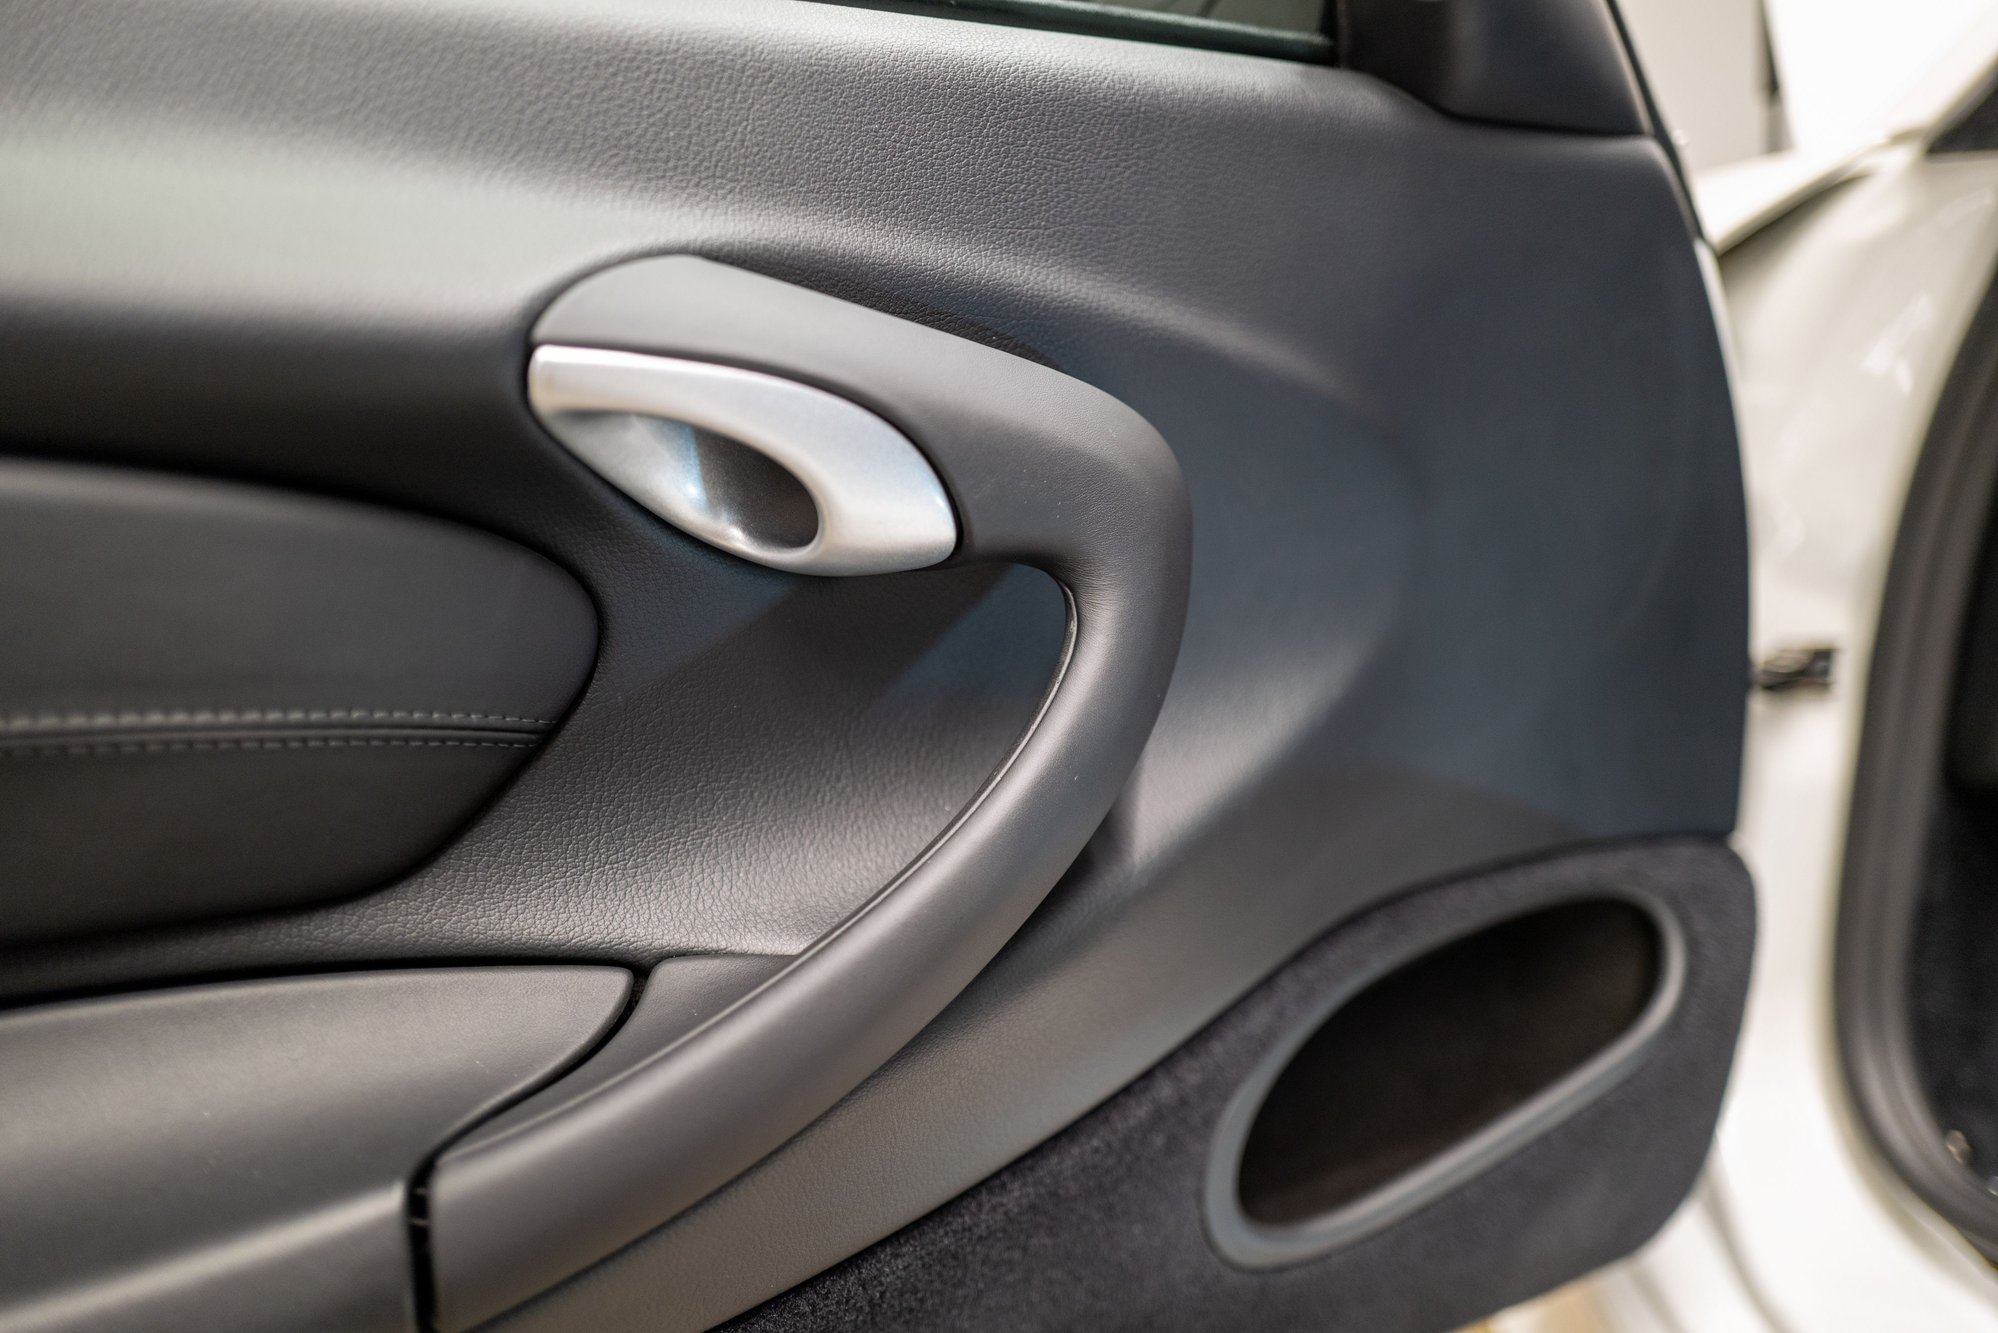
The last couple factory fresh parts to install were the side sill switch panel (p/n: 996-551-019-28-A03) and the driver�s side leather door pull (p/n: 996-555-591-00-A11).
I might try to refinish the side sill switch panel that I removed and see what the results look like � it�s almost impossible to keep those looking perfect, much like the front splitter.
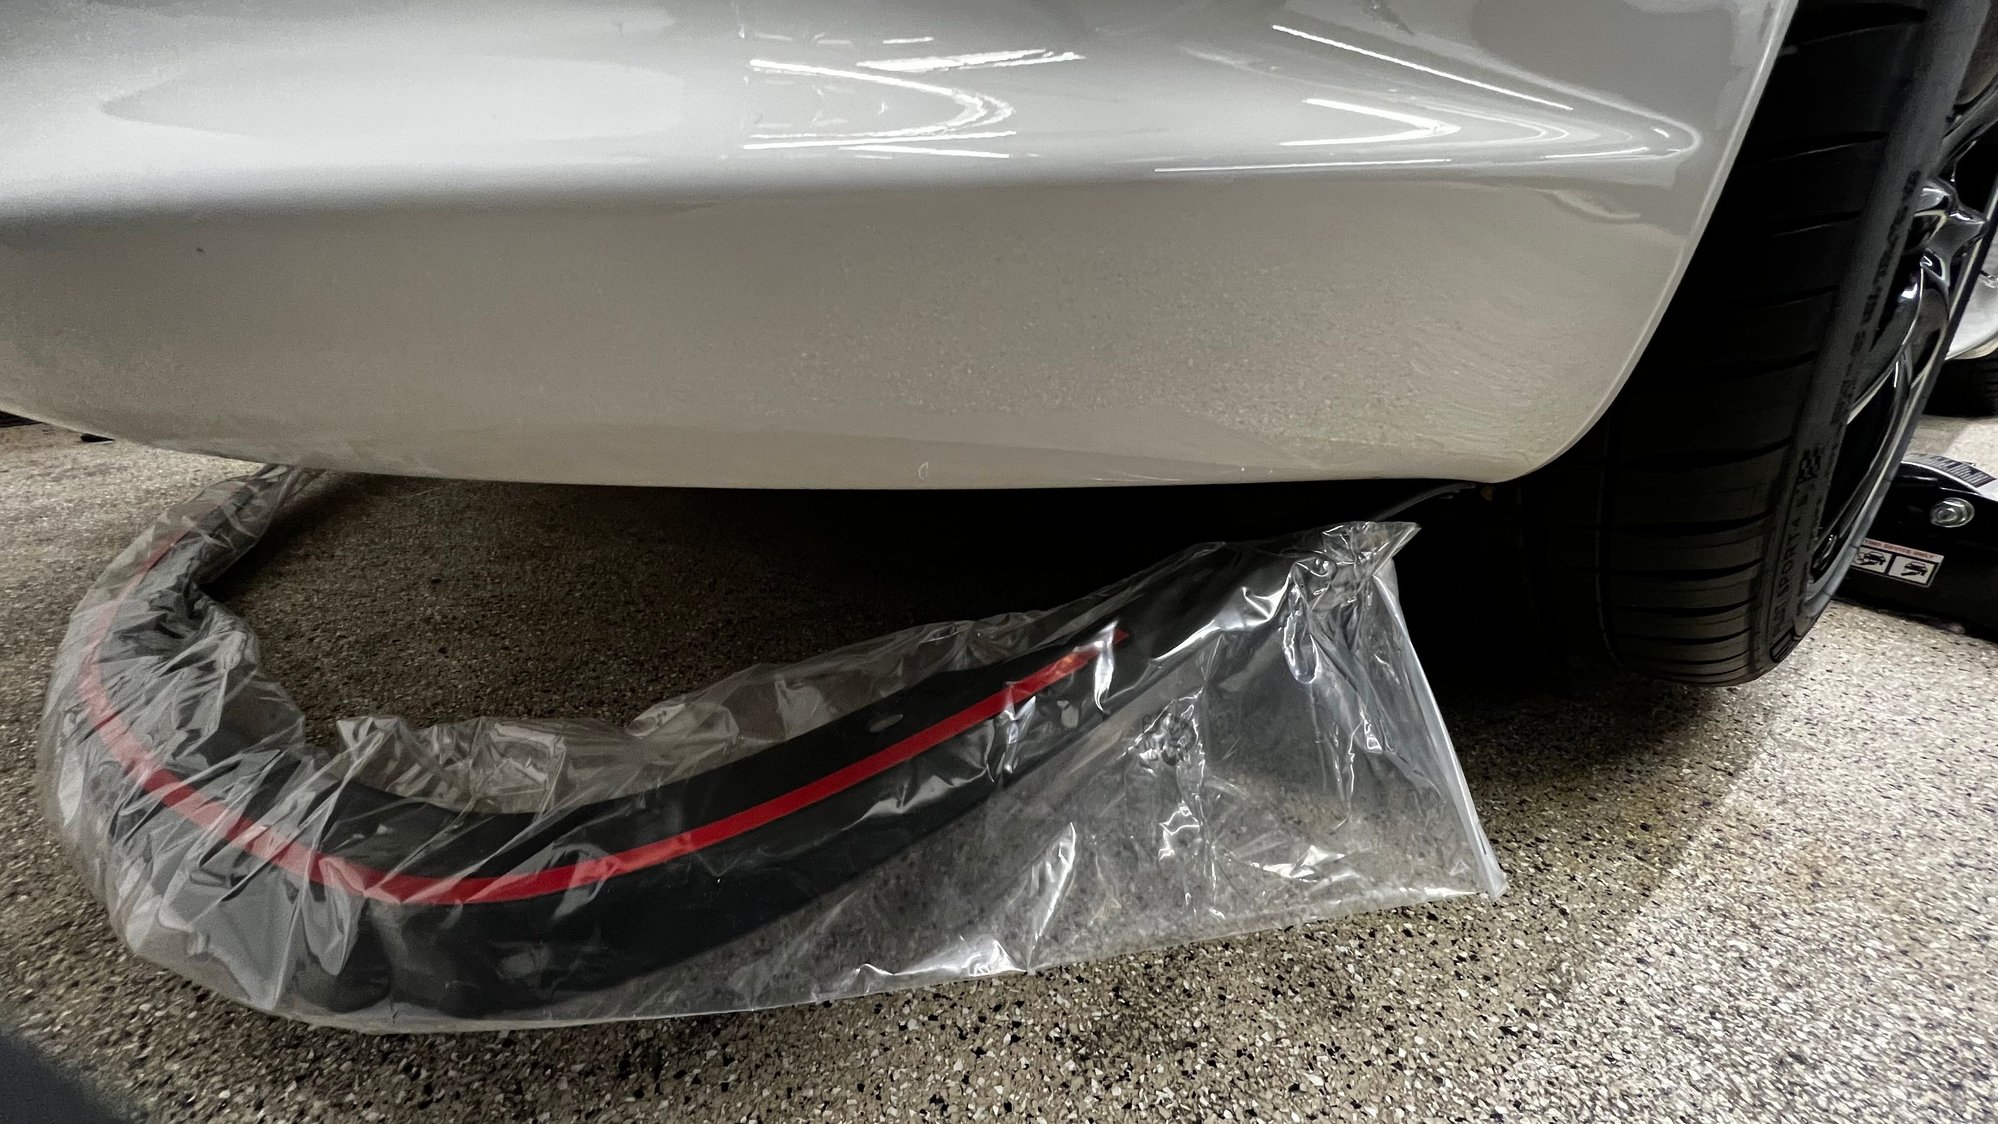
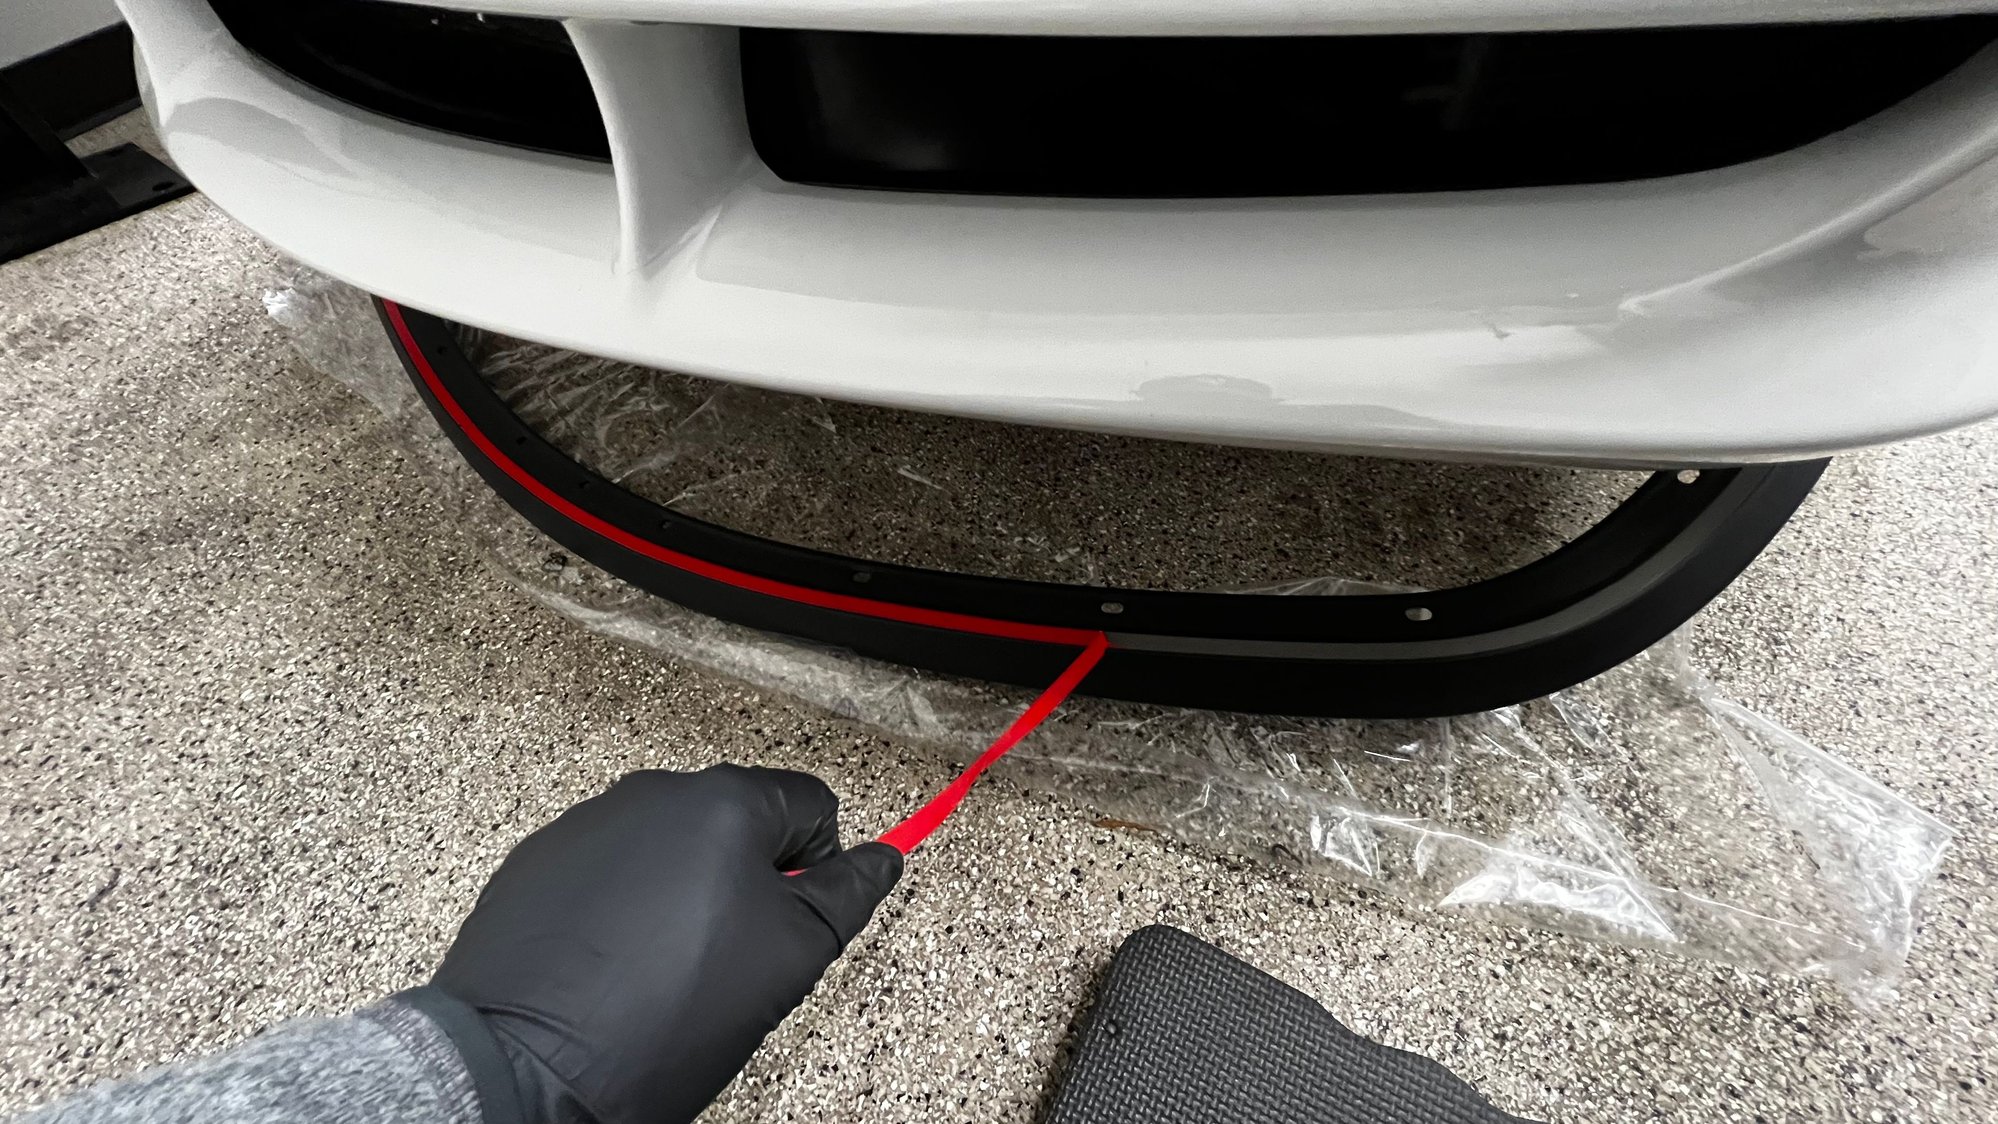
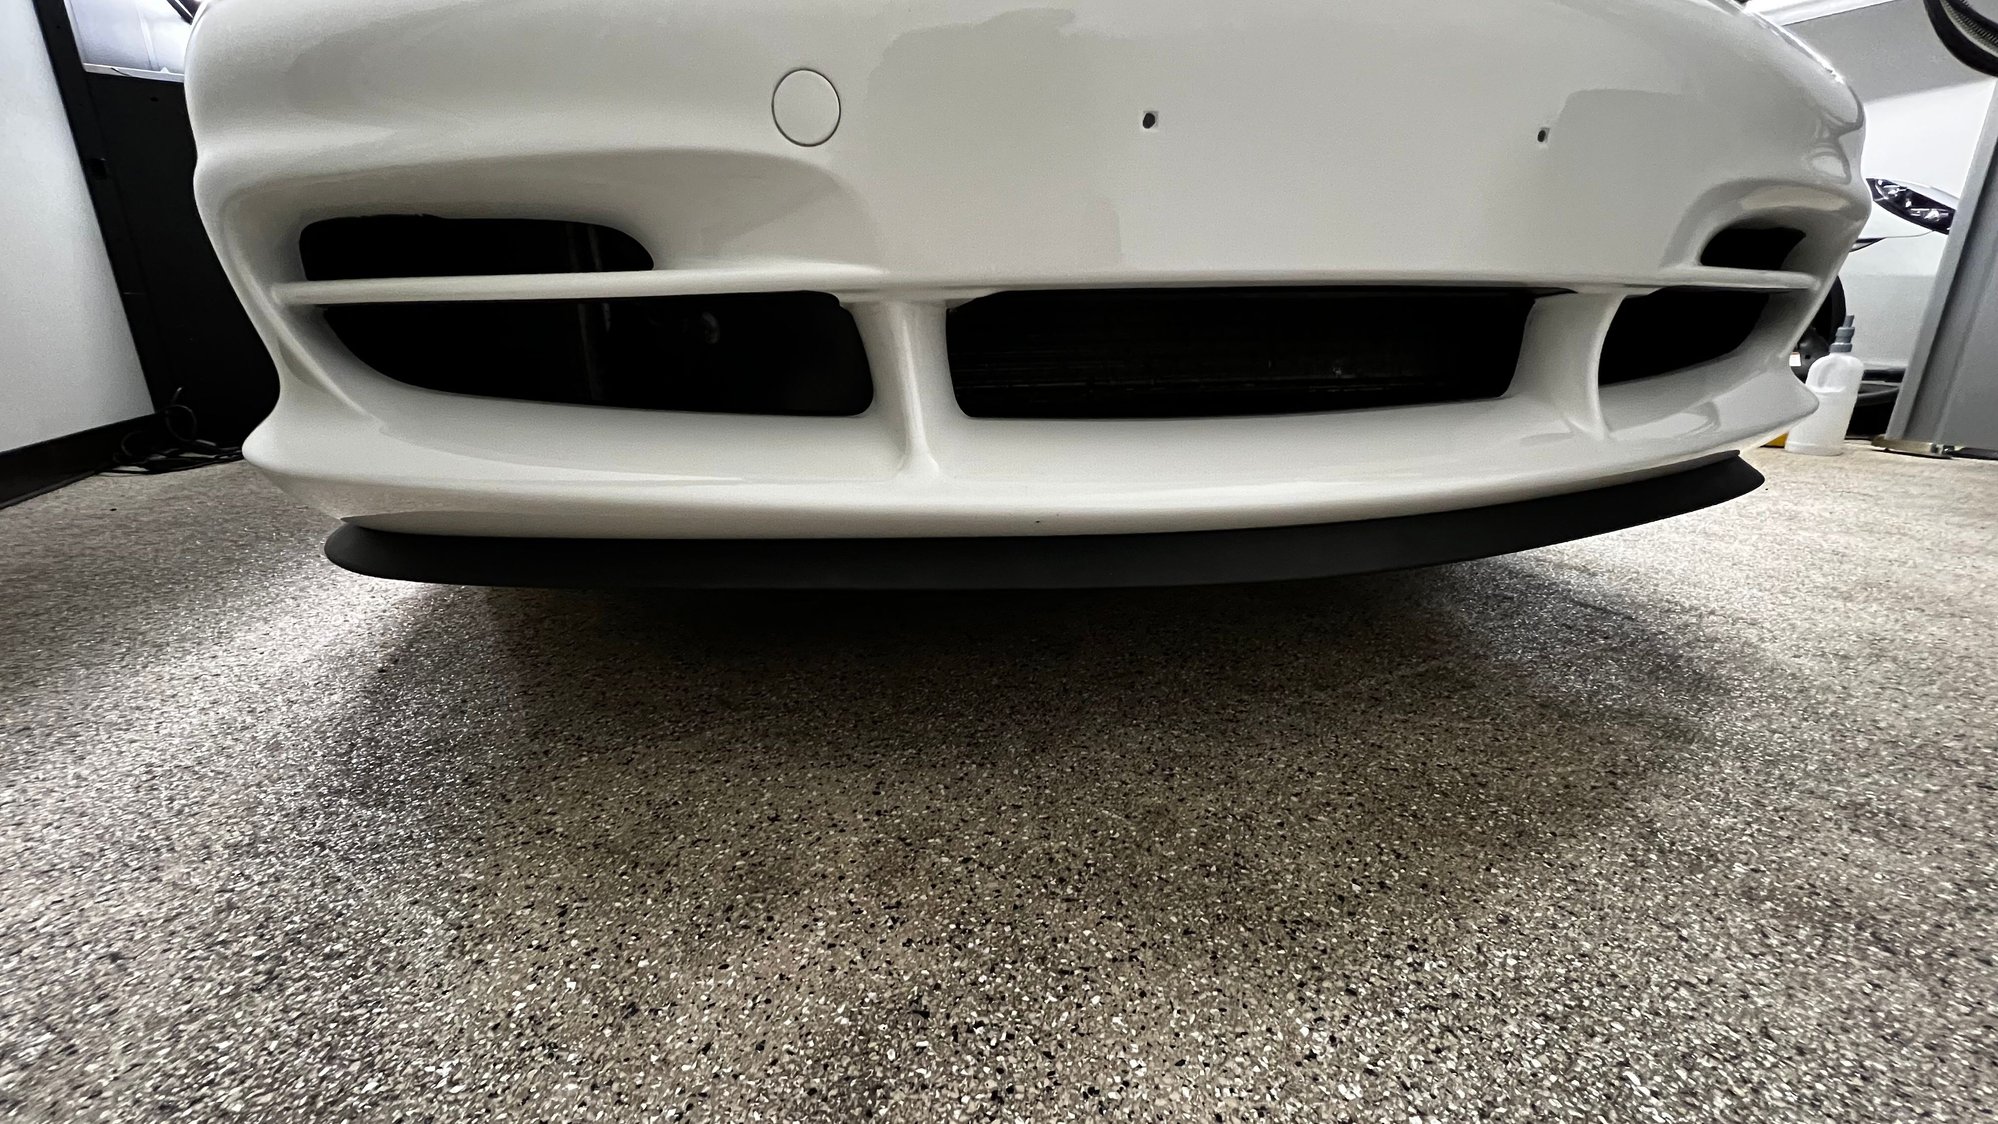
...speaking of which, last but not least I installed a new OEM front splitter. I spent a few minutes quizzically trying to figure out how to install the splitter by myself without dragging the splitter all over the ground. I ultimately landed on attaching the ends first. Removing the plastic, and the adhesive cover, then attaching the middle plastic push rivets and working my way out to the ends.
I did a quick coating of Wolf�s Nano Glass Sealant on all the windows.
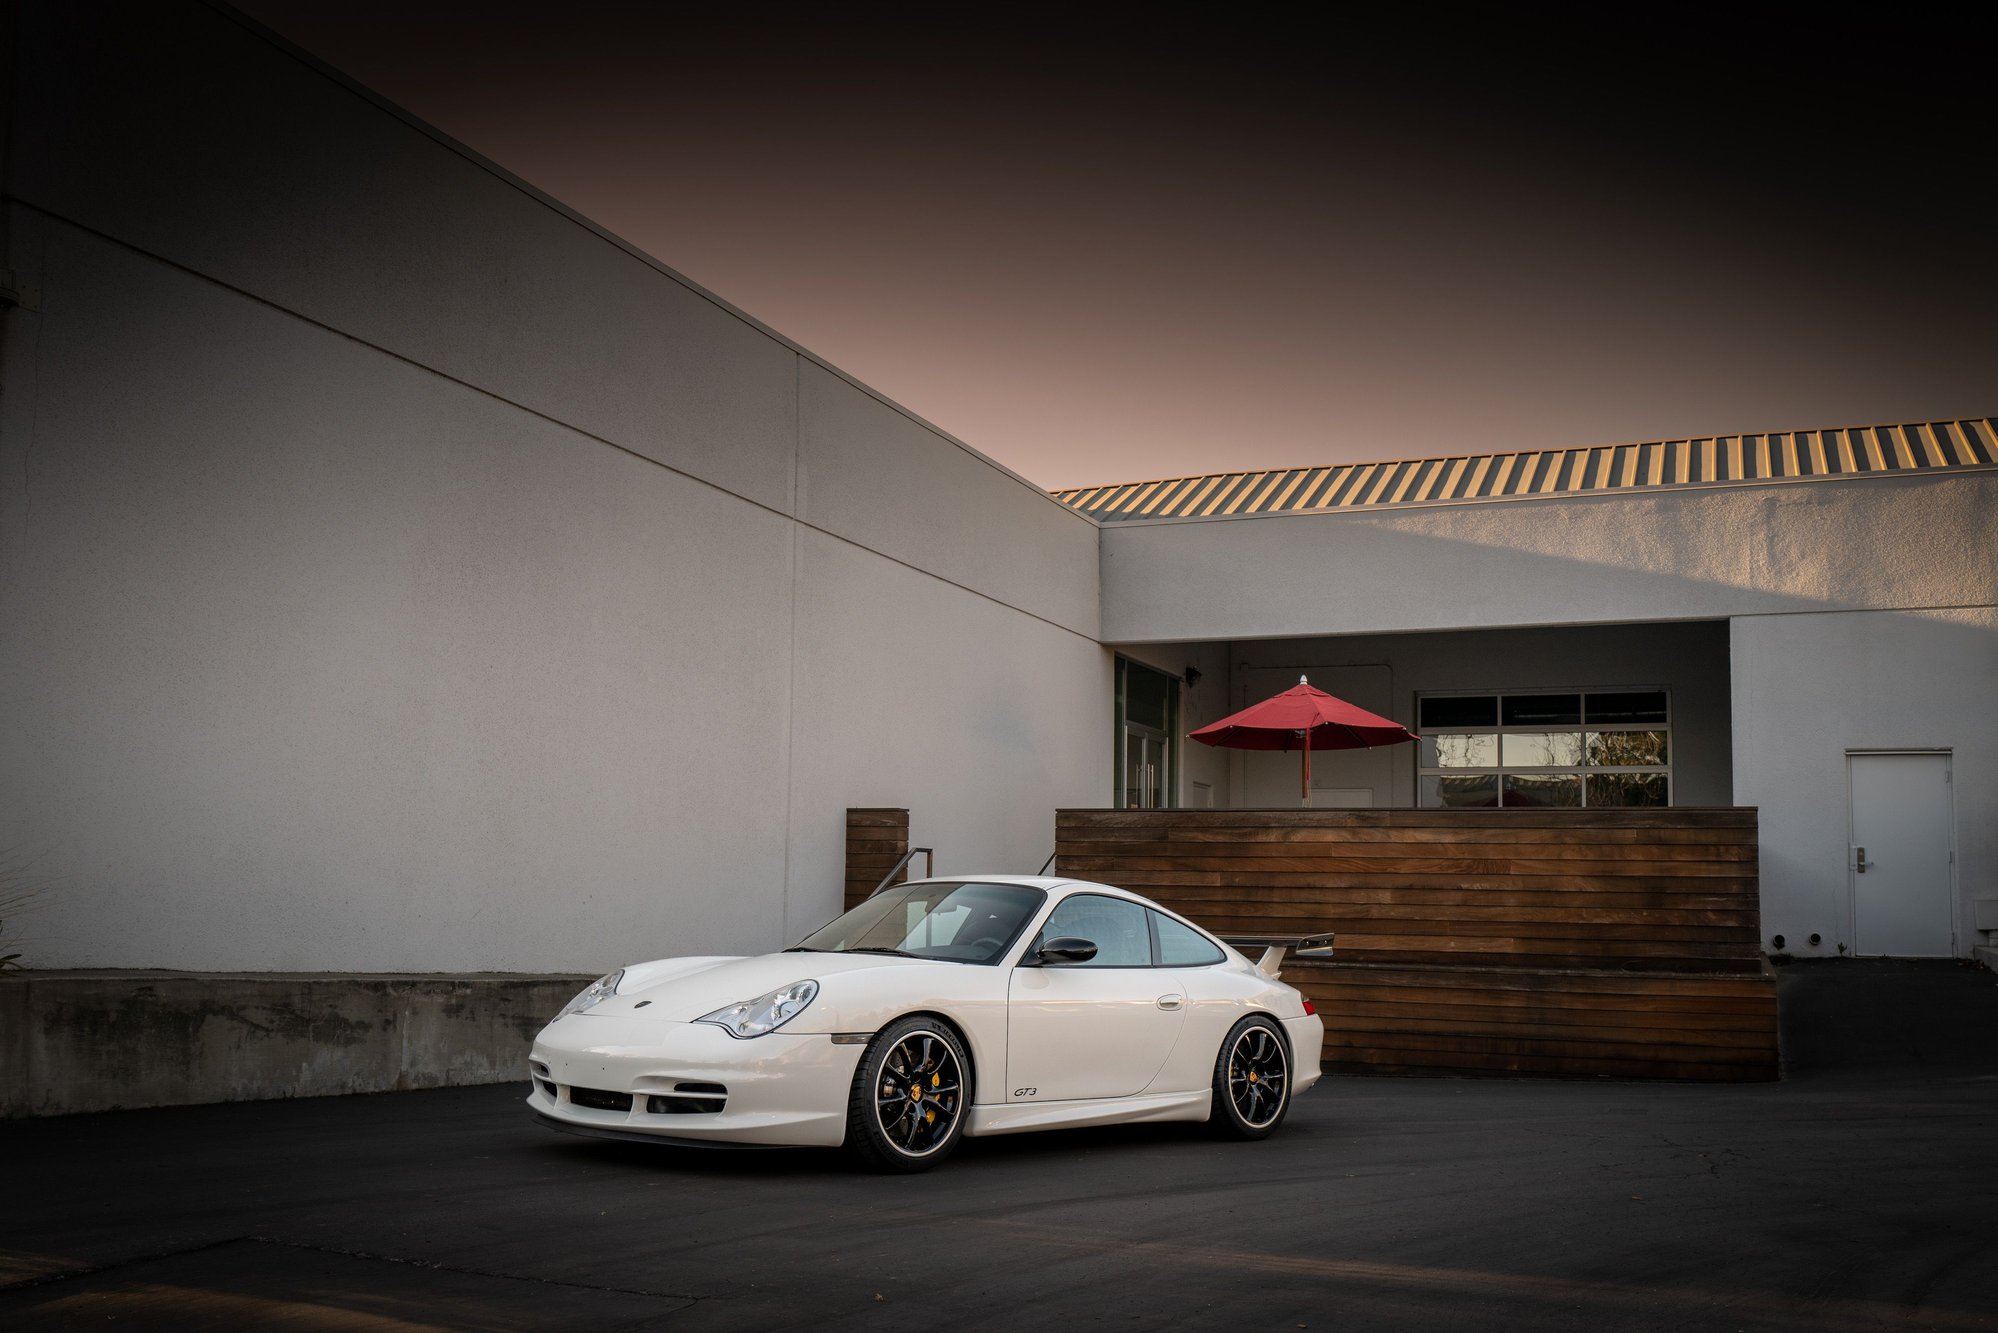
Then I thought, hell, there is still an hour of daylight left. I�m gonna get this antique out of the garage for the first time in a few months for a quick drive to see if I forgot to plug in any connectors/any warning lights on the dash.
No warning lights (phew!), no drama, nothing. The car started right up and off I went. In fact, between the refreshed interior touch points, the clean smelling carpet and the PCCM+ CarPlay unit, the car felt brand new. I drove around for about an hour grinning ear-to-ear like an idiot just enjoying the car.
As the sun was starting to set, I pulled over and grabbed some quick snaps. I figured this would be the best the car ever looks, so I might as well capture it now.
Next up I need to take care of a couple annual maintenance items, and then it heads over to SharkWerks for coolant line pinning and a Guard LSD in March.

 01-18-2022, 05:49 PM