When you click on links to various merchants on this site and make a purchase, this can result in this site earning a commission. Affiliate programs and affiliations include, but are not limited to, the eBay Partner Network.
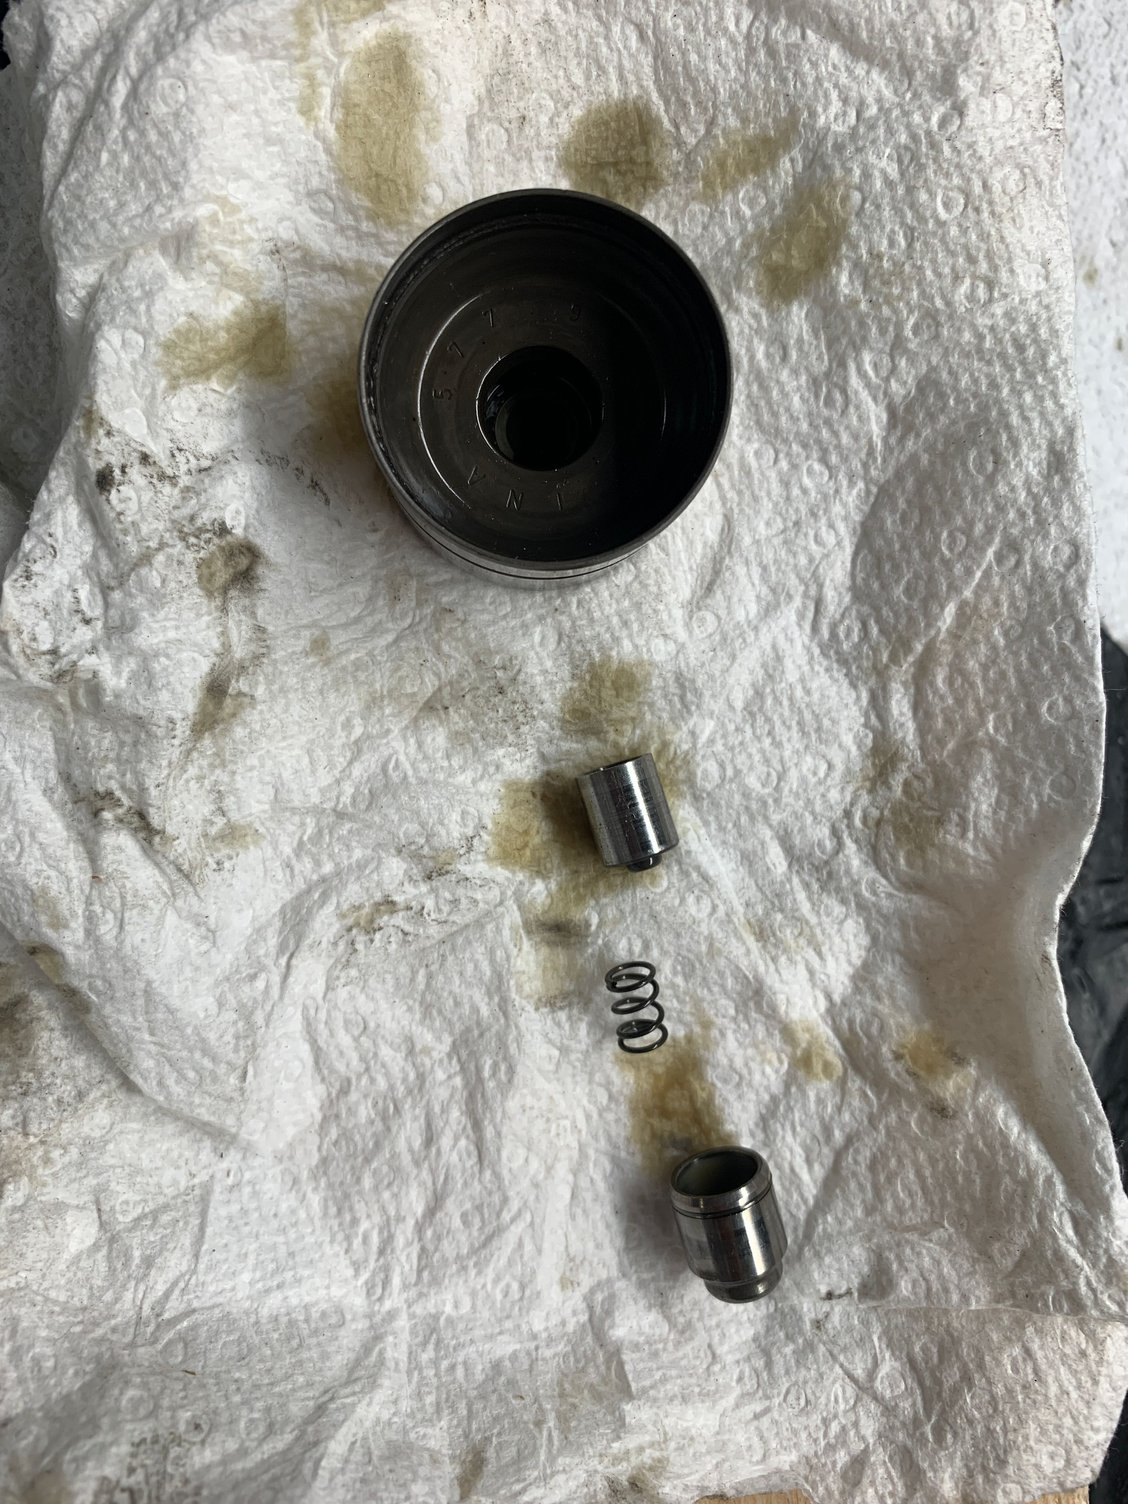
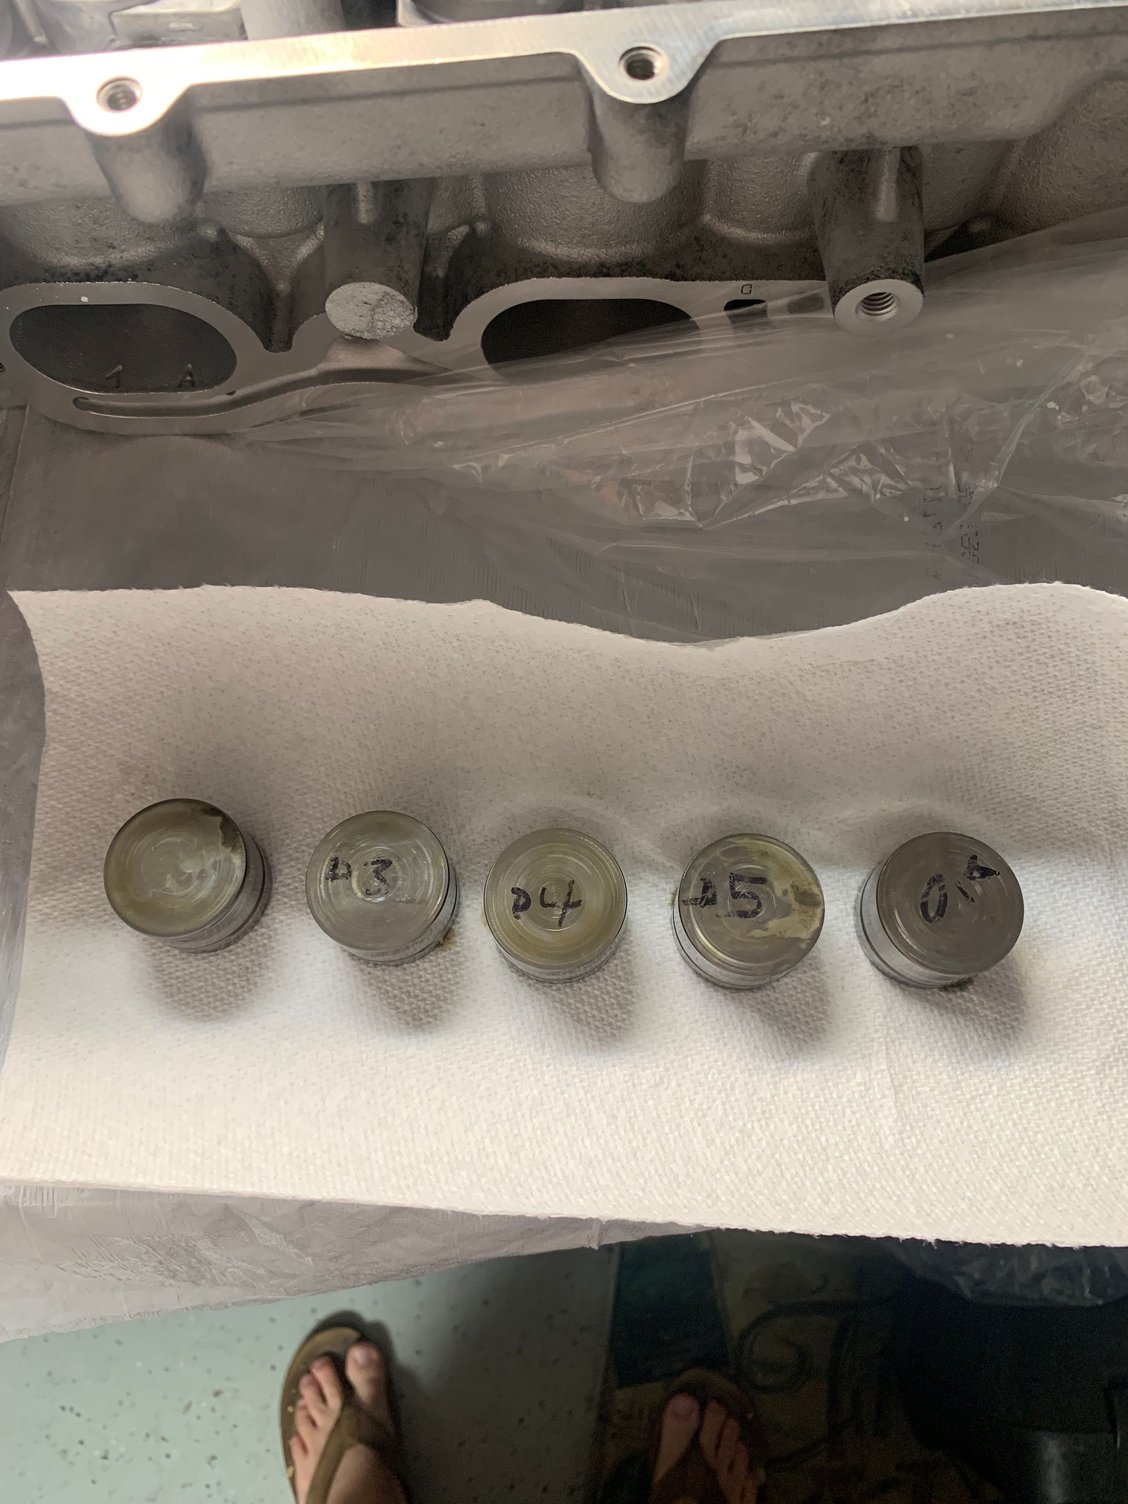
Had a free morning and some time to disassemble, clean and reassemble the exhaust lifters. Quite a bit of oil/coolant mix in them, pretty funky stuff. The exhaust lifters are all reassembled and squishy waiting in the lifter tray. I'll soak them in all in new oil and use a vacuum pump to get them primed back up before final install. When disassembling, I labelled each lifter with the location but kept both banks separated and wrote on the outside of the ziplock bag which side was which. The sharpie marks on the lifters were kind of hard to see so if you plan on storing them long term, stand them upright or the oil will dilute your markings off.
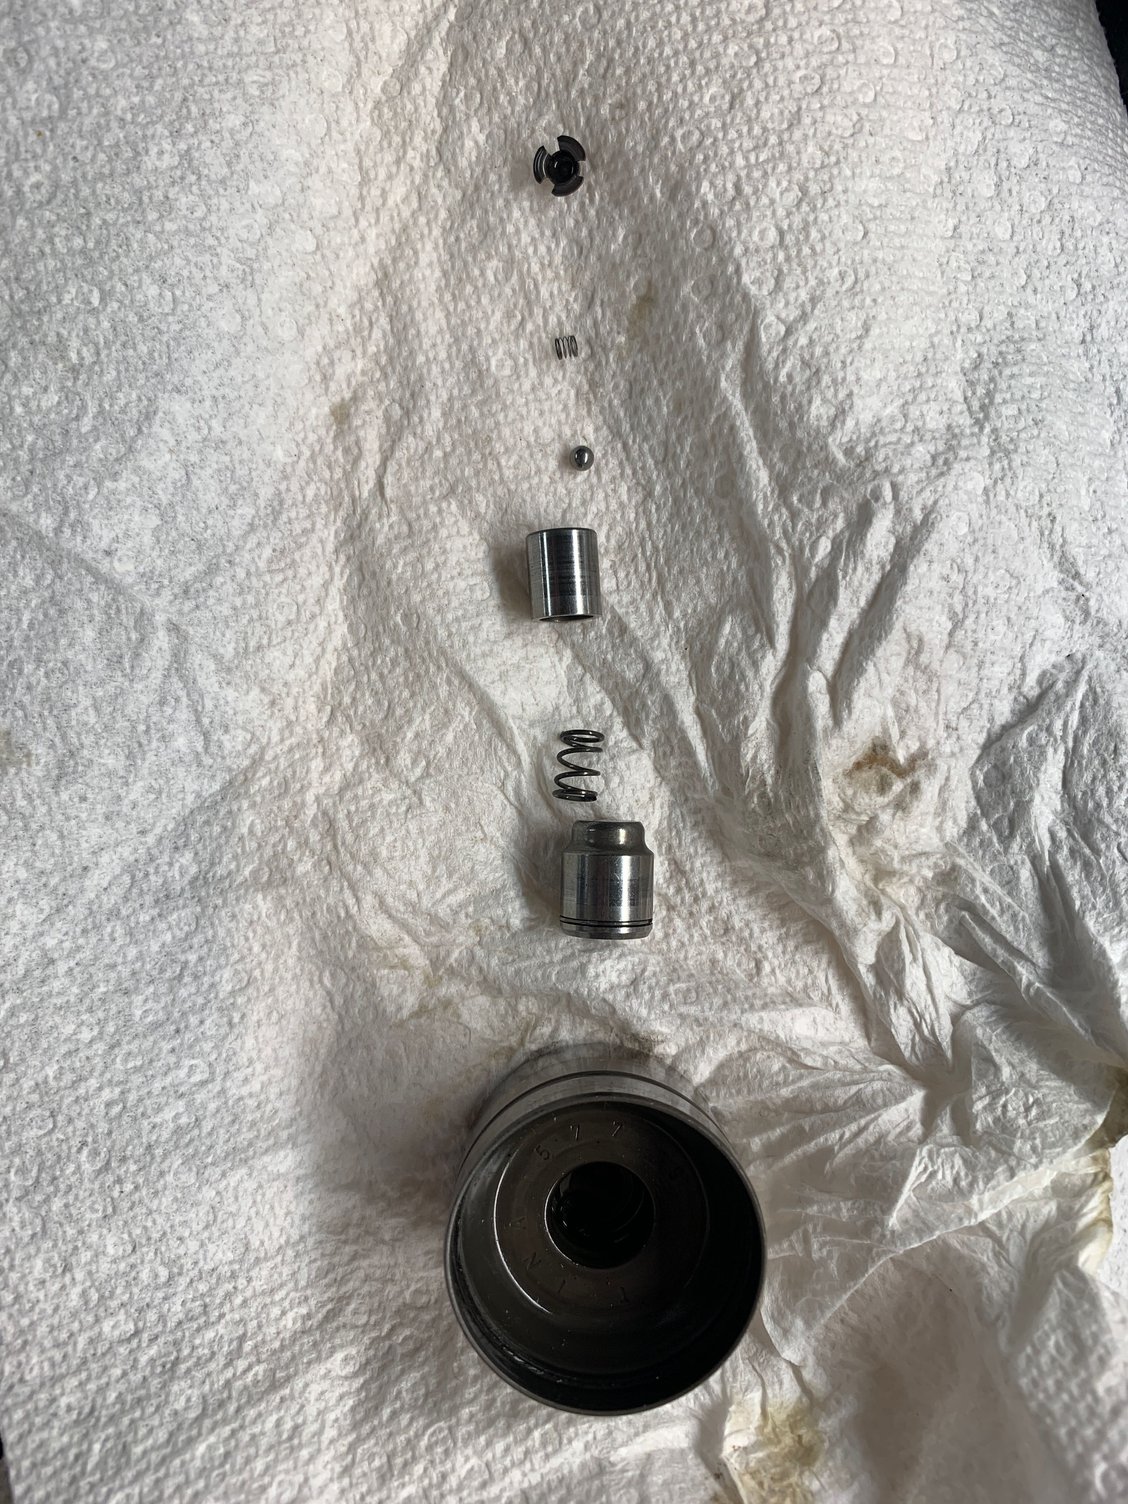
plunger removed and disassembled
retainer, spring, check ball, 2 piece plunger assembly and spring, then lifter body.
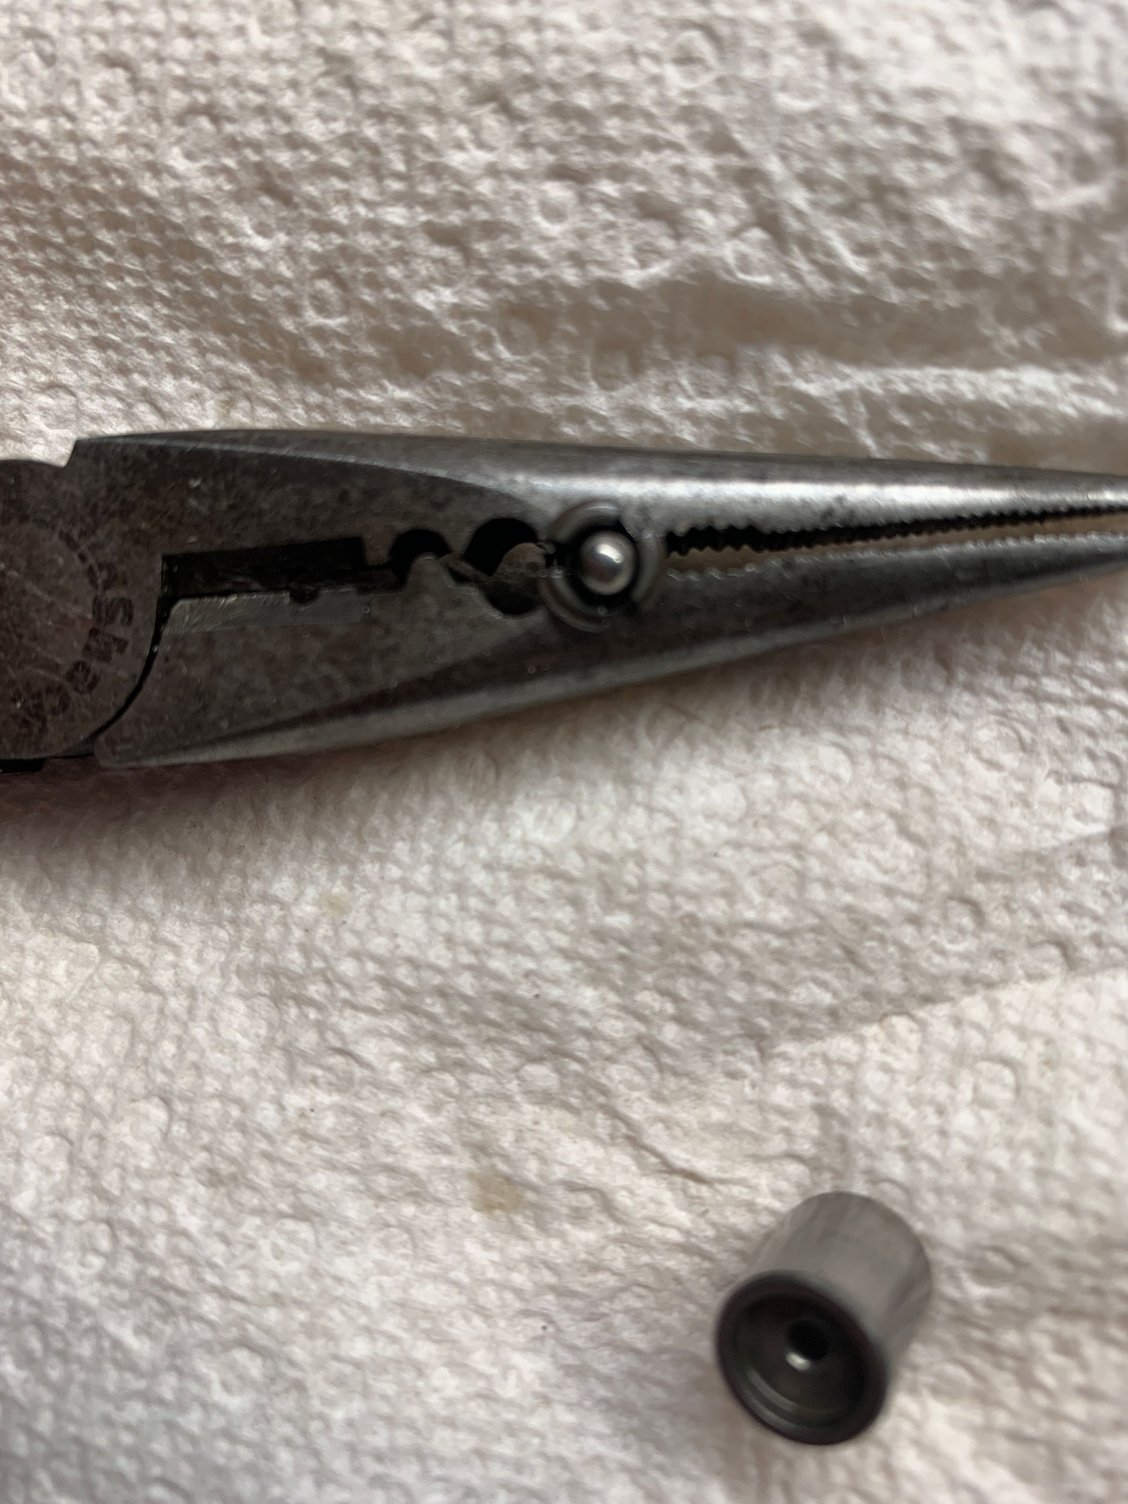
the hole in my old skool pliers held the retainer cap with spring and ball perfectly to help with reassembly.
Lifters lined up in order. One wipe and the Sharpie markings came off so make sure to do one at a time so you know the order. Here are drivers side, numbers 2-6, all soaked in oil/coolant before disassembly.
This was a pretty messy operation with all of the old oil mix draining out. A necessary step though as I didn't want any contaminated oil circulating through the engine for break in. Now I need to sort out if/how the intake lifters are rebuildable. Can anybody chime in?
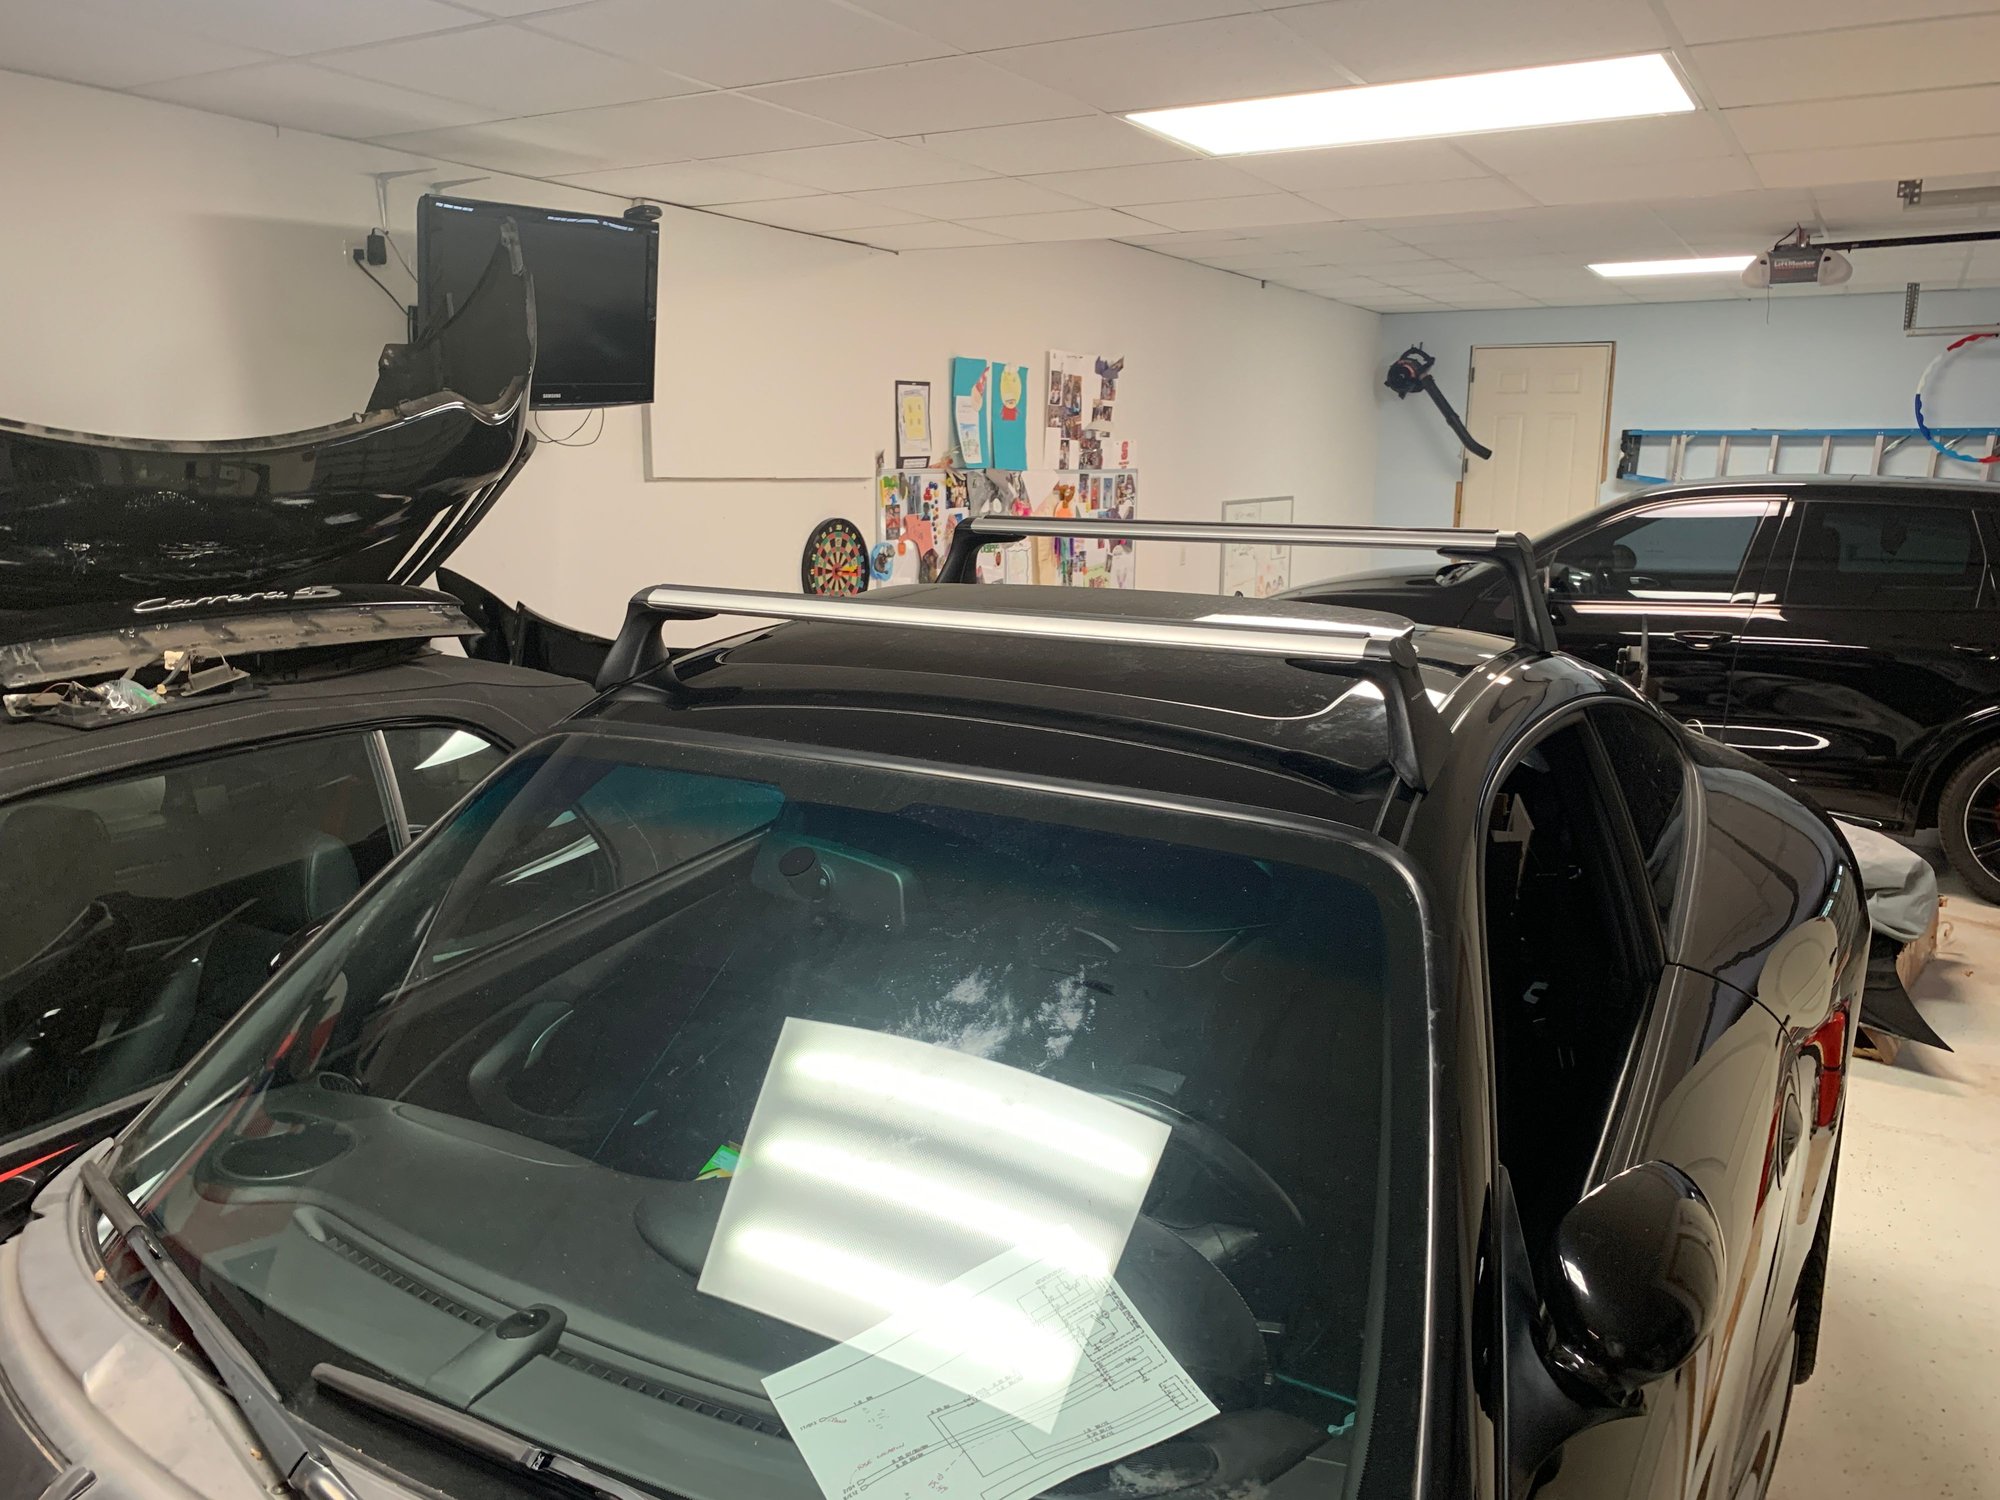
Slight change of pace this weekend. New Mahle valve cover gaskets (with slight film of gasket maker), Beru ignition coils and Bosch spark plugs in my Cayenne GTS.
I change the oil every 7,500-8,000 miles and use Ceratec oil additive and LiquiMoly 5W-40 with each oil change, have done so for the last 80,000 miles.
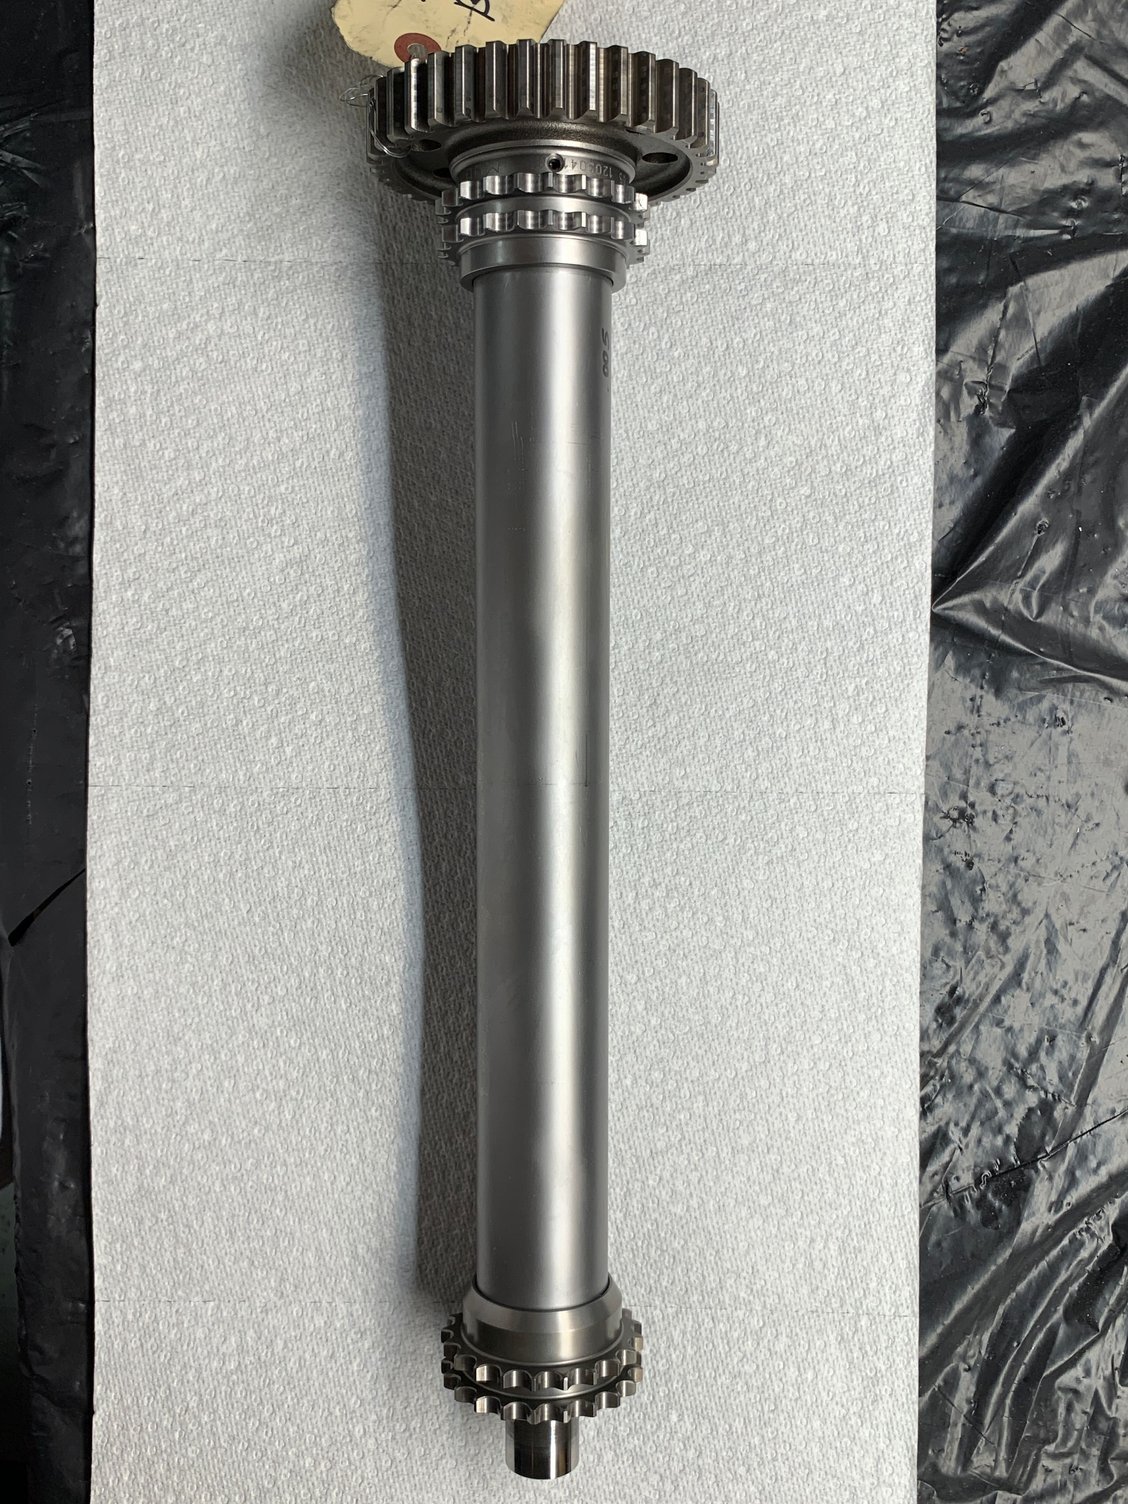
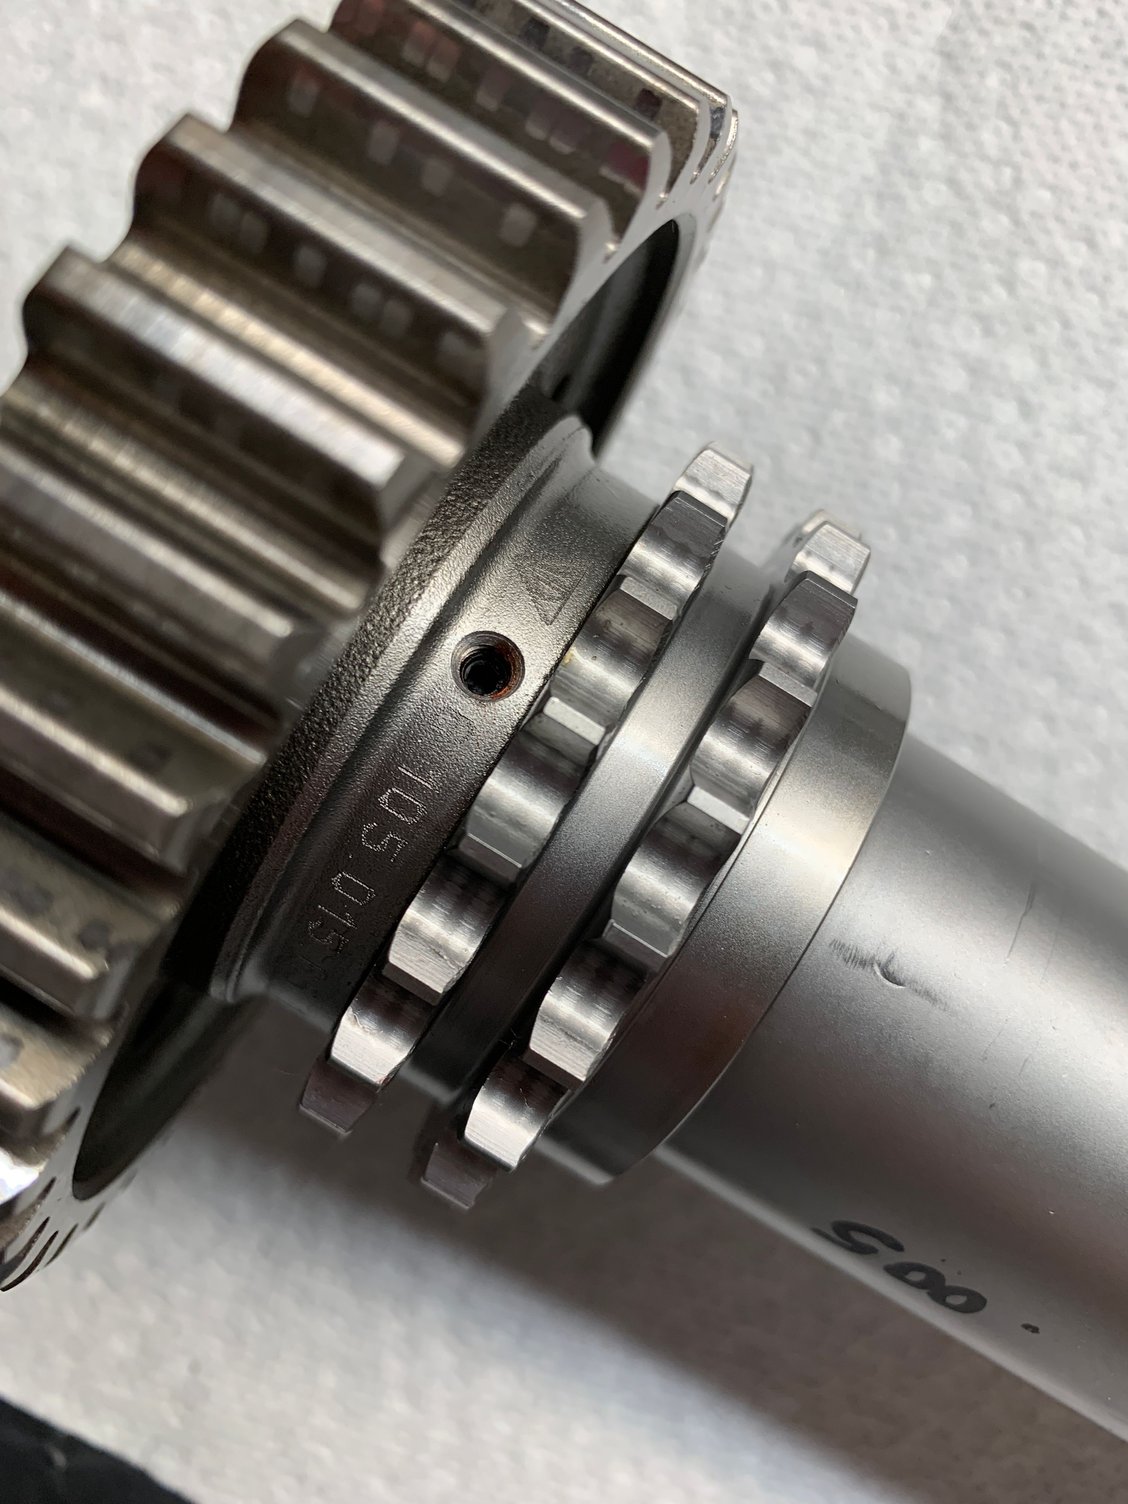
Re-pinned Intermediate Shaft arriving from LN Engineering tomorrow, so the M96 4.0 build can continue.
Also going to pick up another 996.1 C2 on Sunday for a close friend. Almost as excited about that one as I am with mine! Going to be a fun summer....
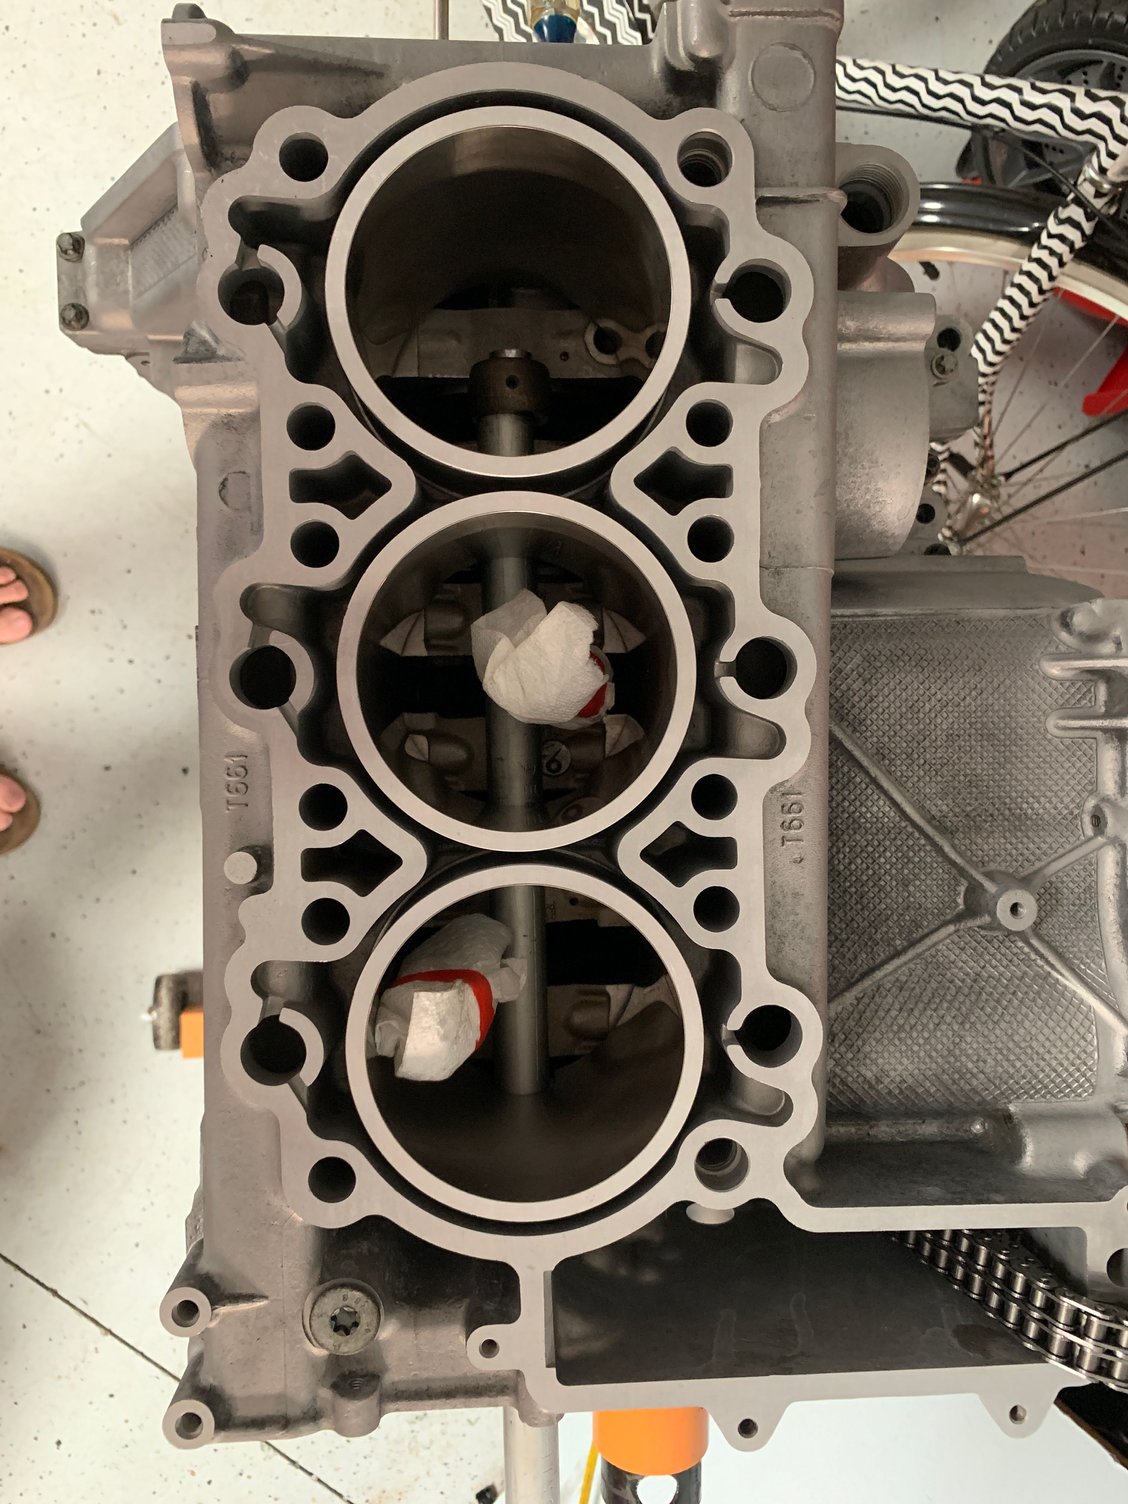
Pistons 1-3 are easy to install, come to find out pistons 4-6 are easy to do as well. I don't want to say disappointingly easy but certainly anticlimactic. Since this is a one-off build, I decided to improvise rather than drop the silly money on the special tools for a one time use. For the spacers, I just double stacked two 1/2 drive sockets and used the old head bolts. For the wrist pin insertion and wrist pin lock tool, I used a piece of scrap electrical conduit and a 14mm socket on a long extension. I have thirty feet of aluminum oxide cloth roll so made sure the edges were deburred, level and smooth. An old e30 axle flange was the hammer......it fit in the hand great and has some nice mass to it to ensure the locks seated properly. Is it jackleg? Yes! Did it work perfectly? HECK YES!
Quite a sense of accomplishment in that I improvised successfully and seated all three wrist pin locks the first time with homemade tools.
Double stacked sockets for spacers.
Heres the jackleg wrist pin and wrist pin lock insertion tool that I made out of electrical conduit and a 14mm socket.
Above shot for reference, you can see the socket aligns everything perfectly.
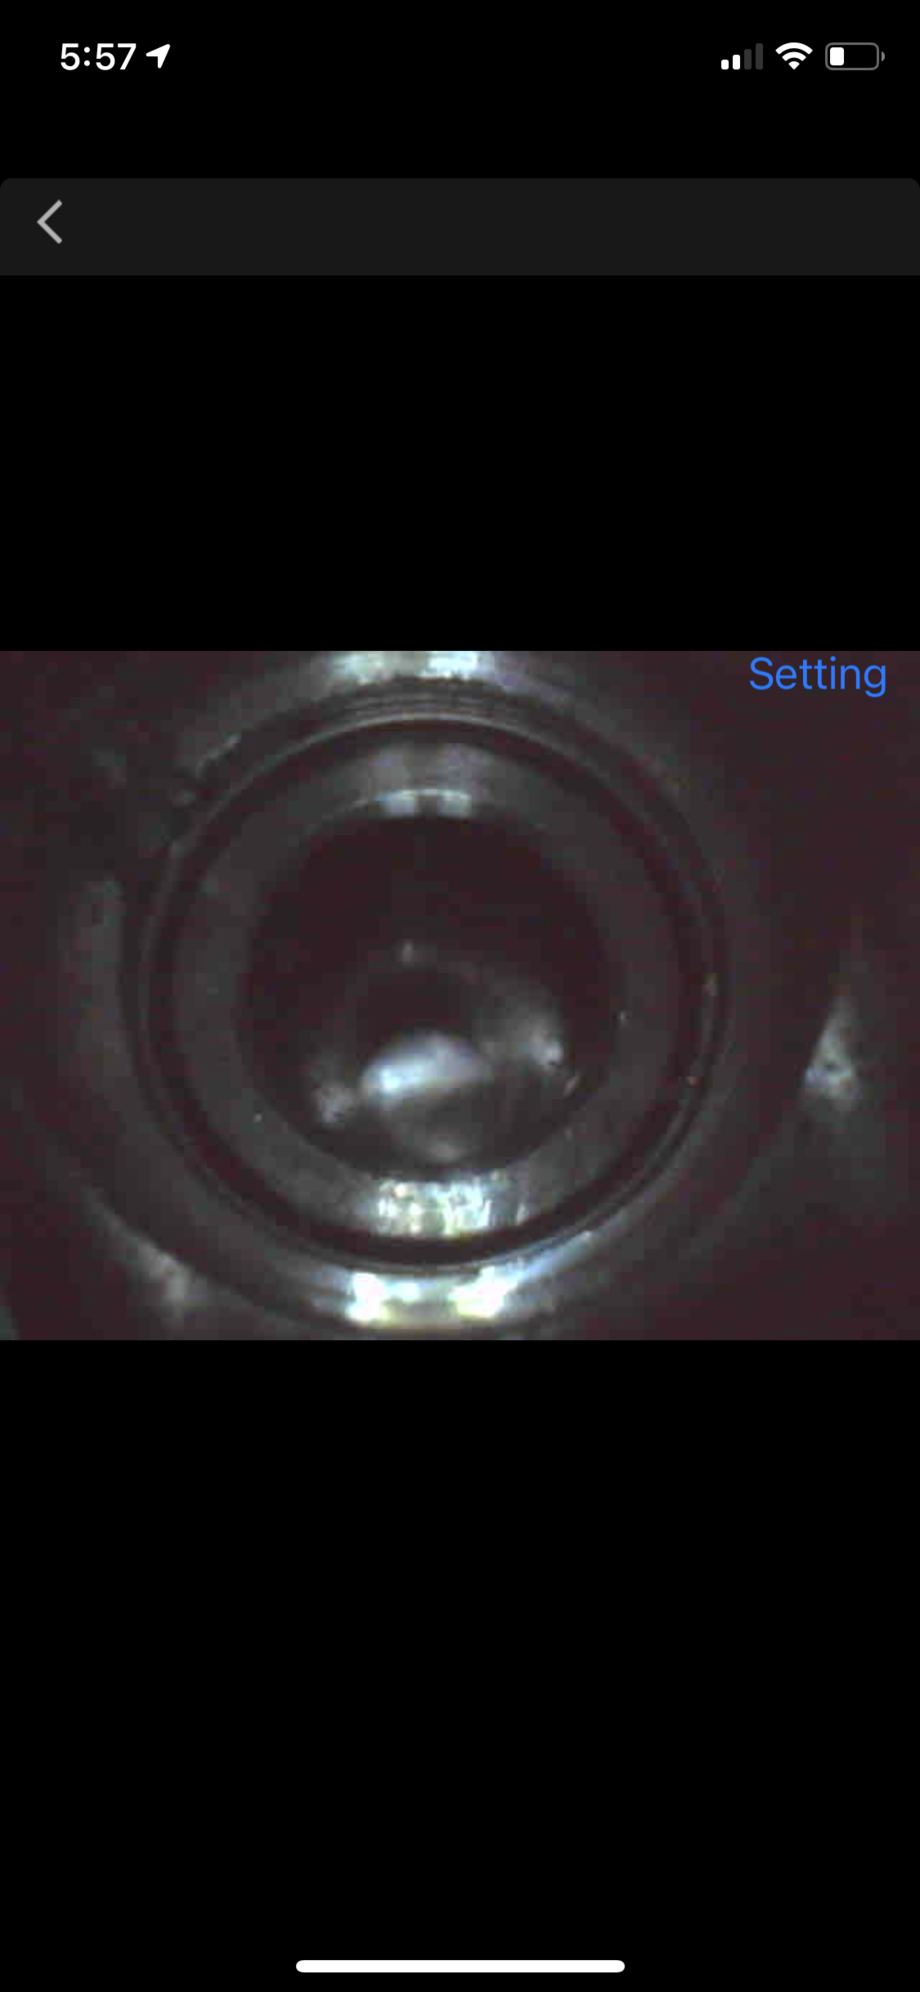
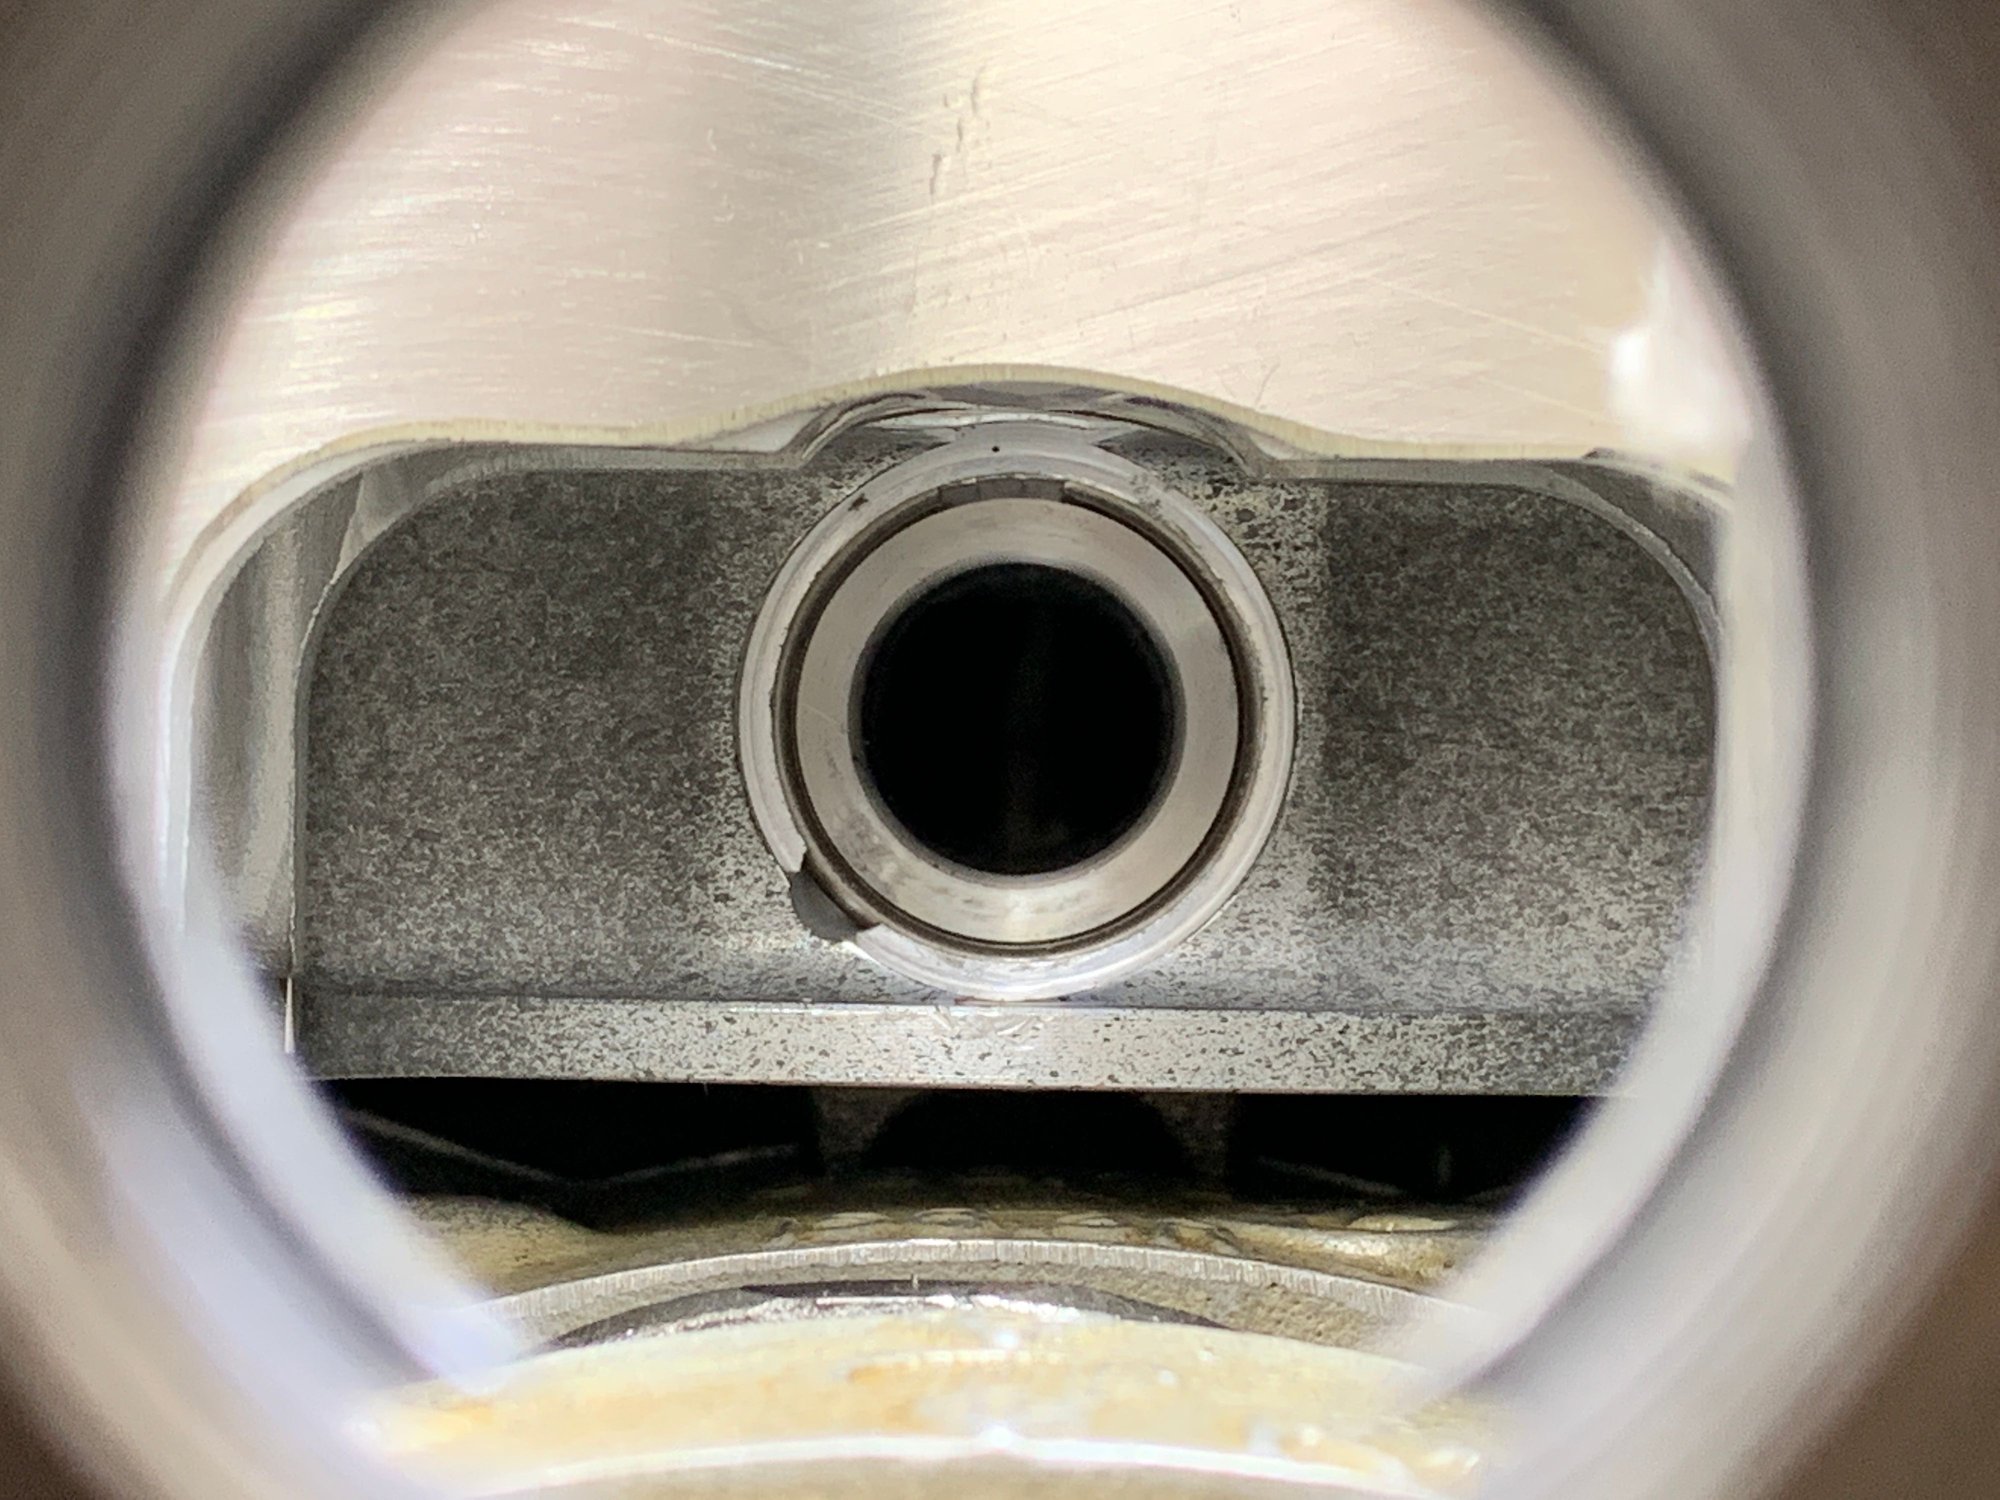
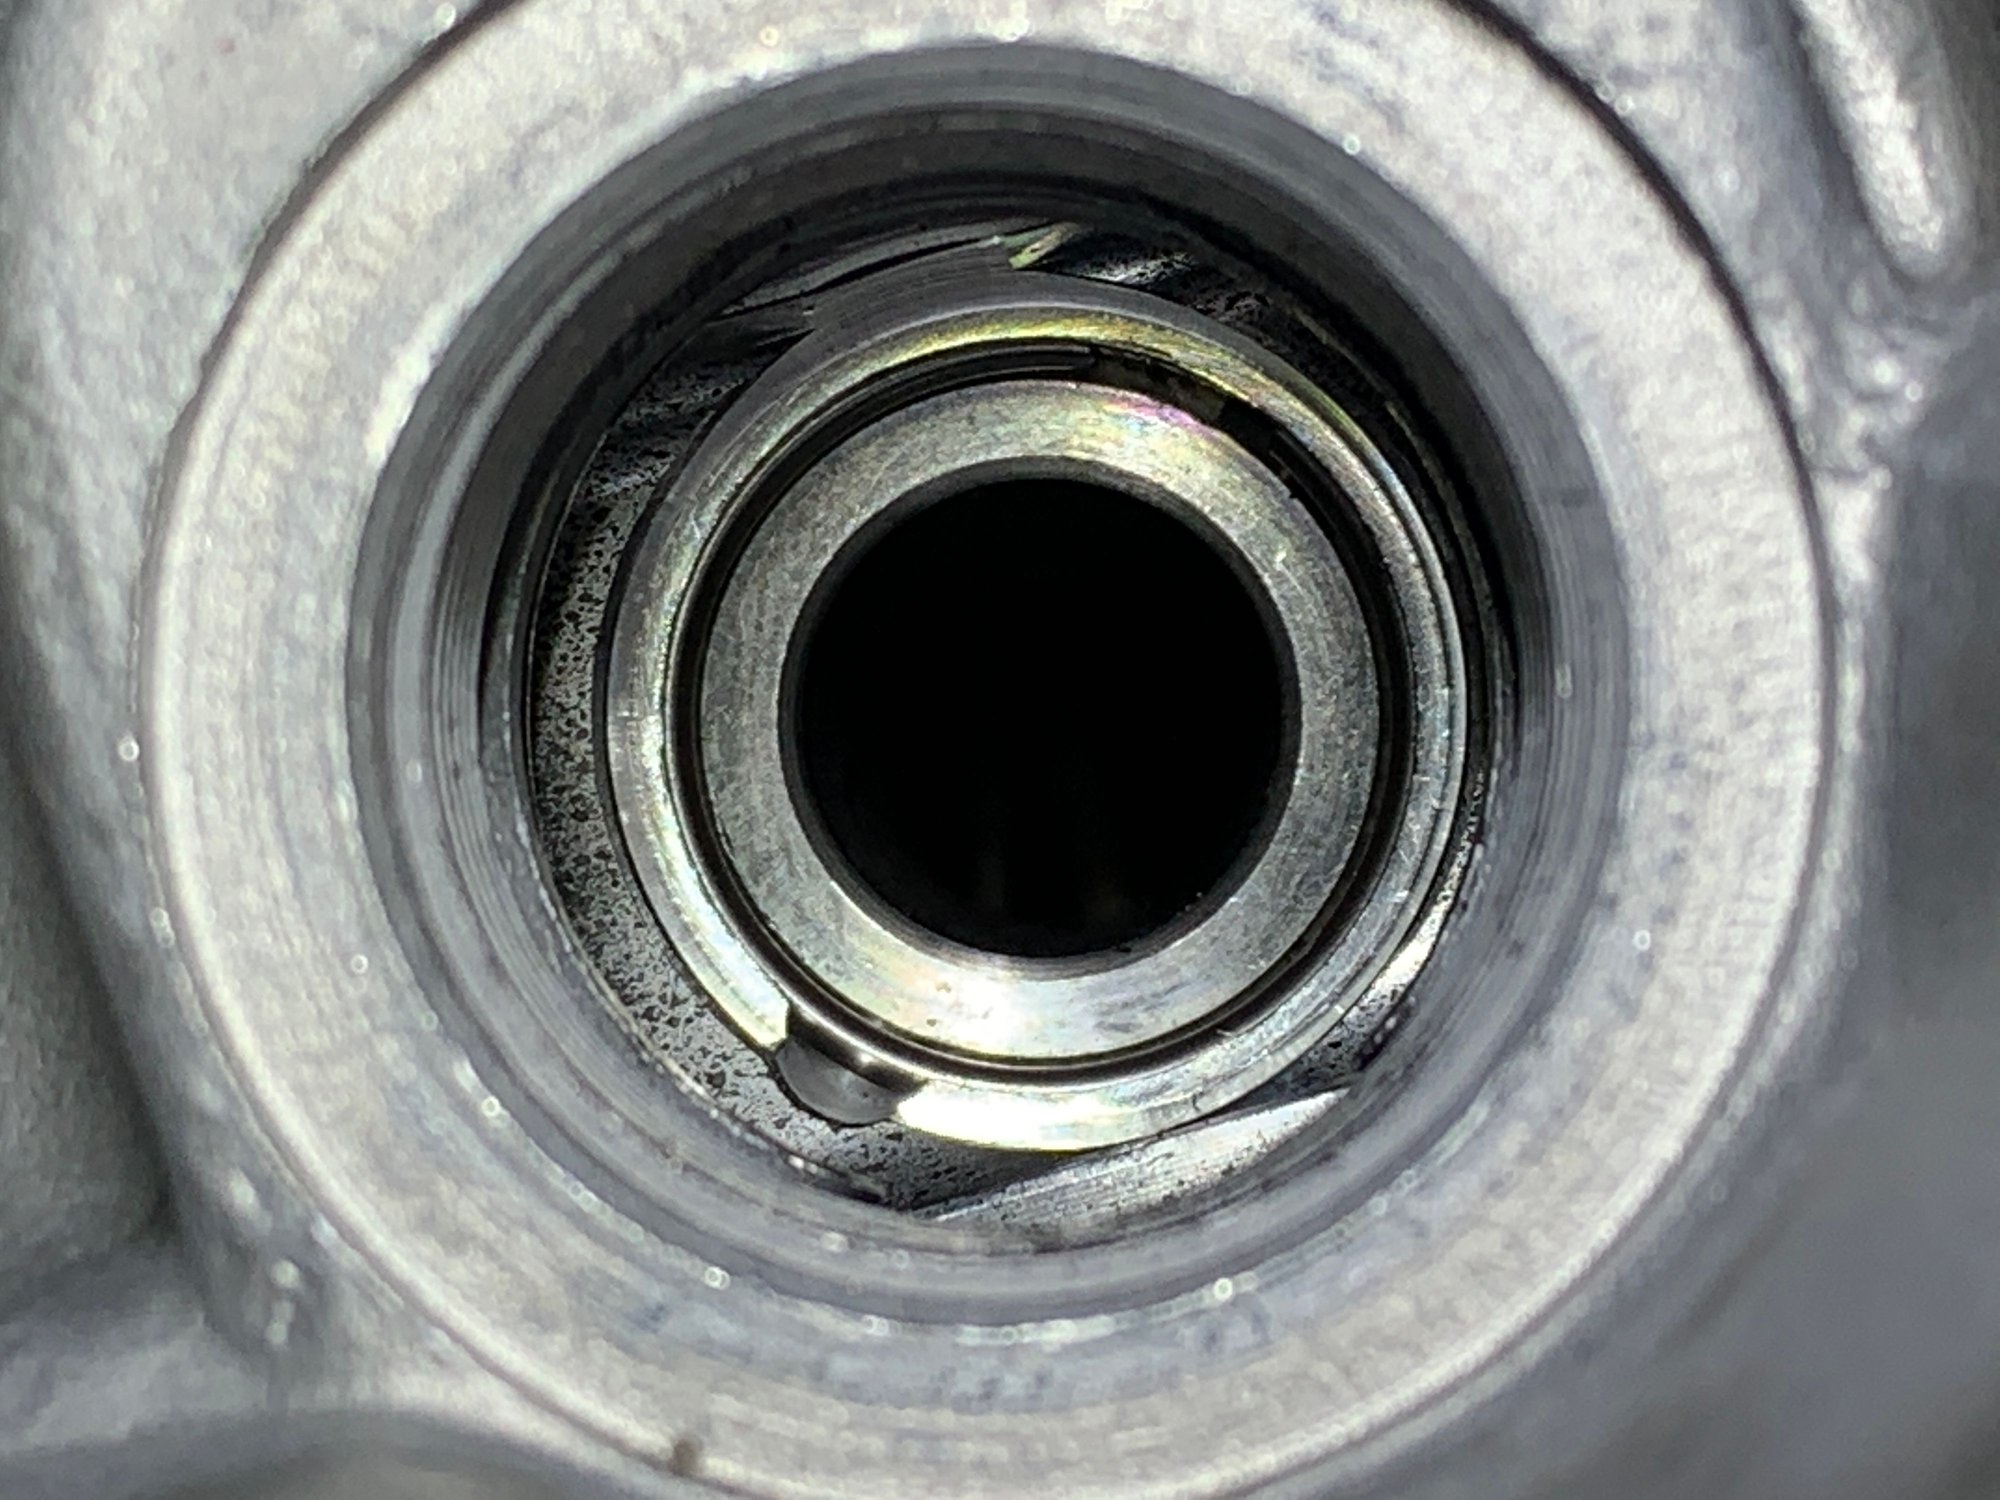
Borescope pic of first wrist pin seated...on the first try. Satisfying!! Although the iPhone picture is 500x clearer as the borescope resolution was on its lowest setting. oops
Better picture of the middle piston with the wrist pun lock in place. Black marks are not scratches but assembly lube off my glove
Final wrist pin lock inserted, ready for the cover to go on.
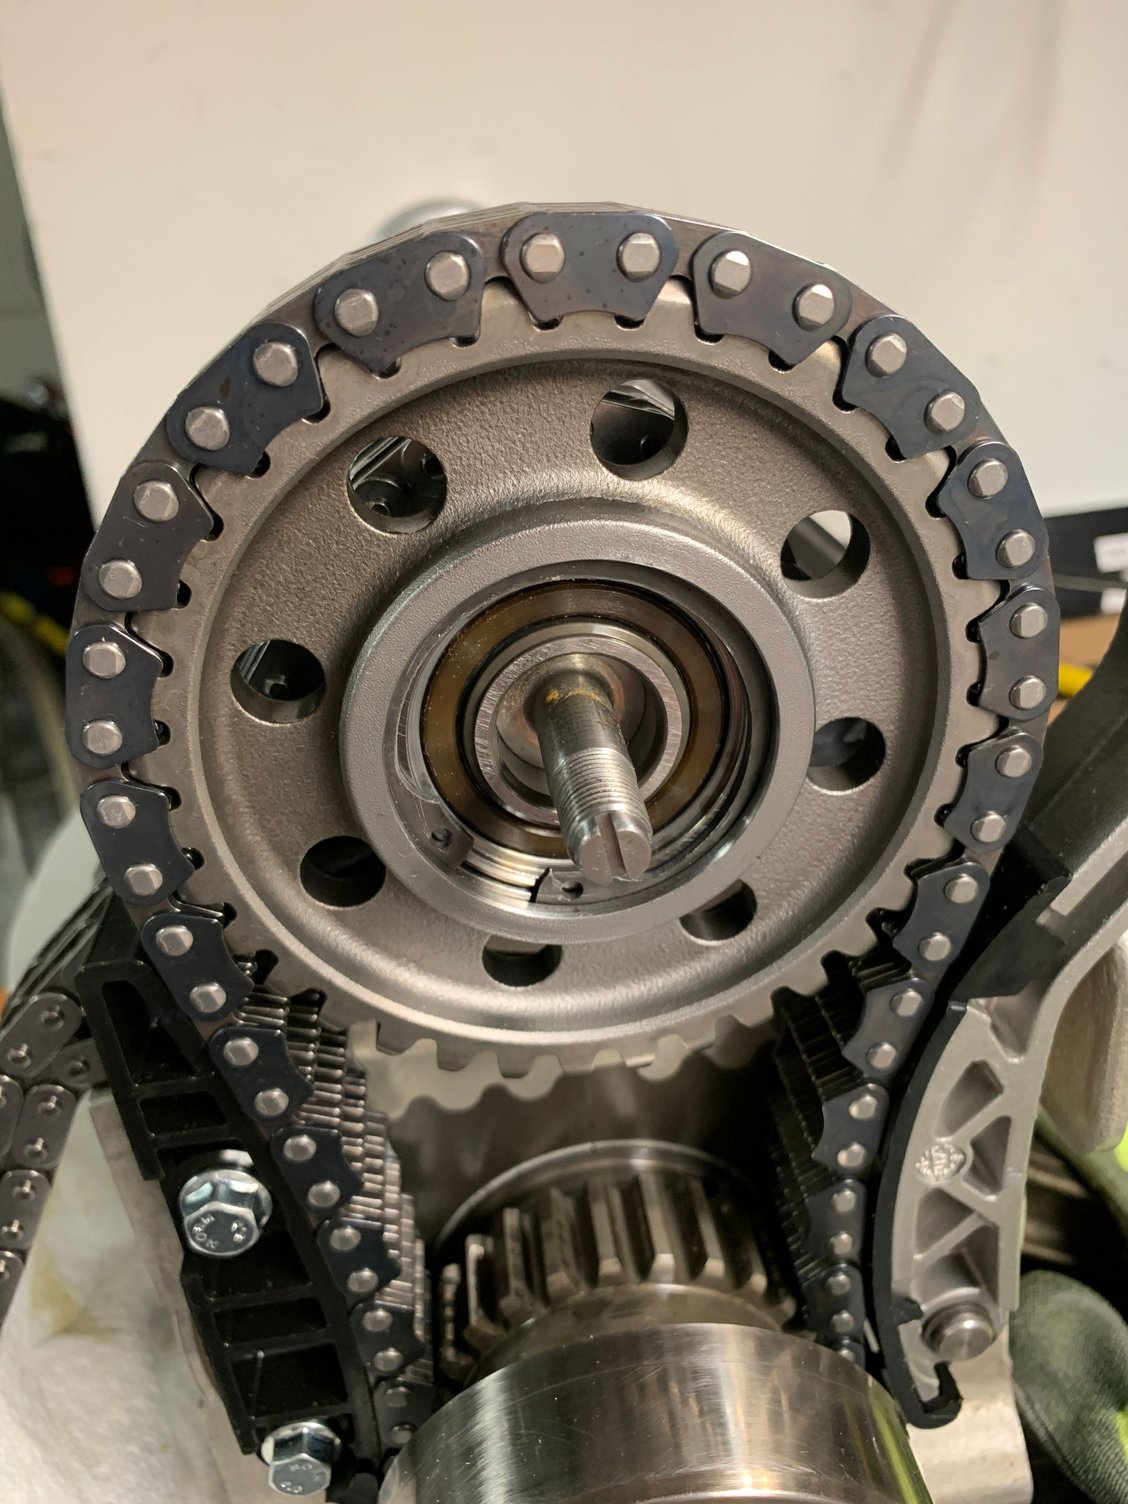
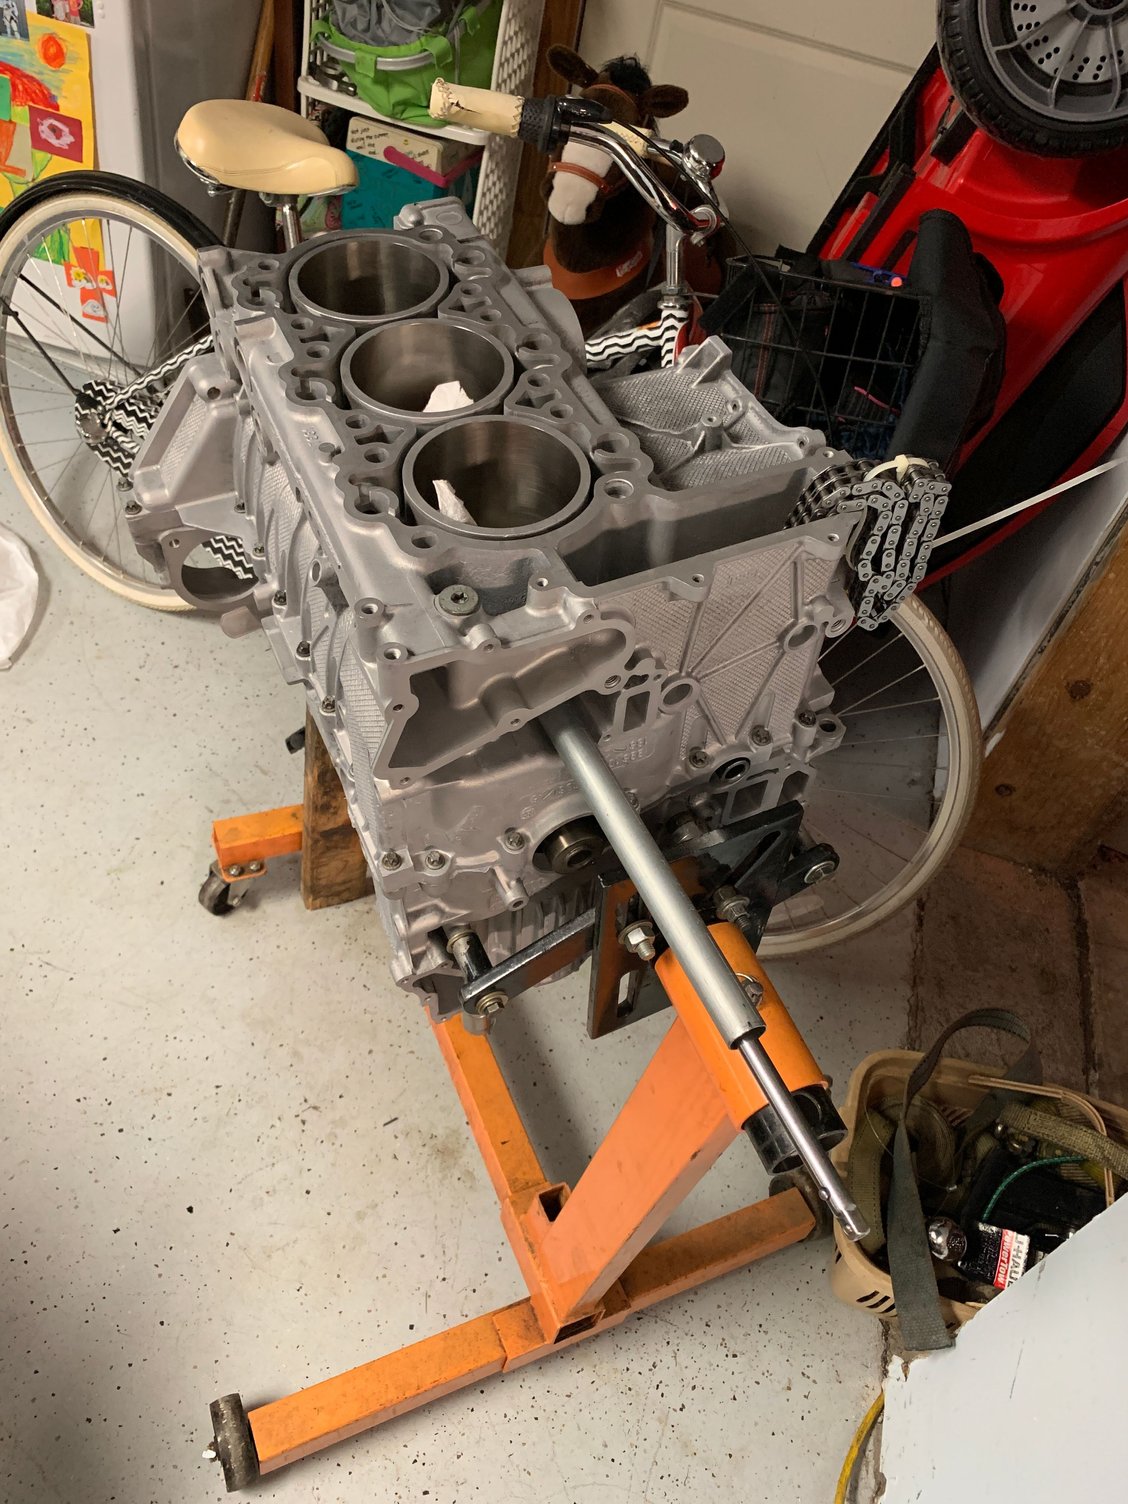
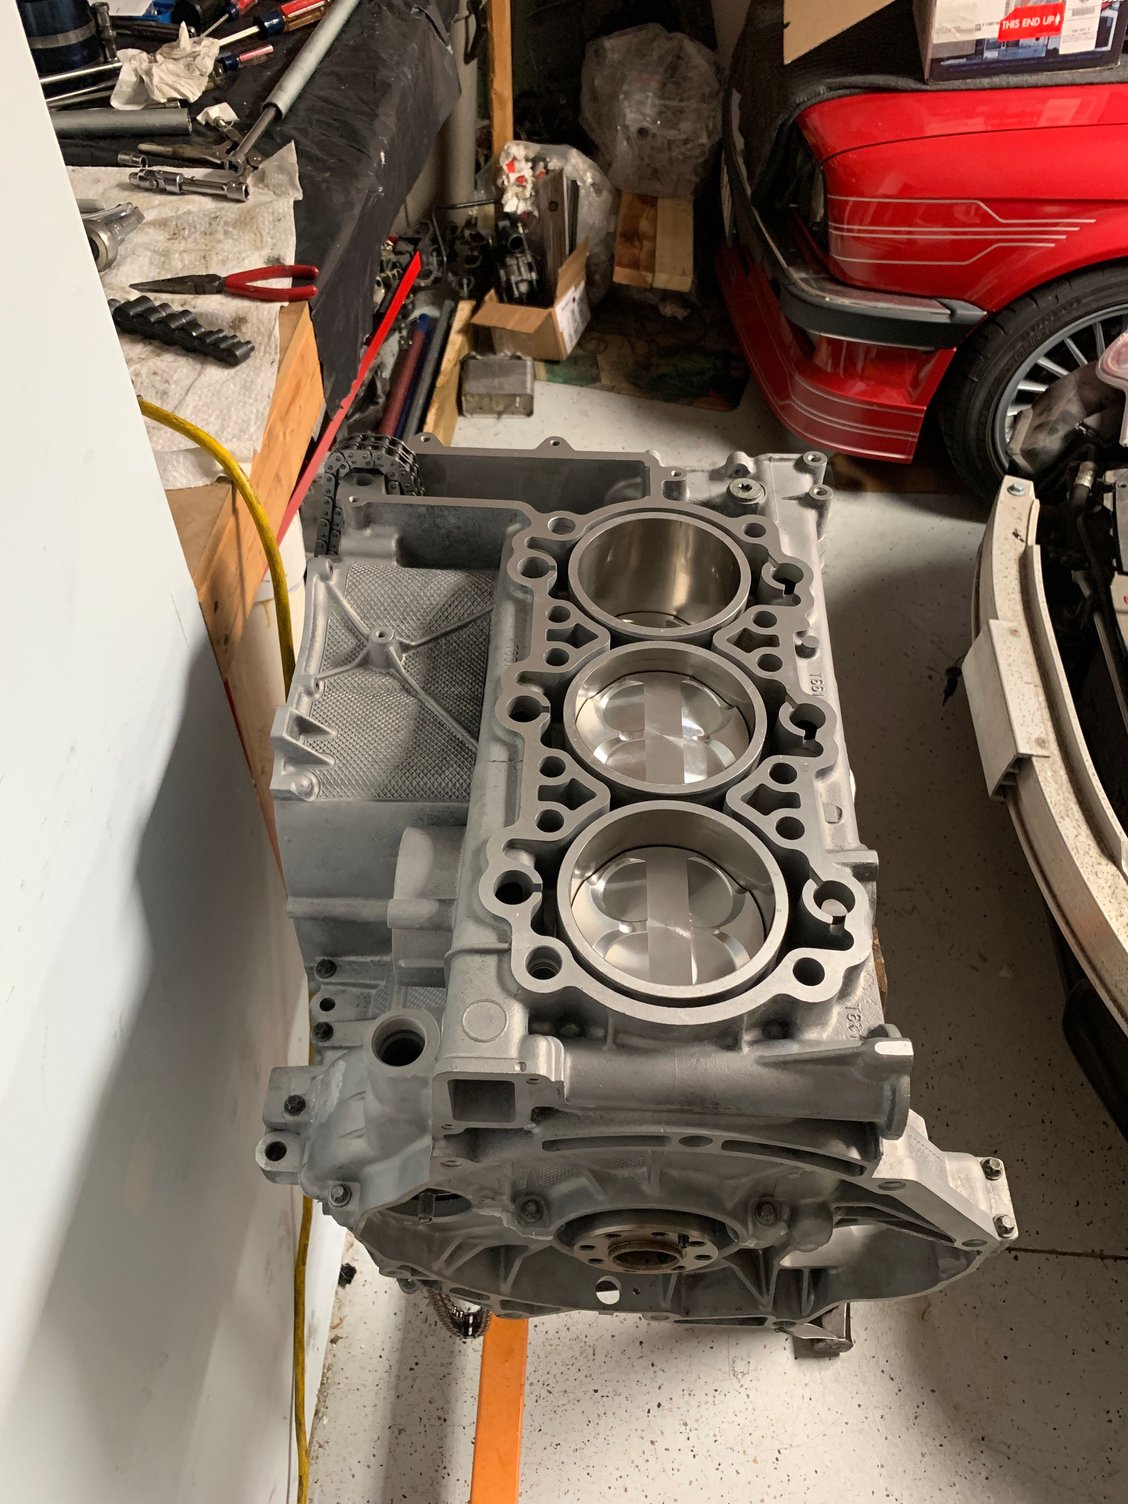
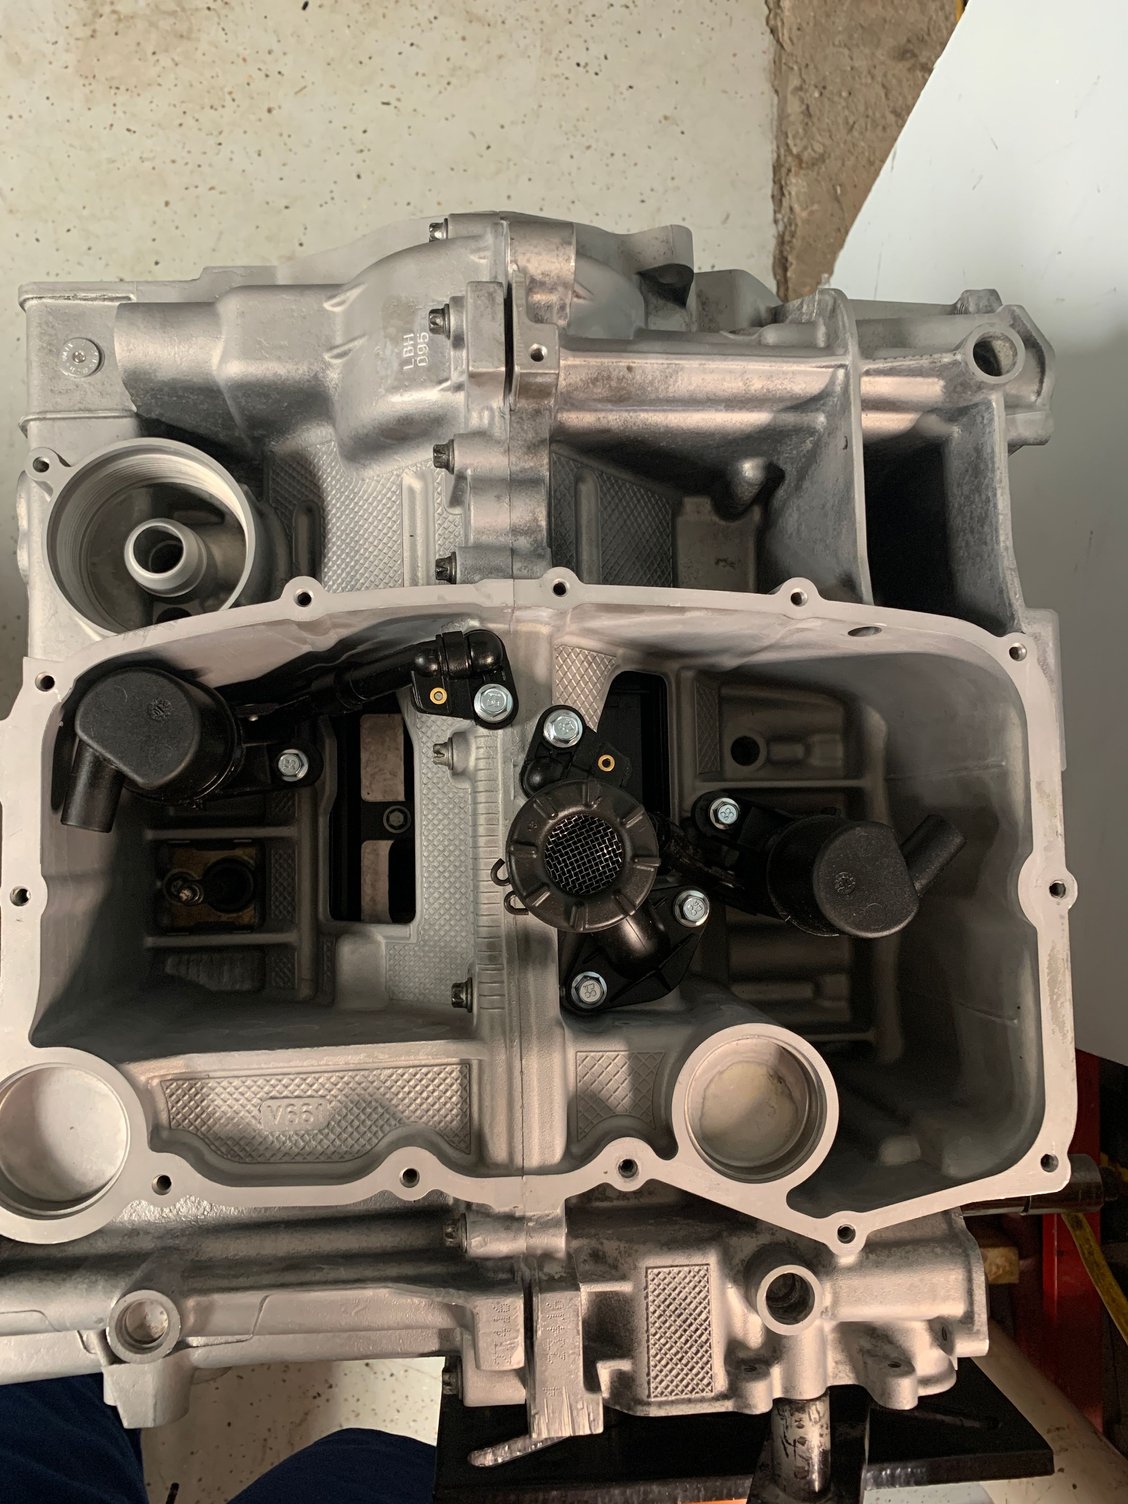
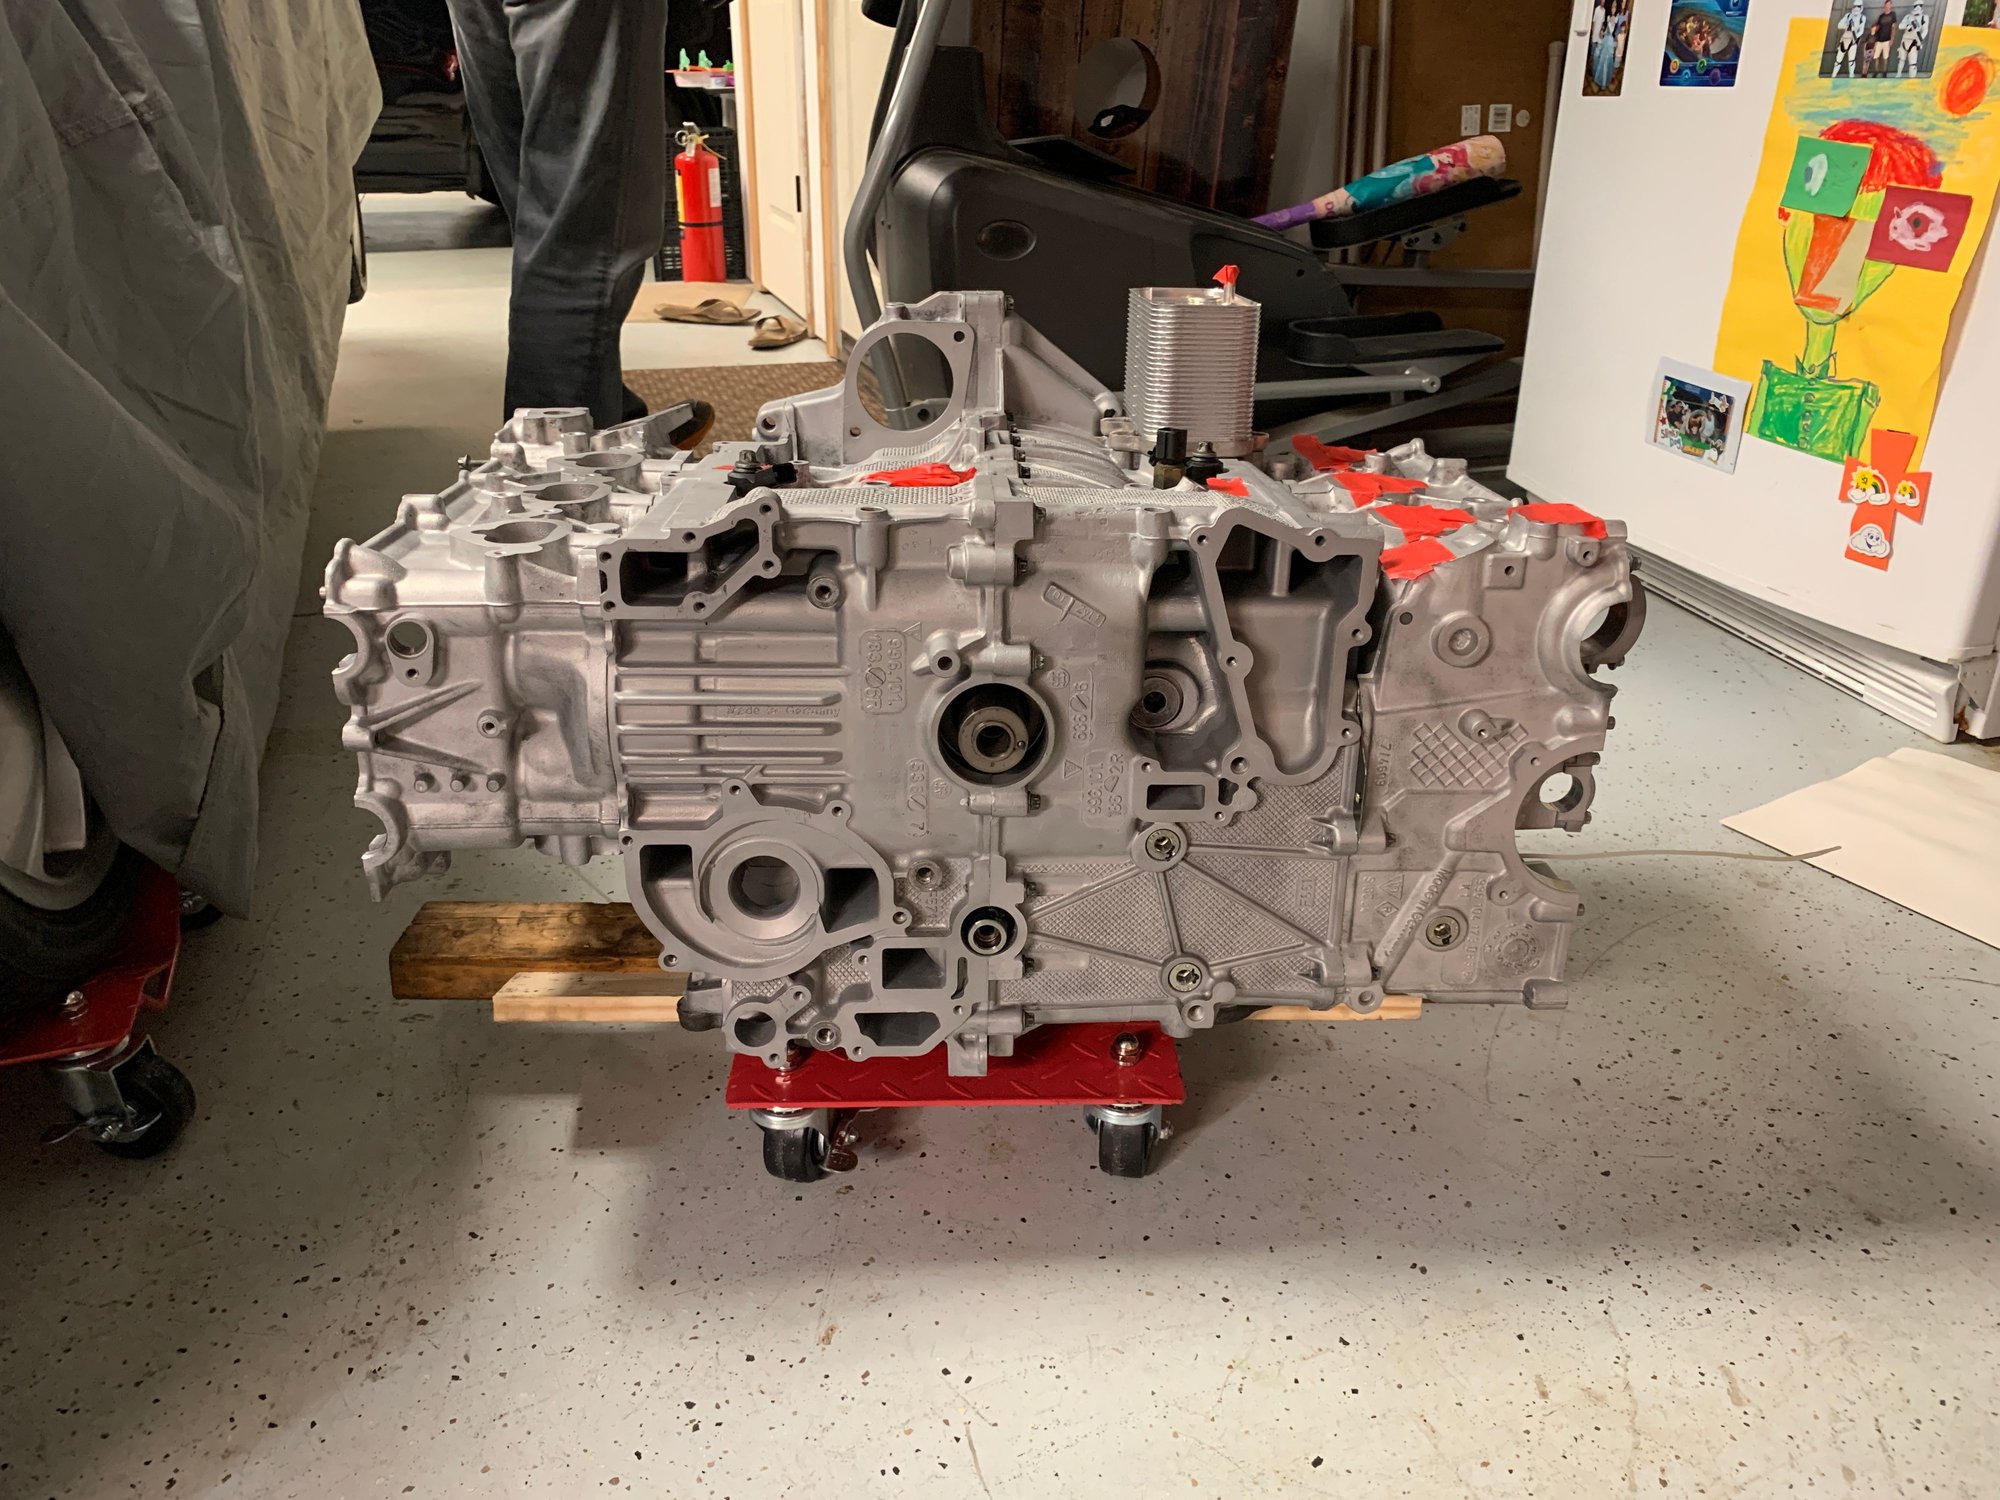
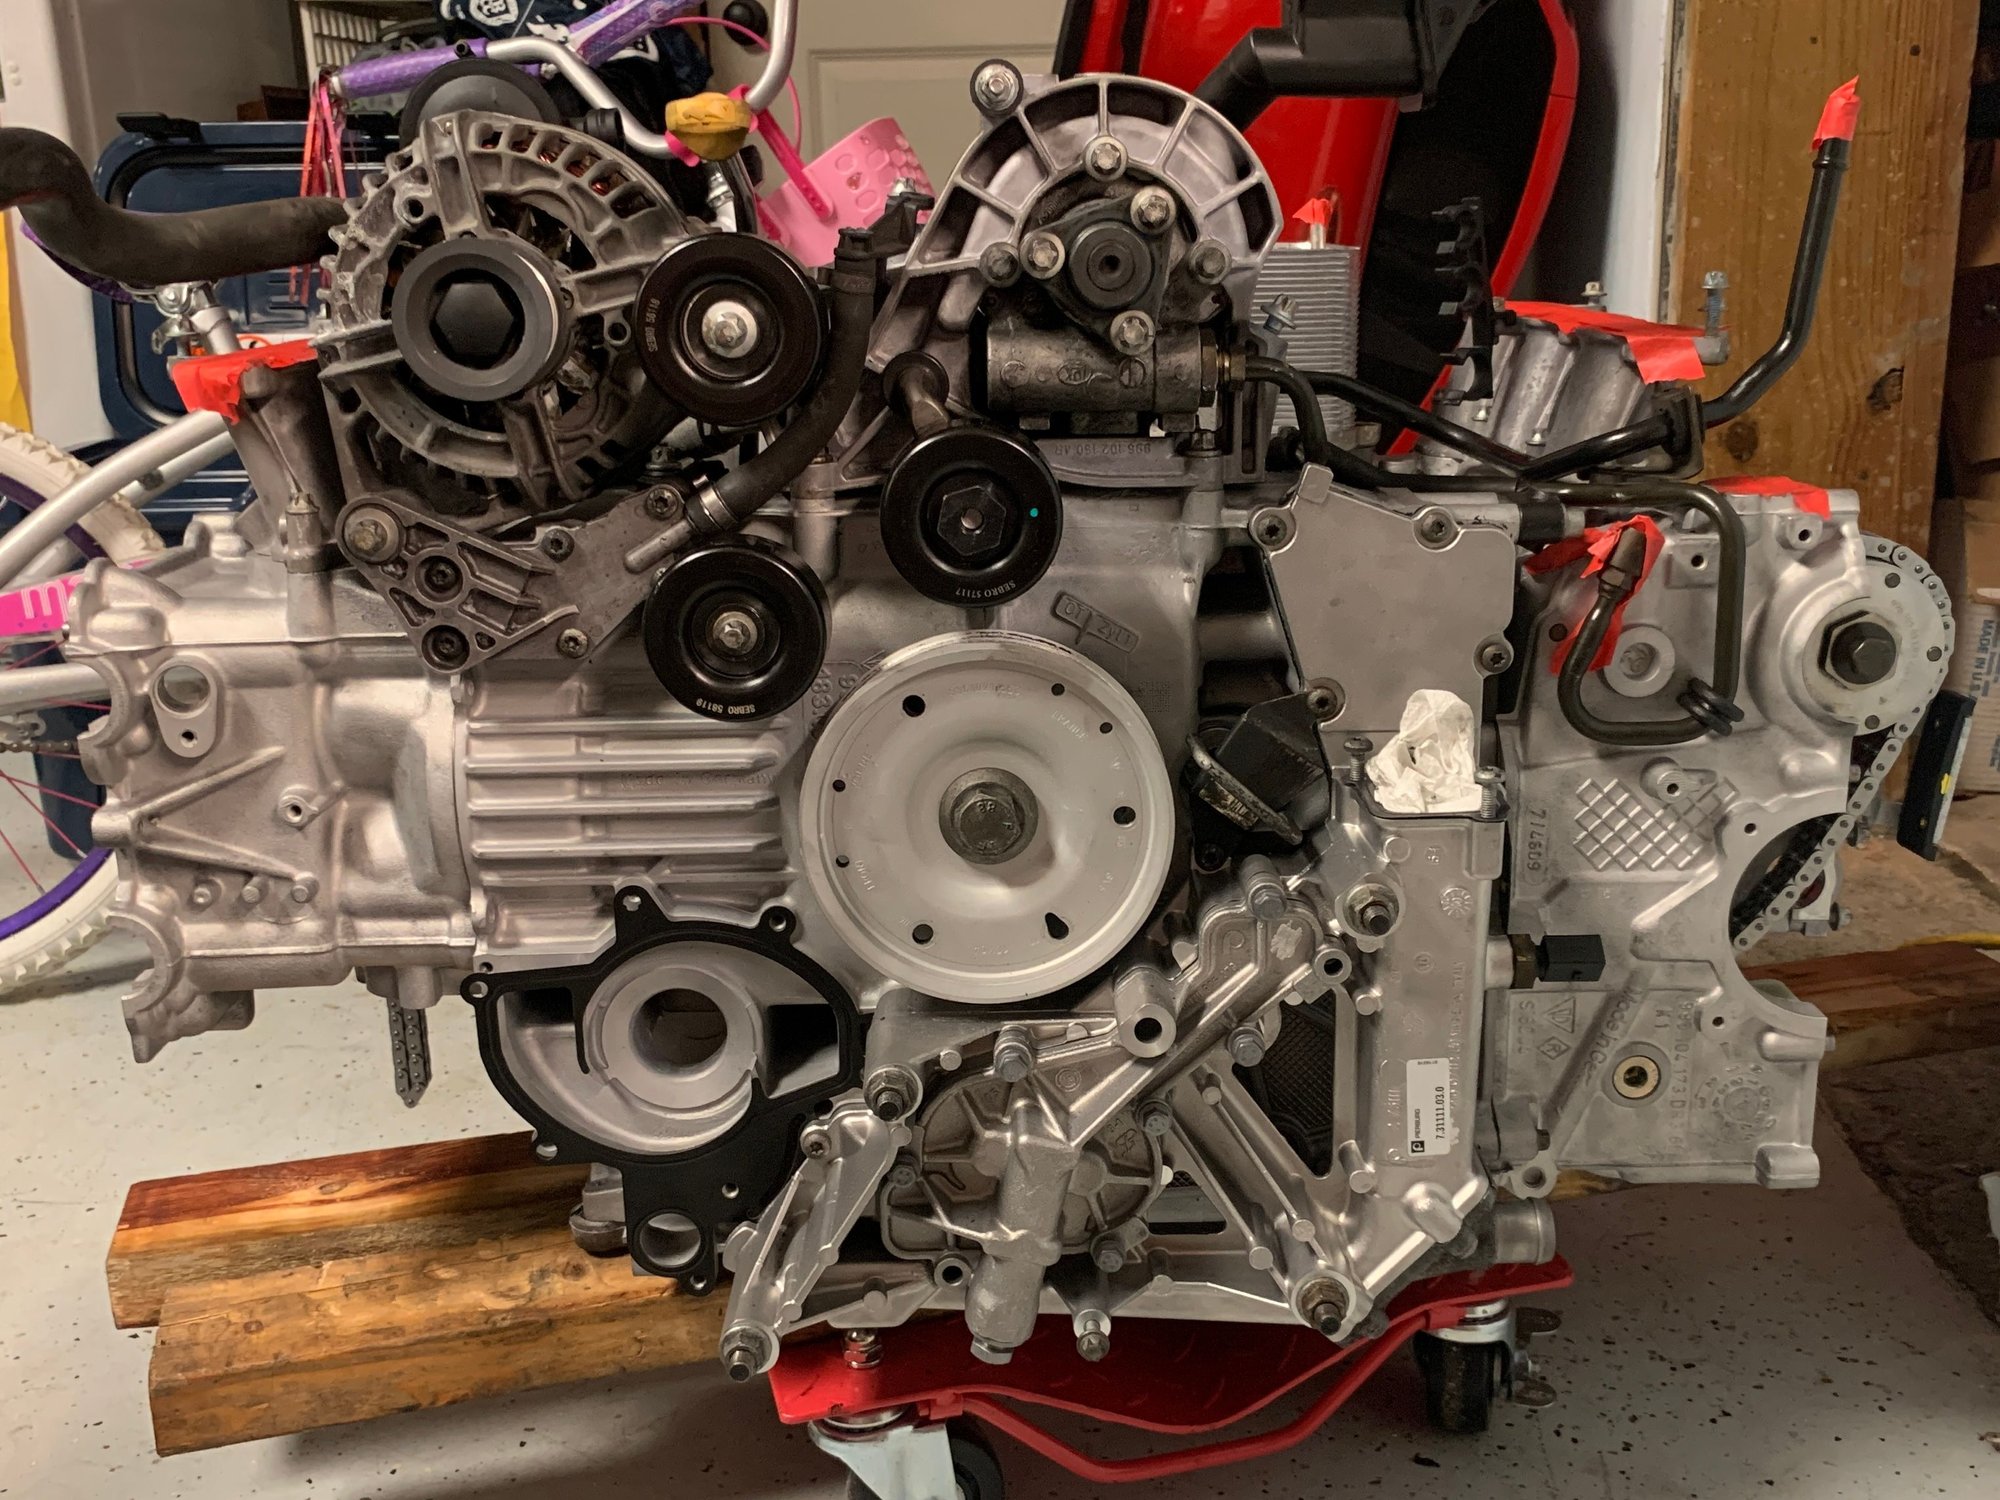
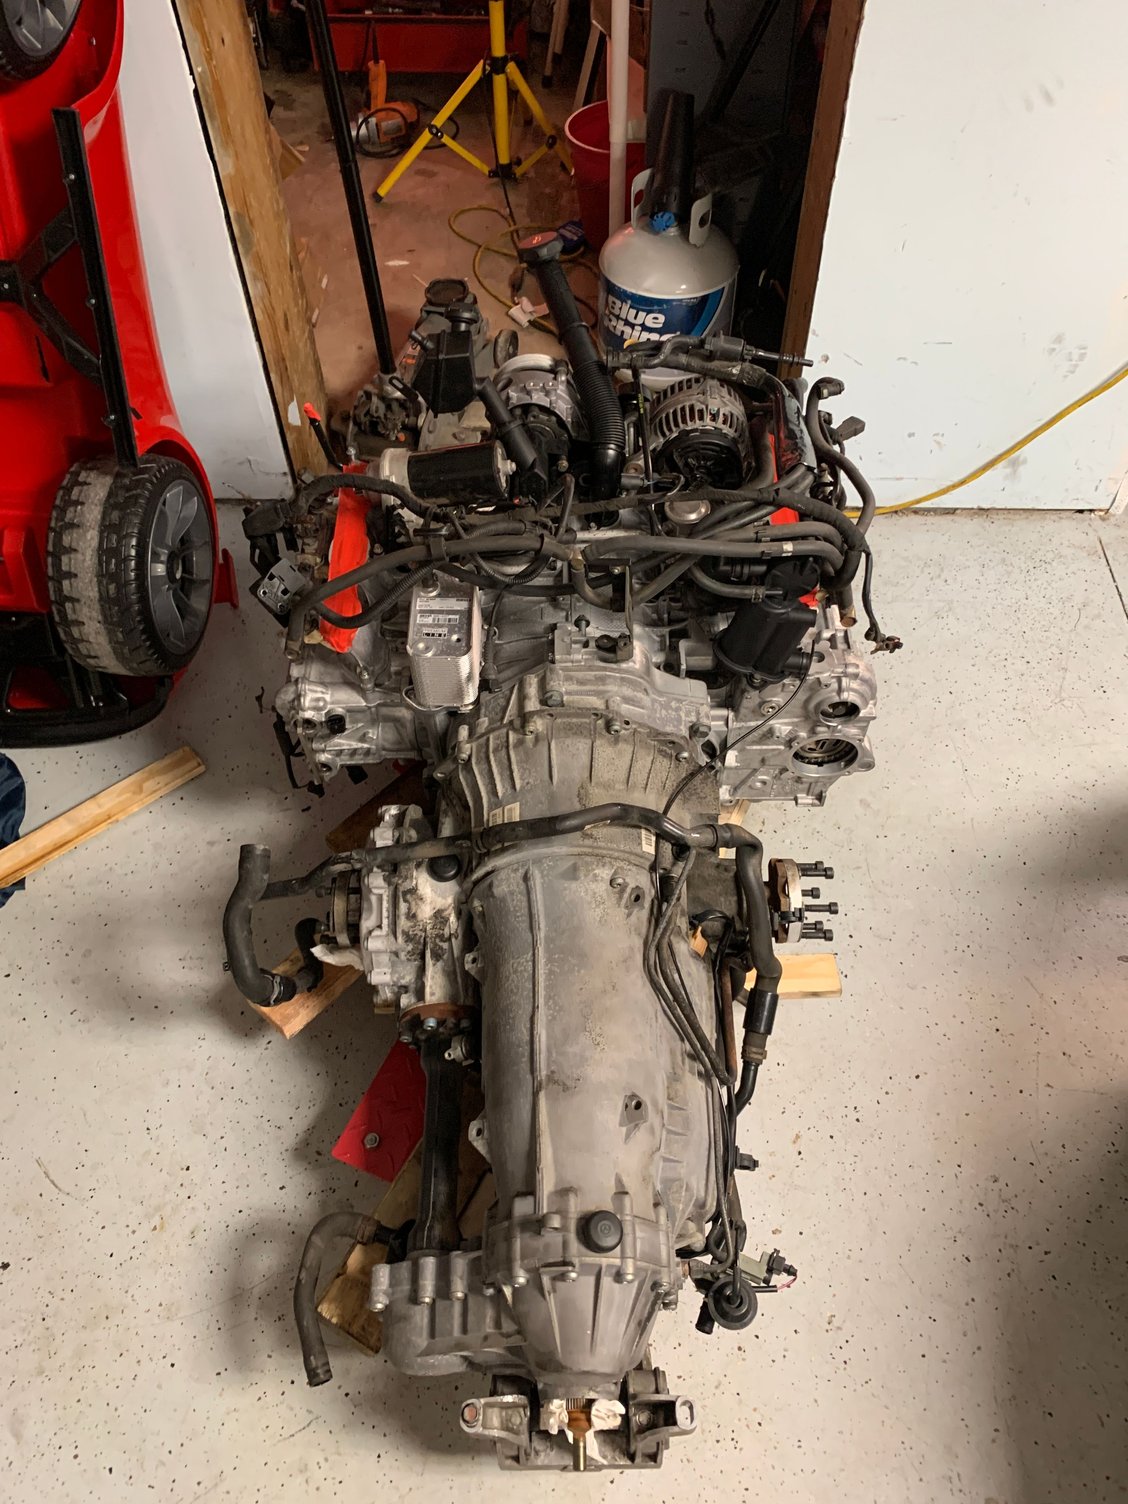
Crankcase halves are now a whole.
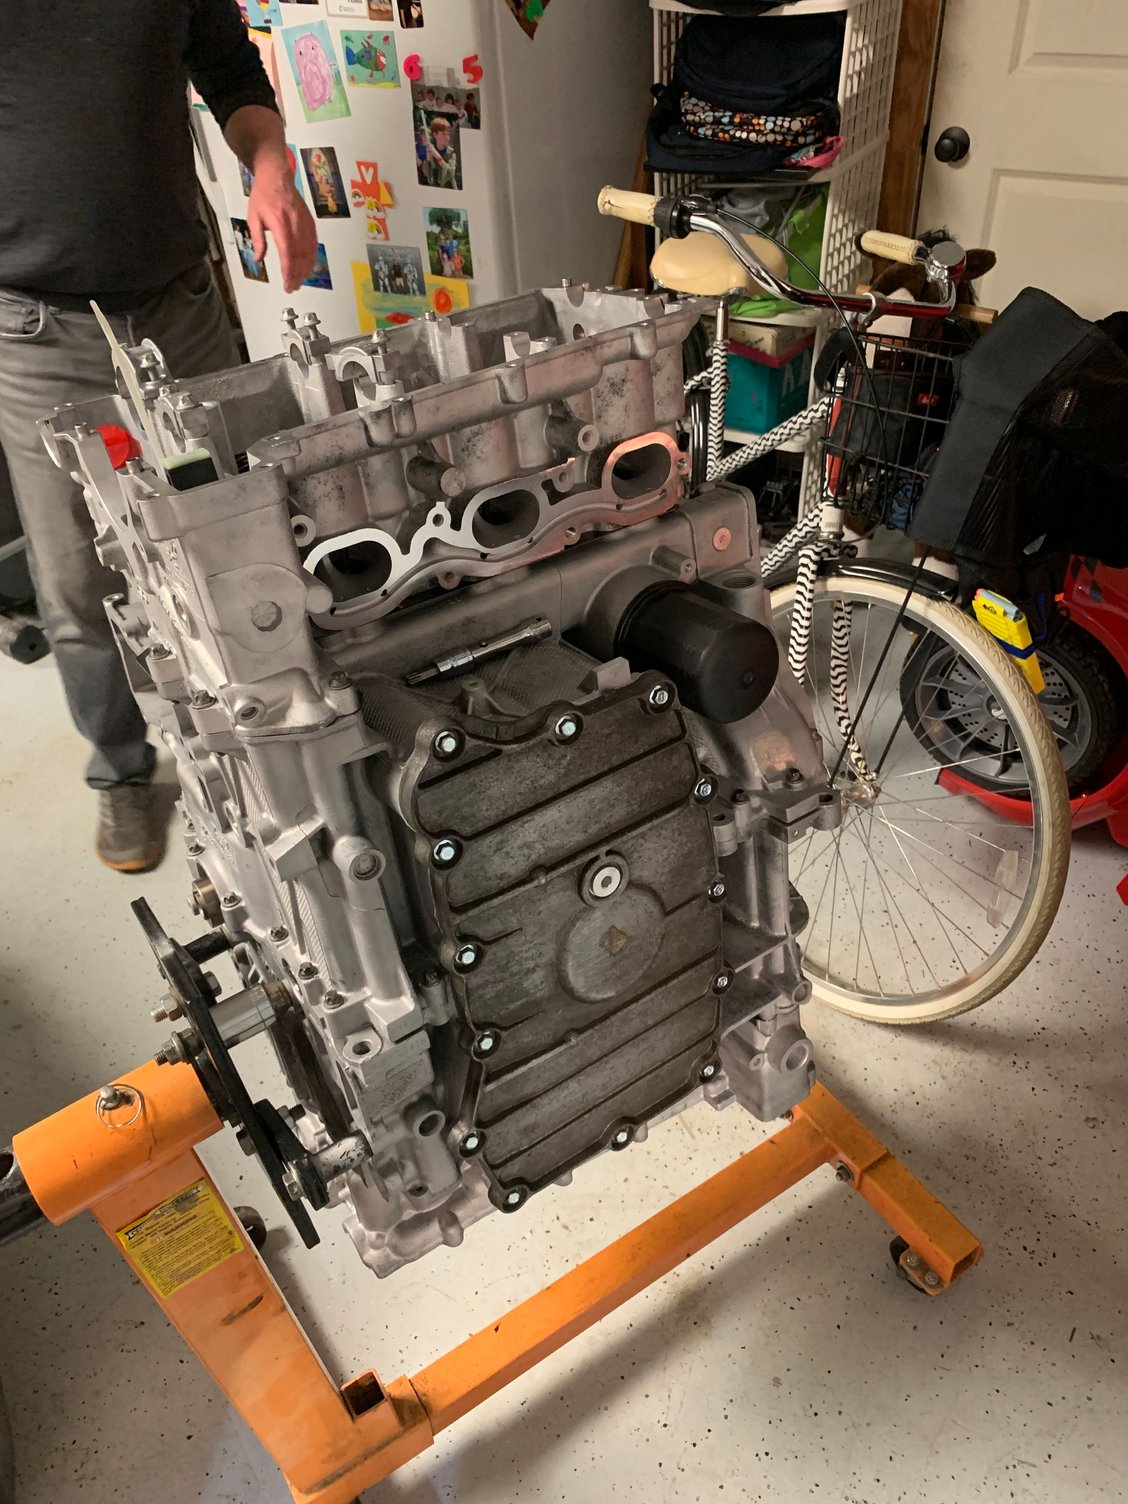
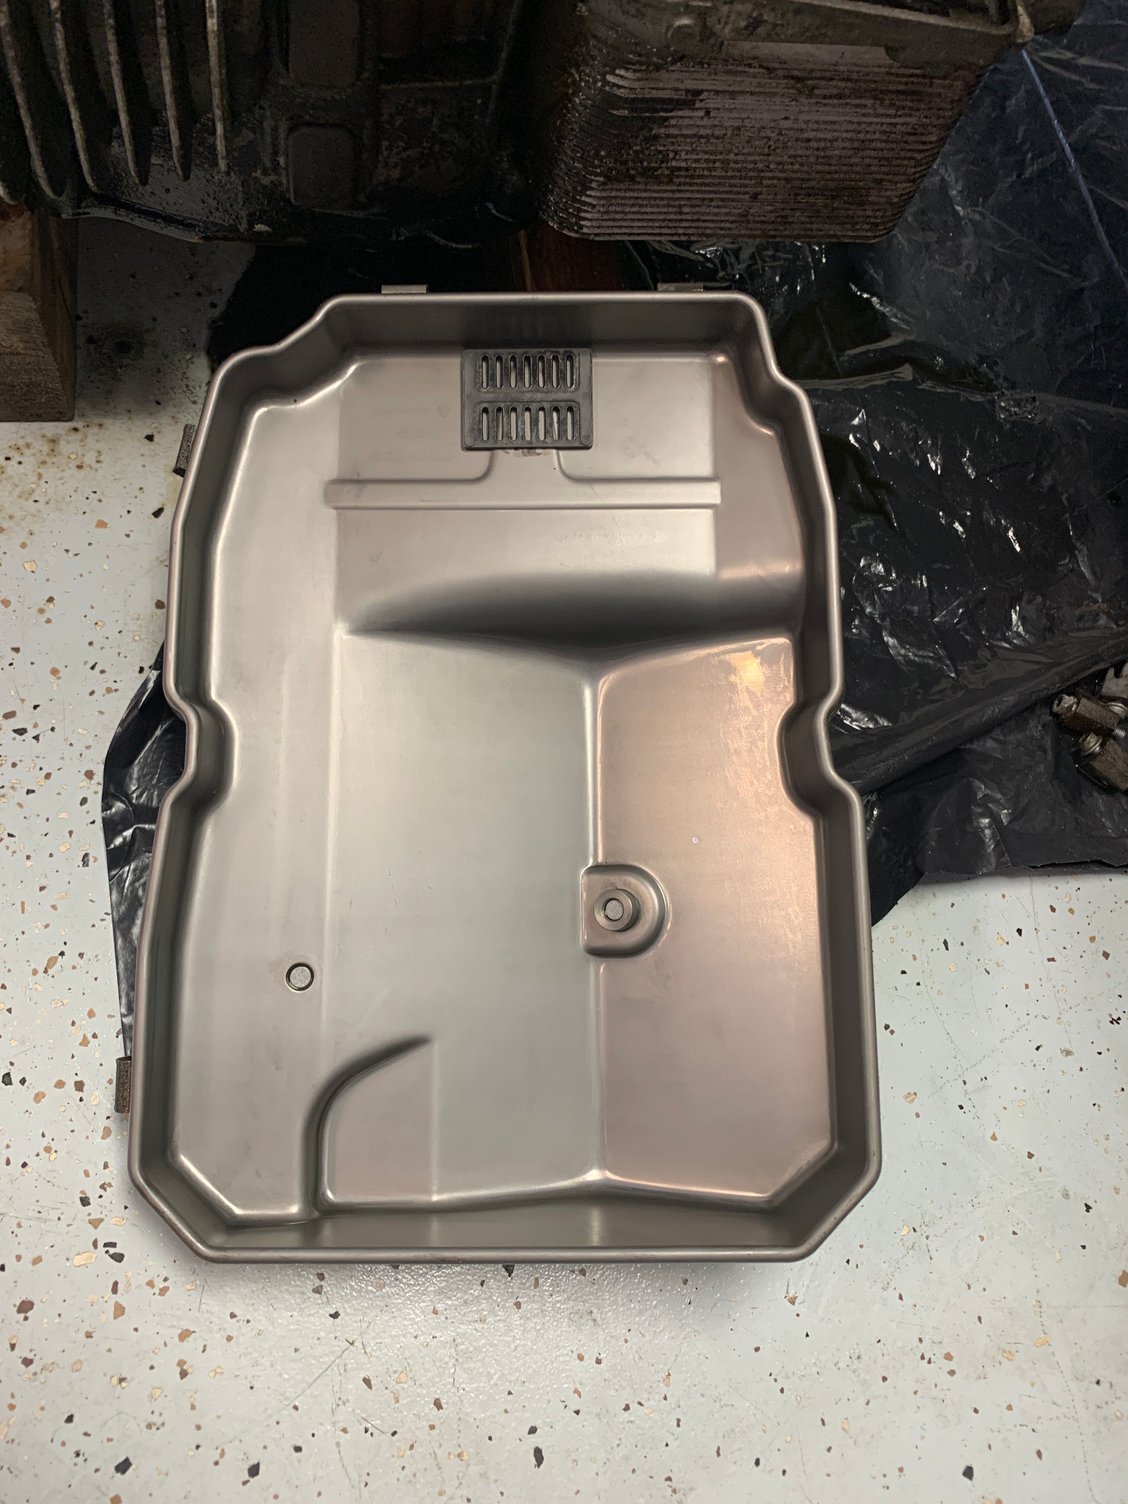
Next step is to install the guides, button up everything in the sump and put the sump cover on. Haven't decided yet if I want to turn the engine around and mount in the stand from the front or just put it on a hydraulic table to install the rest of the bits. My oil pump housing is nasty looking as I haven't cleaned it yet. I can't put it on looking like it does. I'll get that cleaned up and installed before I put the IMS bearing cover/guide in place.
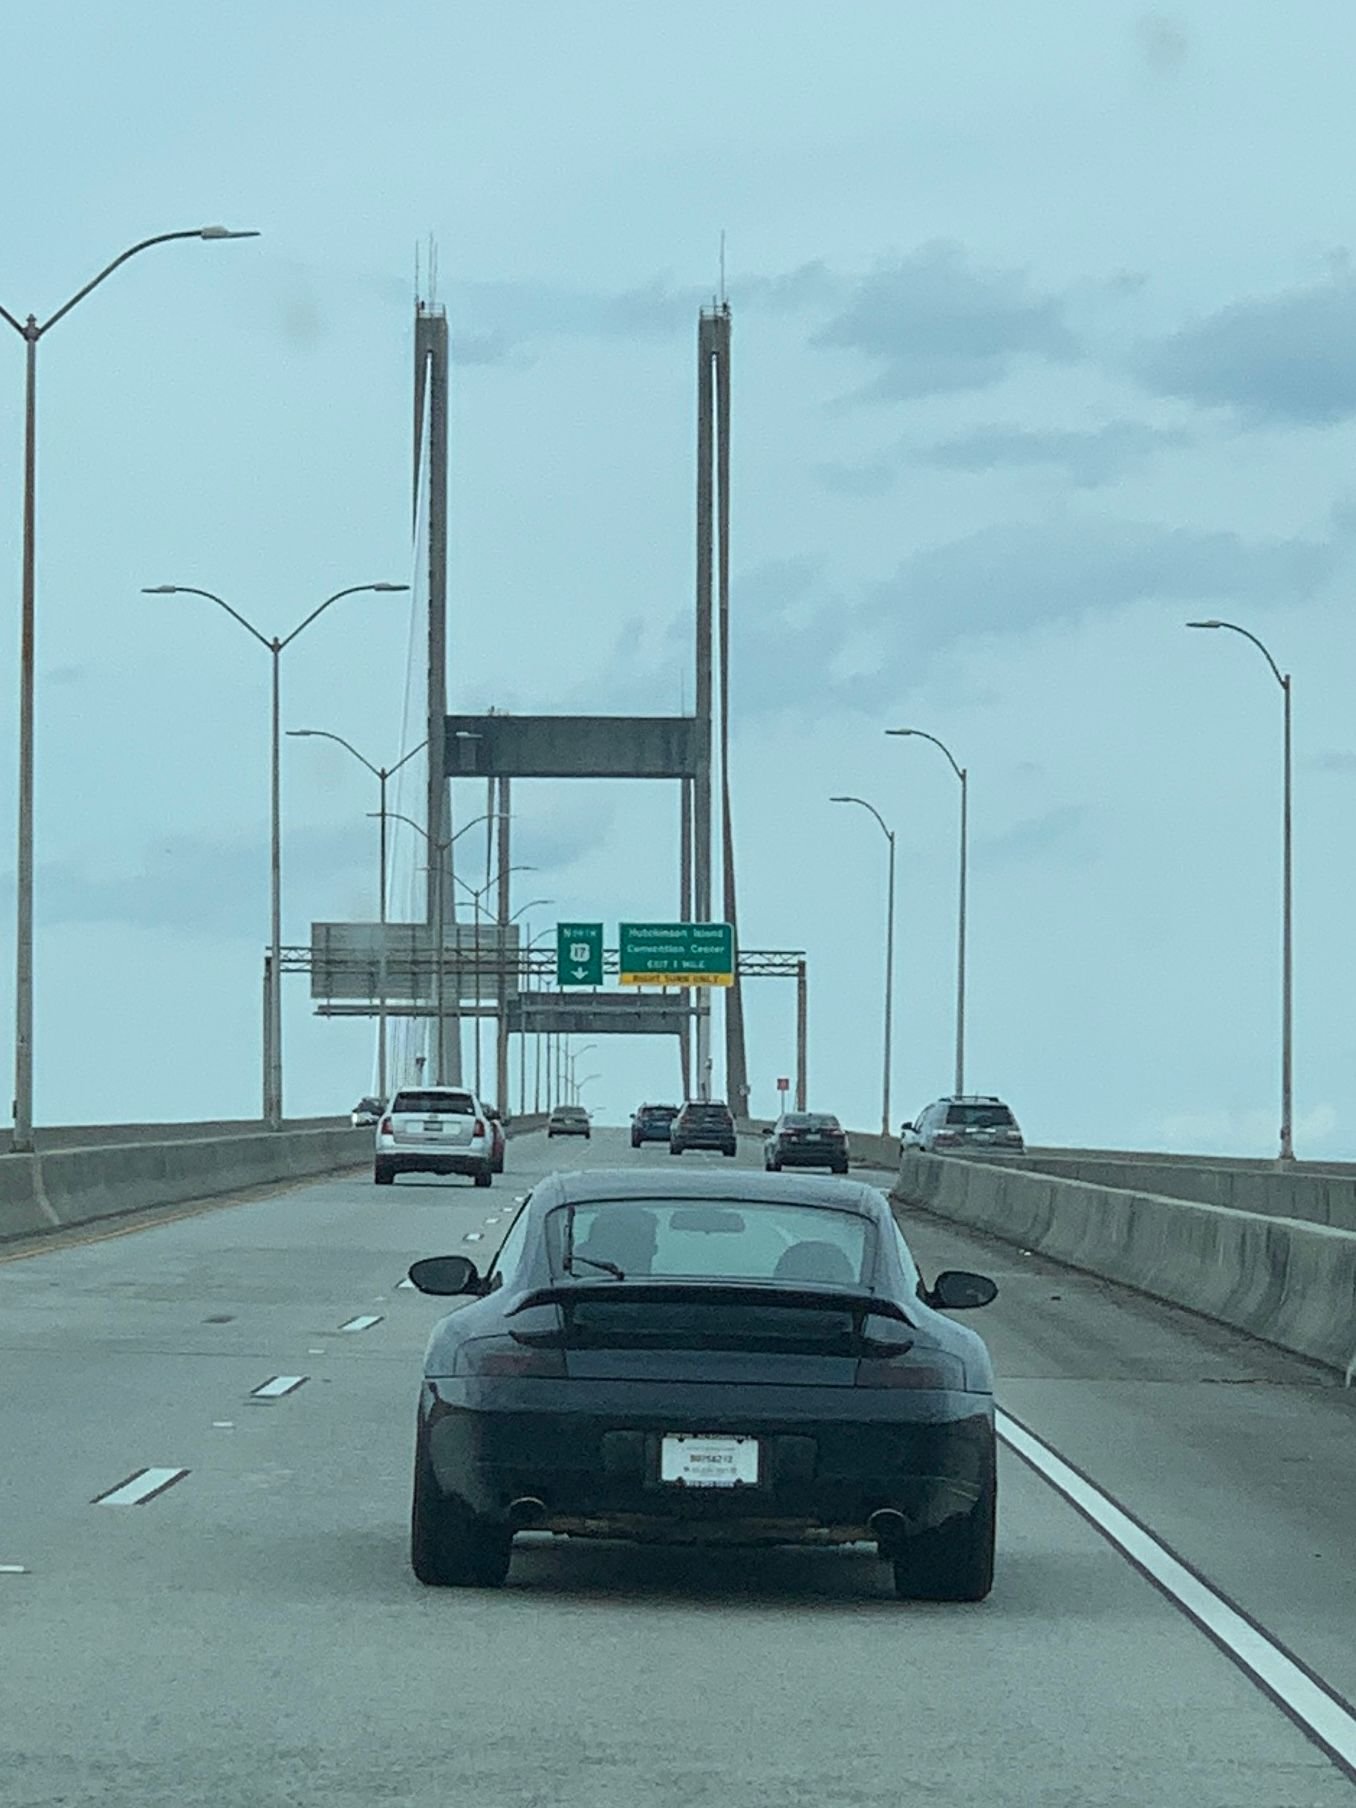
And then Sunday, this happened. 702 mile round trip with a buddy to pick up his 1999 Carrera. What a blast!!!
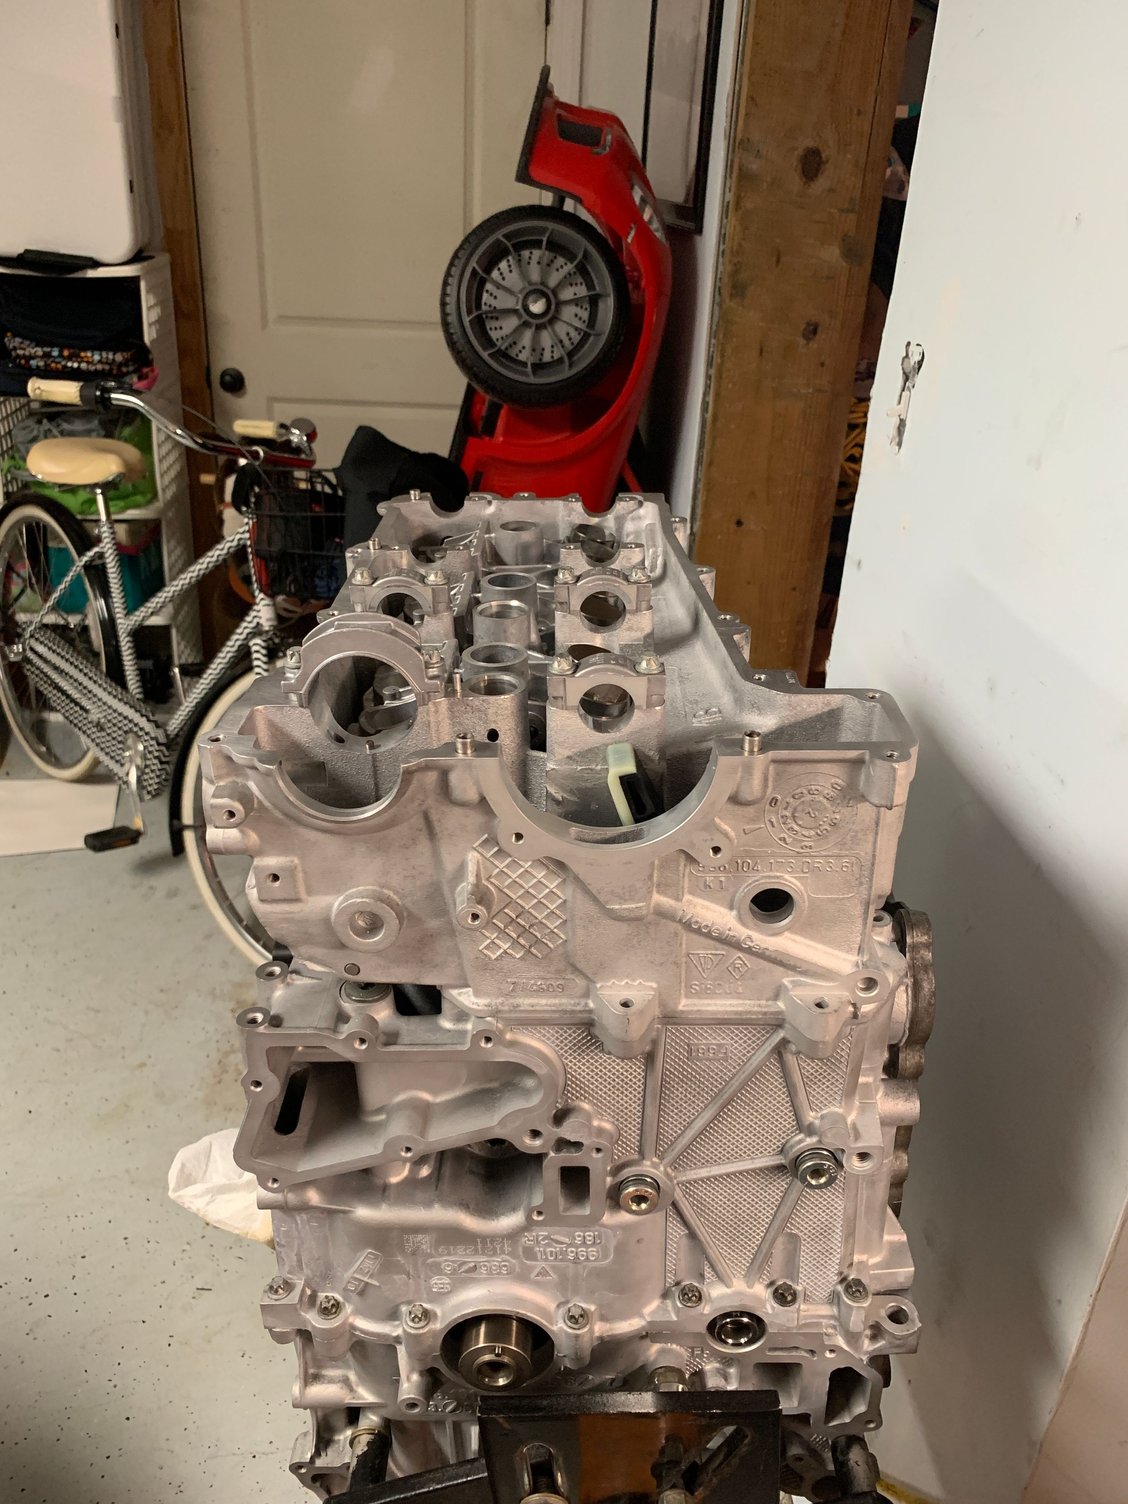
Got a free hour after work while the wife and kids were playing tennis. Managed to get the oil pickup, swirl pots and lower sump cover installed.
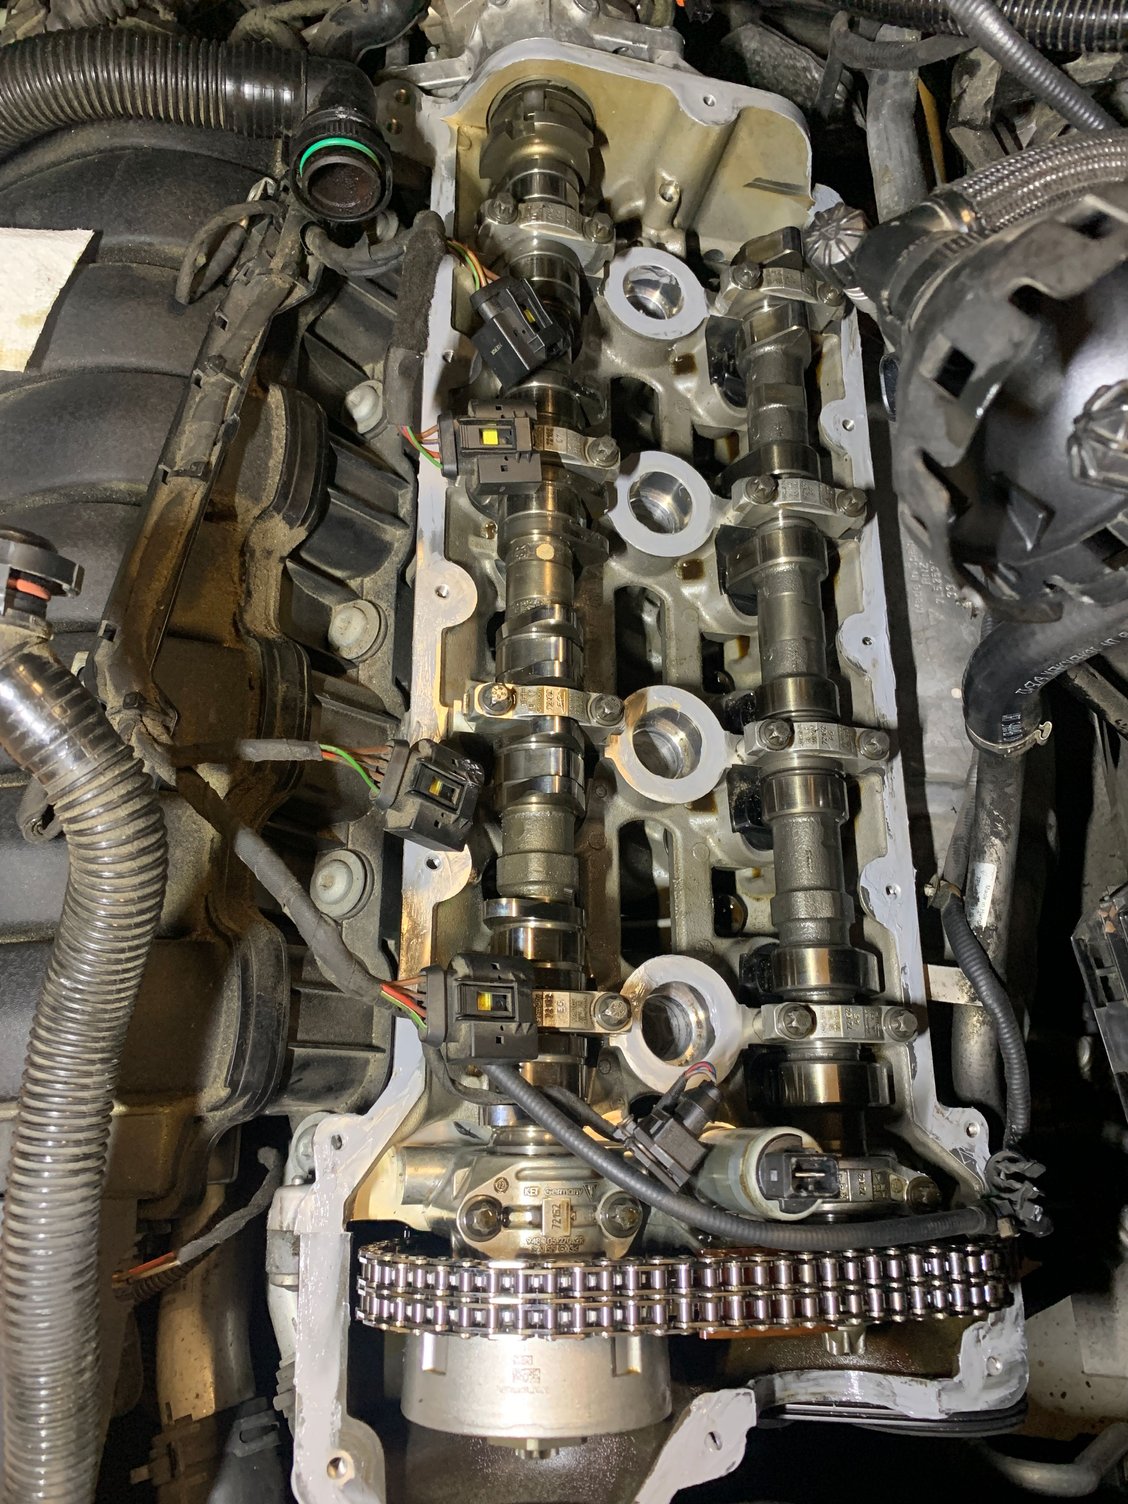
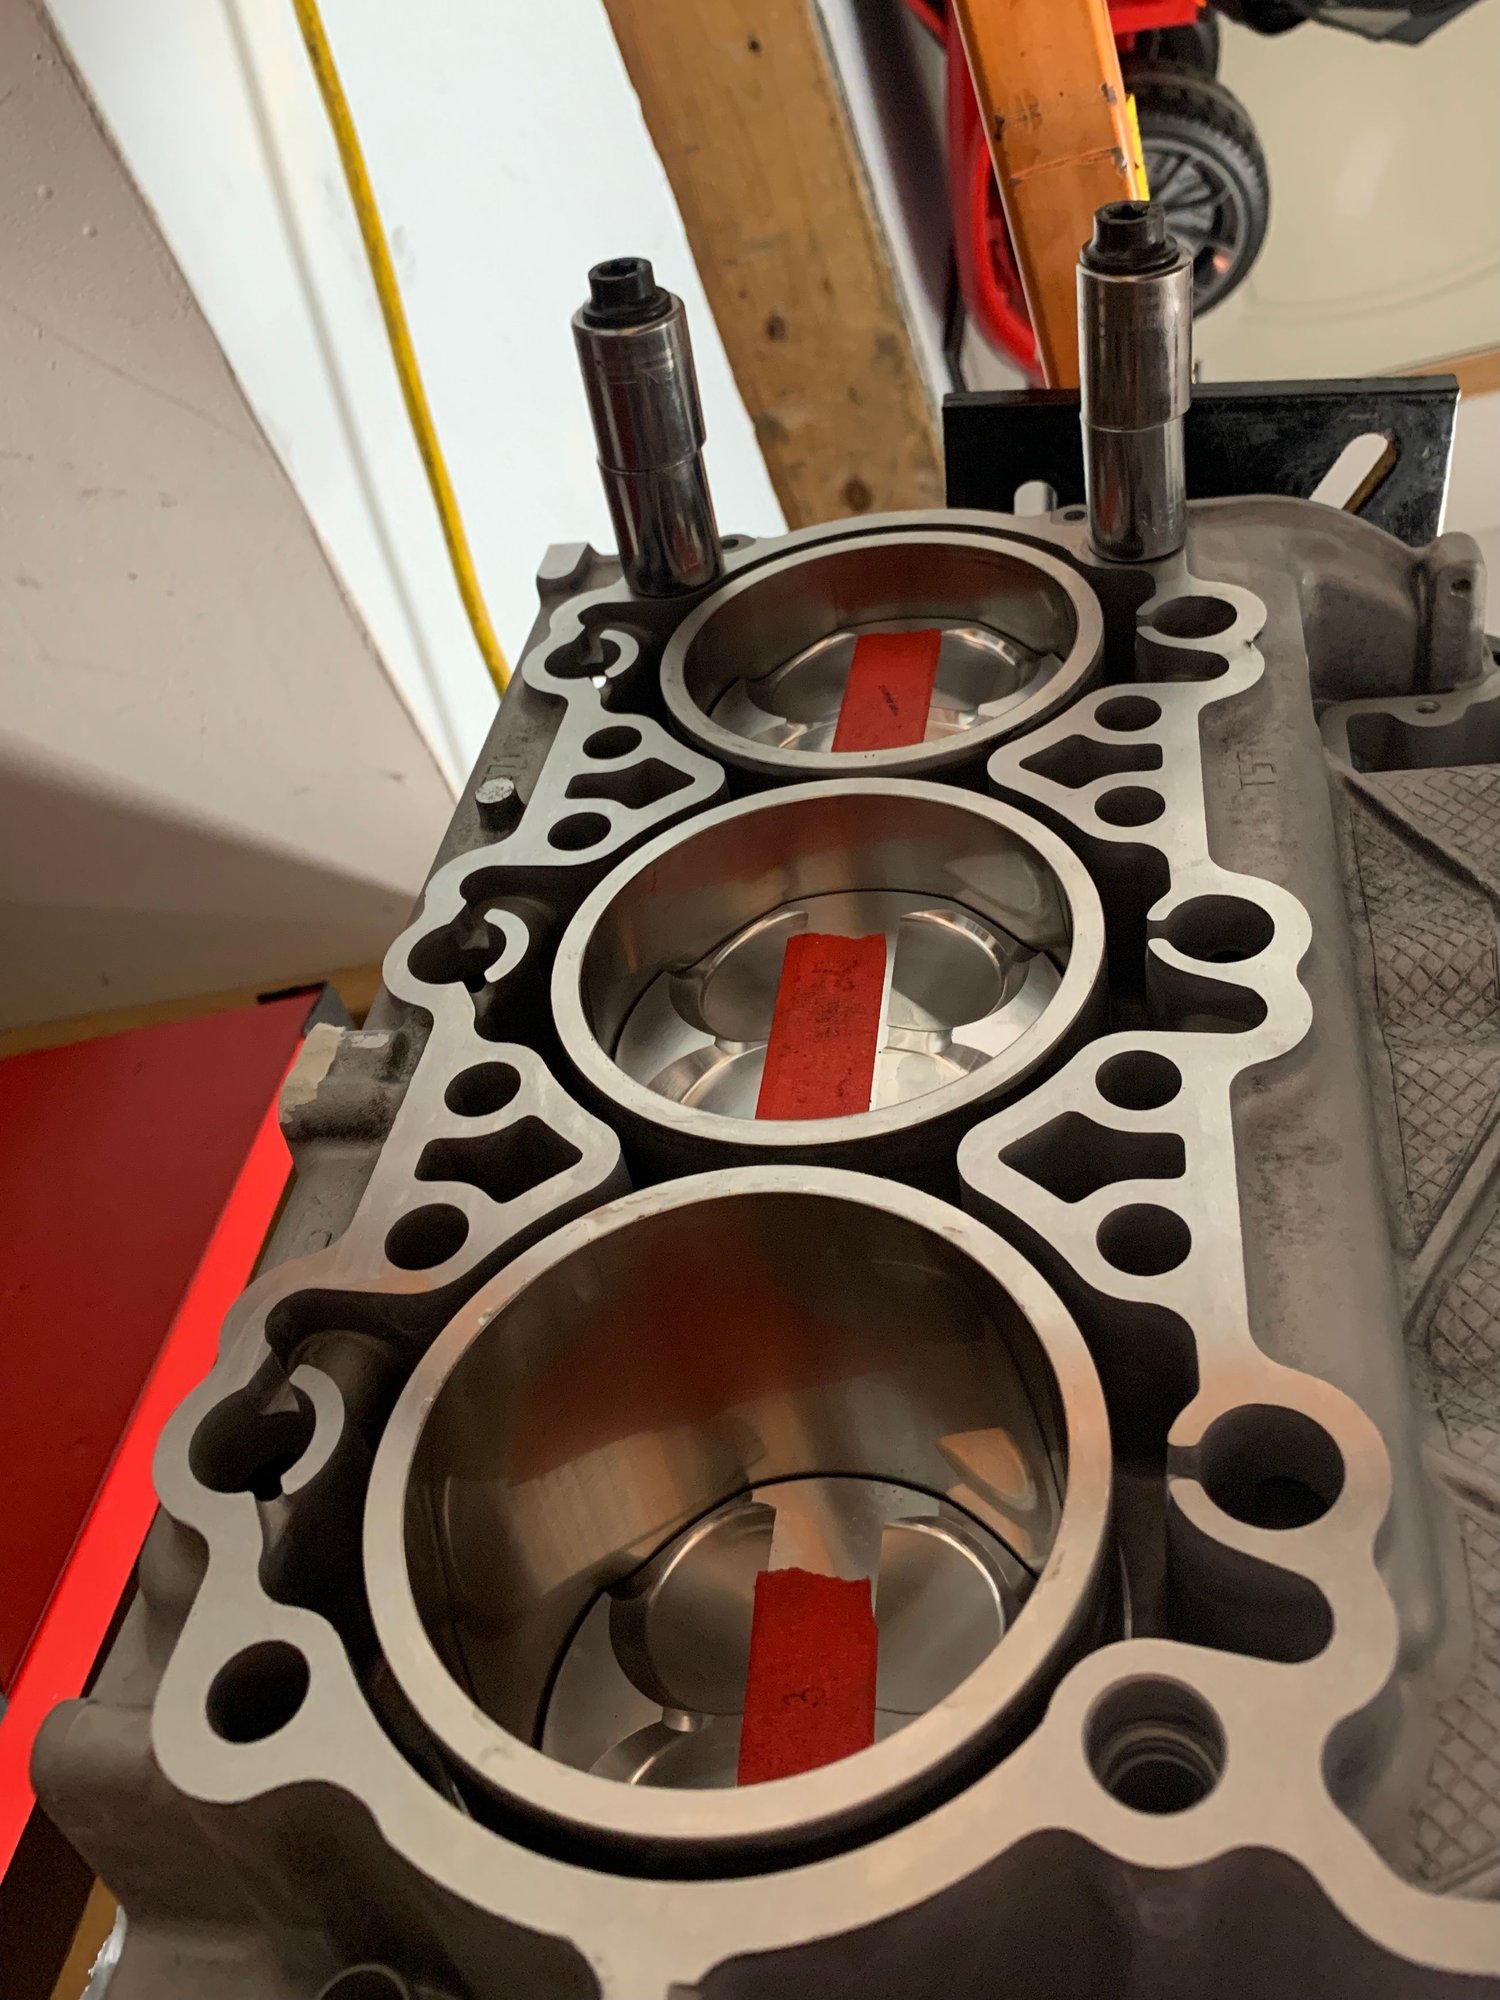
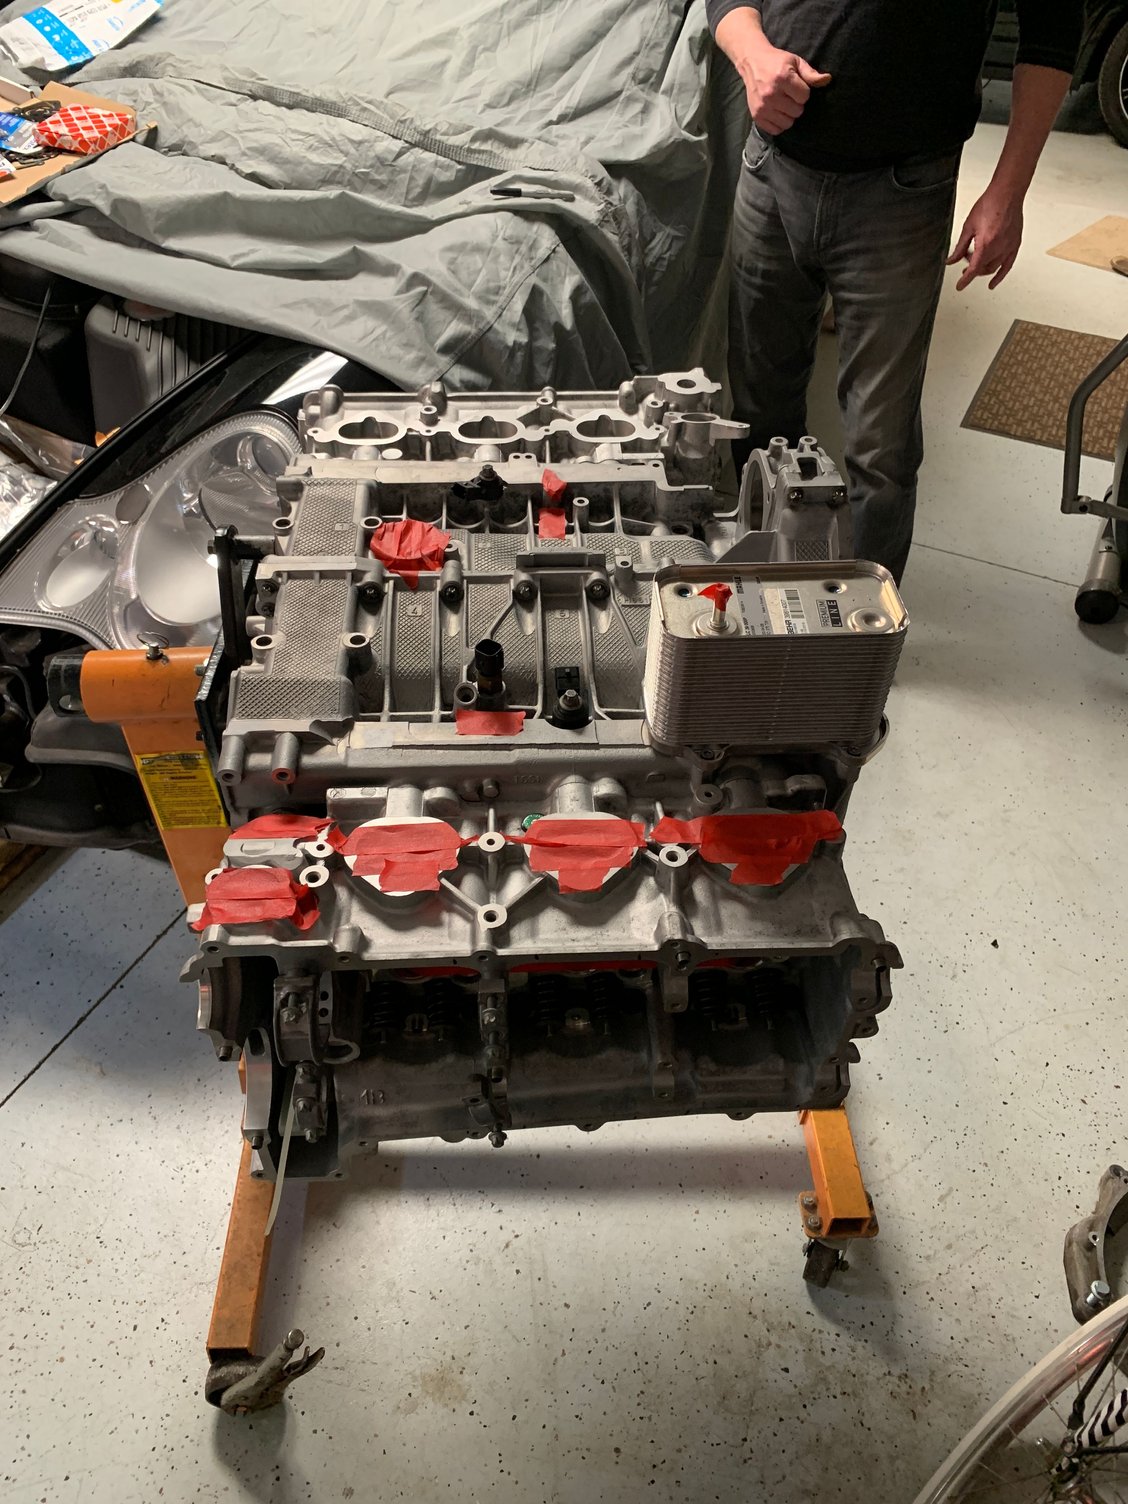
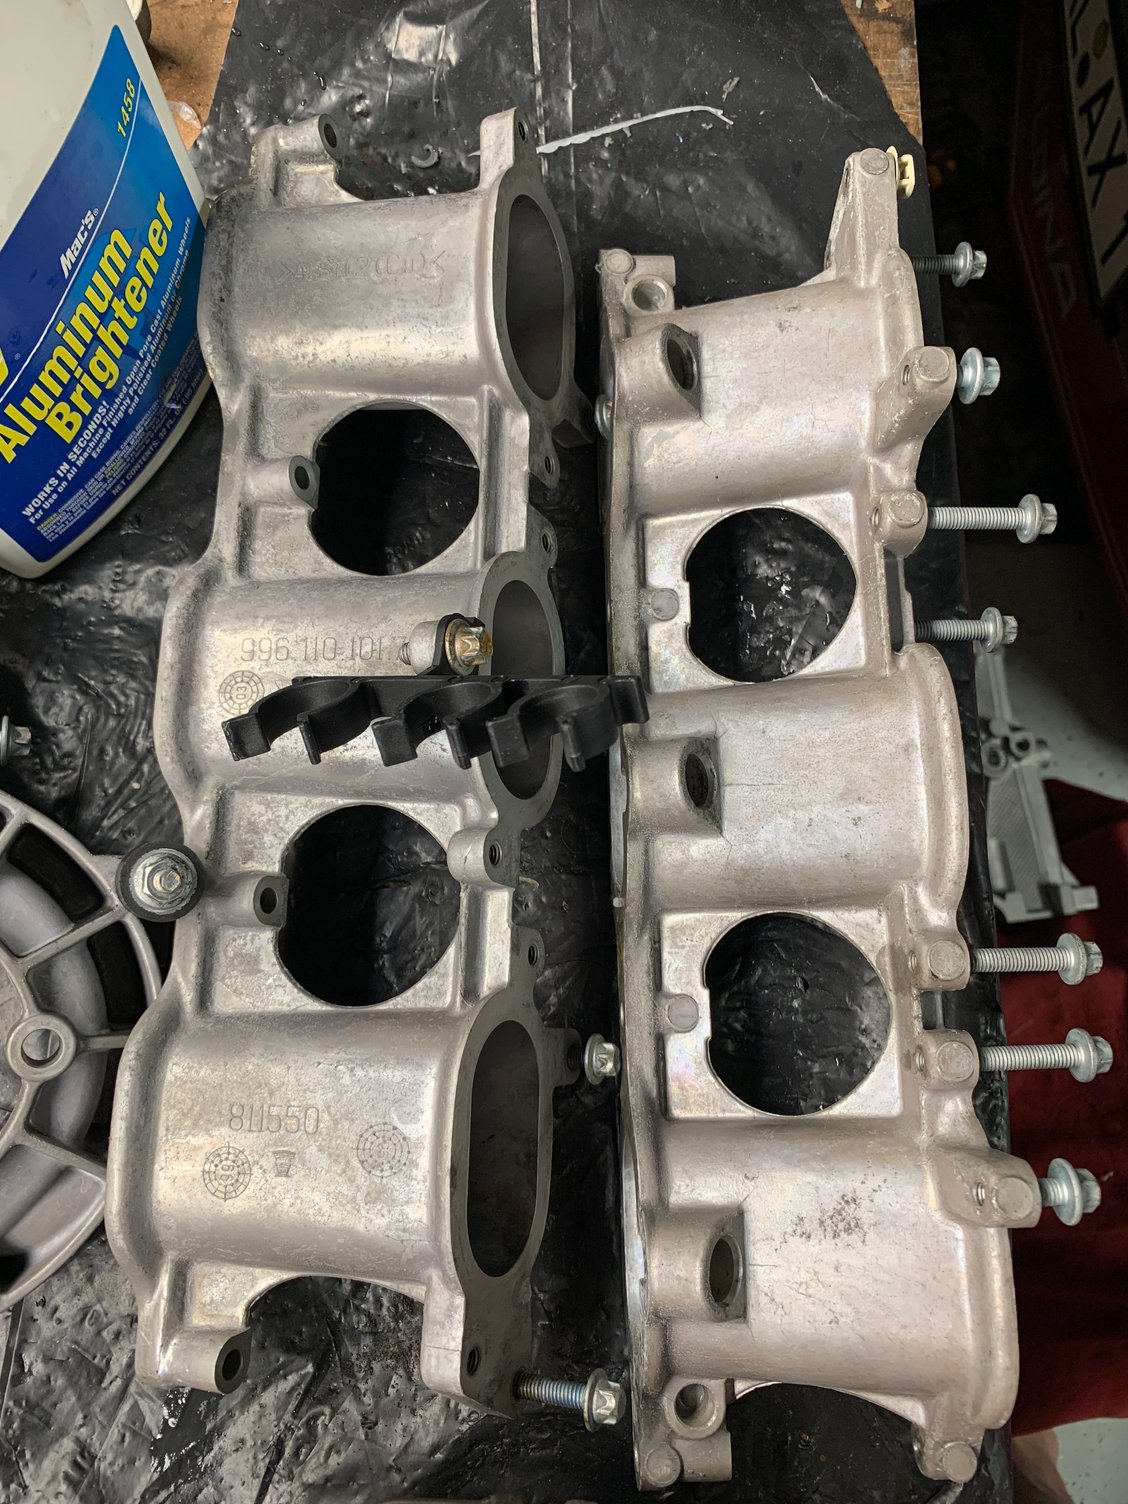
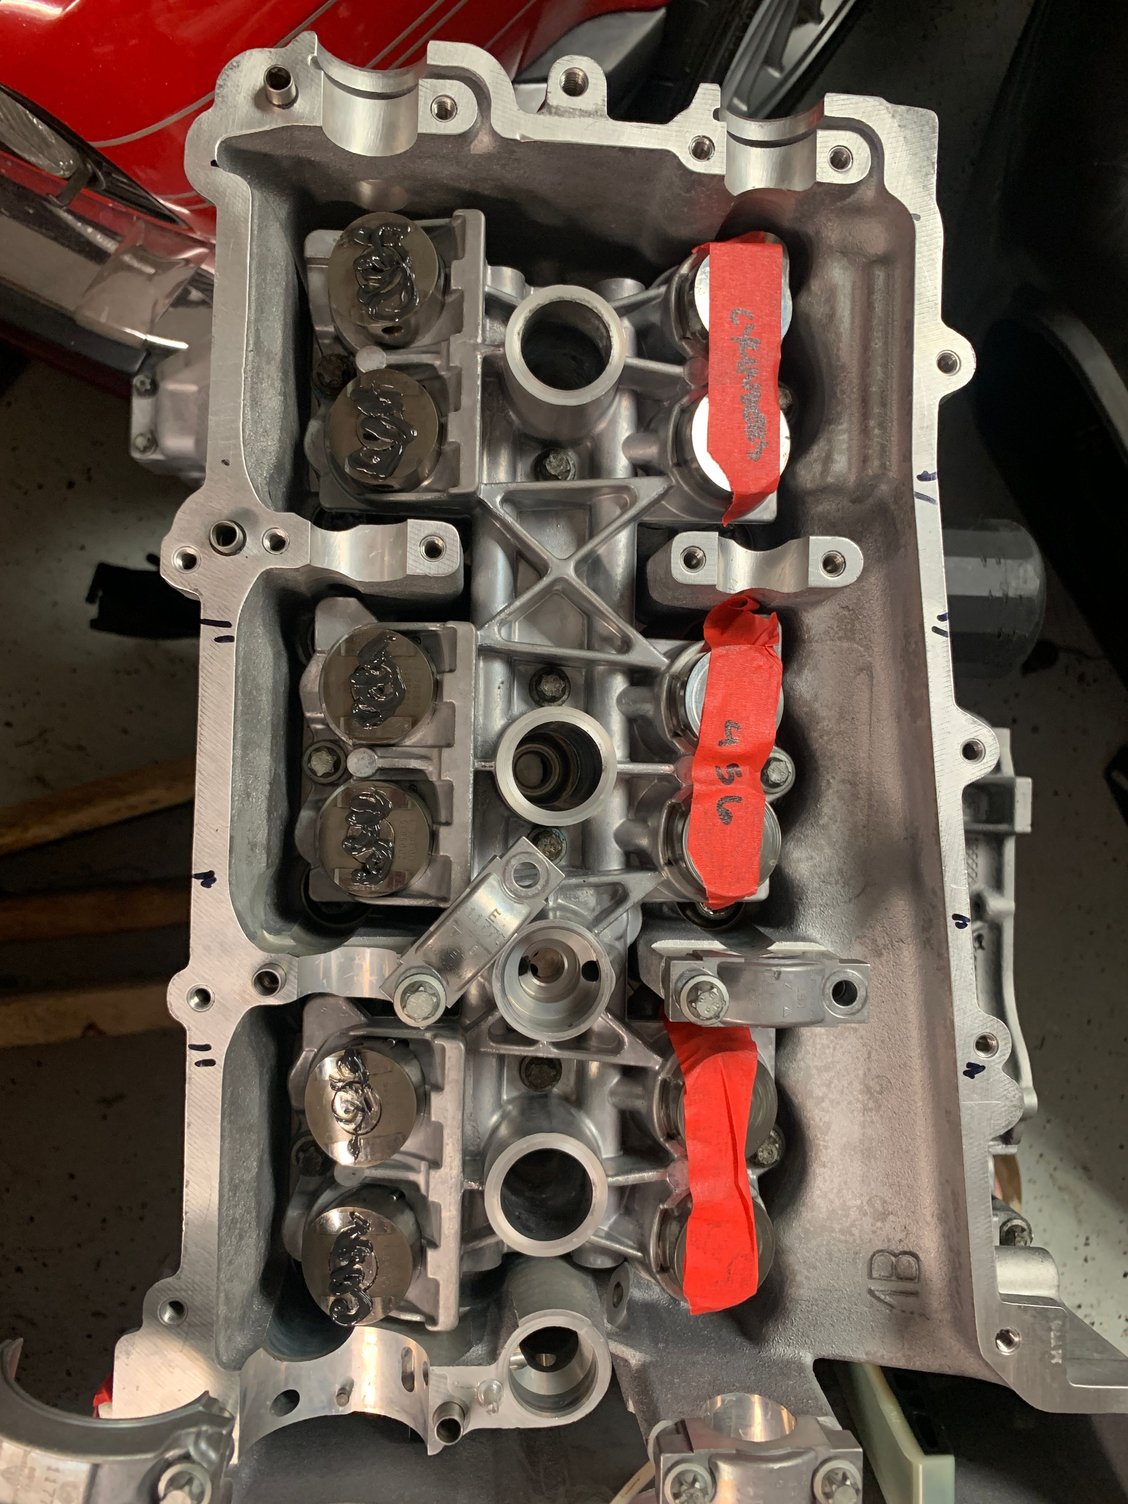
Test fit of one cylinder head, just to see. I took over 1,000 pictures when I disassembled the engine but couldn't find one with the timing chain guide layout. Something to look up tonight....
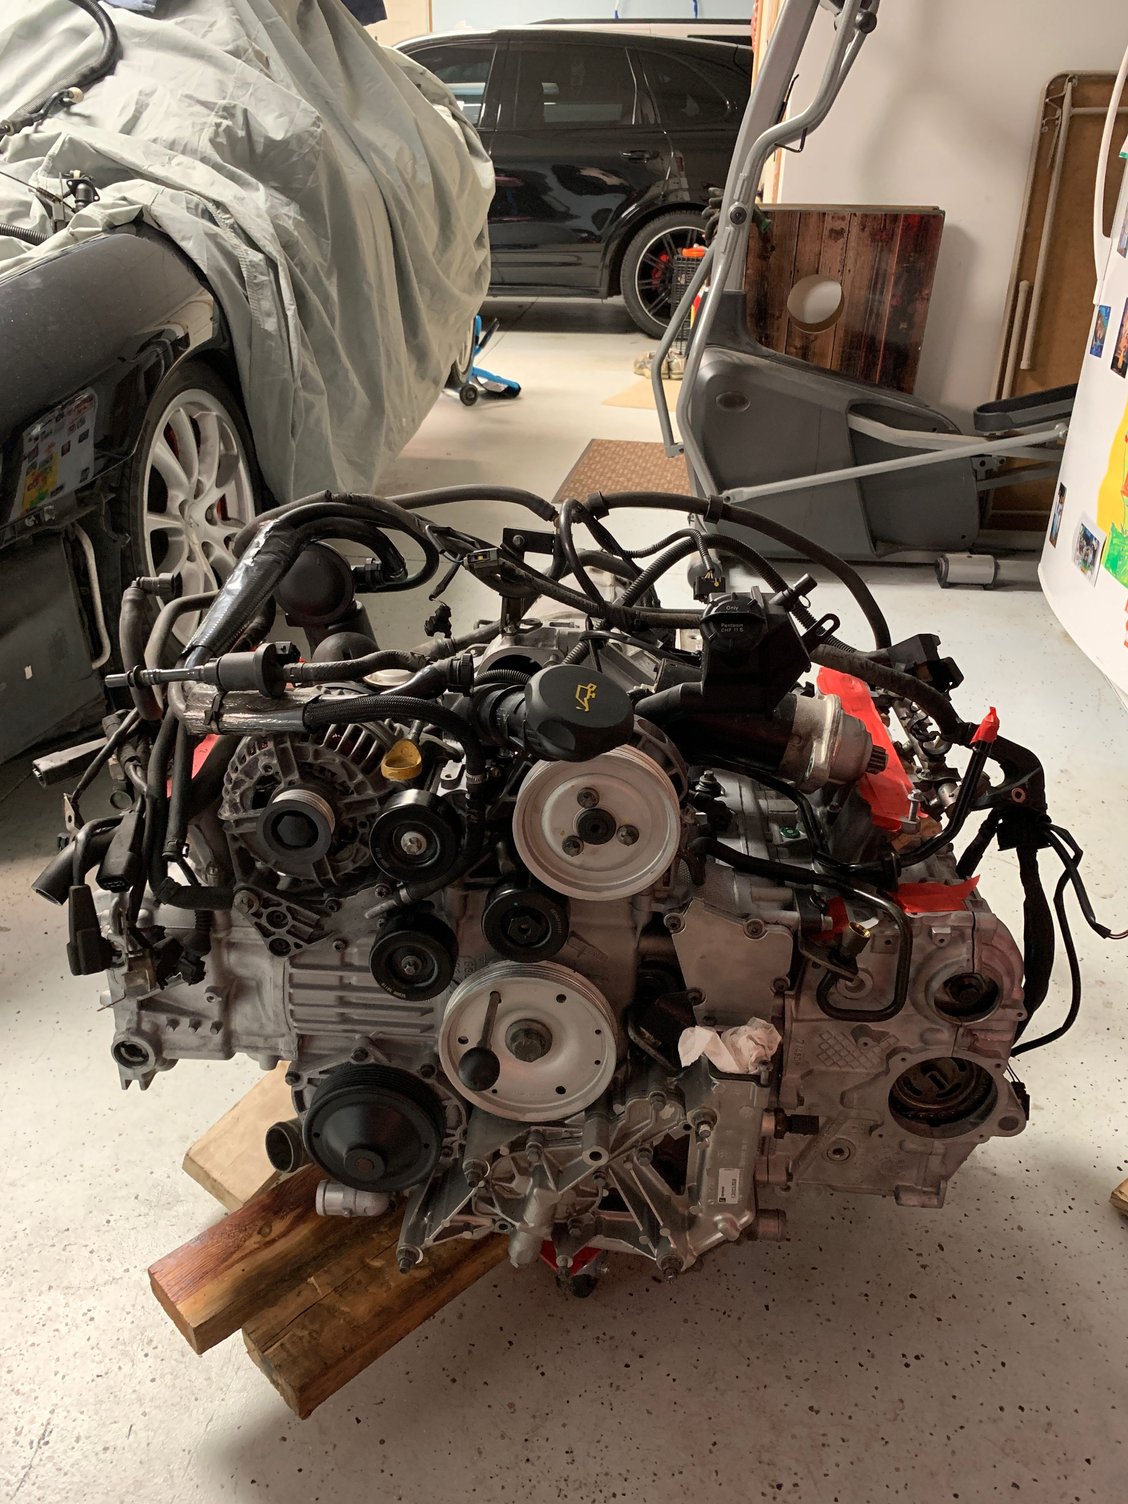
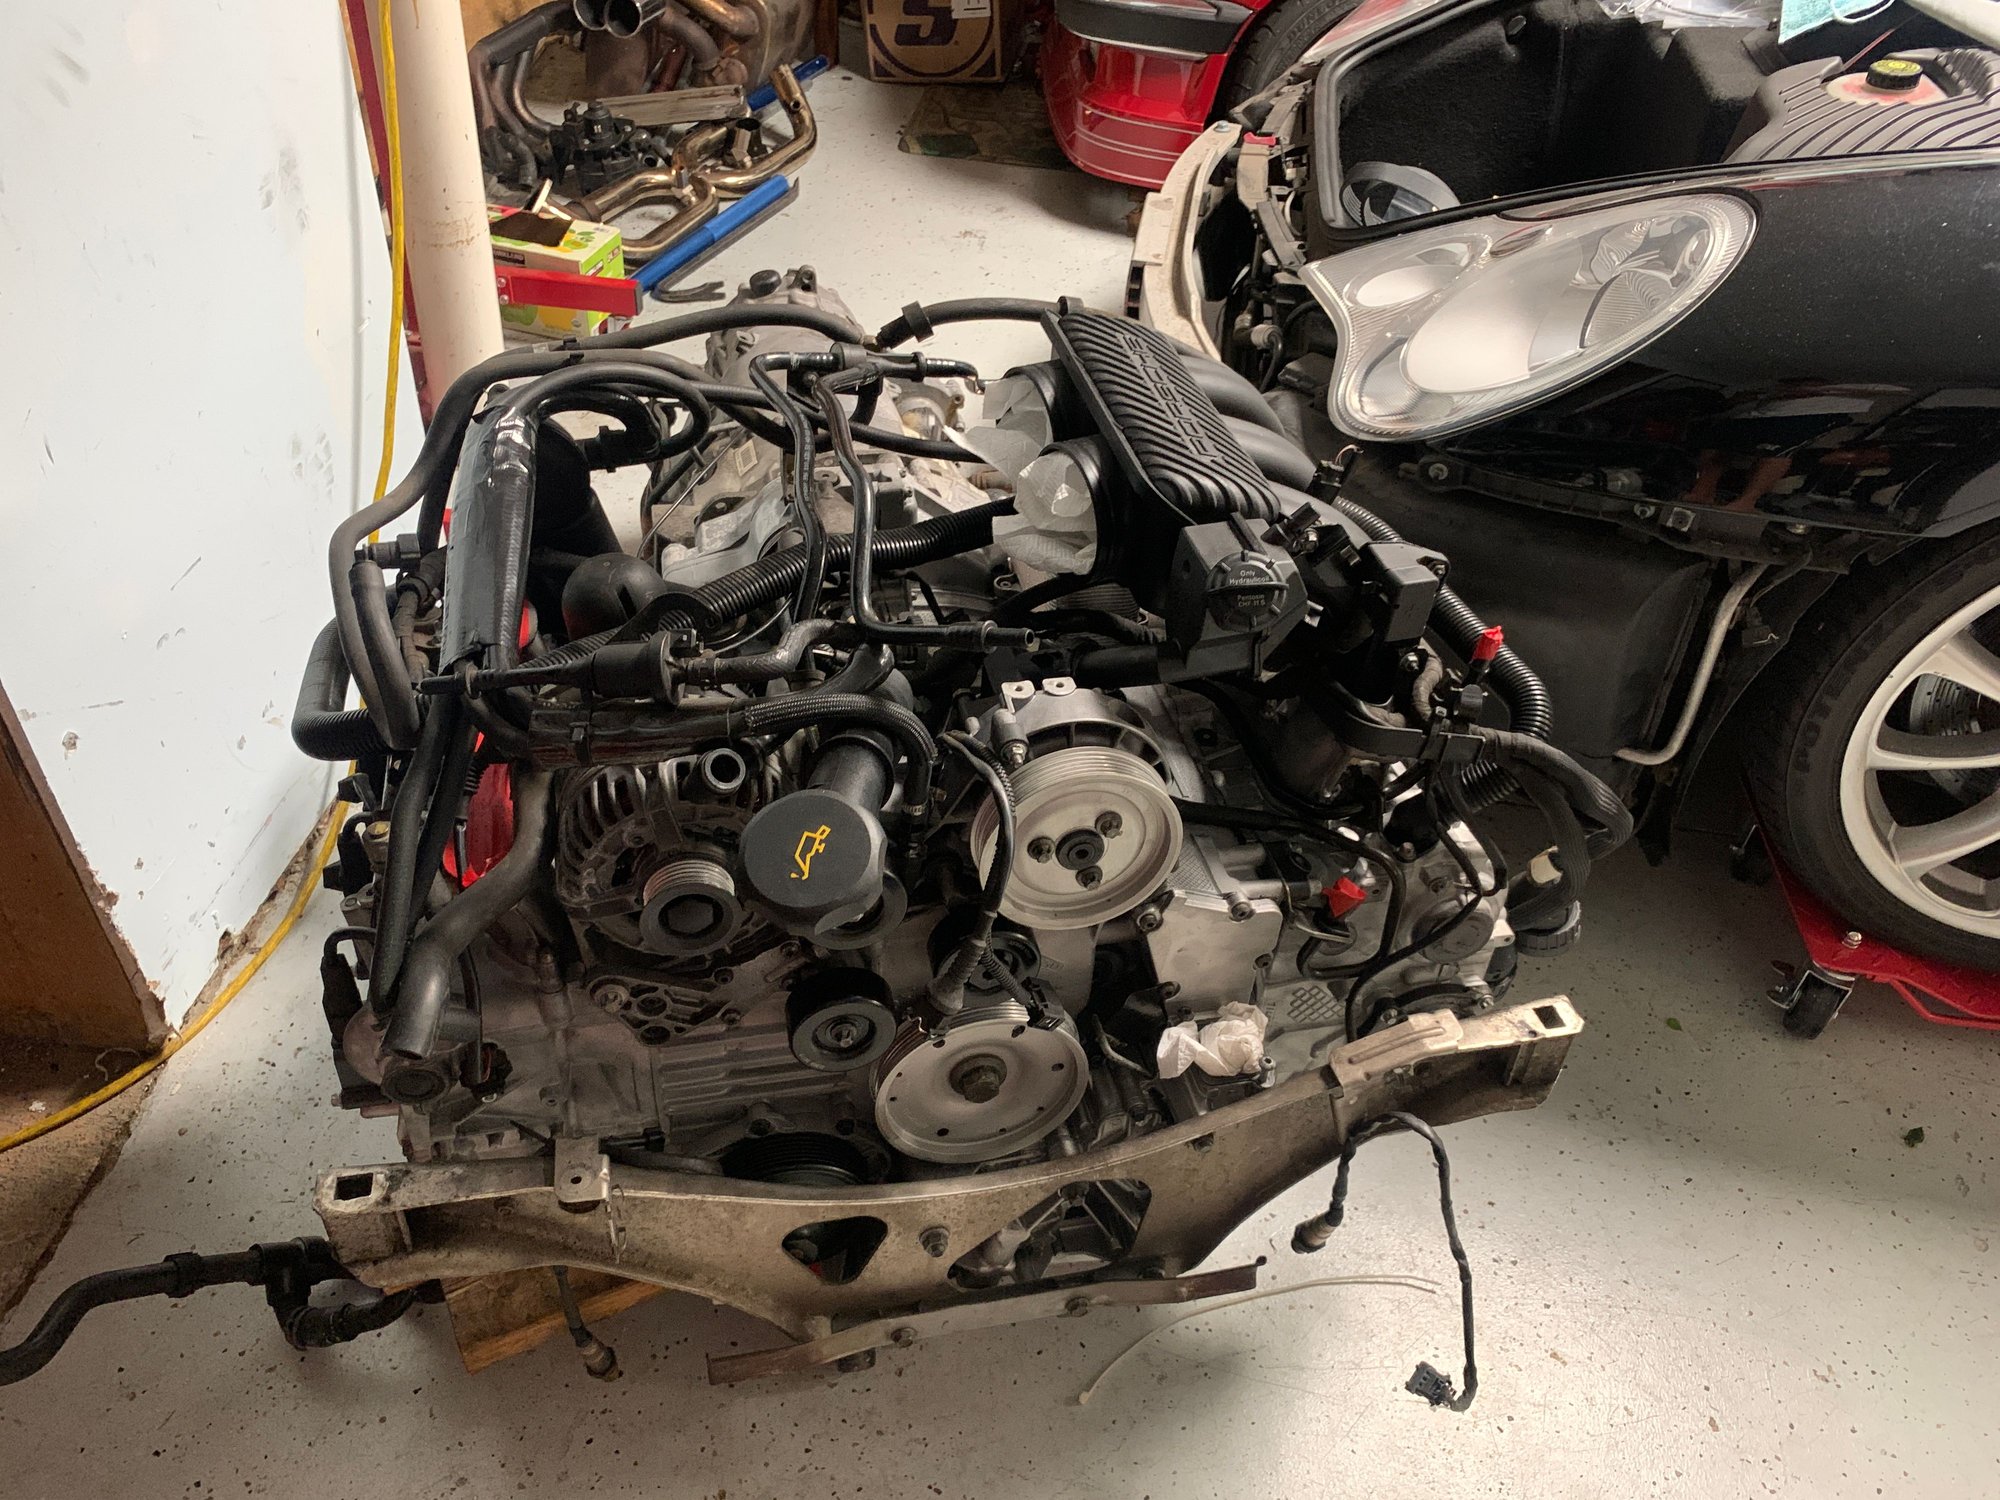
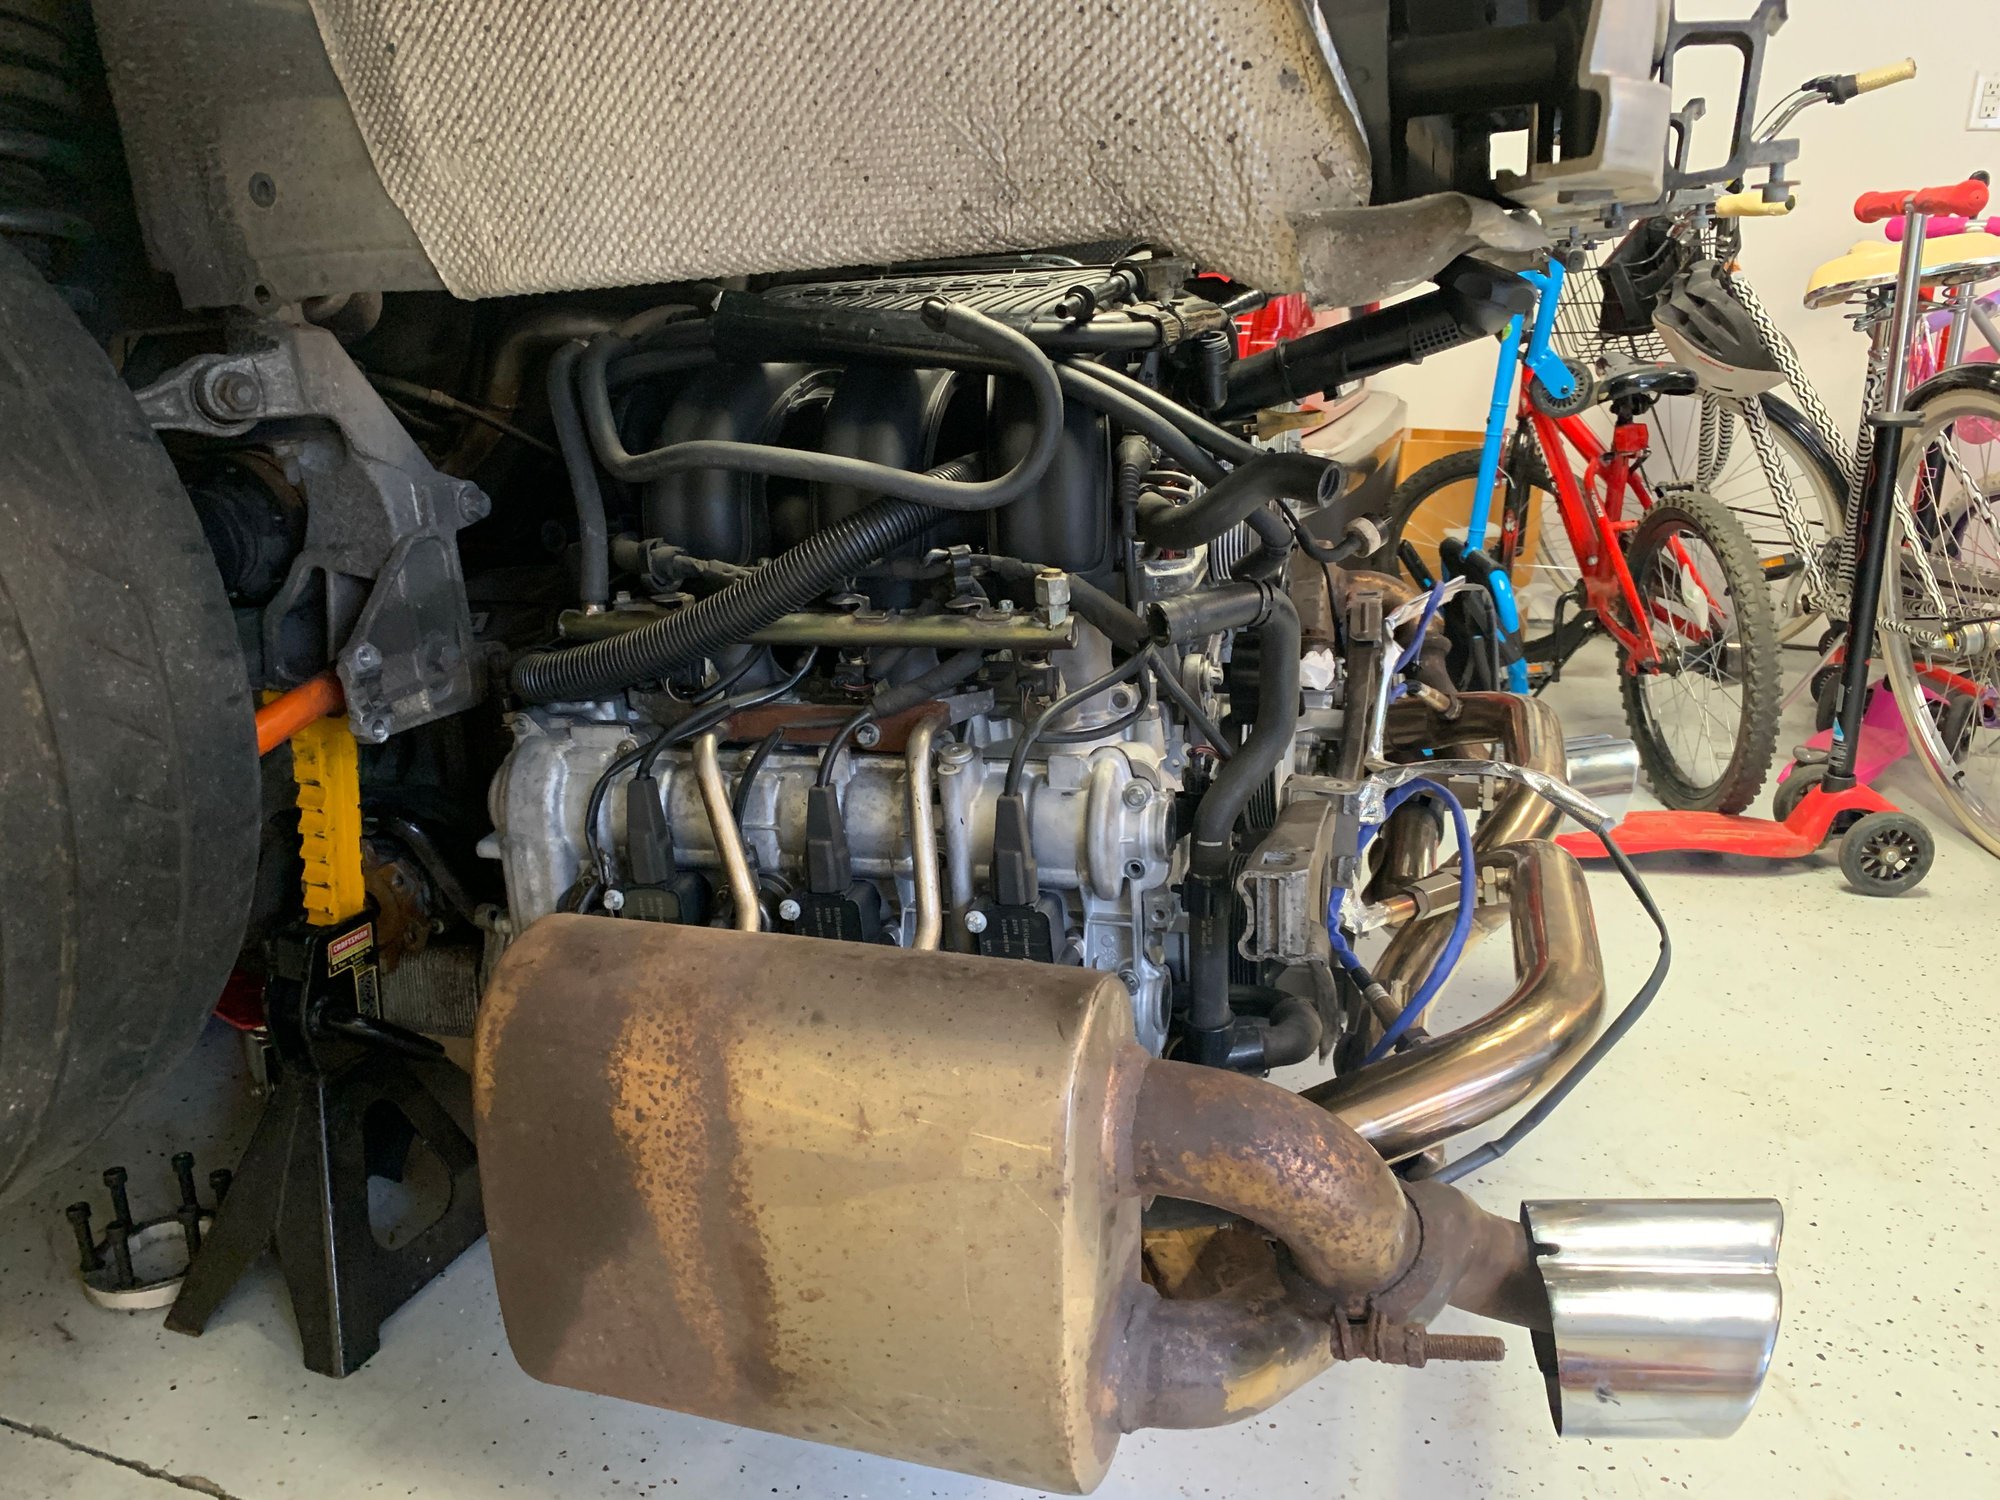
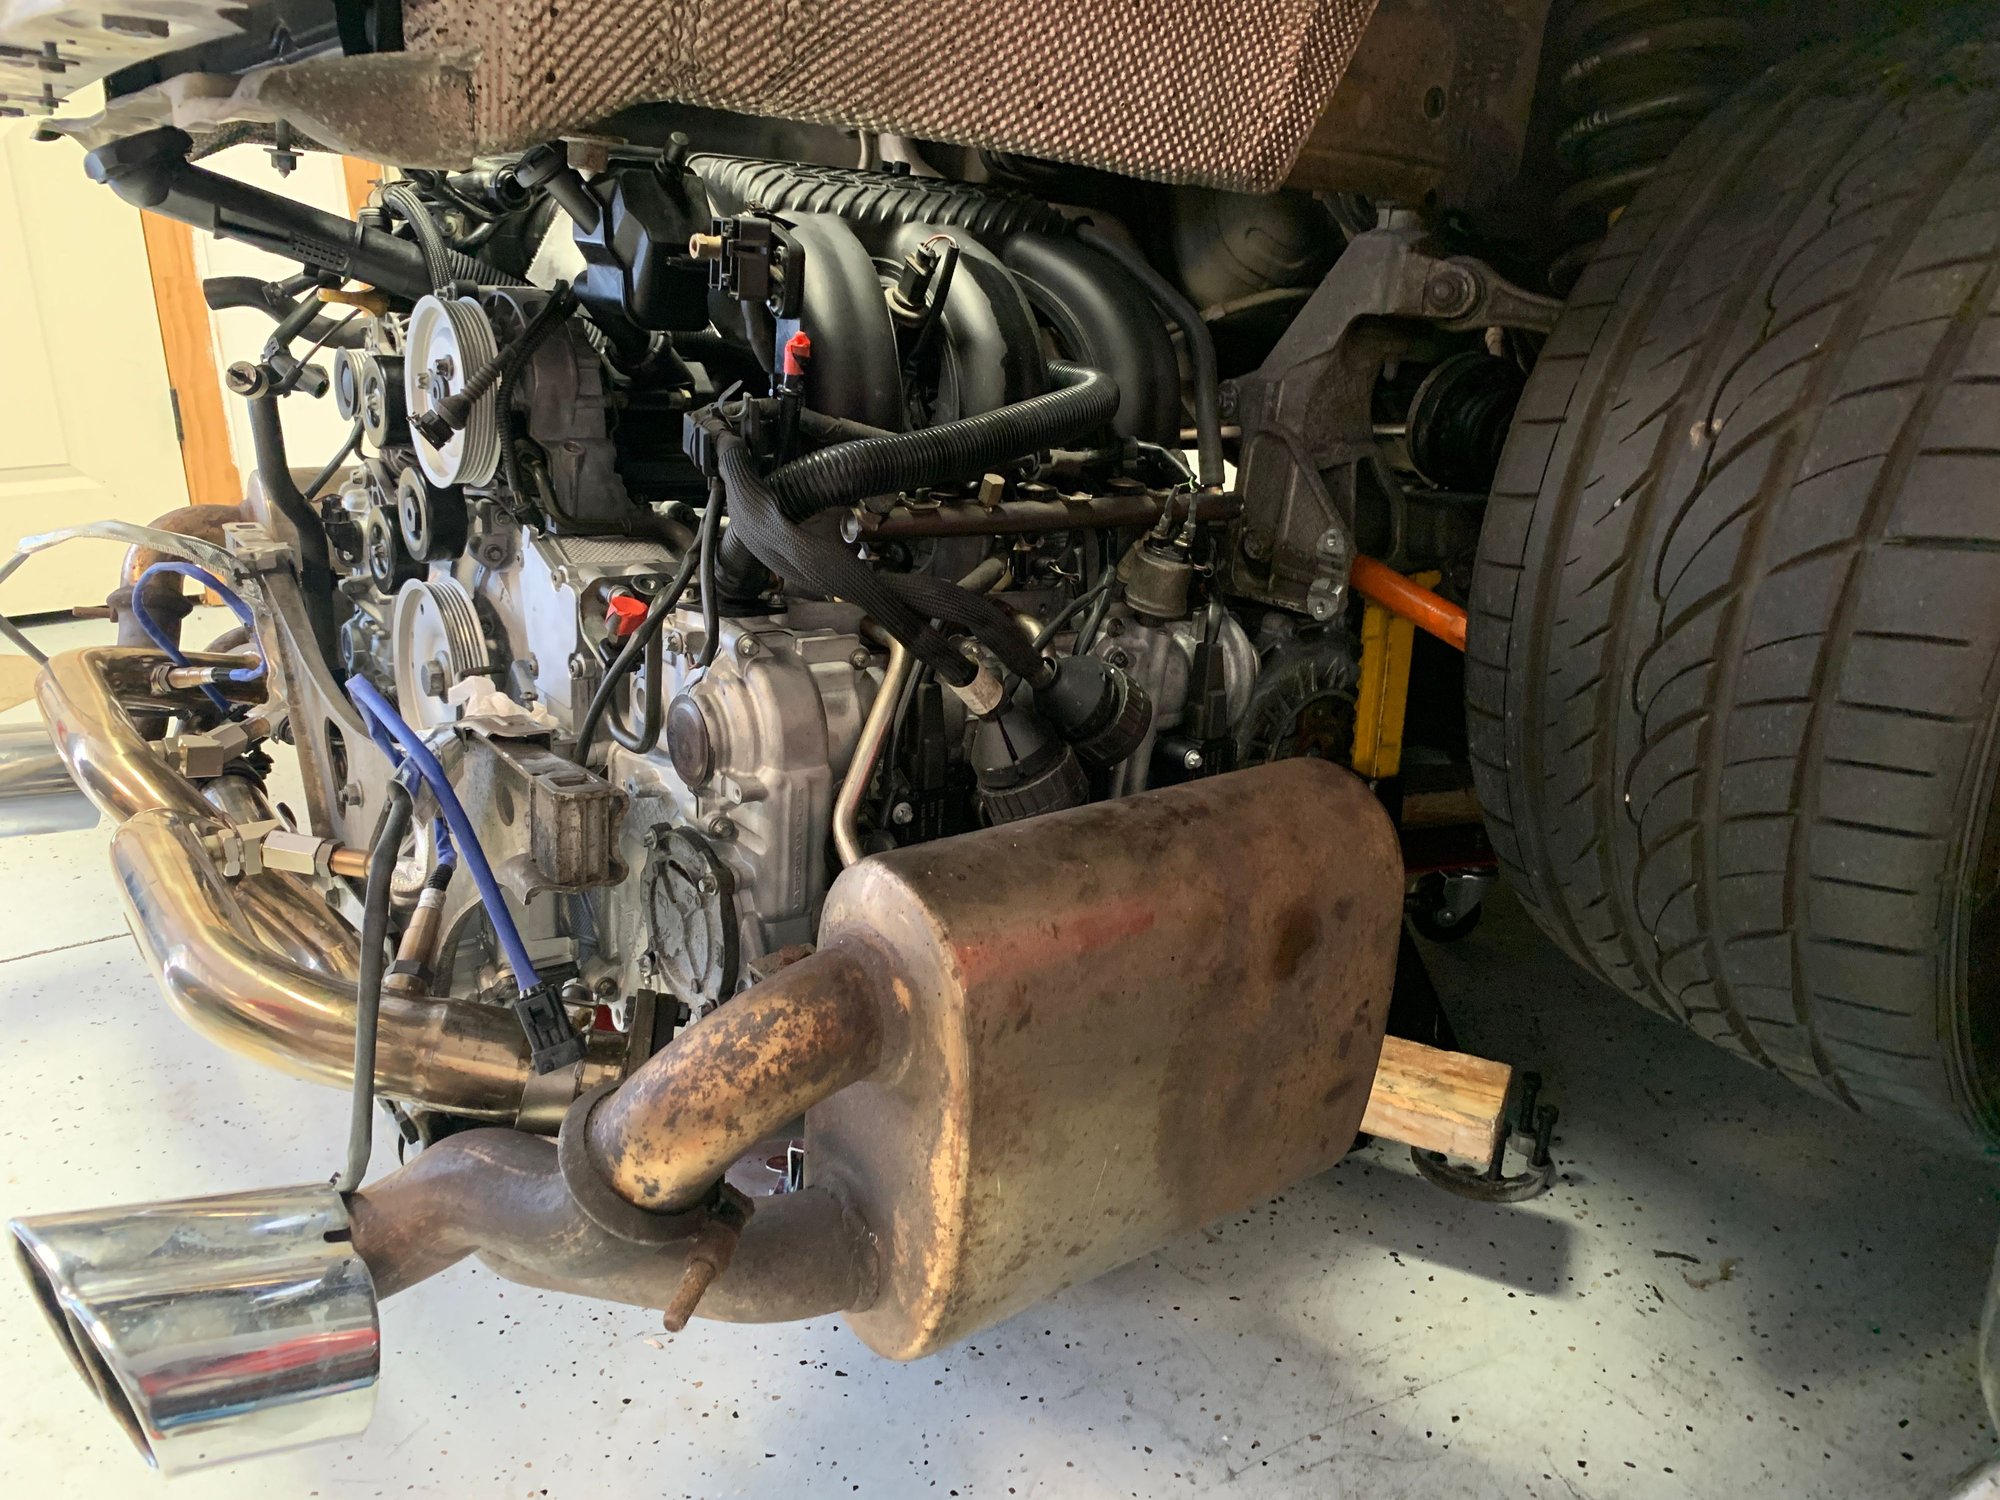
Been a while since I updated this thread...but a lot has happened! Engine/trans is ready to be installed into the car!
Filled with Driven BR oil and new transaxle fluid. NO drips haha
Over the course of the six month build, I managed to lose the AC compressor spacer. New one on order but back ordered until 04JUN. Not a big deal as I disconnected the AC compressor from the engine but left the hoses attached. Everything else can go back in except the serpentine belt.Hope to get the engine installed this week and then just wait on the AC spacer. Bought a bigger boat for the family so we plan to spend a few days at the coast with it.
No fuel and pulled the fuel pump fuse, just to be safe. After a few short cranks on the brand new battery, the oil pressure started to build.
I'll prime it up again, then put some fuel in it and try to give her a start on Friday or so.
I'm getting a brake pedal fault code that wasn't there before, which is weird because I haven't done anything to the brake system. Also an airbag fault which is new. Minor issues....
Now I have to wait for the AC compressor spacer for final fitment and serpentine install, and front driveshaft seal before I can take for a spin. Will be a looooong 2 weeks
Added 3 gallons of fresh gas but ran rough. Threw a bank 2 crank sensor code....turns out the sensor wasn't clipped in tight. Clipped it in and it ran so much better. Intake isn't on tight so its still a bit rough....
Now I wait for the AC compressor spacer so I can put the compressor, serpentine belt and intake back in and driveshaft seal for the front driveshaft.
Its loud......
Congratulations! What a journey! Can't wait till it is running right and back on the road!
I've been following along, it's been a cool journey to watch! Are you planning to dyno the car? I'd really like to see the power gains. Nice work!
Appreciate that. I'll get her on the dyno for a proper tune and post the numbers. Hopefully I'll get that 6 speed swap done this winter.
Originally Posted by RGS
Congratulations! What a journey! Can't wait till it is running right and back on the road!
Thanks!! me either, excited to finally drive it!!
Want to know what awesome customer service is? Steven from LN Engineering reached out to me. He had an extra AC compressor spacer and sent it to me!!! How cool is that?? What an awesome gesture on his behalf! I can't say thank you enough!
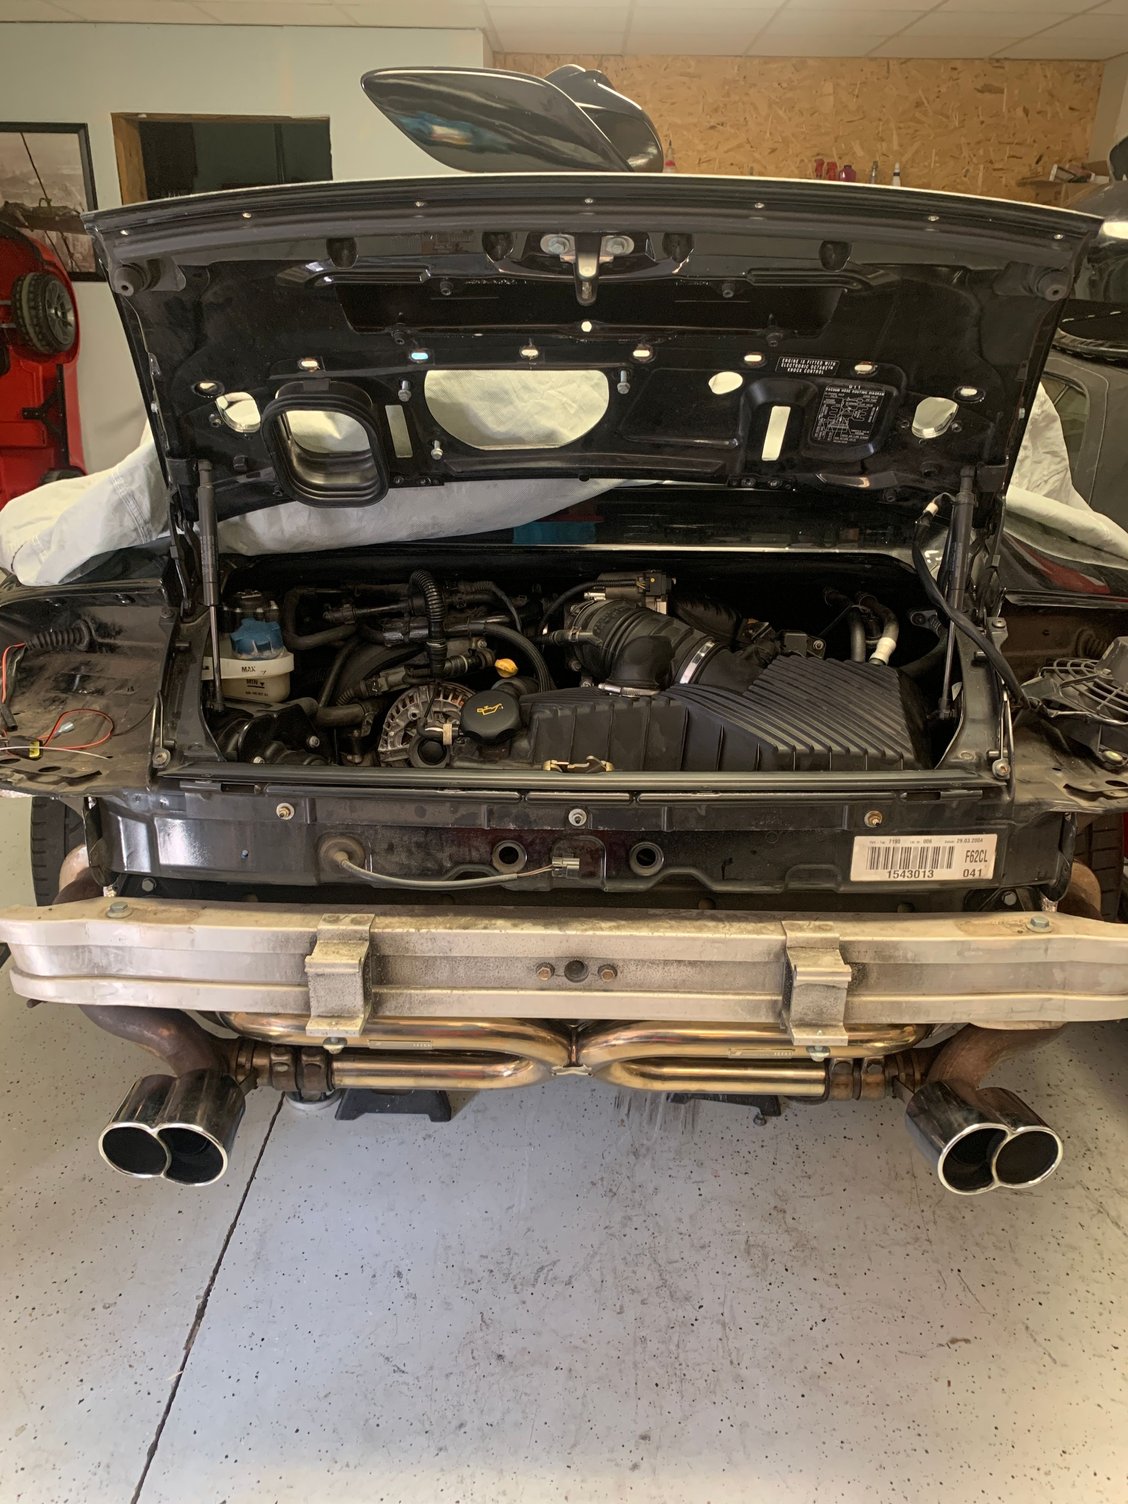
So tonights goal was to get the AC compressor back in and the serpentine belt on. Things went so well I managed to get the intake and air box all buttoned up as well. So you know what came next.....
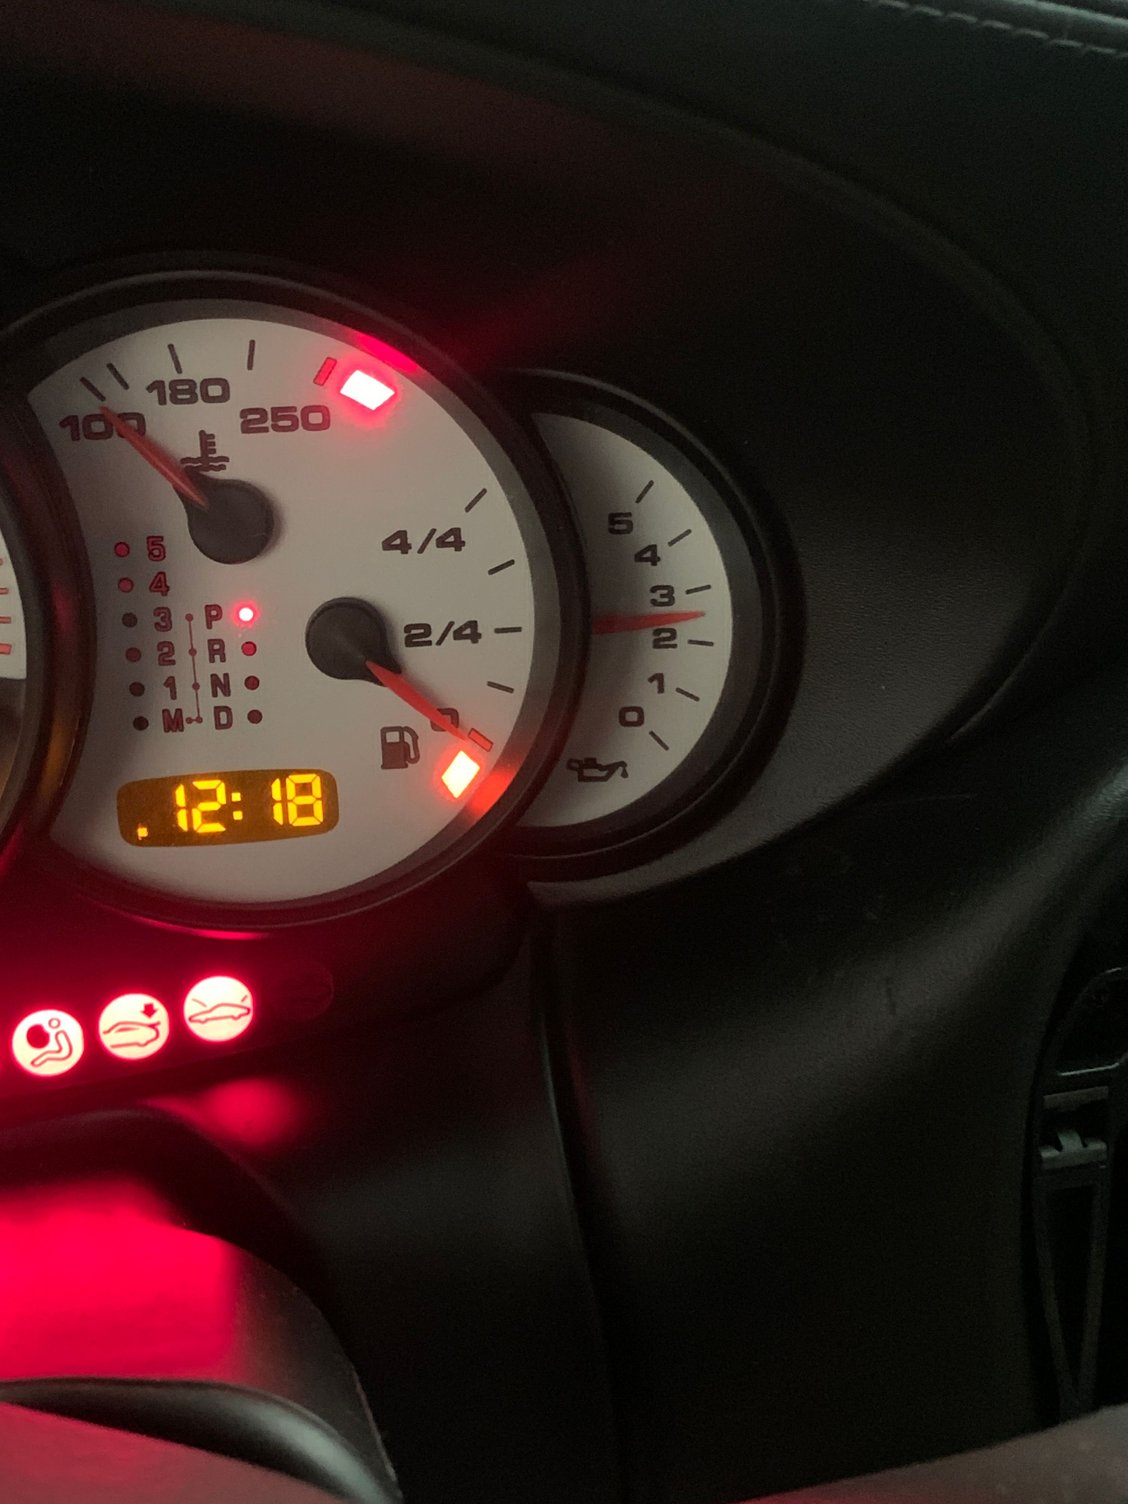
Primed the engine, replaced fuel pump fuse, turned the key and it instantly fired up. What a great feeling. Only let it run for a few seconds as its air cooled right now and not water cooled. Hopefully I can get the transmission and cooling system filled up over the weekend and of course get all the dash warnings to turn off.
 04-02-2021, 04:15 PM