When you click on links to various merchants on this site and make a purchase, this can result in this site earning a commission. Affiliate programs and affiliations include, but are not limited to, the eBay Partner Network.
If you haven't put the rear bumper back on, can you see a model number for the connector for the license plate lights, the car side? Mine, there's almost nothing left to it. The bumper side is fine, and while I can substitute any pair of suitable two pin weathertight connector, I'd like to source the real thing if I could. I'd rather not cut up a used harness for one small connector, though having some spares for other parts is tempting.
I pulled the plug out but no part number on it anywhere. Looking through the wiring diagram and picture, it references 999.650.013.40 but that shows up as a cable clamp? Not much to go on, sorry.
Originally Posted by dporto
Just hook the battery back up and move the front seats... better yet, just take them out (you�ll still have to move them forward to do this though) only 4 bolts each! 👍
Yep, I ended up pulling the fuel pump fuse and hooking the battery back up to slide the seat all the way forward. A couple of days later, I just removed the seat. Laying on the floor with legs up on the folded down back seat is actually quite comfy. 👍 I stayed in that position for a while staying up at the pedals, contemplating the work on the six speed swap. Again....
I pulled the plug out but no part number on it anywhere. Looking through the wiring diagram and picture, it references 999.650.013.40 but that shows up as a cable clamp? Not much to go on, sorry.
Yep, I ended up pulling the fuel pump fuse and hooking the battery back up to slide the seat all the way forward. A couple of days later, I just removed the seat. Laying on the floor with legs up on the folded down back seat is actually quite comfy. 👍 I stayed in that position for a while staying up at the pedals, contemplating the work on the six speed swap. Again....
Thank you for looking. I wanted get back on the road so I spliced in a similar, but not oem connector from Oreilly's. It'll work for now until I find the correct part.
Think it will look much better without the random matte vinyl hood. Its also a black car so you are fighting a losing battle one way or another, don't know if I can bring myself to ever own a black car again.
Think it will look much better without the random matte vinyl hood. Its also a black car so you are fighting a losing battle one way or another, don't know if I can bring myself to ever own a black car again.
Agree, it does look better without the matte hood.
I've got two black Porsches now When they are clean, they look phenomenal. Five minutes later...they show every speck of dust haha
Looks great. May be going through the same process as well later this year. Any concern with the stock rods and 4.0 displacement? I’m debating 3.8 vs 4.0.
Looks great. May be going through the same process as well later this year. Any concern with the stock rods and 4.0 displacement? I�m debating 3.8 vs 4.0.
If you plan on ever autocrossing or tracking the car, upgraded rods are a must when going past the 99mm.
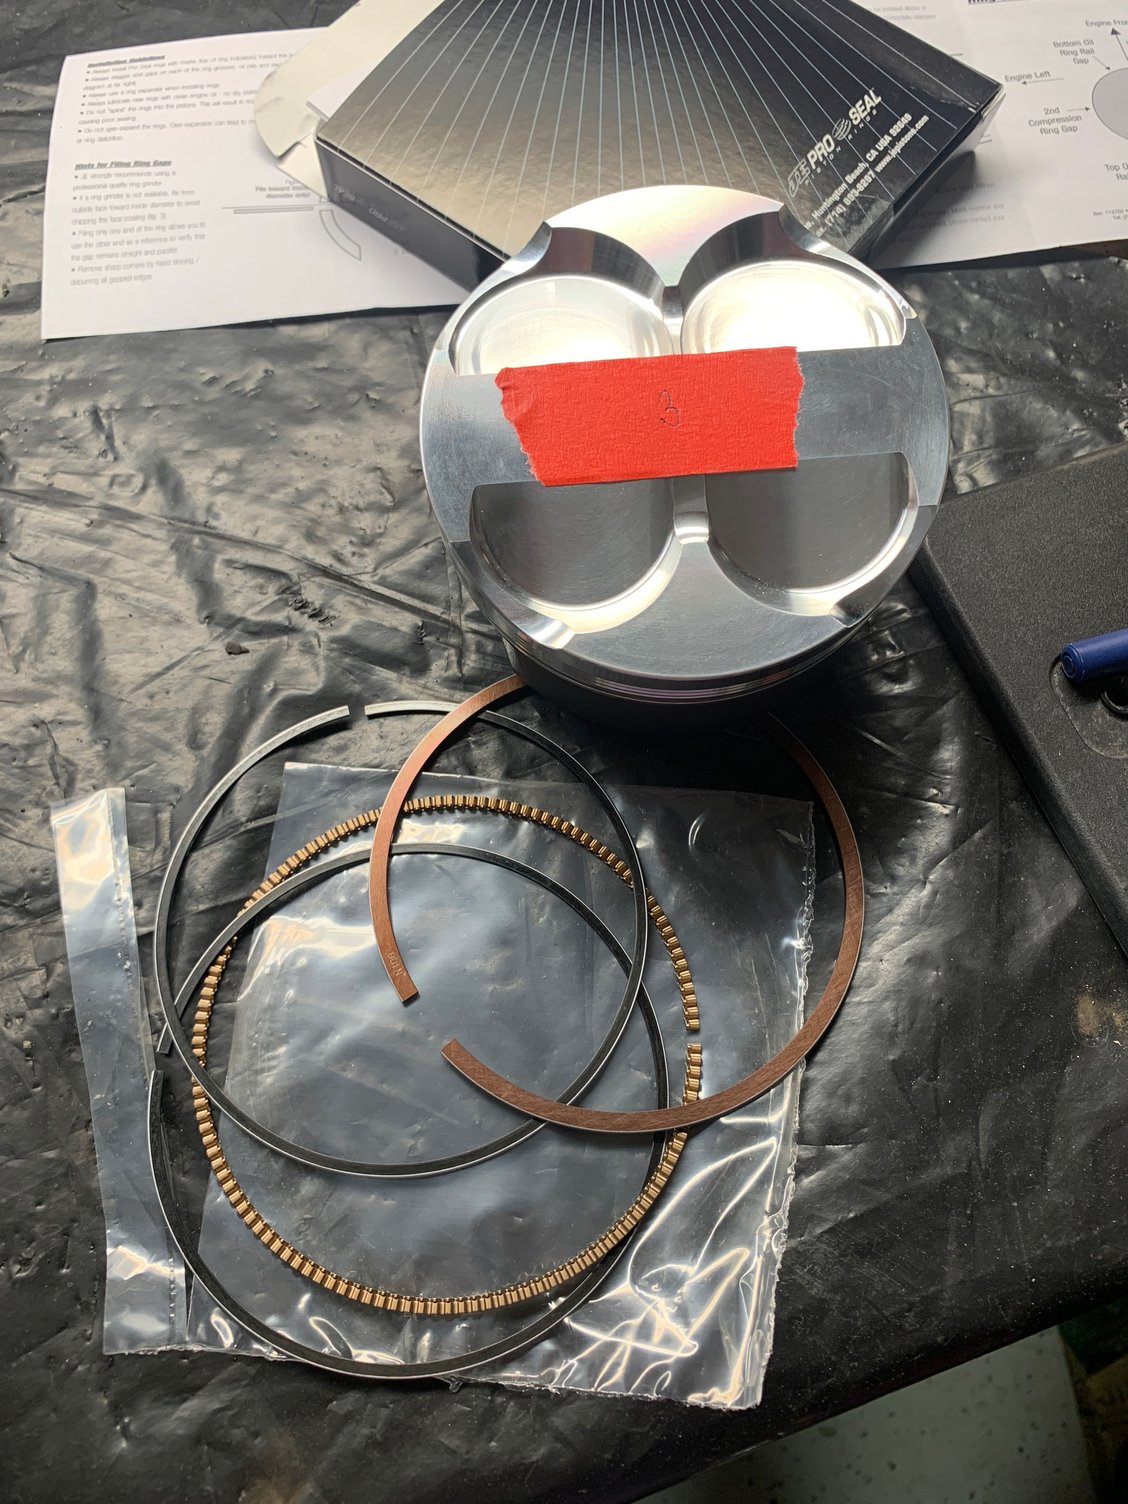
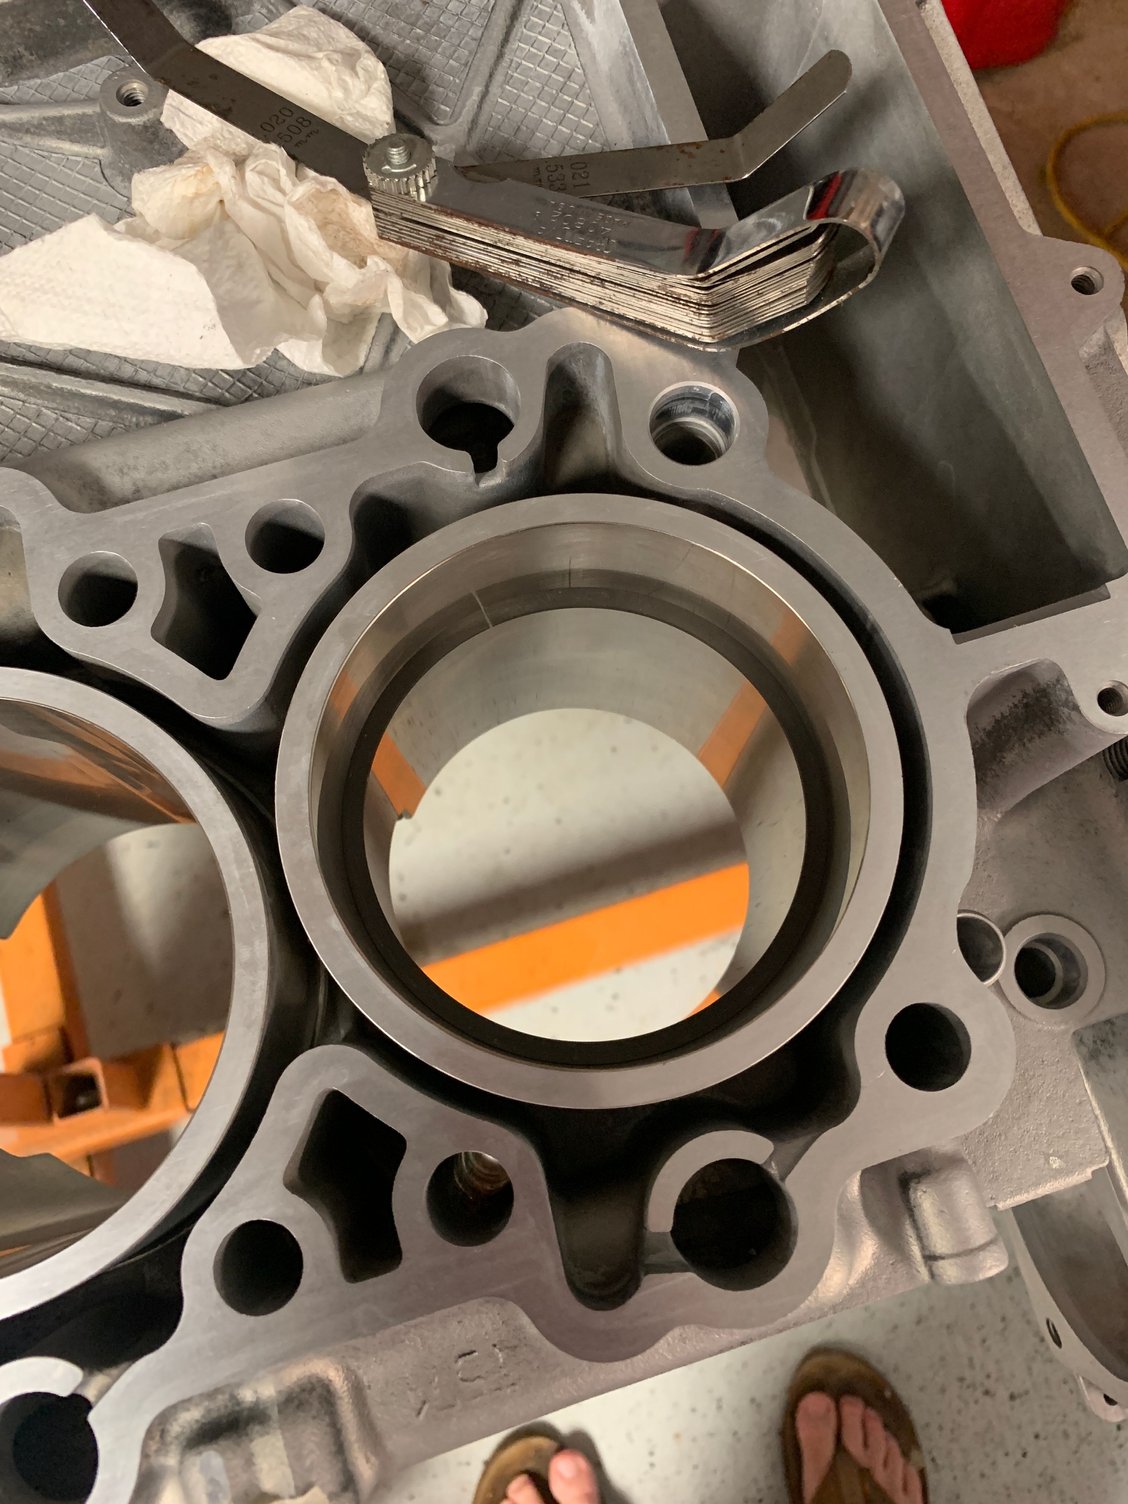
Some progress last night, spent about two hours doing the rings for three cylinders. I love this type of stuff.
My engine building buddy is coming over this afternoon, so we'll put these pistons/rods together, make sure the ring gaps are aligned how they need to be and get them in the block half. I have to wait for the intermediate shaft to come back before I can drop the crank case in and connect them. We'll get the other three rings gapped and pistons put together, ready for the next step.
Slow and steady, lots of preparation, double preparation, checking, double checking, cleaning, double cleaning and care. Did I mention I love this type of stuff?
Sexy stuff, looks like all you are missing is my video and workbook!!!
Thanks for everything you have and continue to put out there to help us with these builds. I have your vids in one of my shopping carts, if I get in a bind, I'll order them.
Originally Posted by golock911
Better than Christmas! It's gonna be great!
Thanks! haha it IS better than Christmas!!!!
Originally Posted by motoo344
Looking good, how long did you have to wait for everything?
I was originally quoted 10-12 weeks for the block but they came in right at 10 weeks. So thanks to Charles and all at @ LN Engineering for a nice surprise, I know they are crazy busy. Heads took the same amount of time. I shipped everything out in the same week and it was just pure coincidence that I received everything on the same day.
Originally Posted by amargari
Looks great. May be going through the same process as well later this year. Any concern with the stock rods and 4.0 displacement? I�m debating 3.8 vs 4.0.
Was on the fence but it's not going to be "tracked" outside of some Charity Laps at VIR. I did upgrade the rod bolts for some peace of mind.
Originally Posted by Charles Navarro
If you plan on ever autocrossing or tracking the car, upgraded rods are a must when going past the 99mm.
Thanks for this tidbit. but it won't get tracked or auto crossed. Not saying it will be babied but it will certainly not be abused. Its going be spirited drives home from work and to the kids soccer games and dance recitals BIG Thanks to all of you at LN Engineering, especially George and Stephen!!
Thanks for everything you have and continue to put out there to help us with these builds. I have your vids in one of my shopping carts, if I get in a bind, I'll order them.
Thanks! haha it IS better than Christmas!!!!
I was originally quoted 10-12 weeks for the block but they came in right at 10 weeks. So thanks to Charles and all at @ LN Engineering for a nice surprise, I know they are crazy busy. Heads took the same amount of time. I shipped everything out in the same week and it was just pure coincidence that I received everything on the same day.
Was on the fence but it's not going to be "tracked" outside of some Charity Laps at VIR. I did upgrade the rod bolts for some peace of mind.
Thanks for this tidbit. but it won't get tracked or auto crossed. Not saying it will be babied but it will certainly not be abused. Its going be spirited drives home from work and to the kids soccer games and dance recitals BIG Thanks to all of you at LN Engineering, especially George and Stephen!!
Based on your plans that you stated for assembly order, you need the video now. You just don�t know it yet. That�s the thing about the video, it saves your *** without you even knowing it.
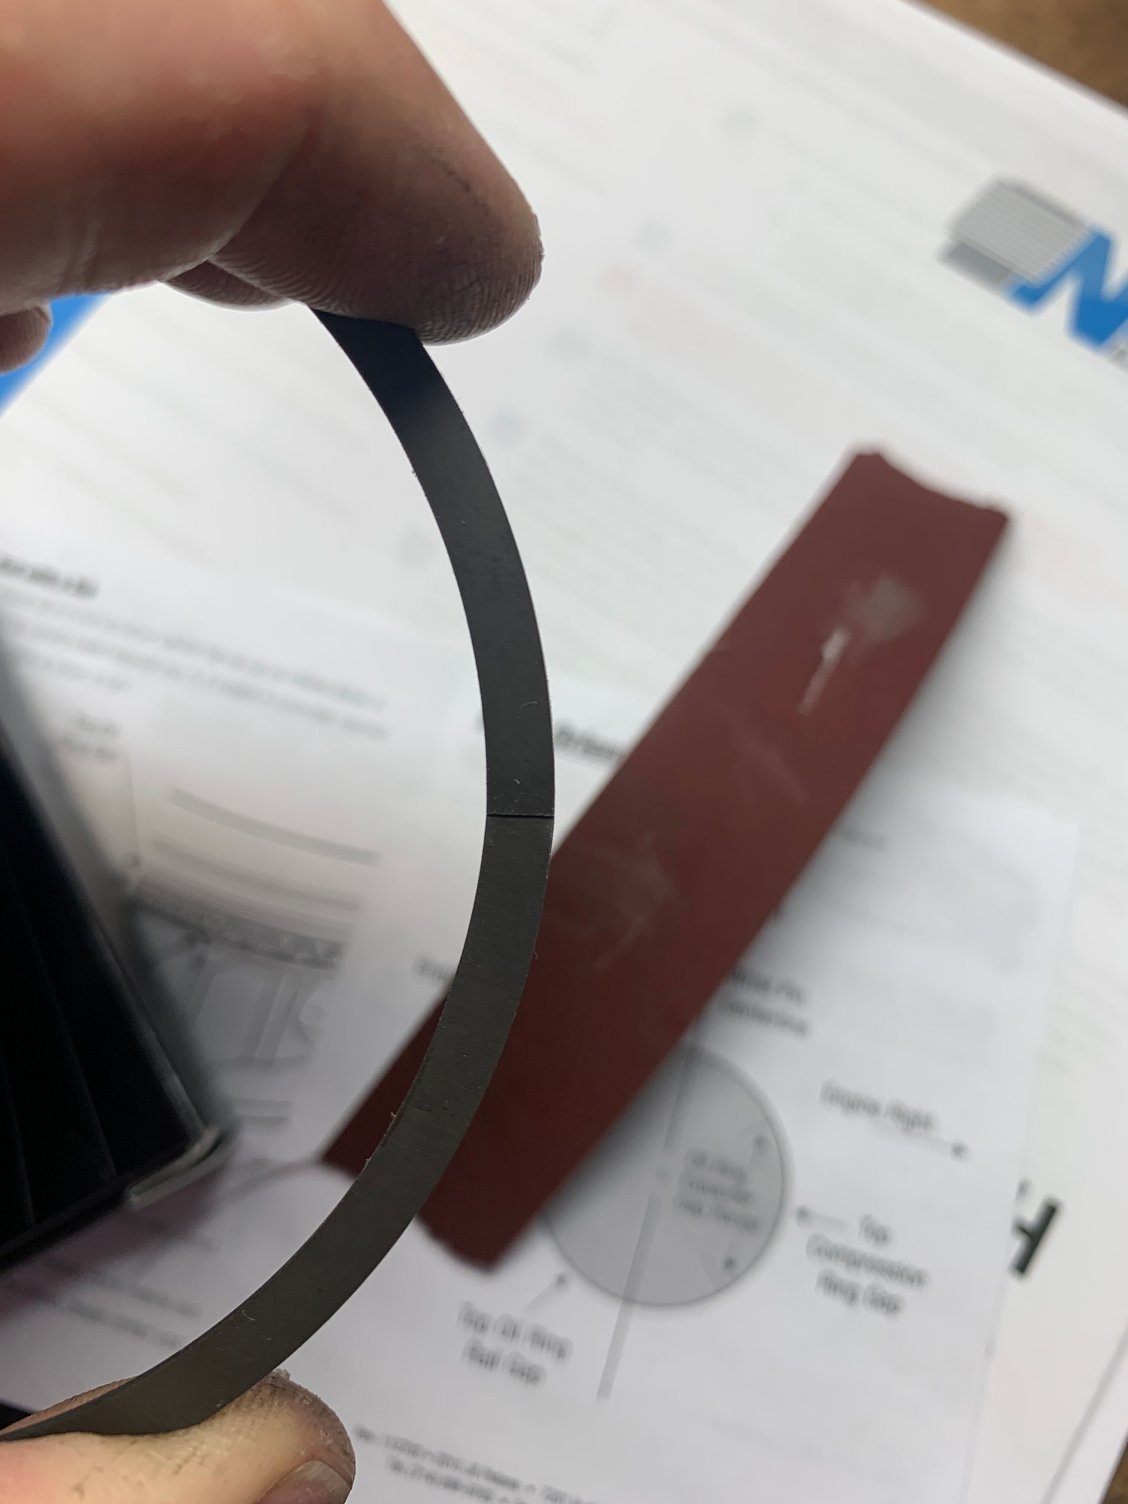
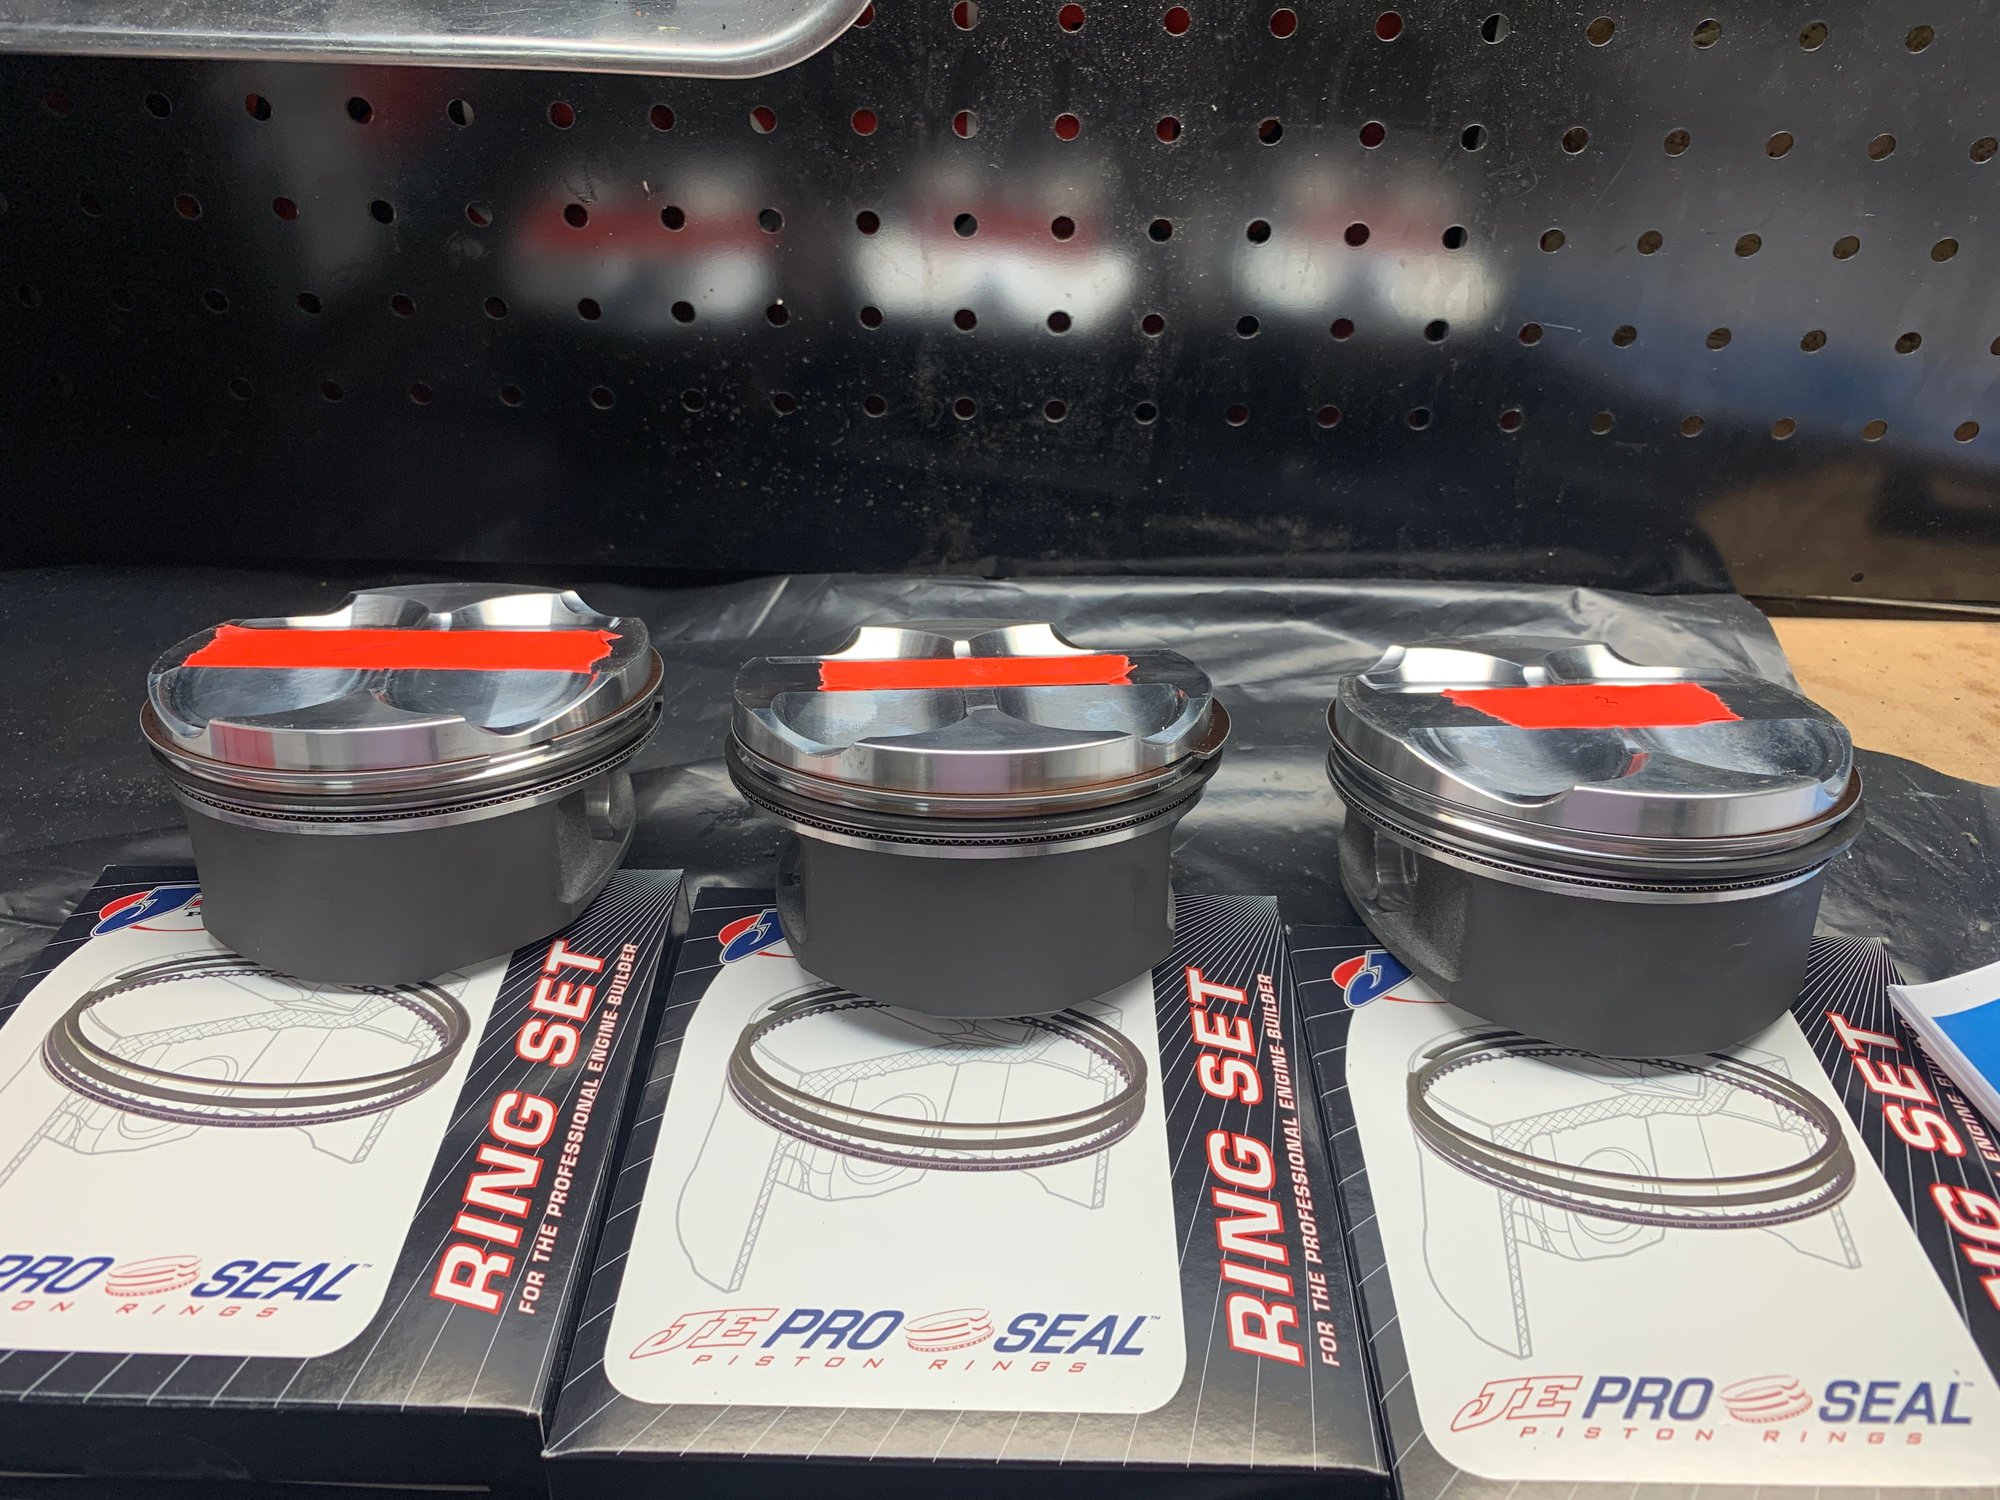
All rings gapped at .0020" and .0018" and assembled into the pistons. Oil rings only stated a minimum of .0015". I had well over .0020", not much I can do there but call it good.
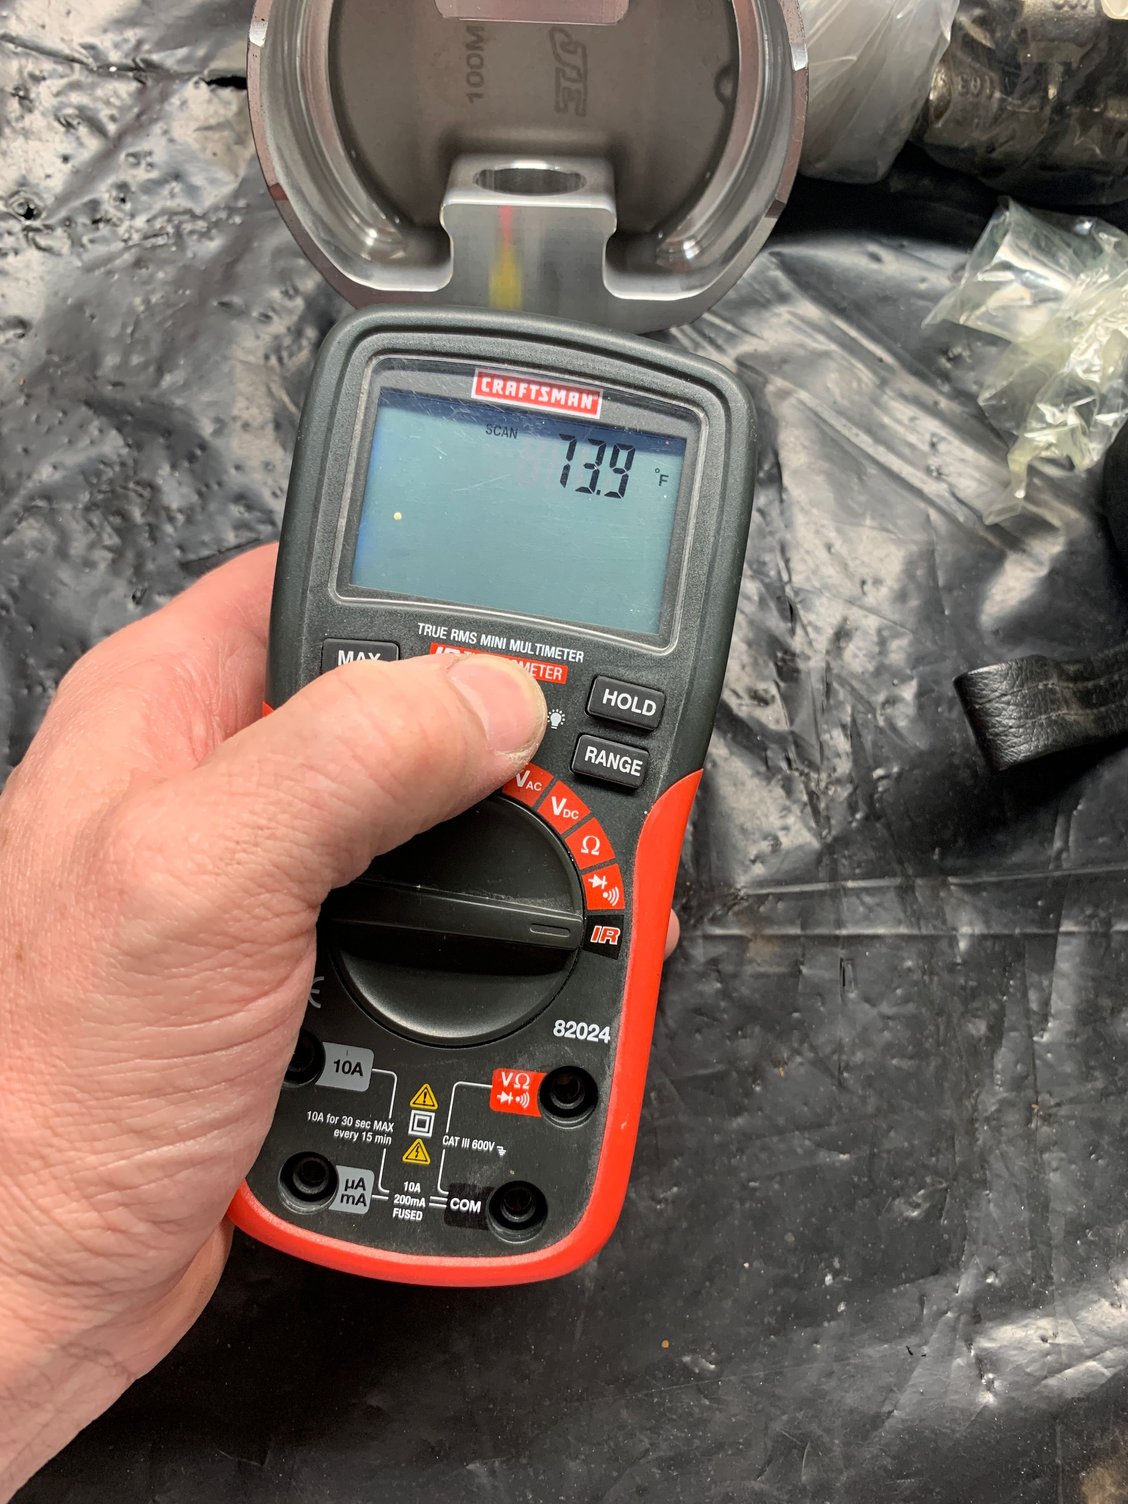
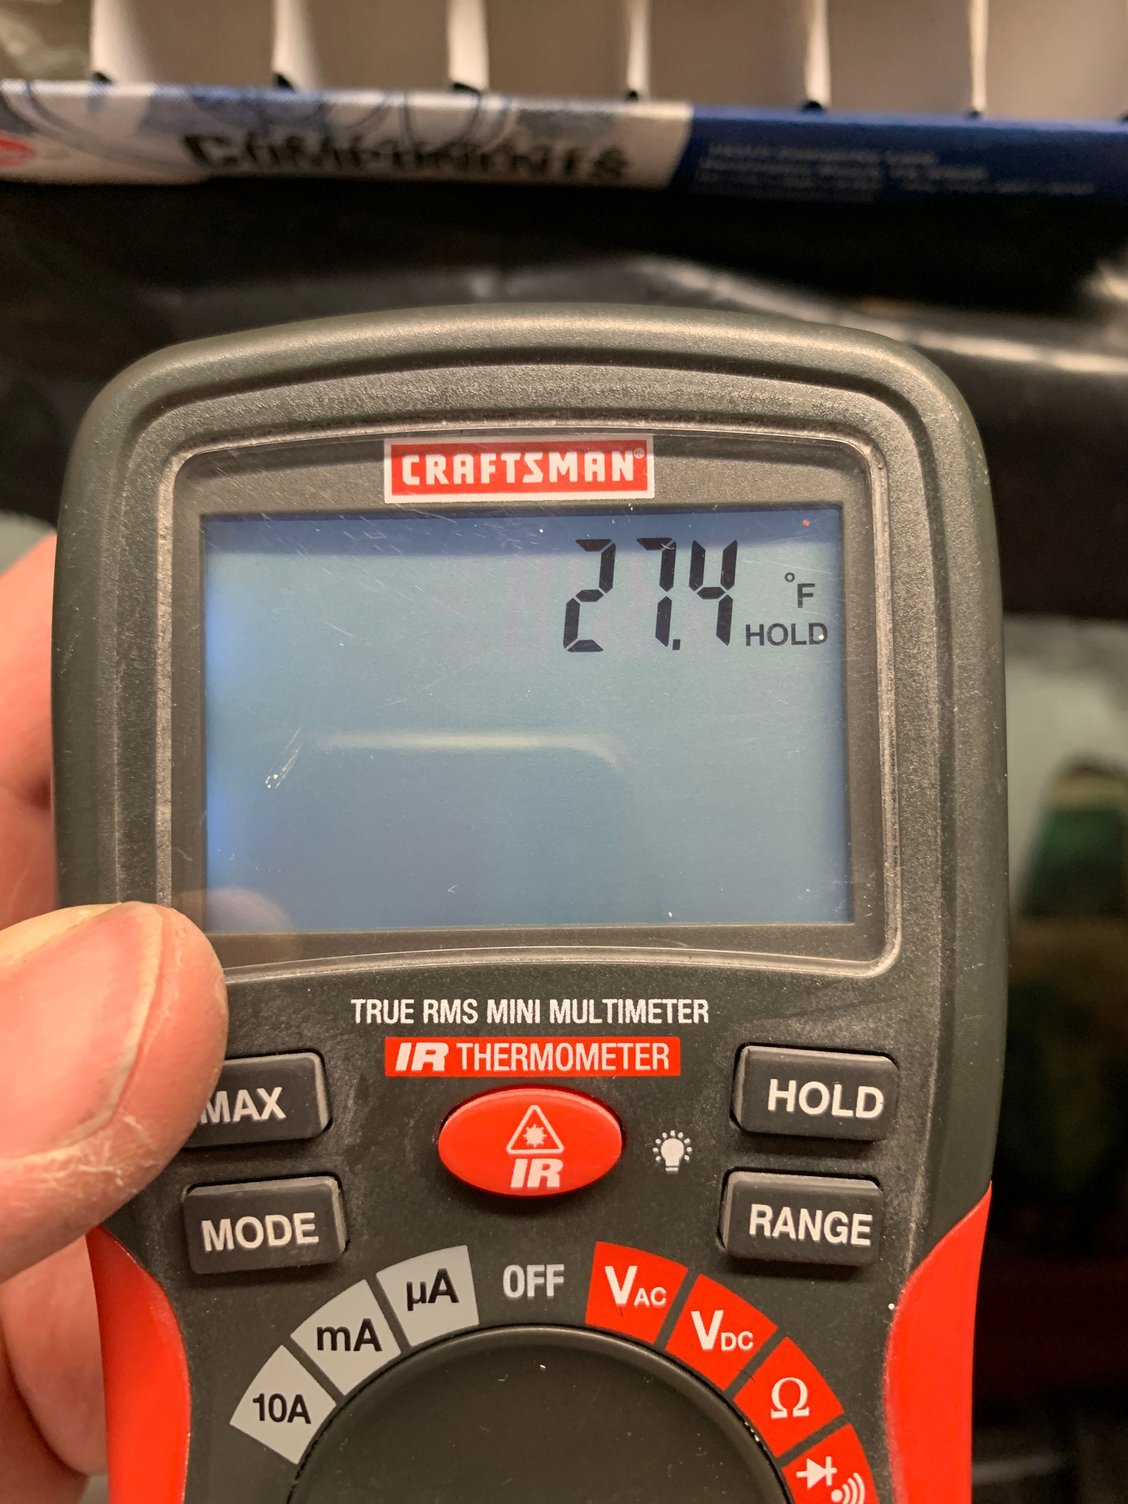
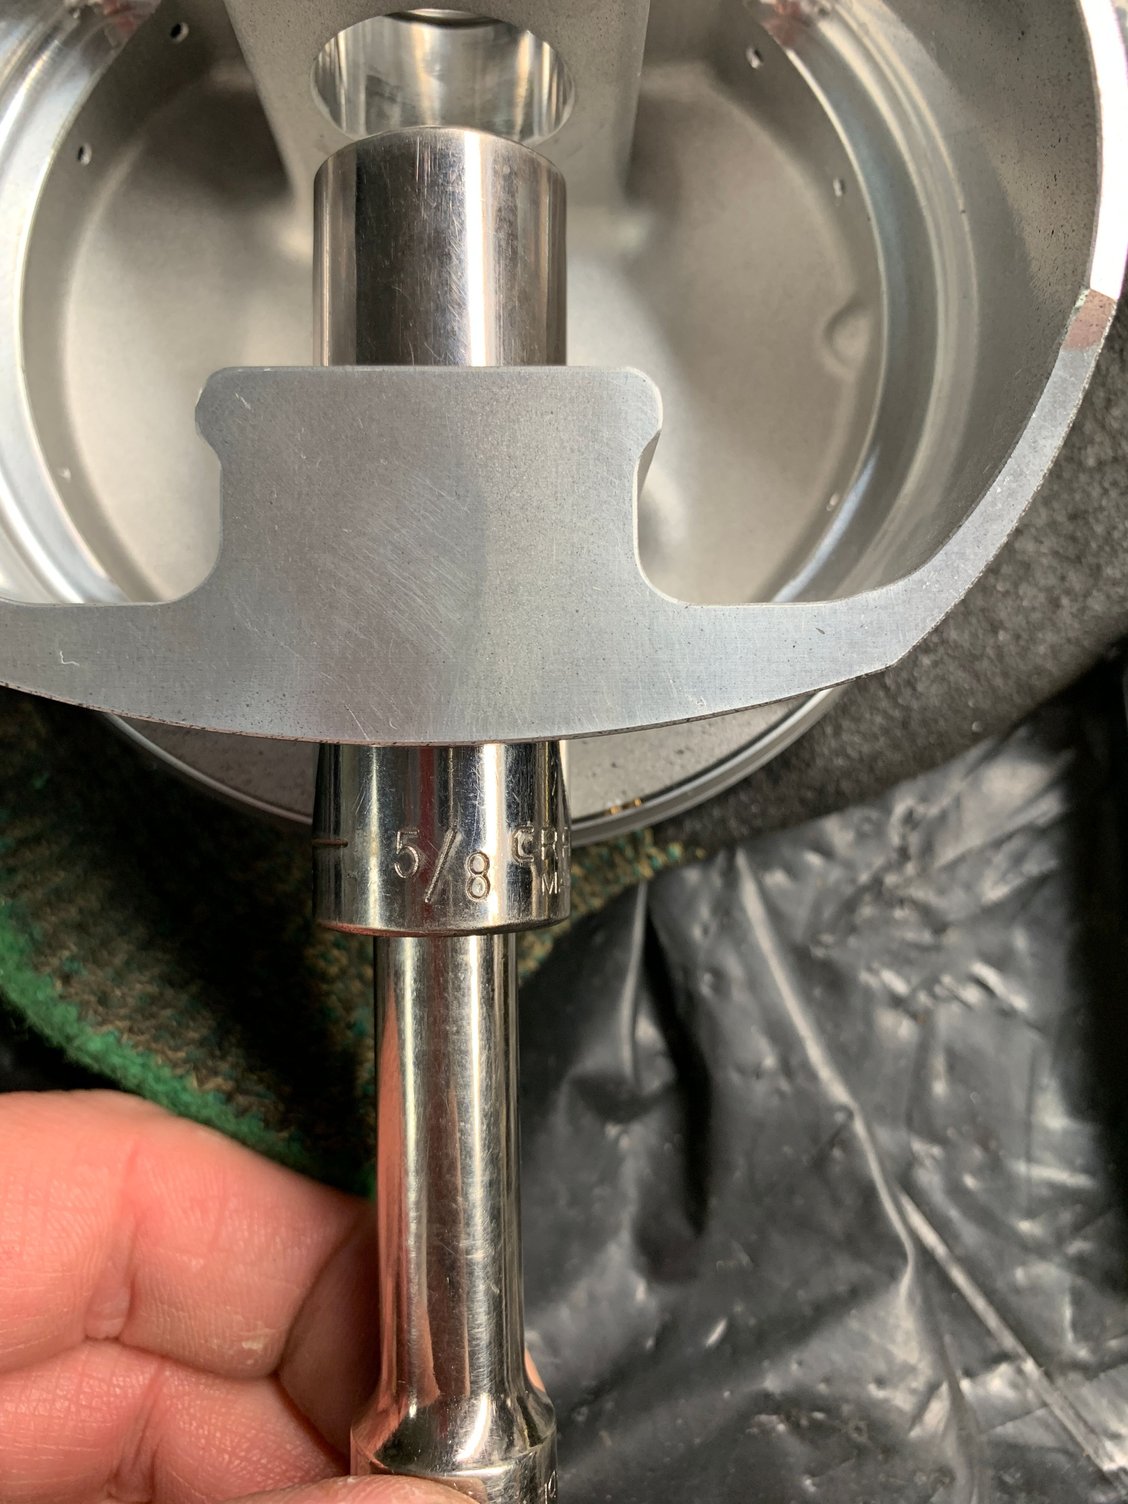
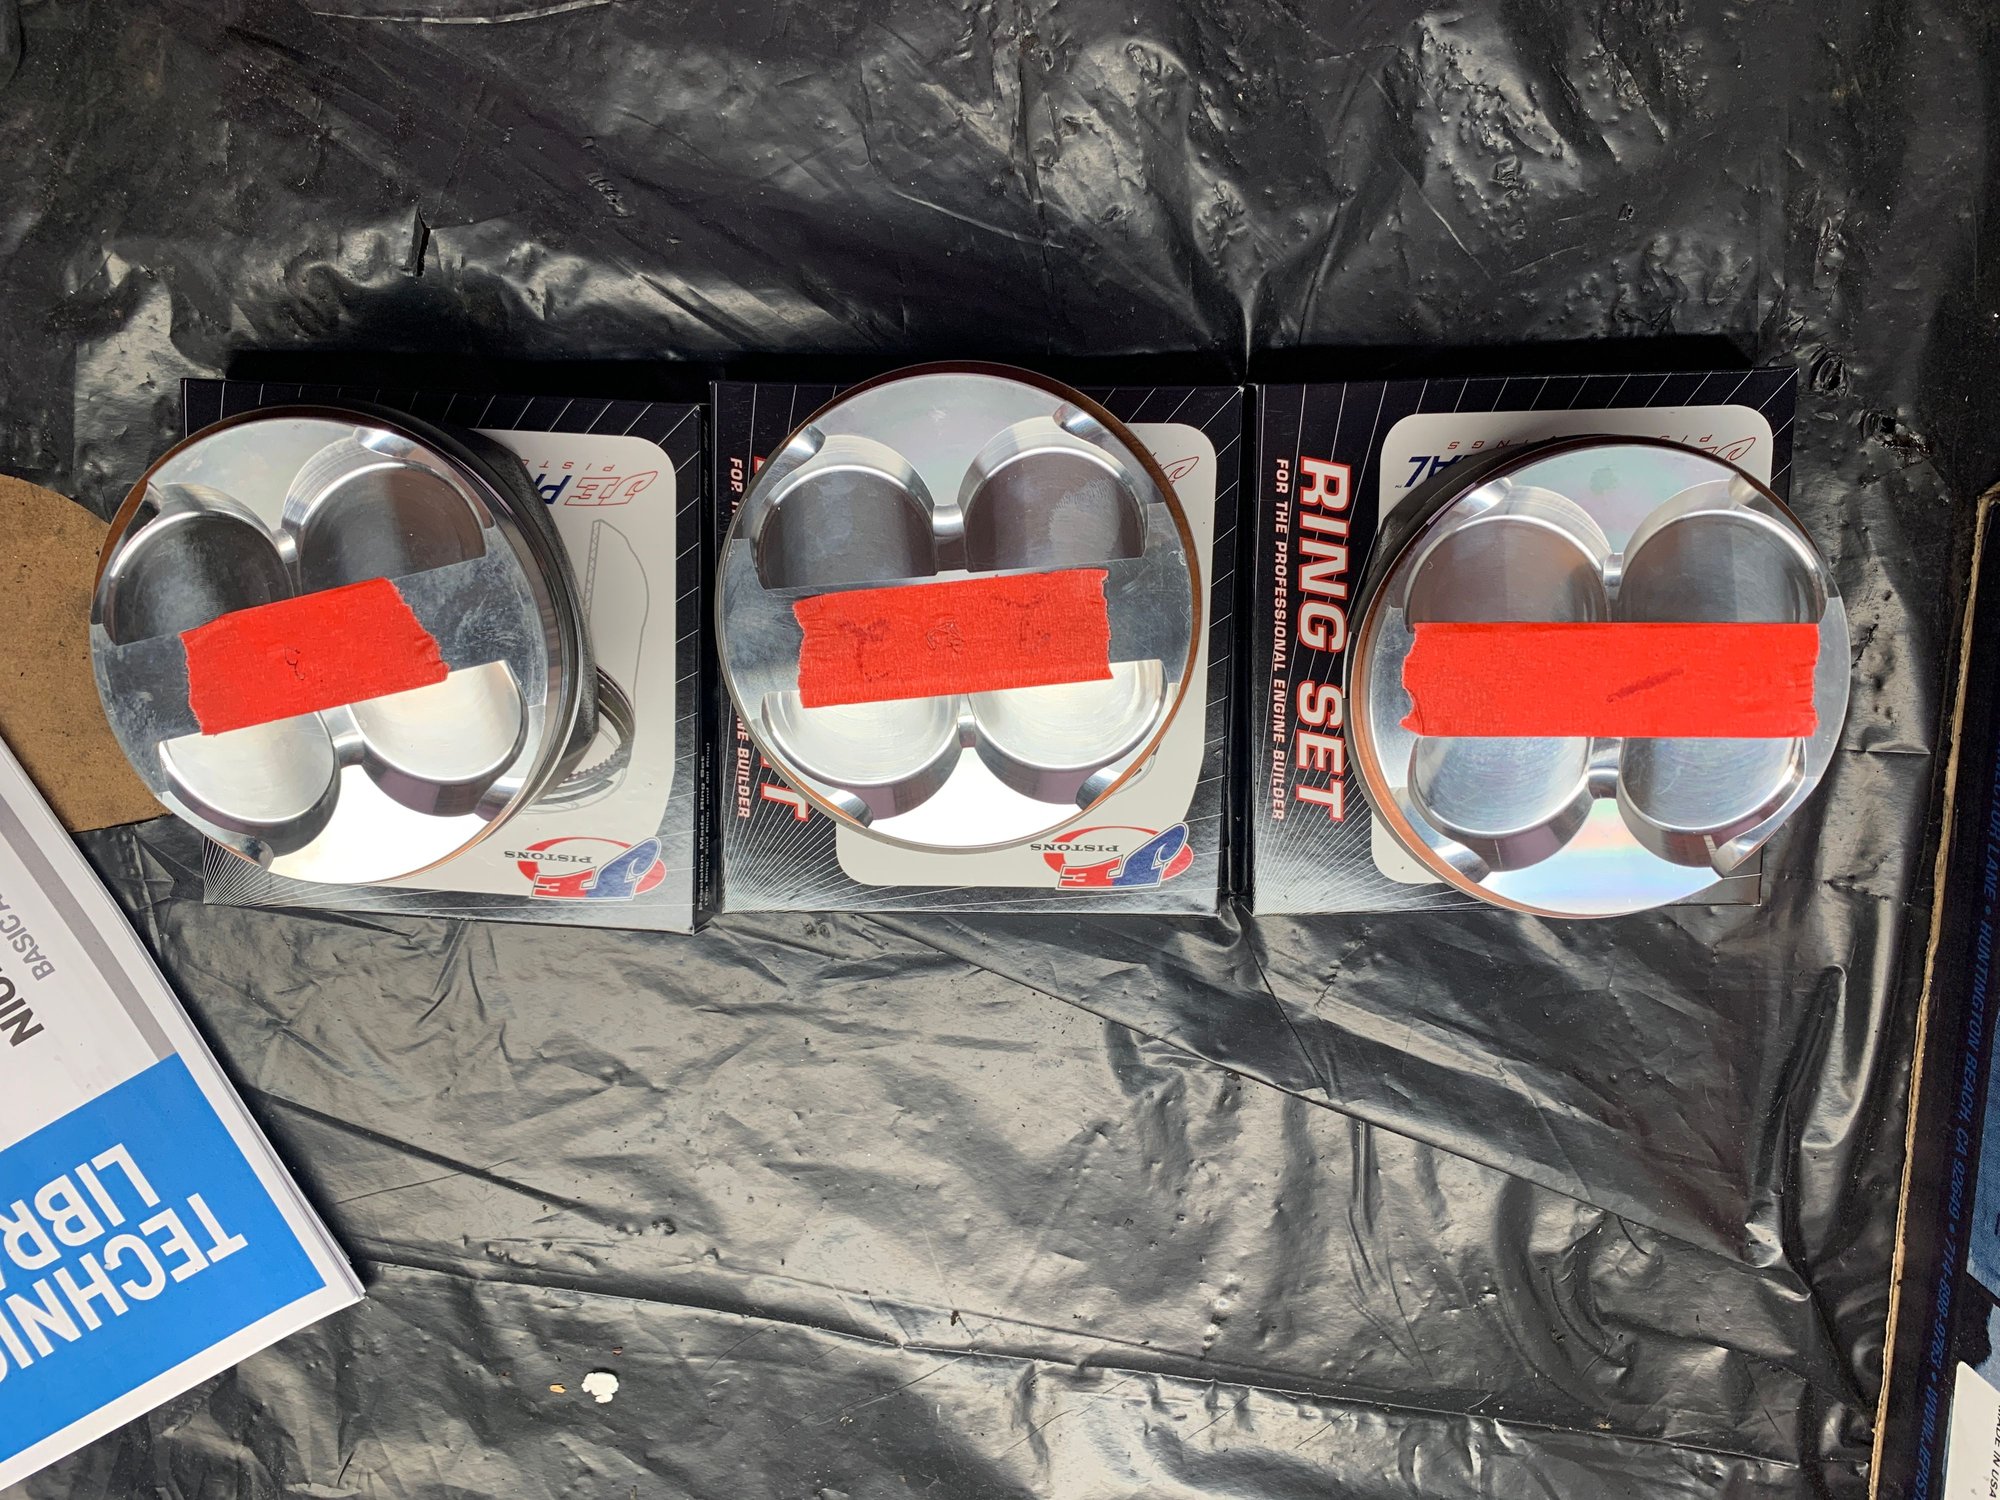
The wrist pins have been in the freezer since I received them (don't tell the wife...also don't tell her the IMS bearing is in there too). Wrist pins slid in nicely with just my thumbs...but a 5/8" socket also works perfectly.
garage temp
wrist pin temp
5/8" socket will work perfectly to push the wrist pin all the way in.
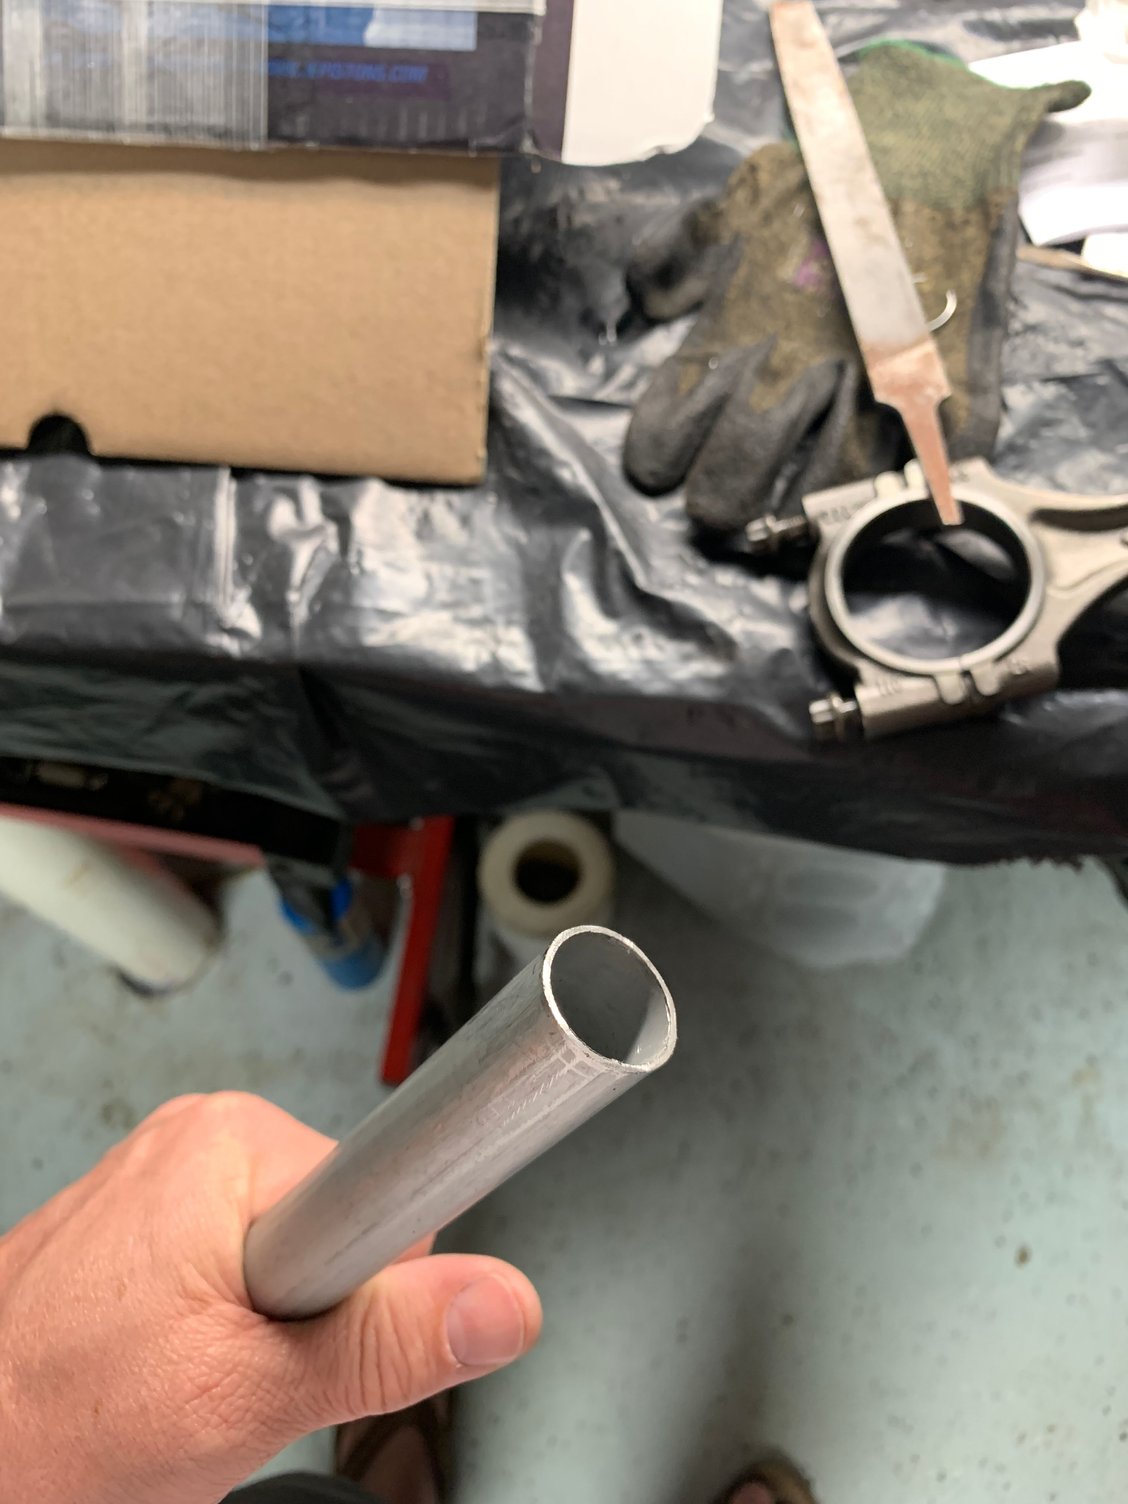
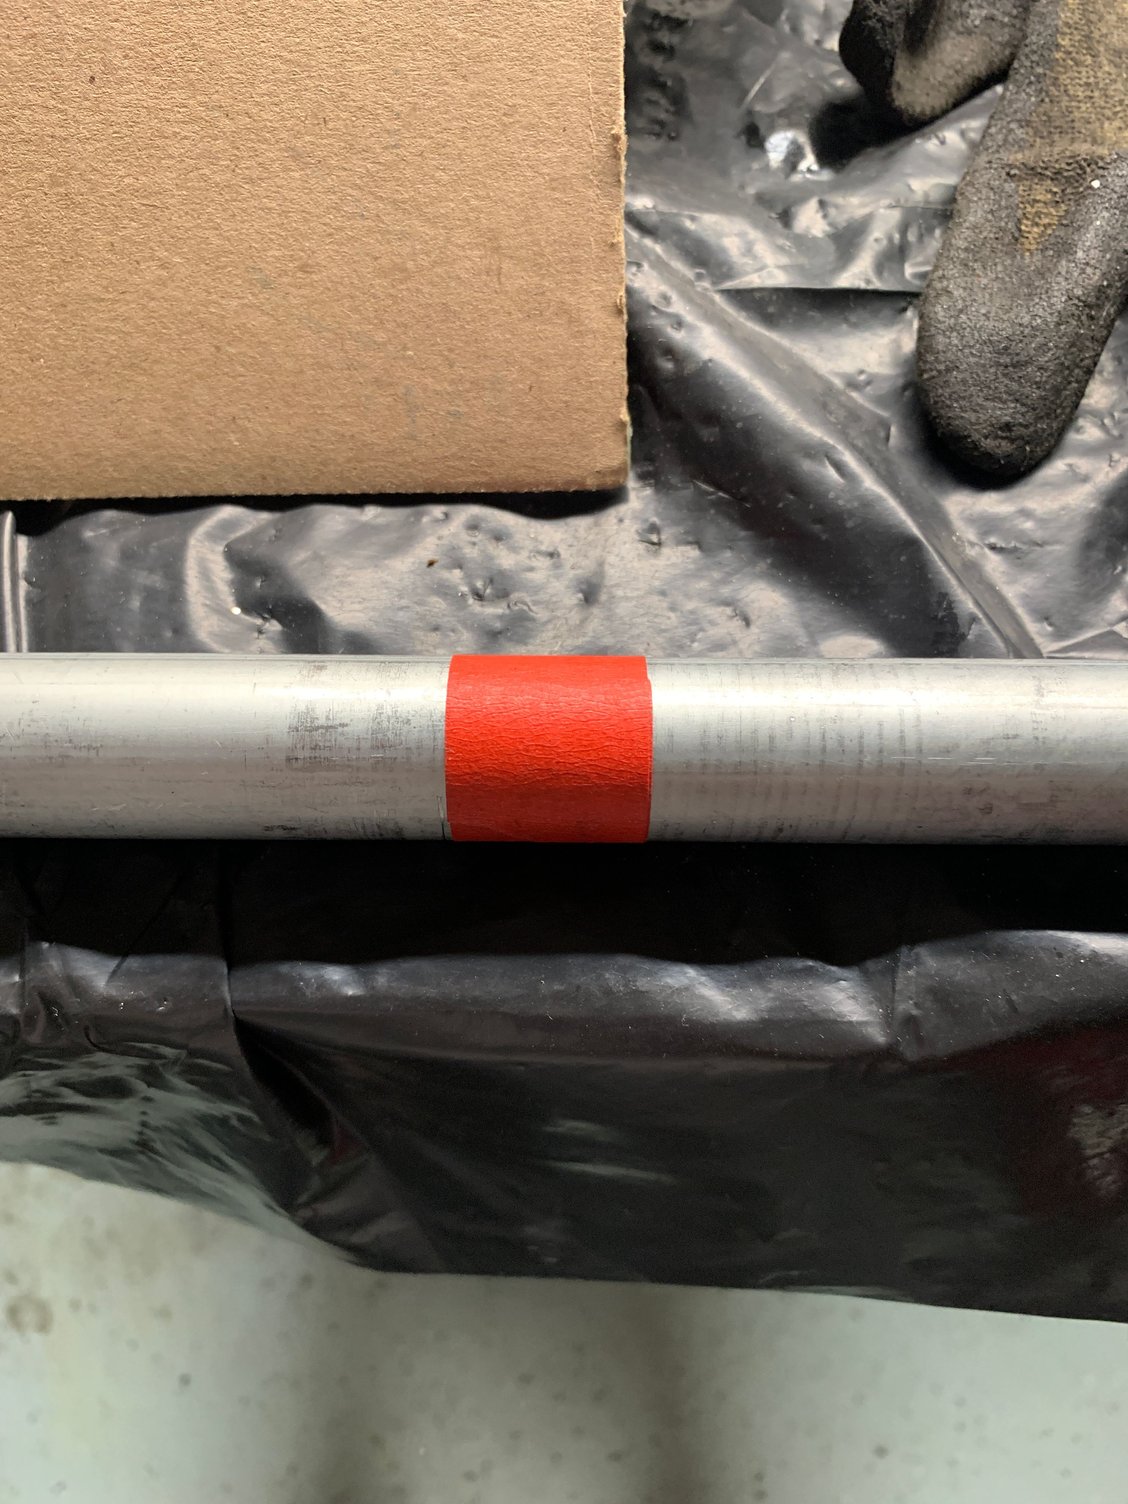
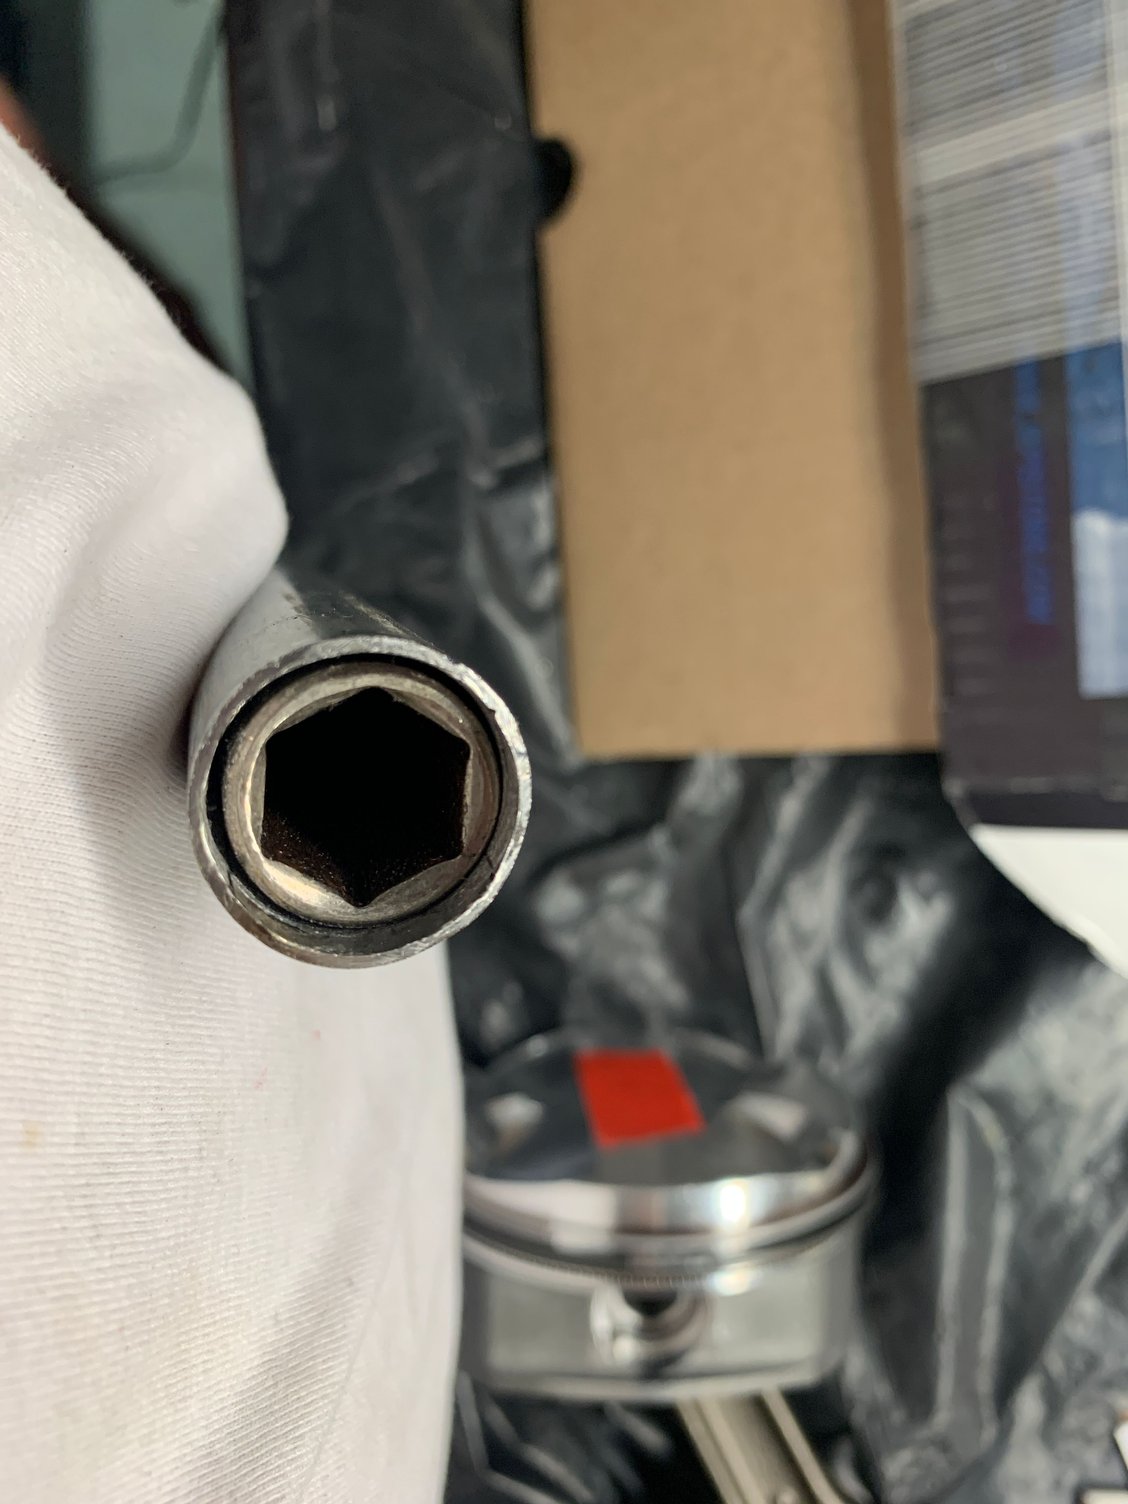
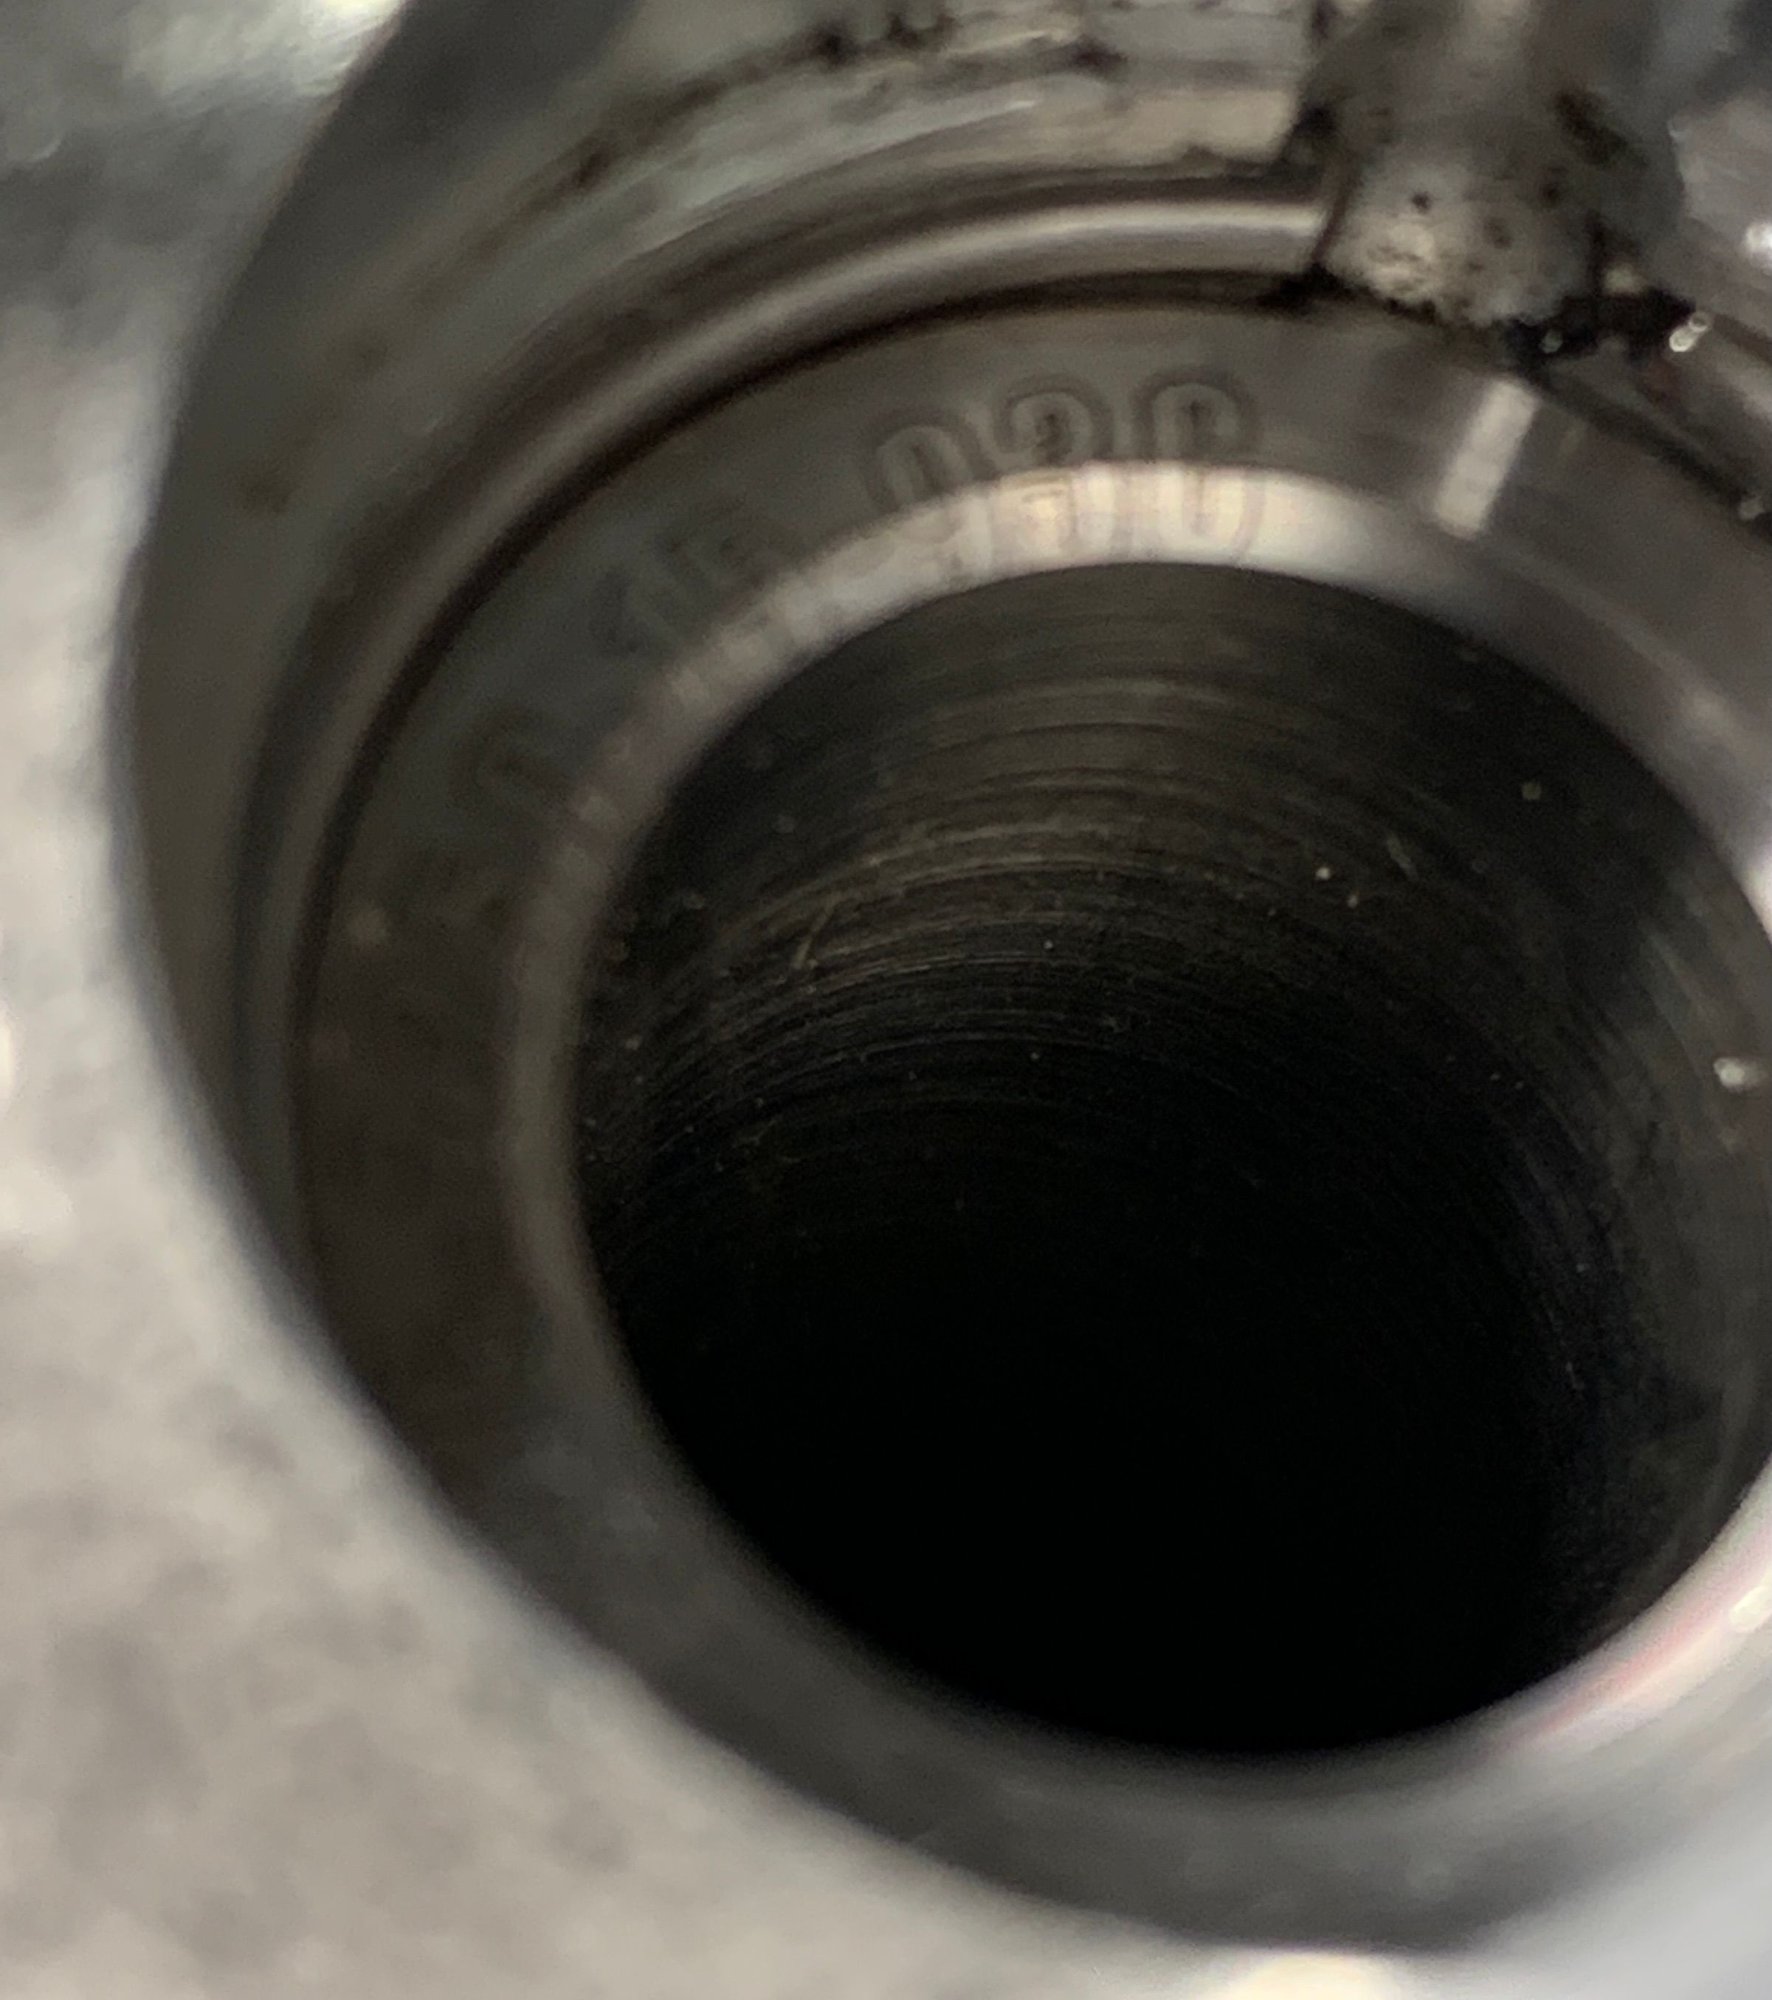
Still waiting on the intermediate shaft so no other assembly I can do at the moment. While waiting around I got a wild hair (aka bored) and wanted to see what I could do to help someone on a budget rebuild their engine. While there is no substitute for the real tools, I did dig around and came up with an idea for my own circlip install tool using things I already had. I got a piece of 1" o.d. conduit cut down to a manageable length, polished up the inside about an inch deep and deburred the edges where I had cut it. I used a 14mm deep socket and long extension as the "plunger". The JE circlips do not have the hook on them so I didn't need to notch the end of the conduit. However I did mark (or index) the outside of the shaft so I could line up the opening of the circlip with the notch in the opening once installed.
Call it backyard, shadetree or even hack but as you can see, it worked out really well. I used plenty of assembly lube but wiped it off for the photos. Hopefully it will help someone else out to save a few $$$'s and keep it fun.
1" conduit before cleaning the end up
cut to length in anticipation of it working and using it to install the circlips inside the case half
fits the piston skirt hole perfectly
testing various size sockets to use as the "plunger"
final result (after wiping the assembly lube off for the photo). Other side will be oriented 180 degrees in case I ever need to remove the wrist pin.
One thing to note, since these circlips don't have the little hooks on them, you want the opening of the circlip away from the notch in the piston skirt hole. Makes it much easier if you ever need to remove the circlips down the road!
 03-07-2021, 08:01 PM


 When they are clean, they look phenomenal. Five minutes later...they show every speck of dust haha


 BIG Thanks to all of you at LN Engineering, especially George and Stephen!!