When you click on links to various merchants on this site and make a purchase, this can result in this site earning a commission. Affiliate programs and affiliations include, but are not limited to, the eBay Partner Network.
I know working in tight places on these cars can be frustrating. As mere mortals when we get frustrated we loose the finesse needed to accomplish these delicate tasks. Sometimes the fastest way to get finished is to walk away for a while and do something else, then come back, many times it goes right in..As a professional I have had this happen so many times I can't count them. It is truly amazing sometimes how easy it is after a break from the frustration. The key is to not get frustrated in the first place, but to change techniques or tools to avoid frustration. Having a large variety of tools and techniques gets the task done without frustration.
An online Porsche shop that sells a complete factory AOS replacement kit for about $450 (an AOS, both breather hoses, both coolant hoses, all clamps, the coolant fitting ect.) says it takes about 3 hours to install ALL these AOS parts. The Professionals I have got feedback from are from 3.5 hours and up on labor time on the UAOS install.Of course DIY'ers are not going to be able to do this as quickly. The first AOS I replaced in situ was about 16 years ago, and I was past my prime physically, but still growing in finesse, took only an hour to replace the AOS only..(996.1)
I would rate the UAOS install at a B+ labor skill. You would need a B skill in overall knowledge of engines, and an A skill in finesse...
And it doesn't hurt to have the Porsche Gods on your side !!
Sometimes my Snap-on tools in my personal toolbox are all the difference in making repairs much simpler.
Sometimes the Harbor Freight/Craftsman/Stanley tools that I grab out of the shared toolbox gets the job done just as well.
A lot of time the quality doesn't matter but when it does, it REALLY does.
I'm not talking about crappy Chinese pot metal crap.
That stuff is not worth owning.
Some of the HF stuff is actually pretty good.
But don't use the jack stands!
Well, the good news is where the line pulled out of is relatively accessible (was able to see it under plenum) so I’ll just have to pull the plenum back out to reconnect.
Which part is the change over bracket? I have 02 tip if the pictures helps. I haven't posted anything about my progress and completion yet because I am chasing a P0491 and P0492 code related to the Secondary Air Induction thing. Once I can sort that out, I will make a post about it. I can definitely take more pics for anyone who needs it since I am still pulling this apart and putting it back together multiple times lol.
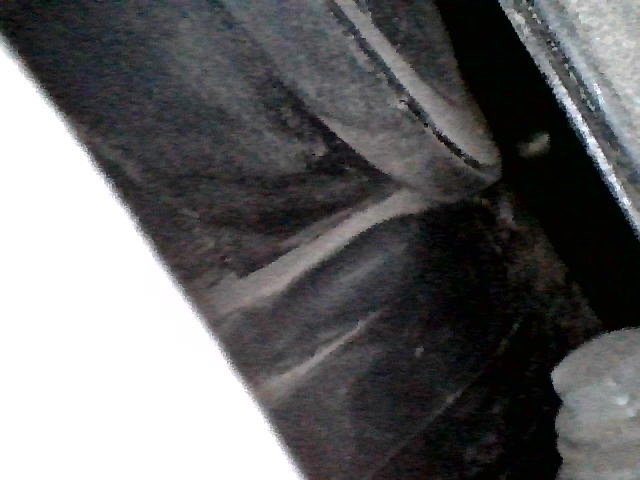
For those with 996.2, my AOS did not have the channel that most of the pictures indicate needs to be filled with sealant. I�m guessing the port must be in the same location at the 6 o�clock position (in situ in car), so sealed where I�m �thinking� the port is.
This is where the �channel� should be...but isn't
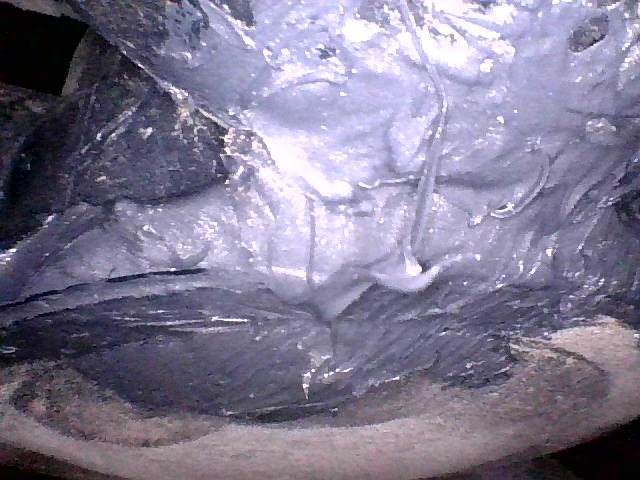
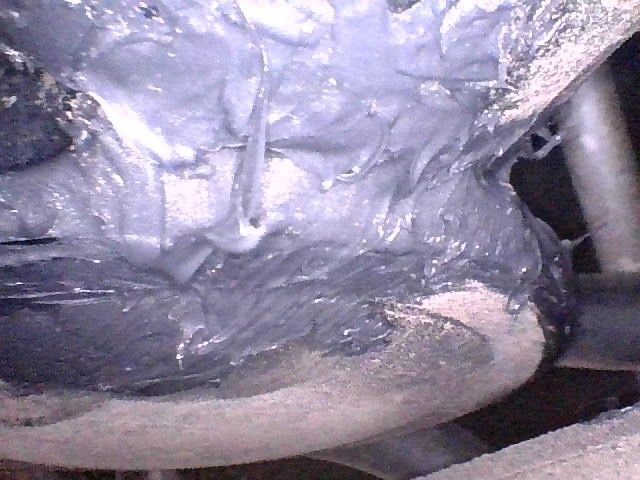
My sealing job. This is looking up from the 6 o�clock position
Hi Joe, your AOS with "no channel" is a very early factory design, possibly the original one. The factory updated the AOS 5-6 times since they were so failure prone, the rubber diaphragms are crap and still are.
A bit aggressive on the sealer, but looks like you got it covered..That's why I now recommend for people to just buy the pre-sealed AOS and install it, sealing in situ is not easy..
Glad you are finally getting to install your UAOS kit, I know it's been "quarantined" on this side of the boarder for a LONG time due to Covid-19 restrictions..
Last edited by Porschetech3; 08-30-2020 at 02:00 PM.
With the AOS installed it would be hard to seal it by touch.
Joe’s aggressive approach has a probably the correct one, other than ordering a new Porschetech3 sealed one.
At least he is certain it is sealed.
Yes, I pre-seal the AOS's for my kits on the bench and bench test each one before shipping.
The Indy's who have installed the kits have had nothing but good things to say about the UAOS, and are wanting to install more and and are recommending to their other customers...
Ensuring it was sealed was my priority. Nobody can see it anyway, so pretty doesn’t count
Sealing was easy, once I gave up looking for the channel that is shown in all the pics out there. Like you said way back Doc, a little RTV on fingertip, reach up and apply. Getting the pipe on with that o-ring connector was a bit challenging, but perseverance and patience is key. It’s all feel as you're working blind. Nice part was I didn’t have to remove plenums, throttle body or any of it. Just lowered engine on mounts a little and “threaded the needle”
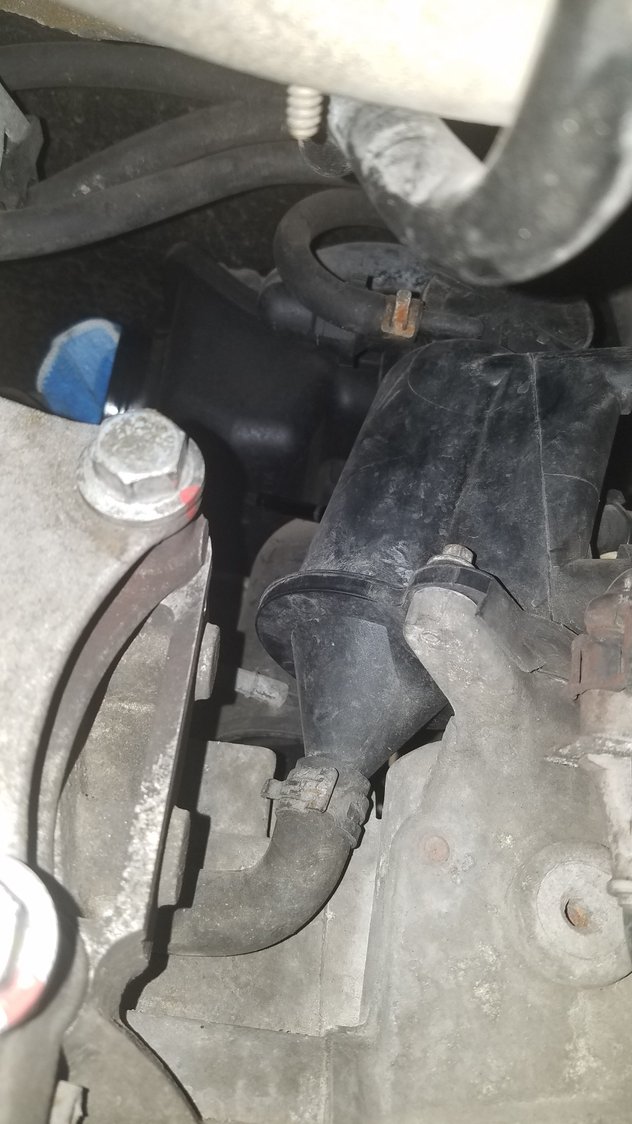
Taking things apart. I'm at the last rear manifold bolt, which, as reported is covered by the AOS.
Frustrated that the 101 Projects book is a '99 and is nothing like my 2004, and the Bentley book doesn't have any reference nor picture of the AOS that I can find. (AOS in index is only the sump swirlpots.)
So, off to rennlist to save the day.
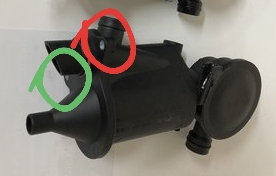
I think above I'm looking at the green bolt (hex) I can loosen from the bottom. I need to find the red bolt, probably from the top.
Then the AOS will be loose? Correct?
Thanks!
 08-17-2020, 04:33 PM


 That's why I now recommend for people to just buy the pre-sealed AOS and install it, sealing in situ is not easy..