When you click on links to various merchants on this site and make a purchase, this can result in this site earning a commission. Affiliate programs and affiliations include, but are not limited to, the eBay Partner Network.
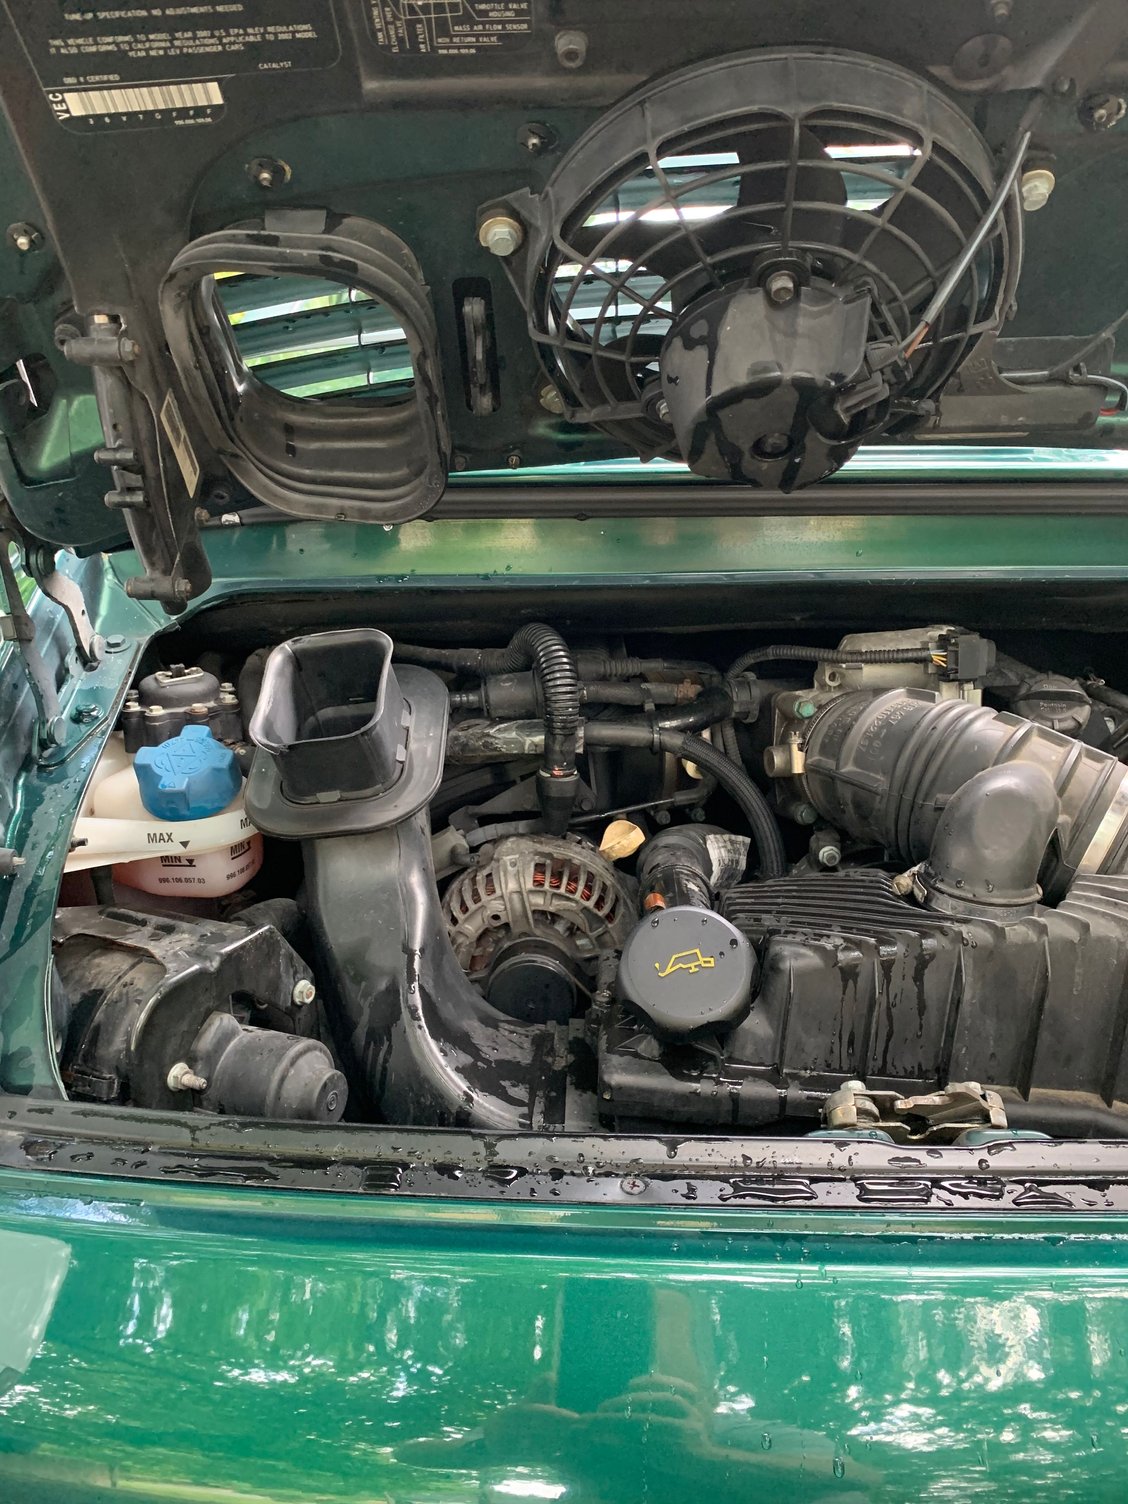
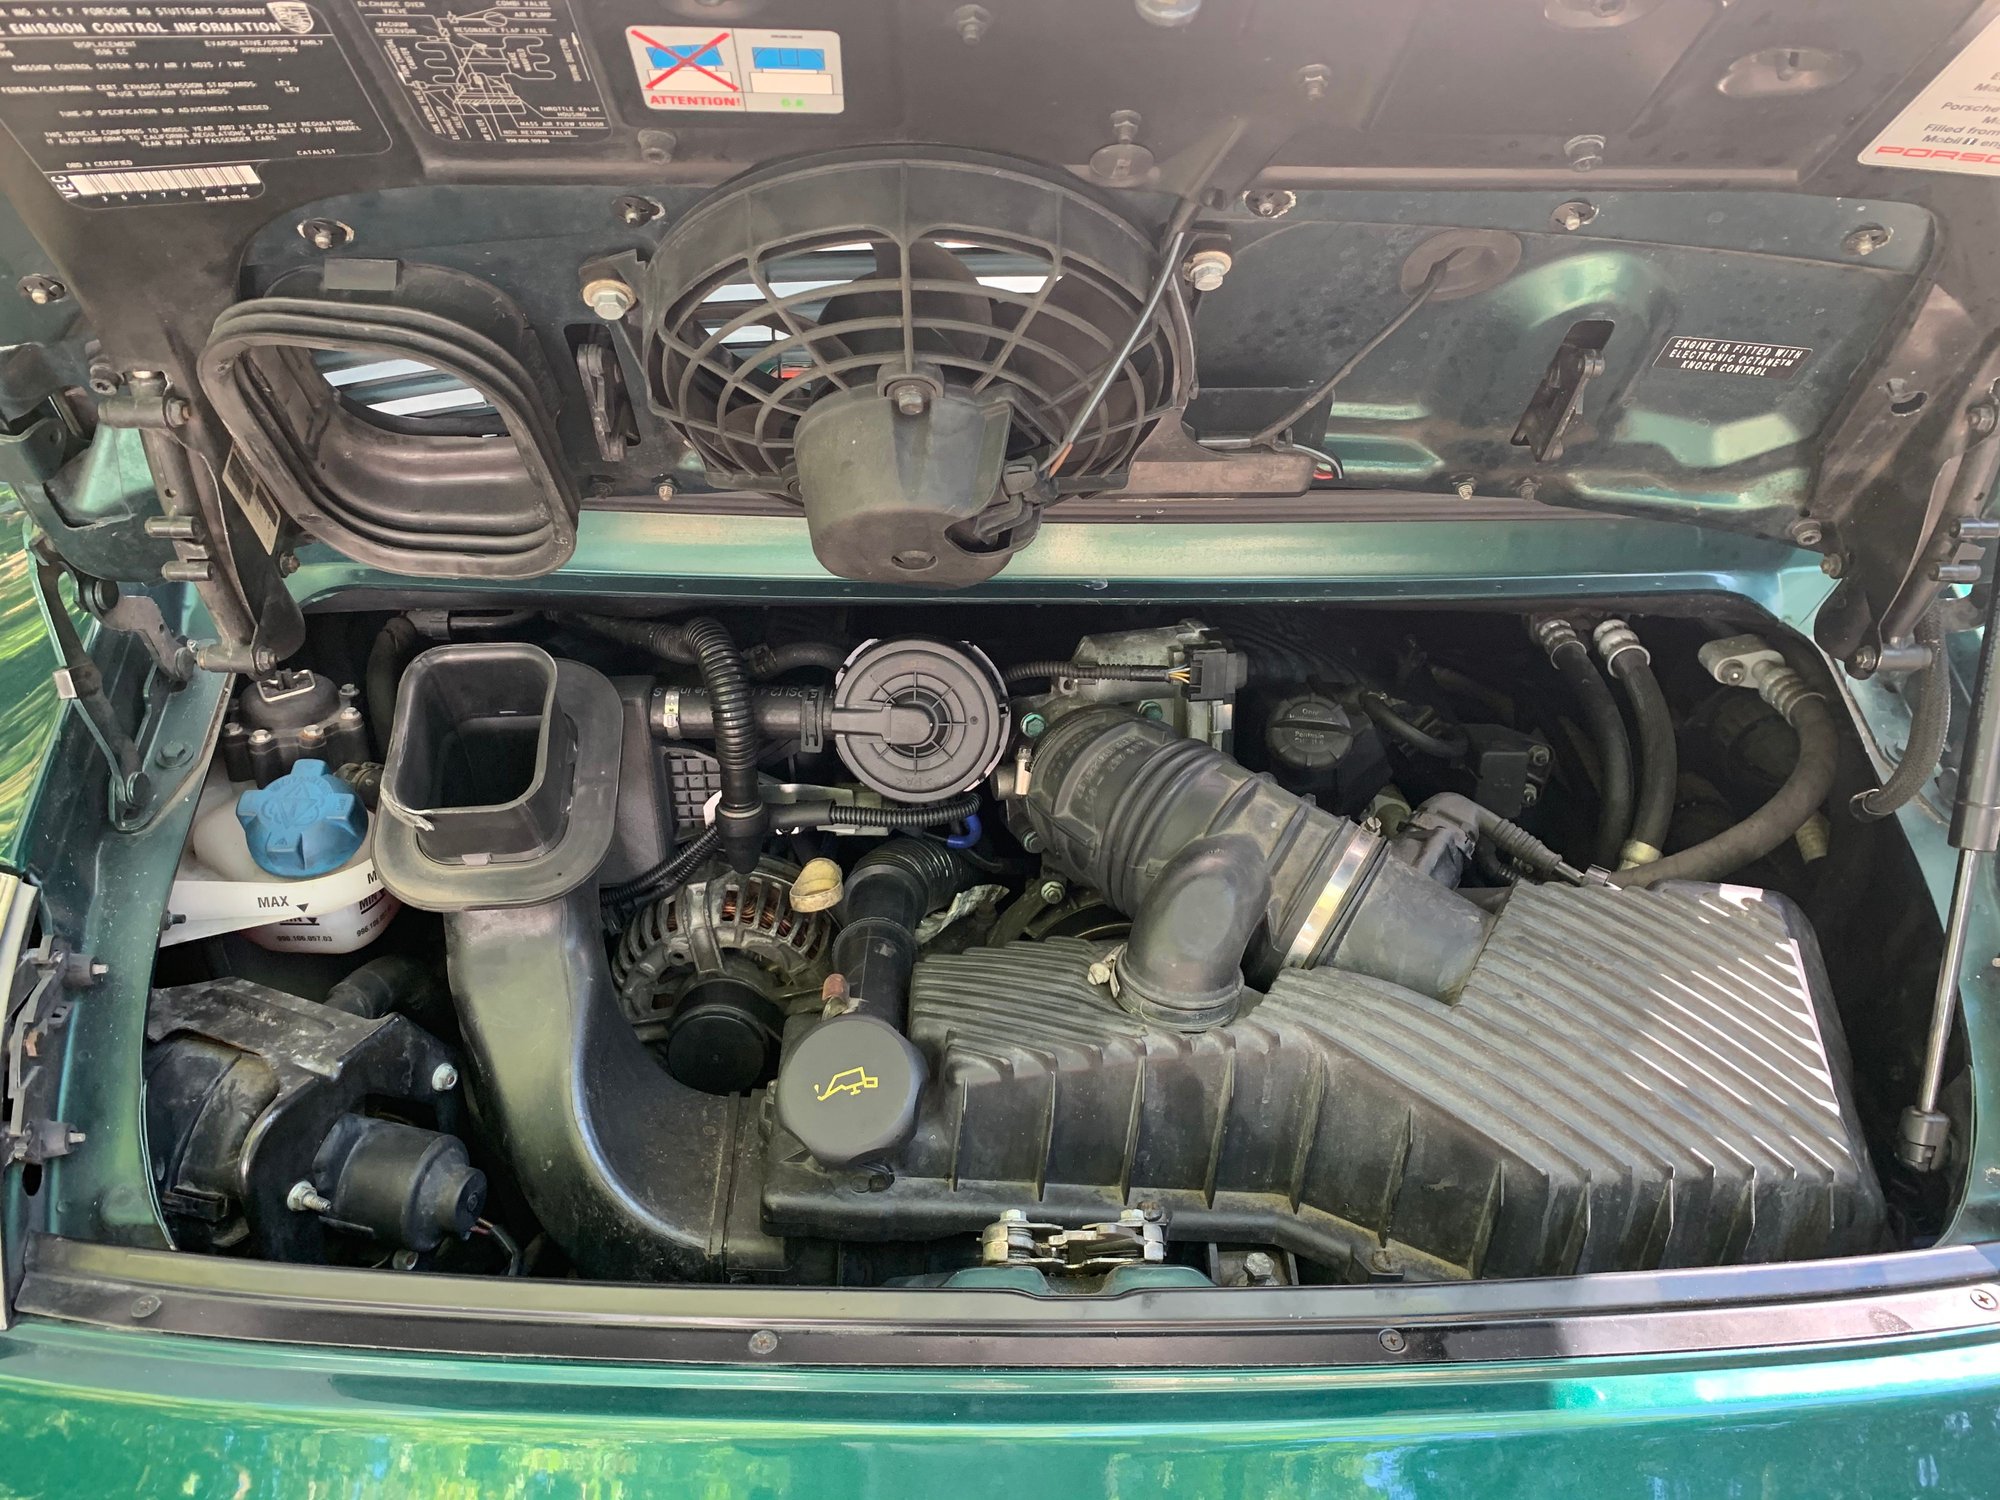
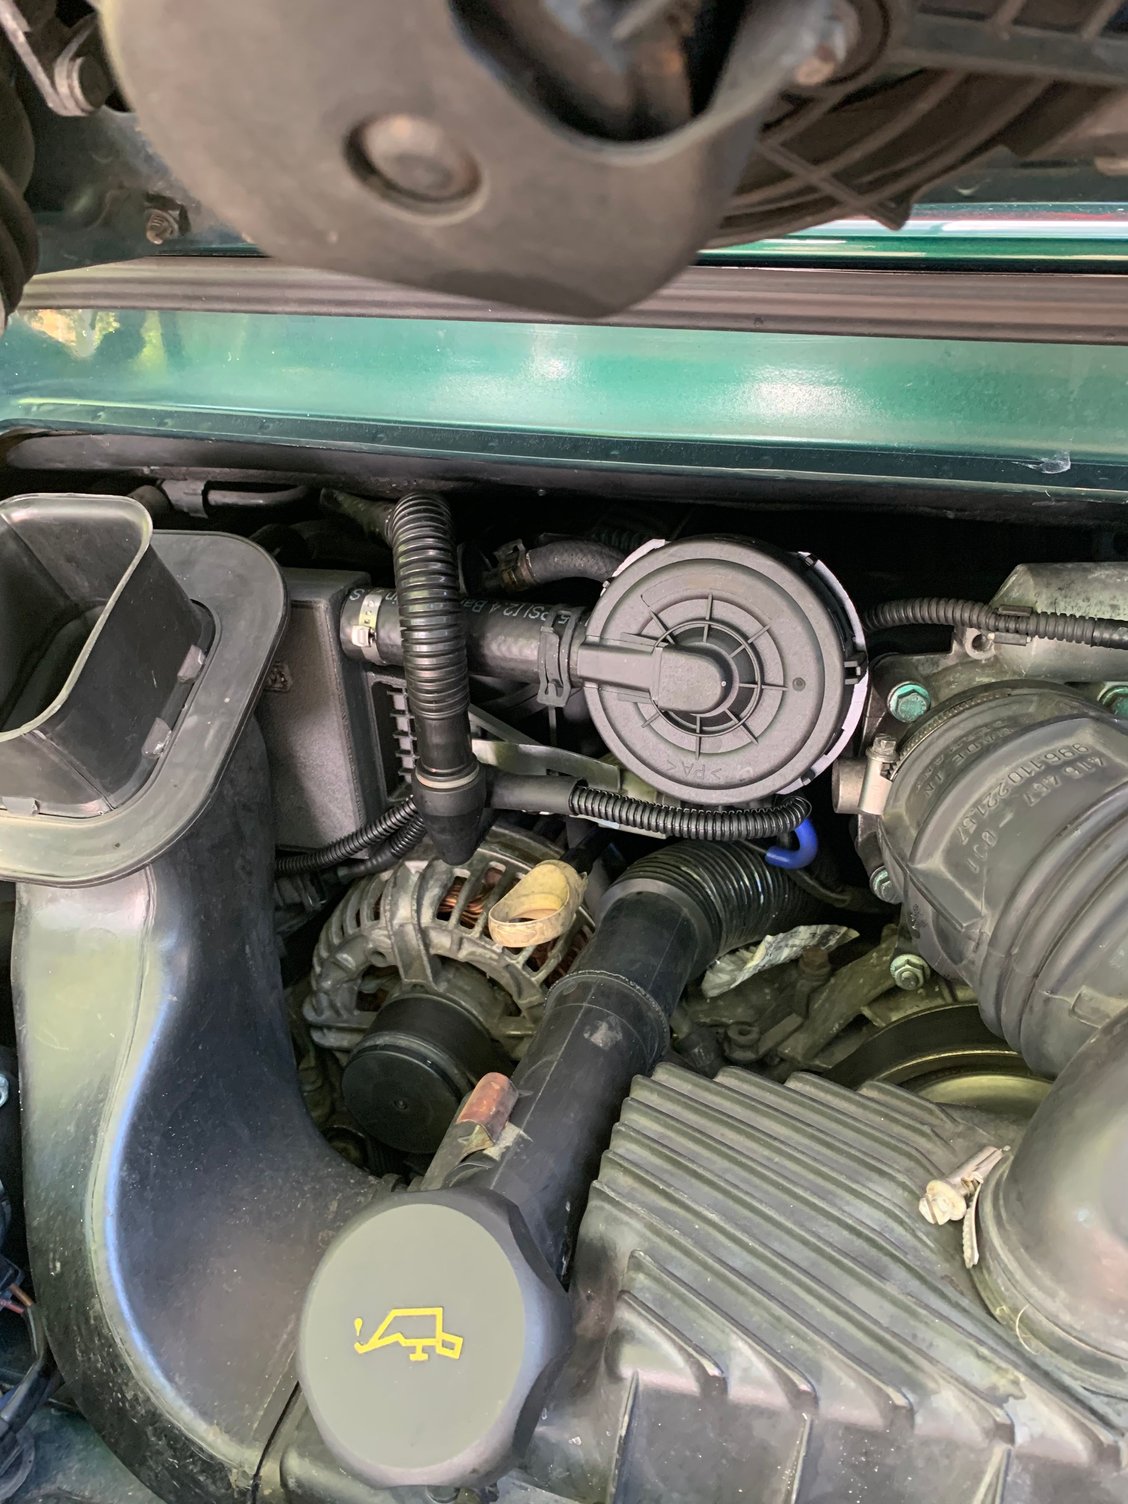
You need to remove the wiring harness so you can get to the left most bolt that hold the AOS to the cylinder head.
You can get to the right most bolt easily from the right side.
Then move the AOS and you�ll be able to get to the bitch bolt.
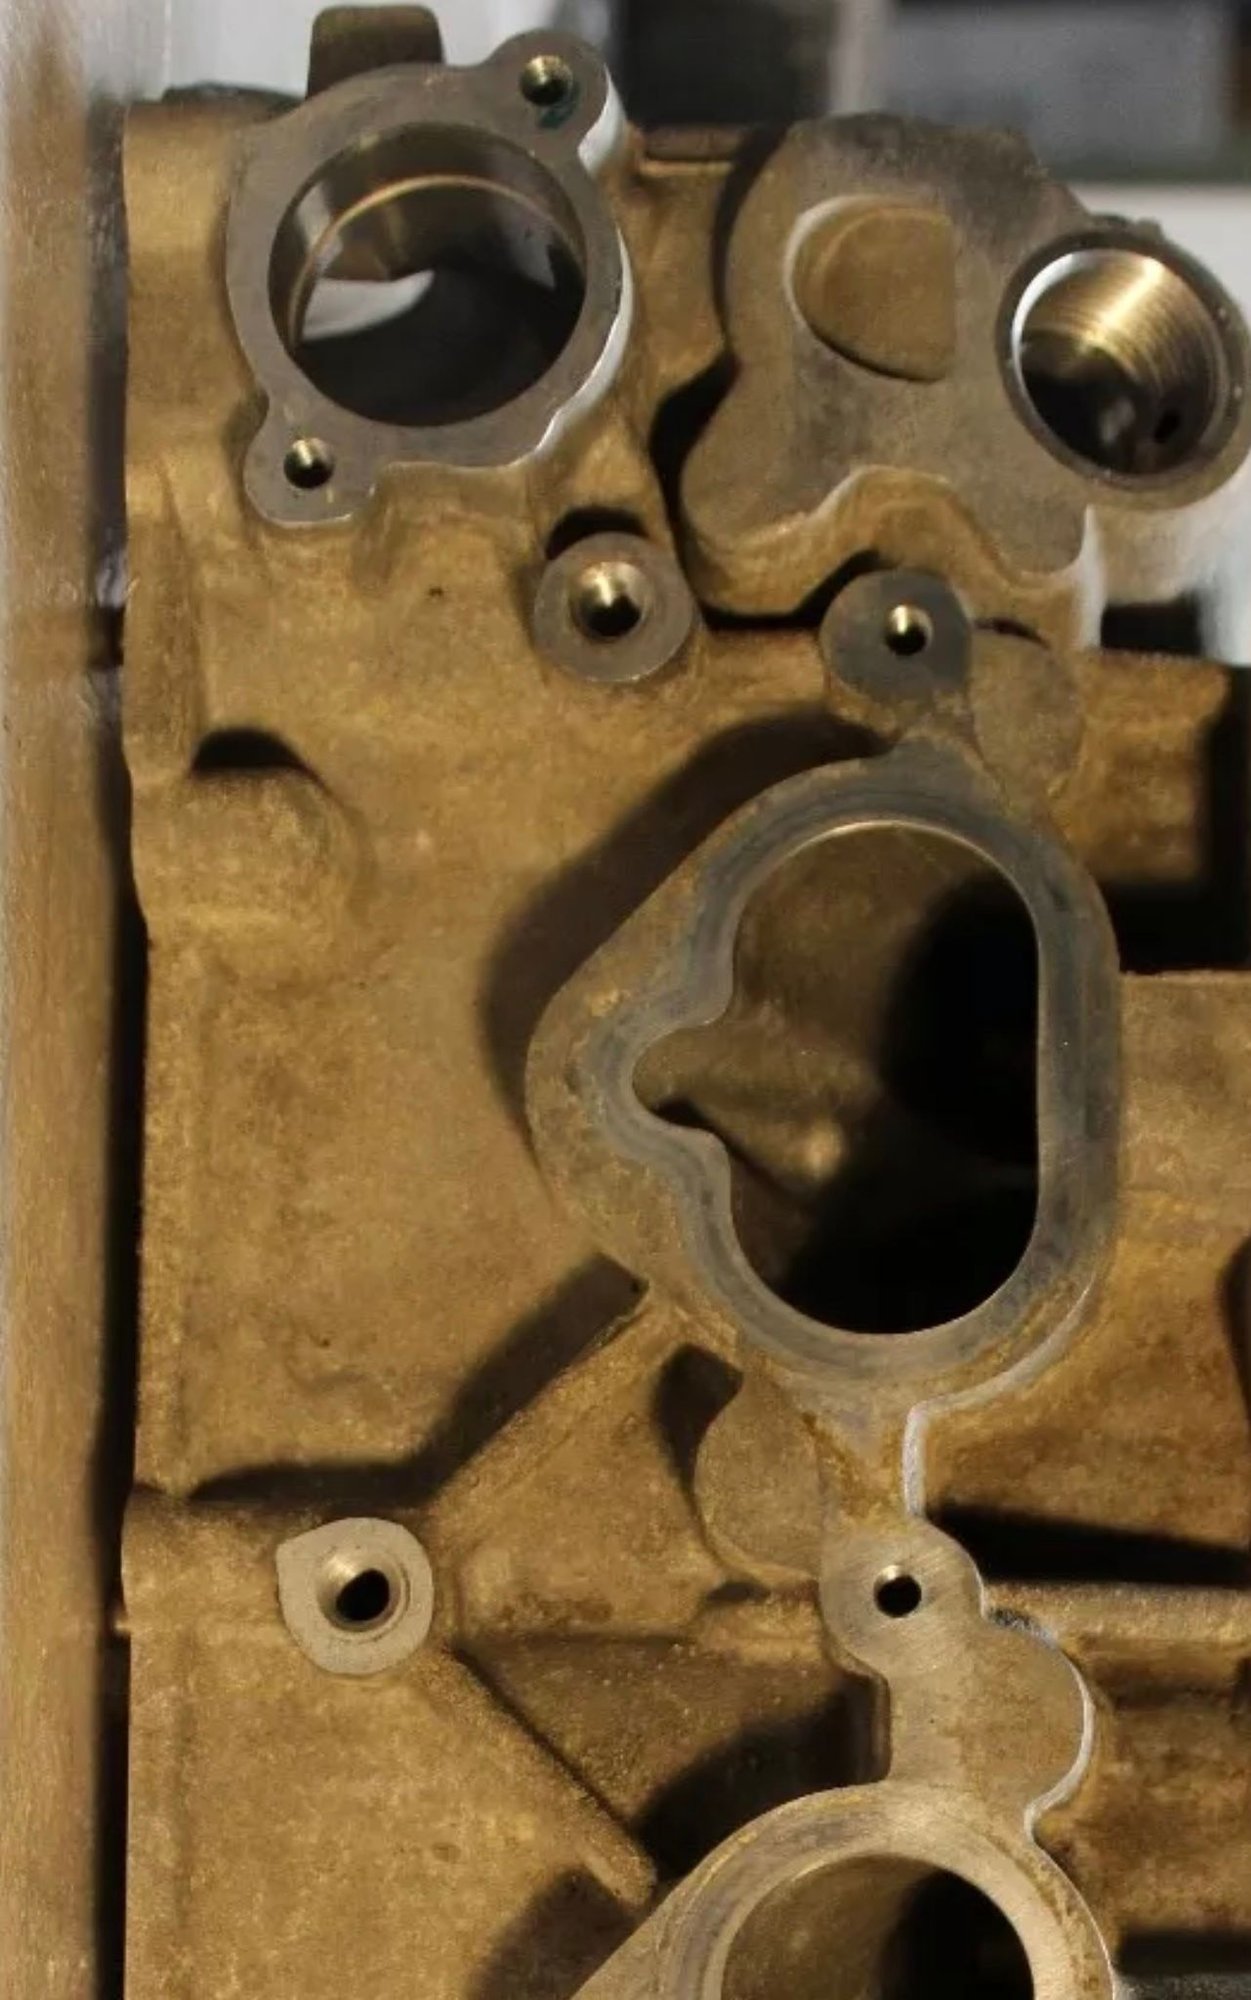
Your AOS is this style:
Thank you! Pictures are great and that is exactly the AOS I have. Is the wiring harness easy to remove? Is it the whole harness or one of those disconnect and leave the other end there harness? Trying to visualize everything before I go back in there to tackle this again.
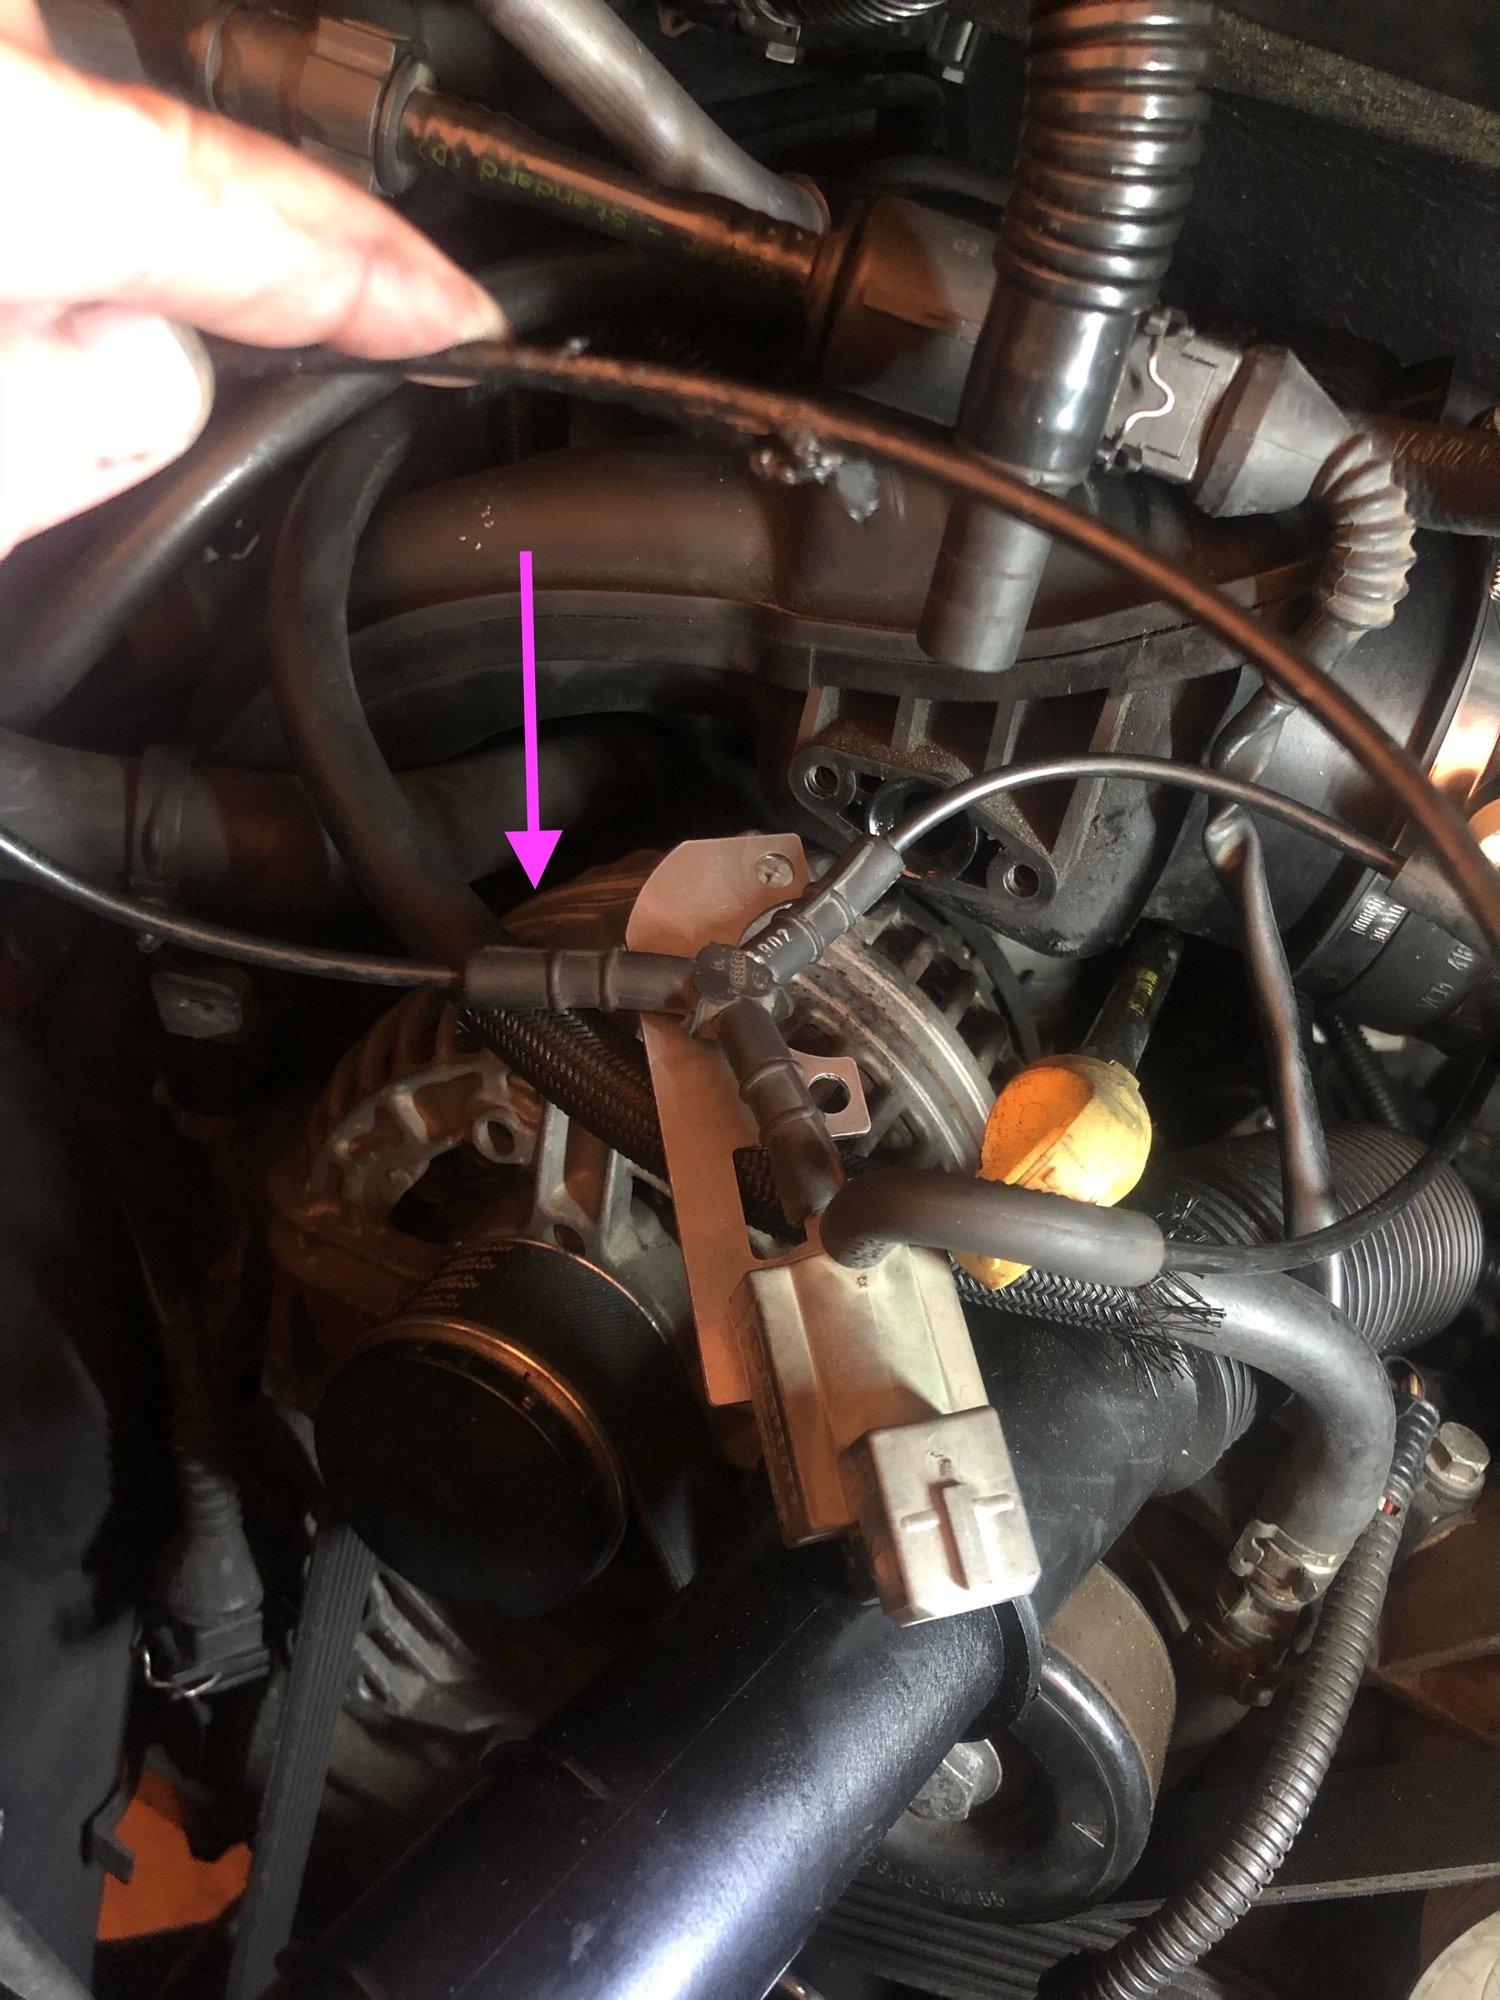
You just have to disconnect the harness holder. You don’t actually disconnect the harness.
Take a look at how the harness holder disconnects close to cylinder 1, where you can see it.
Once you’ve seen how to do it, it is easy.
Just takes a finger and a thumb.
It bolts in to the round hole in the upper left hand corner:
Originally Posted by TexSquirrel
You just have to disconnect the harness holder. You don�t actually disconnect the harness.
Take a look at how the harness holder disconnects close to cylinder 1, where you can see it.
Once you�ve seen how to do it, it is easy.
Just takes a finger and a thumb.
Got it! Will tackle this again sometime this week, if not, the weekend again. Thanks everyone, will update my progress and maybe completion later.
OK - I am at the bitch bolt and the harder AOS bolt.
Seems as I have to remove the AOS bolt first to be able to clock it out of the way enough to access the last intake bolt which is currently shrouded by the disc portion of the AOS.
I got the easier of the AOS bolts from below - it was a hex 5MM hex... wasn't expecting that.
Back off to feel around for a while to get these 2 fasteners out.
OK - I am at the bitch bolt and the harder AOS bolt.
Seems as I have to remove the AOS bolt first to be able to clock it out of the way enough to access the last intake bolt which is currently shrouded by the disc portion of the AOS.
I/QUOTE]
Correct, loosen that bolt and swing the AOS out of the way and you can get to the other intake bolt.
Going to get 1/4 drive set so I can get 2nd AOS bolt.
ETA.. Bitch bolt is easy... That rear most 5MM hex on the AOS is kind of a nightmare though.
From the bottom, blind with a hex... no idea how I'm going to get back in.
ETA... Intake manifold is off and I got the AOS crossover ready to be swapped over - got the old one out and new one is installed in the bank 2 head... The old one had a lot of oil in it, the rear tube that connects the 2 manifolds as well.
Taking a break for some light/comp charging and re-read through AOS removal/reinstall, lot of lines to disconnect/reconnect.
Pulled the old AOS out with most lines attached and attached them to the new AOS, since I am swapping the AOS changeover I just cut it out.
I went to get the bolts started in the new AOS and its not lining up perfect, spent a couple minutes fiddling and then my light ran out of battery for the 5th time so I decided to cap my frustration for the day and finish tomorrow.
Questions:
The AOS crossover snakes between 2 runners on the bank 1 intake manifold - that being the case I will need to wait to final install it onto the AOS until I get the manifold back in and can run the AOS connection side through the runners... Is there a different/better routing for it that will allow install and removal without dealing with the manifold ?
Did anyone have any issues with having to bleed coolant after disconnecting the coolant lines to AOS ?
Had the UAOS installed yesterday in my 2002 C2 Cab. Car is running fantastic. So far so good. Here are before and after photos. Before After After (close)
Had the UAOS installed yesterday in my 2002 C2 Cab. Car is running fantastic. So far so good. Here are before and after photos. Before After After (close)
I've been trying to get the AOS bolted in place for at least a couple hours. Have the bolt closes to the firewall started but I cannot get the rear one to thread in, AOS must be lightly mis aligned...
This one fastener has been 90% of the time I've spent on this project, sucks.
Well - after spending a long time getting the new AOS in, put the intake manifold in (easy compared to the 2nd rearward AOS bolt) I put the rear intake cross over on with the manifold loosely bolts in so I had a little wiggle room and began buttoning up to add the new UAOS specific parts. As I was trying to figure out the orientation of the booster/changeover plug with the lines running from it and the reservoir mount I found that the vacuum line to the vac reservoir had separated and that ended my day.
Well - after spending a long time getting the new AOS in, put the intake manifold in (easy compared to the 2nd rearward AOS bolt) I put the rear intake cross over on with the manifold loosely bolts in so I had a little wiggle room and began buttoning up to add the new UAOS specific parts. As I was trying to figure out the orientation of the booster/changeover plug with the lines running from it and the reservoir mount I found that the vacuum line to the vac reservoir had separated and that ended my day.
Bummer
Oh man old brittle plastic. I'm pretty familiar with wrenching these cars, on the brakes/body/suspension/interior but I know nothing about the M96, so I can't help other than saying I feel your pain.
 06-08-2020, 01:47 AM