When you click on links to various merchants on this site and make a purchase, this can result in this site earning a commission. Affiliate programs and affiliations include, but are not limited to, the eBay Partner Network.
Replaced ignition switch. Had classic symptoms. Job went perfectly, which for me is a huge win haha. It had already been done once so the screws were not tight, but they did have a red rubbery sealant overtop of them. What might that stuff be?
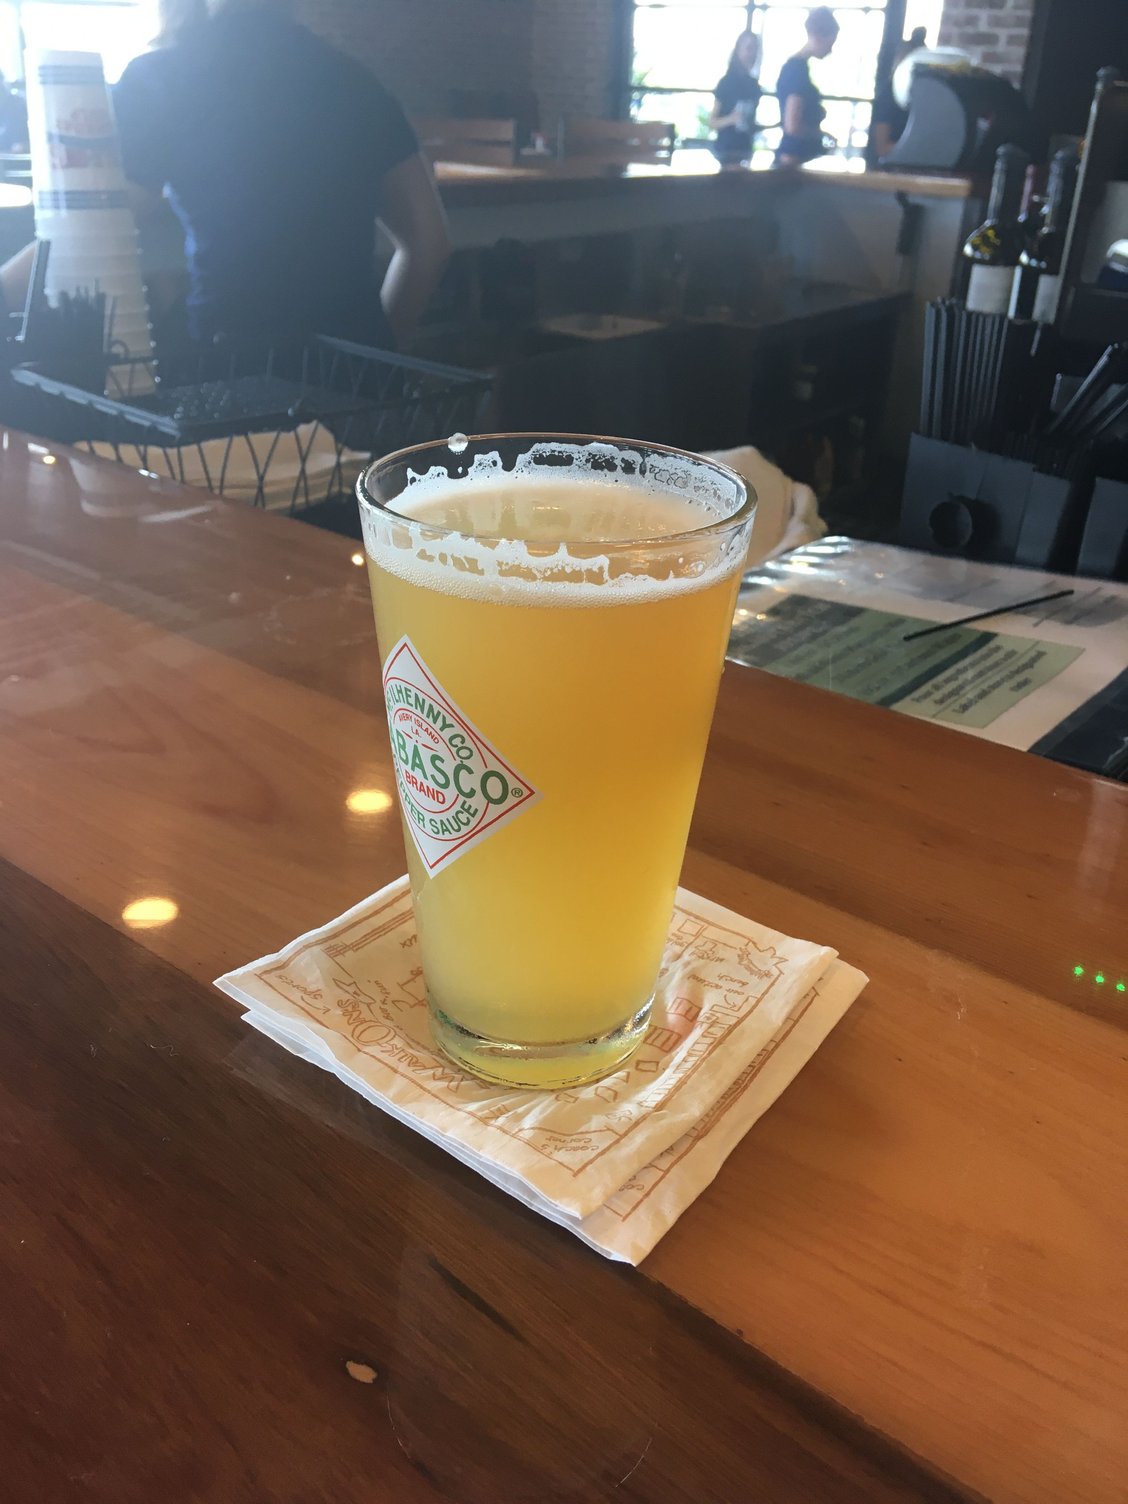
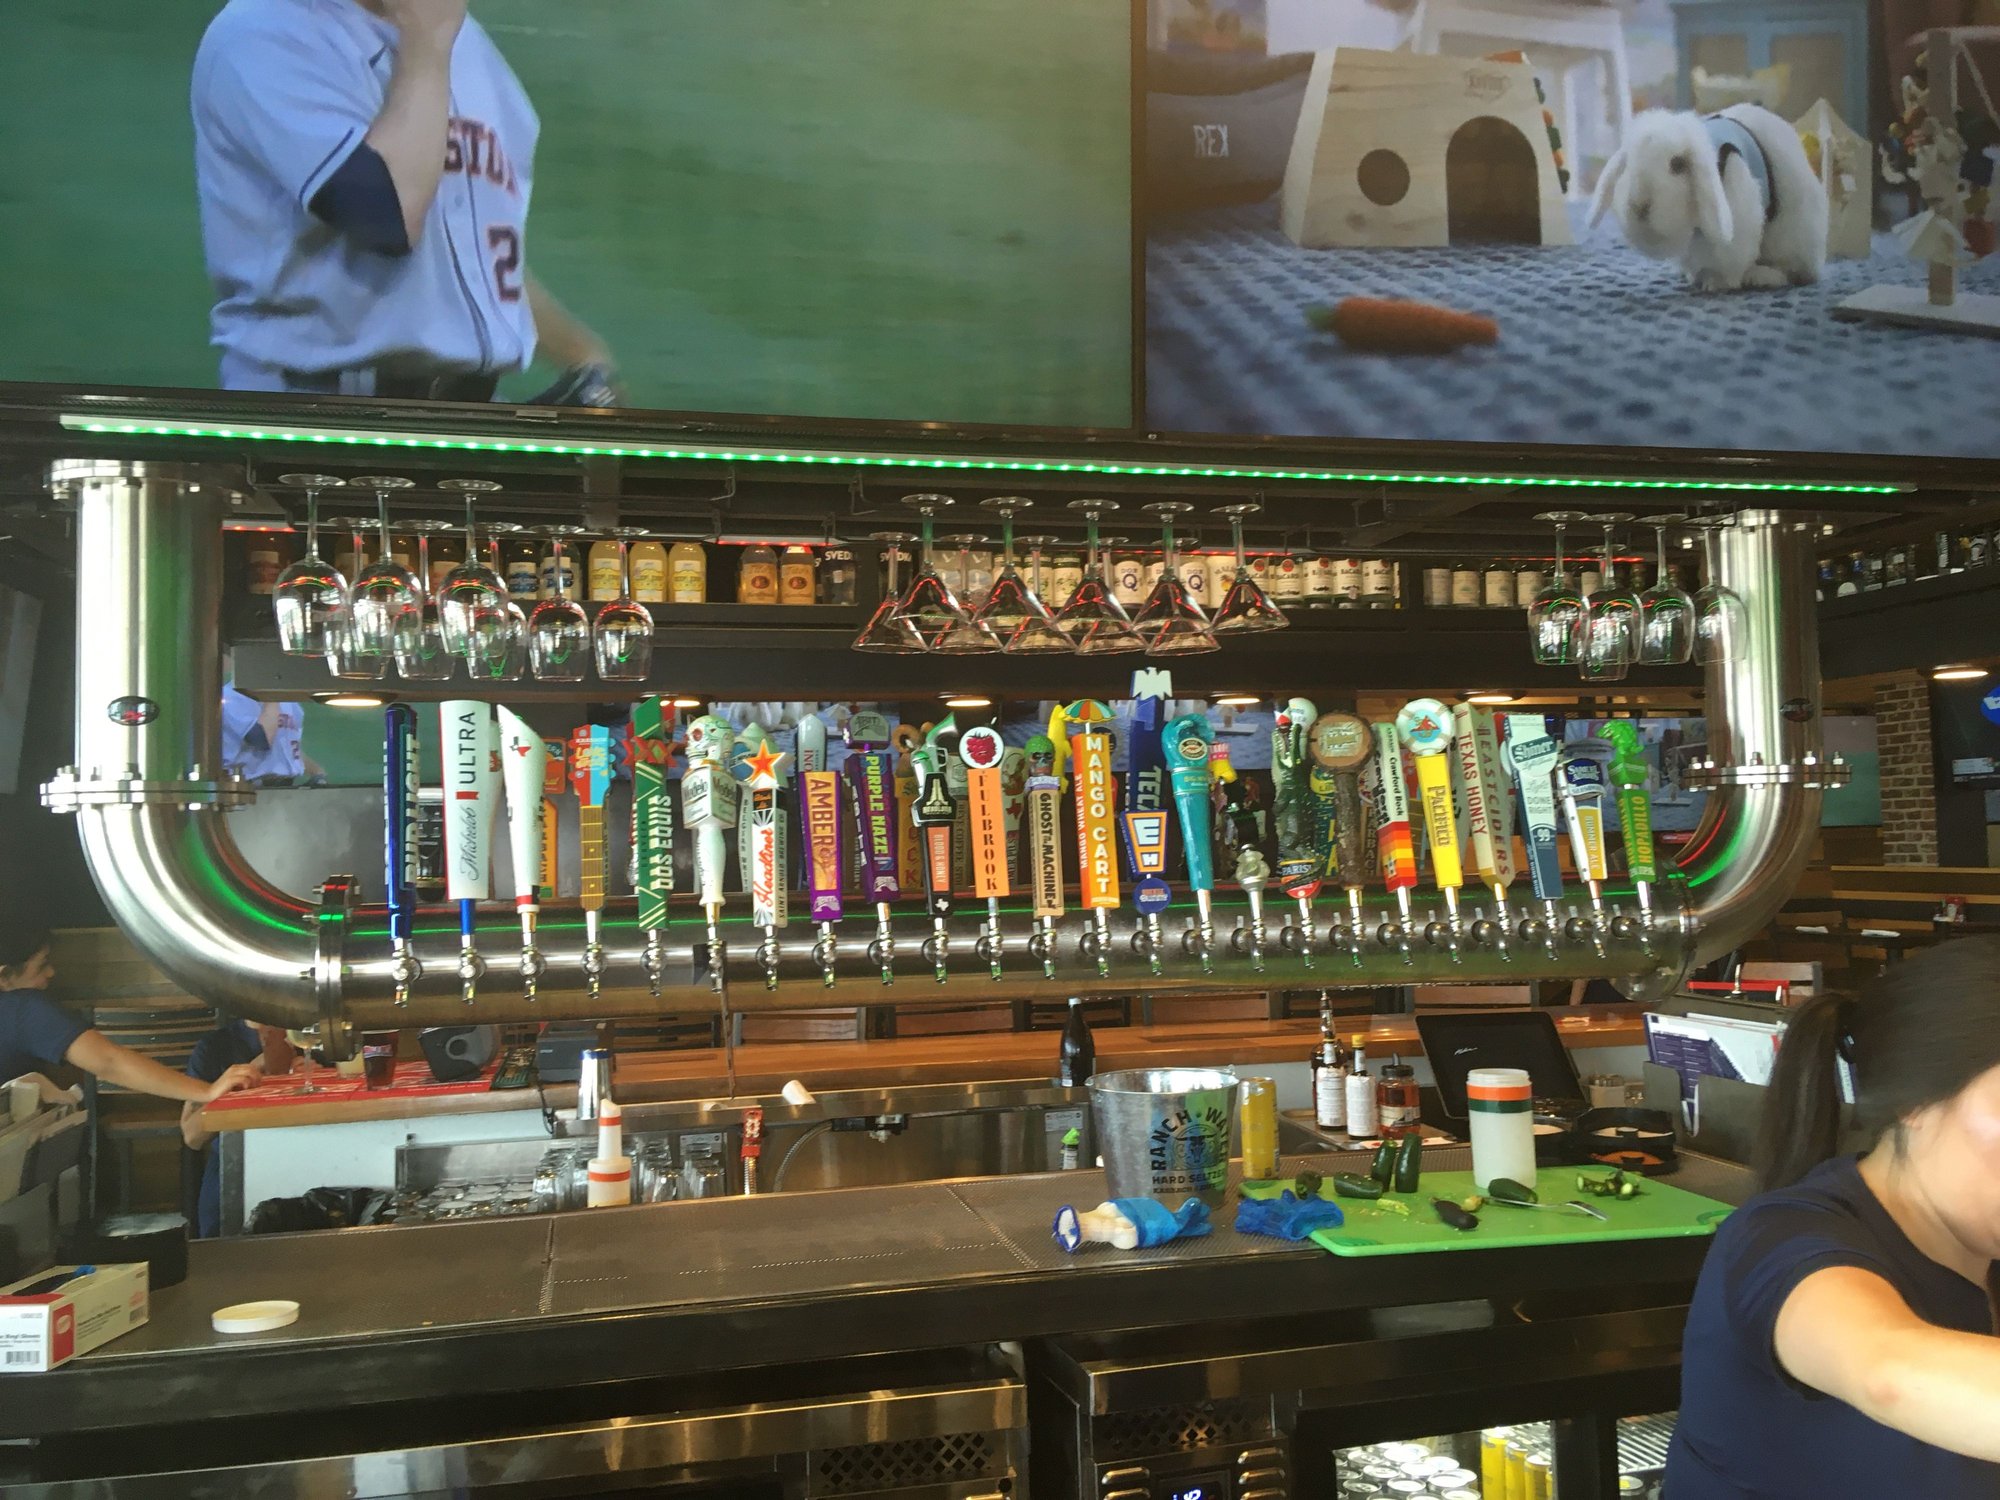
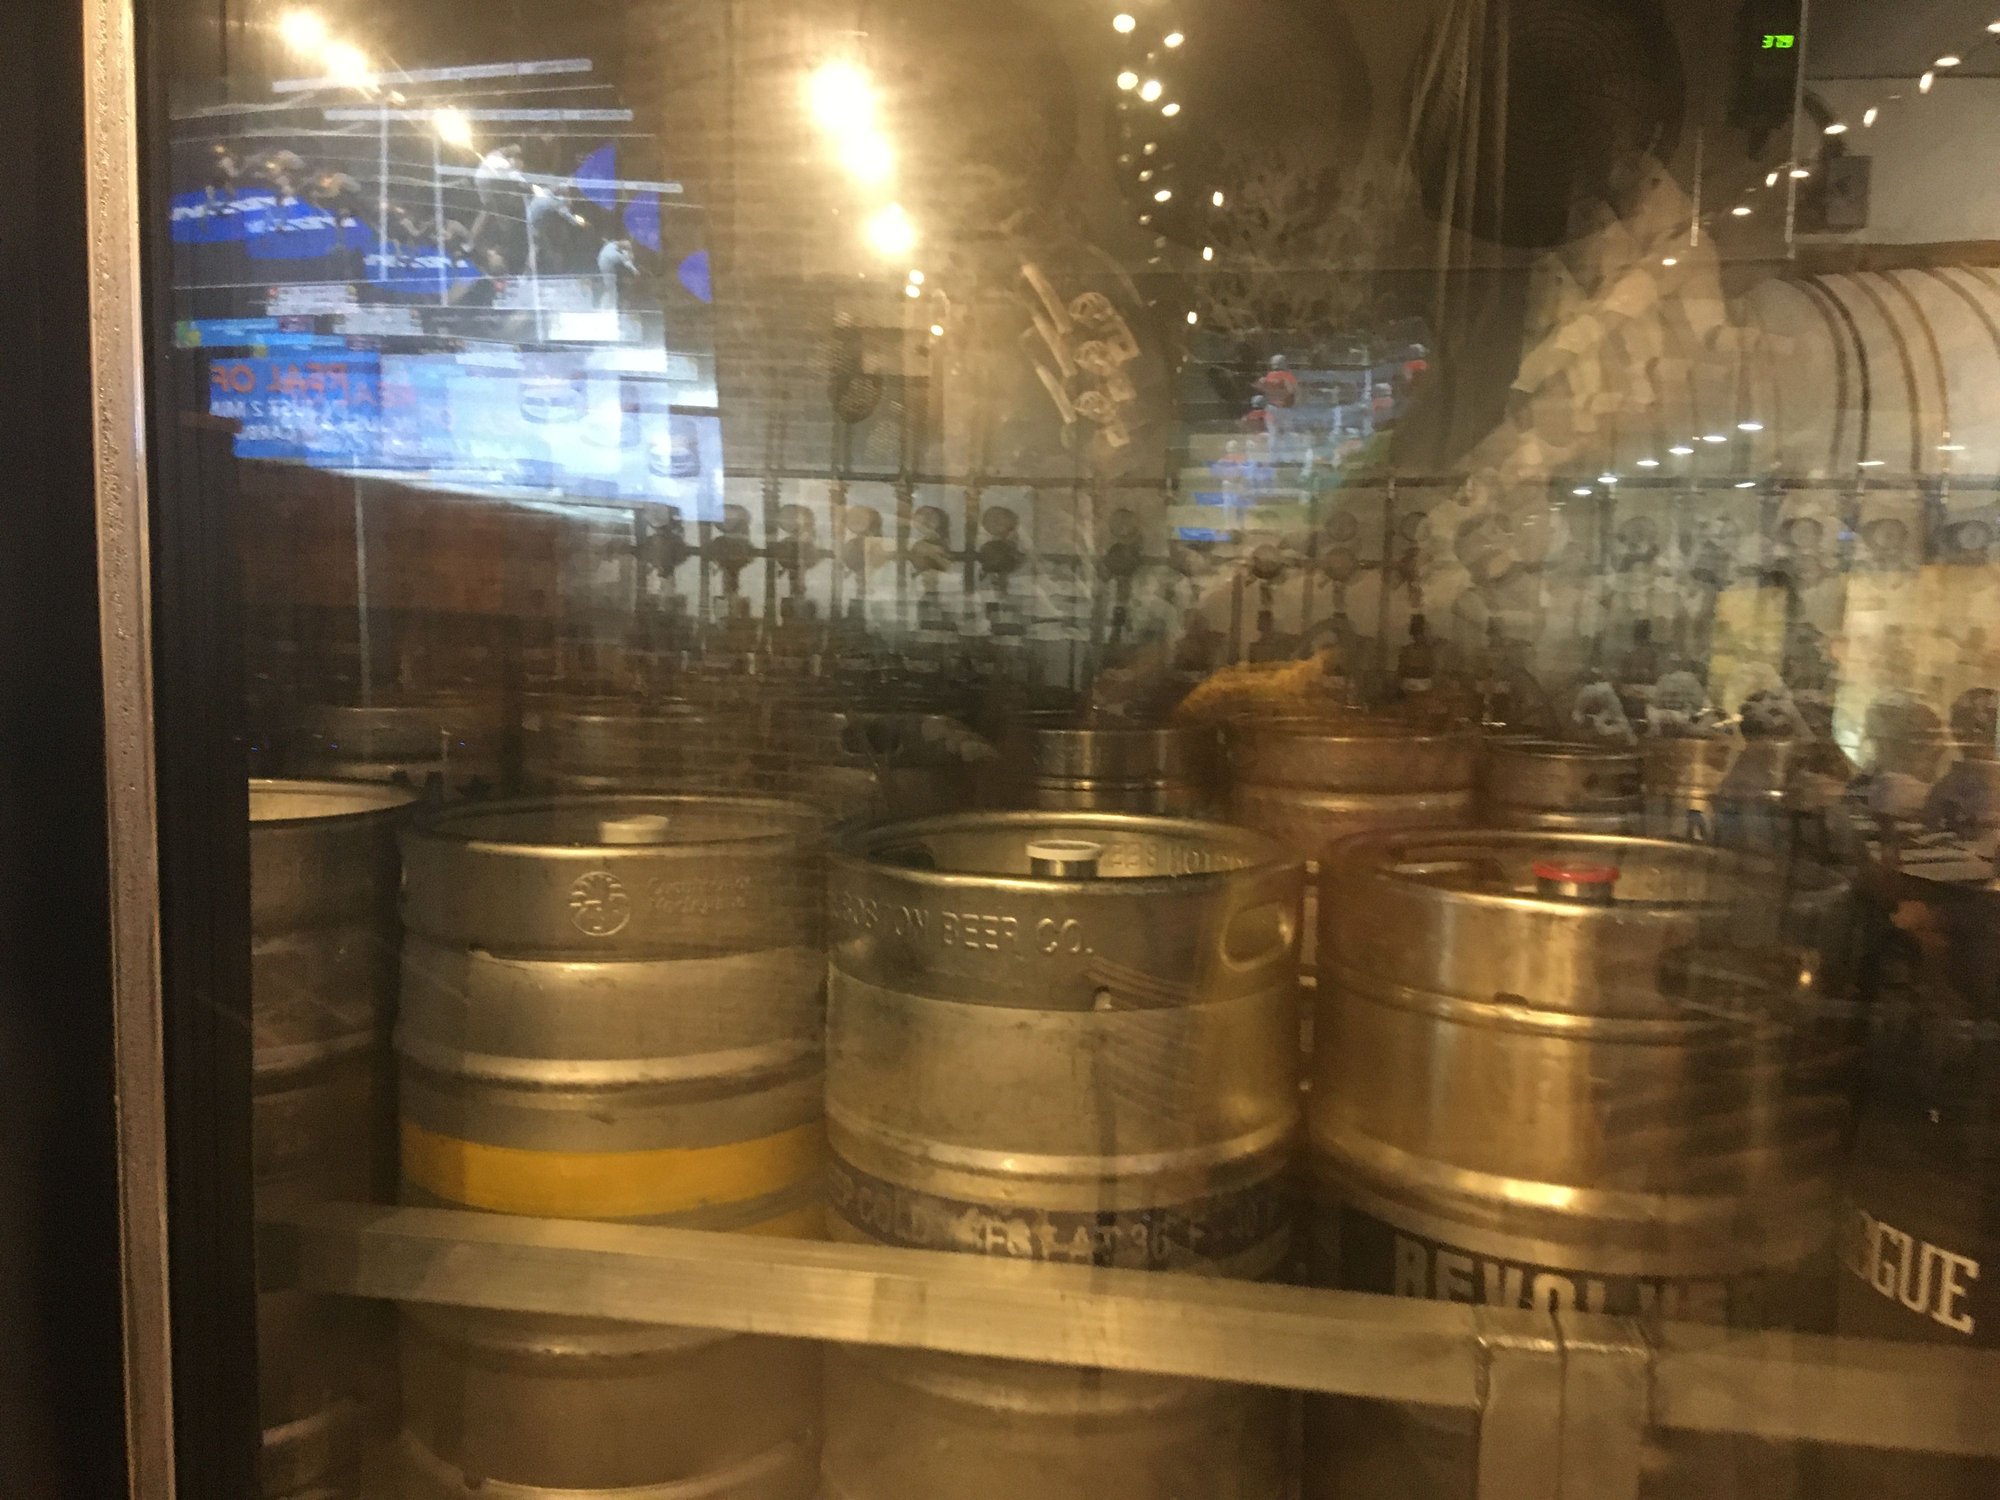
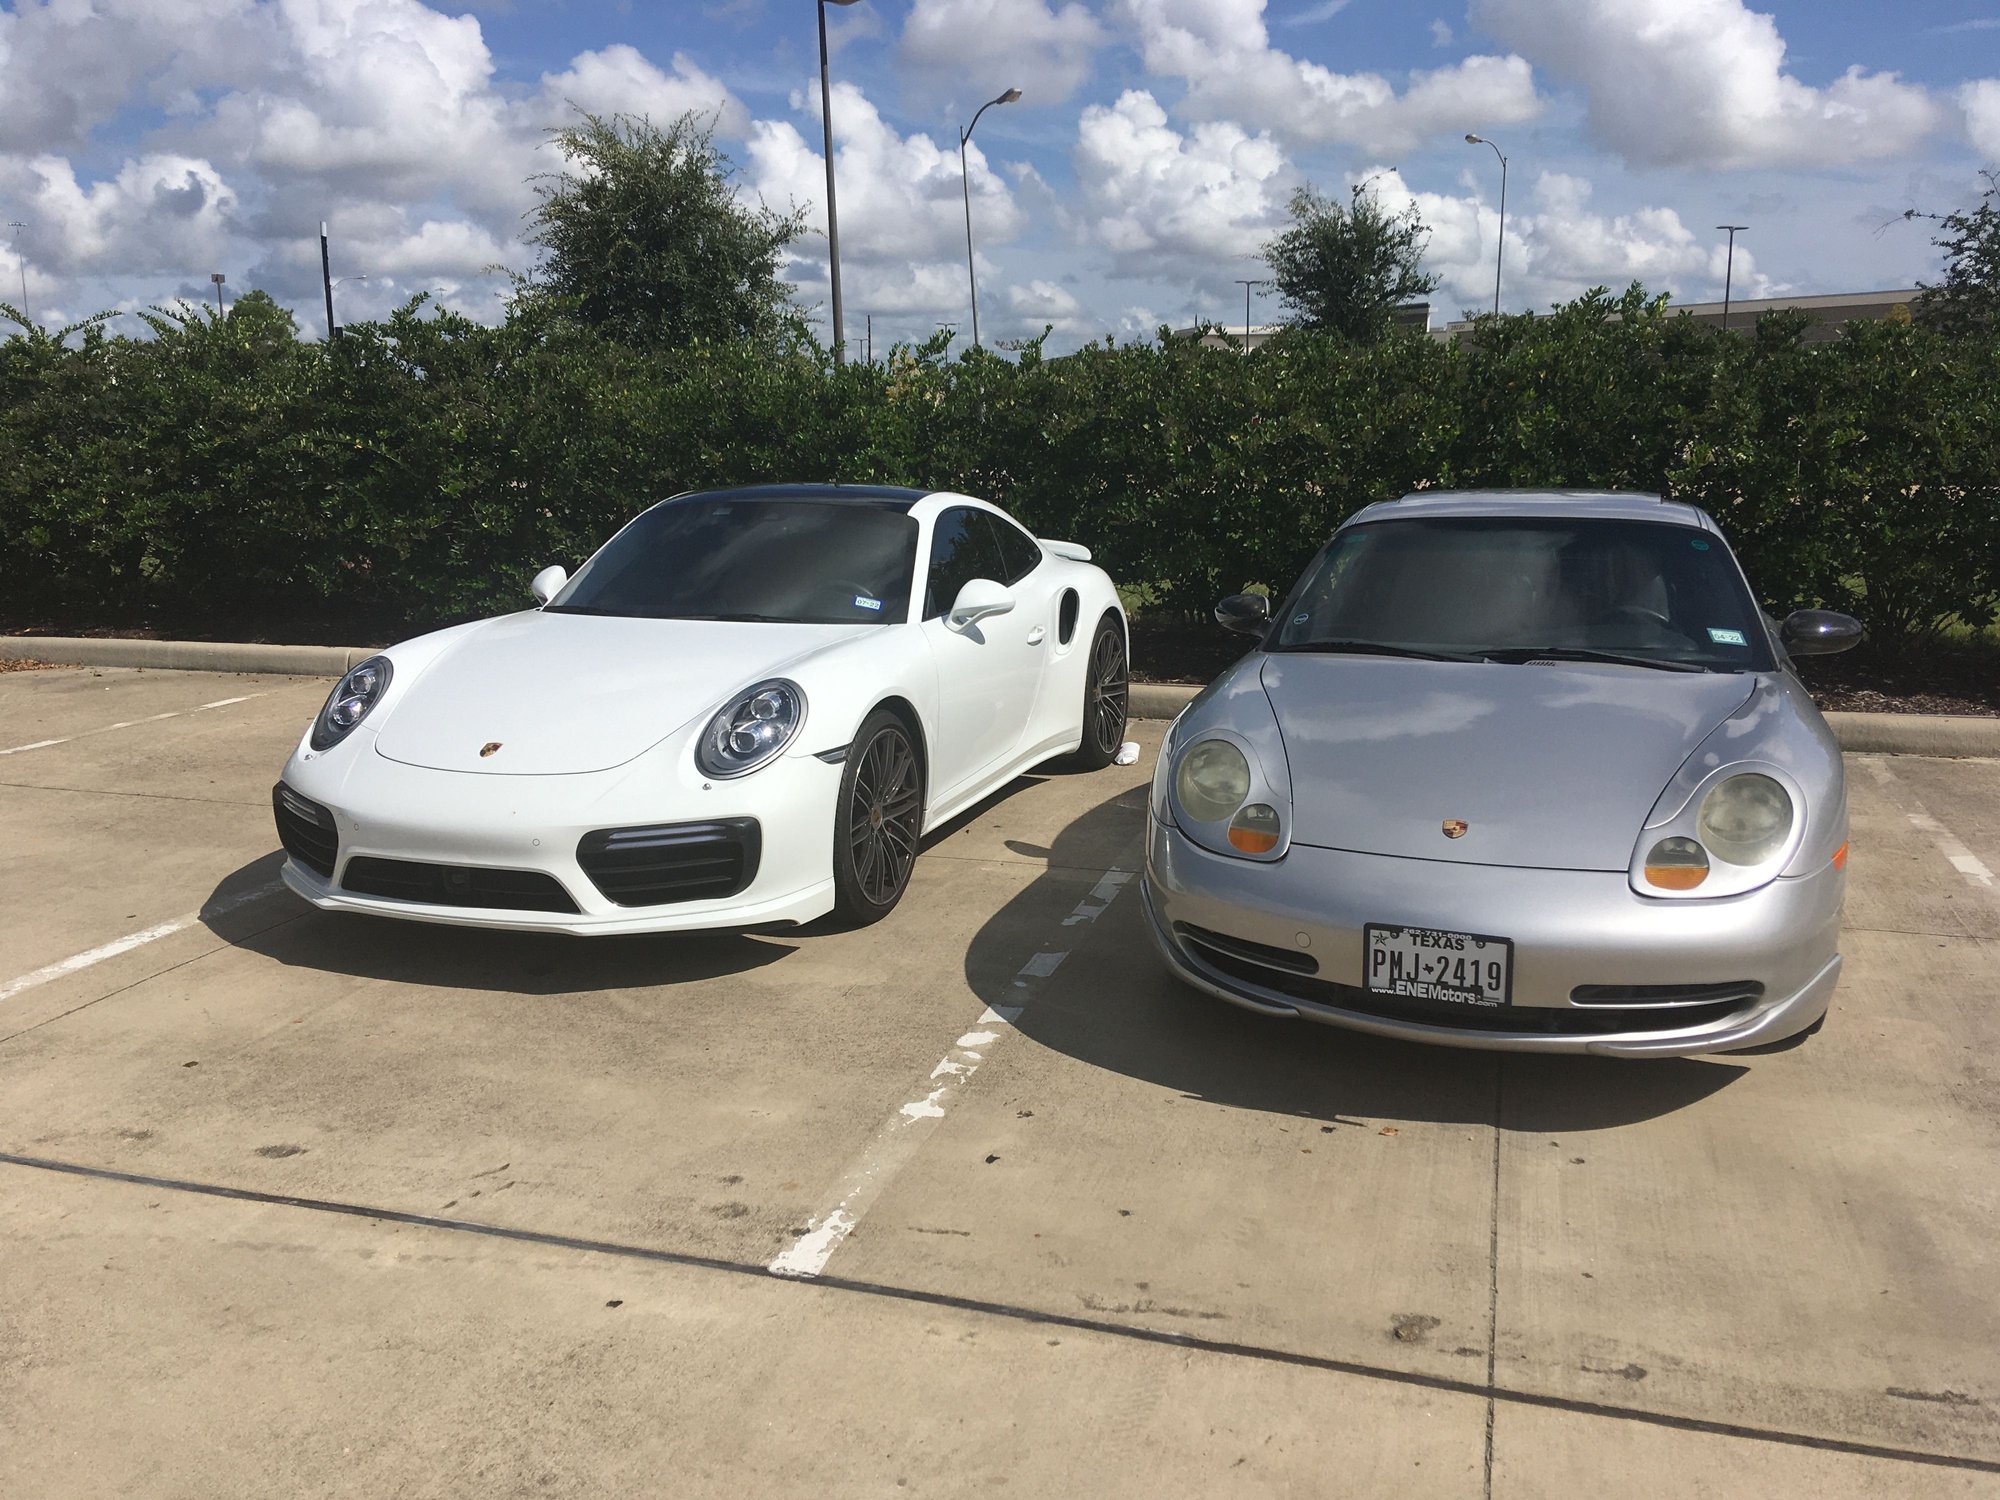
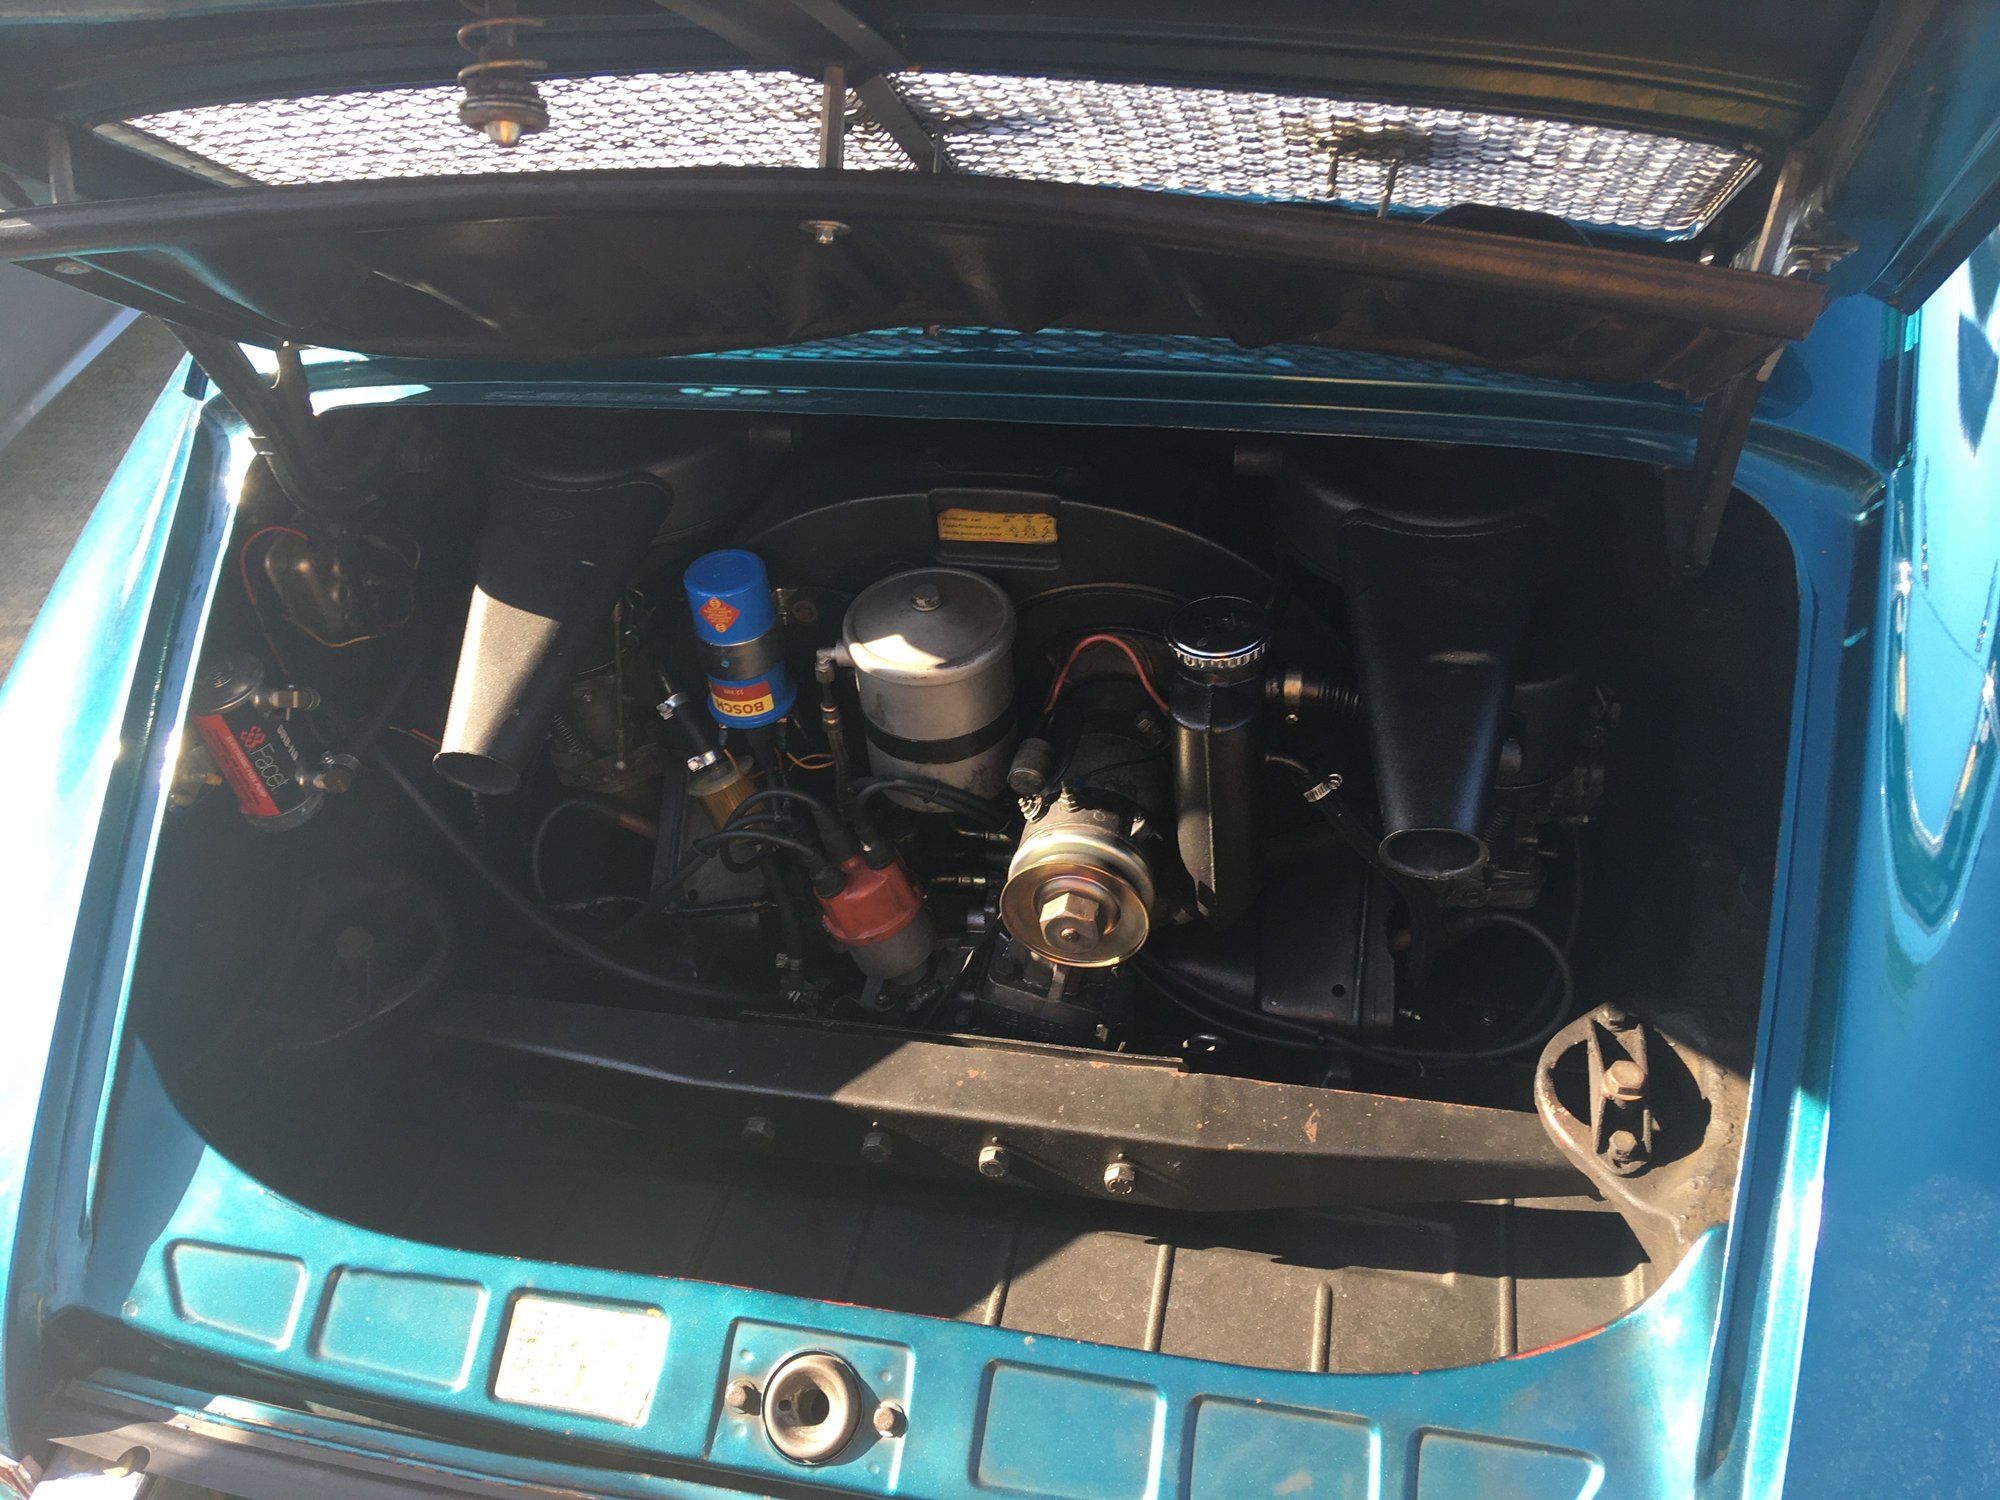
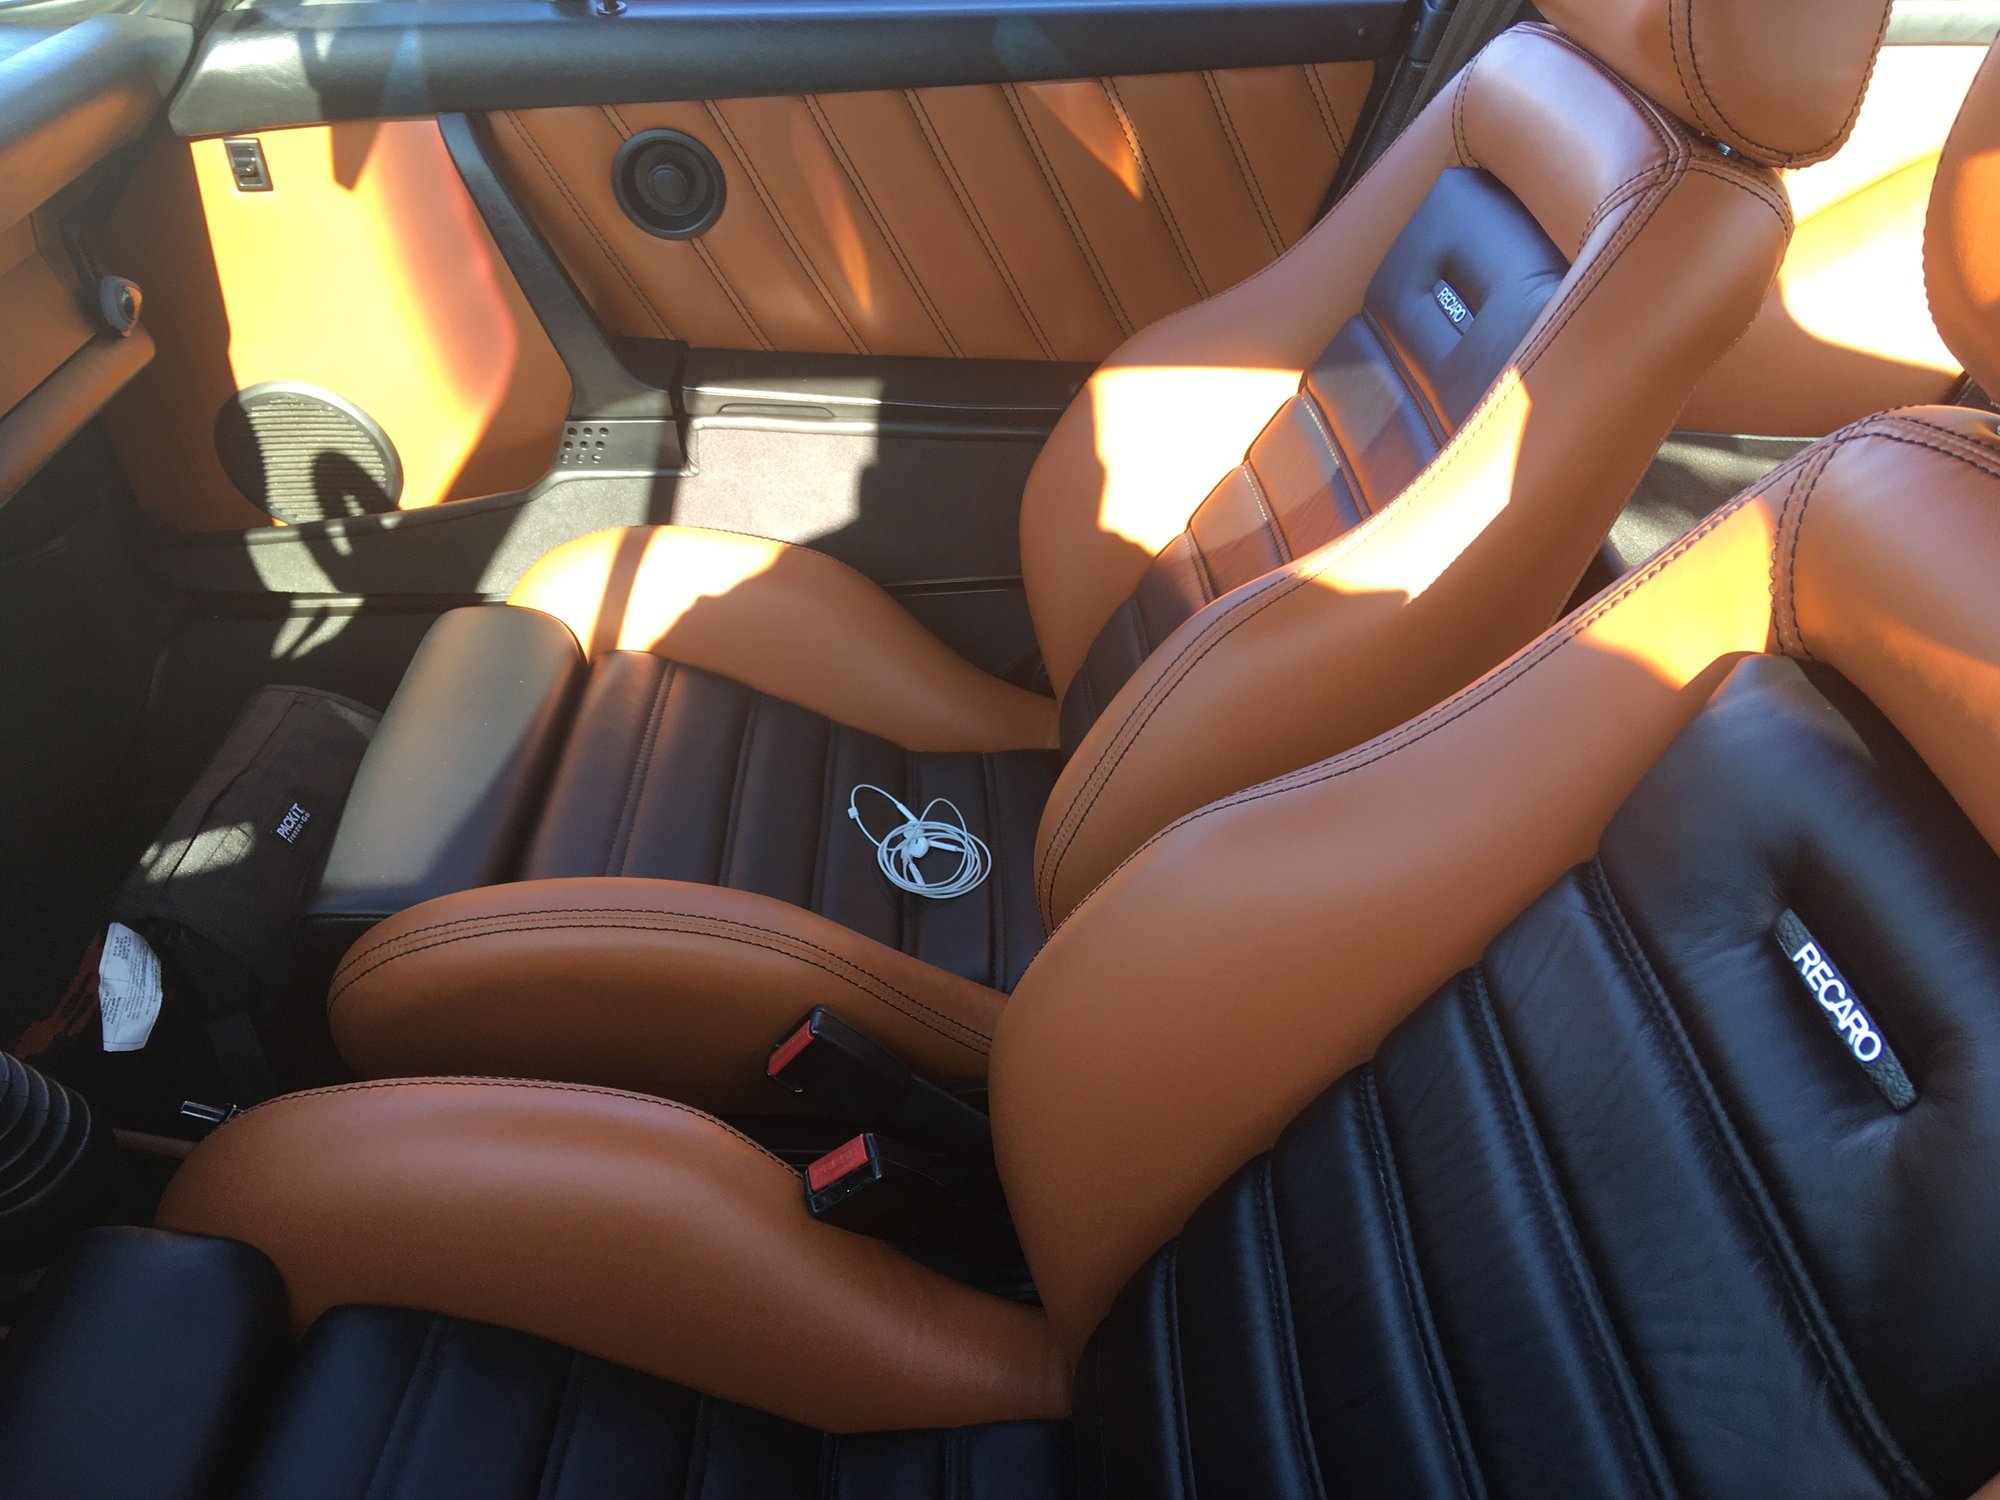
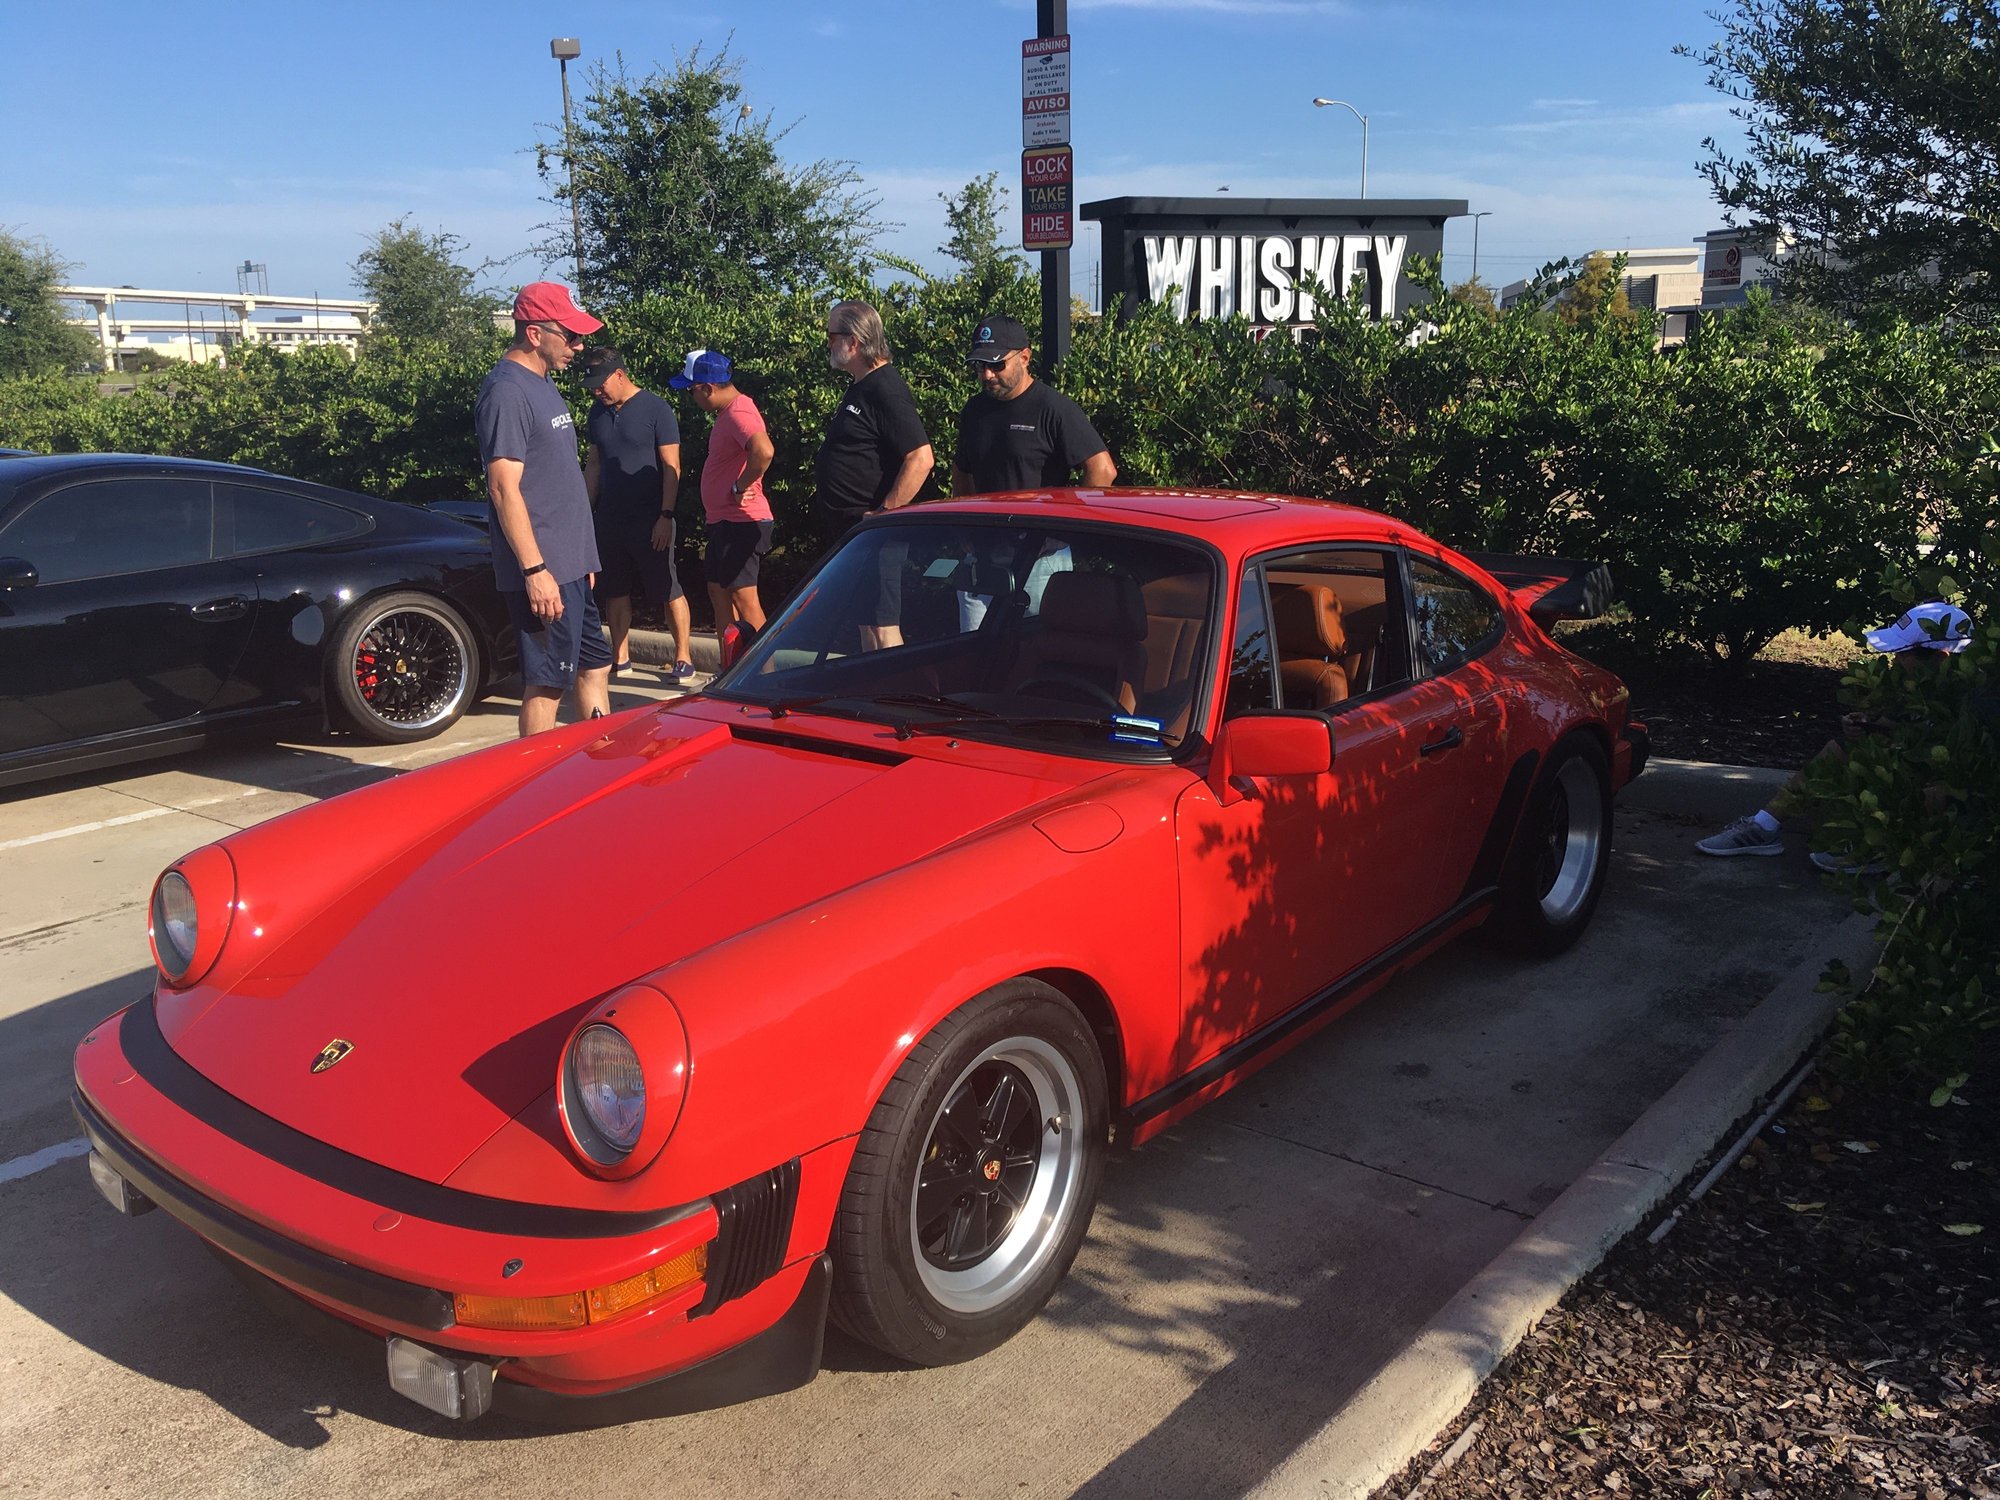
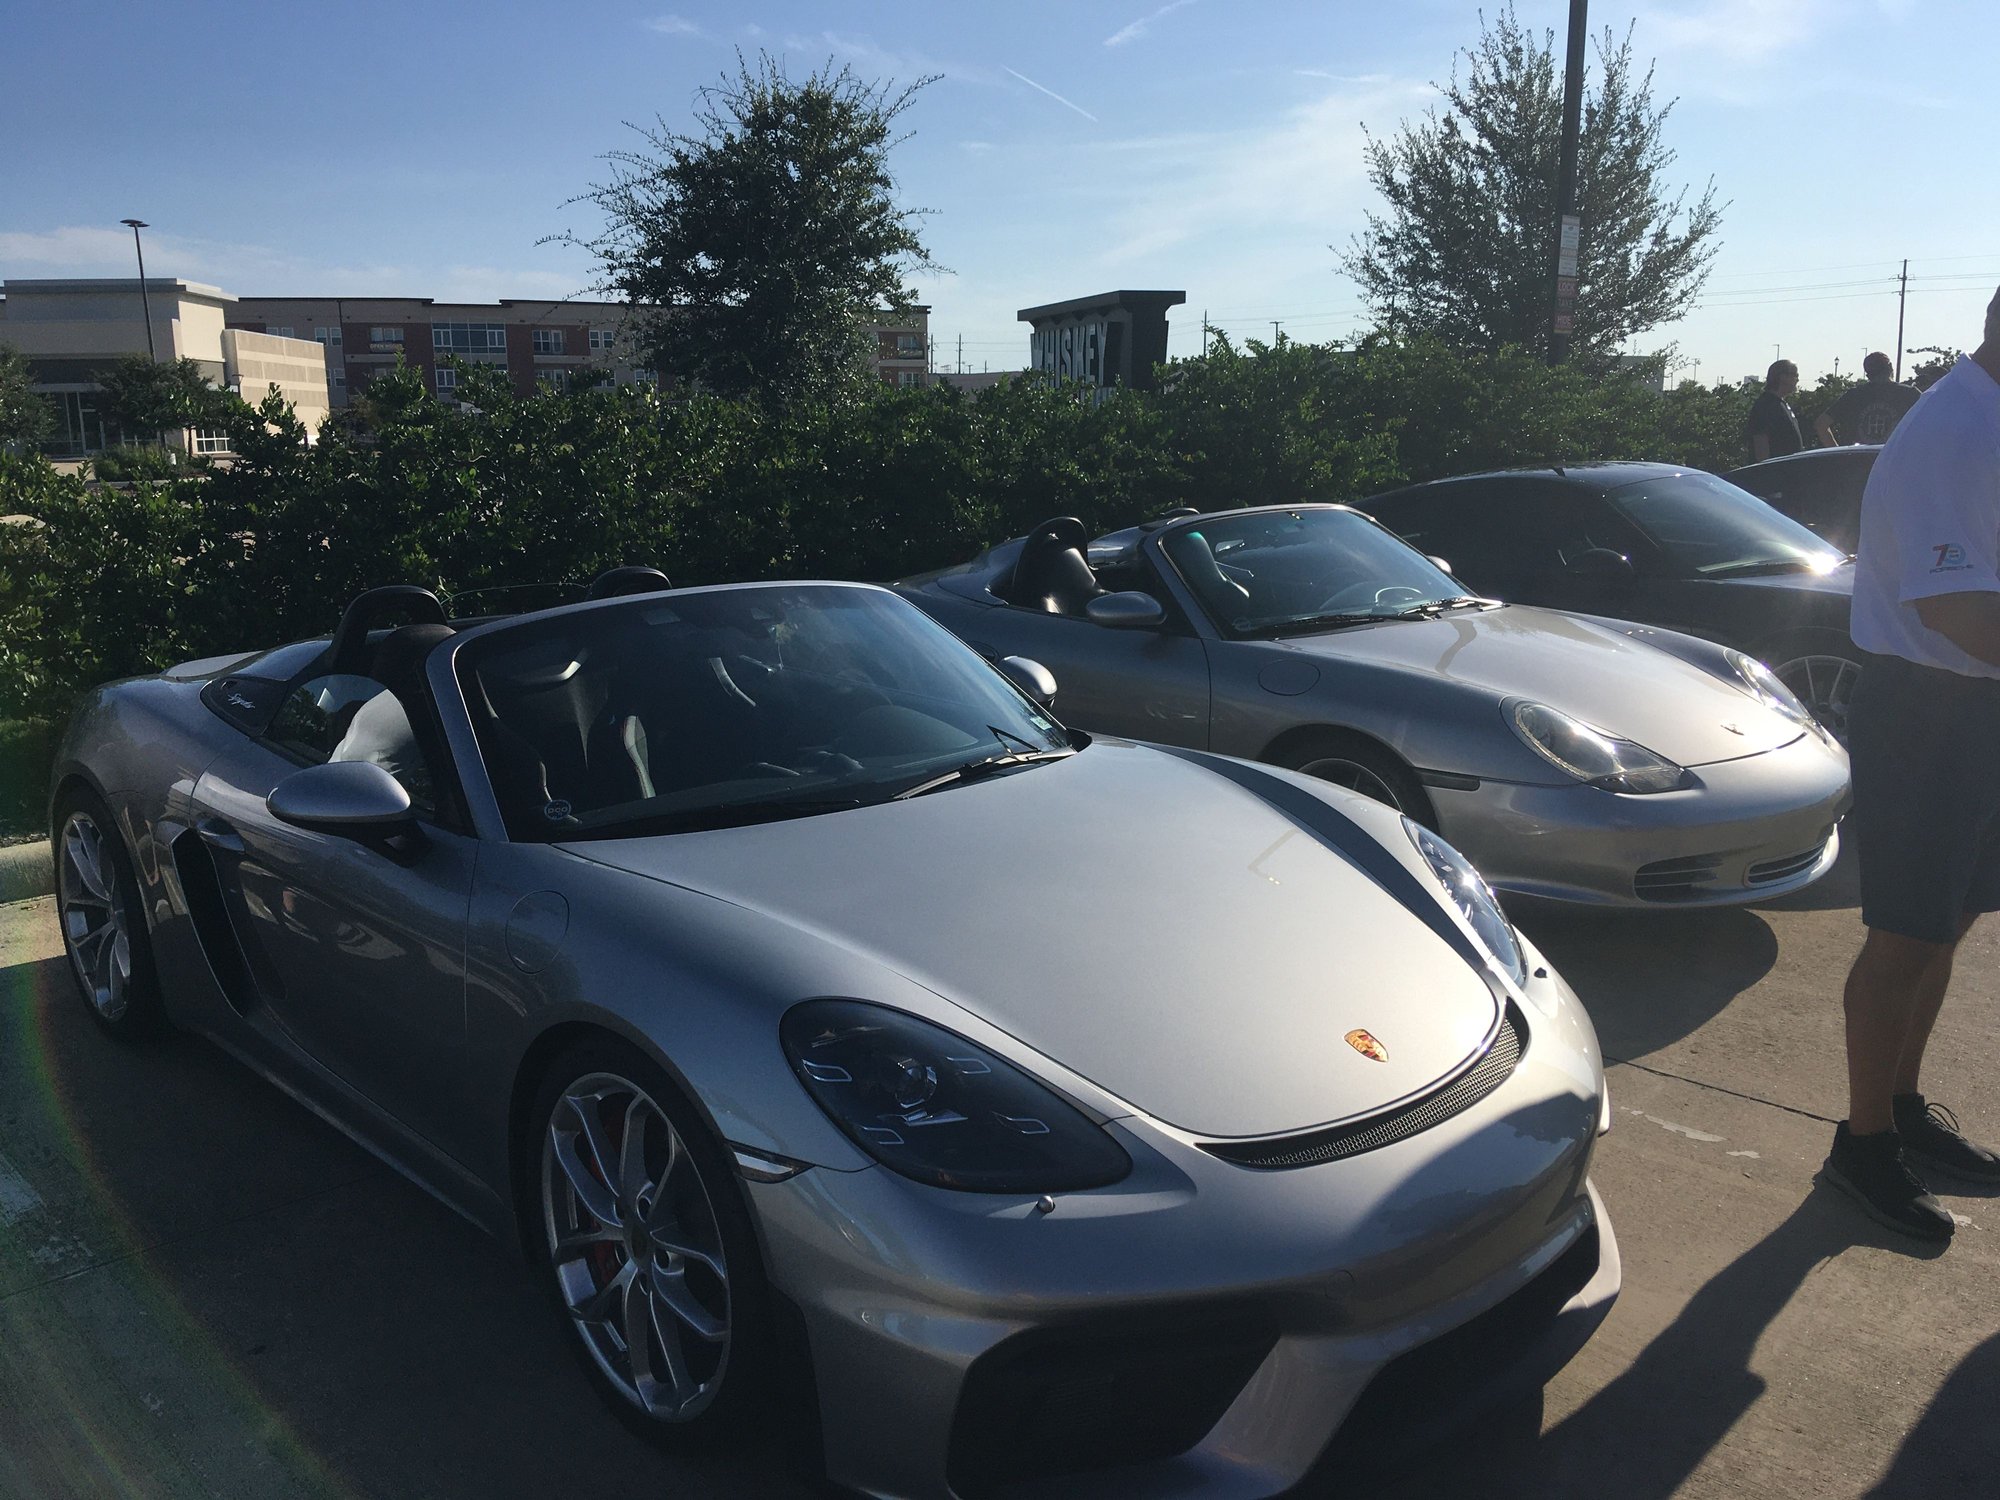
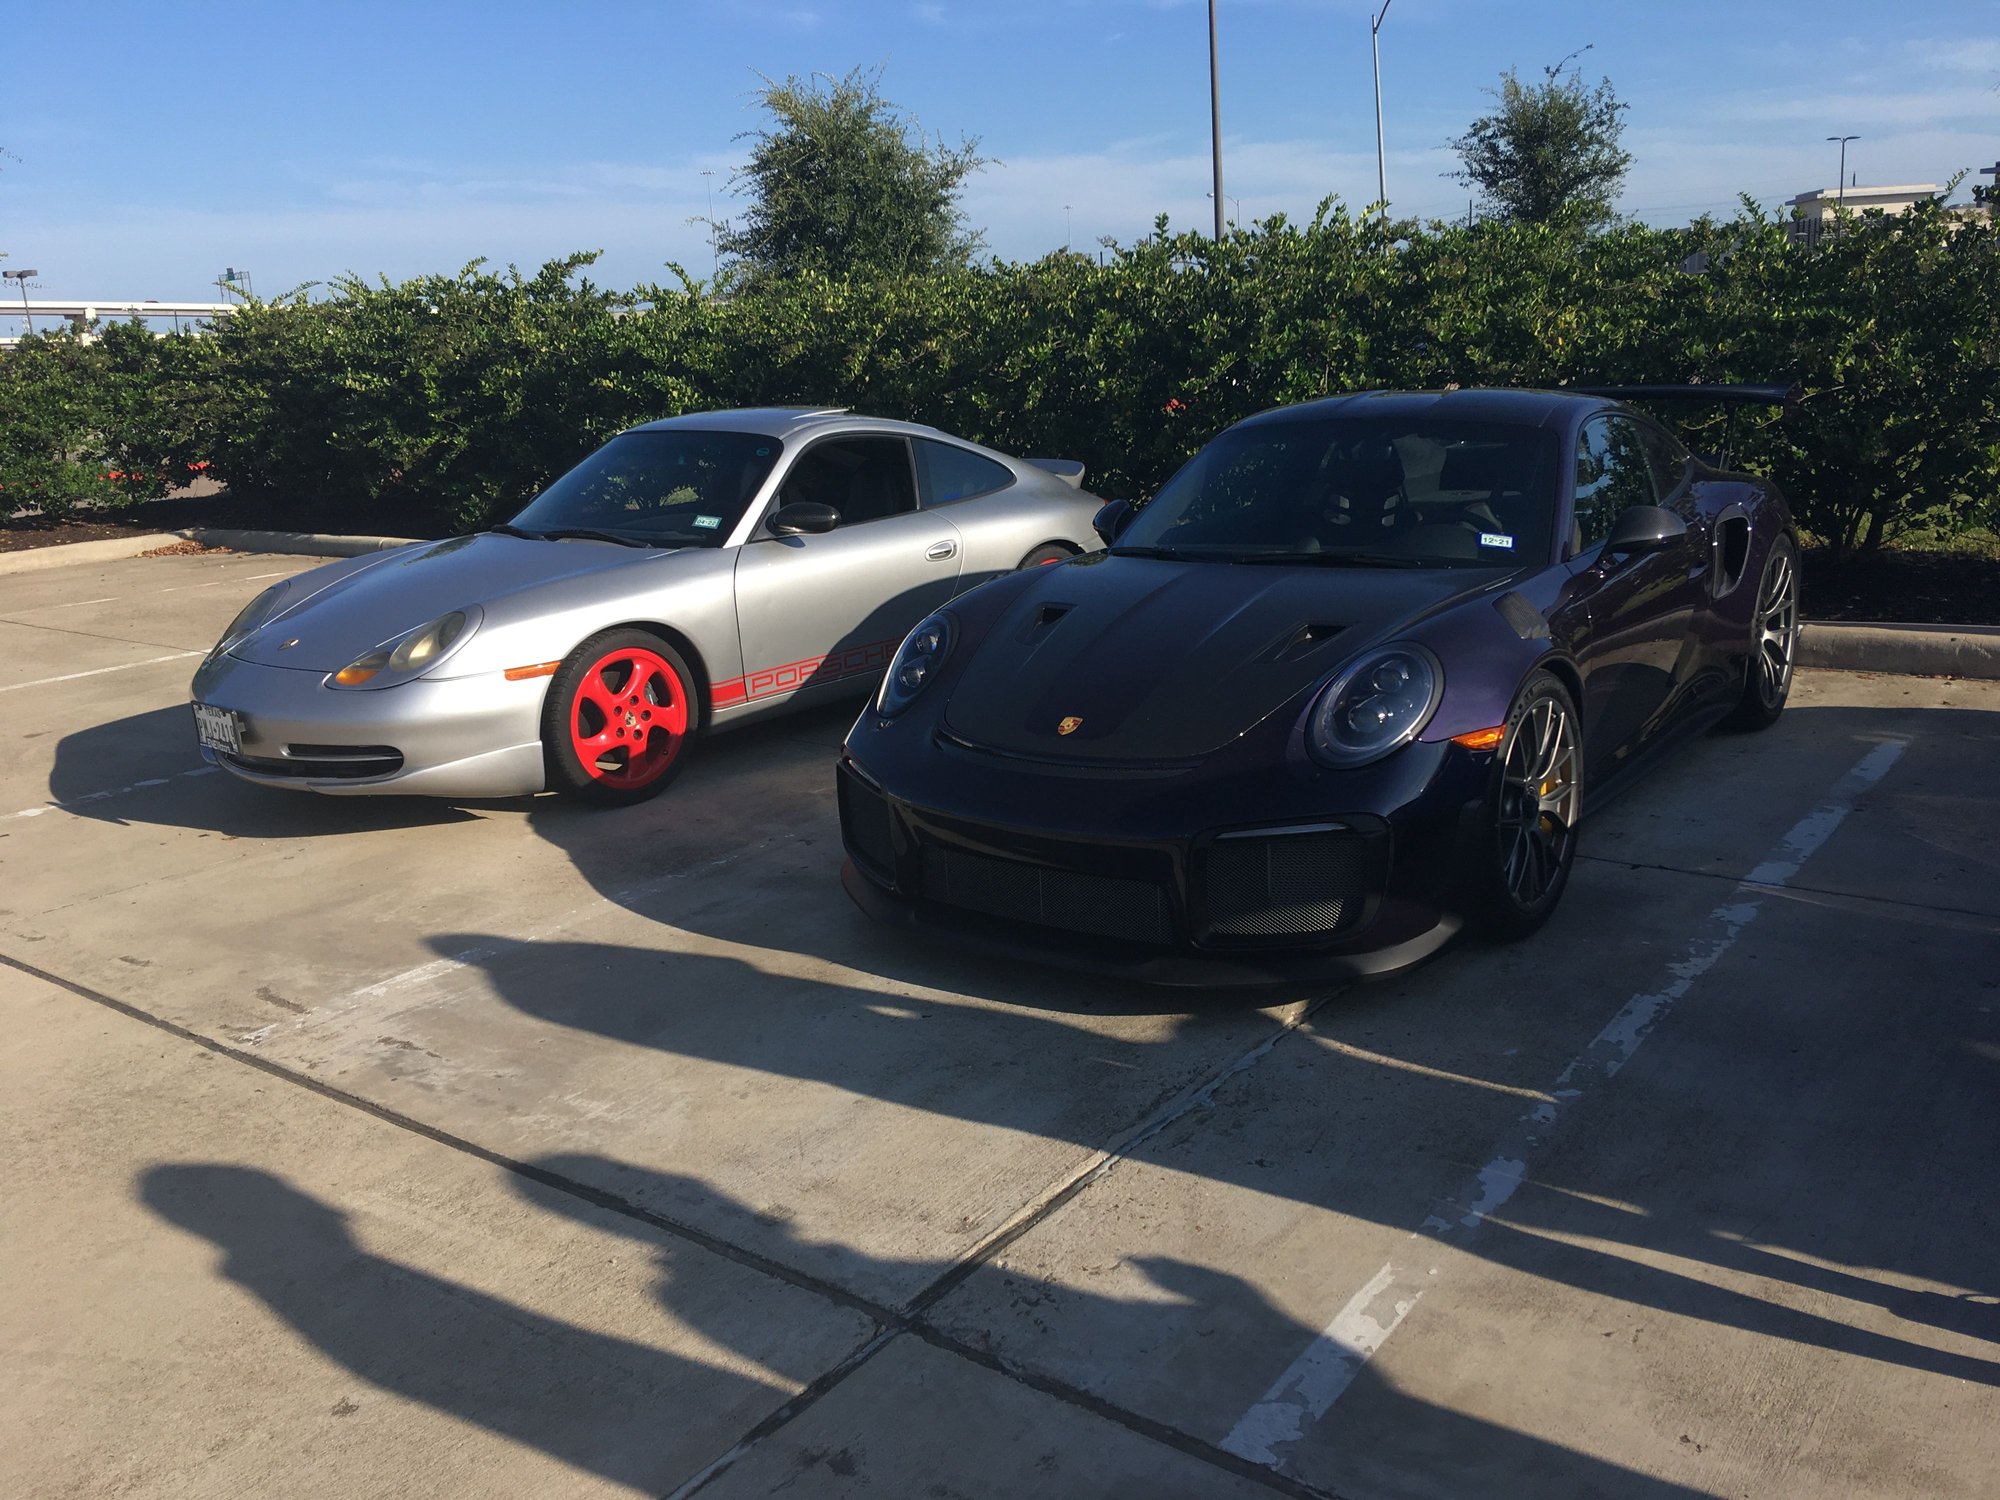
Cars and coffee Katy Texas, over 25 cars. Then we stayed over for biers at walkons sports bar. I love ❤️ my Saturdays. Citrus hazy IPAs off course. Many biers on tap. Awesome cooler. My car next to a turbo s. 1968 912 stroker. When he opened the engine compartment you could smell the oil and fuel. Awesome interior re make on 1982 coupe sc awesome recaros. Always love that wail tail. 2021 speedster. Gt3 what can I say, I�m not worth it.
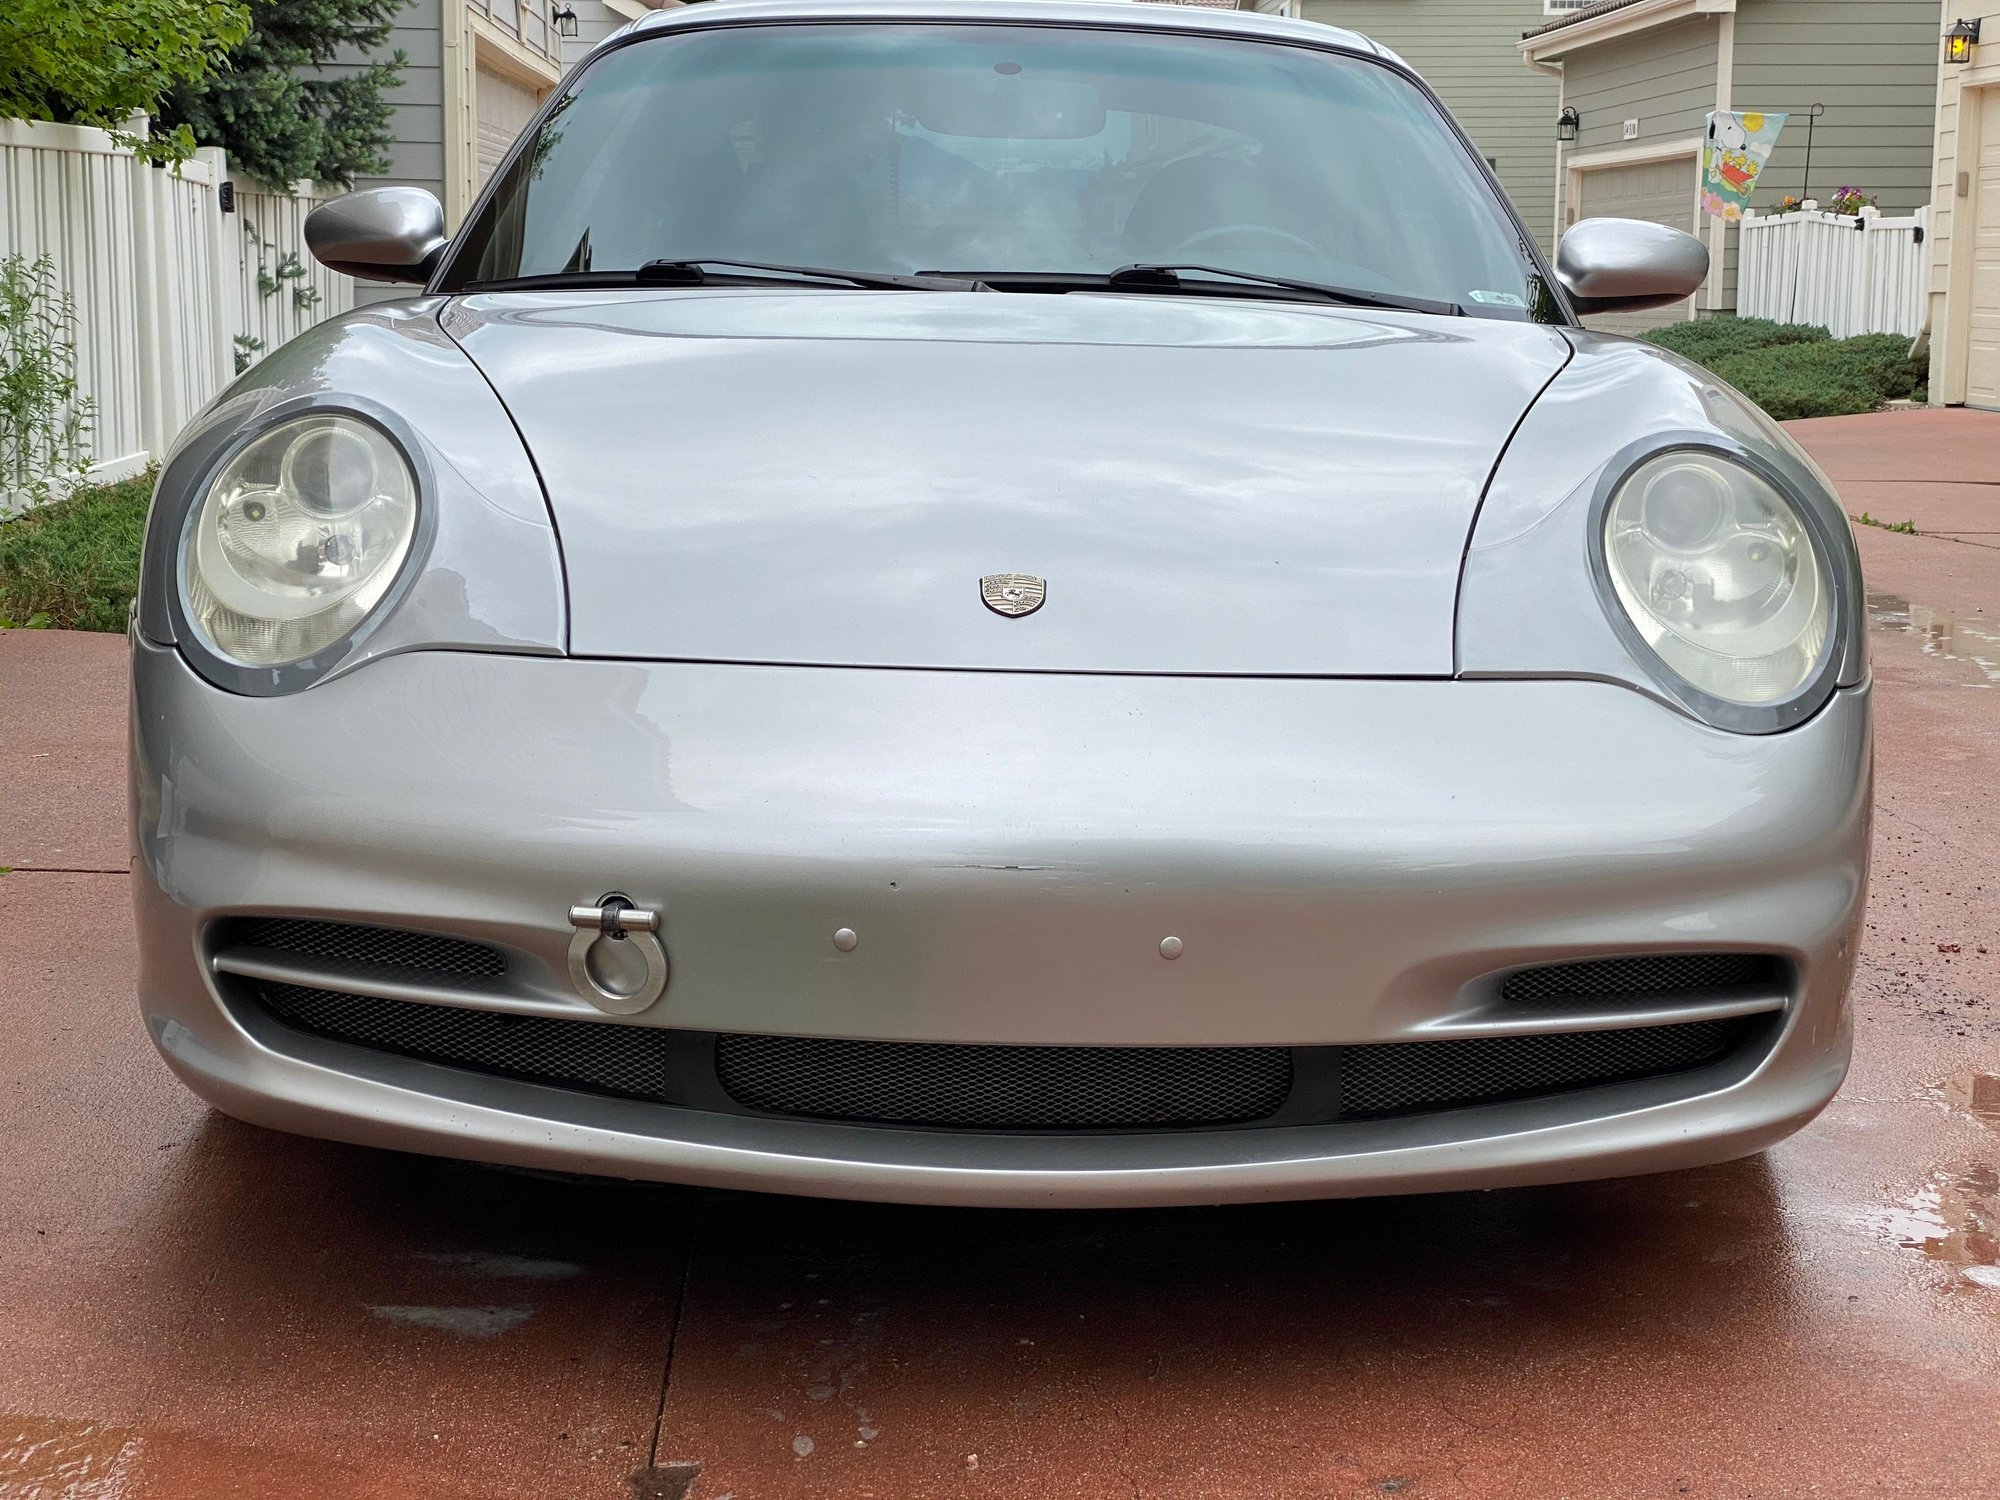
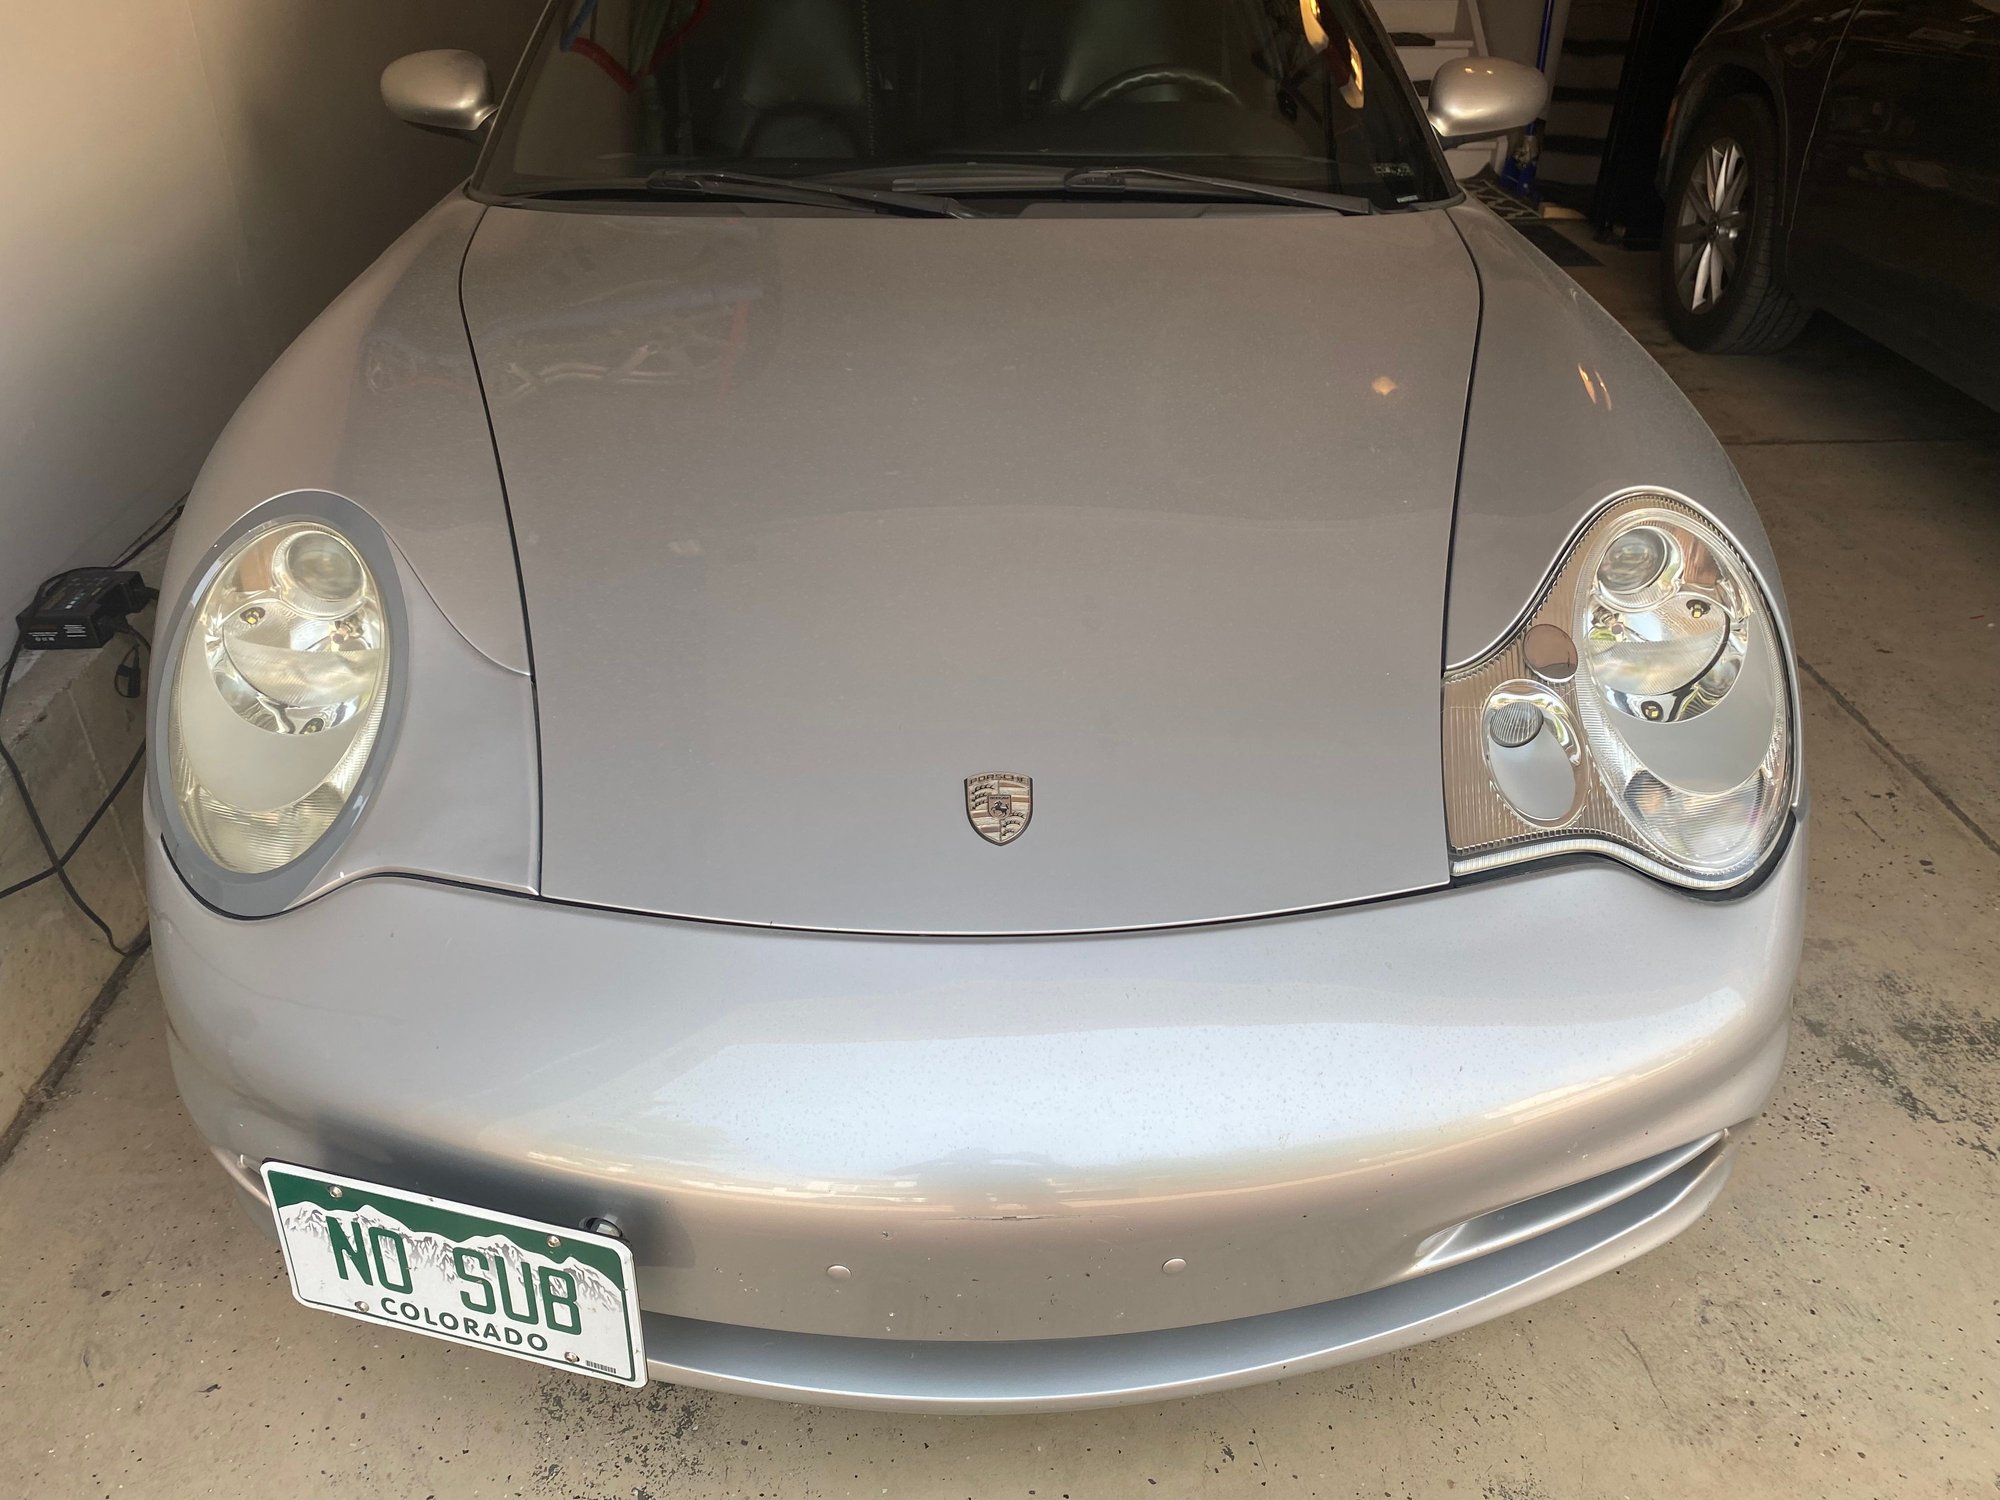
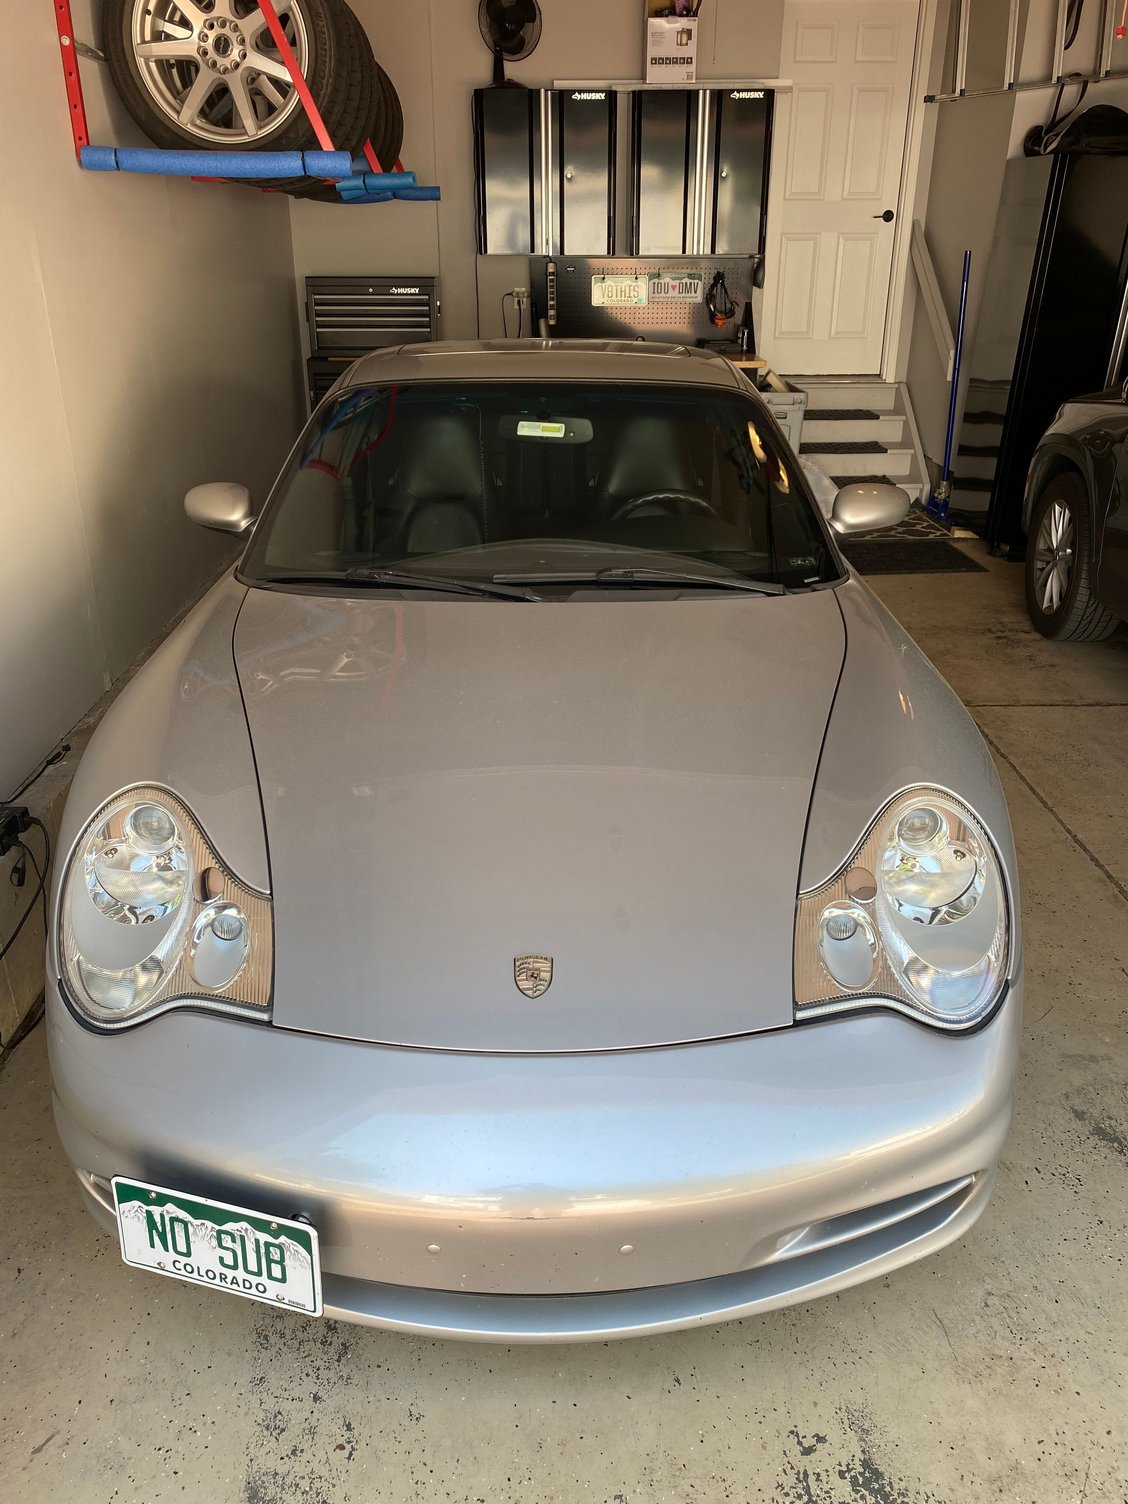
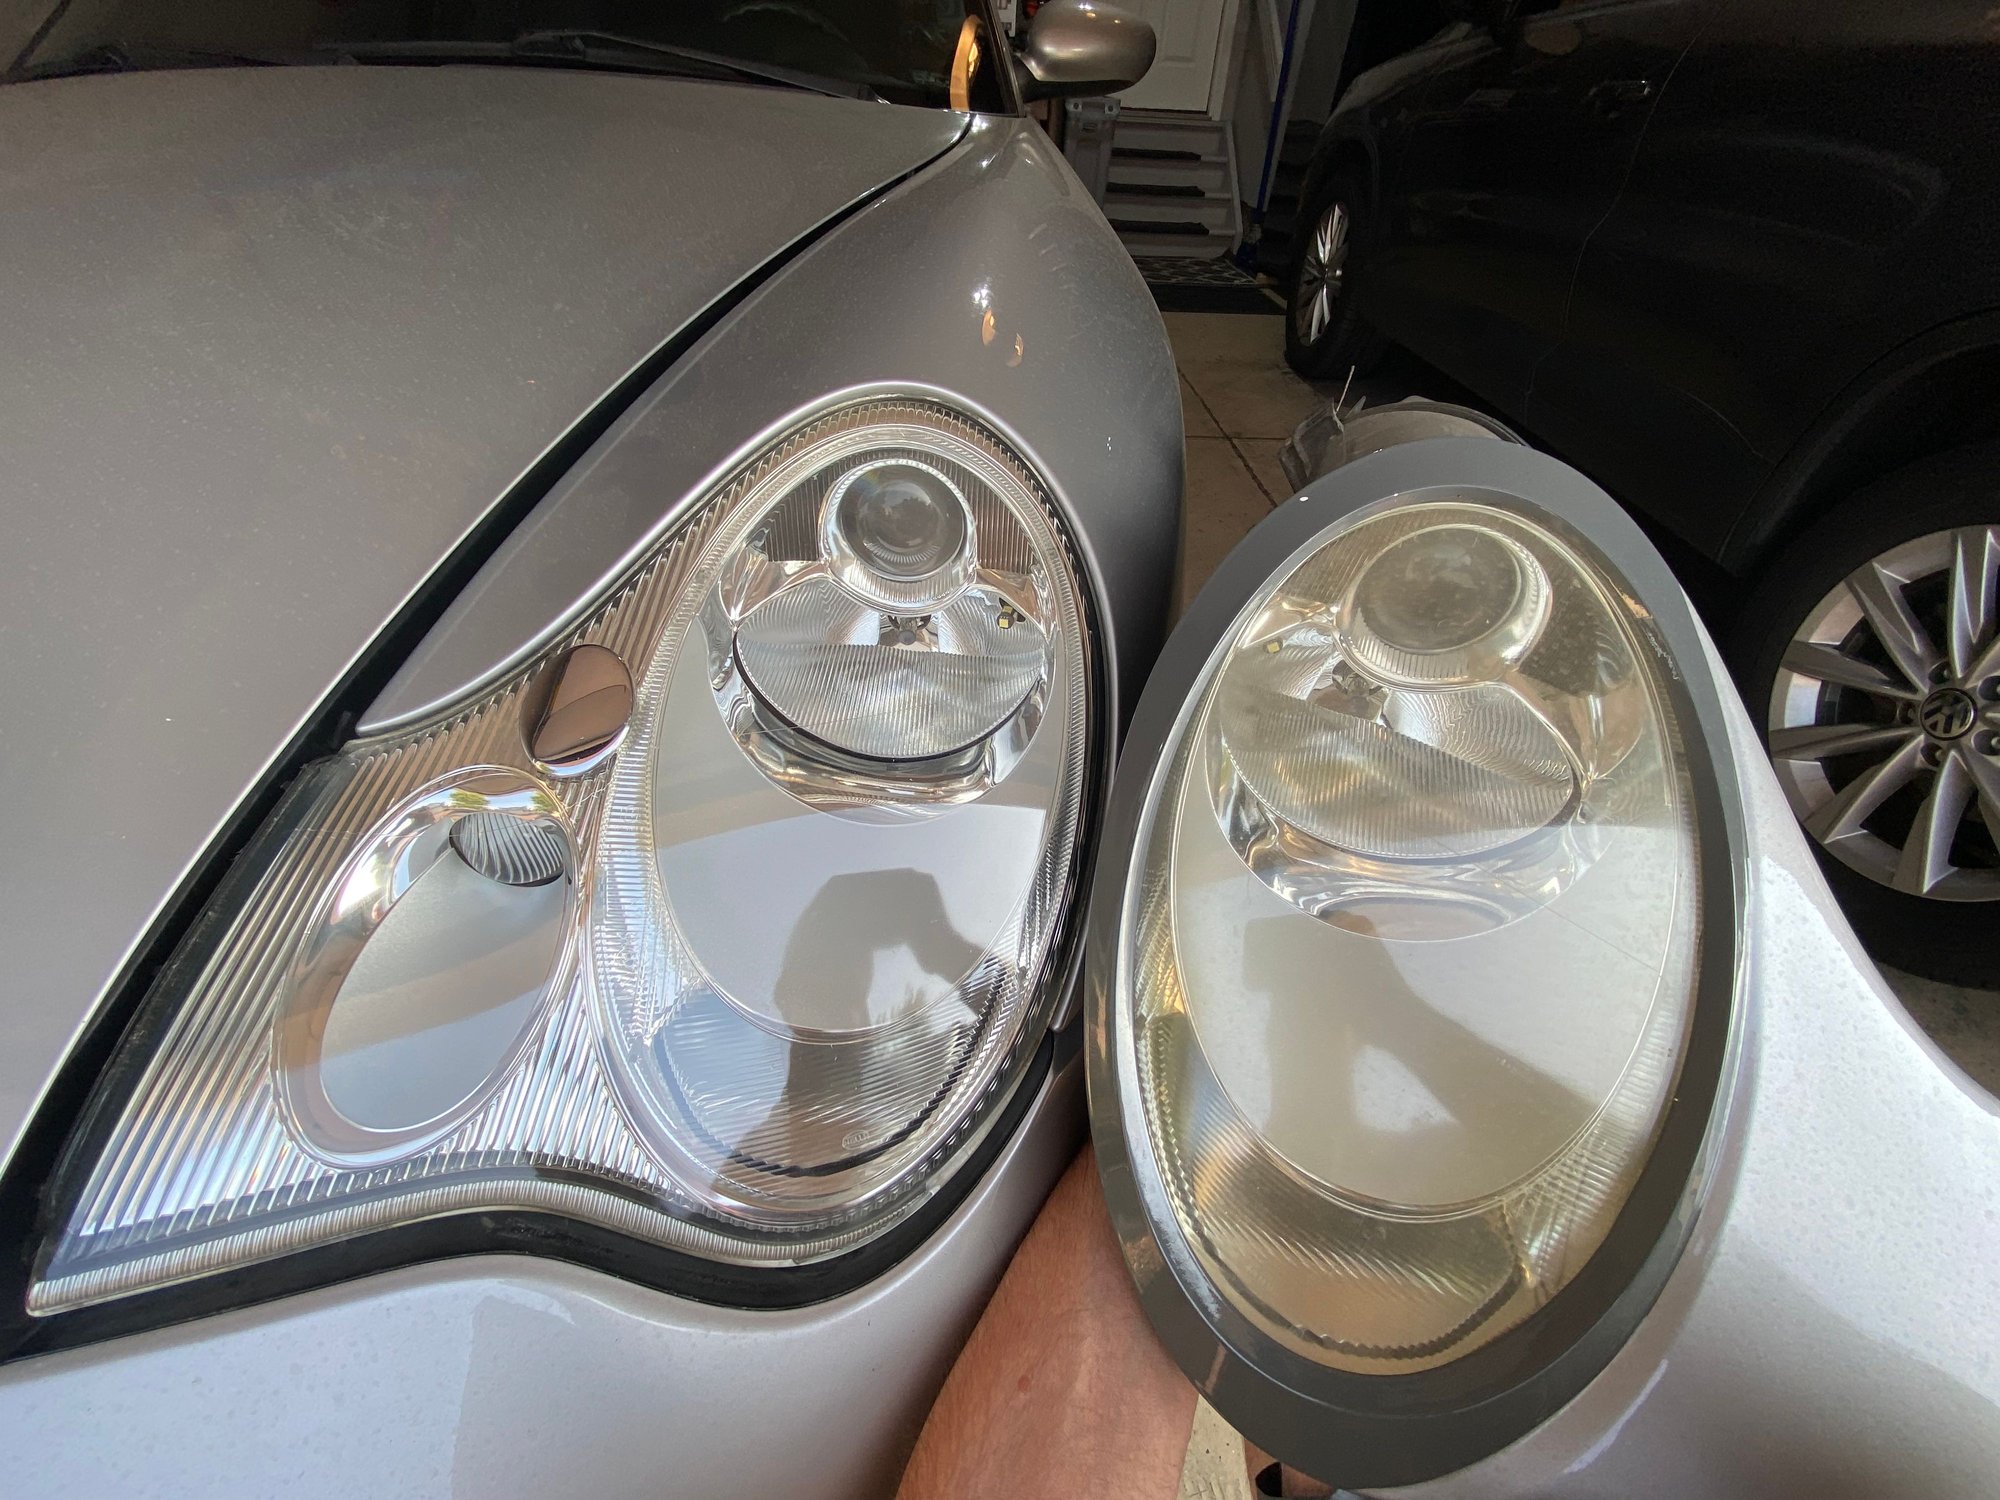
Finished restoring my OEM 996 headlights today. I bought the car with these covers that I didn't like plus the headlights were yellowing and kinda rough.
I used a heat gun carefully remove the covers (was much harder than I anticipated) and then used the restoration kit from Adams Polishes to remove the oxidation from the lenses.
Some of the adhesive from the covers seems to have eaten into the lenses so I had to sand them locally with 1000, then 2000 grit sand paper and them polish them with my cordless drill polishing pad.
They are not perfect up close but I'm really happy with the end result. Car looks SO much better with the OEM headlights displayed in all its glory! I feel like now I have a REAL 996.
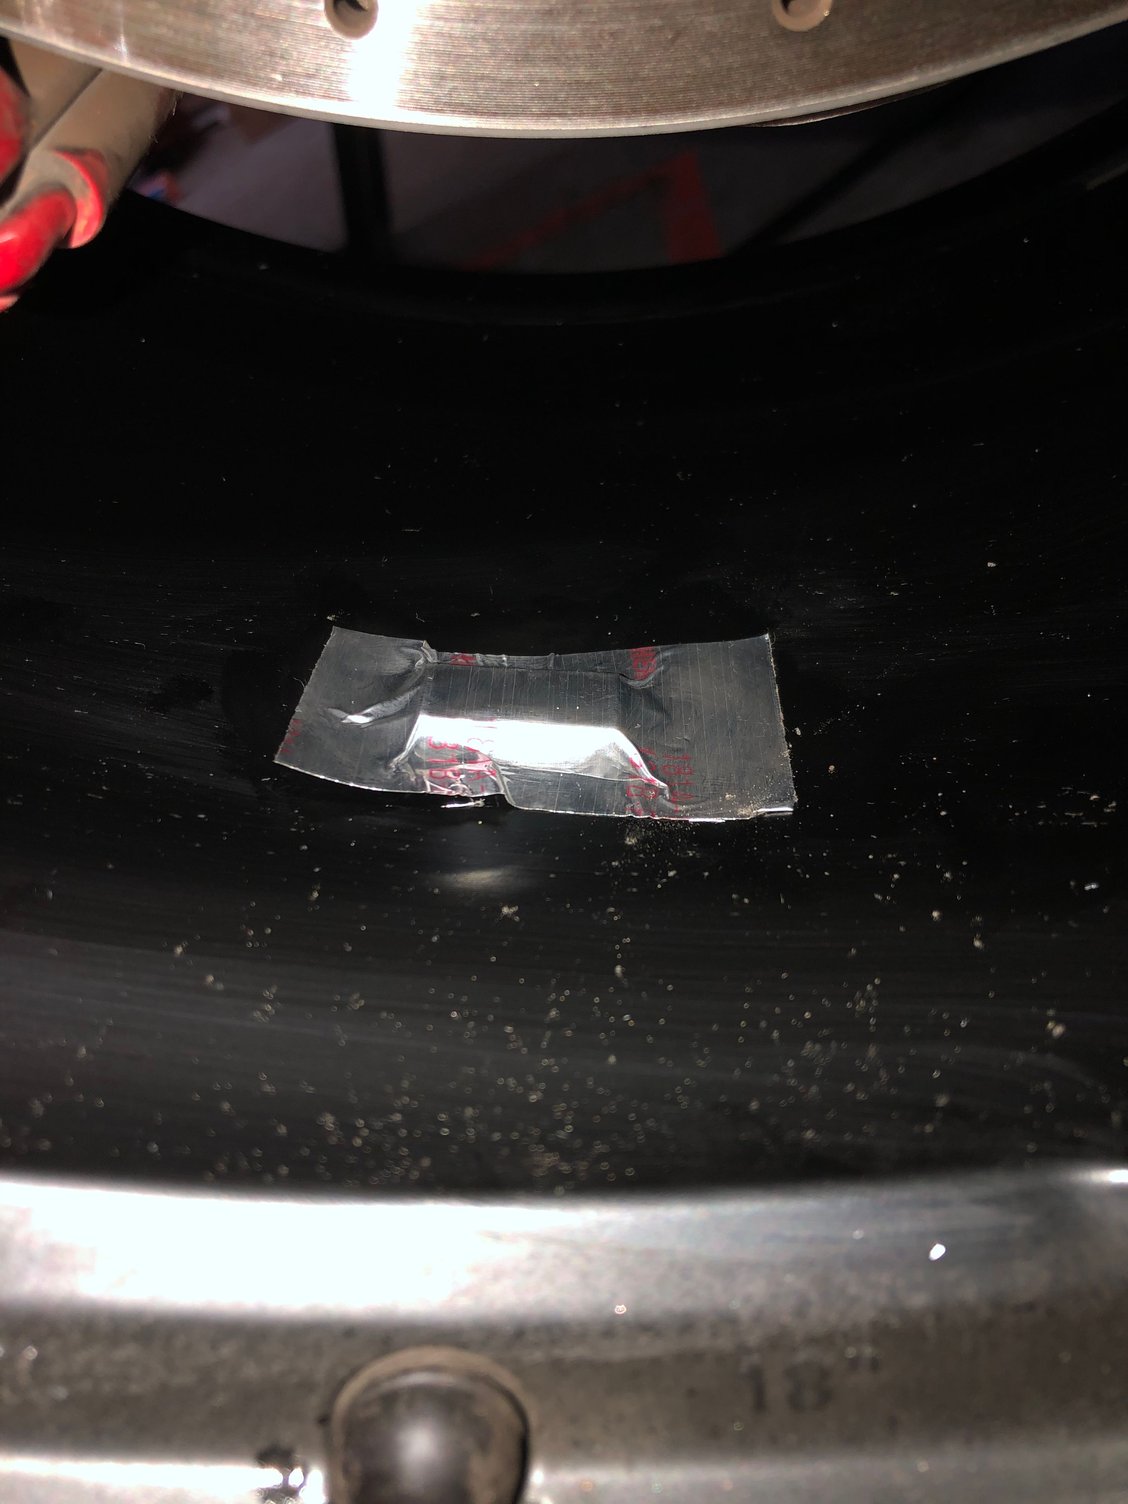
PS I also removed the front plate mount after I took the pictures since I found the plastic cap to close the bumper hole!
Fantastic results. Just think those headlights can look that good after 2 decades. Simply amazing considering the issues folks are having with headlights that are only a fraction of that on the 981.
Make sure you get an UV protectant on them as soon as you can, or they will yellow quickly. Just did mine about 2 months ago with the Cerakote system, worked very well.
Got ready for a road trip to Denver in a couple weeks. Fresh oil and a brake fluid flush.
Side note: one benefit of twists is that you can get to the bleeders through the wheel. I didn't have to take any wheels off.
Got ready for a road trip to Denver in a couple weeks. Fresh oil and a brake fluid flush.
Side note: one benefit of twists is that you can get to the bleeders through the wheel. I didn't have to take any wheels off.
I've seen several of the door logo projection lights on the internet and here on the forum but they always say they don't fit a 996. How did you break the code?
Ron
Originally Posted by sasilverbullet
Swapped my door lights for the one that shows the Porsche emblem!! Looks cool!
Relocated the spoiler switch to the dash, extra plus, now it's "one-touch" to go up!
Swapped my door lights for the one that shows the Porsche emblem!! Looks cool!
If you do any work that requires you to leave the door open, disconnect the lights.
The heat will cause the image to darken.
I�ve been through two sets.
Now I�ve deleted the image and have a bright light that shines down.
I've seen several of the door logo projection lights on the internet and here on the forum but they always say they don't fit a 996. How did you break the code?
Ron
They're readily available on Amazon.
You do have to redo the connectors.
I just replaced them with traditional spade connectors.
Changed the motor oil from Motul to Driven DT-40. Following replacement of the oil filter, I installed the new drain plug and crush washer. Got about 10 ft/lbs. of torque into it and it stripped. I check the bit was fully inserted�but it just gave way so easily. Tried to back it out with no luck. Does anyone have ideas on the best way to remove the damaged drain plug?

 08-14-2021 | 01:53 PM